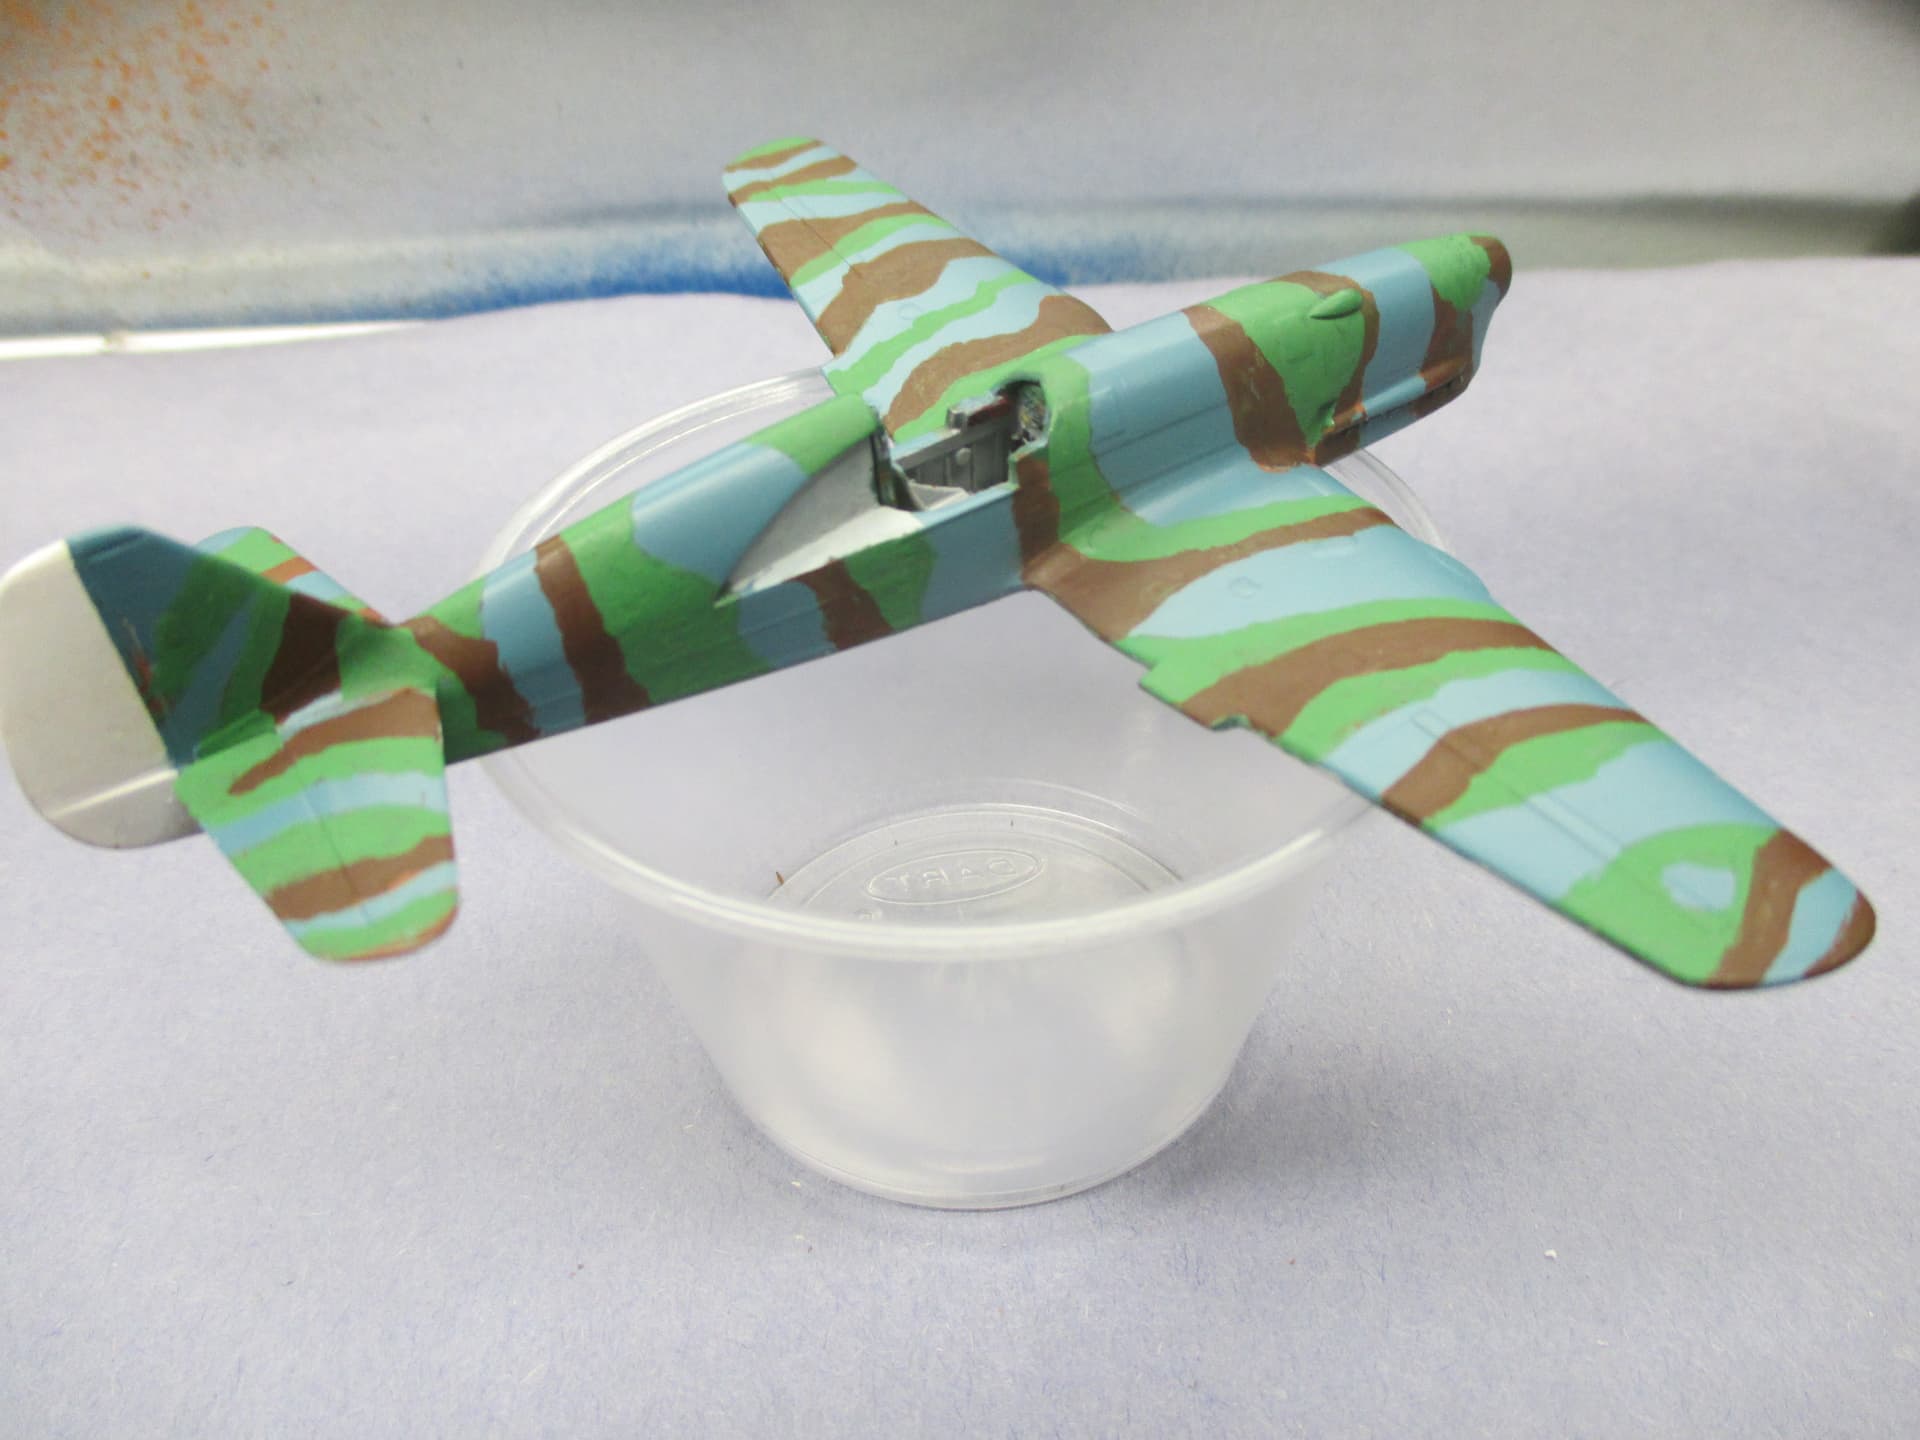
Stevie, it will be interesting to see the camouflage under all the masking. Always an interesting task - it might be horror of paint bleeding or excitement of a perfect sharp camo.
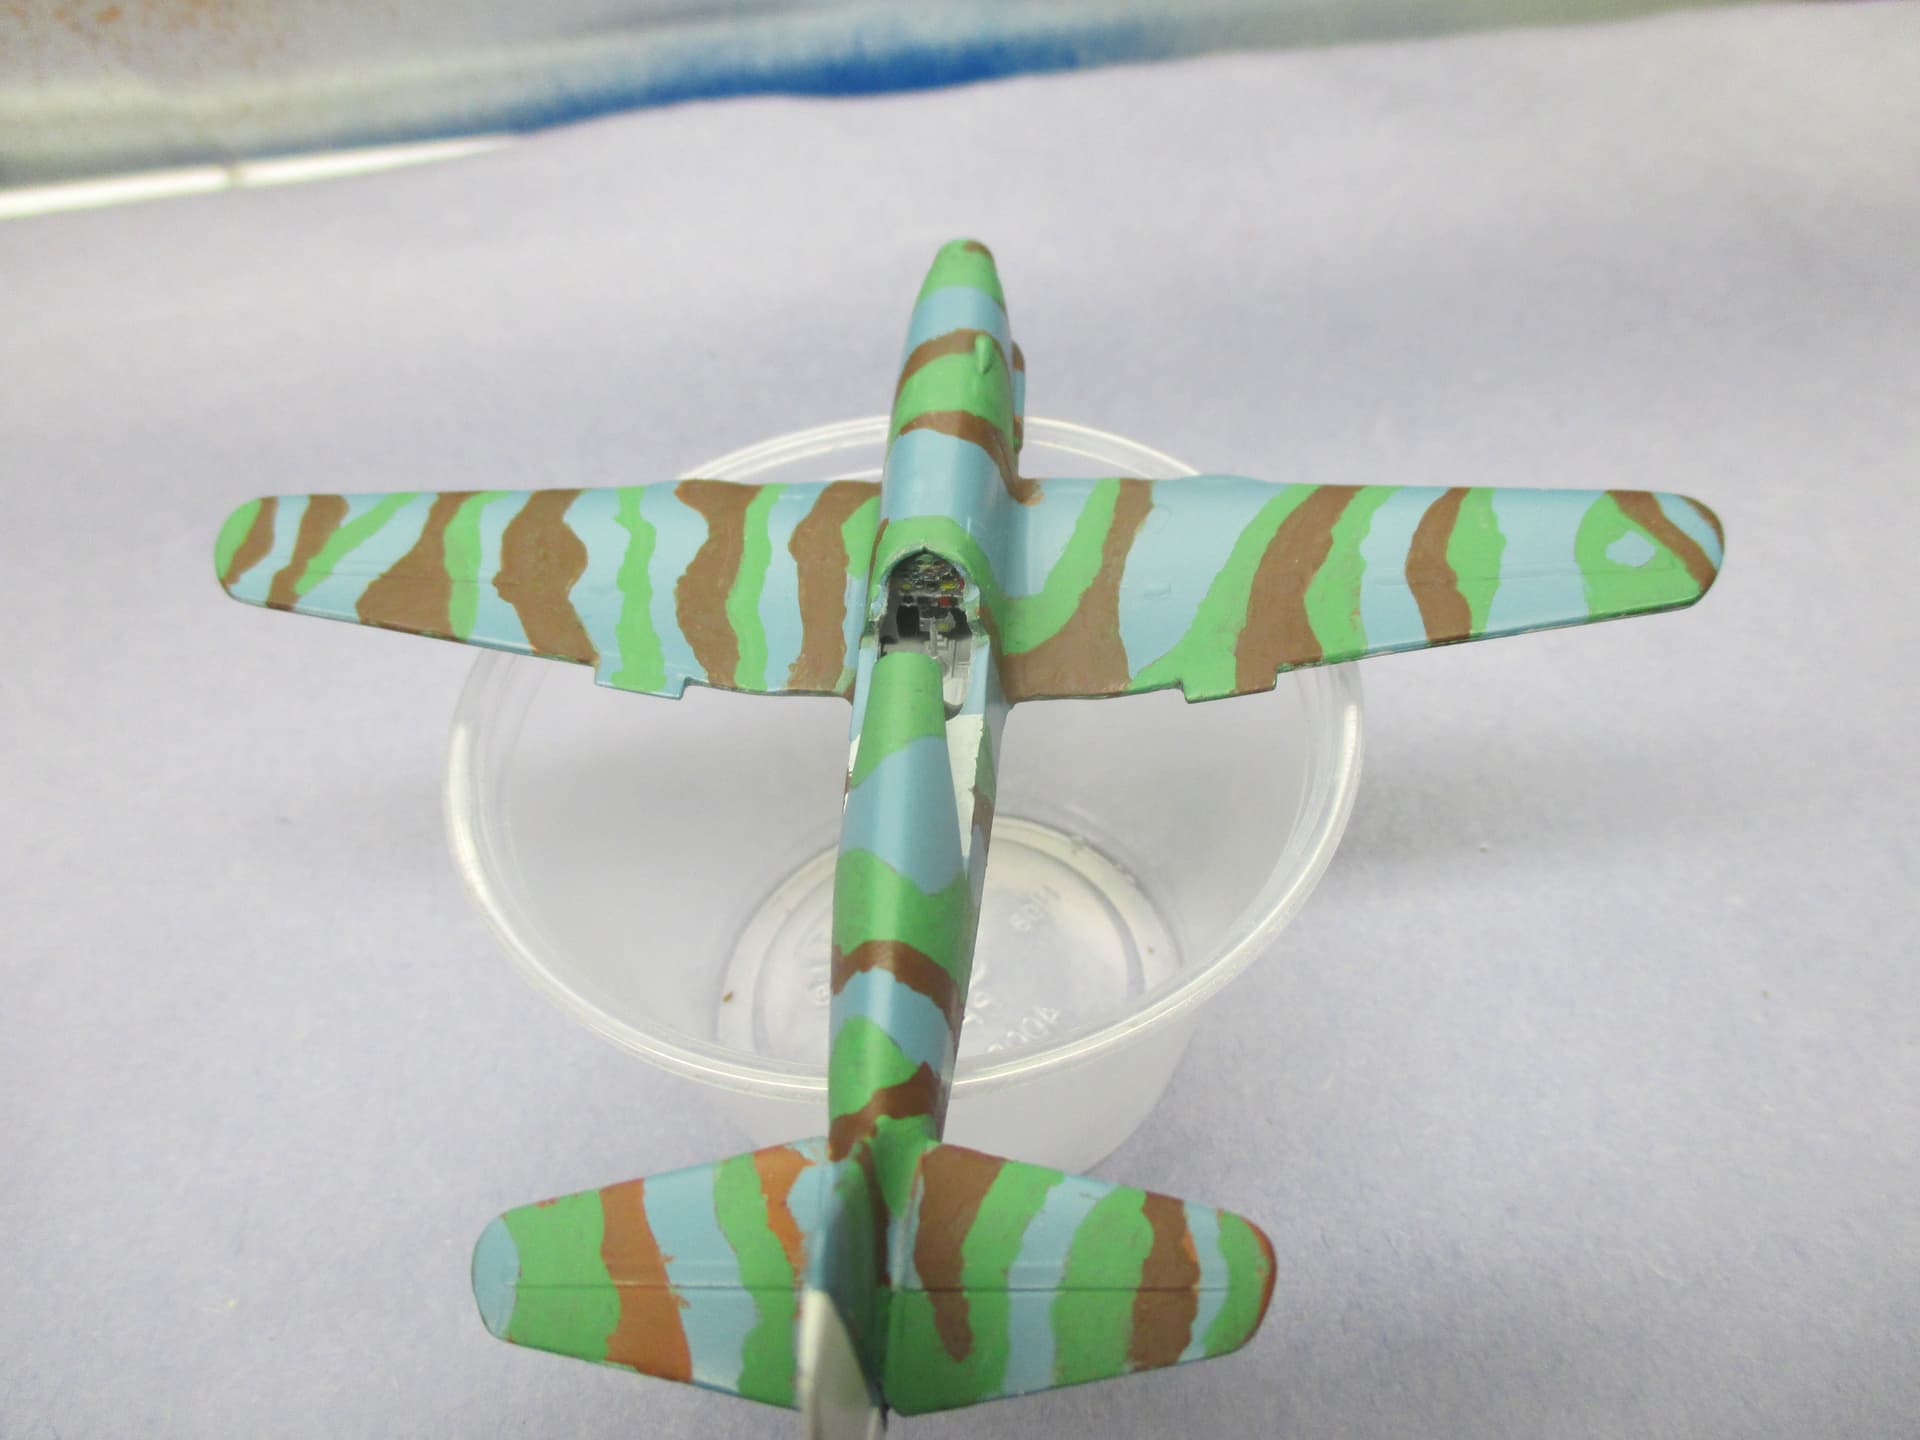
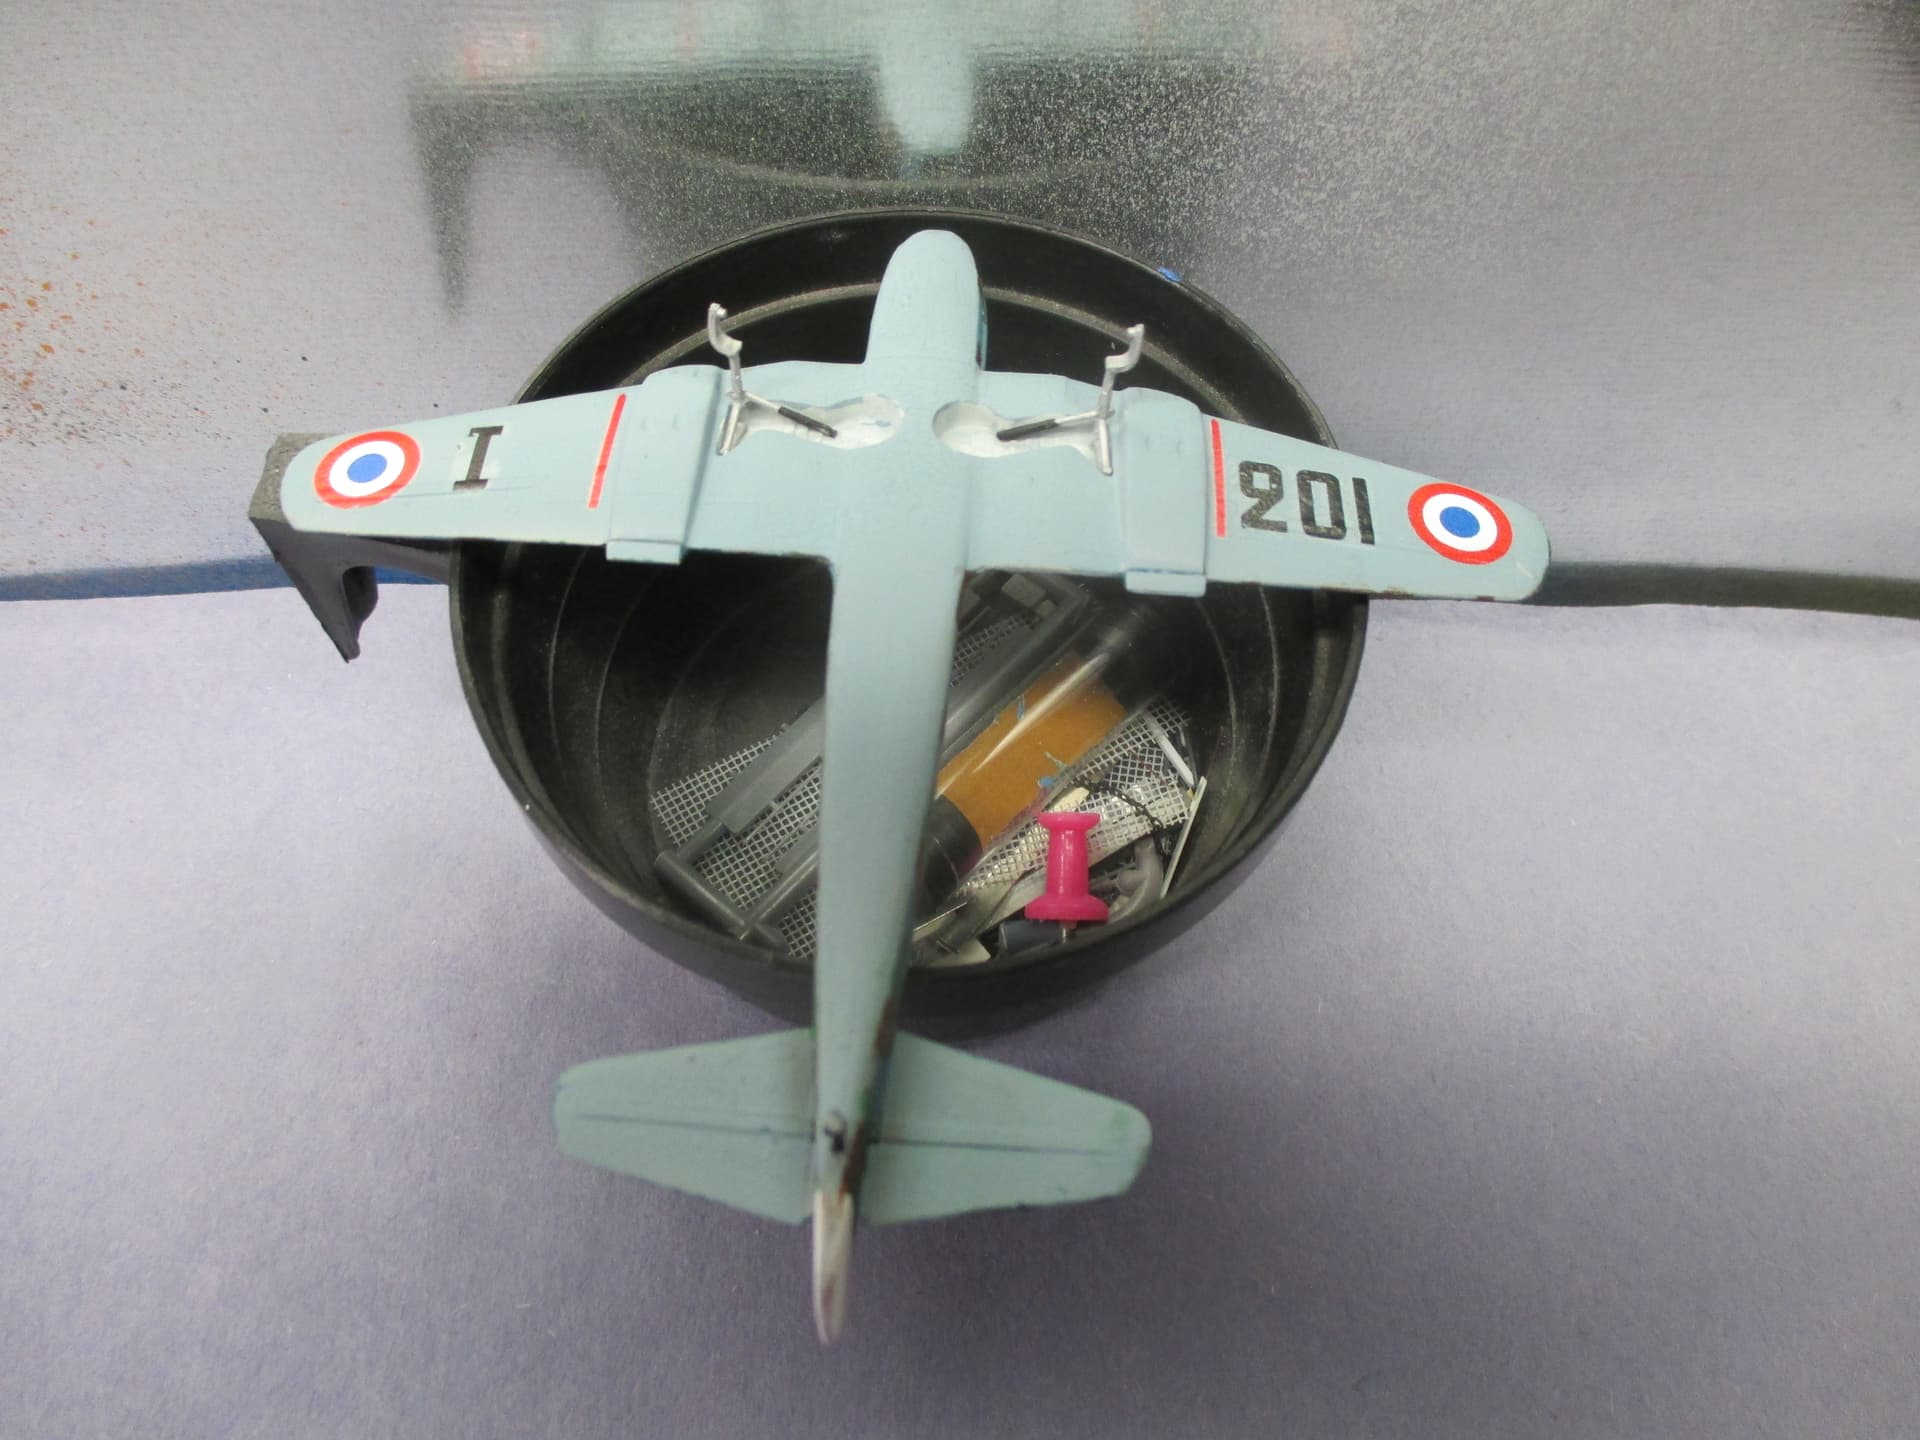
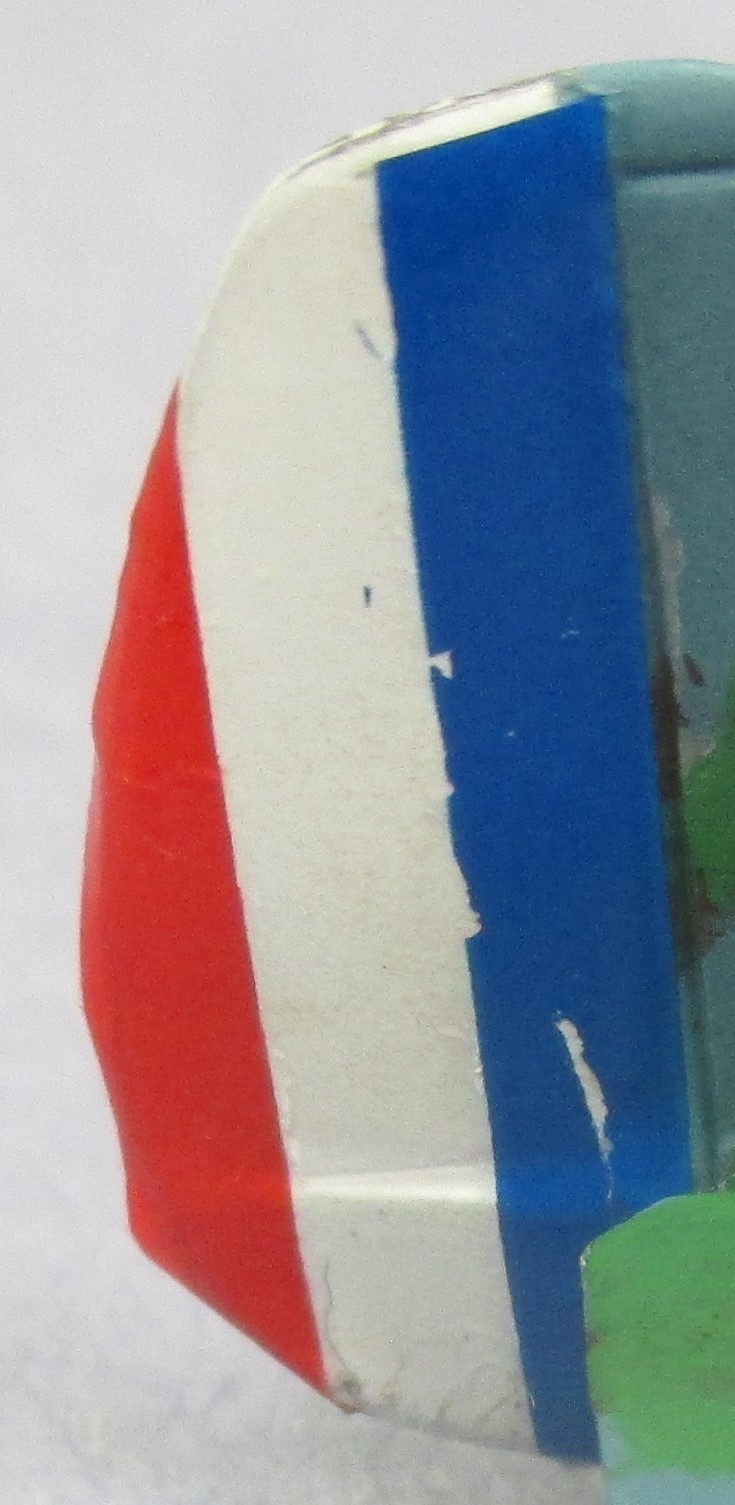
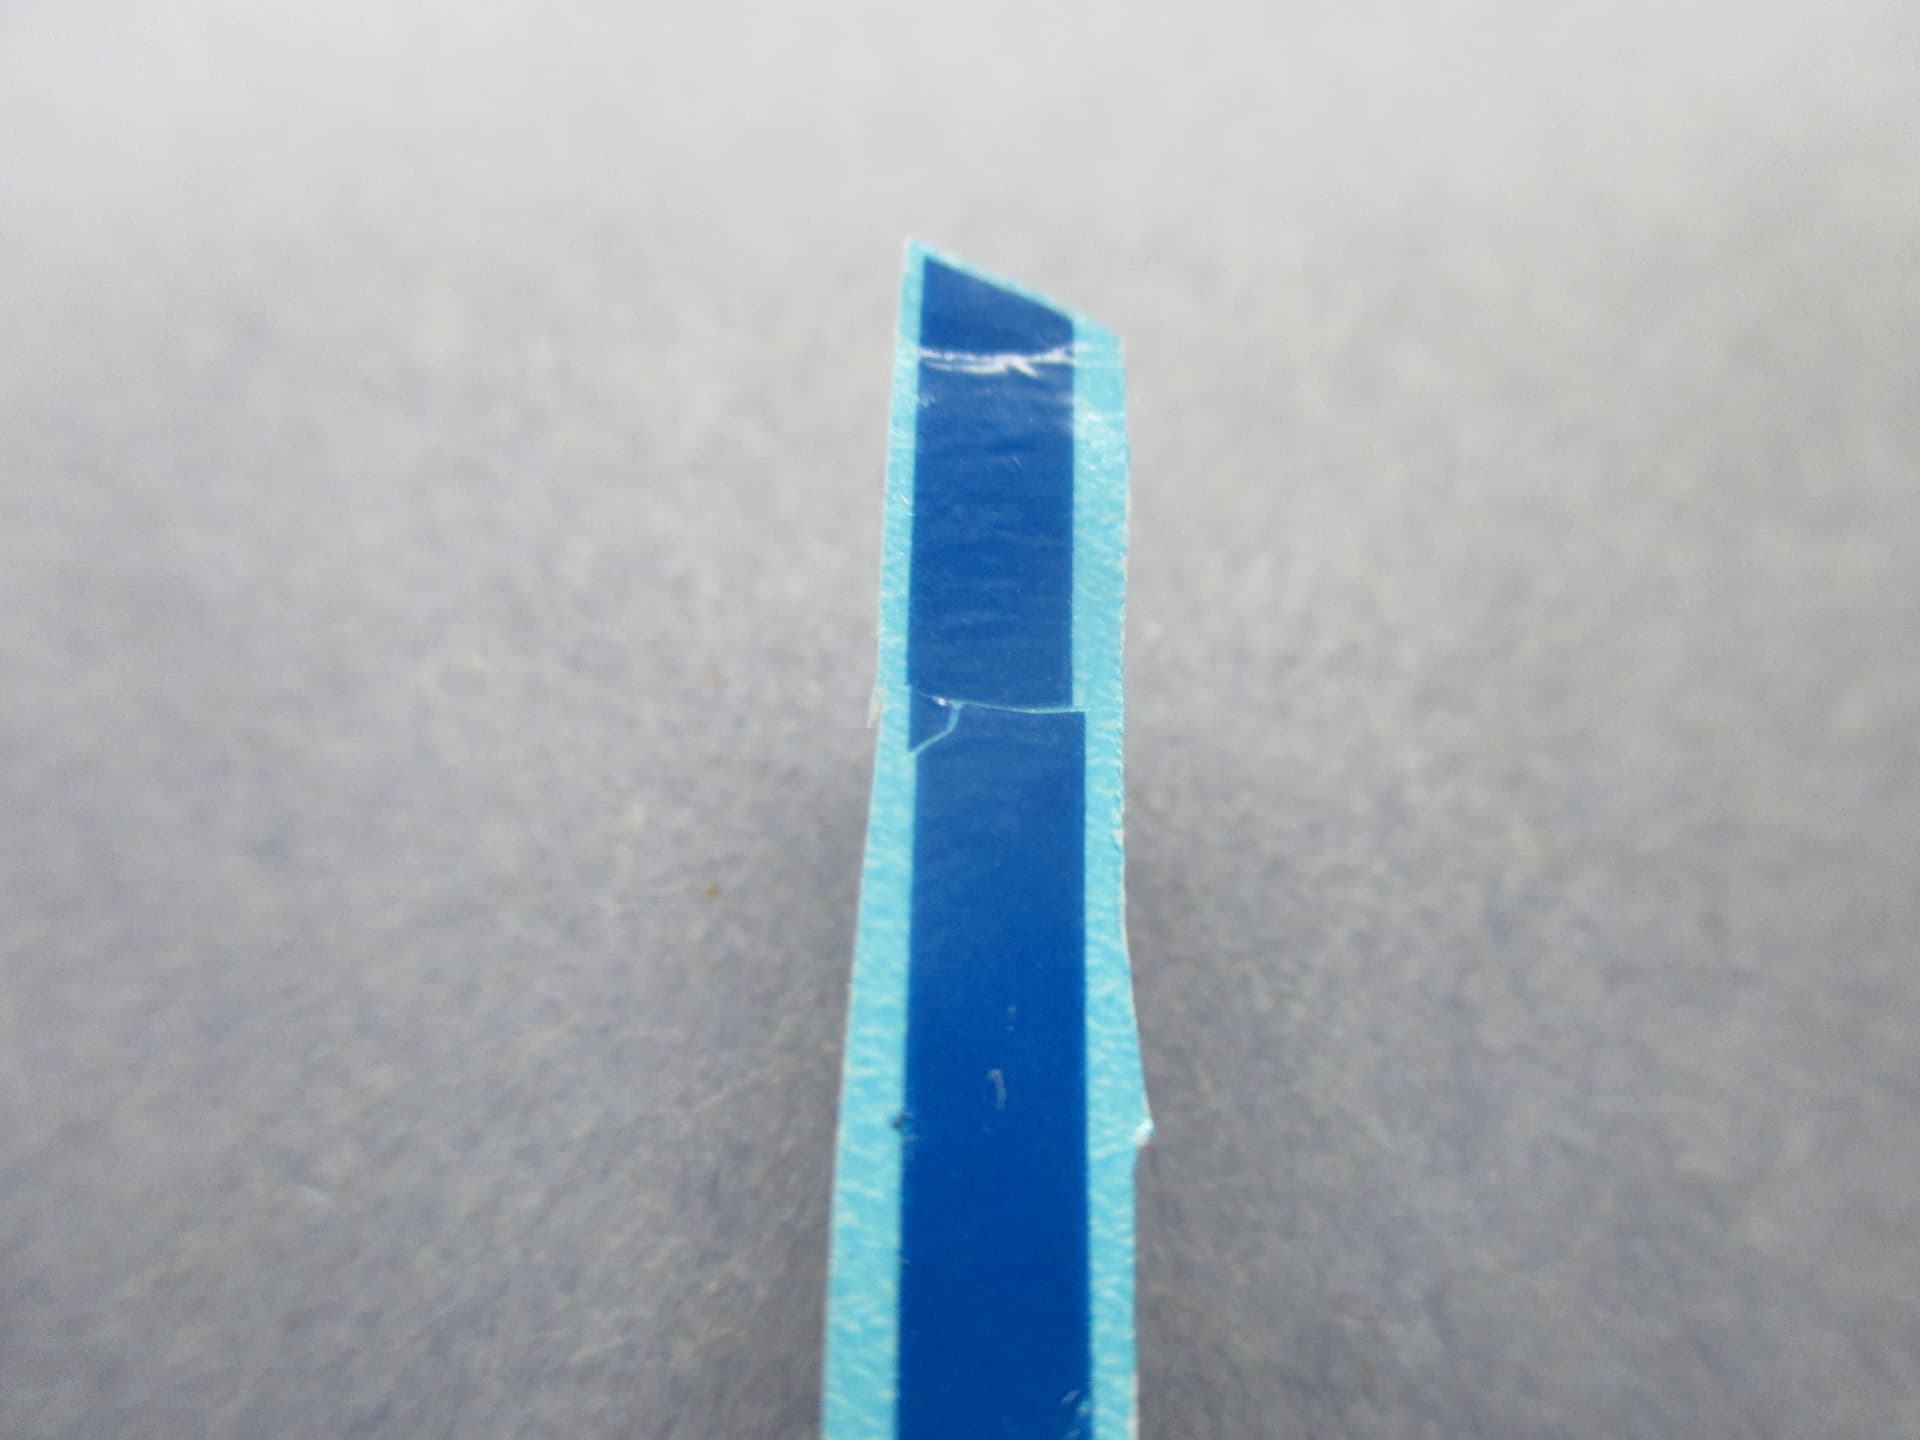
It was the HORROR of the green paint peeling off when I removed the masking. Don’t have a clue why. It pulled some brown off also. Back to the paint booth tomorrow.
I think the paint was bad because there was no tape over the green and the edges lifted off. Some of. but not all the green discolored and the sections of discolored paint rubbed off with a dry cloth.
The brown touched up and the green totally repainted but by hand. I used some Vallejo intermediate green because I had it and I didn’t want to drive 40 miles to the LHS or wait two weeks for a paint order to arrive. It’s not to far from the bos art green but it may be to light
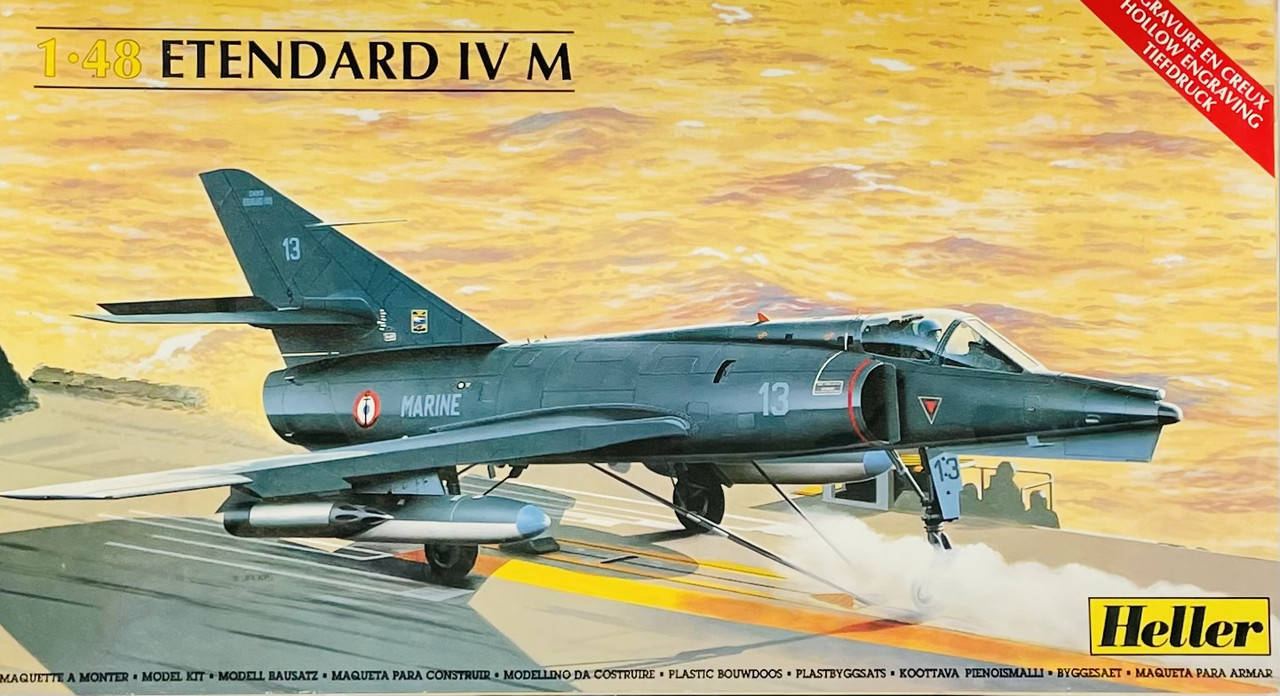
Well, with around six weeks to go left before the deadline, I picked this project. A French kit of a French subject.
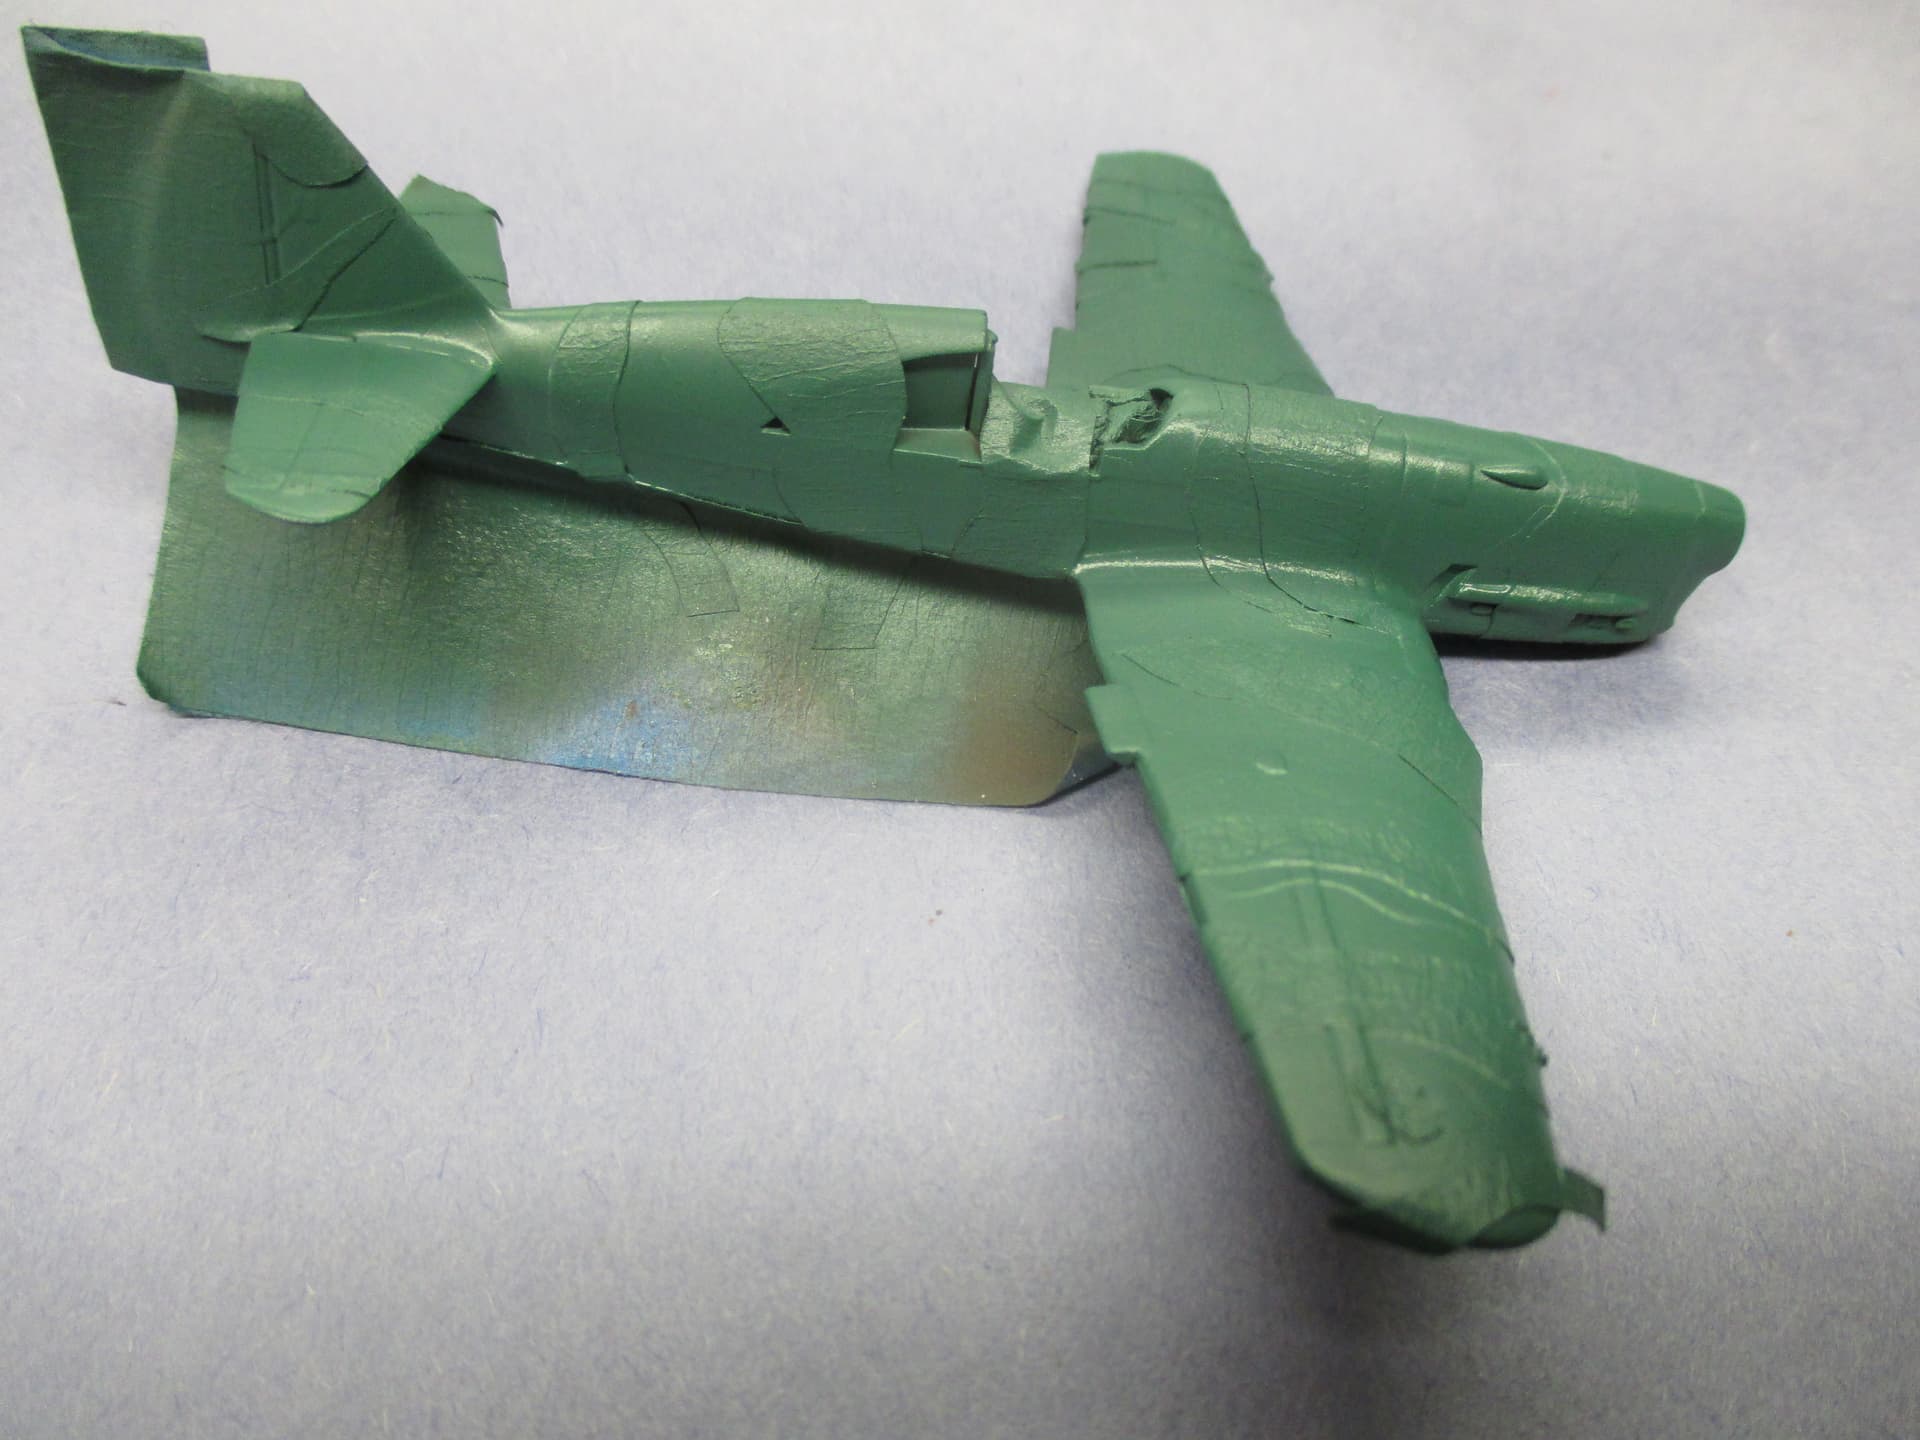
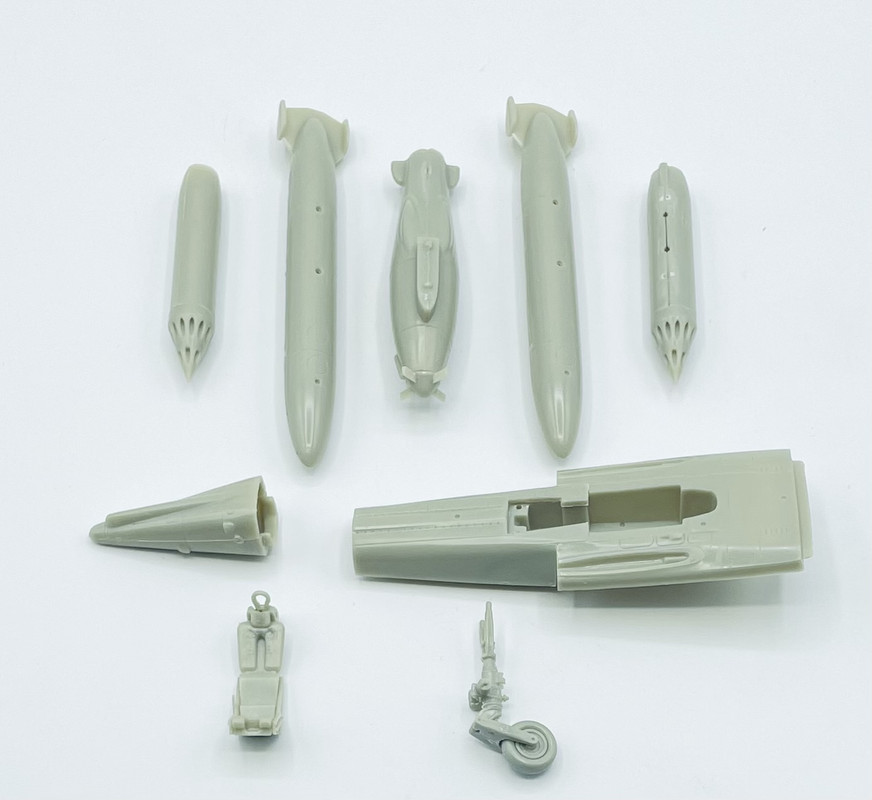
This is Heller’s 1/48 kit of the Etendard IV M, a fairly simple kit.
I’ll be using the kit decals to make one of these Etendard IV M’s from the mid ‘80s
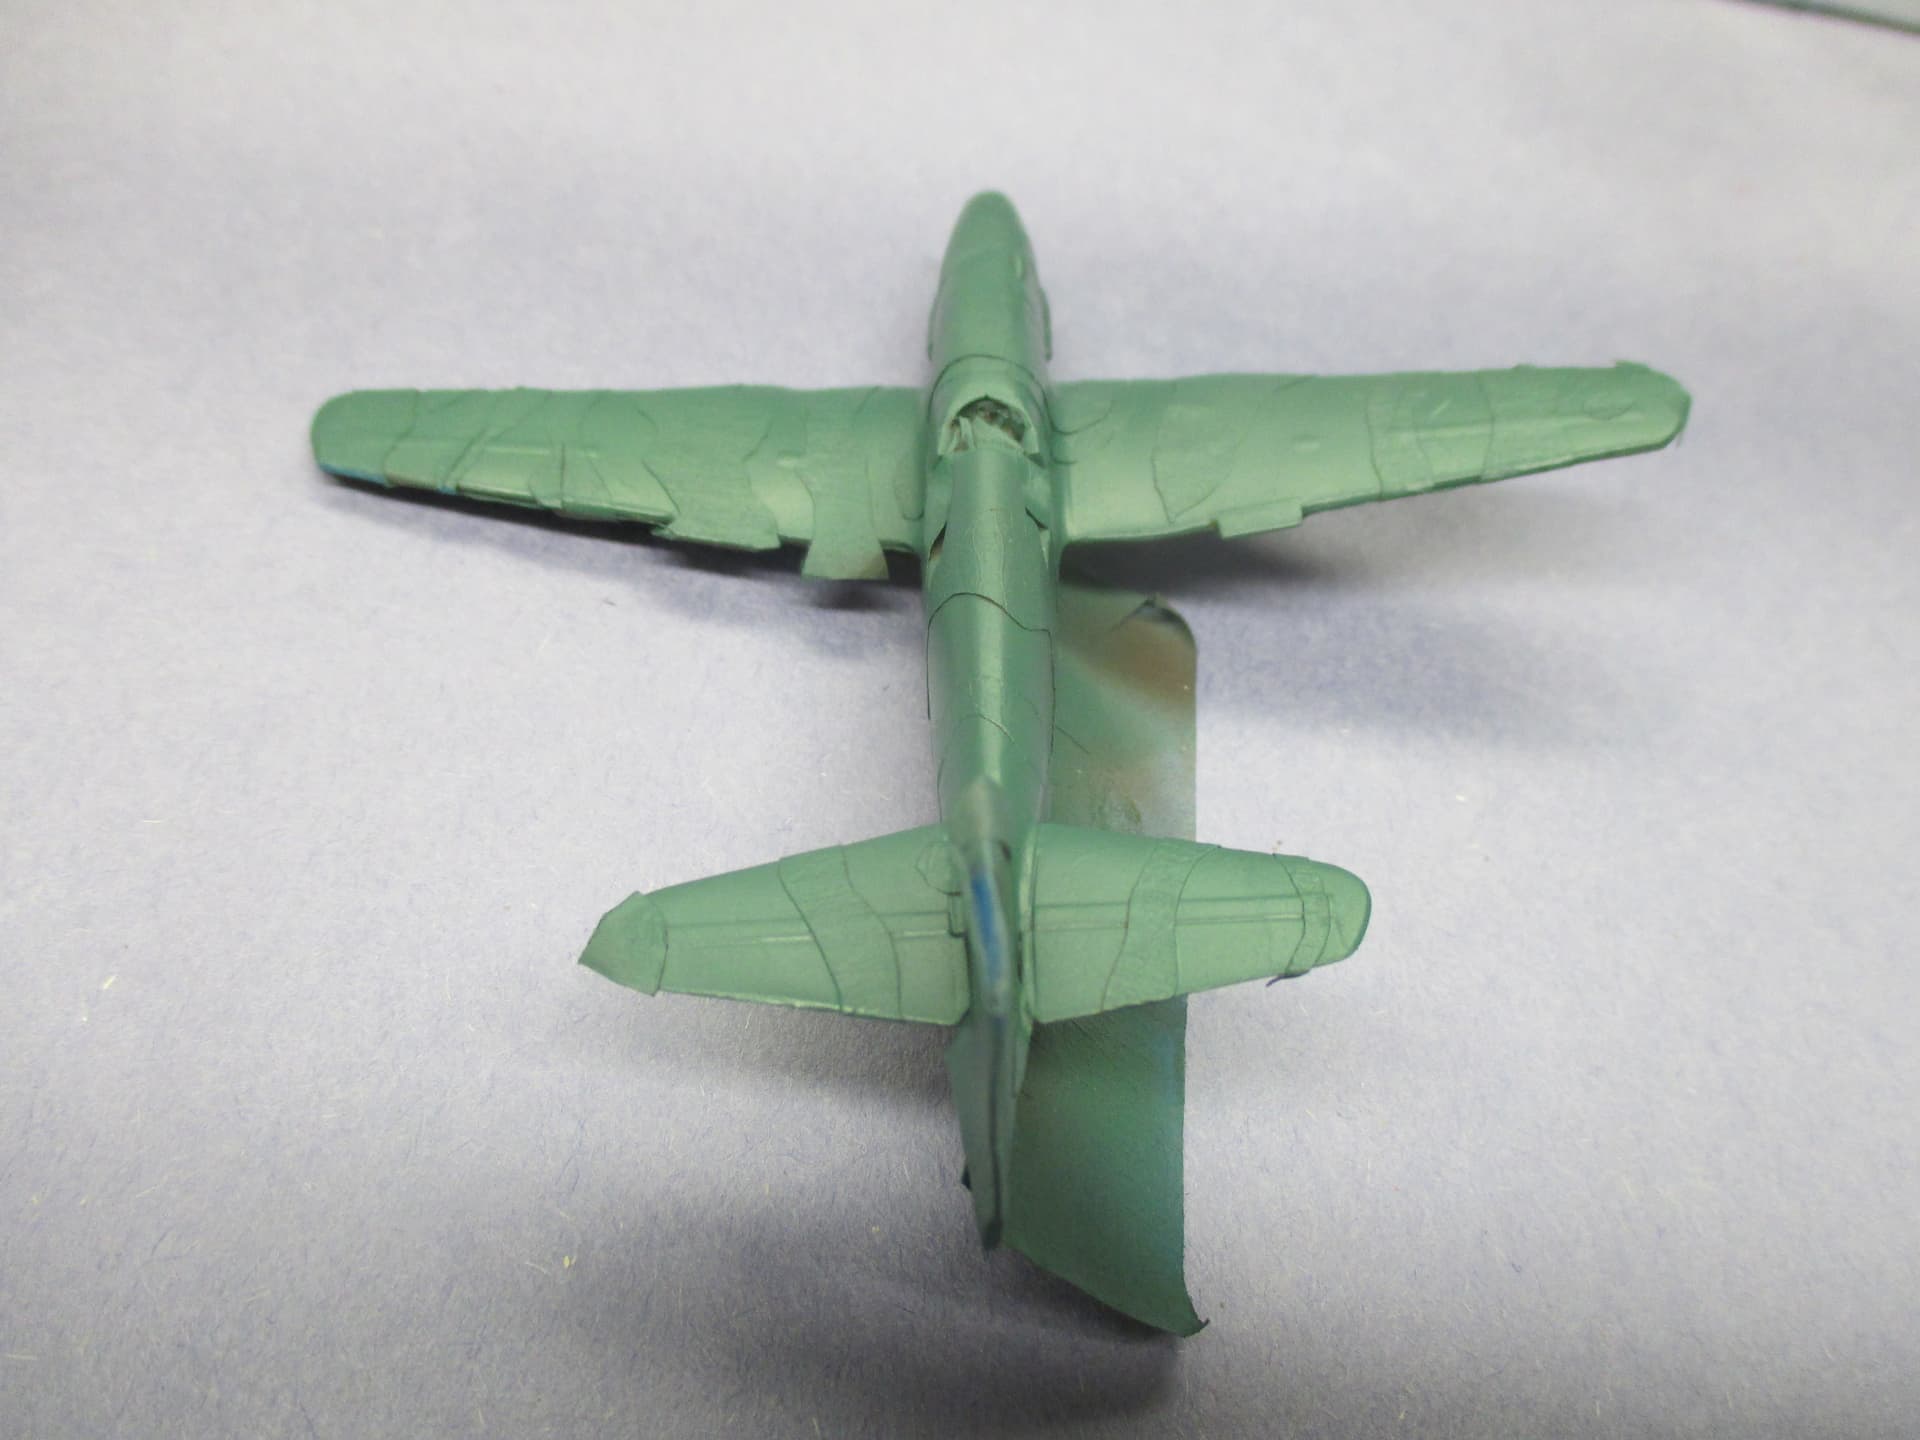
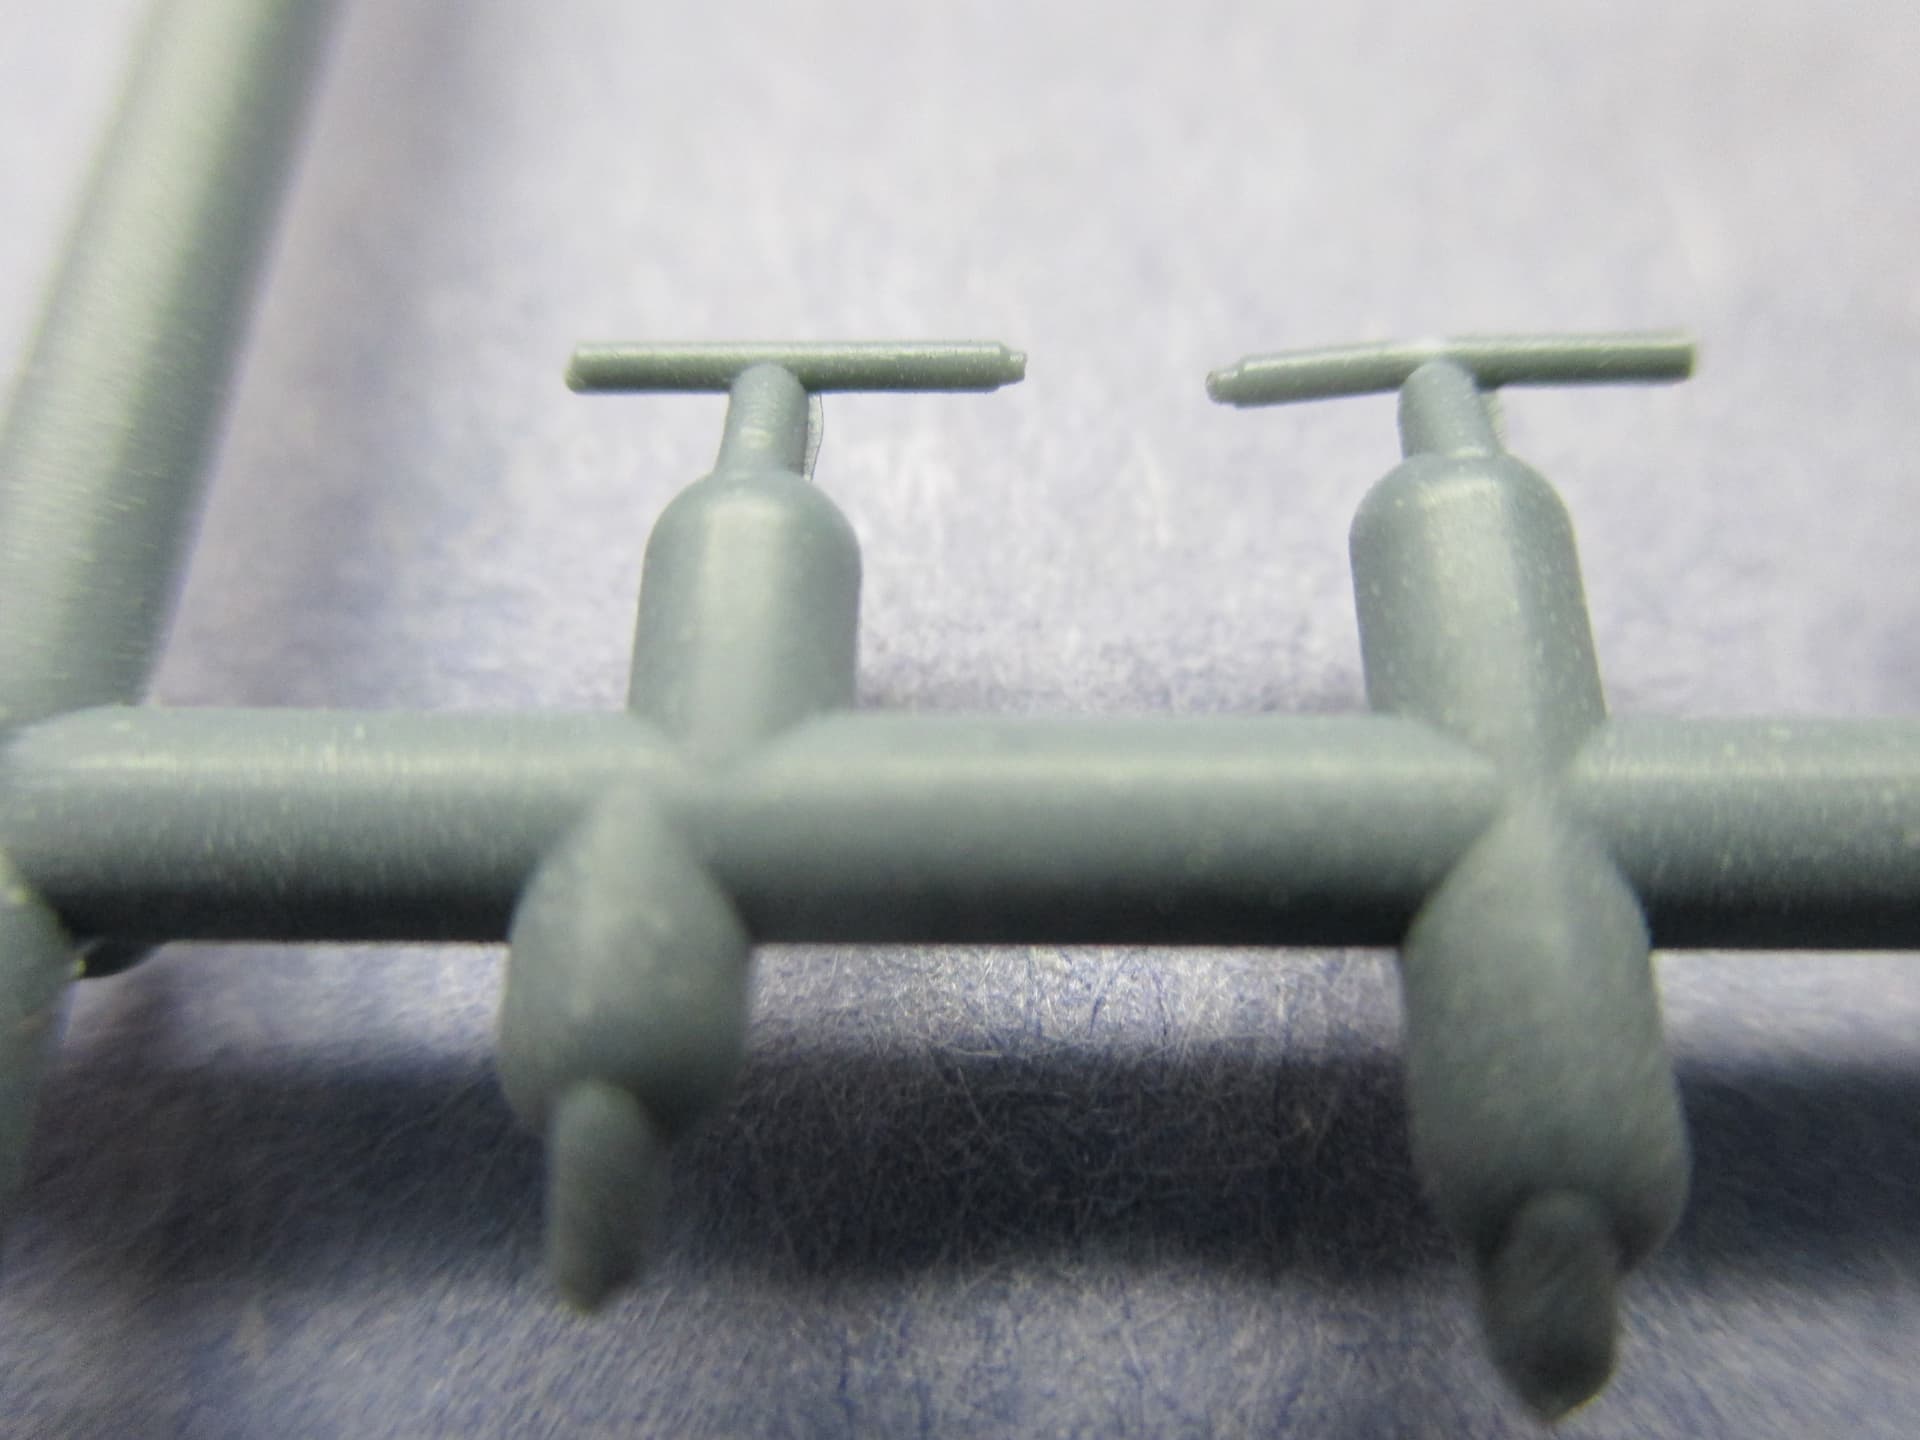
The kit itself is typical Heller brittle plastic, and fairly straightforward so far. It has mostly recessed panel lines and good exterior detail, but is rather spartan on the interior details. Unusually, aside from assembling the ejection seat, everything else in the first 10 steps is assembling ordnance, landing gear, and some other external nose areas.
I won’t be using the Douglas “Buddy Refueling Store”, but I will have it carrying the drop tanks and rocket pods. I need to add a harness to the seat, as I can’t stand a bare seat. But I’m not diving too deep into this project.
I’ve had lots of distractions this Fall. I have three builds to get done by year-end. I hope I can make it on all. If I were wise, I would bail on one and focus on the other two…
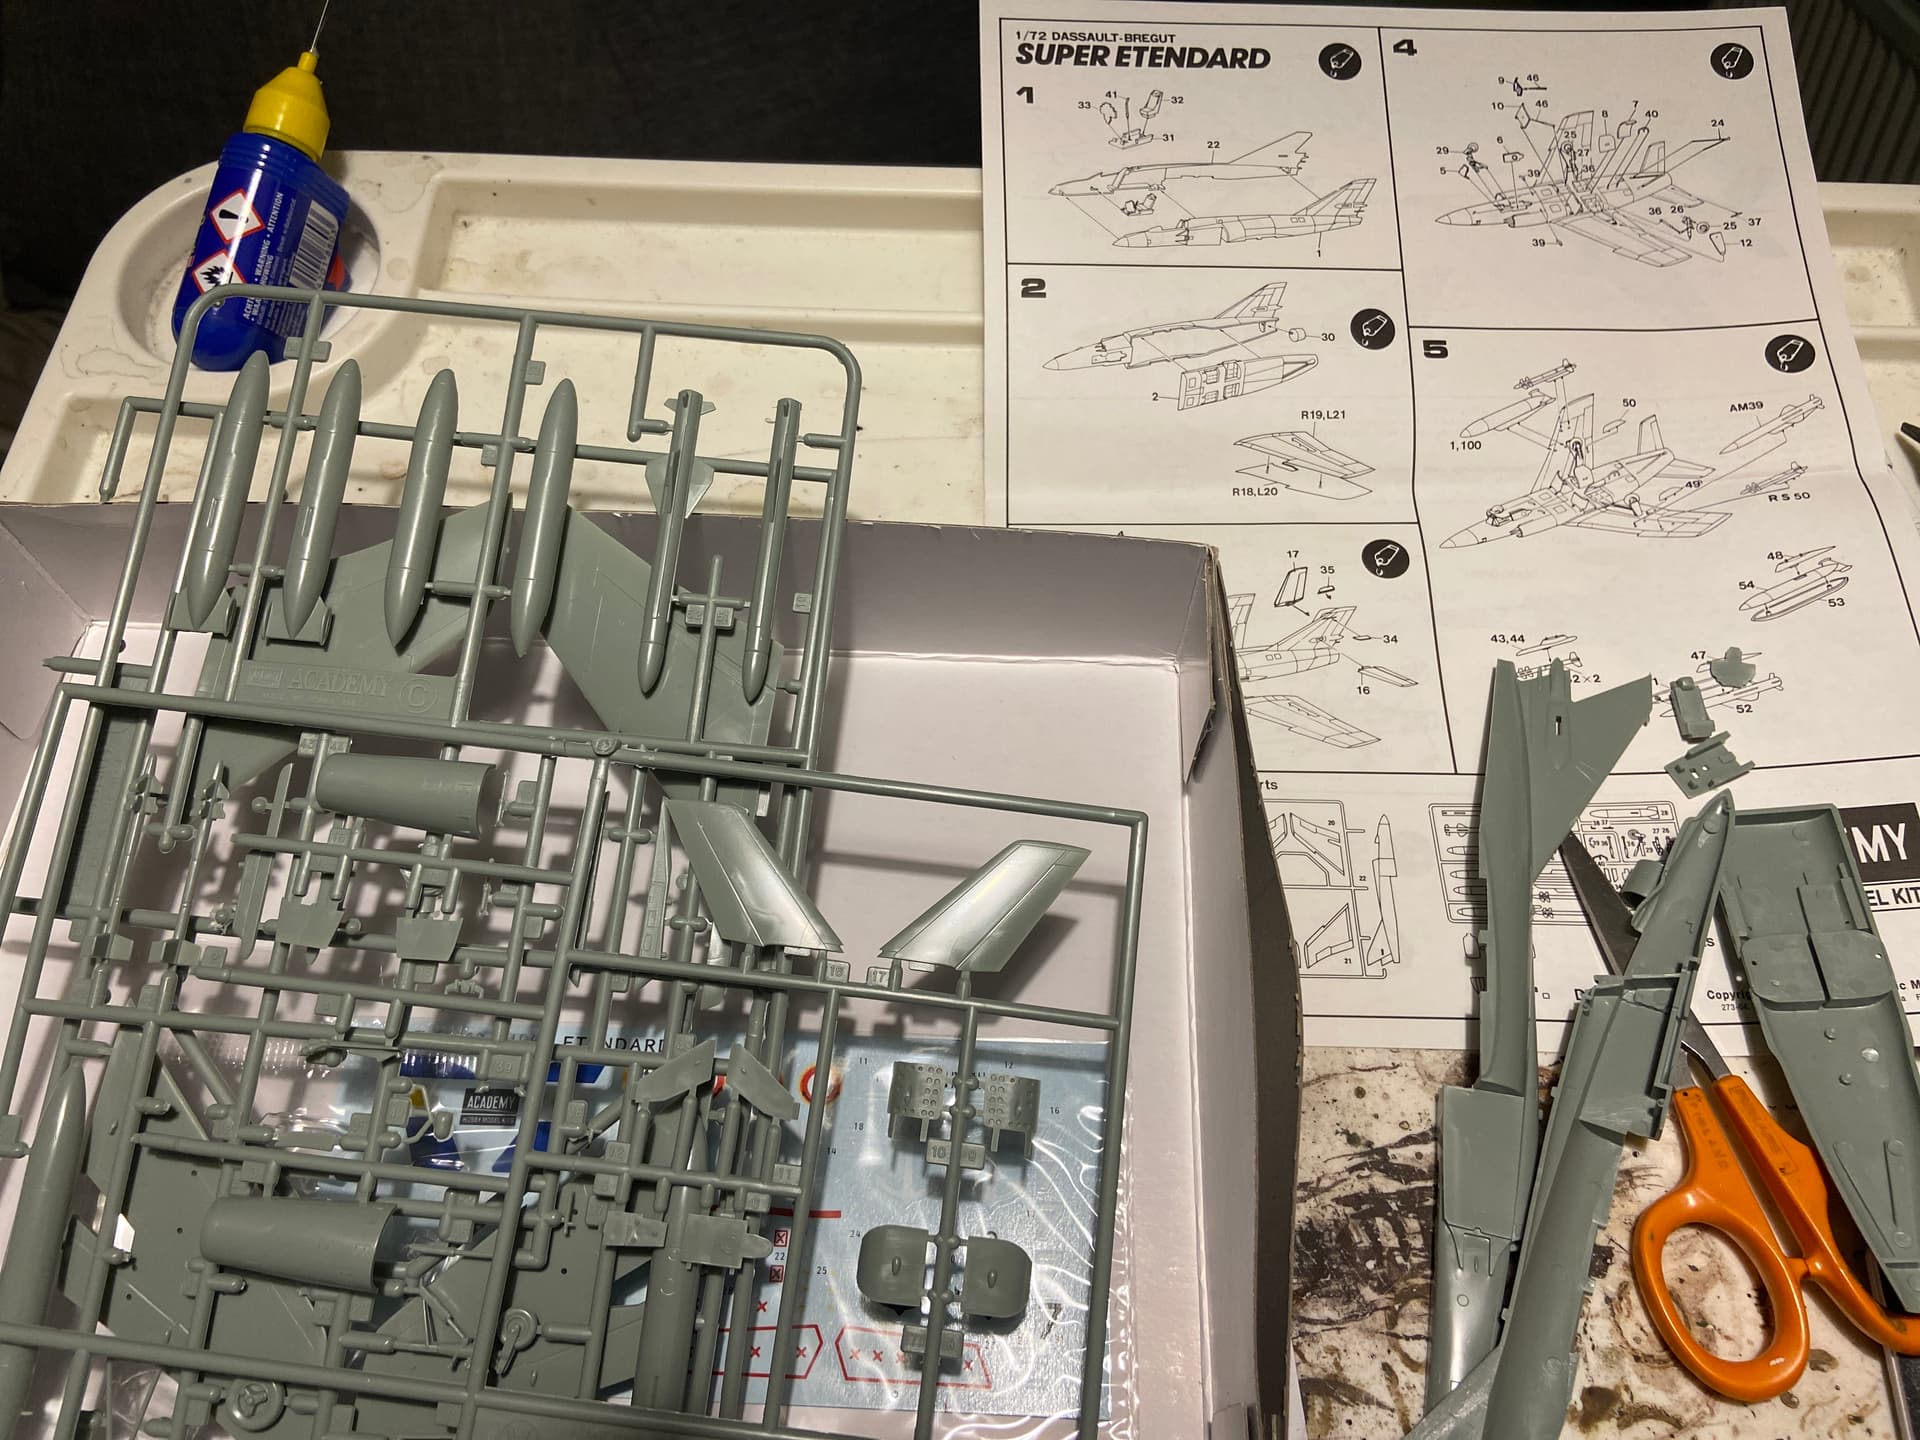
Anyway, back to the Super Etendard. I added all the photo-etch cockpit stuff from Eduard today. This set seems way better than previous Eduard cockpit sets I’ve used - it was a lot easier to bend, a lot easier to cut, and seemed to fit precisely. I’m very pleased. I have one more seatbelt piece to add and a piece of clear plastic on the top bit and then it will be time to put the fuselage together.