It is looking great. I really like the finish and weathering. Nice job.
I recommend leaving it off then, for a couple reasons as well. One, the ammo box is pretty heavy and tying it off to the small fittings up front would not be a good idea. Two, in that position, it totally blocks the view from the driver’s vison block and leaves him totally blind to the right.
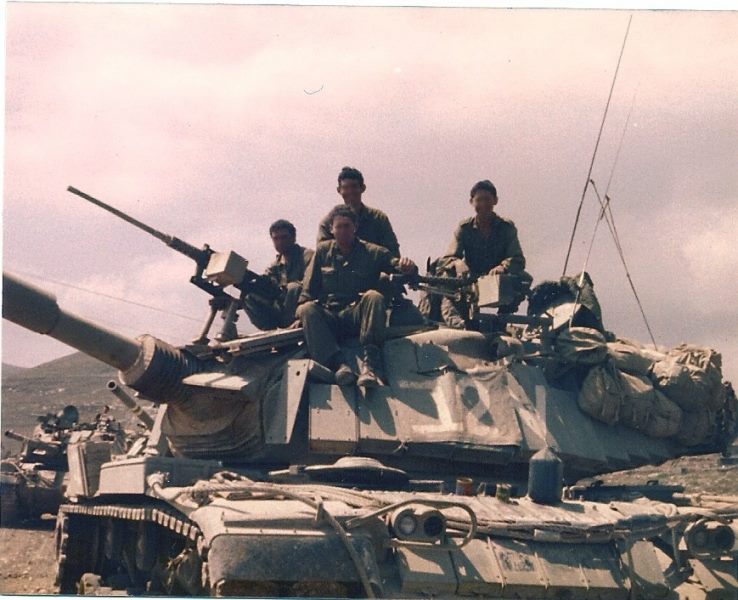
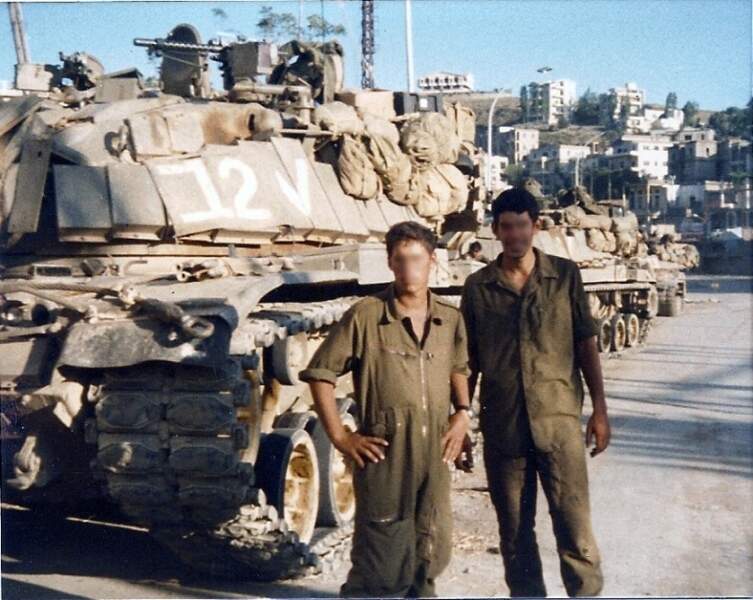
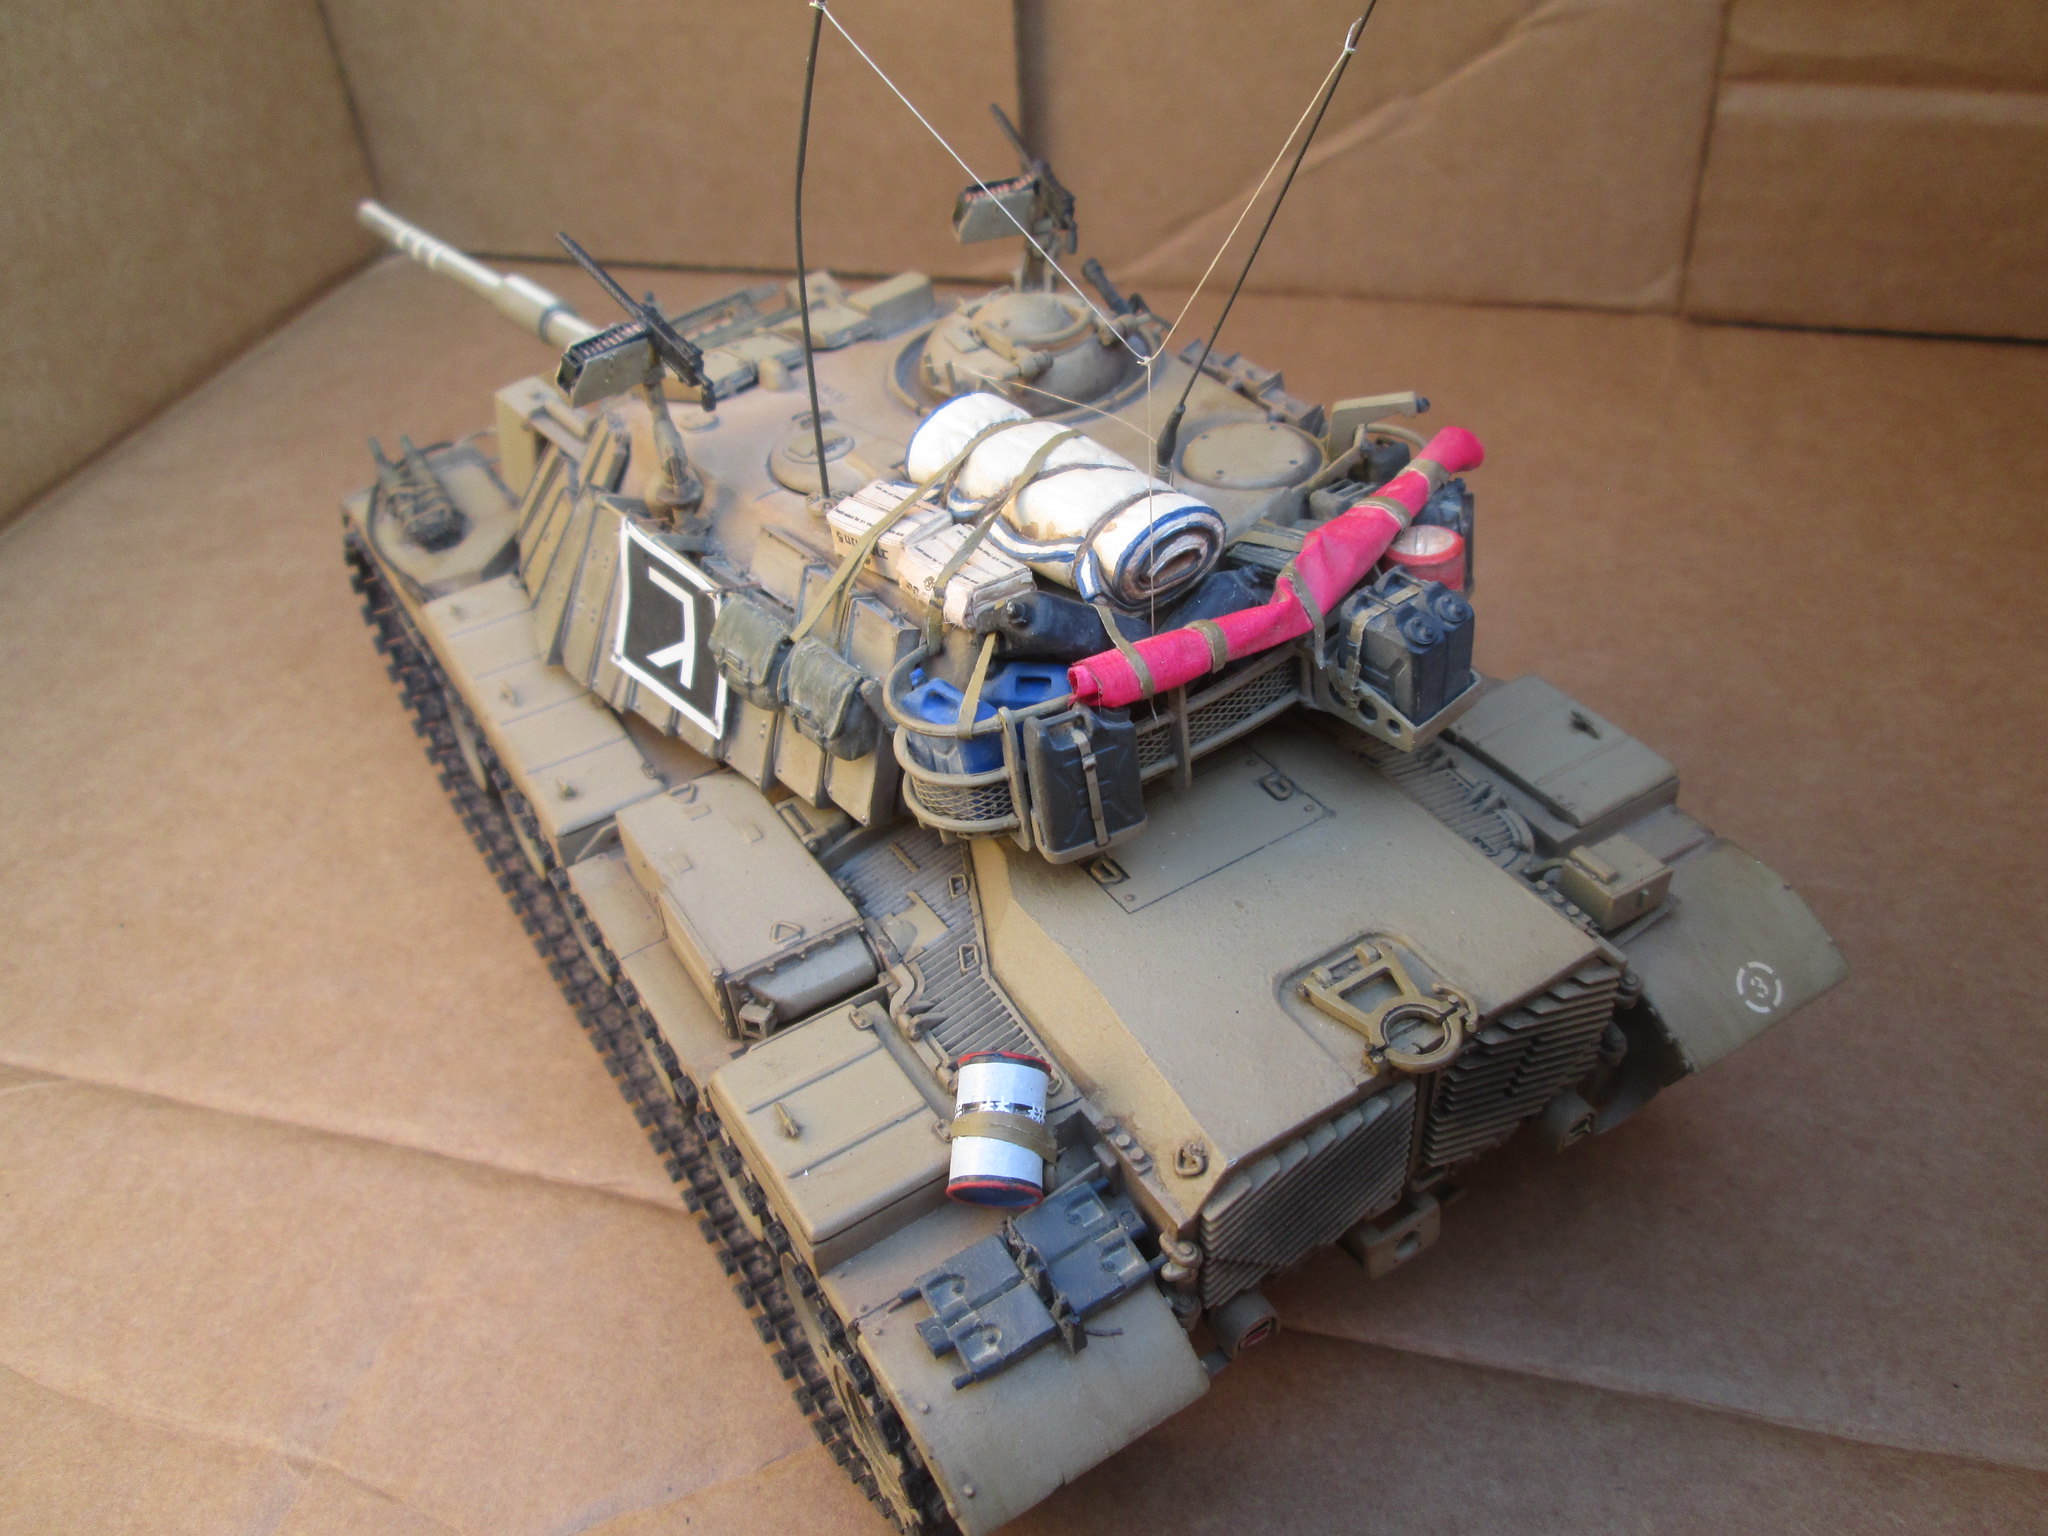
I think it looks great. I like the way you have the small back packs attached to the grab irons on the side. Also, how did you finish the .30 cal machine gun? Looks great. And it looks like the crew of one tank attached an ammo box to the right fender.
Good point Gino, but then it’s in some pics too, surely not left there if any action is anticipated.
Nikos, great pics. I have some of those, and the one specifically that shows the ammo crates next to the filter housings are the best shot of how they were secured there I’ve seen. I may man up and try it. If it doesn’t work, that’s okay too.
Re the 30 cals: They got a quick shot of the base coat “tan”, then Vallejo acrylic gray/black, a wash with black Tamiya panel line accent and finished with a very light drybrushed Vallejo natural steel acrylic. A very light application of the same dry pastel powder was applied to the pintels and ammo box holders. Quick and easy.
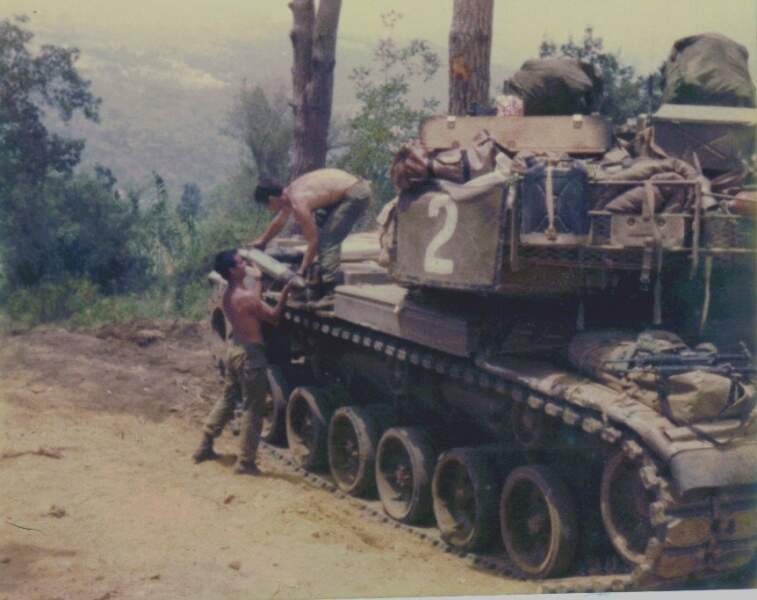
Then regarding the ammo boxes: I’ve been informed they were used for storage of soft items, or filled with sand when outboard of the filter housings as additional armor, which does explain how they could be secured to areas that wouldn’t support the weight of the box and two shells.
Still pondering.
And thanks for the feedback, it’s very helpful.
I think I’m done. IMG_2496 by Russel Baer, on Flickr IMG_2494 by Russel Baer, on Flickr IMG_2495 by Russel Baer, on Flickr IMG_2498 by Russel Baer, on Flickr
Thanks to all who looked and commented, now on to the next one.
BTW, I’m actually trying to put a photo box together, these last pics were taken in the “in-progress” assembly.
Well, thanks all.
Ken, I used cheap, thin masking tape, bought at the Dollar General, stuck it to one of the cheap plastice cutting boards I use as a work surface sometimes, and painted while stuck down, I use Vallejo acrylic and a wide brush, but I suppose most of y’all would airbrush it. After it’s try, I pull it off, use talc or something similar to reduce the stickiness of the unpainted side and paint it. I’ve even stuck it to the floor a couple of times, anything works. It’s easy to roll and has a bit of texture as well, takes paint perfectly and can be manipulated easily. The straps securing it, and the rest of the stowage, are also painted tape.
Decent pics, taken in my newly constructed super hi-tech double zoot non-professional photo booth (a big cardboard box with blue construction paper inside): IMG_2574 by Russel Baer, on Flickr IMG_2573 by Russel Baer, on Flickr IMG_2571 by Russel Baer, on Flickr IMG_2569 by Russel Baer, on Flickr
Background makes a big difference.


 Good job!