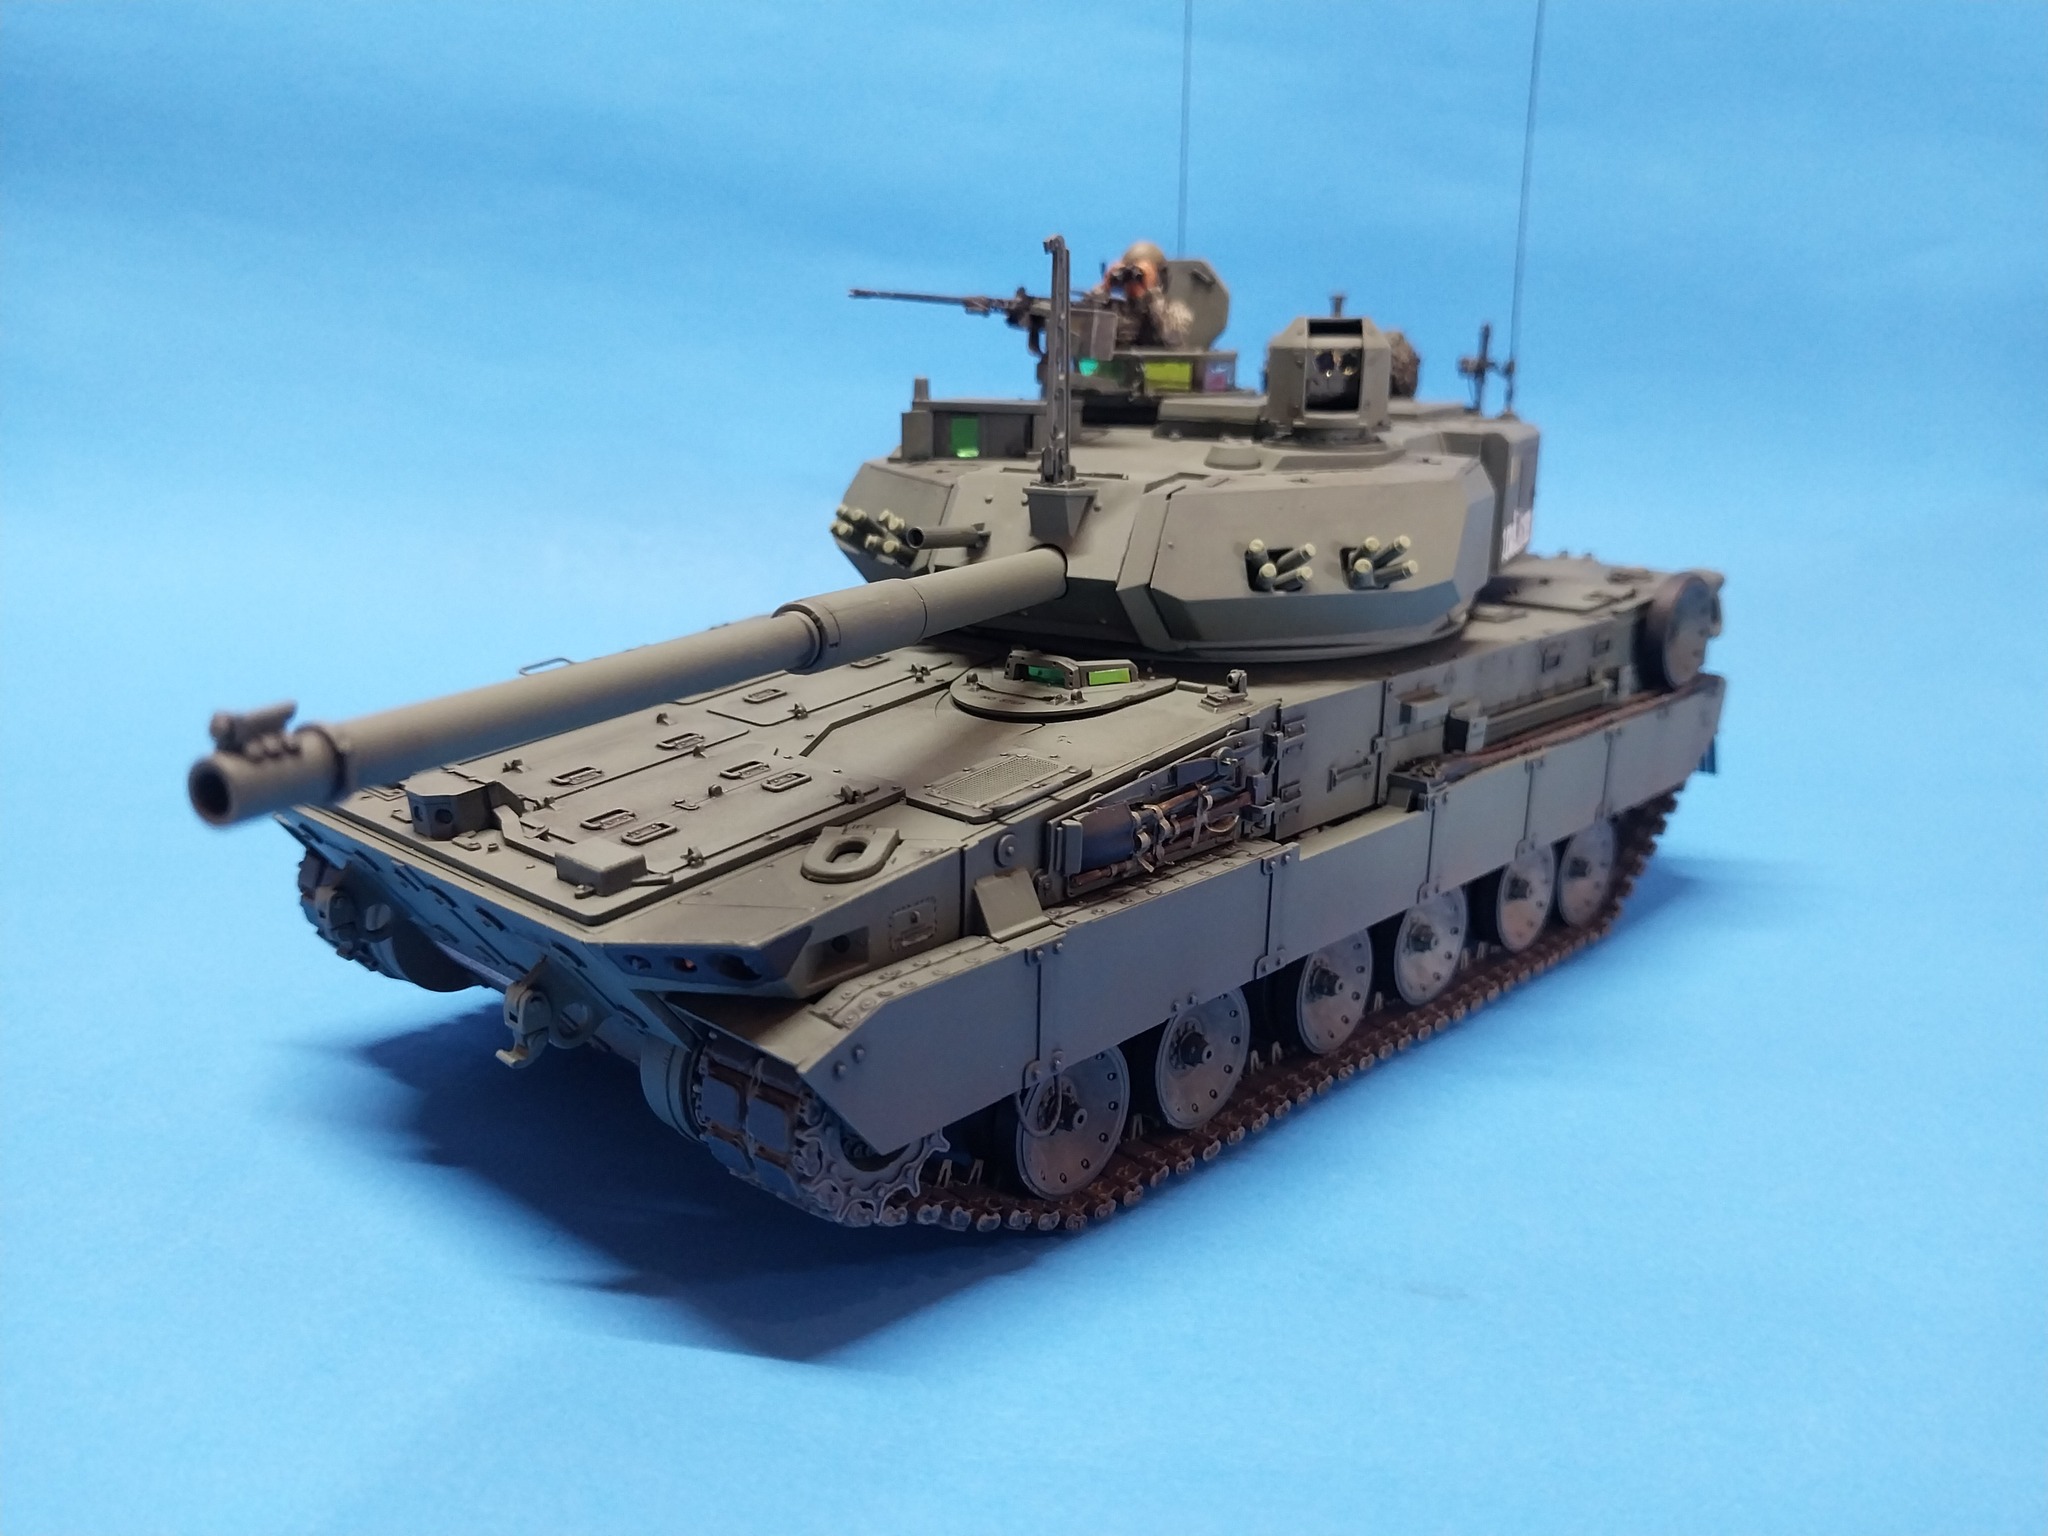
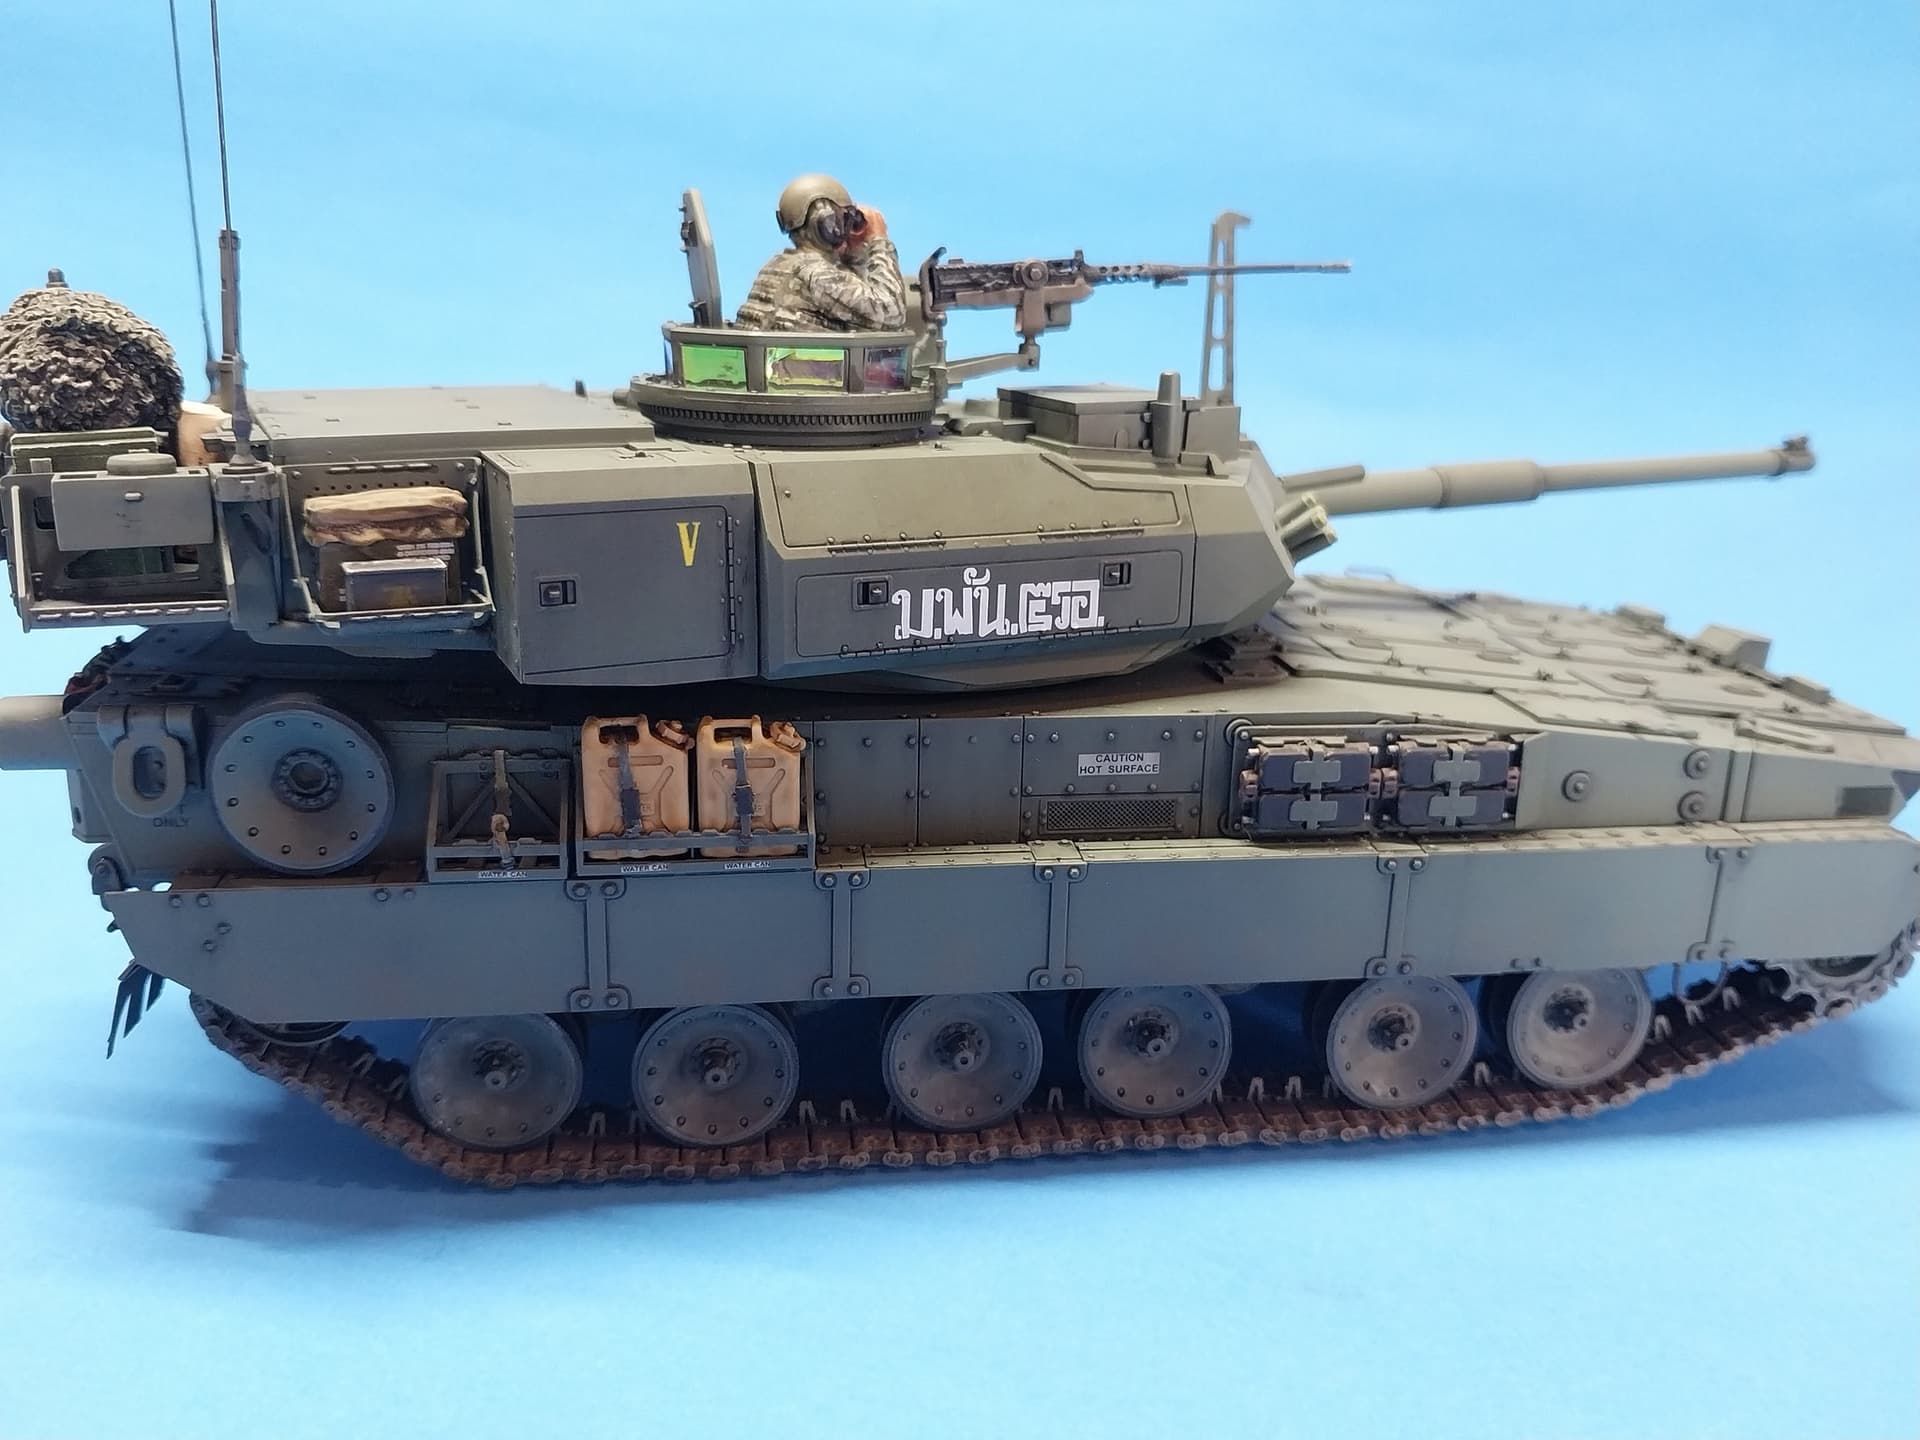
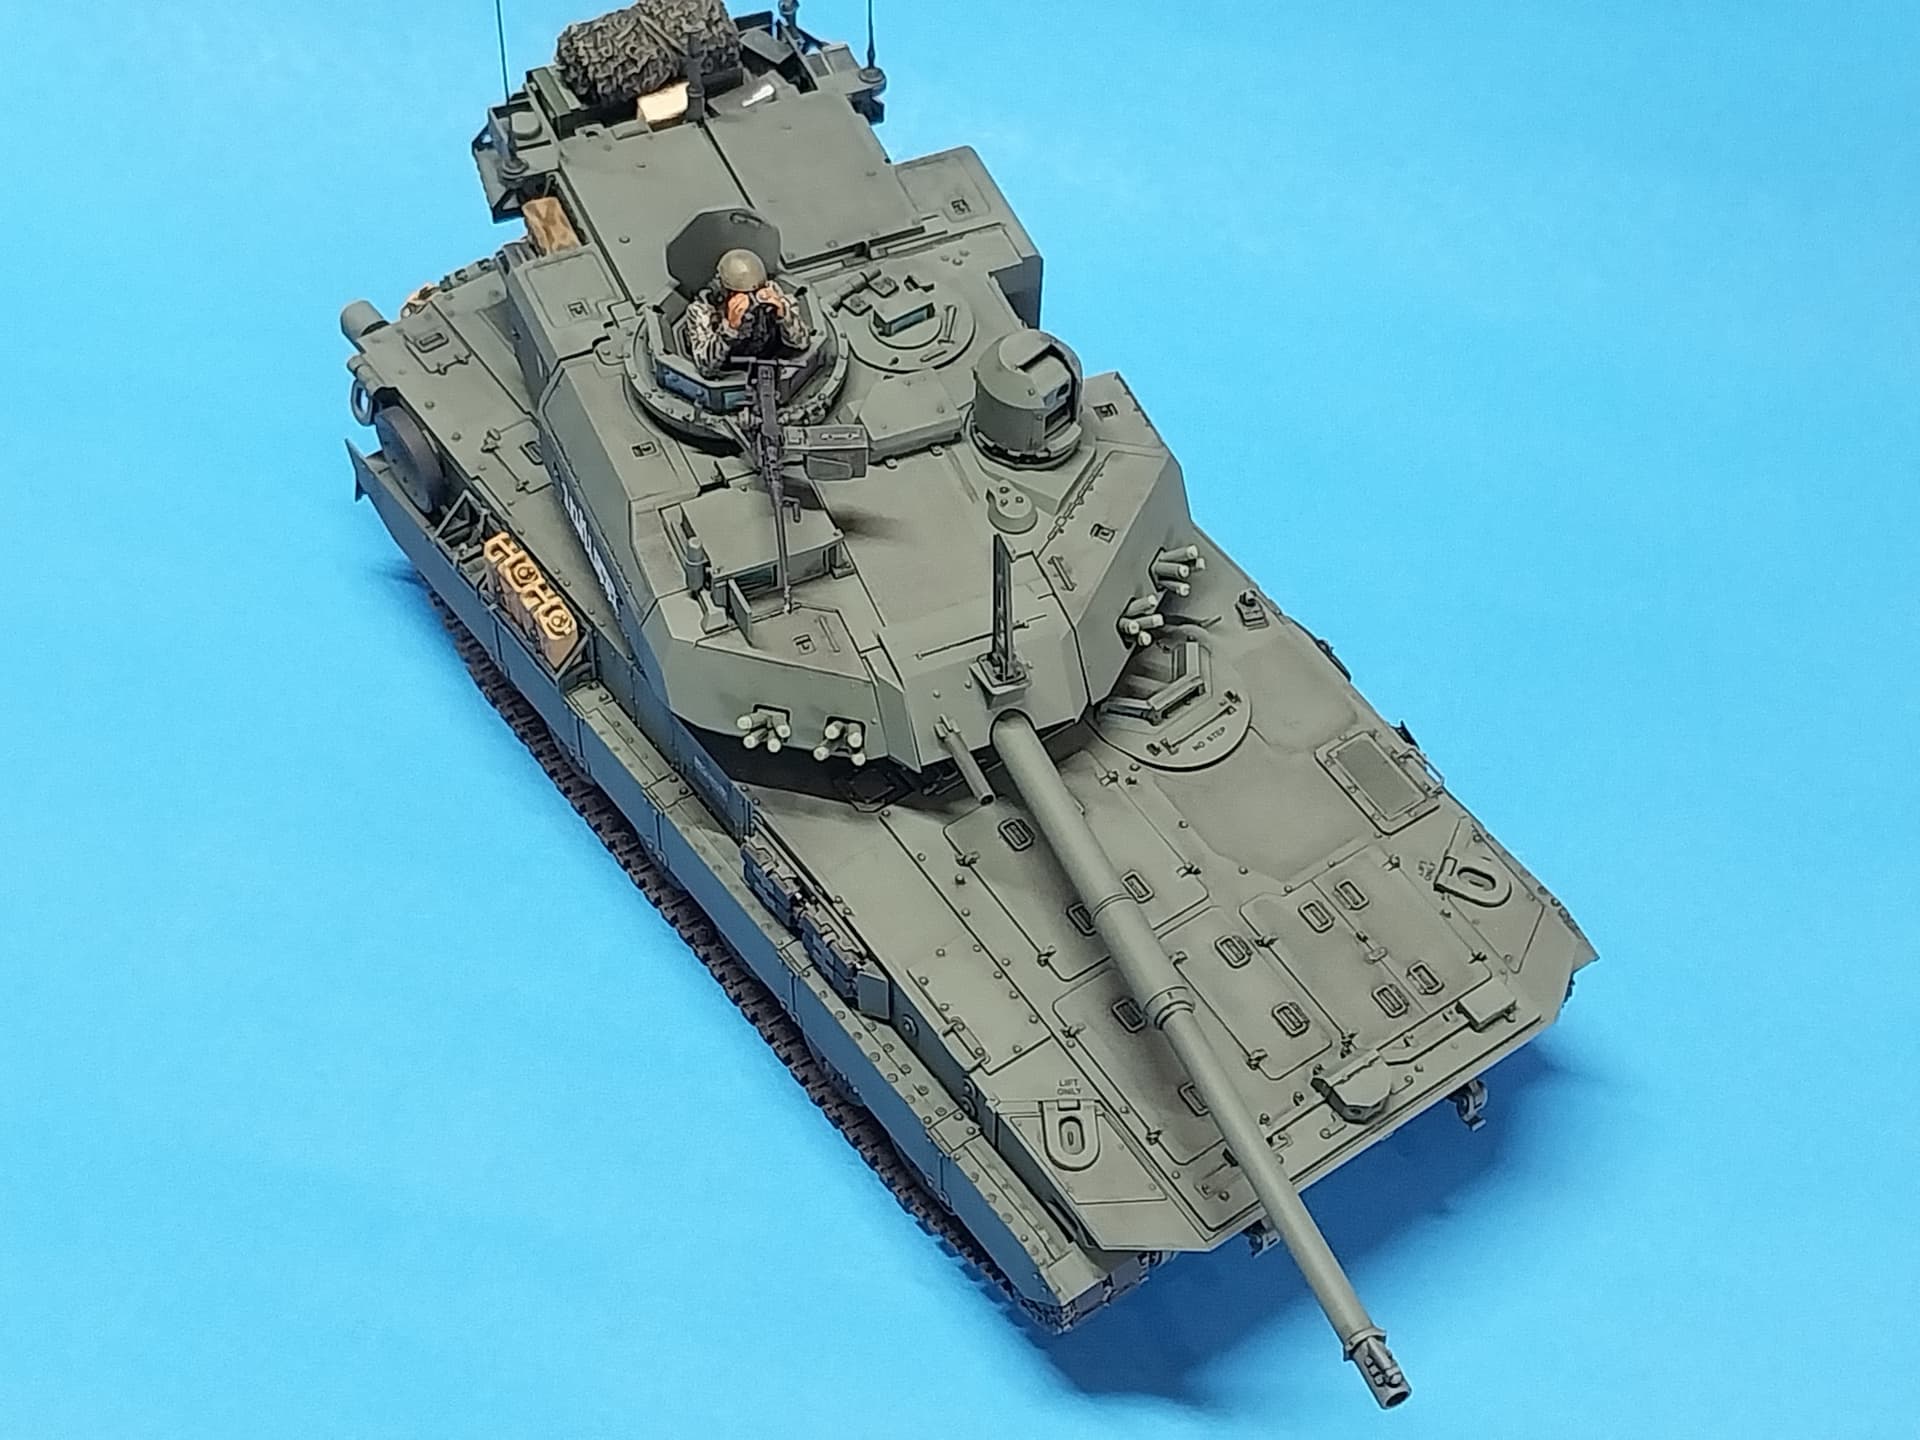
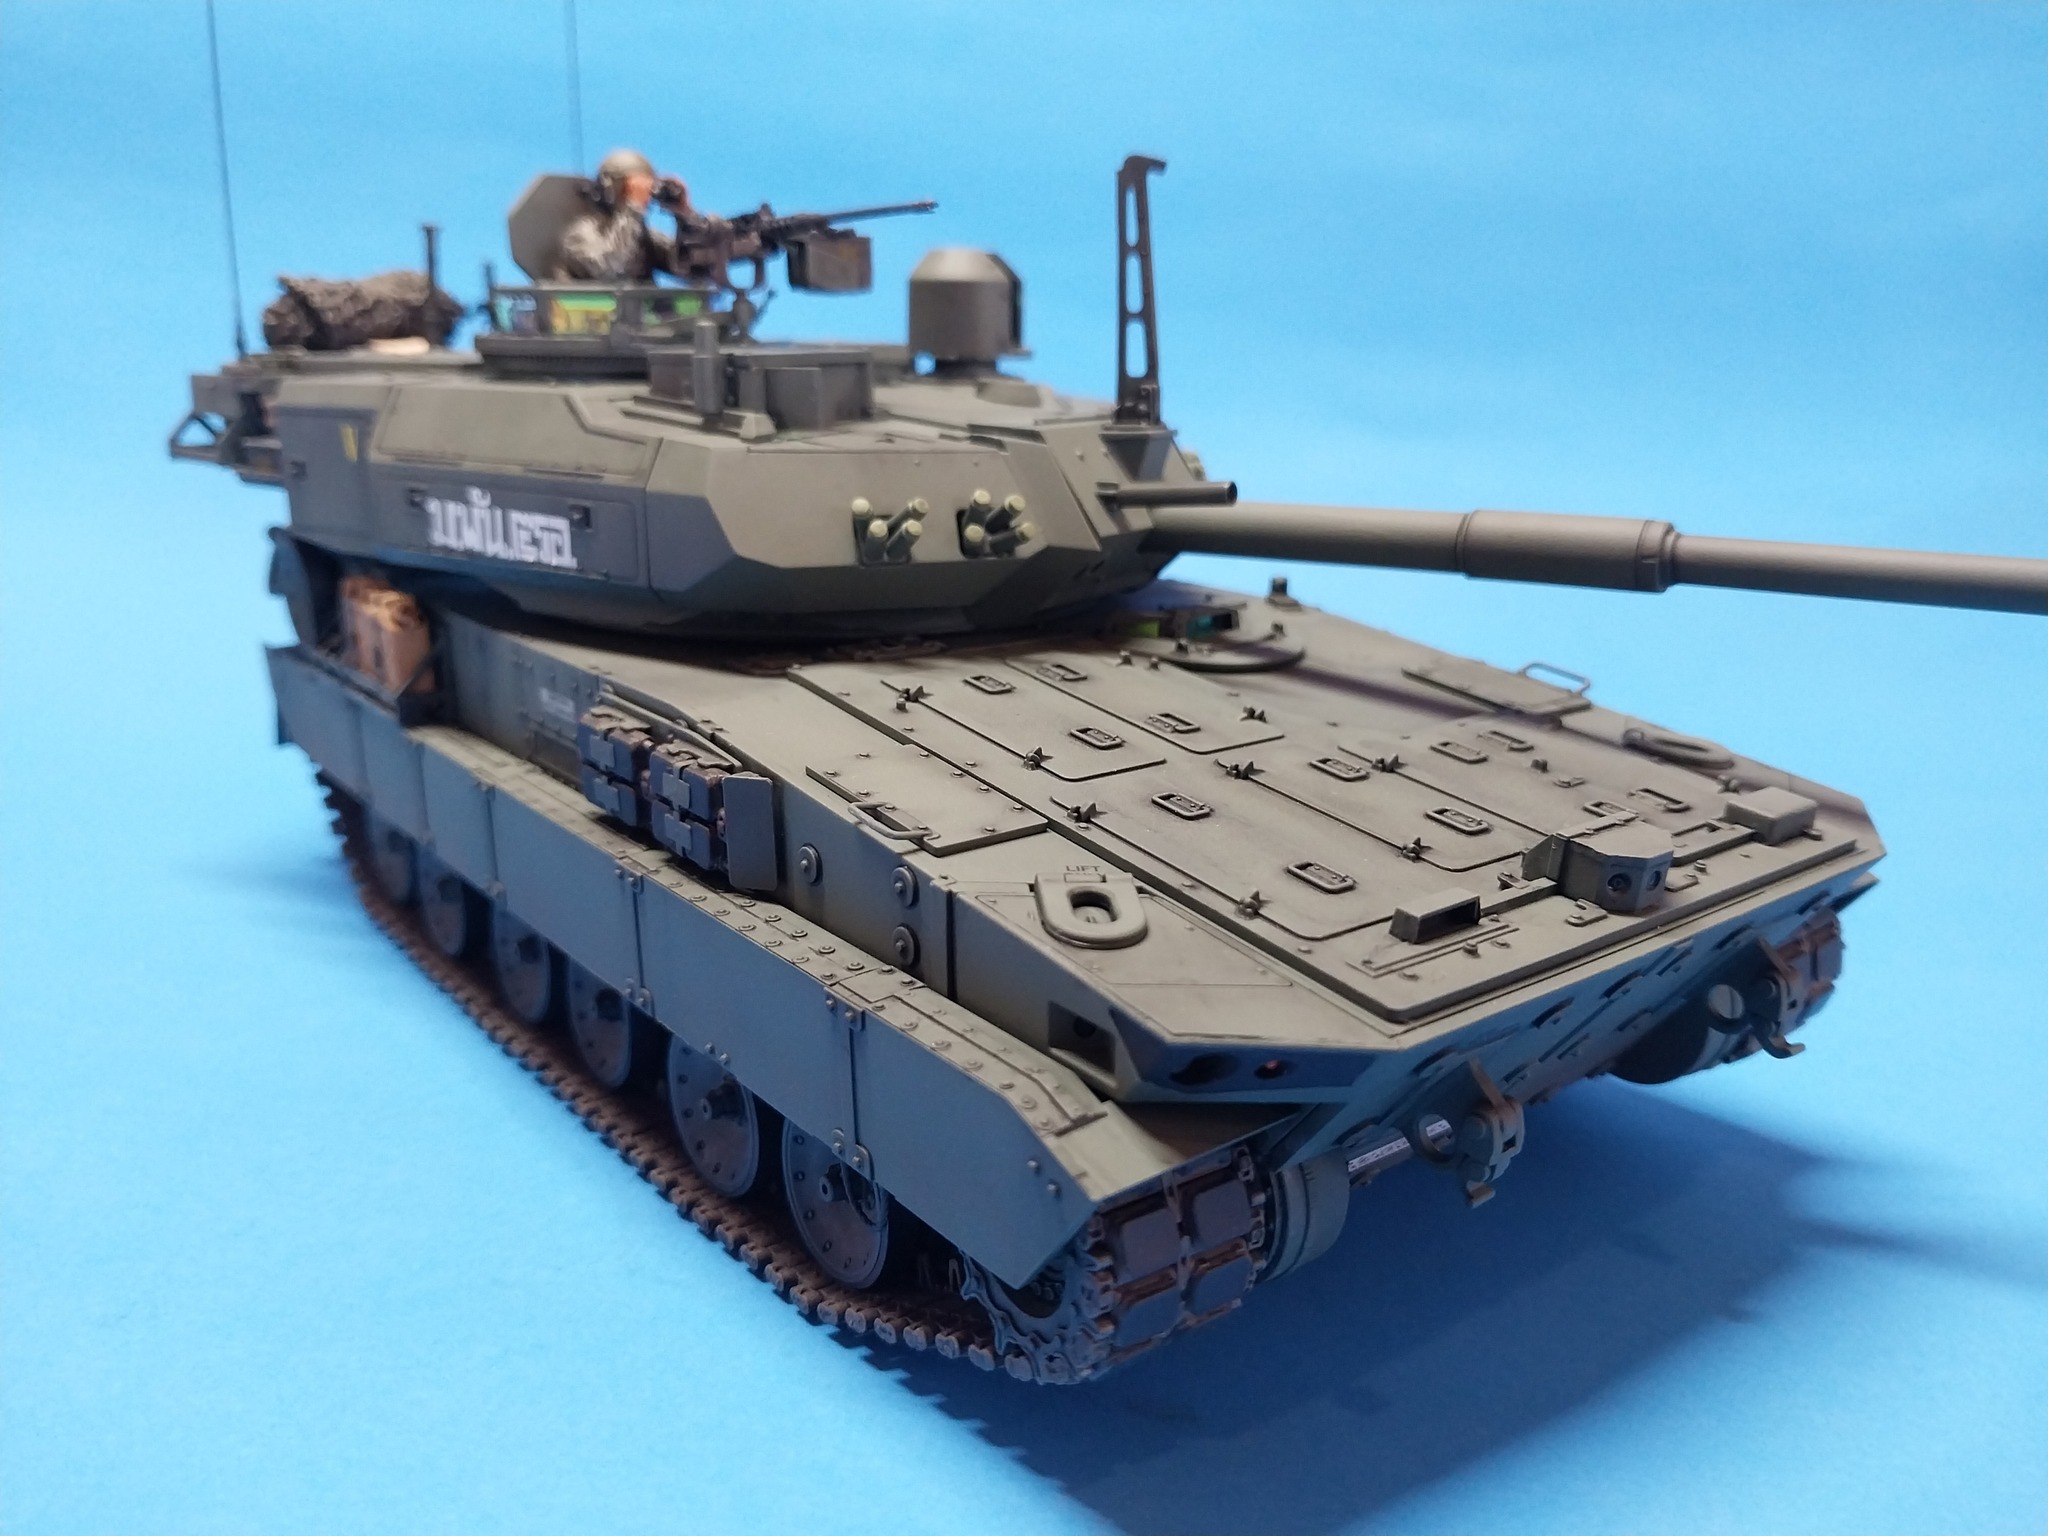
Completed at last; took a little longer than expected - Magic Factory M10 Booker… in Royal Thai Army service. Why RTA? Well the RTA just received some Strykers so why not a canceled Booker…
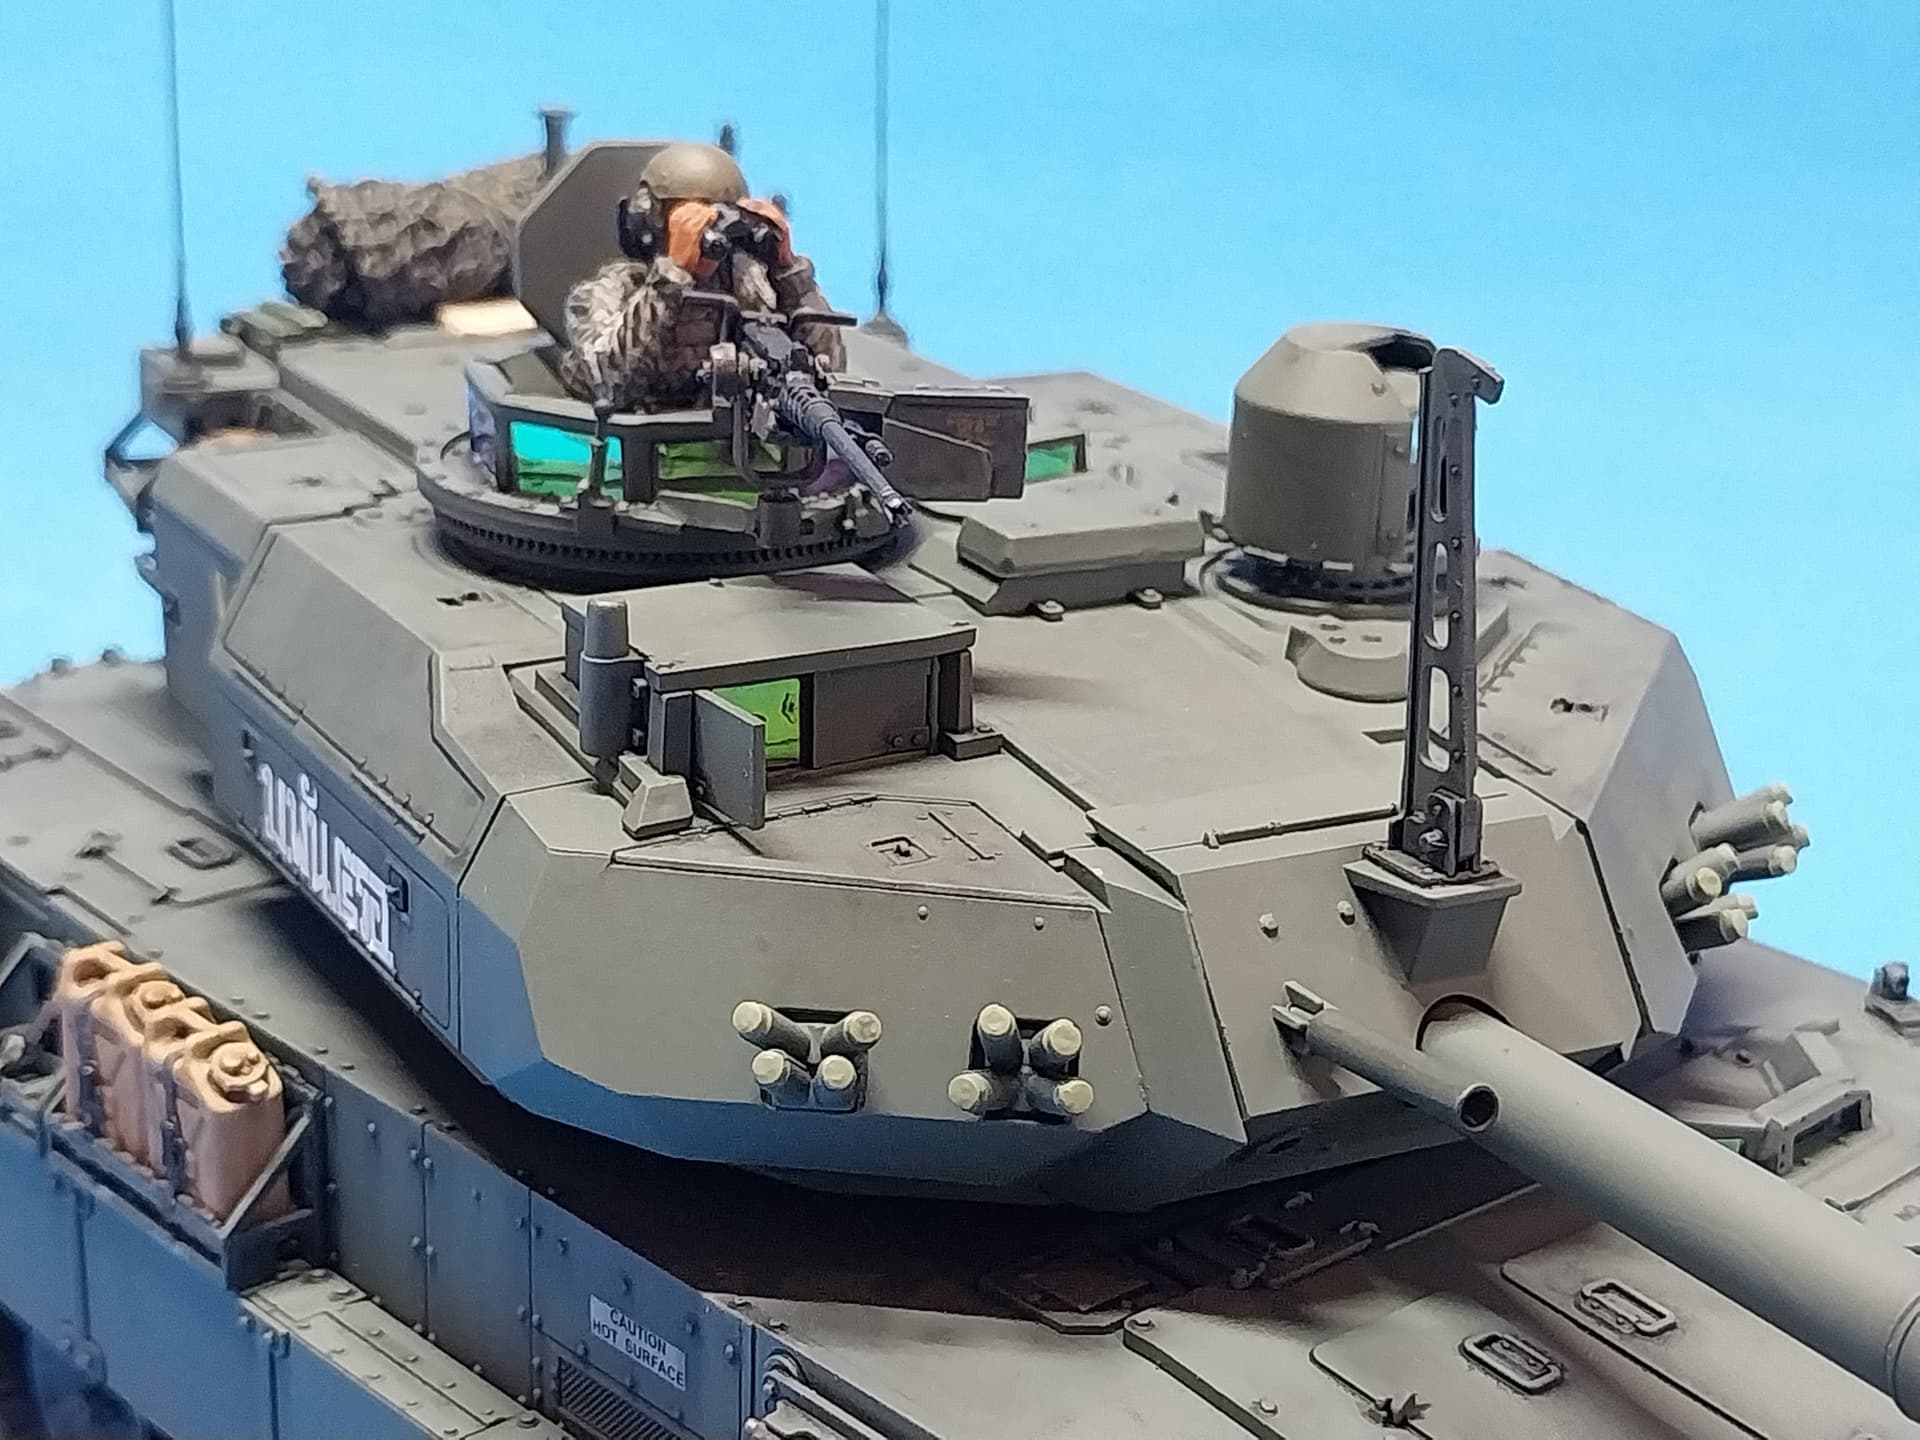
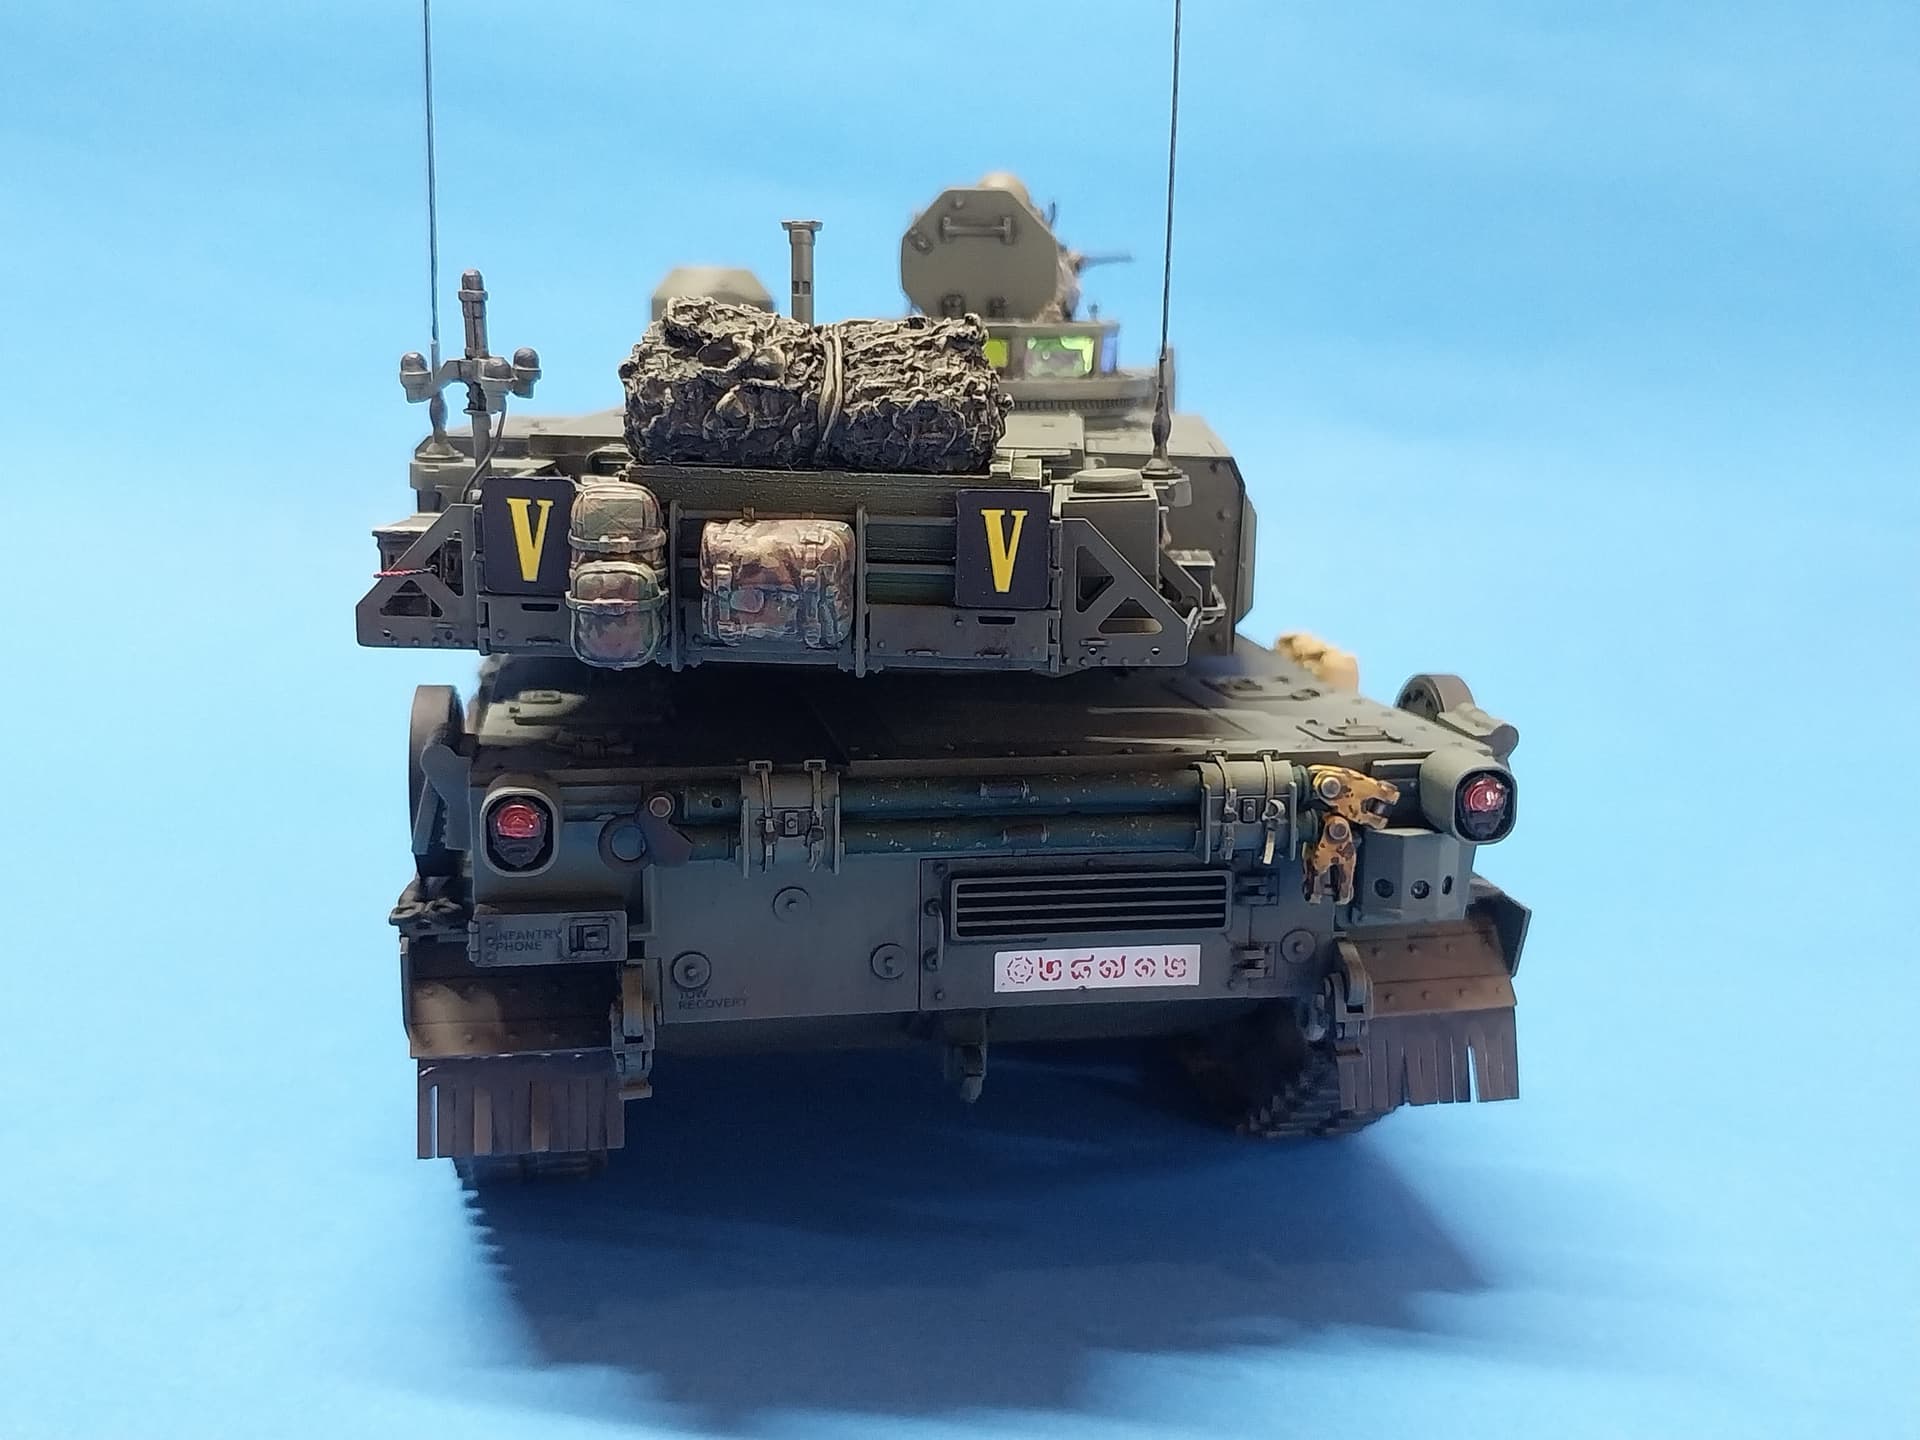
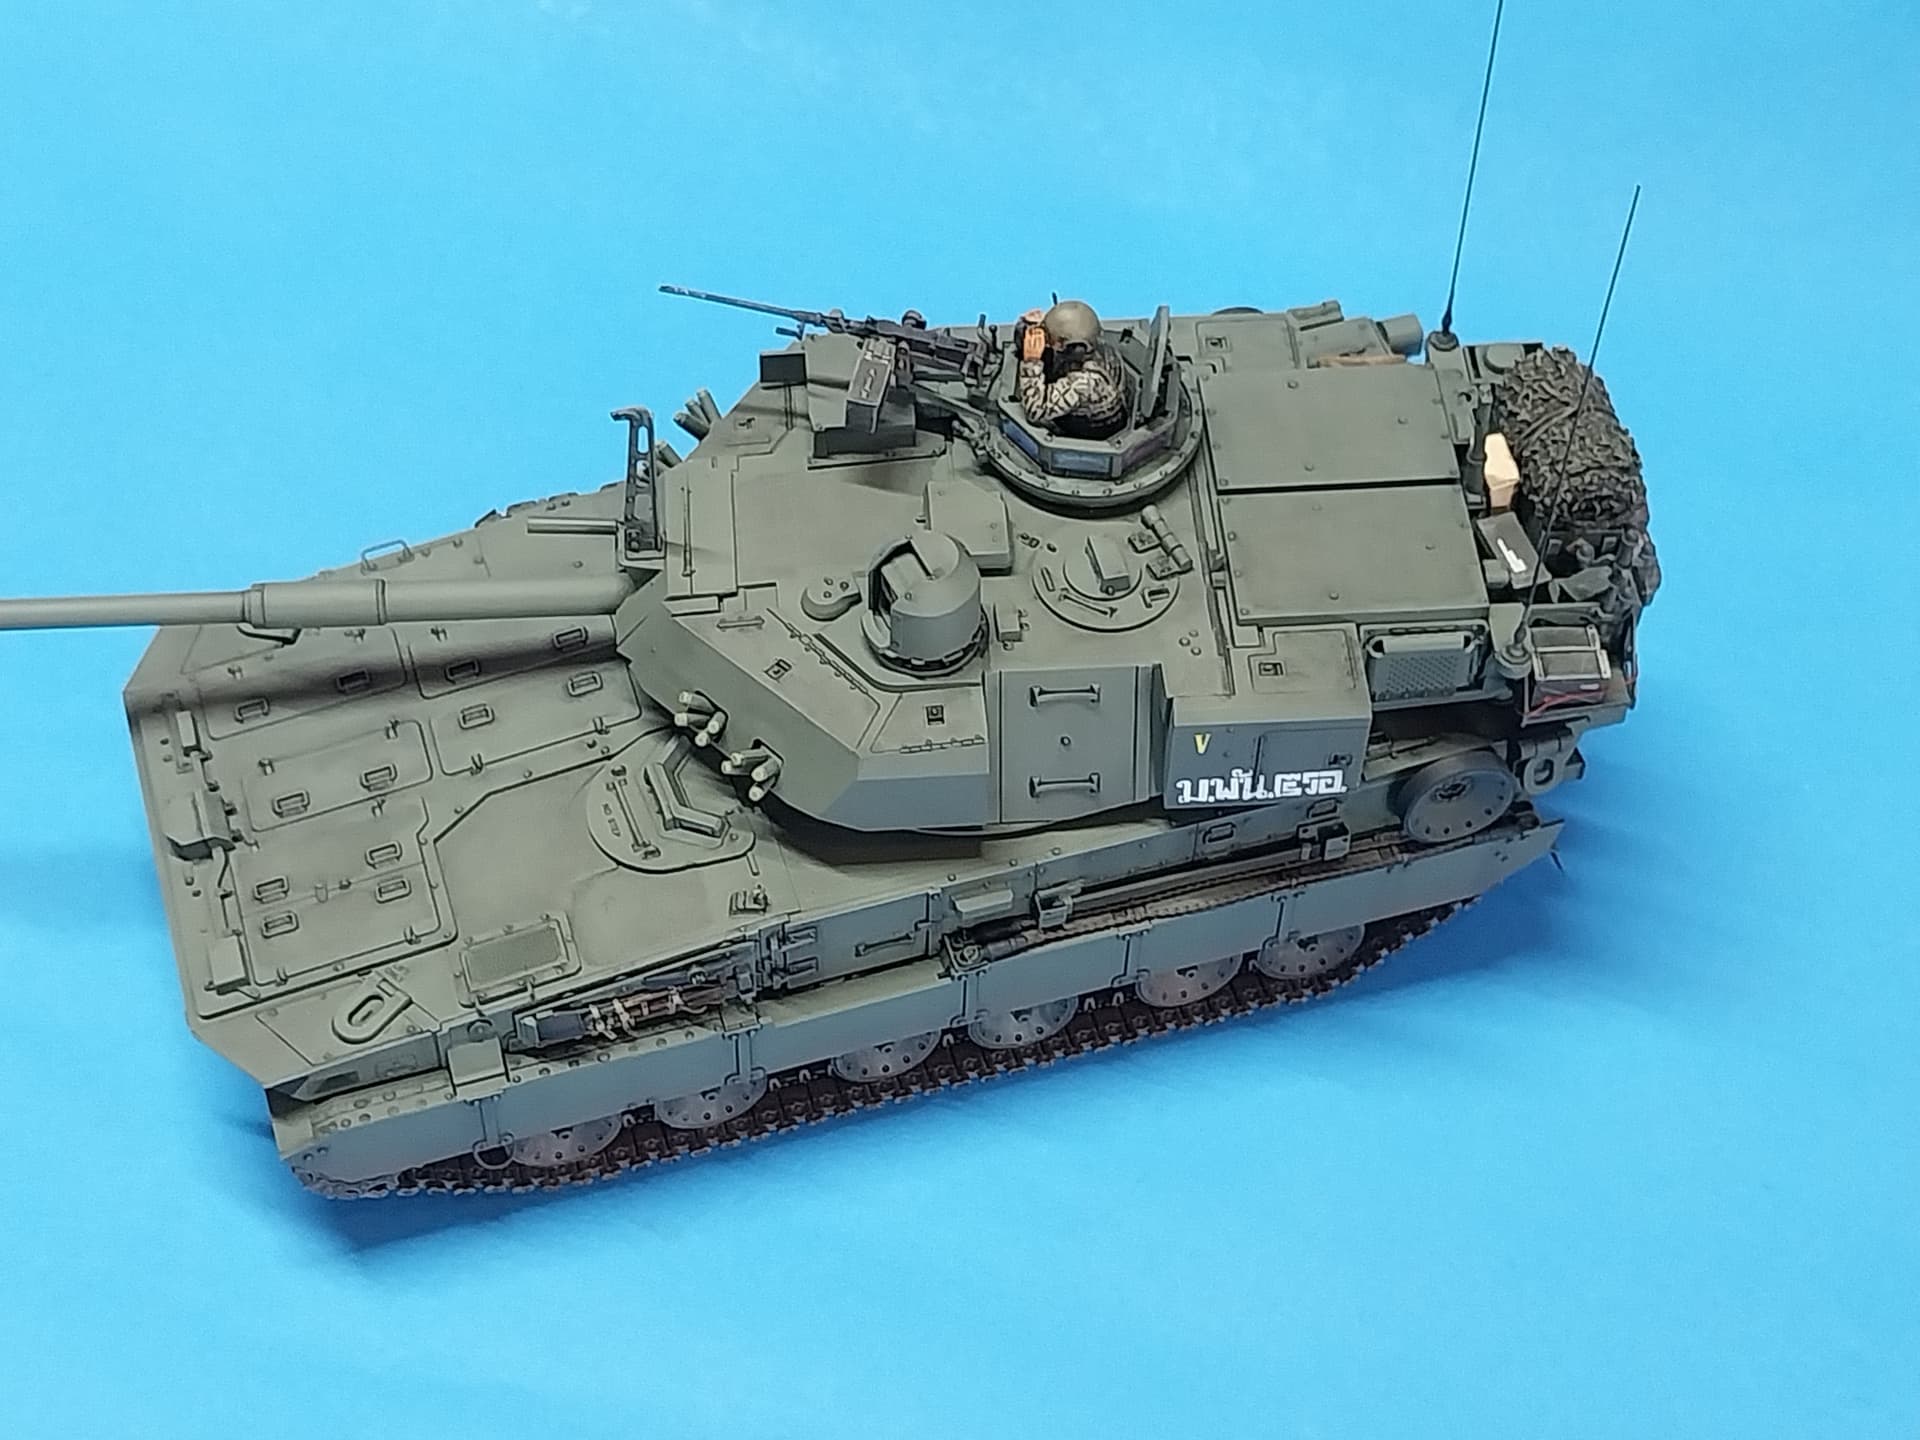
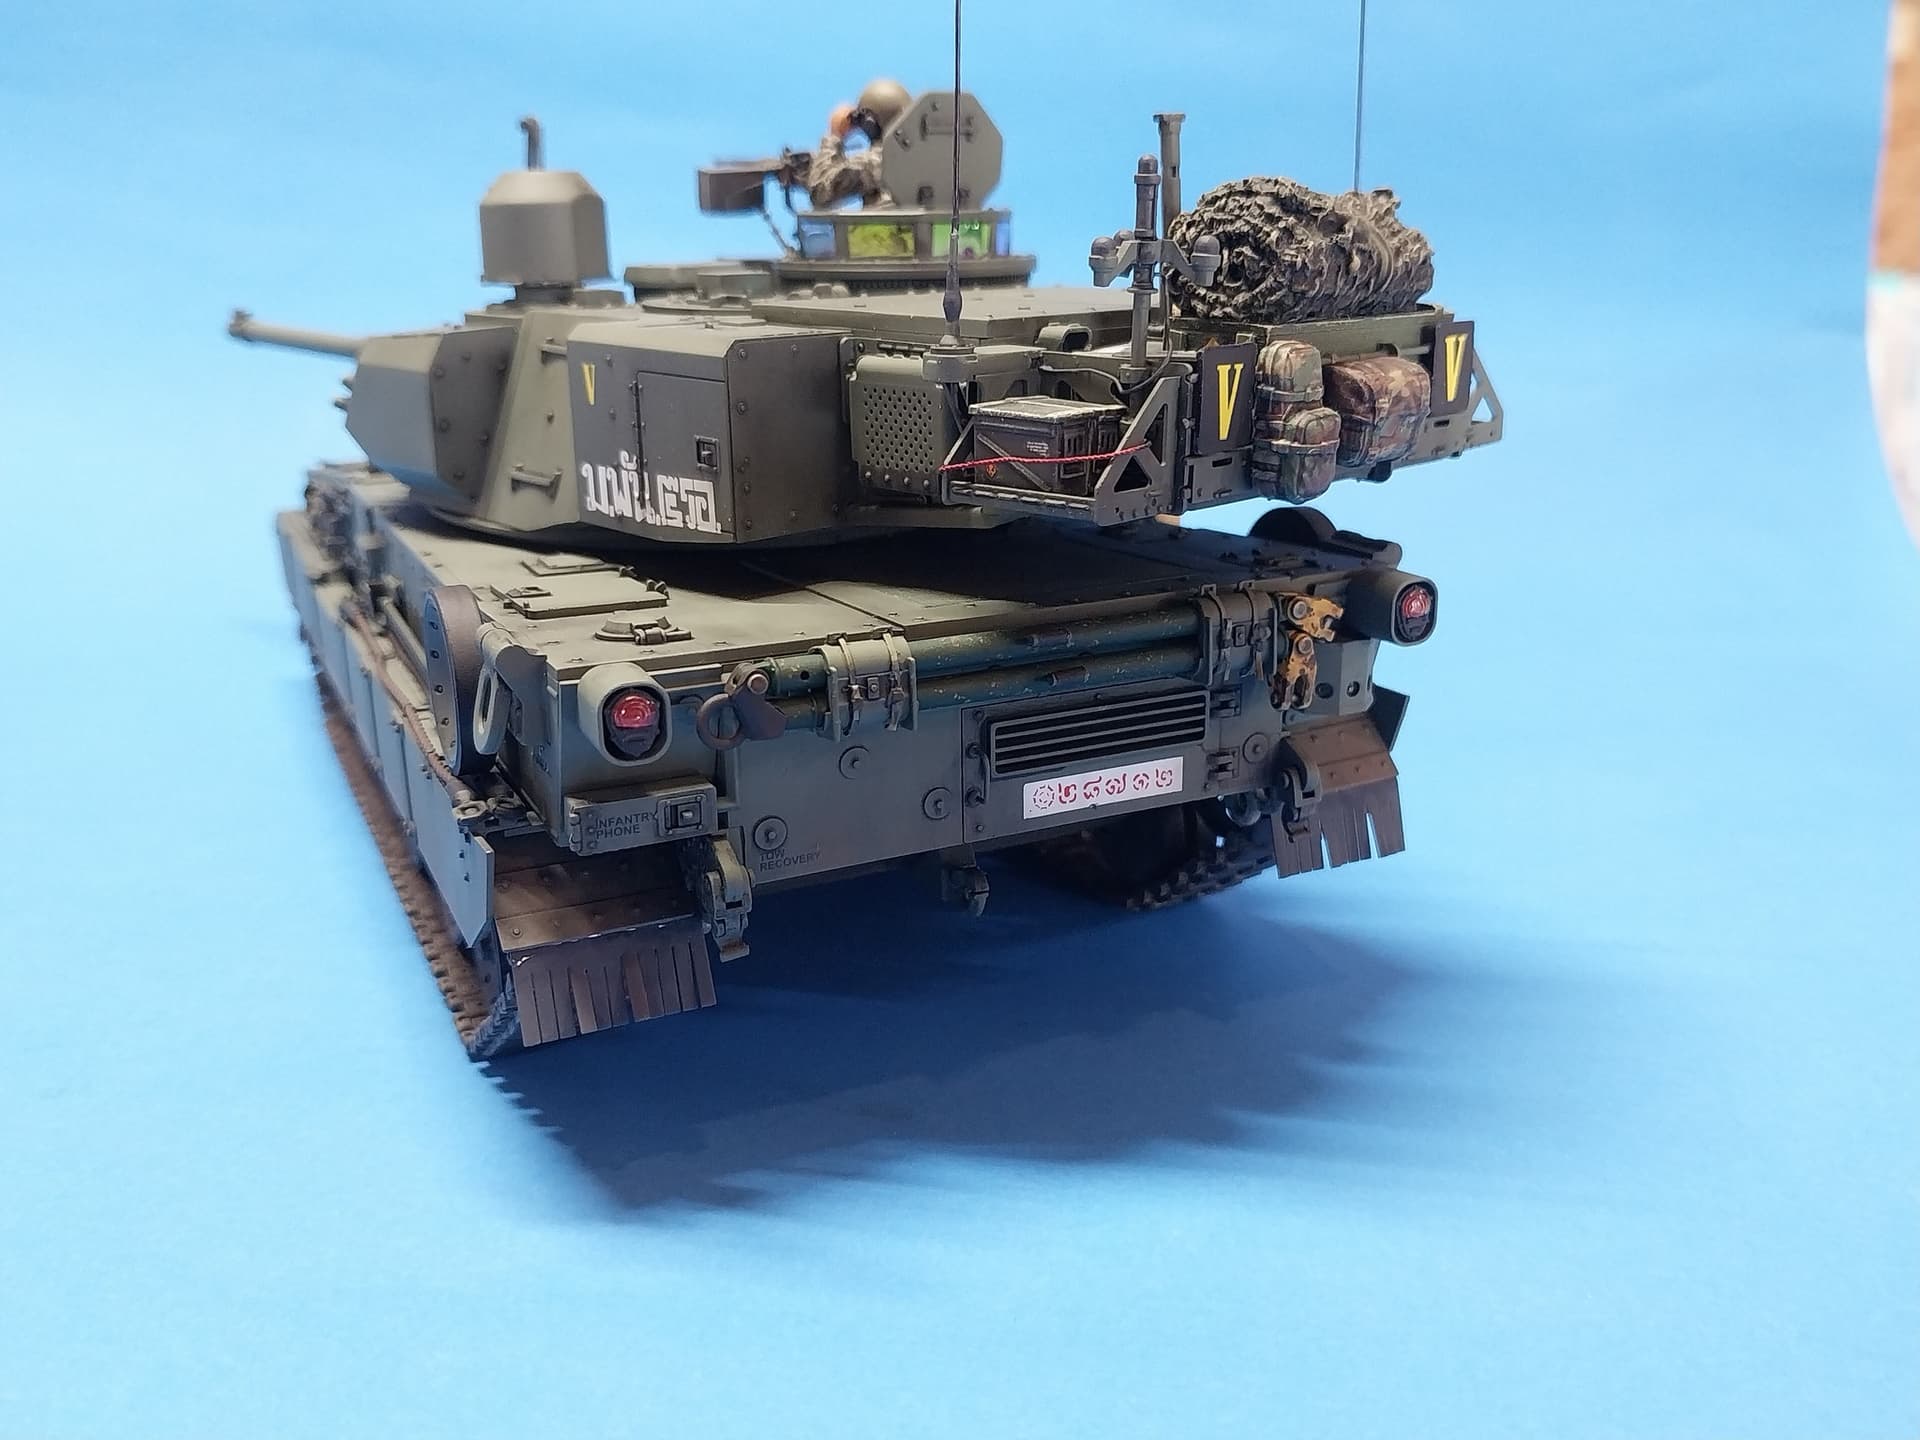
The model built mostly out of the box. Not too bad of a build overall. Had to add a few things the kit didn’t have such as straps for gear, the gear itself, wiring the antennas and the anti-sniper equipment. I did tweezer launch those tiny signal front/marker clear “lights” so I replaced them with plastic rod… the mirrored stickers for the glass is OK but a bit tight when inserting the commander cupola into its frame. Antenna are wire secured in aluminum tube mounts. Figure is from a Miniart US marines tank crew with digital uniform decals. The kit tracks - lots of parts - took the longest until I developed a system then went pretty quick; they are amazing though once built. Decals came from the kit (US Stencils) and the RTA markings came from an Echelon M60 set lingering in my parts bin…

A real nice looking “what-if”
Great looking kit what was used for the periscope and other lens treatment ?
Thanks - the kit comes with ultra thin holographic sticker/film for the lenses and optics. They are pretty good. The ones for the commander’s cupola, however, are tricky. They make it a tight fit to put the optics in the cupola frame… one sticker got folded in the corner BC of the fit but easily fixed. You also get a paper template for instructions and precut masks if you want to paint them instead of the holographic stickers.
Looking Real good Ted! I hope some friendly government scoops up on some Bookers!
Could you please share your track techniques? When I opened my Booker Box all the track parts freaked me out. What was it 9 parts per link?!?
Thanks for sharing!
I bought Jacque Duquette’s excellent 3D printed M10 Booker track set. (Available on eBay.)
I started using the jigs (track pads and the end connector ones) then gave up on the end connector jig. I basically cut all the parts out and separated them in small cups. Then I used the track pad jig to put the parts together (with a small drop of Tamiya extra thin on each pad). I then inserted the rods into each link then manually added the track connectors. Crazy glue secured them and still allowed articulation. I did runs of 20 or so… the instructions say 88 per side but I found 87 was spot on (for my build). 88 made it too loose for my needs.
Thanks Ted for the tips. I will give them a shot. That’s true about falling into a rhythm doing Indy links.
Matt, if things go to hell I will check into the 3D printed tracks