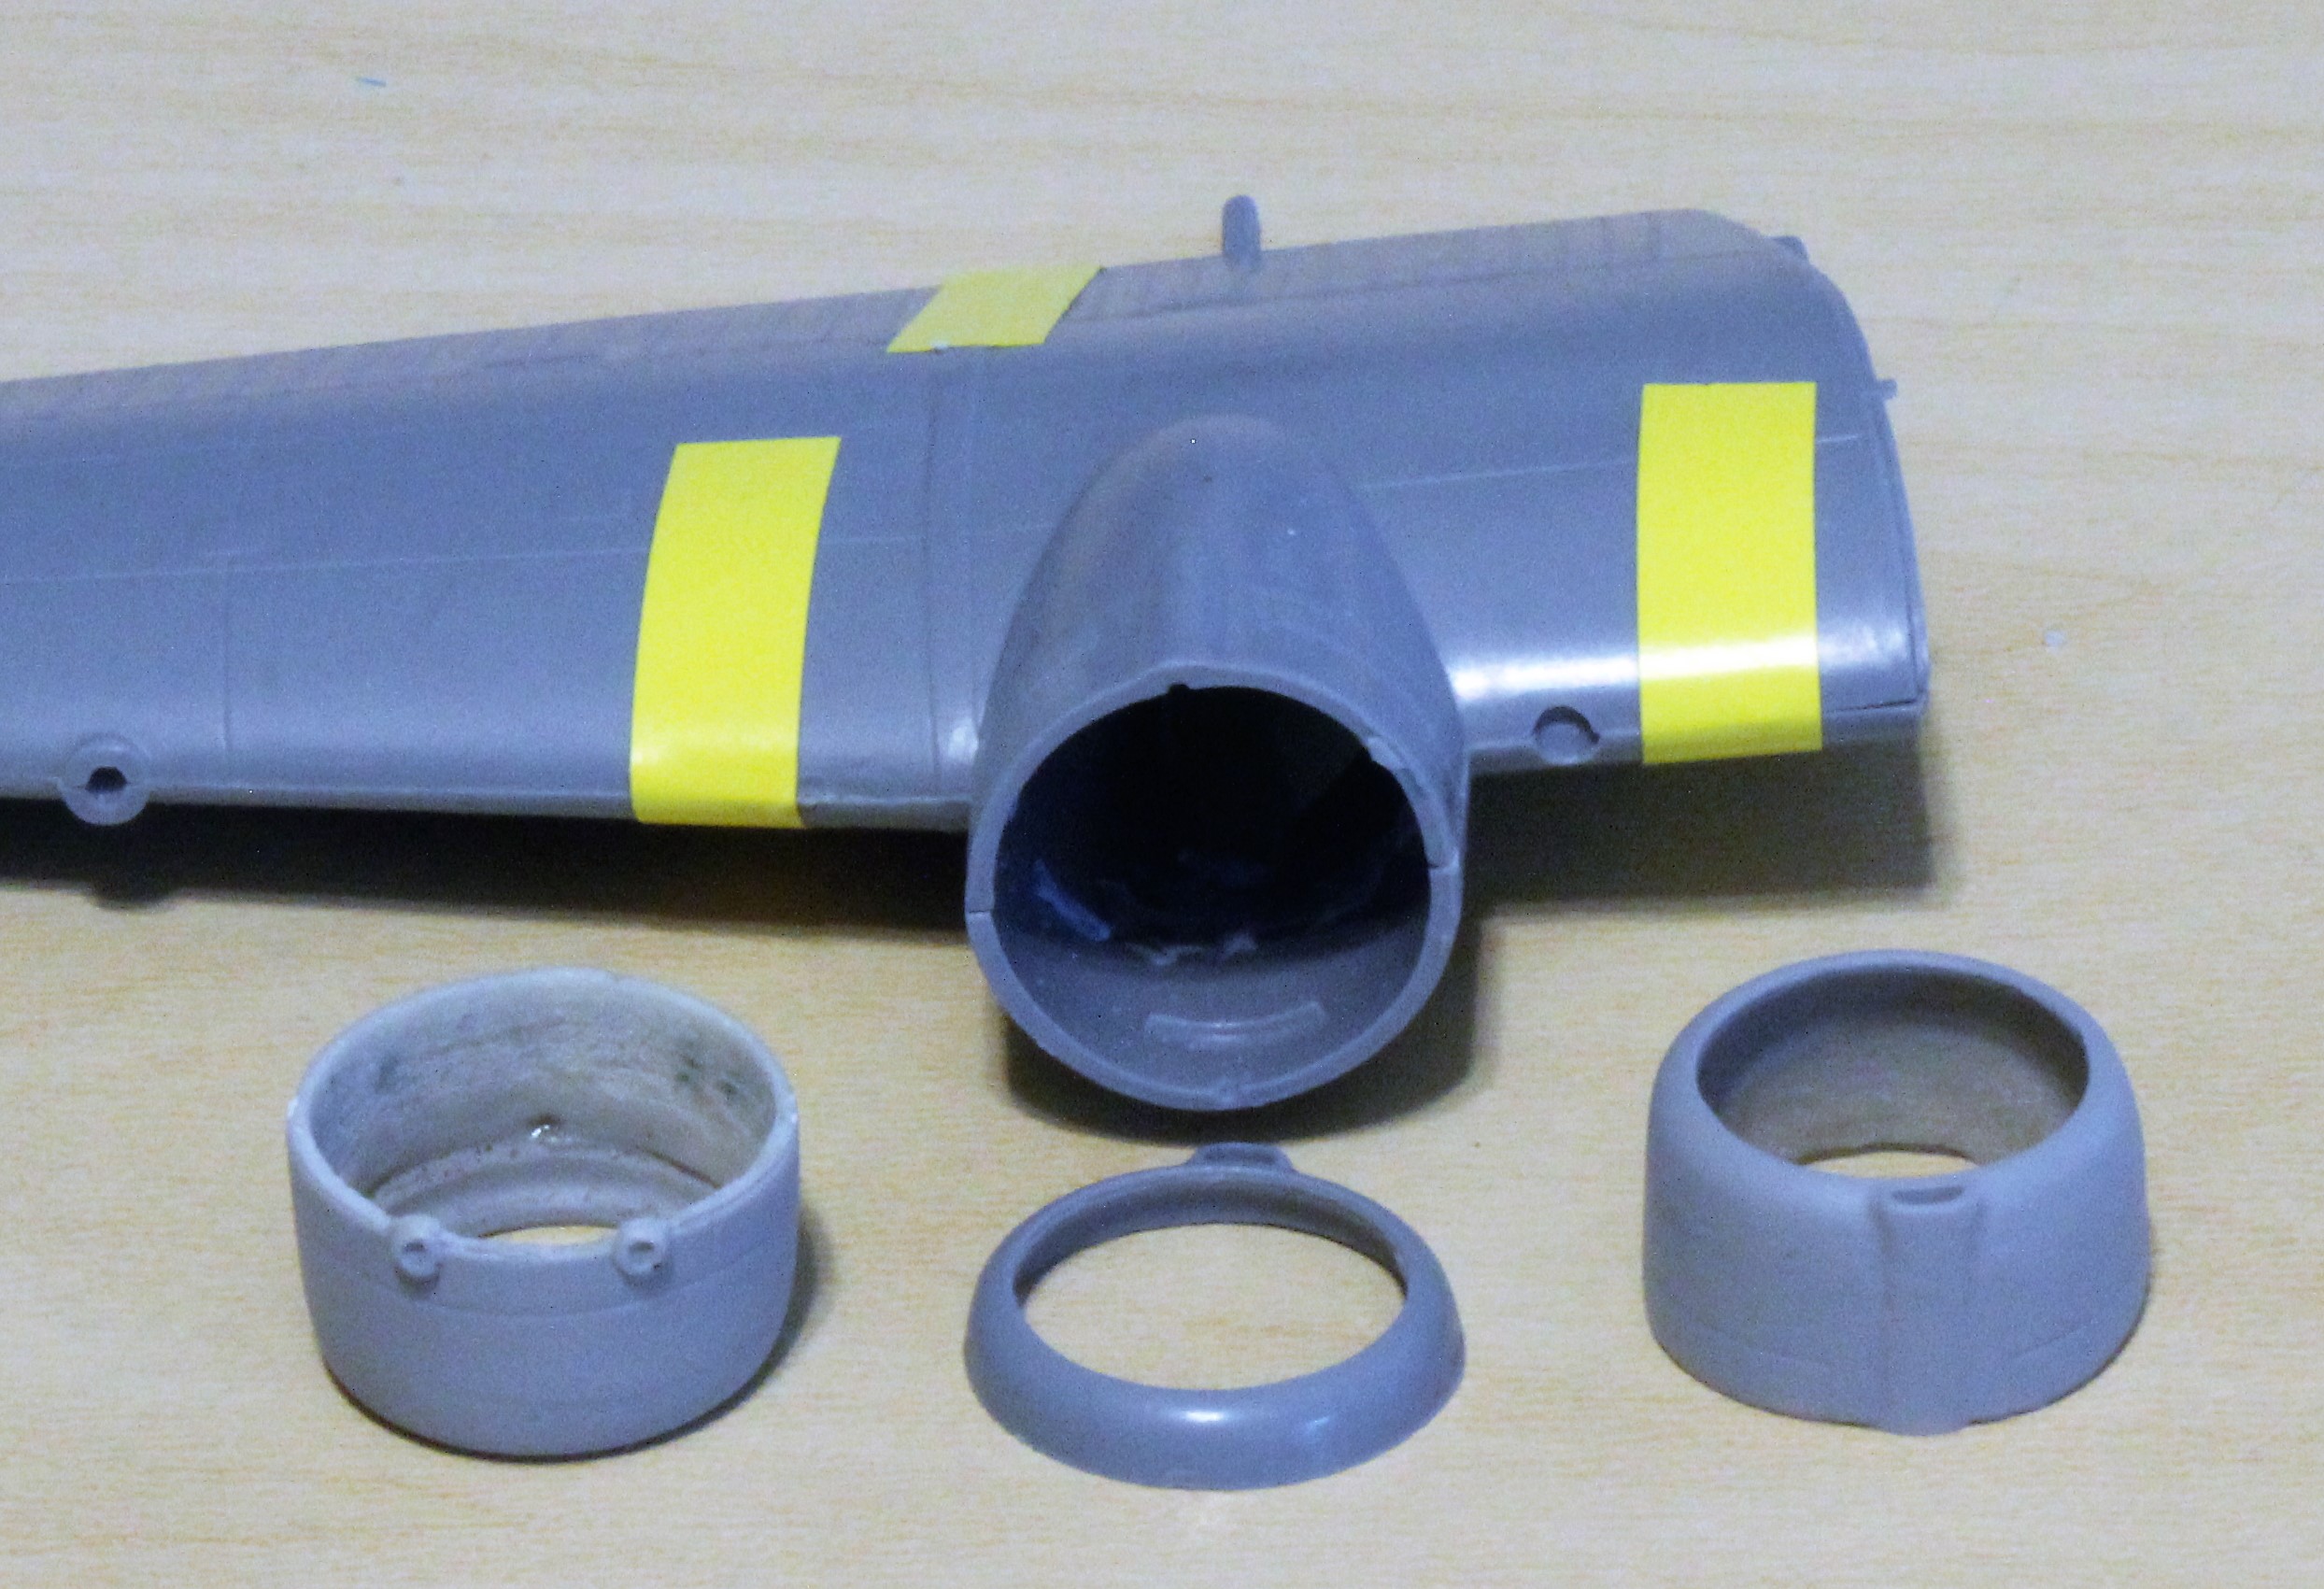
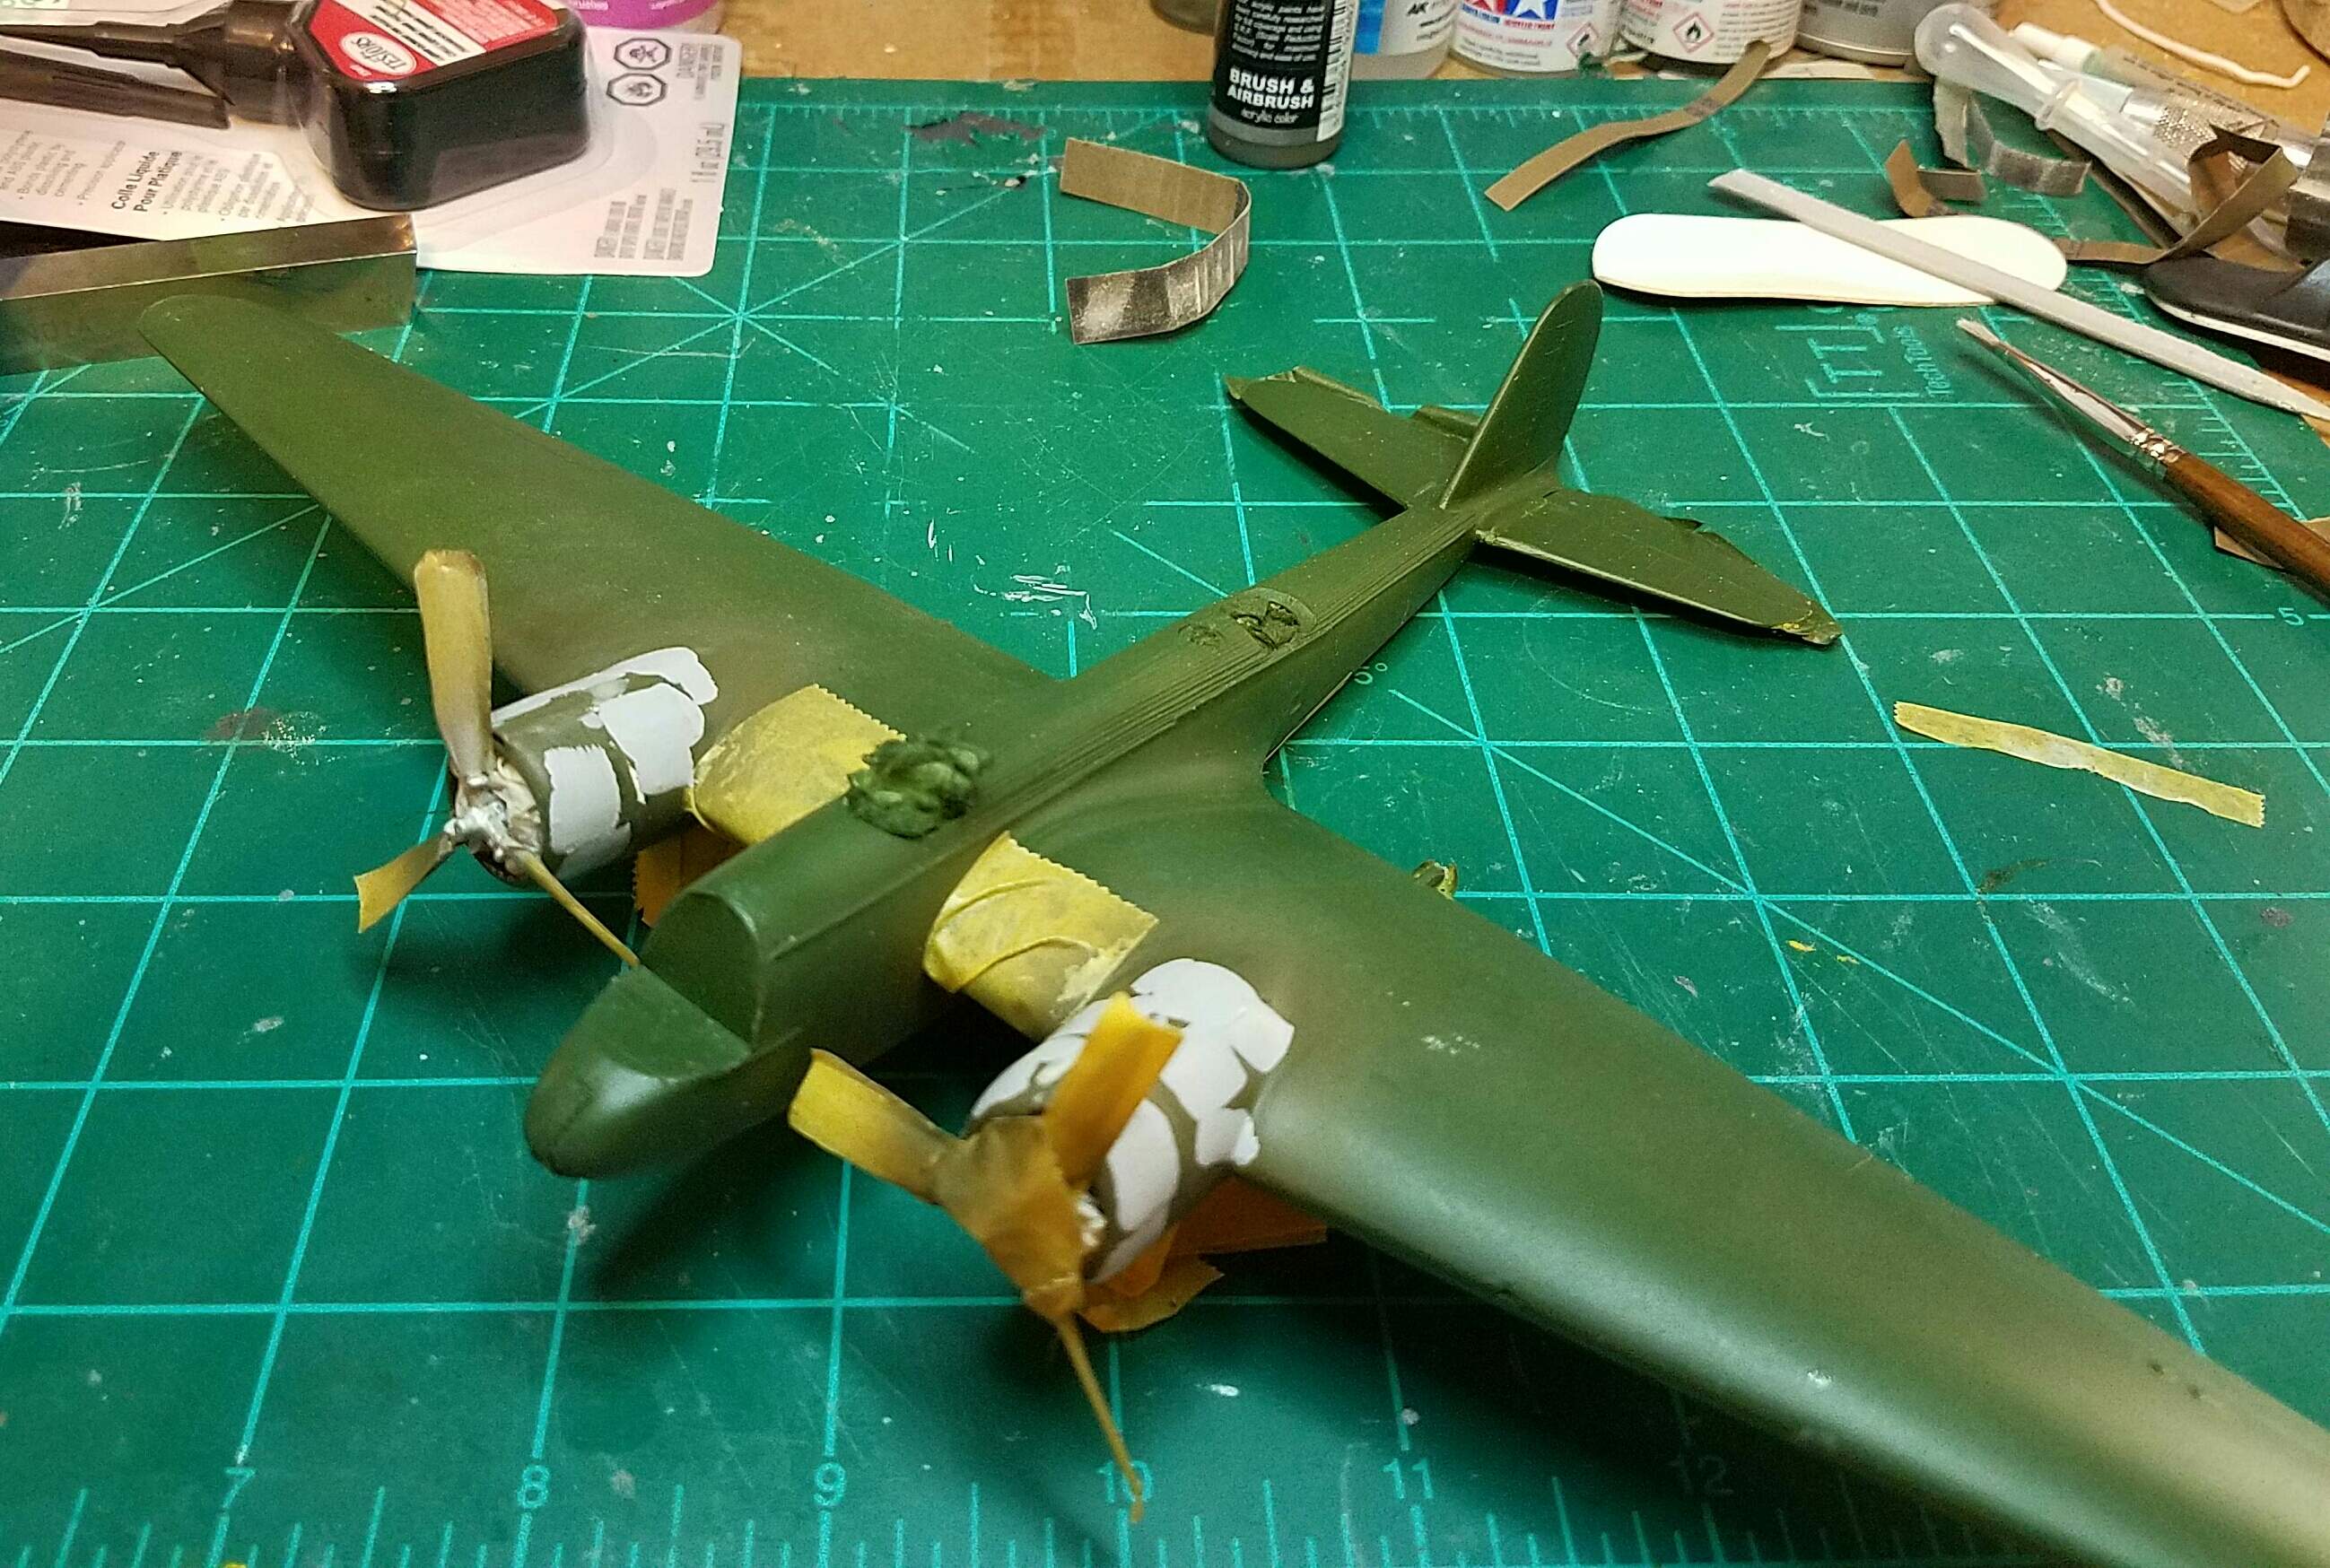
How is this for modeler’s logic? “My friend gave me this Williams B-10, so, since I didn’t have to pay for it, I can buy the Azur kit!” Convoluted logic I know. I could have abandoned the Williams kit, but I had a lot of work into it. I used the Azur kit to make resin copies of the cowlings. Because of the kits construction, this was a little more difficult than models with one piece cowls.
5 Likes
Sound cowl flap logic! That’s how to solve a problem. Gonna be a beaut.
2 Likes
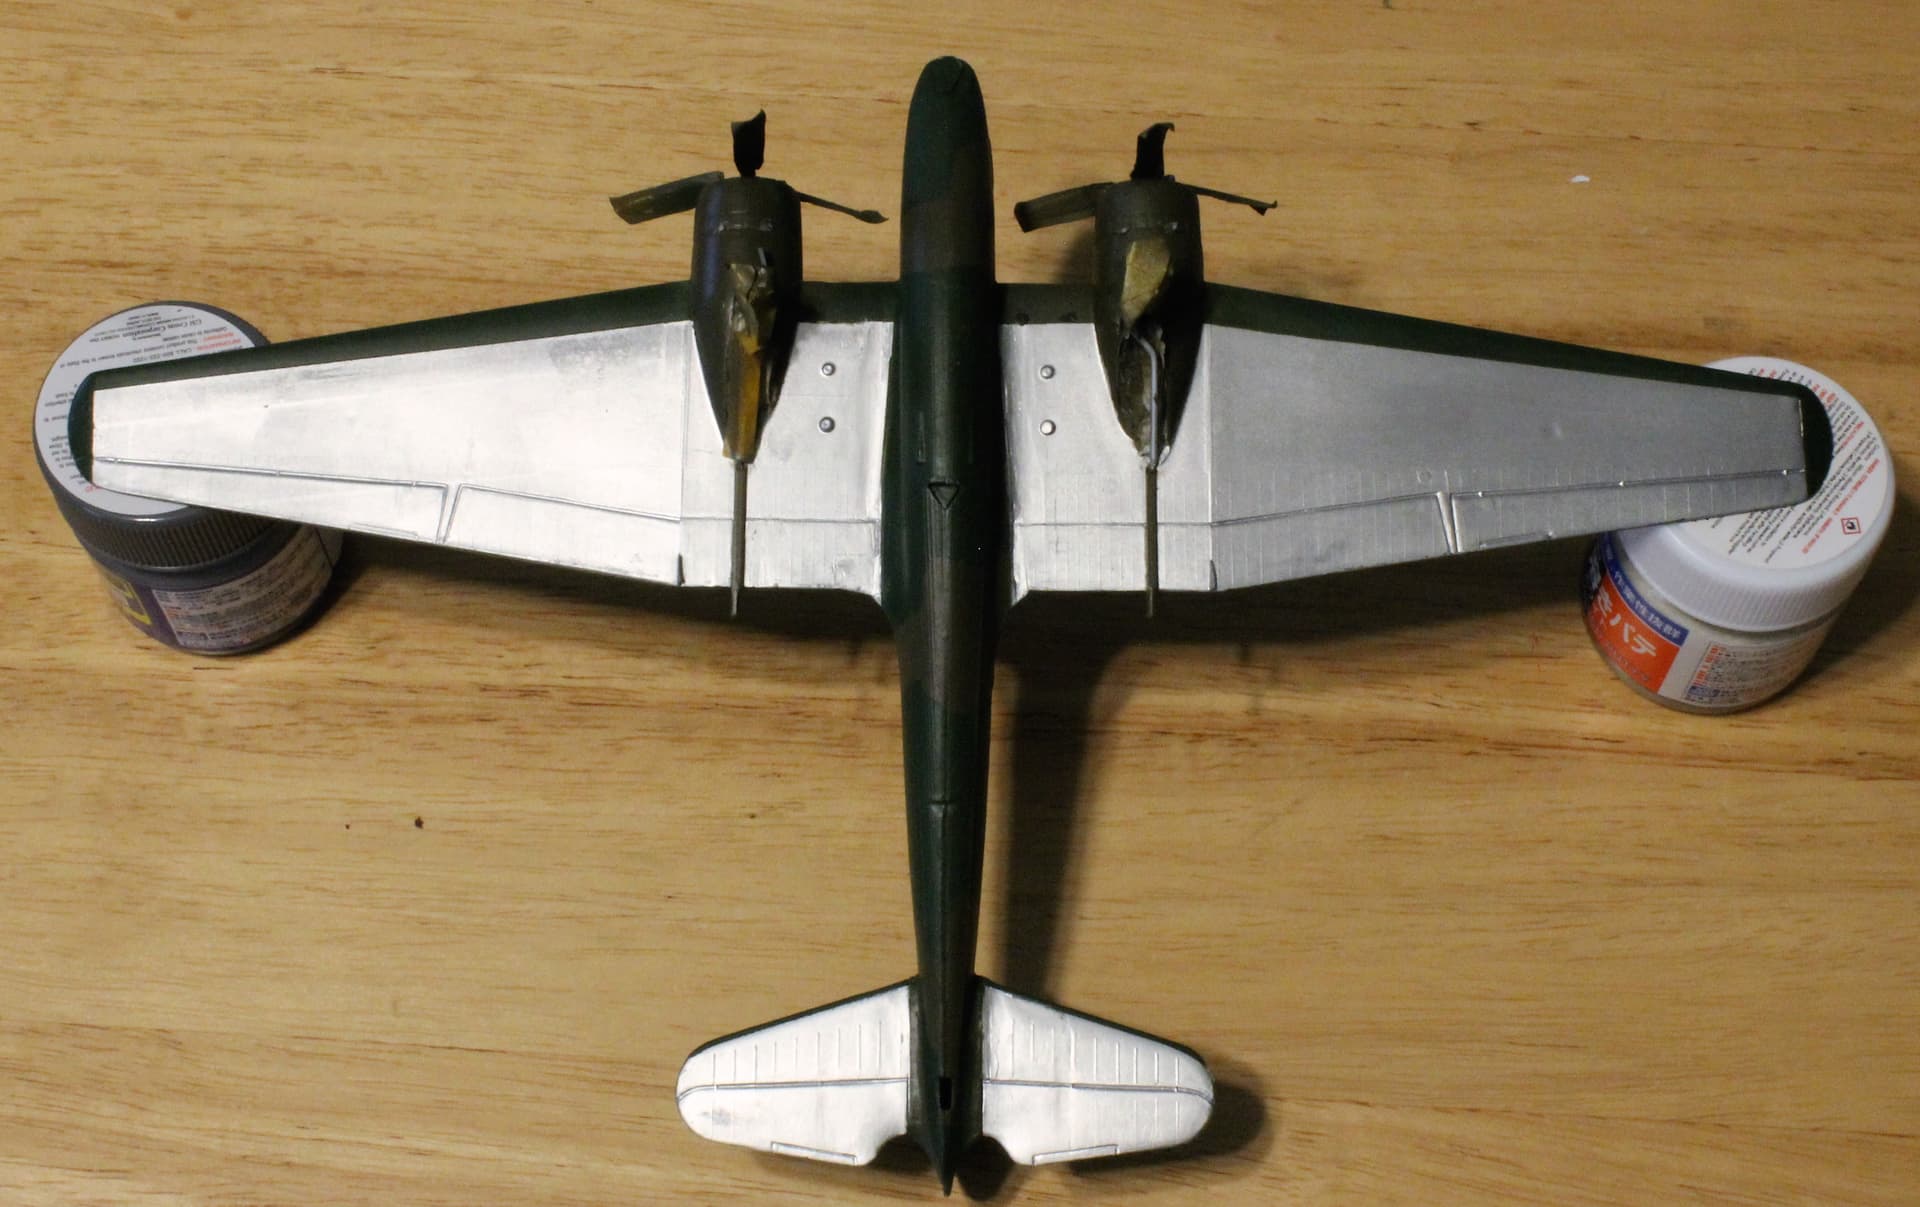
Very slow progress on the B-10. The original nacelles were slightly bigger than the new cowlings. I am blending them in.
5 Likes
Hi Bill,
Looking forward to your next installments. I’m having B-10 withdrawal.
1 Like
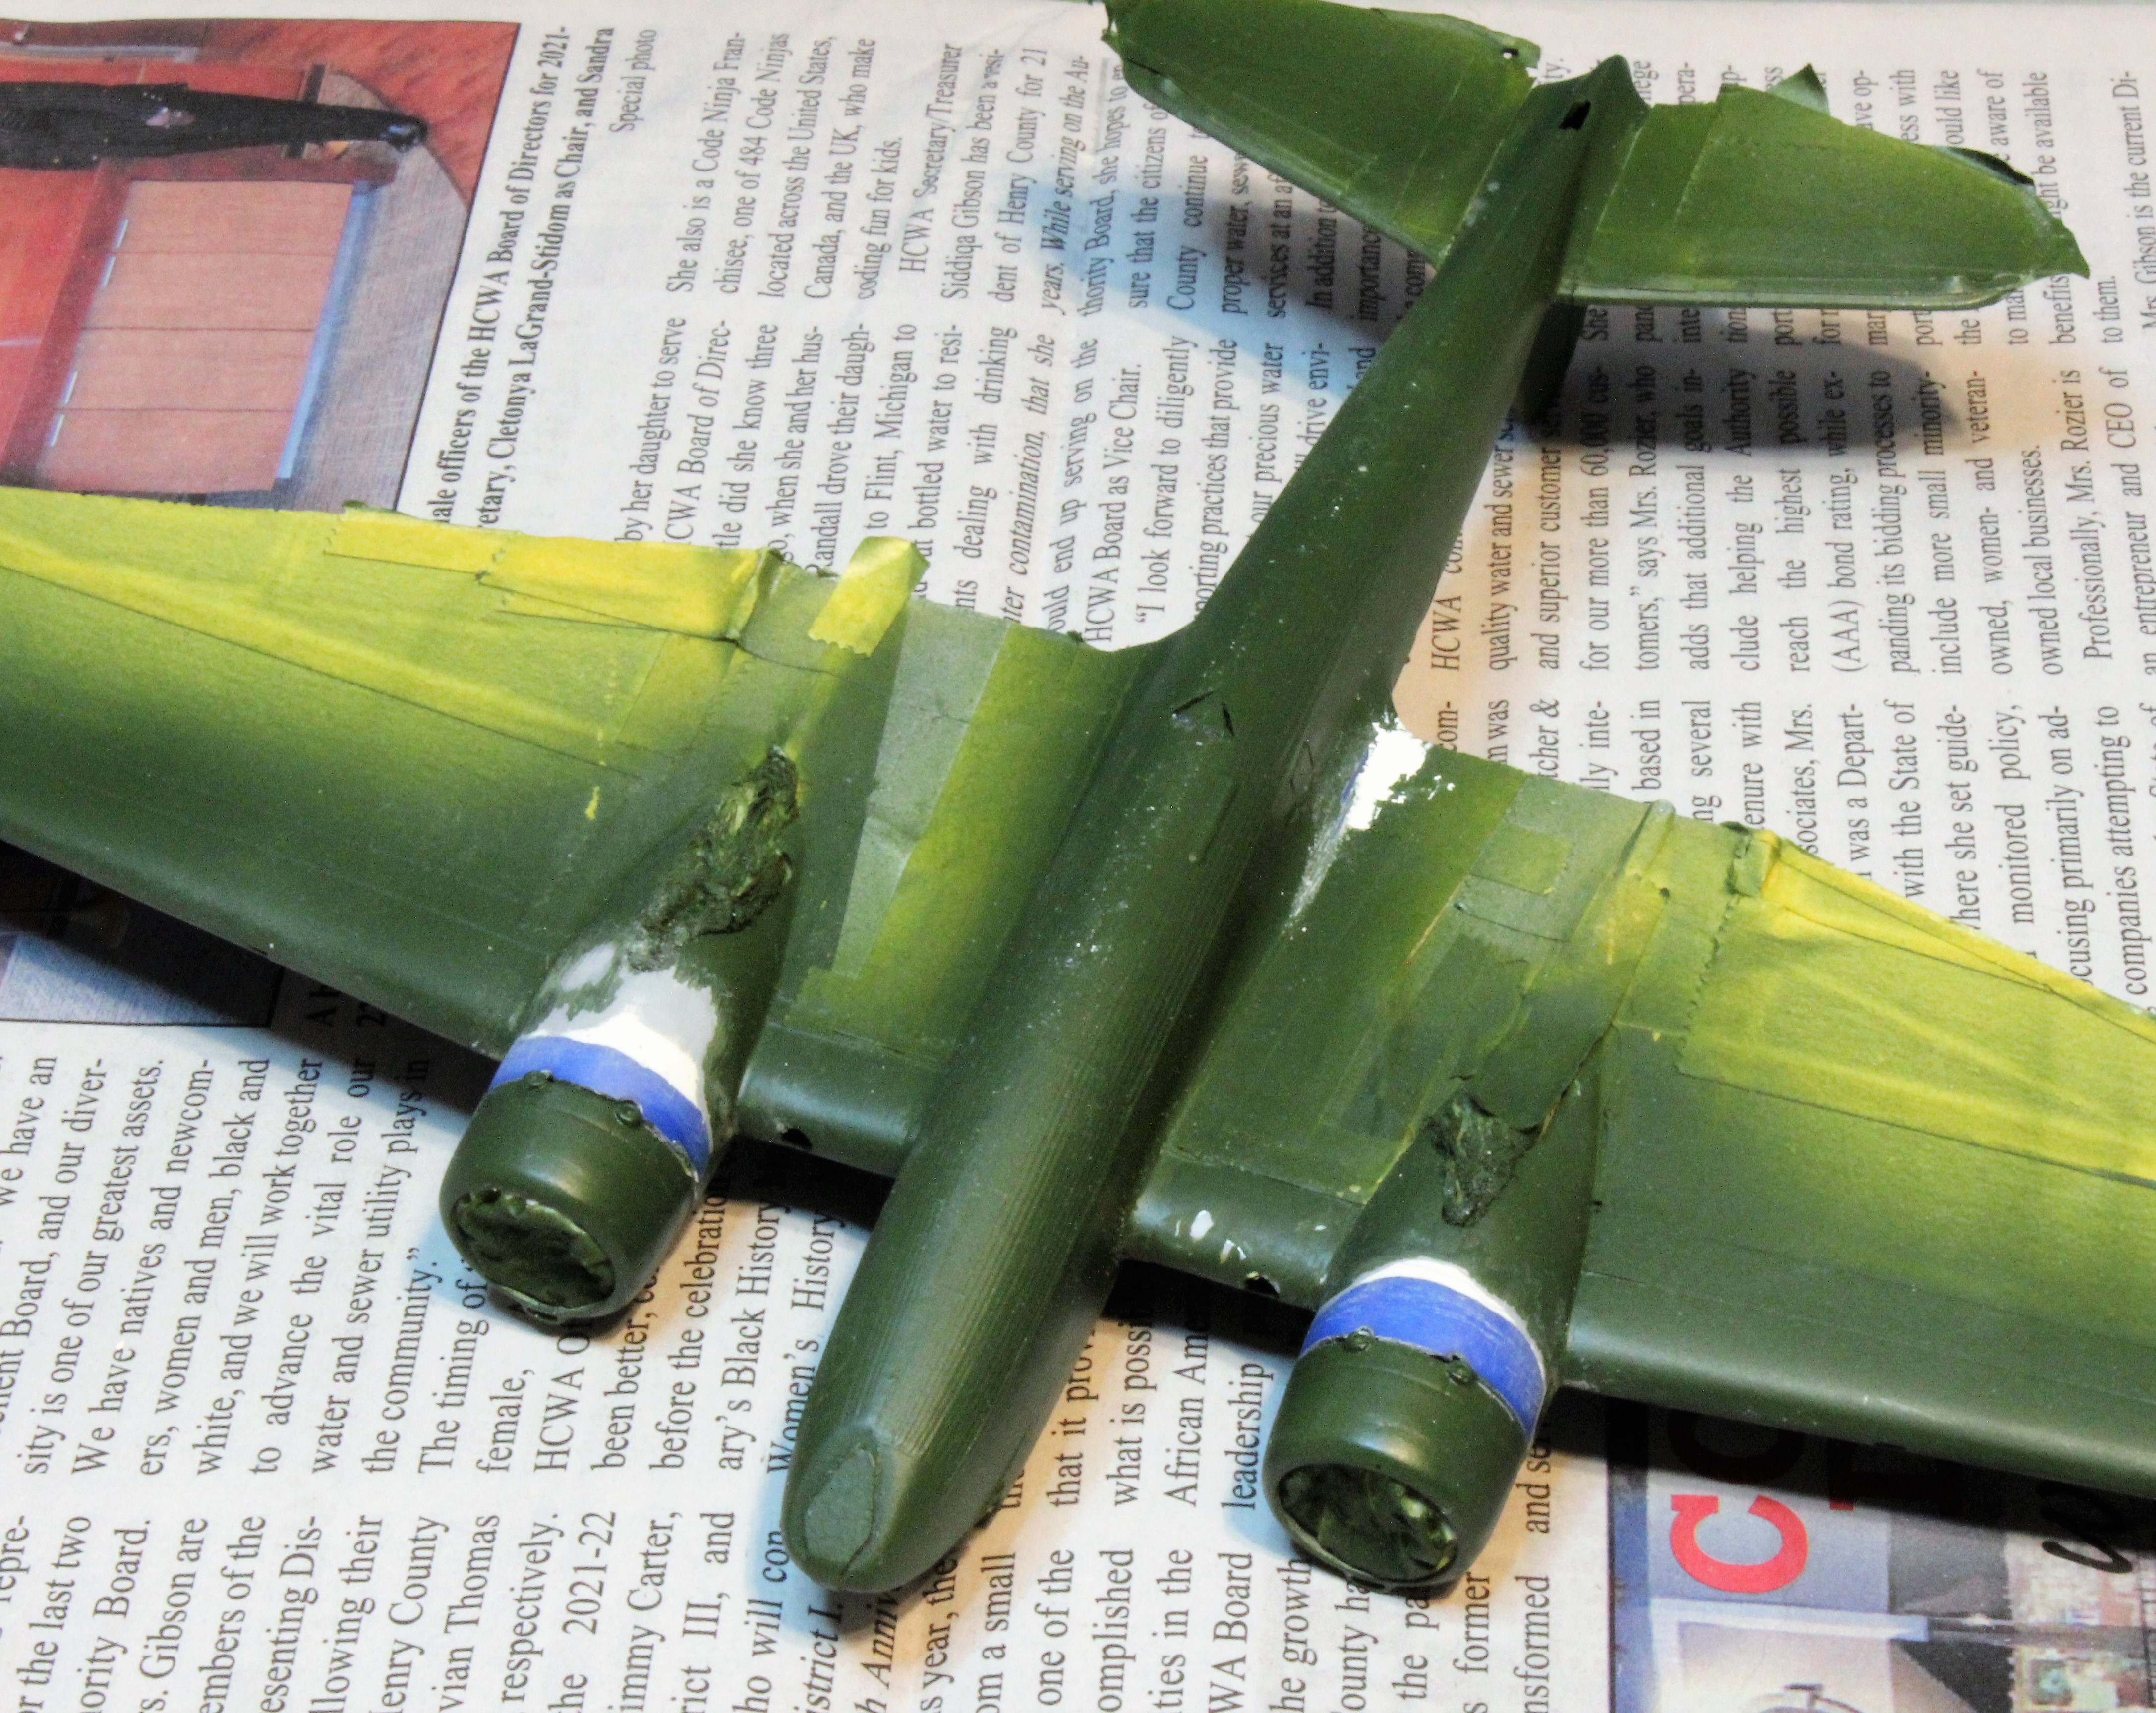
Mr.Dissolved Putty, works well for filling in small gaps. The next model I build will not be trying to make a silk purse out of a sows ear.
Looks like quite a challenge for a dedicated model builder.
Some aircraft are beautiful and a pure pleasure to look at, sadly the Martin B-10 isn’t one of them.
I have seen uglier ducklings but this is definitely in the top 20 or maybe top 10.
In my opinion the Wendover is the undisputed champion in the Fugly contest. The B-10 still has a margin before reaching Wendover levels of ugly.
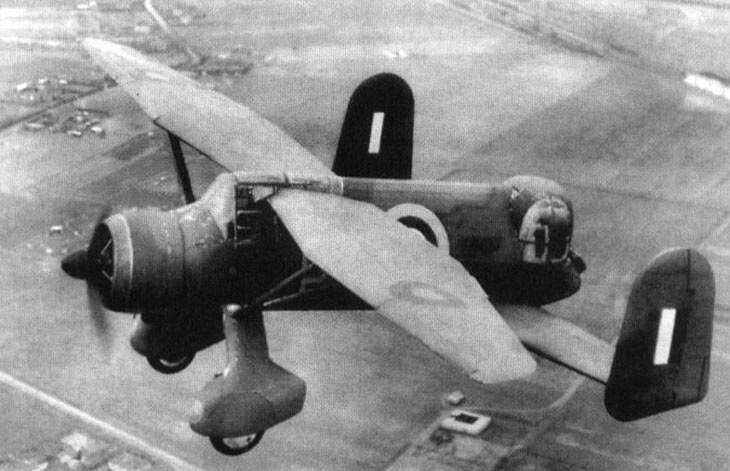
Image borrowed from:
http://www.diseno-art.com/encyclopedia/strange_vehicles/westland_p12_wendover.html
2 Likes
And you can build it too using Eduard’s Lysander and somewhere out there I’ve seen a conversion
kit .
I’ll stick to 1/35th, I have to draw a line somewhere even if there are some twin engined fighter-bombers that would be cool in 1/48th, Westland Whirlwind for instance
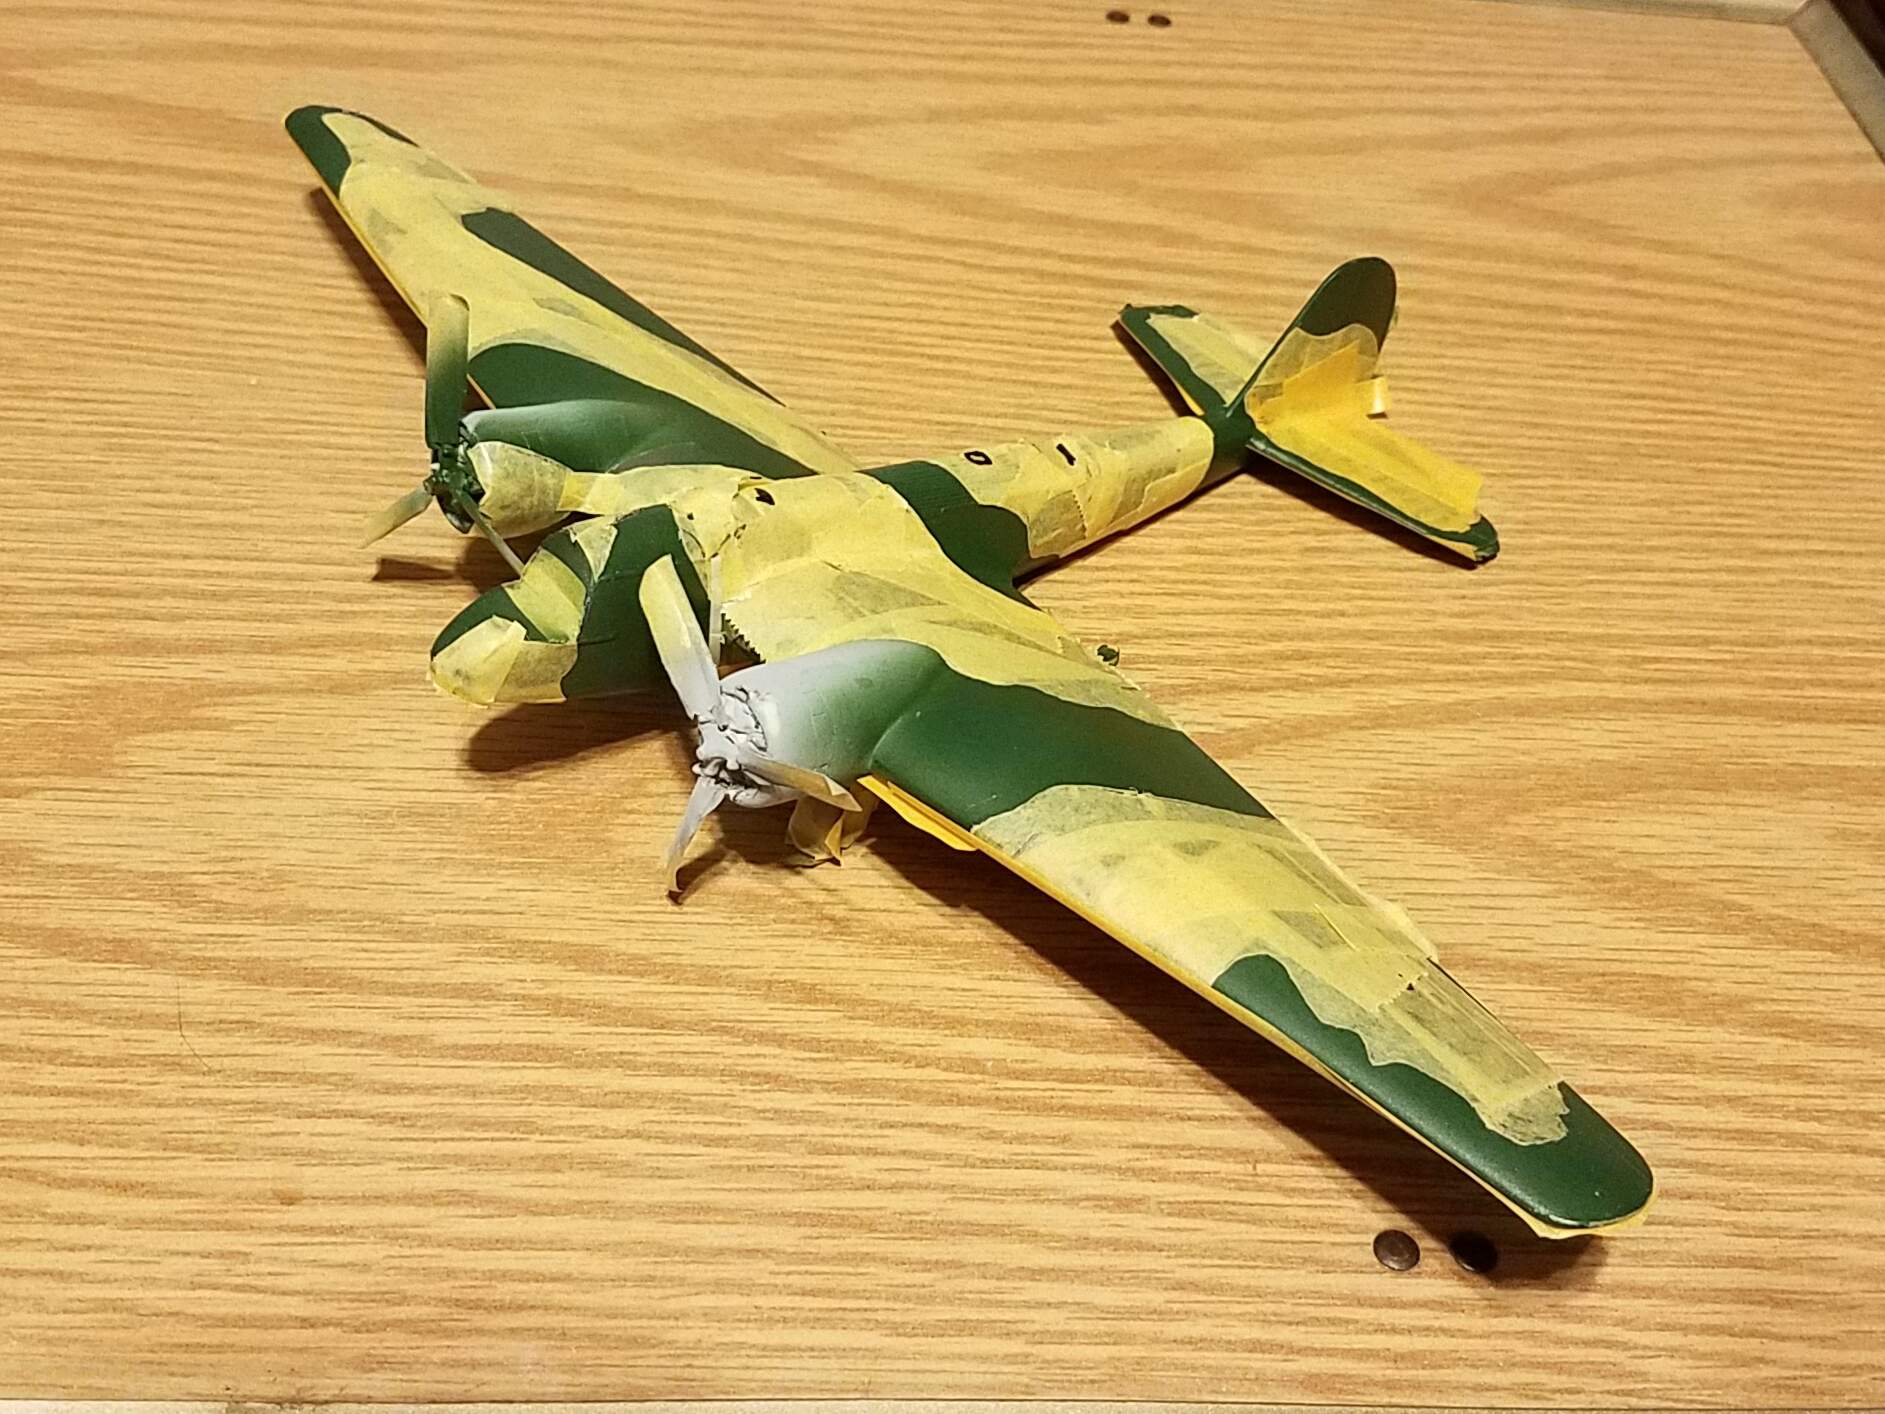
Masking takes always quite some time - same here. I probably do more than what is necessary. But it’s always worth the time spent for it. Looks good so far, Bill! 
1 Like
Looking great so far Bill!! Had a little bit of a set back in real life but am back and watching this one with great interest man.
1 Like
Nice work, thought I was looking at a Beaufighter for a second 
tim
1 Like
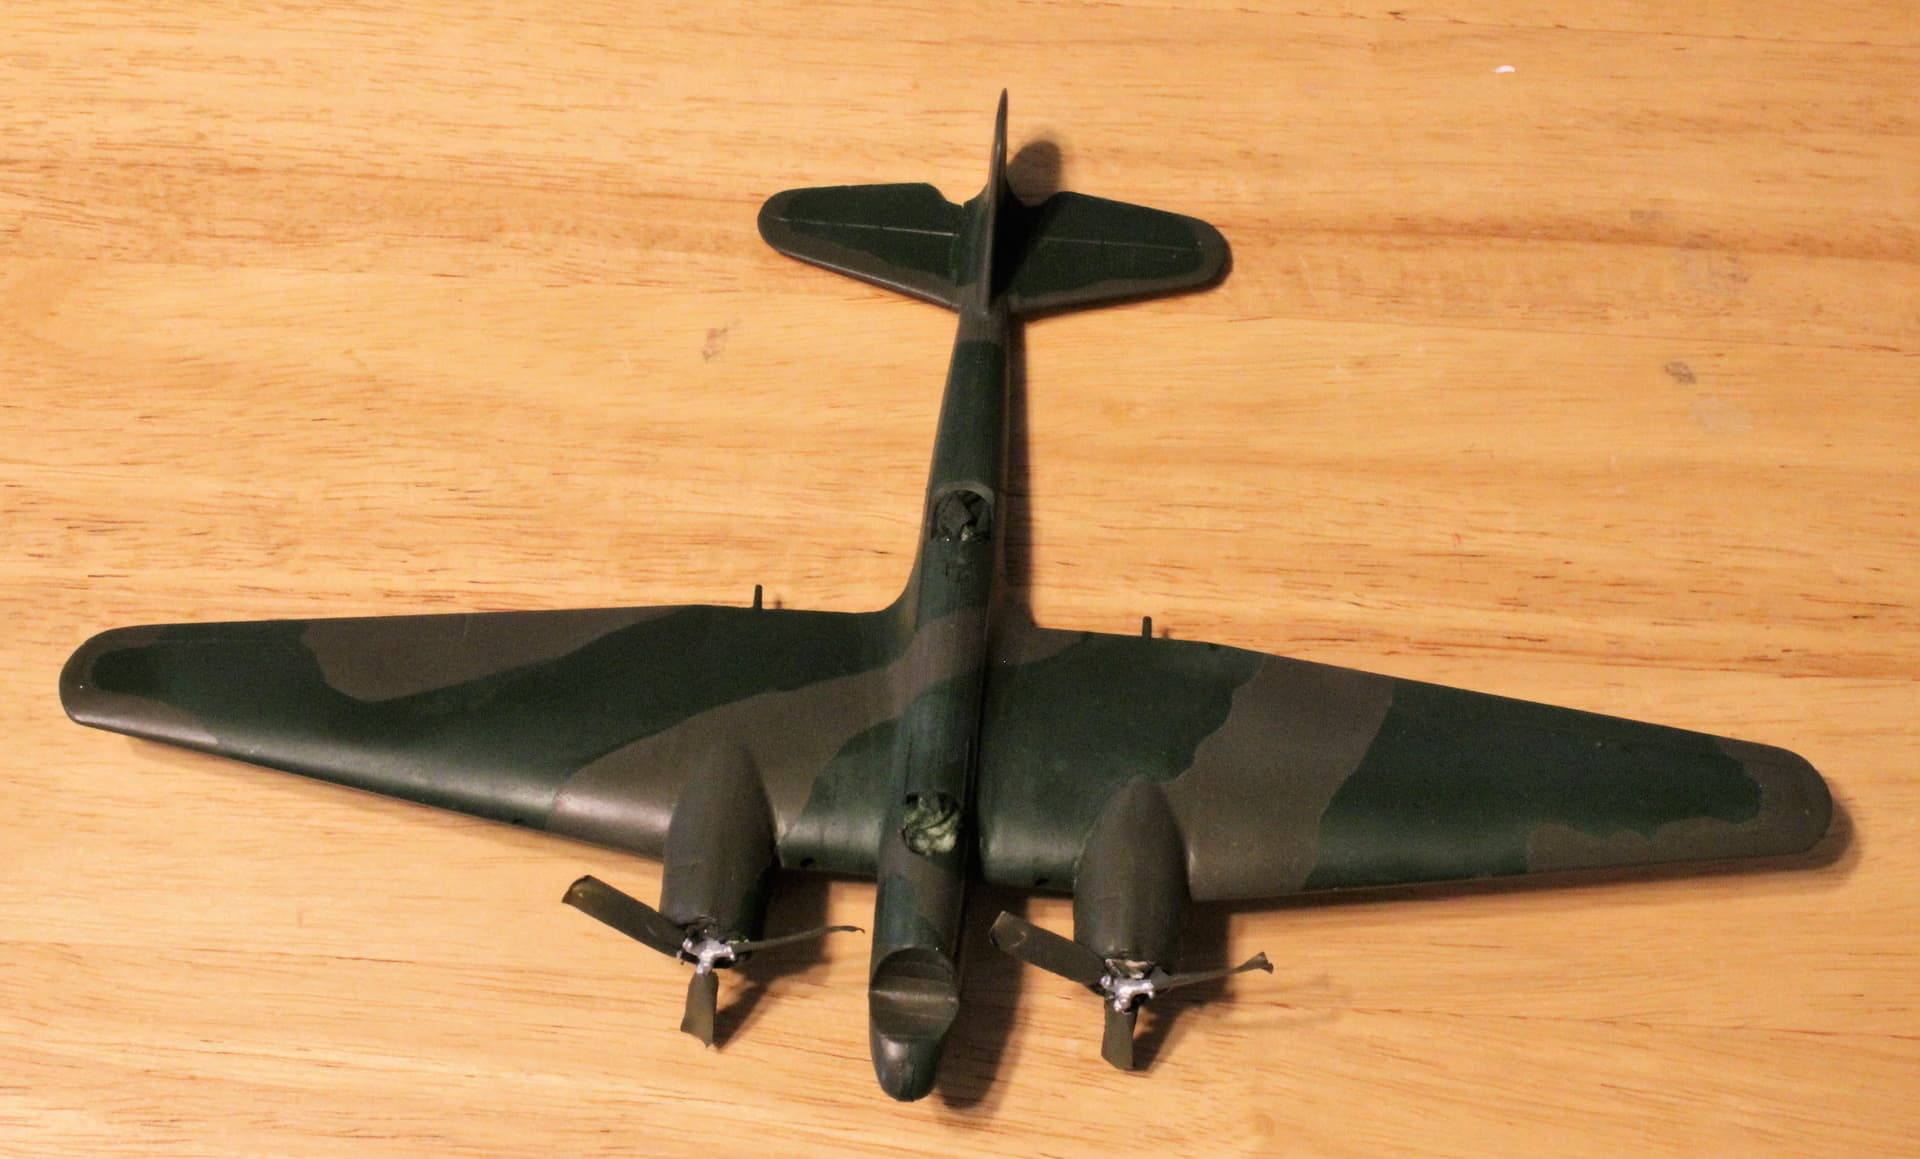
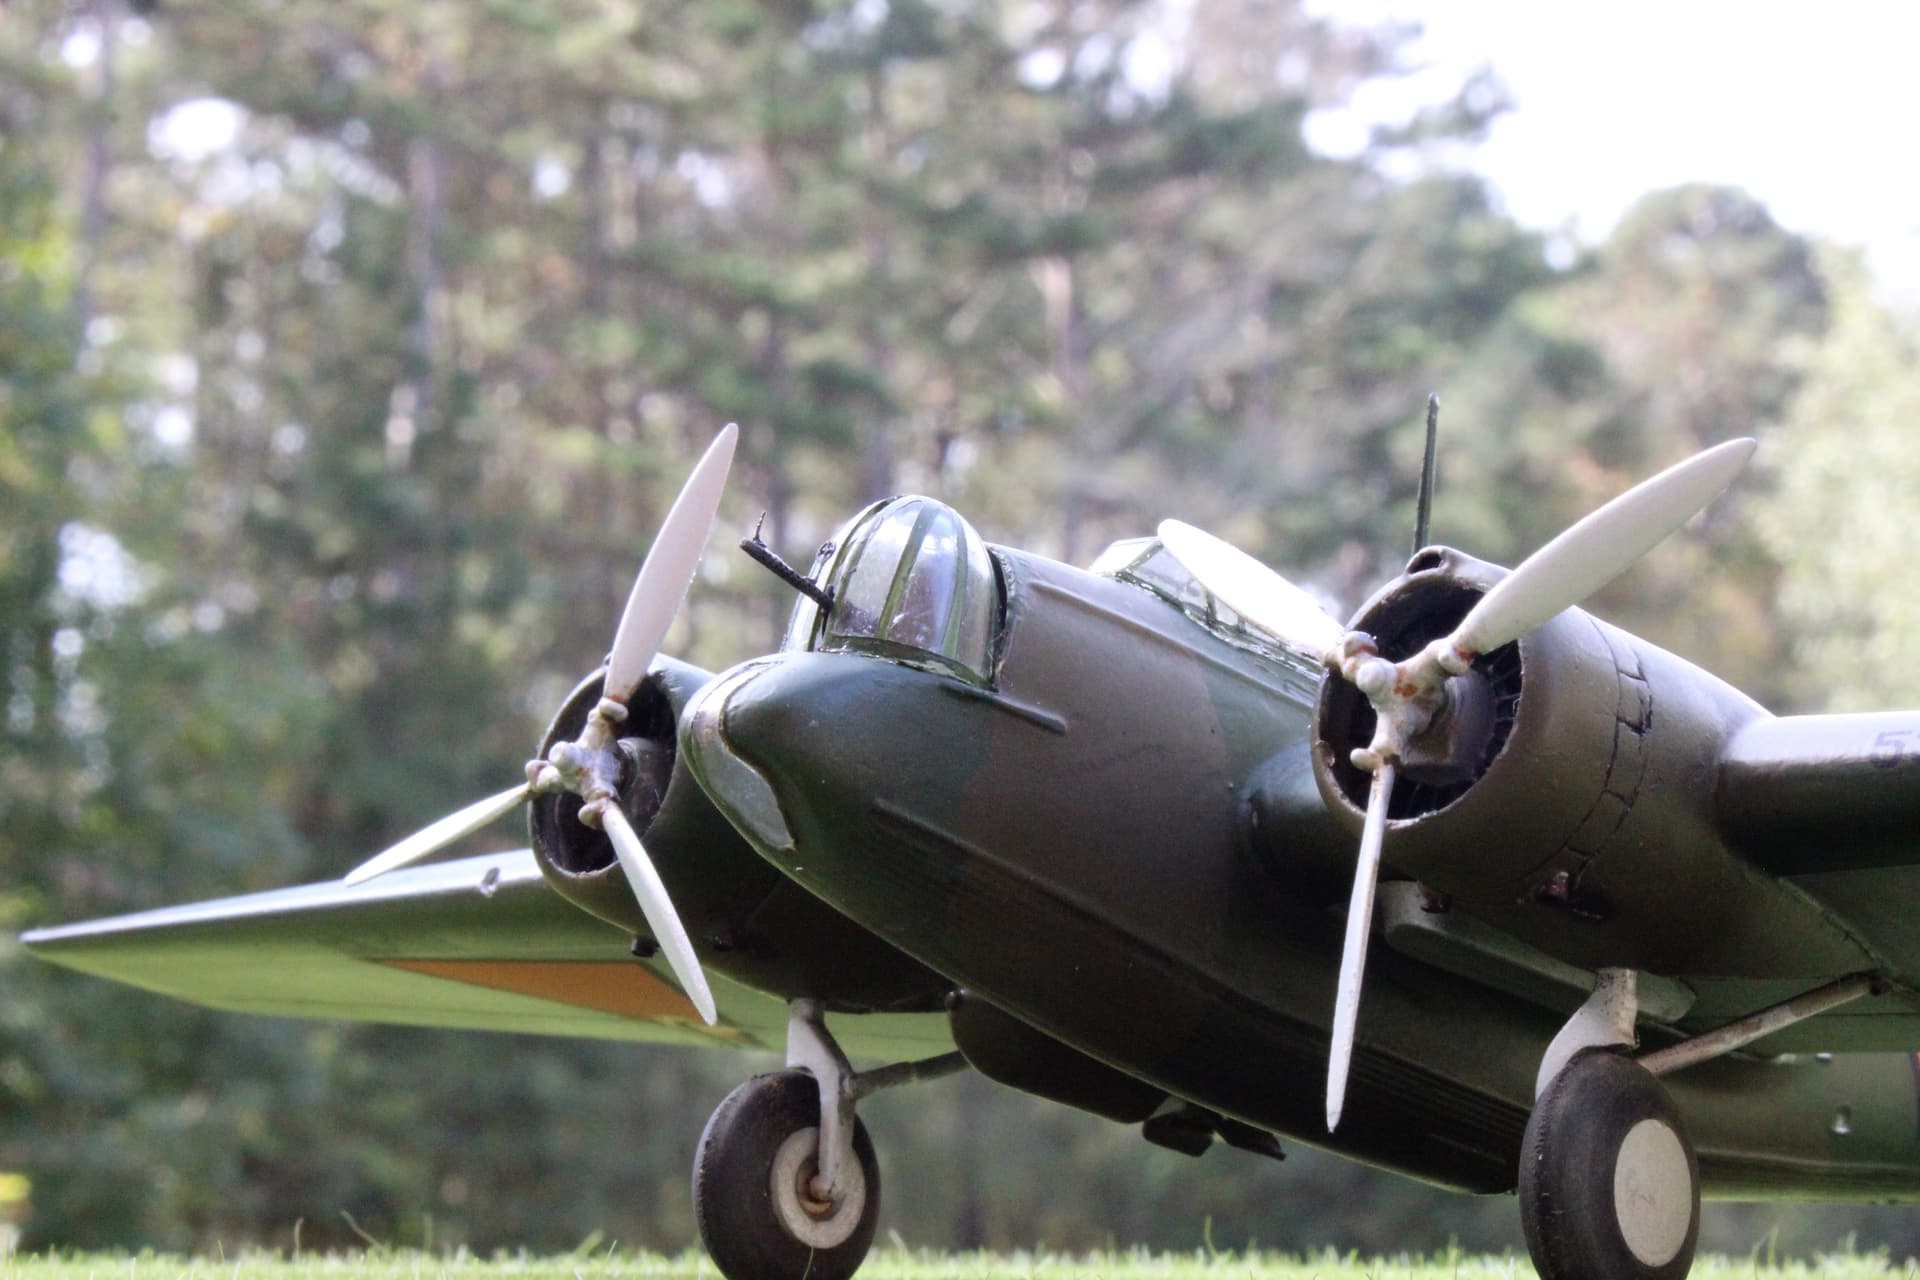
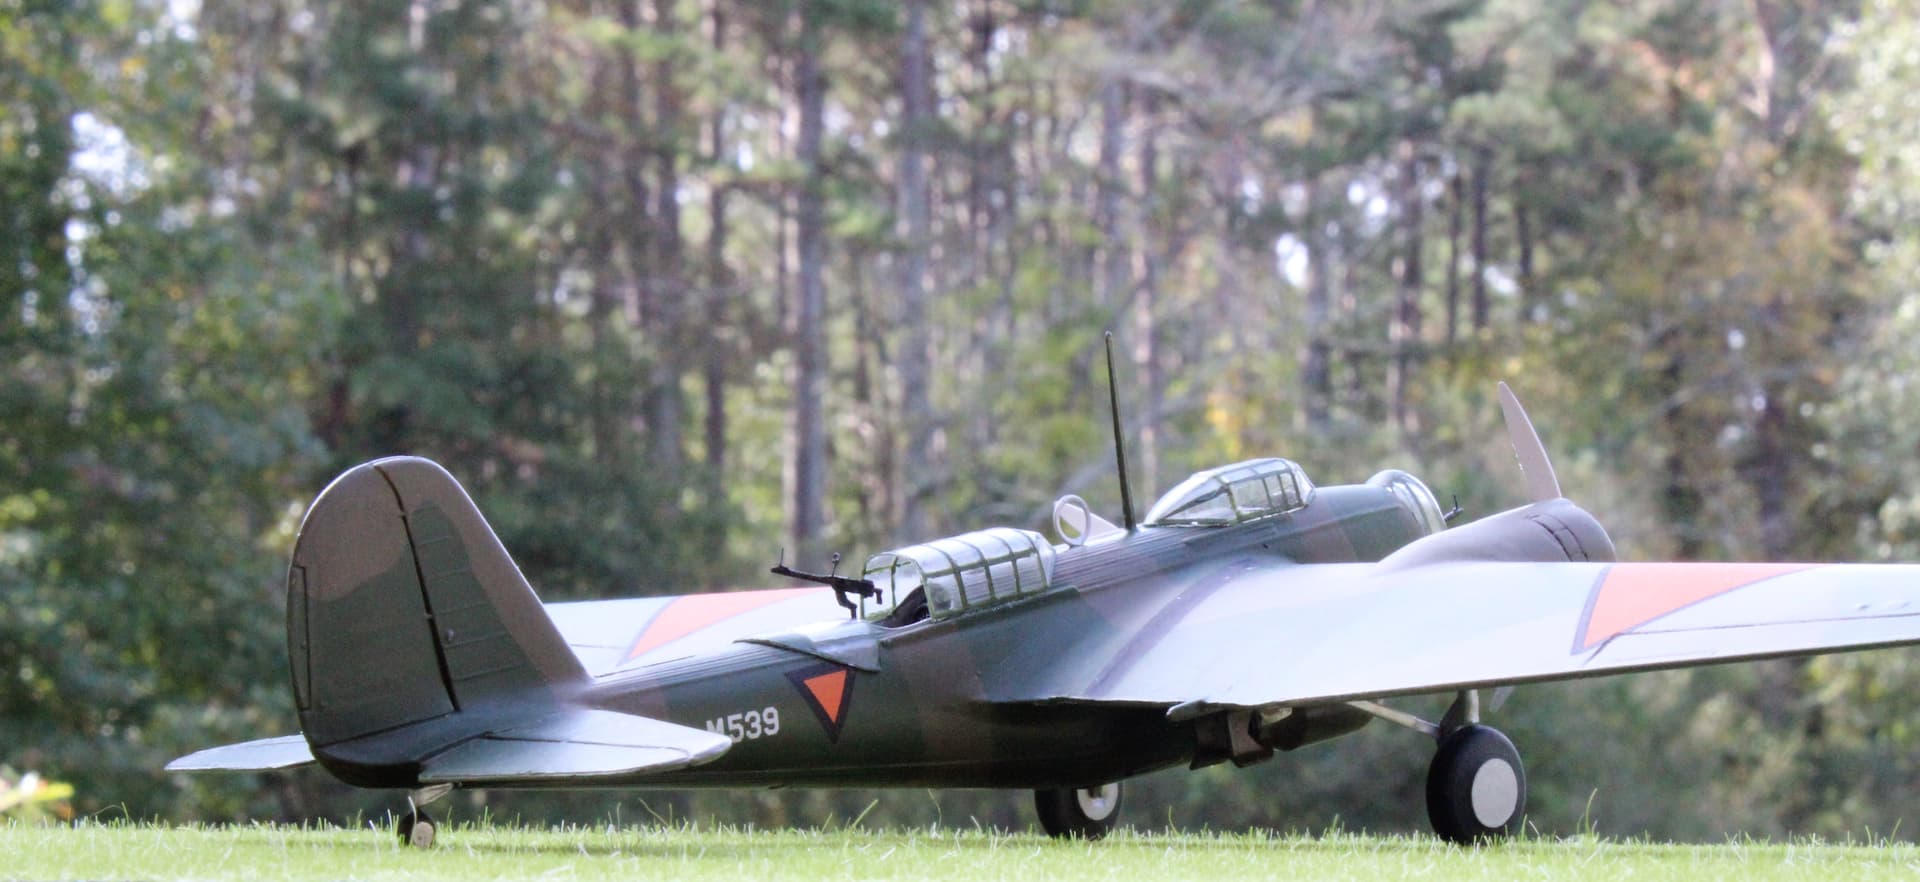
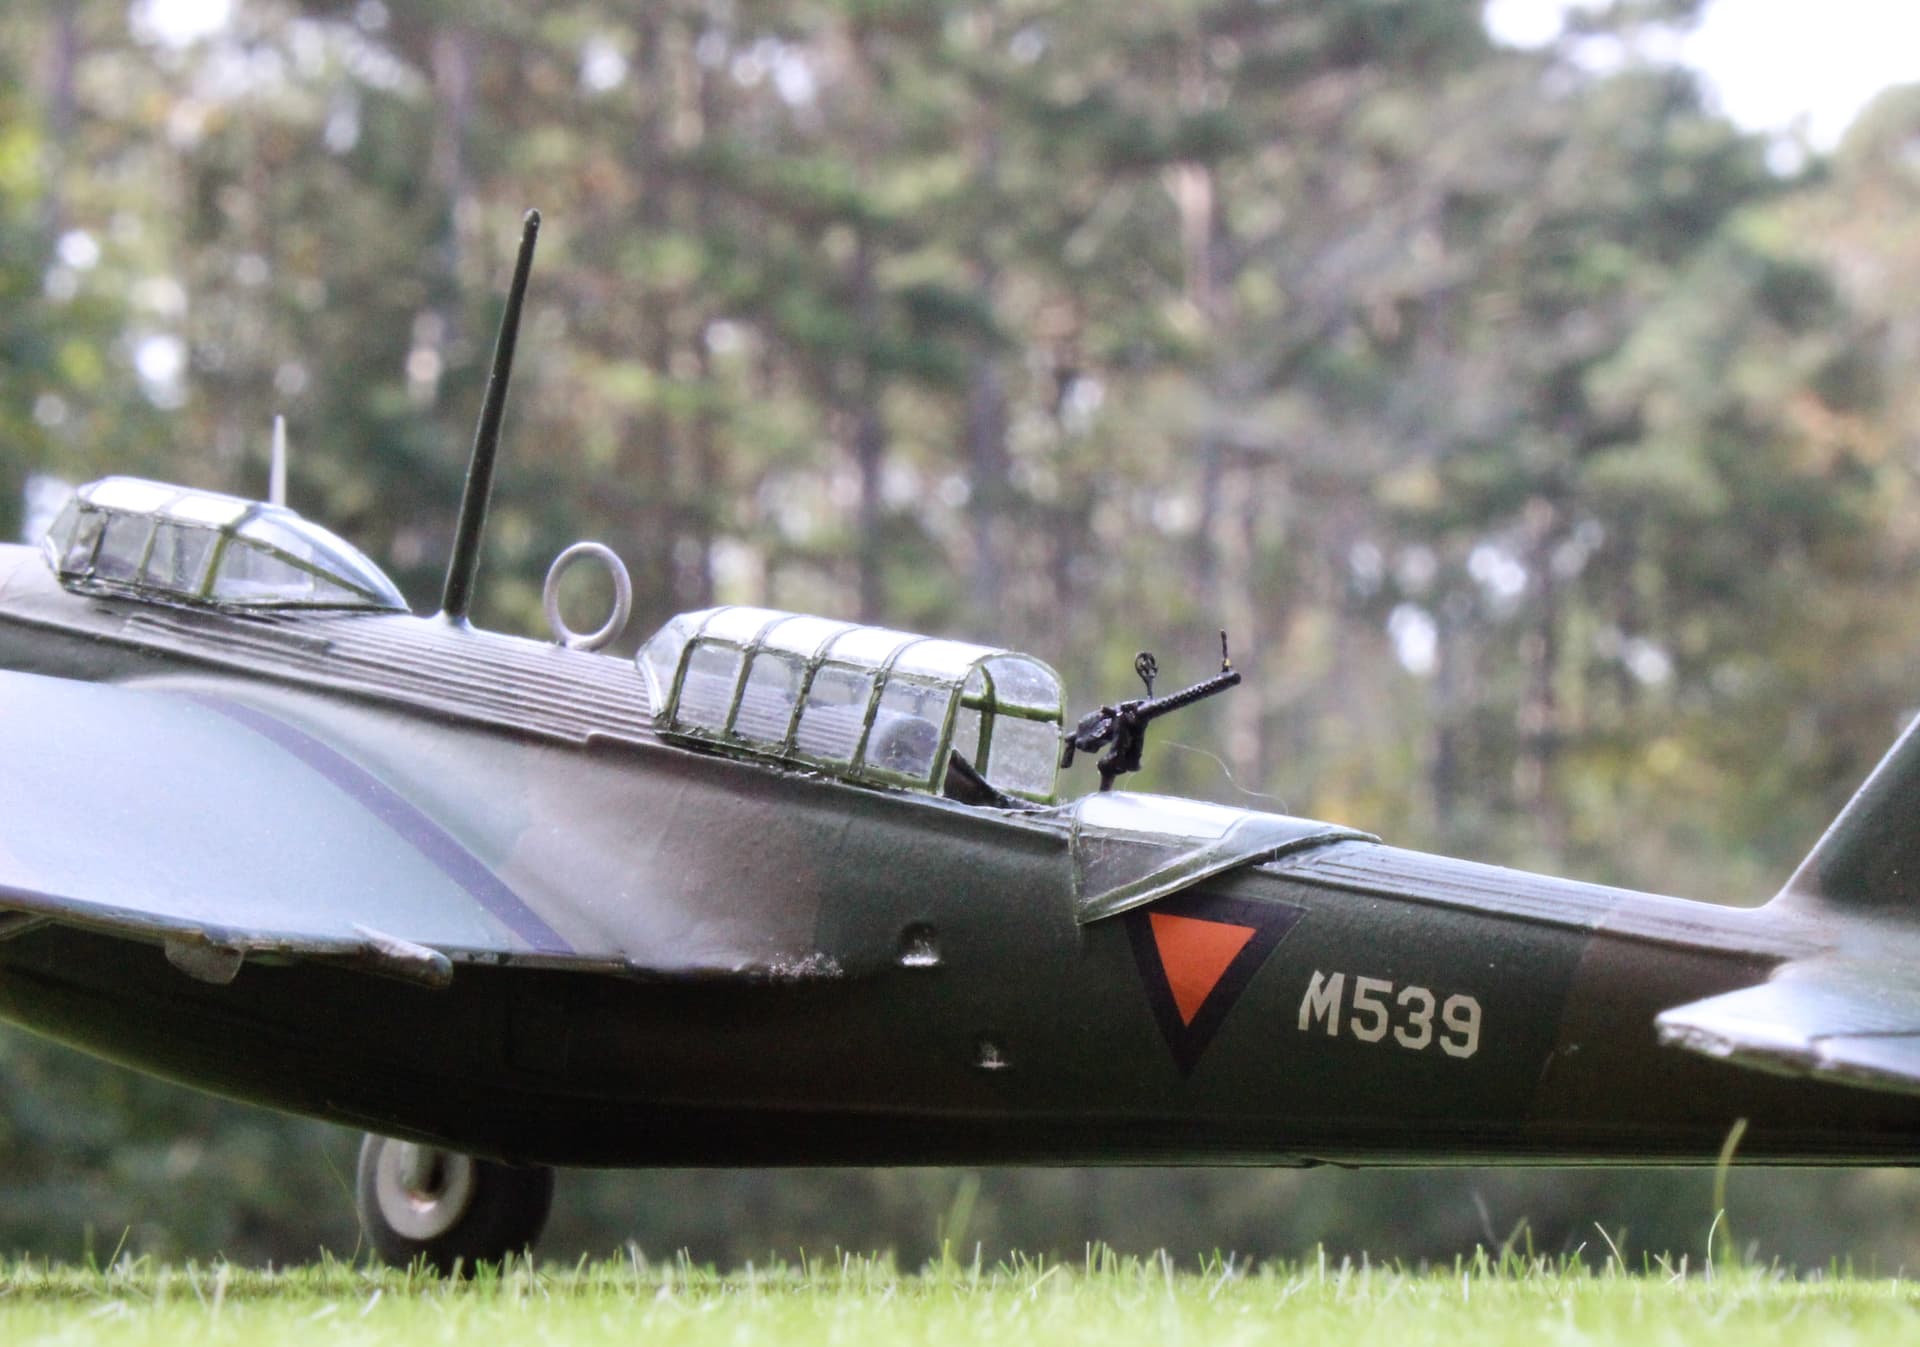
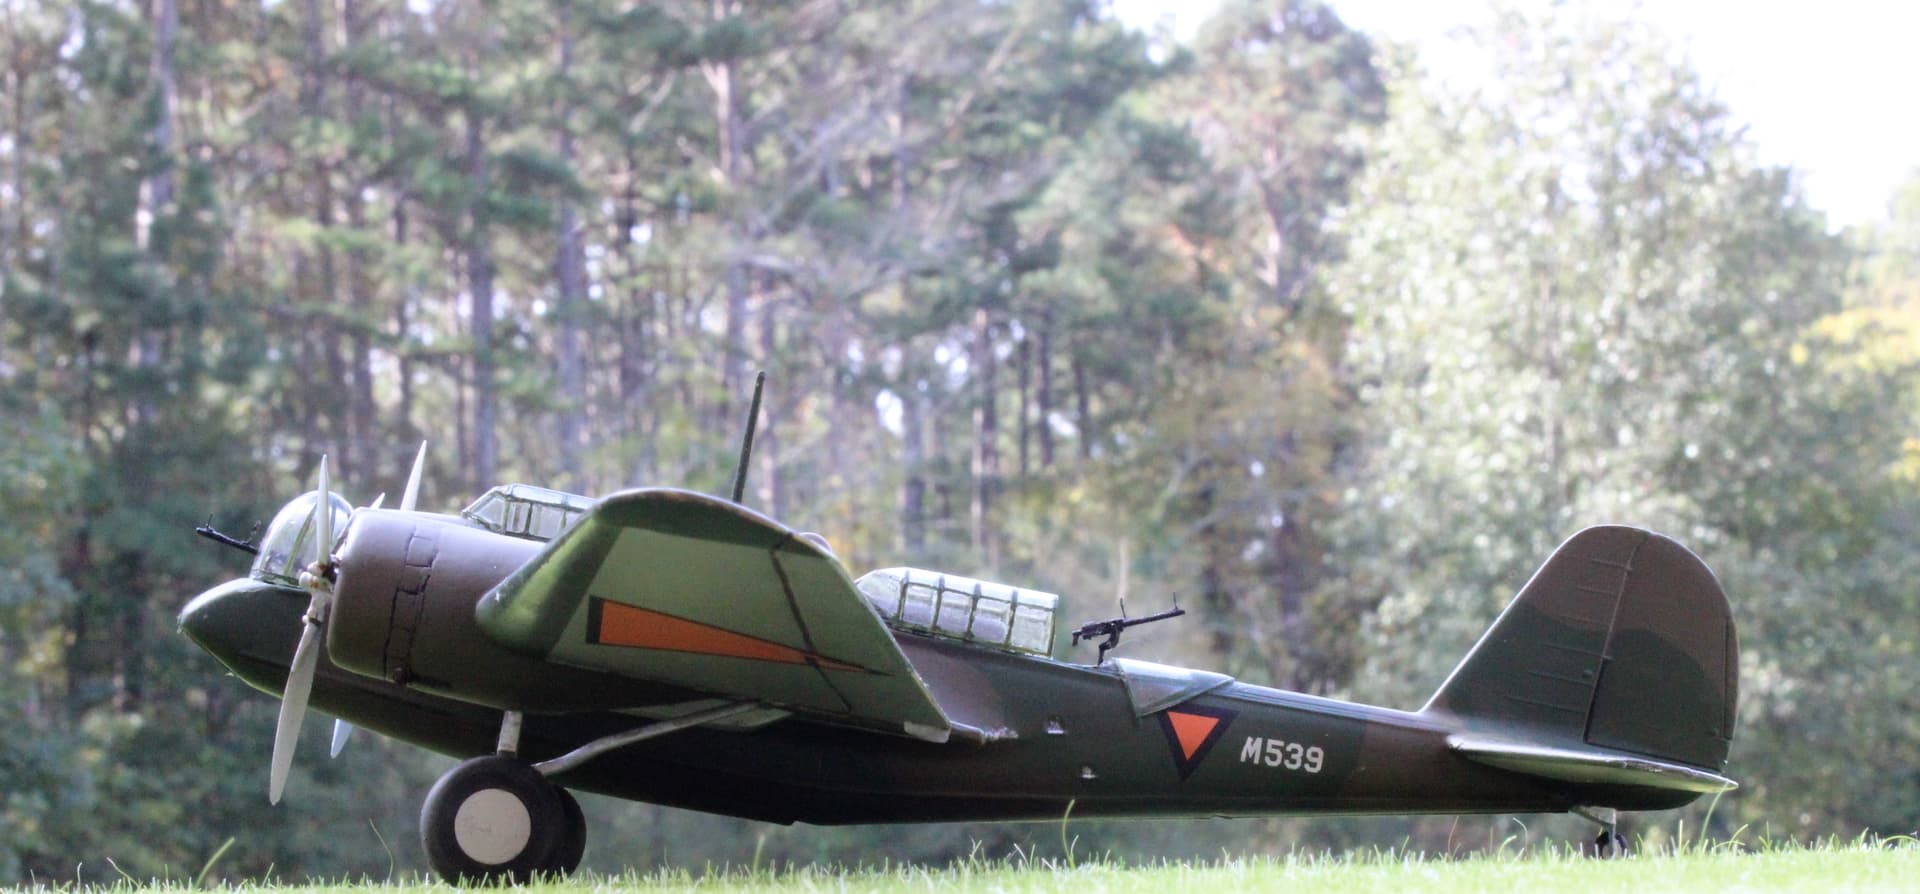
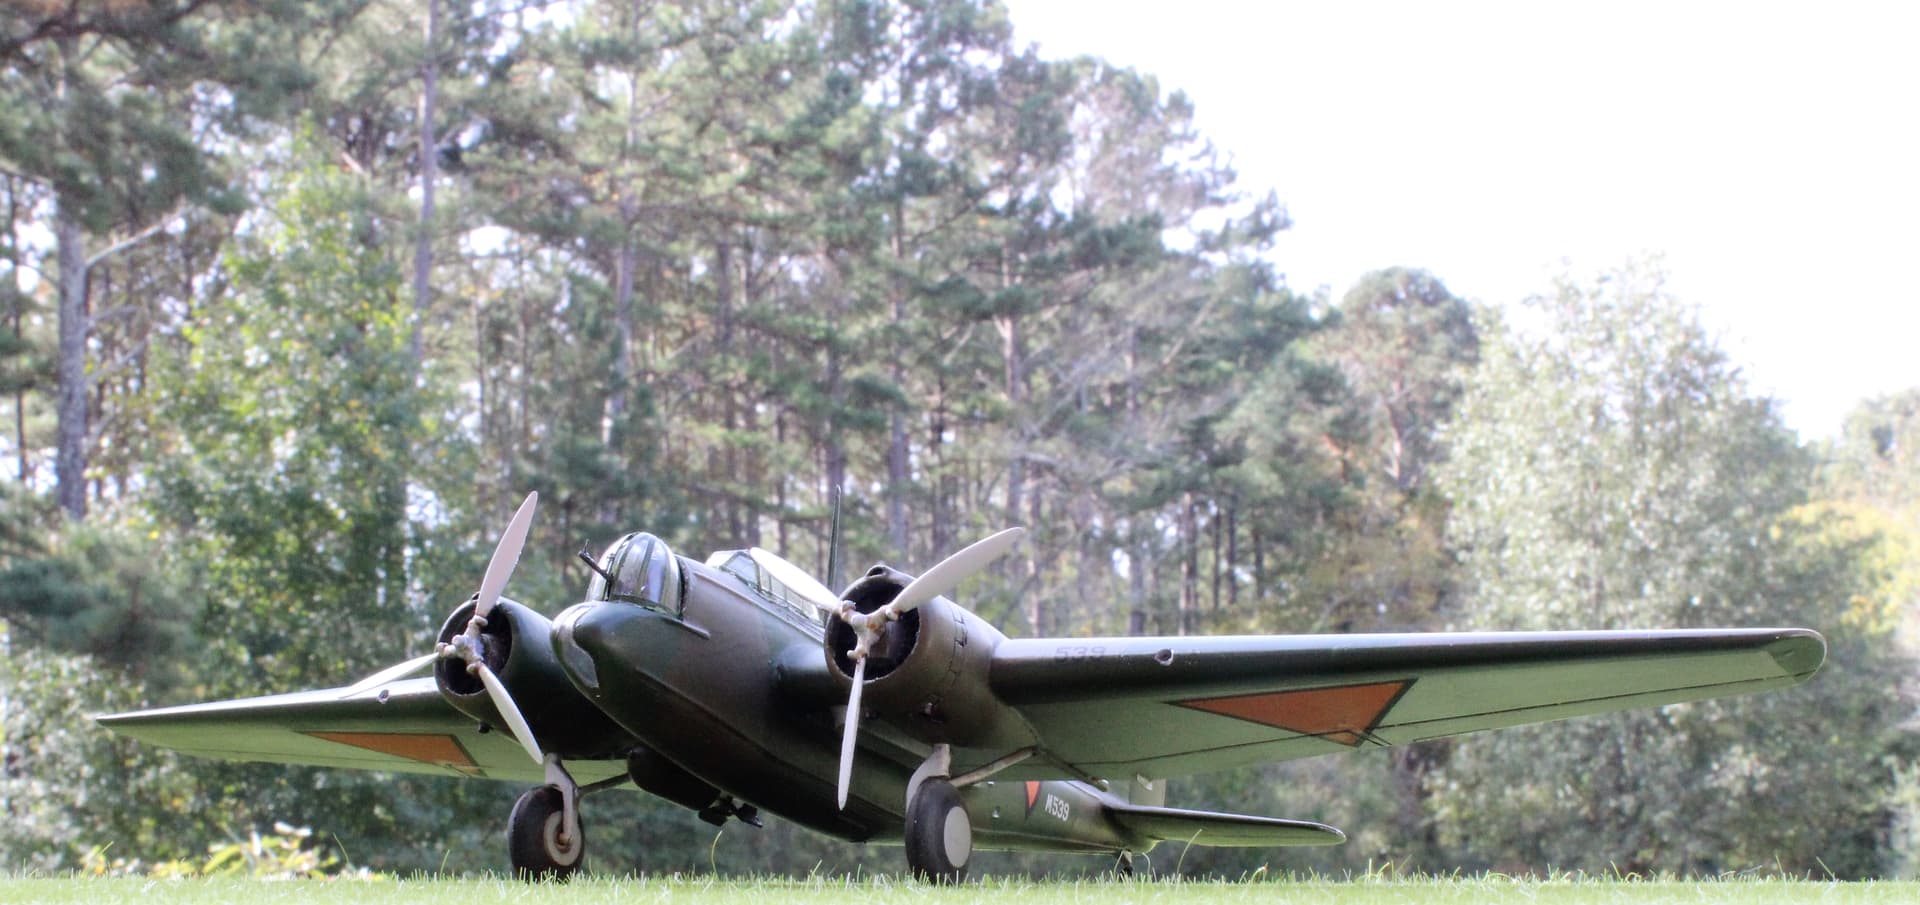
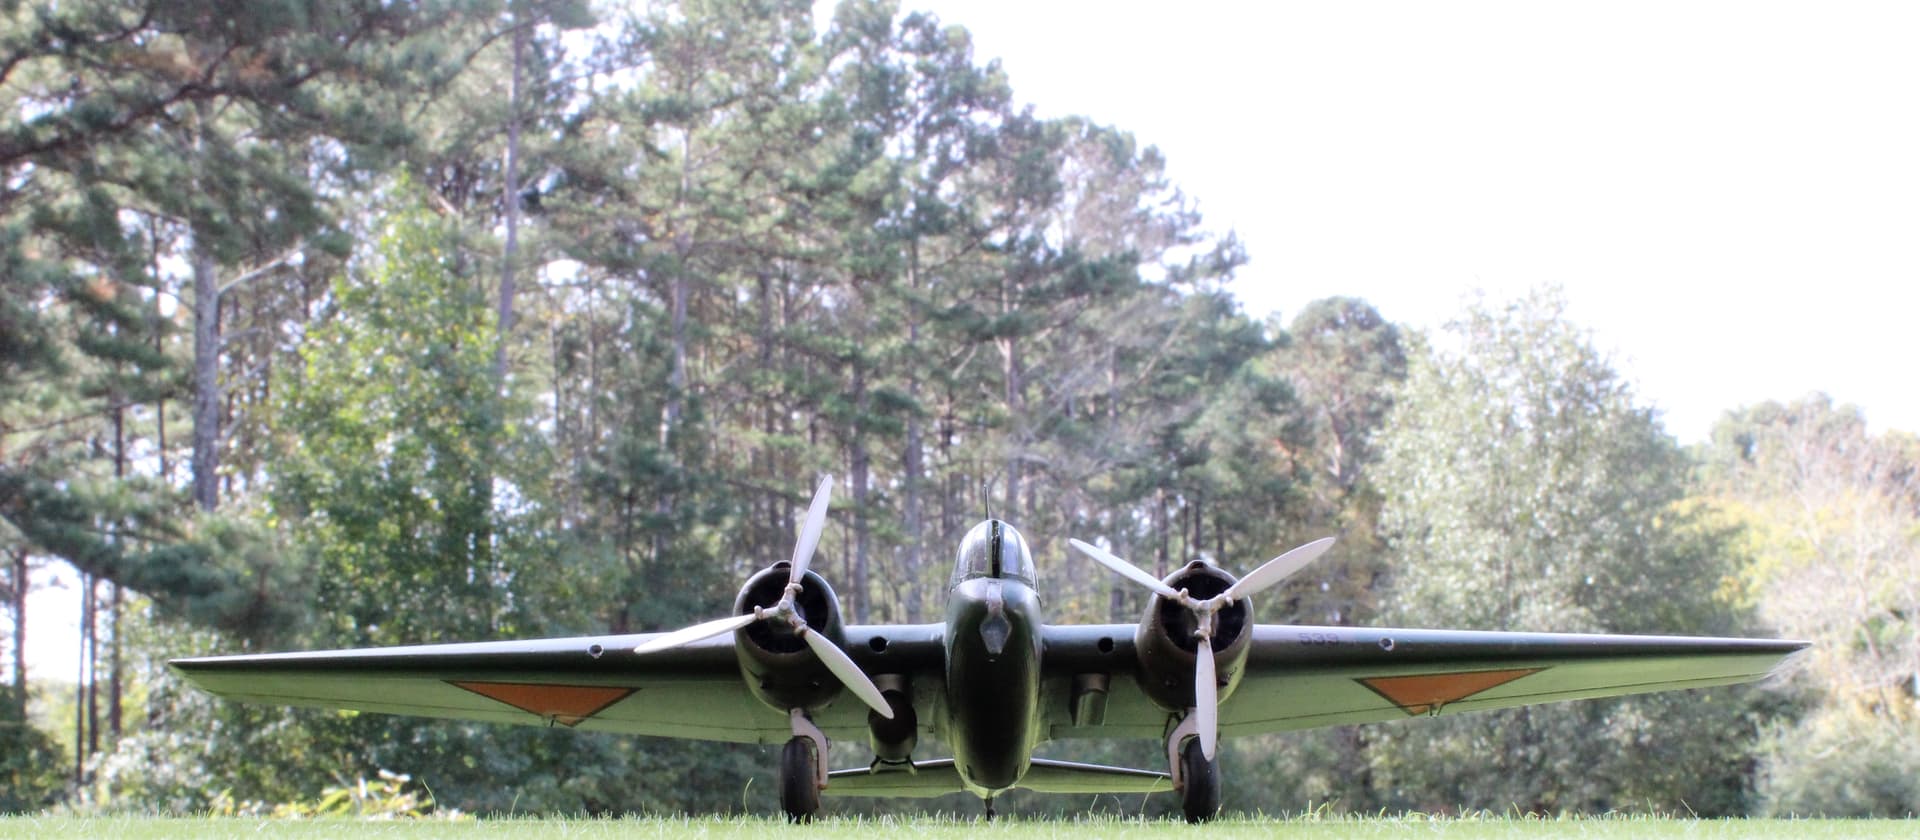
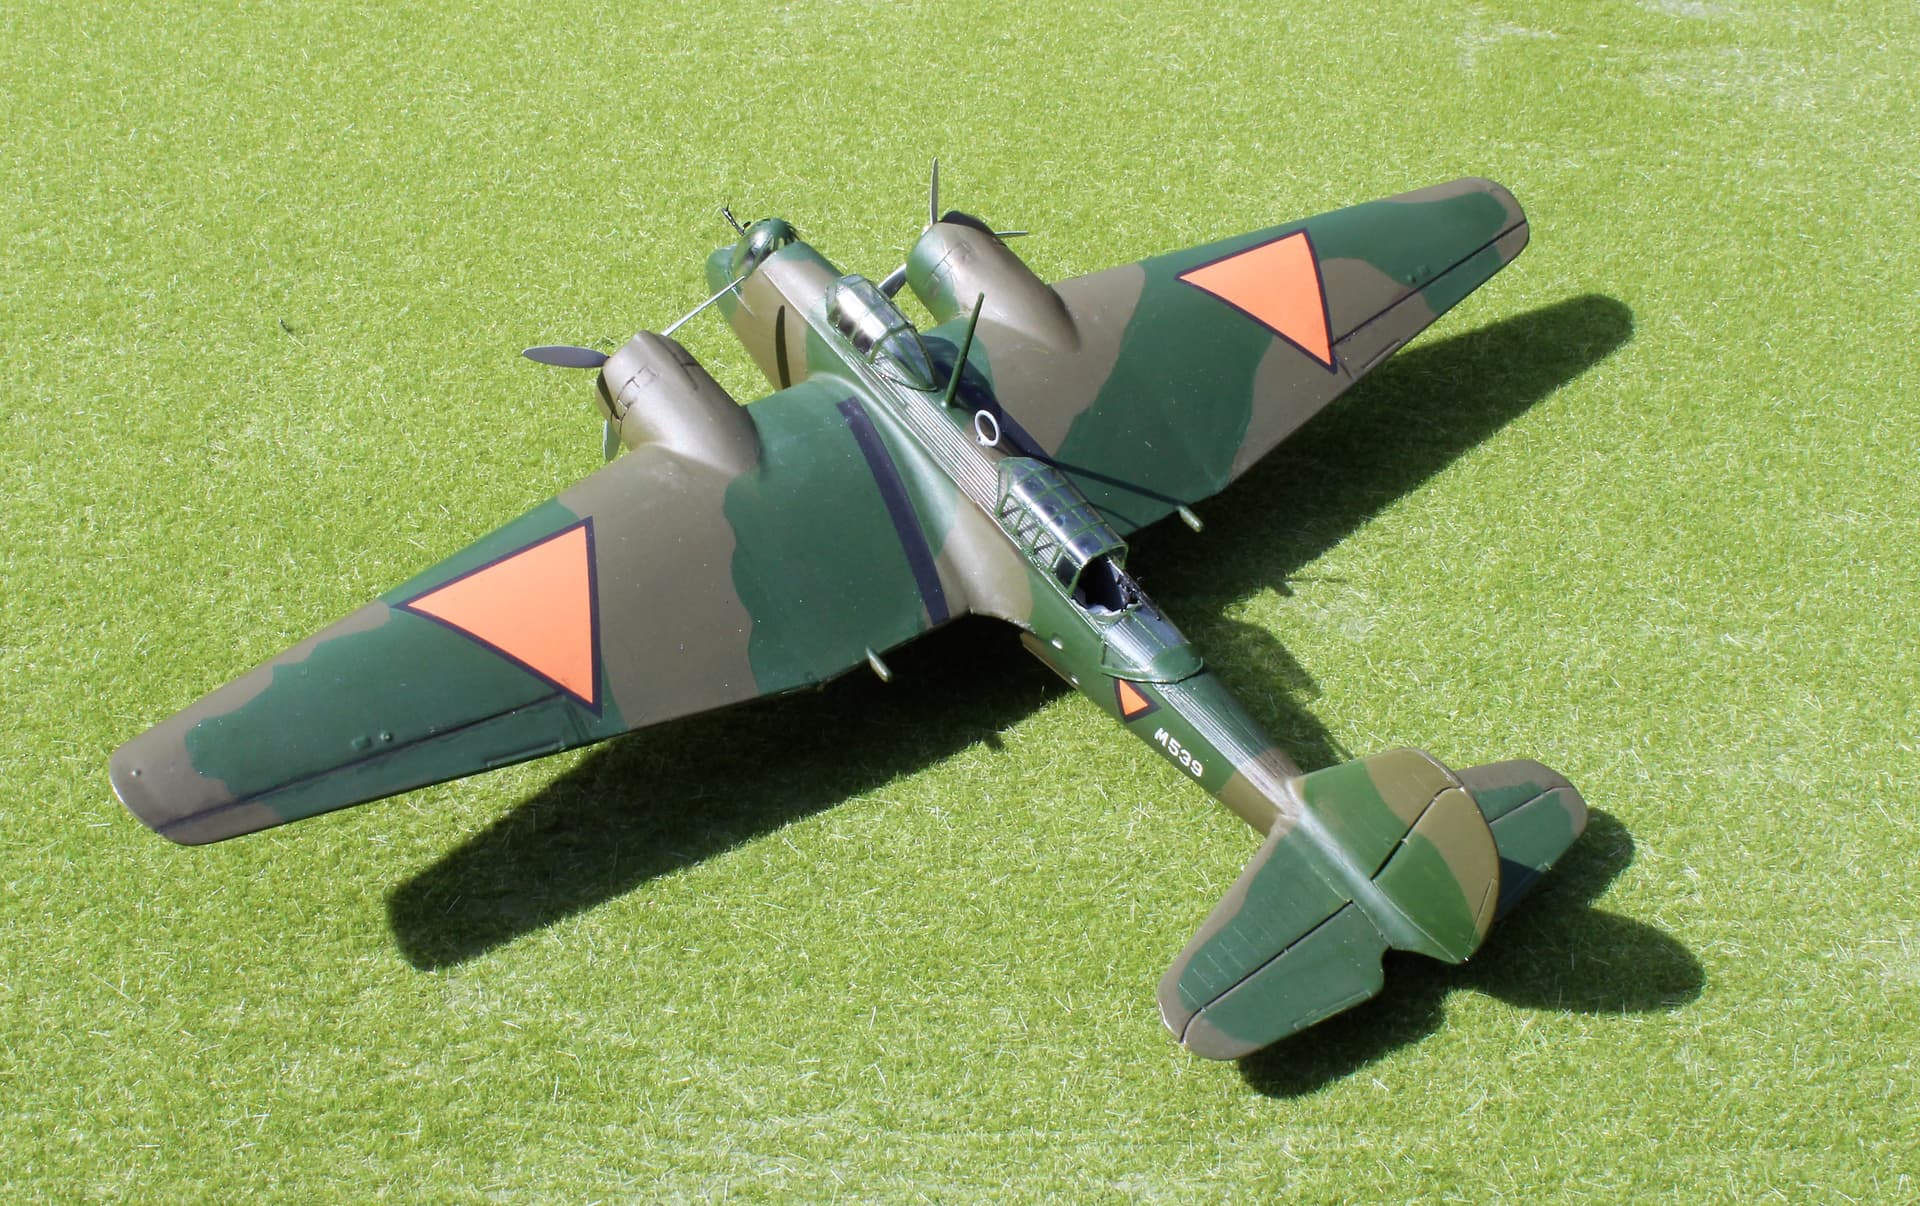
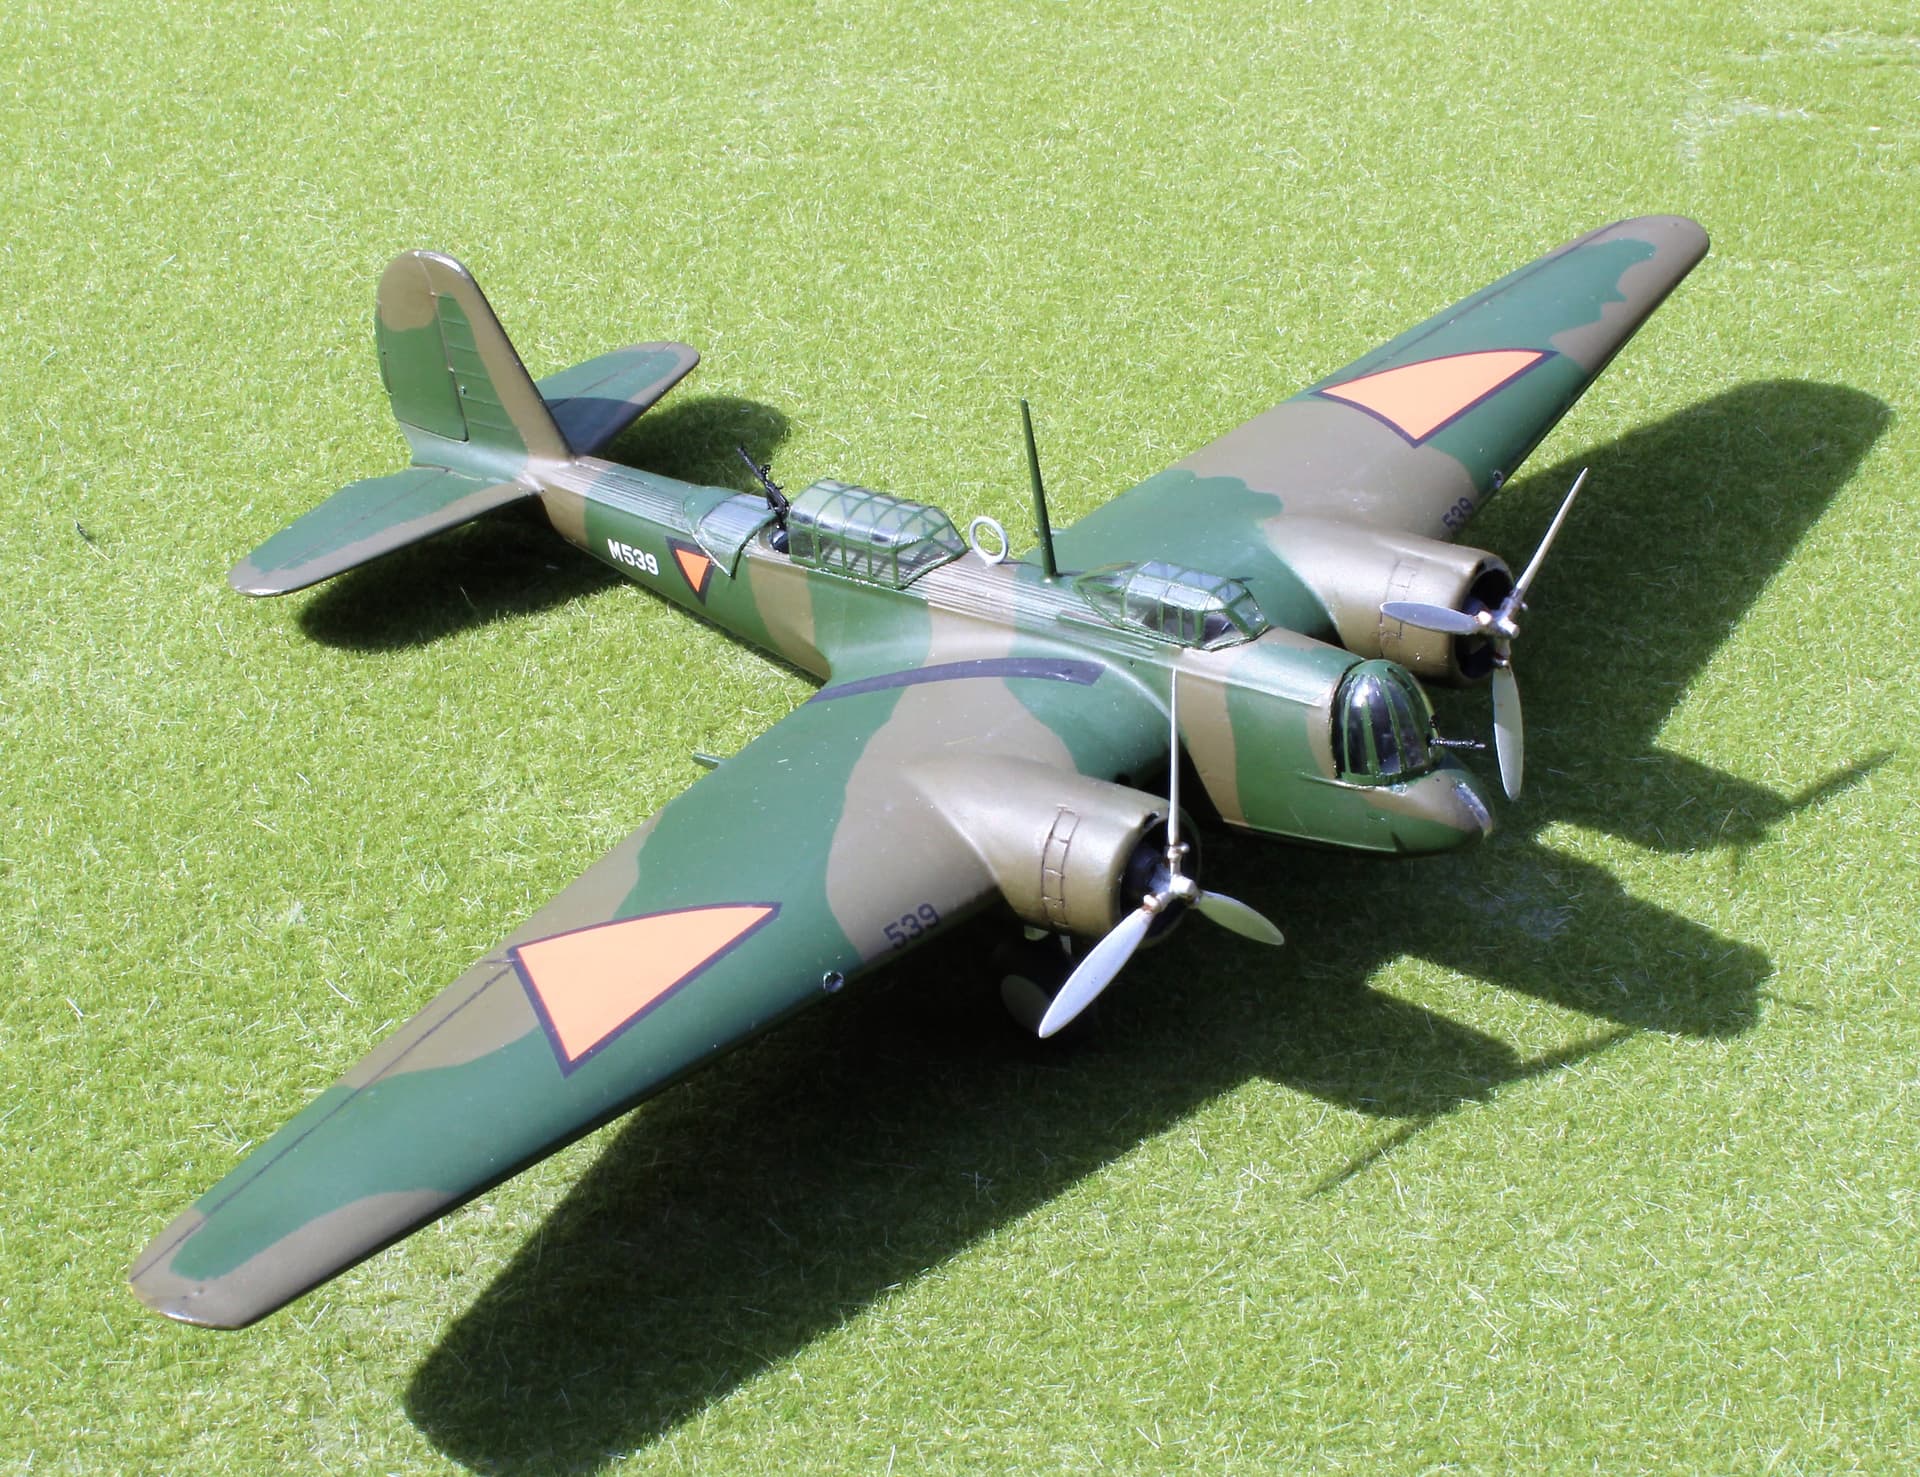
I have finally got this thing painted. In the past I have used Model Master Enamels and Tamiya acrylics. I used AKA interactive on this model, primarily because they had a set of USAAF colors that contained # 42 medium green. I have mixed feelings about it. I first sprayed the model with Tamiya primer.
The AKA paint goes on very smooth and thin, but scratches easily. If you sand it, the paint does not featheredge but seems more like a skin and rolls up. I think I will try Hataka next time.
5 Likes
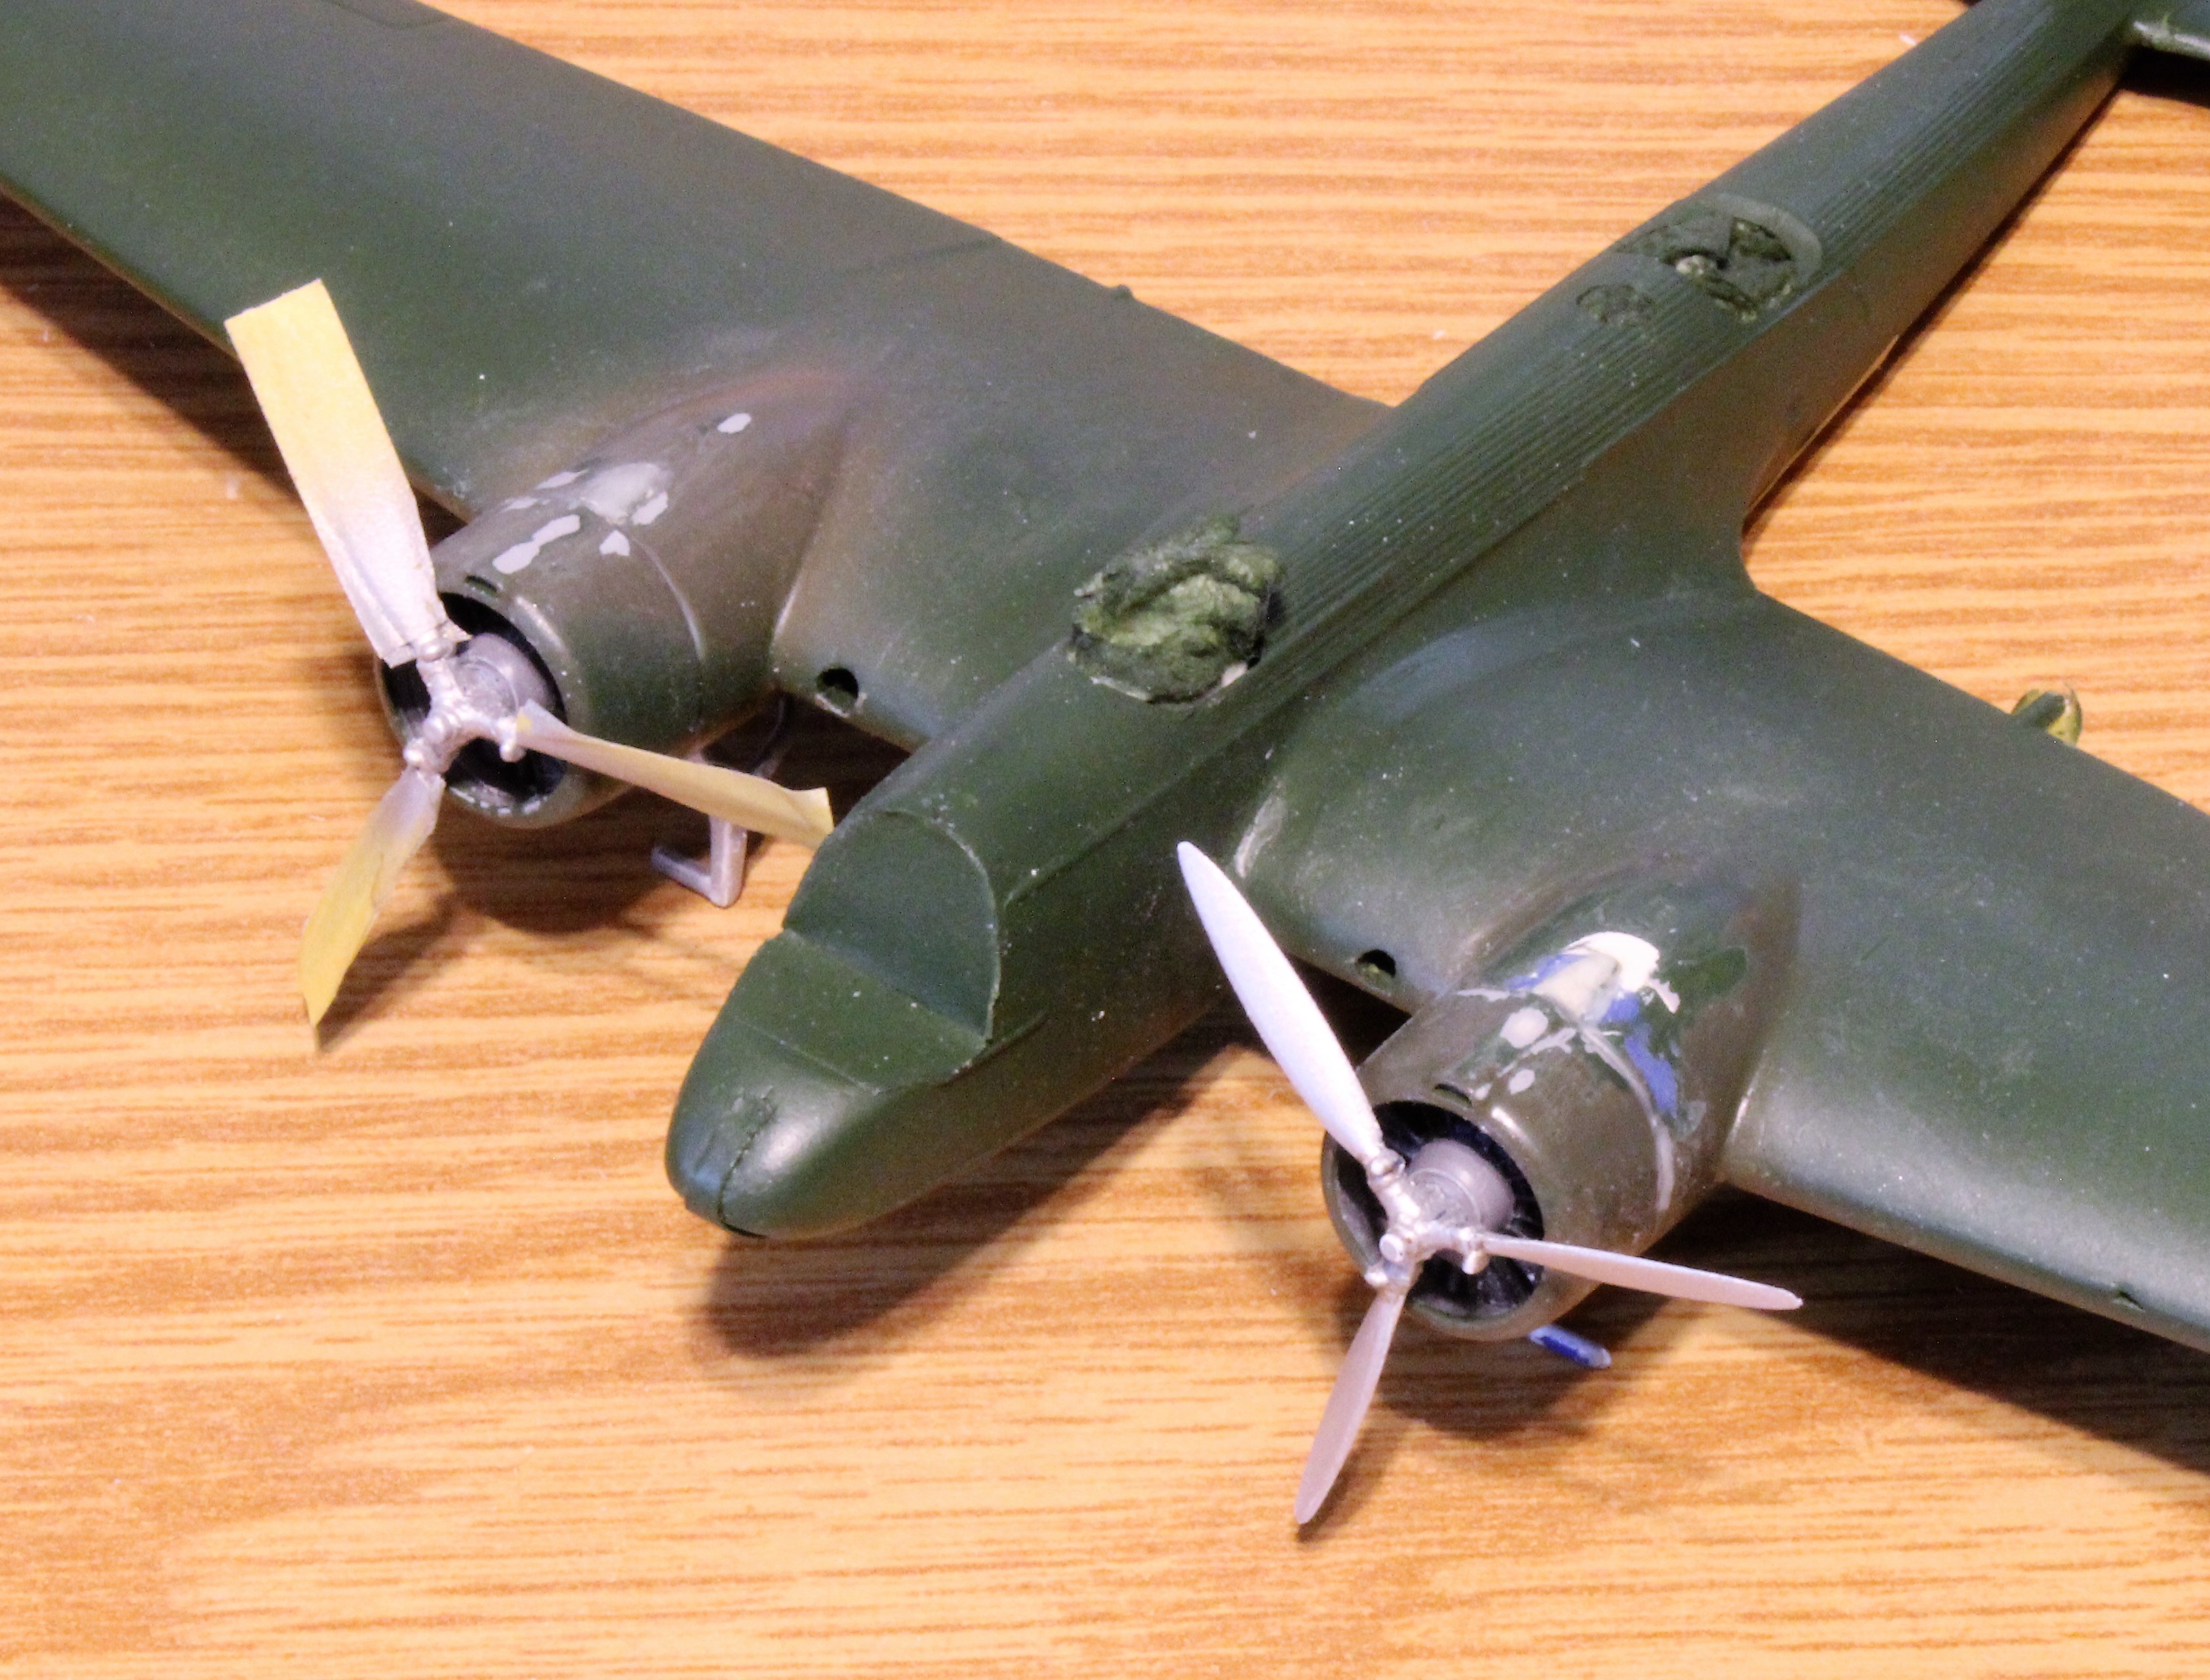
Next, will be clear coat and decals!
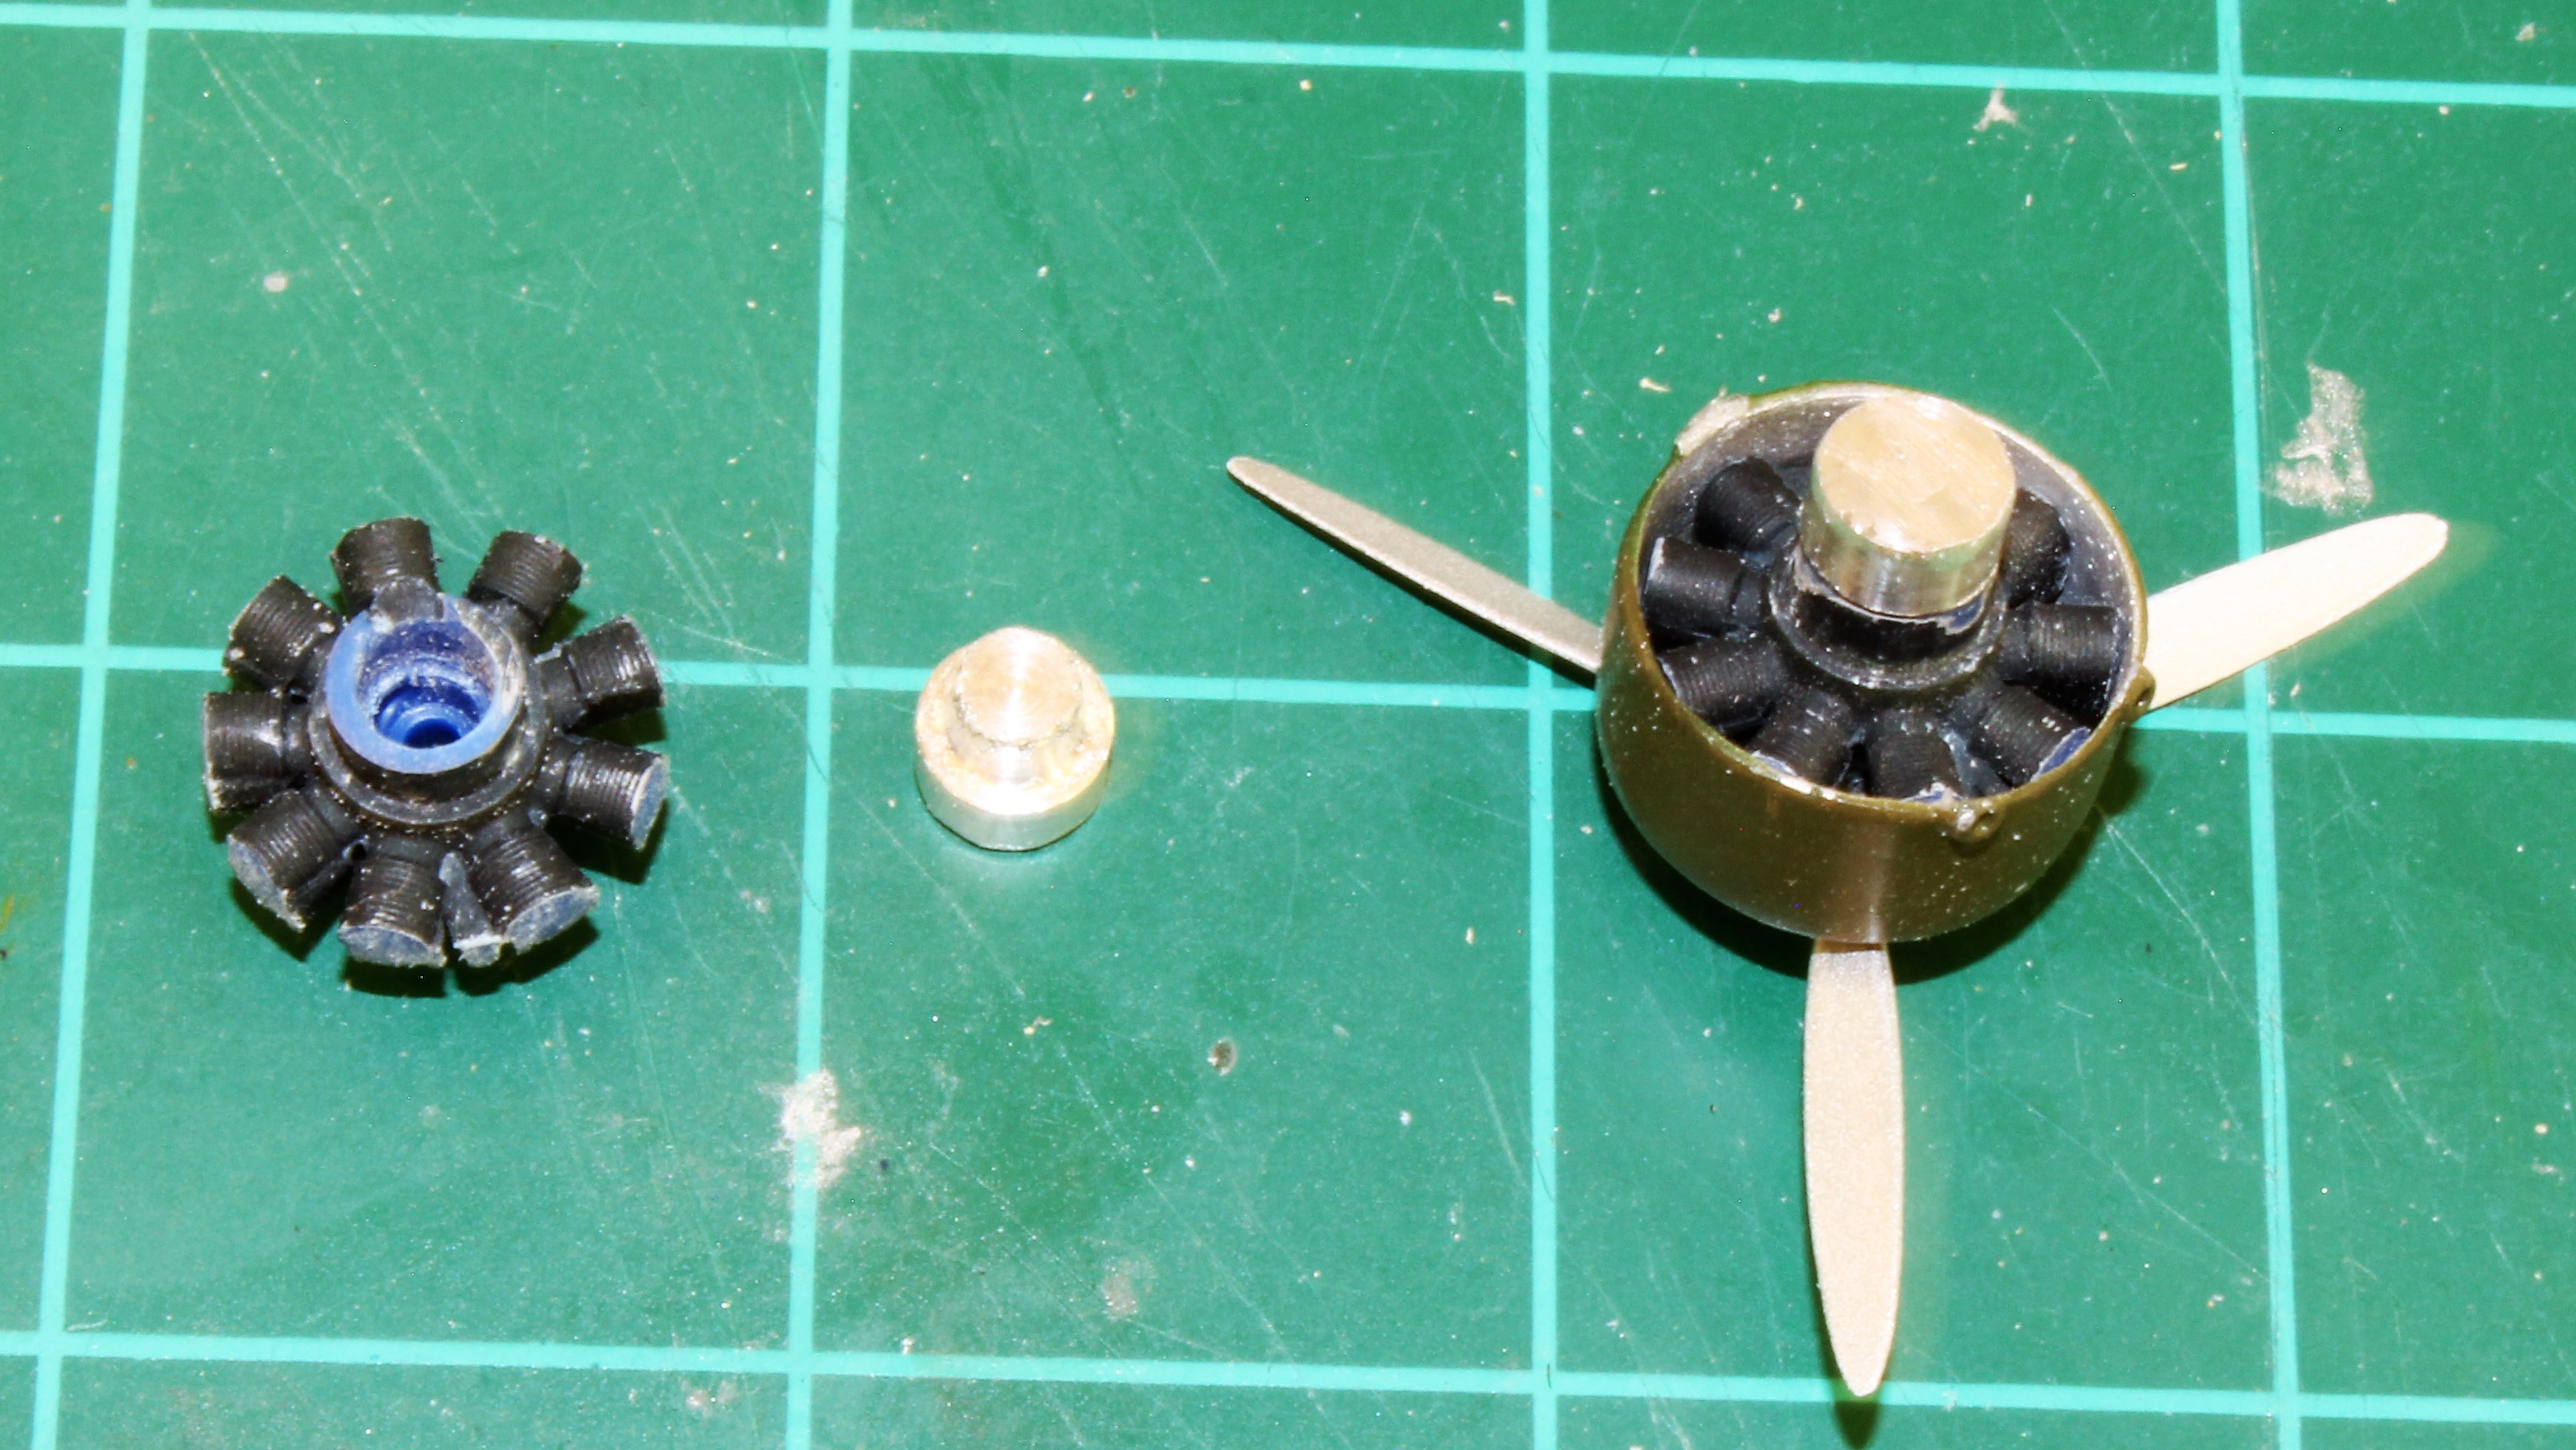
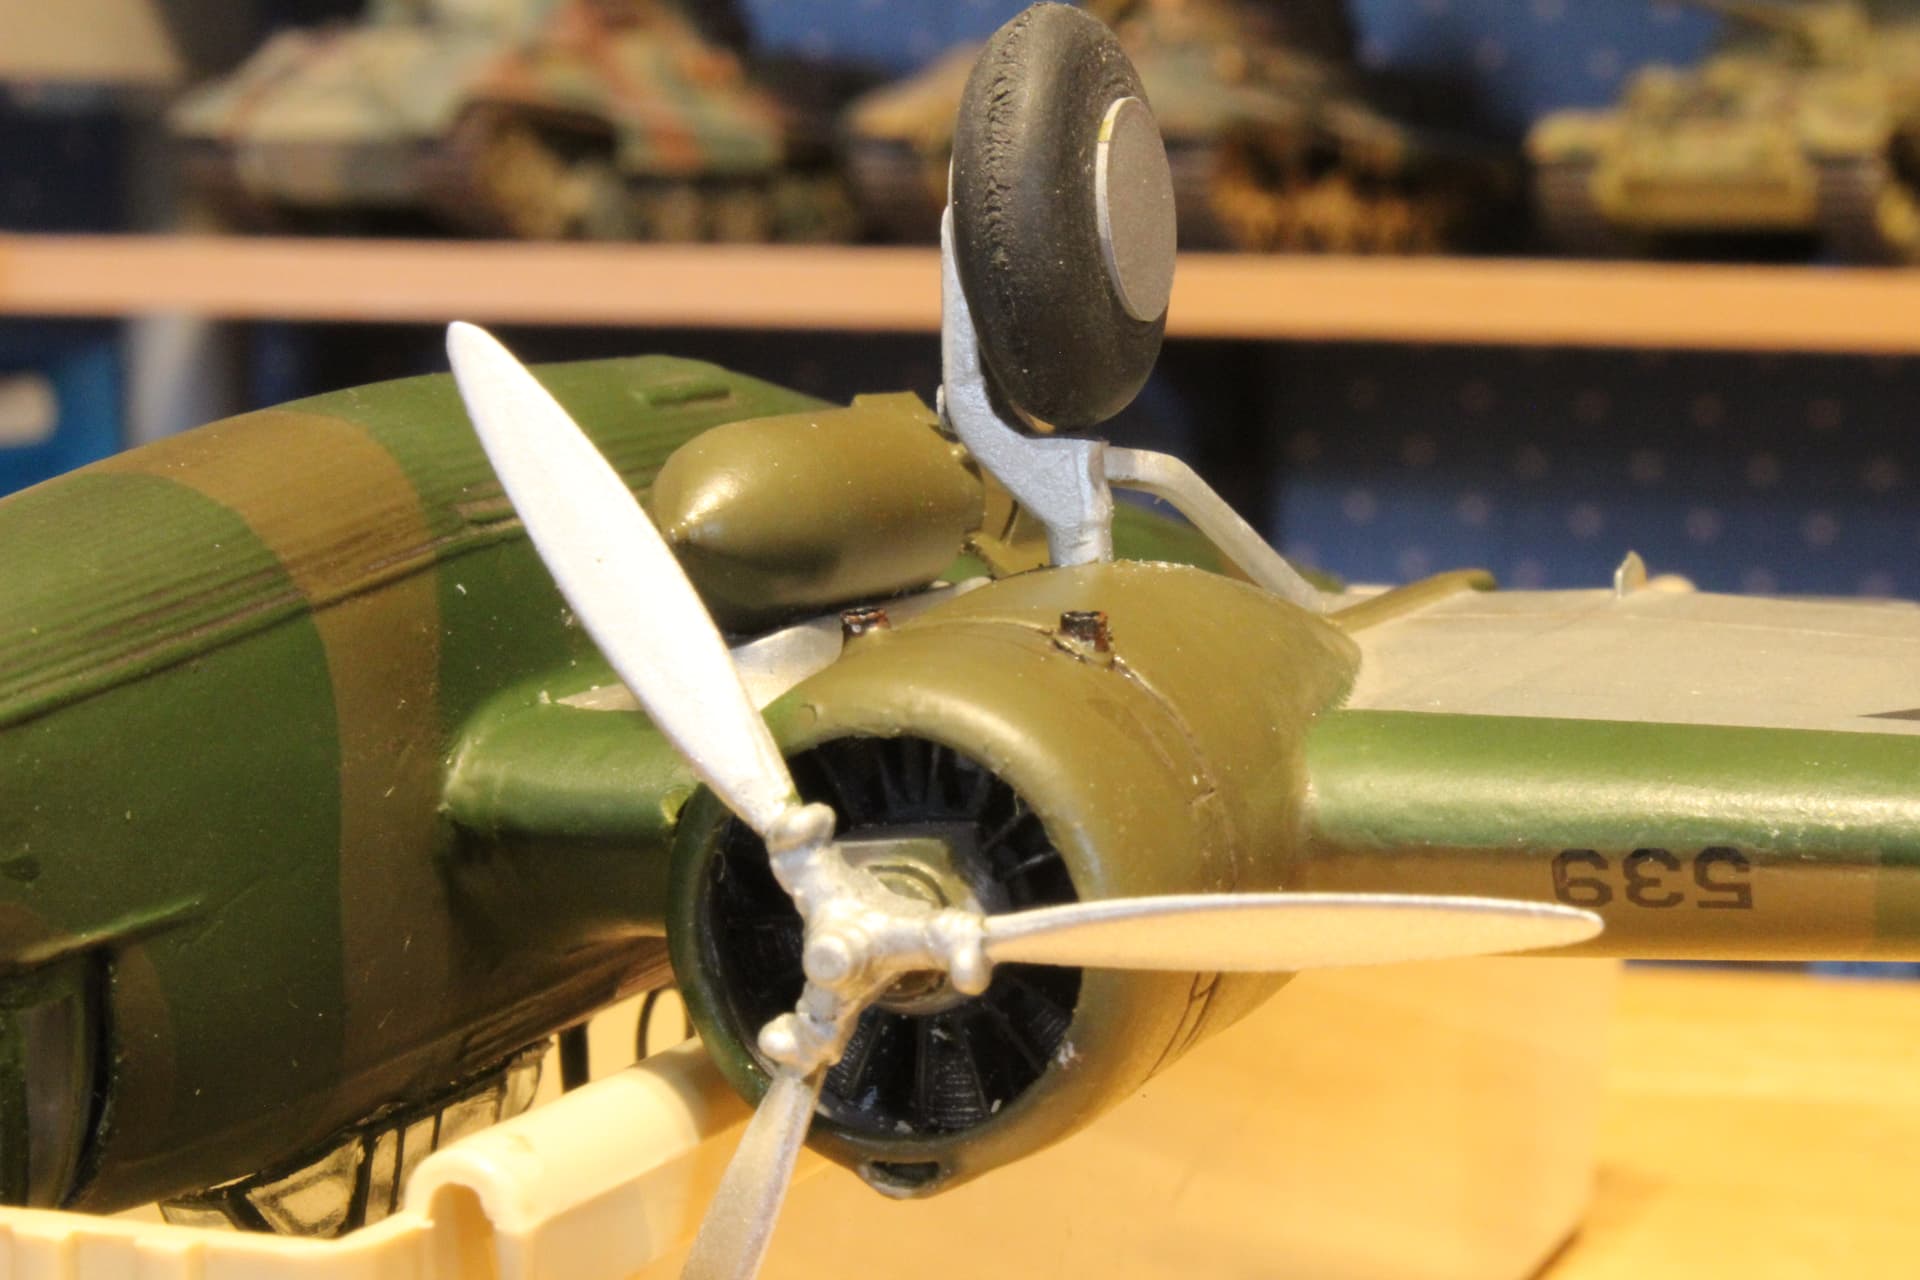
I am getting very close to finishing this model. I made the exhaust stacks out of .060 aluminum tube.
5 Likes
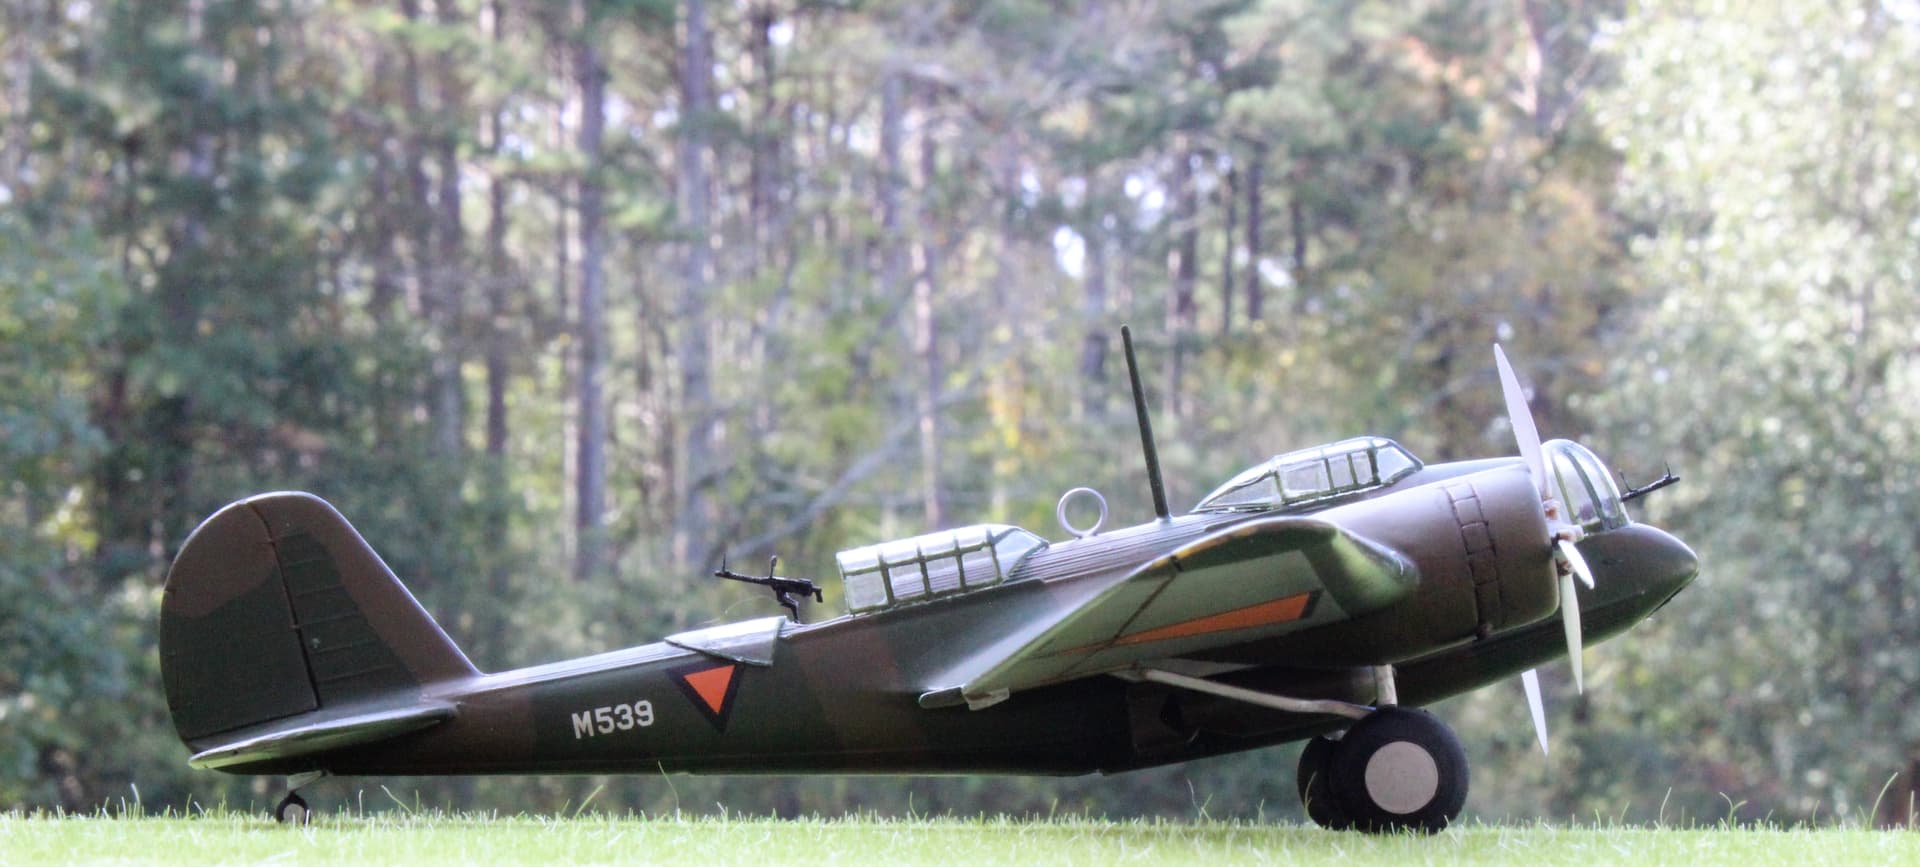
I finished this kit a few weeks ago but computer problems prevented me from uploading photos. Much to my surprise, I got a third place award for this model at the local IPMS show.
11 Likes
Well done!! 
The aircraft itself is still ugly though … 
2 Likes