A quick shout out to member @cosimodo for helping me out with gravity paints!
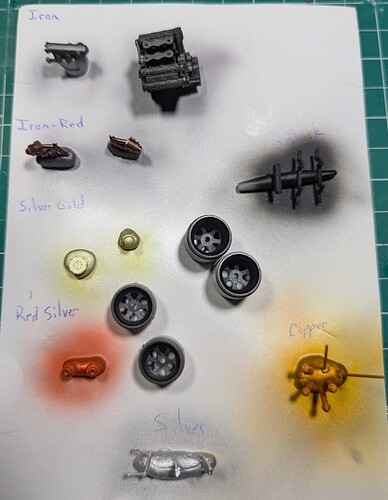
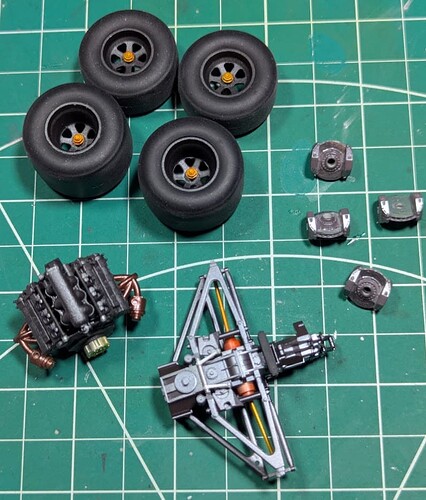
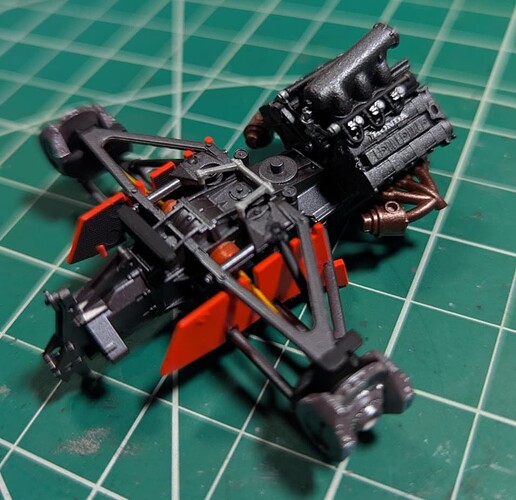
This kit will require a great deal more painting prior to building, and in the middle of building, than my typical aircraft/armor kits do. So I got busy with the various colors needed on various parts.
Had to stop here because there are two body panels that have to be installed around the drive shafts. This meant priming, painting, clearing, polishing two itty bitty panels before going any further. Maybe this is the kind of build that will force me to learn to slow down.
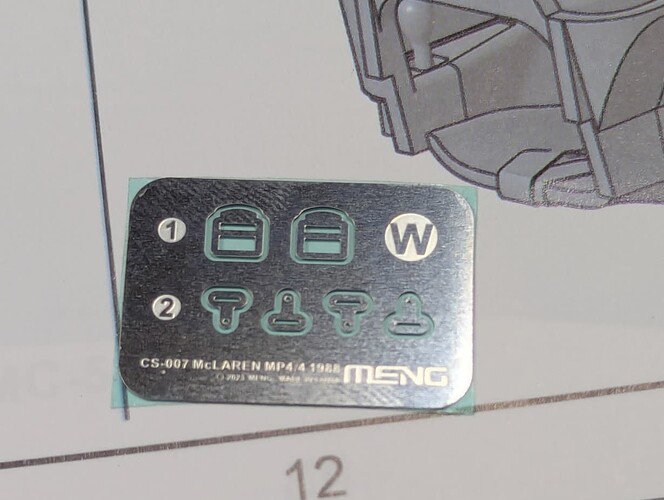
I started working on the safety harness, discovered one thing I’ve never seen before. This (IMO) is revolutionary for PE! My biggest problem with PE is cutting the parts from the “sprue”, I either bend/malform the part slightly, or I leave little tabs that are a pain to remove. Well lookie here what Meng did!
I’ve seen PE come with the clear adhesive backing before, that helps prevent the part from flying off when cut. But look closer…no tabs…the parts are free floating!
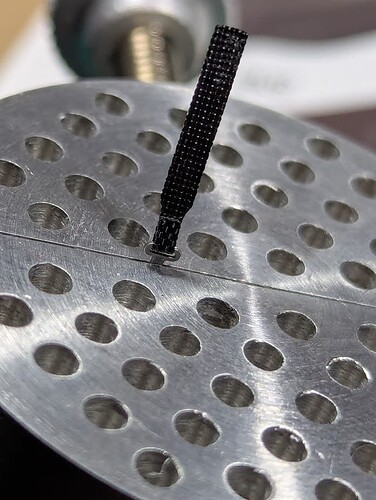
That made getting them threaded into the belts super easy, not having to try and sand off the tabs I mean.
I’ve never threaded cloth belts onto metal buckles so easily before, and the cloth came with adhesive backing which made binding it to itself super easy too. Other manufacturers should step up their game.
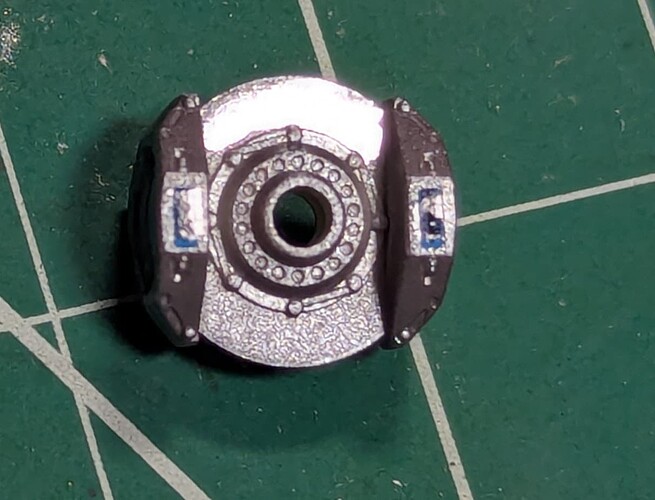
I’m experimenting with new paints, in this case a “chrome”. I never thought it would be as shiny as it is. It is really too shiny for a rotor I think, but it does set off the hub and calipers. With a test fit of the wheels these are barely visible, so I’ll go with it on this kit, but note some chrome is really REALLY chrome.
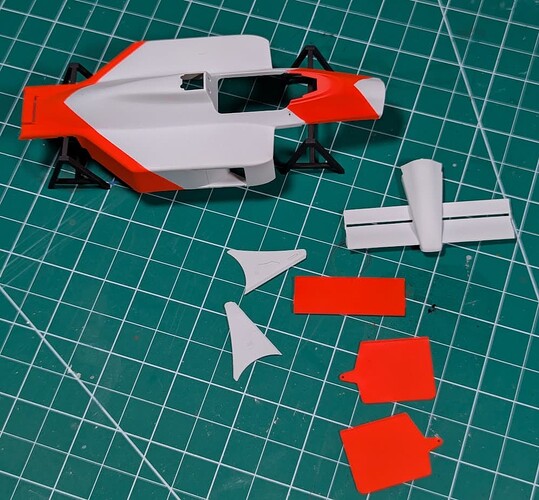
Speaking of experimenting with paint, I’ve decided to use Gravity brand on the body. So this shot shows my first use of the McLaren red which is slightly neon in shade. These are the two body panels I mentioned earlier. You can sort of see the carbon-fiber decal on the inside portion. You can also see some ejection pin marks I thought would not show up…grrrr.
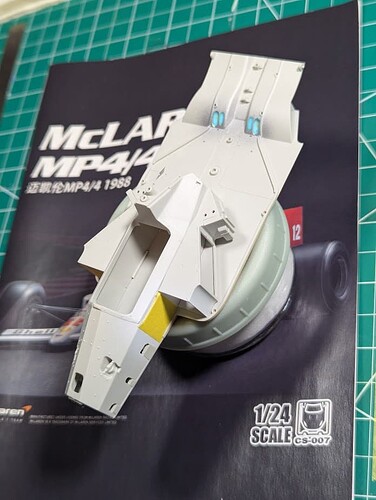
I put some color down without primer. Relatively small sections, and I do not know what the pale yellow represents. Modern F1 cars have wooden planks with titanium skids, but no idea what that material was in the late 80s. Also see there’s some metal heat shields for the exhaust, there to protect the real carbon-fiber, got that all covered up for a shot of primer then gloss black.
Back to Gravity paint. There’s a small section of the inner survival tub that was painted body-white. I had to prime is with 1500-white, then paint it with the Gravity “Titanium White”, clear coat and modest polishing. Just so I could mask it and do the primer/gloss black thing to these parts too. A lot of work for two little white squares. I’m not sure if the metal exhaust plates on the inside will be visible from the outside, but I covered the ports with liquid mask anyway.
