Hey Collin, these look GREAT! You did a fantastic paint job, and I’m glad you enjoyed them. I am the designer / seller of these models, and I think I probably owe a good number of my sales you your build log here. ; ]
Thanks for sharing the link, and keep up the great work with the kit!
My engines are on the way. Looking forward to seeing them. I may have to move this kit up in the build schedule. Working on the Takom Renault FT-17 1/16 scale Berliet turret right now.
FWIW, I don’t think you’ll be disappointed with the engines. I know I was very happy.
Just be patient and careful cleaning up the print supports (kind of like sprue attachment points on regular kit parts). I’ve found that 3D printed parts can be a bit brittle, so some care in tooling them is needed (sawing, drilling, filing, etc.). A gentle scrub with a detergent and warm water wouldn’t be out of order, either.
(BTW, this is my first attempt to post in a thread by replying to an email notice, so I have no idea how this will actually come out. Apologies in advance if this reply seems like total nonsense… LOL!)
Thanks for the advice on cleanup. My wife got 4 TMNT figures 3D printed that I had to do a bit of work on but they were not at all fragile. These will be a different animal.
A lot depends on the type of resin used to print the parts and how much post-printing UV light curing has been done. Some resins are much more brittle than others and some are actually intended to be soft like vinyl or rubber. Table top gamers who 3D print their own figures spend a lot of time trying to find the perfect custom resin mixes so that if they accidentally drop a figure it won’t break or shatter.
There’s also a huge difference between FDM and SLA / MSLA printed objects along with many other variables.
Right in all regards! After I print these I rinse them in acetone for a minute(ish), let that drain off of them, then rinse the acetone remnants off with an IPA bath. Once that has dried off (or been blown off with air if I am in a hurry), I remove the supports before final curing so that the parts aren’t quite as brittle, then cure them under a UV light for 10 minutes.
They are a bit brittle, I wouldn’t recommend tossing them around, but it is the small details that will break, the main blocks are probably pretty stout.
I use a Mono X printer (4K resolution and .5mm layer height). I use either Elegoo ABS like or regular Elegoo resin because I get great results, it is low odor, and it’s not the cheapest nor highest priced resin out there. I usually use grey resin, but with COVID it hasn’t always been available so I have had to go with some different colors, the ones in this post were translucent red, but I figure that doesn’t matter much since everyone is going to prime and paint them. I can print six sets of motors at one time and they take about 6 hours to print, then cleanup and such adds another 30 minutes for all. Usually out of a batch of six there are one or two that come out wonky, so I toss them into the seconds bin. This is usually a supporting issue or one pops off the print bed due to suction forces.
I am barely able to keep ahead of my orders though, literally sometimes pulling the print of the curing turntable and packaging for shipping. But this is just a hobby for me (for now). ; ]
I am grateful to all of you who have bought my motors, I will keep making them until no one wants any more. Thanks for the tremendous support and excellent feed back, my day job is not at all 3D design related, so it is kinda fun to be shipping these things all over the world to you all!
I don’t want to turn this into a sales feed, but check out my other options too, my goal is to provide the modelling community some discounted options for the little bits we add onto our kits or dioramas so we don’t have to pay the same price for the stowage as we did for the kit. …
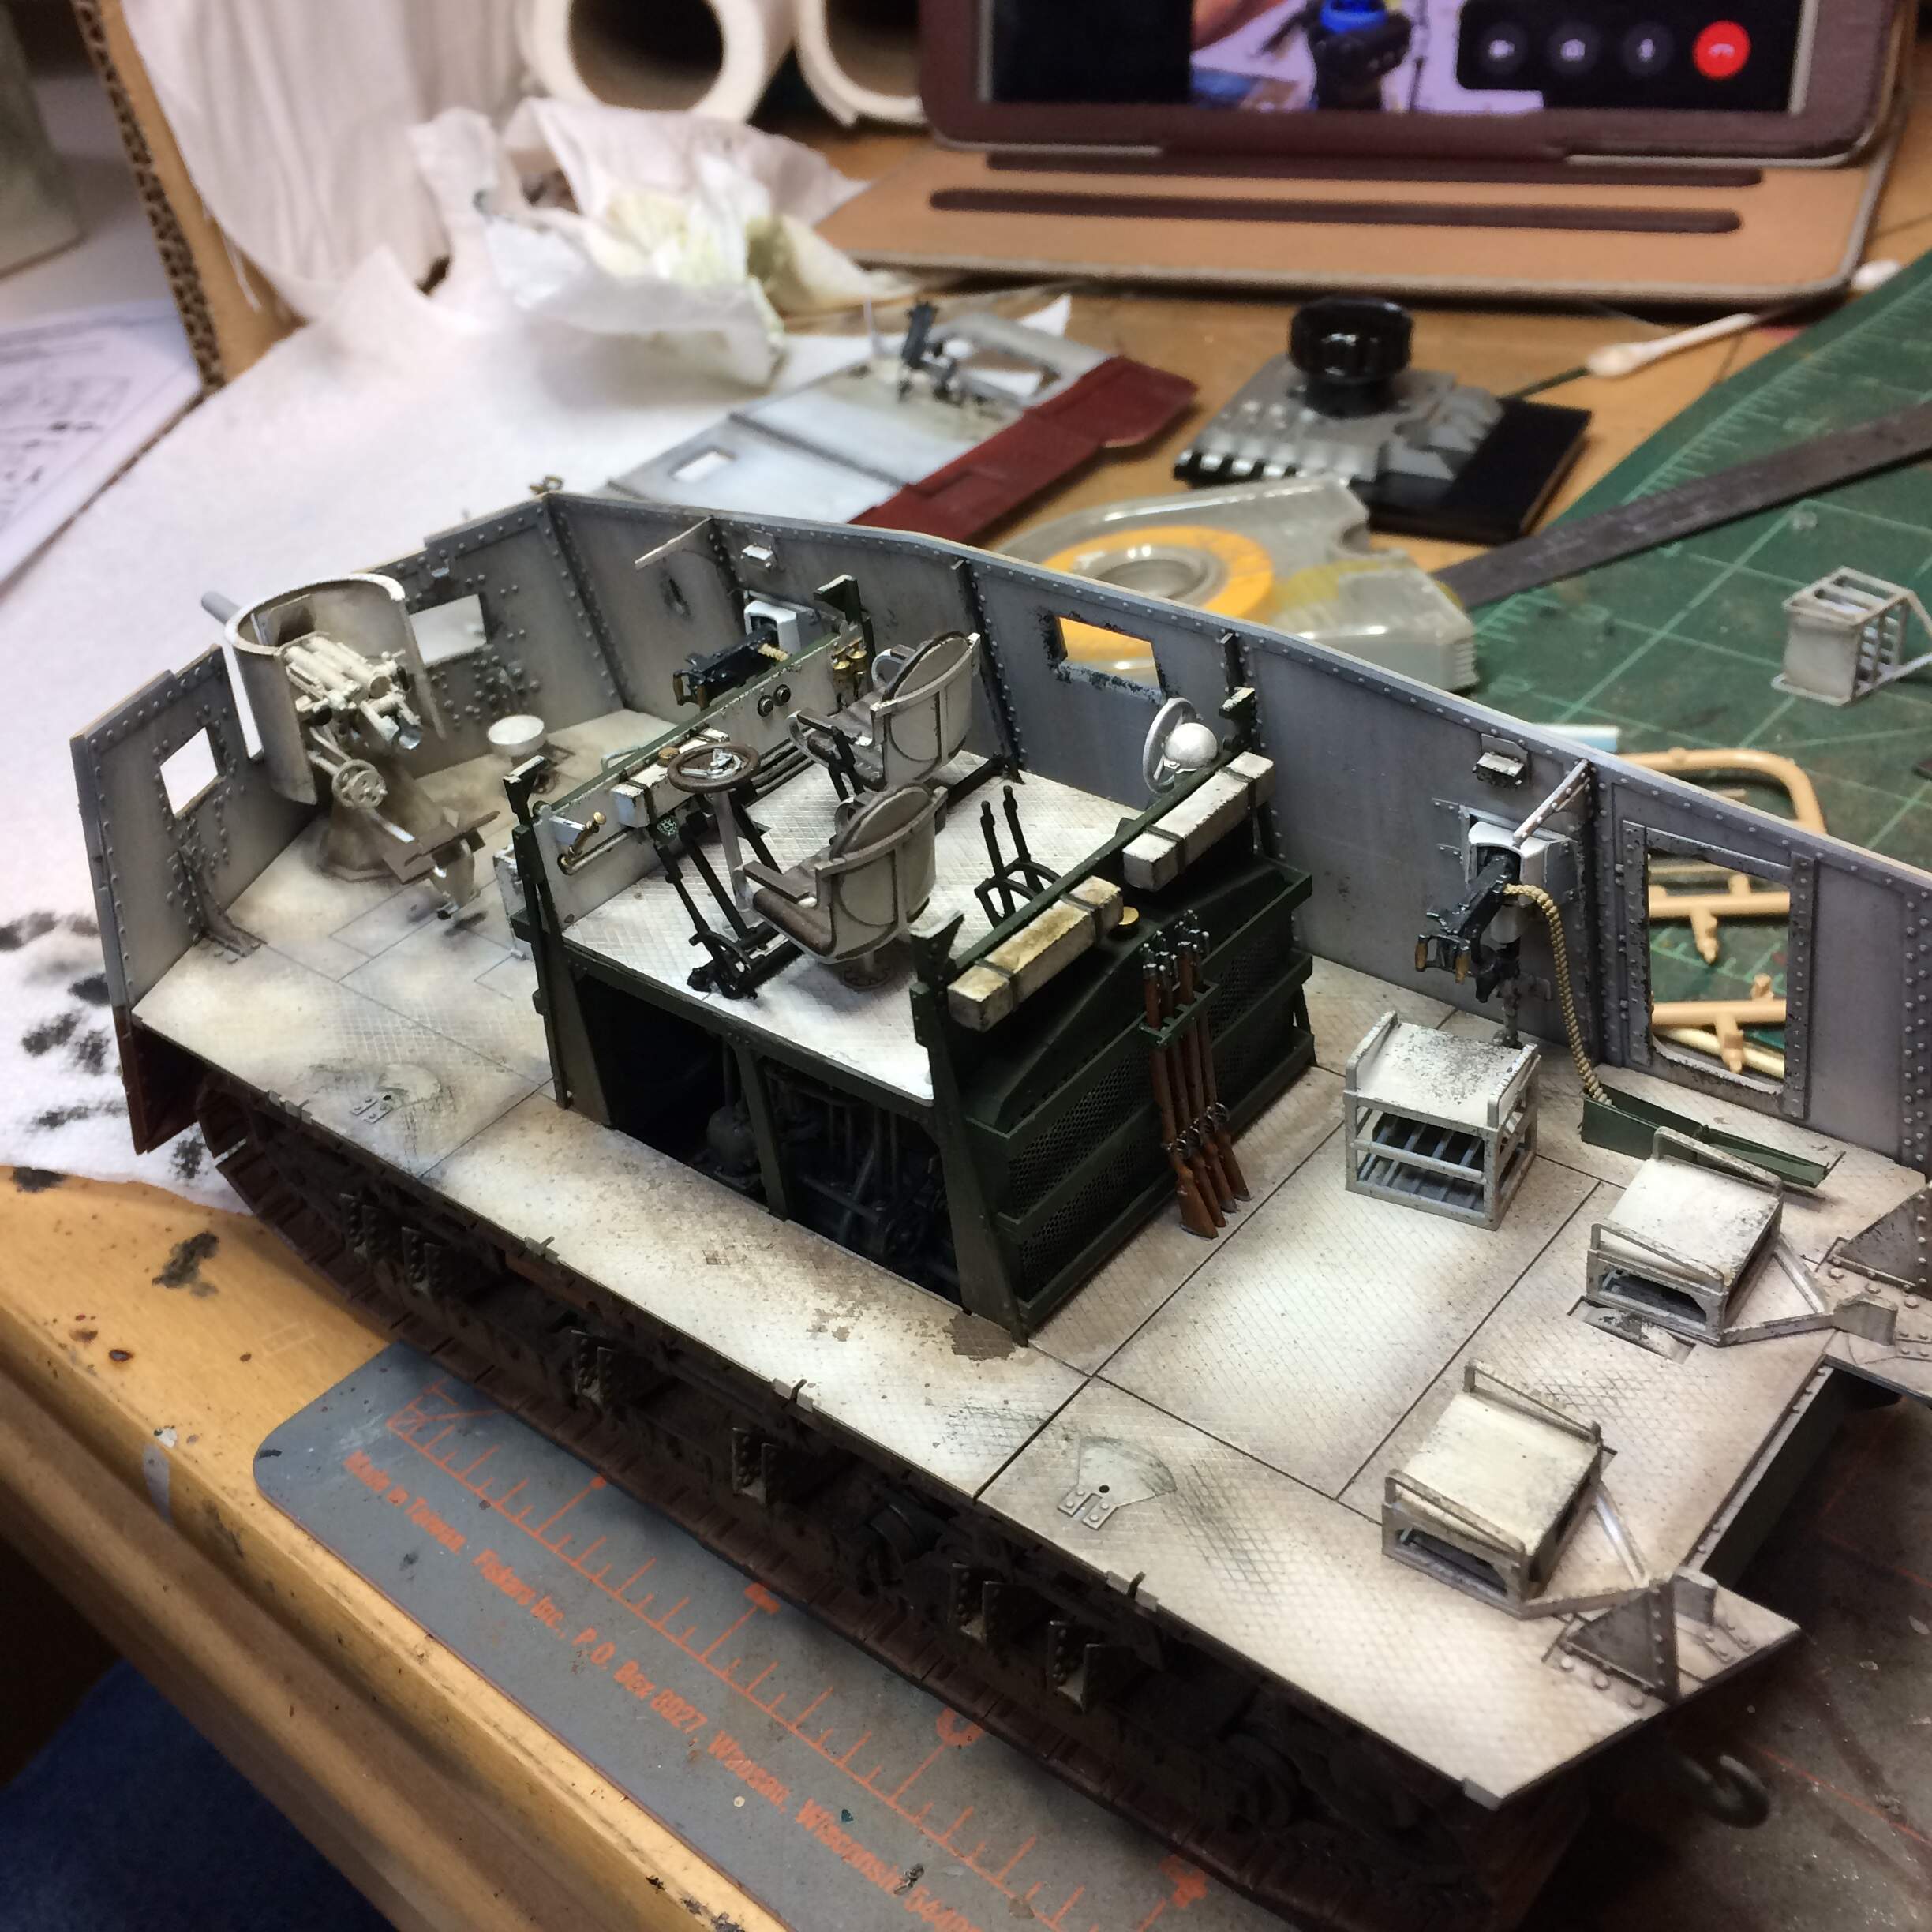
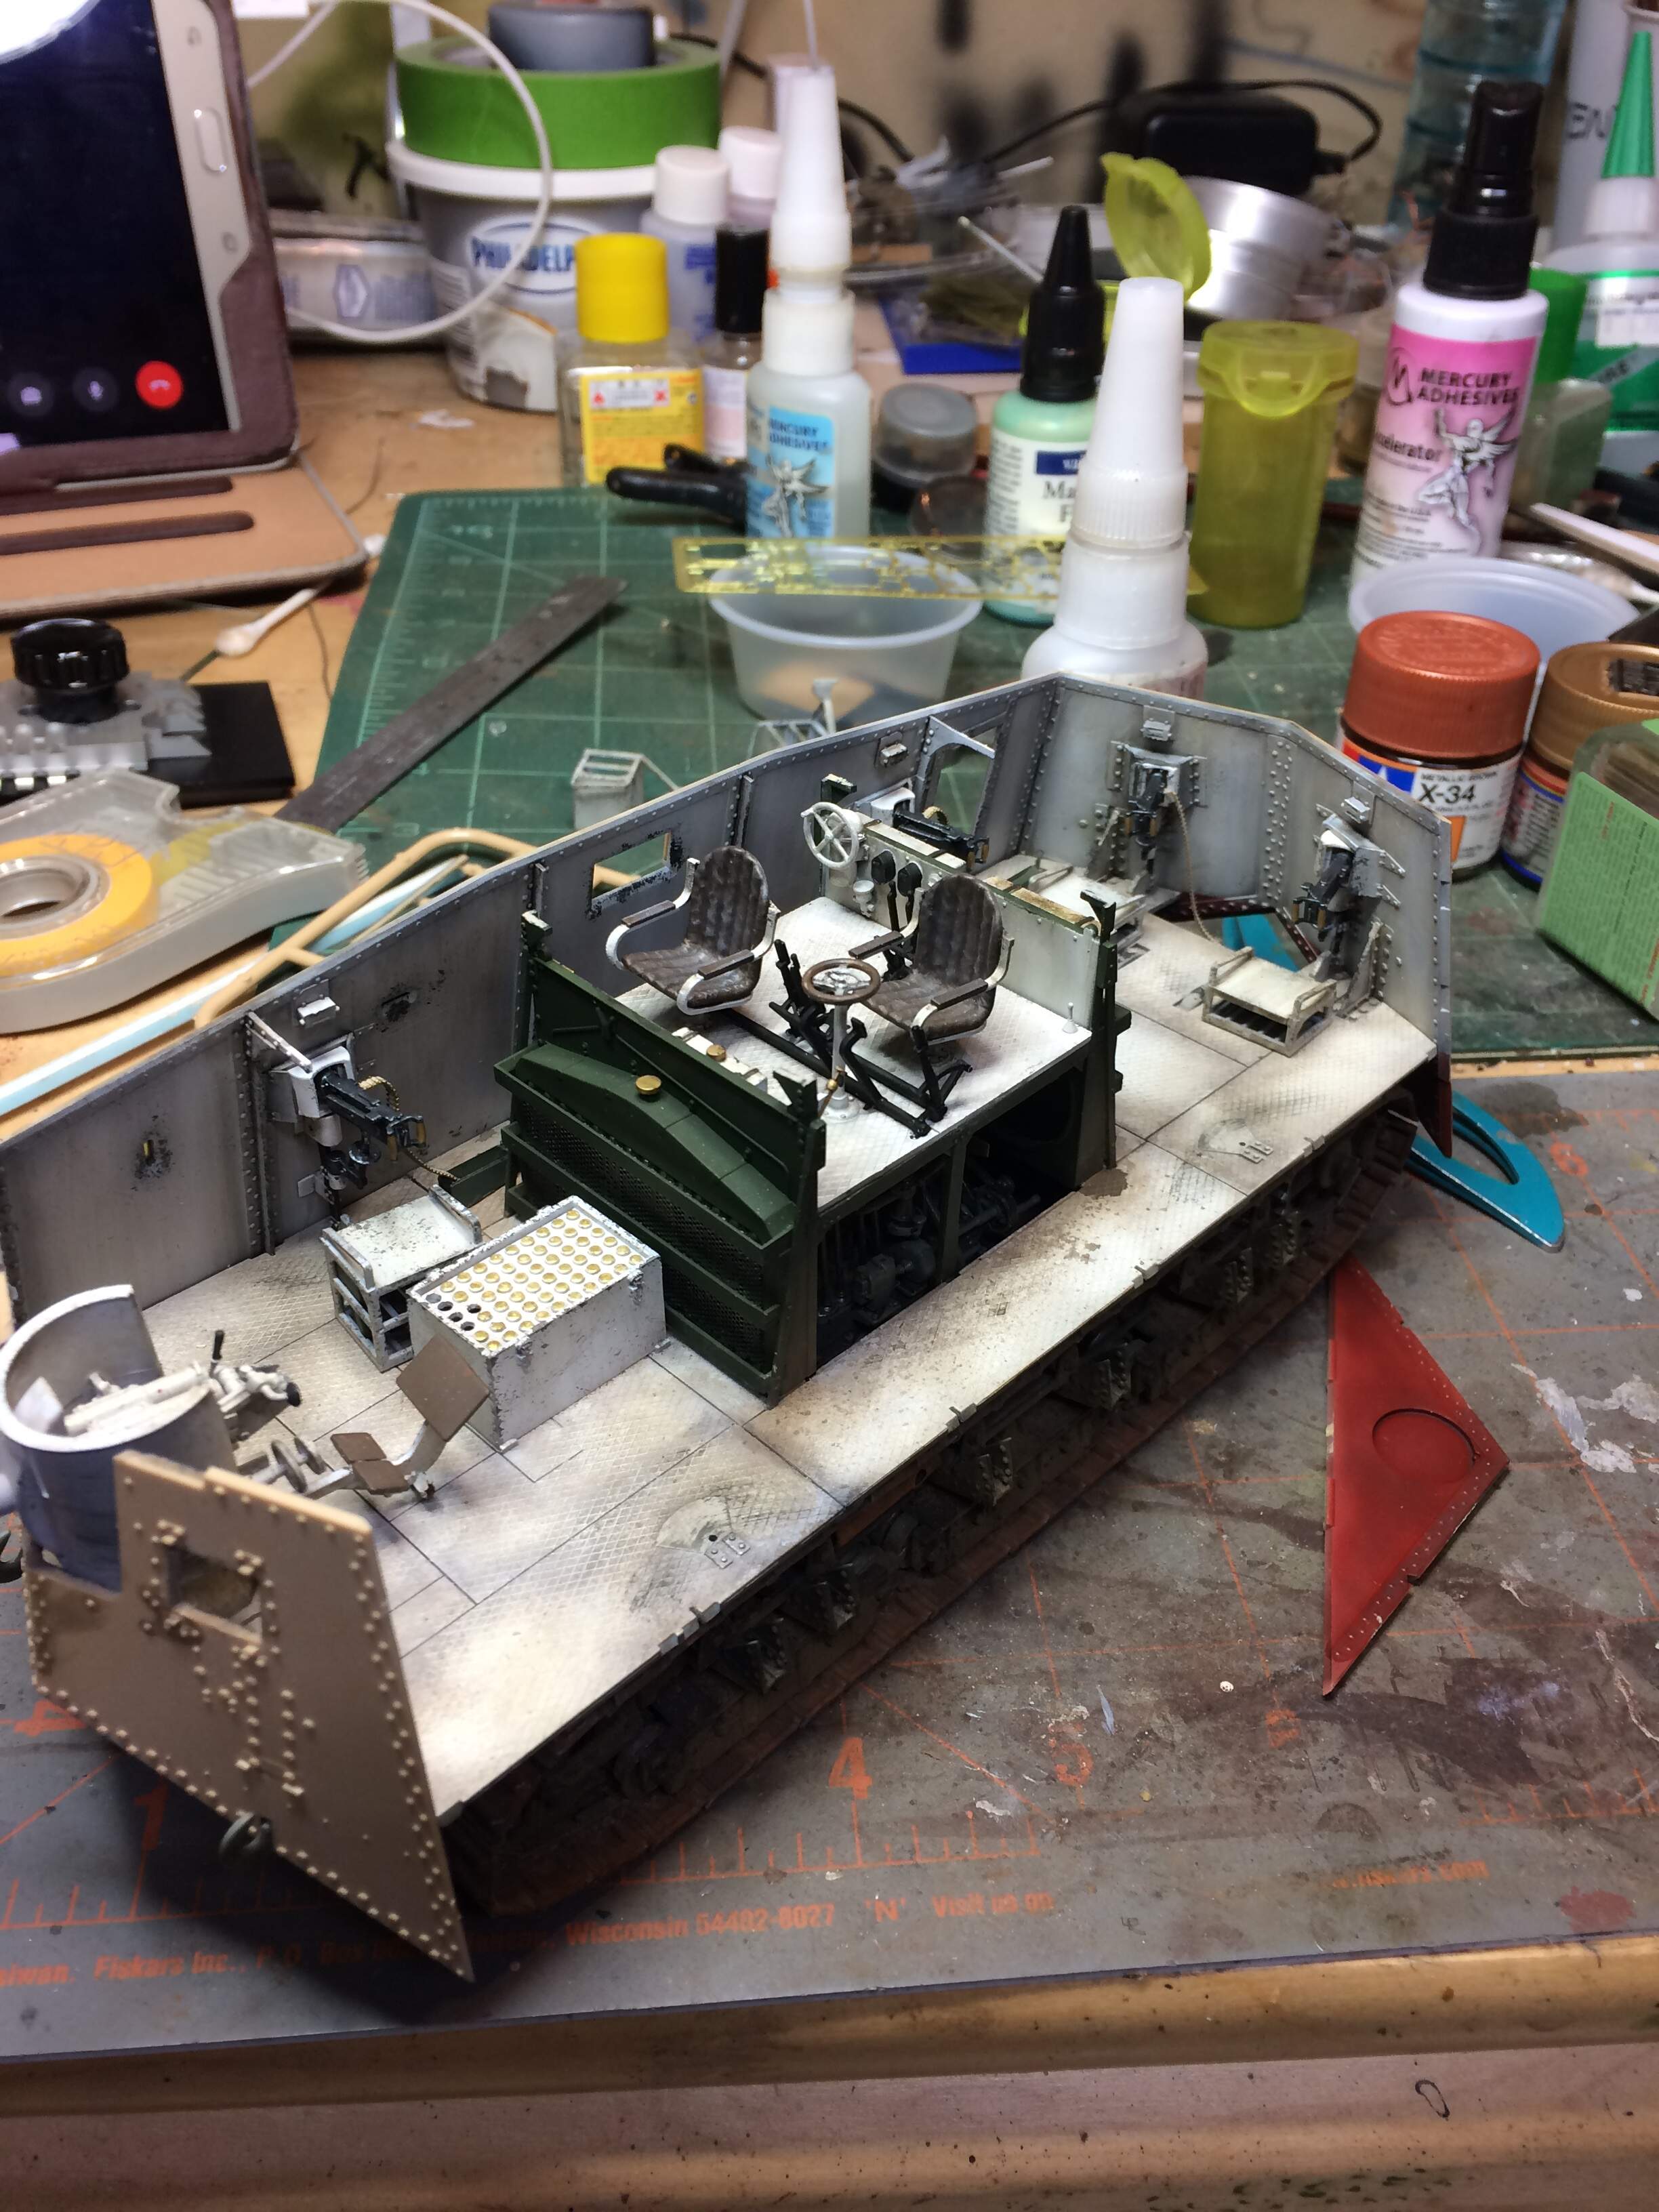
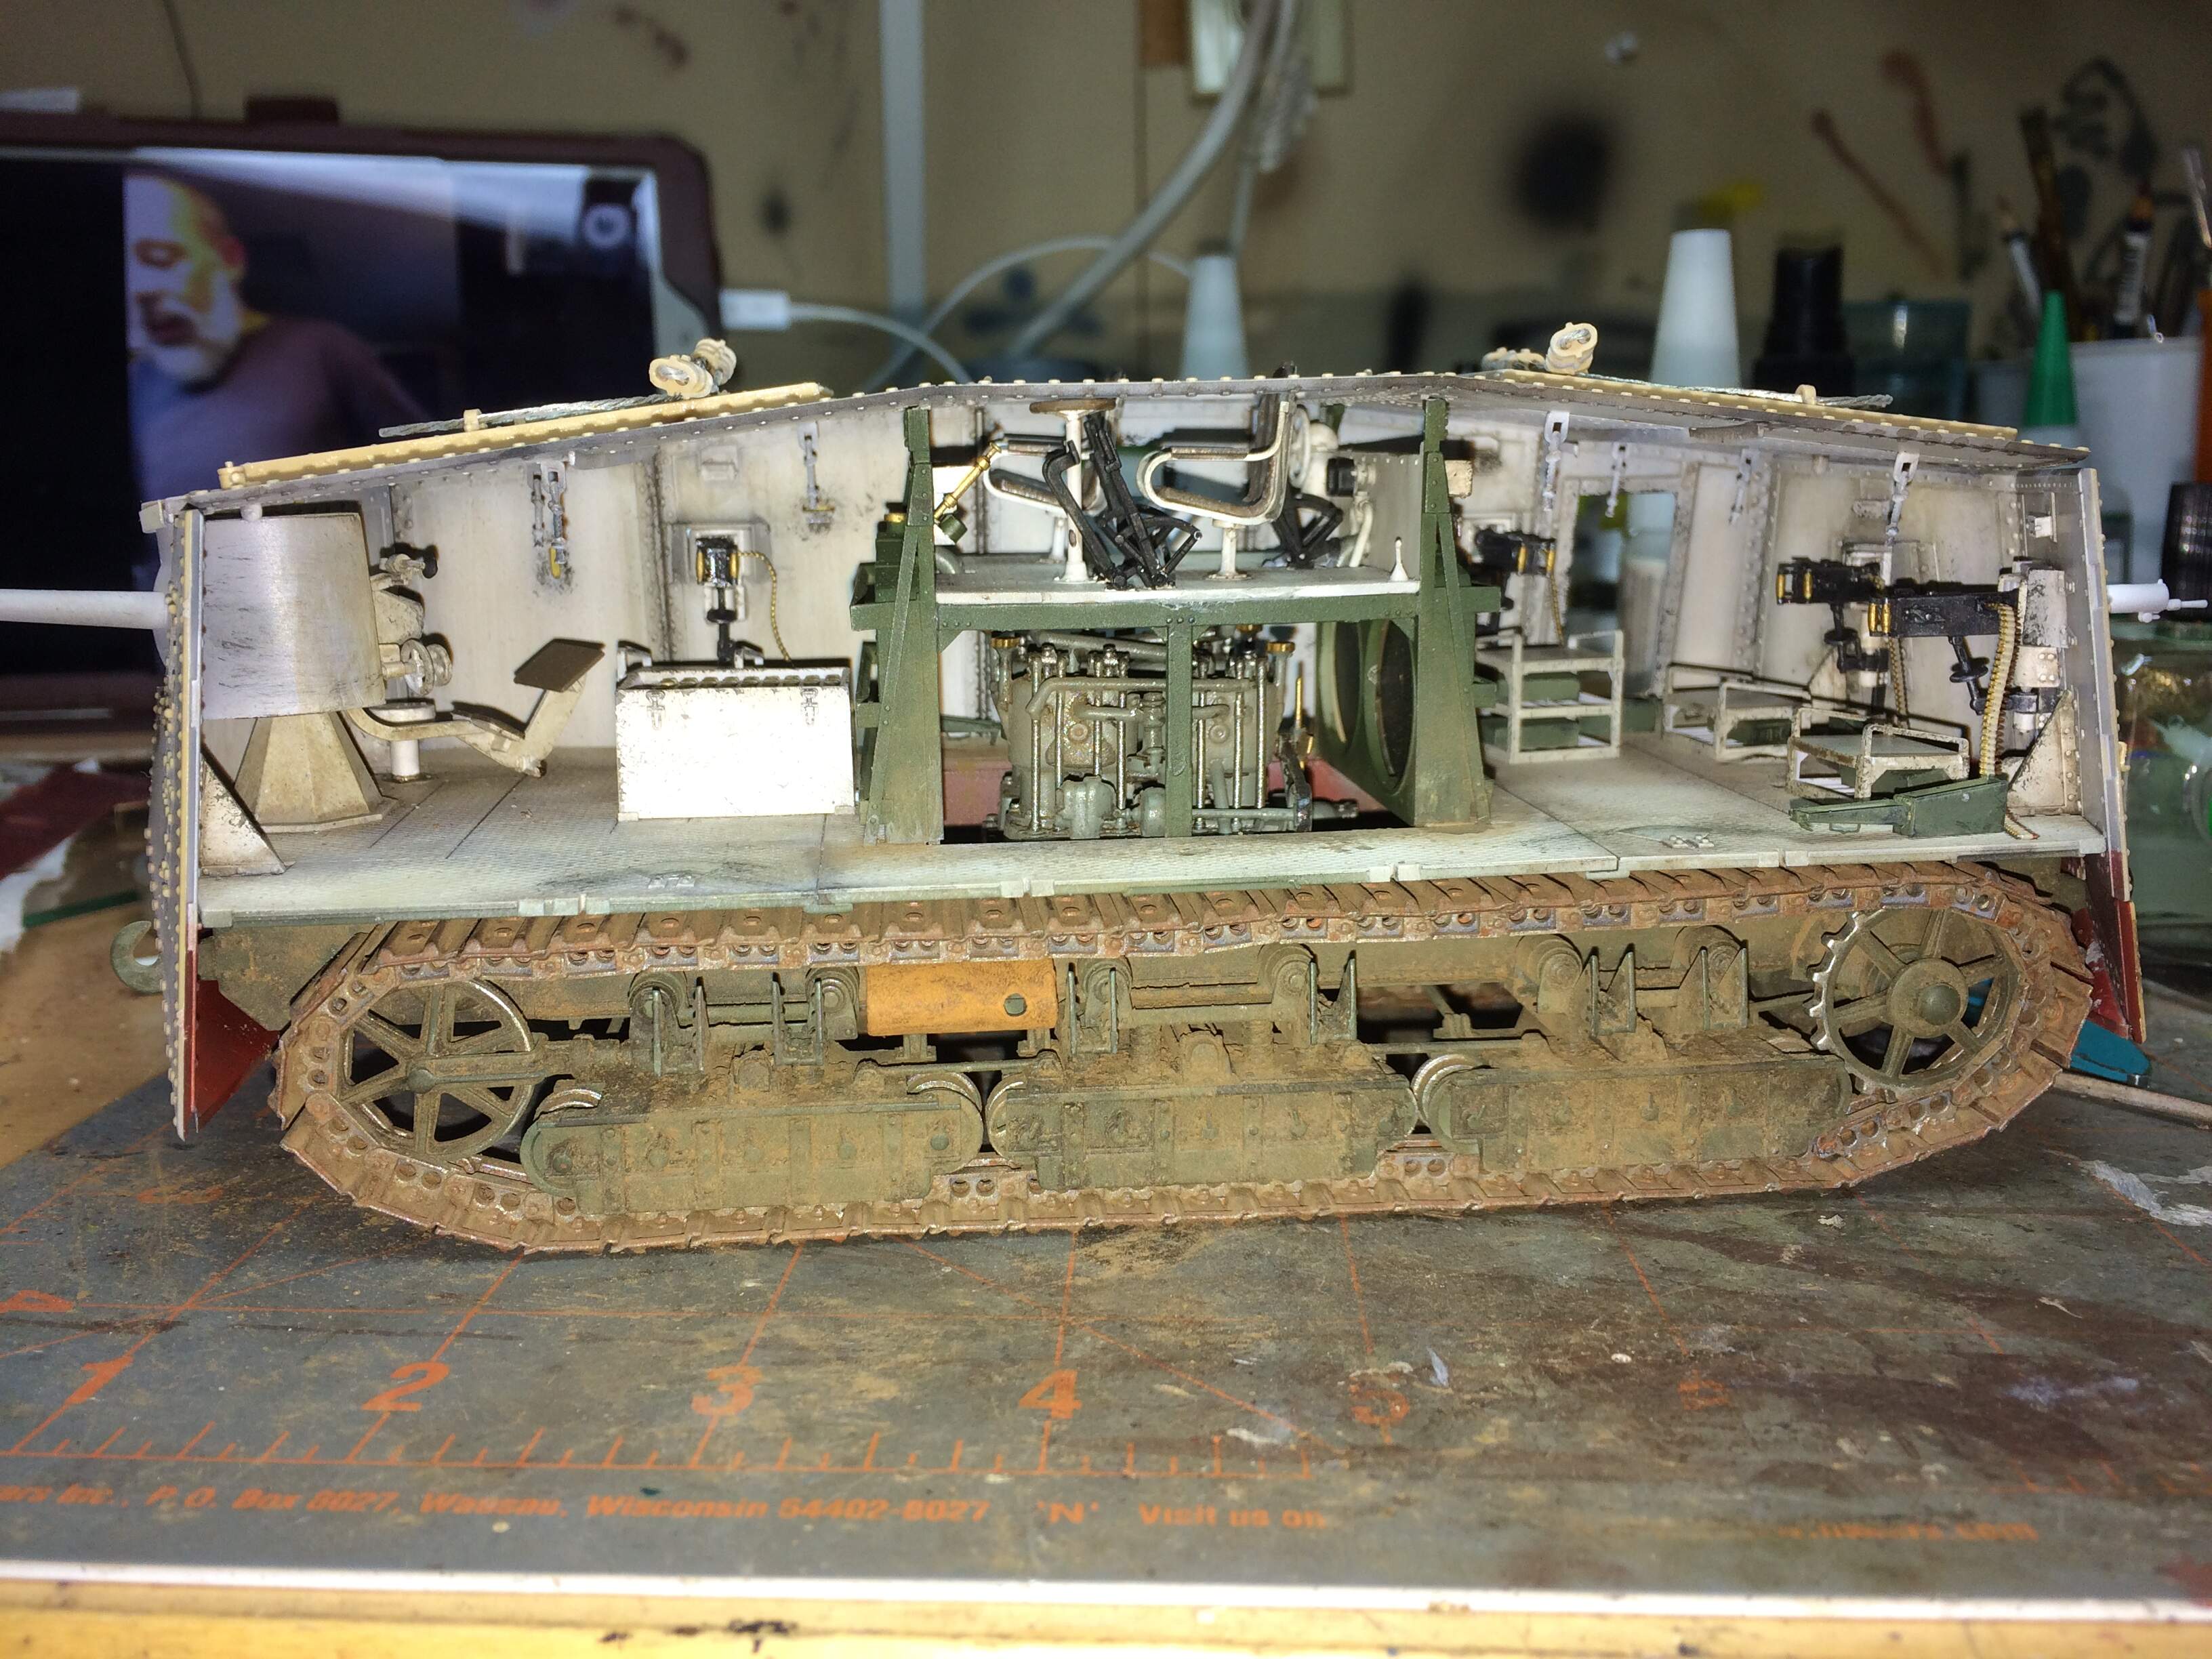
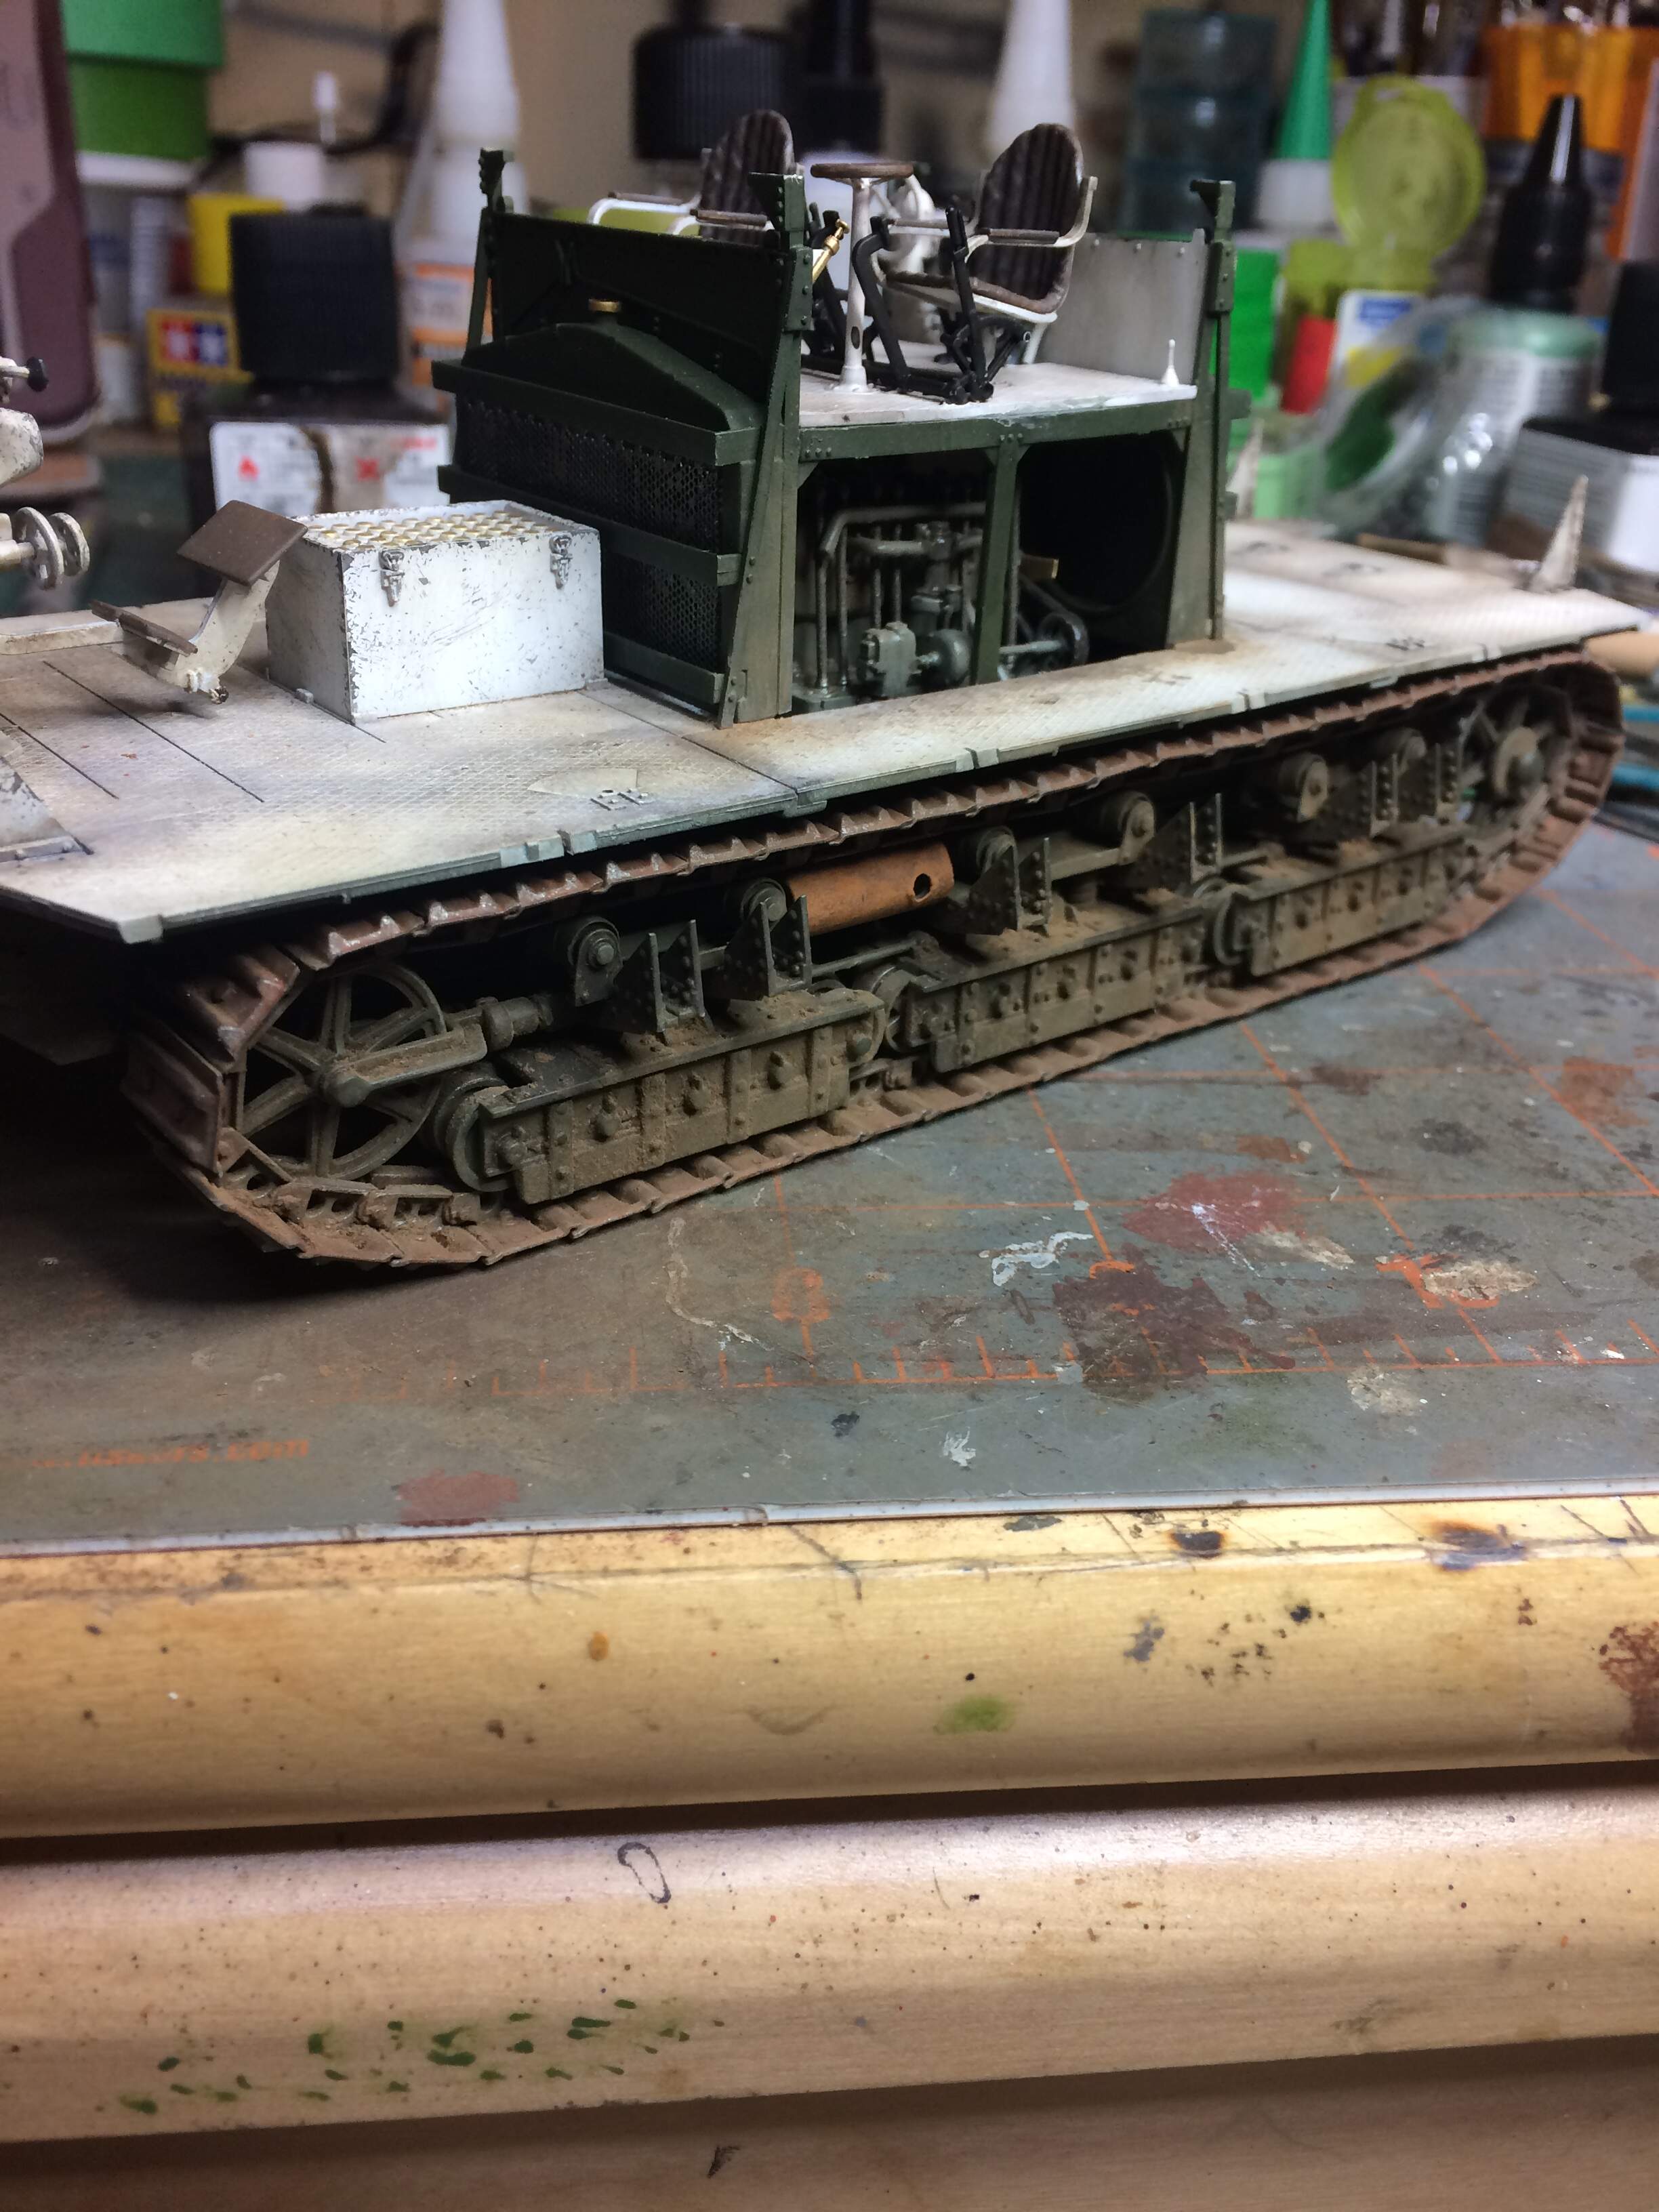
Progress has slowed down considerably, just having a hard time getting motivated. Got the insides of the main compartment panels assembled and painted plus got the tracks on.
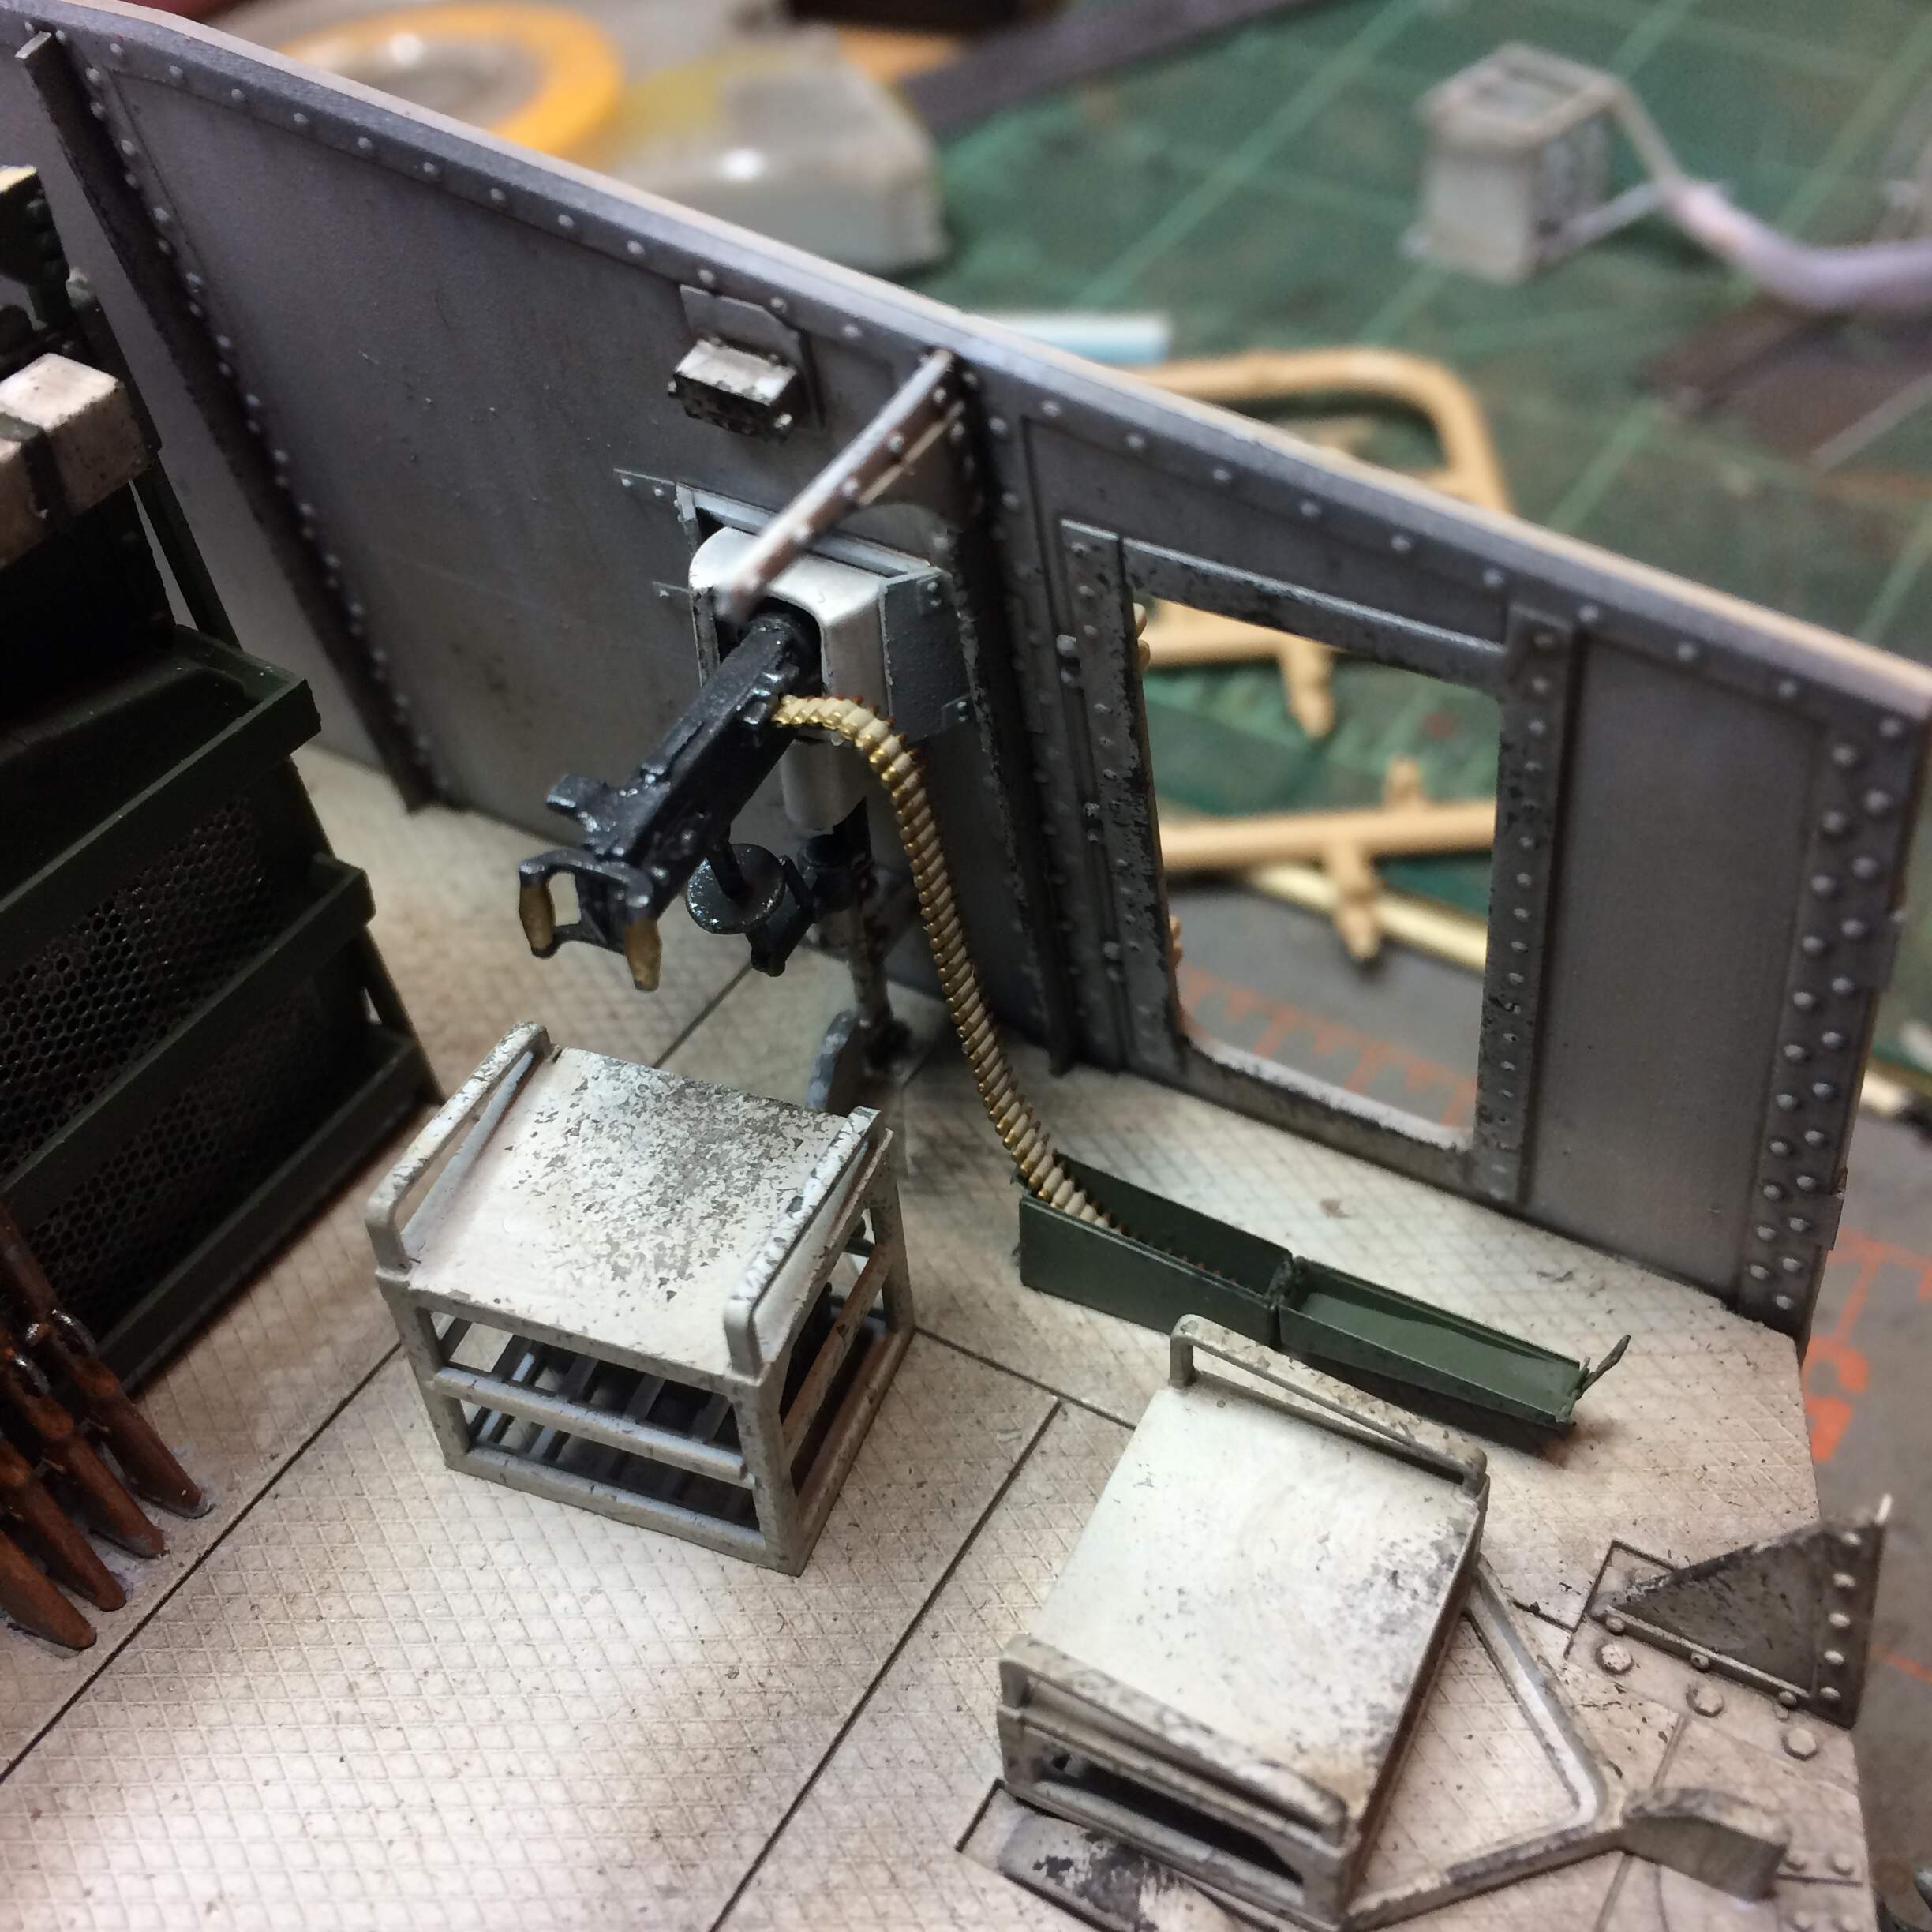
I must apologize for the lack of updates recently, depression and work stress have been kicking my ass lately, along with PE work. The kit does come with 10 ammunition boxes for the machine guns, but they are all closed and I wanted to show the ammo belts coming from opens boxes. So… in my infinite wisdom I ordered an Aber PE ammo box set. Ugh. I am mediocre with PE at best, and some parts of these absolutely defeated me, I hope no one looks too closely lol, but I finally got them done.


 Any progress is good progress.