Hello
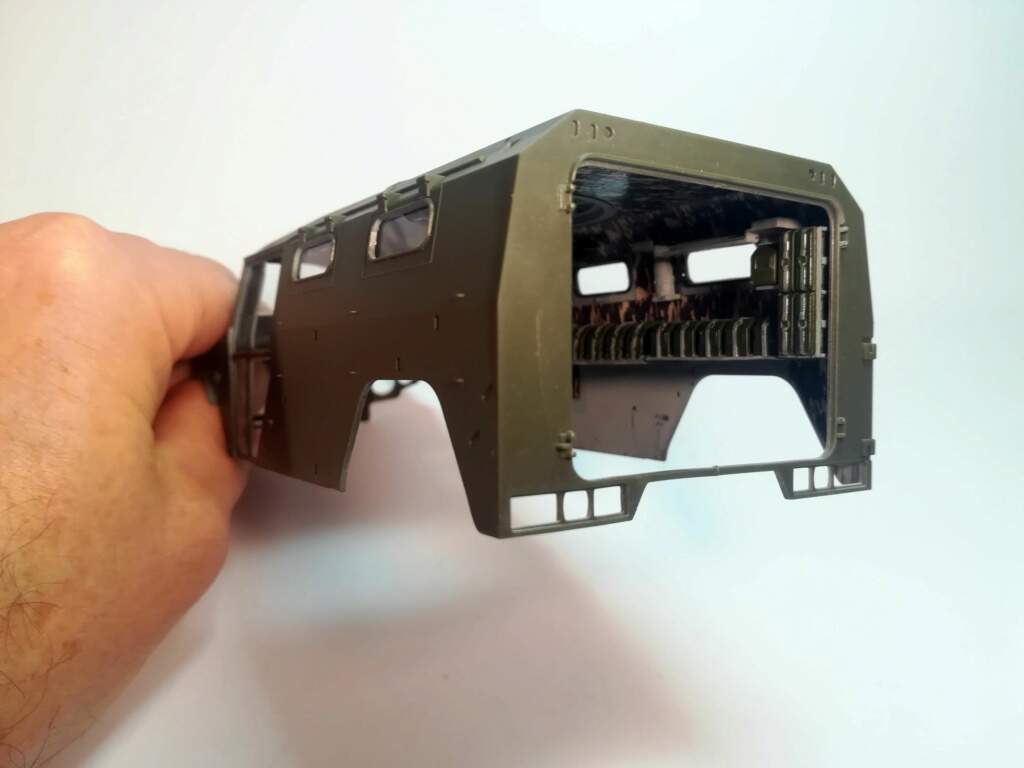
I’ve starting this model that I had in the stash since 2014. The large sheet of decal to depict the lining of the cab scared me hence the kit waiting its turn to sit on the workbench.
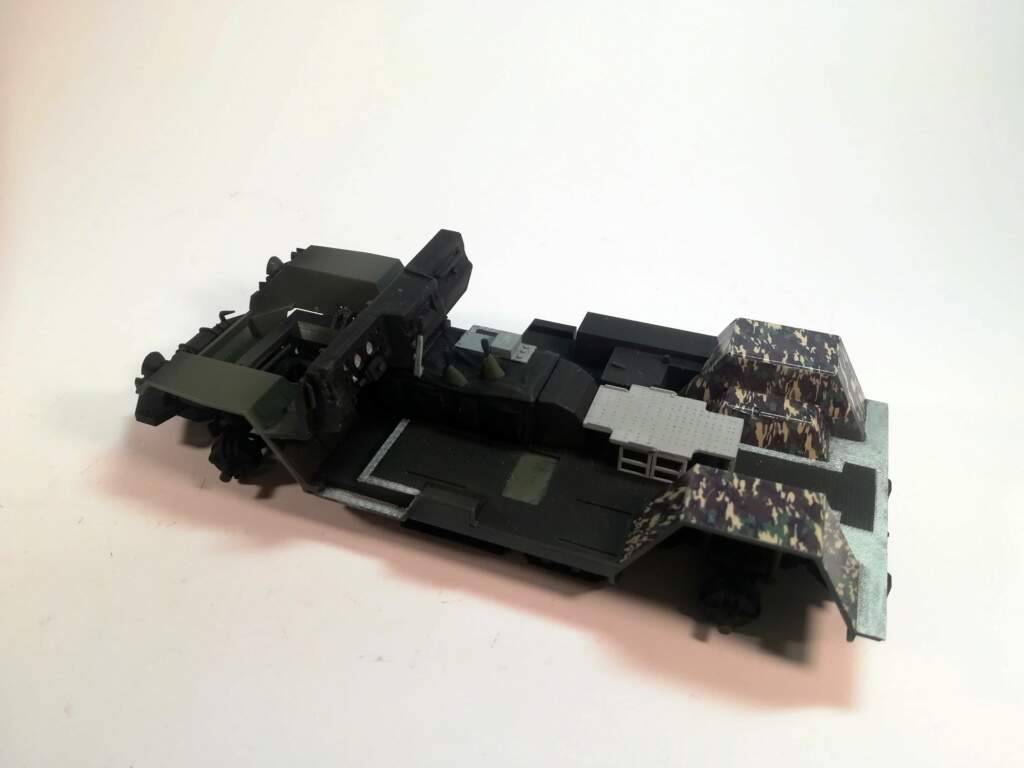
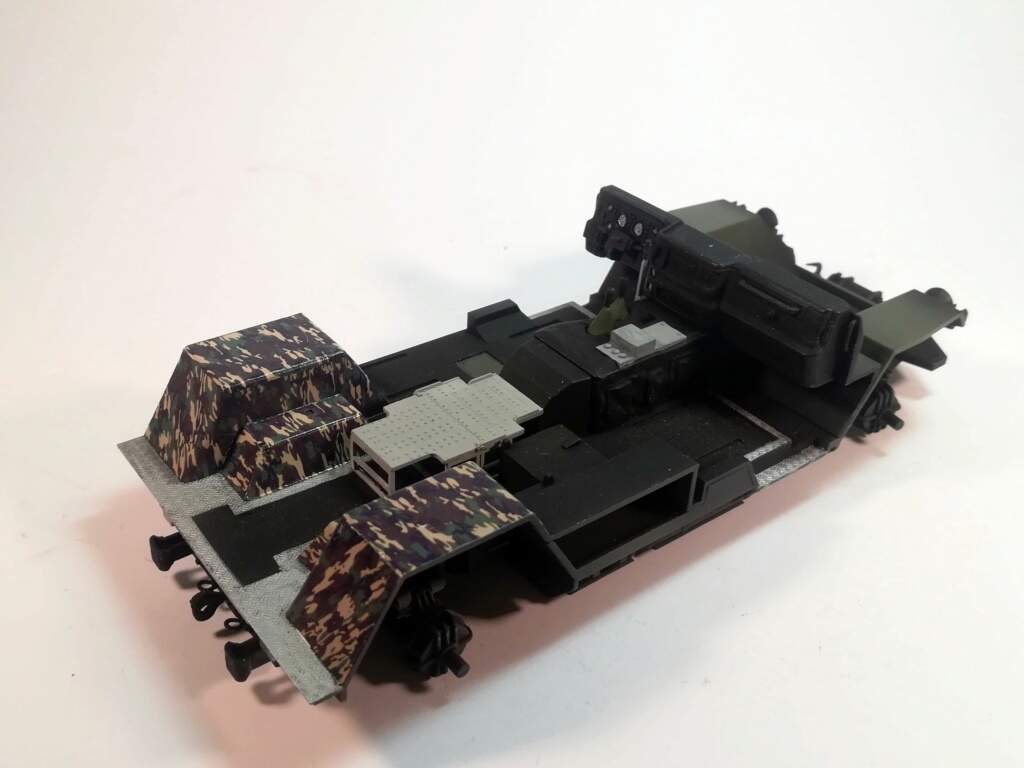
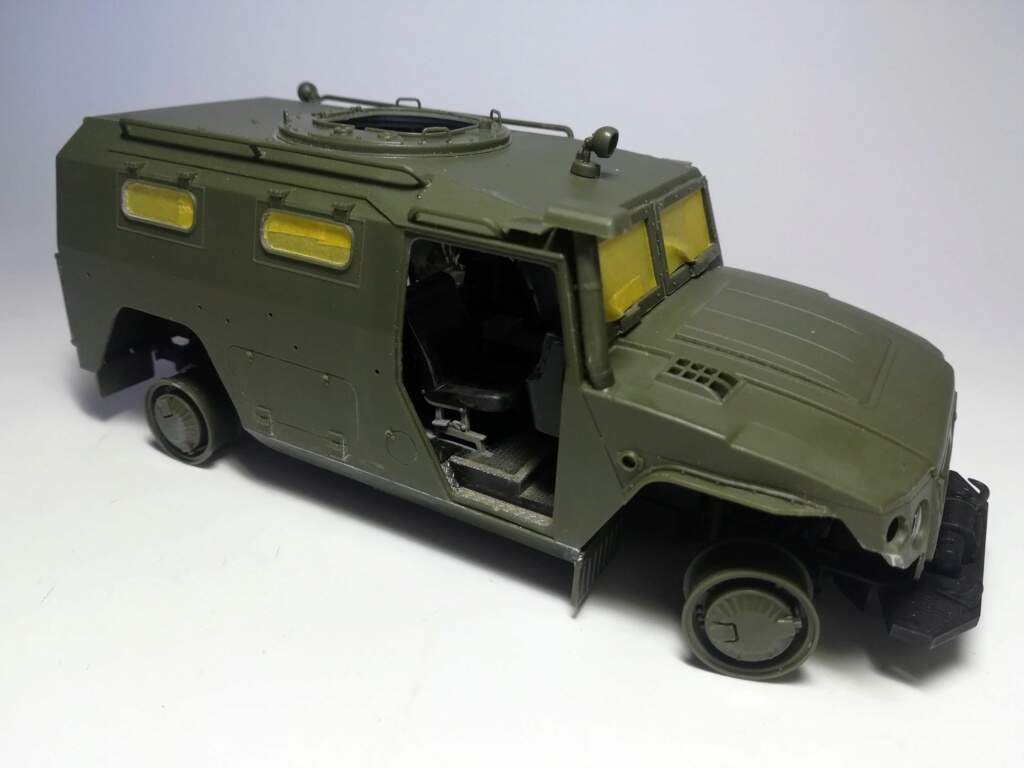
The build is quite straightforward and there is no trap so far. Unlike what Meng states I haven’t completed the interior before gluing the cab floor to the undercarriage. The front wheels can be steered.
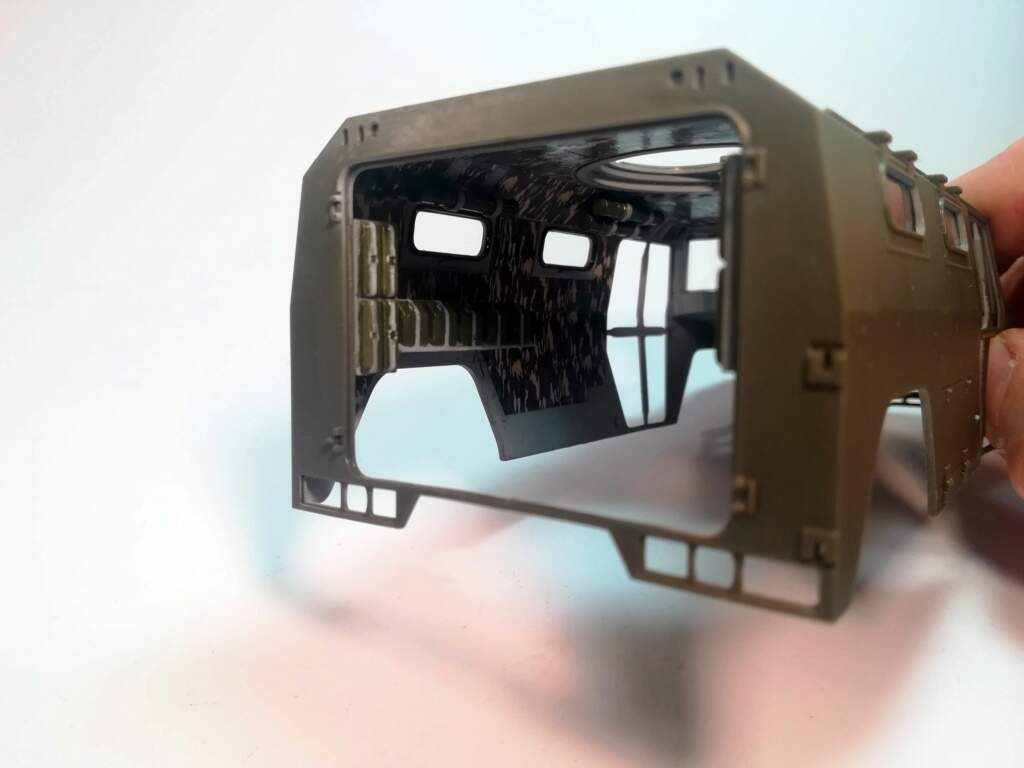
Applying the decals was not as difficult as I thought. However cutting the decals needed some attention especially to cut the many holes in some of them.
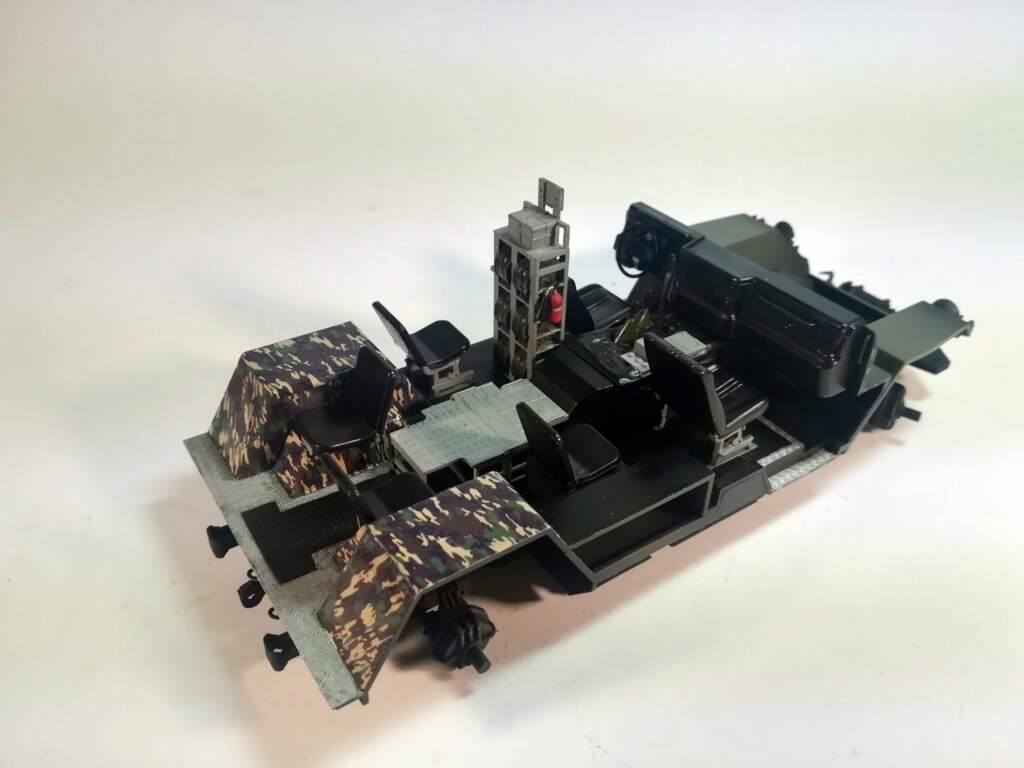
The cabin interior is done. I just need to add the ceiling lamps. Then I can either paint the body separately which will save some masking of the chassis or glue it over the chassis before.
Mario
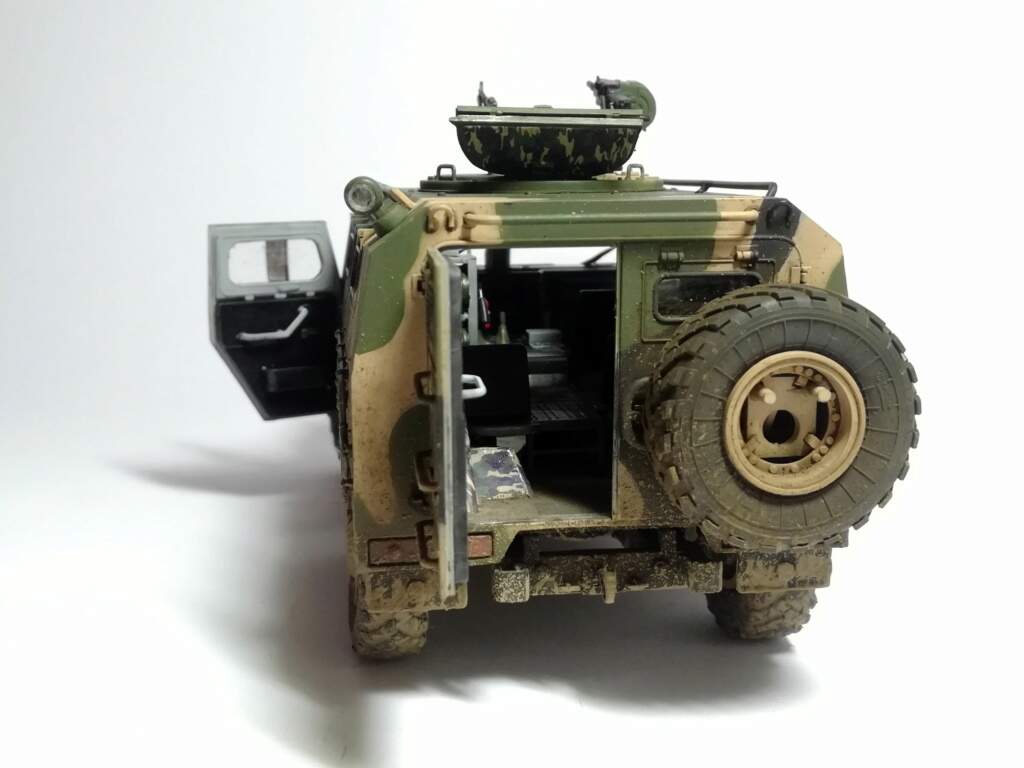
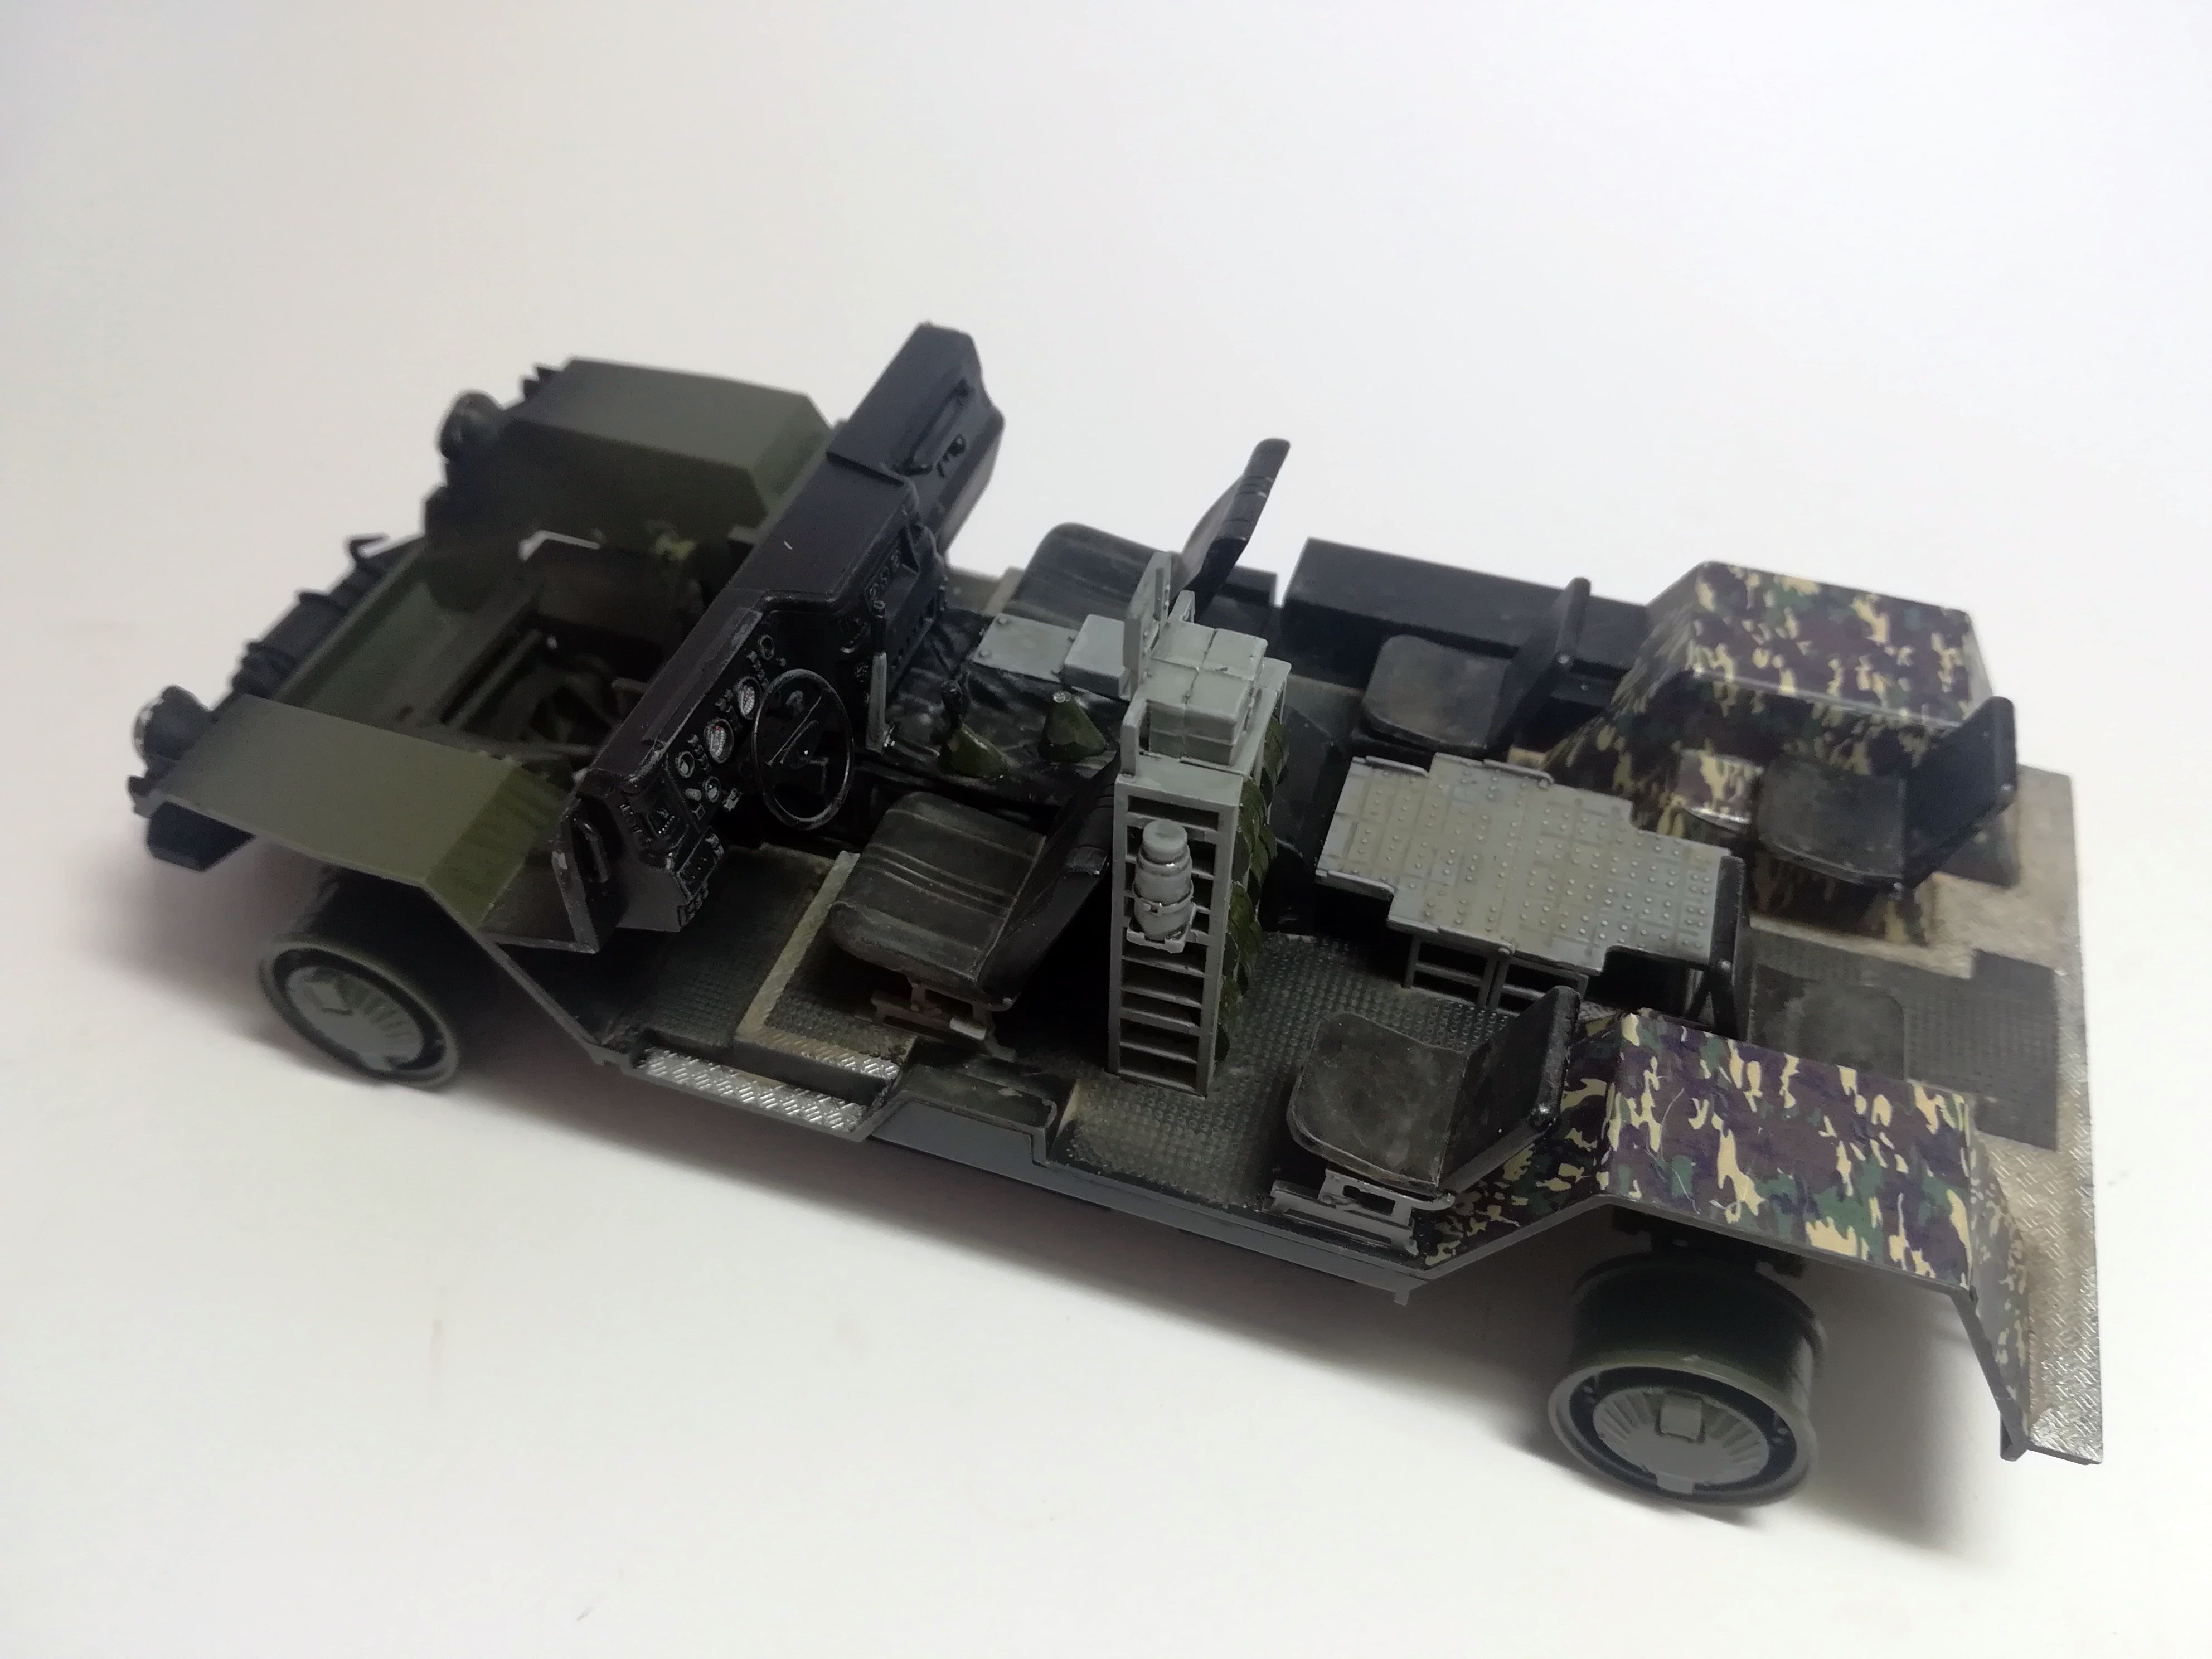
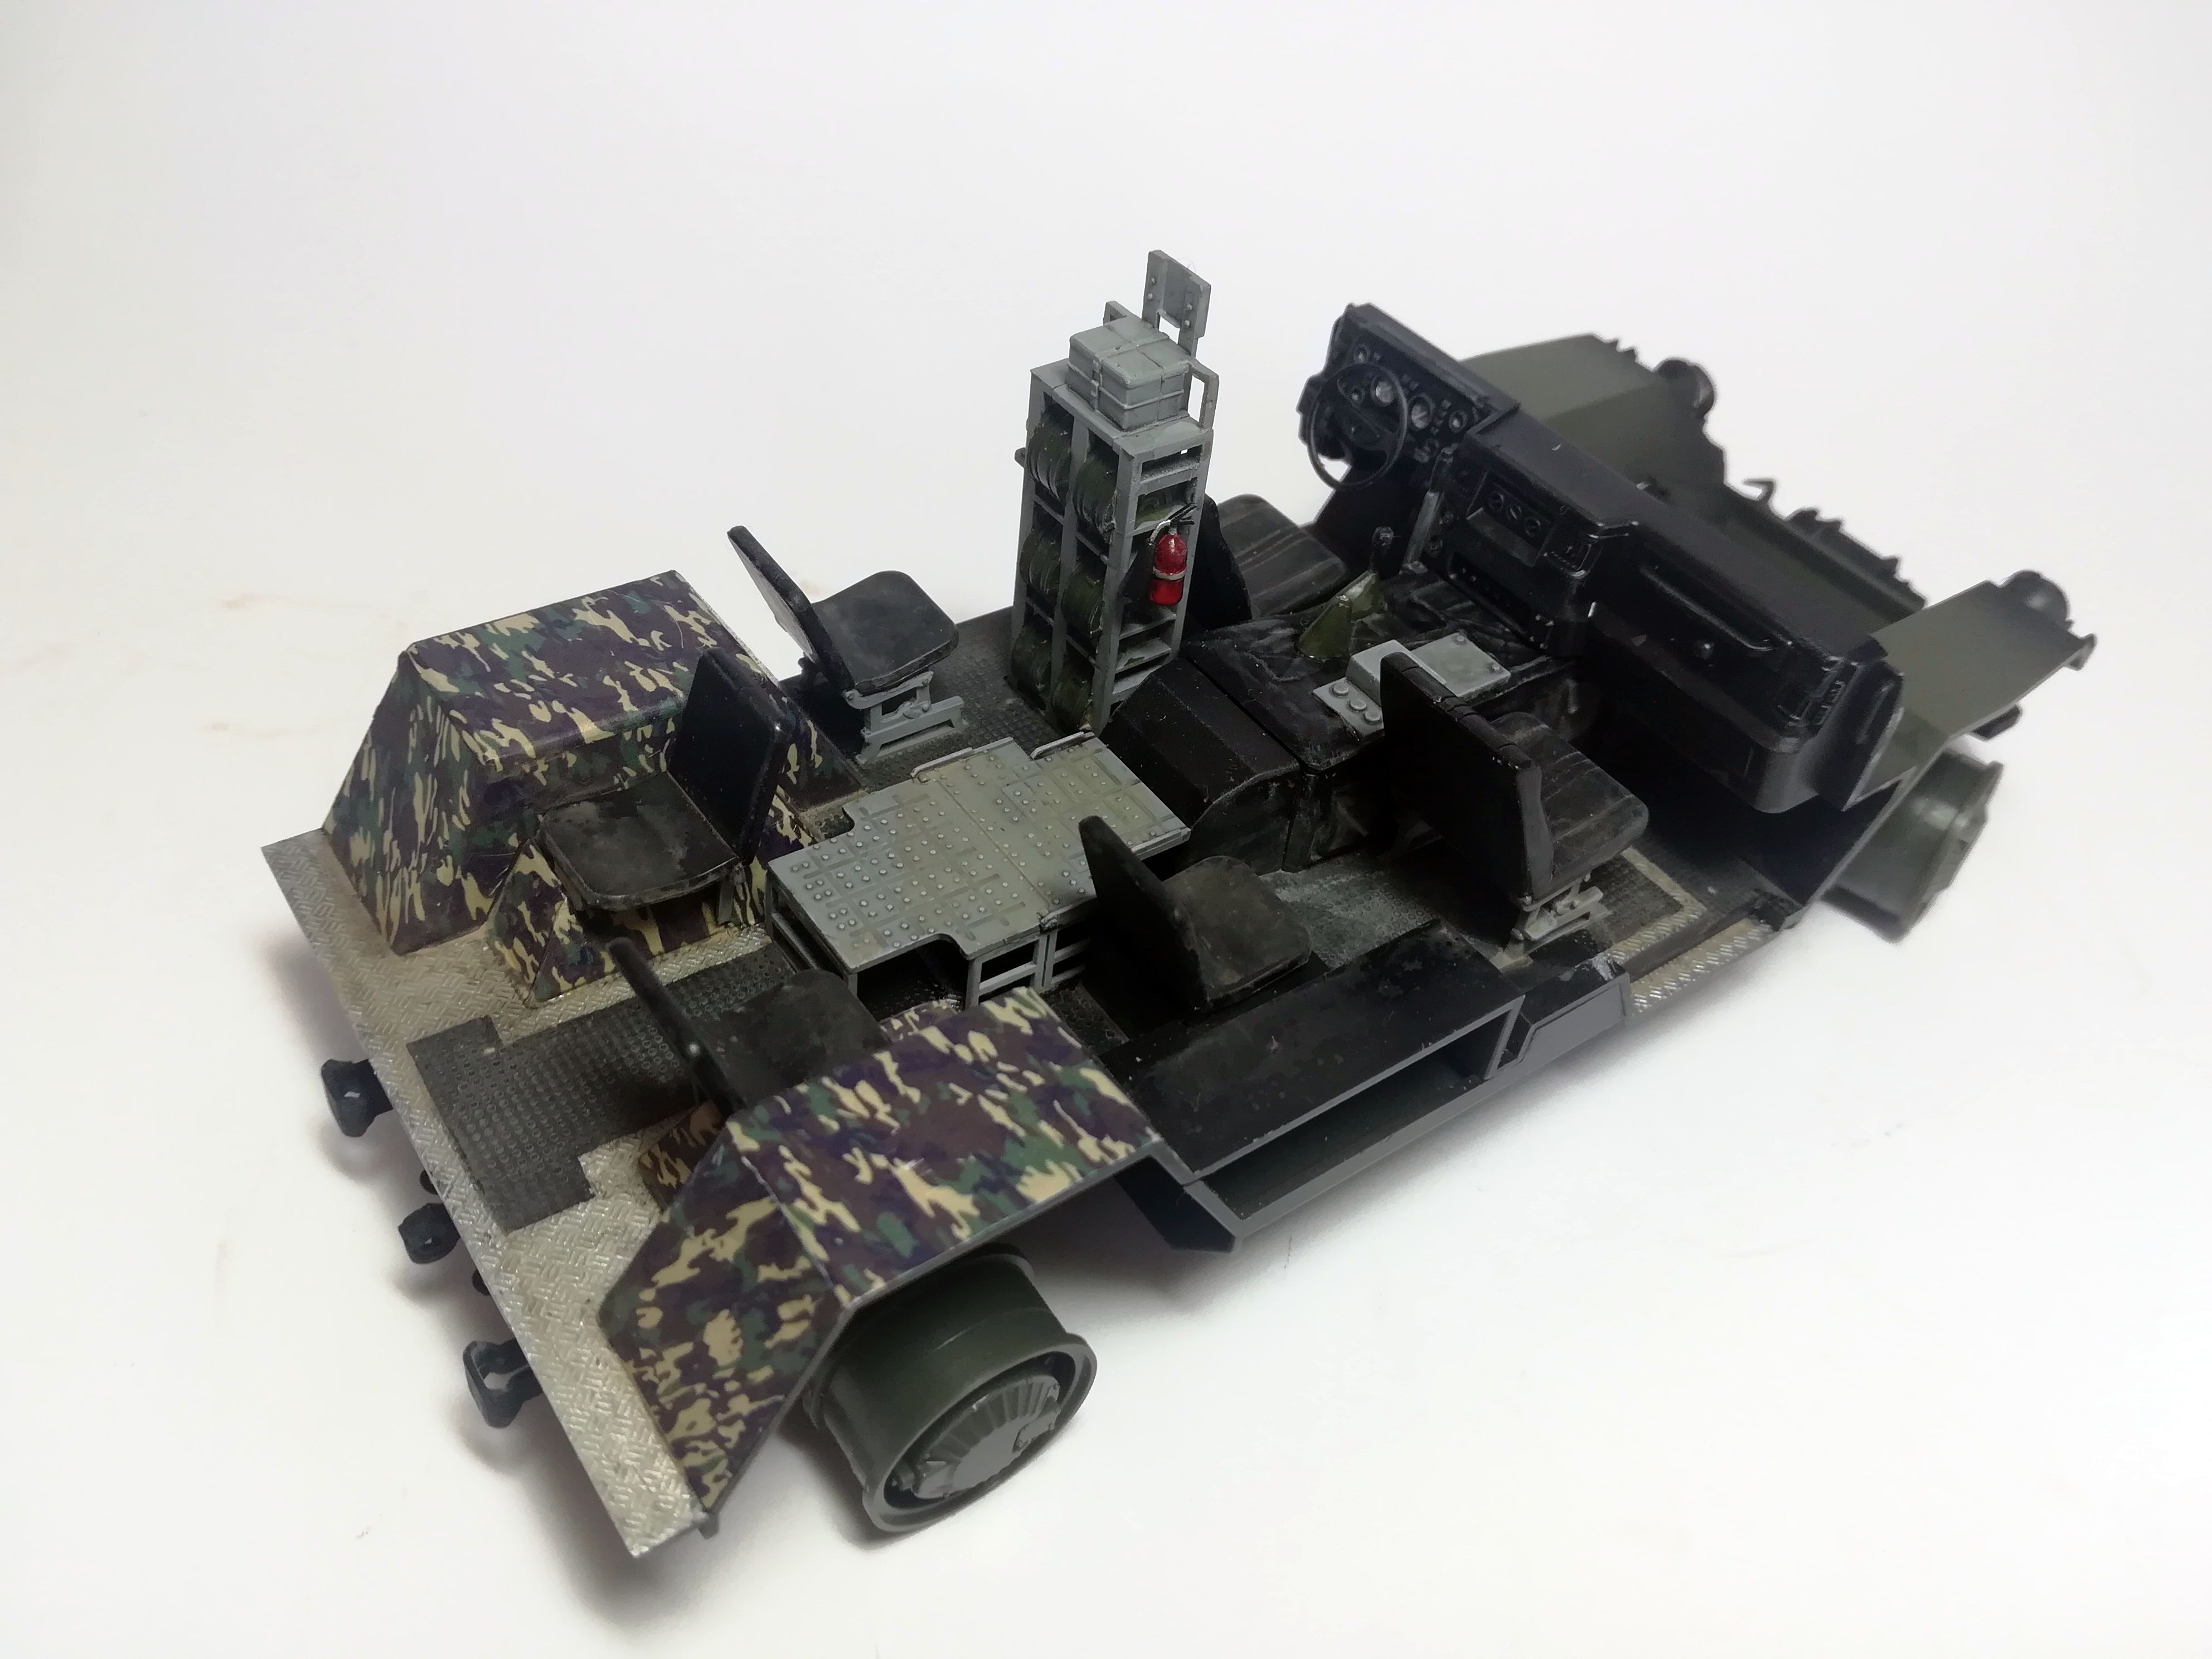
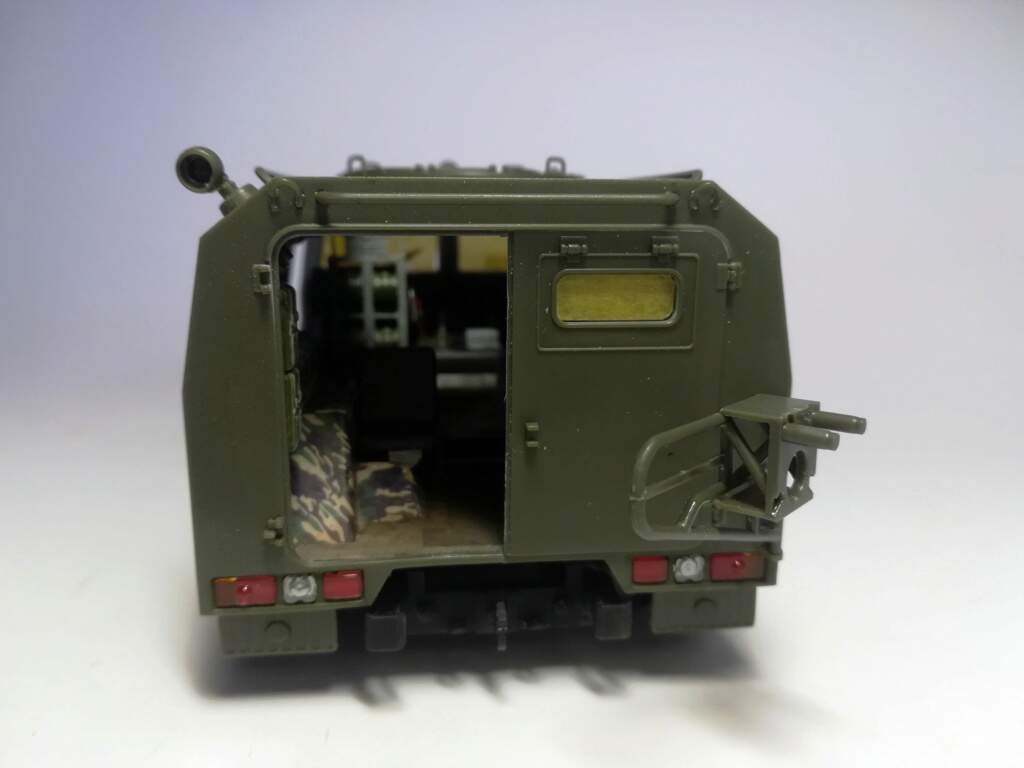
I really don’t know right now. First I need to source some modern Russian stuff. Then I must check where I could add more things. The inner walls are already filled with ammo boxes. At first I thought of the platform but it obviously is the gunner platform hence it should be free of any obstacle.
So no decision made so far.
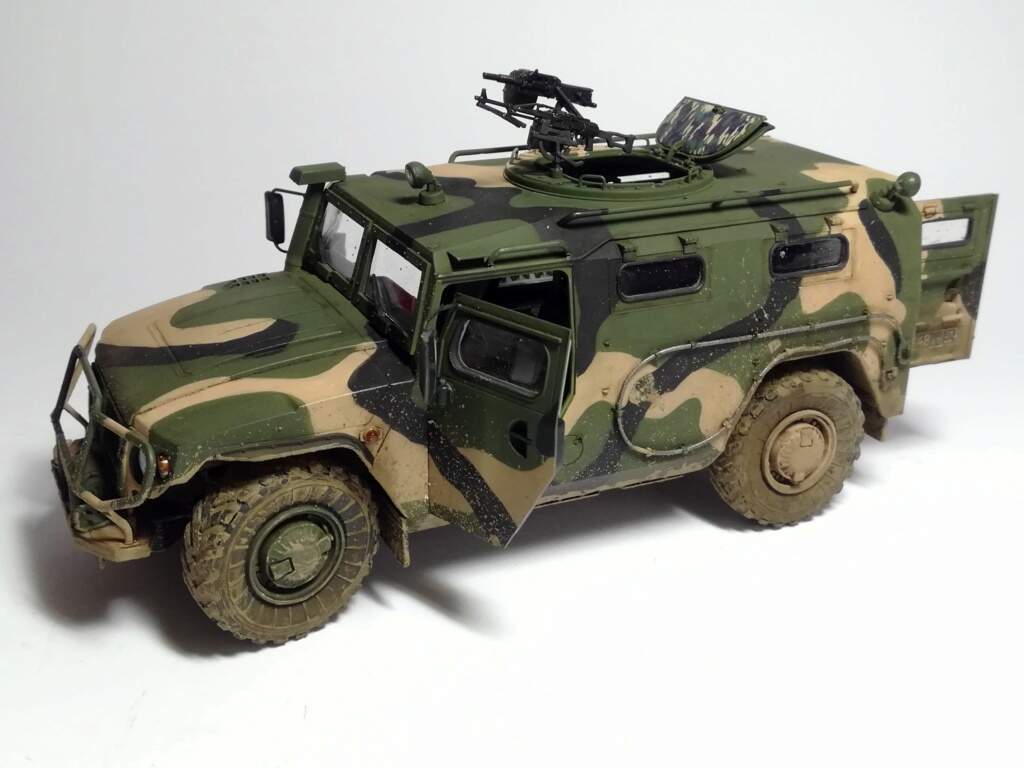
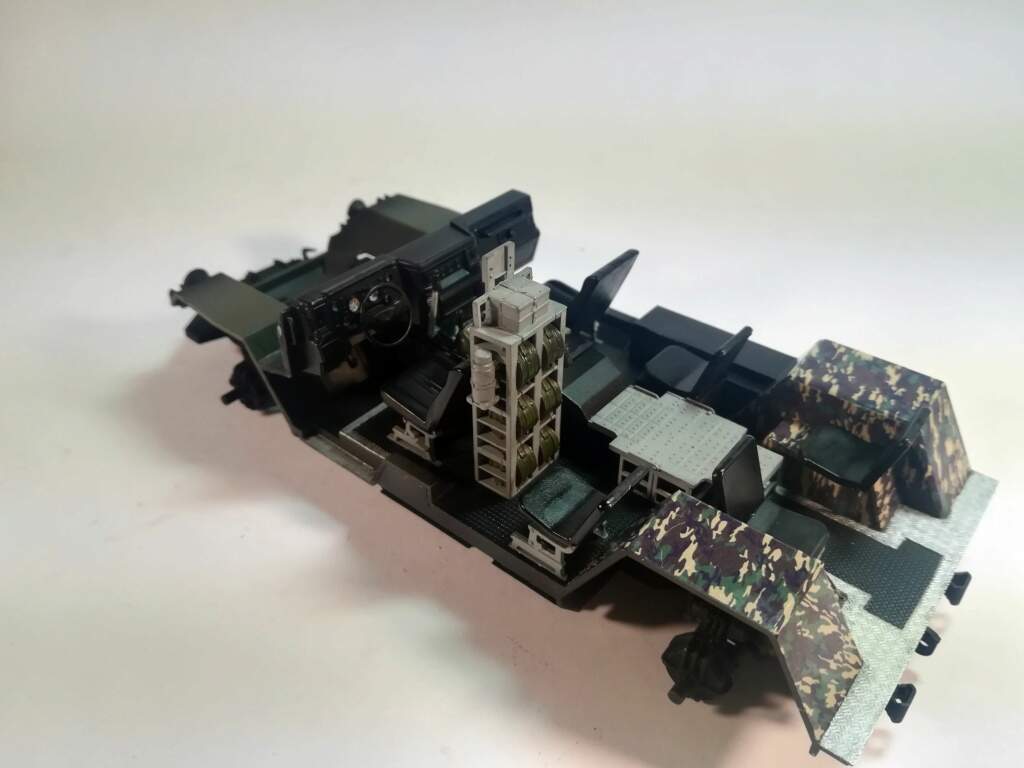
10 days without working on this little thing. I finished assembling the interior and weathered it a bit. Perhaps I could do more on the floor. 3 of the 4 doors will be open to help see inside. The rear one with the spare wheel holder will remain closed.
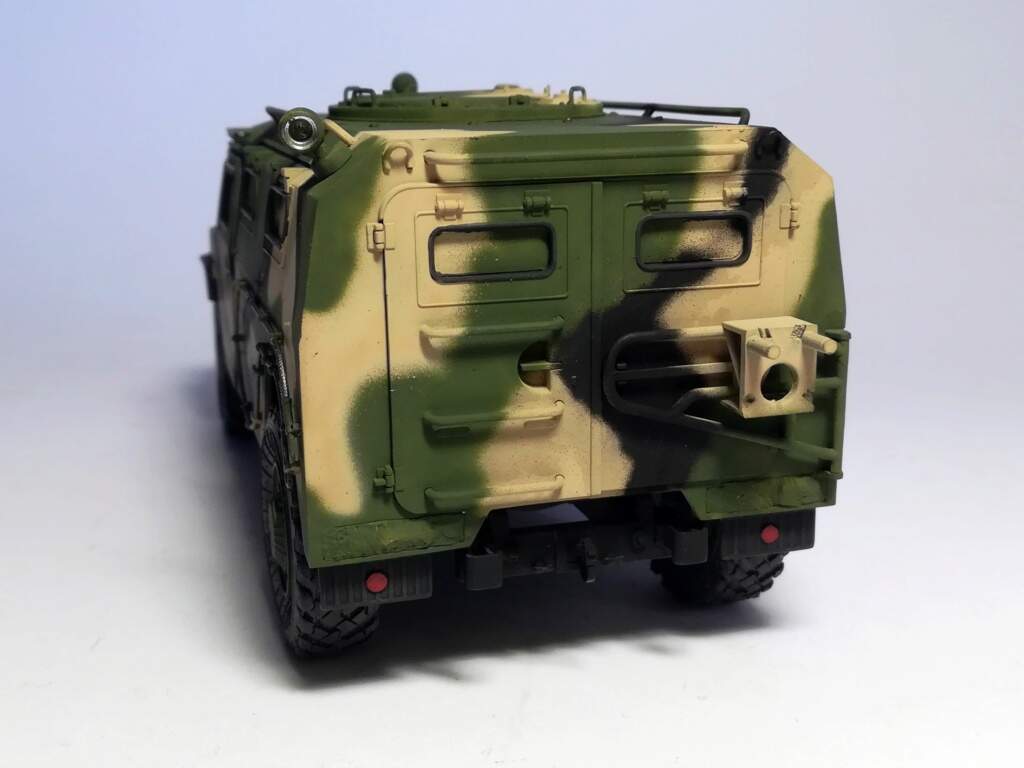
The cabin is glued on. I needed a bit of putty here and there but nothing major. The rear door is glued and the spare wheel holder is still mobile to facilitate the painting of the door. It should be glued as well in the end.
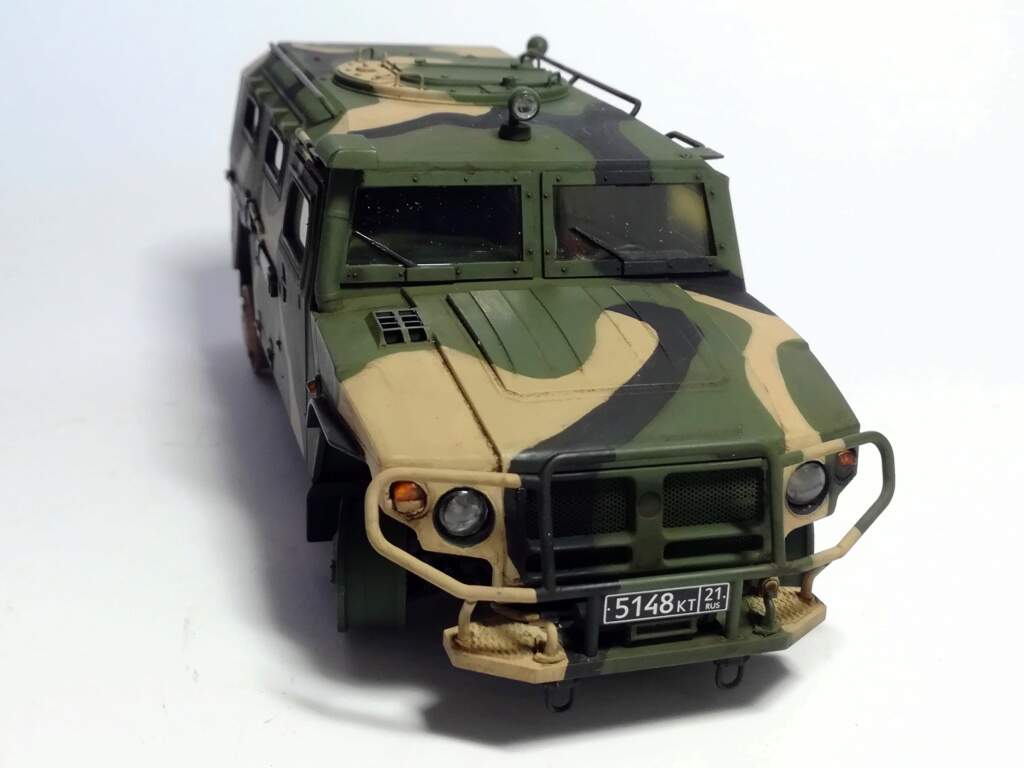
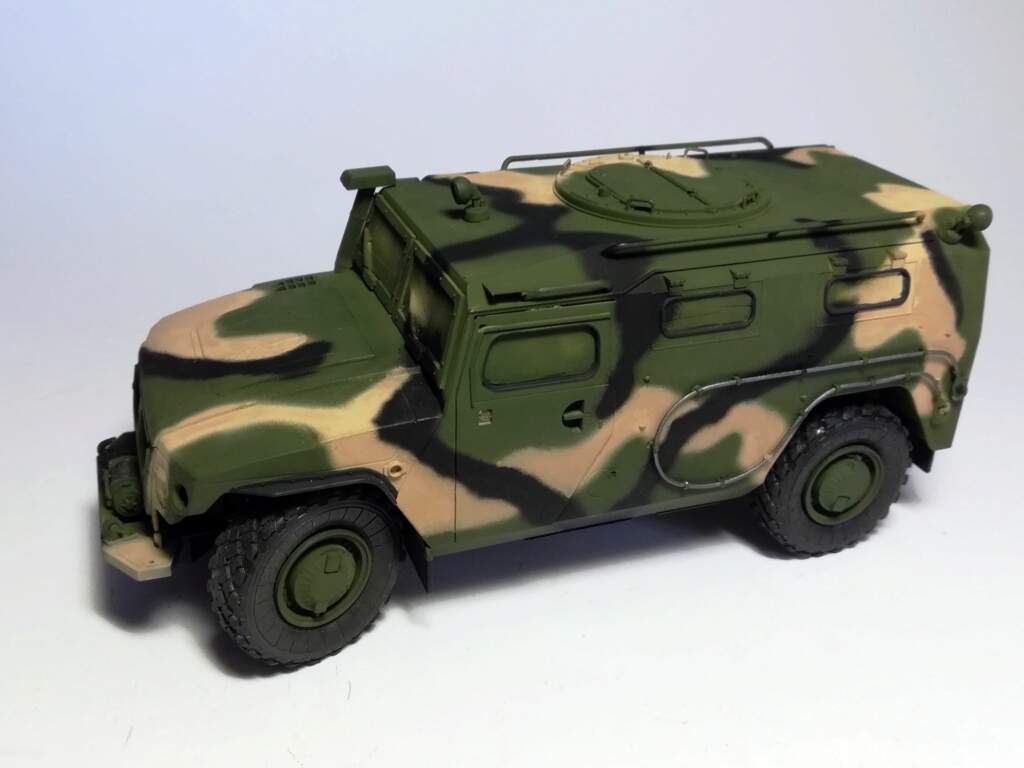
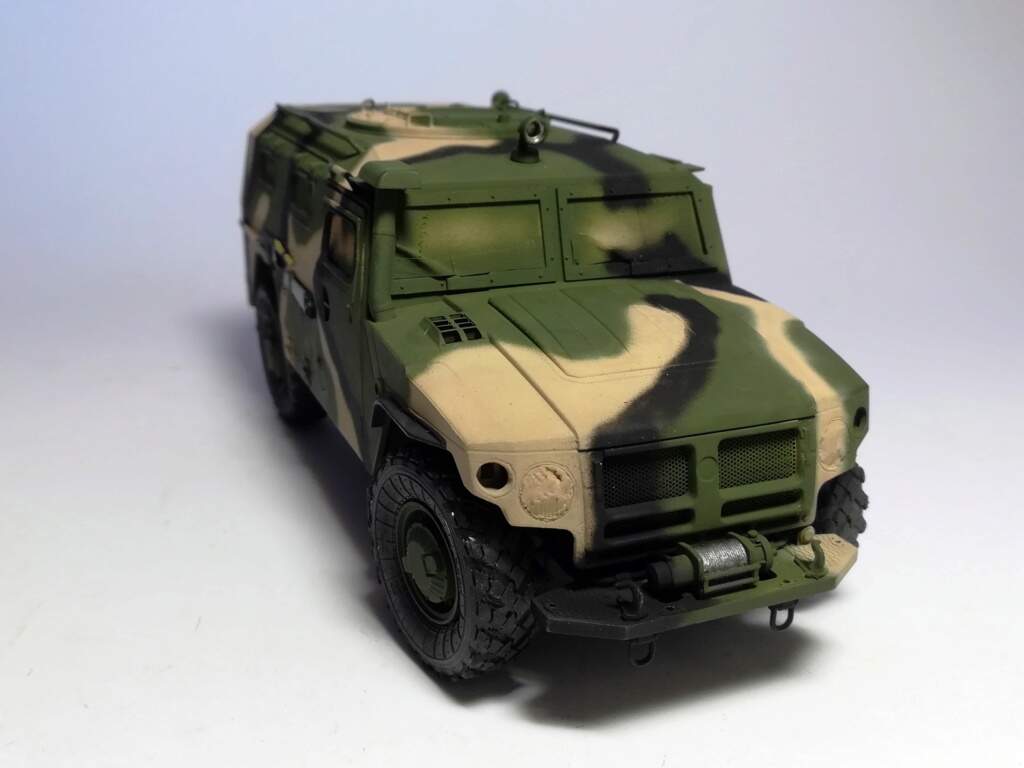
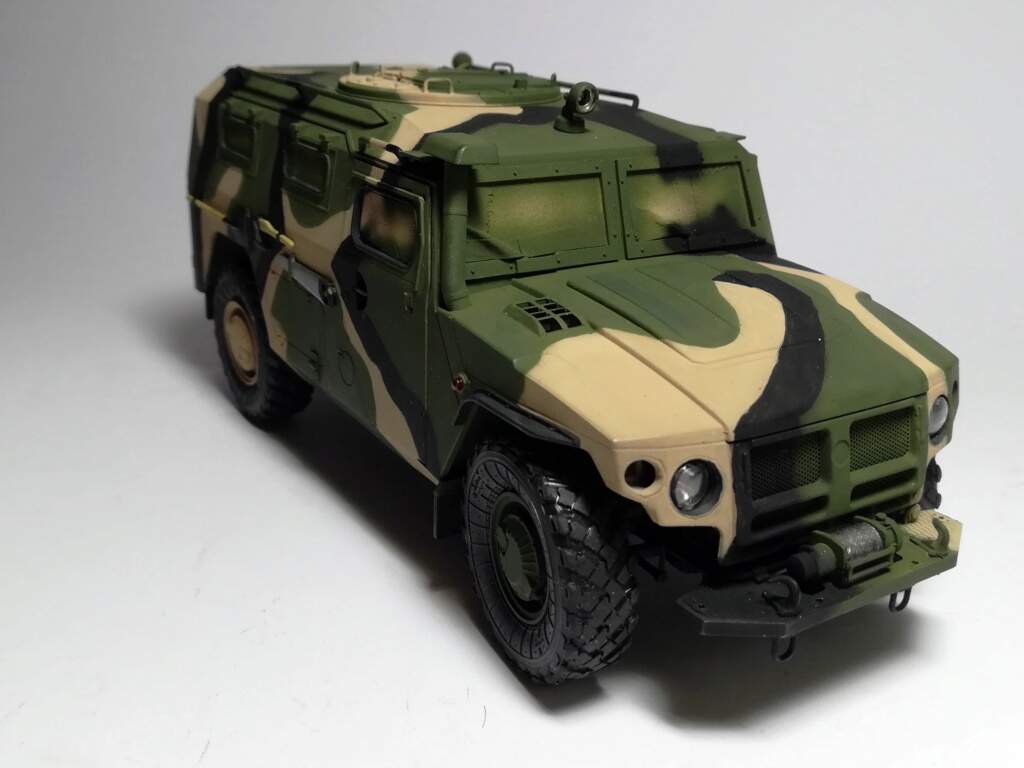
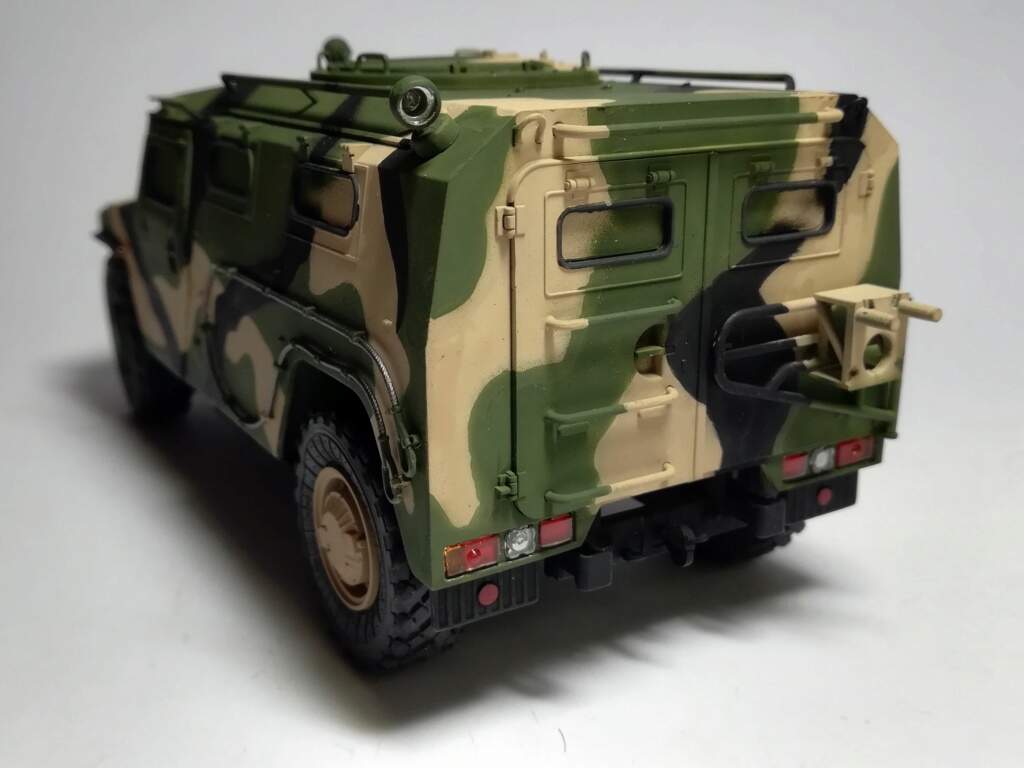
The base paint is done. I used the following Tamiya refs: XF-78 Wooden Deck Tan, XF-64 NATO Green and XF-1 Flat Black.
The camo is one of the options of the instructions. You’d better start by painting the vertical sides before the top because Meng top view does not match with the others.
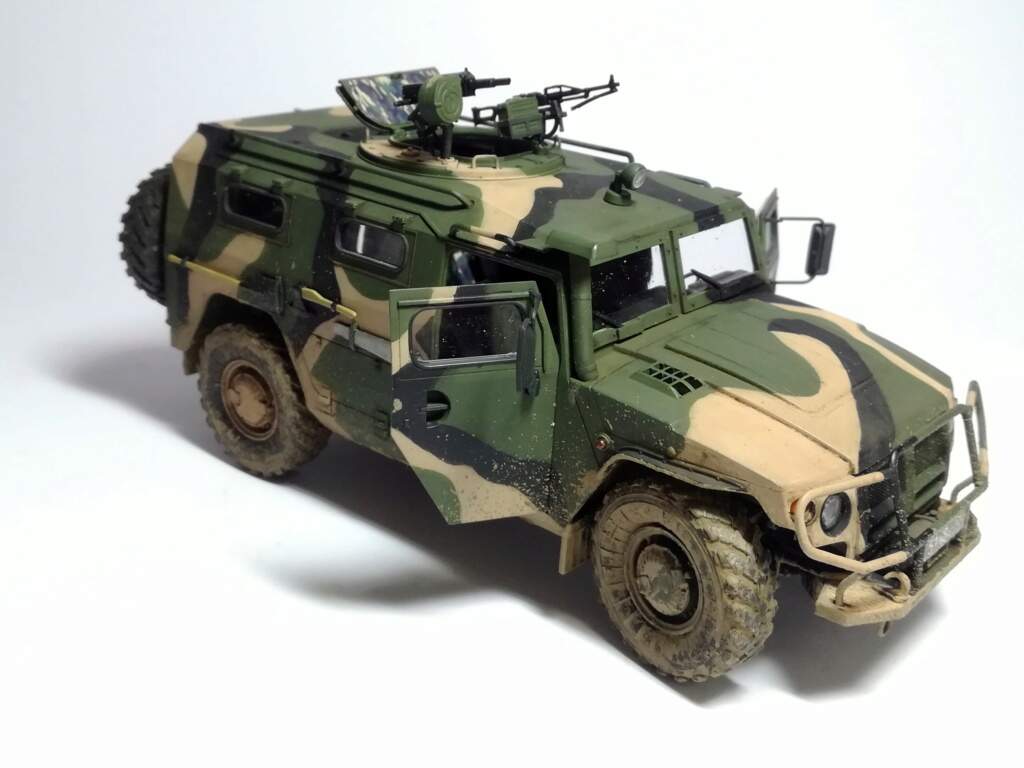
Thanks to Mario , I spent this afternoon on the workbench to fix the camo edges. Knowing the soft edges were a mistake it would have been a shame not to correct them.
I also came across a series of pictures of this camo during a parade in Moscow where I noticed that the rear wheels were painted tan and not green.
Looking good so far, Olivier! But why do they have camo pattern inside? Is it to confuse the guys not to find their own instruments …
I’m not really familiar with russian military vehicles but this seems to be the counterpart of the Dingo?
Beginning of the weathering with a filter with Sienna oils and a dark brown wash. The doors are all closed for the moment to facilitate the weathering. I’ll show them open except for the rear right one.
Olivier, how did you glue the doors to the body when you intend to open them again afterwards? I have used White Glue (Ponal) for the drivers door on my Dingo. So I hope I can open it again in the end …


 , I spent this afternoon on the workbench to fix the camo edges. Knowing the soft edges were a mistake it would have been a shame not to correct them.
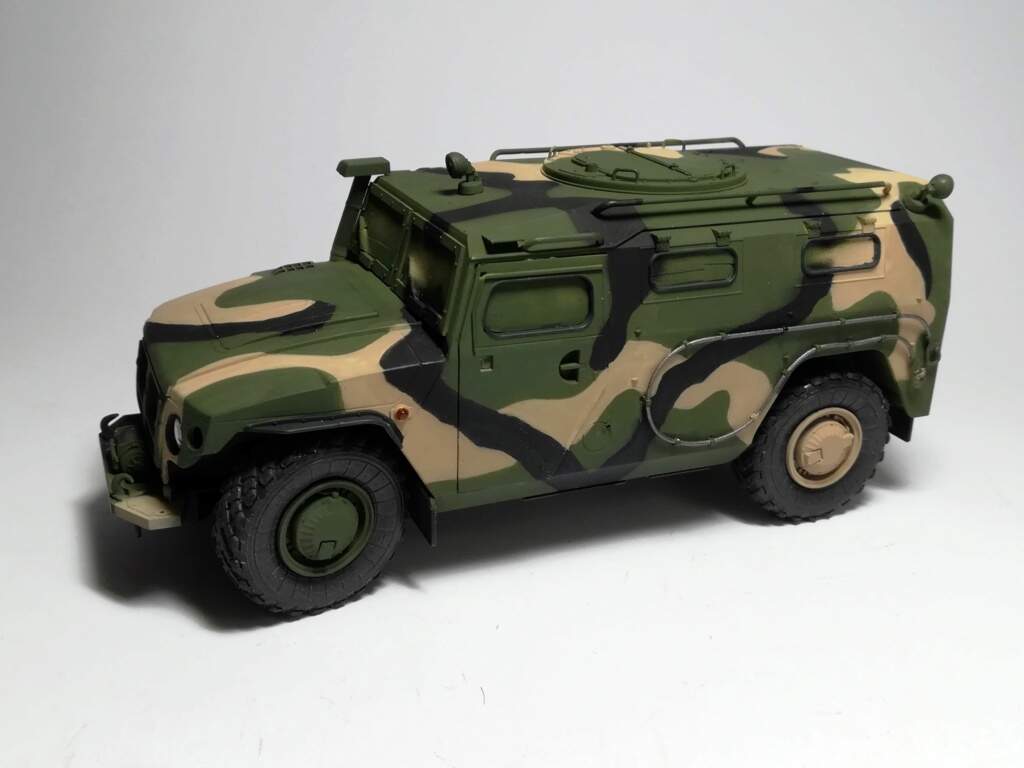
 But why do they have camo pattern inside? Is it to confuse the guys not to find their own instruments …