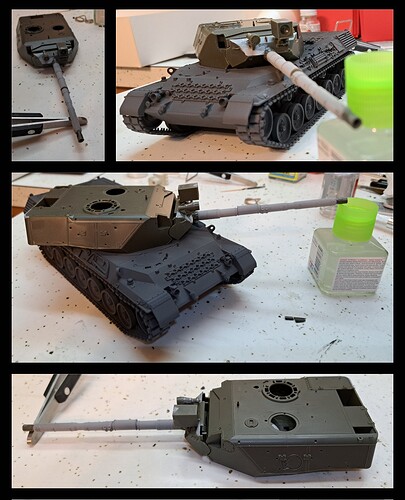
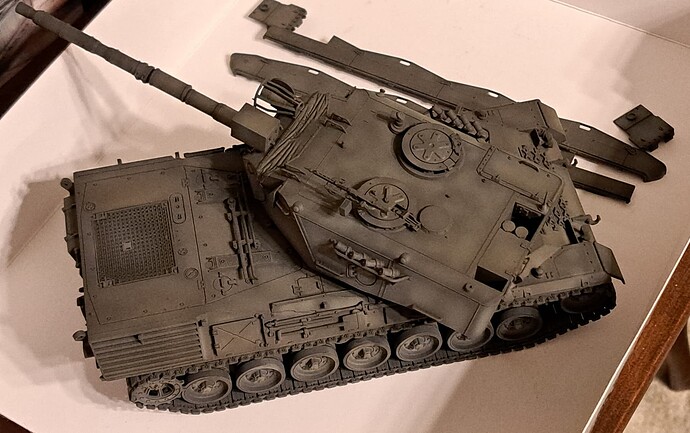
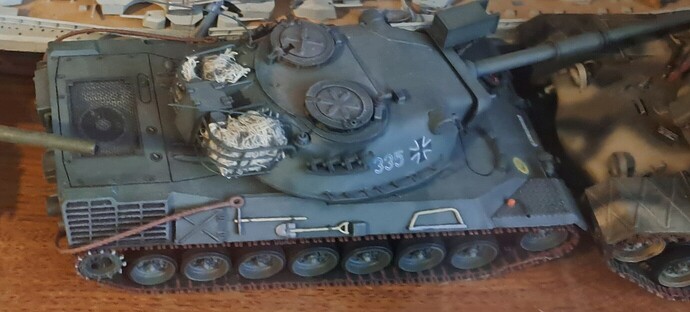
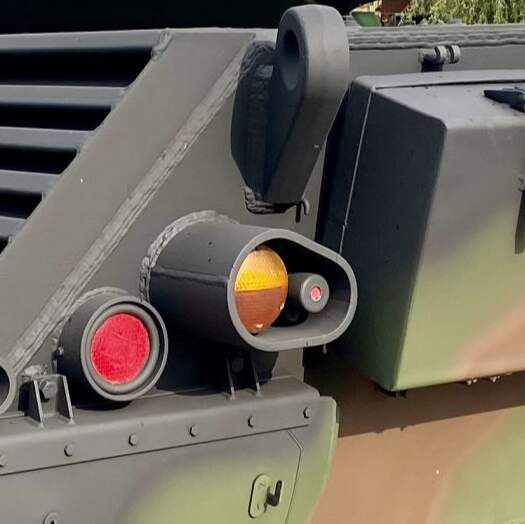
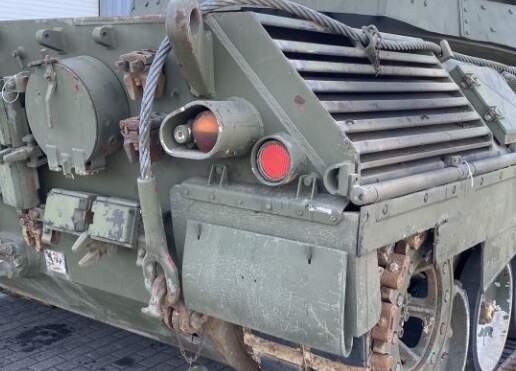
Meng Leopard 1A3/A4

That’s a good idea.

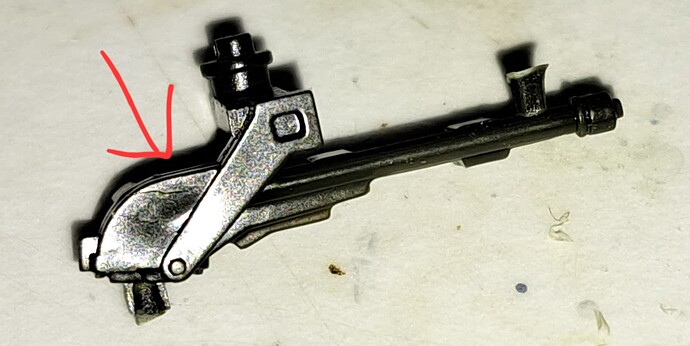
It’s rifled so drilling would be tricky. Will probably put a droplet or two of thin CA down the end and let if self level and set.

Too many bad guys on my display shelf and stash, the Leopard needs the muzzle uncovered for “peace keeping” actions.

Cold War mentality, one never knows when these sorts of trouble makers will need to be regulated

:wink:

4 Likes

Is there any rifling in there now?
If I were to look into that muzzle would I be impressed by the rifling and then disappointed by a black plug a few mm into the barrel?
Get some PE rifling?

2 Likes

Yes, Robin the main gun part J2 has rifling molded in.

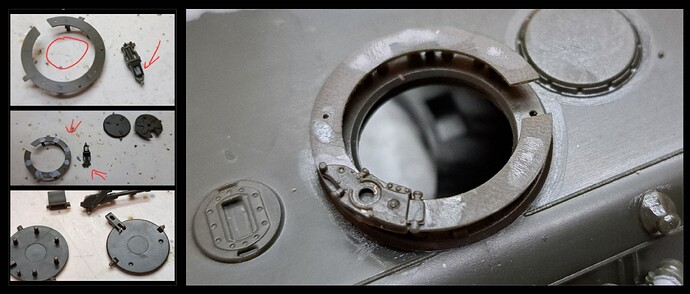
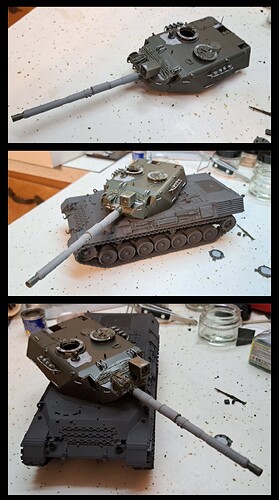
Working on the turret today. It’s a joy to build. Basically, what I’d hoped the whole kit would be like.

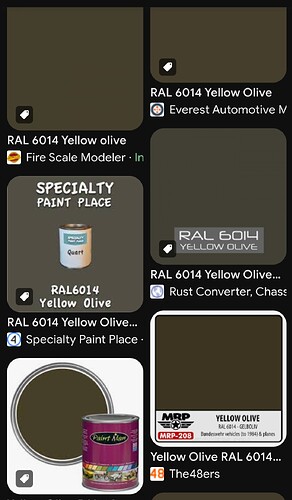
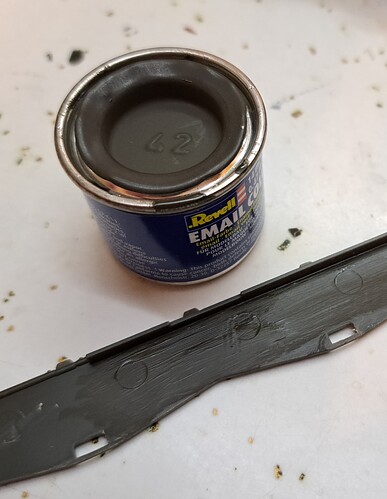
Thinking this one will be a “B” version as I want to paint something RAL 6014 Olive Yellow and try Revell’s enamel paint.

1 Like

The Revell enamel (No 42 folks) is fine though possibly a tad dark for 1:35, but to each his own of course(!)

As an alternative you might want to try Tamiya’s acrylic Khaki Drab XF-51; there’s not that much difference I feel, and by the time I’ve slathered my models with their usual coat of Tamiya Buff it’s very hard to tell what paint I’ve used. Anyway, just an option for Gelboliv.

2 Likes

Brian, thanks for the heads up.

I popped open the tin and hairbrushed a spot on the inside skirt.

Speaking of Revell 42 Gelboliv what your favorite thinner for the paint? The Revell thinner appears to basically be Naptha. Is Revel enamel the same as Humbrol? Might cut this with lacquer thinner.

Can spray base coat black, and first color coat of Revell 42 Gelboliv on the road. The “lighter shades” will have to wait until I’m back home.

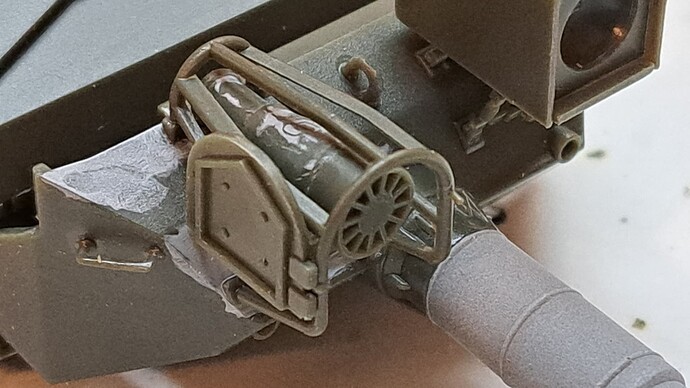
Starting to feel some “love” for Meng. This guard is very nicely molded and easy to install. A++ for Meng.

4 Likes

In my experience Revell can be thinned with the same stuff as Humbrol.
I use balsam turpentine for Humbrol, some naphtas and white spirits will dilute Humbrol but they do not thin it properly.
Balsam turpentine can salvage Humbrol that has turned to jelly.

2 Likes

To be honest whilst I still major in enamels, I’m no Ninja; if I use a certain brand then I tend to use their own thinners - in this case - Revell’s. Perhaps I’m not just experimental enough?

I don’t think Revell’s enamels are the same as Humbrol at all; I note that Revell dry much quicker.

You might just find the Revell a tad too dark, which is why I gravitated towards acrylics for once (Tamiya’s as mentioned), however, over to you - all looking good!

2 Likes

I appreciate the information Robin & Brian.

The MRP Mr. Paint “Gelboliv” may merit a second look.

1 Like

I like the use of “hairbrushed” as a verb!

3 Likes

Tom, creative word smything my secondary hobby…:wink:


As construction draws to a close quite a few disappointing molding artefacts surfaced, over a dozen sink marks in K tree parts. Typically, hatch related parts plus the MG mount.

All fixable with a skim of putty or two plus sanding but downright annoying none the less.

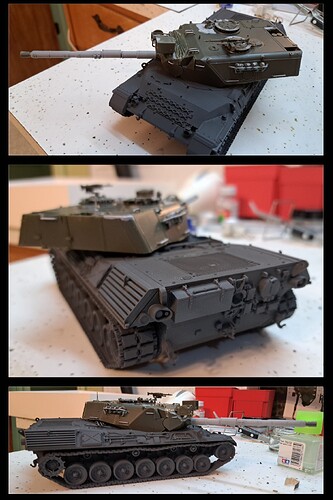
Stopped for the night on step 22 of 23 for putty to cure. Hope to finish basics and prime before the weekend.

My opinion of the Meng Leopard 1A3/A4 kit is formed so here’s the Wade’s World Review:

2 Price - MSRP $84, Spruebrothers.com $68, (I paid $40 via nefarious sources)

Potentially very expensive 2013 released kit with 1970’s quality suspension, 1990’s quality tracks, a 2000’s quality upper hull and 2010+ quality turret.

5 Instructions - Excellent, organized, logical, accurate, good size, easy to follow.

3 Molding Quality - Not impressed. Issues with flash and sink marks on multiple parts and multiple trees. An early pressing of the kit is very likely a 5 instead of a 3.

4 Plastic Quality - Excellent quality material, zero issues with any of the various liquid cements used.

5 Parts Clean Up - Well engineered with easy parts clean up in mind. Many mold seams are often on edge of part and very faint. Definitely impressed.

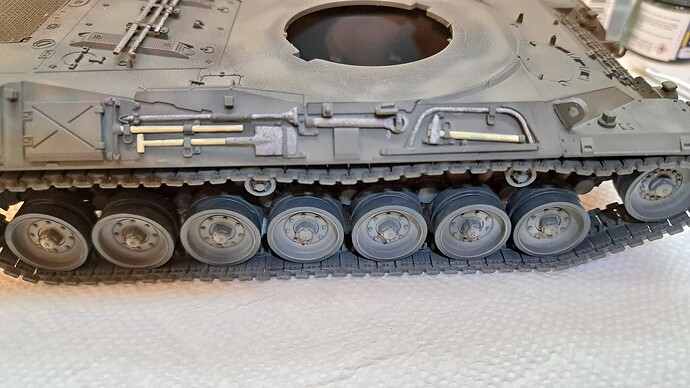
5 Ease of Build - Zero fit issues, clicks together, I enjoyed the upper hull and especially the turret of the build. Tool attachment well done with keyed notches.

5 Accuracy - To my eye seemed accurate, no Leopard references on hand, I didn’t notice anything questionable. Impressed with the optics and shutters on the turret.

5 Fit - Outstanding, clock work precision. Clean up the part correctly and it fits perfectly.

5 Doesn’t Require Aftermarket - Some folks might want to add a camo net. Details are nicely done overall so it isn’t necessary. PE is provided for what needs to be PE. Softwire is provided for tow cables. Clear perscopes etc are provided.

5 Details built Out of the Box - very good

Two sets of tracks are very nice, one band and other link to link. It’s a good kit that had the potential to be a fantastic state of the art kit but didn’t quite meet my expectations.

** 44 points out of 50 **

44/50

Recommended, if subject is of interest to the modeler.

Edit - Basic construction wrapped!

7 Likes

I agree with your review. I picked one up a couple years ago at a show for £20 ($25?) and thought it great for that money, but double or triple?

Much of it isn’t really an improvement on the venerable Italeri kit, but the turret and OVM tools make it worthwhile. (Why can’t Italeri count the periscopes?..)

Great build you have going on!

3 Likes

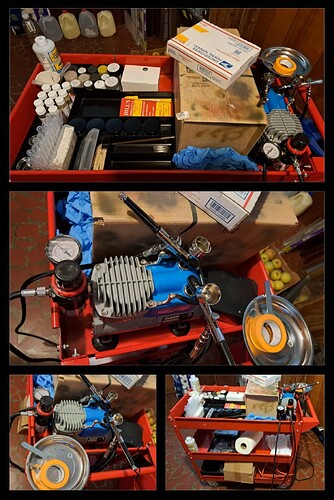
Reorganized the paint cart before painting.

Today’s word is Ersatz, because everything painting is a substitute item, material or method.

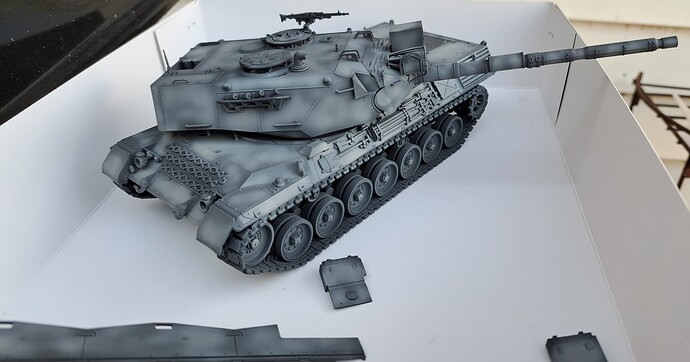
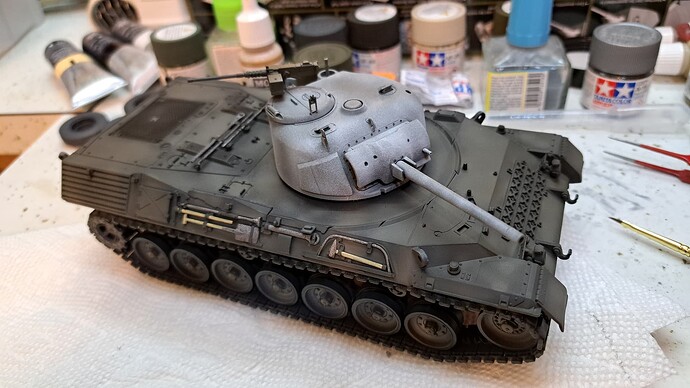
Applied an ersatz coat of "Floquil Weathered Black"color mixed with Mr Surfacer 1500 Black & Mr Surfacer 1500 Light Gray to the turret & skirts etc.

Monochrome, I like painting dark to light as standard procedure. I don’t have the finesse with this AB set up to that. So the Leo IA3 will get base coat black, highlighted with a thin mix of Tamiya Buff followed by building up the color coat slowly. Using very heavily thinned paint mixes should allow more control over color build up.

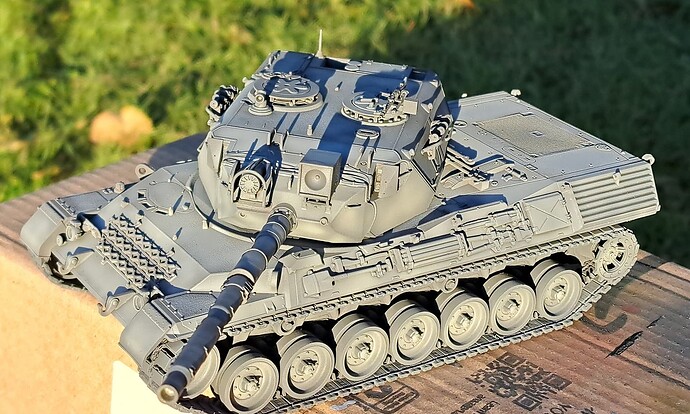
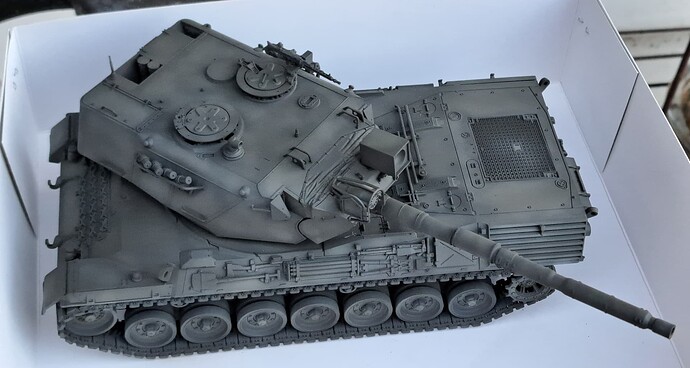
That was the plan and here’s the result.

50% Mr.Color LevelingThinner & 50%Tamiya Buff highlight over Weathered Black.

Multiple coats of 85% Mr Color Leveling Thinner & 15% Revell Gelboliv over the above in sunlight.

In the shade.

Indoor lighting.

Previously, 30+ years ago, I’d used Floquil Railroad Pullman Green lighted with Reefer White as Gelboliv. I’m surprised how similar the colors look under certain lighting conditions.

Anyway, that’s all I’ve got for today.

Big Special THANK YOU to @BootsDMS Brian Stoddart for pointing out Revell 42 Gelboliv is very dark out of the tin. The heads up helped me greatly with developing a painting plan.

11 Likes

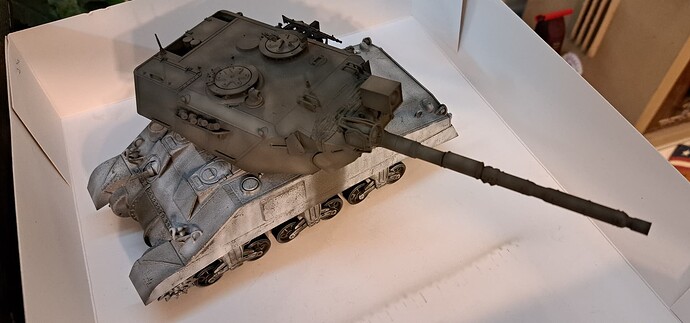
Met the She-pard!…part Sherman and part Leopard! (J/k)

Grinding on detail painting, hope to gloss & decal fairly soon…but

5 Likes

OK, now let’s see a Leopard turret on the Sherman hull!
Ken

2 Likes

Ken, just for you!

Introducing, the LEO-man!

3 Likes

:+1: :stuck_out_tongue_winking_eye: Yes!
Ken

2 Likes

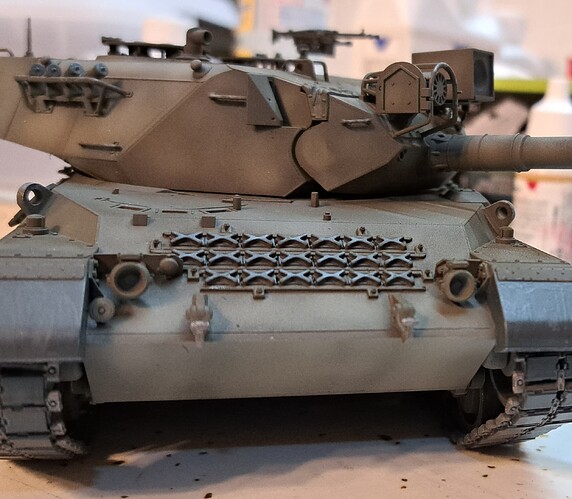
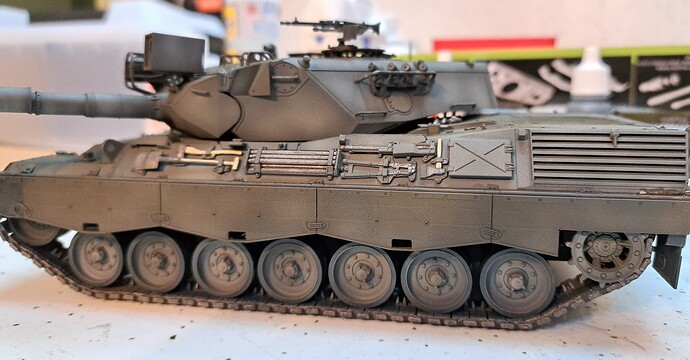
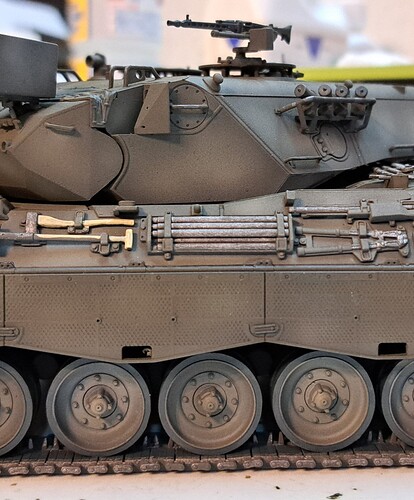
Some details painted plus skirts…

7 Likes