Bible verse, Proverbs 16:27 states, “Idle hands are the devil’s workshop”
Waiting on paints to arrive for my Tamiya Sherman M4 build…waiting on aftermarket parts for my T-34/76 early 1943…waiting…bored…let’s crack open another kit…
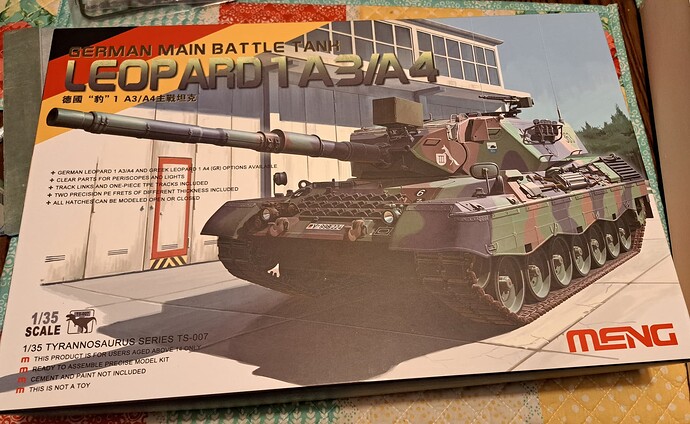
Leopard Club: Reviews Meng Leopard 1A3/A4
Wiki - Leopard 1
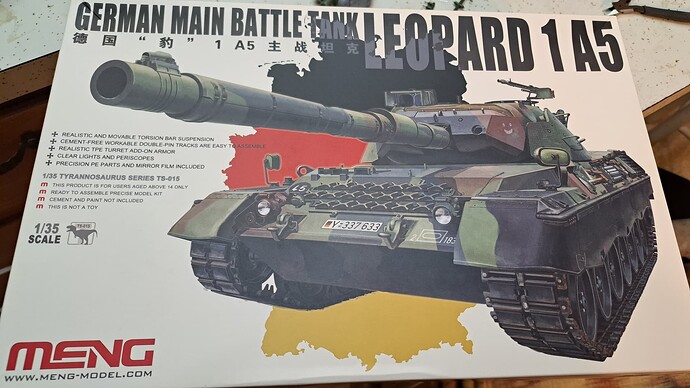
Felt disappointed in the mold quality of Meng’s 2013 release kit. It’s mostly better than the 1970’s era Italeri, but not what I hoped for from a 2013 release. The Leopard Club review appears on the money. I was delighted the kit has two sets of tracks offer both vinyl and link to link.
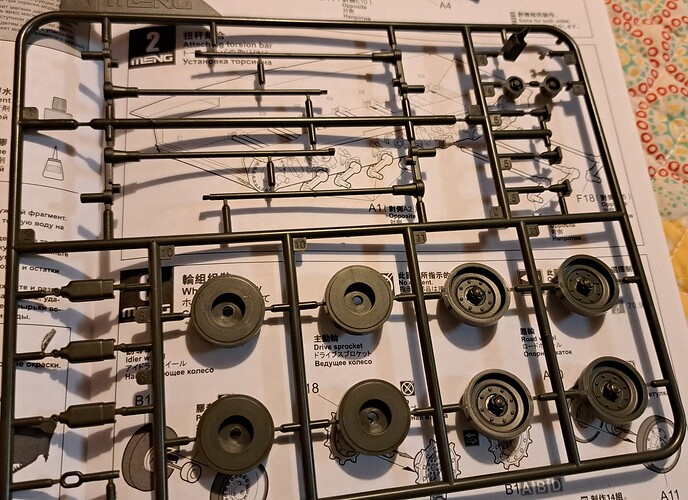
After cleaning up a surprising amount of flash, cutting two poly caps in half to fit inside some wheels because 4 of the 16 wheels are molded to shallow for poly cap. It’s nice having a pair of spare wheels.
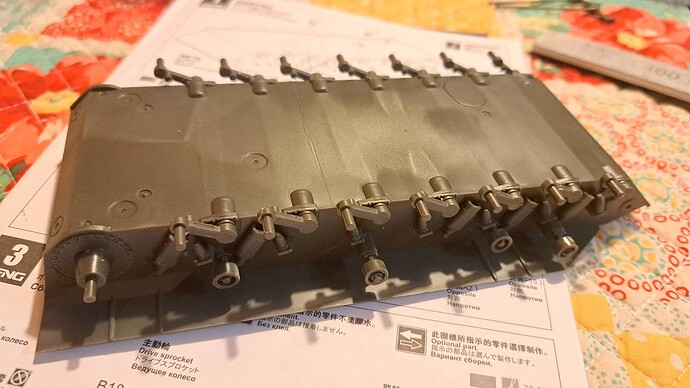
First impression - not at all impressed with the suspension and wheels. On the brightside parts clean up is easy and the parts require minimum clean up. To me that’s a sign of good engineering.
5 Likes
will be following.
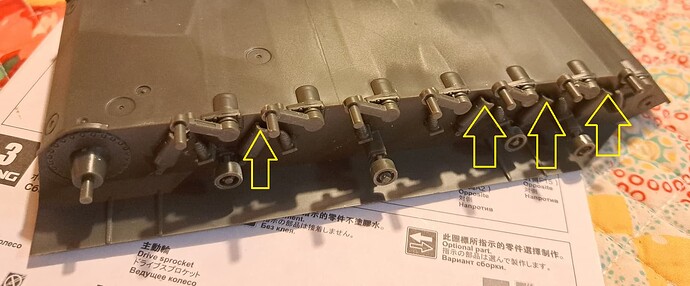
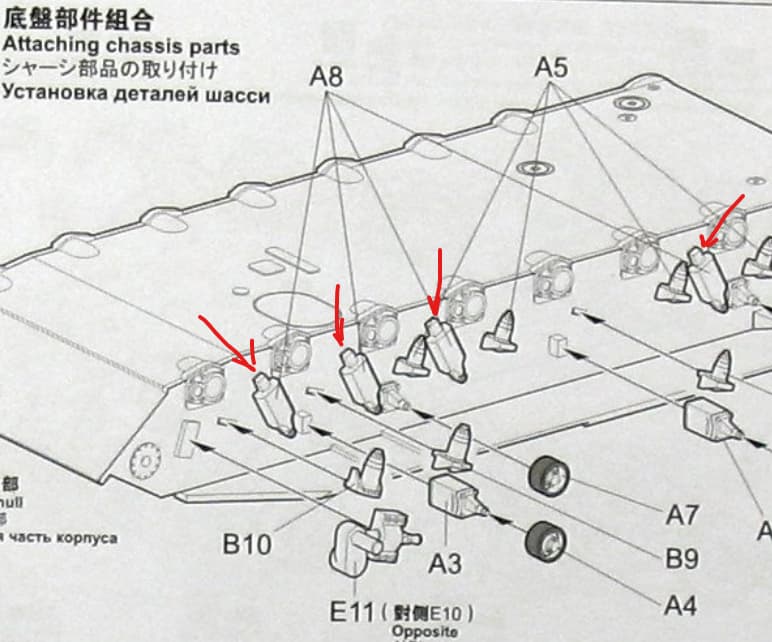
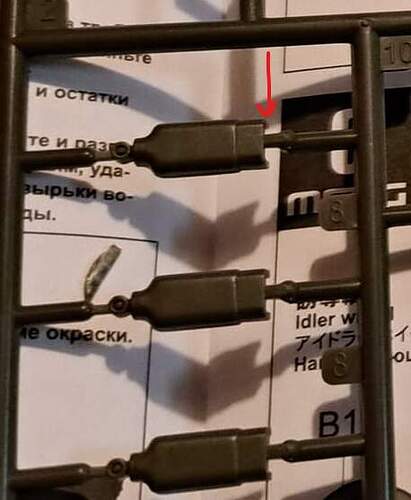
These gaps look strange to me. Is there another part to be placed there?
4 Likes
Built this wagon many moons ago. One of Mengs earlier offerings. Had no issues with it that I remember. Molds may be showing their age.
3 Likes
The arms are molded with a plastic torsion bar for a working suspension. I think they will compress with the weight of the model on them. If they don’t I’ll add ballast.
@Armorsmith DV, I agree, given the flash etc I think the molds probably have some wear on them. I should have bought this as a new release and not waited.
3 Likes
Yes they will compress but make sure the tracks aren’t too tight or they will pull the first and or last road wheel up. If you glue them in place it won’t be a problem.
2 Likes
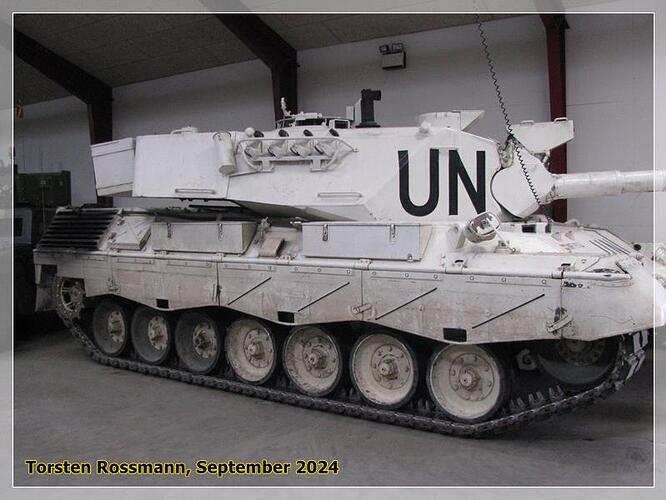
Wade, I don’t know if you might like to build a Leo with a history and this is no 1A3/A4 but a 1A5DK. Don’t know how much work to put into it but this old battlehorse has a history. It’s one of the participants of Operation Bøllebank on the 29. April 1994. It’s the star of the Danish Tank Museum in Oksbøl and still going strong. Was really happy to finally see it … 
Operation Bøllebank - Wikipedia
4 Likes
I have the -A5 version up on cinderblocks right now. I also felt the molding In plastic quality didn’t impress in the box, but so far it looks pretty reasonable as a kit. I agree, maybe not state-of-the-art, & in some ways I liked the old Italeri kit better. But this one undoubtedly has much more detail…
Damon
2 Likes
@Armorsmith DV, wow that would be terrible front and rear wheels tucked up and sitting on the others. Thank you for the heads up, will lock the suspension down accordingly.
@BlackWidow Torsten, thank you that’s a very interesting link and event. Definitely would like to build the Danish 1A5 DK at some point. I take it the 1A5 DK is different than the Meng 1A5?
@Garrand Damon, agreed I feel quite nostalgic for building an Italeri Leo 1. Good to hear the A5 looks pretty reasonable built up. I just pulled the shrink wrap off of mine for a peak.
I believe moving away from the lower hull assembly my satisfaction with the Meng Leo will improve.
3 Likes
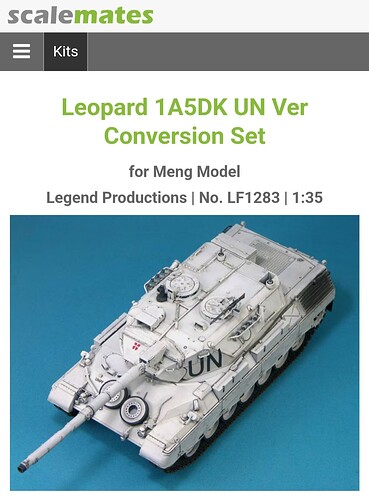
You can find Leopard 1A5DK conversion set. I have acquired it and used it on old Tamiya… it turned well!
4 Likes
Marko, thank you for the link. That’s a sweet build with the Tamiya kit.
I’ll pick up the Legends Leo 1A5DK set.
Does it come with the UN decals? Or will I need to get markings?
Found a conversation set on ebay but it looked like a pirated copy so this will wait until my next Sprue Brothers order.
My intention is to use the conversation on the Italeri Leopard 1 A3/A4. It will benefit more by replacing the tools with boxes than the Meng kit. Plus the Italeri kit is already earmarked for hand me down tracks & parts from this Meng kit etc.
6 Likes
The instructions show an extension on parts A8
But the parts on the sprue photo in the original post look slightly different
Further clues and information about what parts A8 should look like can be found here:
“Meng’s detail is basic, to say the least. Their shock absorbers are totally inaccurate, swing arms are very basic, return rollers are the wrong pattern, etc”
Small appetizer
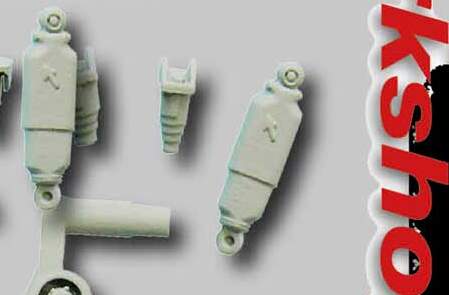
Most of the missing detail is hidden behind the road wheels and obscured in the shadows created by the side skirts.
BUT, knowing about missing details sucks …
Reviewed by Kenneth Östergaard
4 Likes
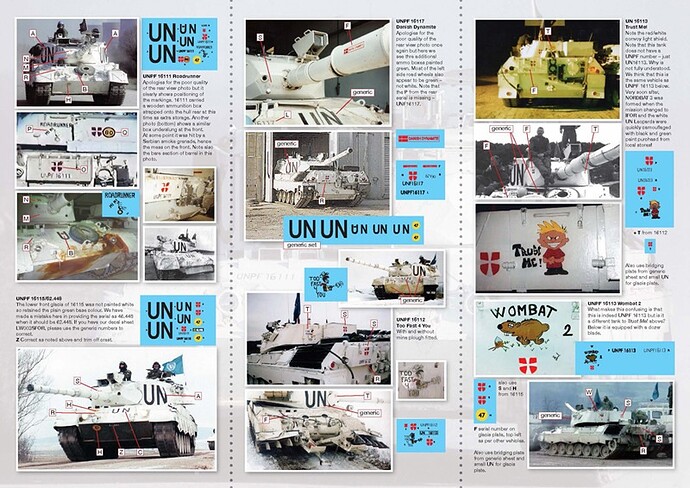
As for the decals, i had to source them separately from some good people, i believe from Armorama. If i am not mistaken, it is a Legend set of decals that is needed. The company of Danish tanks had cartoon characters painted on the rear of the hull, which is inspiring…
2 Likes
I too have the Legend set for similar project but the decals are not part of it. Most of the UN marked leopard are pretty generic but if you want to do a one with the Nose Art then it will be a problem. The sheet that has all those Arts is long OOP. I have been looking for the decal sheet up and down the net but so far no luck.
Personally, I’d love to have a “Trust Me” Calvin art from Calvin and Hobbes cartoons.
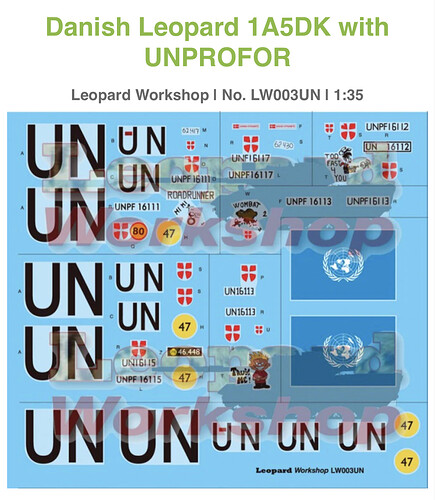
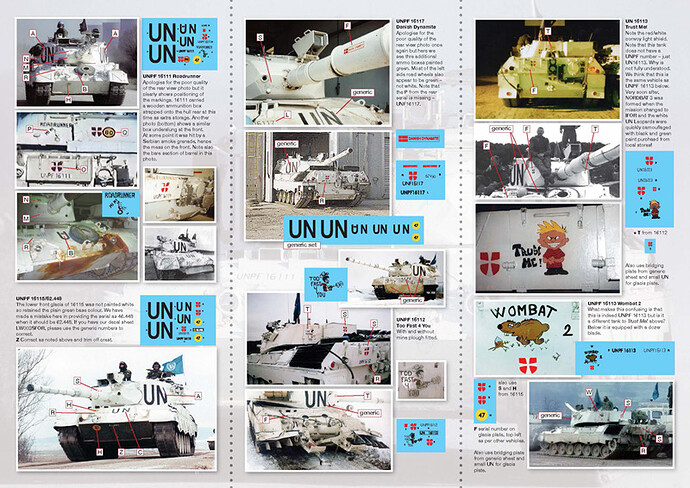
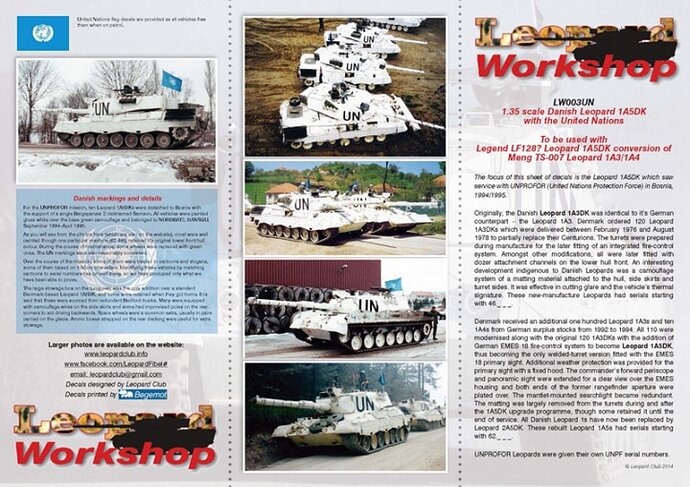
Here are the pics of the decal sheet…
8 Likes
Marko & Mike, thank you for the information on decals for the A5DK.
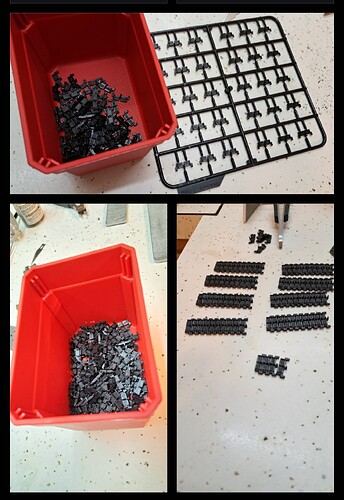
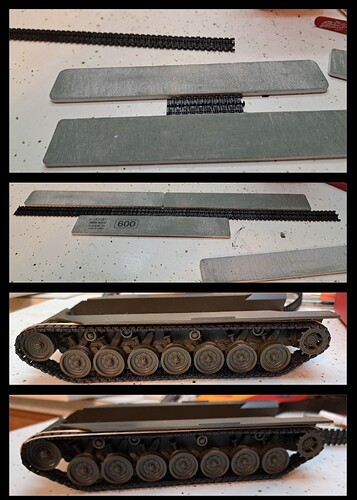
Grinding, cleaned up the tracks and sorted.
One track wrapped and one to go…
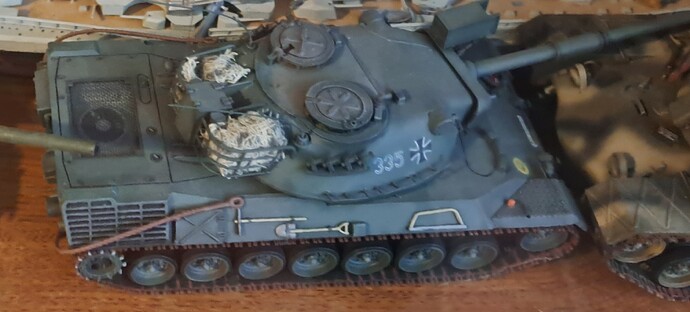
One of my junk Leo 1’s slapped together ~33+ years ago…
Hopefully Ryefield Model’s does a new Leopard 1  soon.
soon.
5 Likes
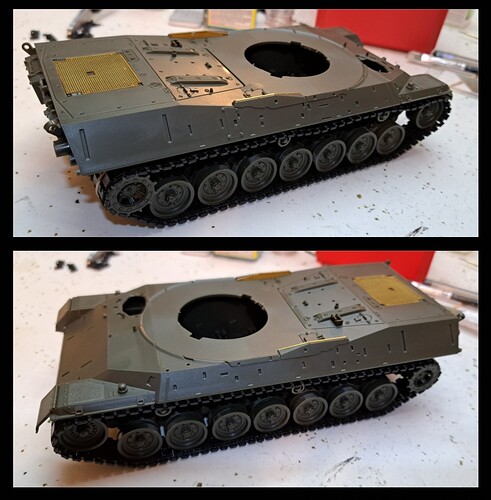
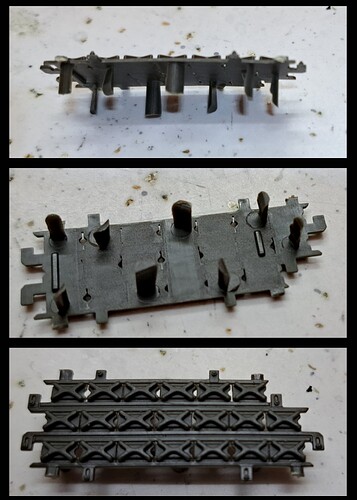
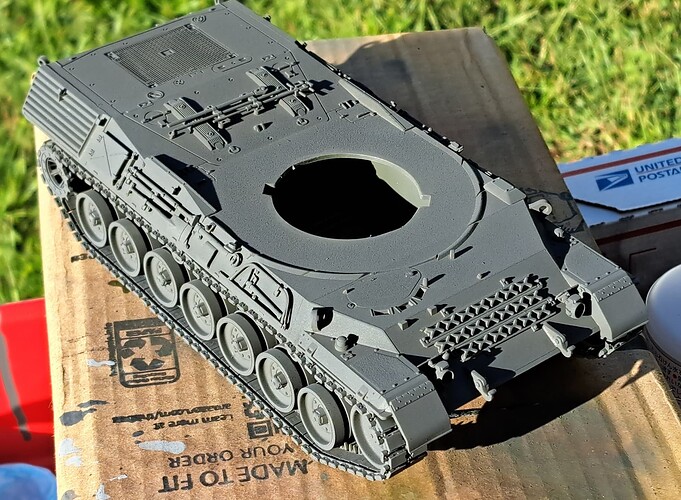
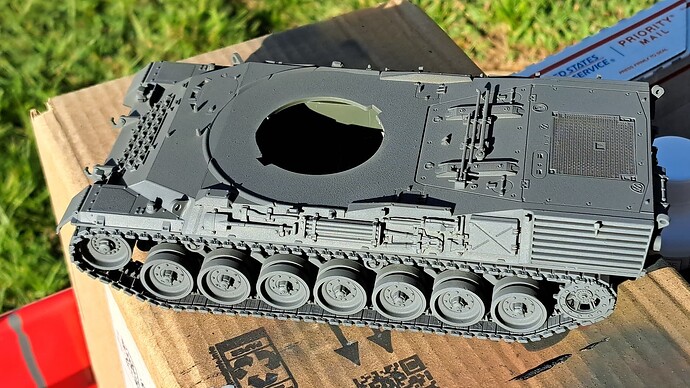
Tracks are together and temporarily mounted. Really happy to complete the suspension on this kit. Finally hit a sweet spot in the build as the tail plate and hull halves fit together perfect! Meng did fantastic with those parts.
^Hilarious nasty mold artifacts! Worthy of invoking mold artefacts given the plethora of protrusions. 
Time to clean more parts…
7 Likes
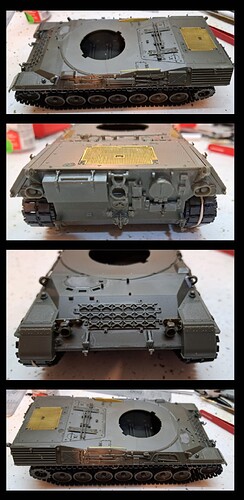
Majority of hull wrapped.
8 Likes
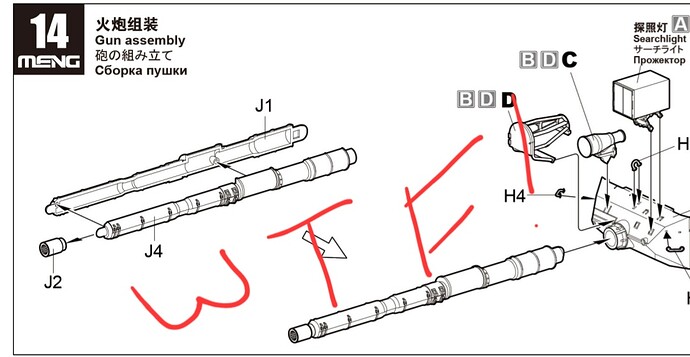
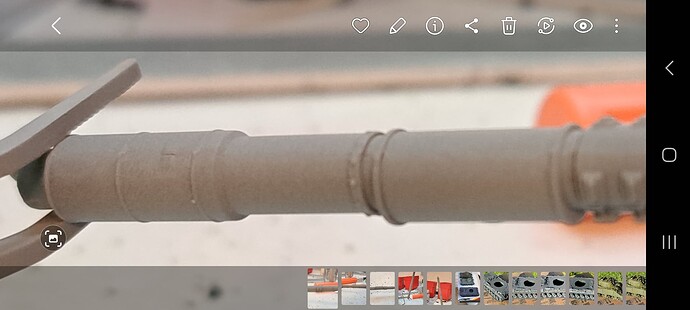
J1 + J2 + J4 = WTF!
Can’t spin that one in the lathe to get ride of the seam. This is going to suck so bad haven’t done this by hand in 30+ years.
Worst spot
Need to primed to so see how bad…
…needs more love…
Anyway, since the mobile air brush was out shooting spray paint said what the hell and prime the lower hull.
5 Likes
Wade,
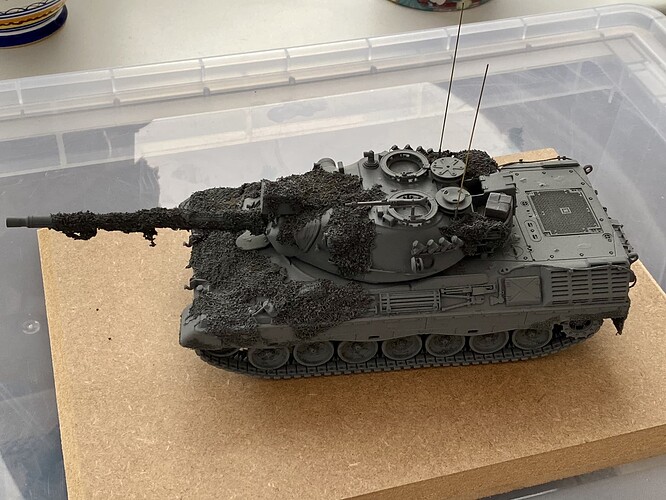
Camouflage nets can be your friend here:
10 Likes
@BootsDMS Brian, thank you for that excellent idea! I’ll keep it in mind going forward.
After a round of thinned Tamiya Basic and 1000 grit love, there may have been progress repairing defect.
Hope to hit with Mr Surfacer this evening and see if it’s fixed or needs more love. On the plus side, I think it’s on the bottom of the main gun.
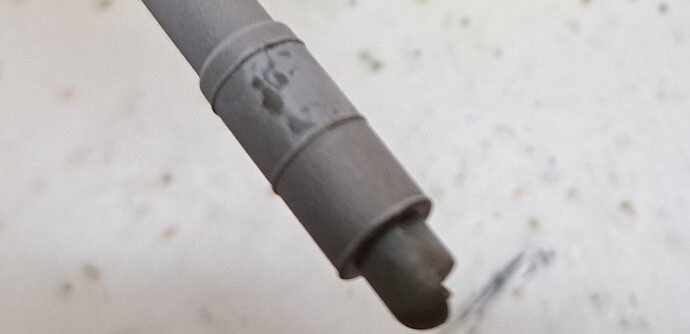
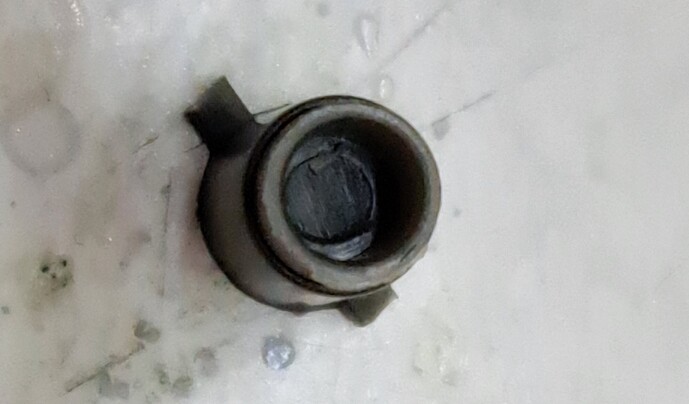
Meng placed a very nasty “Dragon Style Land Mine” in the tip of the main gun barrel.
That’s a nasty punch mark just begging for a geek (like me) to shine flashlight down the barrel. I know flashlights  are on the outs these days but old habits die hard on the workbench.
This Meng kit has me nostalgic to build the Italeri Leopard 1A3 kit.
3 Likes
Stick the muzzle on the barrel, wait until glue has set over night.
Drill out the muzzle and as far as needed into the barrel.
A muzzle cover could also be an option
2 Likes
