Very very nice paint job!!
@BringupthePIAT would love to see some pictures of your dio, but cant find it on this site…
Very very nice paint job!!
@BringupthePIAT would love to see some pictures of your dio, but cant find it on this site…
You have the midas touch with the airbrush Jim- your paintwork always looks fantastic and this is no exception!
Looks nice!
Many thanks everyone! I feel all I am displaying is some patience with that masking job, mixed with a slight pinch of OCD, and a large portion of bloody mindedness! However your comments are much appreciated and received with genuine gratitude.
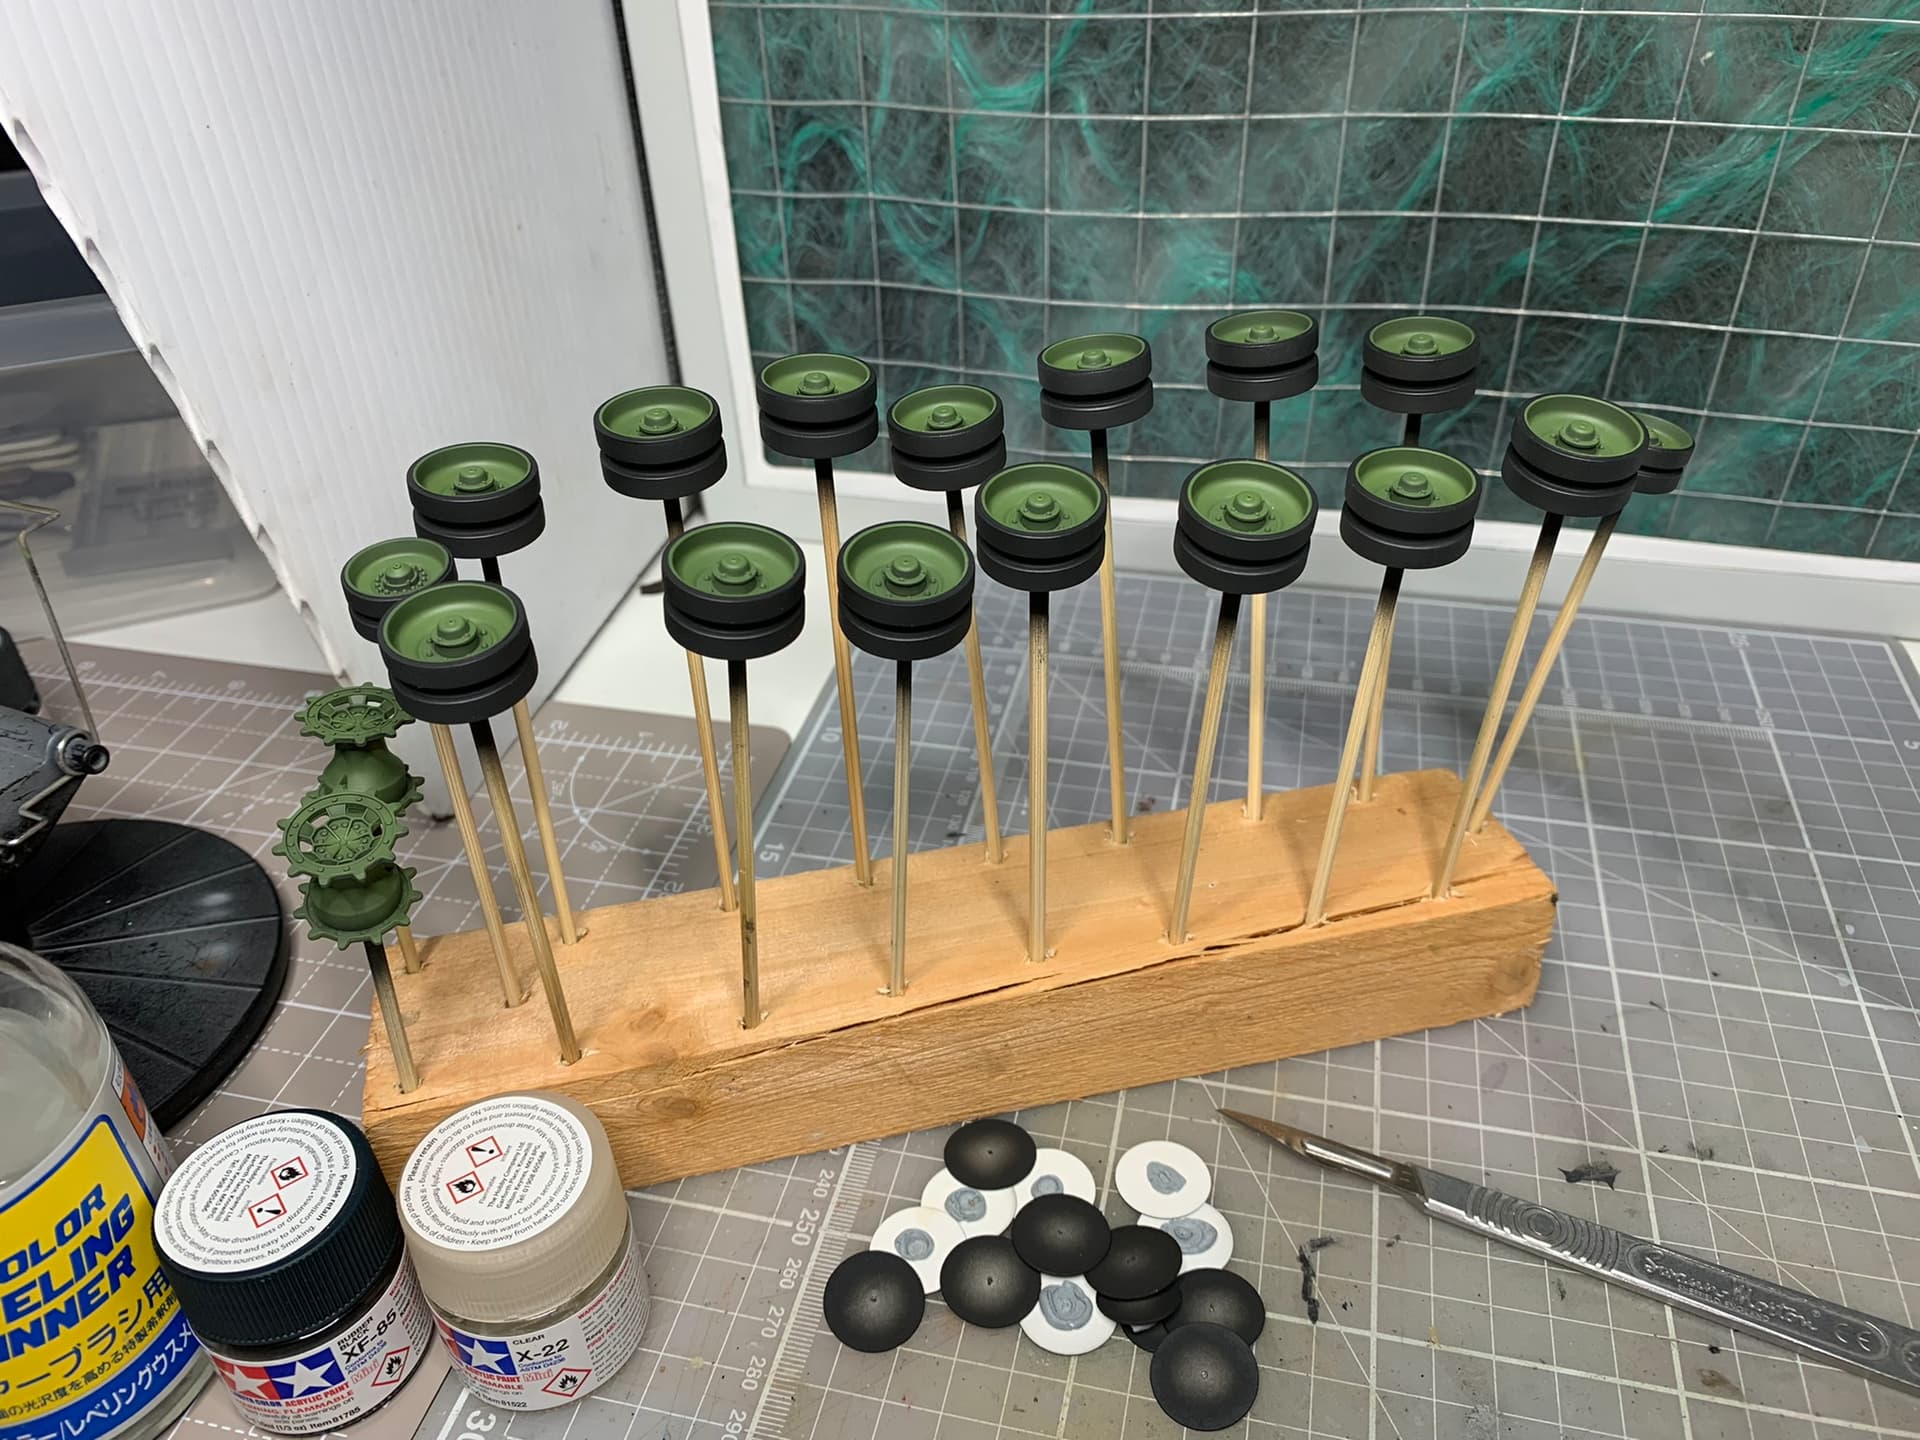
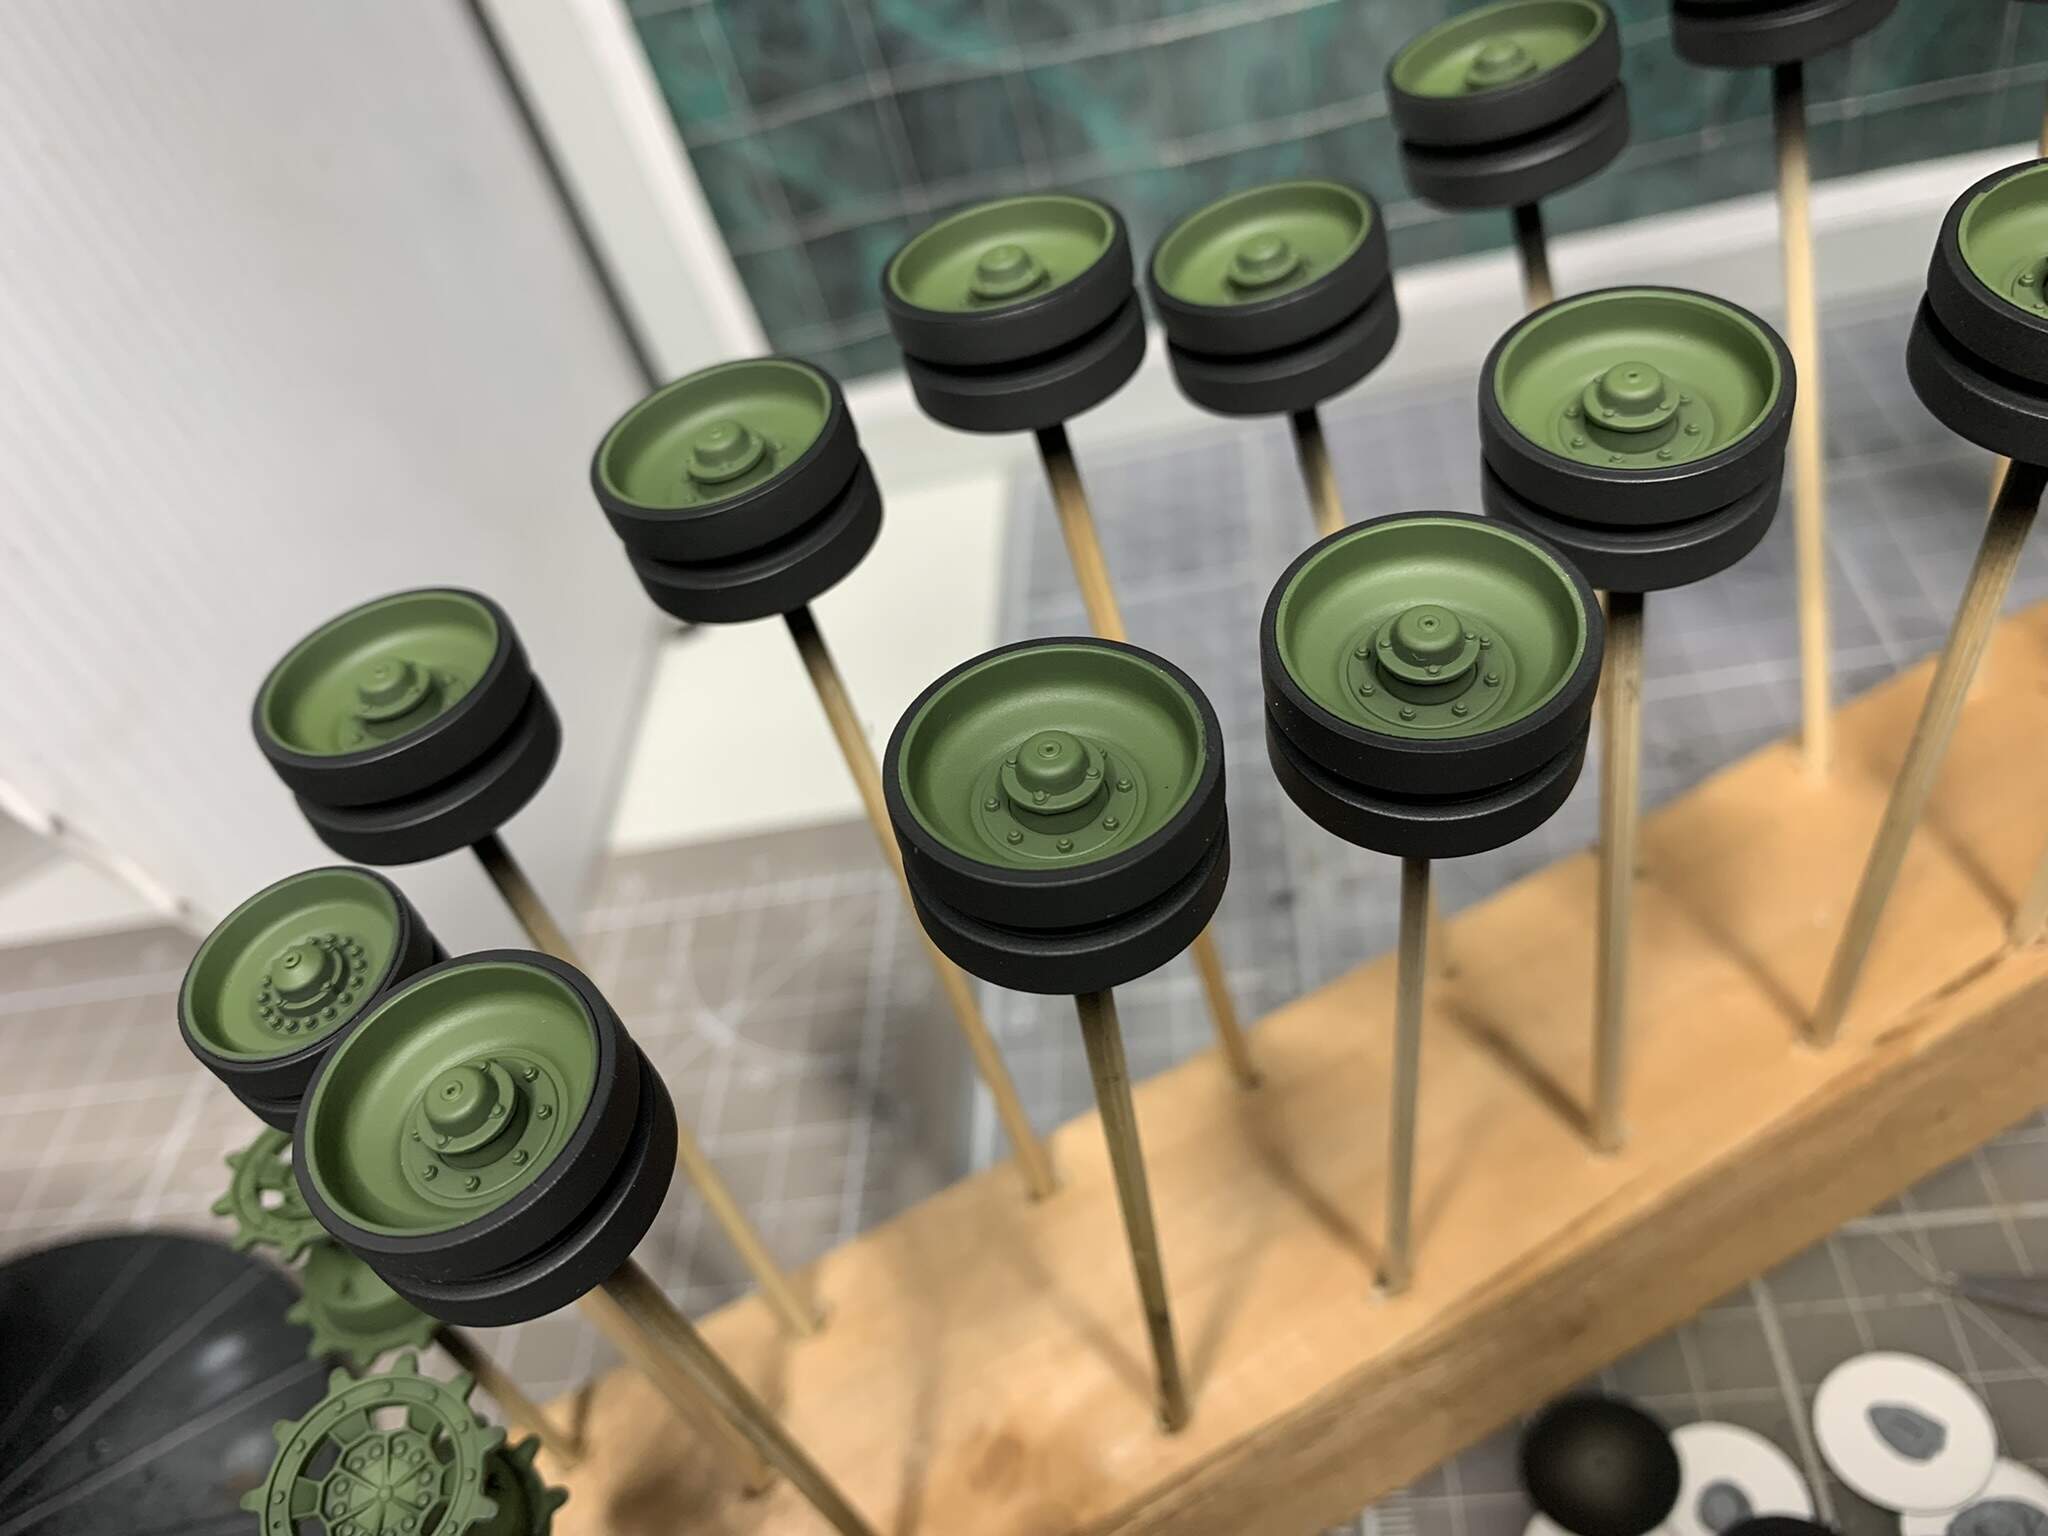
I’ve masked and painted the road wheels. I went back to front with this build as the wheels were in between sizes on my circle template, so I measured and made card circles and “blutaced” them onto the wheels. It isn’t perfect but much better than I could ever do with a hairy brush, and weathering will obliterate any mistakes.
Onwards…!
I completely jacked up my Centurion because I got sloppy with my masking. You’ve inspired me to not throw it across the room. I’ve even got a fresh roll of tape sitting on the bench so I can try your method.
How did you transition between colours? Did you leave your existing masks in place or Peel everything off and re-mask each time?
Hey Don, I’m really glad this has encouraged you to carry on with the centurion, that camo scheme is exactly the type that I would go for.
I removed all the masking after the brown as the black goes through and around a lot of what I’d covered up to put the brown on. I think you may get away with leaving masking in place with that Canadian 4 colour scheme.
I also made sure the blutac was well adhered to the surface, pushed down with finger then sort of lightly rolled with the end of a toothpick, trying not to leave any striations on the paint edge.
You know I had always struggled with getting a nice uniform, thin sausage of blutac, but I discovered that using just the end or my index finger and working out from the middle then turning the strip and doing the other side and repeating until I have the diameter I need was a revelation. Sorry, I had to share that, it’s the little things you learn that sometimes give the greatest joy!
That’s some very crisp camo work you’ve done. Excited to see the rest of the build 
Amazing masking and paint result!
Its nowhere near done but i am posting updates on my Instagram - @bringupthePIAT if you want to see what is going on.
Thanks James @kunjuro and Tamas @Agriamodeling!
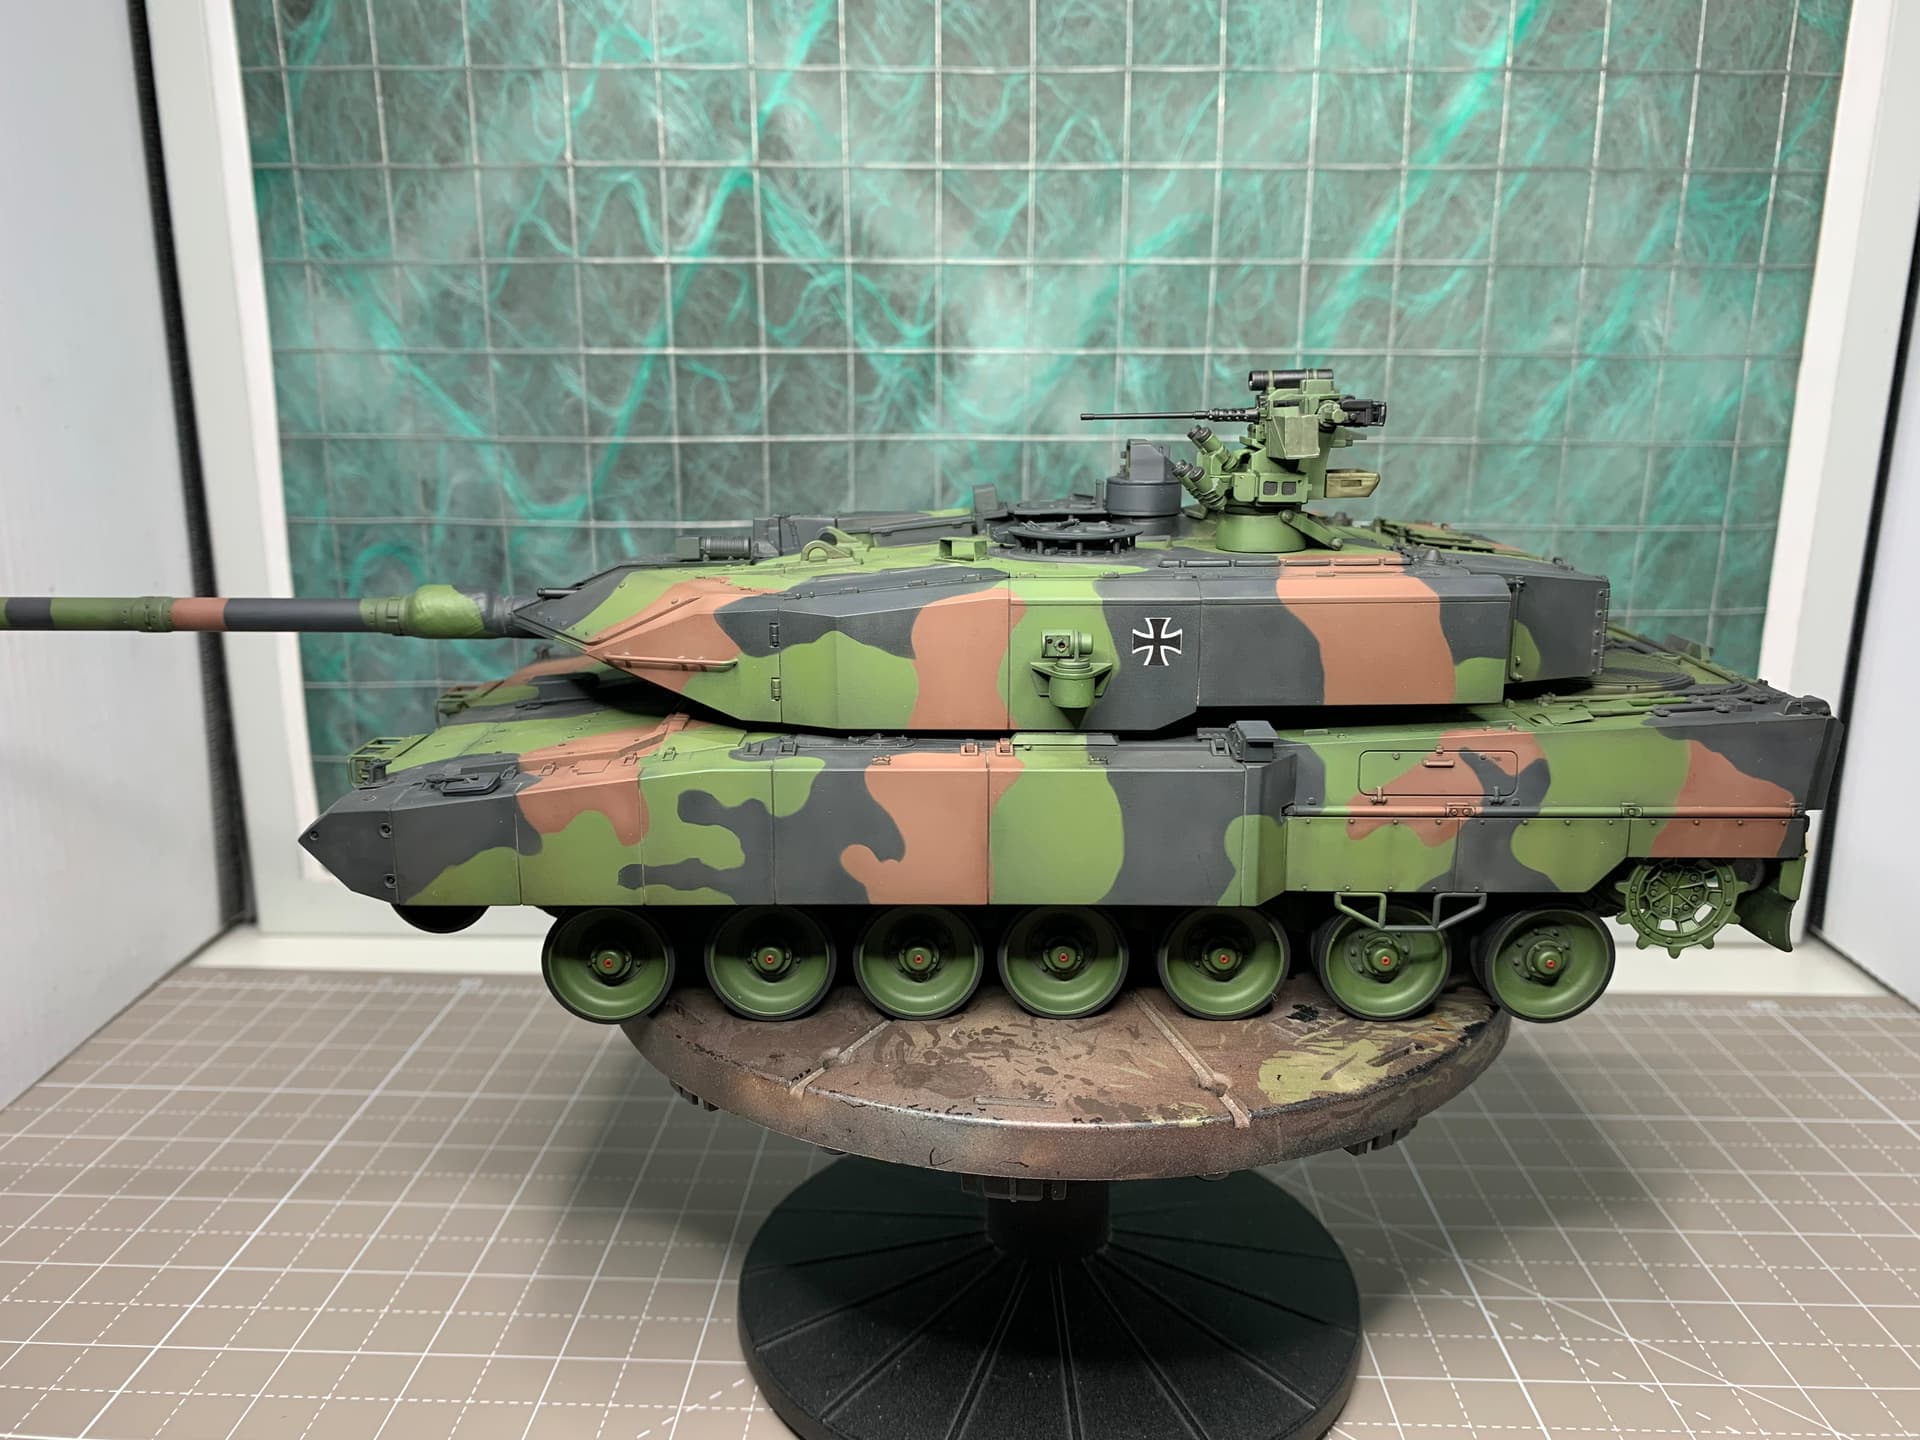
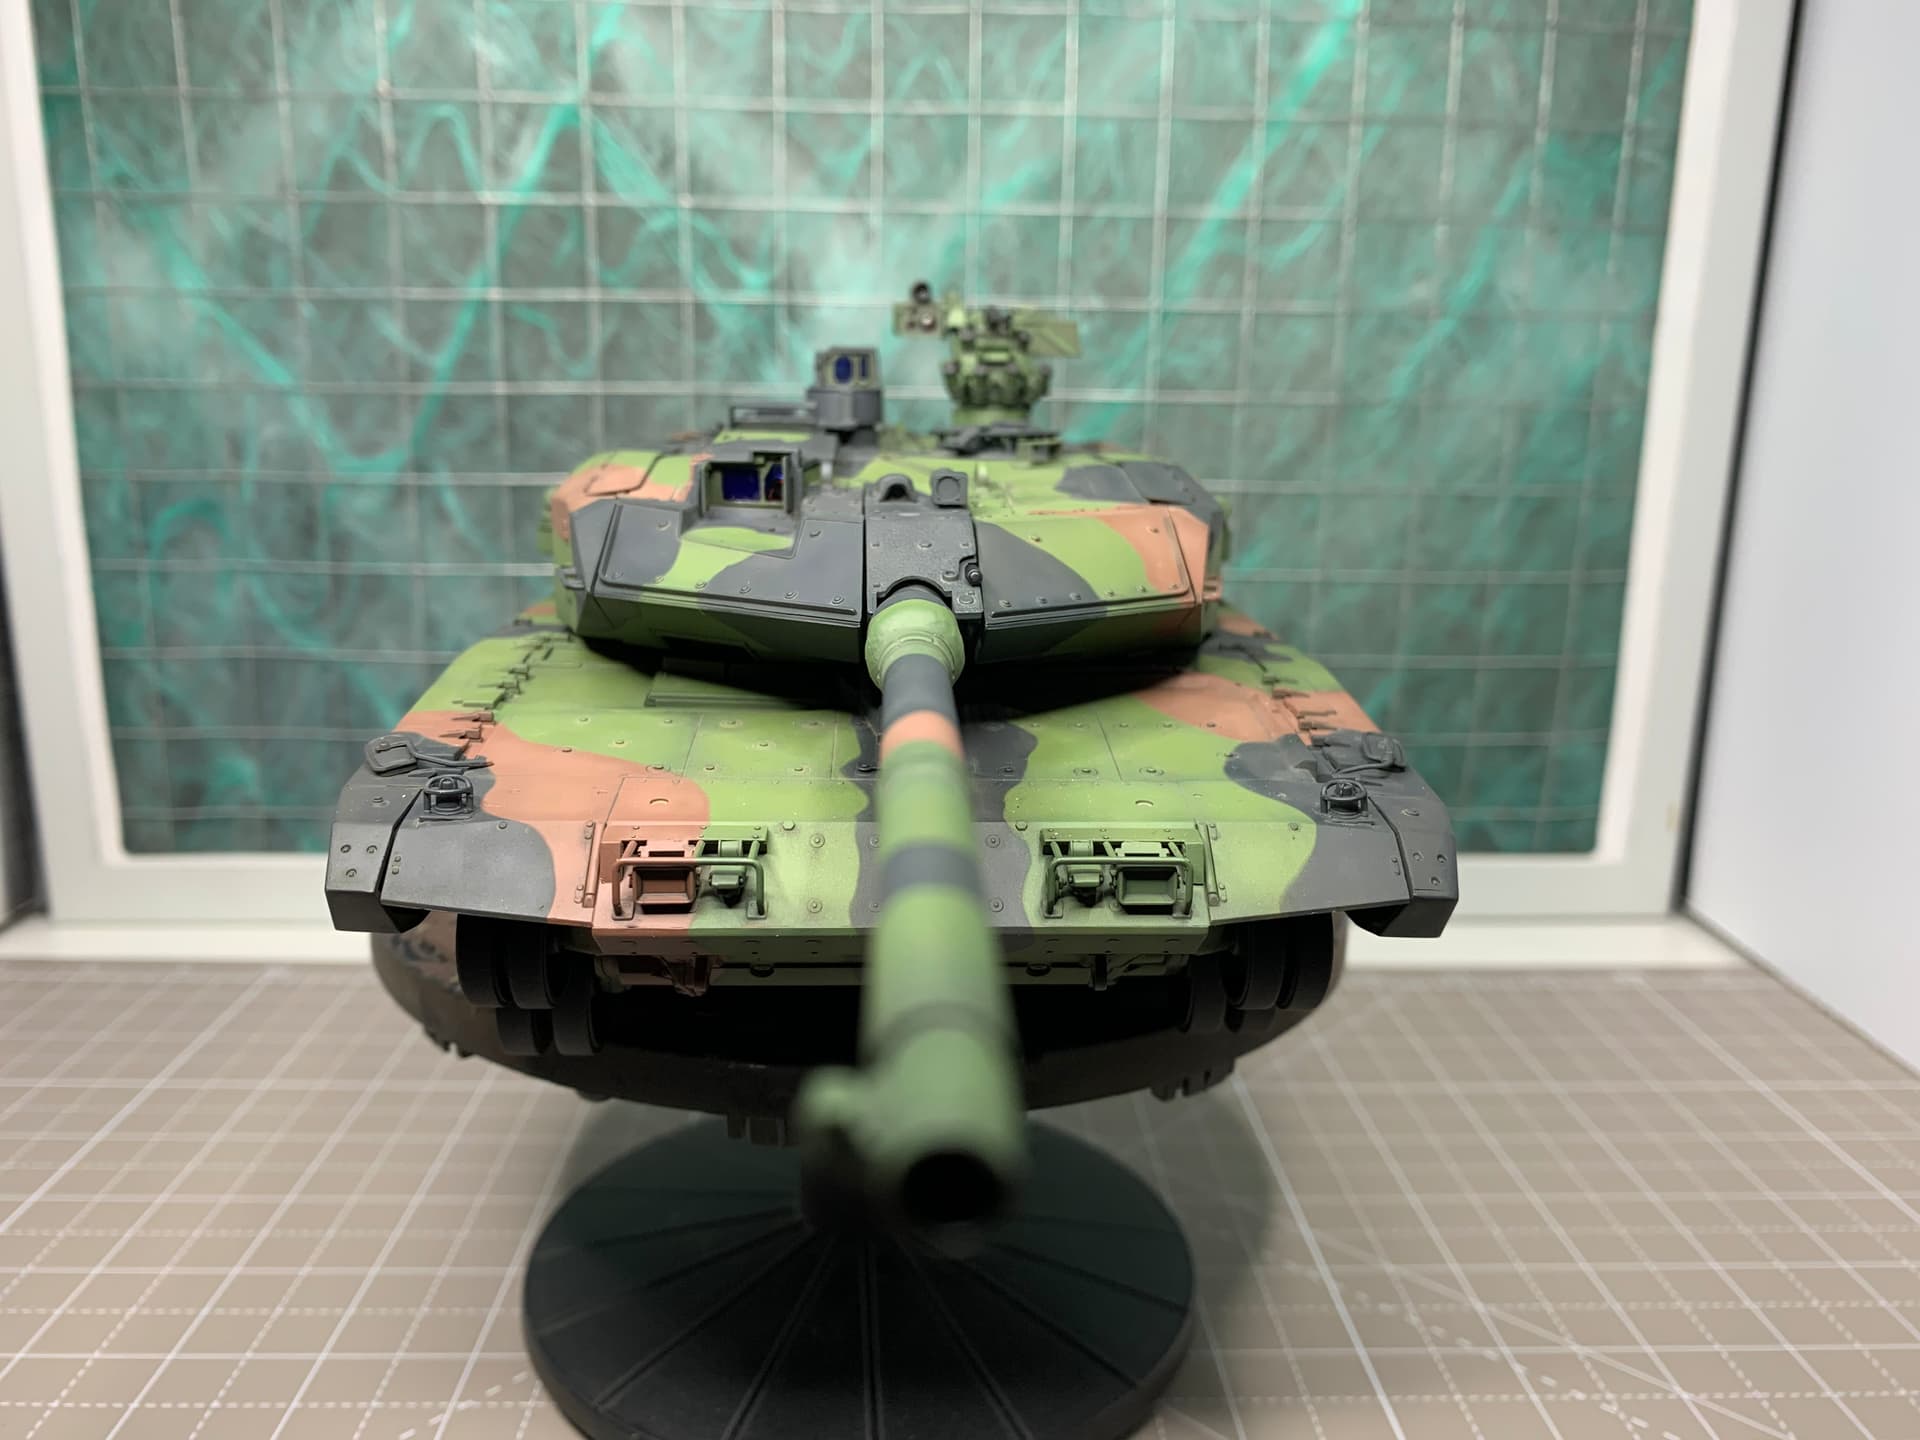
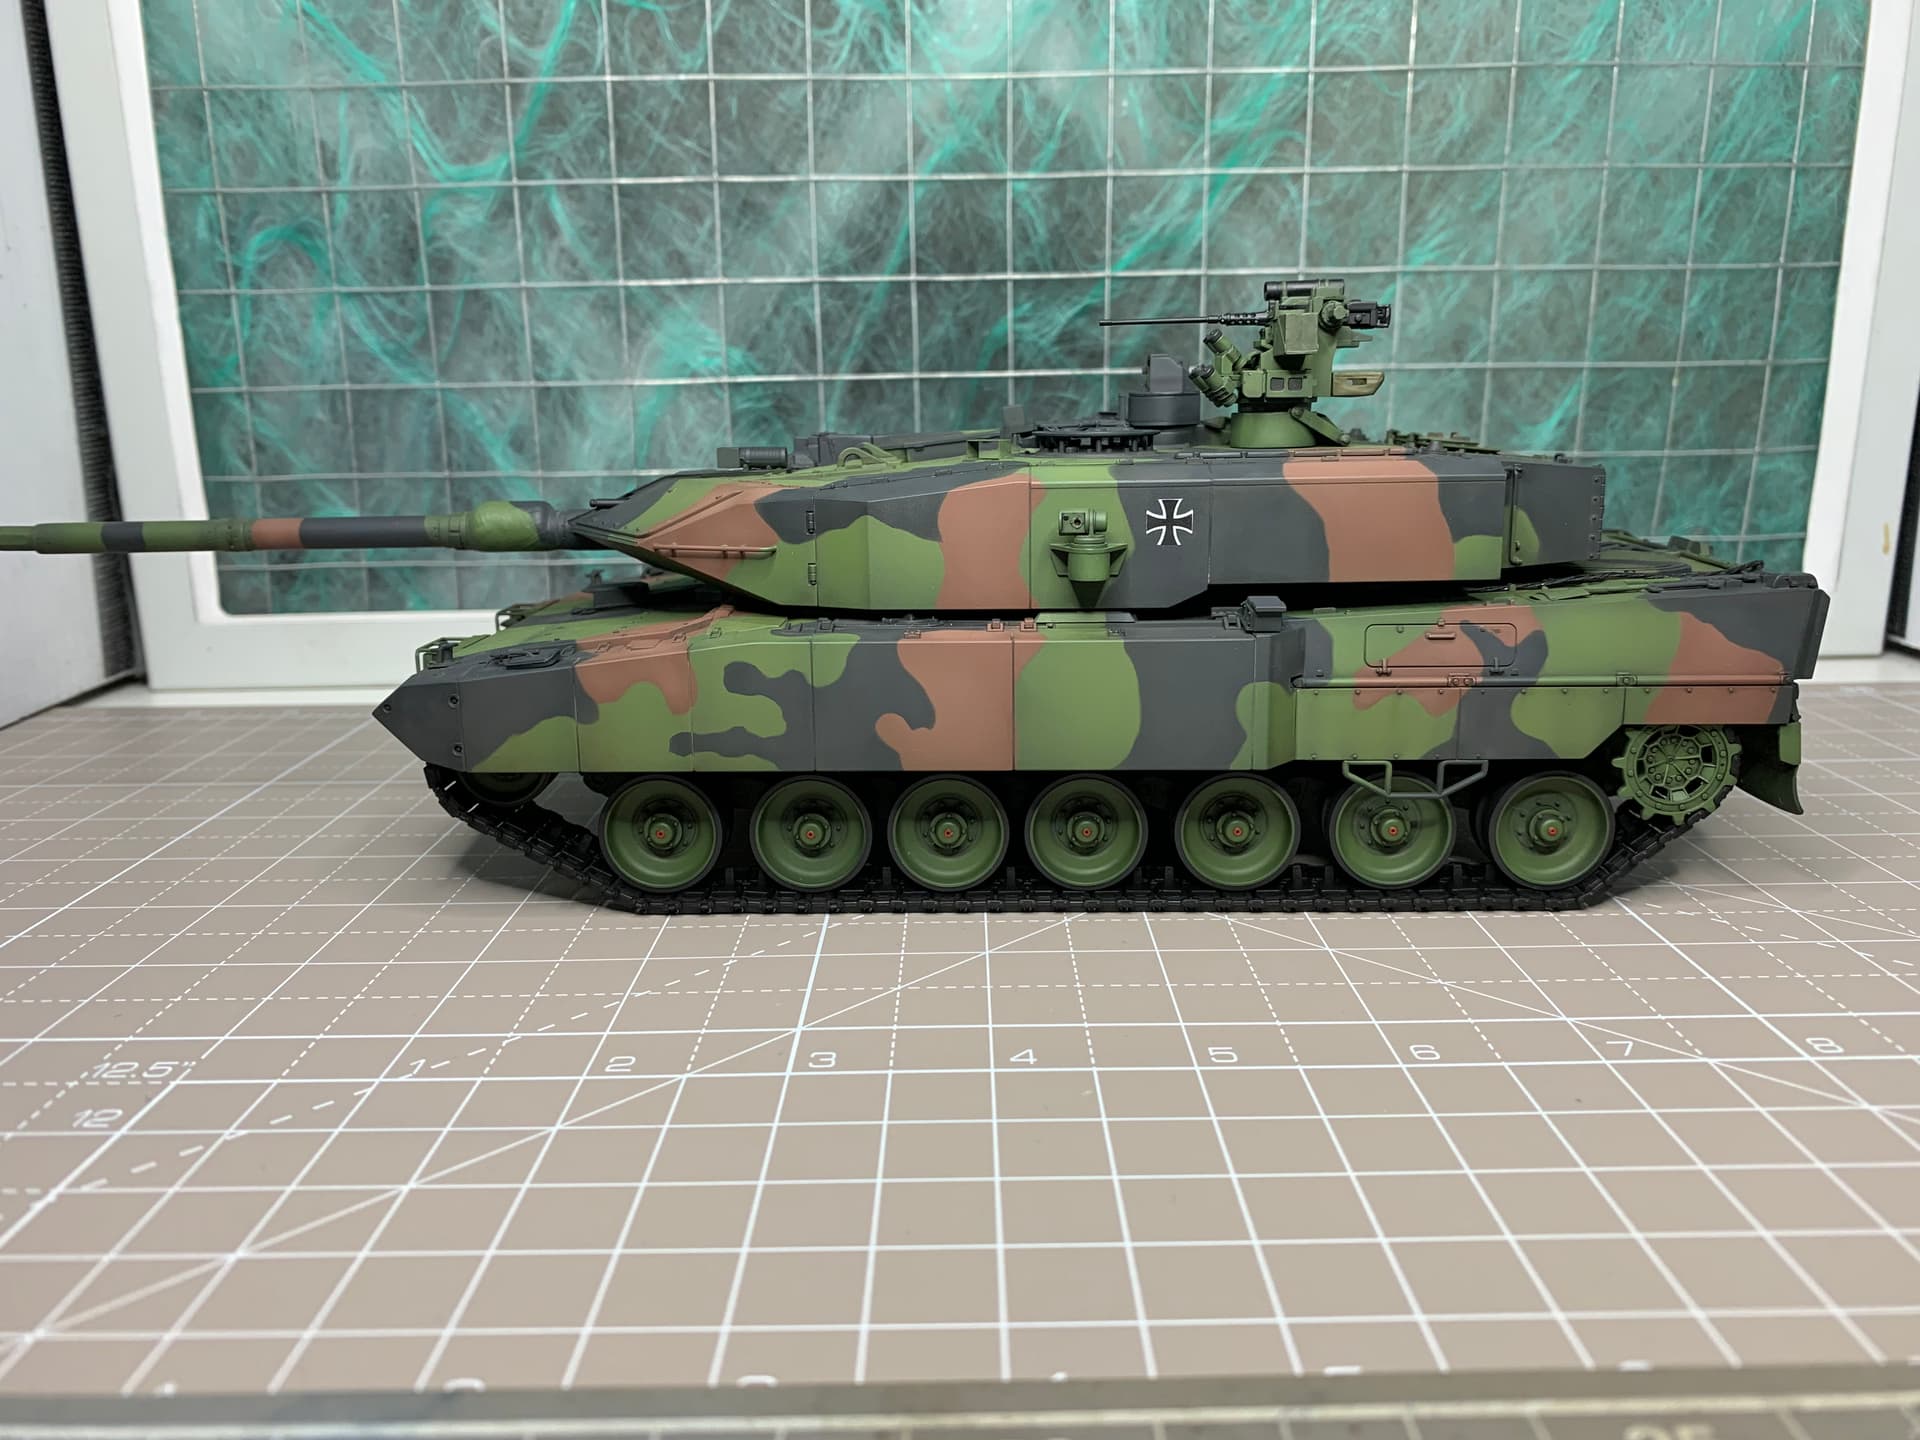
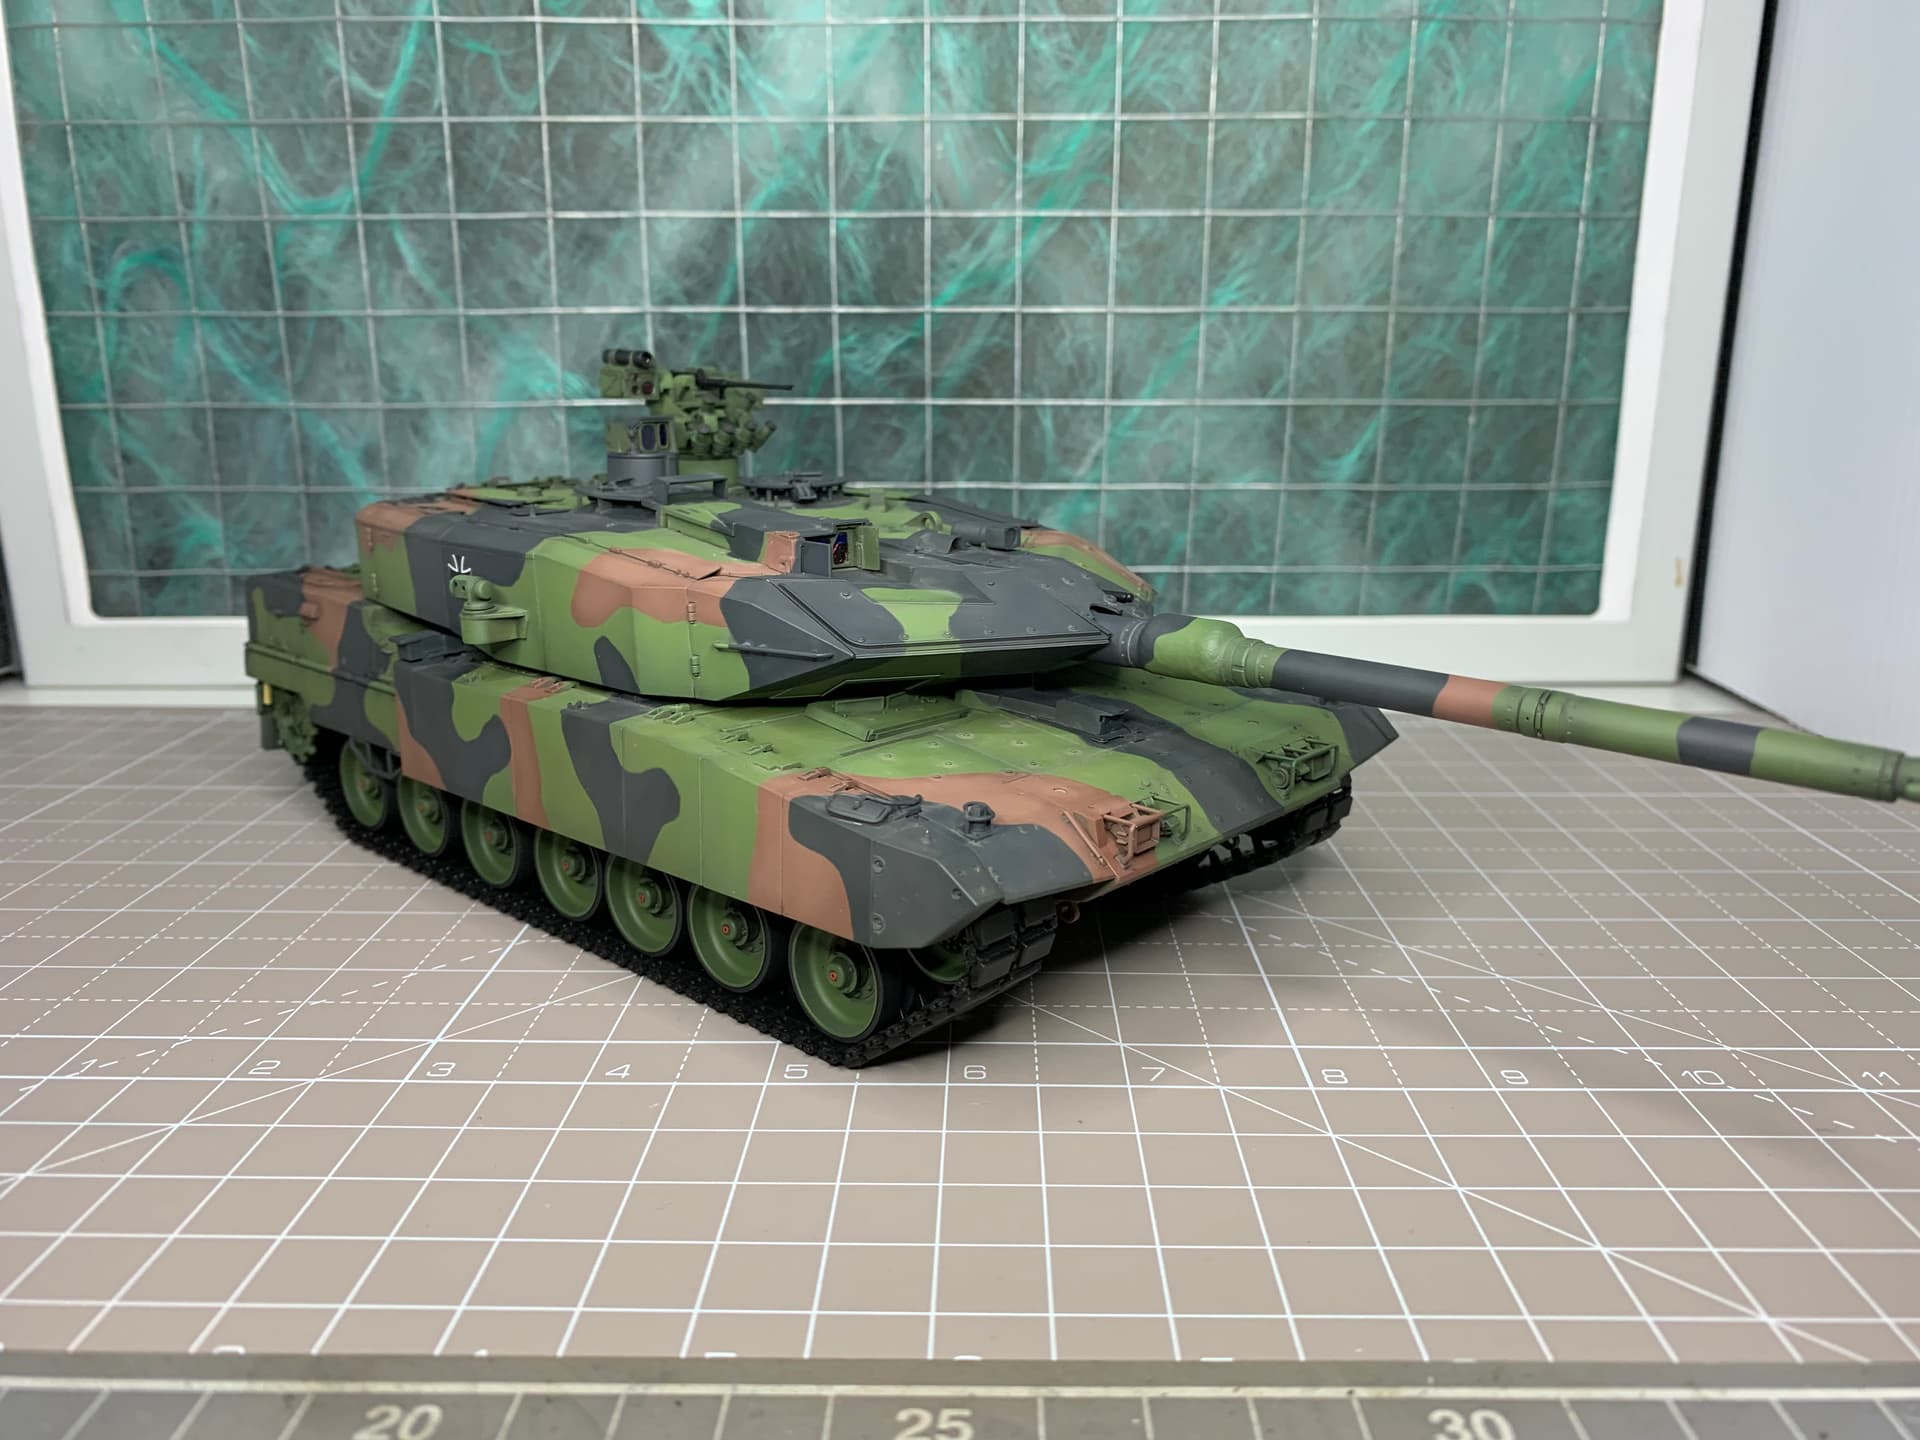
Have progressed with the big cat. A pin wash with ak075 wash for nato and a filter/initial dusting with ak075 filter for nato. Most of the detail painting done, so just more weathering to do. Looks more weathered than the pics are showing just now but still got a way to go.
Thanks for watching, J.
It looks superb! I like very much how the details are exposed with the wash. It will be an amazing model, I am sure.
That is looking very nice Jim. You have done a really neat and defined cam scheme and it looks perfect. I actually like the amount of change the wash and filter have done already and wouldnt do much more apart from maybe wheels and tracks and some minor detailing. Looks terrific. 
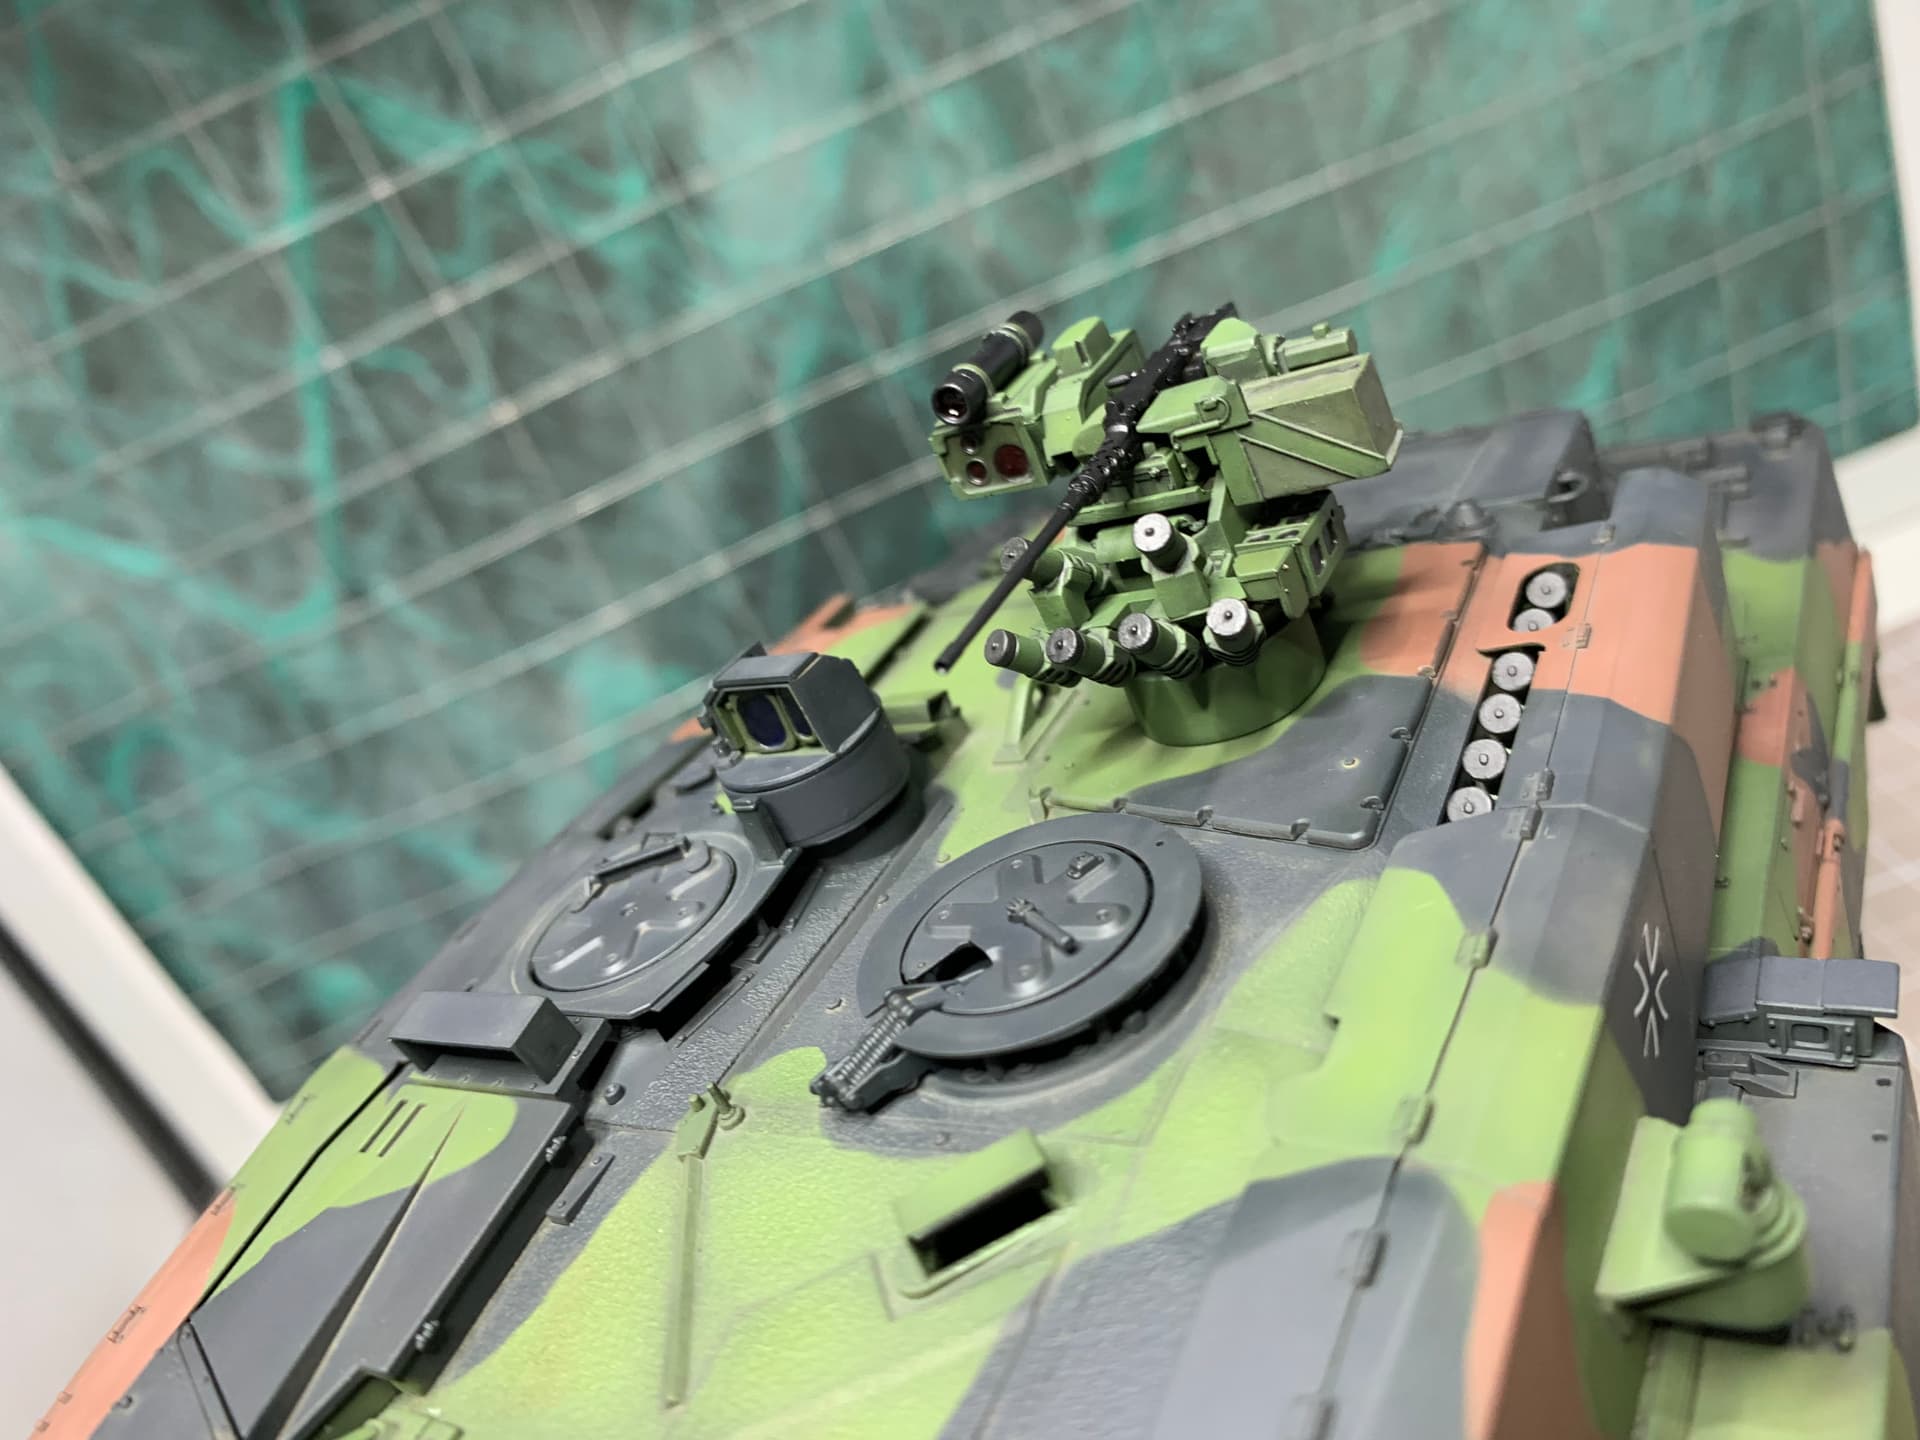
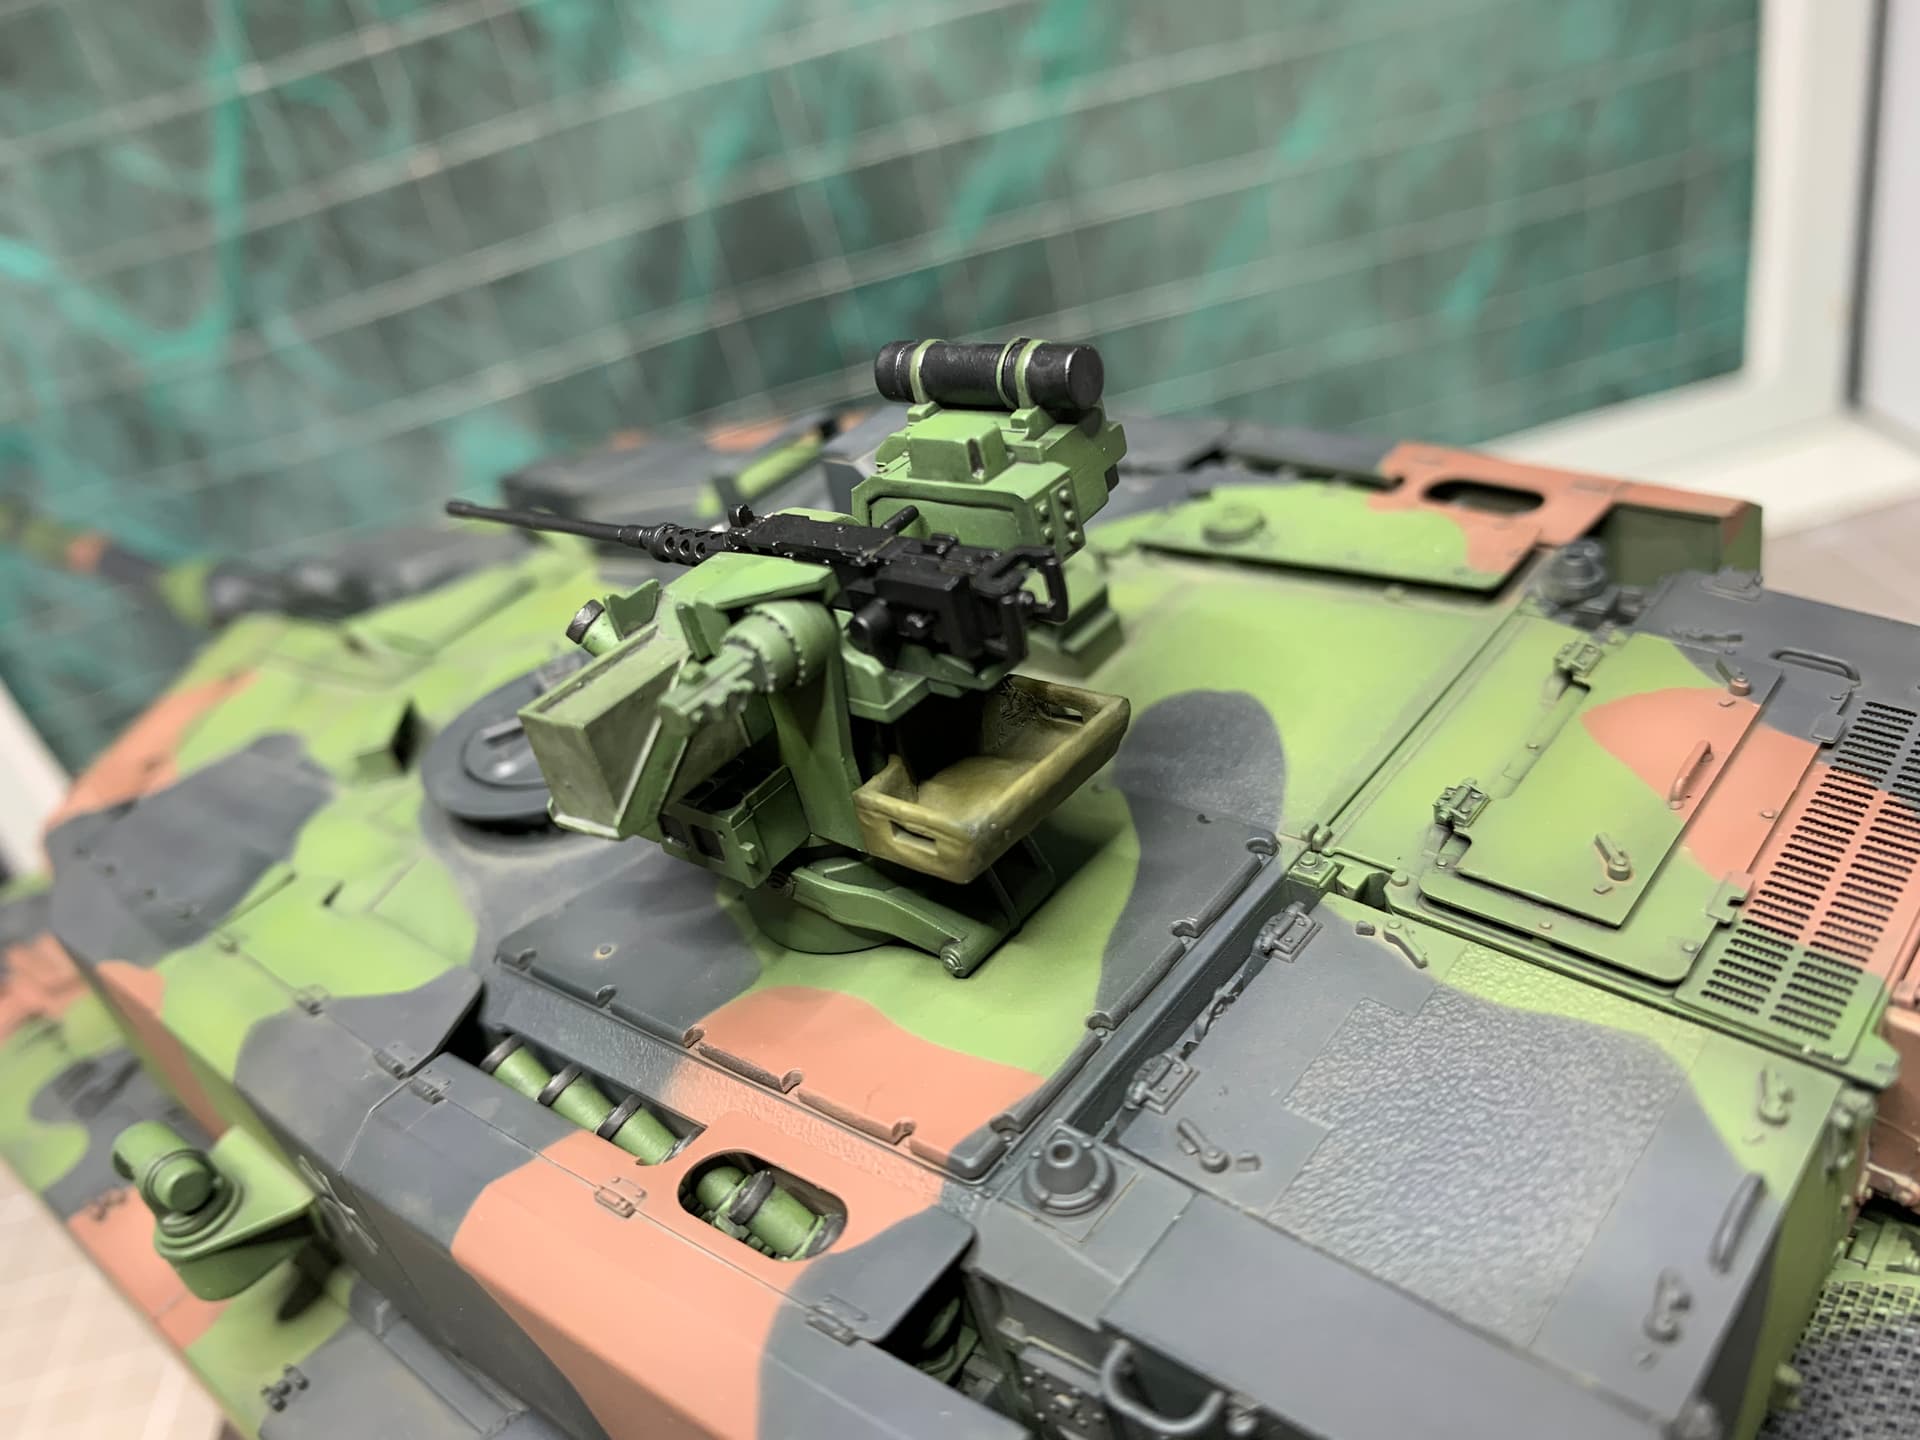
Edit- forgot to say, really like the turret weapon station, gives it another more powerful look.
Thanks Tamas @Agriamodeling , thanks John @Johnnych01 for your kind words and encouragement.
Yeah John, I’m very tempted to leave this minimally weathered, but as you say I will match up the running gear, which just has pin wash so far, to what I’ve done already and see…
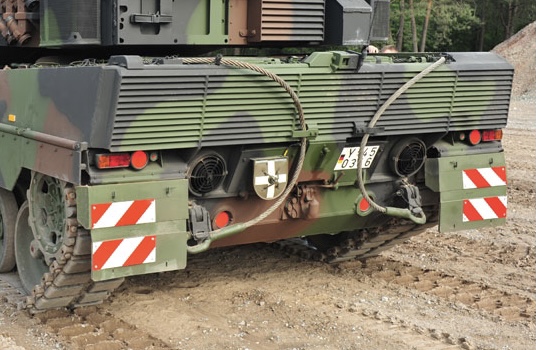
I have a question on the tow ropes, which are only in black primer just now, what finish would the in service ones on a non fictional vehicle have?
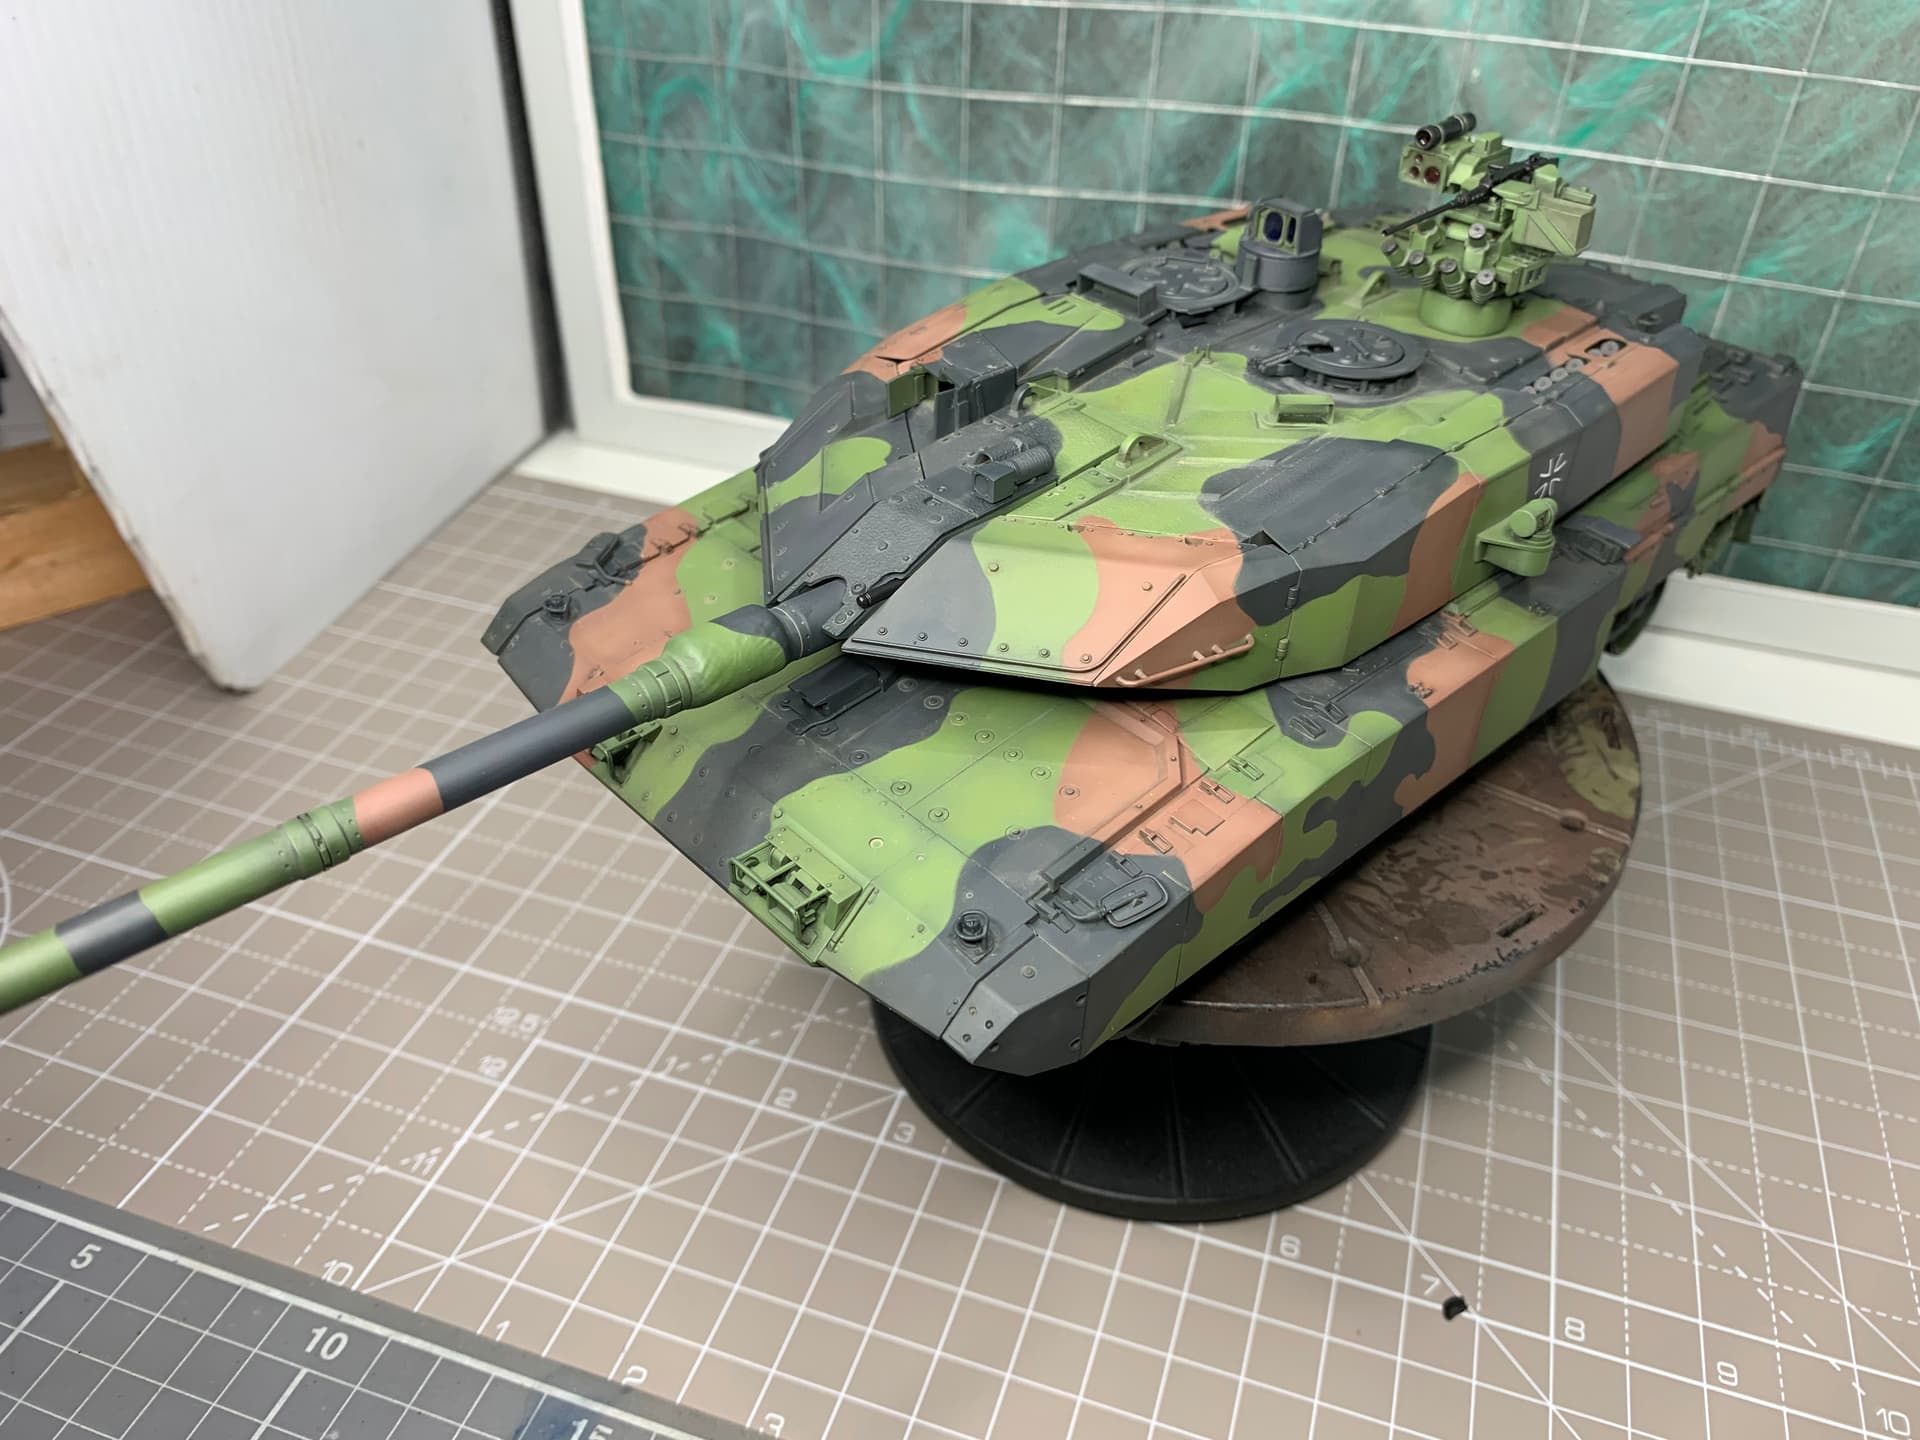
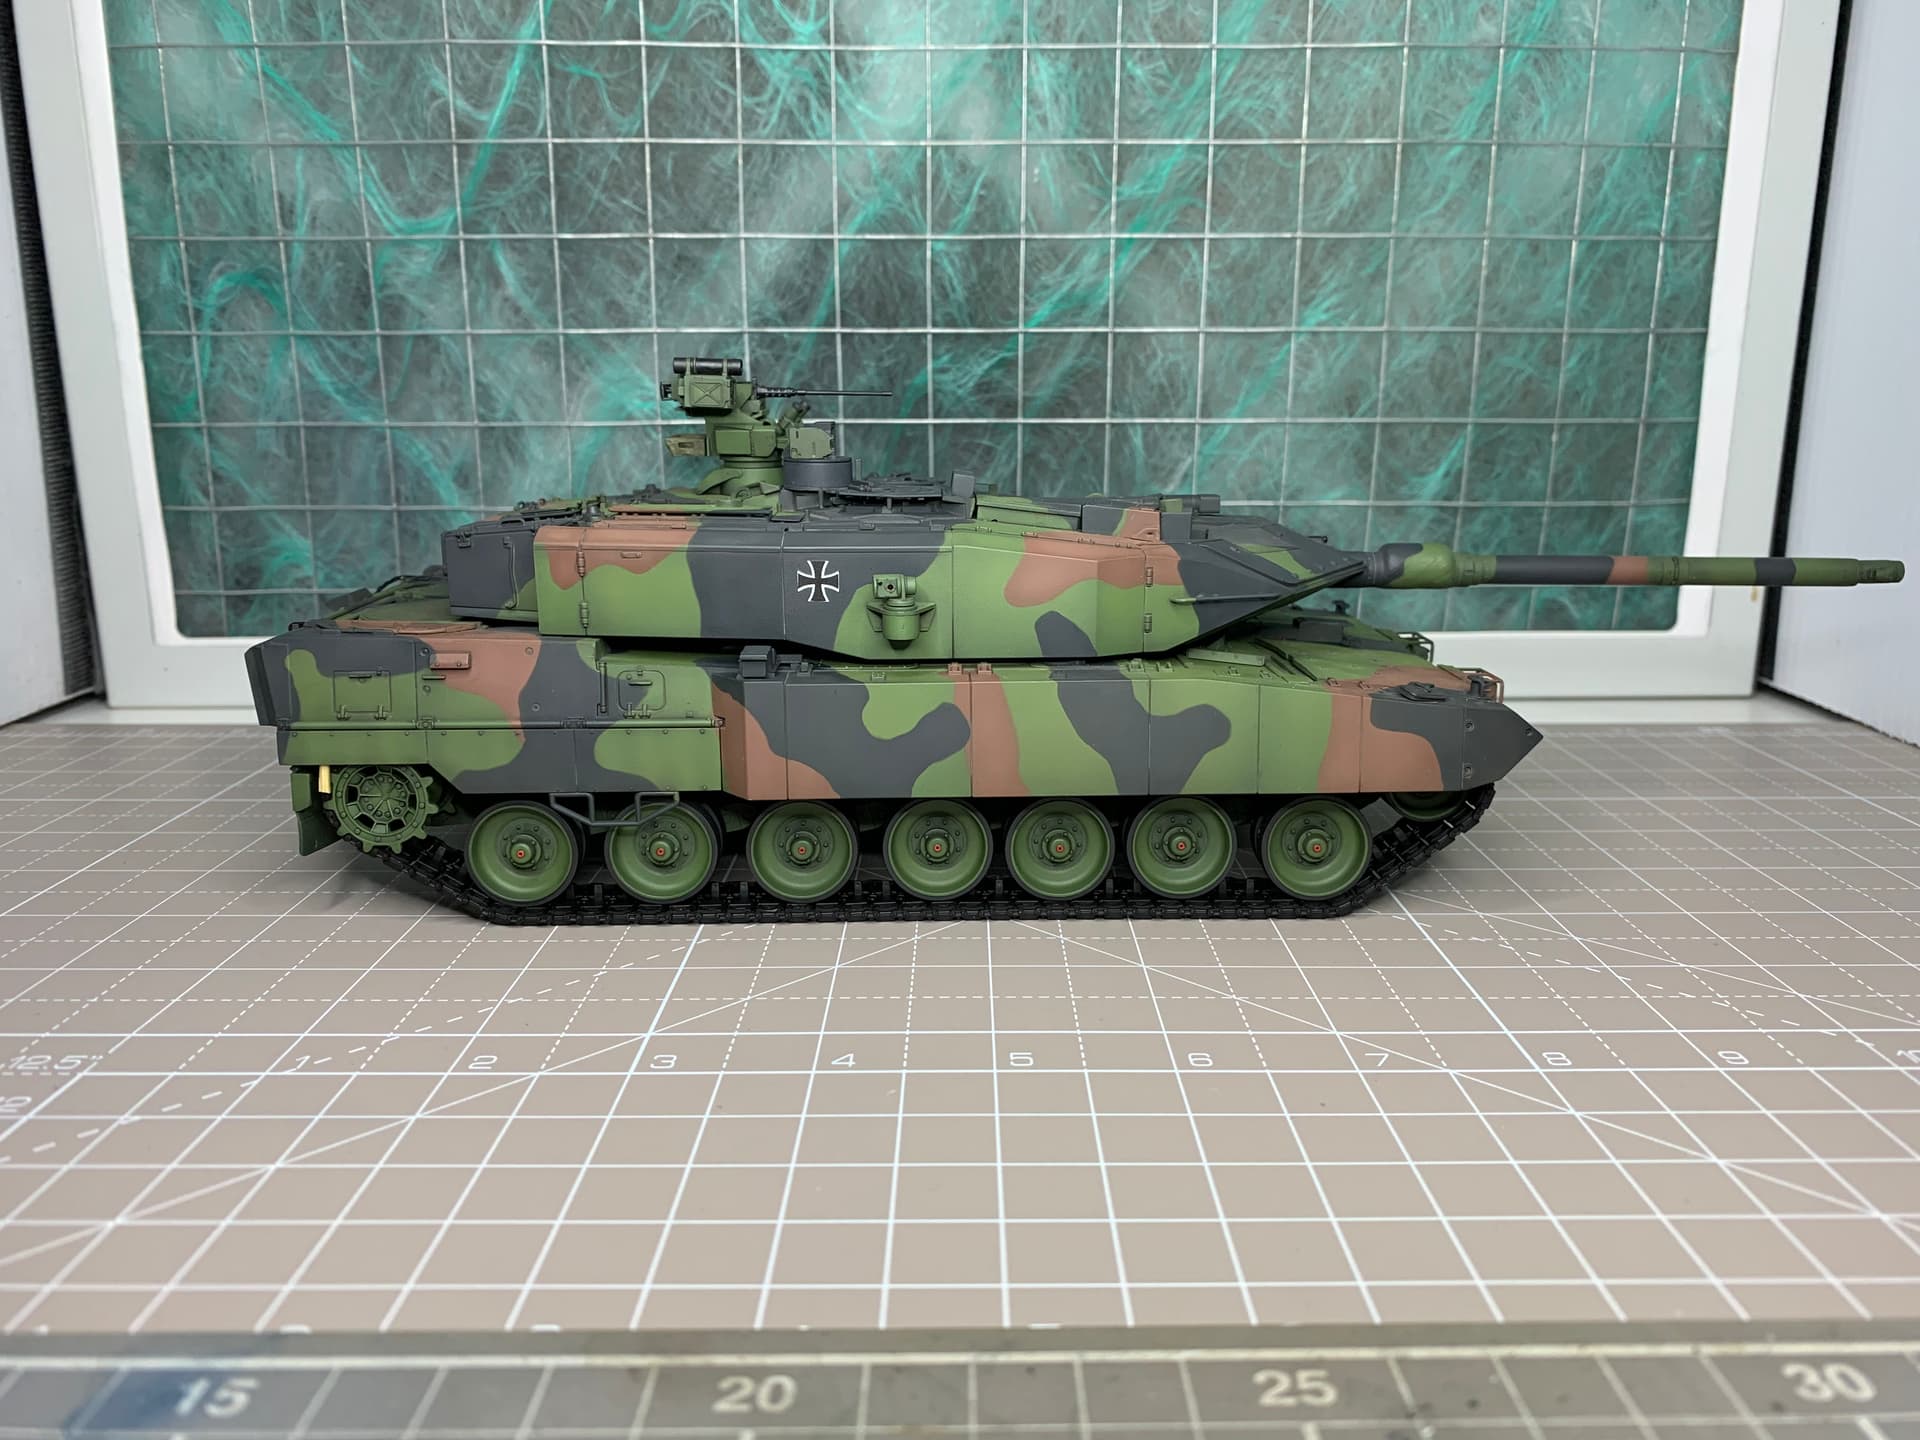
The cupola vision blocks are painted and ready to go in. Got the front light, headlights and orange side lights to sort, along with the optic above the boom stick. The engine deck tools I may leave overpainted in the camo.
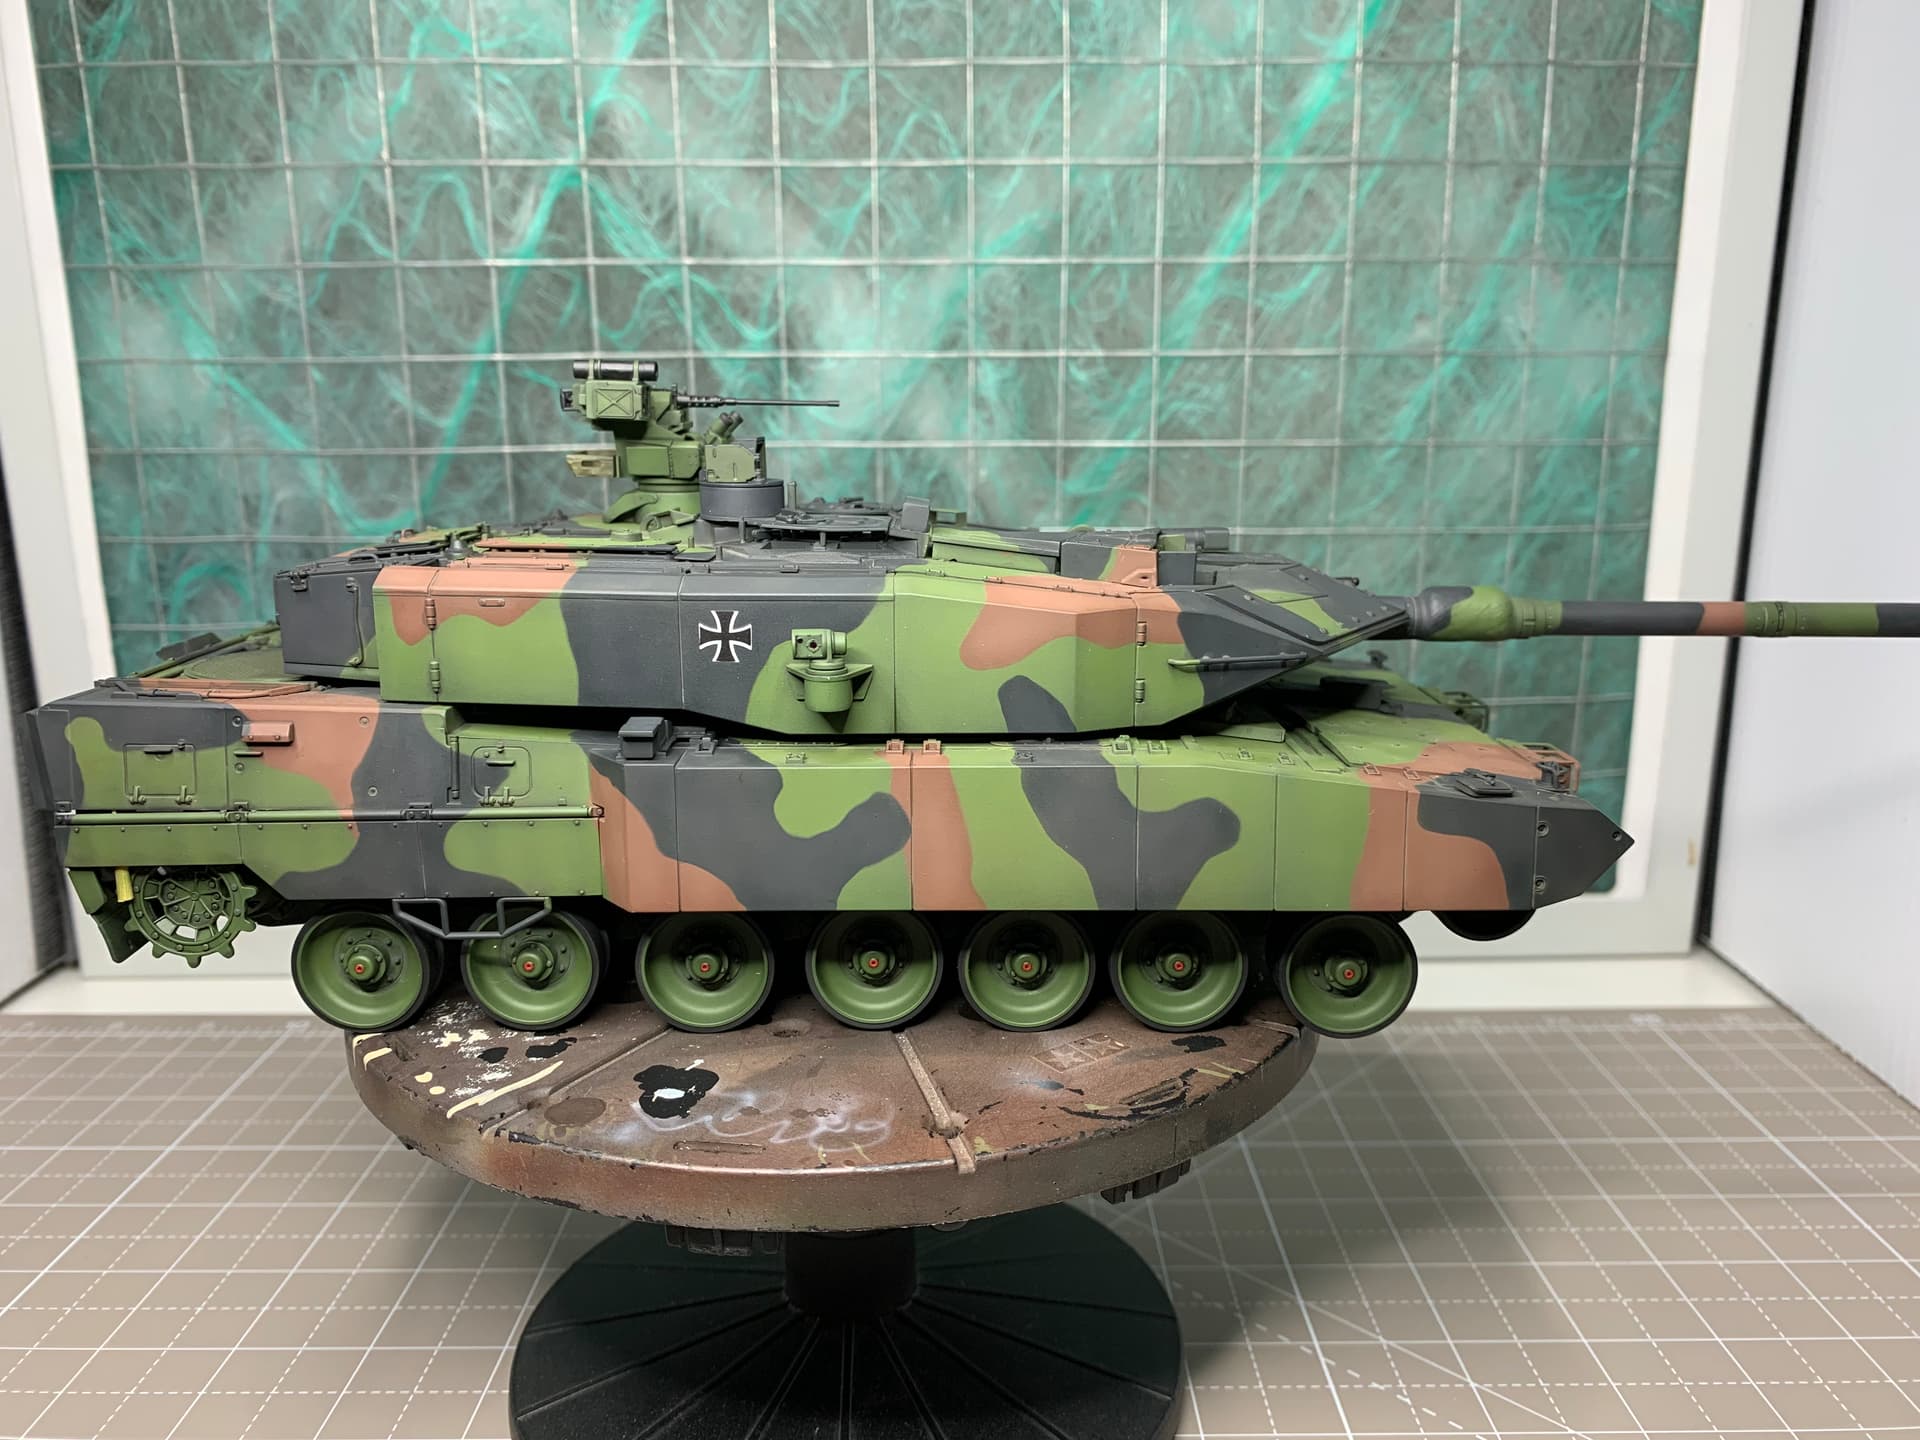
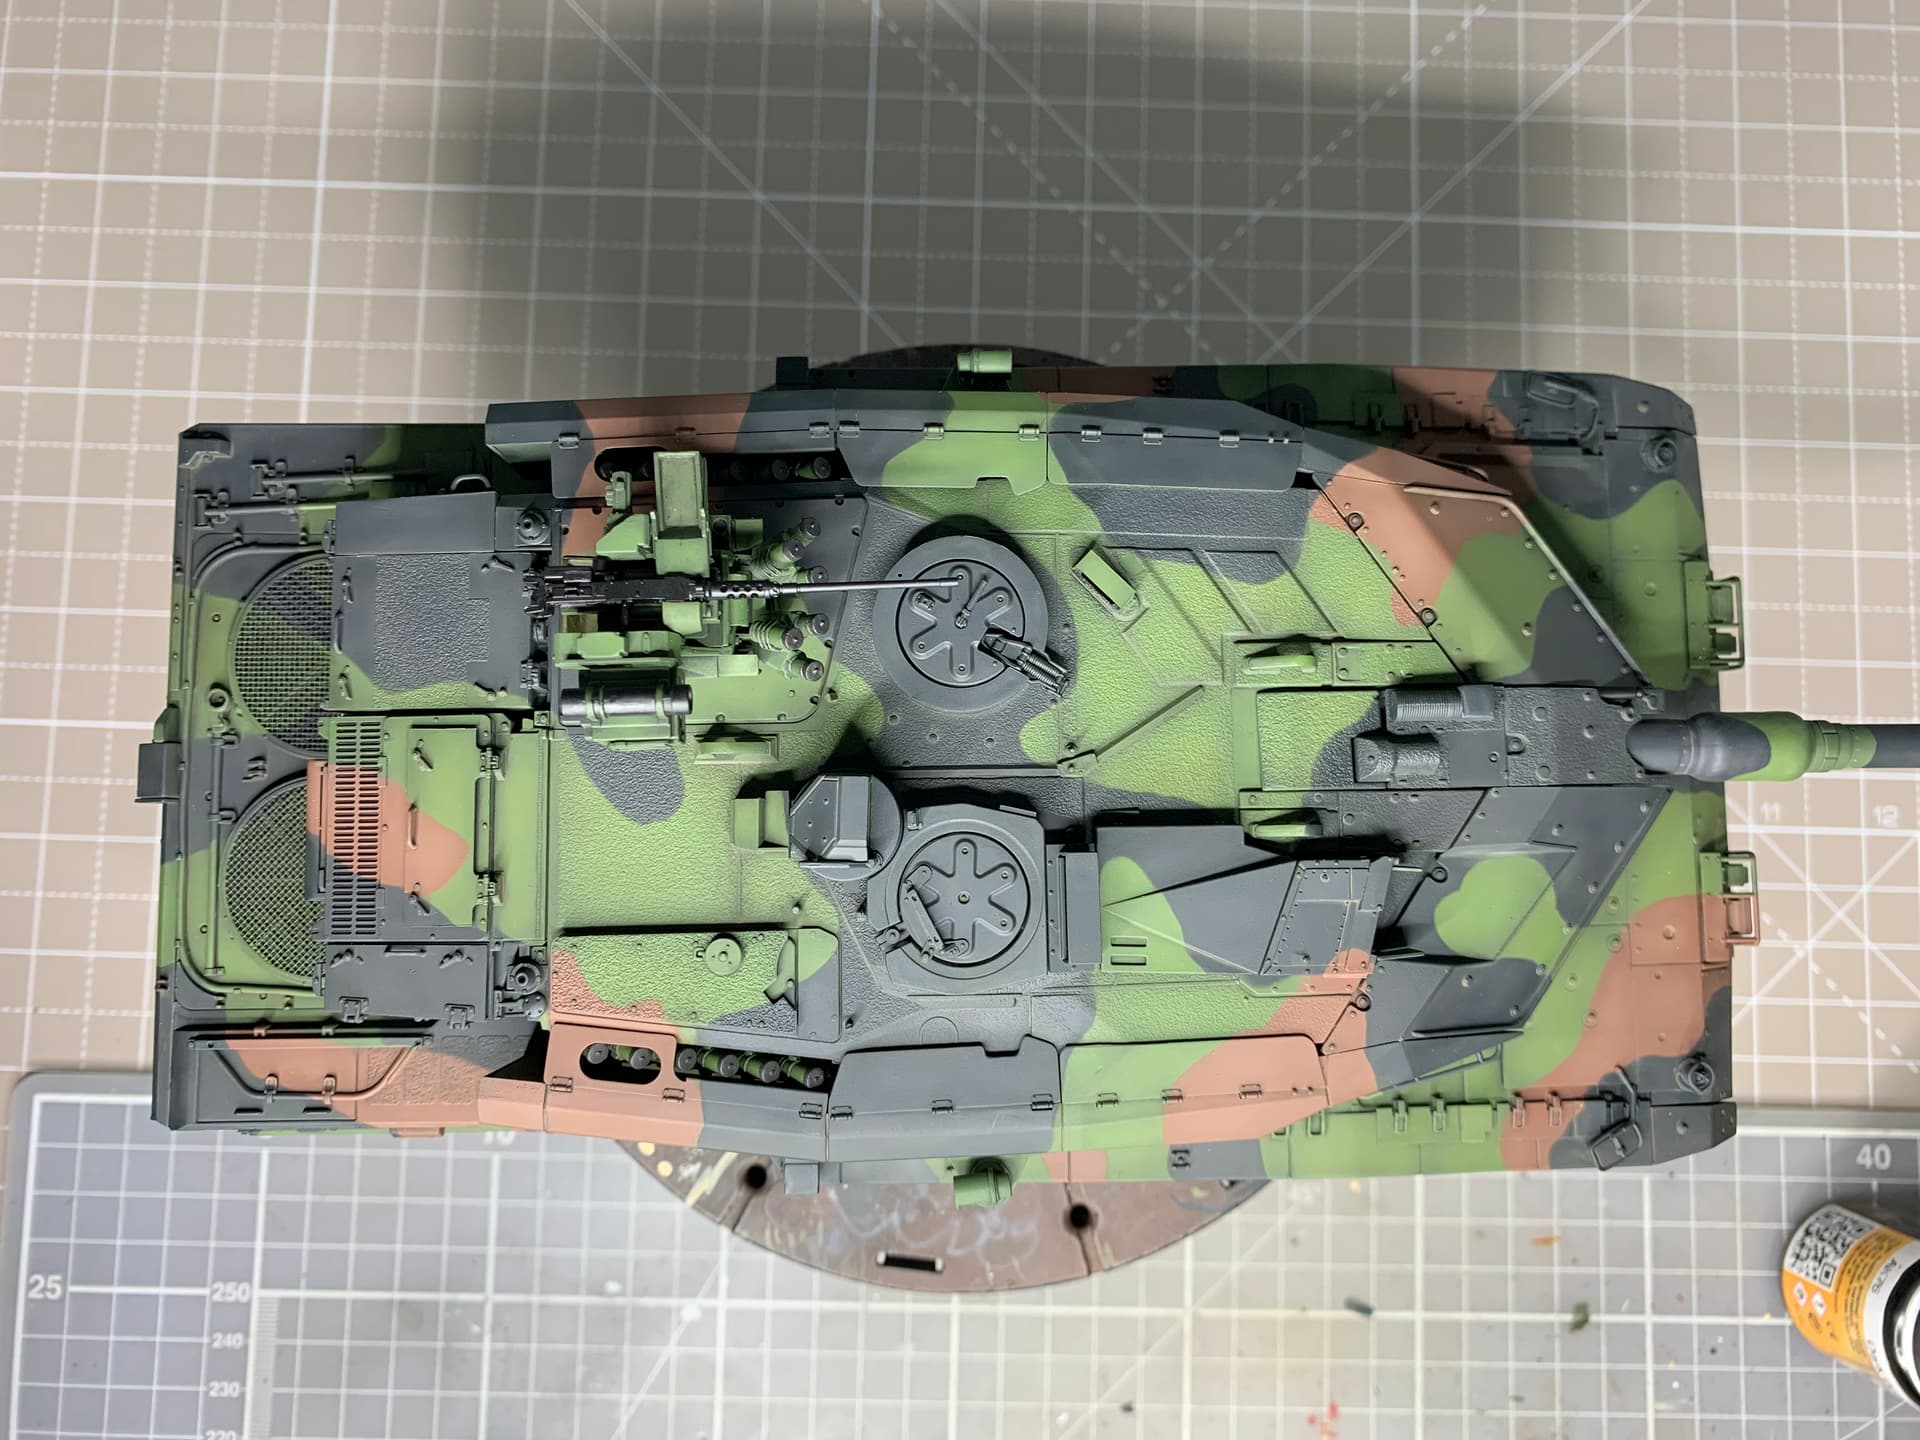
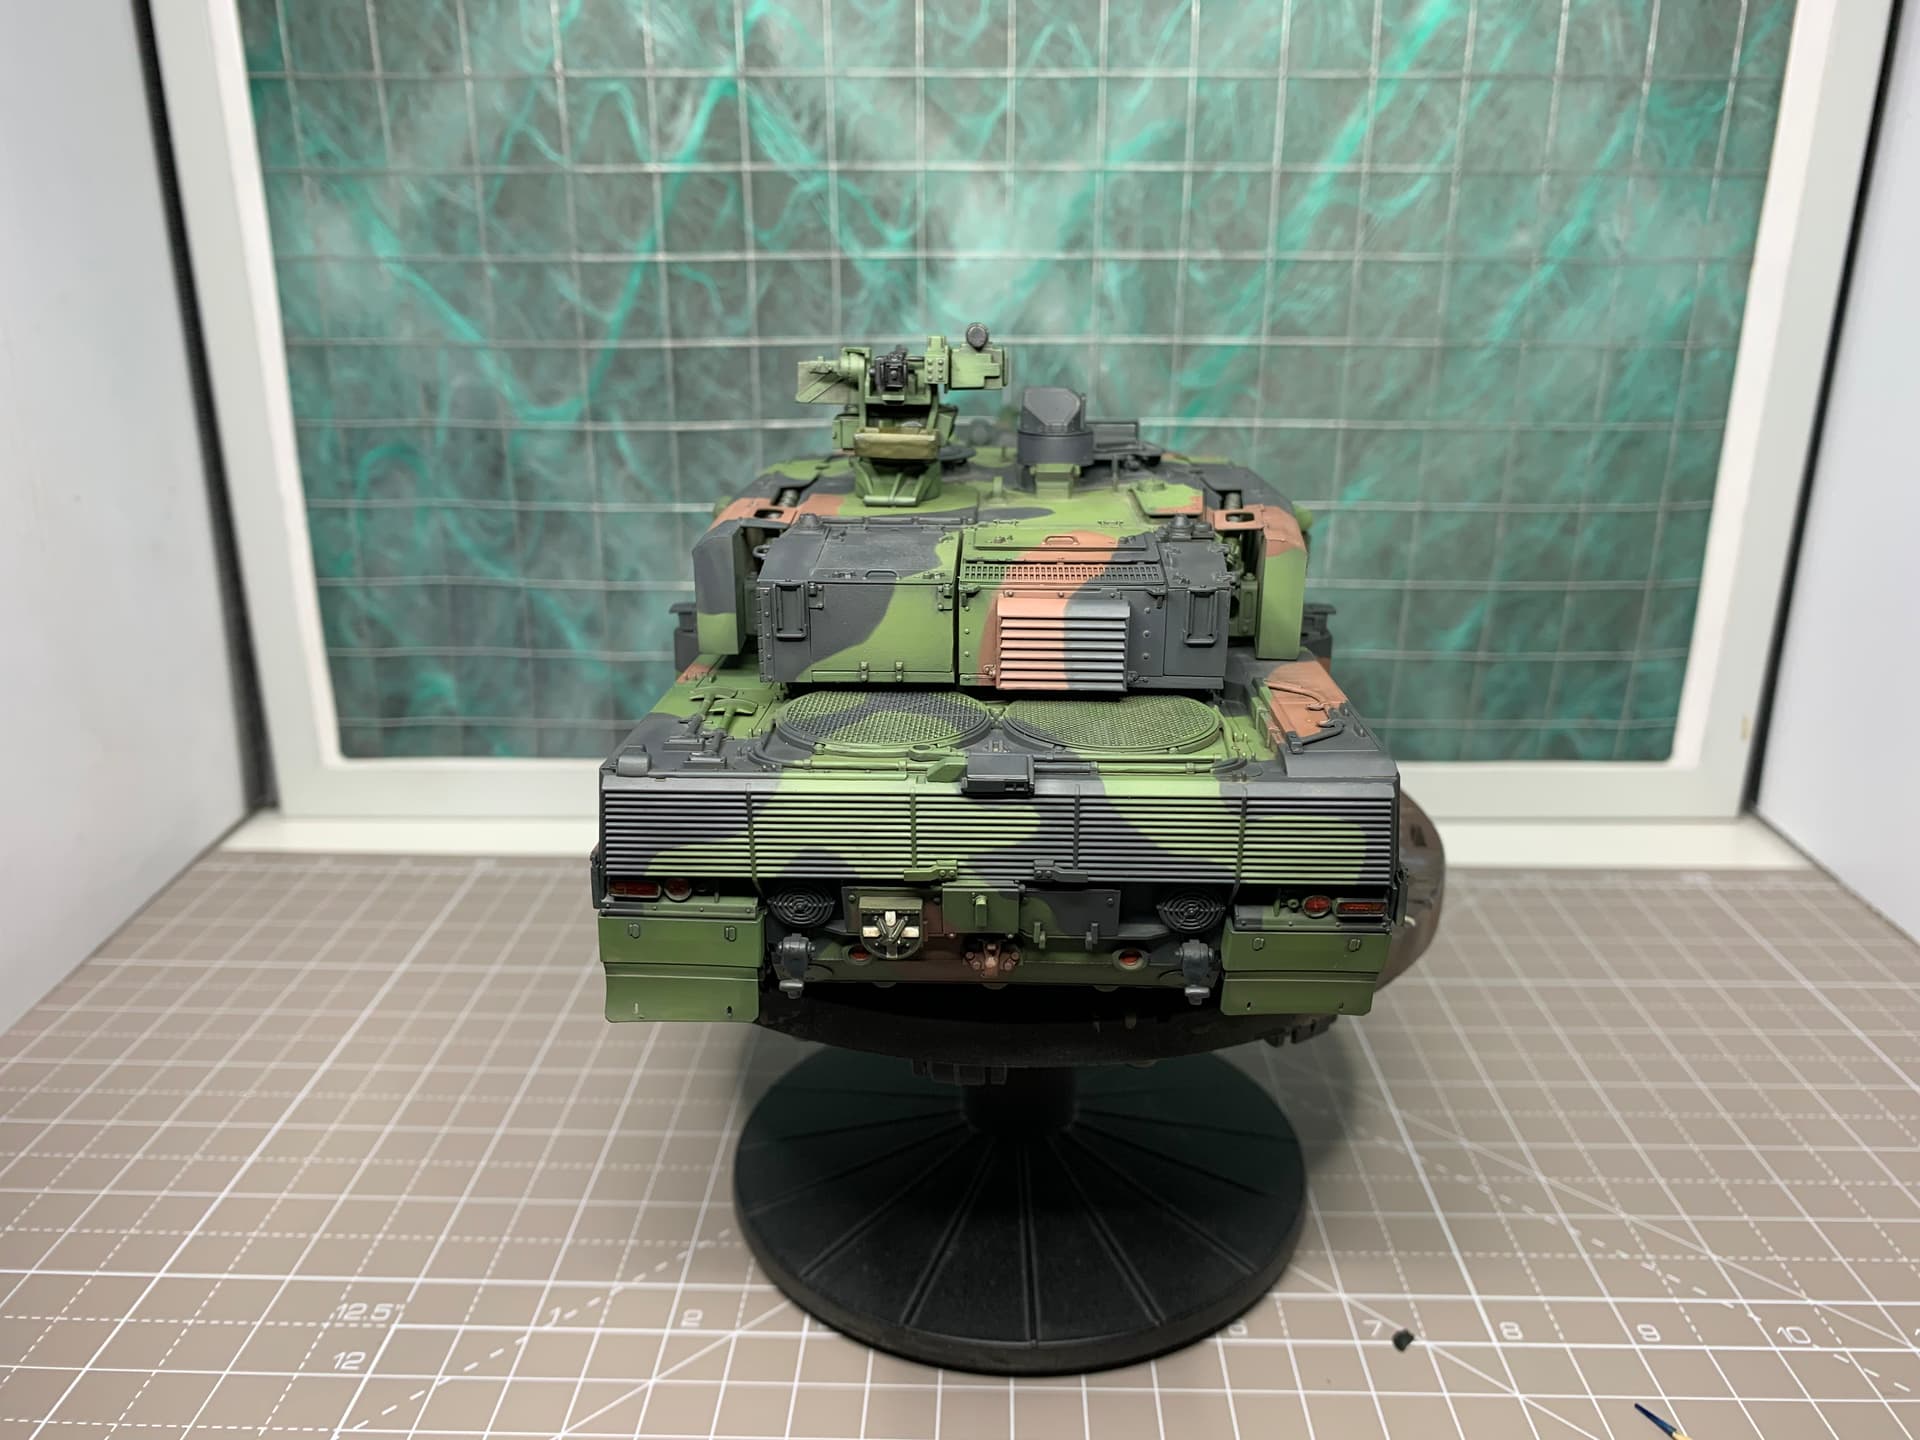
I have added the tracks just to make sure it all goes together ok, which it does. The rear side skirts and rear mud guards are removable, and the idler mounts also. So for anyone planning on one of these it is possible to add running gear last. Oh and the tracks are workable, and the full run is in there!
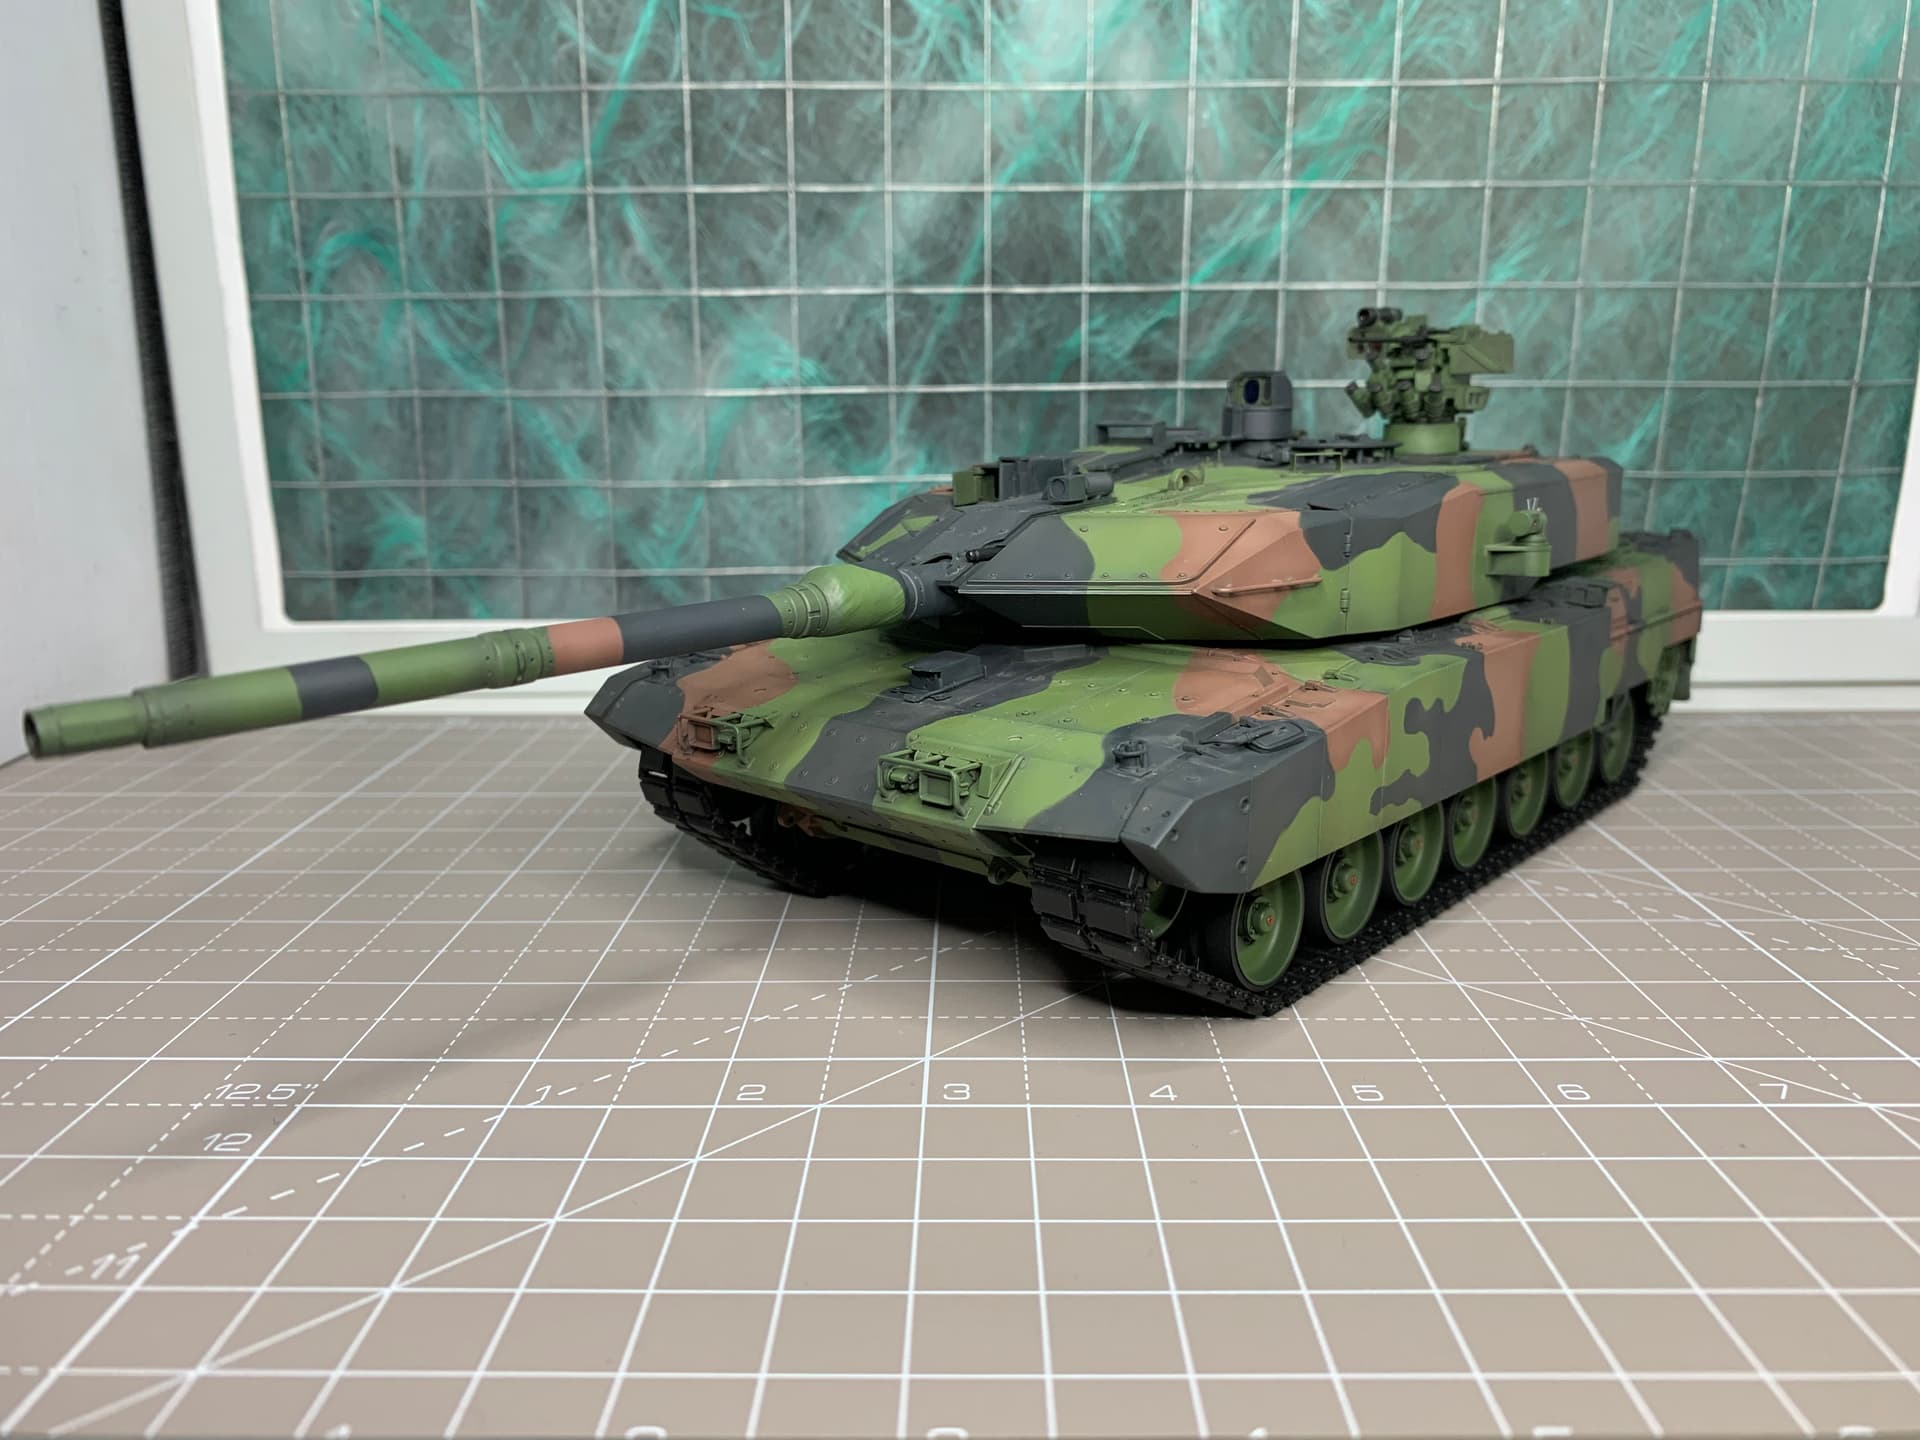
Some pics of current state with almost everything added temporarily;
Very nice Jim. I just looked at a Leo 2A6, and they just look like dark steel cables and slightly more metallic eyelet ends. I would go with that. It wont be wrong either way.
Beautiful job on the finish ! Really looks awesome with the wash and filters. They can make a big difference on a model. You’ve done such a subtle job of it .
Excellent camo paint Jim. You really nailed the iconic look of this tank. The wash makes the details pop and gives everything depth. This is just looking fantastic.
Thanks Richard @metalhead85 and Matthew @SSGToms, you are both very kind.
Thanks John @Johnnych01 , I found this pic with the ends in what looks like NATO green so I think I will go with that along with a dull steel type shade like you say for the actual cable.
Thanks again all!
Lol… That’s the one I looked at …for a second I swore they looked more metallic… But yours is a clearer pic … NATO green it is 
Looks great Jim.
The metal used in tow cables, by NATO anyway, is pretty rust resistant. The ends are usually painted. Green on the ends with a dull steel color for the cable will be perfect. Are your cables metal or plastic?
Ken