This kit was a 65th birthday present from SWMBO so was promoted to the top of the build pile to keep the peace LOL.
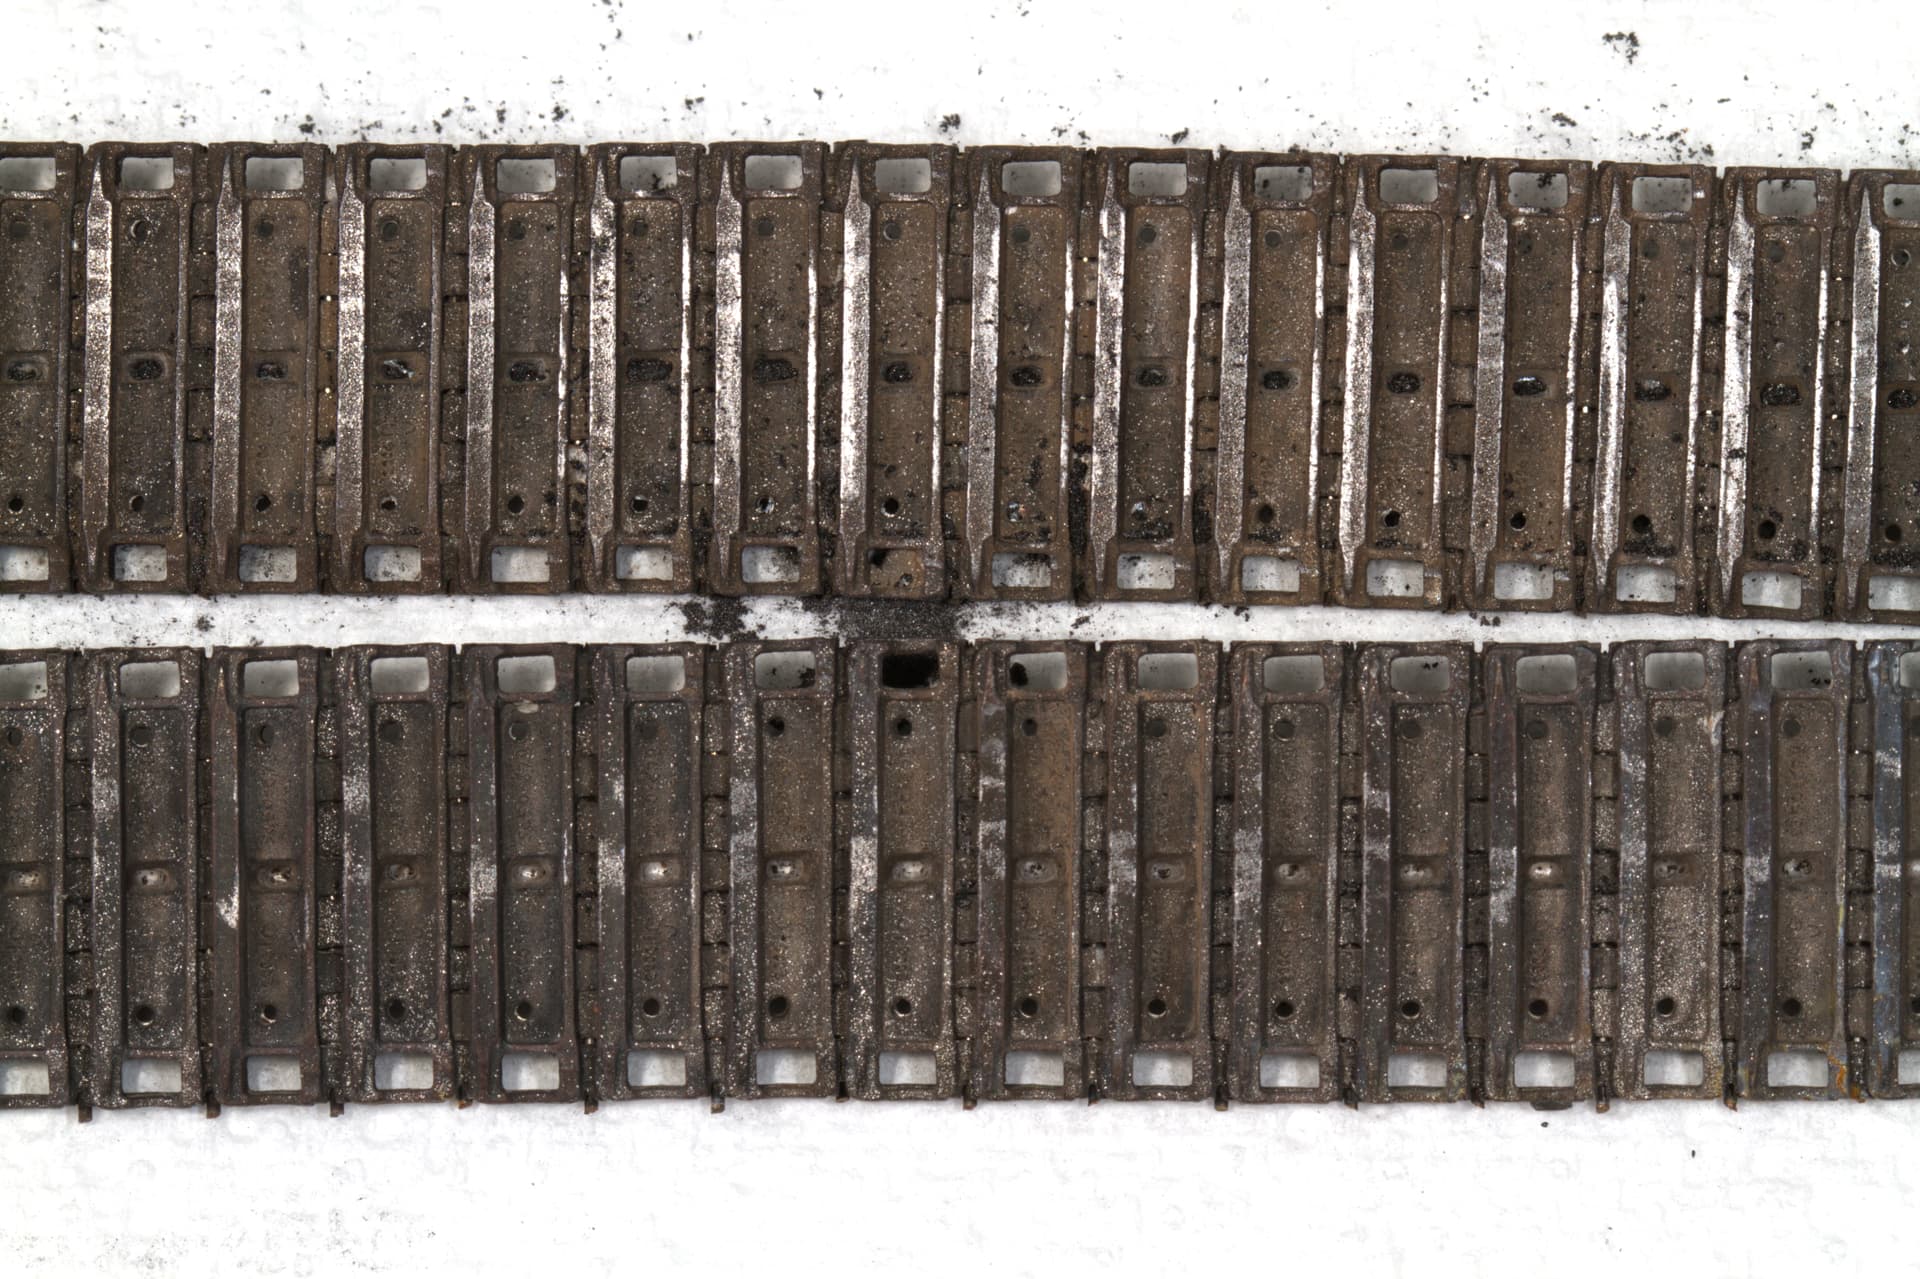
Friul tracks from a private dealer on evil bay £26 in postage and the Meng resin storage from Hobbyeasy in Honkers for >£30 inc shipping.
The resin for the basket at the rear of the turret was badly warped so I have a replacement coming from Meng and it is somewhere between China and Blighty.
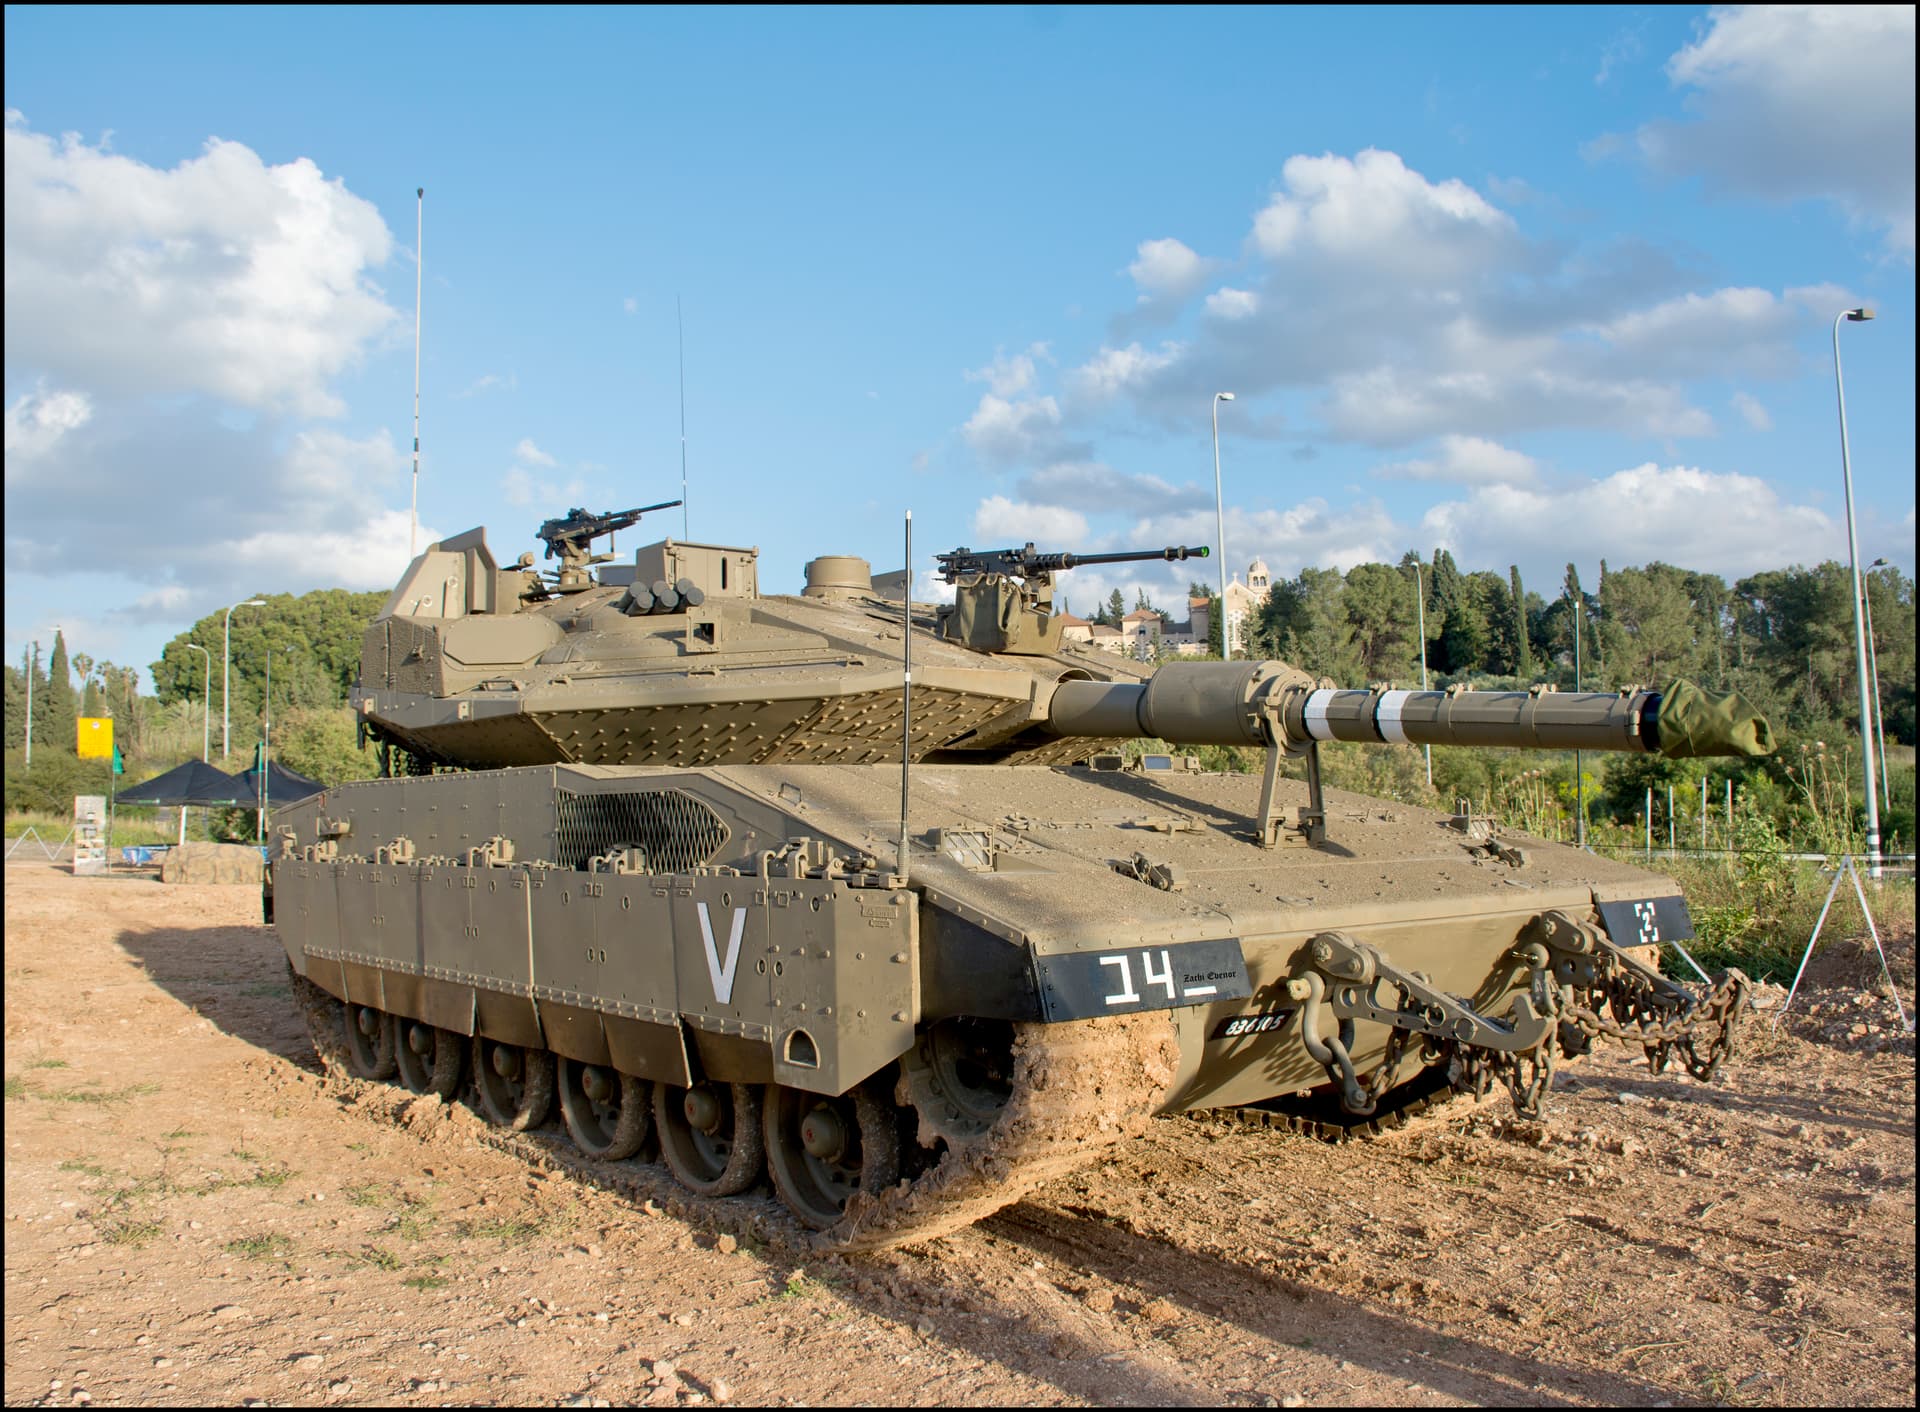
This is what I am trying to replicte:
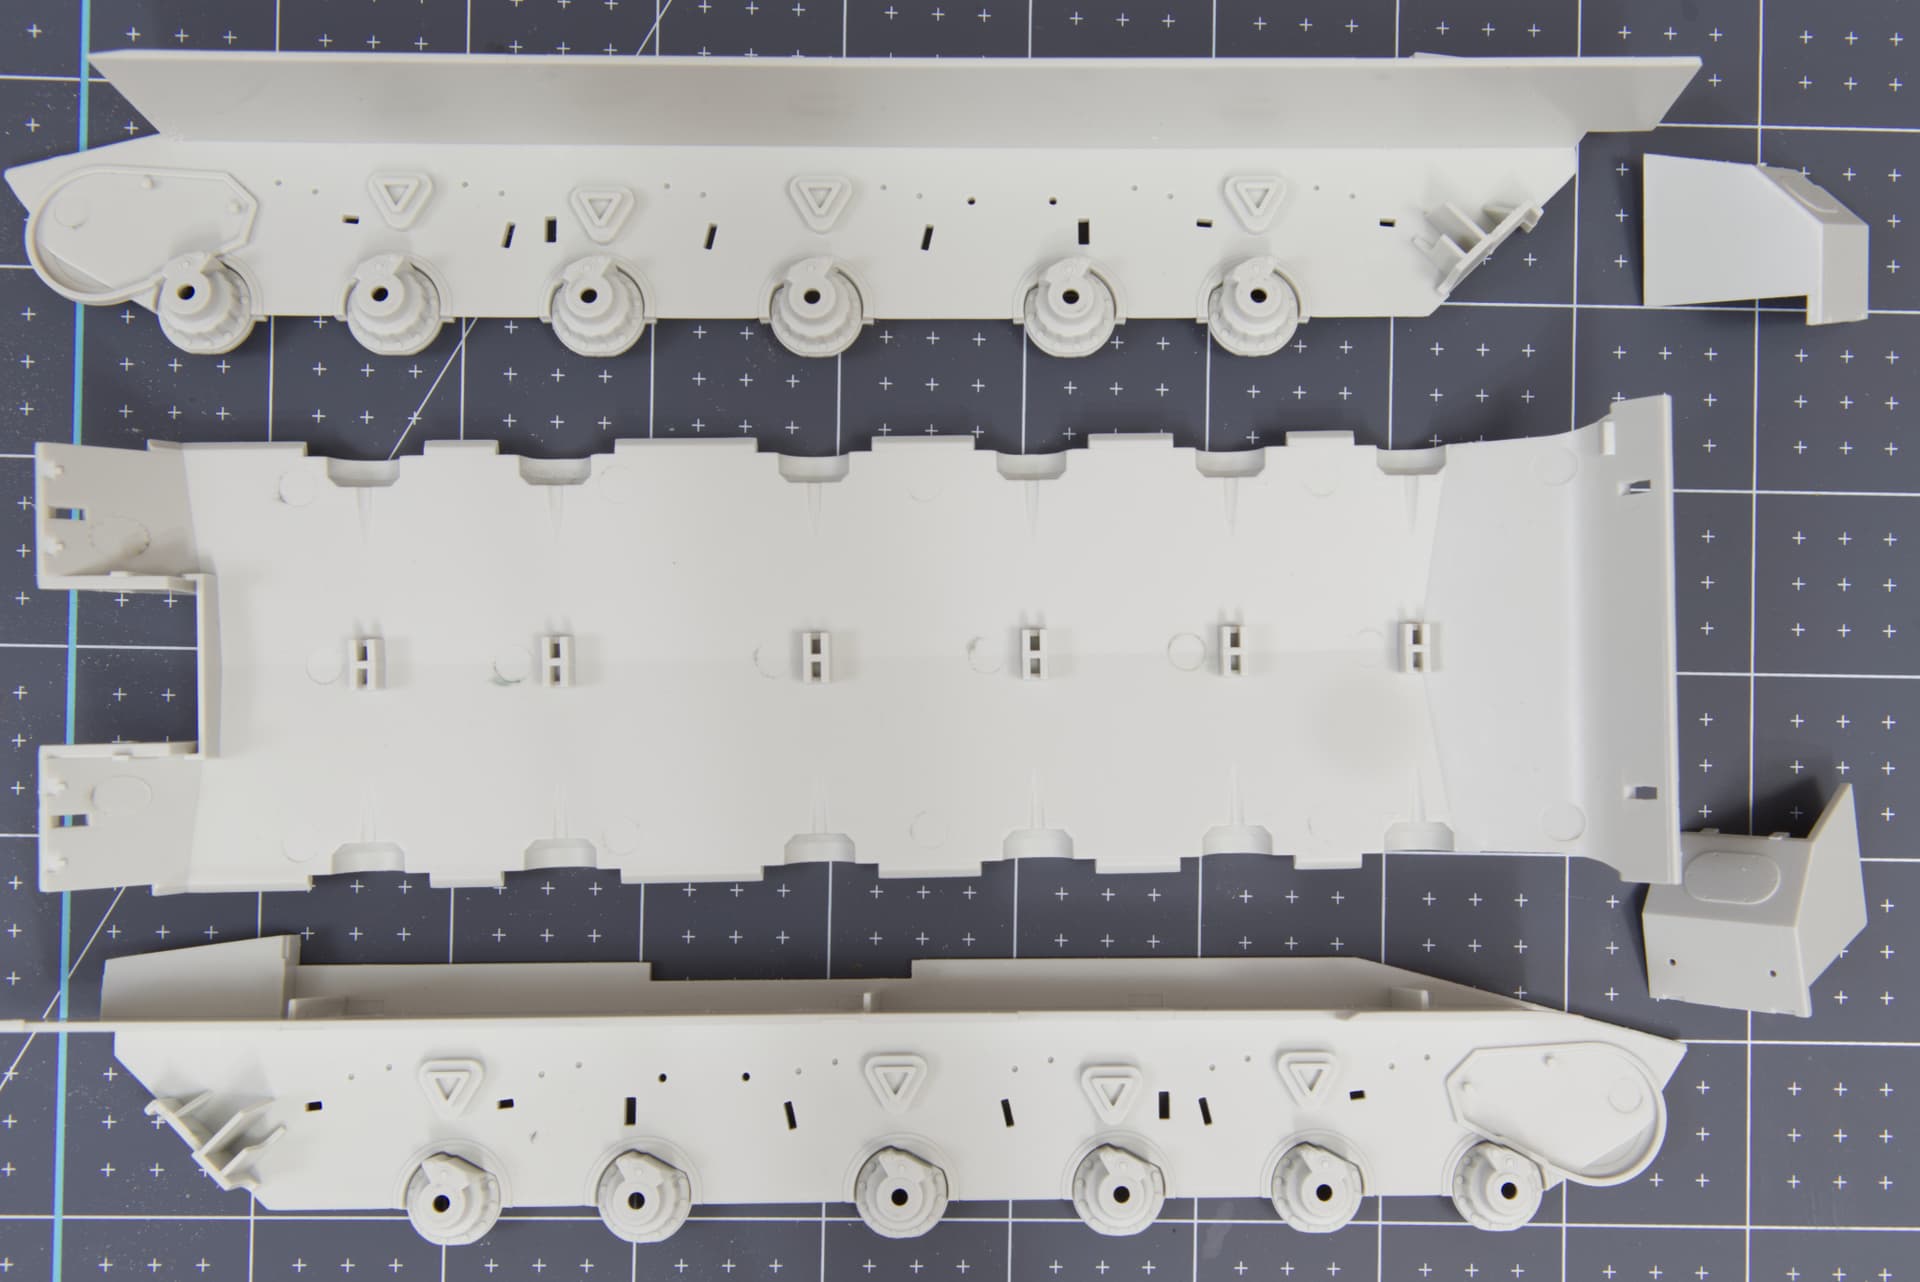
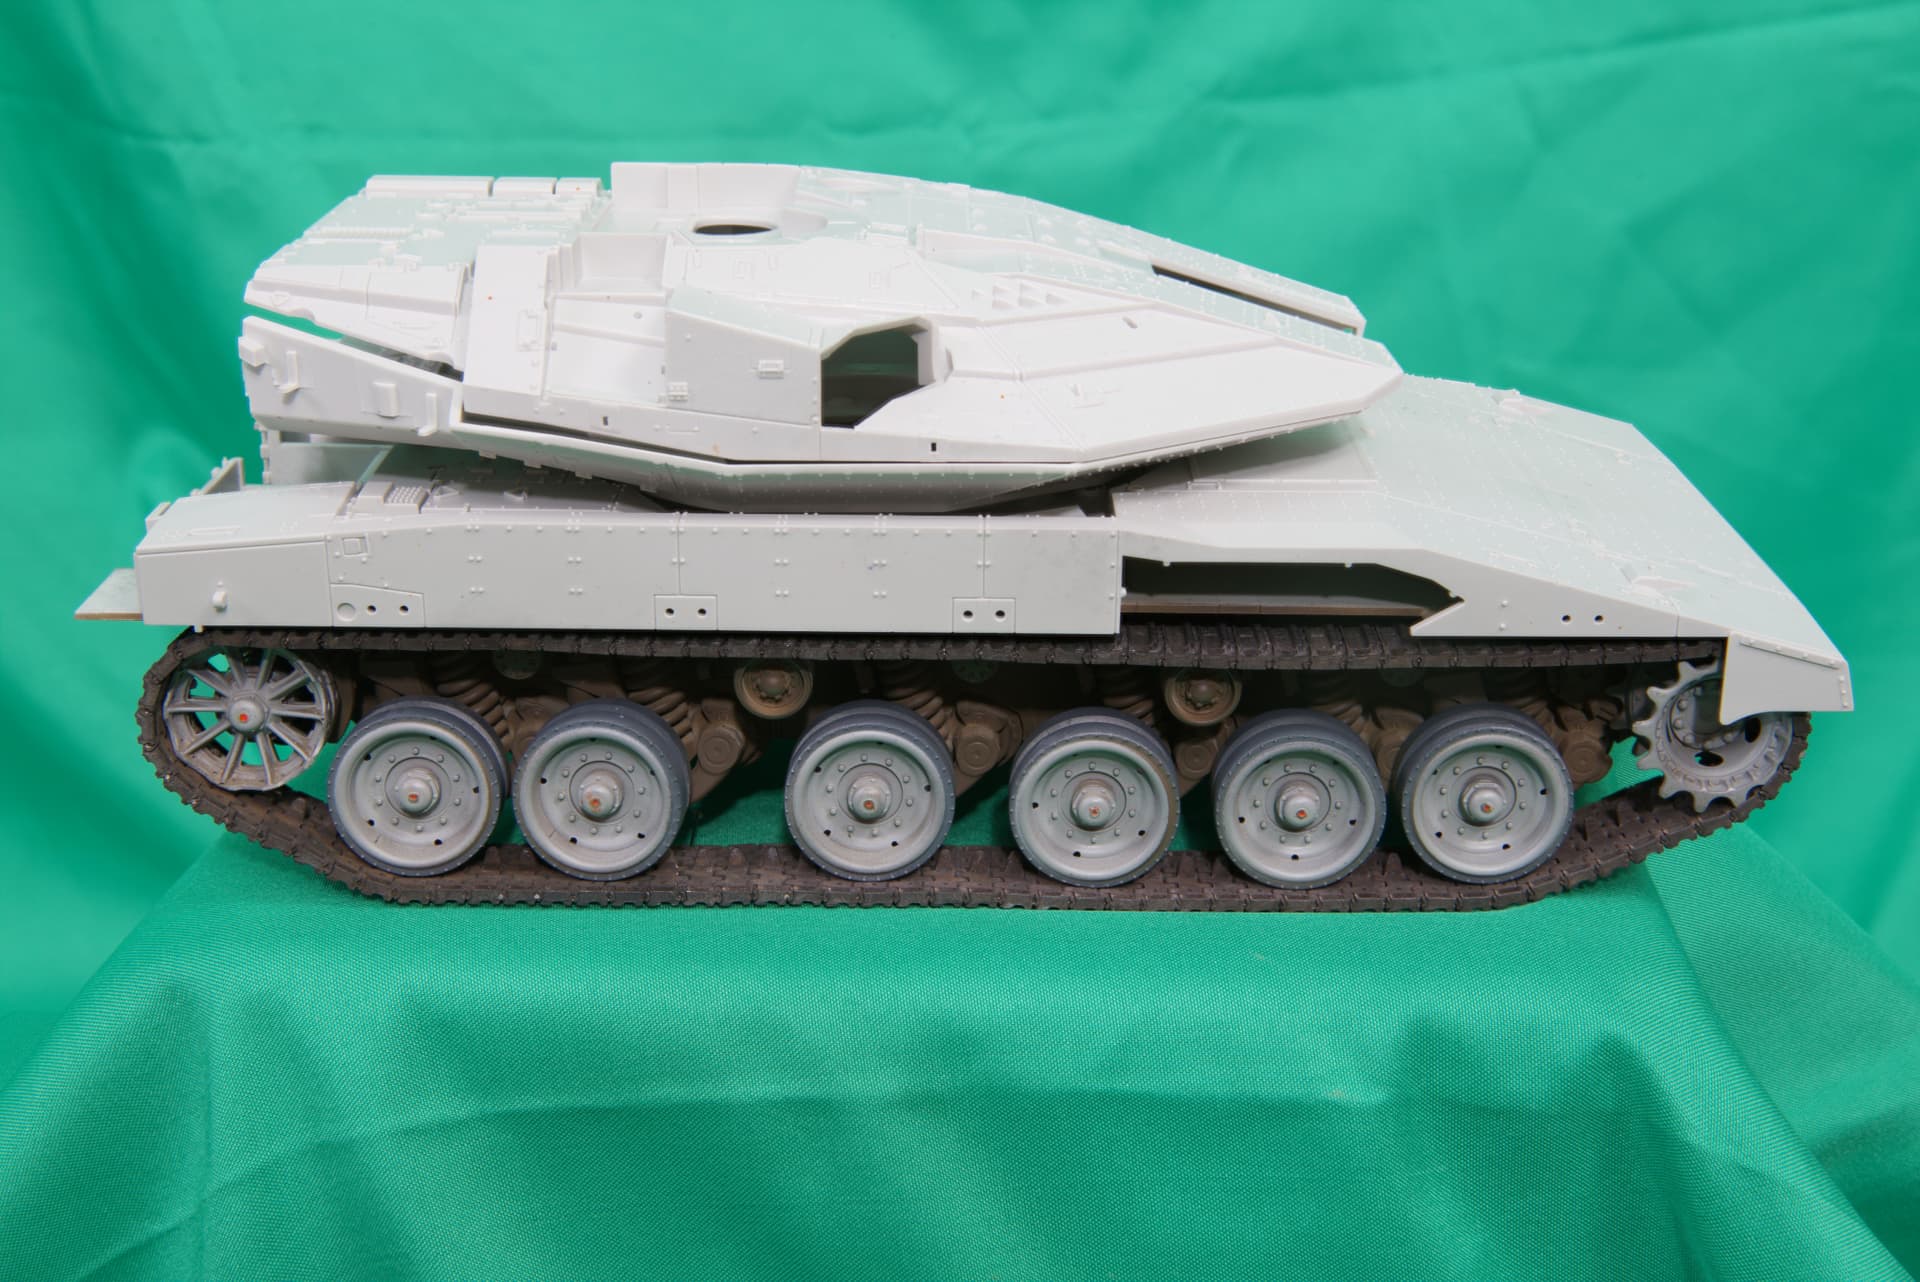
…ready for priming. I had seen a build elsewhere that warned me that it was impossible to fit the tracks after the upper hull was joined to the lower. So I decided to paint the lower hull and fit the tracks and mask it later when painting the upper hull/turret.
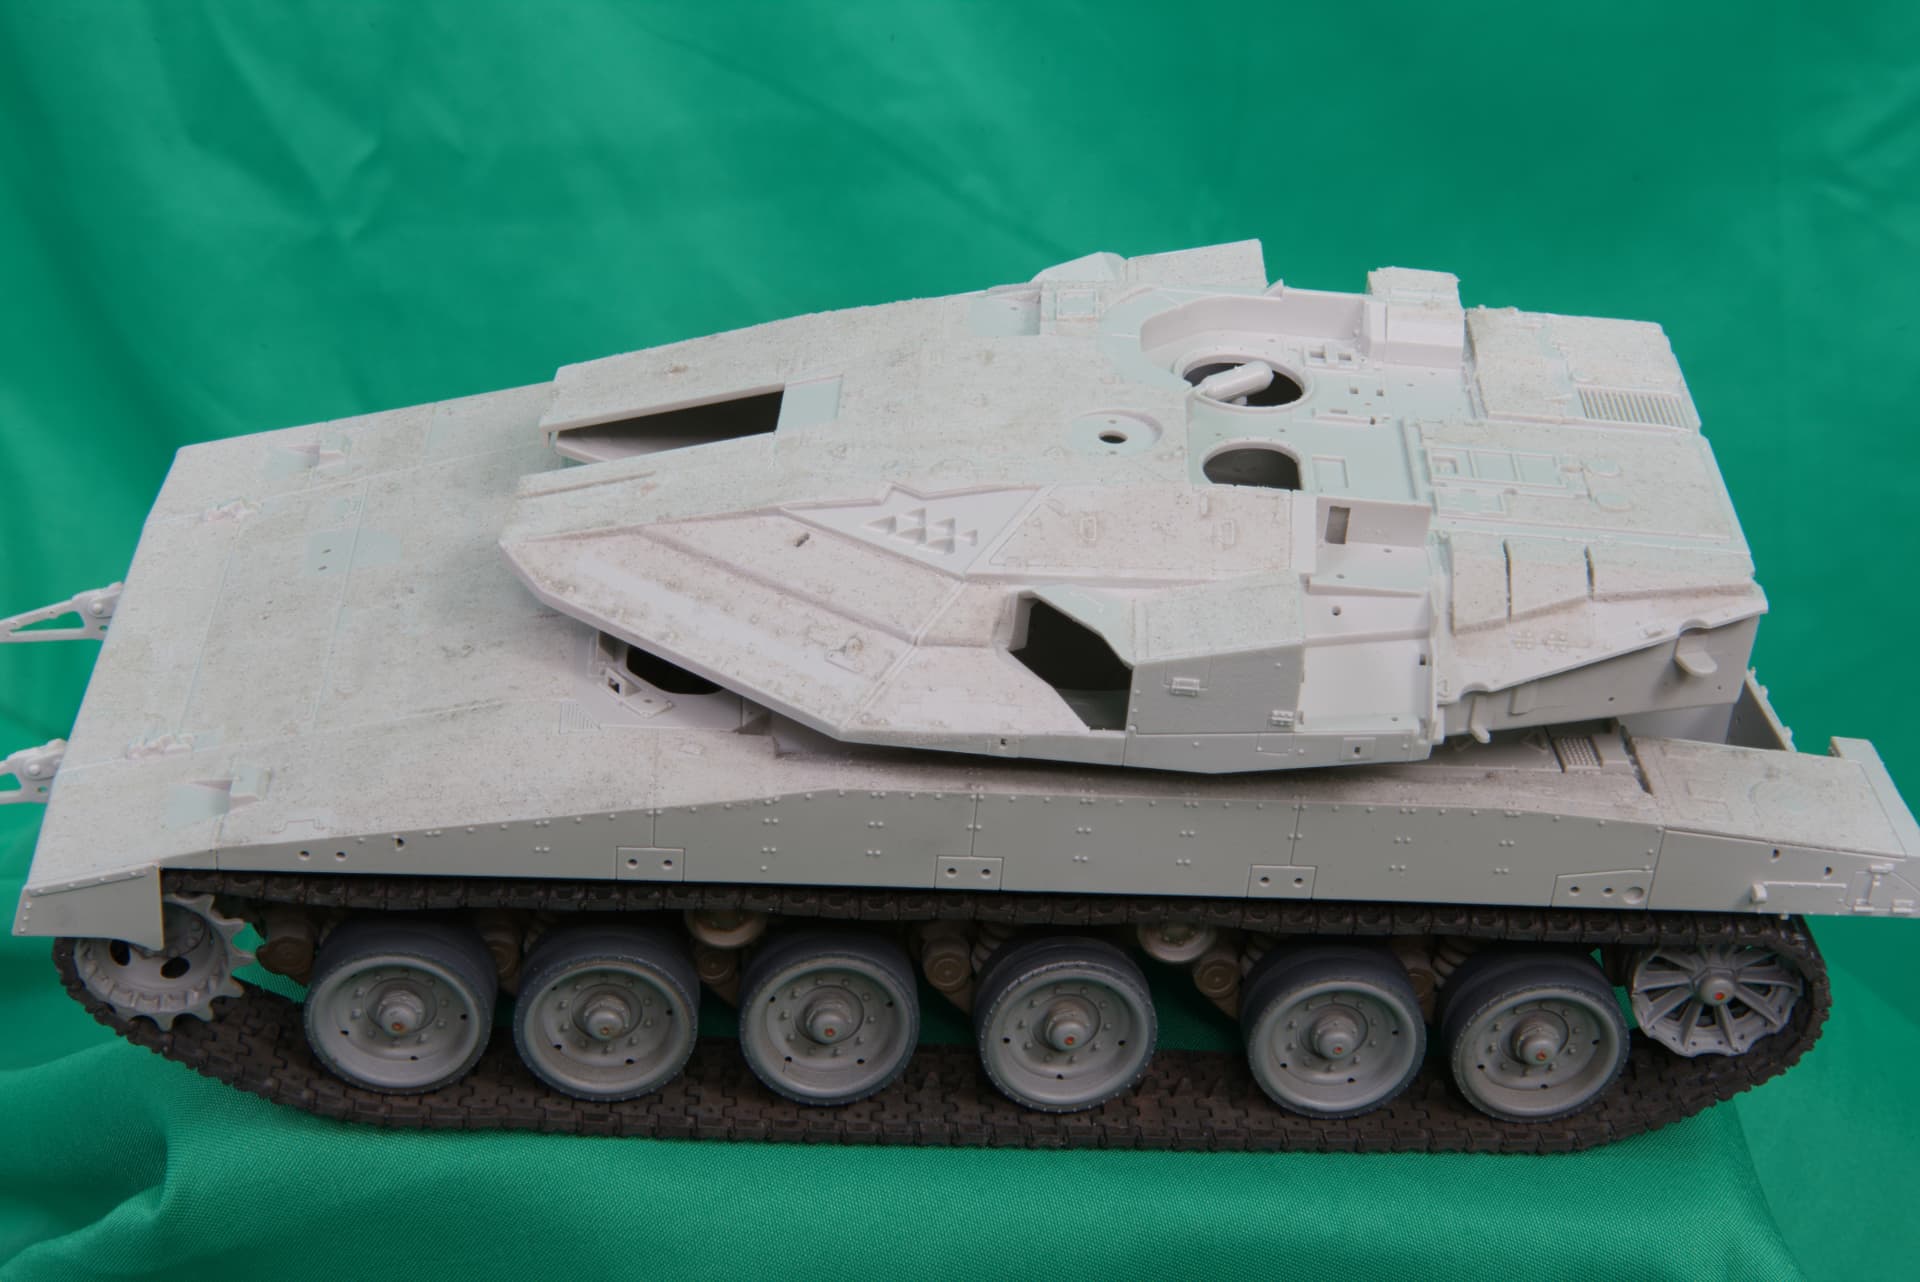
… I used VMS Hull Tex for the antislip as I did not think the moulded on texture had enough definition and I did not fancy masking it and using textured paint…
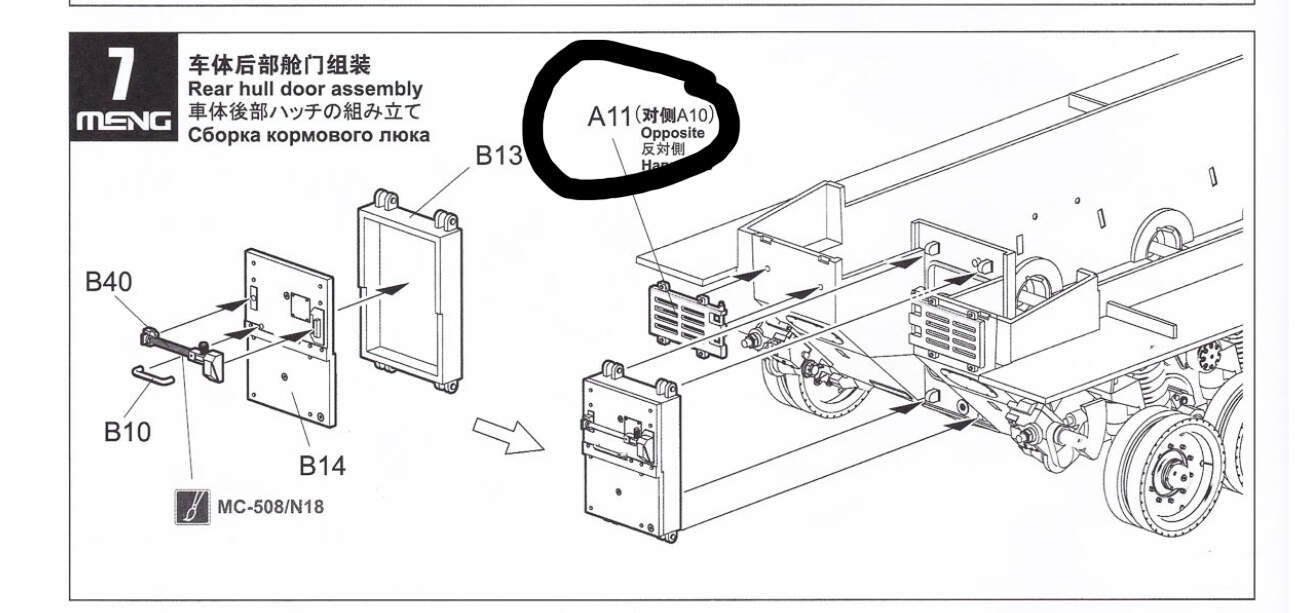
… rear resin stowage attached with 5 minute epoxy. The drawing supplied with the instructions show parts A11 on the model fitted which makes the stowage “stand off” so I had to grind them off.
Looking good mate, my own one is at the oil paint rendering stage at the minute. The Fruils will certainly look nicer than the awful kit tracks.
I have the Desert Eagle Publishing book that shows these vehicles- I can take a look and tell you the colors. What parts are you wanting to know about?
If the vehicle you’re trying to replicate is the exact one in the picture, then it belongs to the 401st “Ikvot HaBarzel” (Iron Tracks) Armored Brigade, 52nd “HaBok’im” (Breachers) Battalion, V-“Vampire” Company, 4th Platoon, Bet (B) vehicle.
Looking good so far!
Yes as @ReluctantRenegade has pointed out there is not much to see in the turret bin as the canvas covers the sides (down to the anti-RPG screen) and the top so there is no need to worry about any color inside it. The canvas itself is a sandy brown, same on the rear hull stowage bins.
The RPG screen is the same as the main color as are the aerial mounts. E63 is usually white for the top bit and black/rubber for the bottom. C10 is all white as are the aerials themselves if you want to add them. The water can is a tan color.
Also if you wish to replicate the tank in the photo you might want to add the aerial at the front- the one mounted on top of the side skirt frames. There is one on the other side in the same place and one on each side of the rear hull in line with the upward lines of the hull frame.