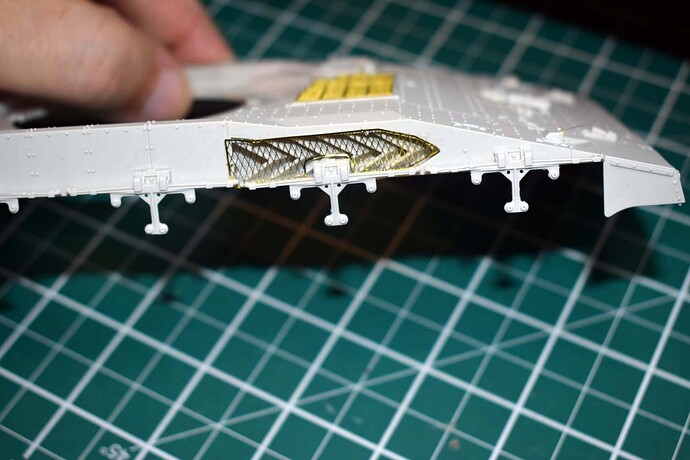
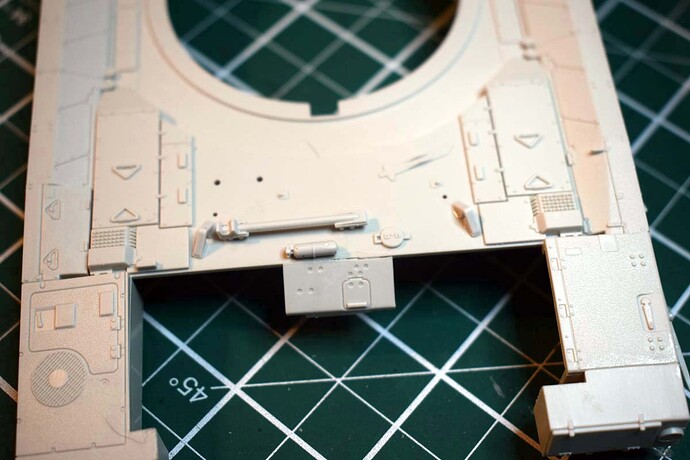
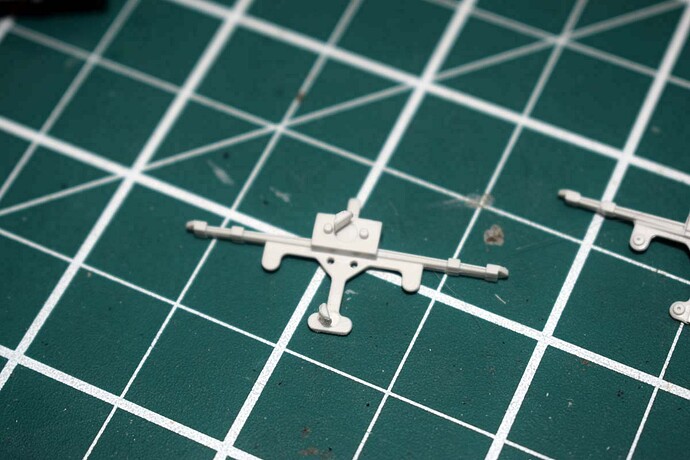
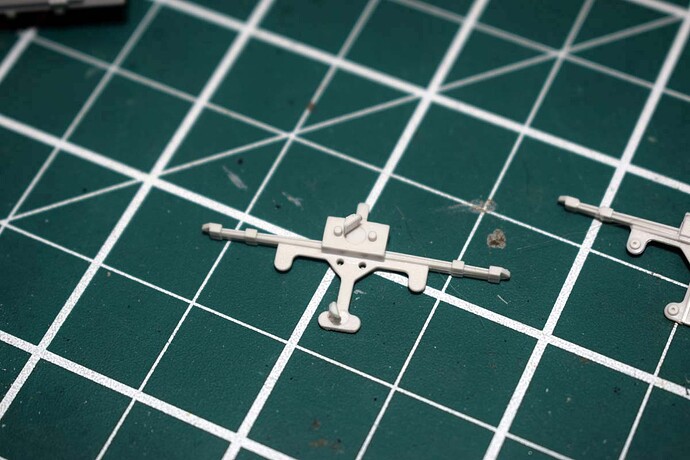
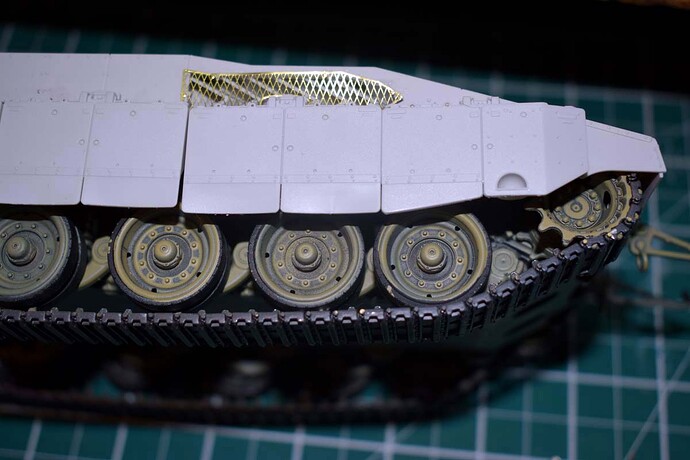
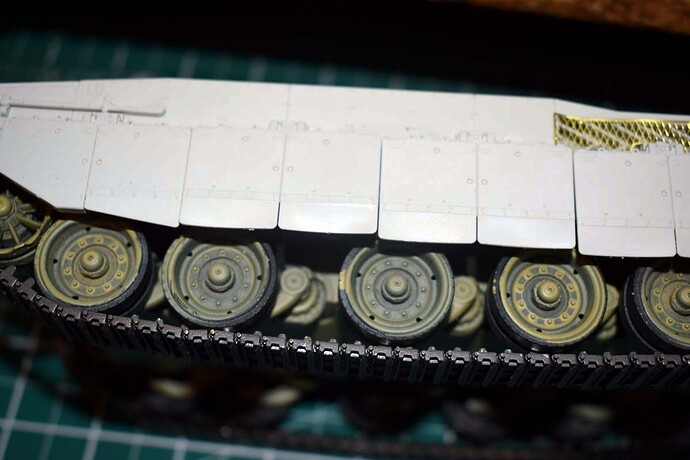
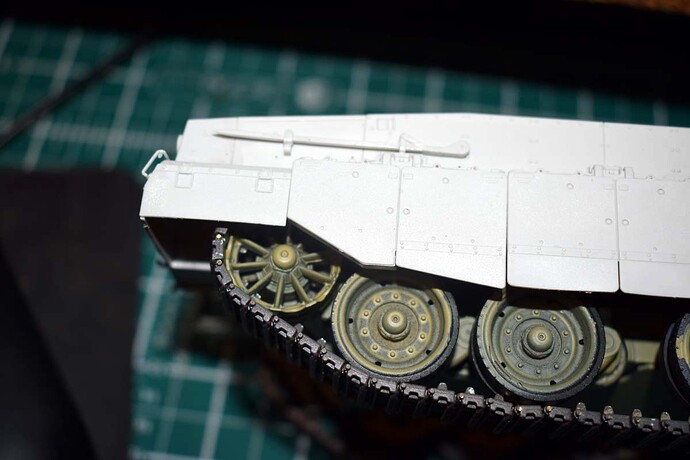
Israeli Armour holds an appeal for me and I have a number of examples sitting in the to do pile. I have decided to start the Merkava Mk.4M with roof mounted slat armour.
Stage One
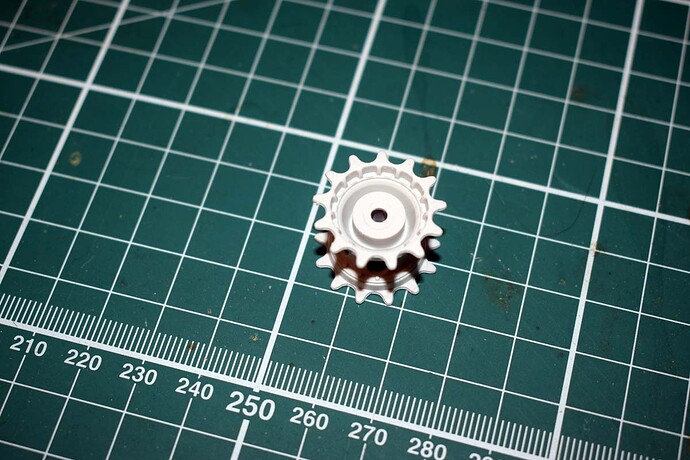
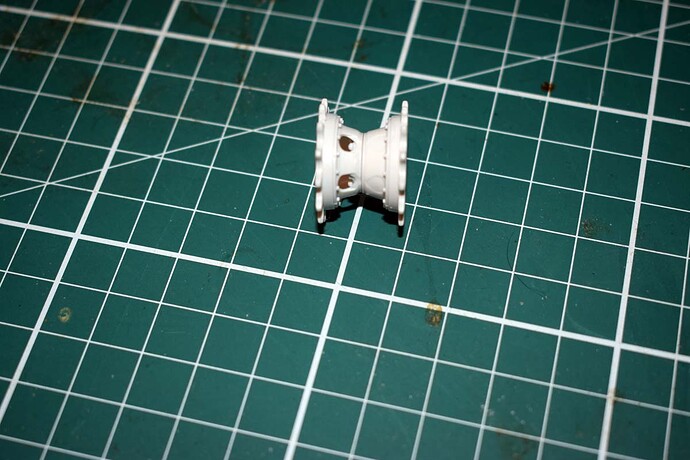
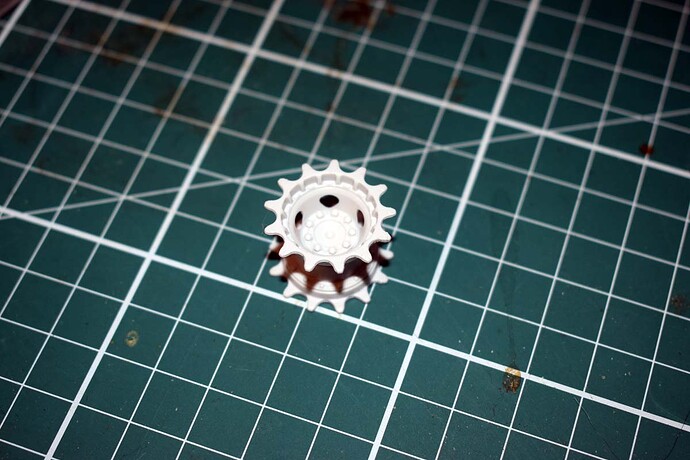
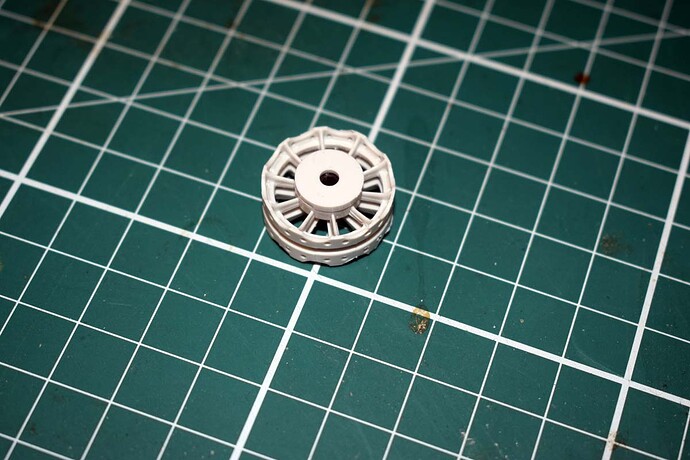
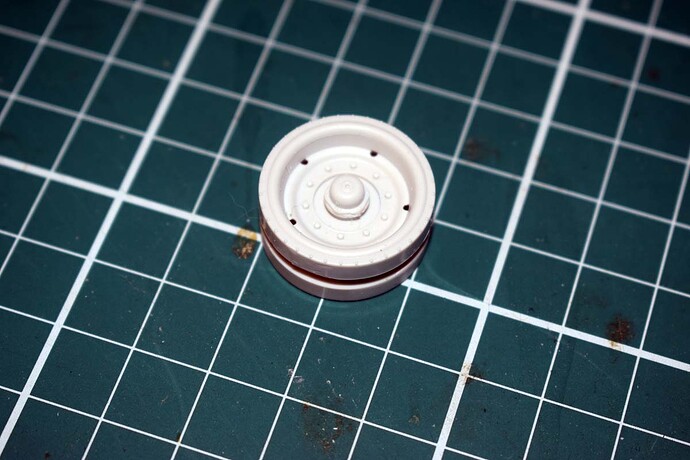
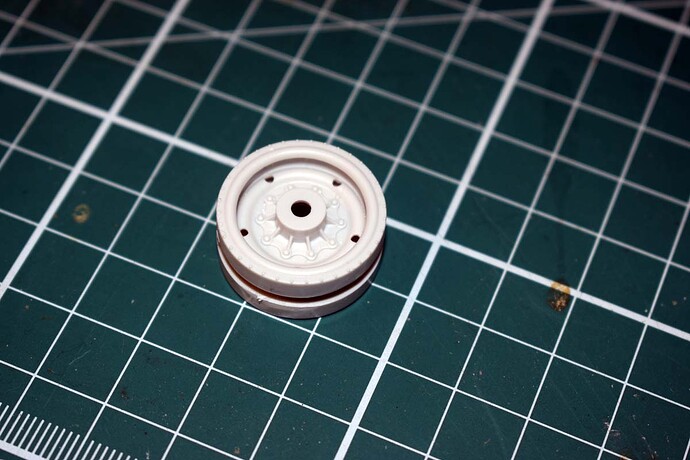
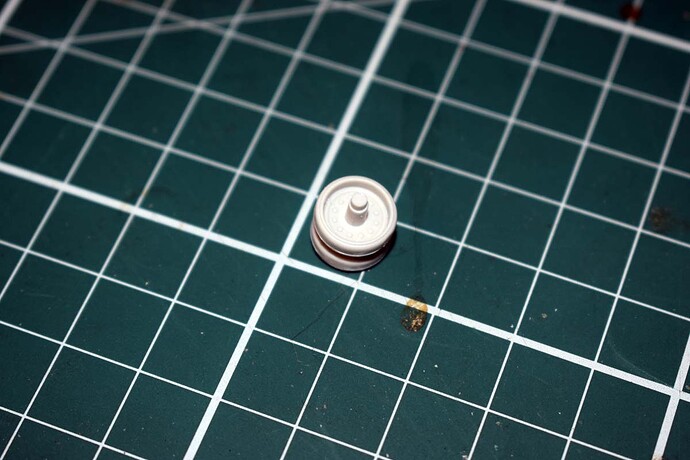
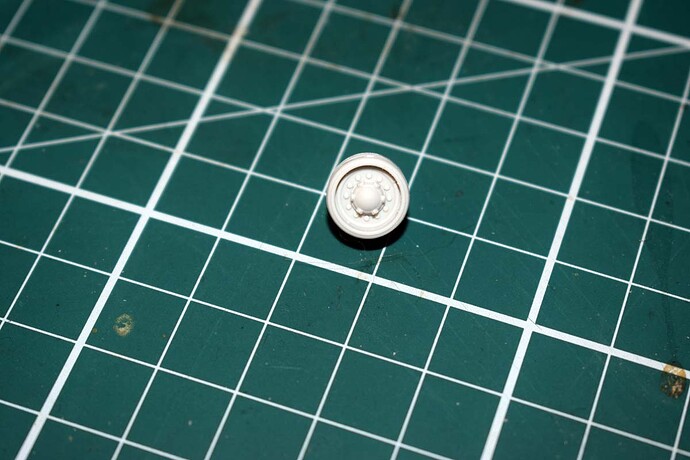
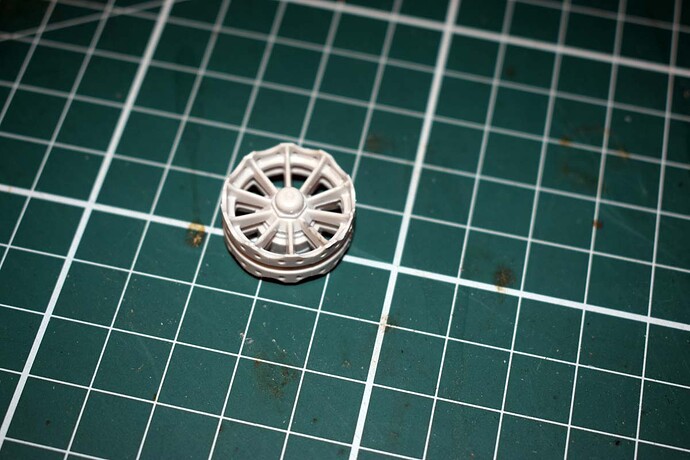
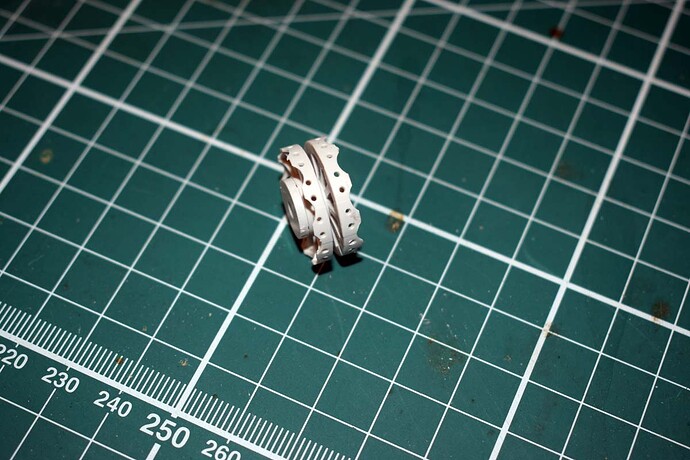
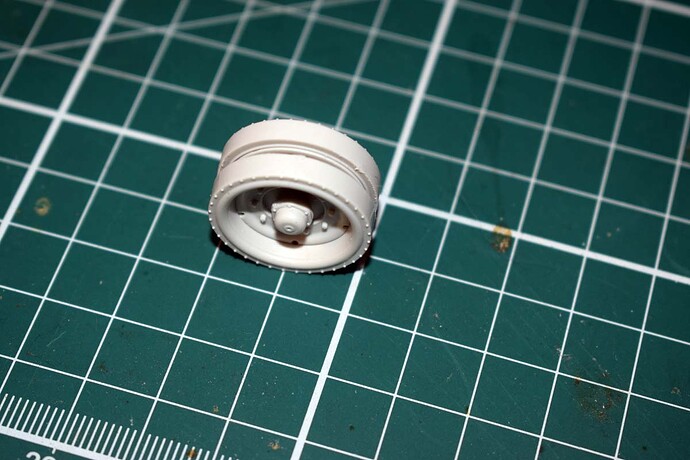
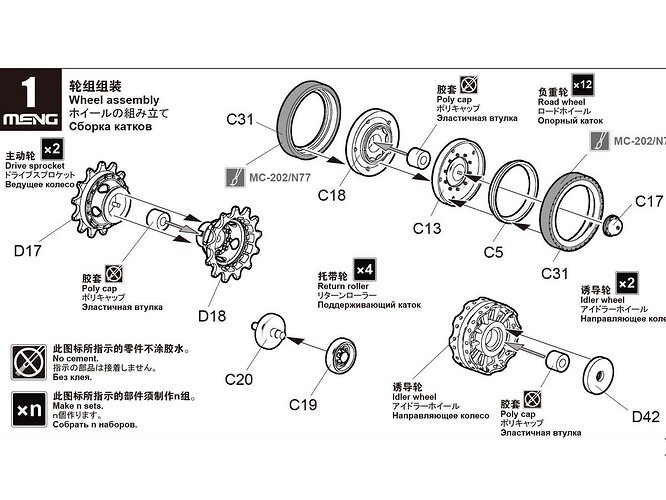
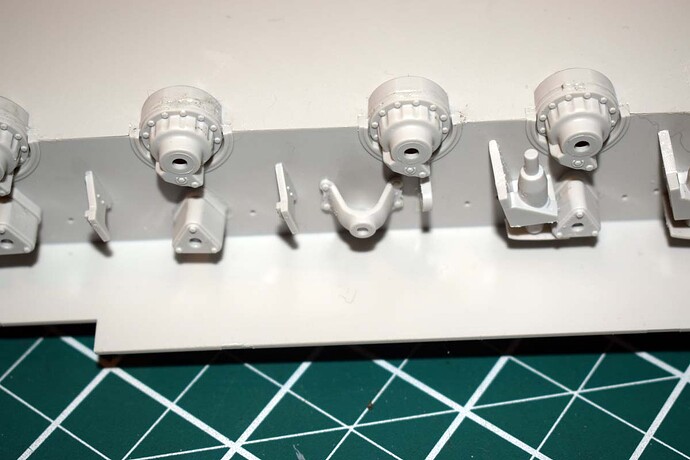
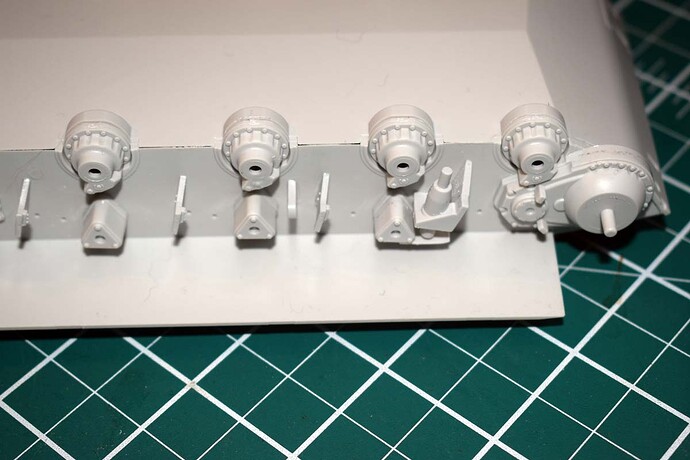
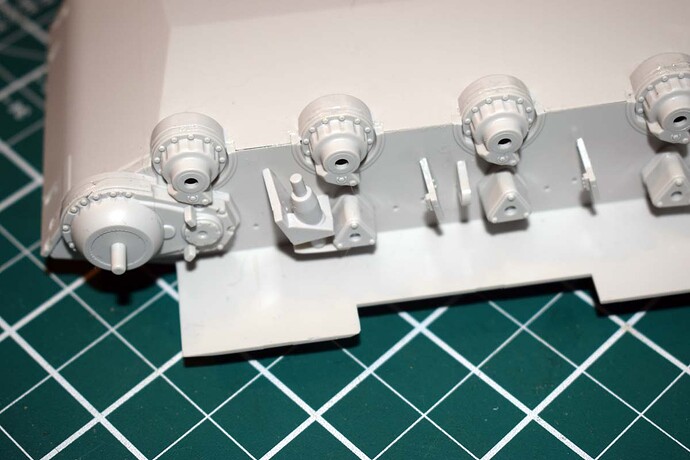
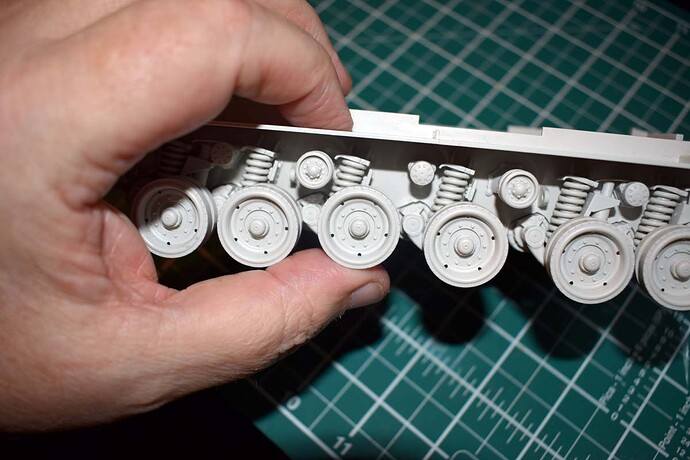
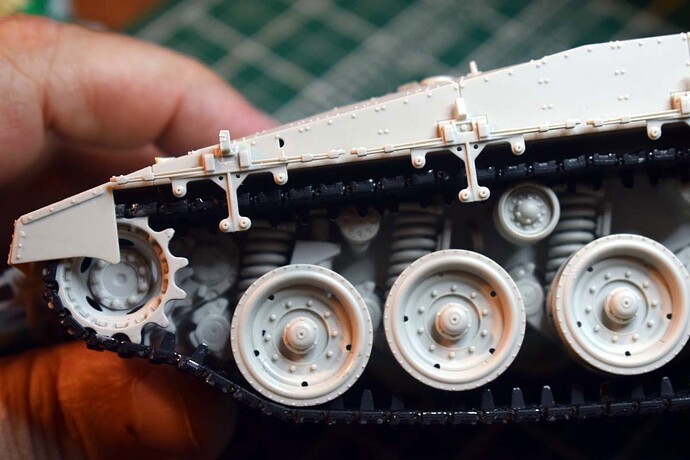
This where you tackle most of the wheels with the exception of some return rollers. All of the wheels go together very well and I am impressed with the positive locators where needed for alignment. During clean up of the gates on parts I found I had to switch to a flat needle file as the burrs were cutting into the sanding sticks making them useless very quickly for sanding. Part C5 on the road wheels fits very well but requires care during clean up as they are very flexible and could easily be broken in my opinion.
Hope to see more and to read your options on the kit
Stage Two
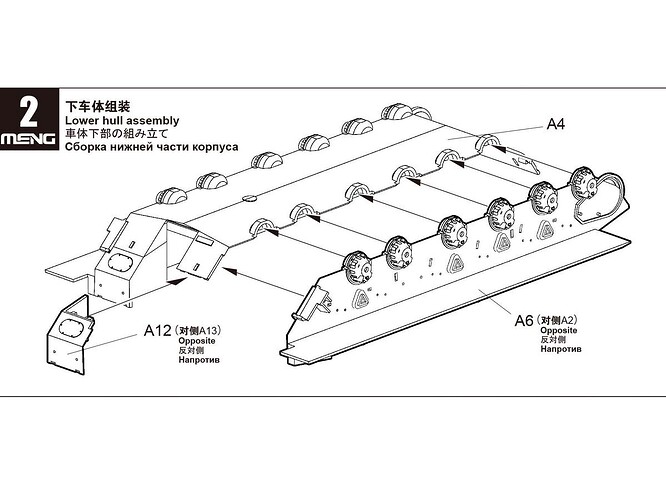
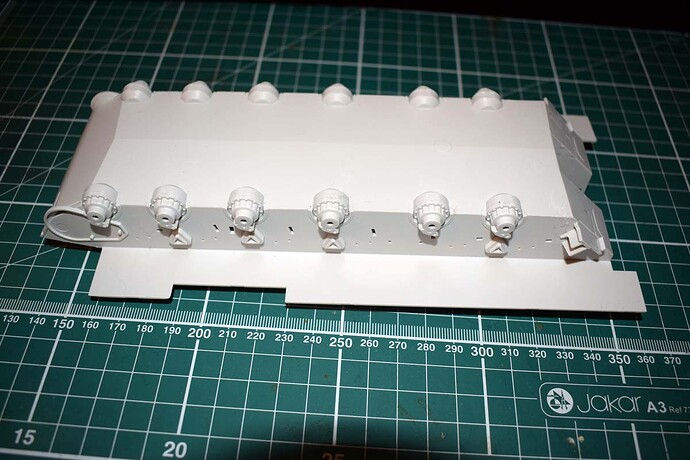
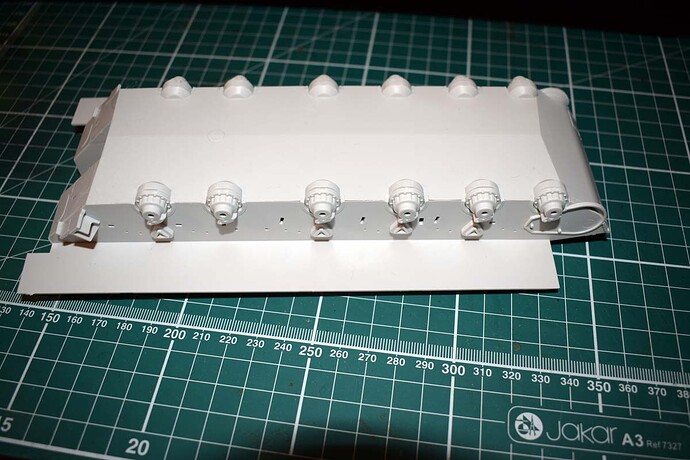
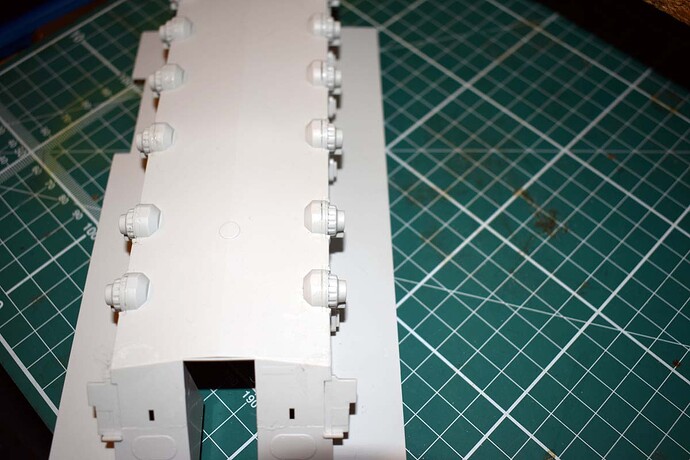
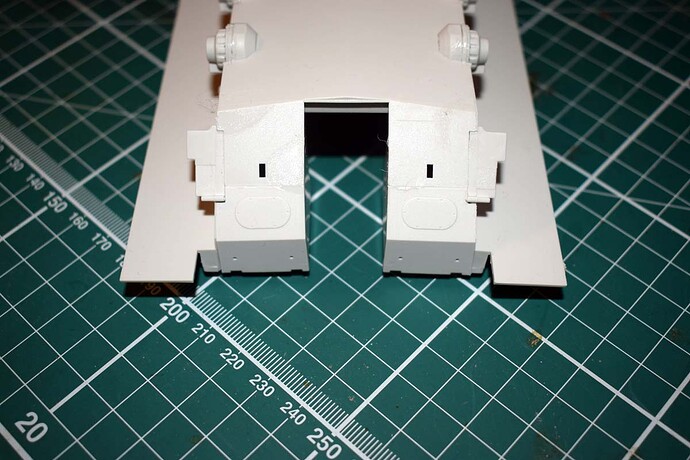
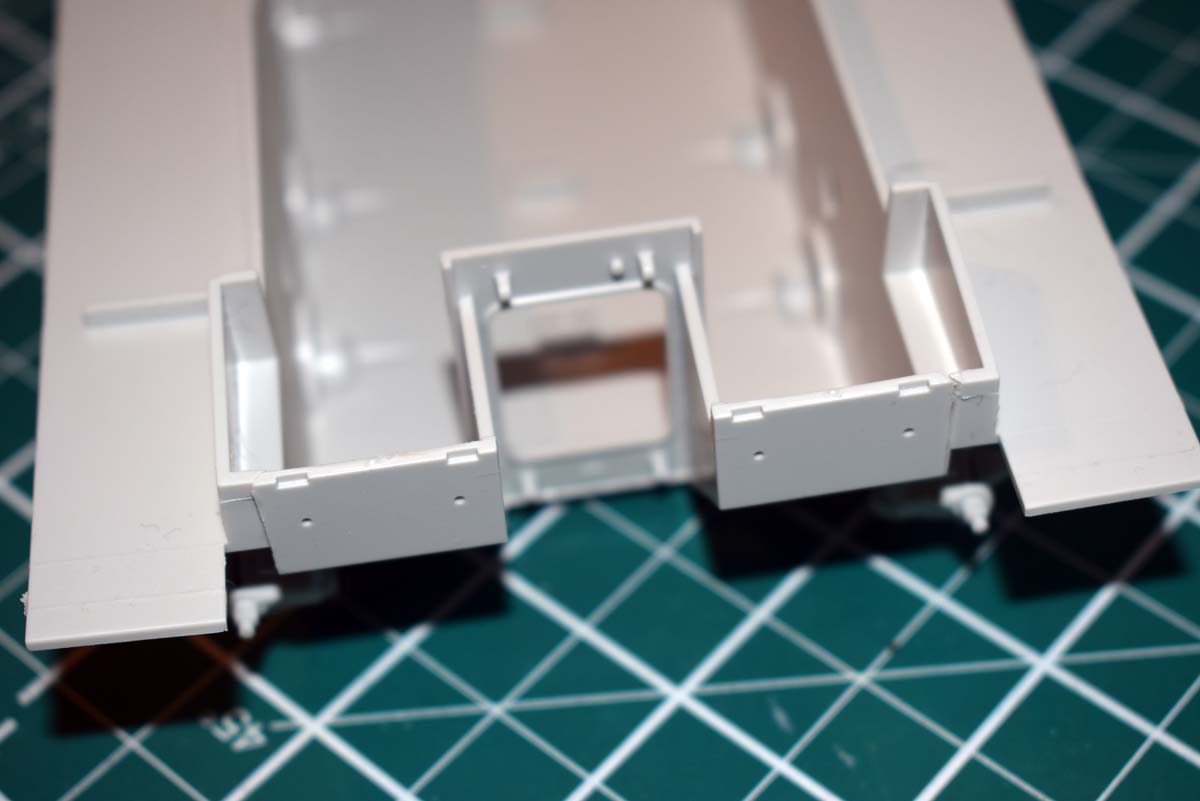
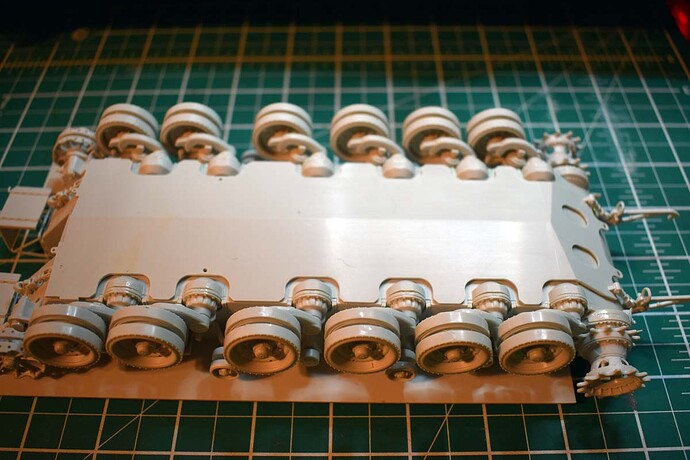
This is the start of the lower hull tub and where I found a situation that disappointed me. Part A4 which is the floor of the hull is bowed in this example and I found it quite difficult to get everything together. Getting the left side of the hull to mate with the floor perfectly proved impossible for me and I had to settle for best fit possible. The right side I managed to get mated perfectly but it did take some pressure and staged mating along the side. This issue is what I class as one of those things as due to the functionality of the suspension and reinforcement on the floor is not possible.
Thank you for looking in Robert
Stage Three and Four
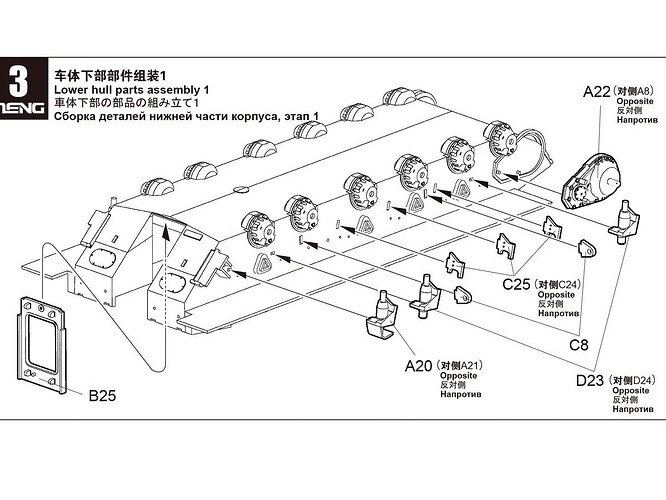
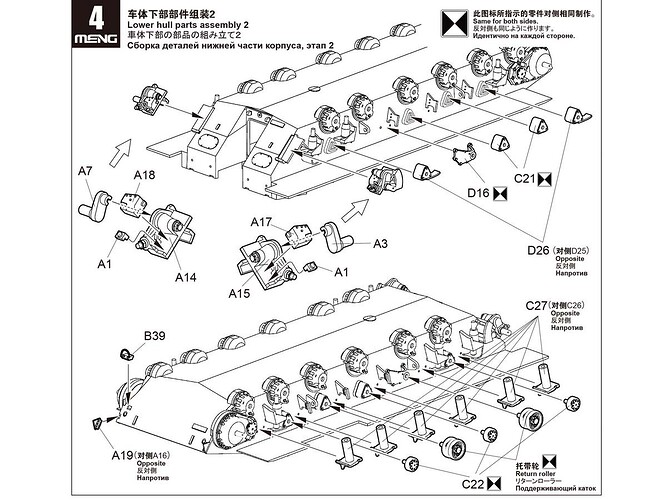
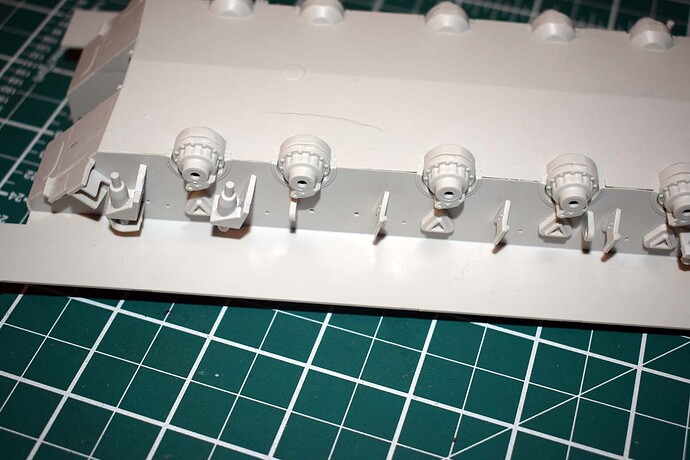
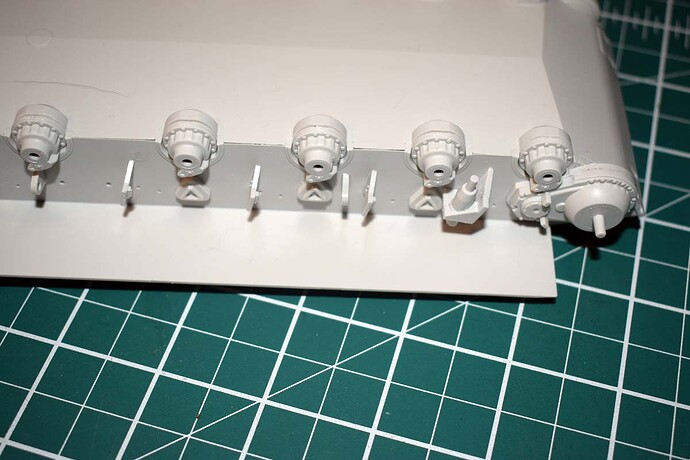
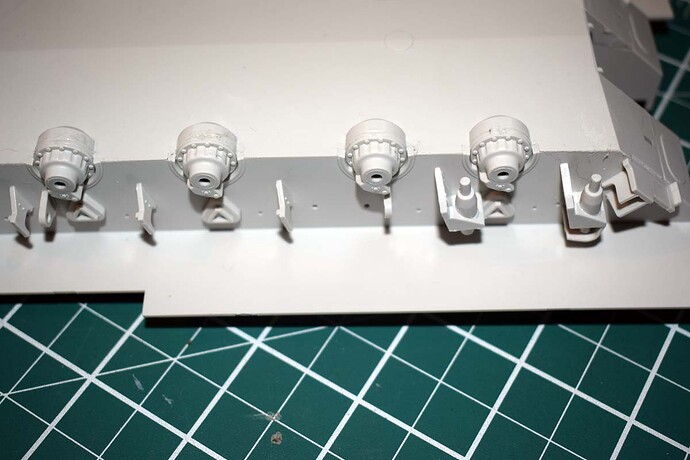
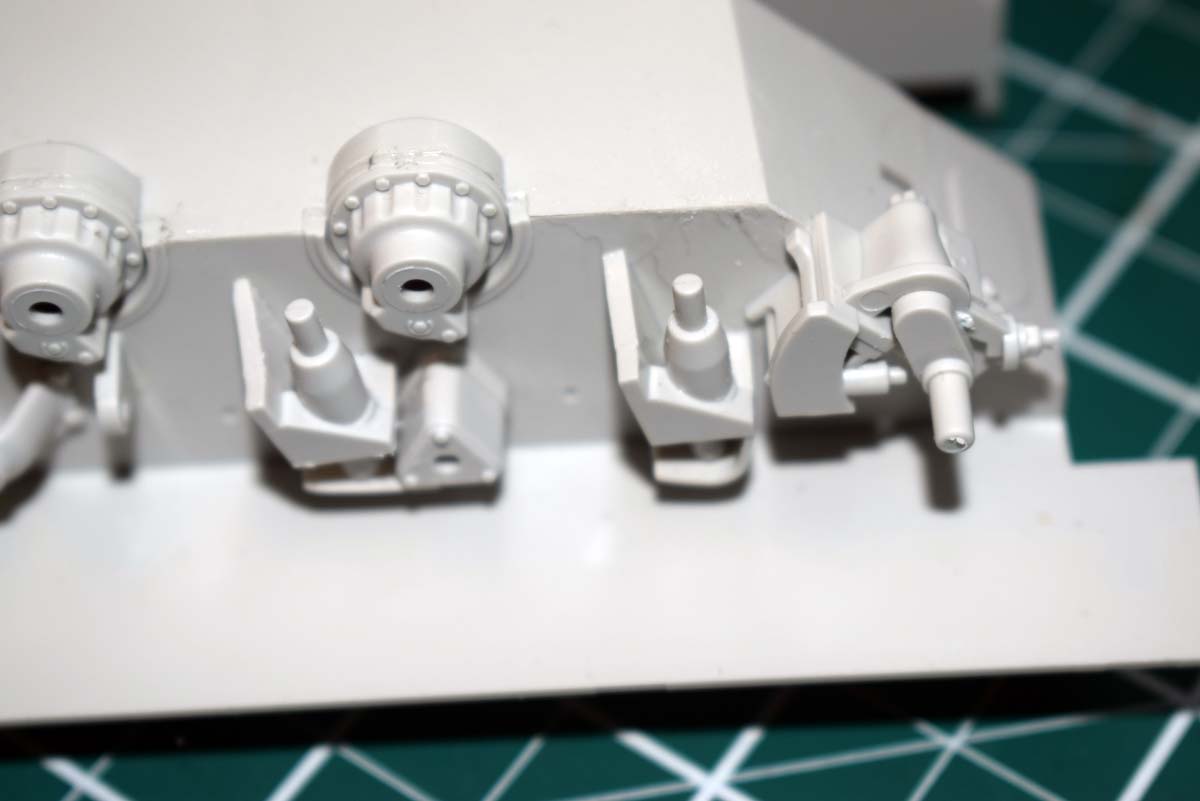
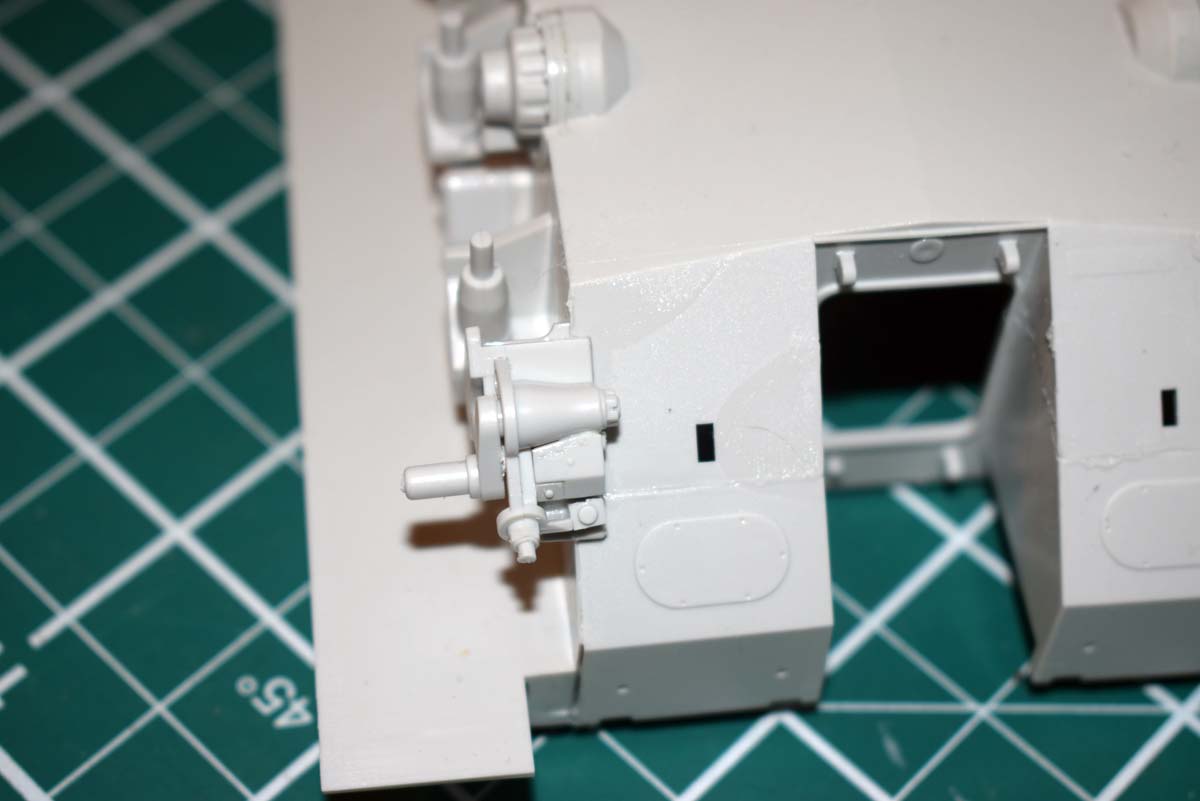
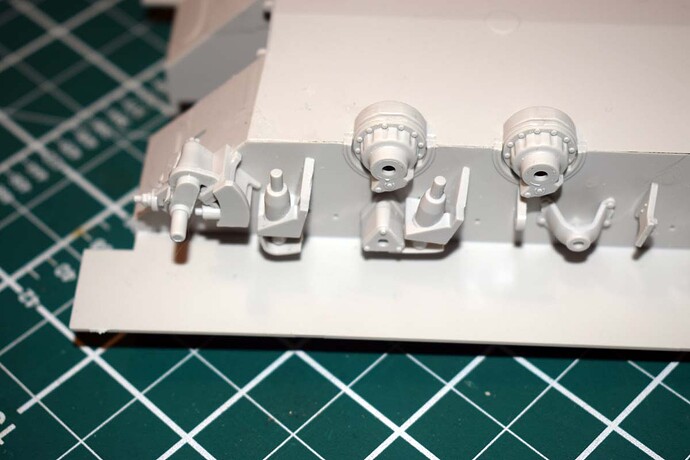
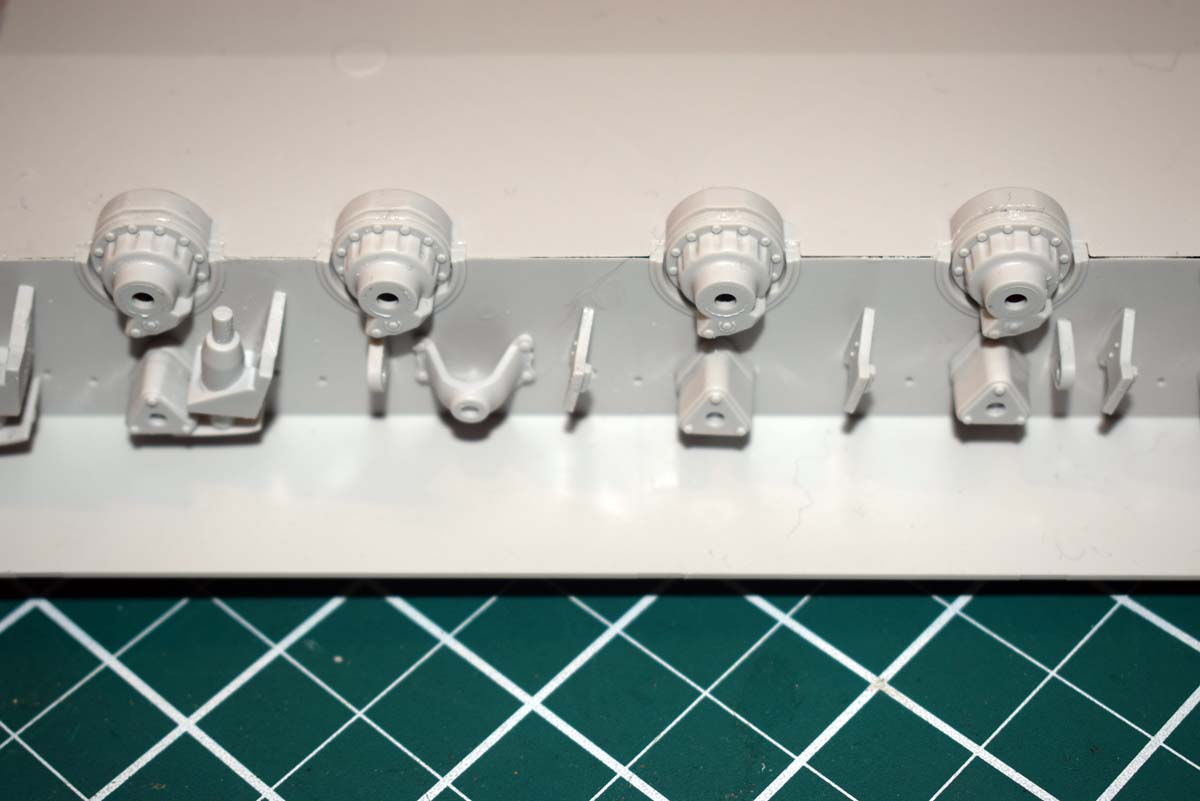
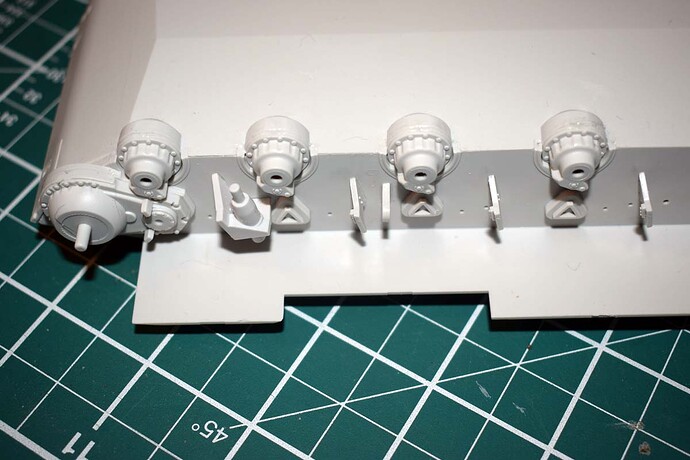
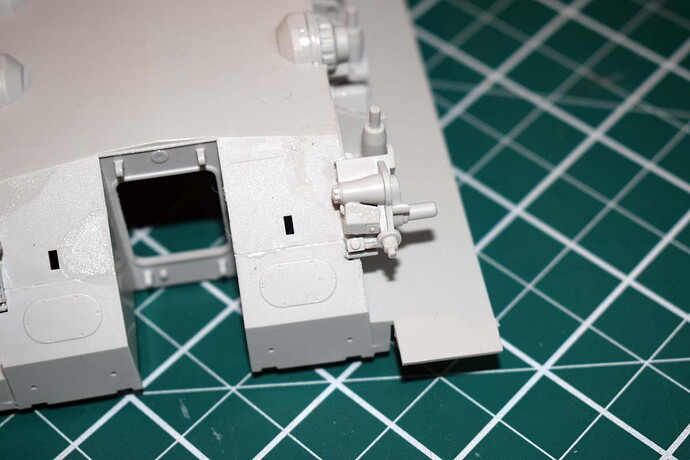
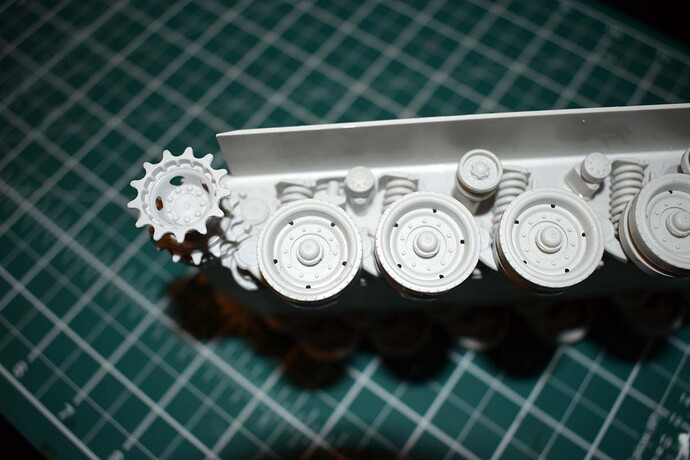
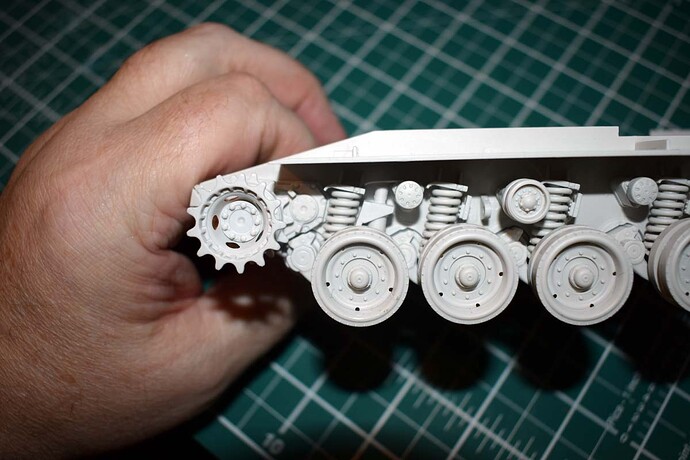
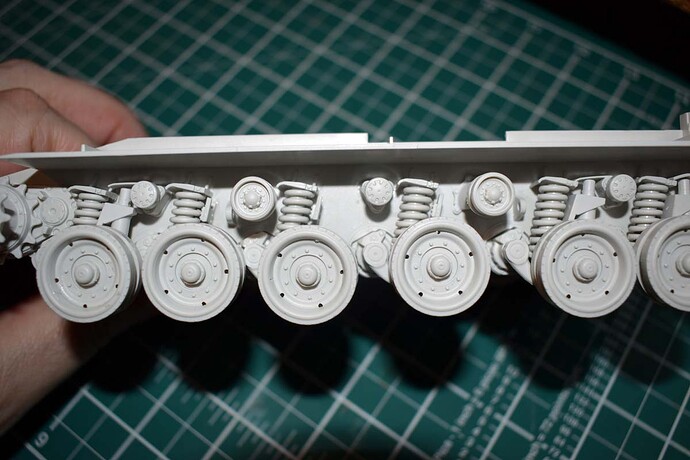
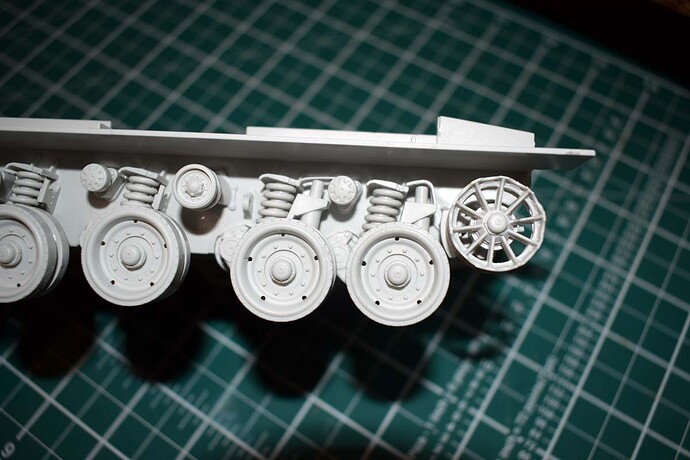
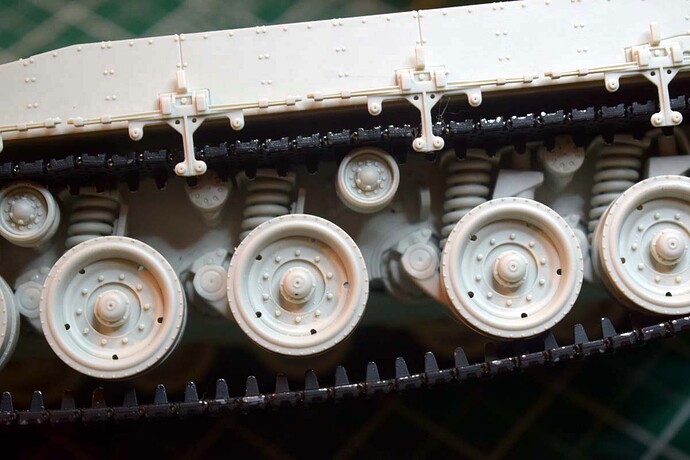
This is where the suspension details comes on a pace. Clean up of all of the elements I found easy for the most part but I did continue the use of a needle file for the task as control is better. Most of the parts also fit very well being positive and so correctly orientated. The bump stops do not share this though and there is quite a lot of swing to them. In order to correctly position these parts I assembled the suspension arms and located the needed ones to enable correct placement of the stops.
Stage Five and Six
The lower hull is creeping towards done as I assemble the swing arms, springs a torsion bars. The instructions have you attach the torsion bar to the swing arm place the springs on their guides and then insert and secure the swing arms. I chose a different route in that I attached all three of these parts and let them set before adding them to the model; yes the springs need to be manipulated onto the guides but it is not difficult. The finish here is to secure the torsion bars to the centre point of the hull. The result of this is a fully functional suspension that is easy to construct.
Stage Seven
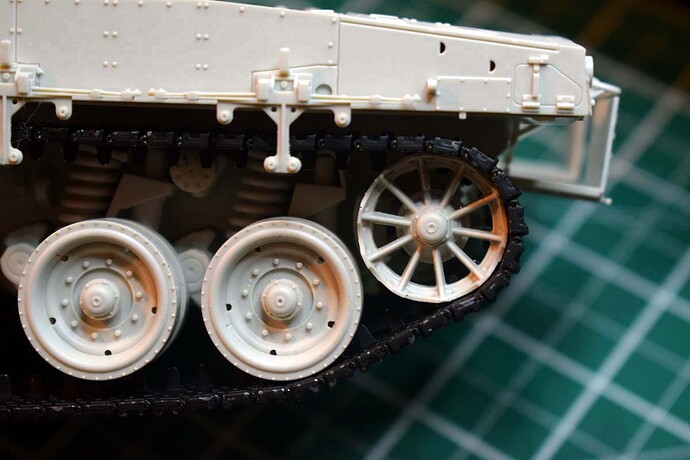
Quite simply add the wheels to the model.
This is looking good so far.
Hopefully the working suspension won’t break during future handling.
Olivier
Thank you for dropping in Olivier. once I decide how to display the model the suspension will be cemented. I have only left it to show how well it works and if I place it on uneven surface for display its all good.
My pleasure…
Yeah glue it. Keeps you from playing with it. On the other hand you can run a bolt through the hull into a base to hold the model on the groundwork and never need to glue it .
Have you noticed how having cats and results in getting fur everywhere!!! My fault for taking in rescues as we are up to seven.
Stage Eight
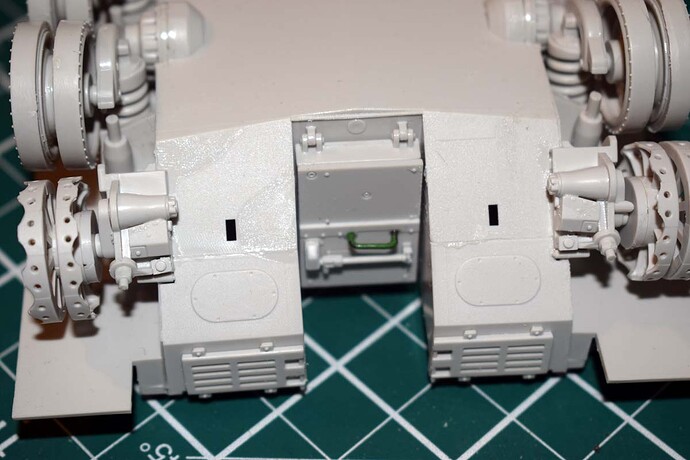
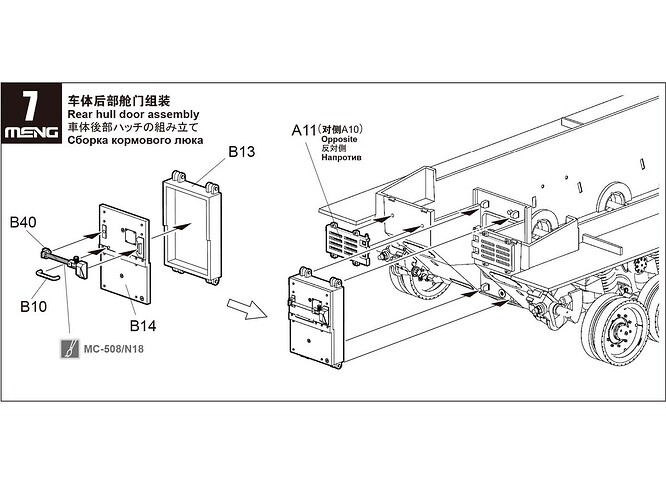
Here you add the recessed rear armoured door for crew and for carrying a small number of troops under armour. Assembly of the door is easy other than Meng’s terrible habit of leaving projections from the ejector pin locations that need to be removed and sanded in many cases to stand a chance of getting parts together. The grab handle I replaced with metal as cleaning up these parts in plastic is a pain and usually results in a less than stunning result for me. I cut the metal to size and glued it at the marked connection points; I often drill the location and insert the wire into that if in a location where it could be knocked off.
Stage Nine
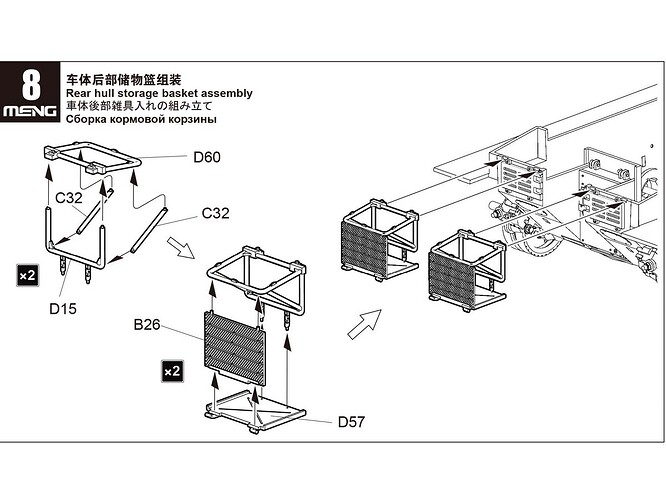
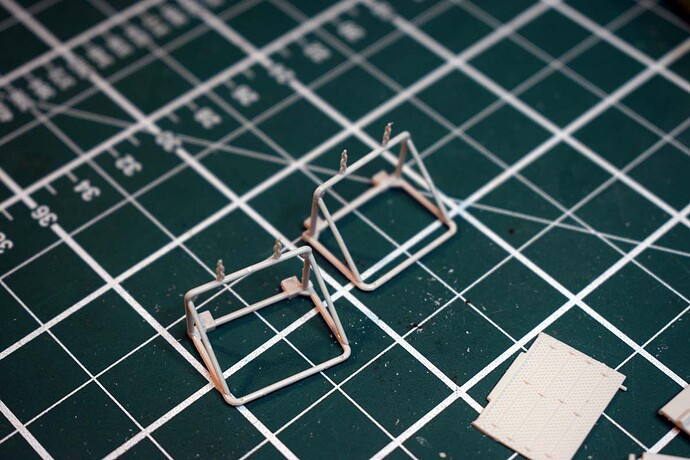
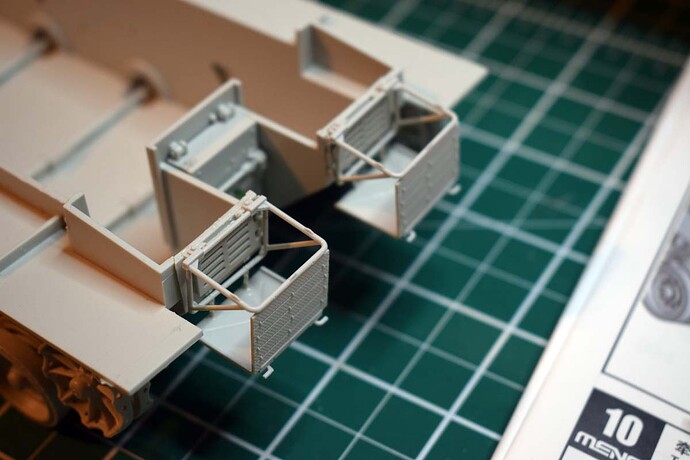
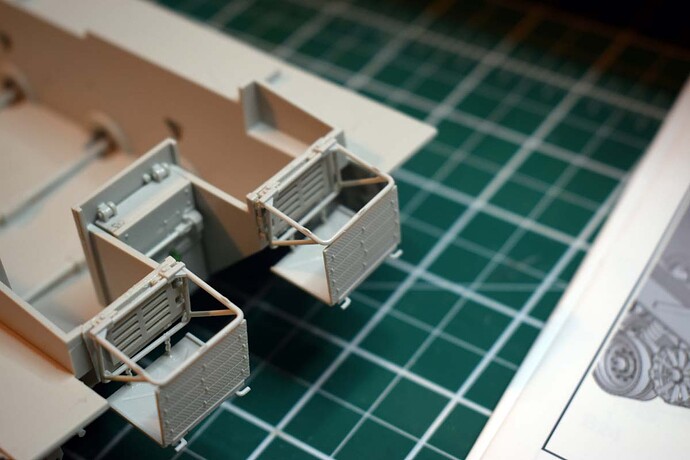
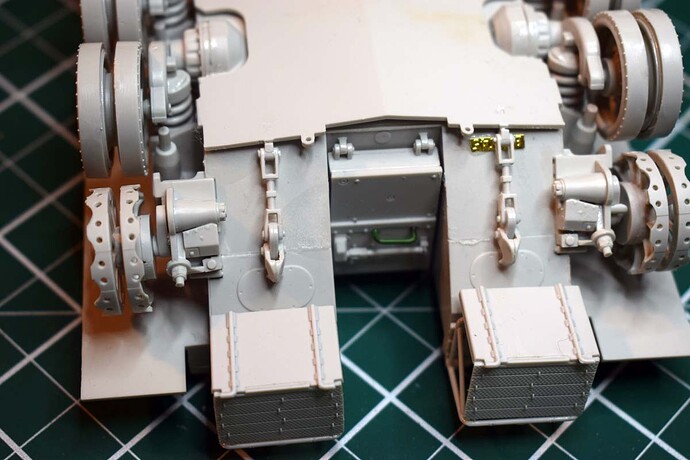
The rear hull storage baskets require a steady hand and a good eye and so I struggled, but taking it slowly and allowing time for glue to cure and also working under magnification resulted in something I am pleased with. I believe aftermarket rear covers are available that are wired together and so move. Part C32 X 4 you need to make sure you have them around the right way as there are locators present that do help a lot.
Stage Ten
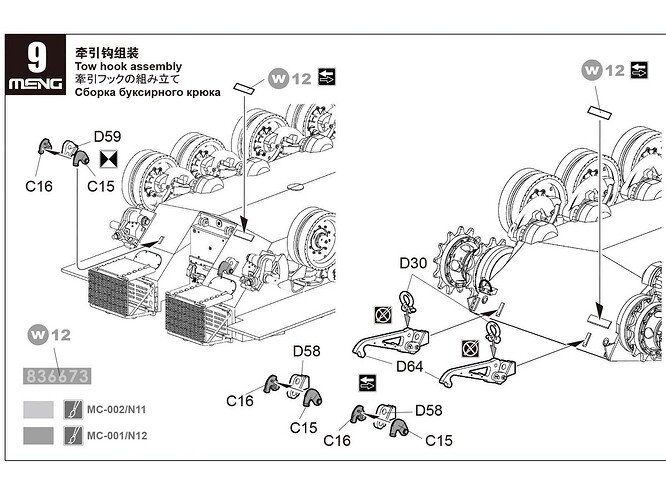
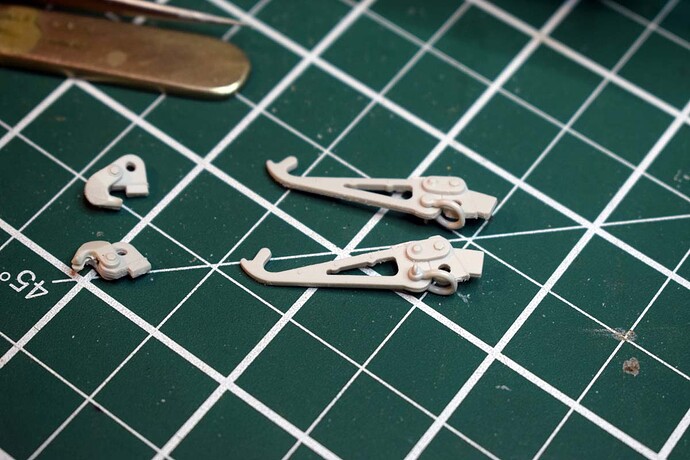
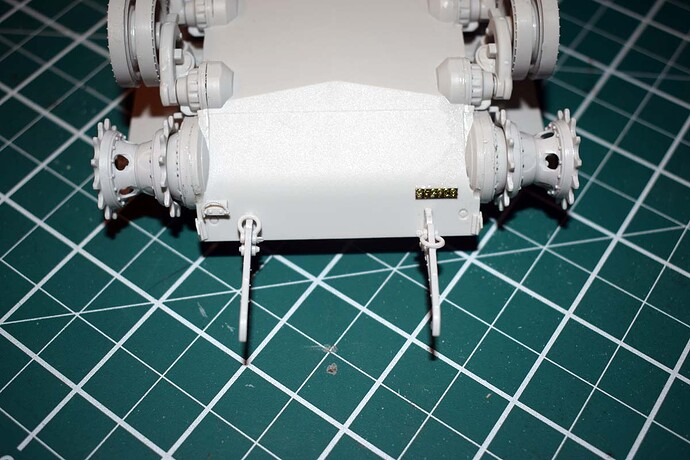
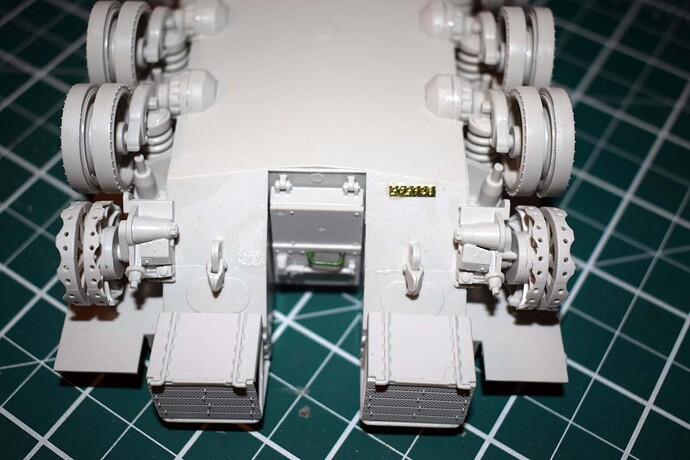
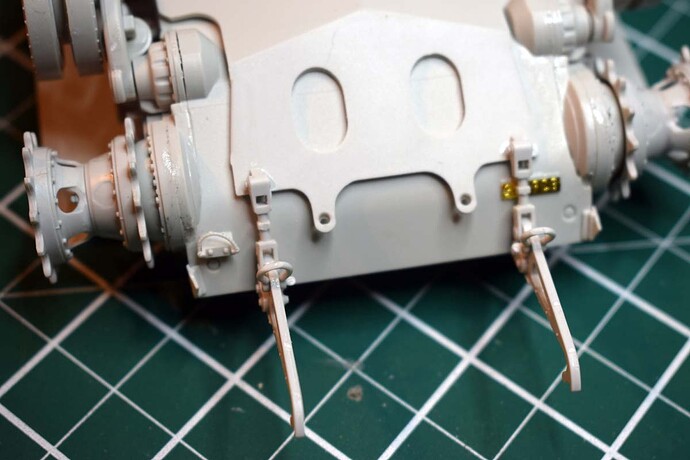
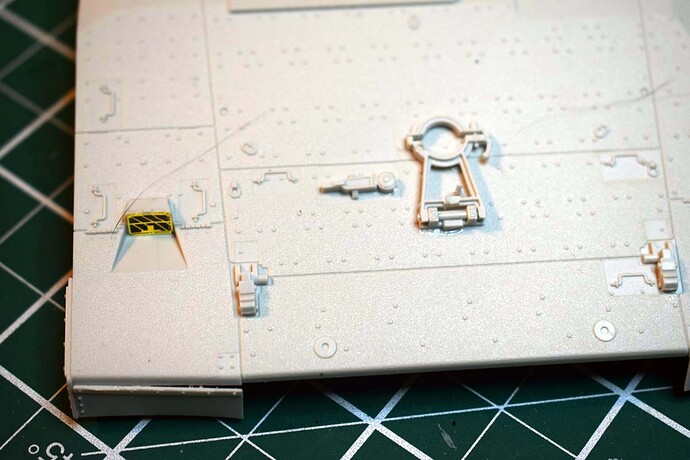
Here you add the brackets for towing and recovery to the front and rear of the lower hull. At the front you are provided with a choice of standard brackets and the extended type. I believe the extended type are I believe an add to quick recovery in the field and they seem to be a regular feature on many Merkava tanks and it is common to see chain secured to the brackets to speed to process up further. At the rear I used the standard type provided that involves adding a loop to the fitting and turning it through 90 degrees to secure. Two photo etch parts are added at this stage and these give the tank its ID from memory and so thing of them as number plates.
Stage Eleven
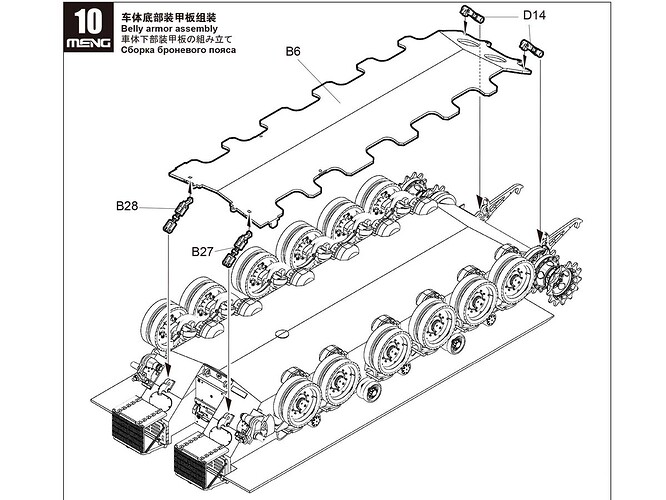
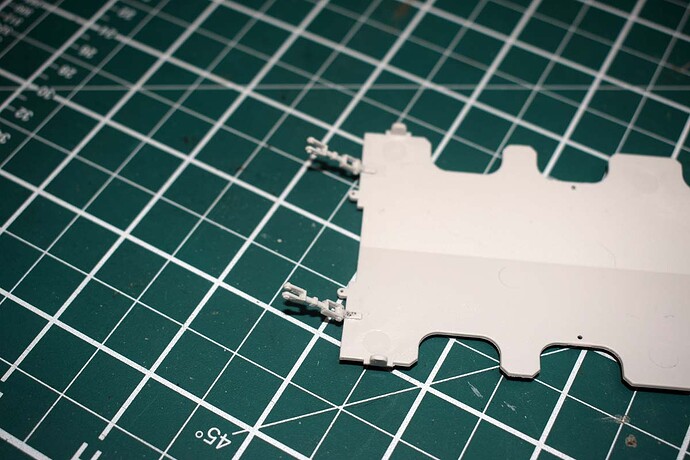
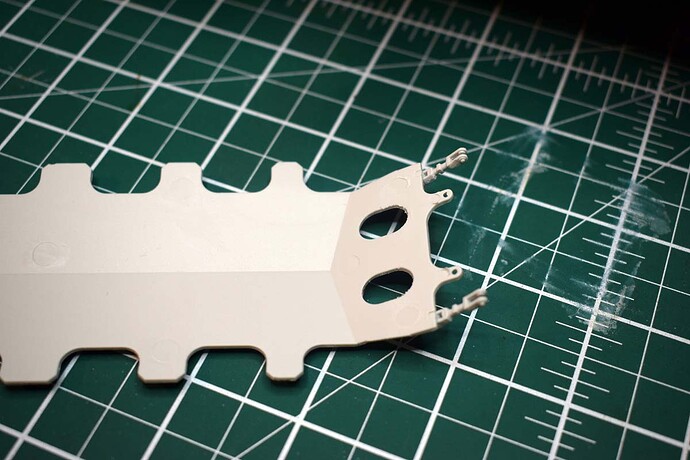
Here we add the belly mine protection plate which is secured by two hanging brackets at each end. This is a really easy part of the build but some may choose not to add it as it does not always seem to be present.
Stage Twelve
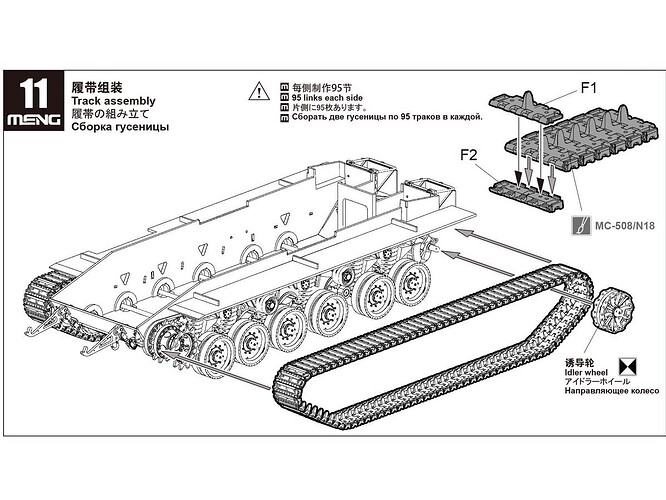
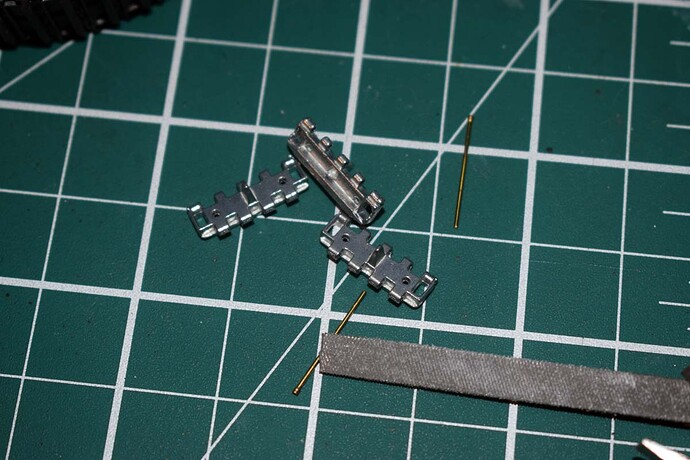
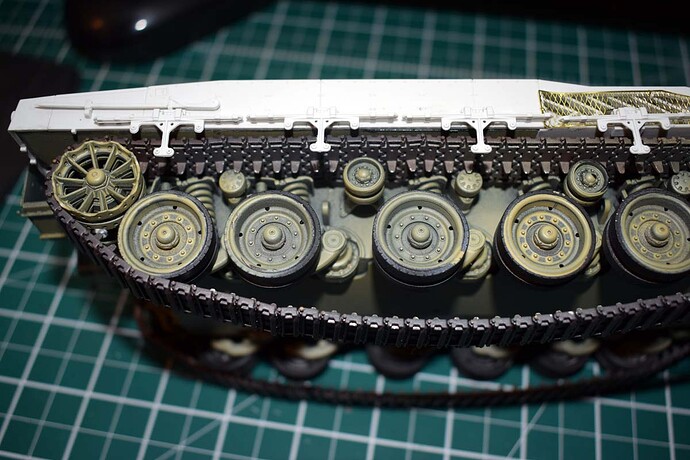
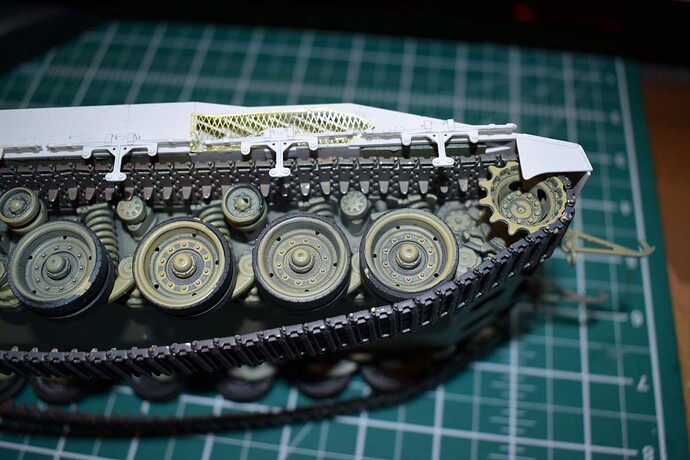
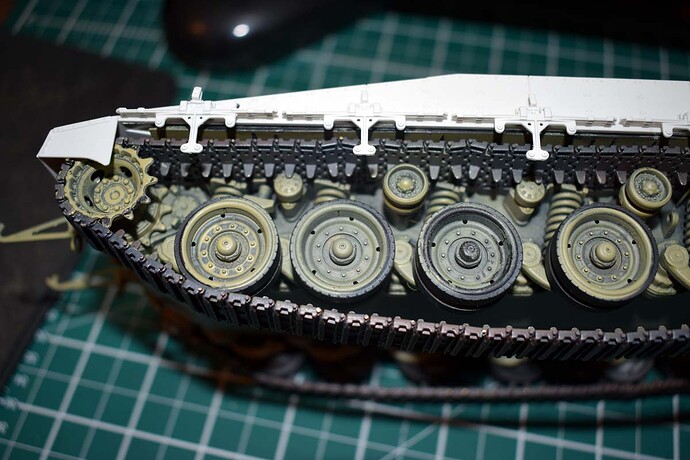
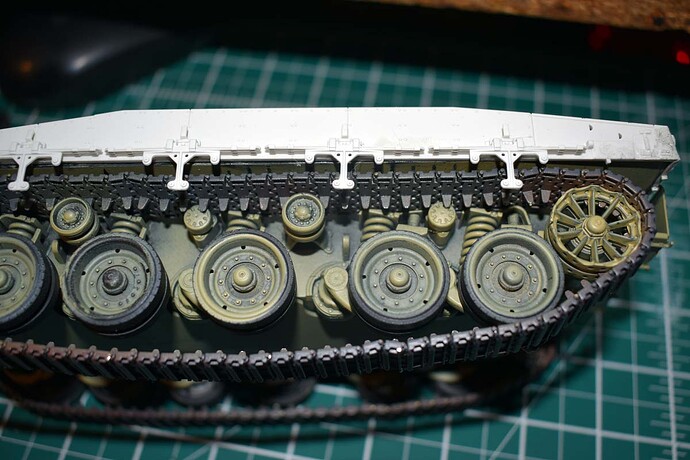
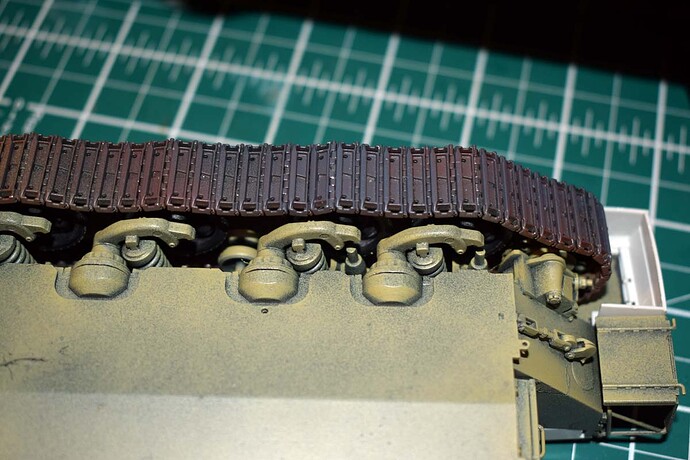
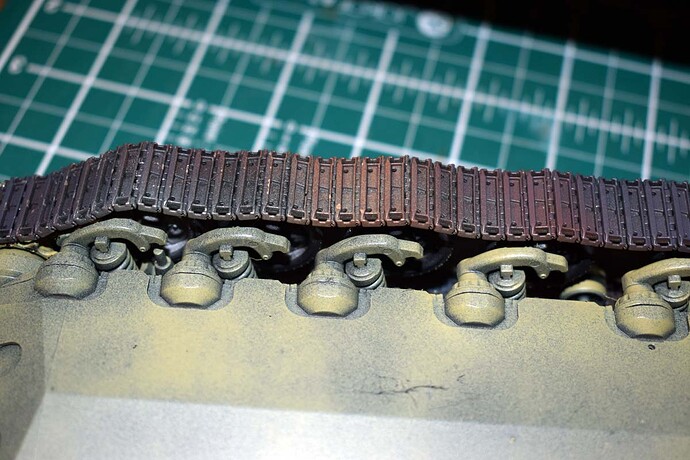
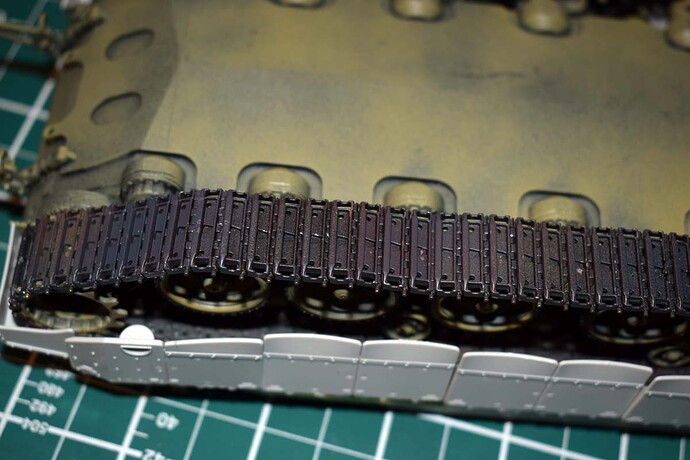
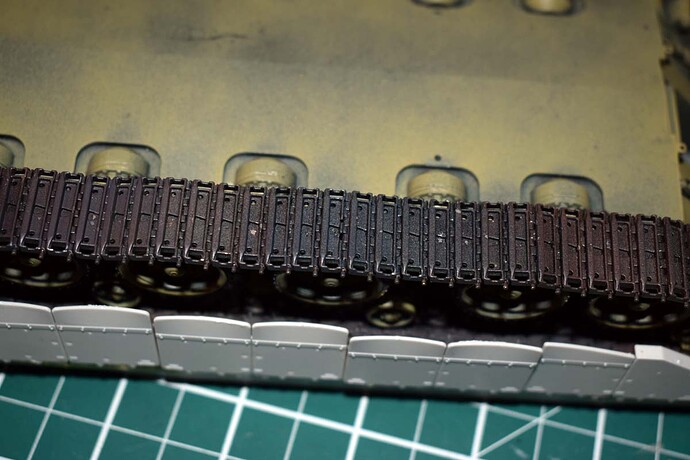
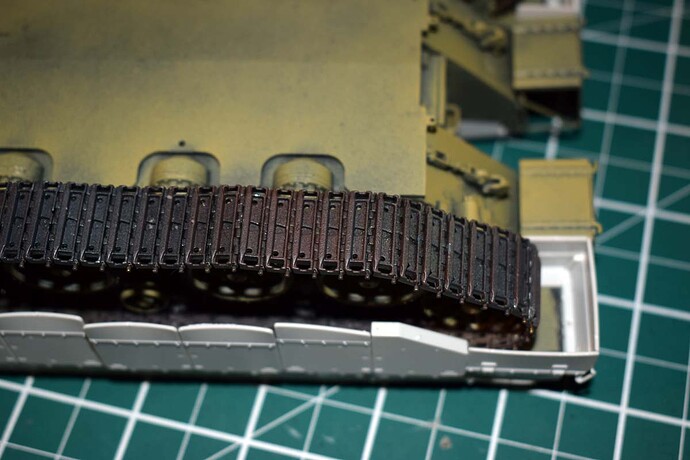
This is where you add the tracks which are workable if you are very careful, but I decided these looked to be a pain and so turned to a Chinese offering as SANXIN SX35011 1/35 Finished Metal Track Links for MENG TS-036 Merkava Mk.4M. The tracks arrive with pre cut pins with a stop at one end which makes assembly quick and painless. The instructions tell you that you need 95 links each side but I used 93 of the metal links. I found this to be the right number for a realistic fit and they fit the drive wheel perfectly. These tracks can be purchased on AliExpress for £25 to £33, our American cousins may get a better deal using the $. I painted them with a robust black undercoat from the Army Painter Colour range. Once this was set I sprayed stripes of Tamiya dark yellow, then Ocean Grey (RAF) and finally NATO brown which results in a colour variance that I like; your money may vary.
That’s looking real nice.
Cheers,
Ralph
Thank you for stopping by Ralph and taking the time to comment
Stage Thirteen
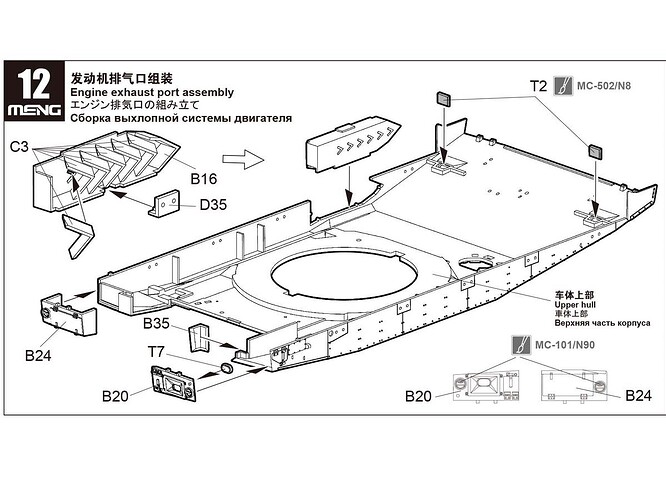
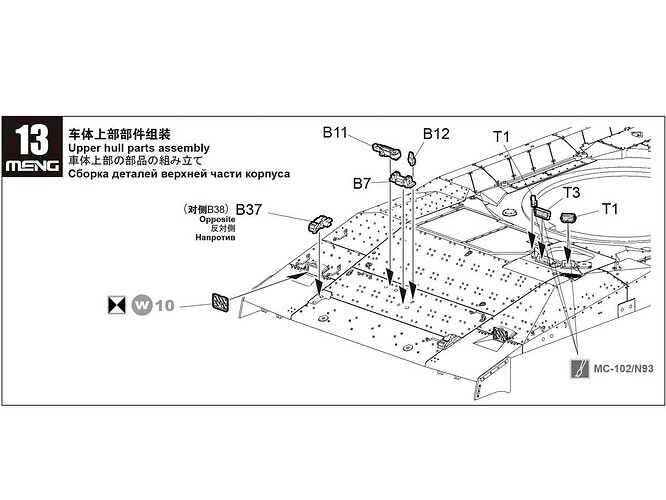
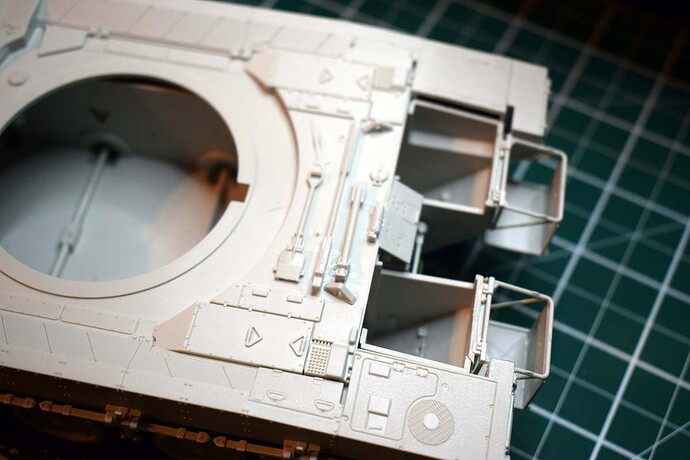
At last we start the upper hull and begin with the exhaust which goes together well. Then add the rear panels that house the light and at the front add the clear lenses. The oval light at the rear was launched into space as I tried to add it and so I cut some acetate sheet and glued that from the rear.
Stage Fourteen
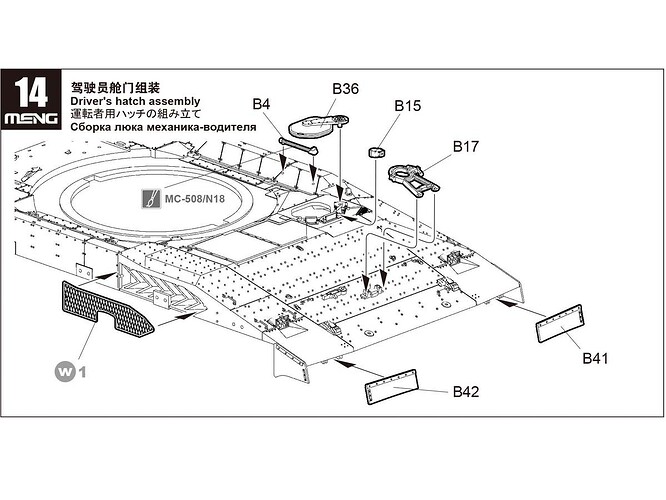
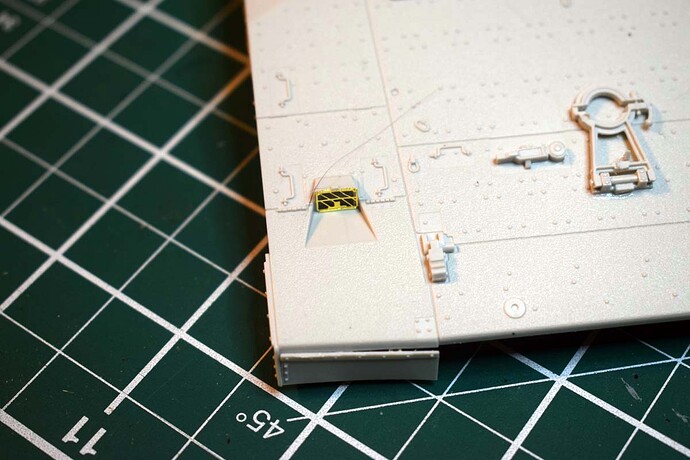
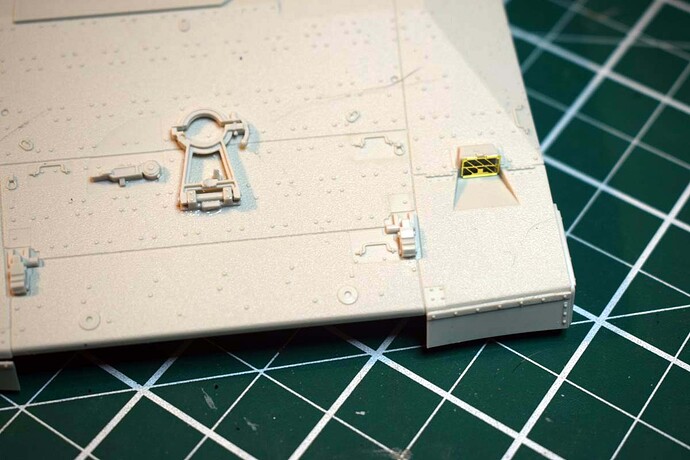
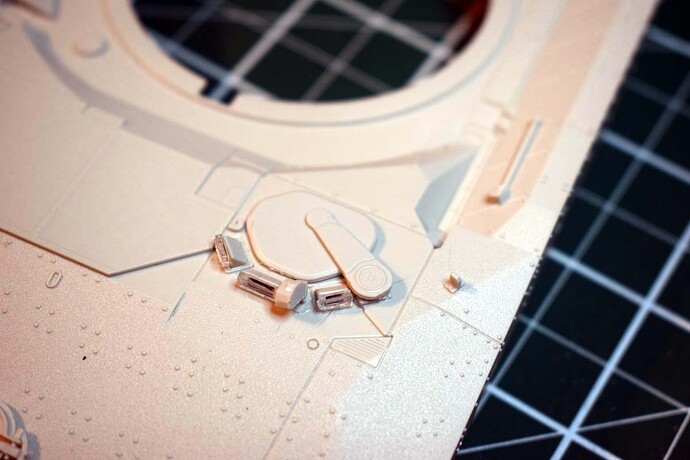
Here the drivers scopes are fitted and I am not a fan of the way they are fitted as its awkward. The base plate for the barrel travel lock also goes on here. I have no idea what parts B37 and B38 are so let me know. Lastly the guards for headlights go on.
Stage fifteen
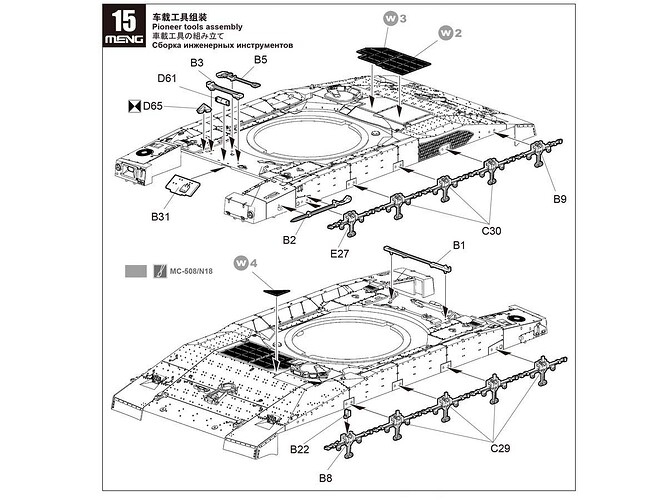
The exhaust guard is fitted here and despite several attempts I could not get it to sit down nicely and I don’t know why as I have seen other builds where this issue did not appear to crop up. The rubber flaps for the front are added and took a little fight to fit on the right side. The travel lock is fitted with me being slightly surprised that the choice of securing the barrel not being an option. Lastly the drivers’ hatch is added.
