Michael,
Love the interior bulkhead. The fuse and electrical panel really jumps out at you in Red, very nicely done.
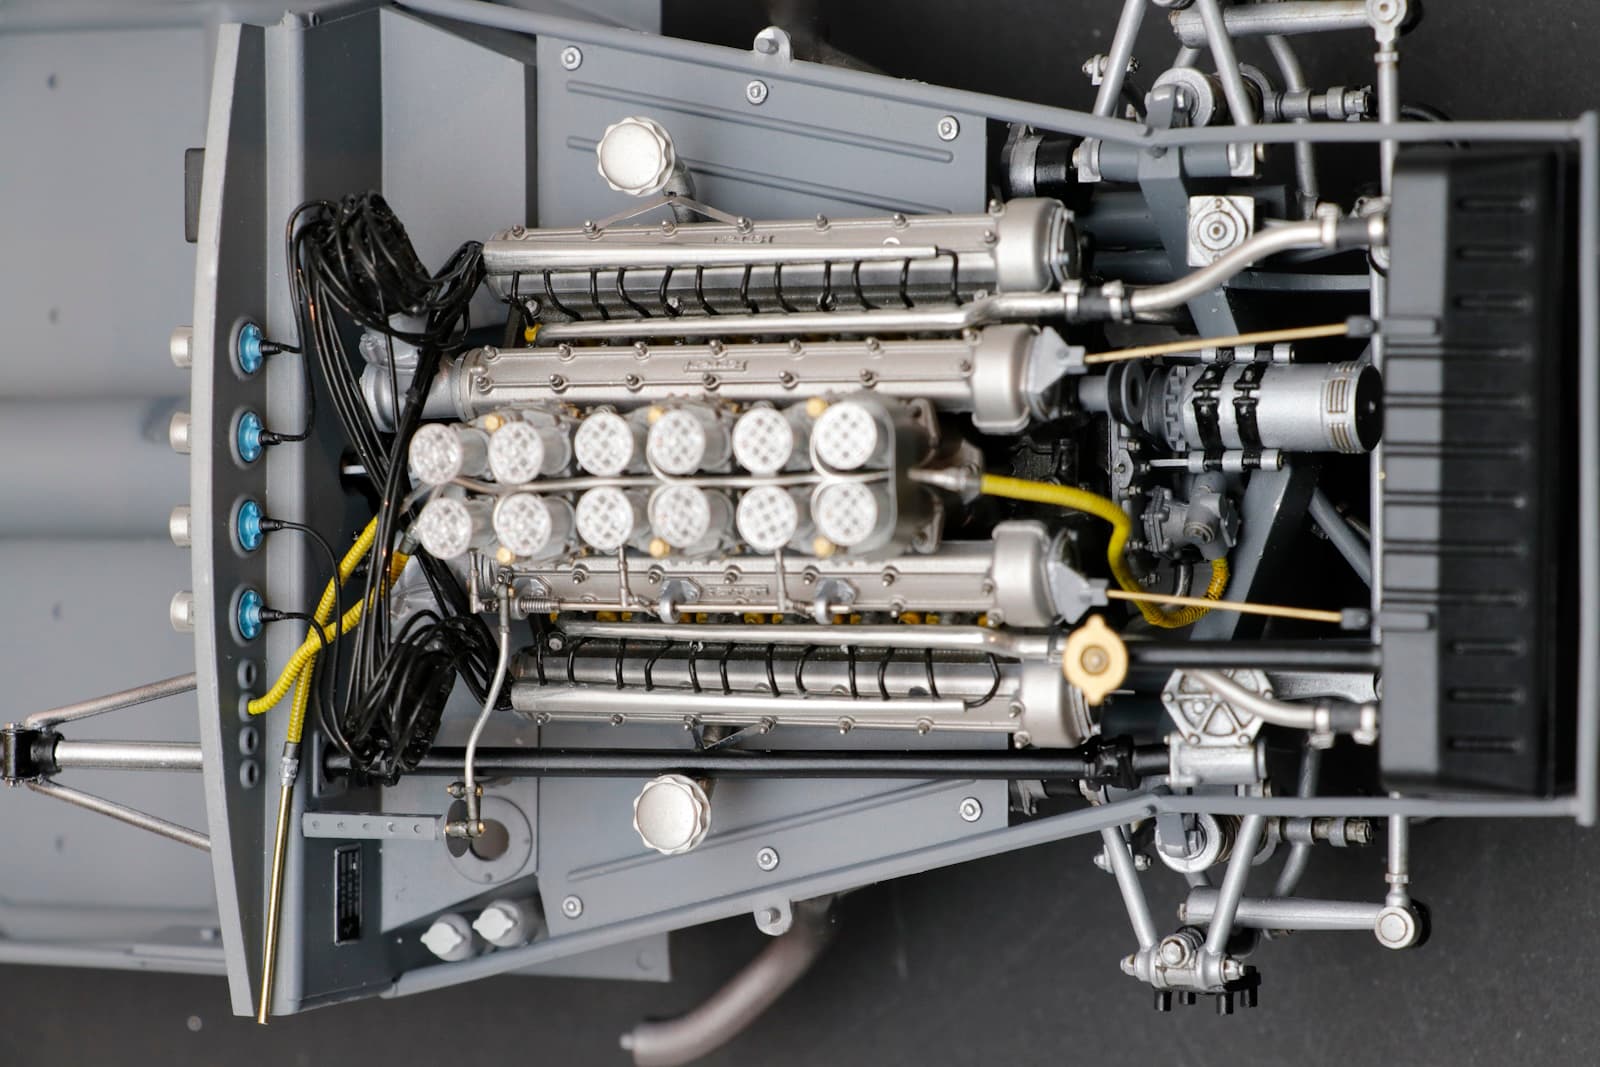
Impressive job with the duel distributors. That had to take quite a lot of time, but the end results certainly justify it.
joe.l
Michael,
Love the interior bulkhead. The fuse and electrical panel really jumps out at you in Red, very nicely done.
Impressive job with the duel distributors. That had to take quite a lot of time, but the end results certainly justify it.
joe.l
Thanks John, I’m glad you like. Hopefully there will be more like that to come ![]()
cheers
Michael
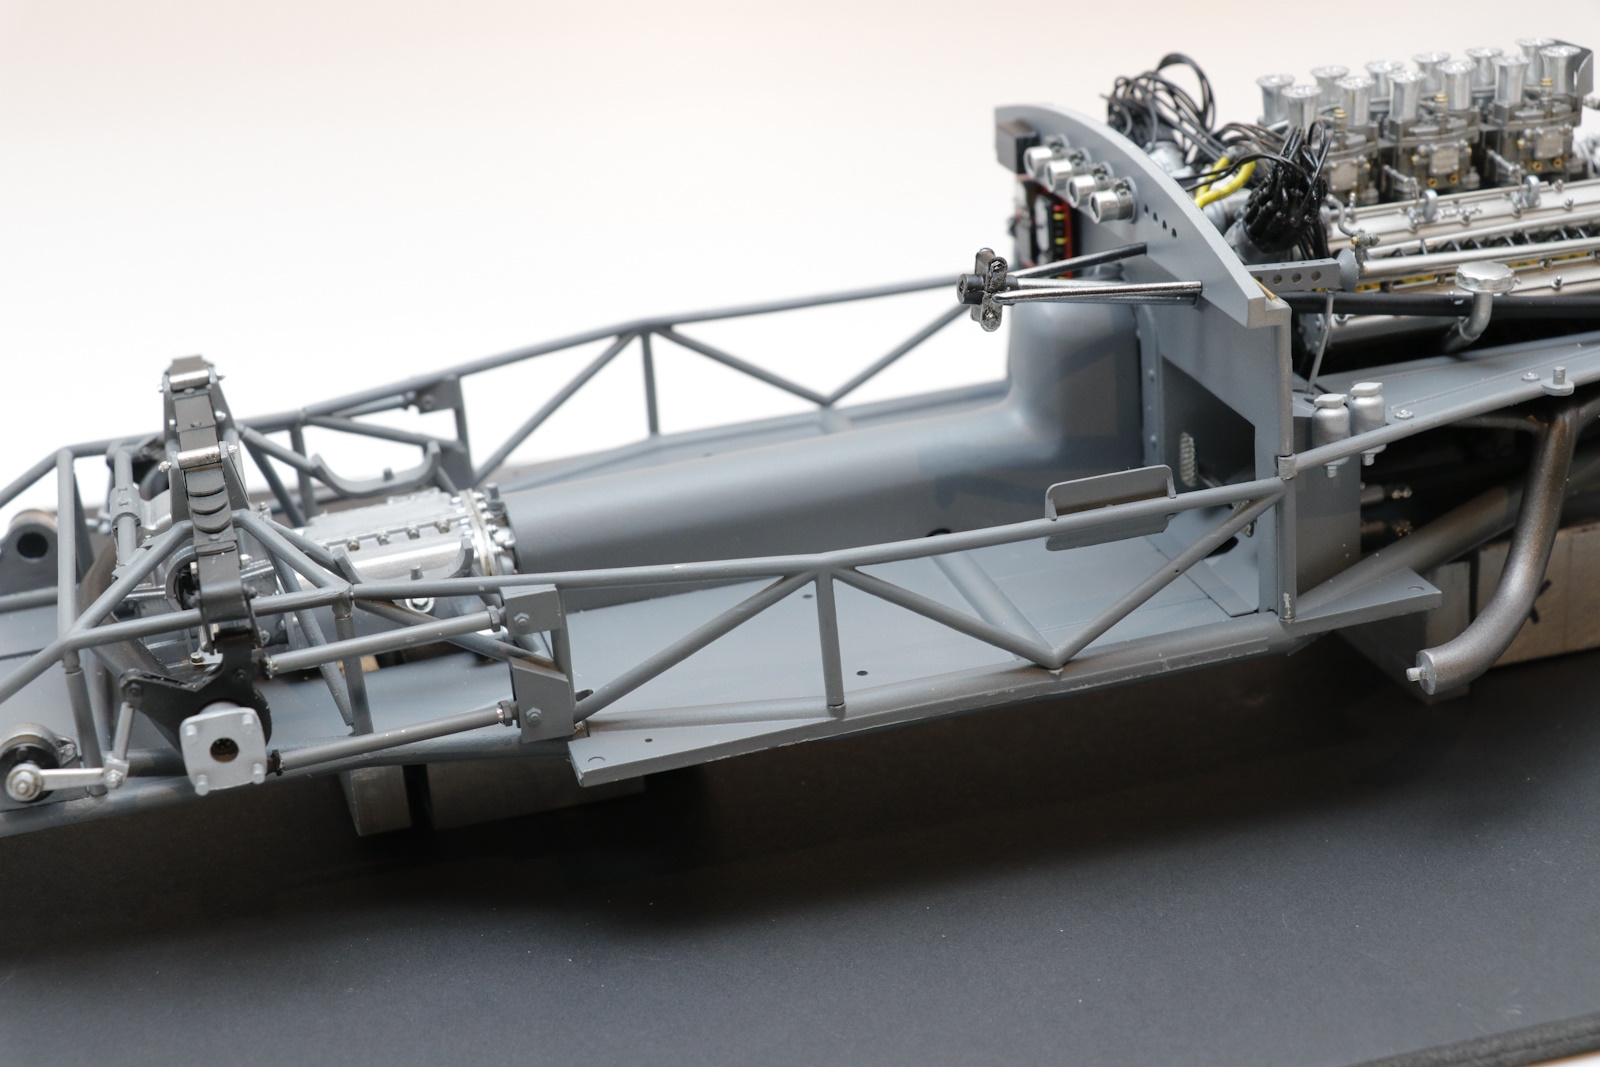
Added the structural stuff that the body panels will hang off. The tubular framework down the side looks pretty substantial but I guess that was because the car was a spider body, so without the structural integrity of a roof.
Most of the wiring and plumbing complete now, the rest will be finished when the engine bay panels are attached.
And a close-up detail of the throttle linkage from engine down through the firewall to attach to the go fast pedal.
cheers
Michael
First rate Michael, as expected. Fingers crossed when it comes to the bodywork.
Michael,
I’m absolutely blown away at the chassis, engine, suspension install and all the related details that you added.
You could easily display the 335S chassis as it stands now as a separate display model.
Looking forward to your next update with the body panels installed.
joel
Thanks Joel, though still some way off external body panels being attached but I have added a couple of engine bay walls, some seats and a gas tank. There is a lot of prep to do to the body shell before painting with a lot of parts assembled, dry fitted to ensure fit before painting otherwise the paint won’t survive.
Anyway this is where the car stands at the moment
The drum brakes where fun, with most of the cooling rings not fitting, lots of shaving and sanding. There are only six parts but each took about 40mins to assemble
The gearbox looks good though, the first time I have seen chrome plated parts from MFH
The fuel tank on this car was enormous, and adds a lot of heft, literally and physically, since it made of white metal. Resin would have been so much easier.
The engine bay walls and the plumbing is almost finish with one last line from the radiator to the water pump.
This is also the half way point in the instructions so that’s something to celebrate.
cheers
Michael
Tell us about covering the seats if you will - hints , tips . Looks like a difficult job .
Thanks-RT
@RDT1953 Sure, though this the first time I have upholstered a seat. MFH provide a cutting guide and sufficient material for two seats but no more, so need to be right. Each seat has three pieces, One for the centre and apiece for each of the arms. The material is self-adhesive and does allow more than two or three applications so no problems if isn’t positioned correctly the first time. It also has some stretchability which is helpful.I trialed the pieces with foil first to get a sense which way the pieces should work because MFH doesn’t say which is top or bottom, left or right. That certainly helped.
Putting the fabric on it quite straightforward Though like anything, fabric, foil, paper, when you fold it over angles or curves it’s going to lap over itself and create layers. At first, I left it, but it bugged me and went back and peeled back the edges and cut a whole series of darts, doing one section at a time to ensure the fabric lay flat. I am glad I did. One area that I got slightly wrong was where the back and seat met, I didn’t quite get the fabric into the angle, it’s not noticeable, but I know it’s there! You can see in the first photo the join is rounded rather than an angle.
Definitely need a new blade, the fabric cuts very cleanly, i.e. doesn’t have loose threads or catch. I also used a paintbrush with a rubber tip to push the fabric into the corners. The conundrum is how much overlap you want between the centre piece and the arms.
I started with arms and then the centre. The centre is exactly the right width at the back/seat joint but wider across the back and seat meaning it overlaps. On one seat I did try trim so there not fabric overlaying the arm fabric. I’m 50:50 on the outcome so I left the other seat alone.
This is the seat with the overlap on the seat back and you can just see the resin peeking through.
For both arms you will have to cut out and stick in inserts from the spare fabric if you don’t want the base seat showing.
Macro photography shows a lot of detail. Most of what I have shown you don’t really notice just looking at the model.
Hope that helps. I know I should have probably found a youtube clip to show me but I don’t mind experimenting and learning on the way.
cheers
Michael
Thanks Michael - good to know these things go future reference.
Cheers-RT
Just joined this group, this is my first post, this build is Fantastic and inspirational !
Welcome ! Nice to have another MFH fan aboard.
I like your avatar- I have a Barchetta in the stash .
Cheers - Richard
Glad to be here, I have a few kits to work on as well ~ RC Groups - View Single Post - 1913 steam Tug
Thanks Tim, glad you like it. I see from your second post you’ve a couple set to go, so it would be great to see another of these built.
cheers
Michael
Thanks Michael ~ I dont want to hijack your thread here so I need to start my own but I need to figure out how to post pictures first ~
No worries - good to see some action on the build - reminds me I am meant to be doing something on the Ferrari. I have spent a fair amount time on the body and “hatches” - with the rear taking most of the focus. It was poorly cast - much too wide and sadly too flat. The hood/bonnet doesn’t sit true but that’s my fault because the left distributor sits a couple of mm too high. Plenty to be working on before I can get some primer on to find on the subtle faults.
cheers
Michael
Good you mention the distributor clearance, I am installing distributor wires right now and I am concerned about interference with the hood, I purposely mounted the distributors angled as far down as they would go, I can see its Super close on the real car so I didn’t want this issue with hood clearance to pop up after all this is done ( still trying to find a way to post pictures here ) ~
Posting pictures is very easy. Copy the picture you want and paste it into the text box. You can practice on here if you want.
As for the distributors, it’s not so much the angle to the cylinder heads but the amount of loop you give on the wires to the spark plugs. For me, I will have to flatten those down without knocking them out of their holes in the cap. I of course built the engine long before it got into the chassis or even had the body fitted so a learning exercise.
cheers
Michael
Looks great!
Thanks but I am following your lead ~ now I need to get organized and start my own thread.
@cosimodo I’ve been away far too long mate, this is shaping up beautifully! Great little mini-tutorial on the fabric seats as well.
Cheers, D