Because I love to meet the sci-fi builders here, I thought I’ll post a few build and paint steps for the MILVUS-62 diorama. You’re the first to see most of that ![]()
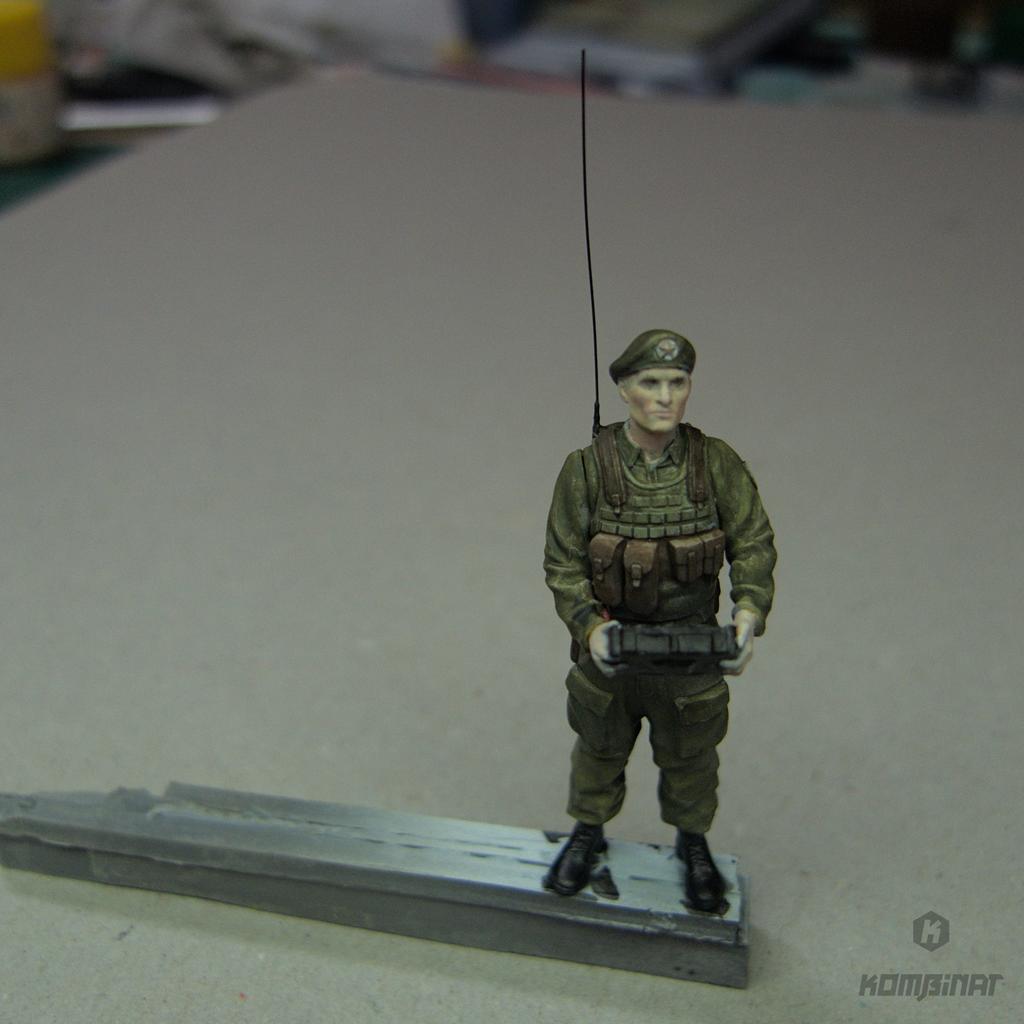
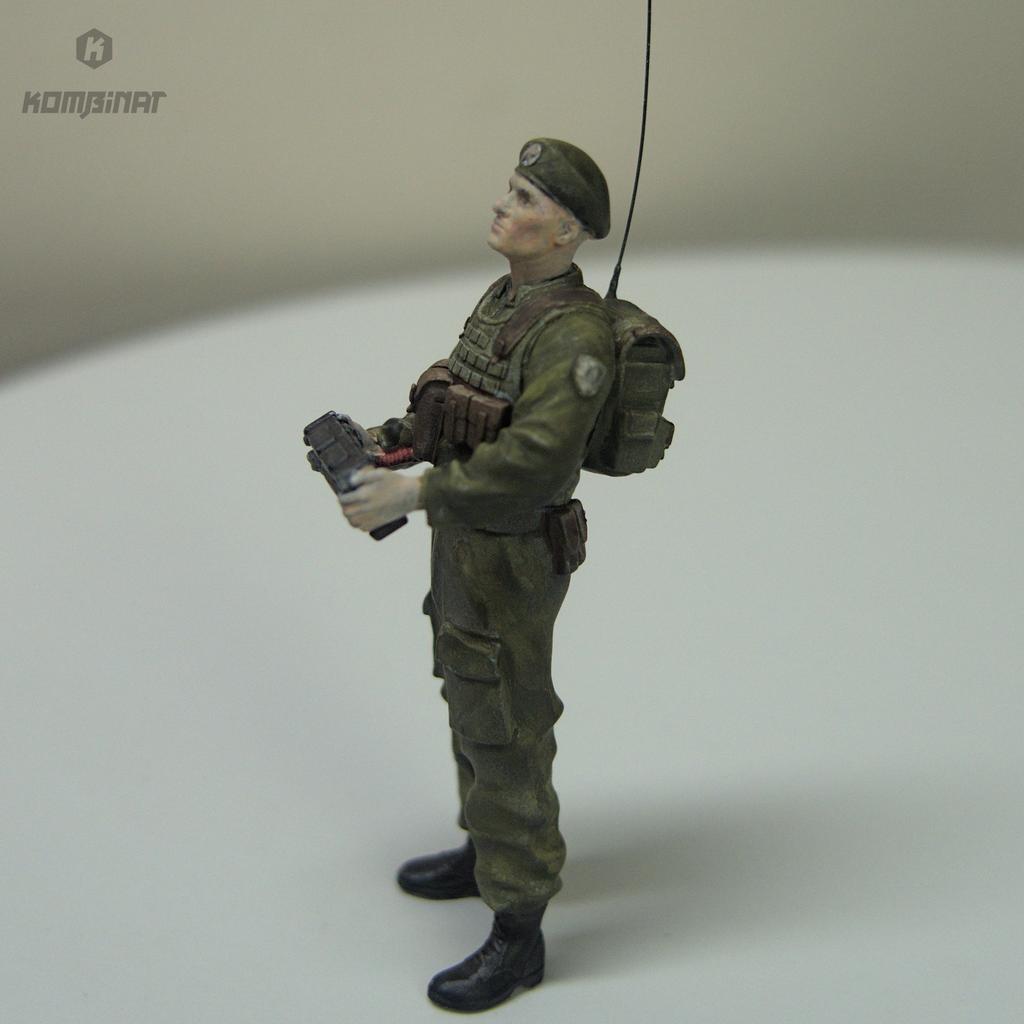
So there are two kits used, the drone and the miniature of its “operator”. The latter is dedicated to the drone - the serviceman is looking up and holding a controller.
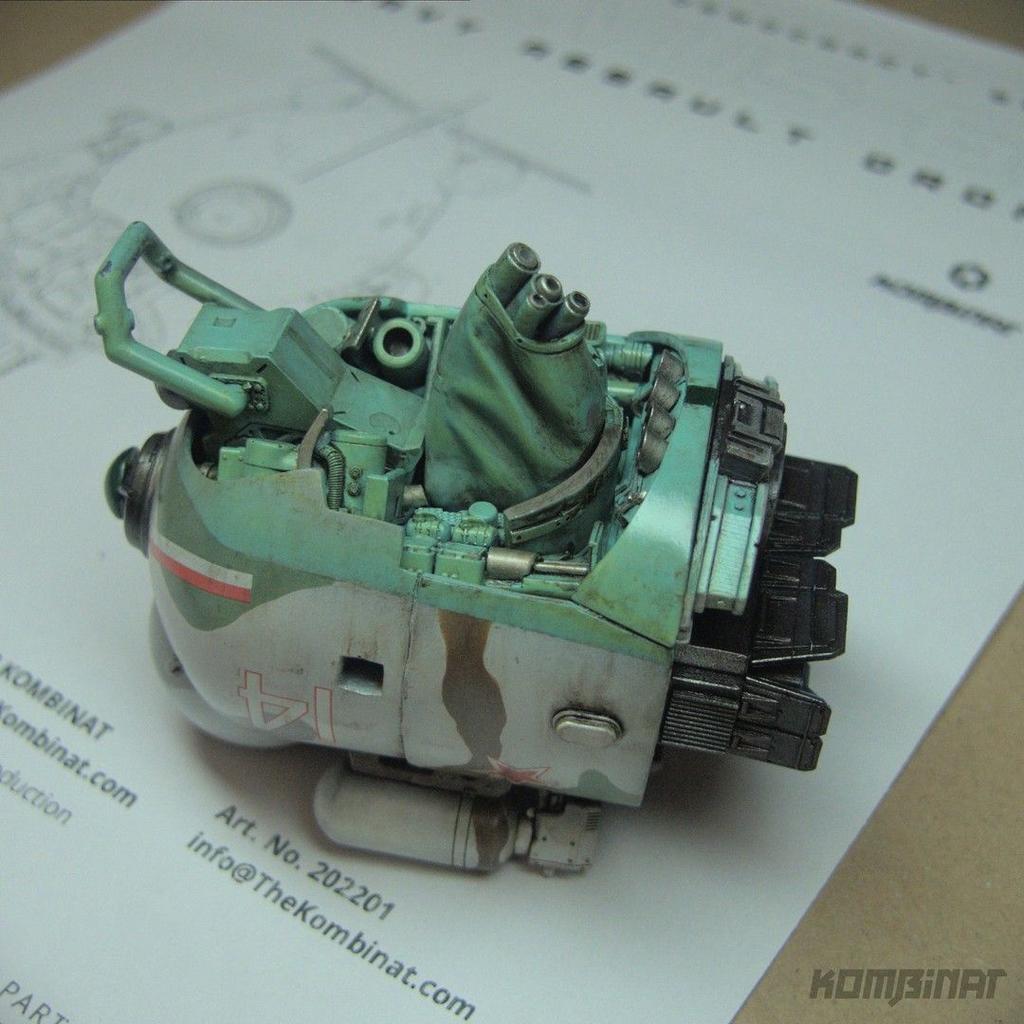
All parts of the drone (minus the wires):
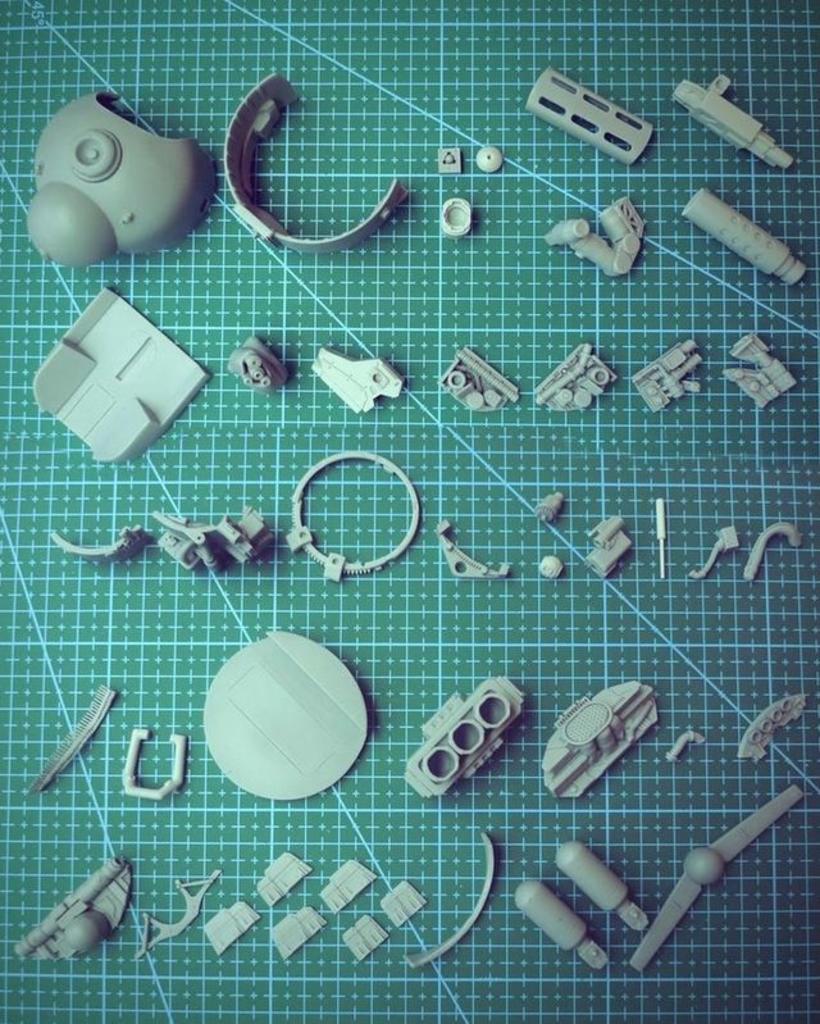
Weapons assembly and the manual:

Base paint of individual parts:

A coat of color of individual parts, camo and some metal:
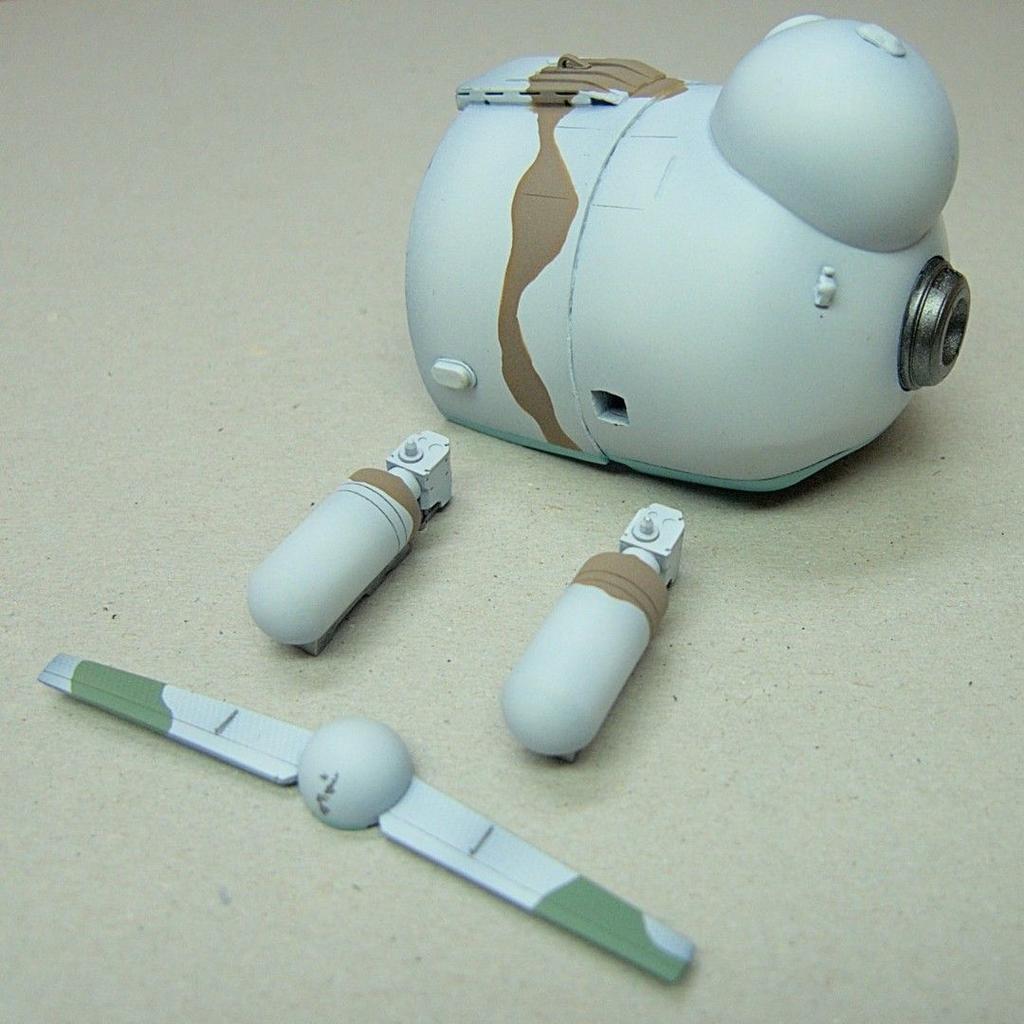
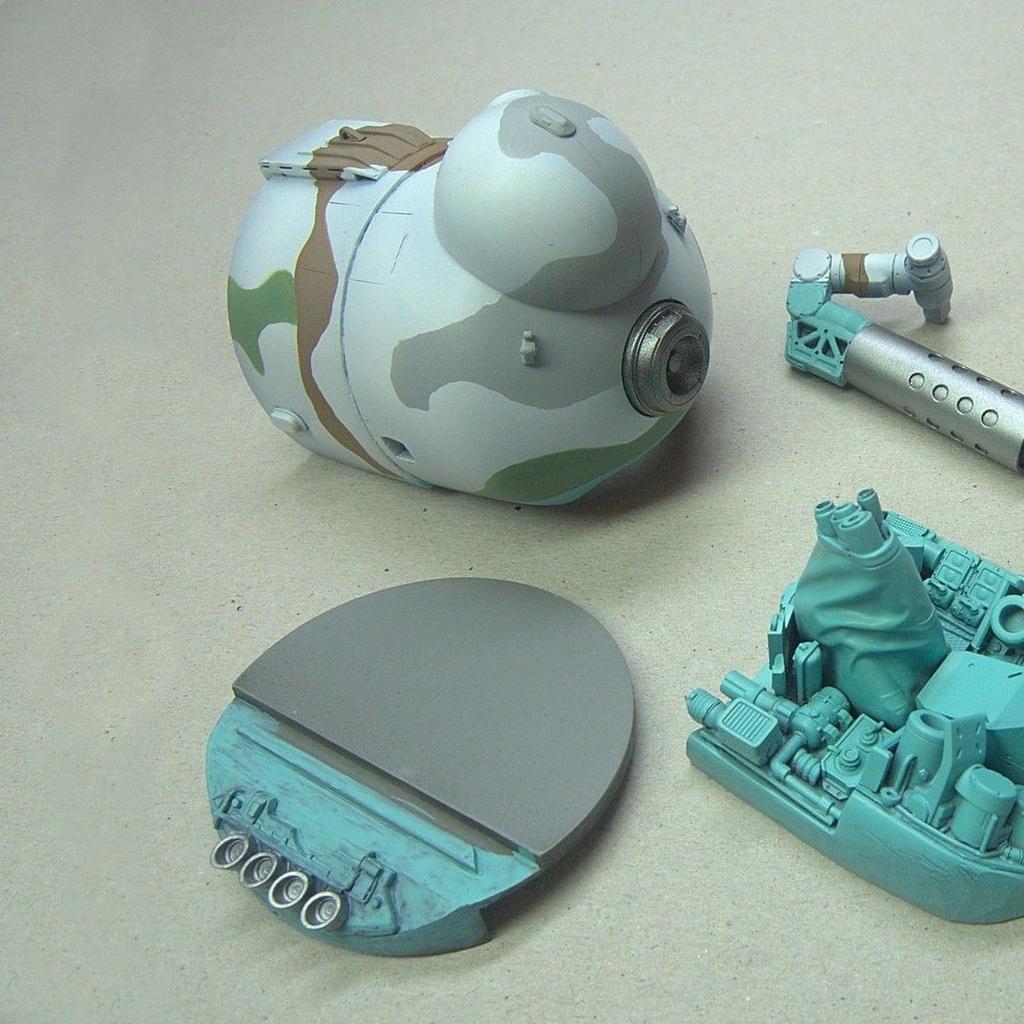
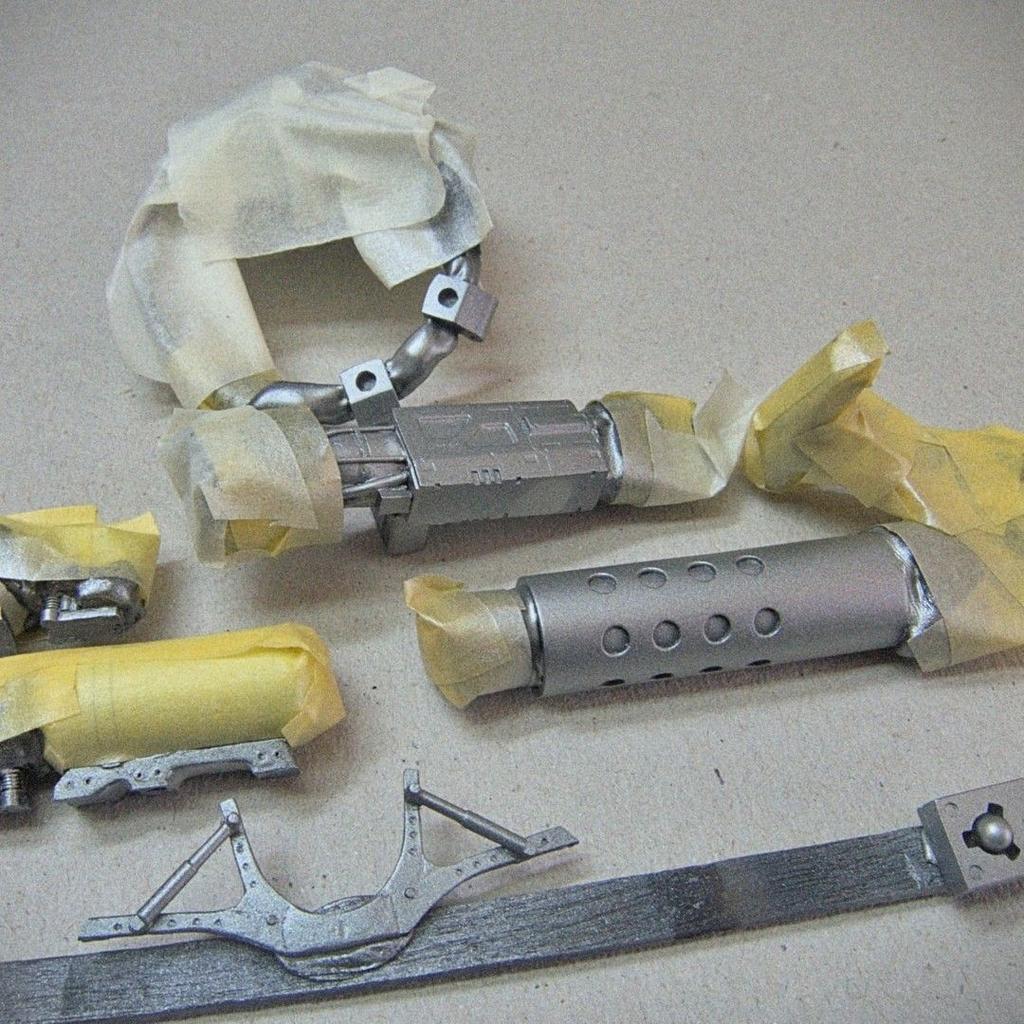
Metal:
Fuselage and chassis with main weathering (oils) protected with another layer of glossy lacquer:
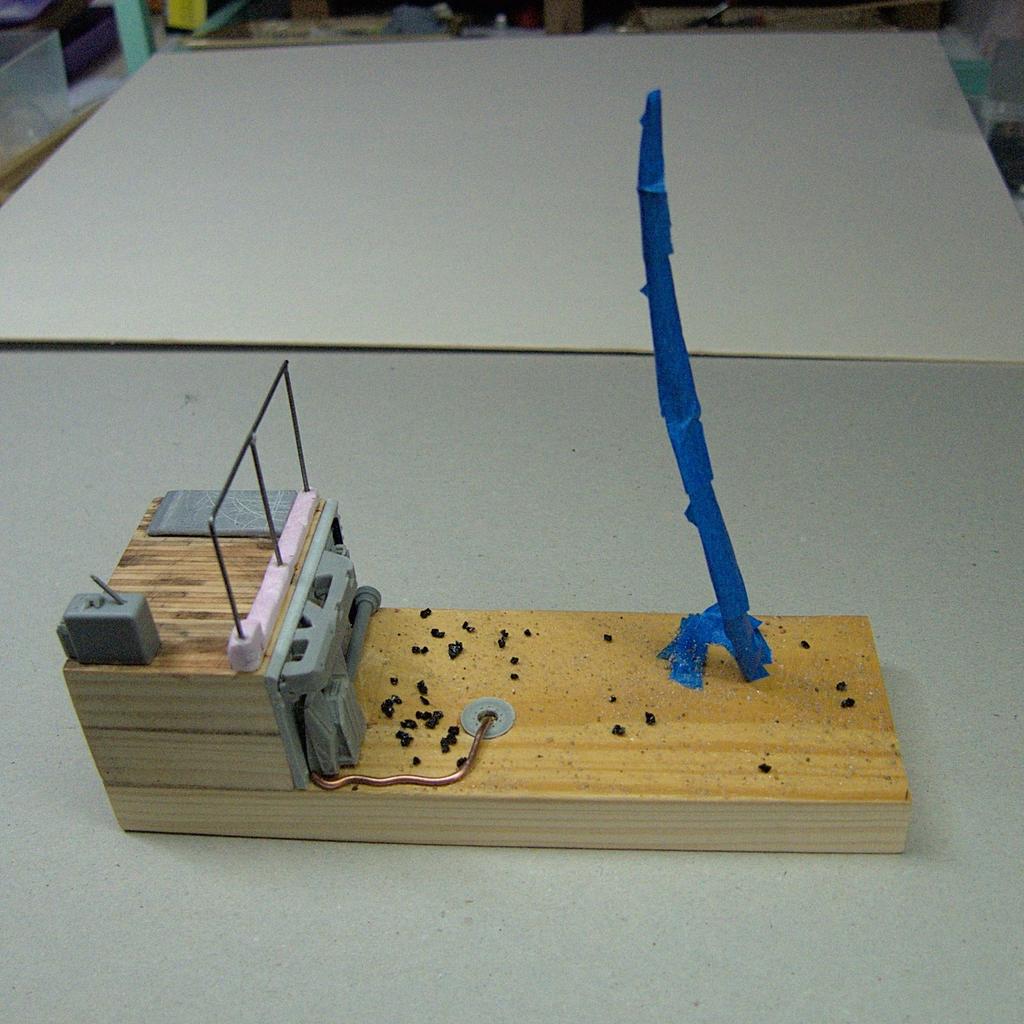
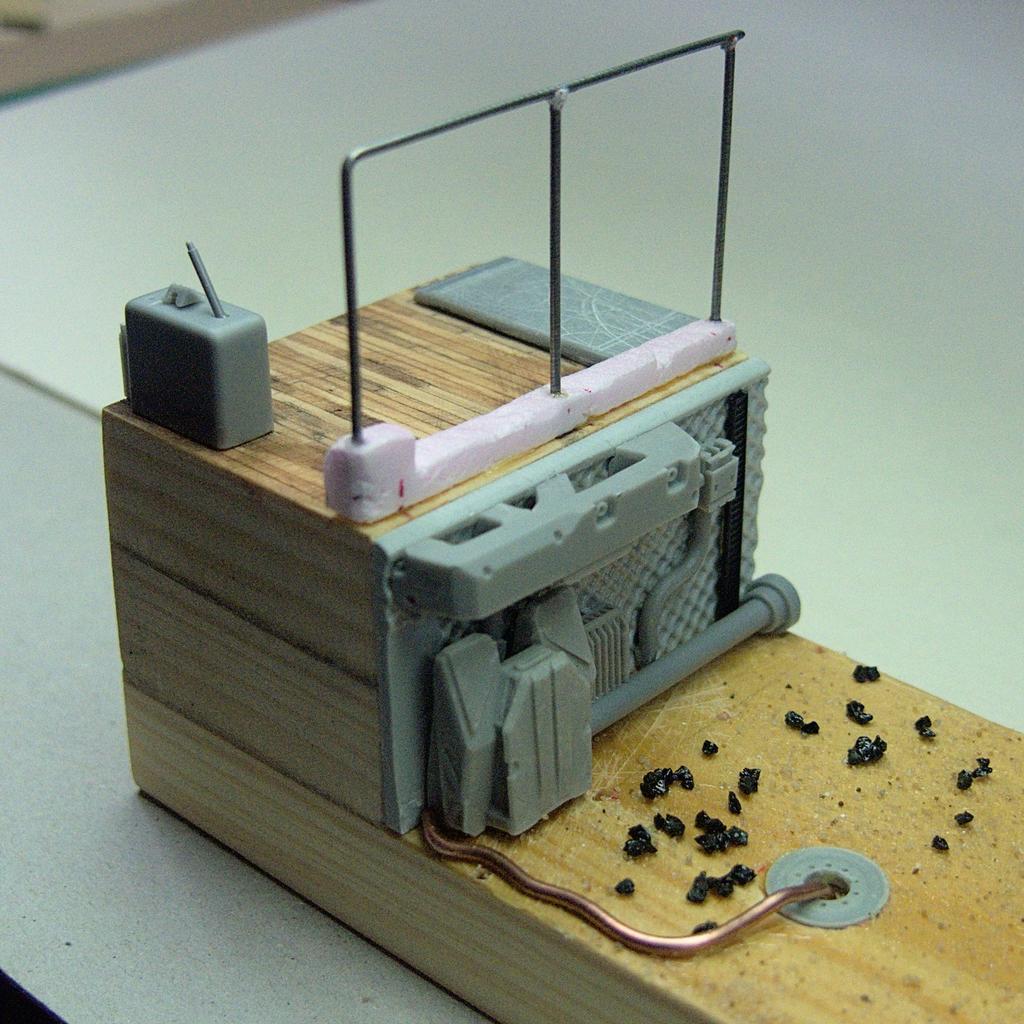
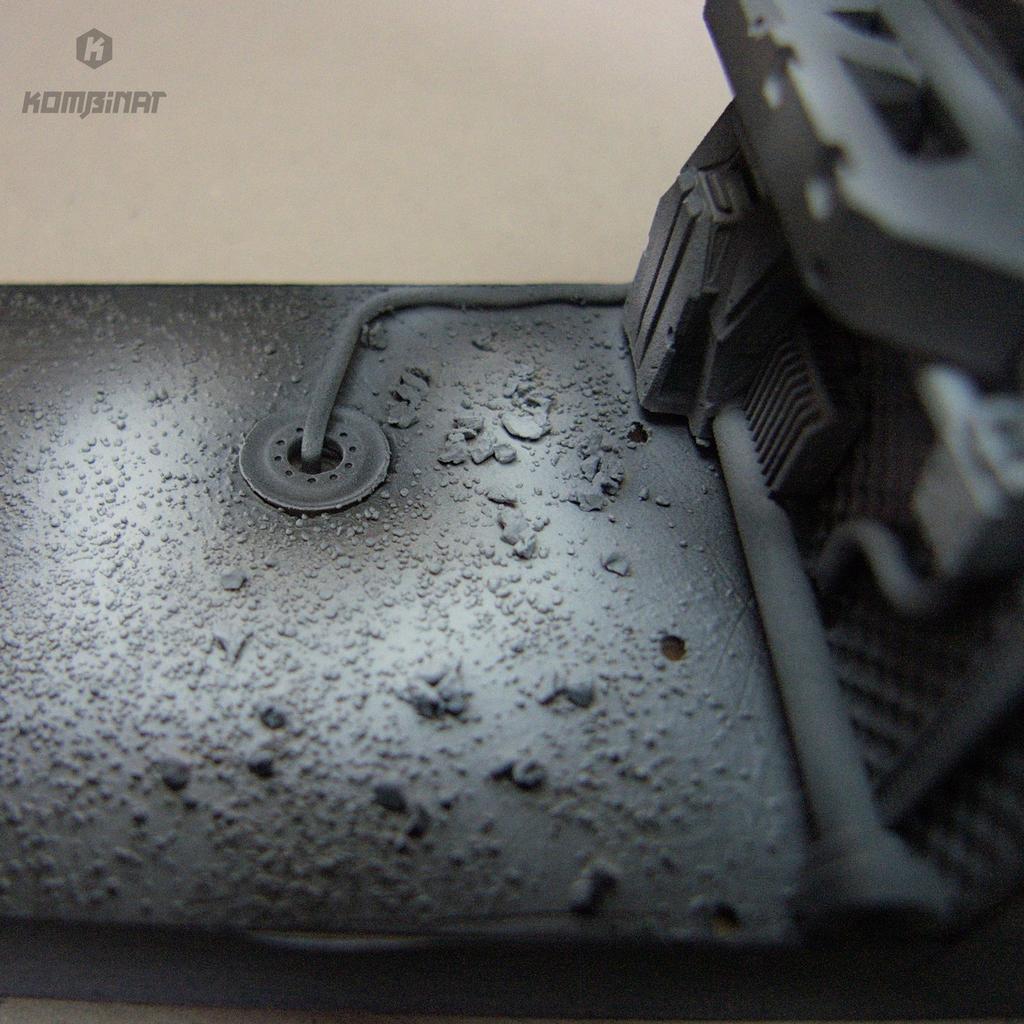
Enter diorama. Wood, some resin from the 5DR kit and elsewhere, carbon from a filter; the cable support masked out for now:
Automotive primer:
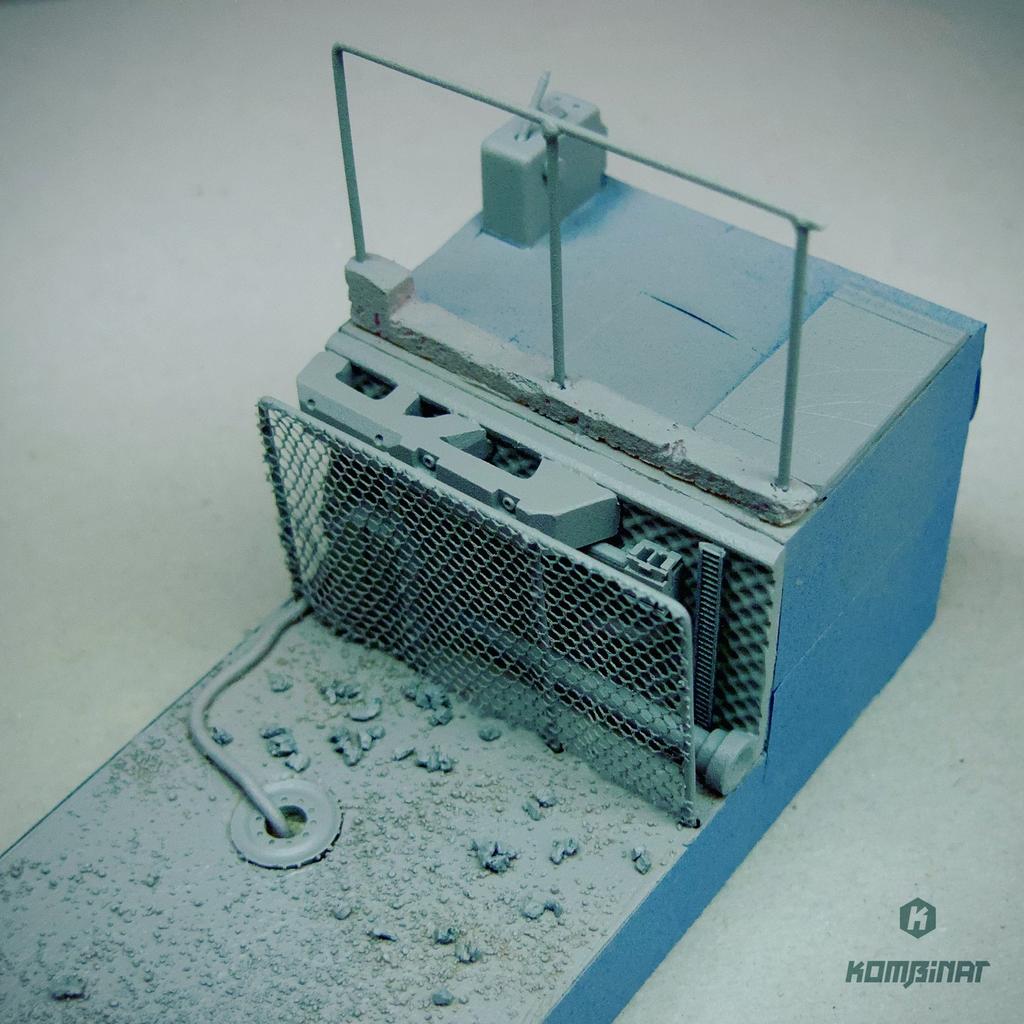
Preshading and highlighting (Mr. Surfacers):
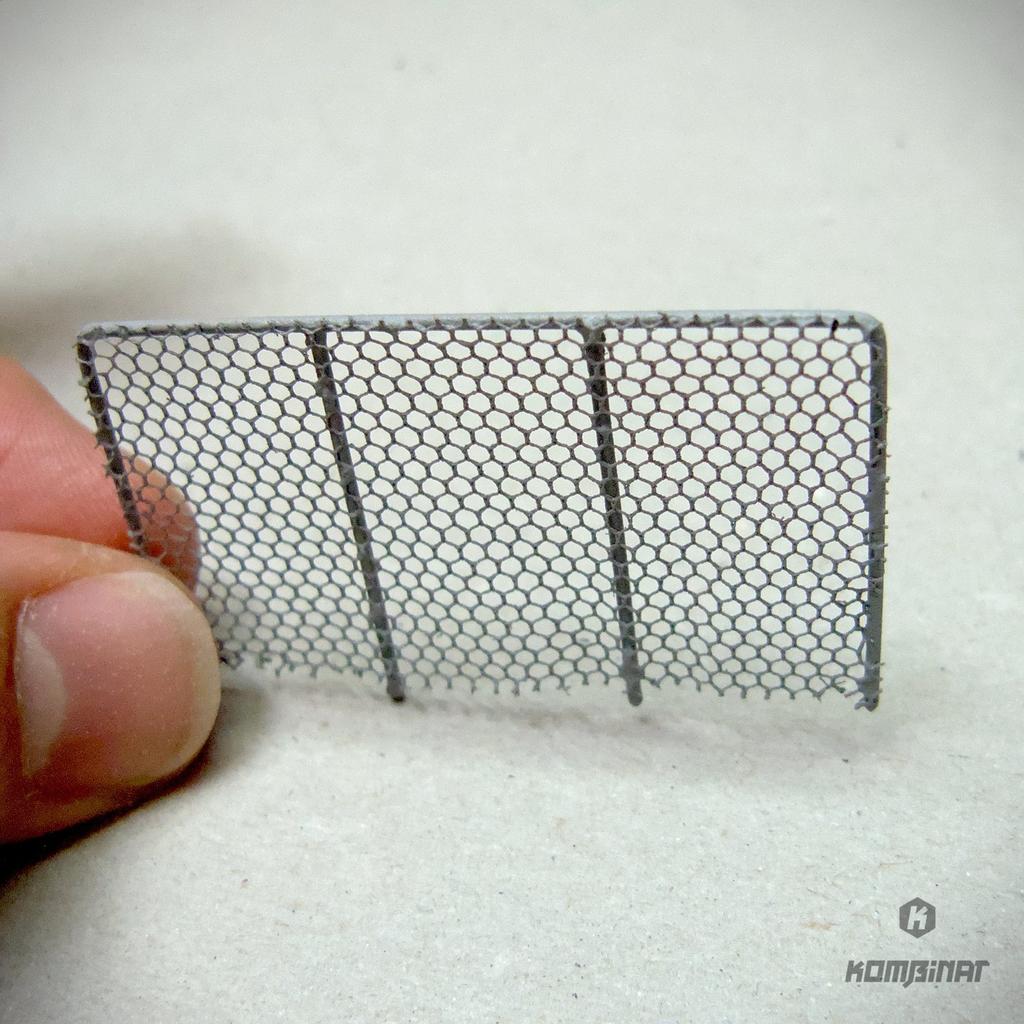
A front fence. The mesh is made of a mosquito net. I wanted to use a rectangular one but had around only the hexagonal:
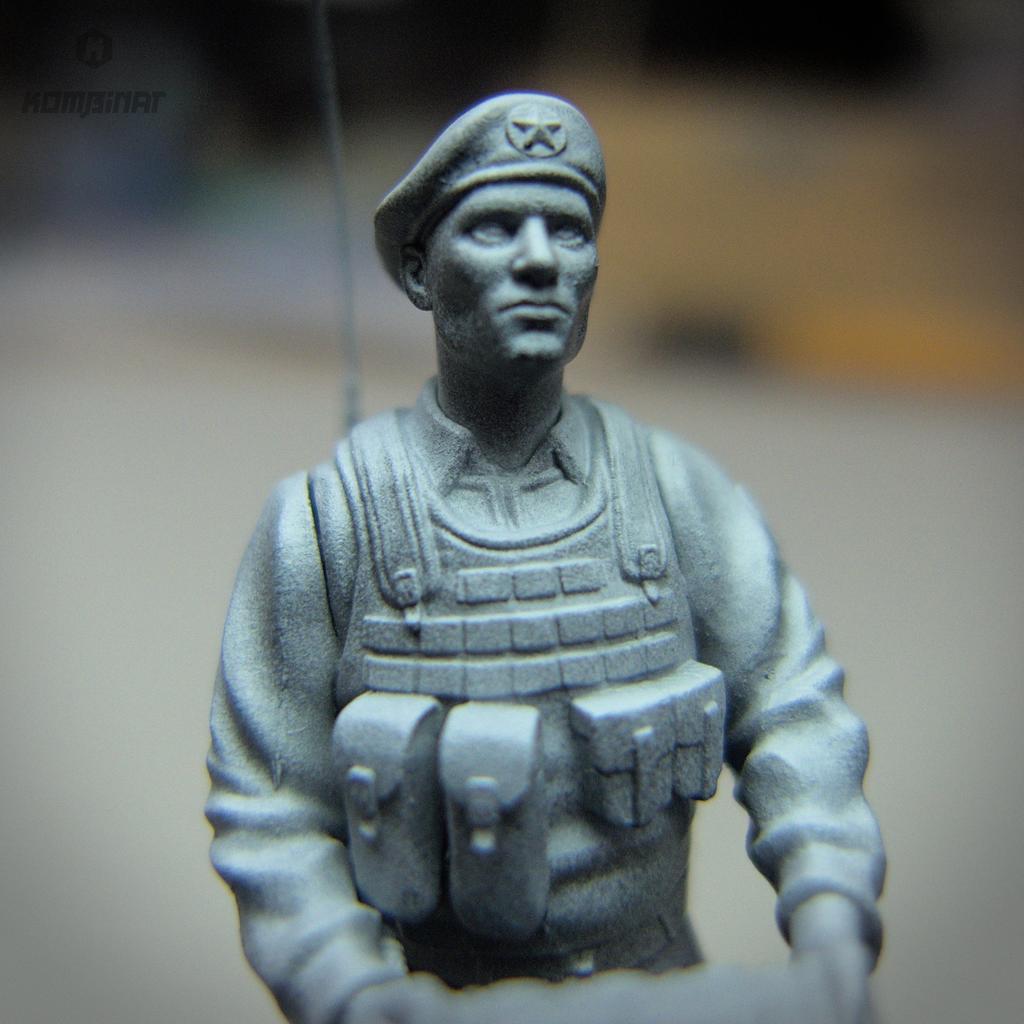
Enter the miniature, the Operator (primed with Mr. Surfacers highlights shadows):

Quick and basic acrylic paint (Tamiya):
Placed on the pedestal, the floor takes advantage of the fact this is a block of wood. Cut the lines and weathered with oils and some powder:

Lots of weathering, some stones. Assembled everything. The drone is put on the cable without glue so it’s easy to dismantle for transportation:

The miniature was not customized at all. At this scale, I confirm it is open for customization. The backpack is separate.
Thanks!
JARED