Hello
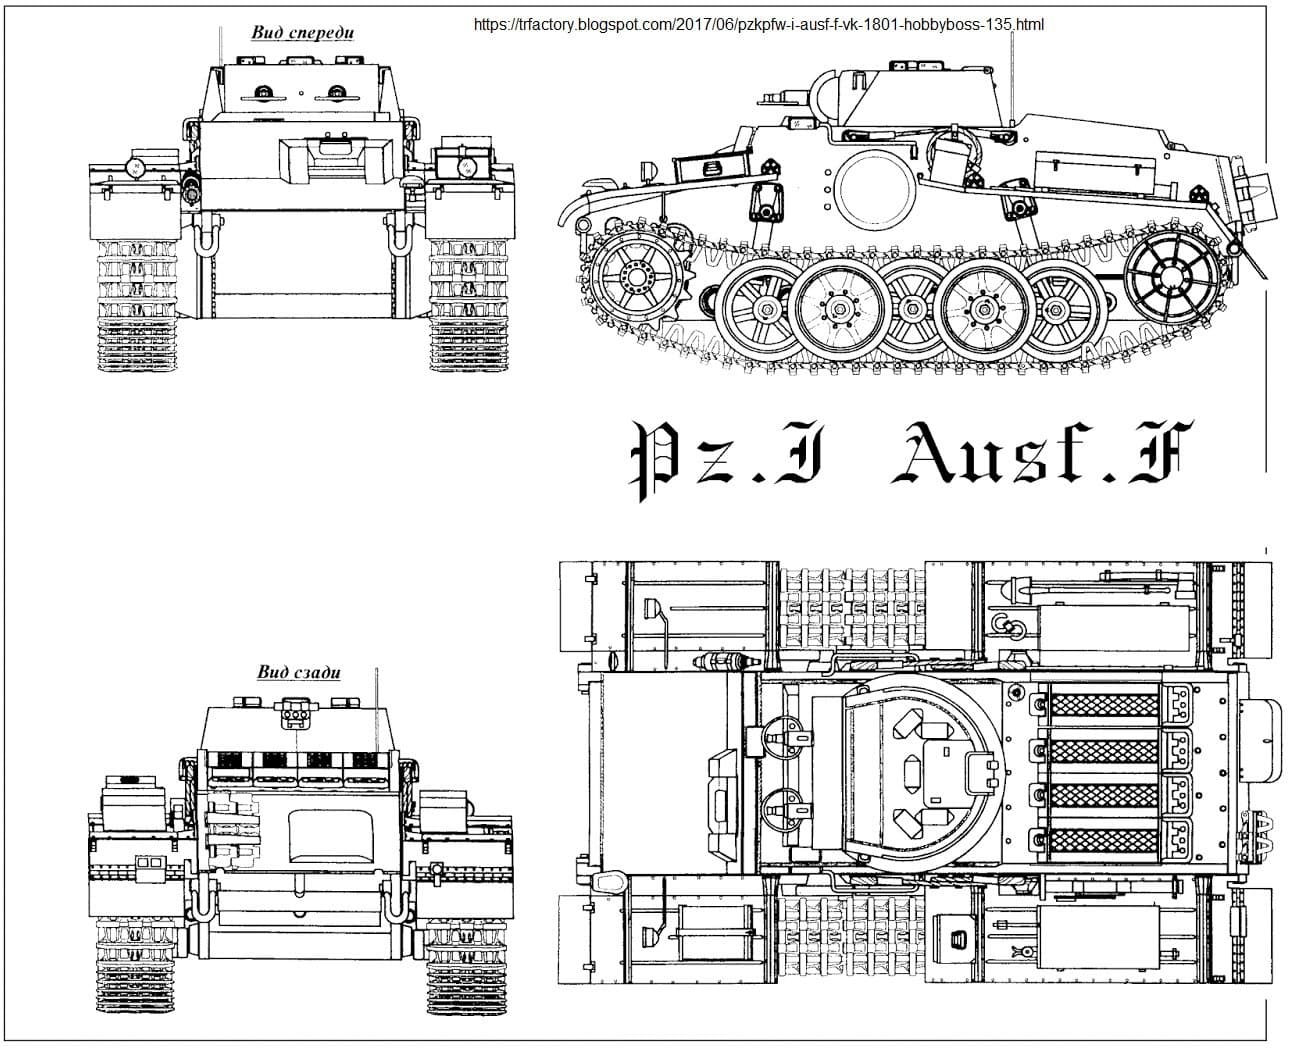
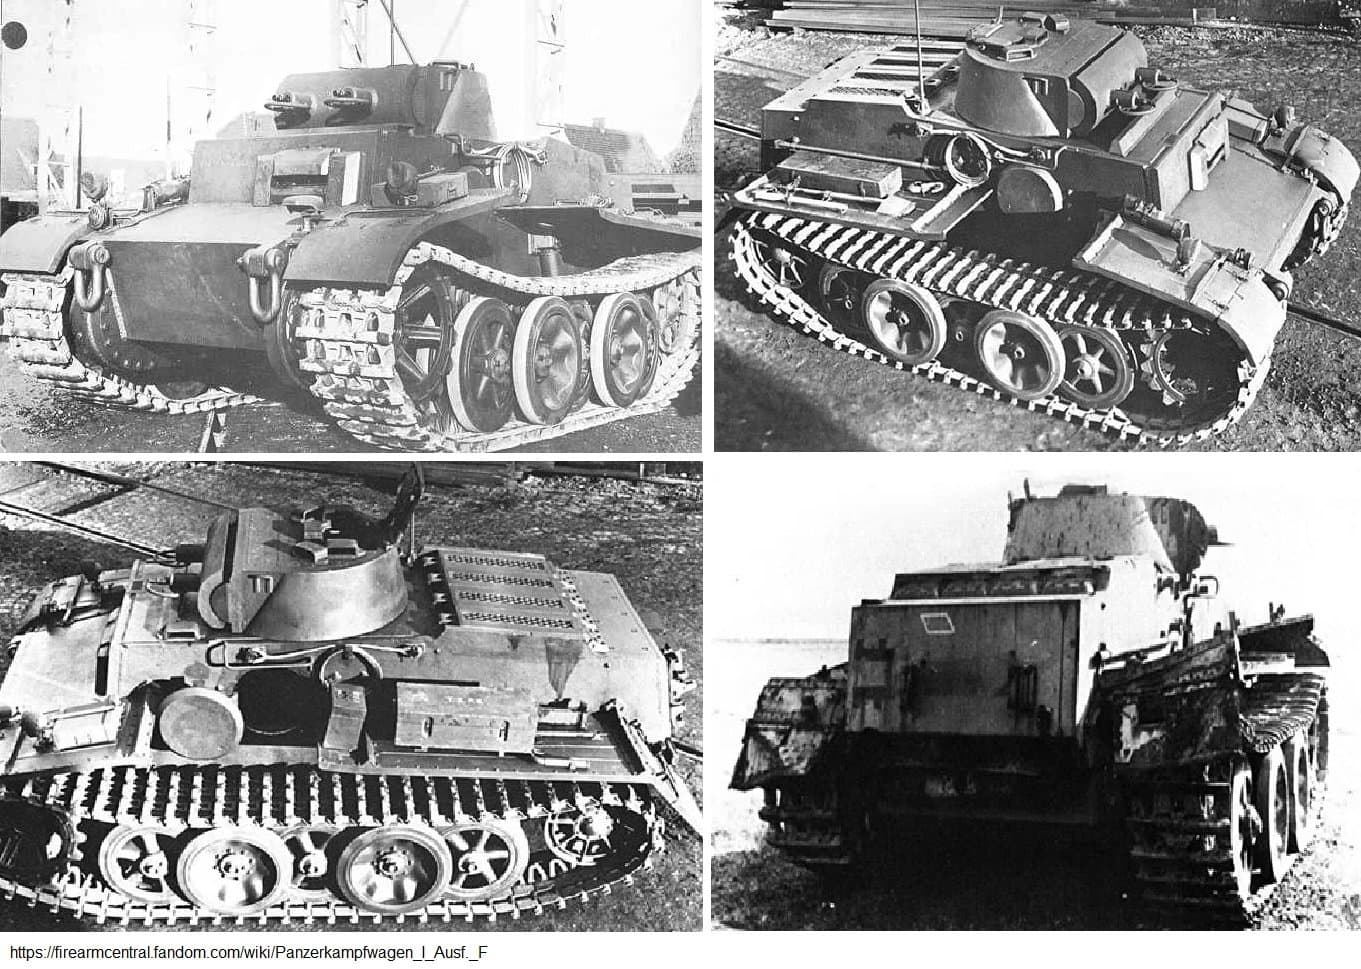
I am going to try and scratch build a 1:16 scale model of this tank from steel and brass because its a nice small early war tank with lots of interesting features. Theres plenty of information on the Pz I Ausf F on the net so I will keep it short. The Minenknacker (“Mine Cracker”) was a doomed development of the Pz I resulting from the “need” for a heavy shellproof tank that would support breakthroughs of heavily fortified areas and could not be stopped by AT guns ofthe period.
It had 80mm of armor in front, 50 mm in the side, wide tracks, torsion bar suspension and two MG 34s in the turret. 30 units were produced up to 1942. As usual, tanks that are badly designed or obsolete ended up in nefarious “police” type duties in partisan areas of the eastern front where the Ausf F did fairly well. A battalion of the tanks was supposed to feature in the invasion of Malta but that didnt work out in the end.
My tank will be made from 2mm sheet steel where possible and with brass and aluminium where not.
Accuracy will be ruthlessly sacrificed for expediency where necessary so this might not be a great thread for rivet counters!
I will continue in the next post as I want to see if the pictures uploaded correctly.
P
1 Like
…and they did so I will continue.
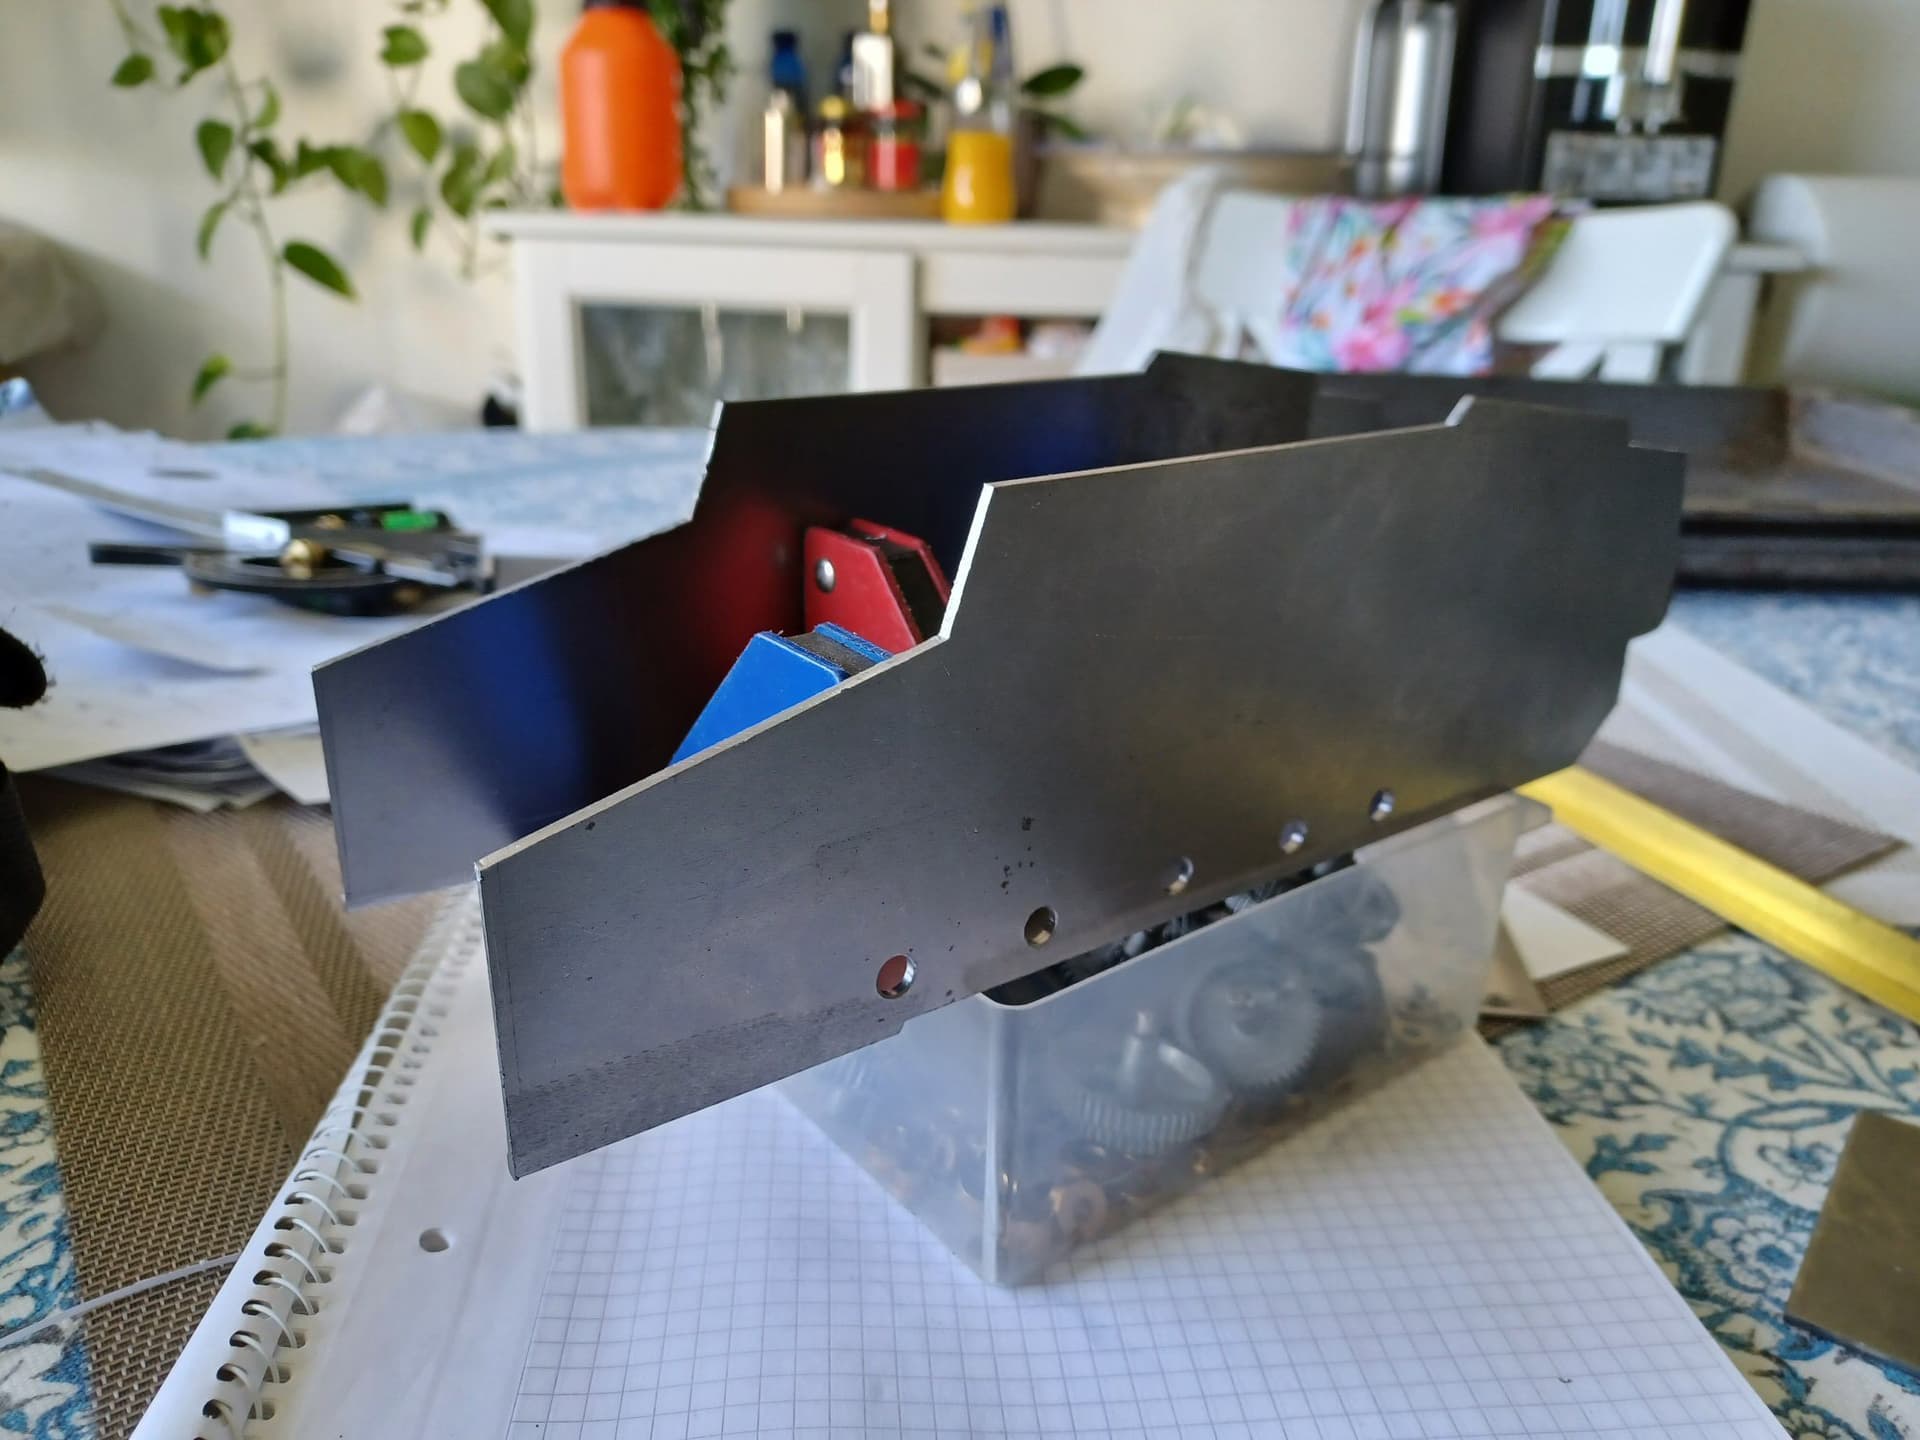
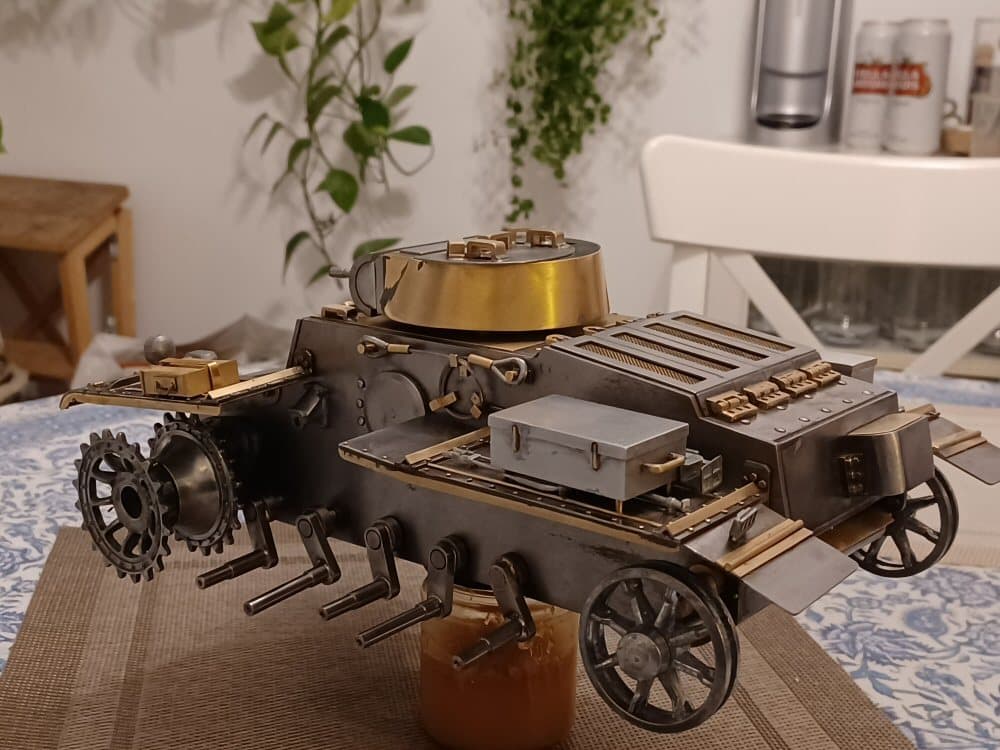
The main bits of the hull were hacked out of 2mm sheet and then filed into shape and soldered together. The holes for the swing arms were drilled in first.
There is a weird arrangement with the direction of travel of the swing arms on either side but I will get back to that.
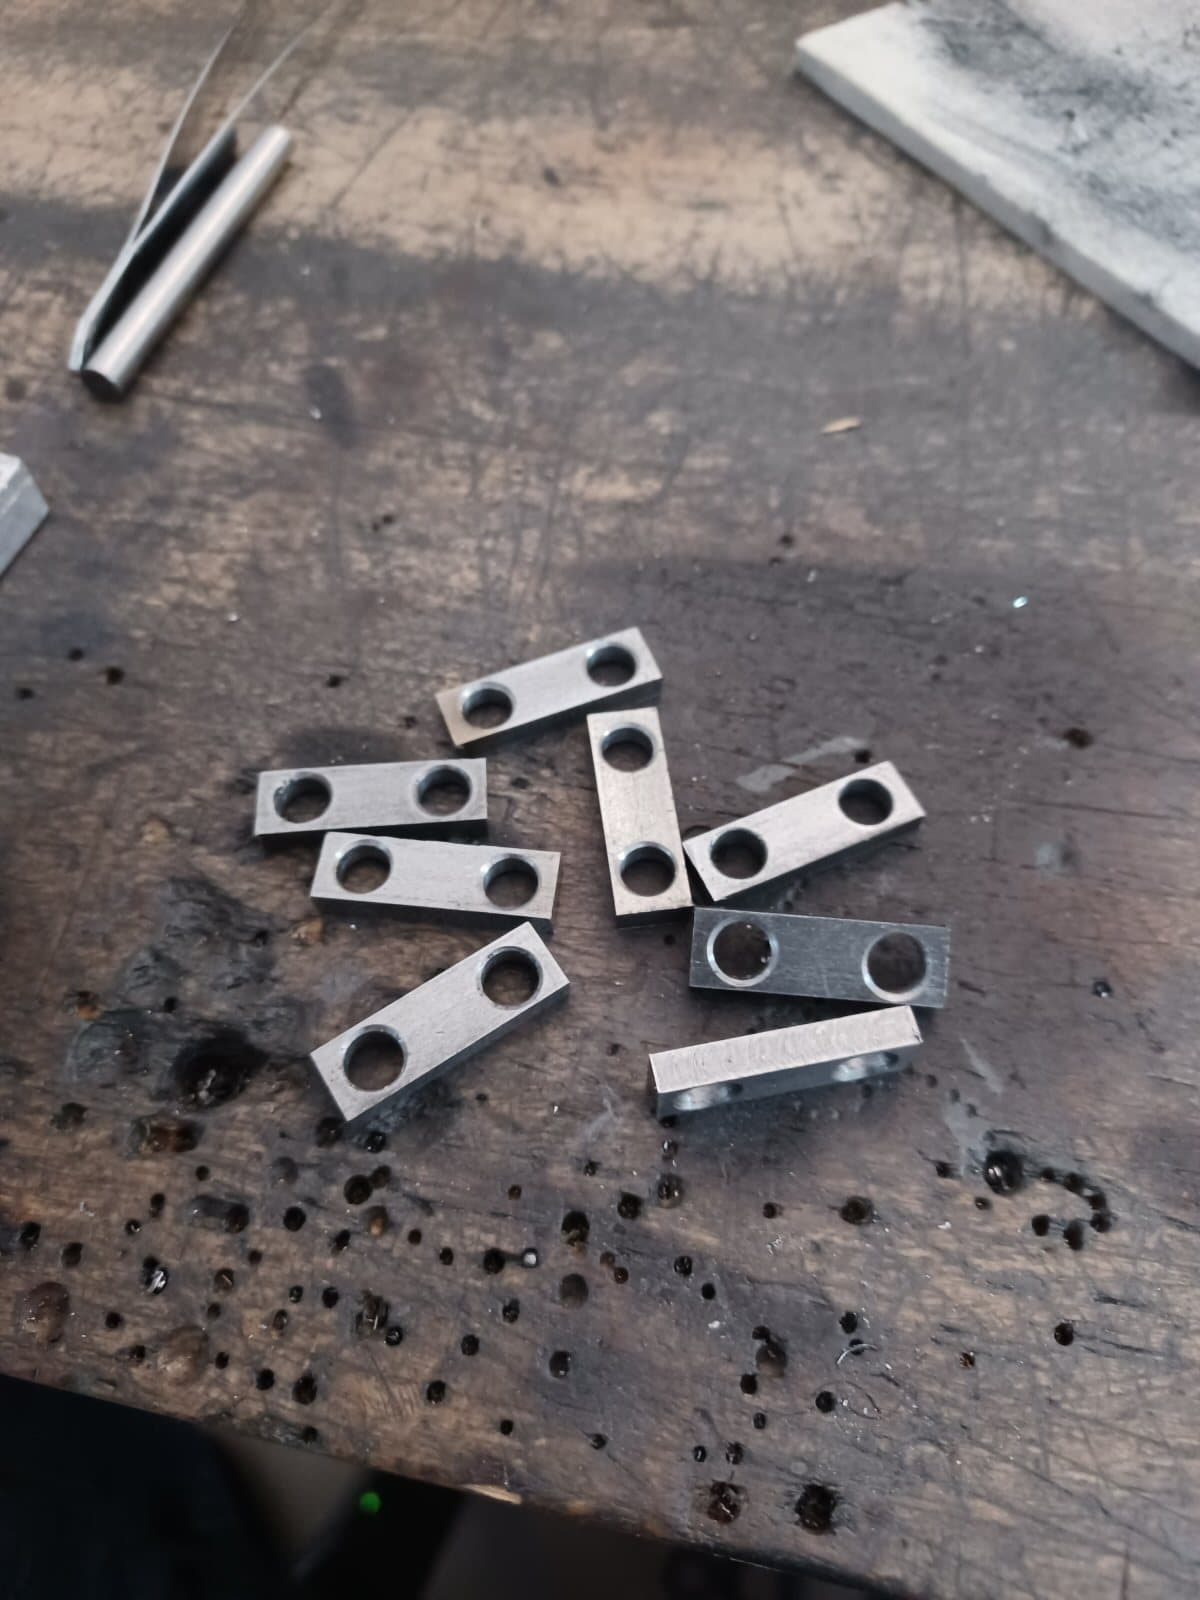
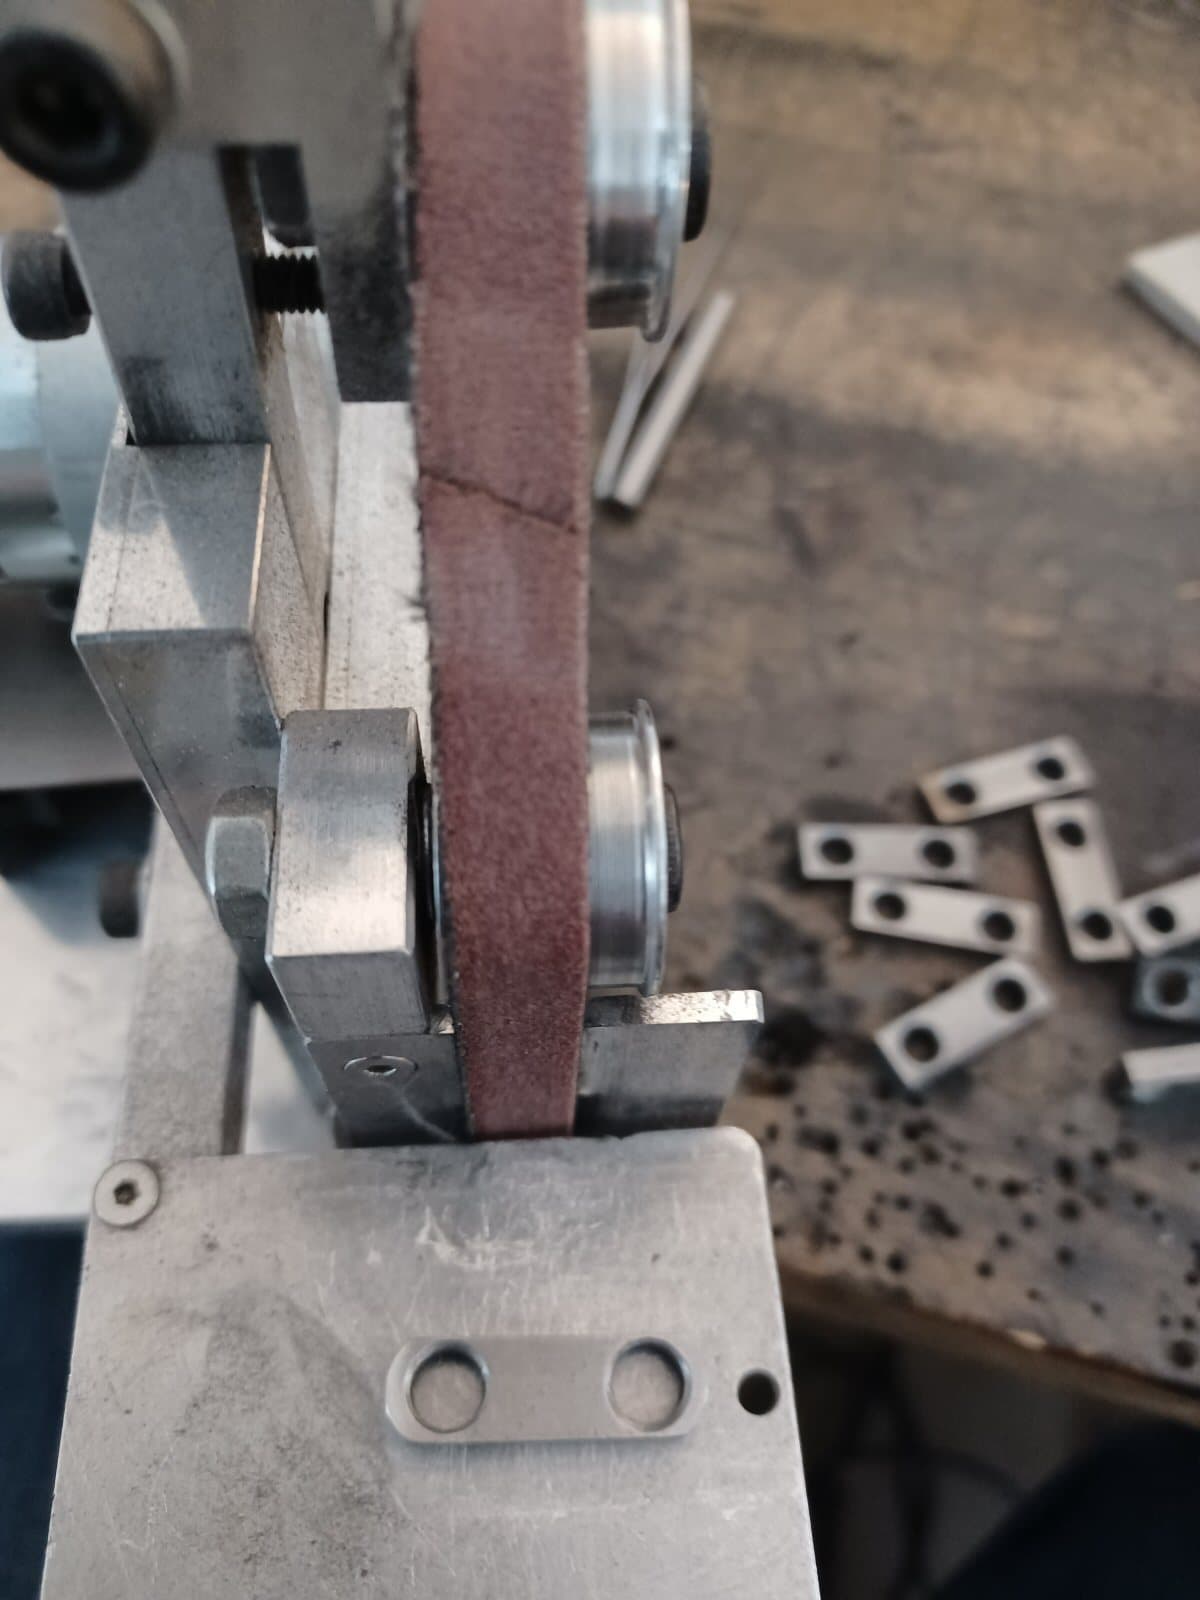
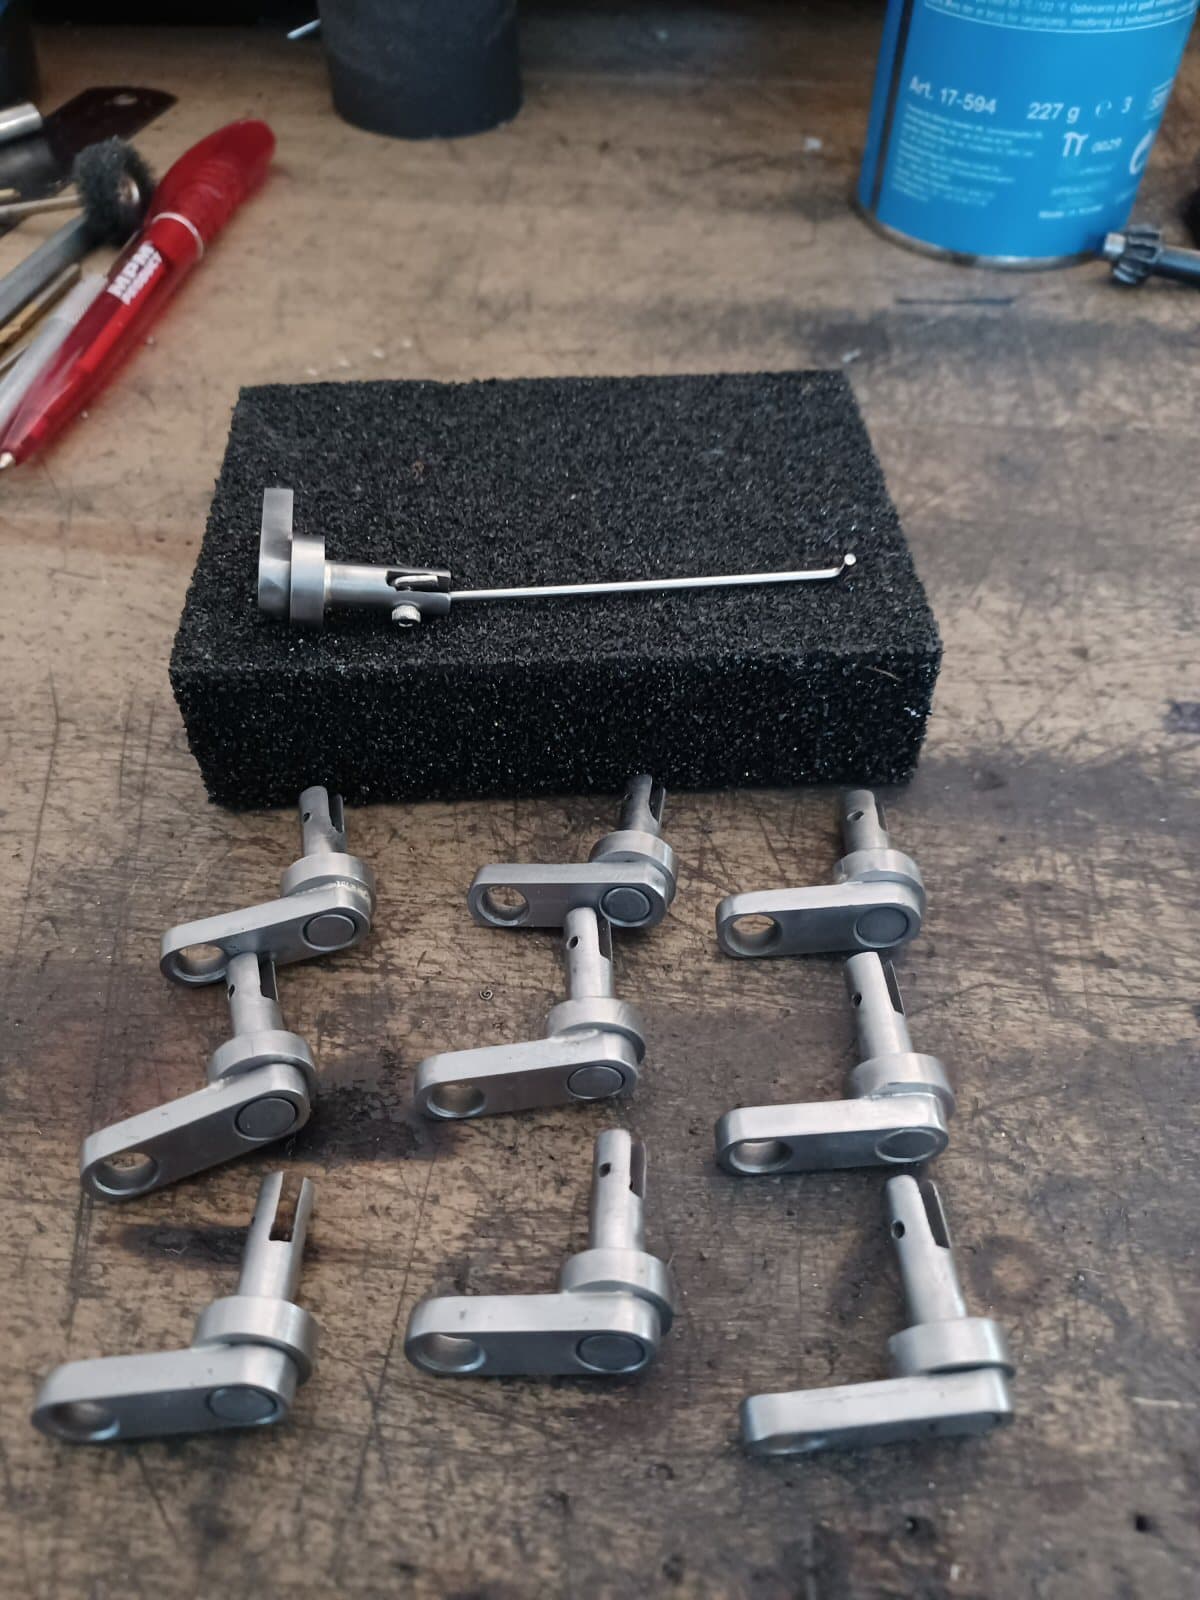
Next were the swing arms. 4mm thick steel bar with 6 mm holes drilled in either end. The ends were “rounded” using a mini belt sander and then the torsion linkages were made using 6mm silver steel with a slot cut in one end with a Dremel to hold the torsion bar. These slots were cross drilled and tapped to M2 so a screw will lock in the torsion bar to the slot.
Then the rods were then silver soldered to the arms and will await the axles at a later stage.
p
2 Likes
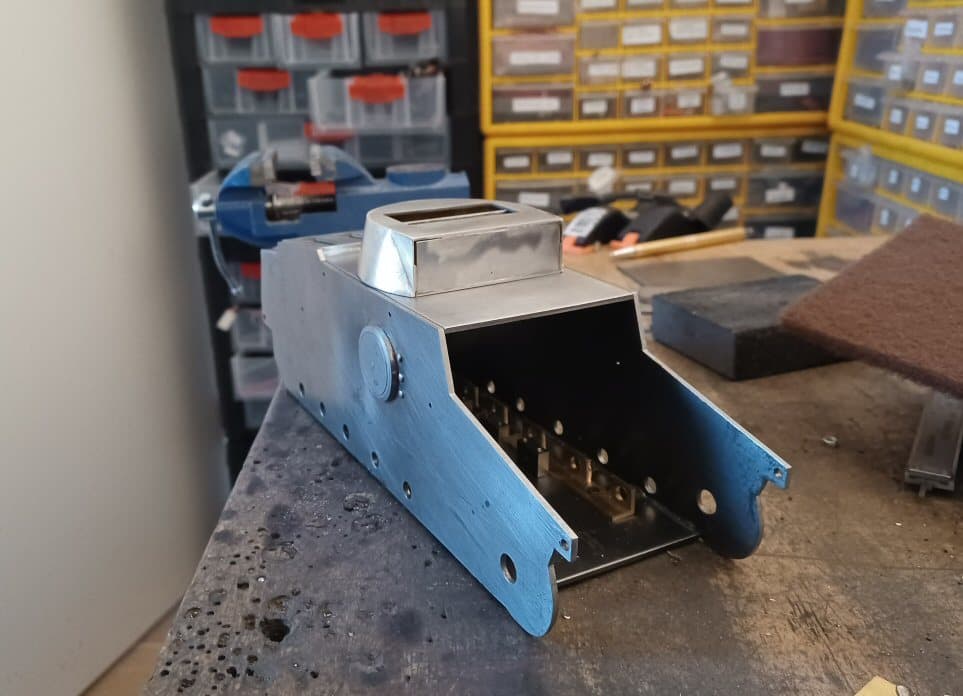
The hull was then further shaped and the turret roughed out. The skeleton of the turret was formed from 2mm steel and then “clad” in a thin sheet of annealed brass which was beaten into submission … I mean shape…using a little soft hammer. The bits that protruded from where they should be were then filed off.
Its rough right now but should be OK once filled in and sanded.
I added some of the main structures over the engine deck and some rear panels as well just to feel like progress was being made.
p
2 Likes
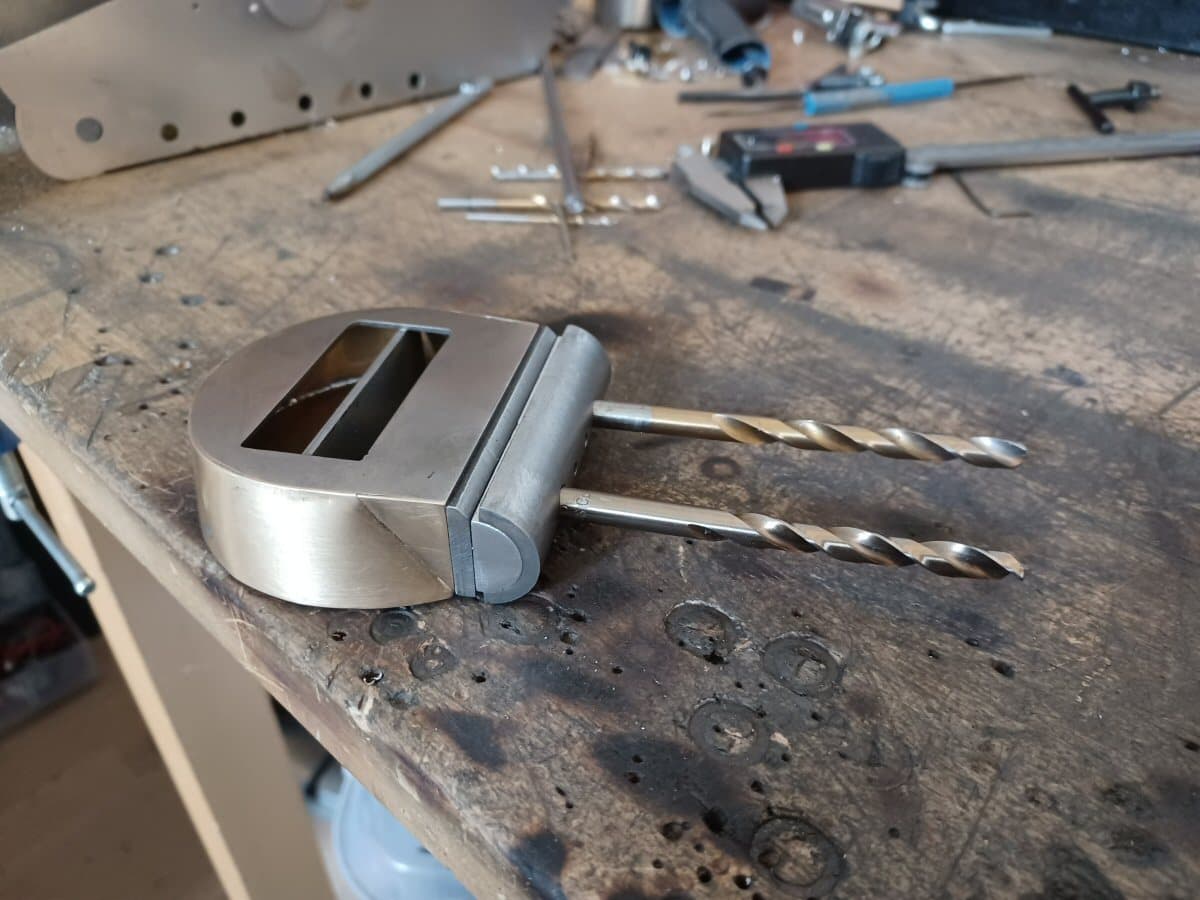
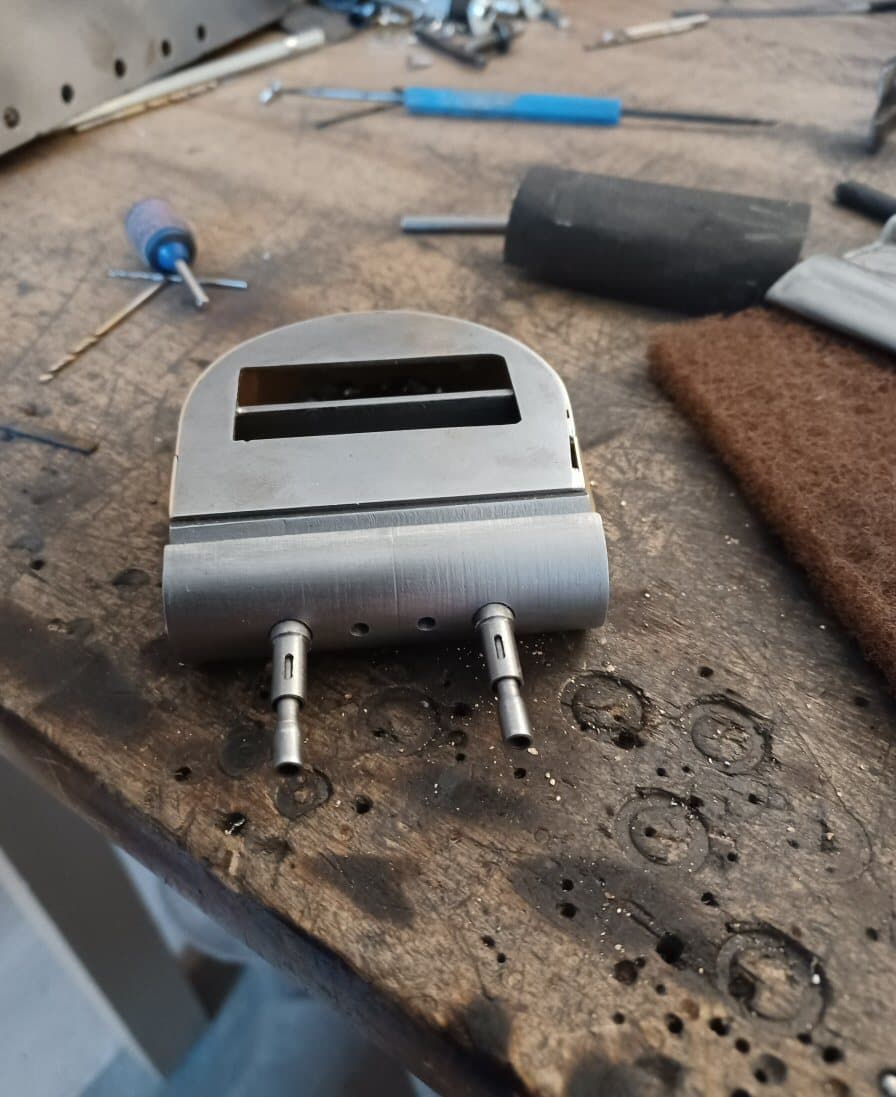
The mantlet was fashioned from a steel pipe cut lengthwise and filed flat on the cut side.
The gun shoruds or mounts are just steel tube stock with some filing.
The guns themselves were simply steel bar stock and some filing.
p
3 Likes
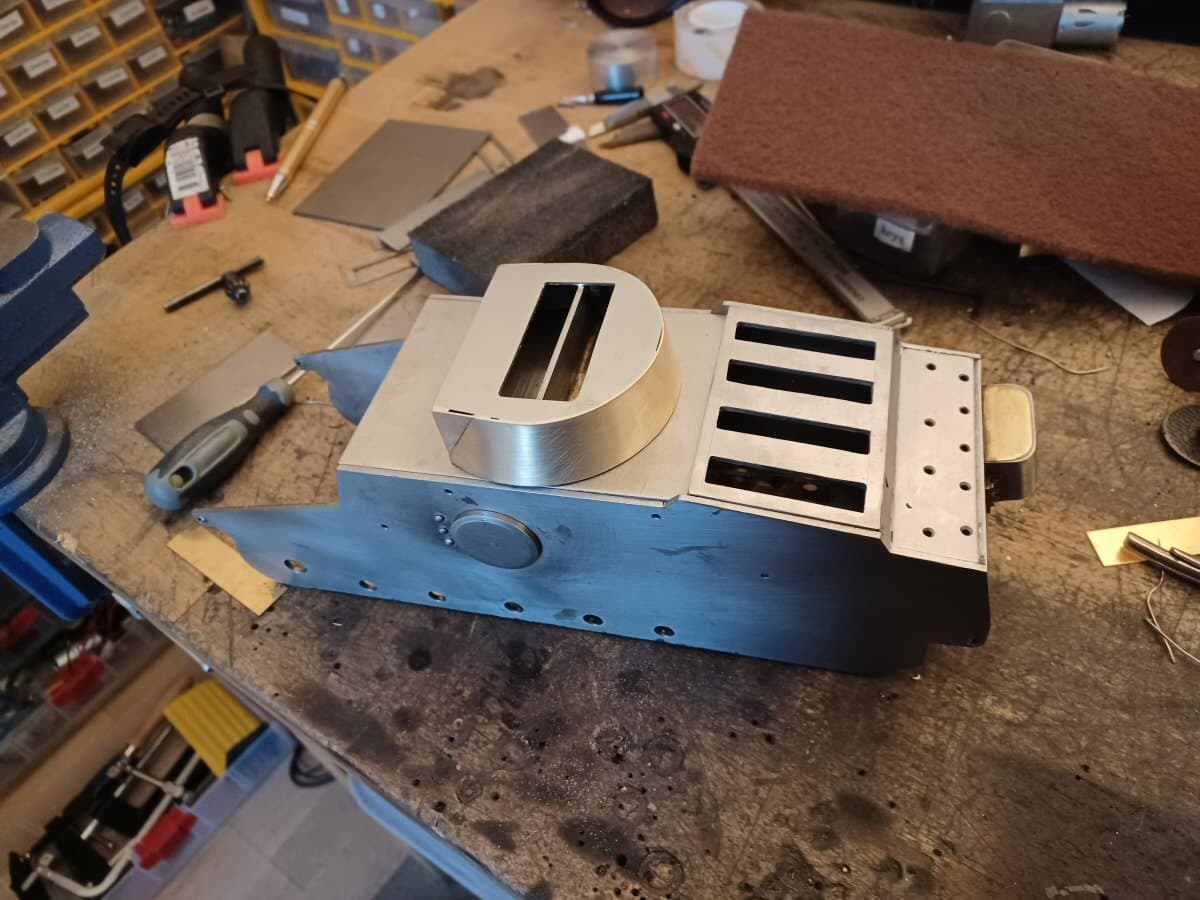
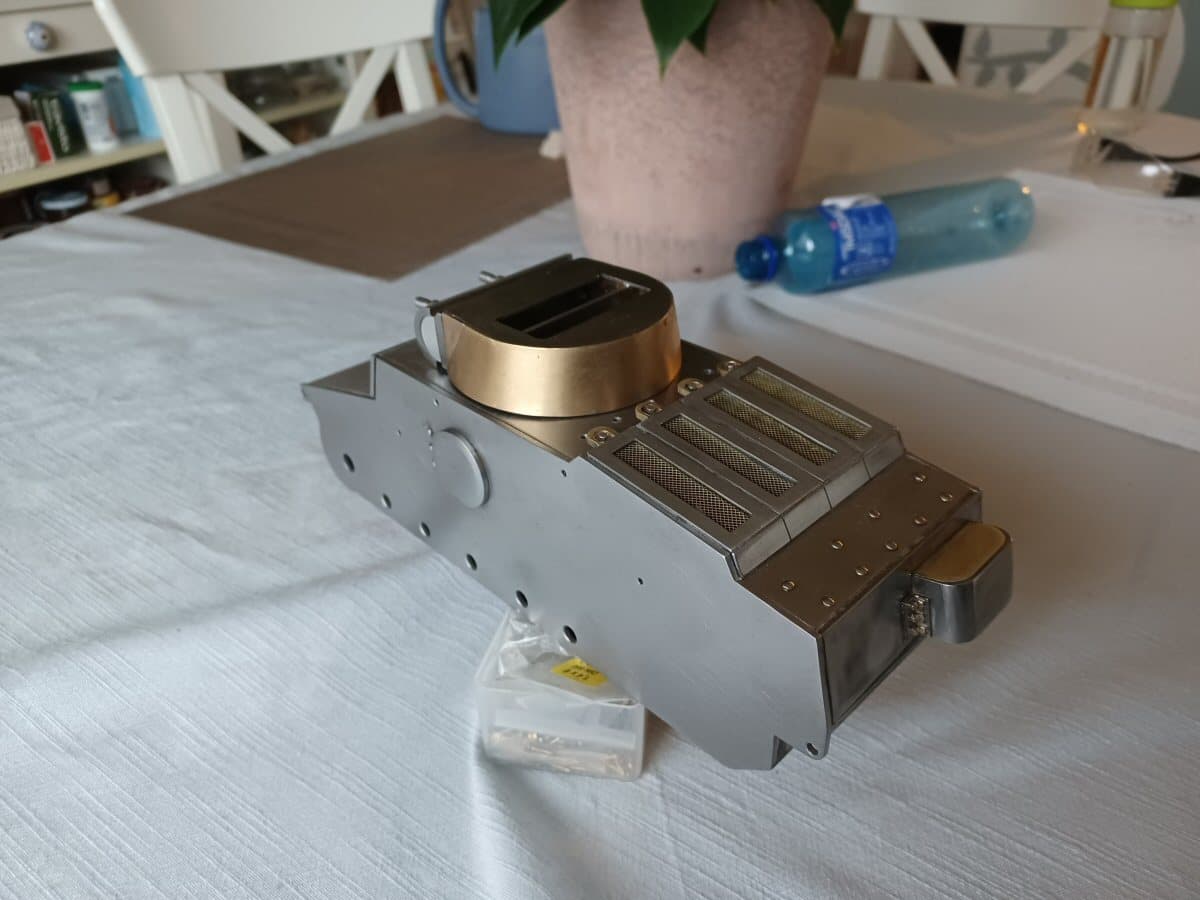
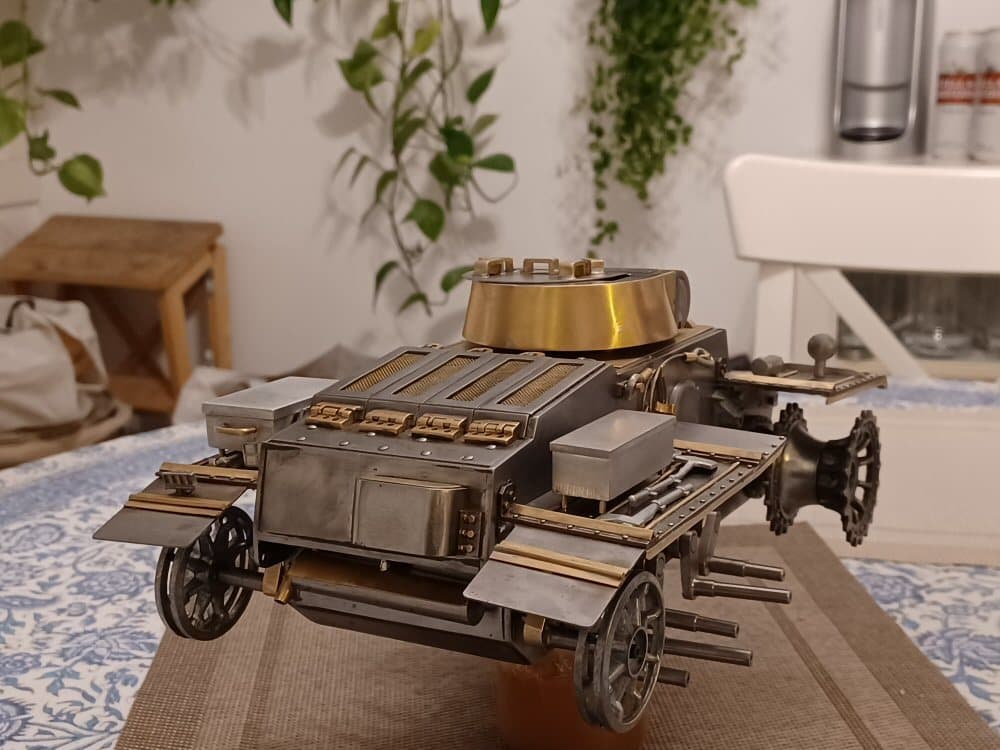
I fleshed out the main features on the engine deck to keep momentum up and was quite happy with tha. Added some bits and things on the back as well.
I bought the vision block online but am not entirely happy with it. Its white metal and looks poor but I have to consider how I would make one if I decide to replace it.
The wheels are next which are a problem.
Some of them have a concave scalloped form which were obviously pressed on one of Germanys famous heavy presses but such shapes are difficult to replicate by hand so I am going to have to carefully consider my options in that respect.
P
4 Likes
I started on the mudguards but ran into trouble on the rear ones due to the drawings I was using showing the two rear spring tube mounts on the sides being in line. Walkaround photos show that they are in different positions on each side so I had to restart them.
BUt I got the rough shape of the front ones done.
I also made and attached some bits and pieces for holding the tow cables etc.
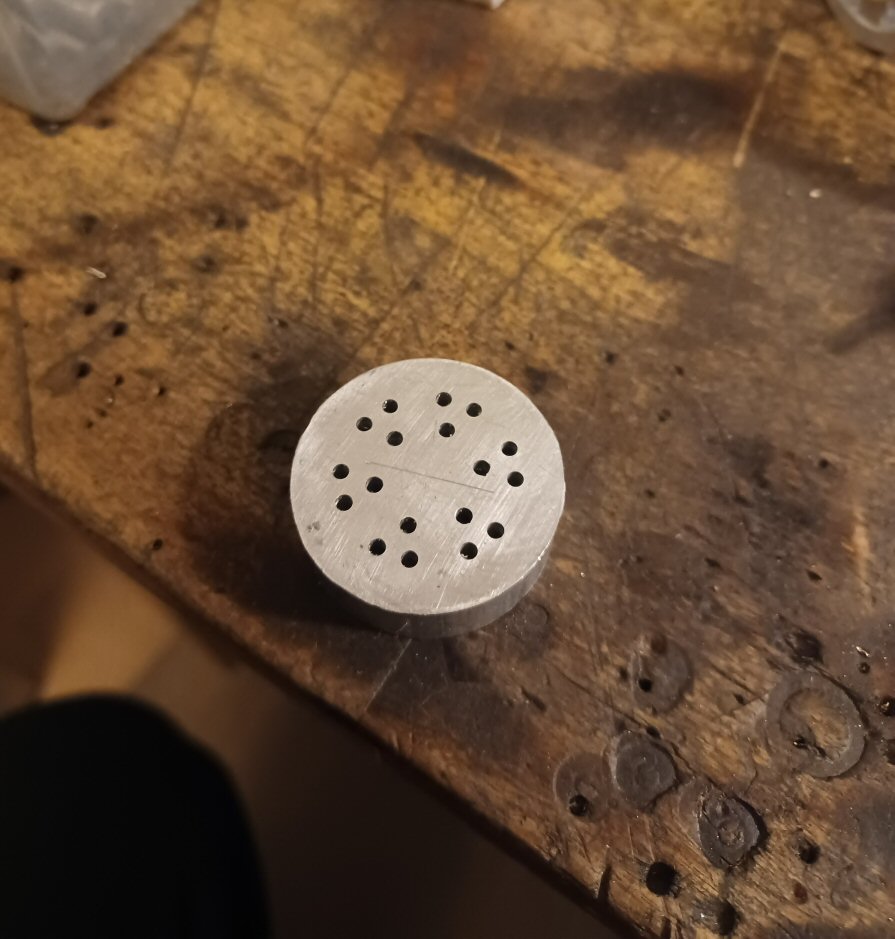
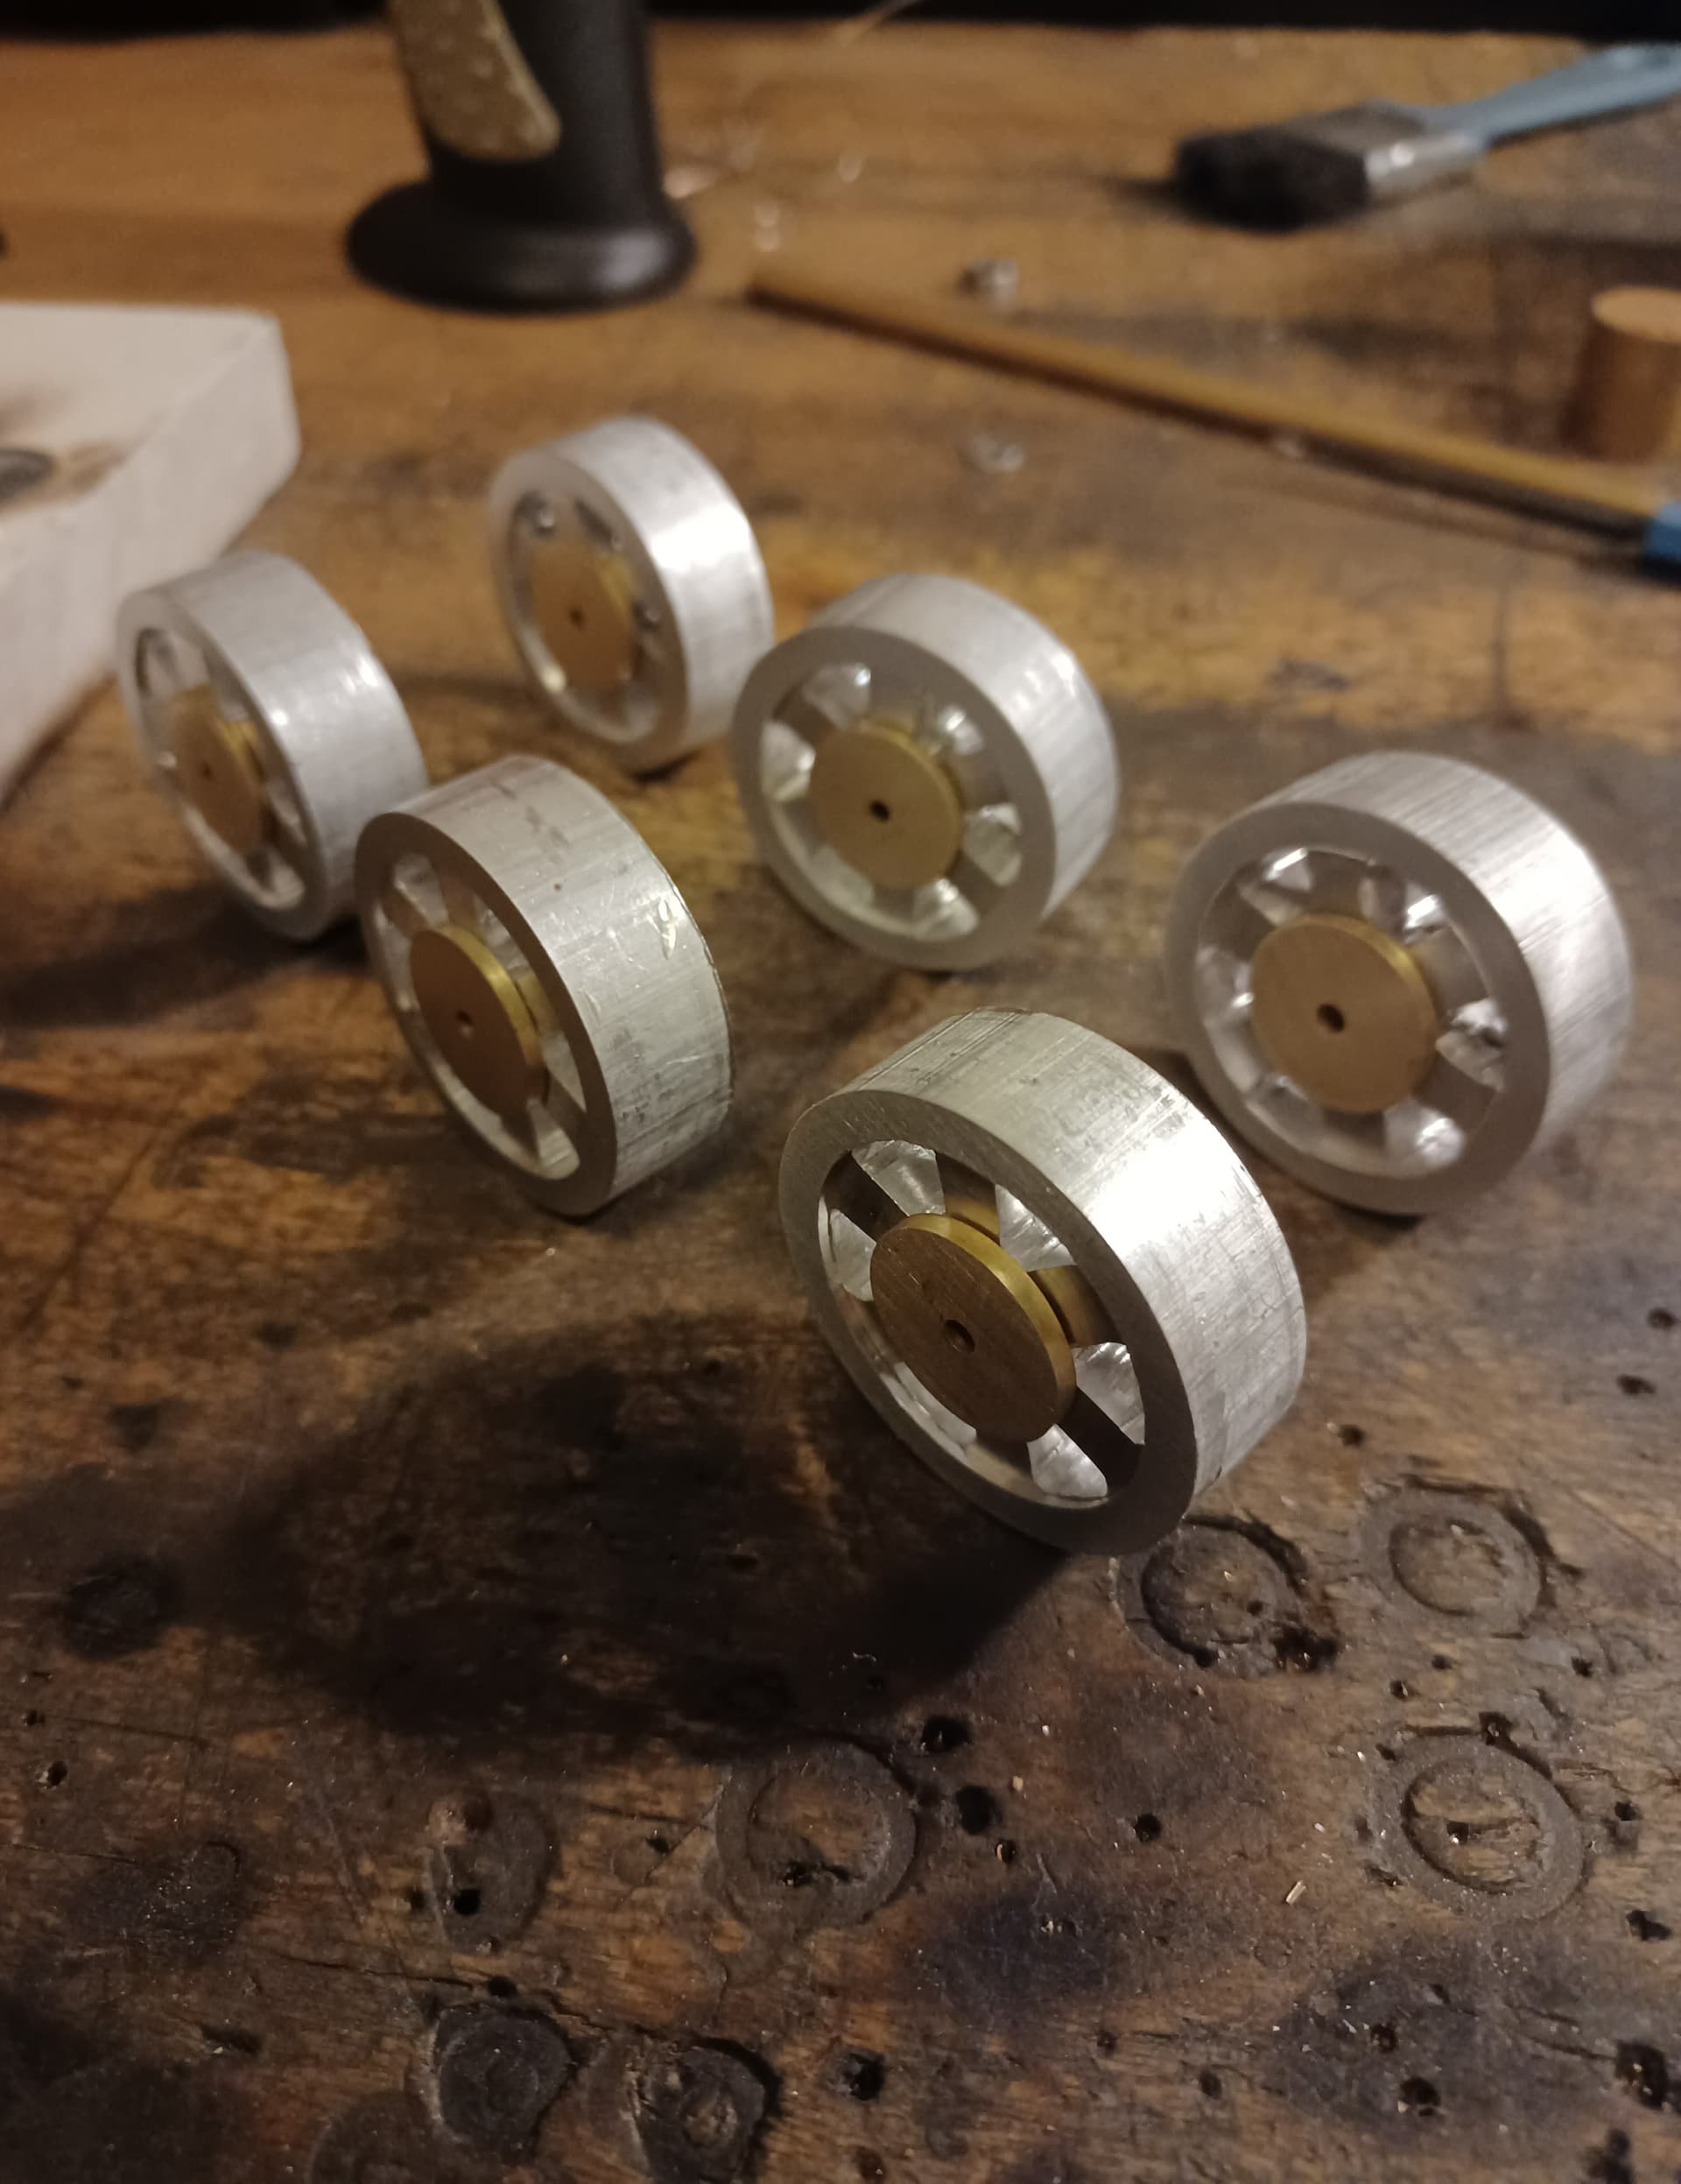
The wheels are tricky ---- so I started on the spoked ones. I bought some aluminium disks of the right thickness and diameter give or take and marked out 2 mm holes where the apices of the holes should be. Then I drilled out the middle and used a piercing saw to get rid of the stumps. Then I filed them into rough shape.
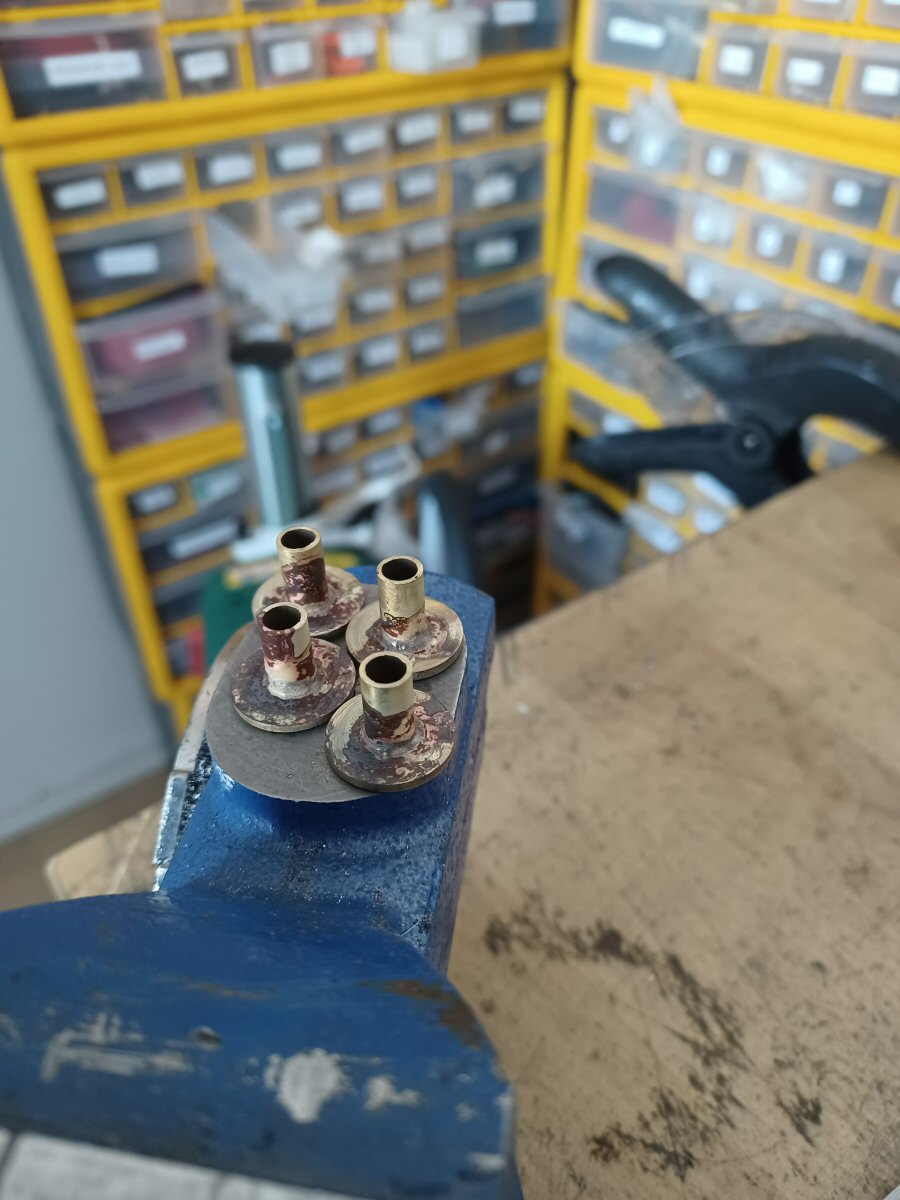
The hubs were brass tubing silver soldered to brass disks and these mushrooms were then pressed into the wheel itslef. They form a rudimentary bushing and will allow fixing of the axle through the small hole in the disk.
The tires will be made from acetal tube.
They look a bit rough but I have time to clean them up a bit.
P
2 Likes
Now,that’s model building(awesome)can’t wait for more.
This model looks insane already. This is some serious scratch building. Have you scratch-built before with plastic, or is this your first ever time?
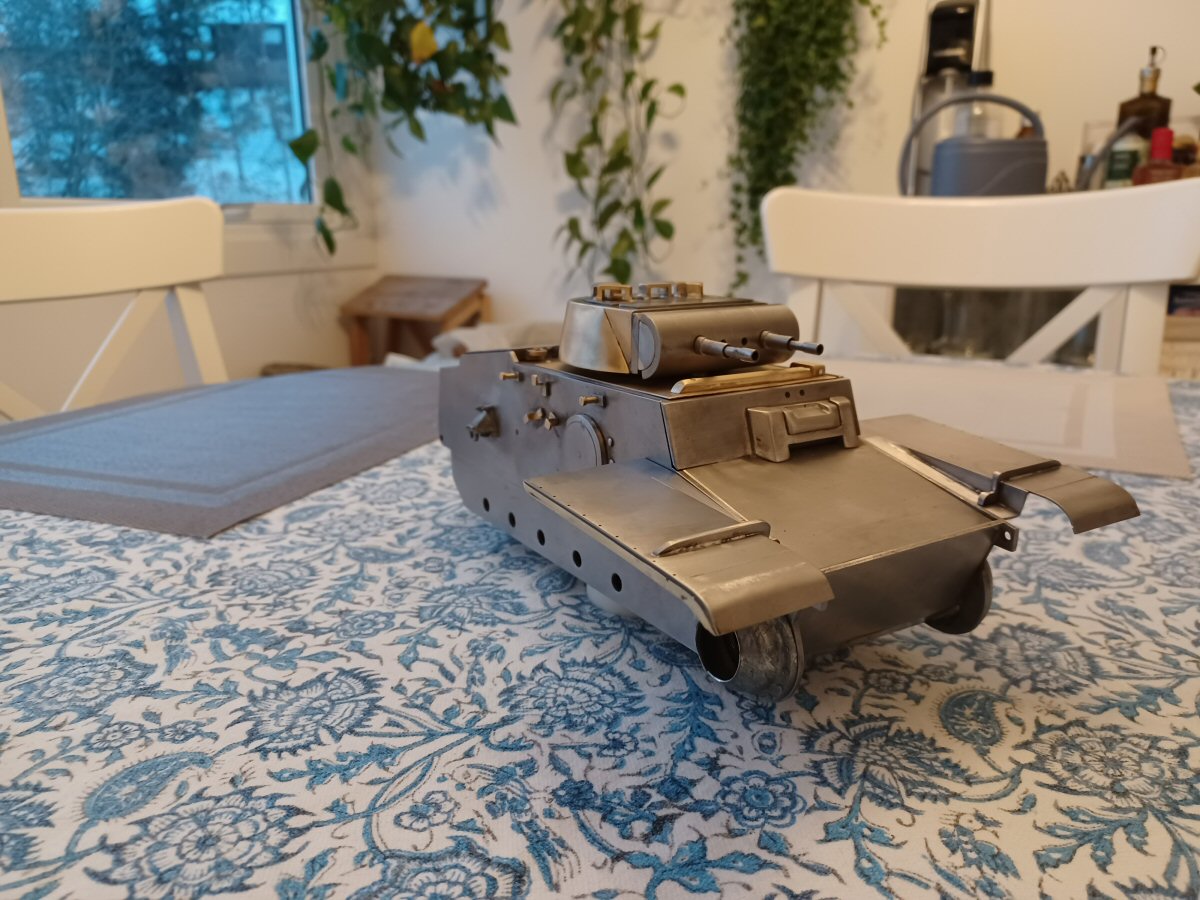
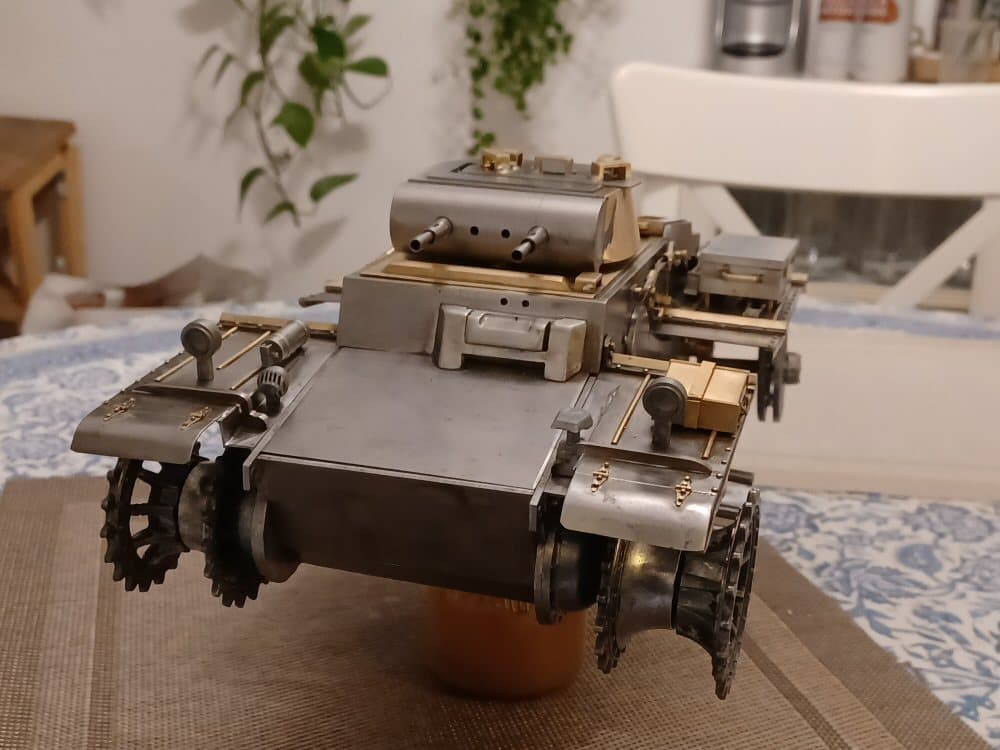
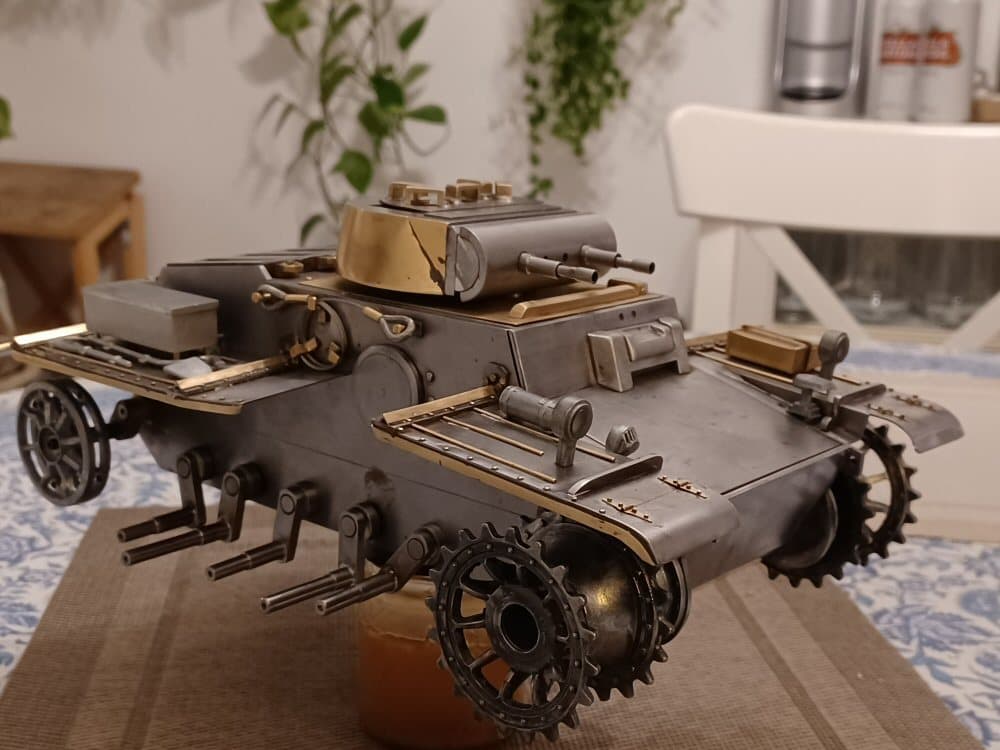
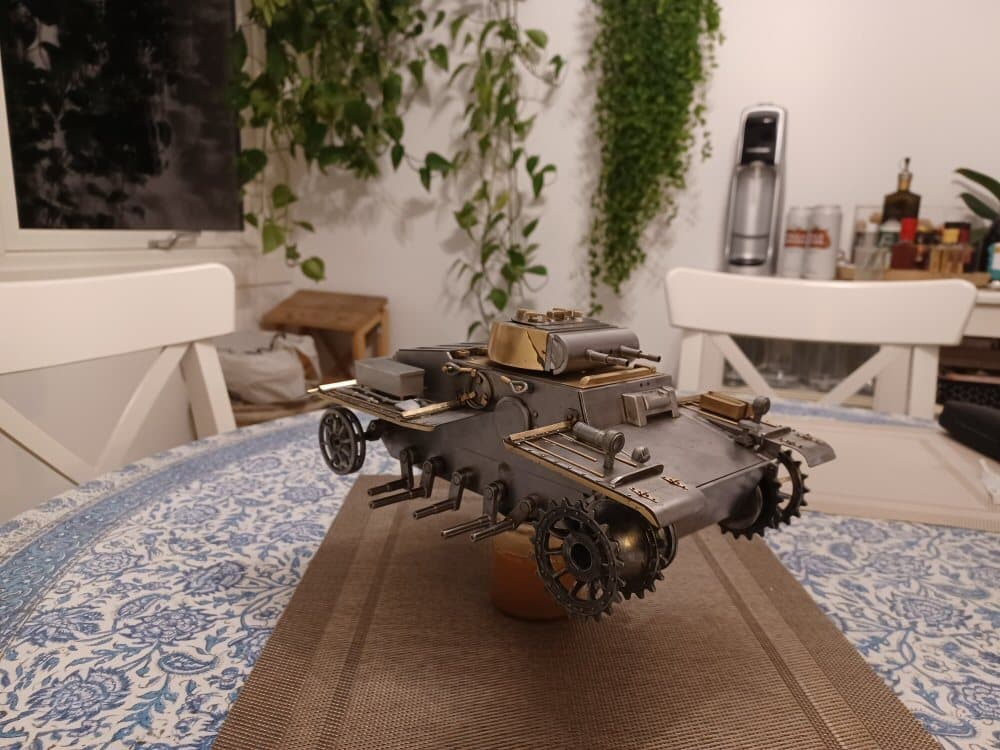
I thought I would update this. Please excuse all the filler, fingerprints, tarnishing etc. I cannot be bothered sanding and cleaning just to take photos.
Ive been busy fleshing out the mudguards and so on…not finished by any means and not entirely accurate either. The load outs on these fenders seems to vary strongly between photos so I went with what suited myself best. Still some to do.
I also attended to the swing arms… bit awkward and I have noticed some issues which need attending to.
The idlers look mad at the minute. They stick out a lot but thatis how they are with tracks of this width. I have to finishh the mounts for them and add tension adjusters (non functional). I also have to do all the external spring tubes which will be a faff.
Please note that nothing is screwed down so some things are askew… for the minute.
P
3 Likes
Im sorry…I missed this one.
I’m afraid I do not actually scratch build in plastic mostly because I dont really know how (too many glue types, not familiar with different plastic grades or types, not sure how to cut it and so on).
I have scracth built in metal mostly … usually (actually always) tanks.
P
1 Like
Man, that’s crazy. I would never be able to do such a thing. Your work looks amazing!