Thanks Ski - coming from the guy who painted all those plaids and argyles I am flattered indeed -
and Matthew- always grateful for your comments and input . This truly is a wonderful community that we share - wouldn’t it be cool to all sit down together in person for a few hours and BS over a couple of cold ones .
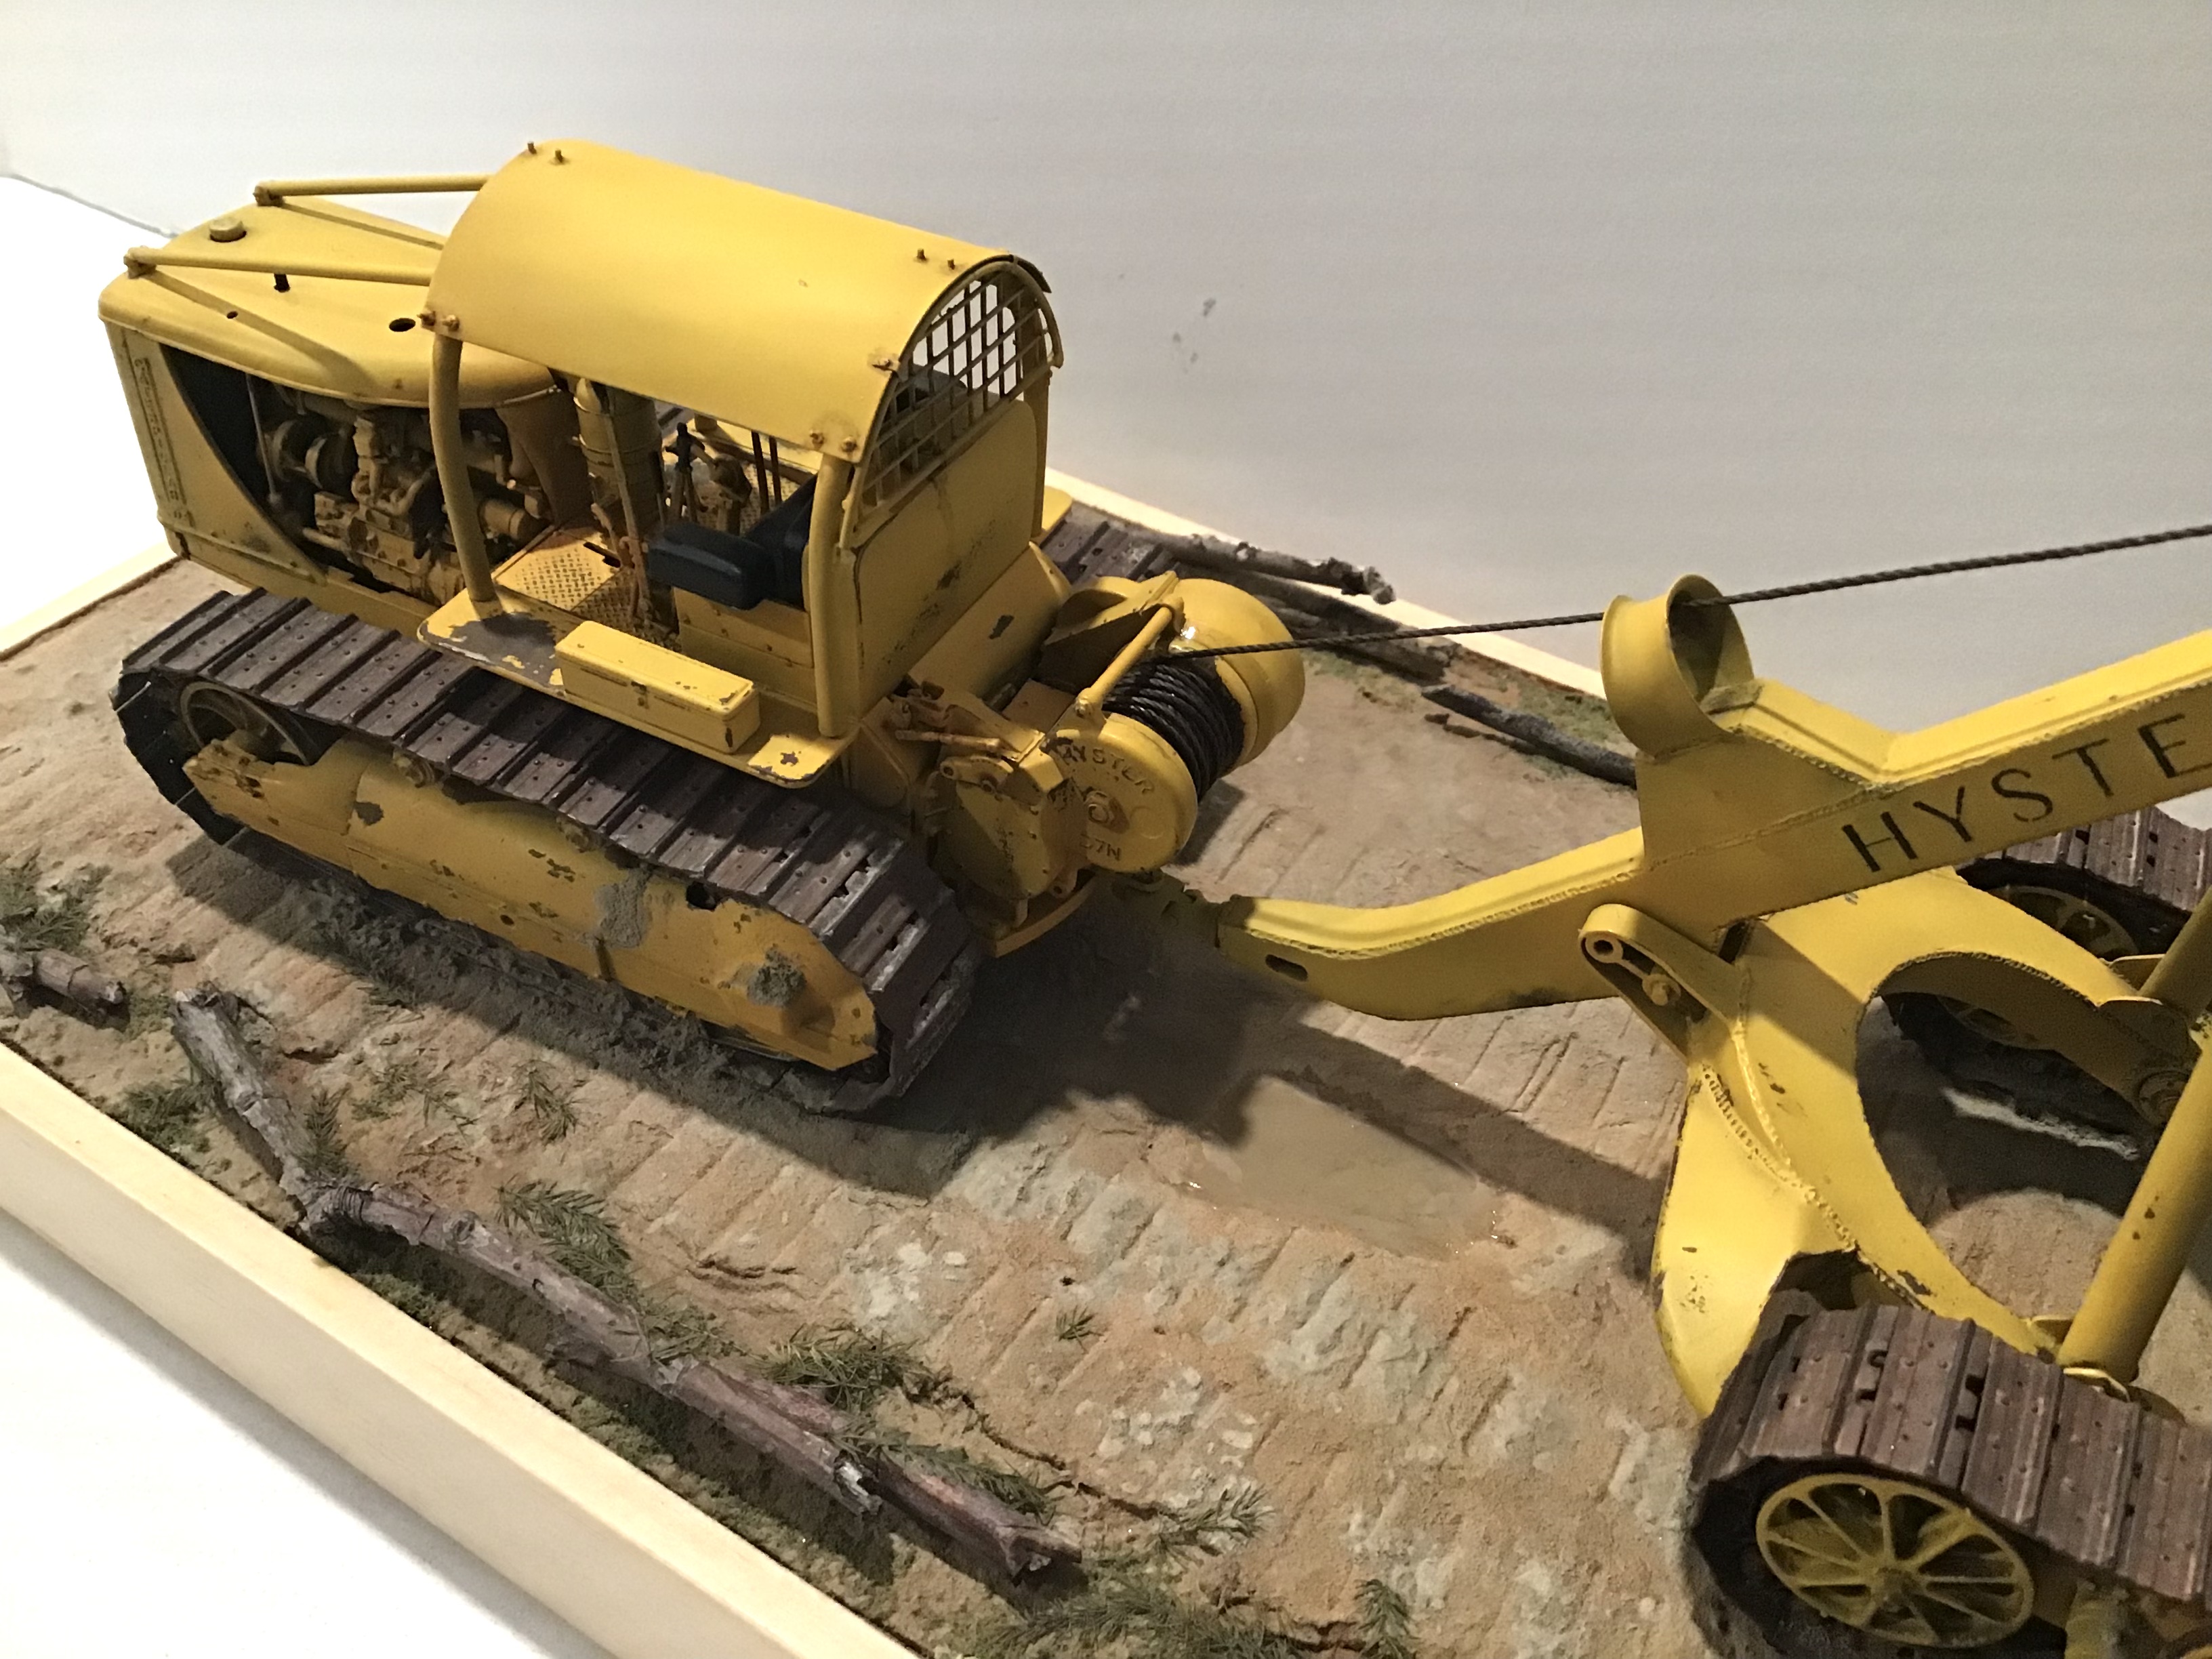
I’ve begun the winch cable - I had this cord left over from my wooden ship model days .
I cut of a length sufficient to fill the drum and
reach the end of the arch boom . I then coiled it into a paint jar with Tamiya’s Metallic Grey. I passed it through a paper towel between my fingers and hung it to dry . When dry I slathered it with Burnt Sienna and again wiped with paper towel and hung to dry for a few days.
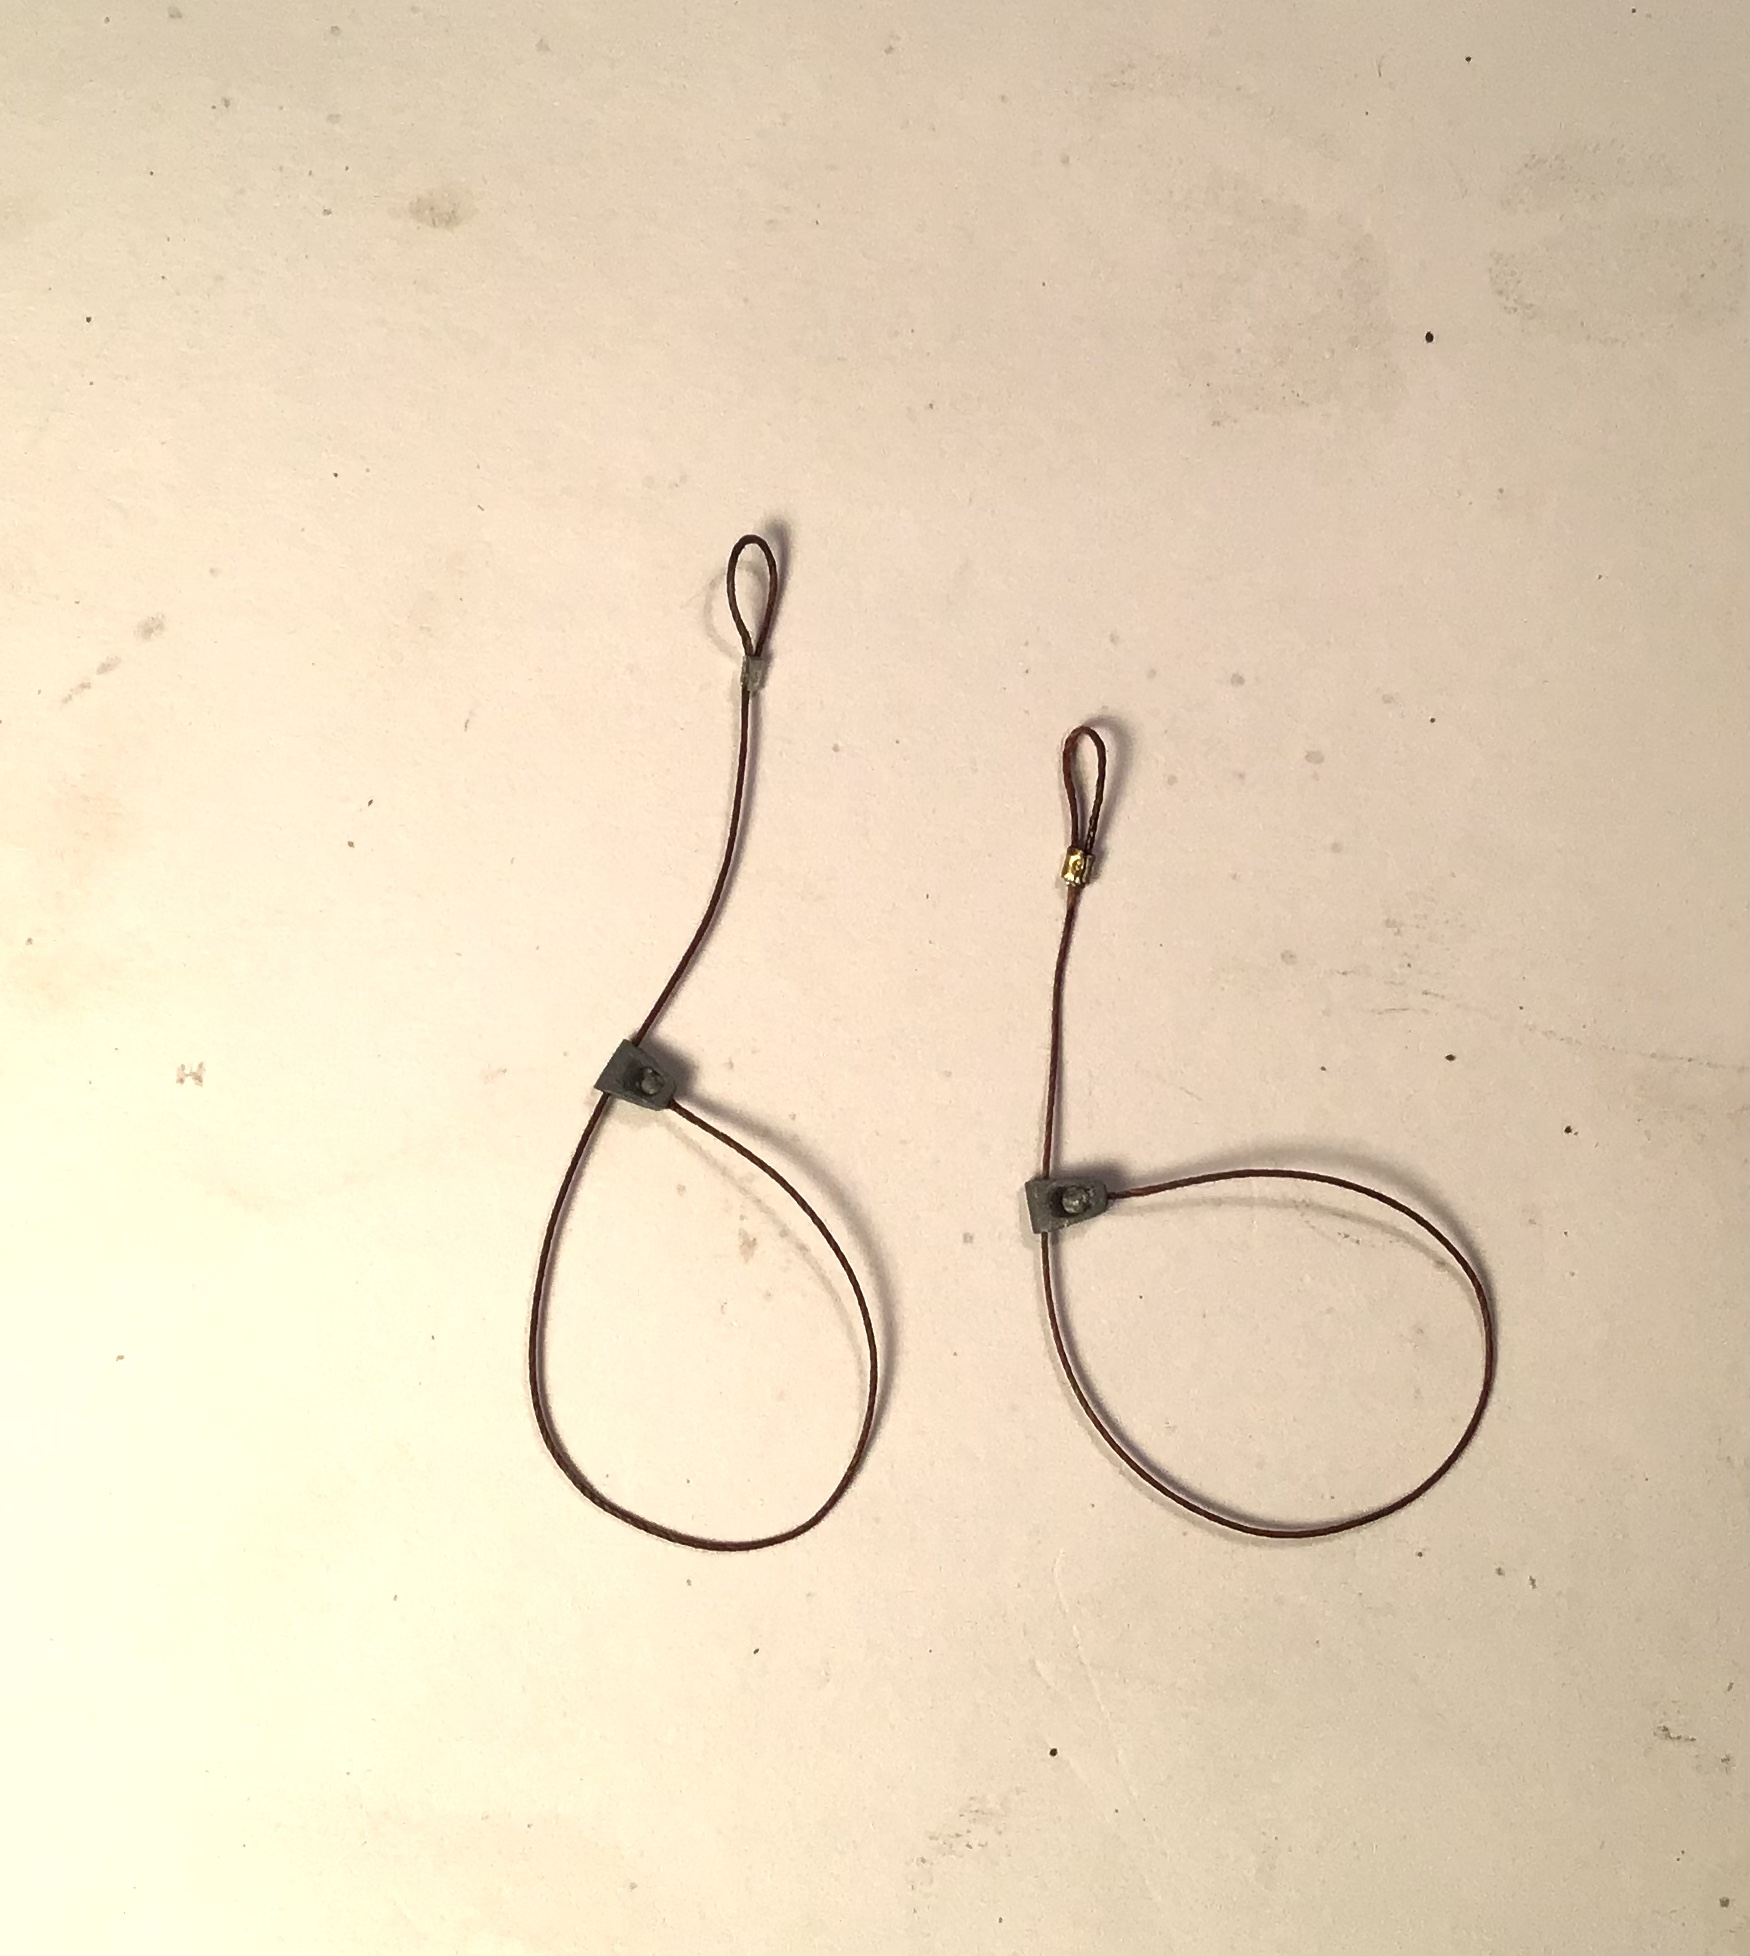
Thimble formed into an eye around a brass rod and cemented to cable with CA and then another tiny piece of foil wrapped around tag end of cable to represent swage.
It’s funny how so many odds and ends from the scrap drawer come in handy. The wife thinking it should all go in the trash; no way, ya never know when you’re gonna use it. I’ve got wine bottle foil in the drawer, too. The booze bottles I made for the last dio were candy wrappers, gold foil.
I agree Richard, Armorama is a fantastic community. The guys here are so close and supportive. This is the best on the net, I think. I would love to hoist a few cold ones with you, Ski, and a few others. Those would be hours very well spent!
Could happen Matthew - My brother in law Jim Guld has been after me to go to an AMPS event …
There may be something to building tracked things after all…LOL
Matt, I concur completely. Now, when can we schedule a beer tasting event in your bunker? We can use your incredibly well stocked shelves for door prizes, come one come all, Bahahahaaaaaaa! There most certainly will be a lot to talk about with all them kits.
Beginning to play around with base ideas.
I bought a 2’x2’ foam panel from a home center and cut it into three 18” x 8” pieces .
I sketched out a road on one piece and roughed the terrain with a hot wire cutter , followed by sanding with 80 grit .
I am honestly not thrilled with it - It seems too large and more of a diorama and less of a base .
I am going to see about cutting it down and if that doesn’t work I need to rethink and start over.
Cut the base way down, and have the pathway your vehicle is taking go at an angle, that will allow you to fit more vehicle in less space. It’s also OK to have a bit of the vehicle stick over on the ends.
I would lay it out on paper to work it out, instead of cutting up more of your foam.
Ken
Longer log and/or let the log continue outside the base.
Possibly pulling it over a small hump in the terrain so that the log is held up by the logging arch and resting on the hump so that the rear end (by the edge of the base) can be up in the air.
I think the raised embankment would look odd on a small base and it is hard to fill that expanse realistically. Most logging pics show the ground to be level, usually just cleared land with a lot of plant debris, just like the ones that have been posted above and these.
I suggest you work out a long, but narrow size that will allow the vehicle to fit at a slight angle, as Ken says. The angle looks far better than having everything parallel. If you place a stump at the wider part towards the front, it adds something to the space. Get some twigs from the garden and pull out some weeds and use the roots for natural looking branches, etc. Add some scale model leaf scatter our some chopped parsley or tea leaves from a tea bag to fill spaces. Spray some white glue and water mix on the base and sprinkle the leaves on when wet. You can also build up depth by doing that in layers. It all gives more of a sense of what is going on - and it justifies the angle.
Well Peter it’s nice to know we are on the same wavelength - great minds think alike , etc .
I just picked up my I pad to post when I saw your reply .
Here is the original base with raised terrain but cut down -
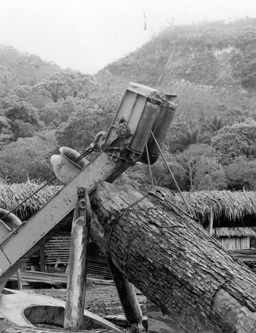
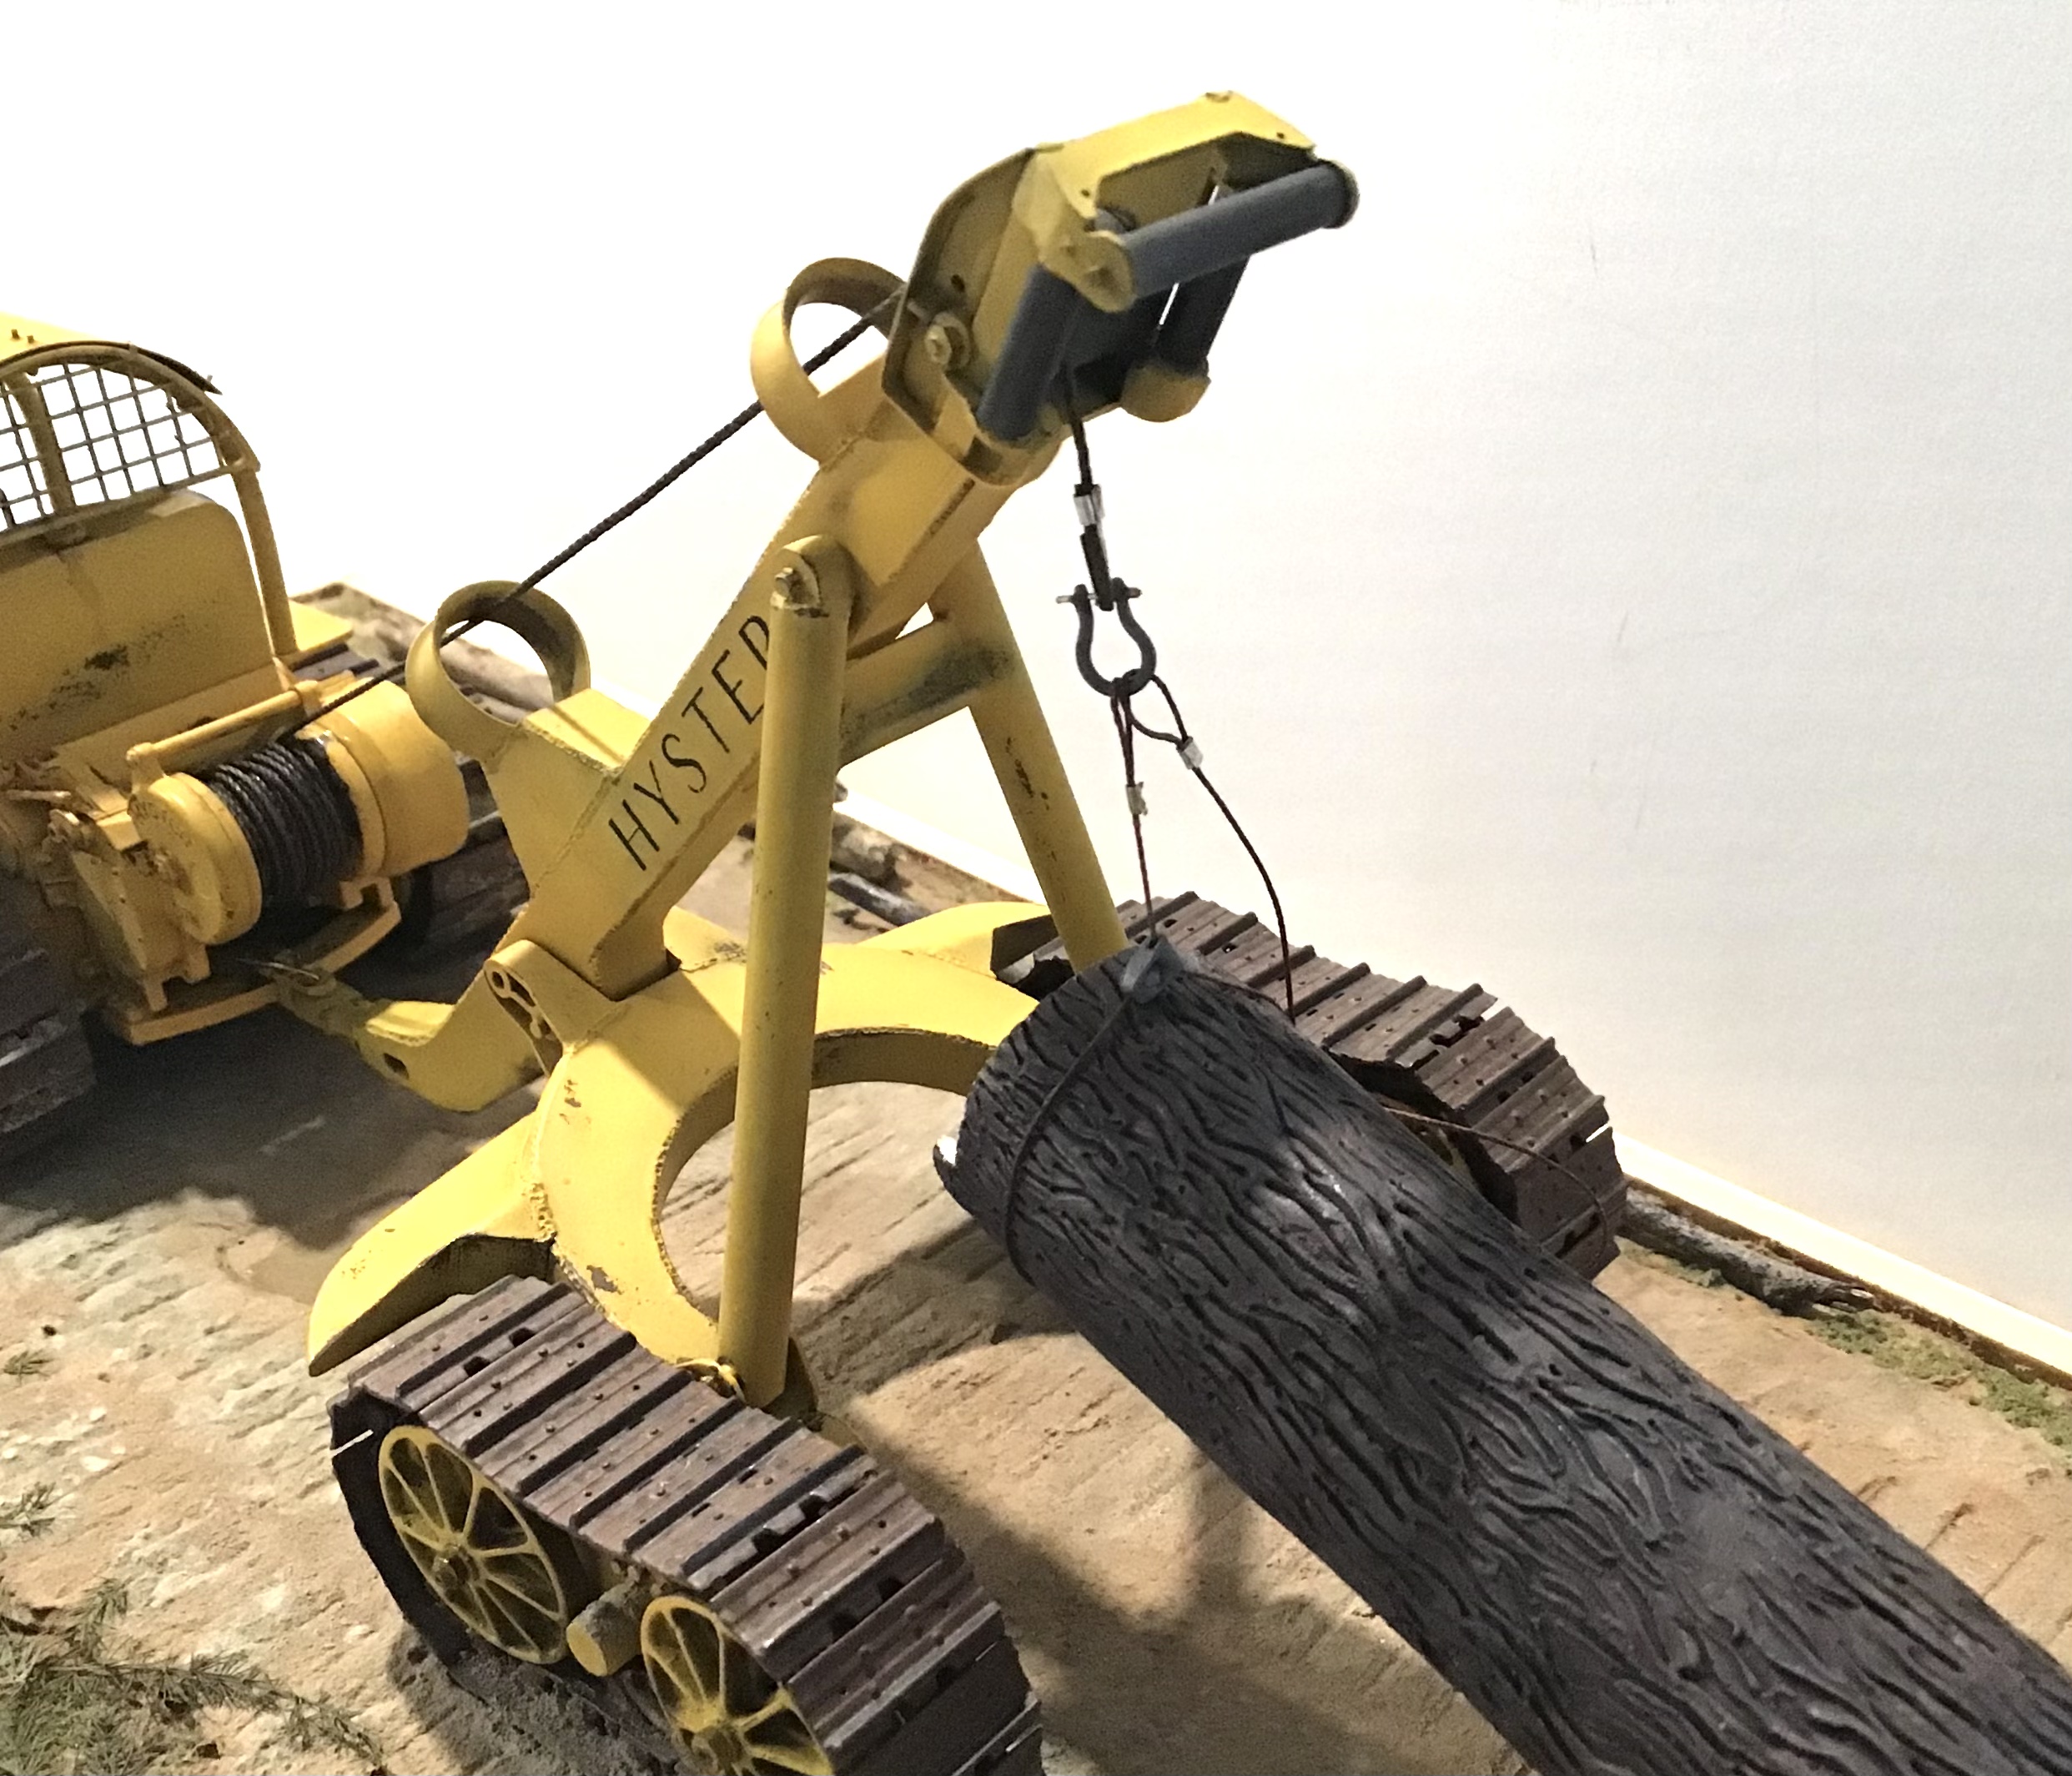
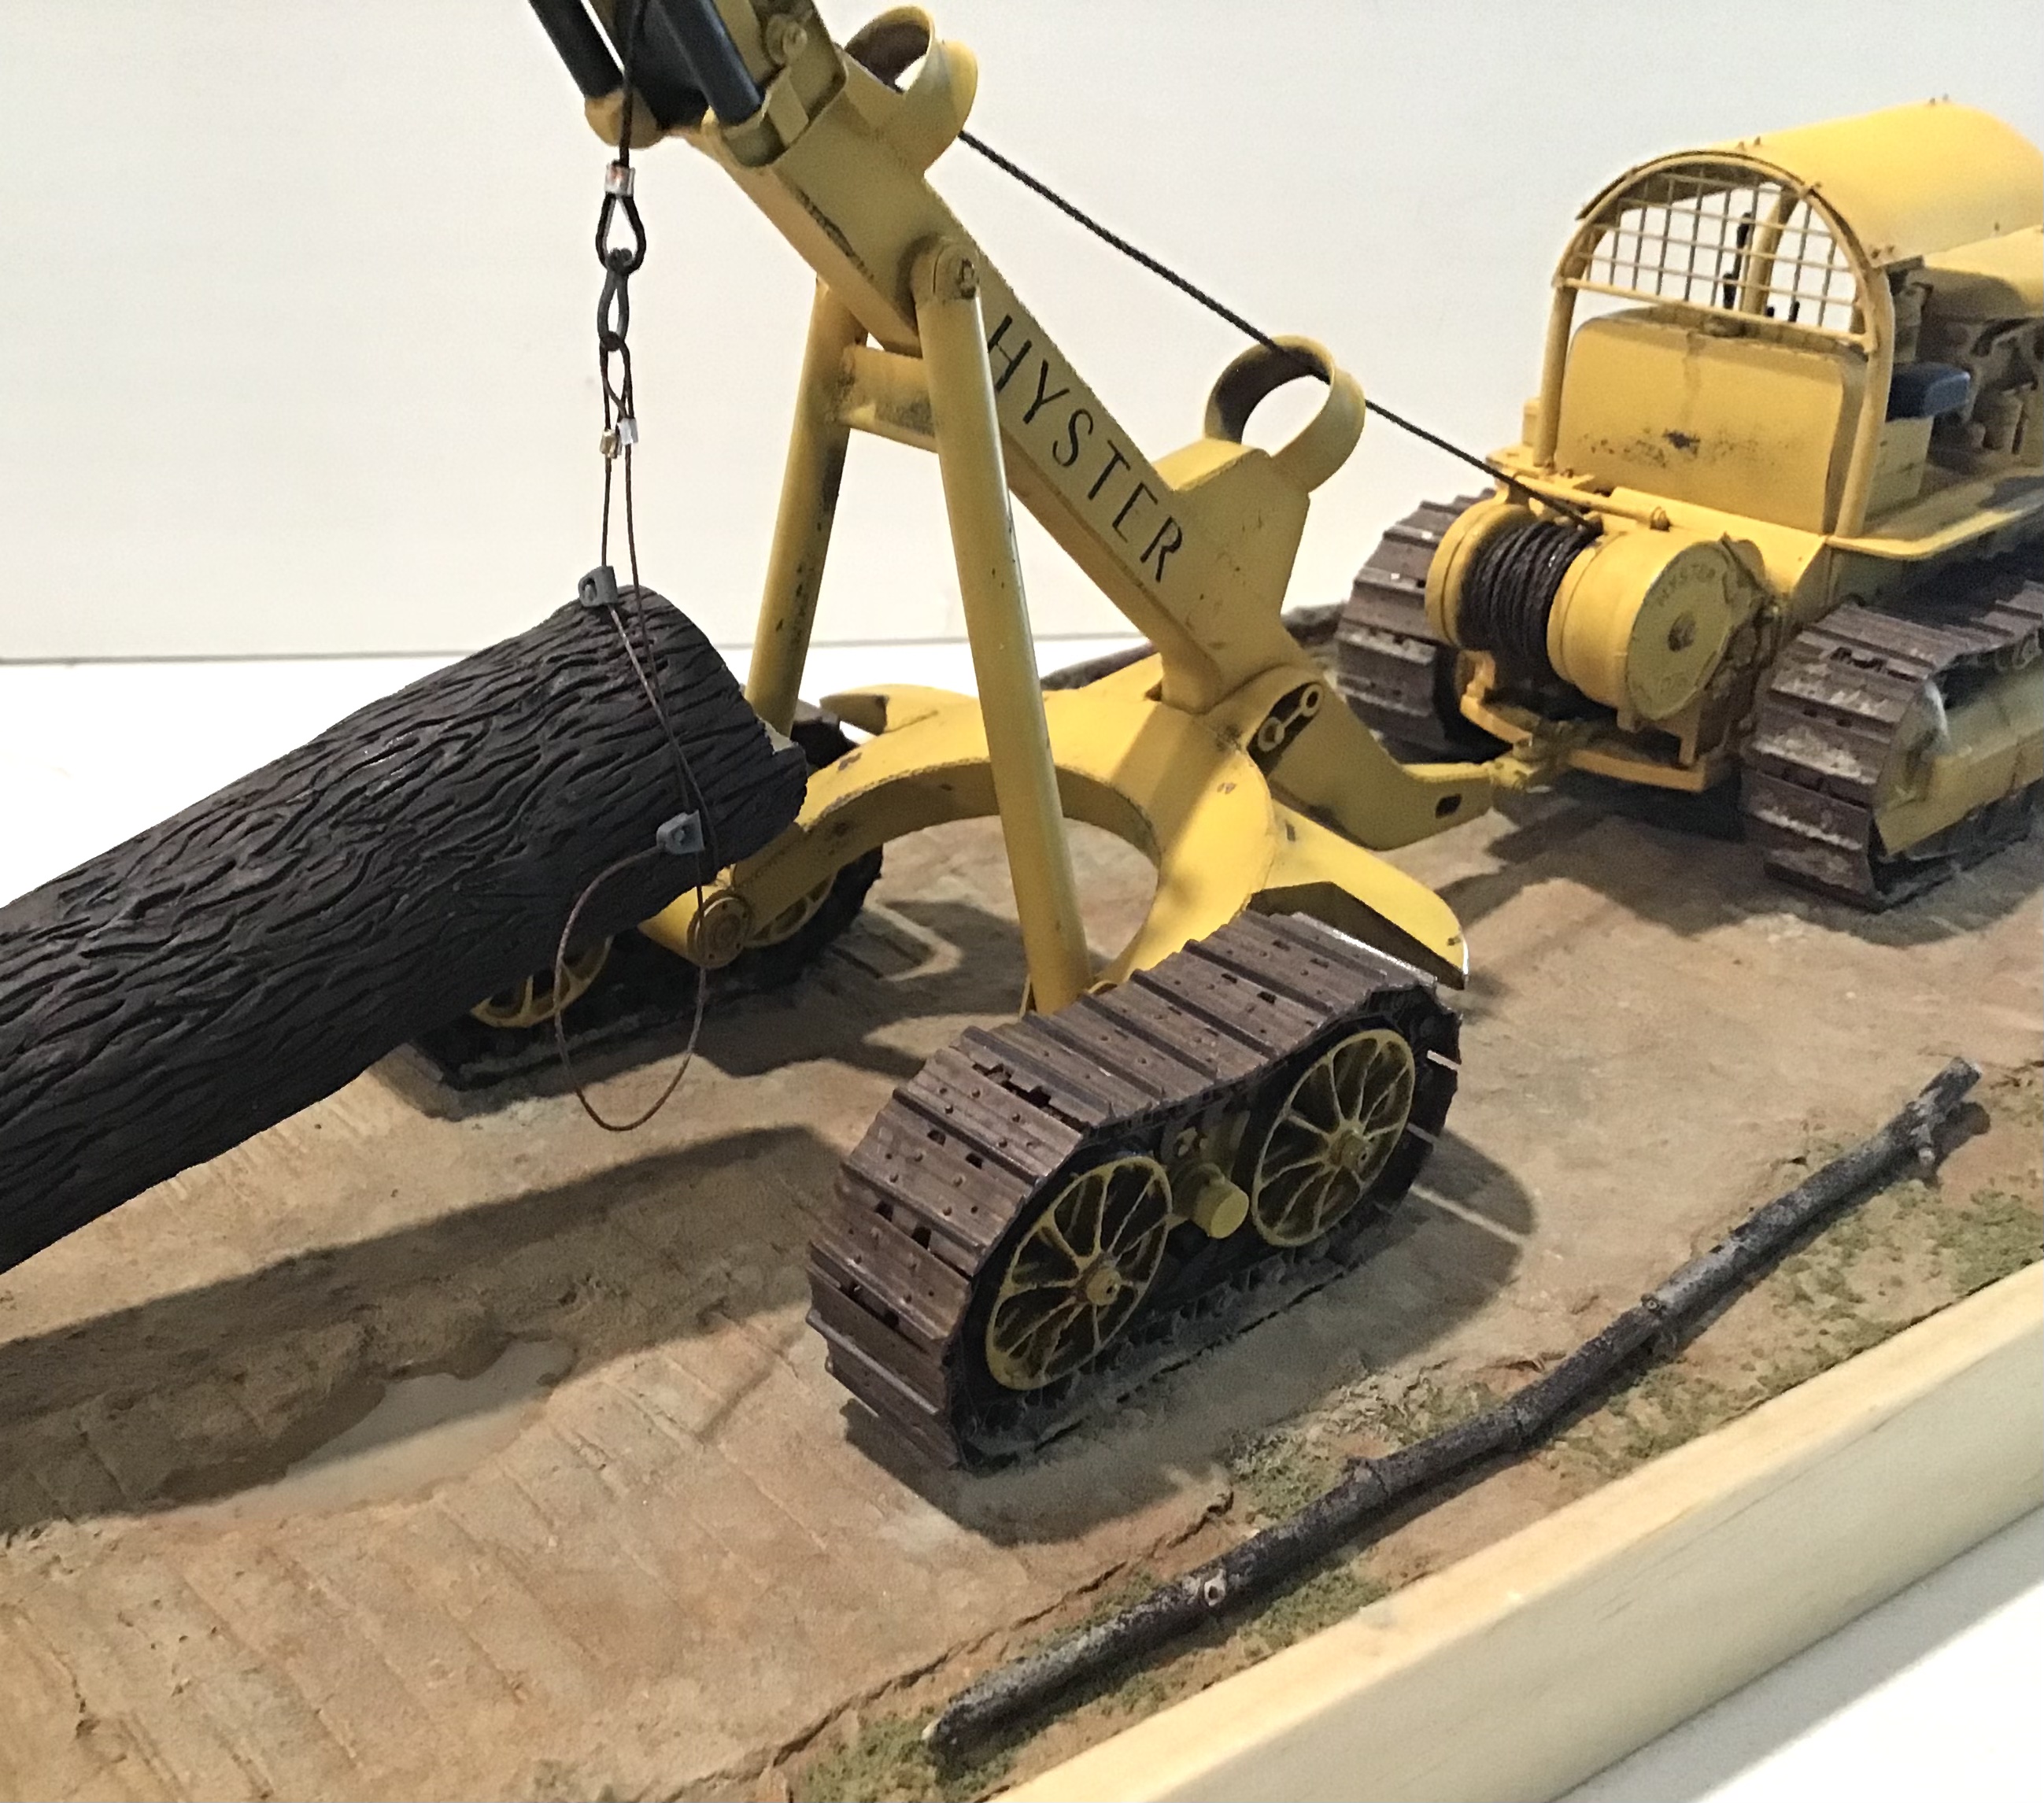
While waiting on some materials for the base I’m working on the rigging . As can be seen in the photo the log is held by a knob and ring choker which in turn is connected to the main cable by a shackle .
I made up a shackle and pin by annealing a piece of brass rod with a torch and then forming it into a U shape around another rod . I flattened the two ends with plain jaw pliers and filed them to shape then cross drilled for the pin. The shackle head was flattened on the anvil with a hammer. The pin was made in the same fashion of smaller diameter wire.
The knobs for the chokers were made by soldering brass tube between a strip of brass bent to shape .
The through hole was drilled out along with another hole at the bottom for the end of the choker cable.
The strip was then trimmed and filed to the finished shape.
Moving forward with the base a bit -
Foam edged with pine and sealed with Polycrylic .
Stump fashioned in corner with dowel epoxied to foam and then roots / bark texture done with Milliput.
Bark texture added to log with Milliput. I am going to have to shorten the log a small amount as the Milliput was starting to set when I got to the end and it doesn’t look like the rest .
Ready now to proceed with the ground work - Celluclay to start . Debating on whether I should do some preliminary painting on the stump first.
Thoughts anyone?
Thanks for looking
RT
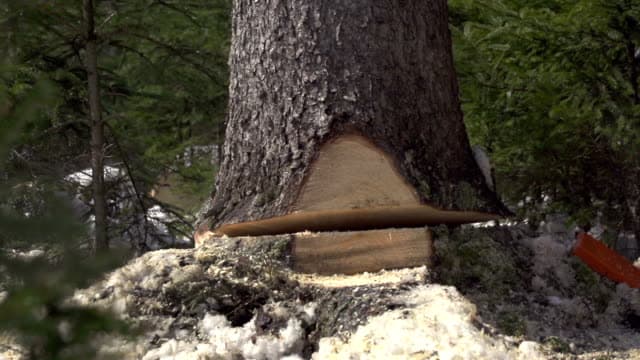
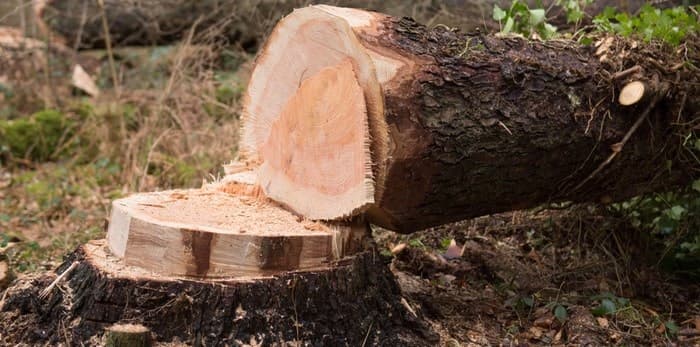
Great job on the stump and log. Have you thought about just gouging out some of the Milliput that doesn’t match? Make it look like some bark broke away when it was felled or cut off by the lumberjack. Maybe even depict the top end of the tree and the cut is where a branch was cut away?
Heeding Peter’s excellent suggestion I chipped away some of the epoxy bark on the end of the log and I am very pleased with the look - when modeling hands you lemons make lemonade !
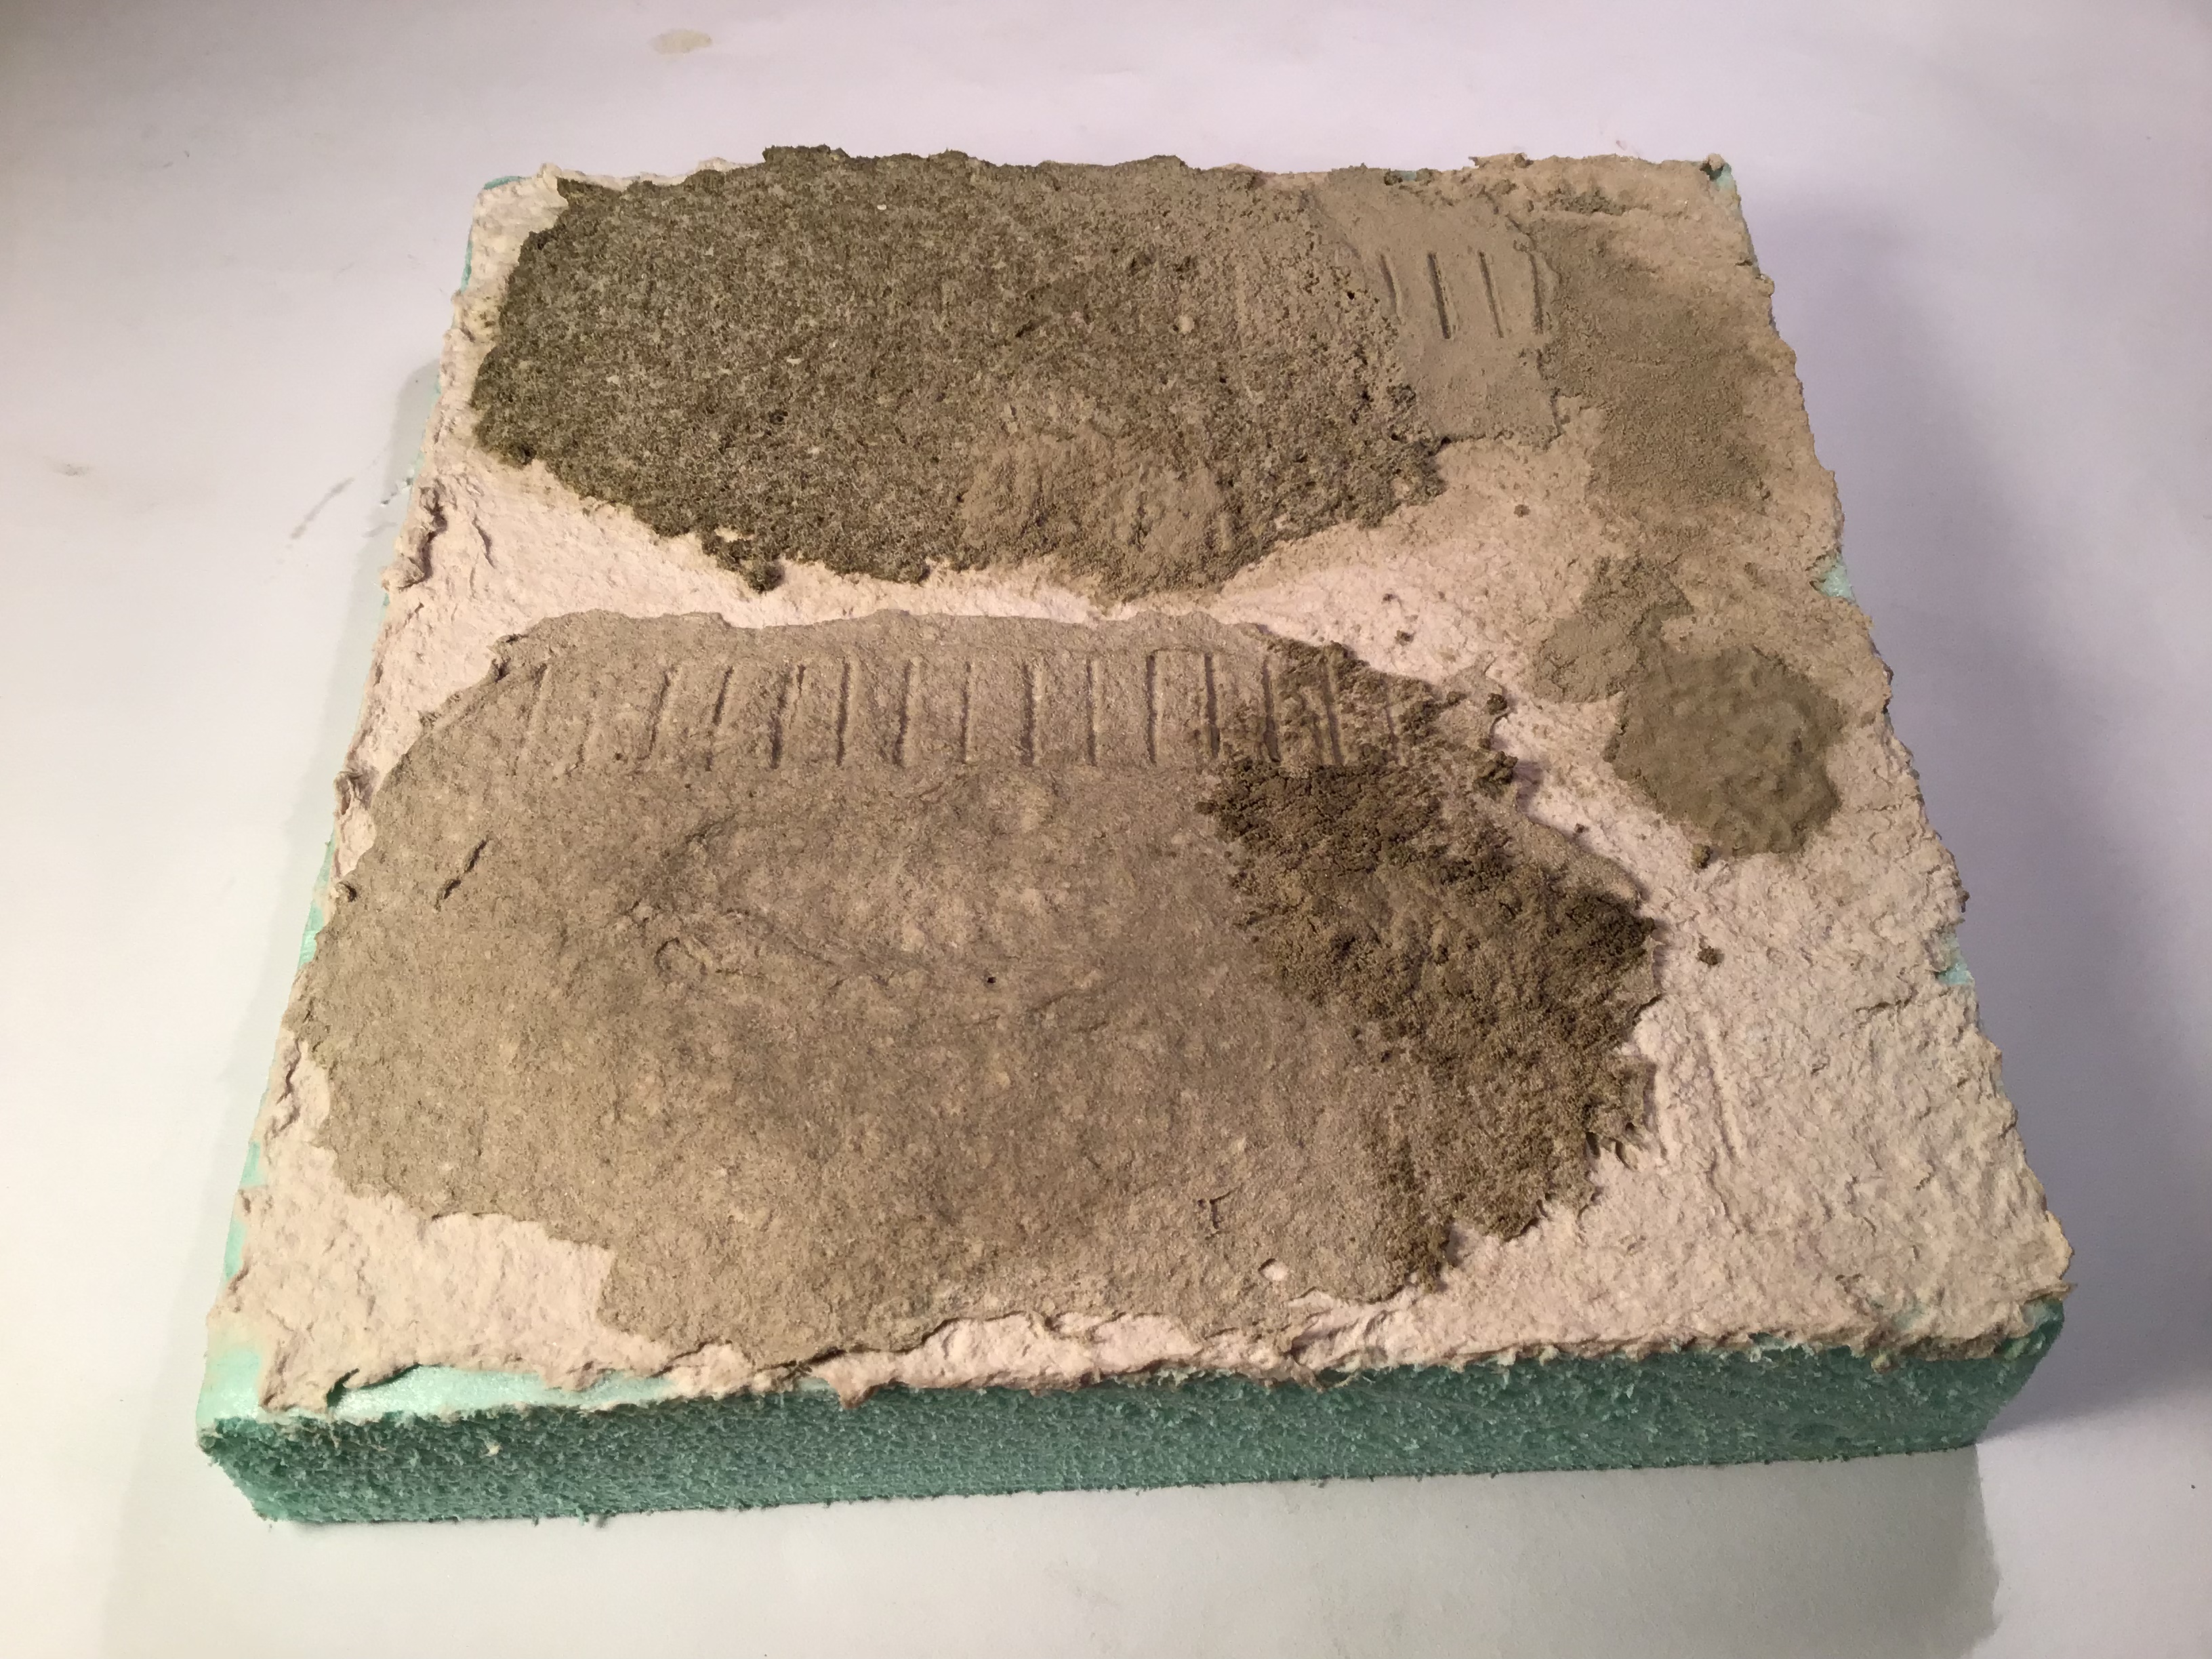
On a small square of foam I made up a test sample for the groundwork. I have never used foam as a base and so was unsure of the adhesion of the Celluclay . All seems fine . Also trying pigments , etc.
Groundwork begun on the base with Celluclay . I mixed the Celluclay with the late great Shep Paine’s time honored recipe - water , dish detergent and PVA . I also added some Earth Patina pigment .
Now a few days of slow drying before the next steps . If this were the heating season I would pop it in the mechanical closet with the heating system.
Cheers- RT
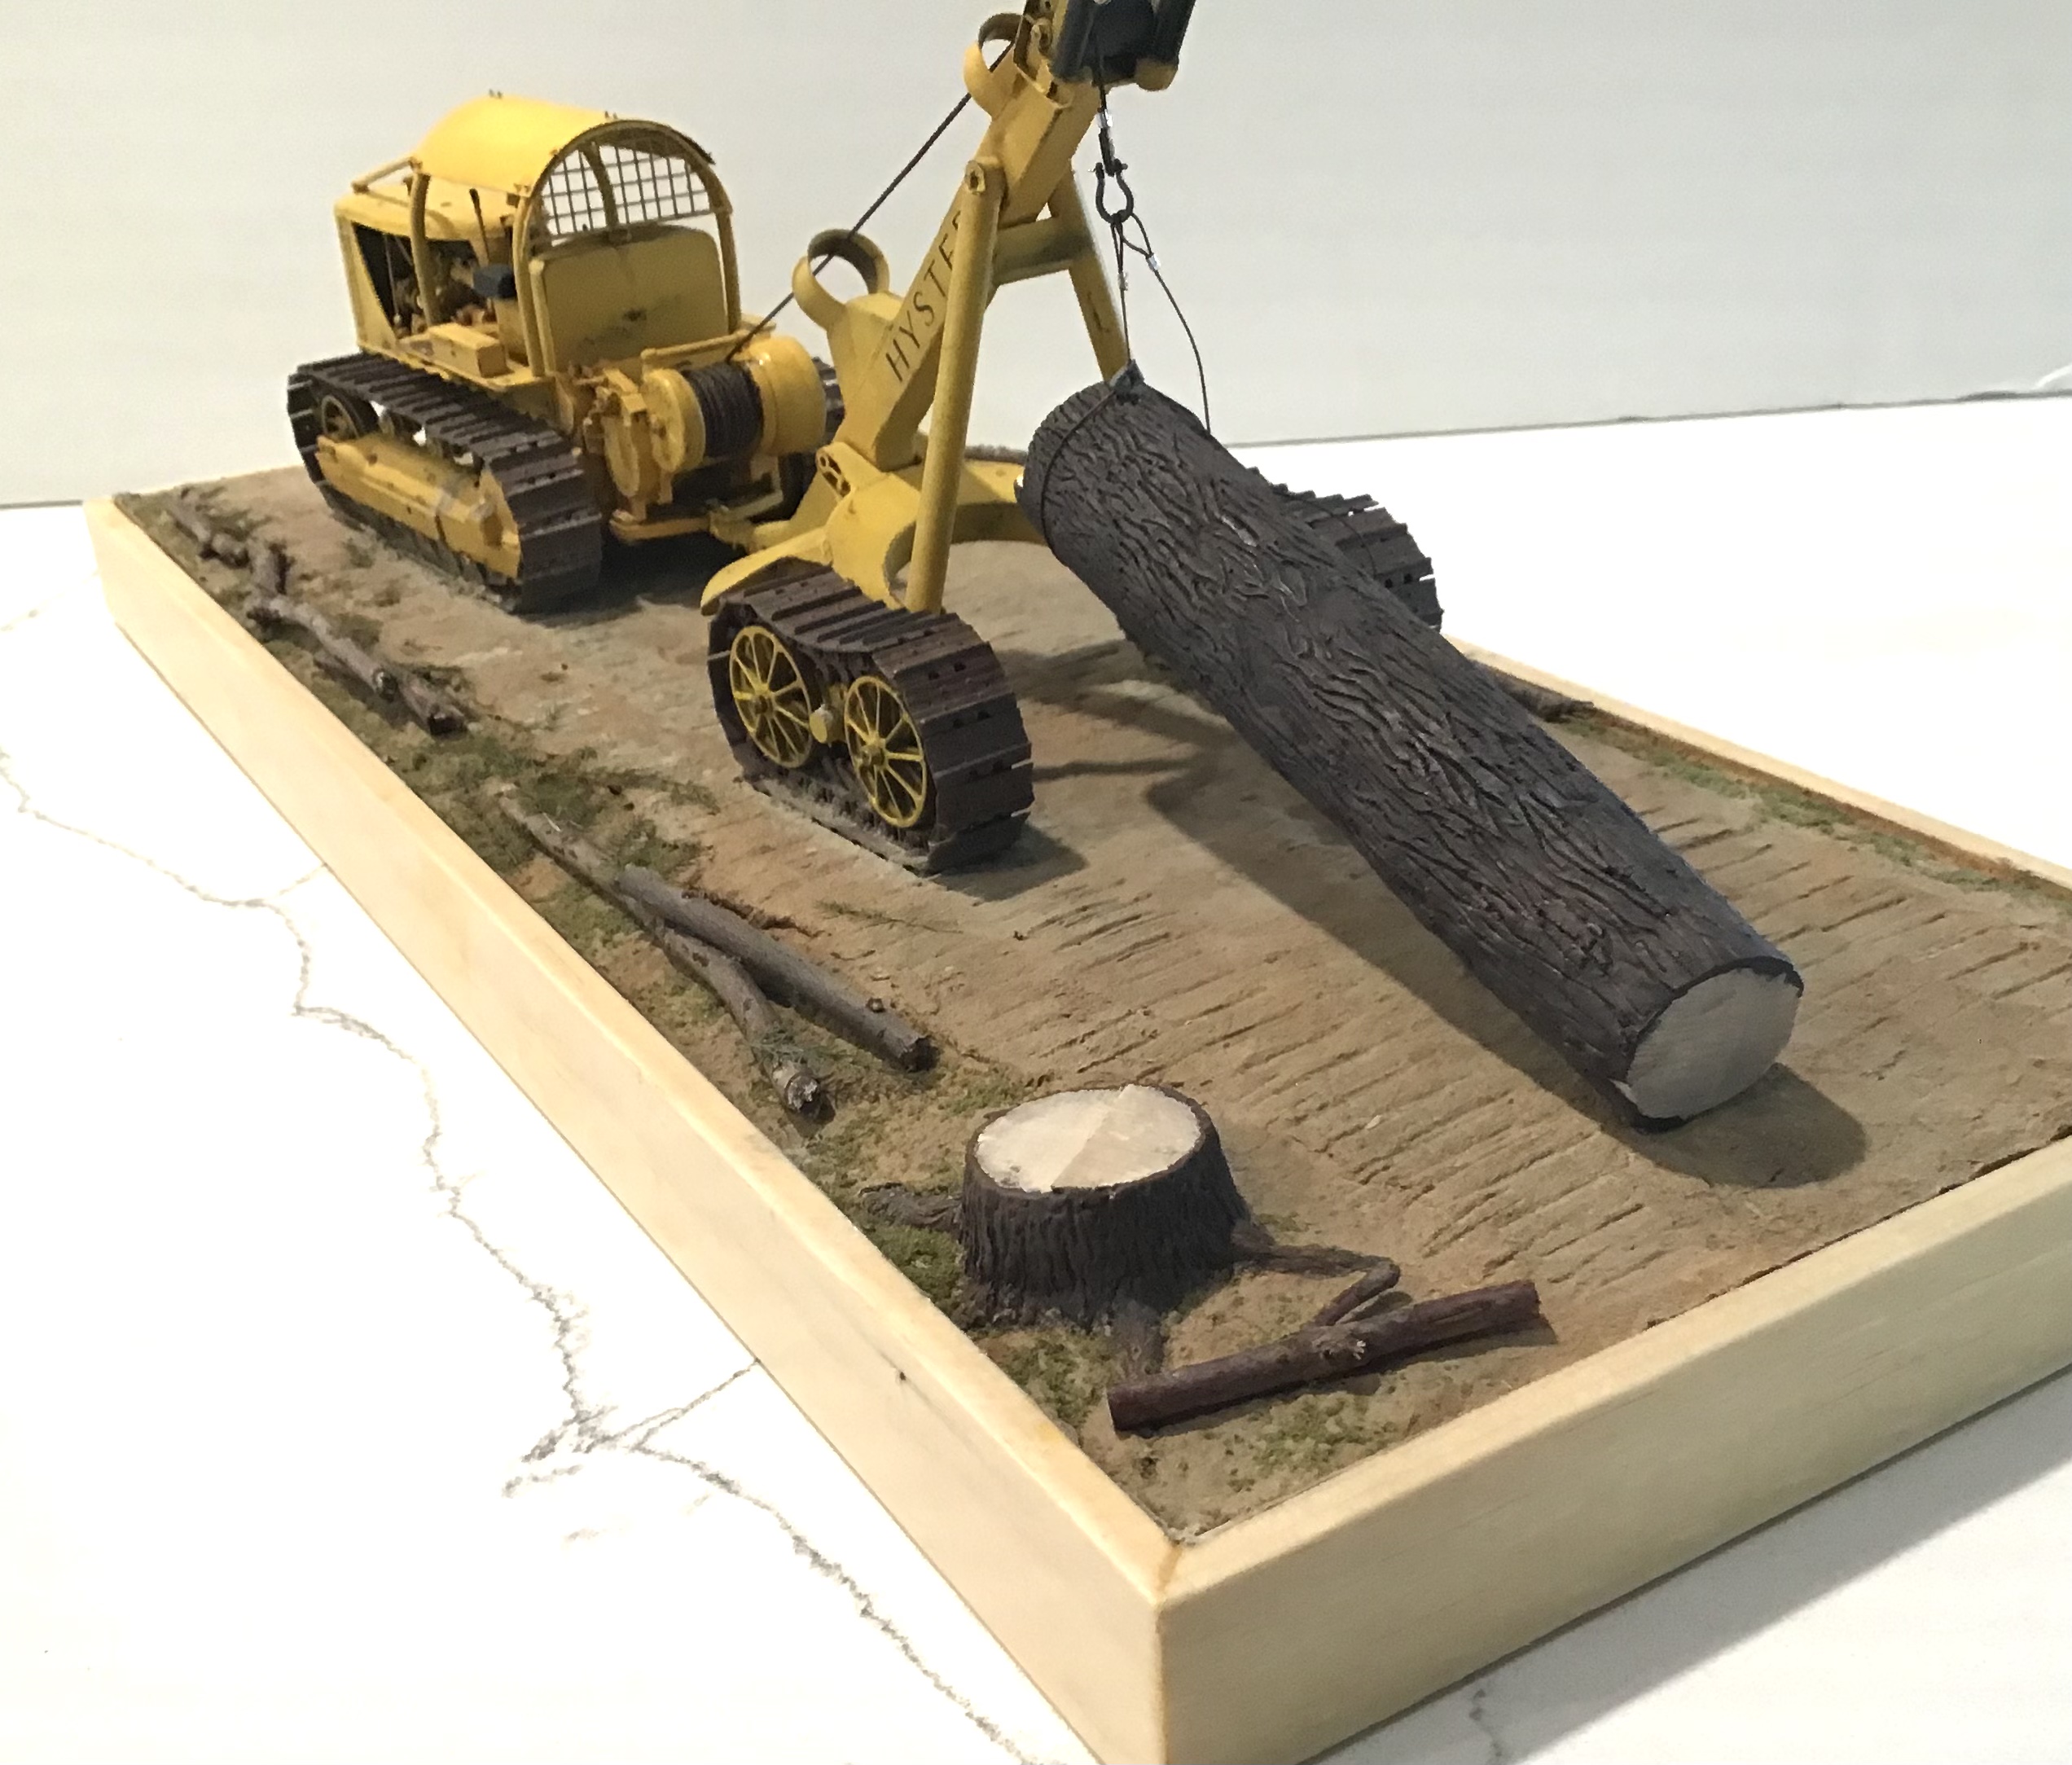
Base ground work so far - Celluclay painted with Sienna and Burnt Umber washes and dusted with Earth pigments . Puddles done with Future tinted with Tamiya Earth. Stump and log first painted with base color mixed from grey and red brown then wash of Payne’s Grey . Dry brushed with red brown
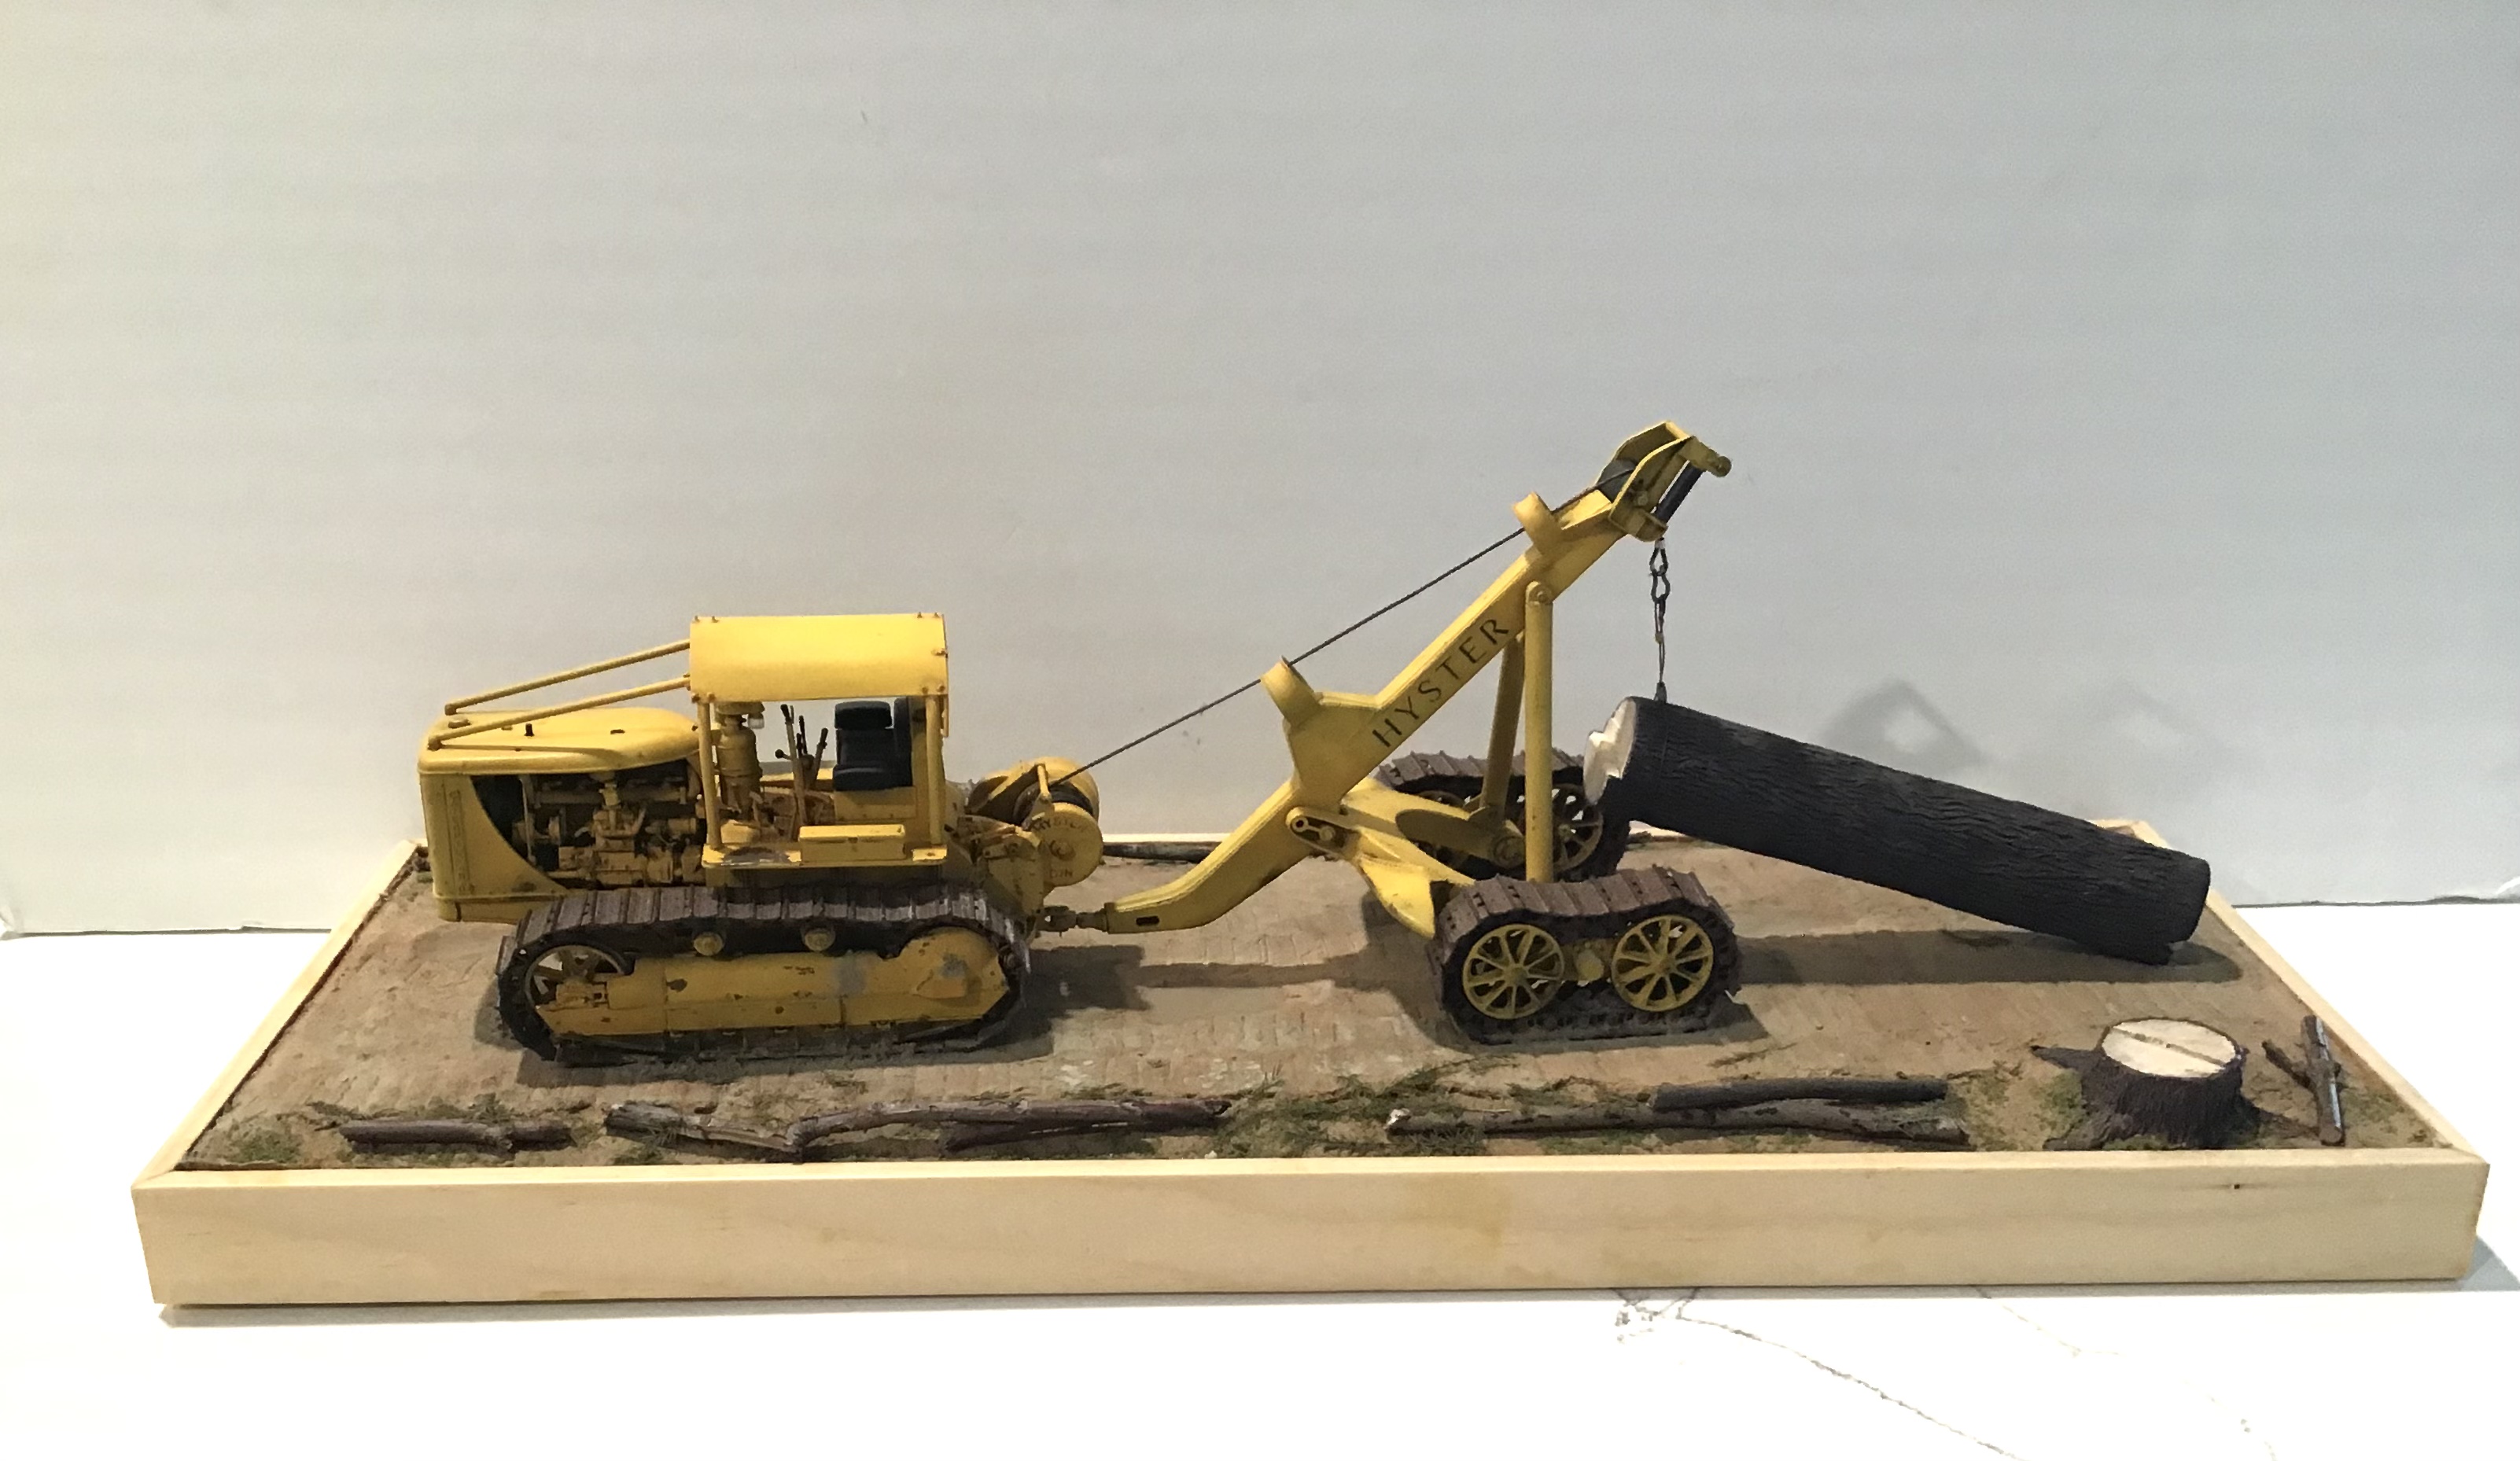
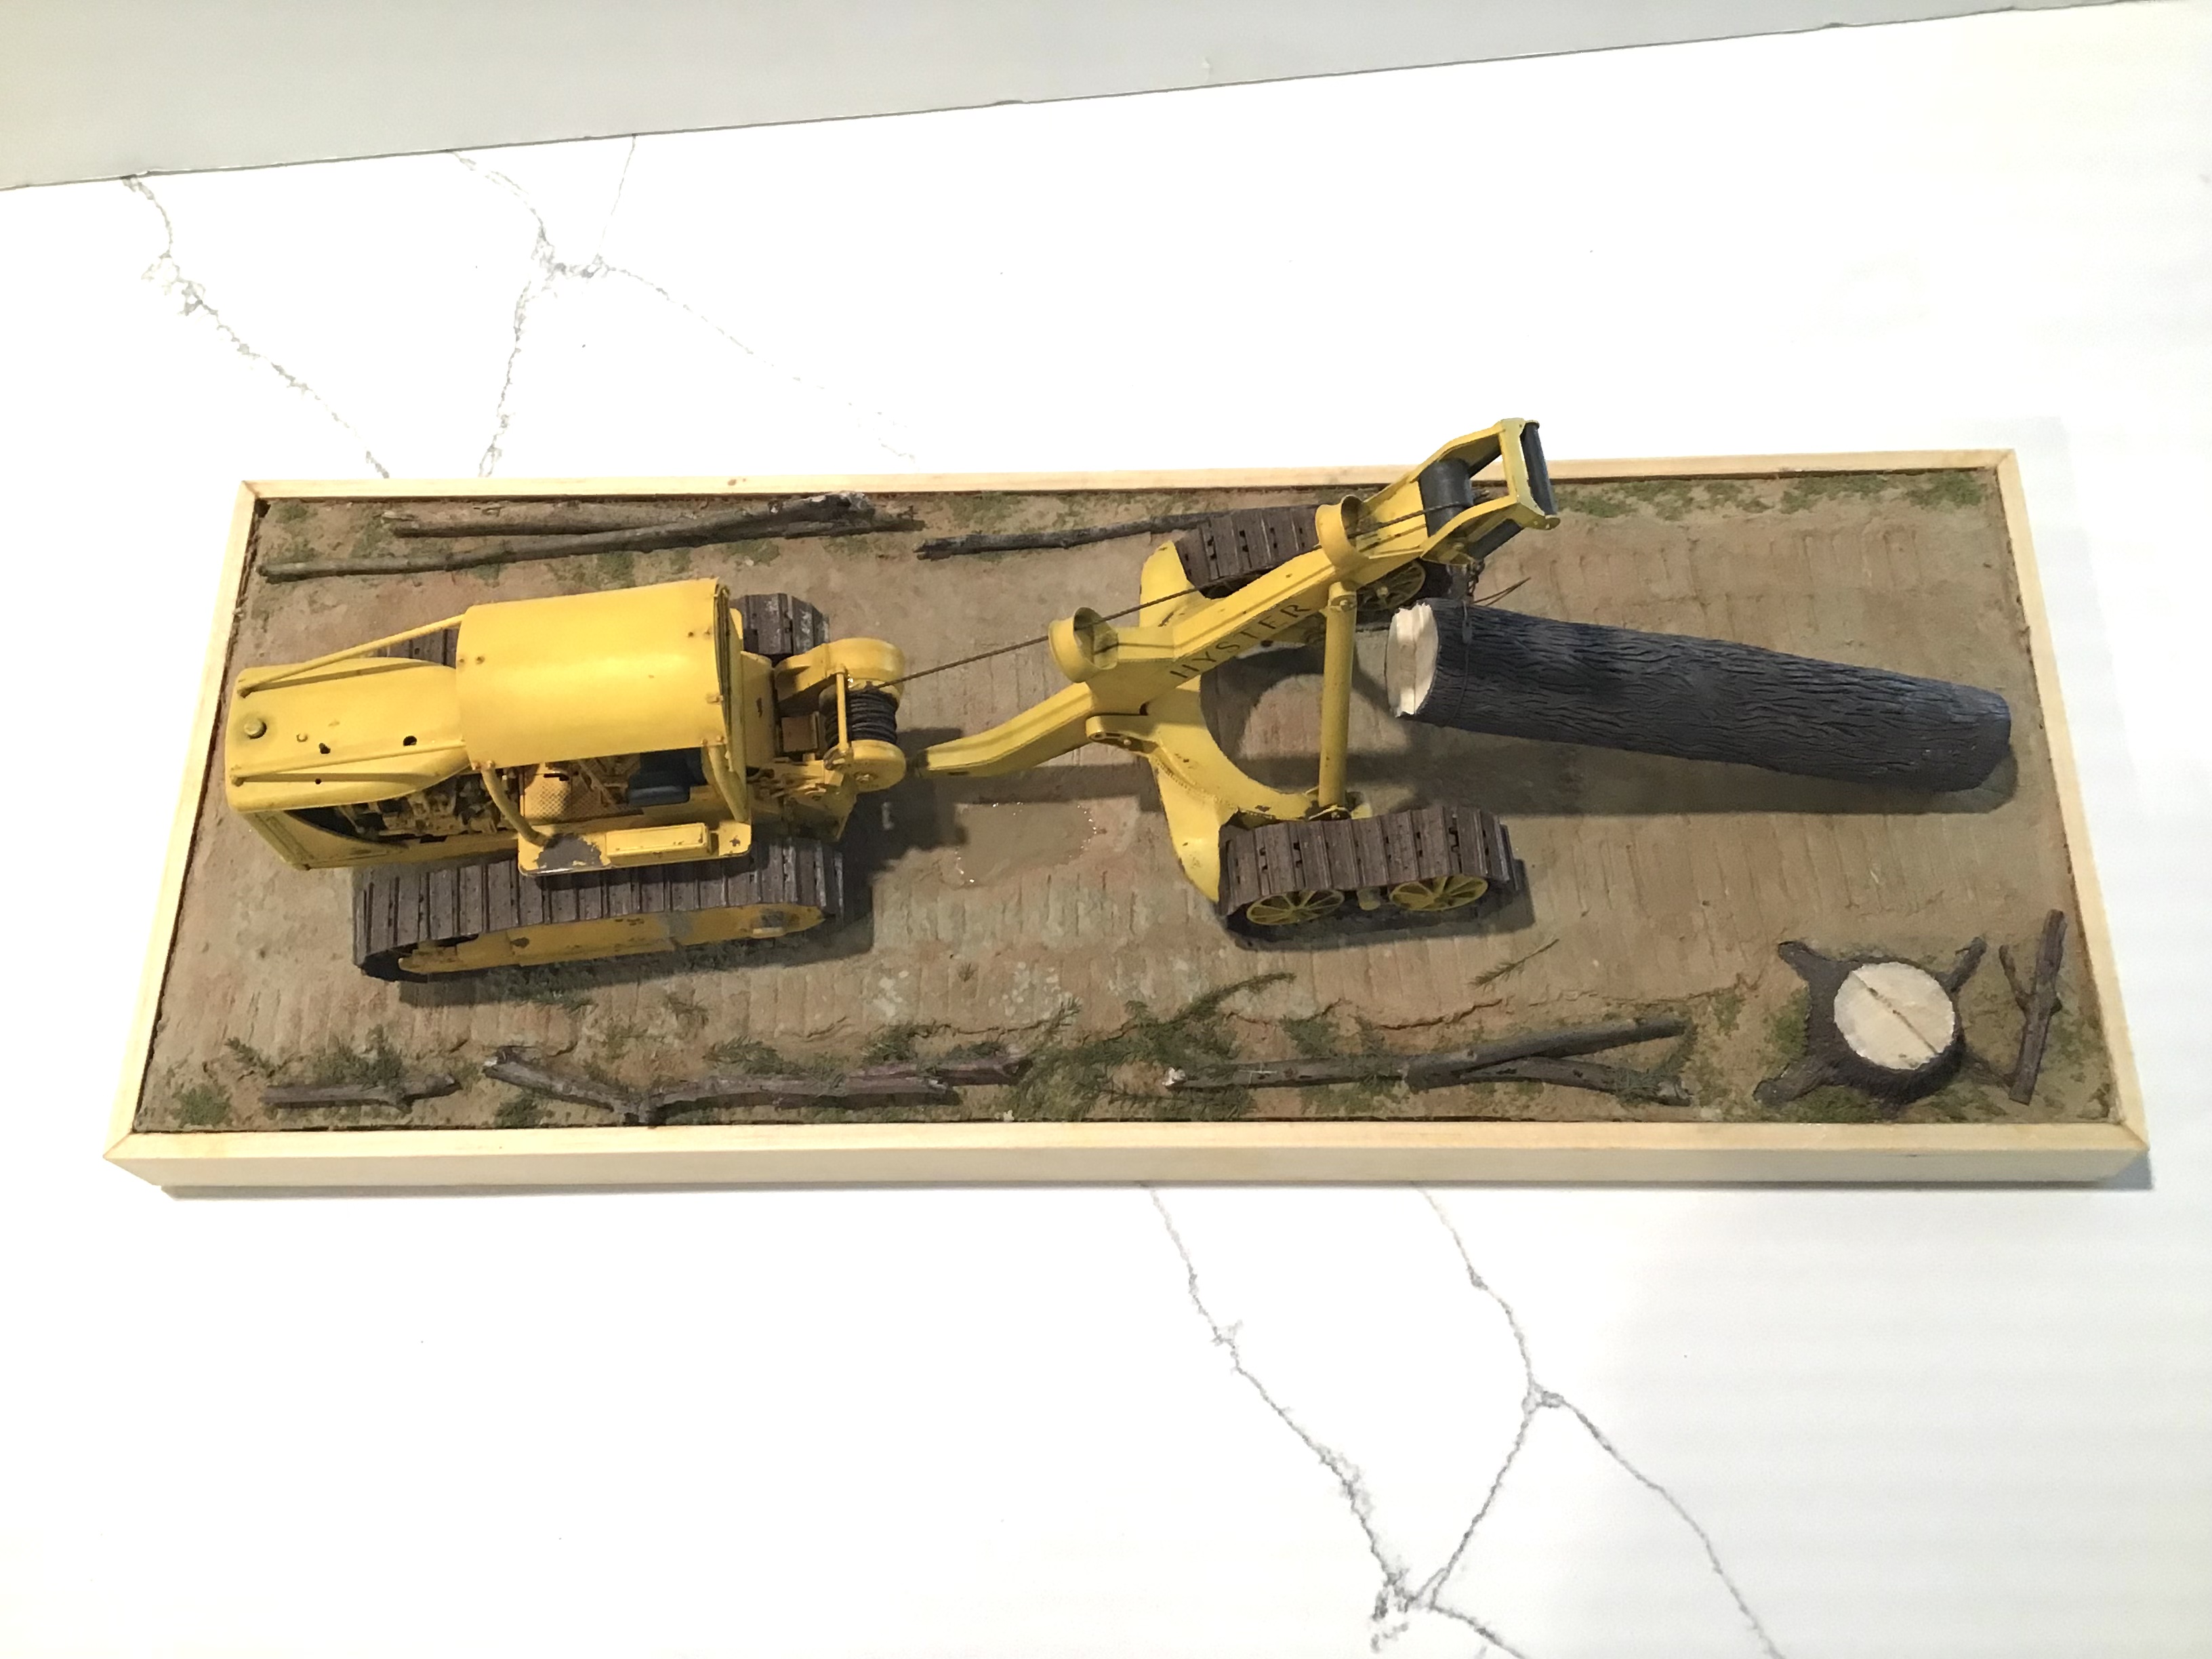
Then earth then grey . Twigs from the yard added and Scale Scenics Evergreen branches for slash from timber cutting. Cat and arch glued in place with PVA . Cable wound on drum and placed on arch . Log temporarily rigged but a little more paint work to be done yet . A few odds and ends to add and more work on tracks with earth pigments.