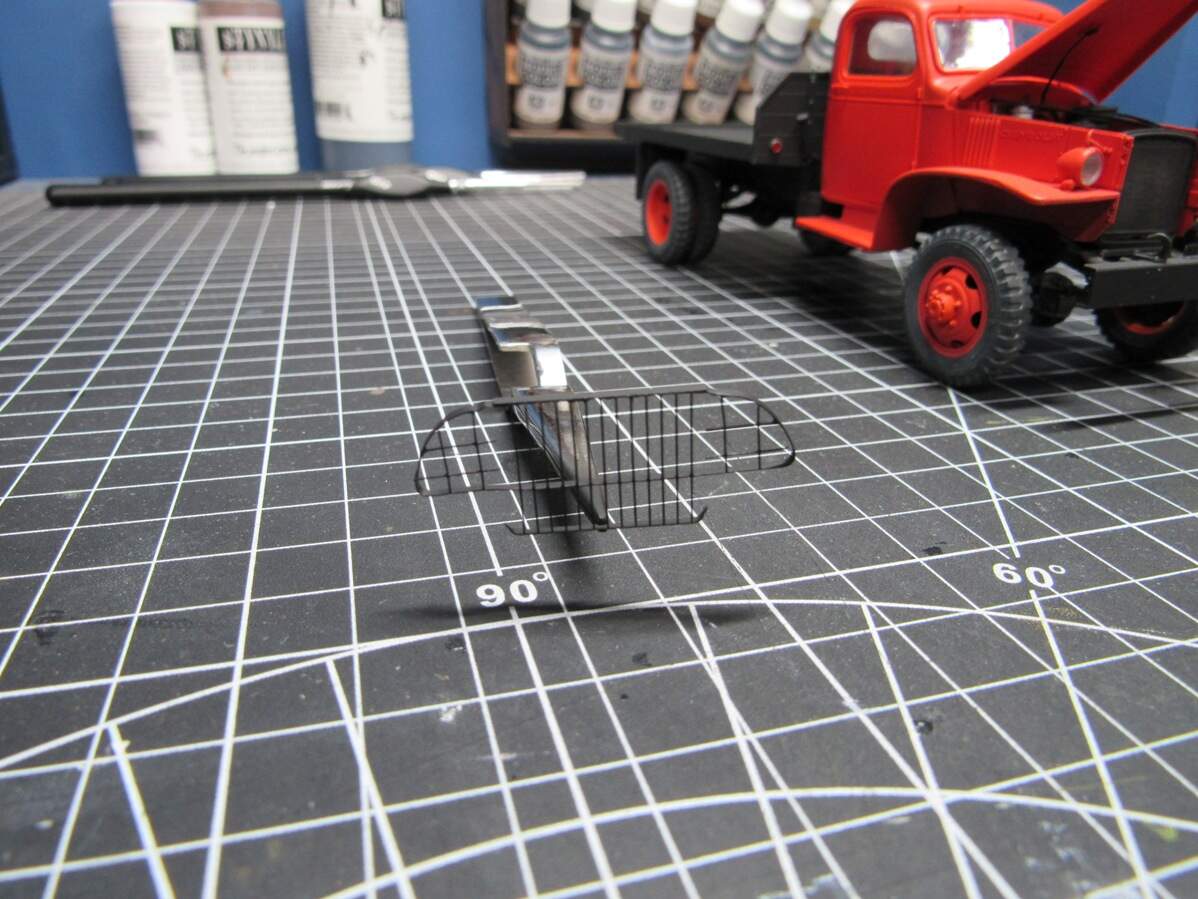
Some progress the past week. First I’d like to cover some kit issues. There have been a few pieces that were broken on the sprue. With MiniArt’s penchant for fragile parts and packaging everything in one bag it’s not surprising. Pieces Fa6 & 7 were both broken, repairing was simple, but one of the pieces that broke off was no where to be found, possibly thrown out with the plastic bag. It’s circled below,
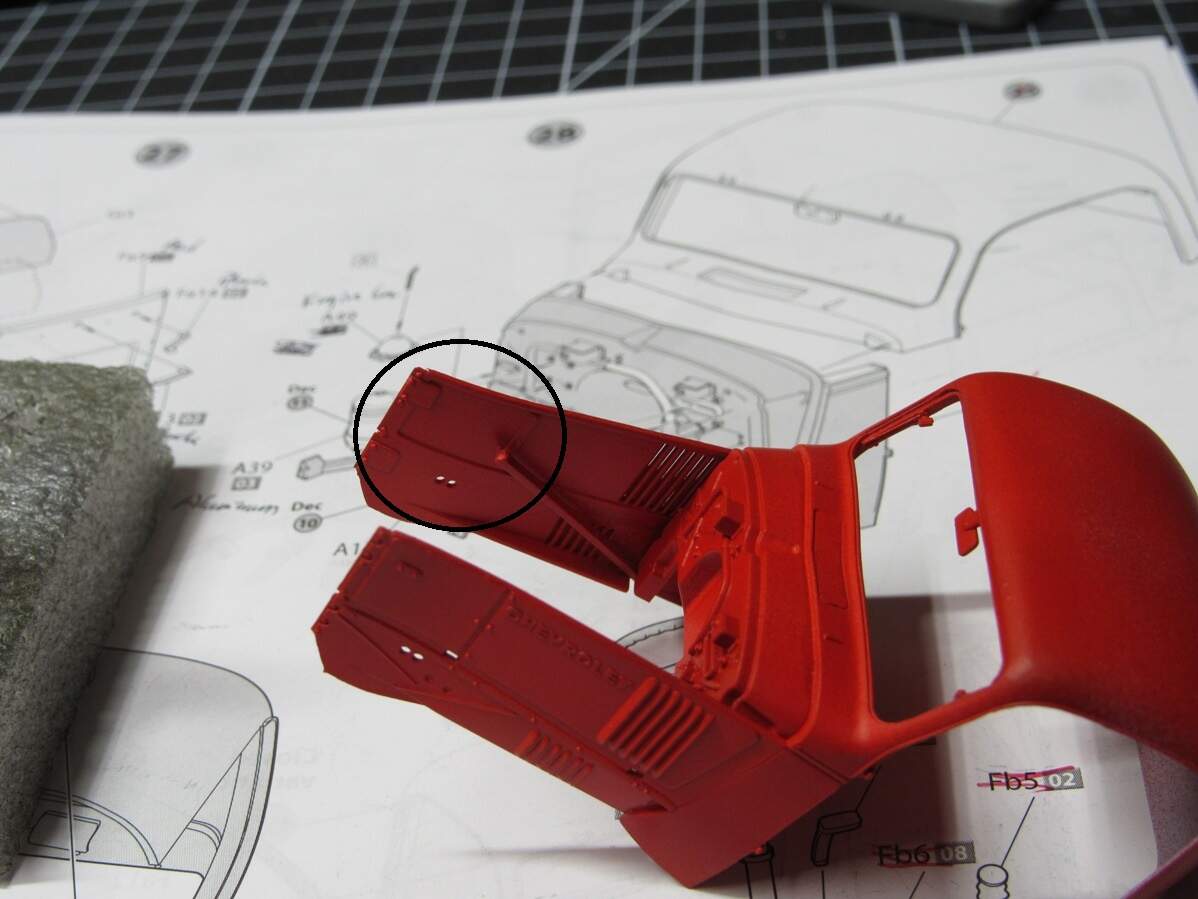
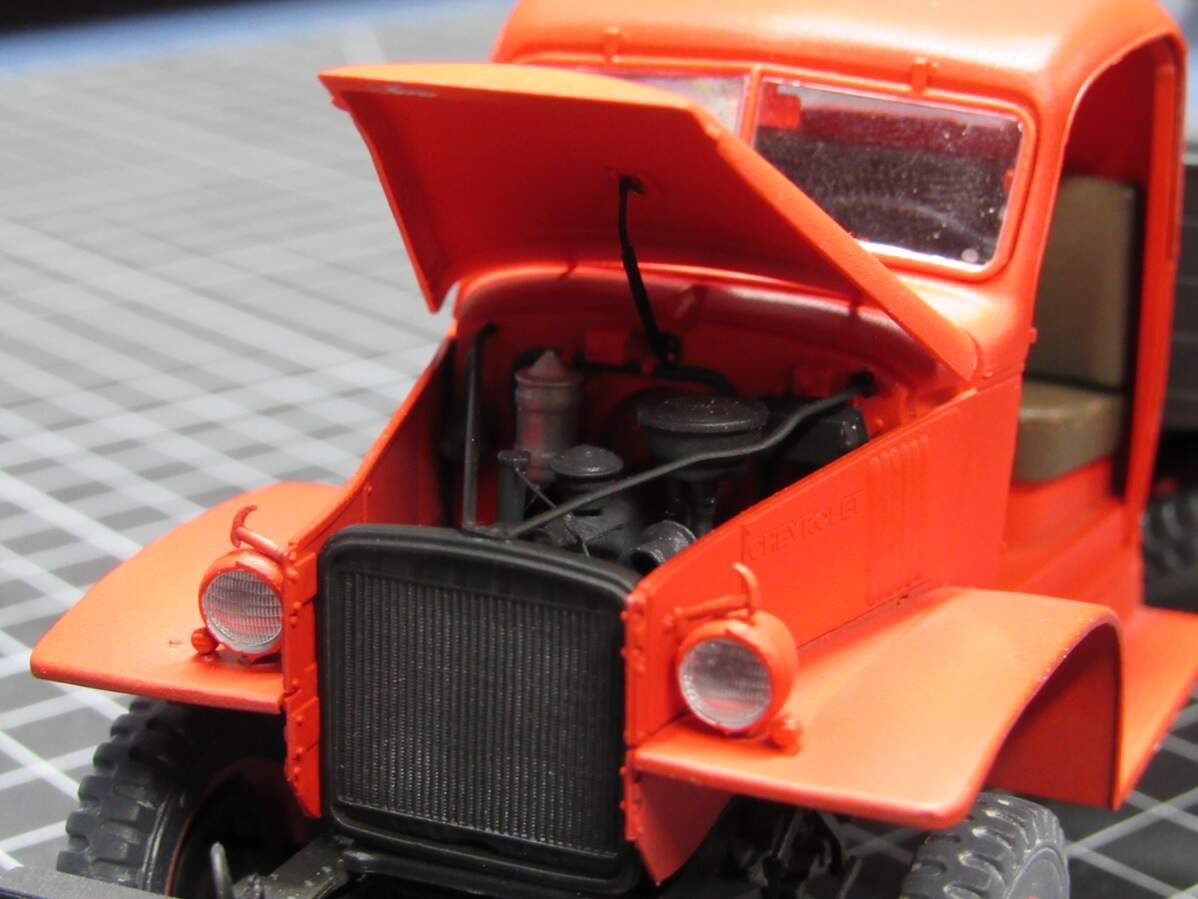
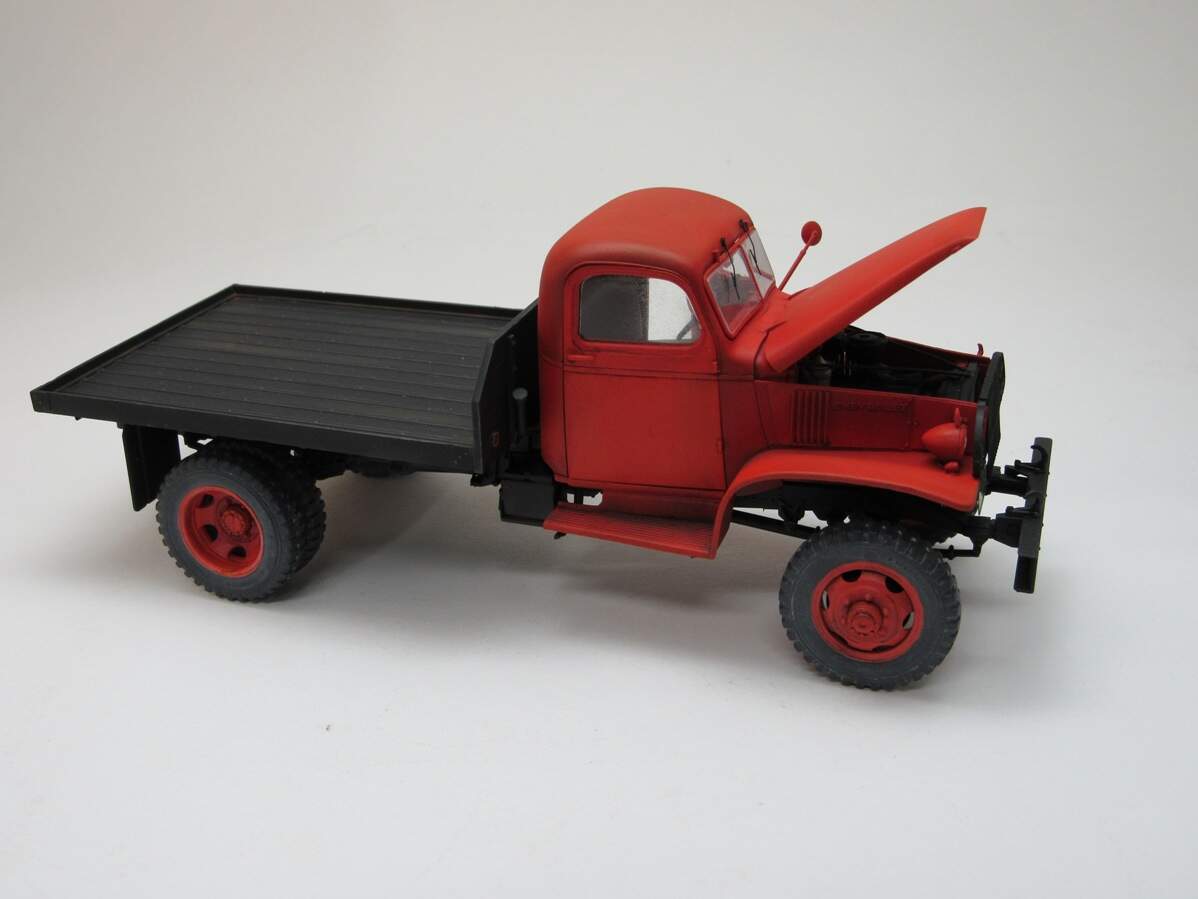
That strut should extend almost all the way forward and connect with the radiator. I figured I could live without it and didn’t bother scratching in a replacement. I still plan on keeping the hood open as well.
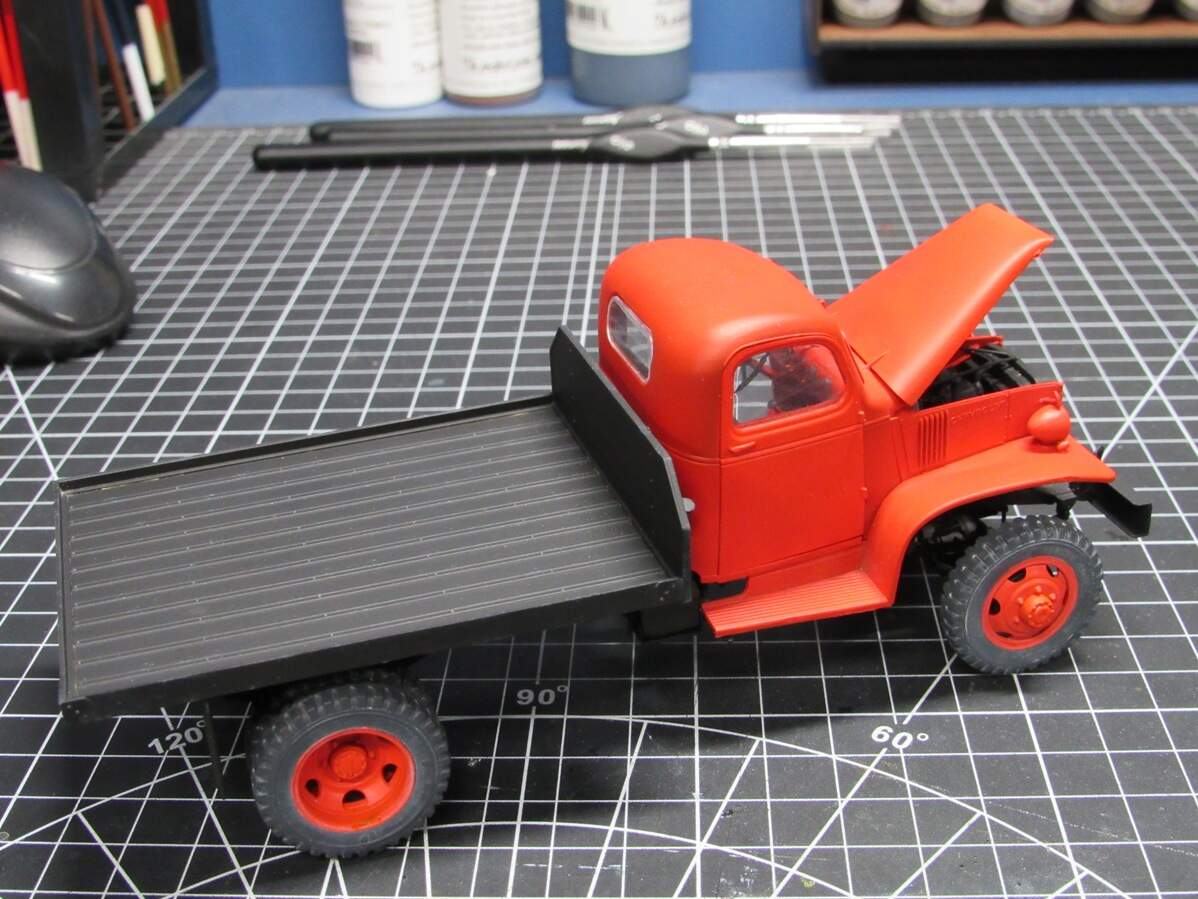
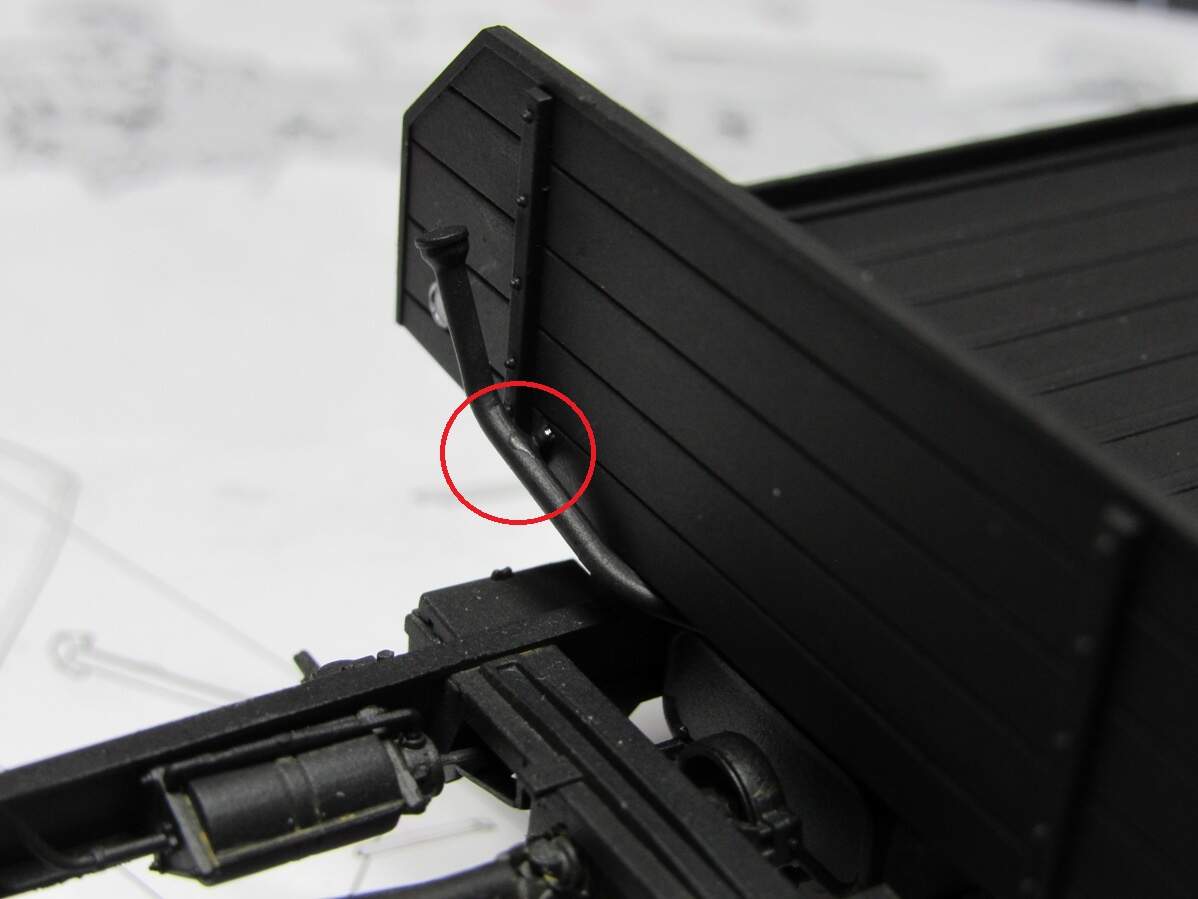
Back on the bed there is a notch to sit the fill pipe in. Looks like a short shot on my kit. I noticed this when I went to place the PE strap and found it didn’t even come close to making it around the pipe. Like above, I decided to just go without.
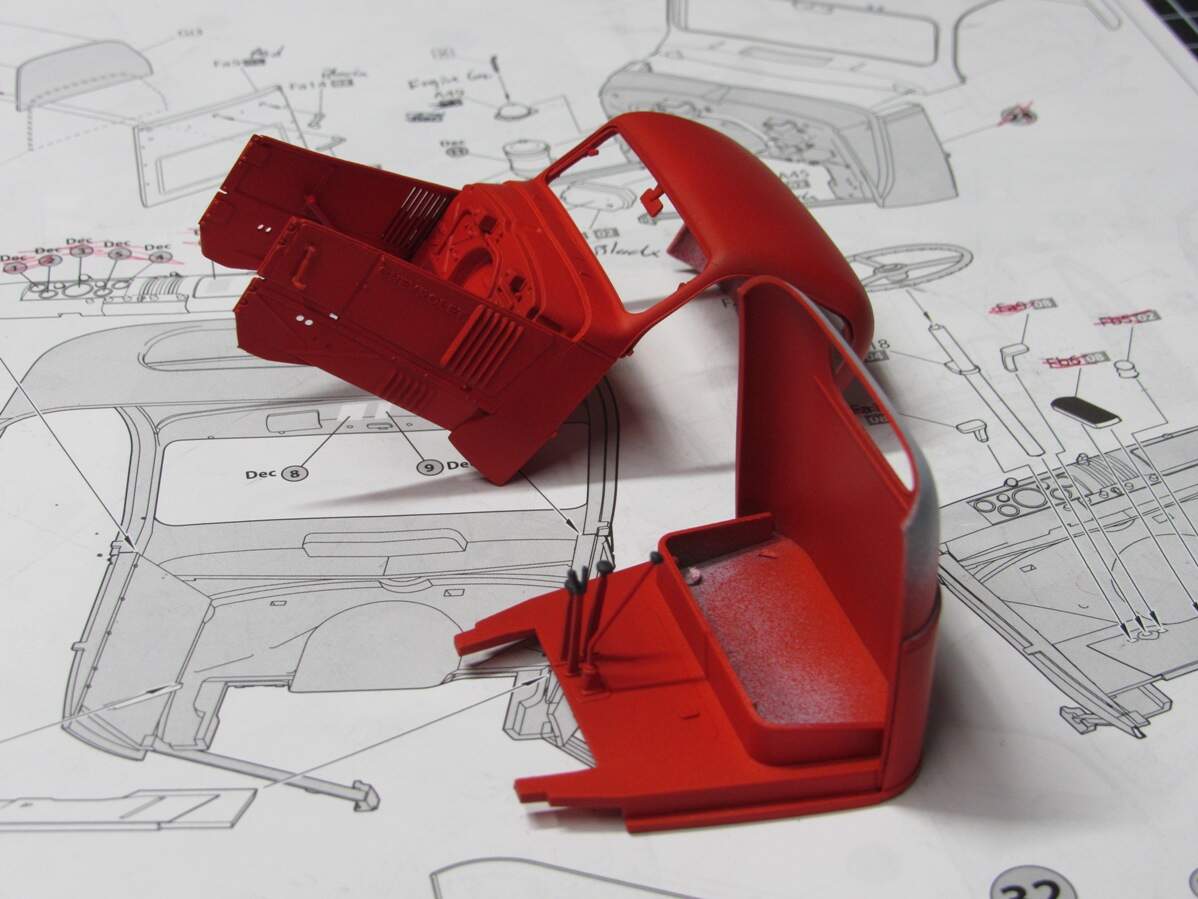
The steering wheel was also cracked on the sprue, but was easy to fix.
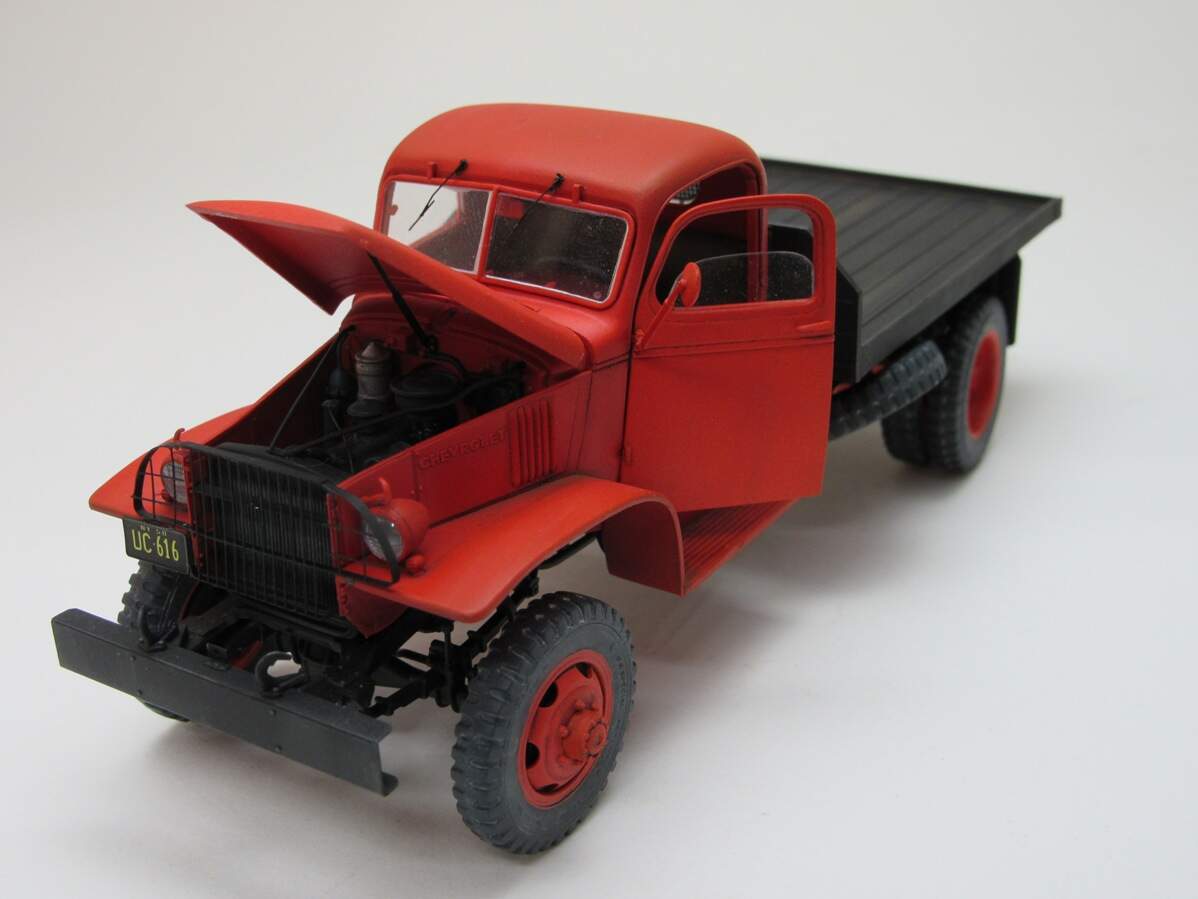
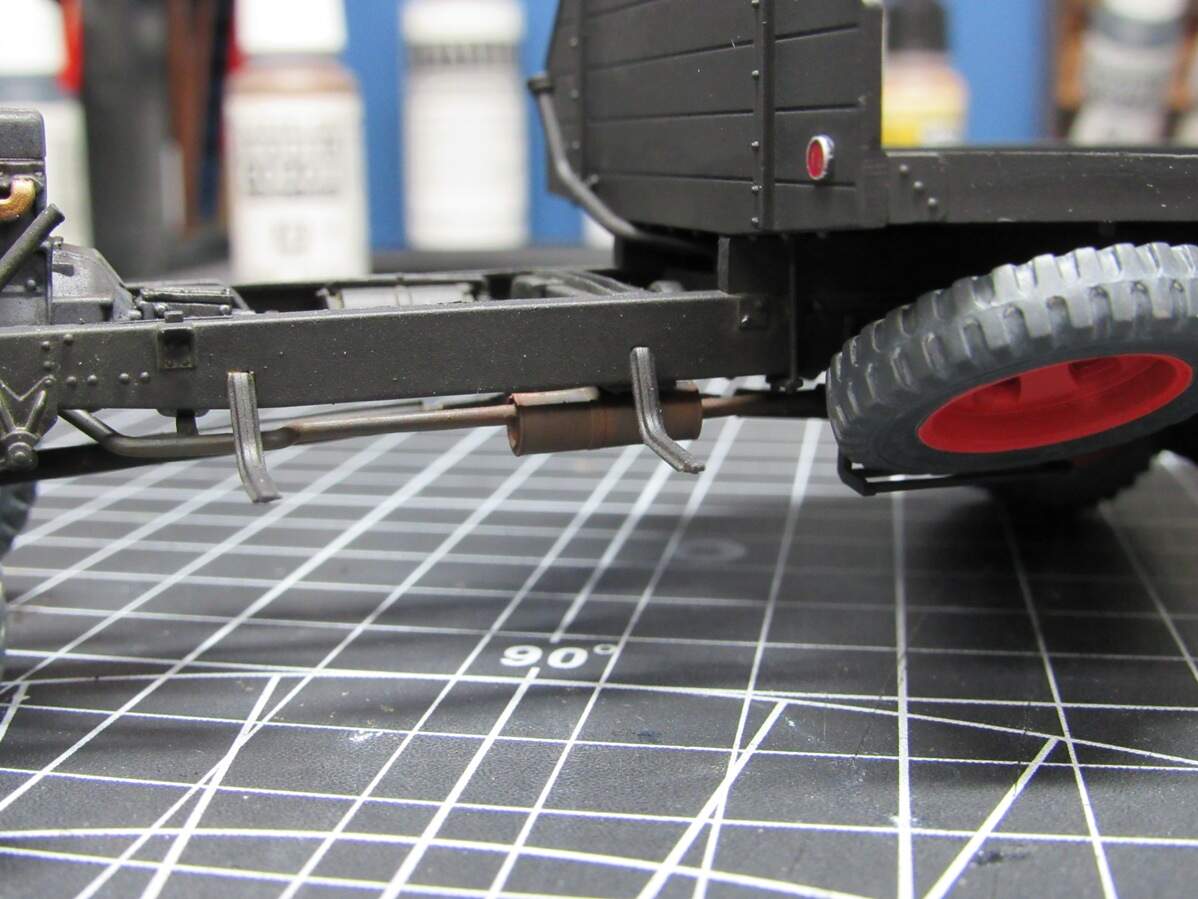
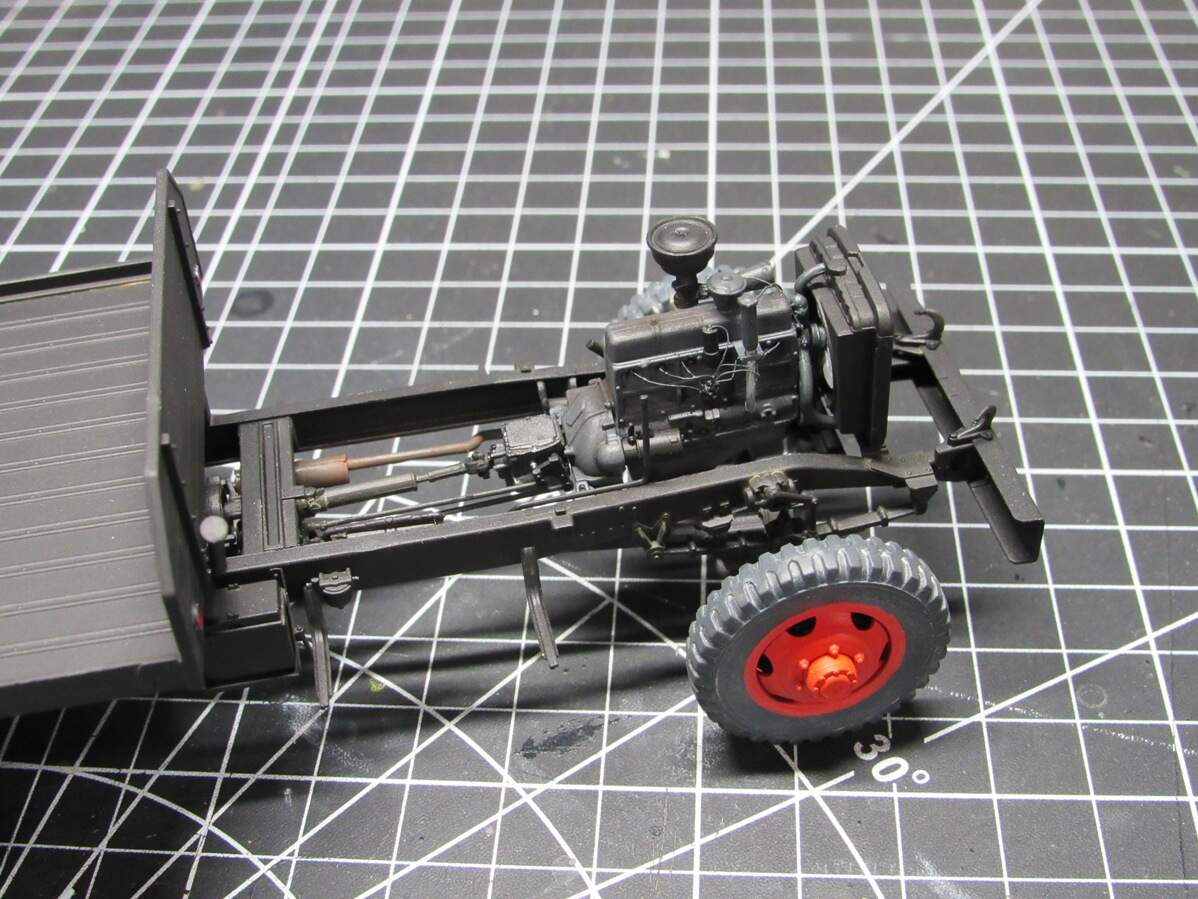
Picking up from my last update, I did get the exhaust mounted. There was a minor catastrophe when I knocked the engine off trying to mount it. Nothing broke that bad, and I got it mounted back in place without much issue.

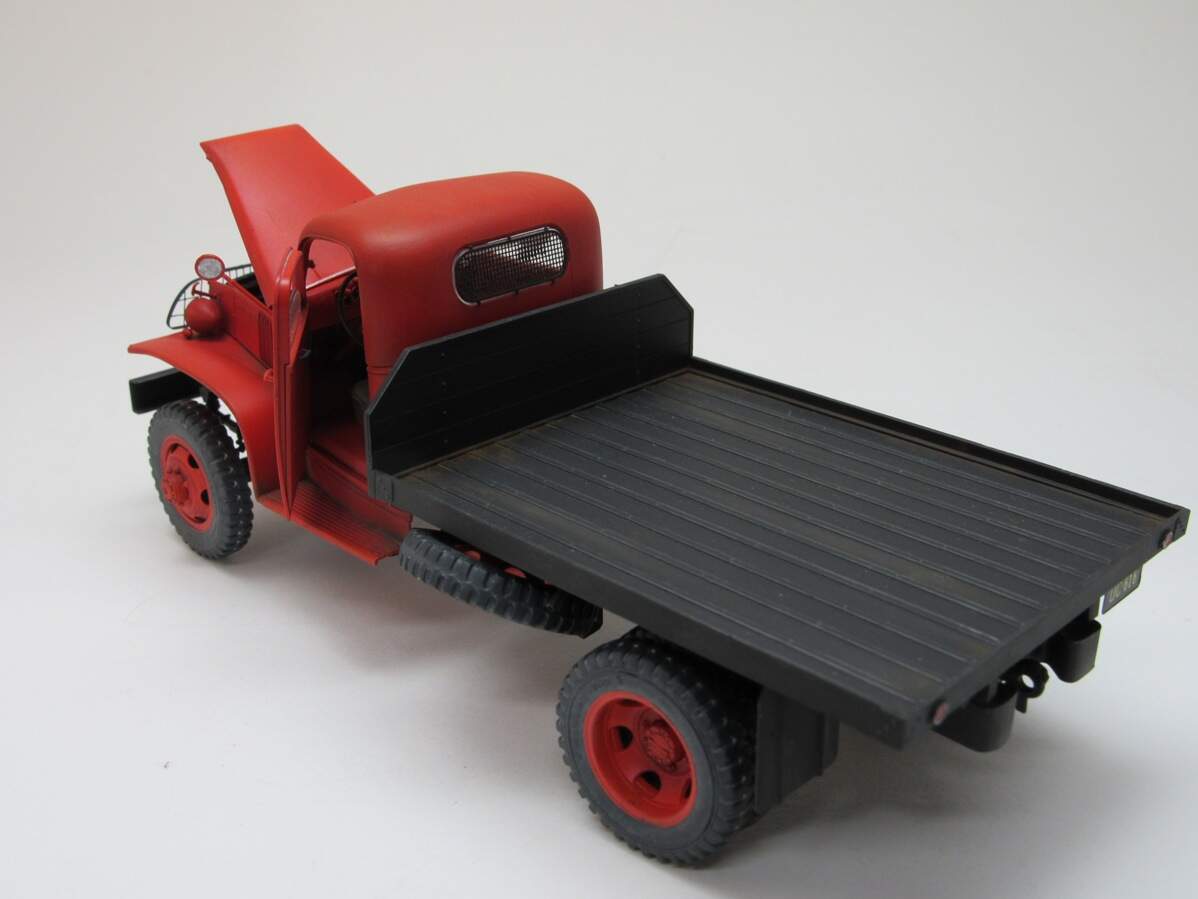
Using some rust enamels and pigments I weathered it up,
I also decided to dust up the engine with some ‘smoke’ pigments which I think works well on engines in general.
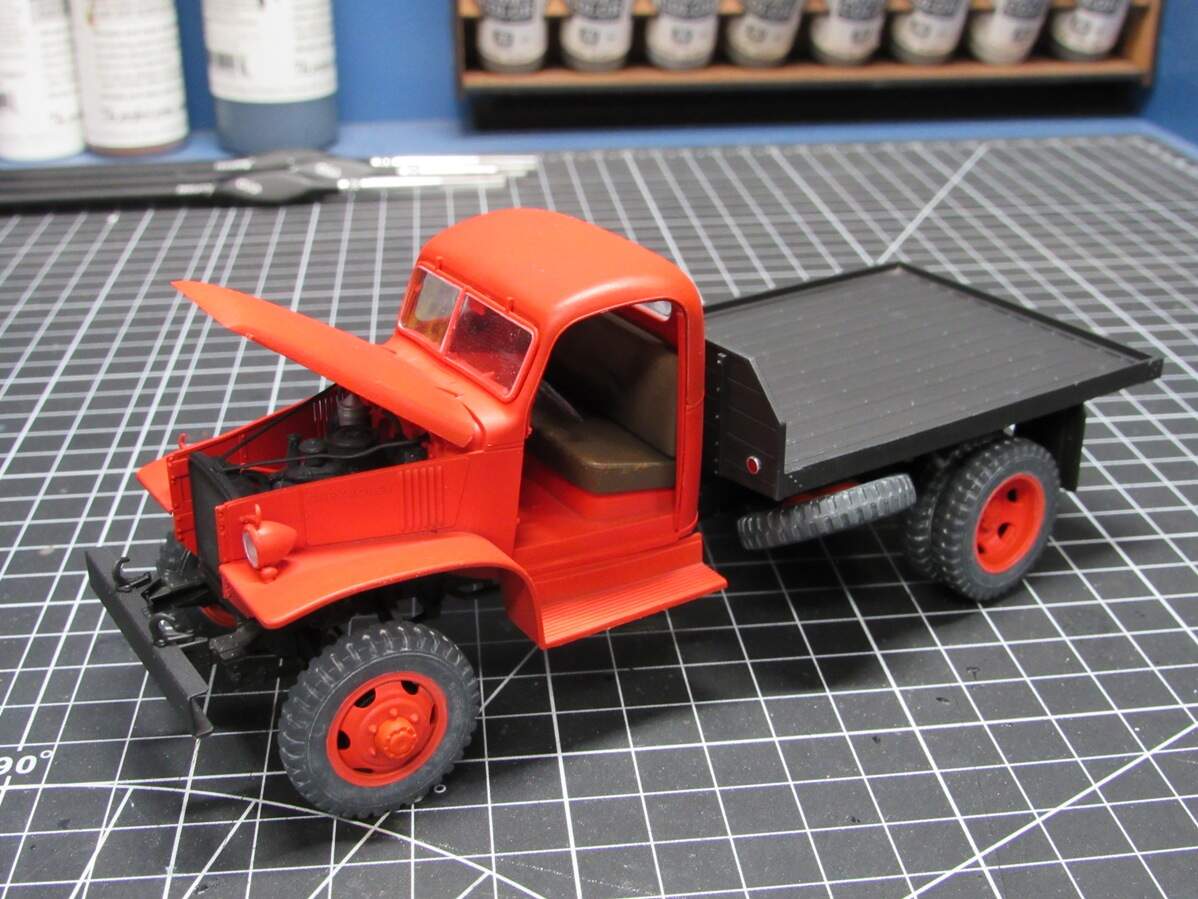
Other than I’ve been working on the cab too. Here it’s best not to follow instructions. I’ve been jumping around the steps to make sure each assembly is completed before priming and painting. Given the tons of small parts it’s easy to miss things.
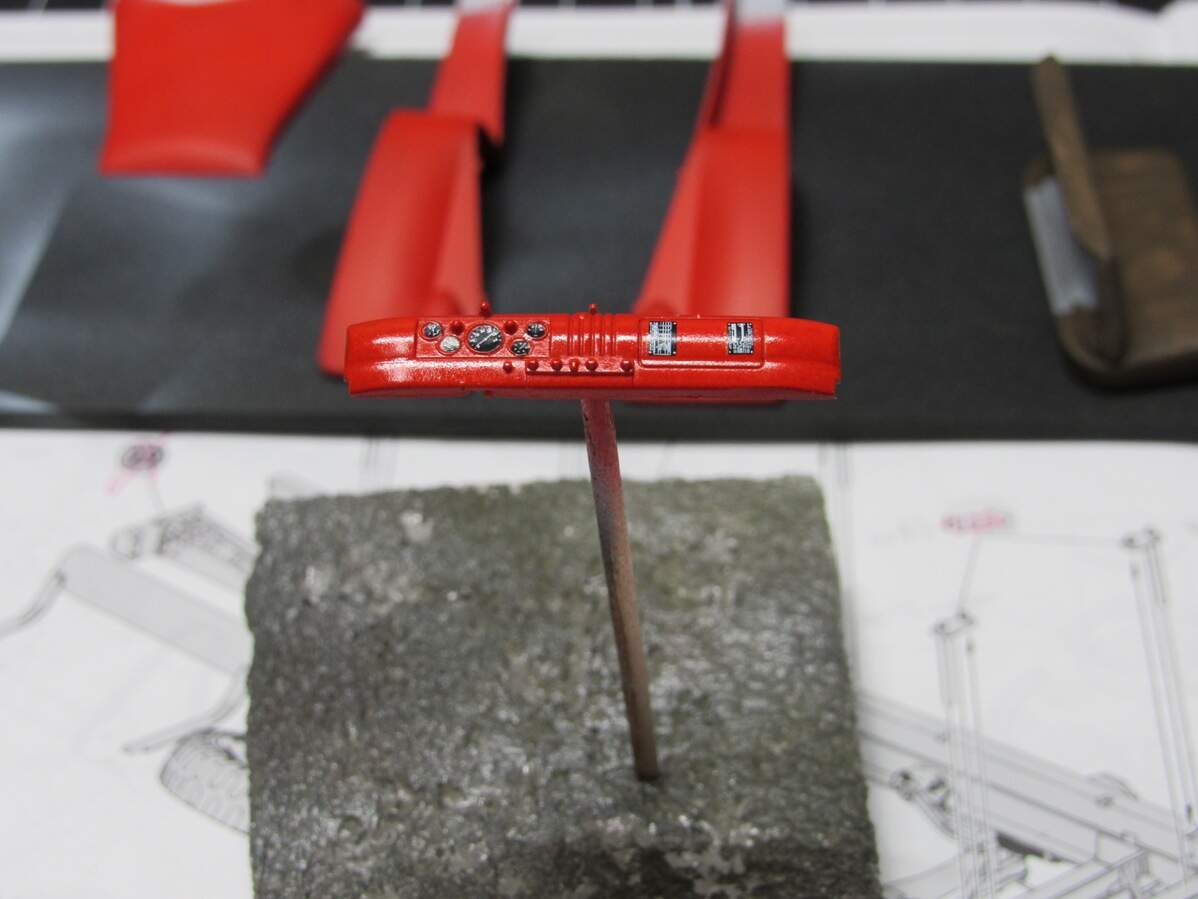
And the dashboard has been decaled up. I do always like MiniArt decals, they come off the paper easily making it an enjoyable process.
Progress will be slow now. I’m at the stage now where I’ll be painting and detailing individual pieces to fill out and build the larger assemblies. Not that it’s too tedious, I just can’t run free like at the start of a kit, and build for hours at a time.