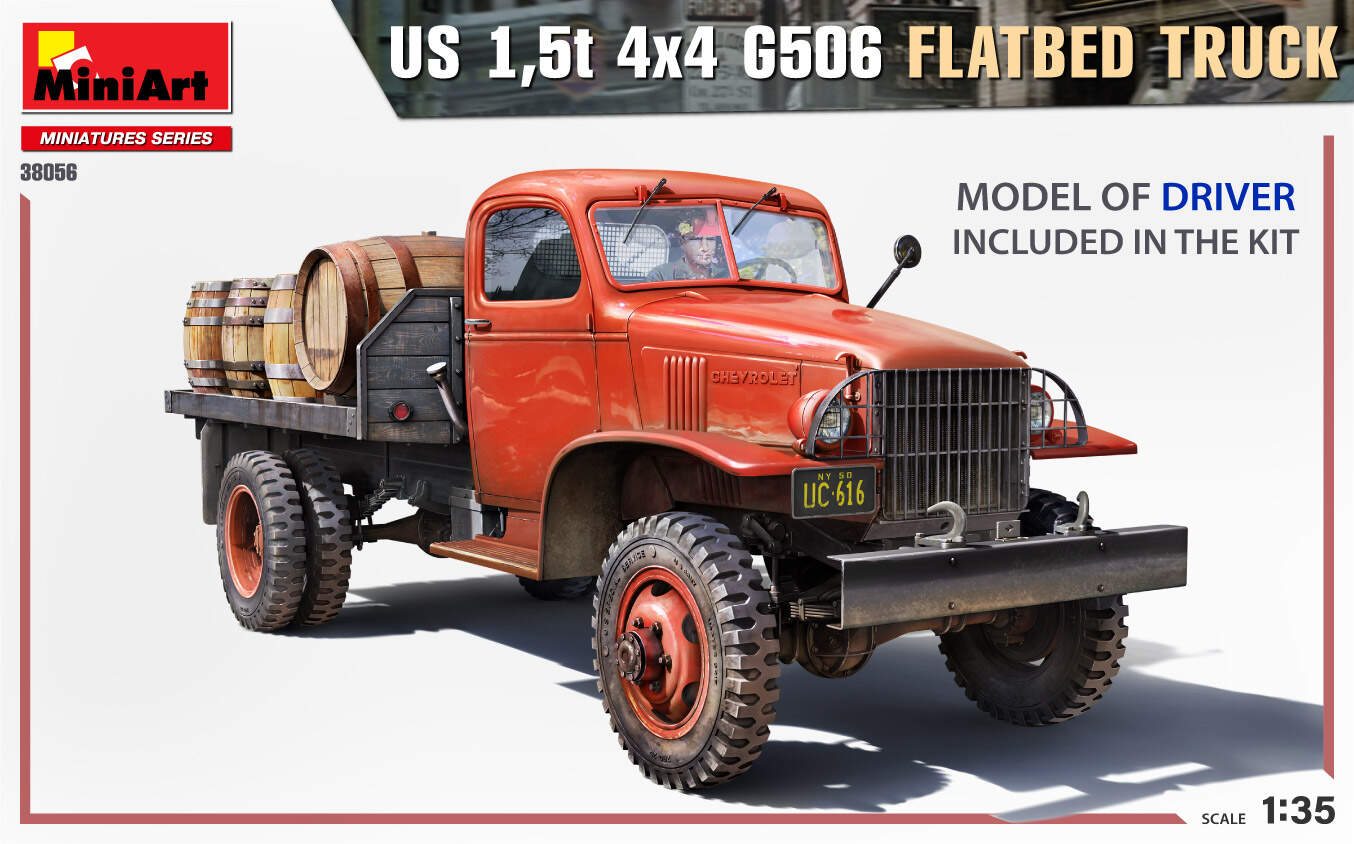
I’ve had the desire to build one of MiniArt’s civilian trucks for a while now, and in a recent shopping spree I added the above to the stash. I was getting a little tired of painting everything green, my shelves need a little color. I’m planning on finishing this in the red & black scheme of the boxart.
I cracked this open yesterday, spending the majority of my Sunday building, plus an hour or two tonight to get to where I’m at.
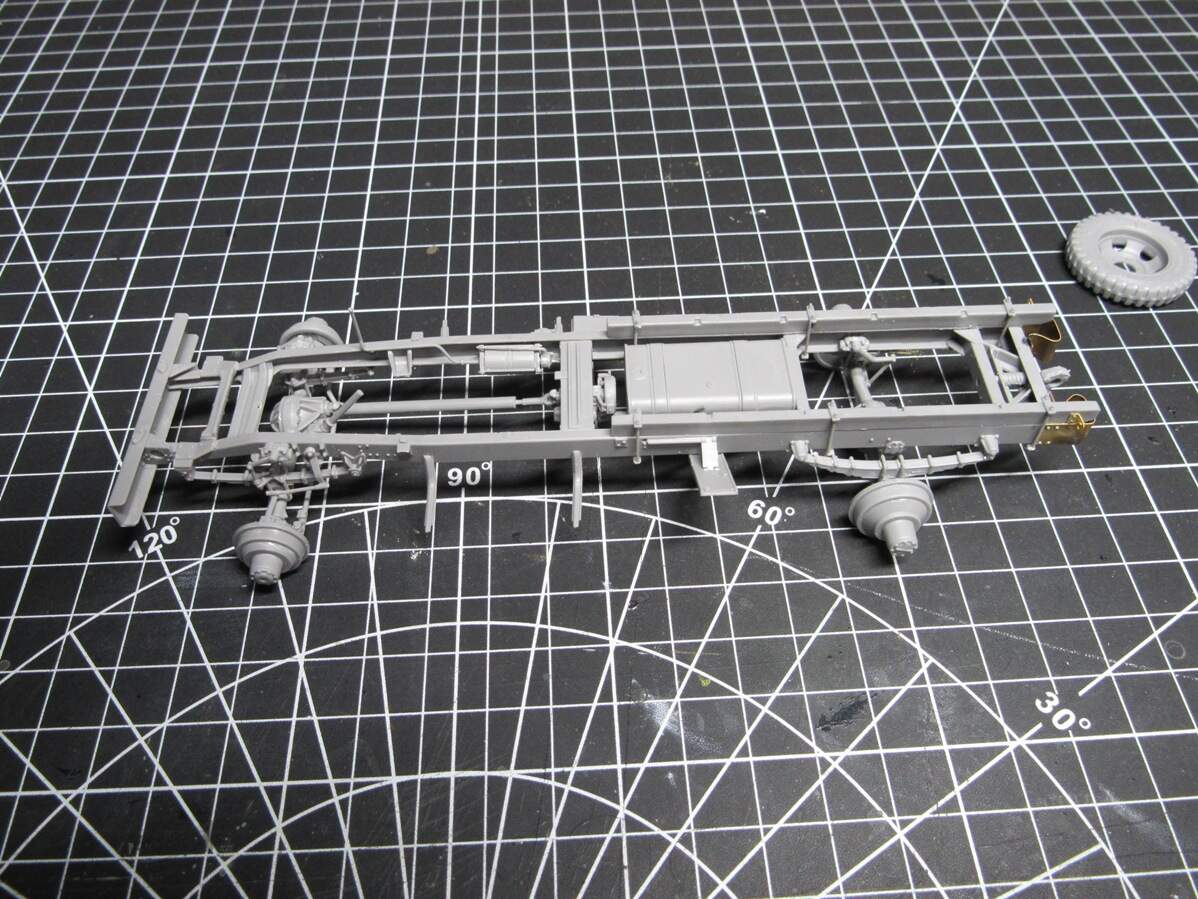
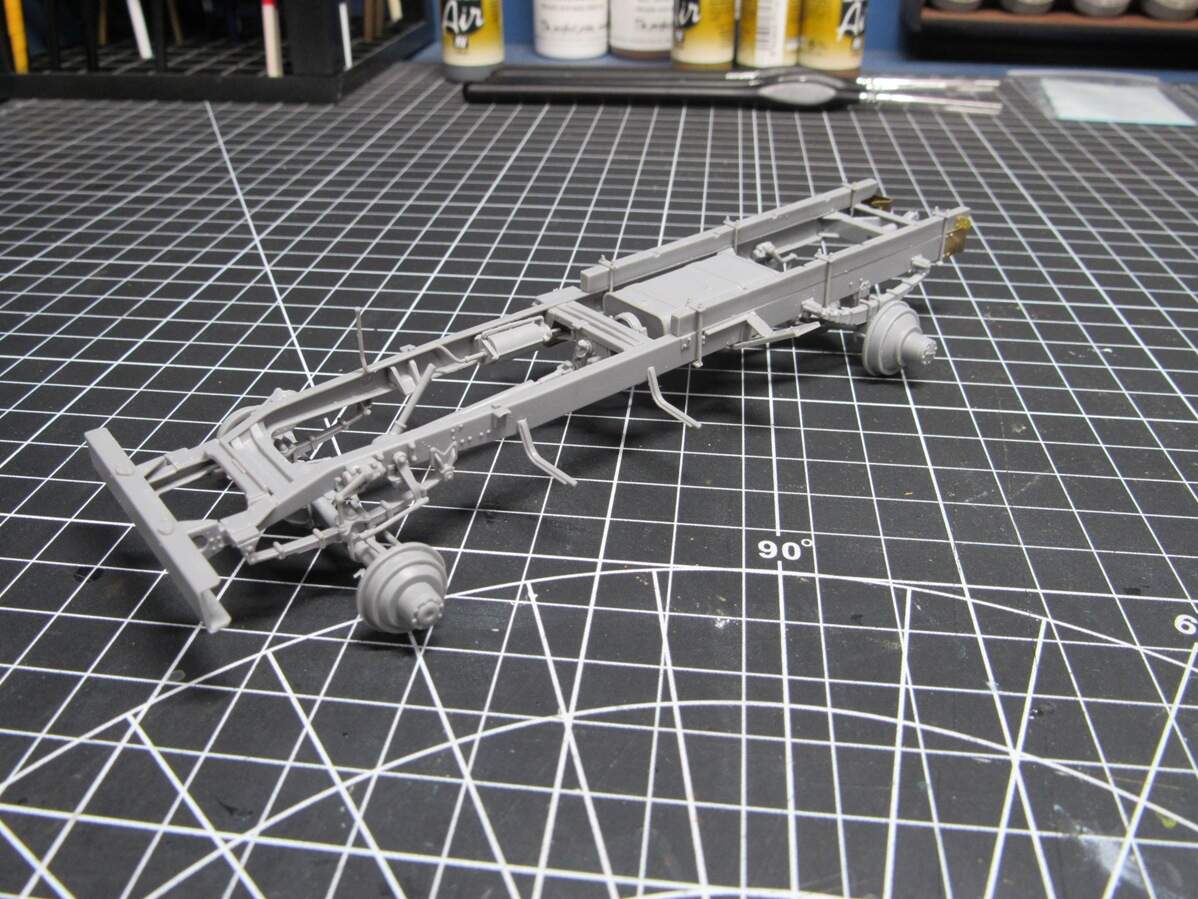
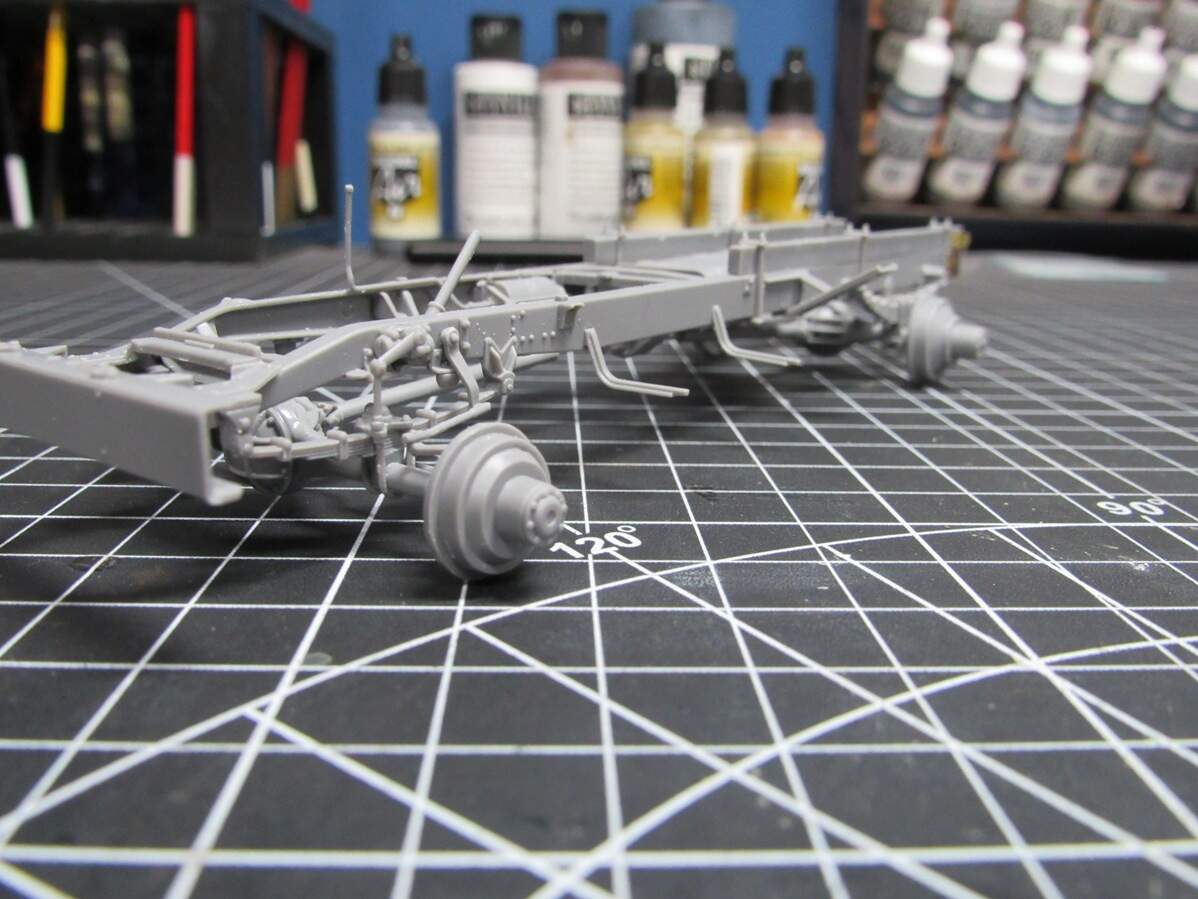
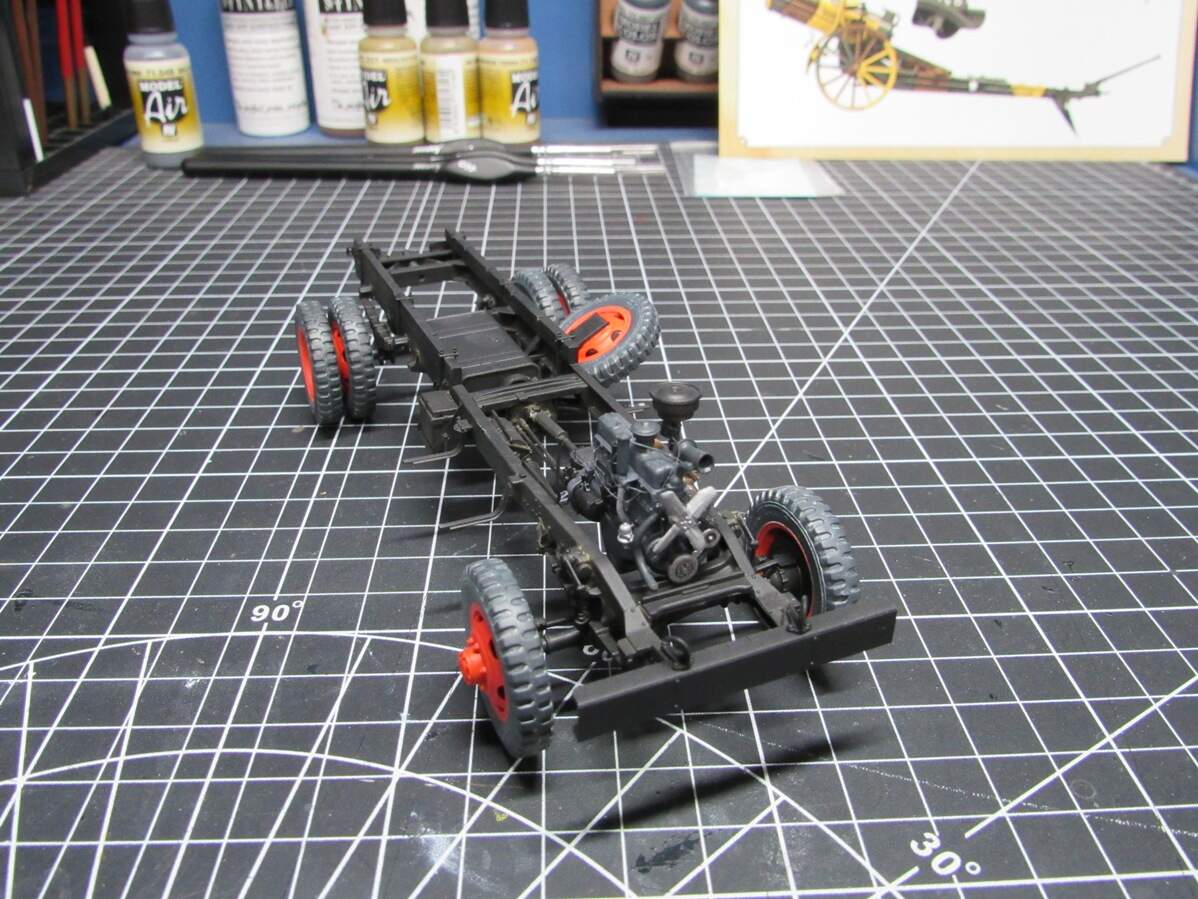
No real issues so far. A couple small parts were bent, but that’s no biggie. Typical MiniArt build though, lots of small parts, and very well detailed. Happy to report that there was no trouble aligning the chassis and all for wheel hubs sit flat.
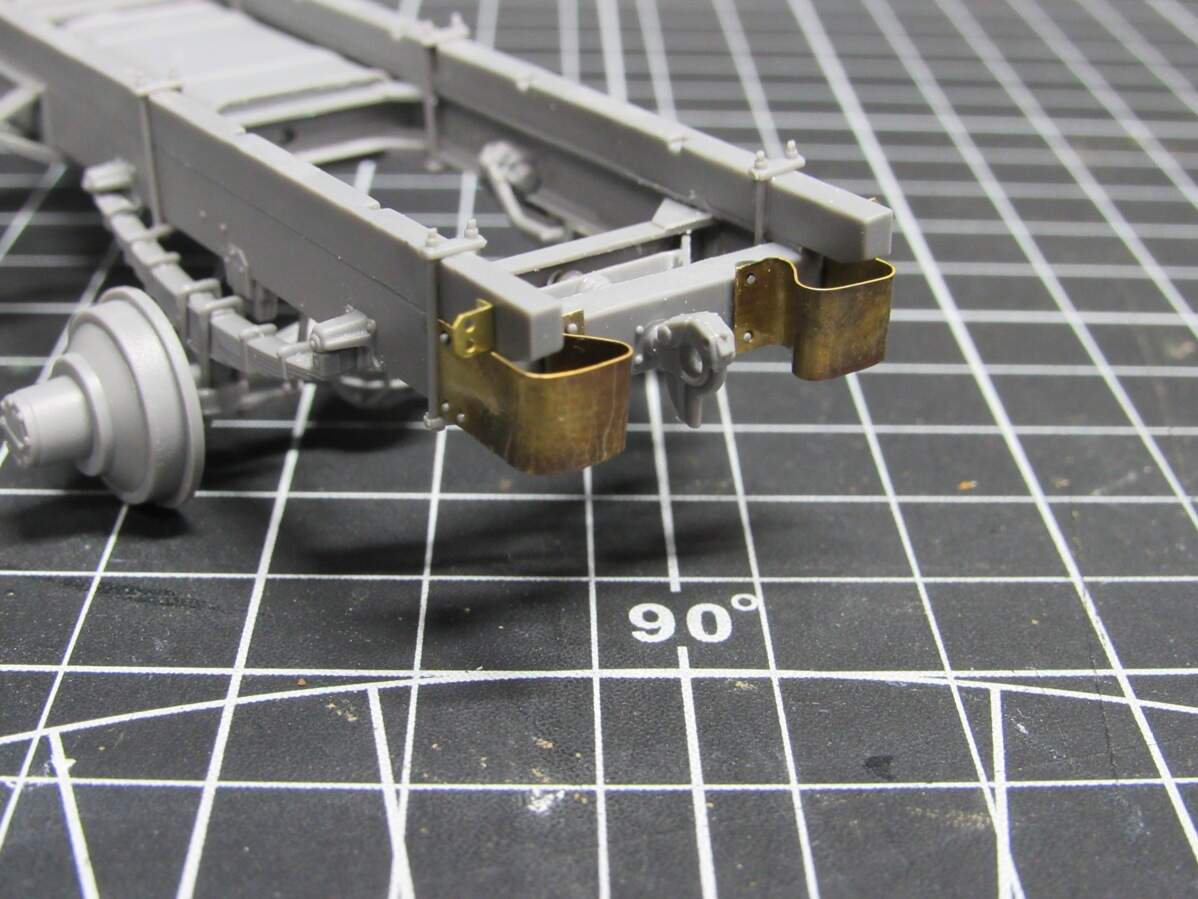
I love these PE bumpers. I was apprehensive when I got to this step, but the kit comes with a forming piece of plastic, and with some annealing it went well.
Thanks Gino. Very well detailed, just requires some care when building. So far, I’d recommend this one.
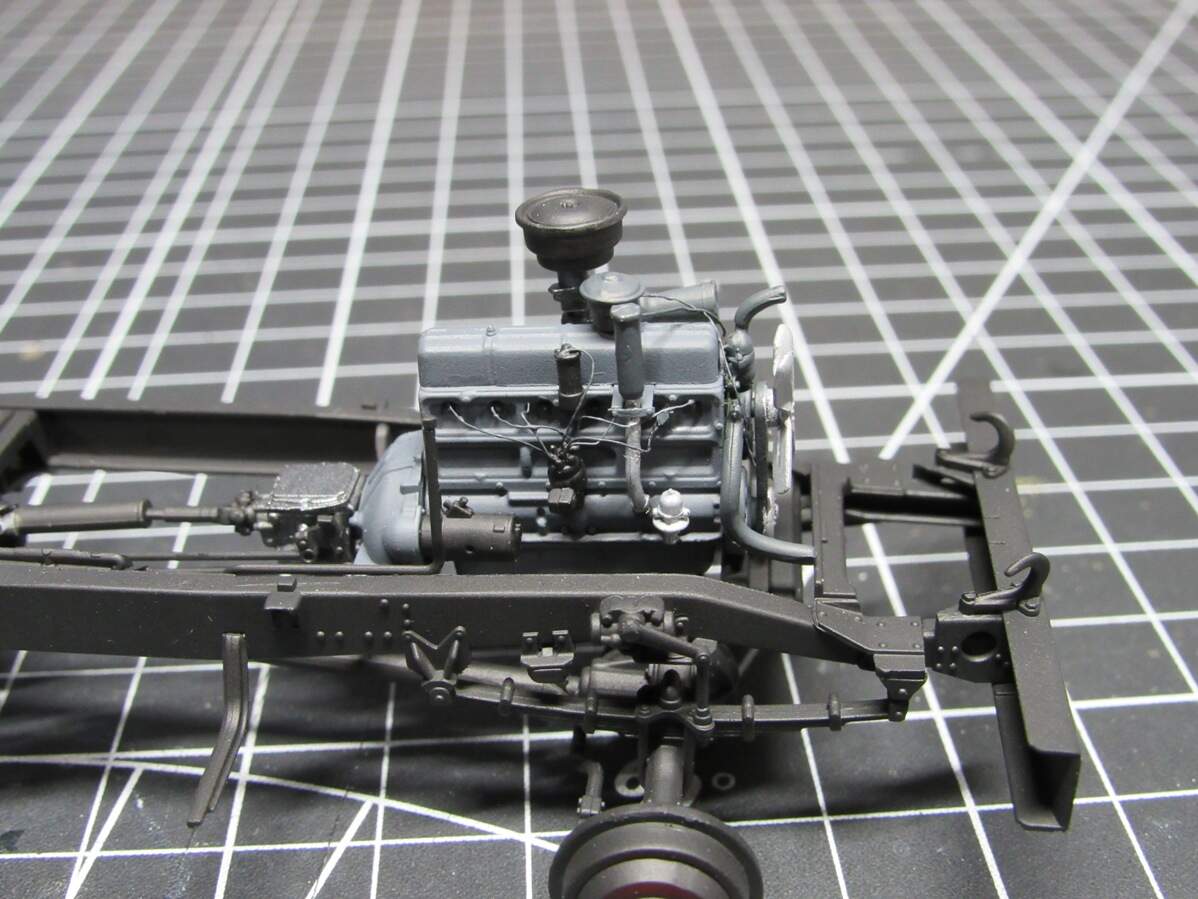
Little more progress the past couple nights. Primed/painted the chassis. I know conventional modeling wisdom says to represent black with a dark grey, but I think my weathering will lighten it up.
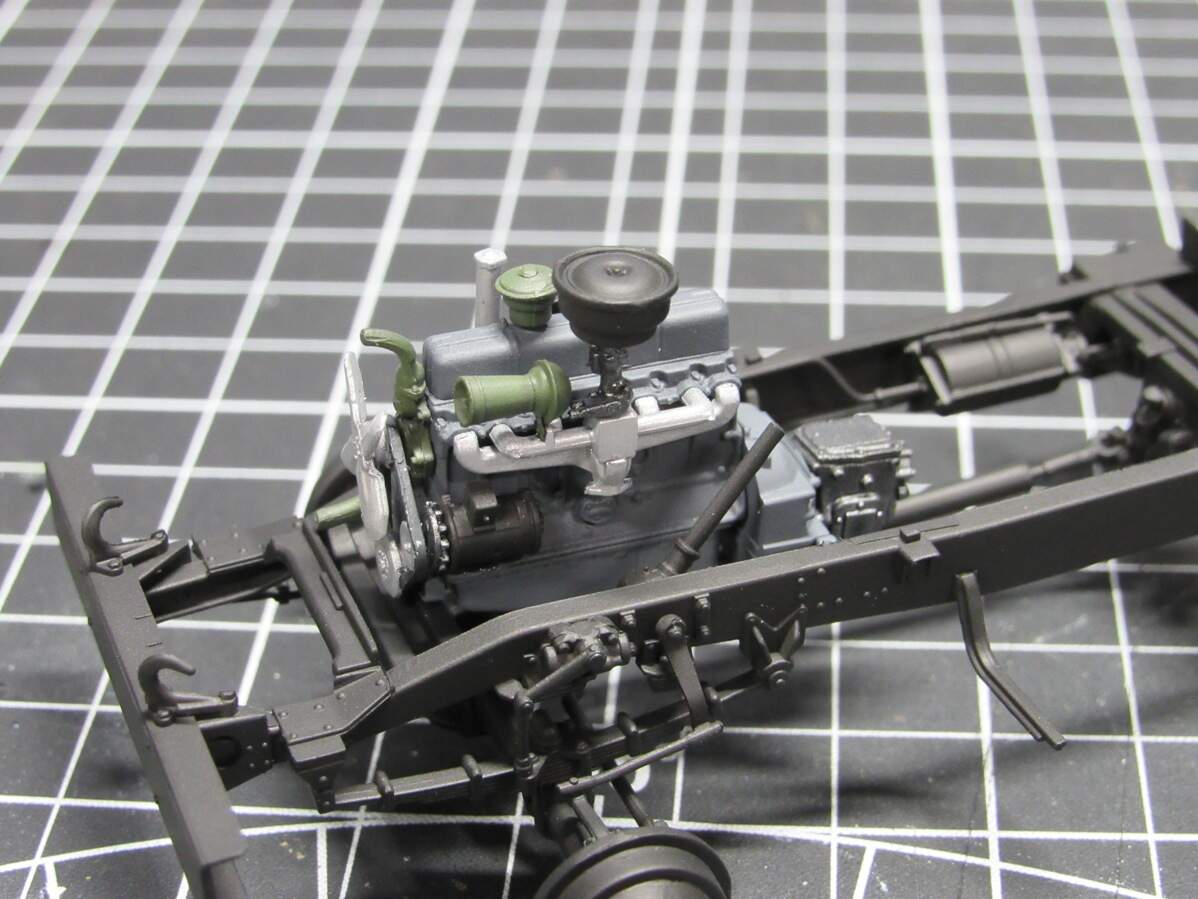
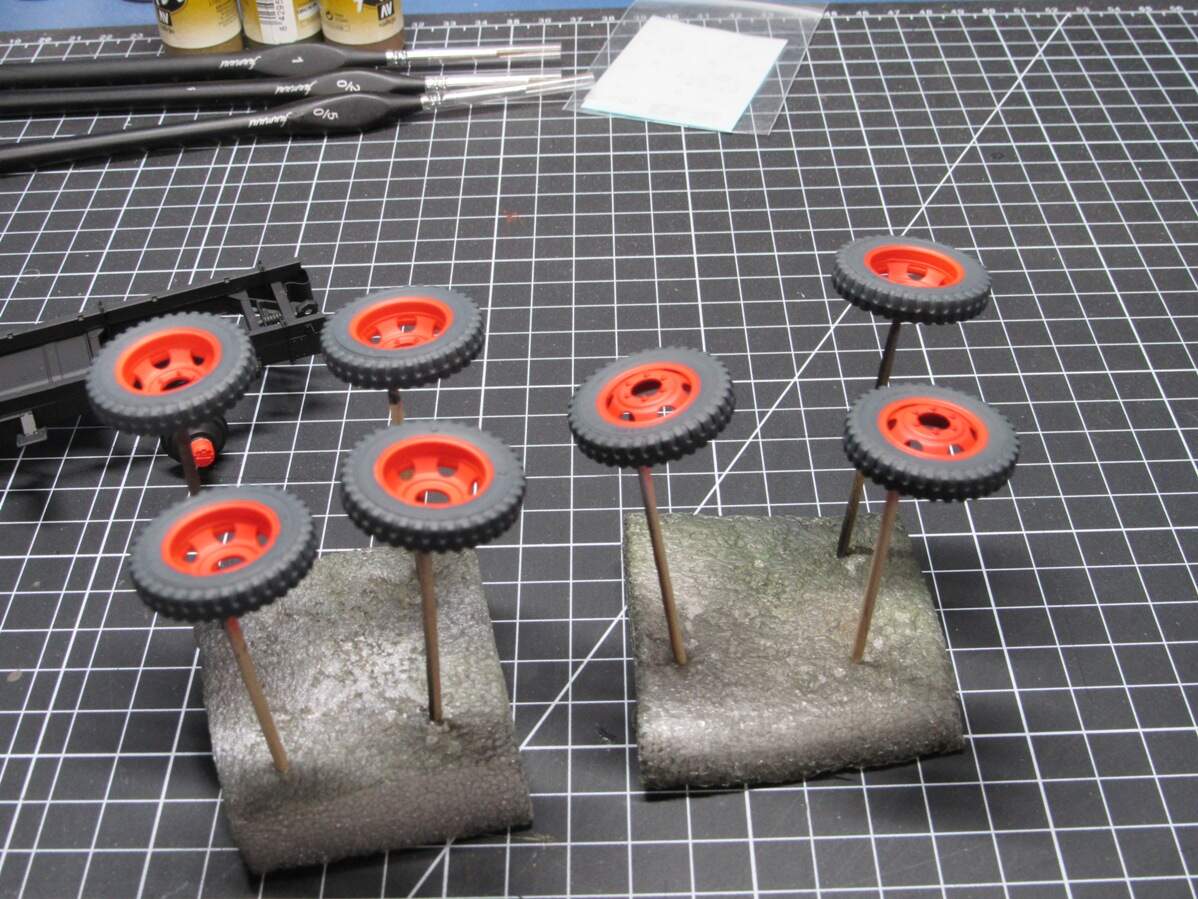
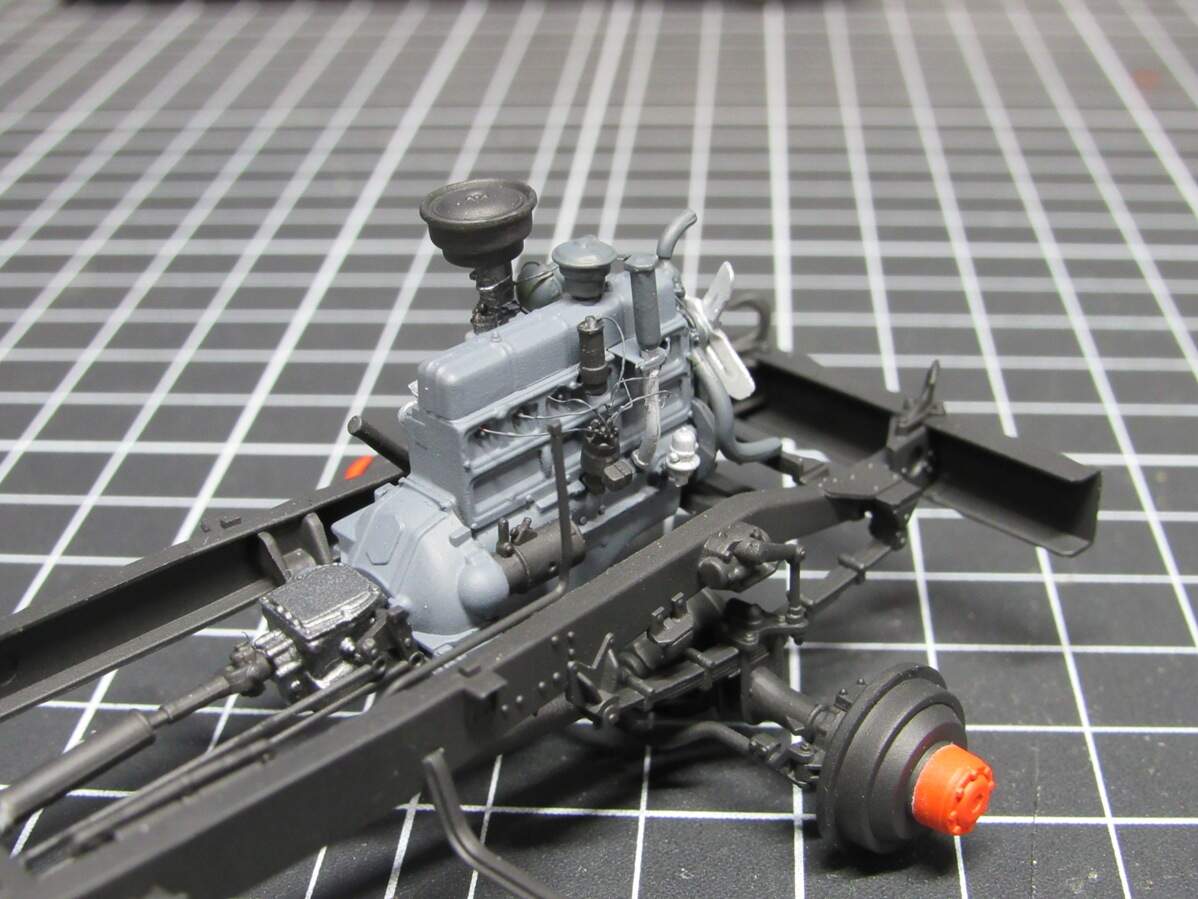
Some more progress over the past few days. The engine’s been built up and painted, a little touching up still to do. Dry fit for now, which will make it easier to add the drive axle once I get that painted up. Also, I forgot the center of the wheel hubs are red too. Punching a hole in a piece of paper made for a decent mask, but still would have been easier to paint separately.
Unfortunately, the rim is not very pronounced (don’t think this is a fault of the kit) so cutting in when painting the tires is hard, mine turned out less than perfect. I’ll see if I can blend/hide it with some weathering.
Some things to note with the kit so far, their color call outs for the cab haven’t been changed from the army version. I’m not sure if that’s correct and I think it would look weird, so the interior of the cab will be painted red too. There are also some parts that get added to the chassis late in the instructions, so look through them carefully before painting. I go caught with the front tow hooks, they’re called out in step 49, but I see no reason why they can’t be added earlier.
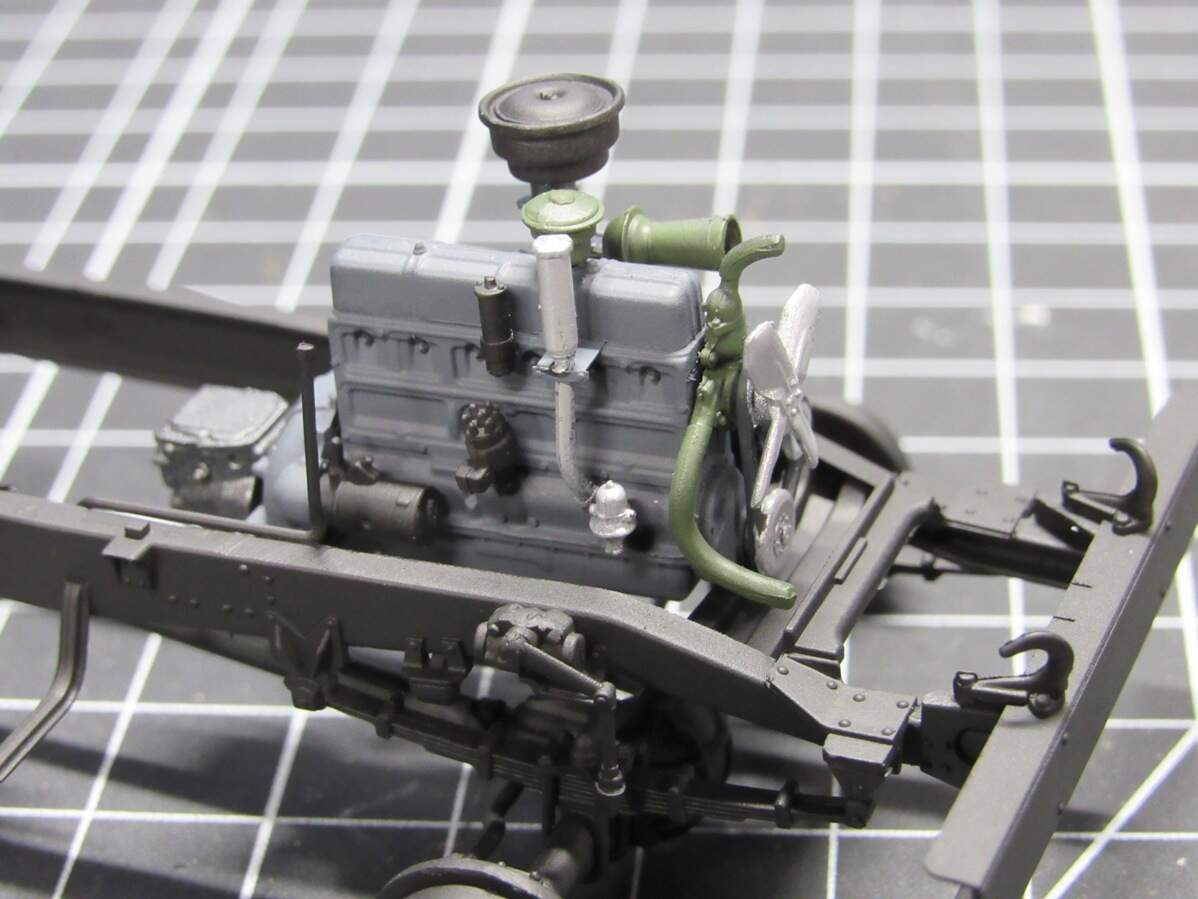
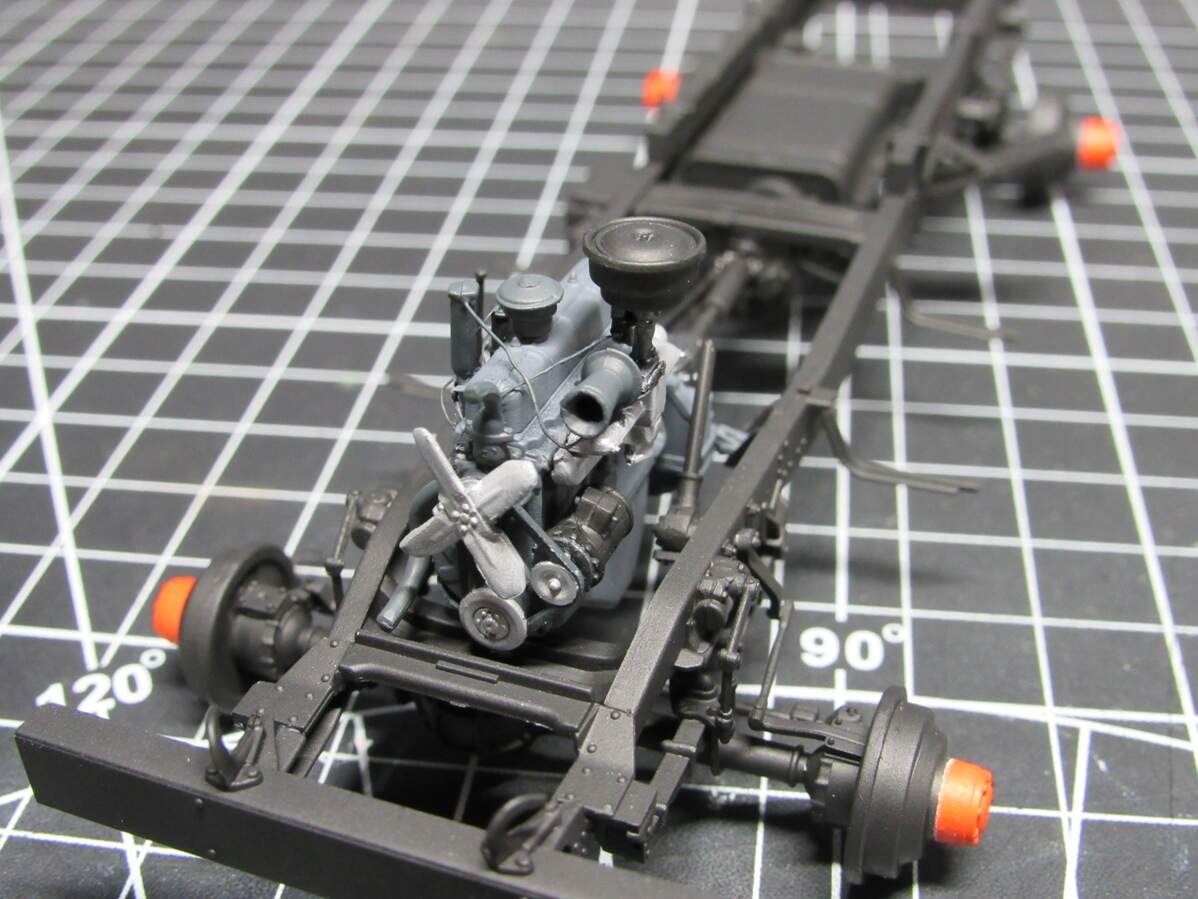
Engine detailing and painting done. I added some wiring and repainted that OD to a dark grey. It matches reference pictures I’ve found (which may be restorations), the green just didn’t look right to me.
Sparkplug wires came from solder braid I had laying around. It was challenging, but I think the result is alright. If I had to do it again I think I’d add the wiring as I built up the engine and before I mounted it to the chassis.
Satin coat and some chassis + tire weathering coming up next.
Finally back at the bench. Lost heat and hot water for about 2 weeks, mailbox got run over, had a wedding to go to. Funny how everything always piles up at once. Anyway, found some time to weather the tires engine and chassis. I did an overall ochre wash on the chassis which gave me a nice dirty/dusty look.
Yup, my oil furnace handles both. Had a pretty good backfire two weeks ago and that was the final straw. I’ve been wanting to get off oil since I moved in, it’s loud, smells, and most importantly, expensive. It’s been having issues and is probably due for replacement, but instead of sinking more money into stringing it along, I shut her down. Cold showers made good motivation to get the electric tankless water heater installed, which I finally finished up yesterday. Still no heat, but I don’t care, it’s Spring and I think we’re through the worst of it. Record low in the house was 47 one morning. Got 6 months to put in a heatpump and wood stove now.
Anyway, on the modeling front, I attached the bed to the chassis. It was a little tricky to line up as you can’t see the tabs and the chassis itself is delicate to hold, but once aligned it popped right in place. Maybe I’ve gotten better at building, but I think the fit of MiniArt kits has improved.
Thank Bravo. To be honest I know very little about the real subject, but if it’s accurate, it’s good news.
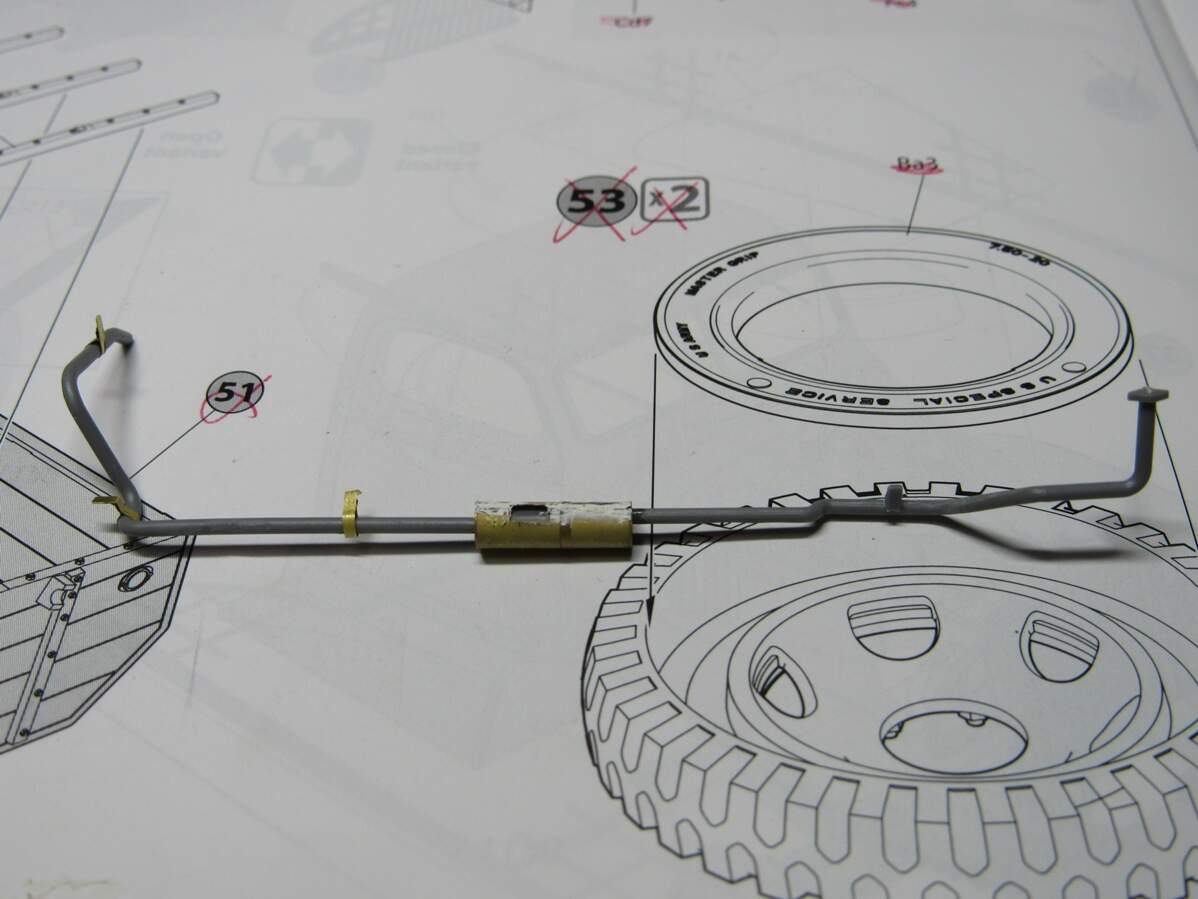
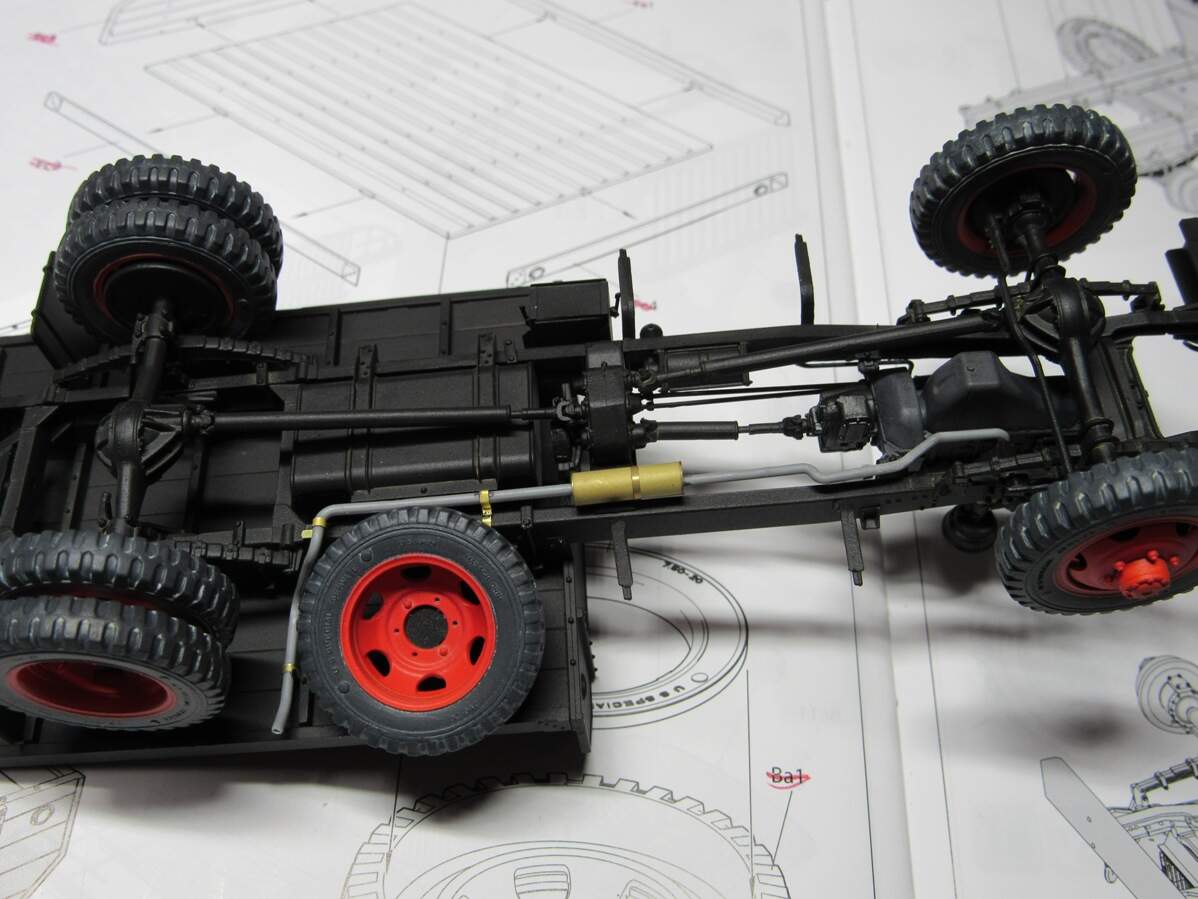
Little more progress tonight, spent about an hour working on the exhaust. One length, piece A38, was broken. But that was easy enough to fix. The PE shroud was a little short, edges didn’t fully reach each other, so I threw some filler in there. The gap faces up though, so it should be mostly hidden by the cab. No real locator marks for the PE straps, which actually makes it easier as I can just eyeball it and it’ll work just fine.
It is a neat kit. I almost want to build a 2nd one just for another fun color scheme. For the super adventurous scratchbuilders out there, I think I saw pics of a bright orange one of these converted to a post hole digger.