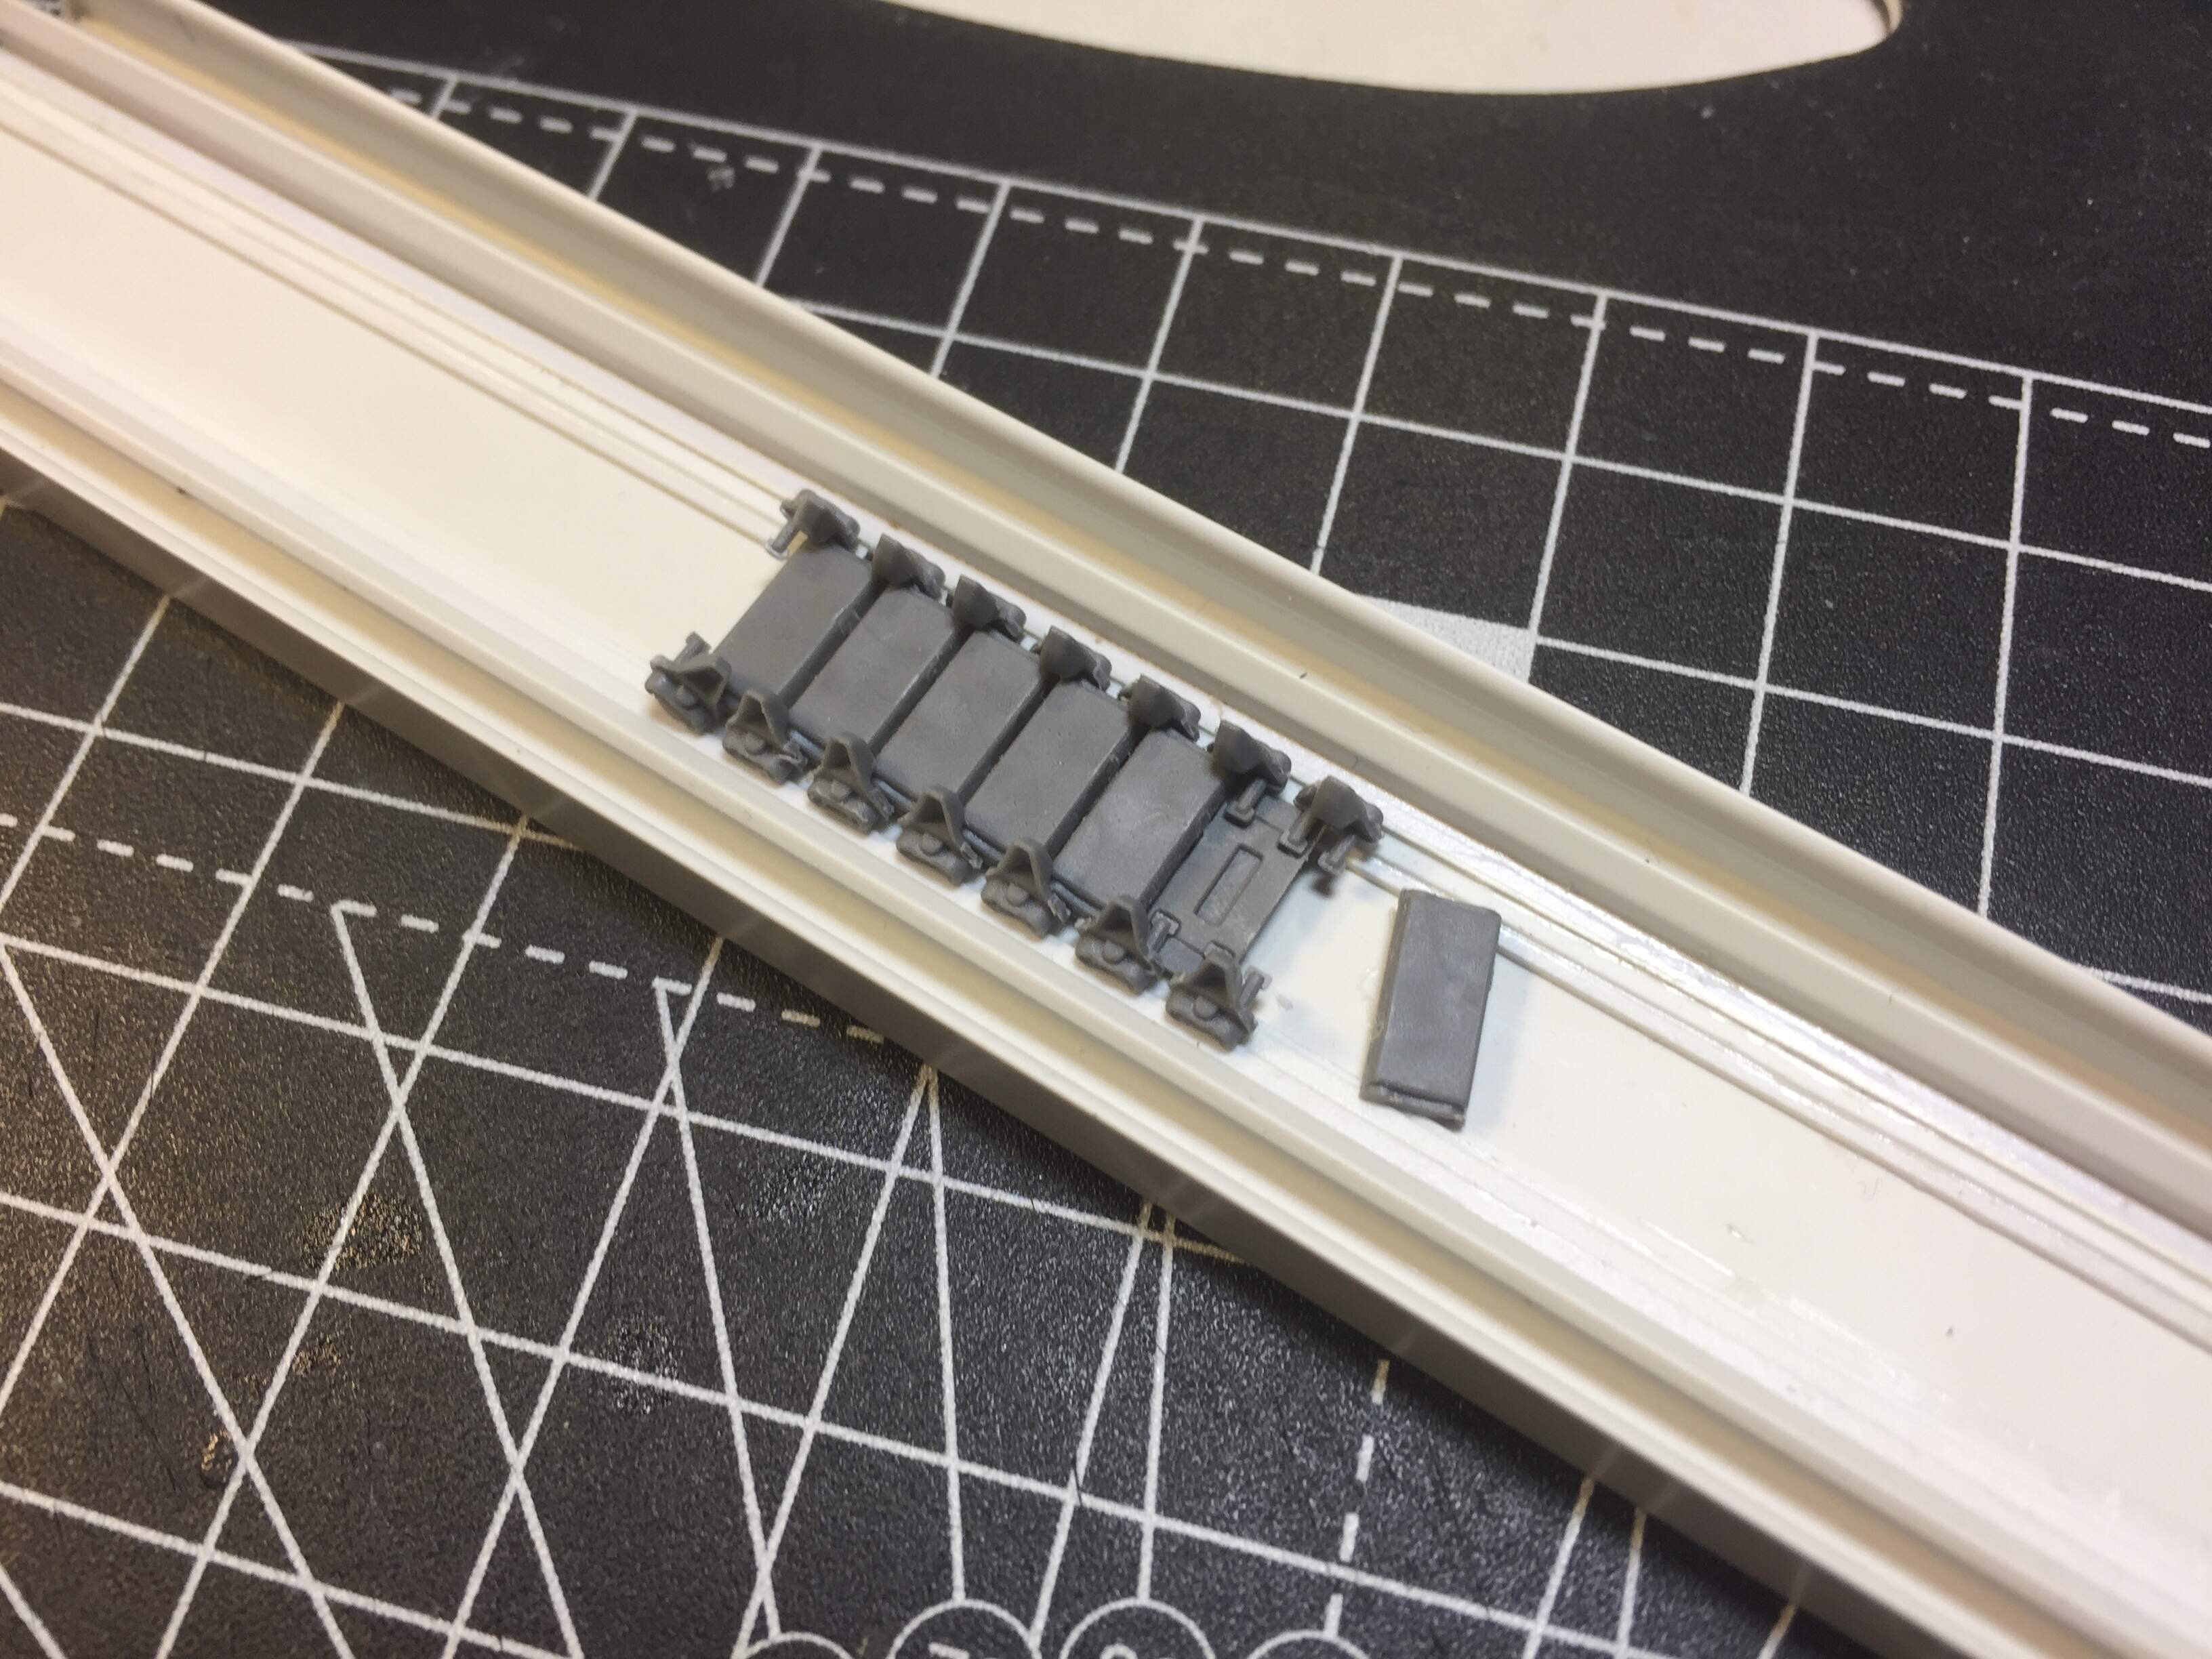

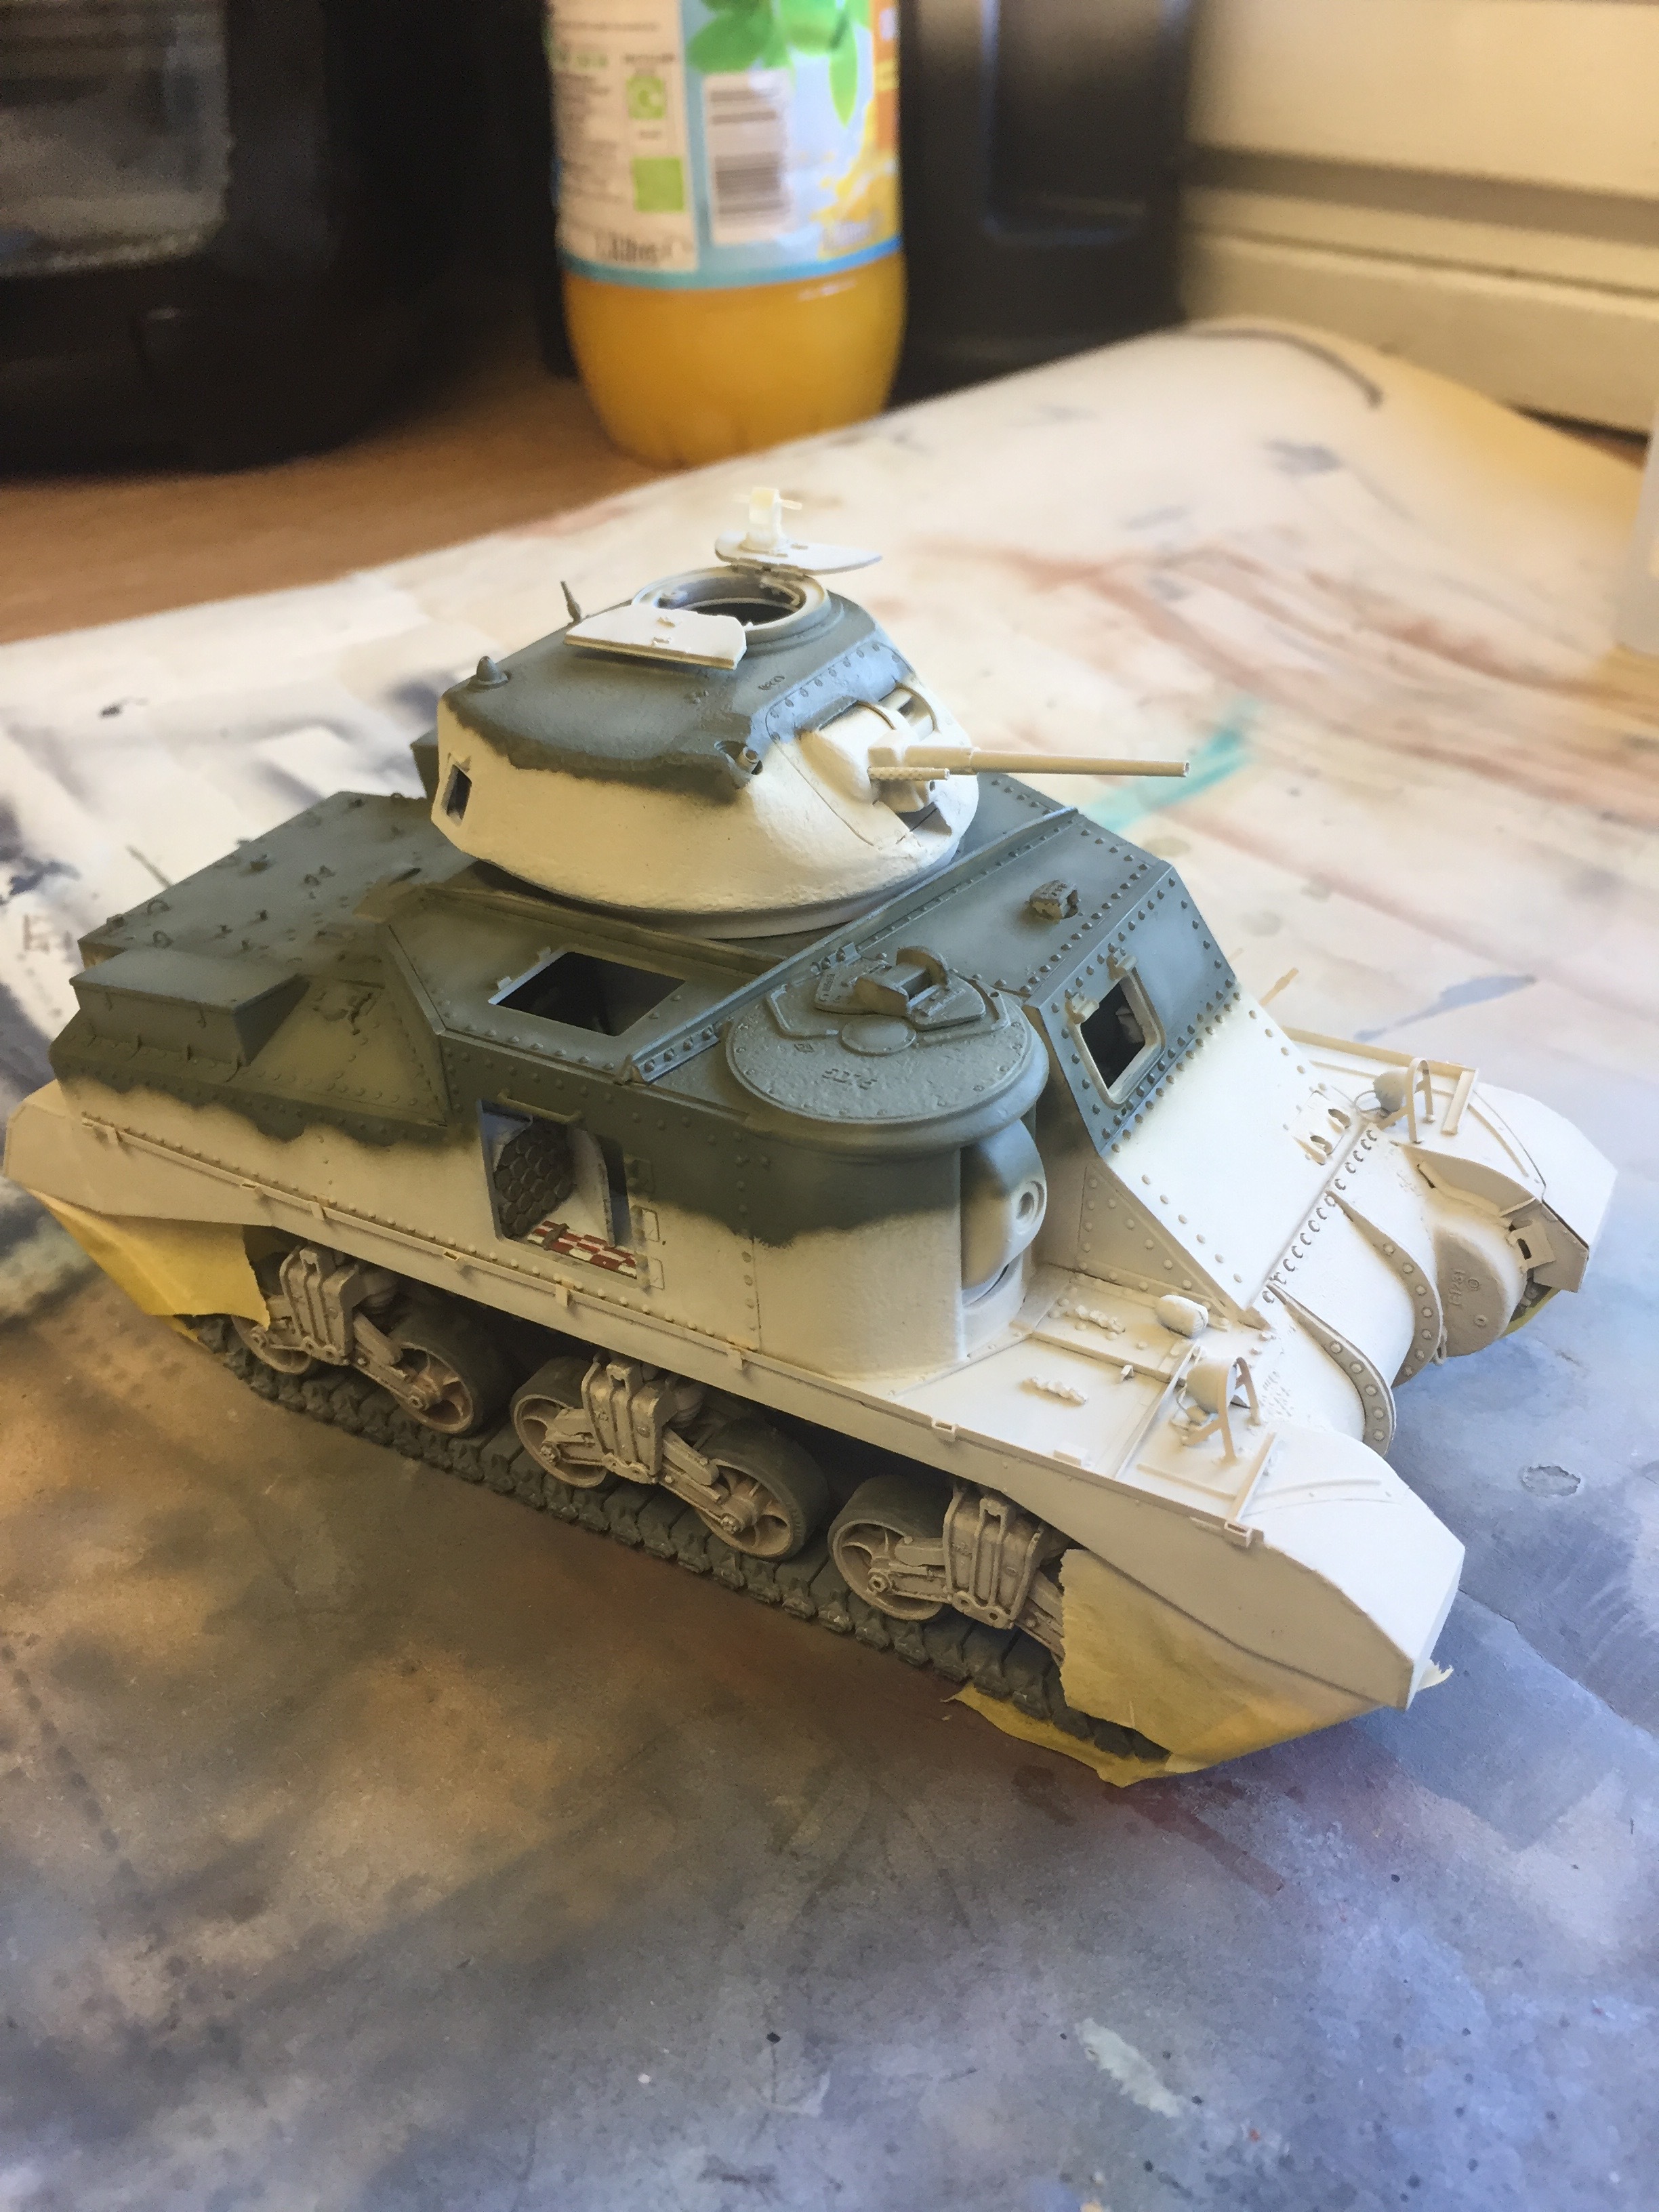
This one has been on the bench for ages and I have been very slowly picking away at it. It is the first Miniart model I have done and so far has given few problems for such a deatailed kit. I was really dreading the tracks but thanks to a great build log here from 2019 which details the assembly process even they have gone together well, though making up a jig is essential. The clean up of all the components is tedious but with some good tunes and a beer and limiting how many you do at a time isn’t too bad.
20 Likes
That is some excellent construction and painting on a complicated kit. Well done!
5 Likes
That’s an impressive build!
The track jig is very trick! ![]()
2 Likes
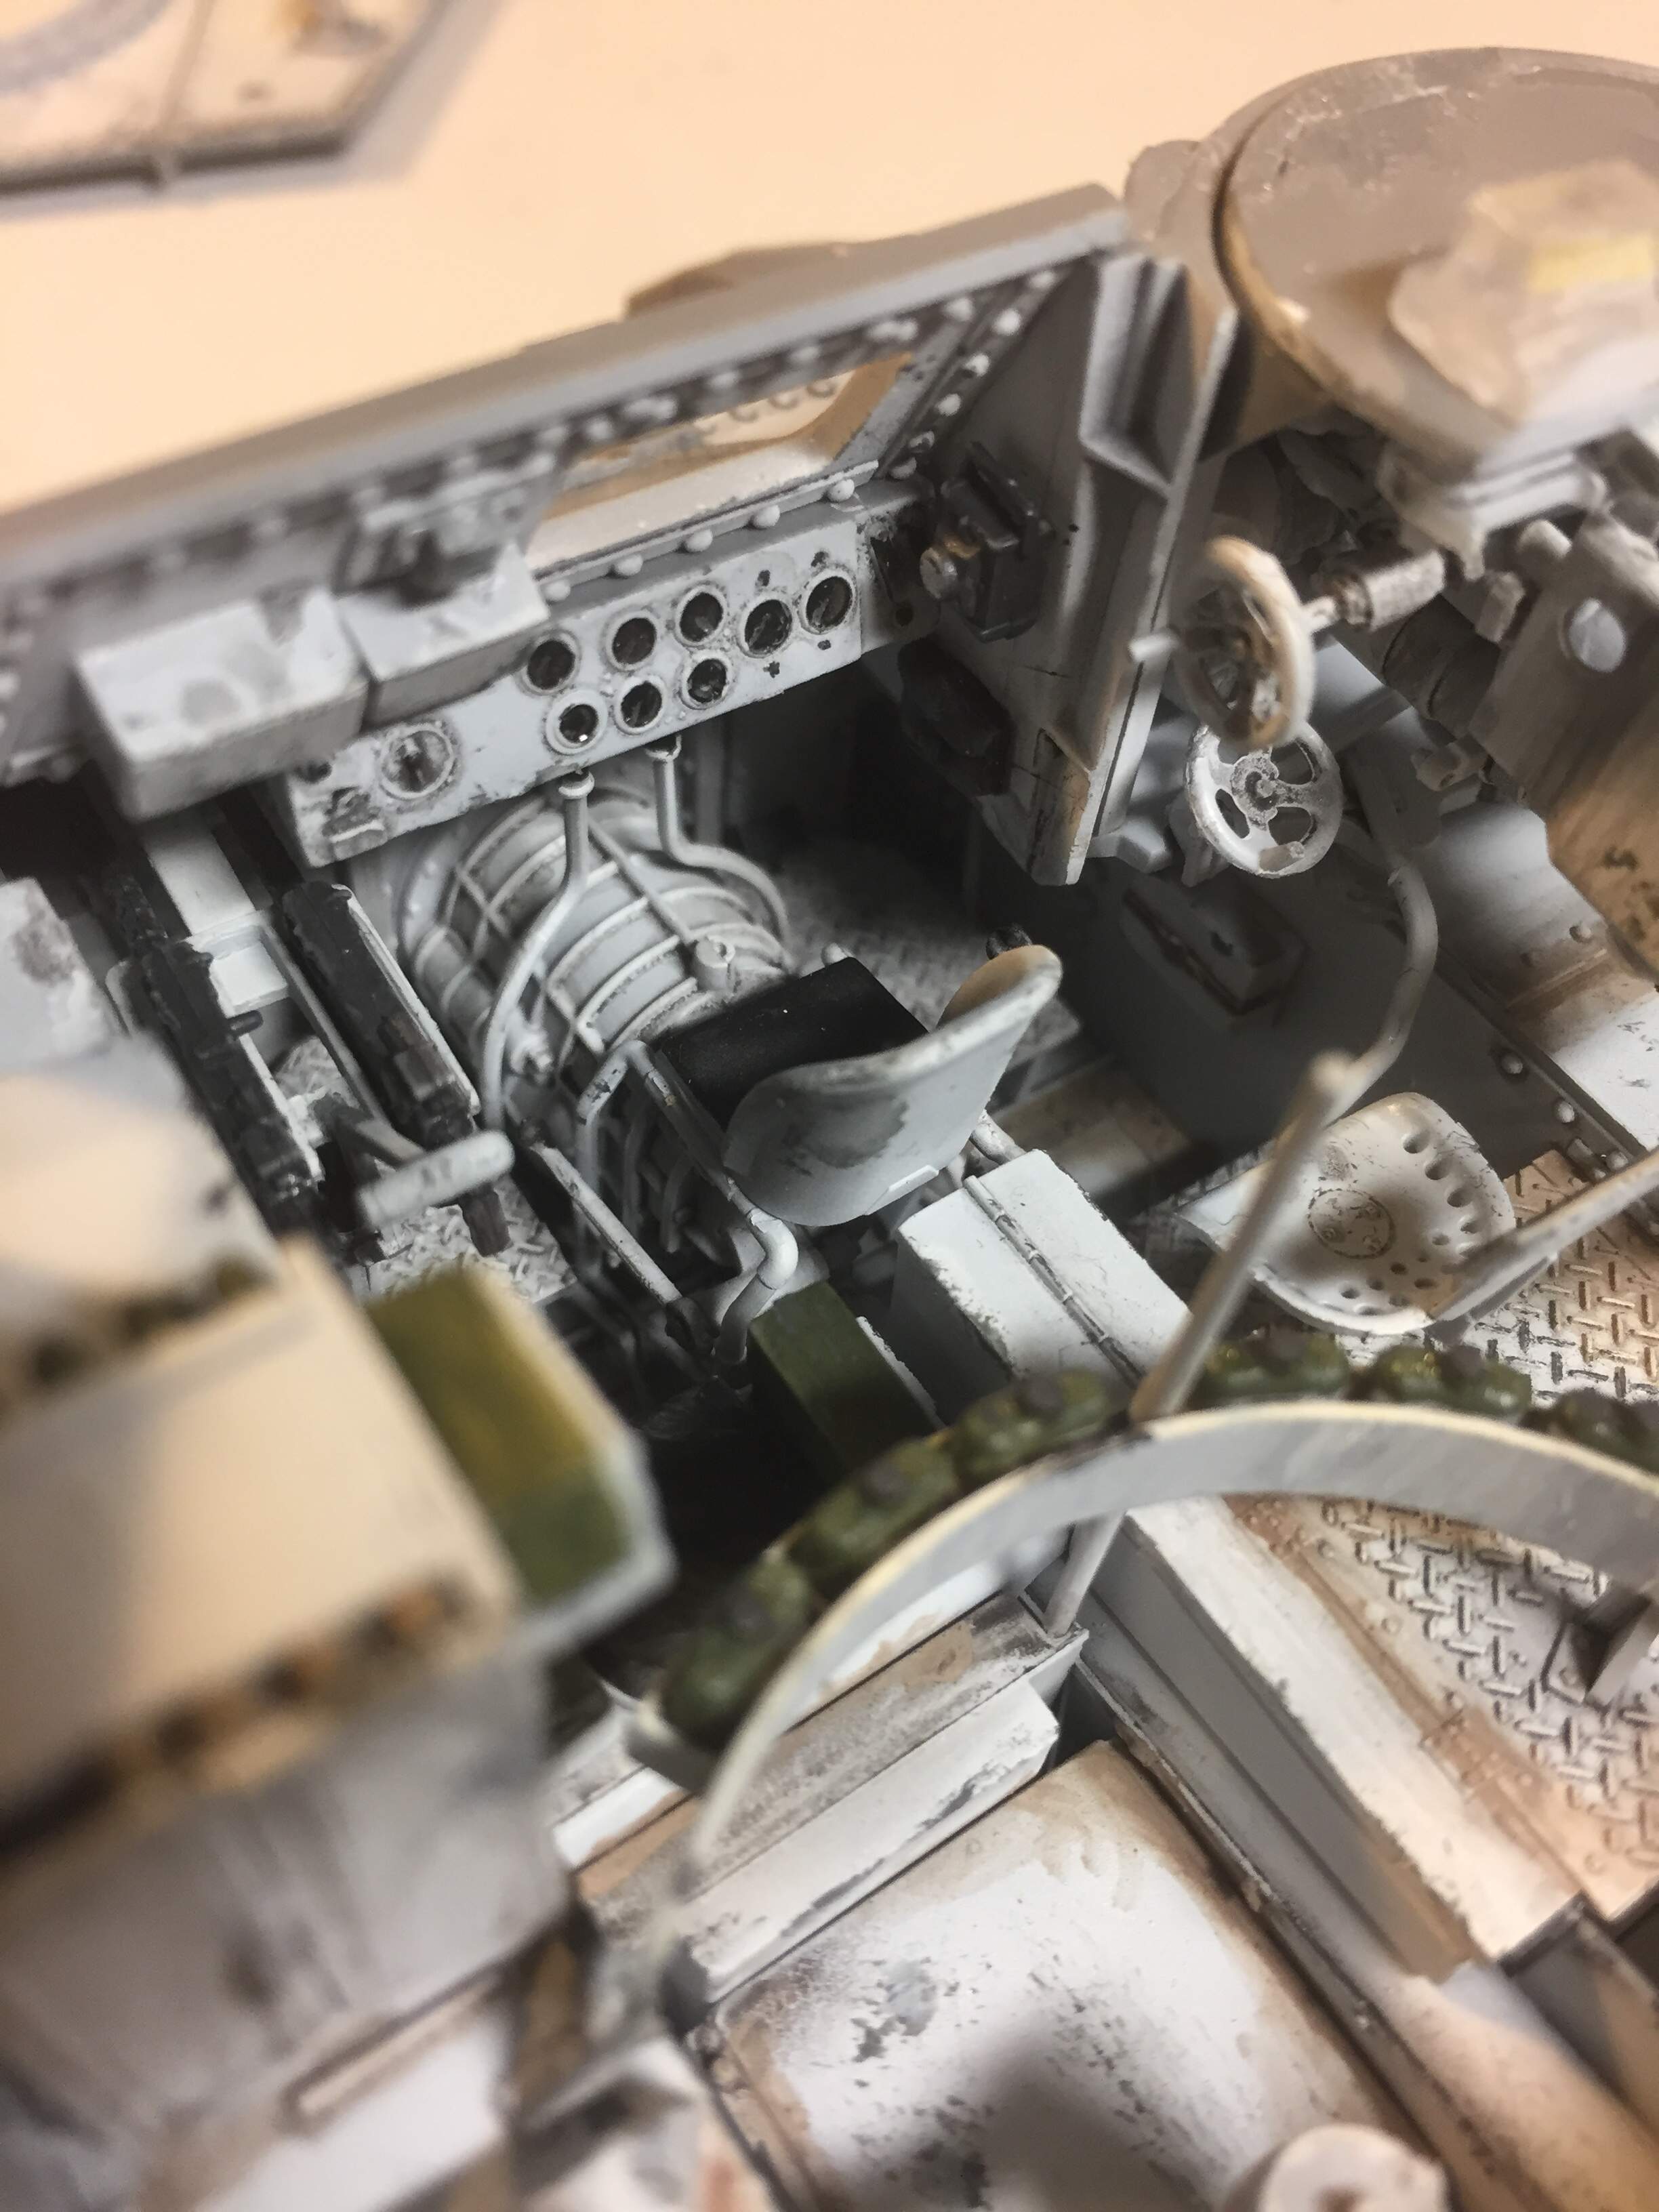
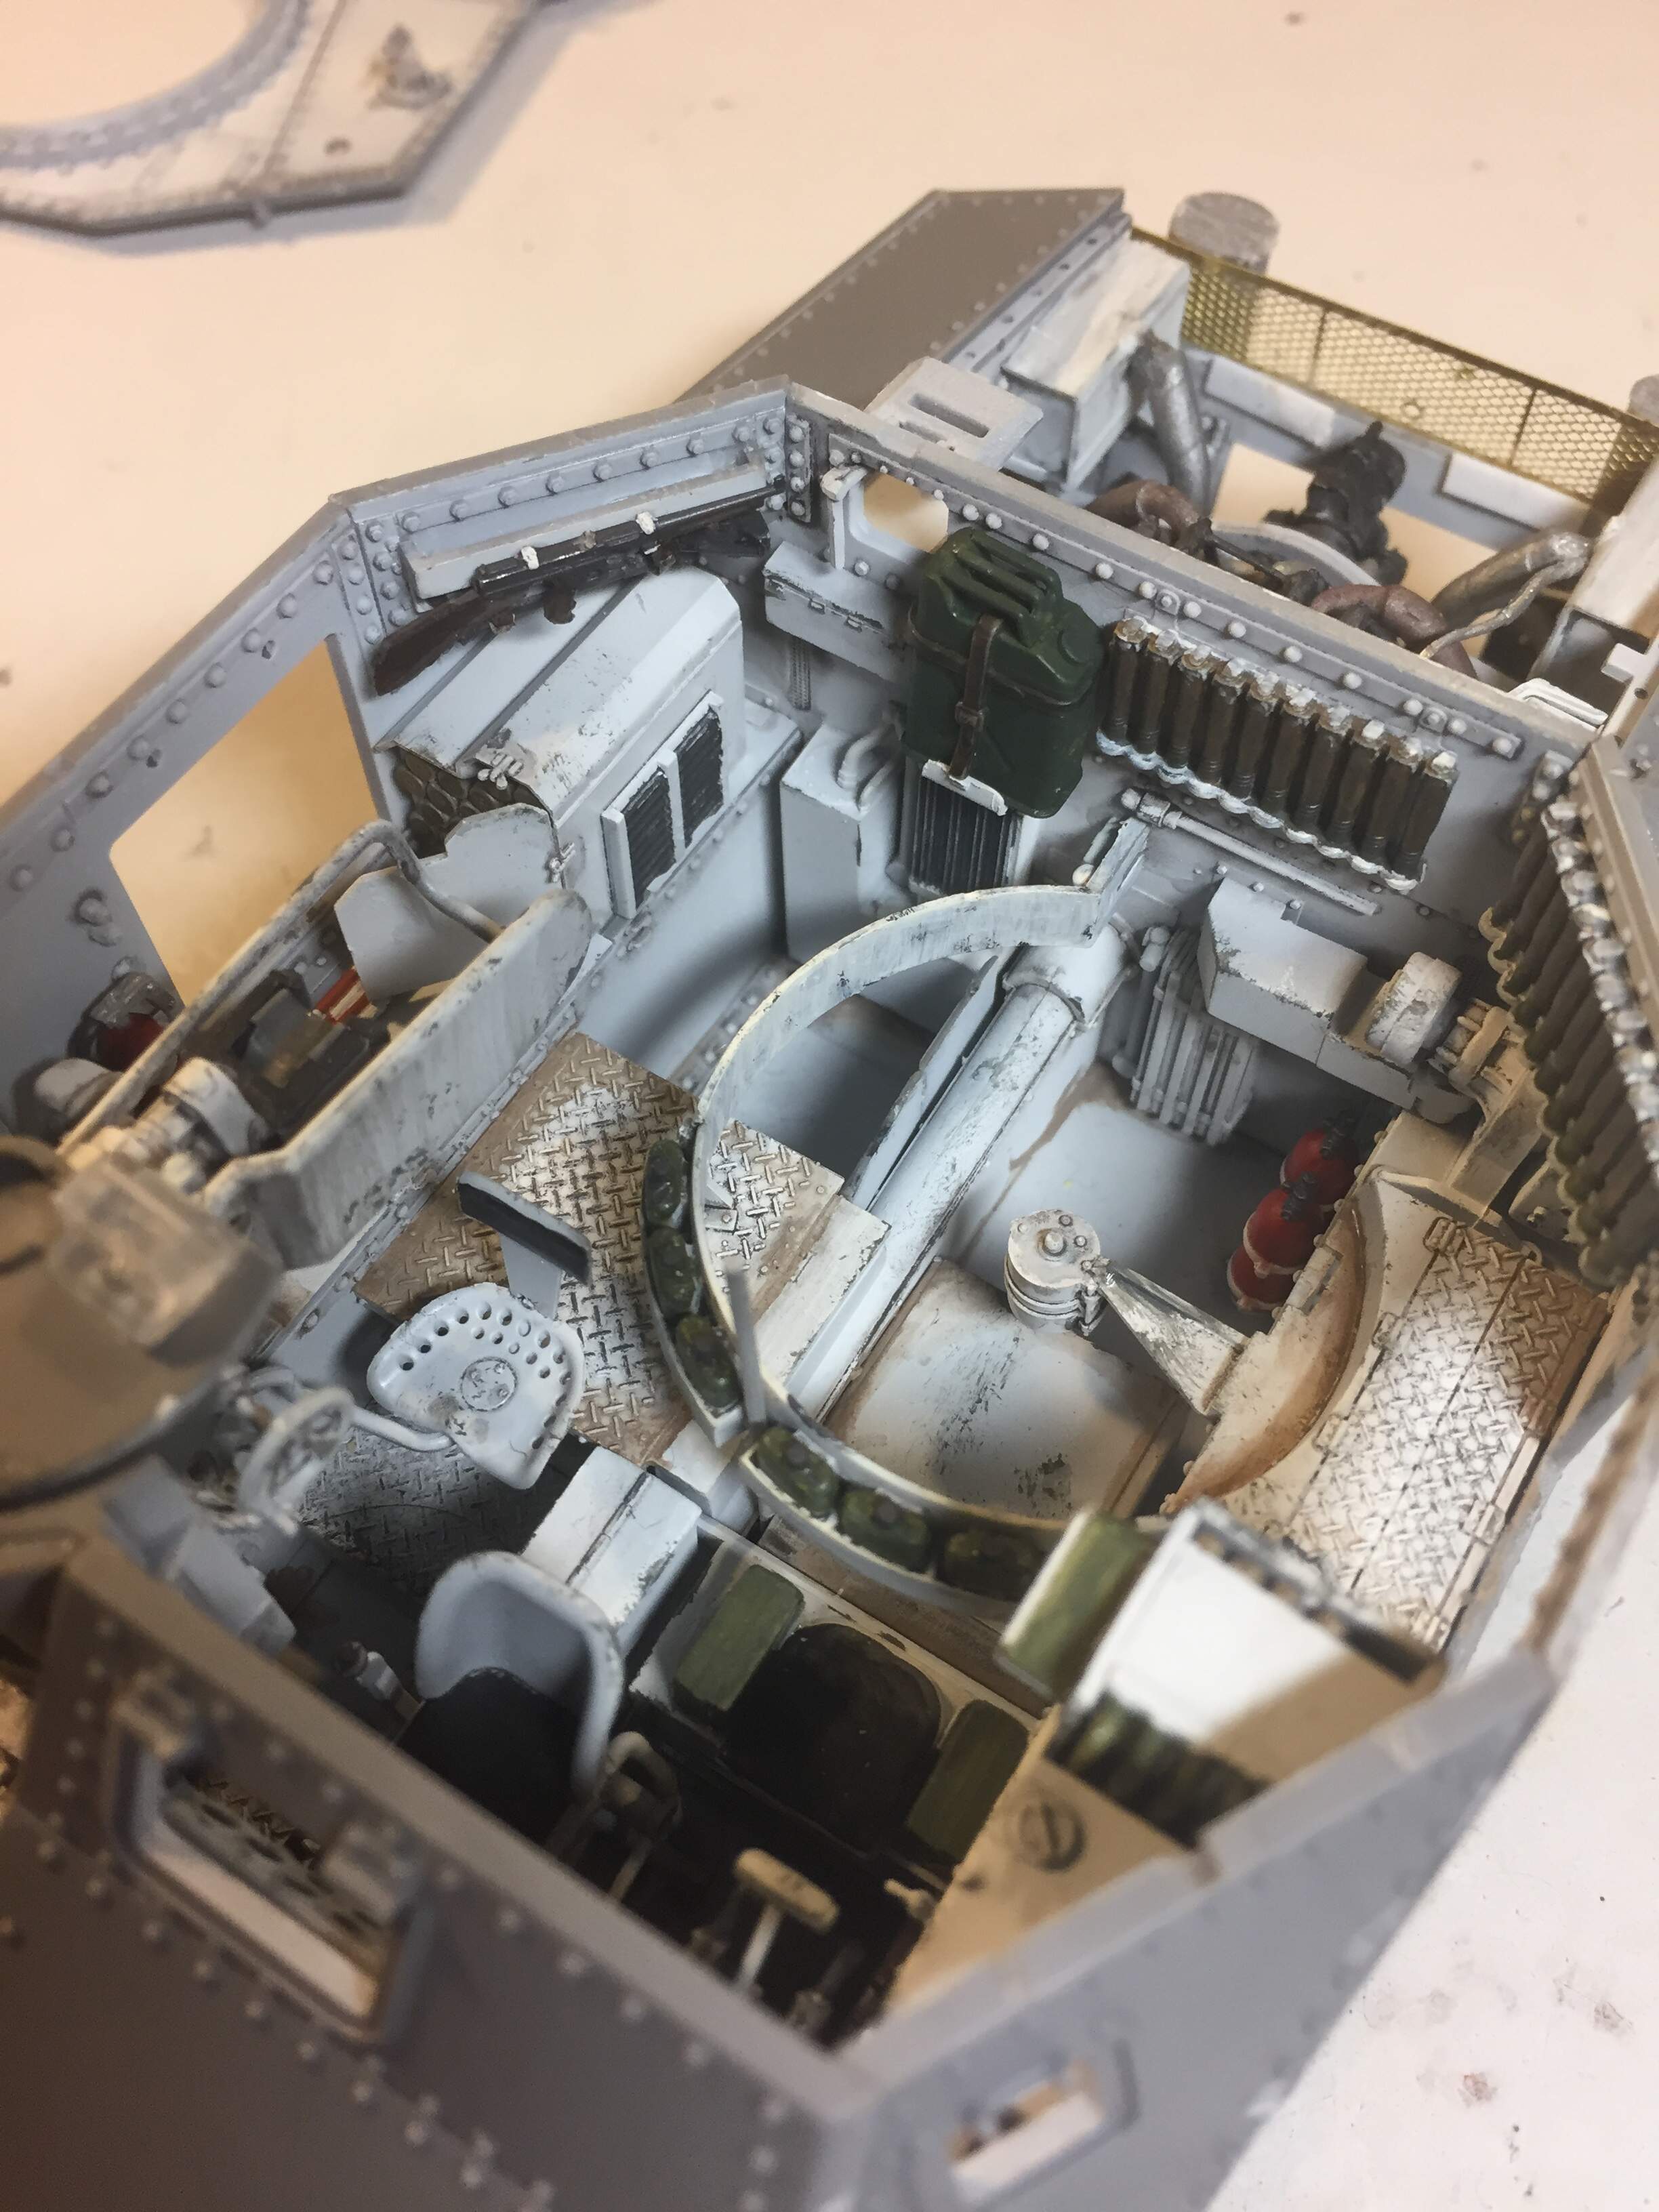
All of your interior paint and details look good
1 Like
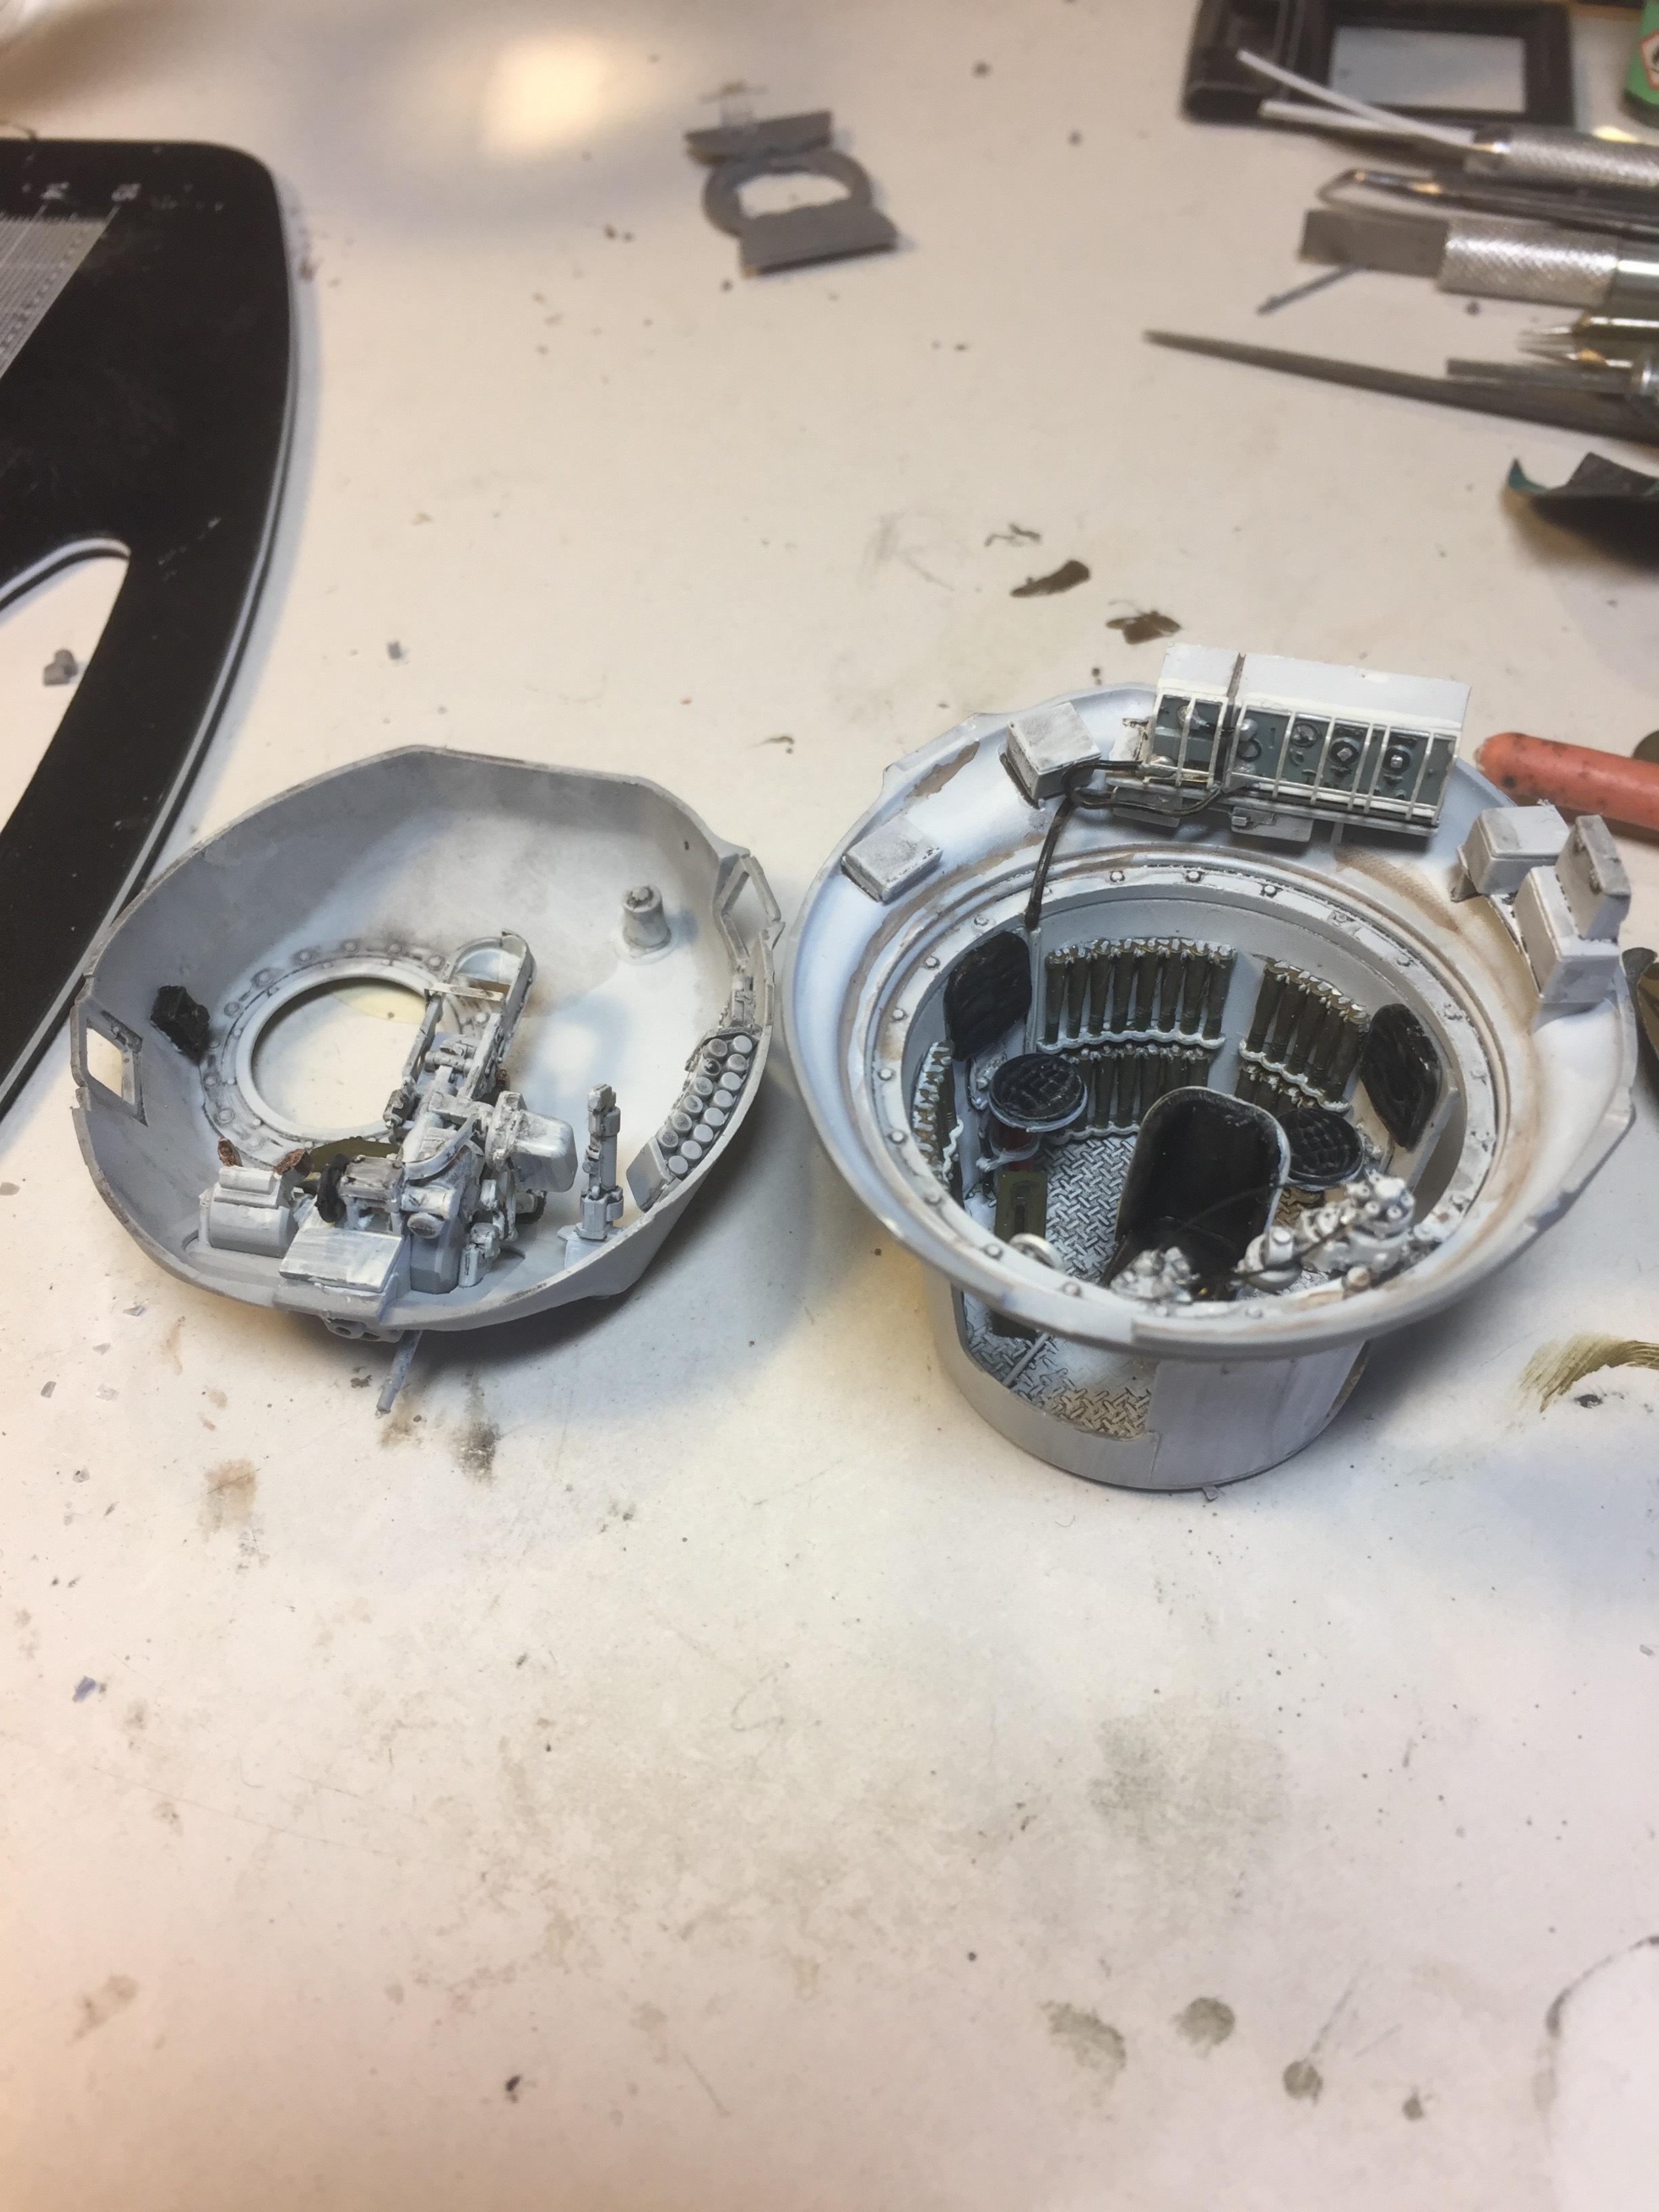
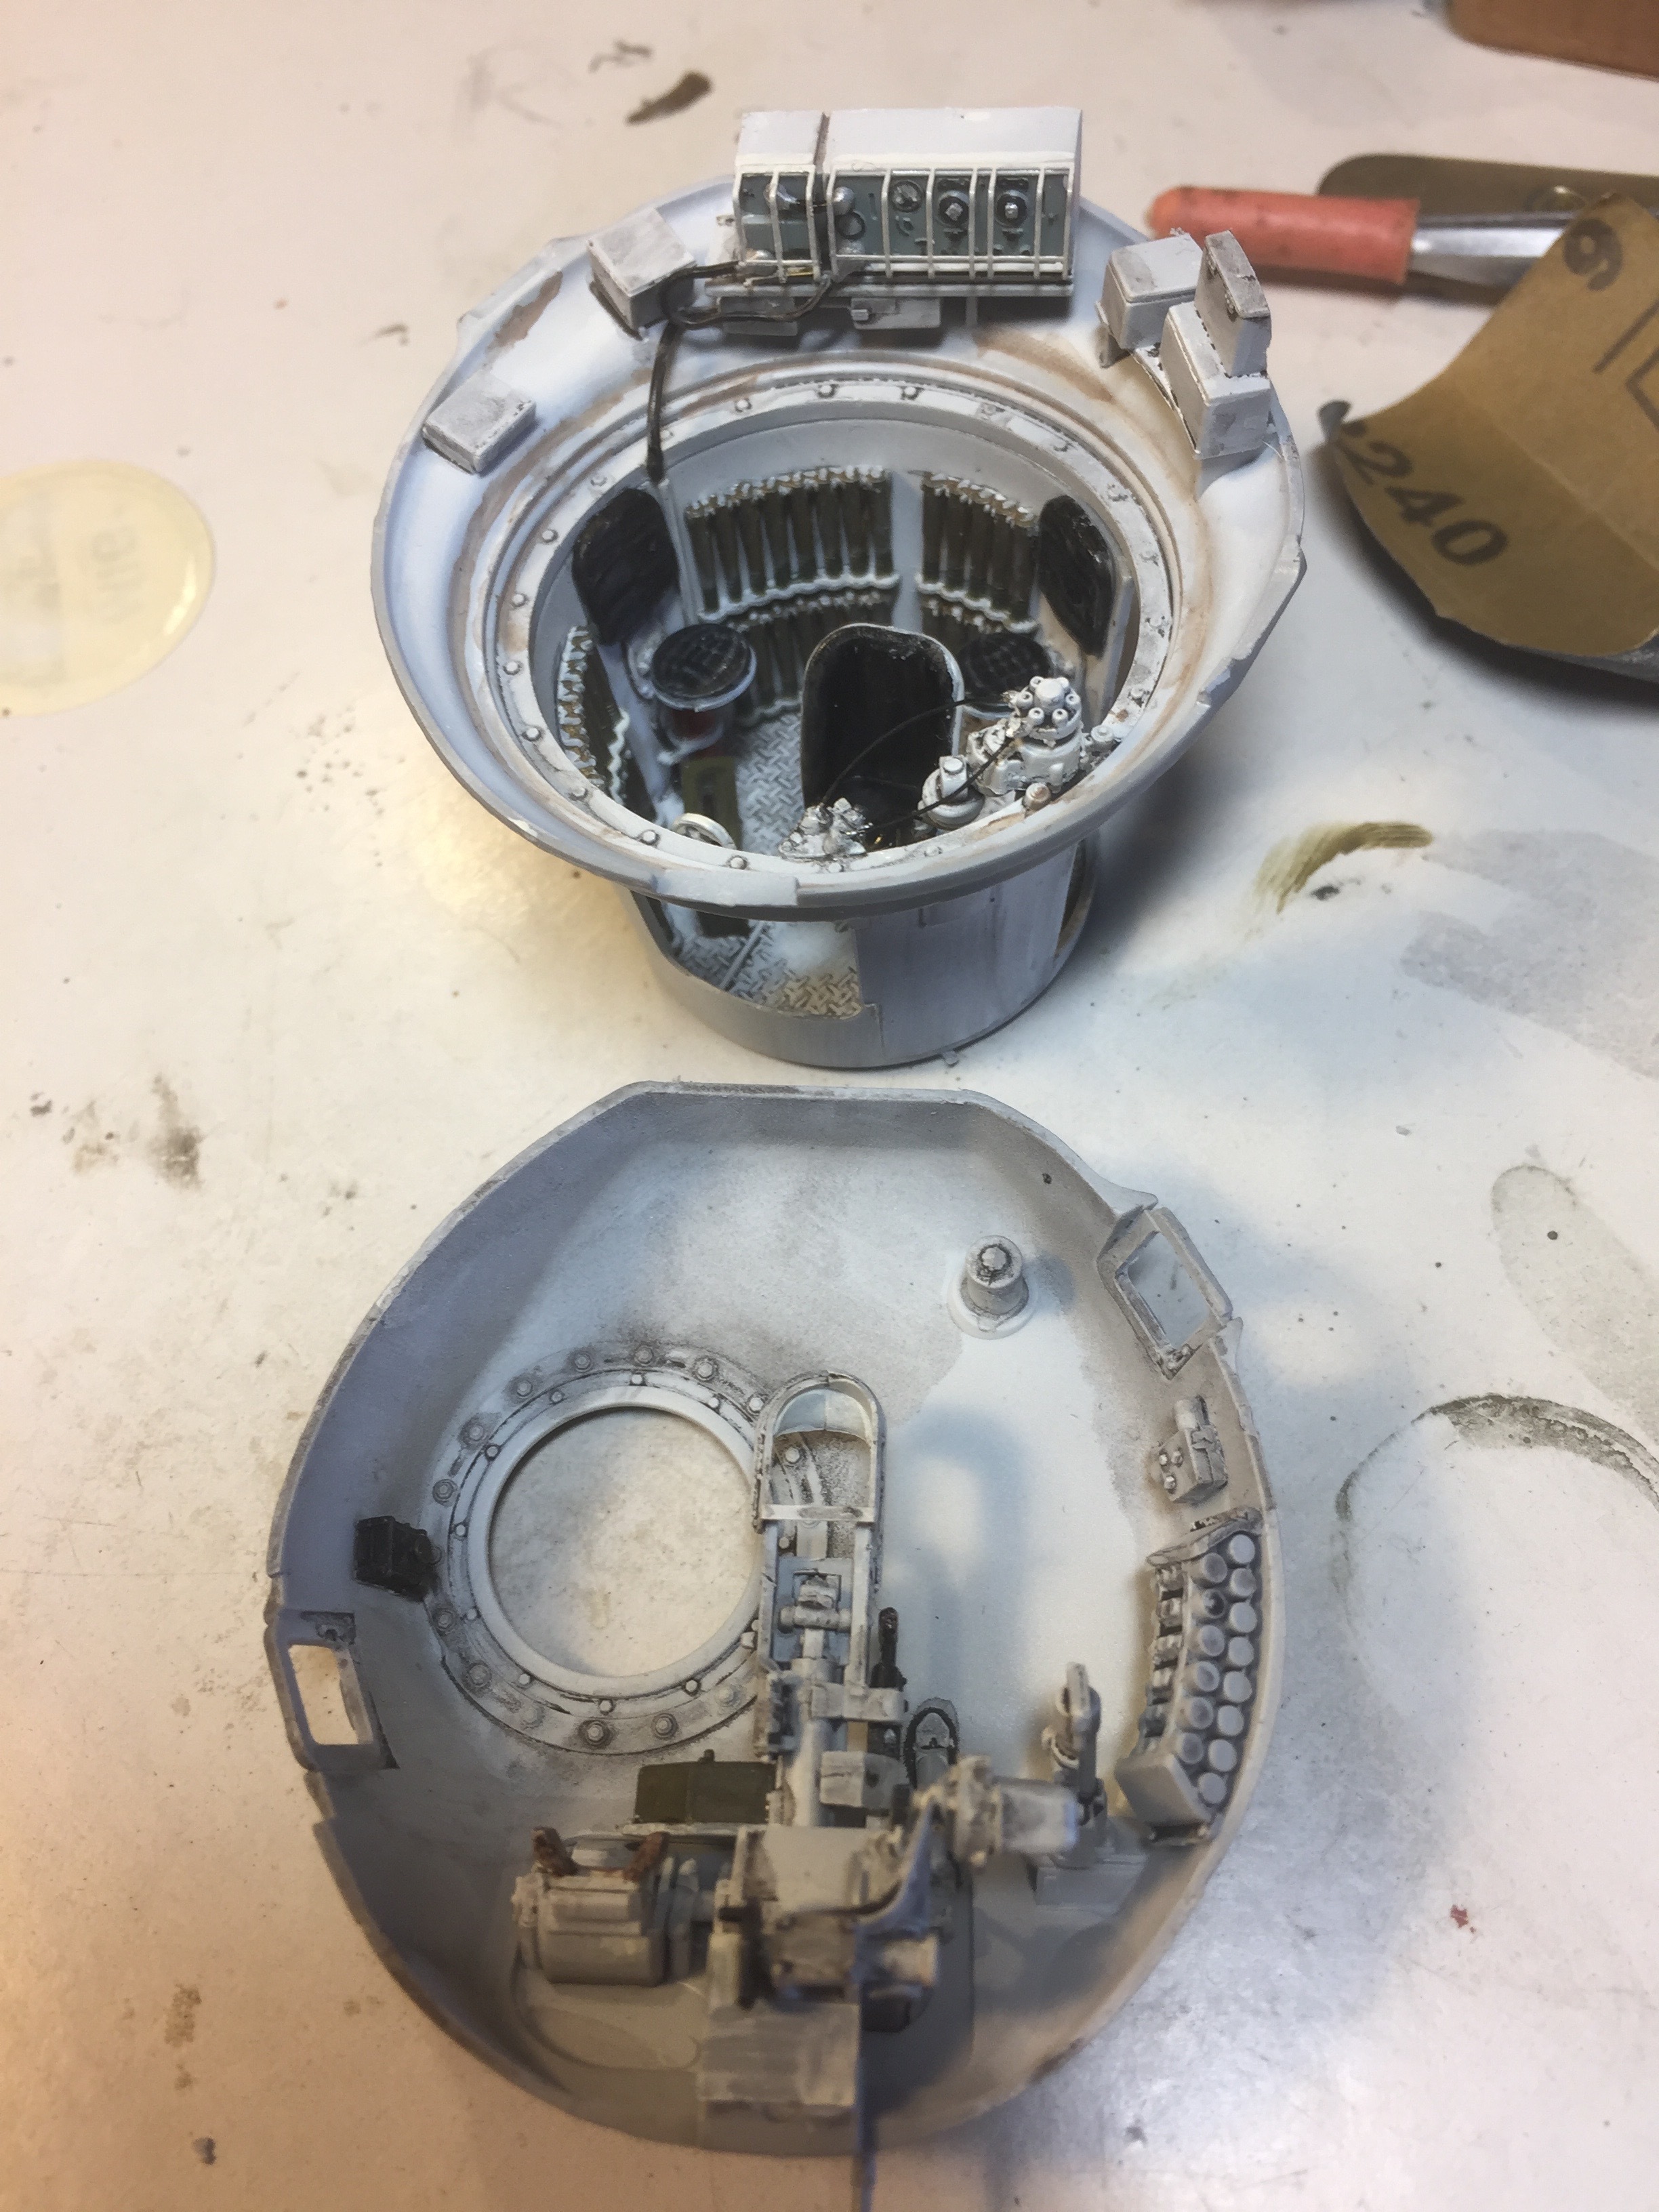
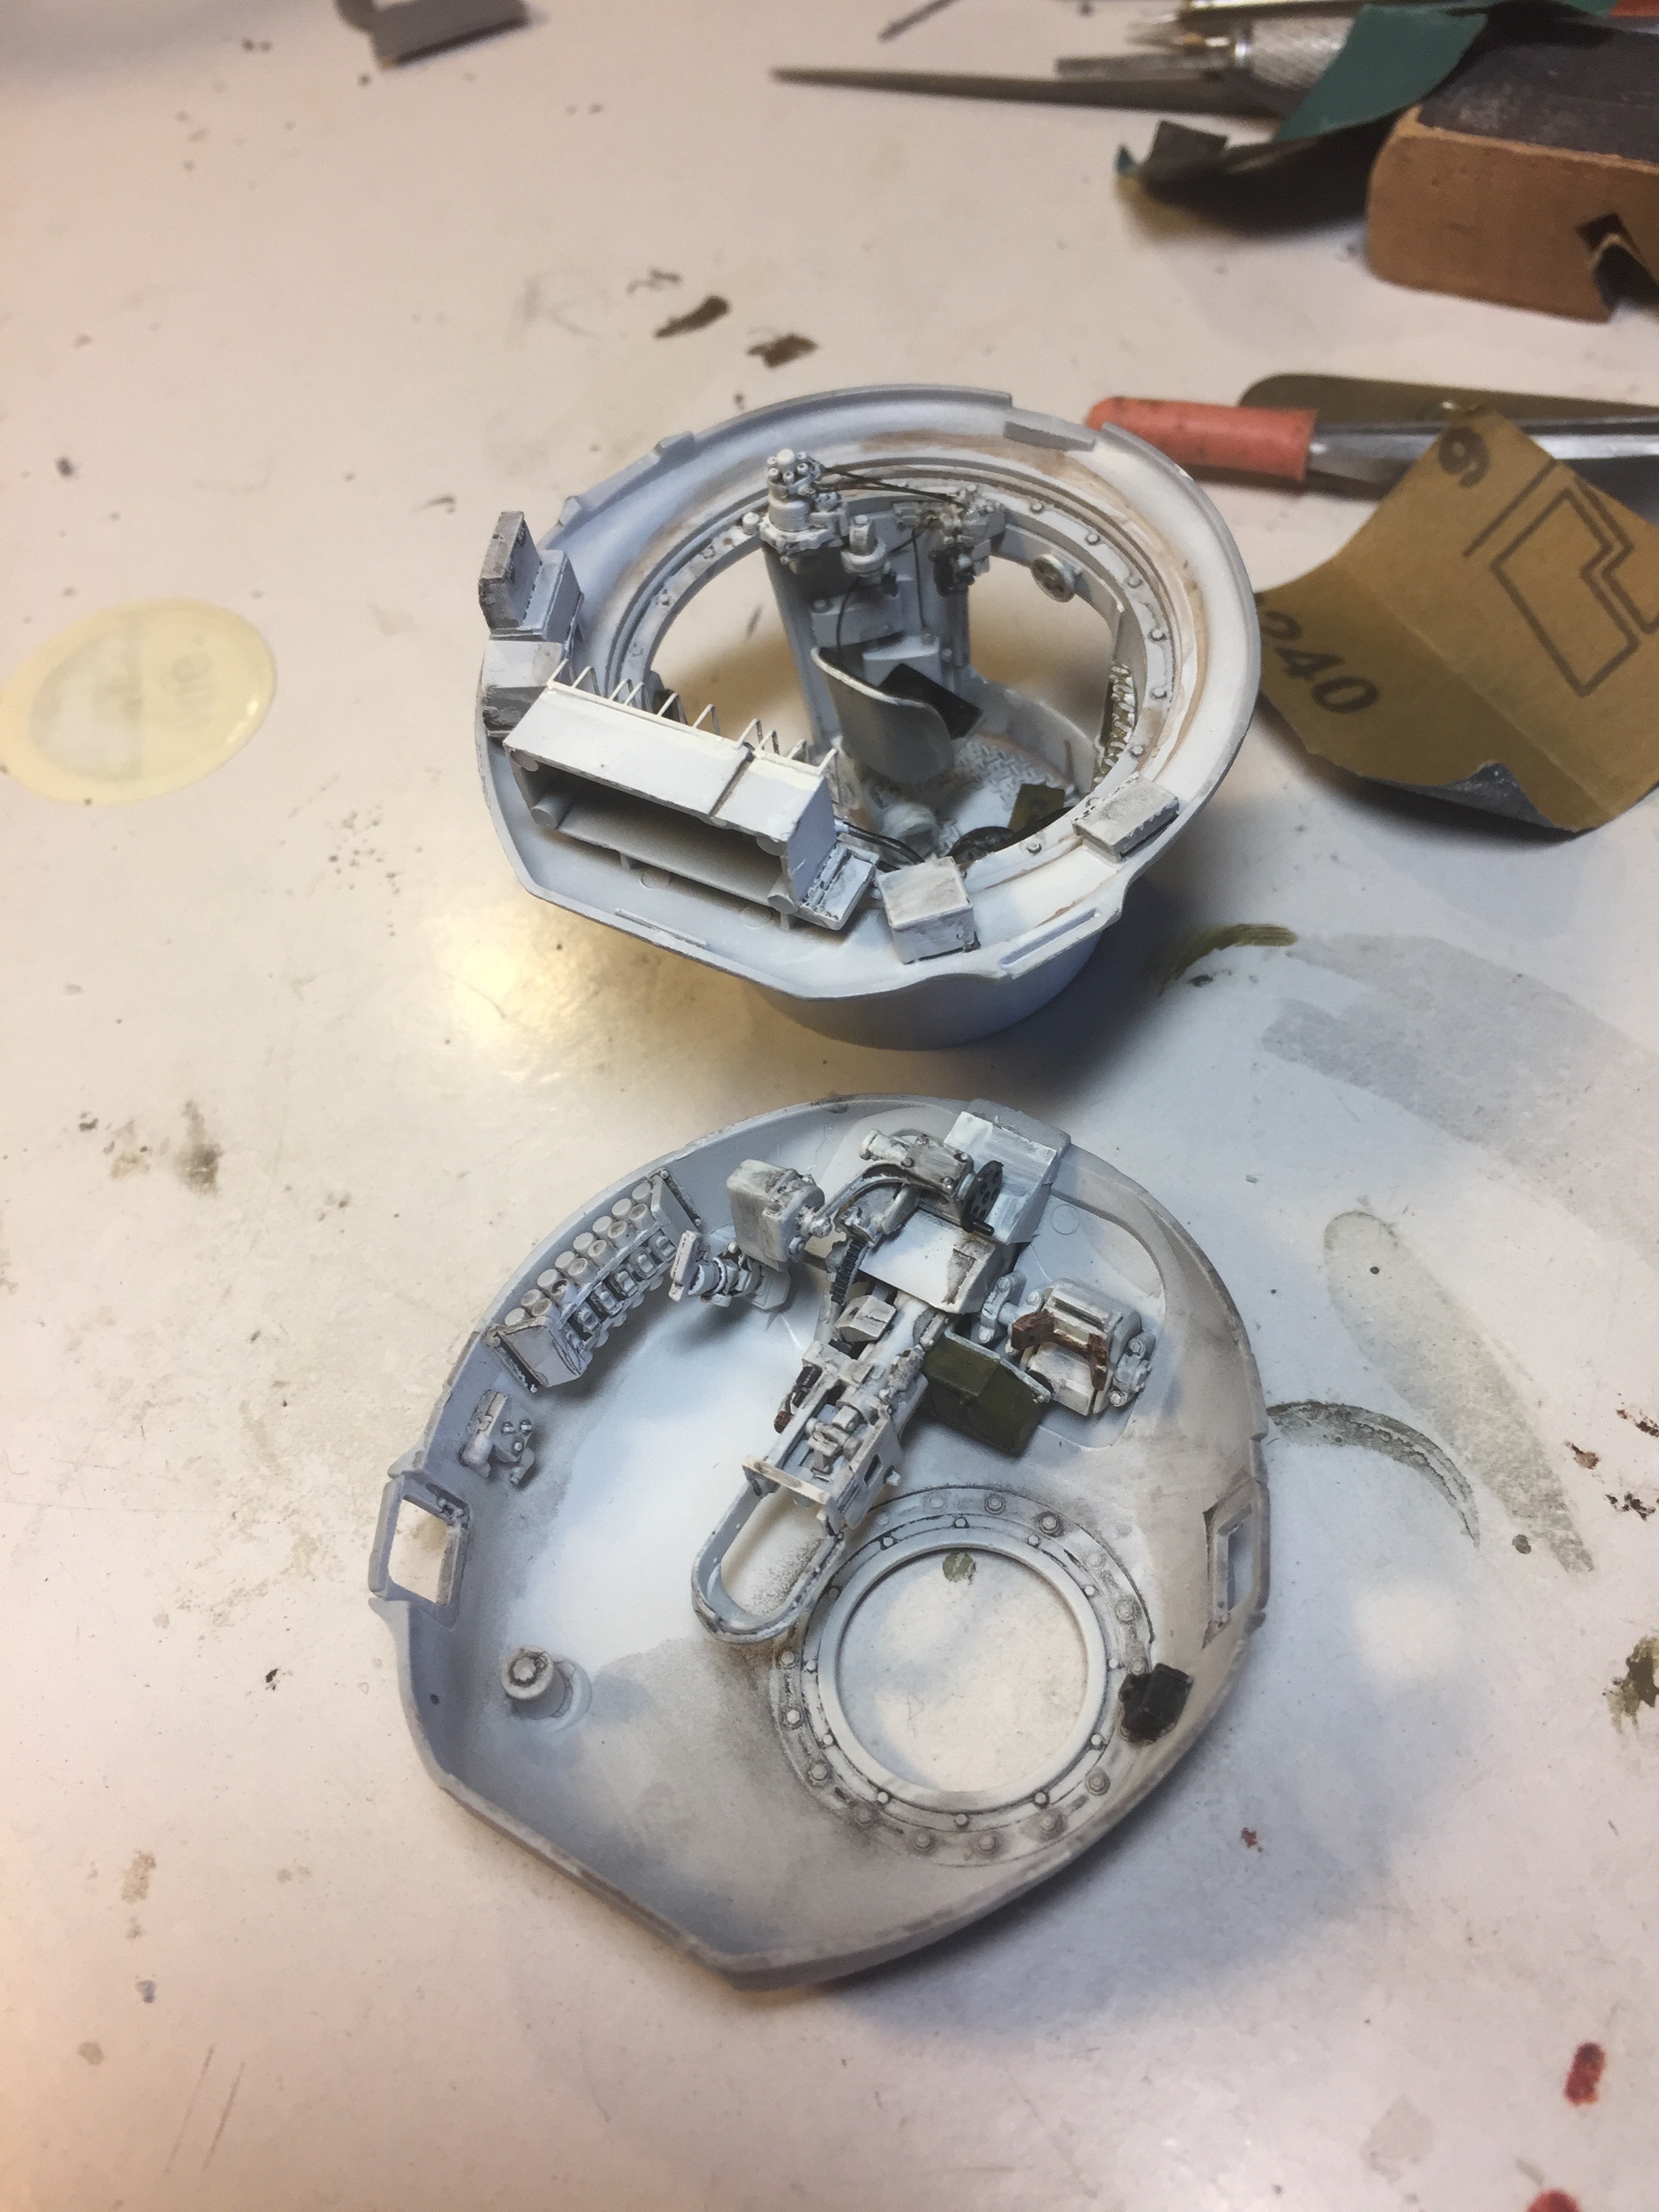
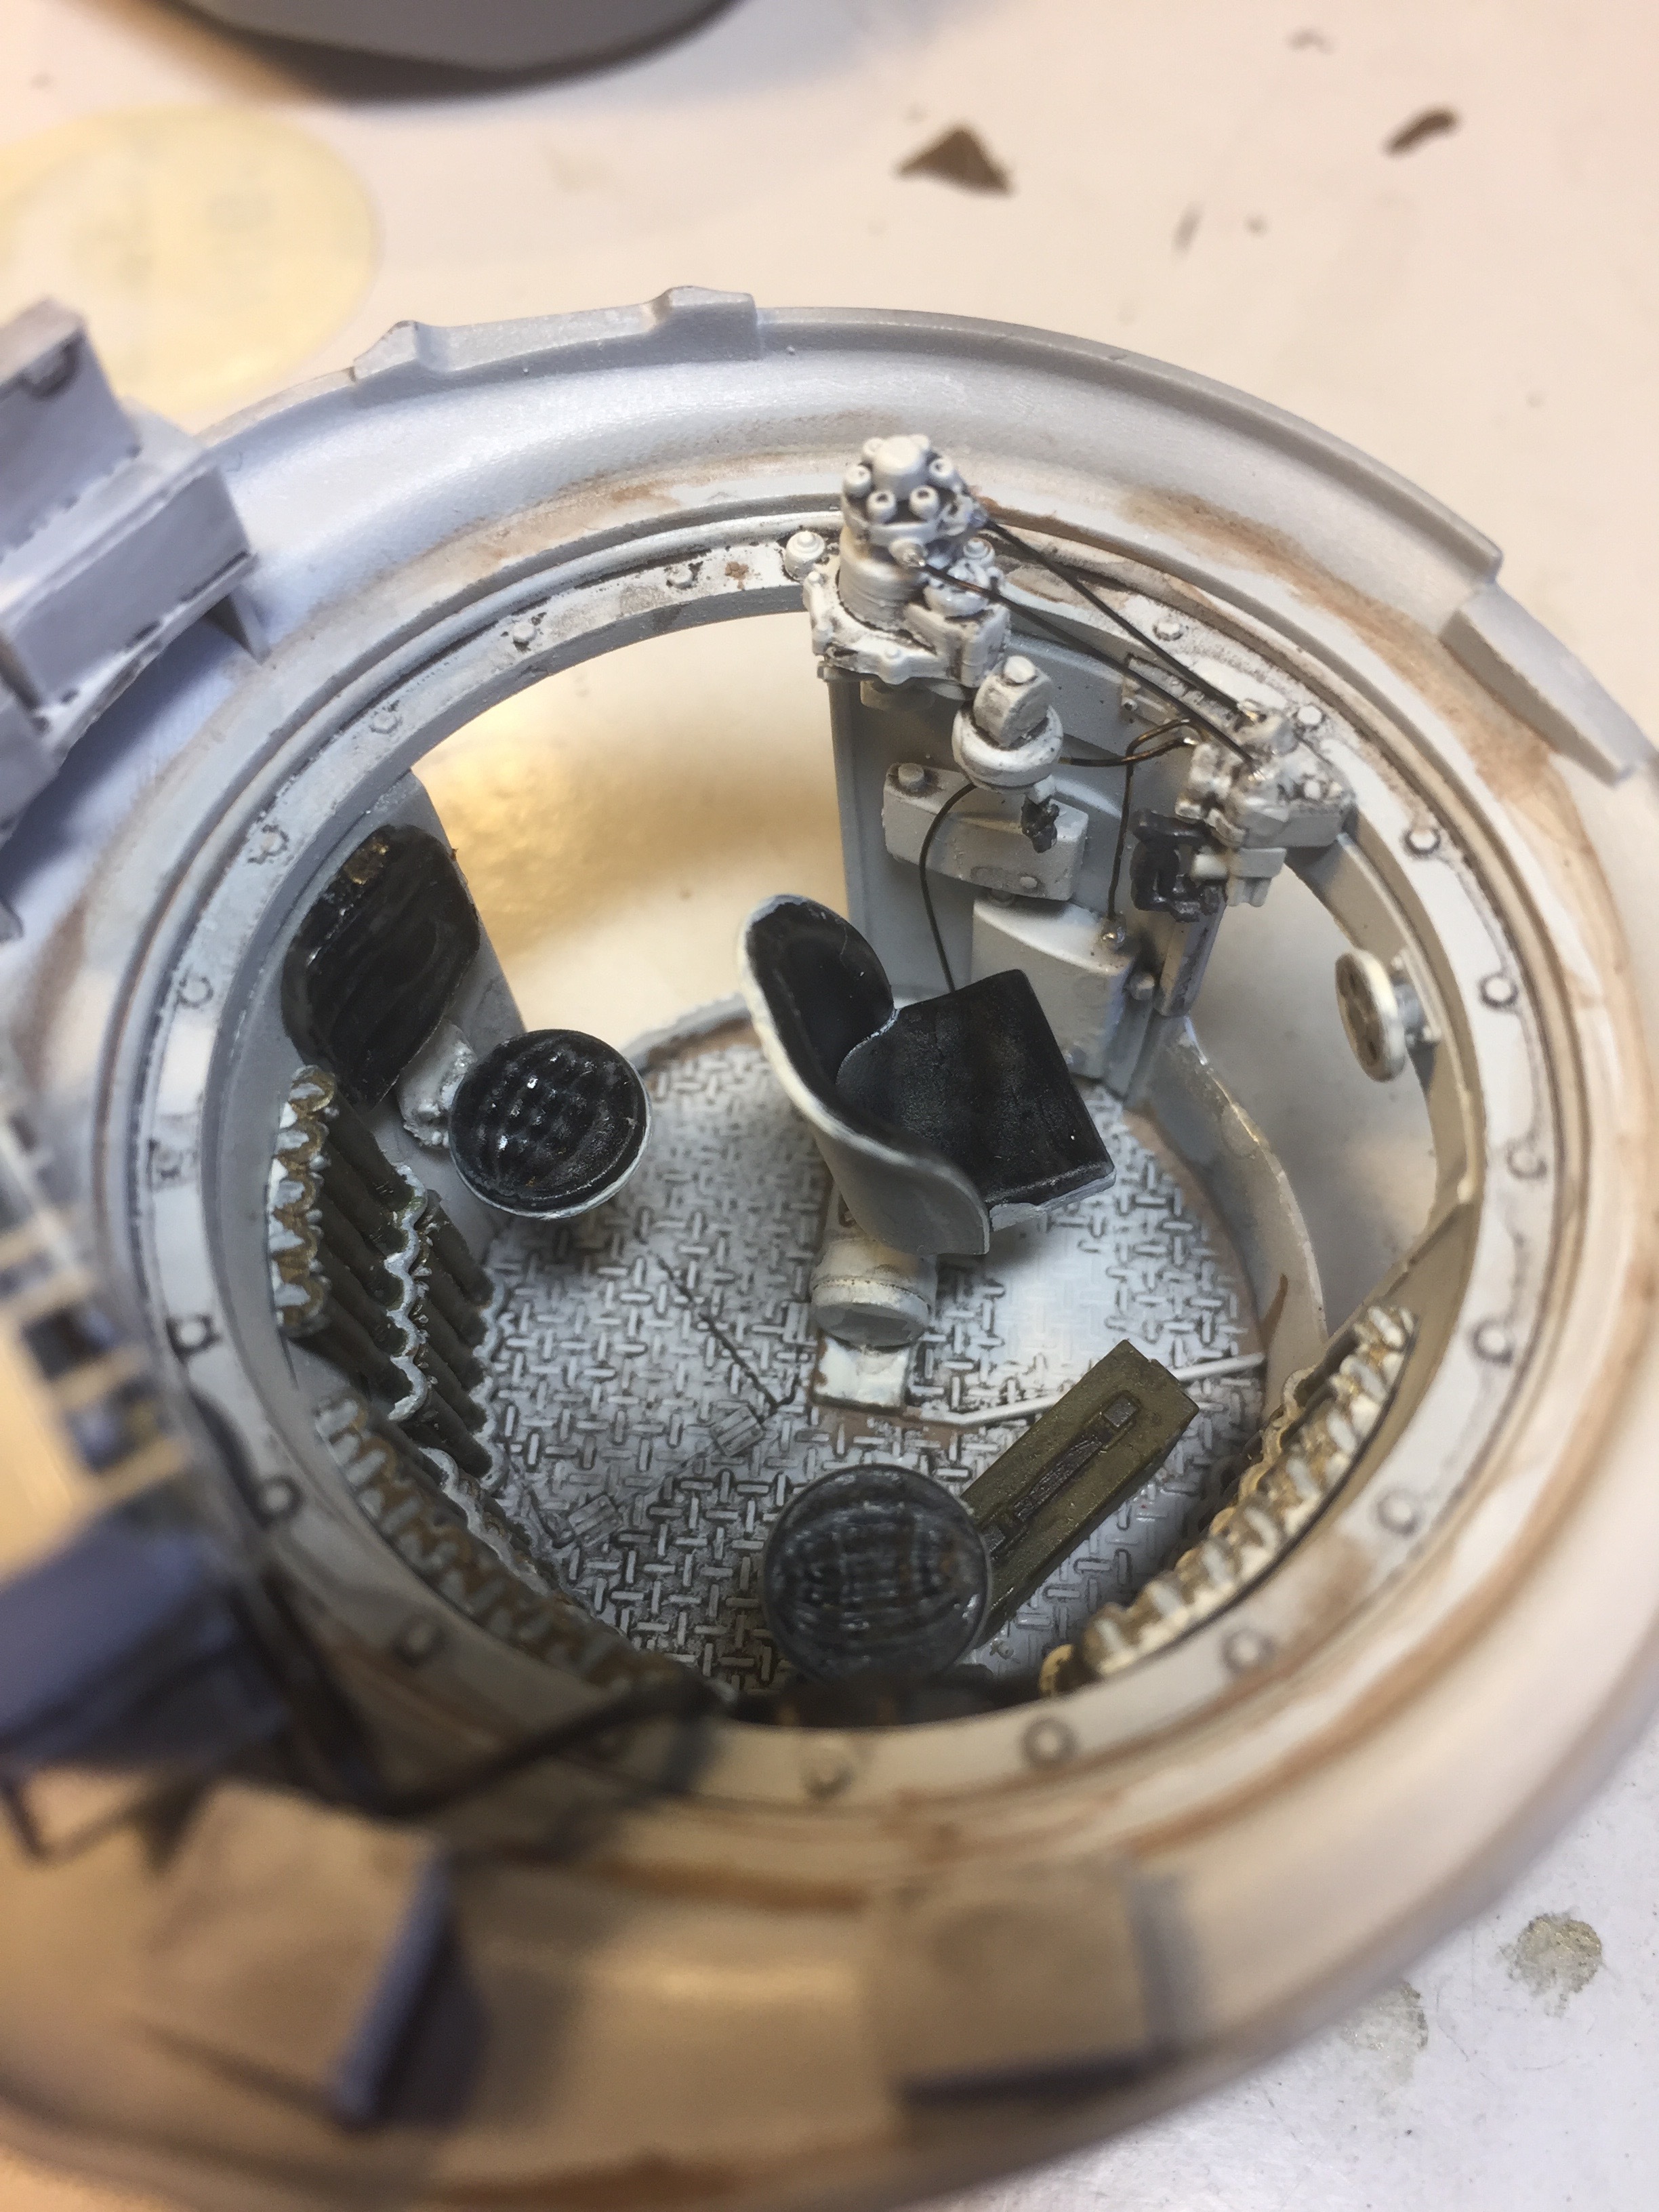
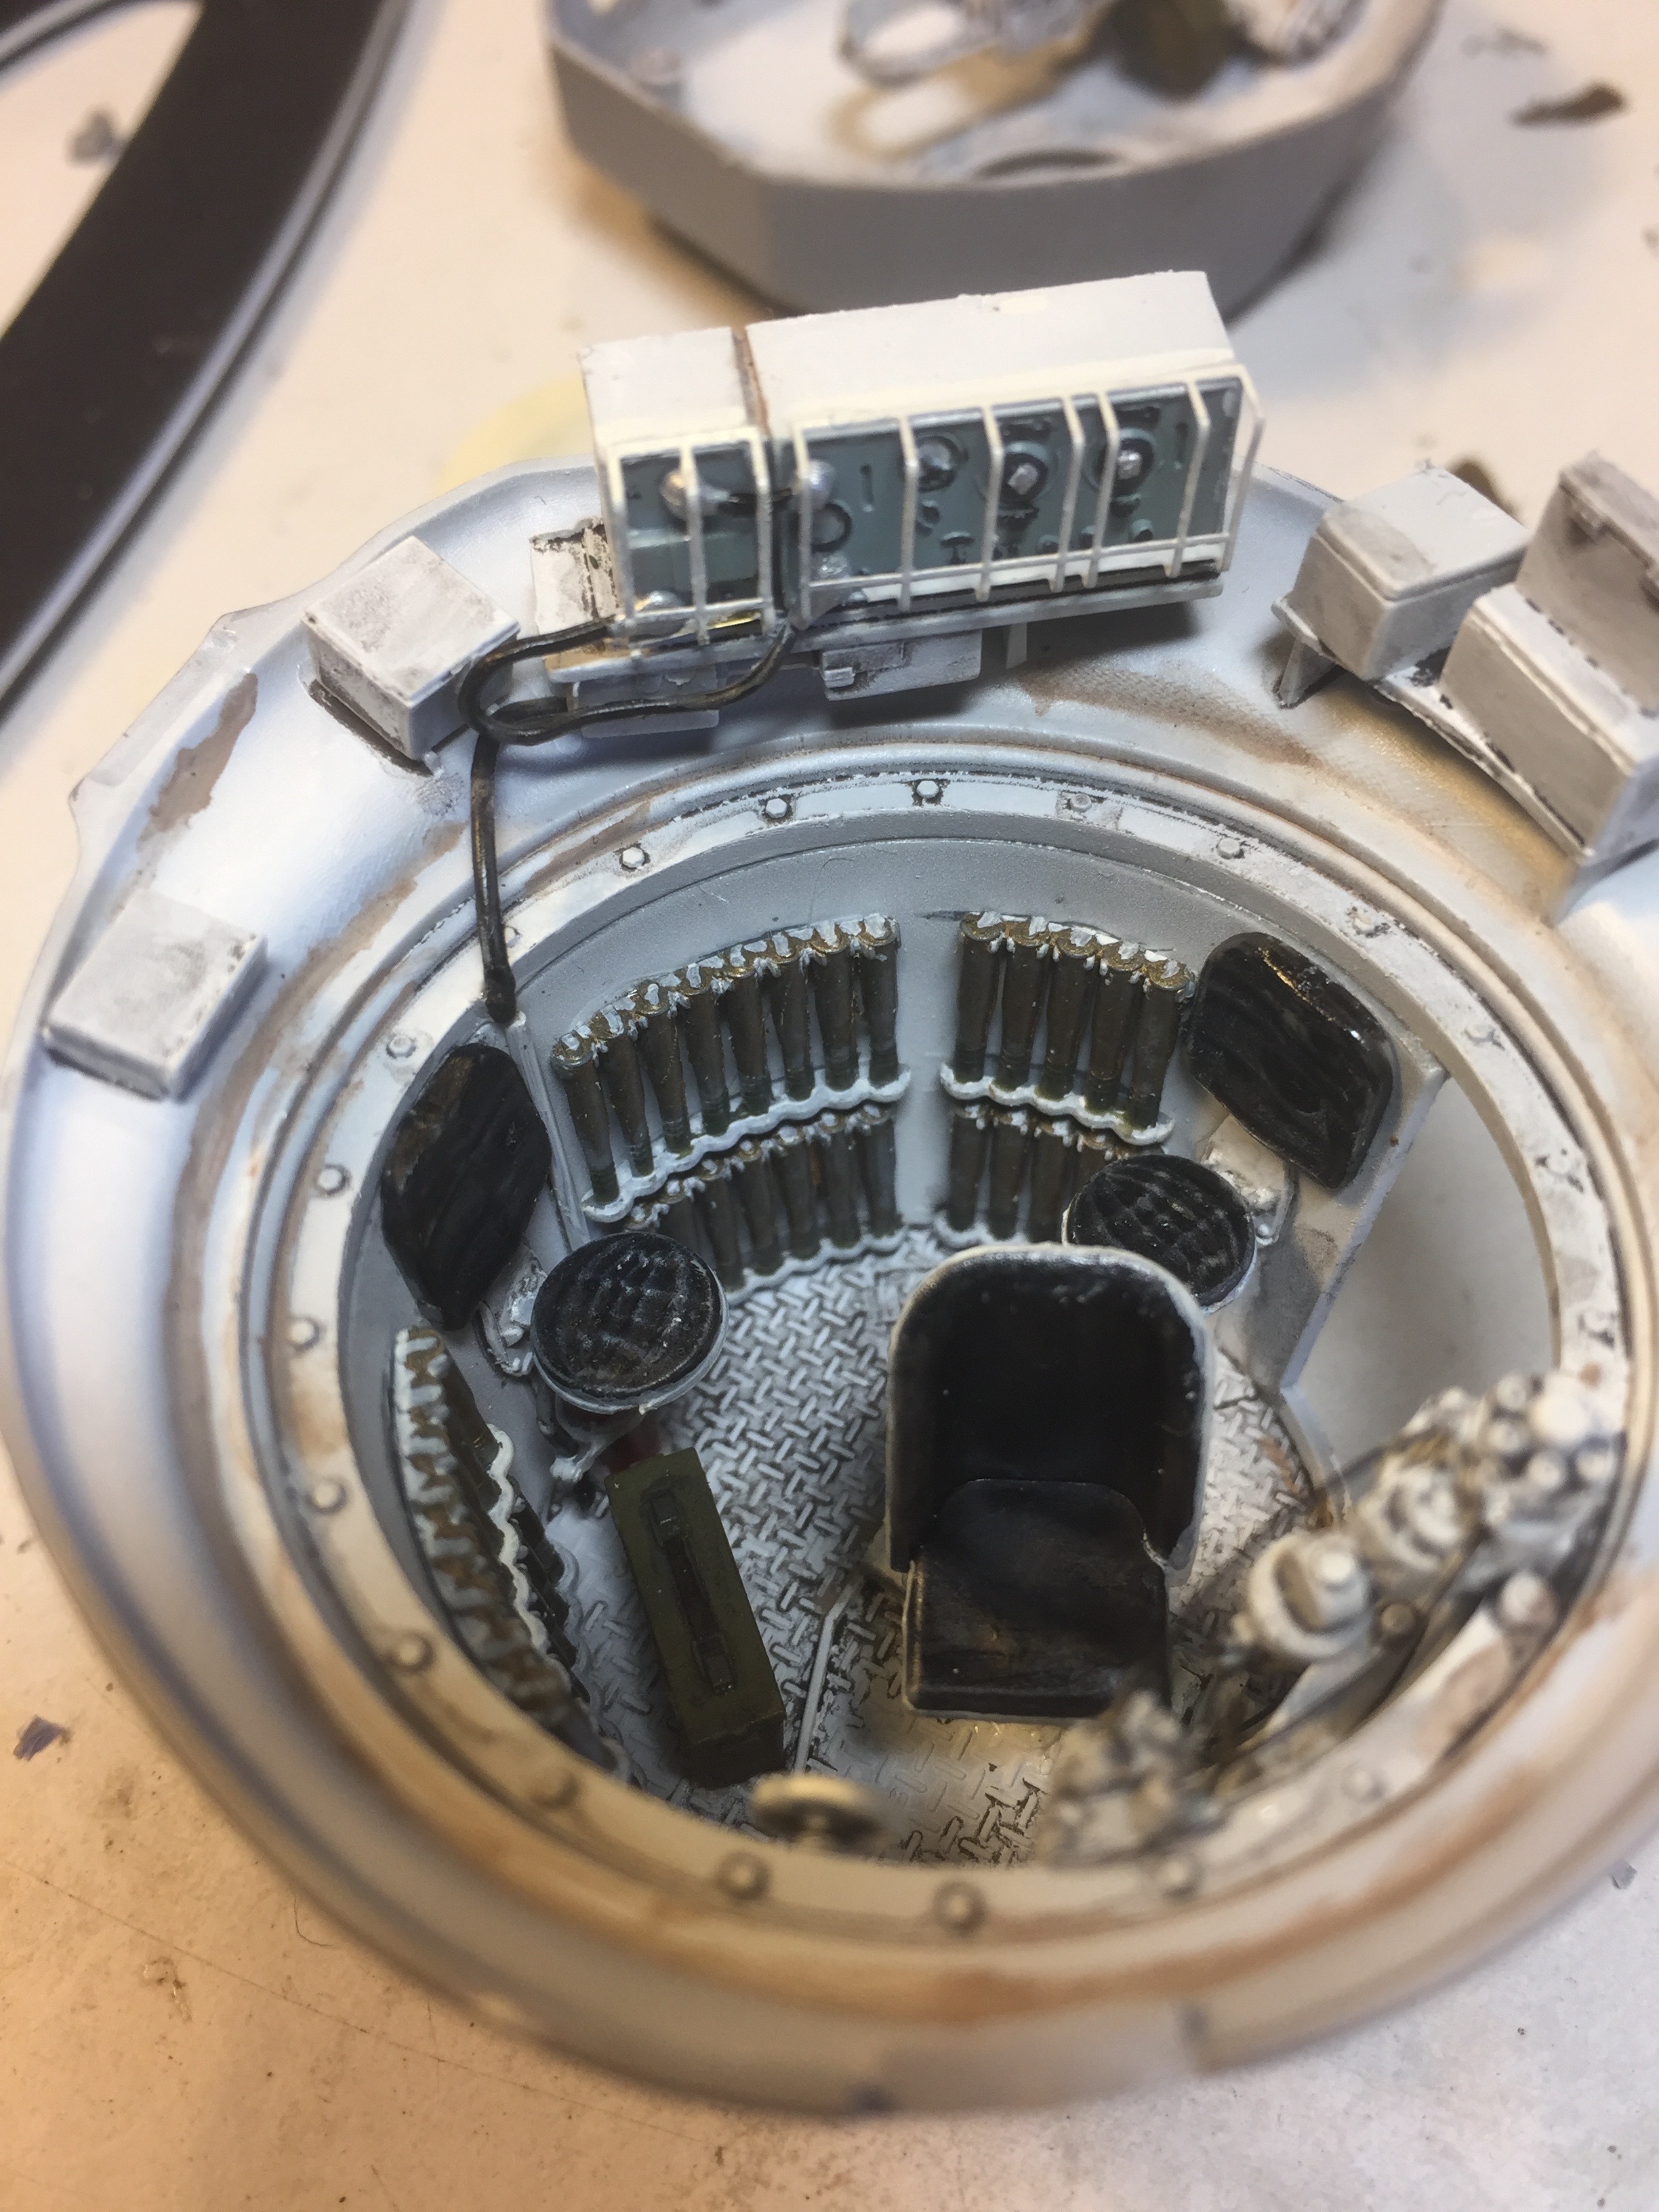
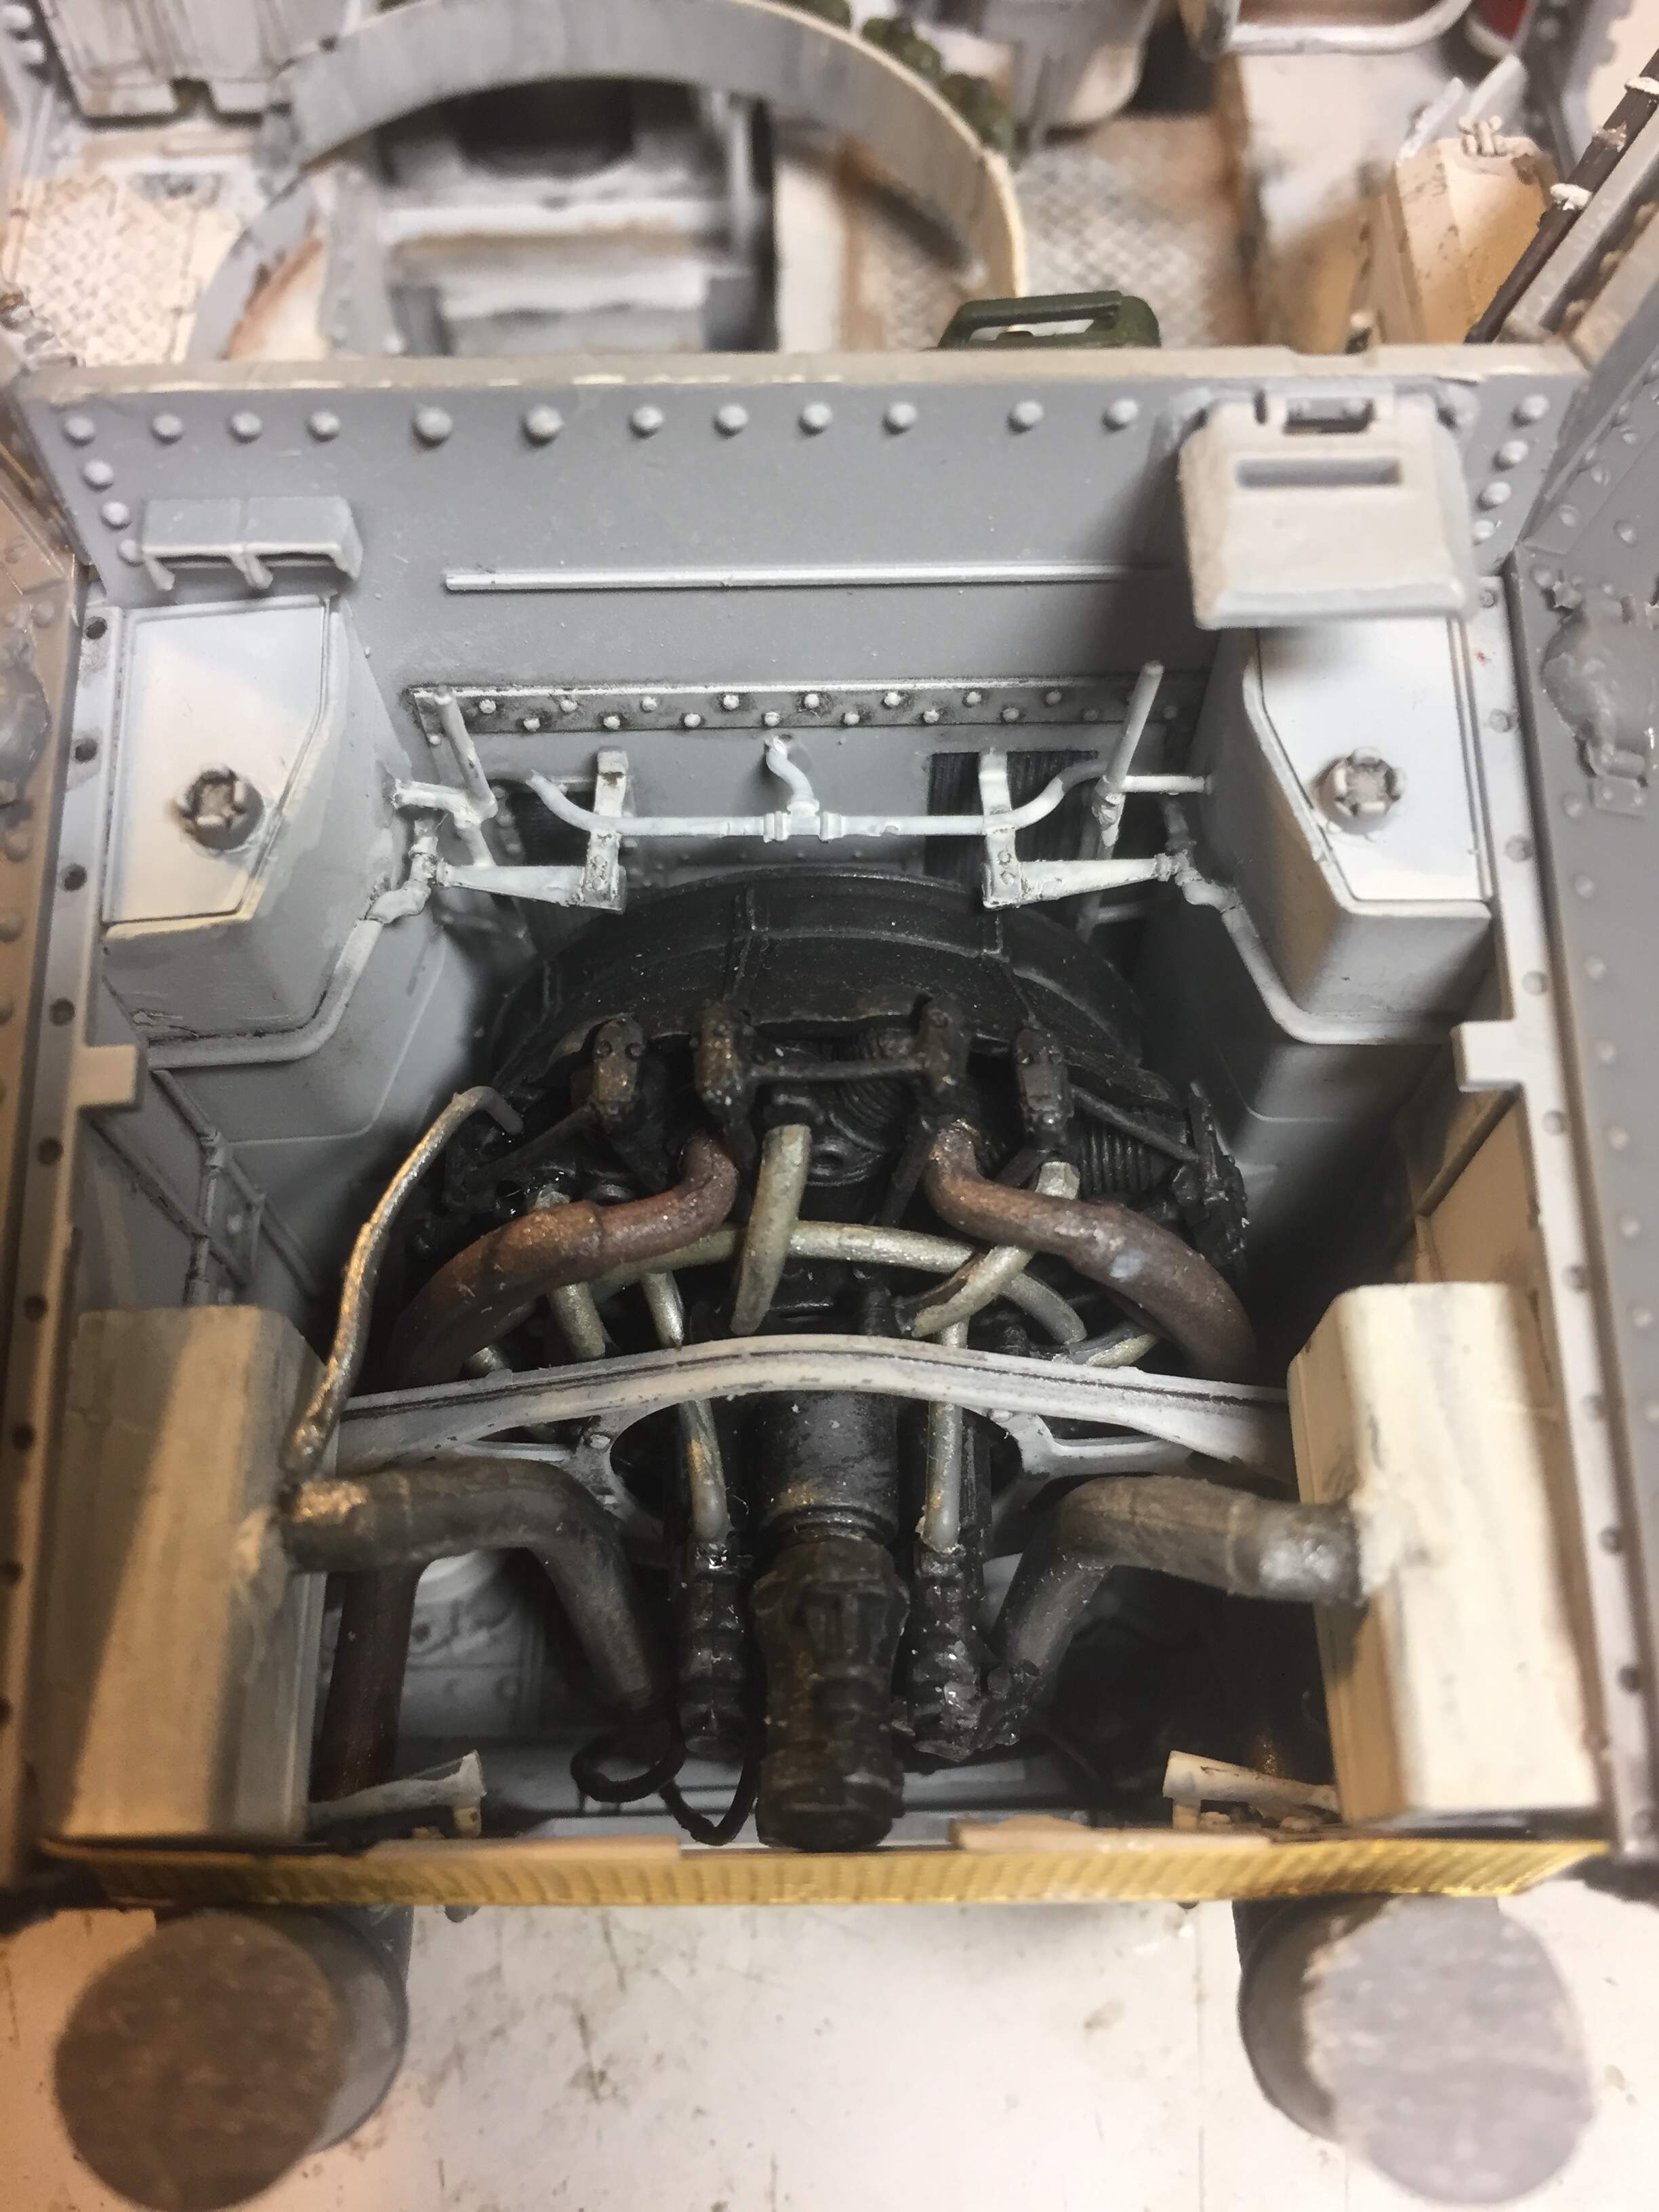
37mm turret is now done and the two half’s joined, a wee bit of filling sanding still to do. The hydraulic lines had me swearing a lot! Why do we do this? Is it because someone else has posted beautifully constructed soldered detailing and the competive instinct tells me to at least match this…
Anyway you can hardly see anything inside the thing. Guess it’s the challenge.
Think the end is now in sight and the exterior painting can start soon.
3 Likes
Very nice,painting is outstanding
1 Like
Excellent work so far!
1 Like
I was gonna ask how the build went but I see in your first post you mentioned it went ok. I’m very curious because I haven’t built a Miniart kit yet and have heard both good and bad things about them. Good to know. Again excellent job and can’t wait to see it finished.
1 Like
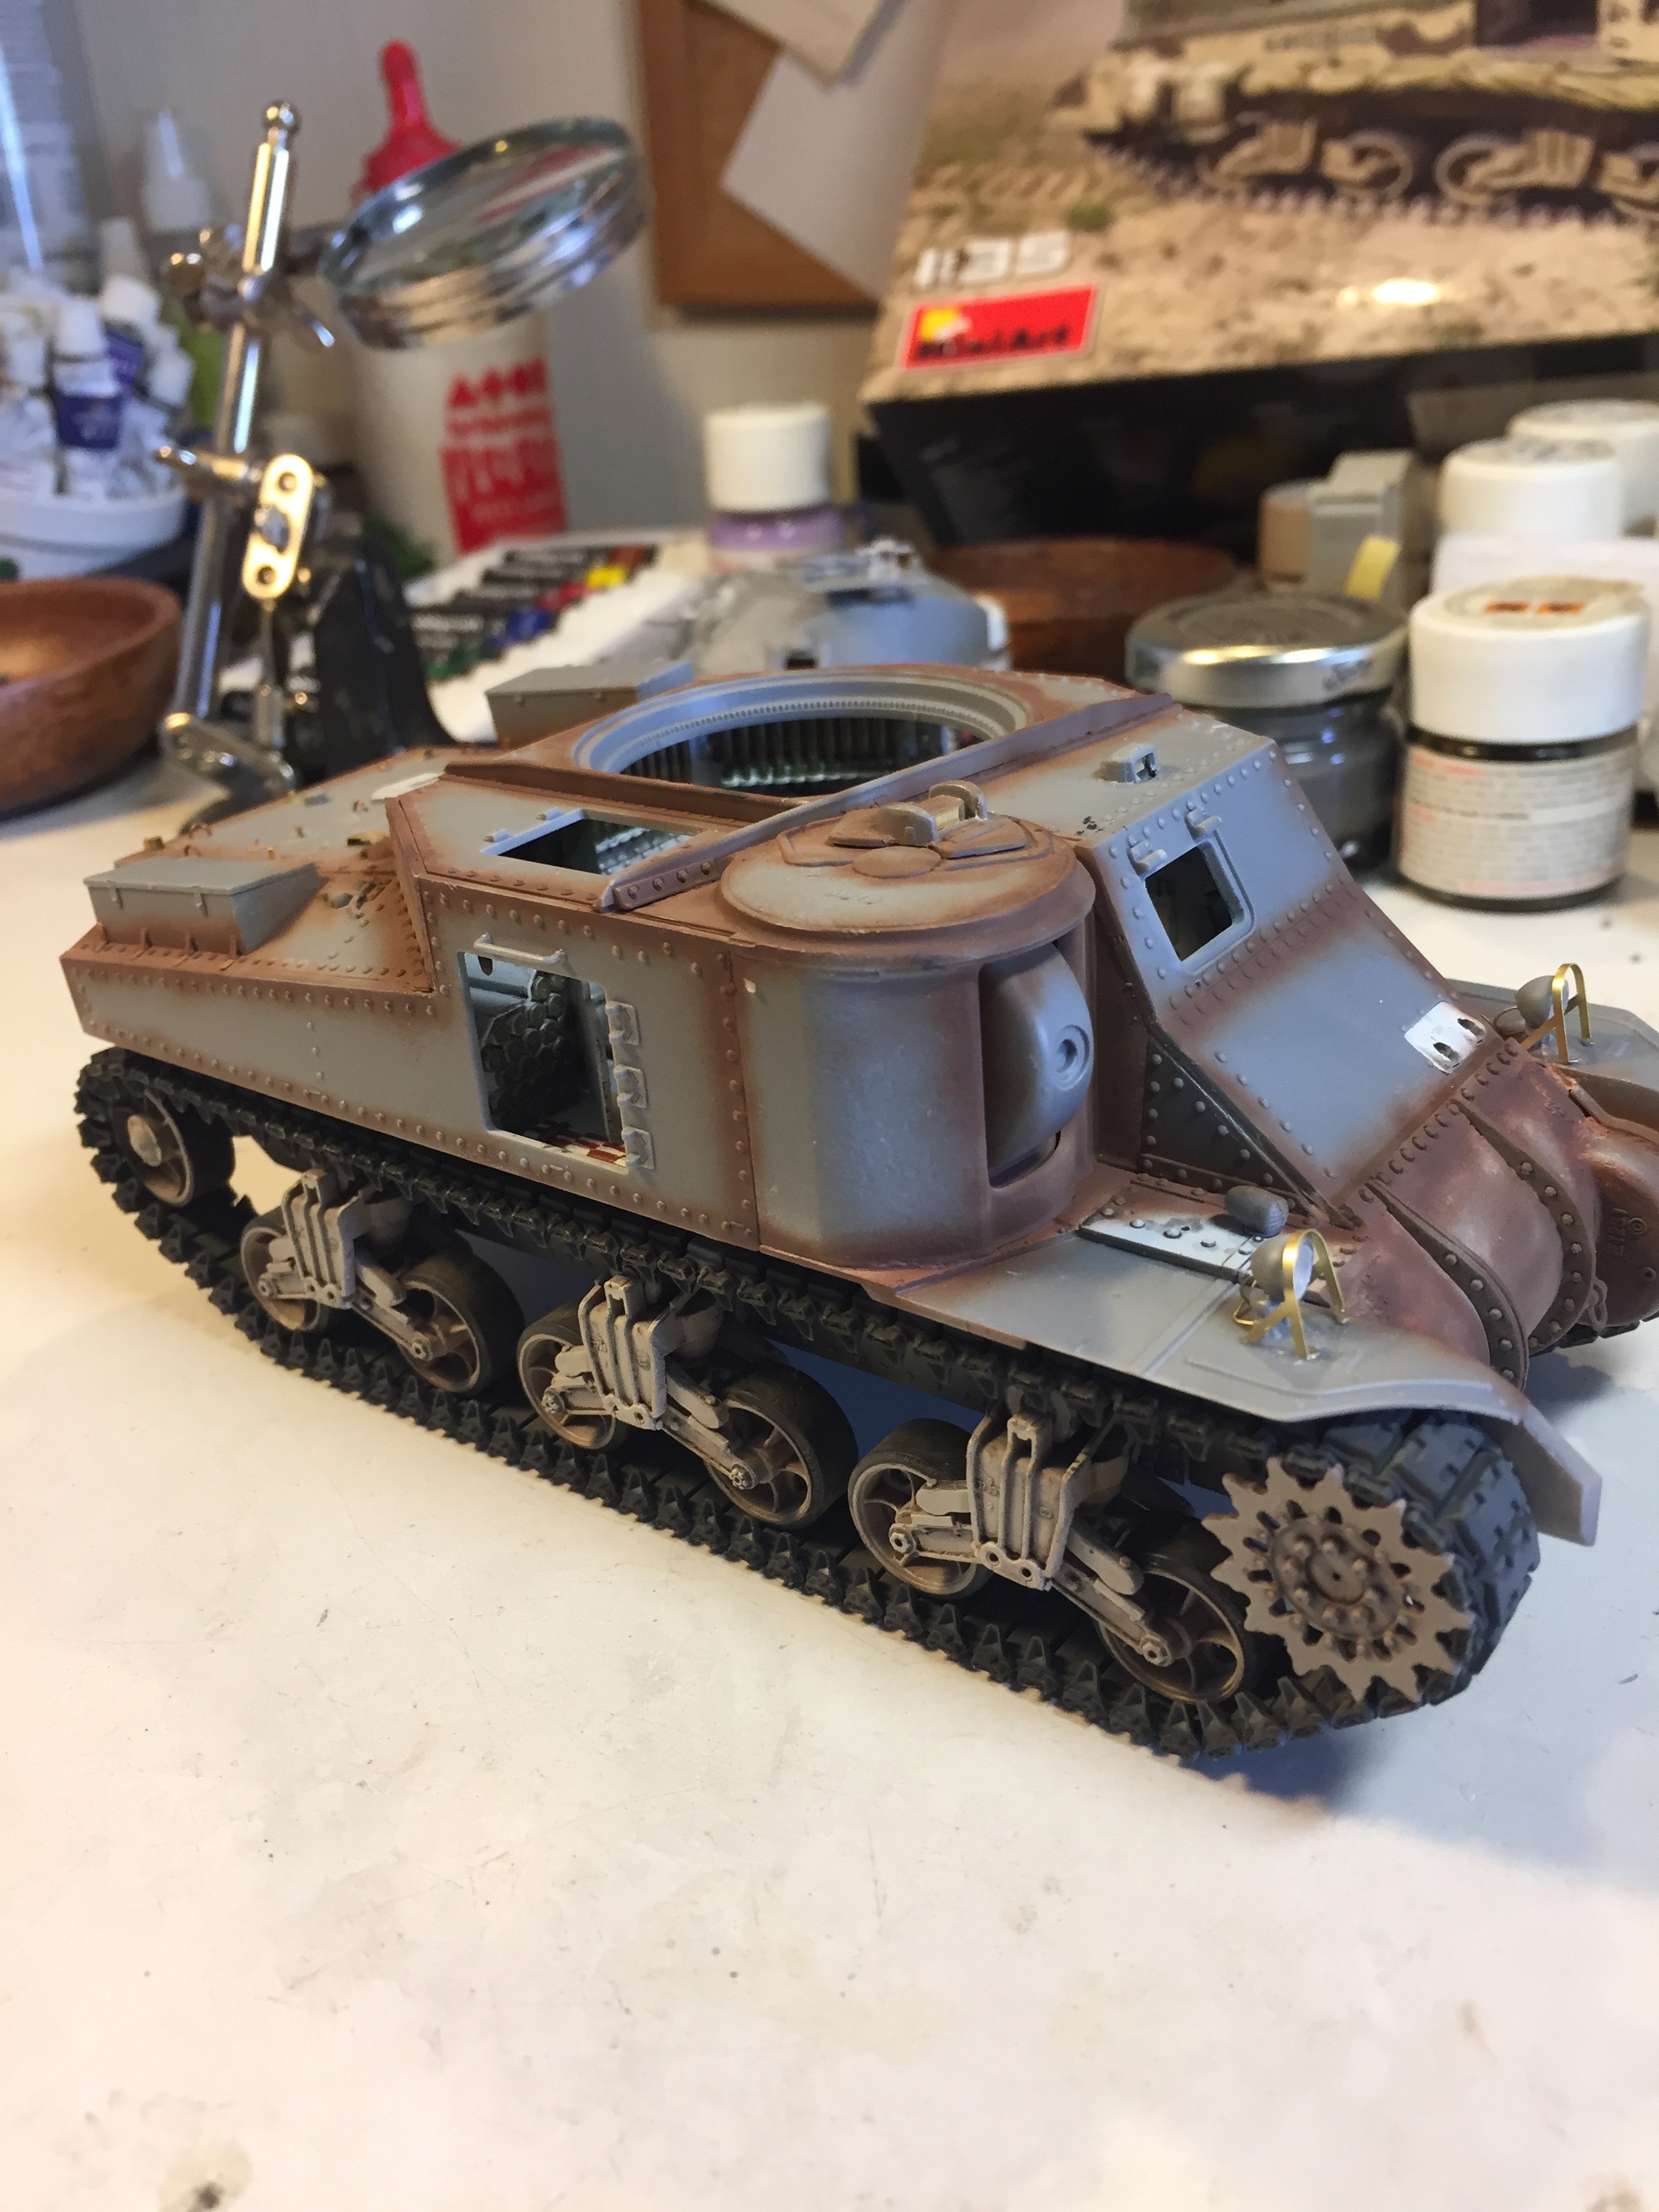
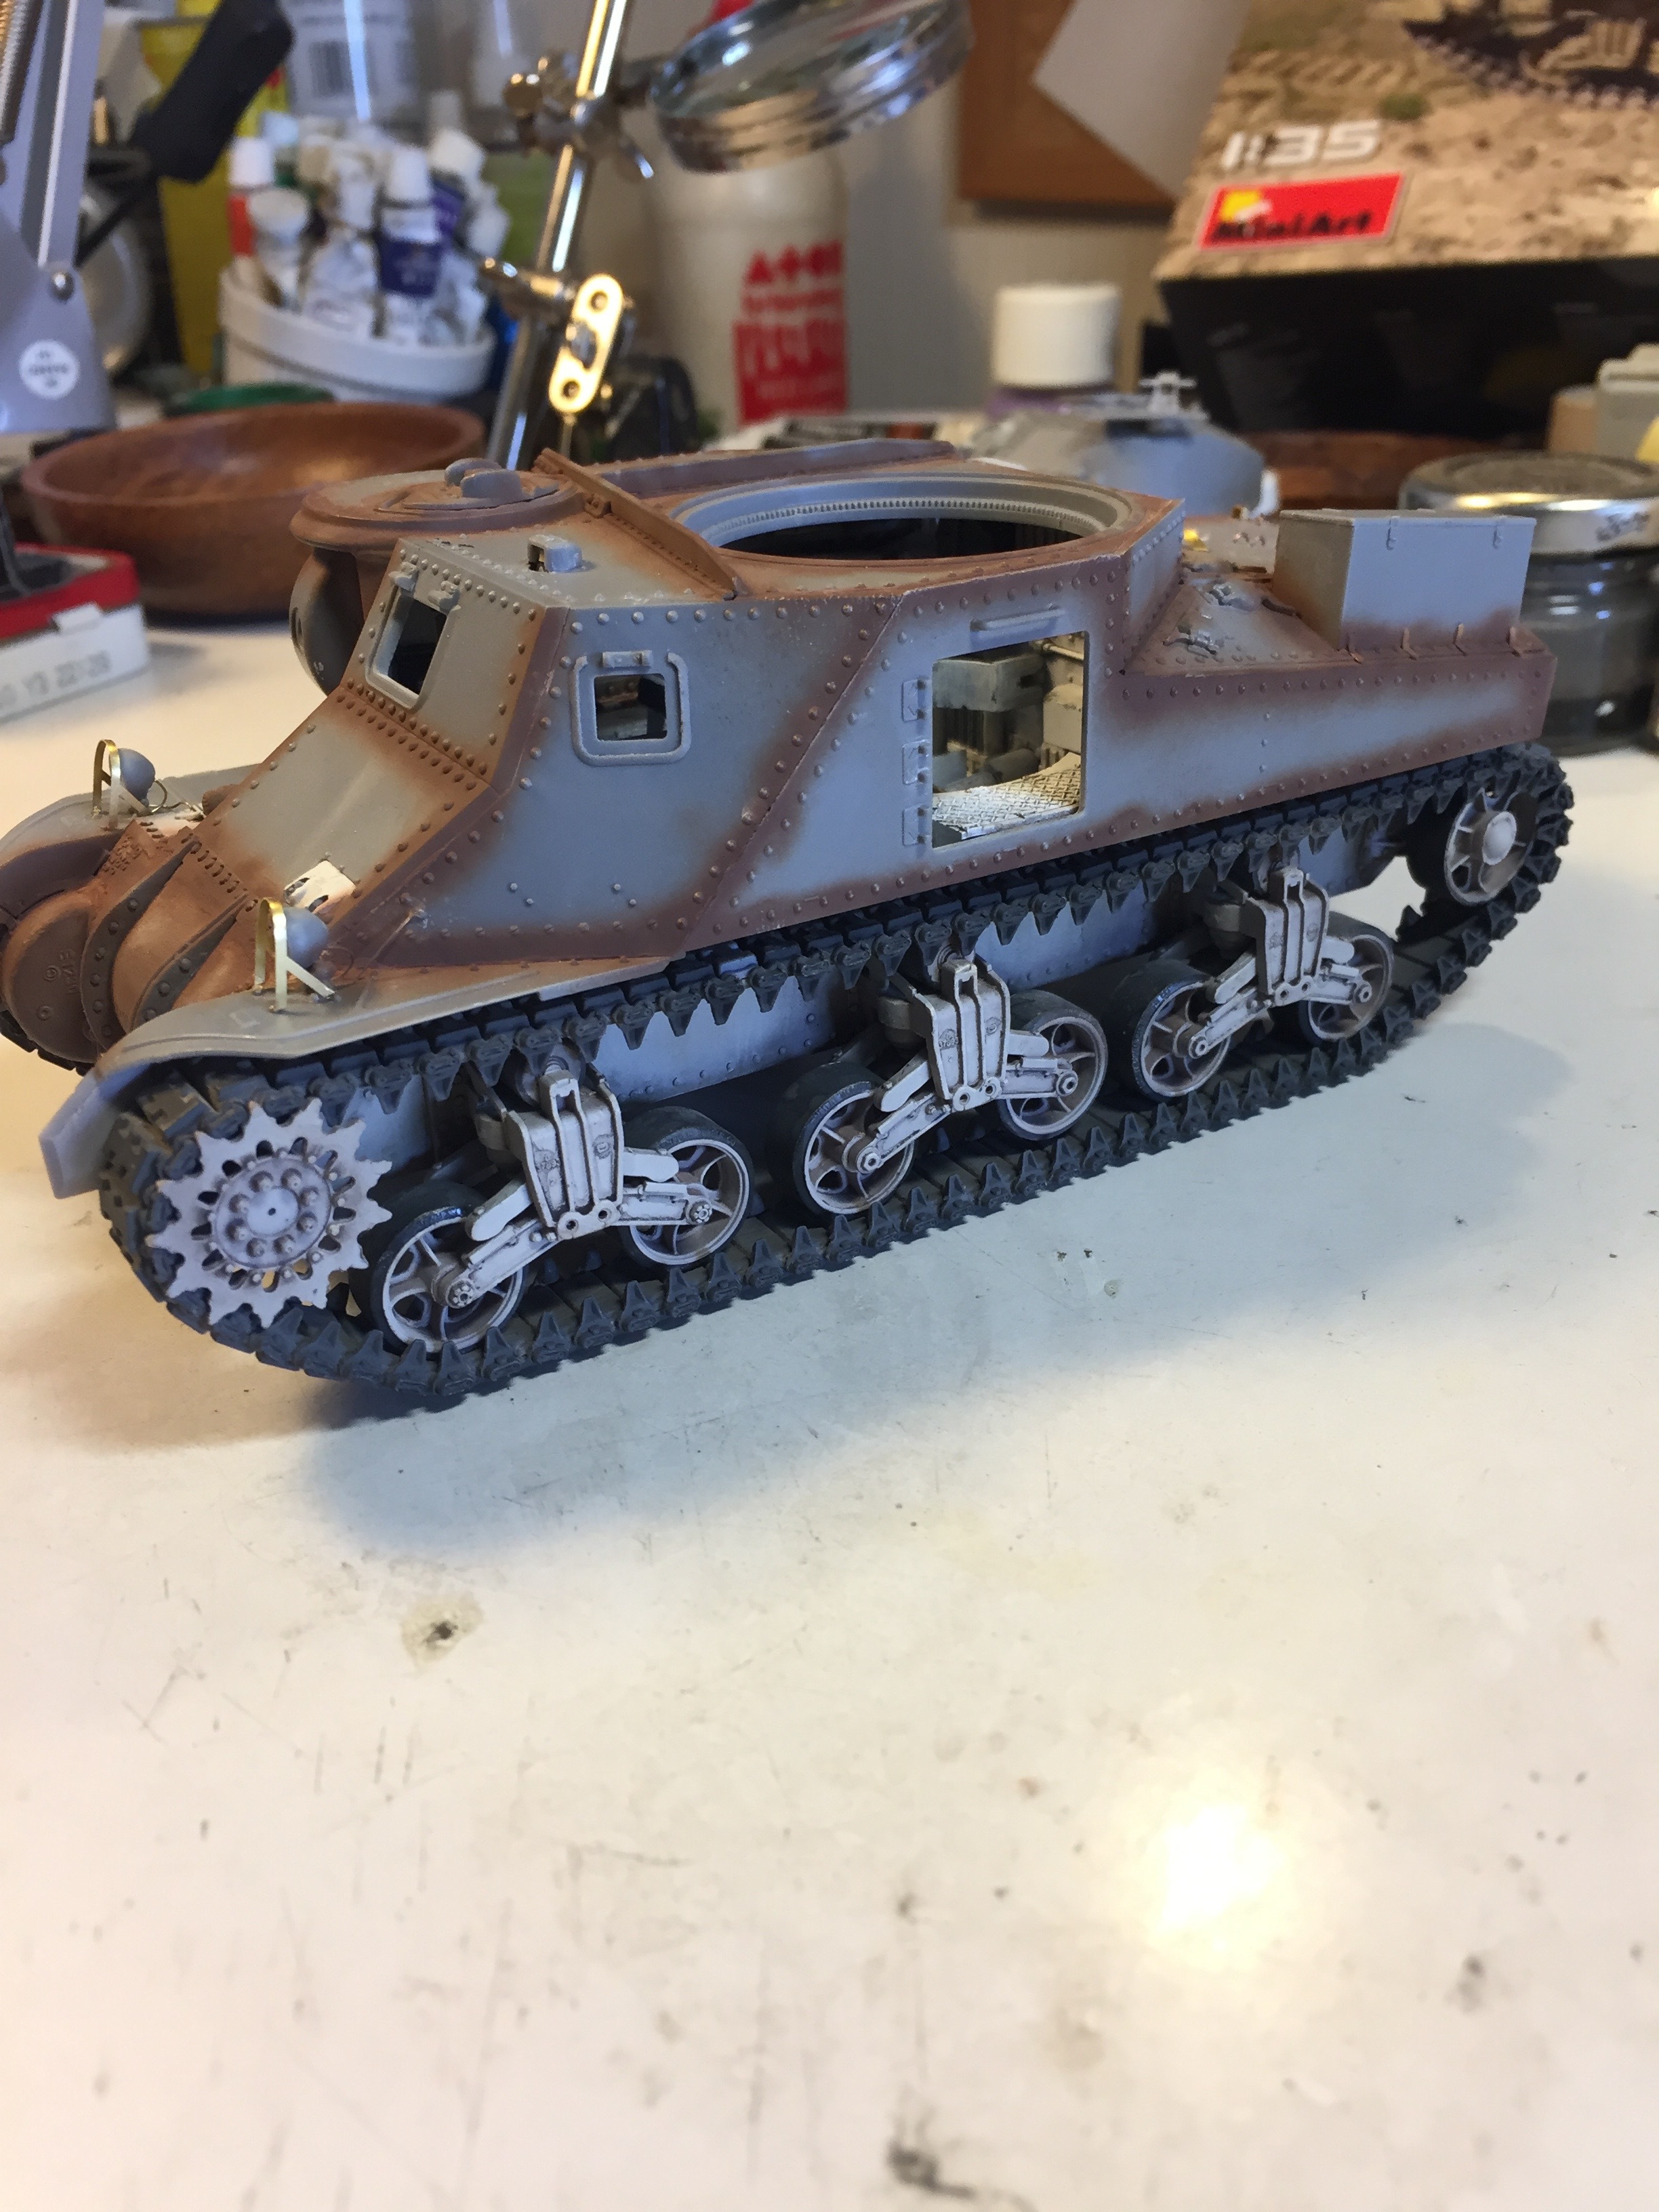
Thanks for the reply’s. A landmark has been reached with getting the tracks on, still to do some paintwork on the tracks and running gear and then mask it all off and start painting on the topside.
9 Likes
That pre shade will look nice
1 Like
Tracks look great! Realistically consistent
1 Like
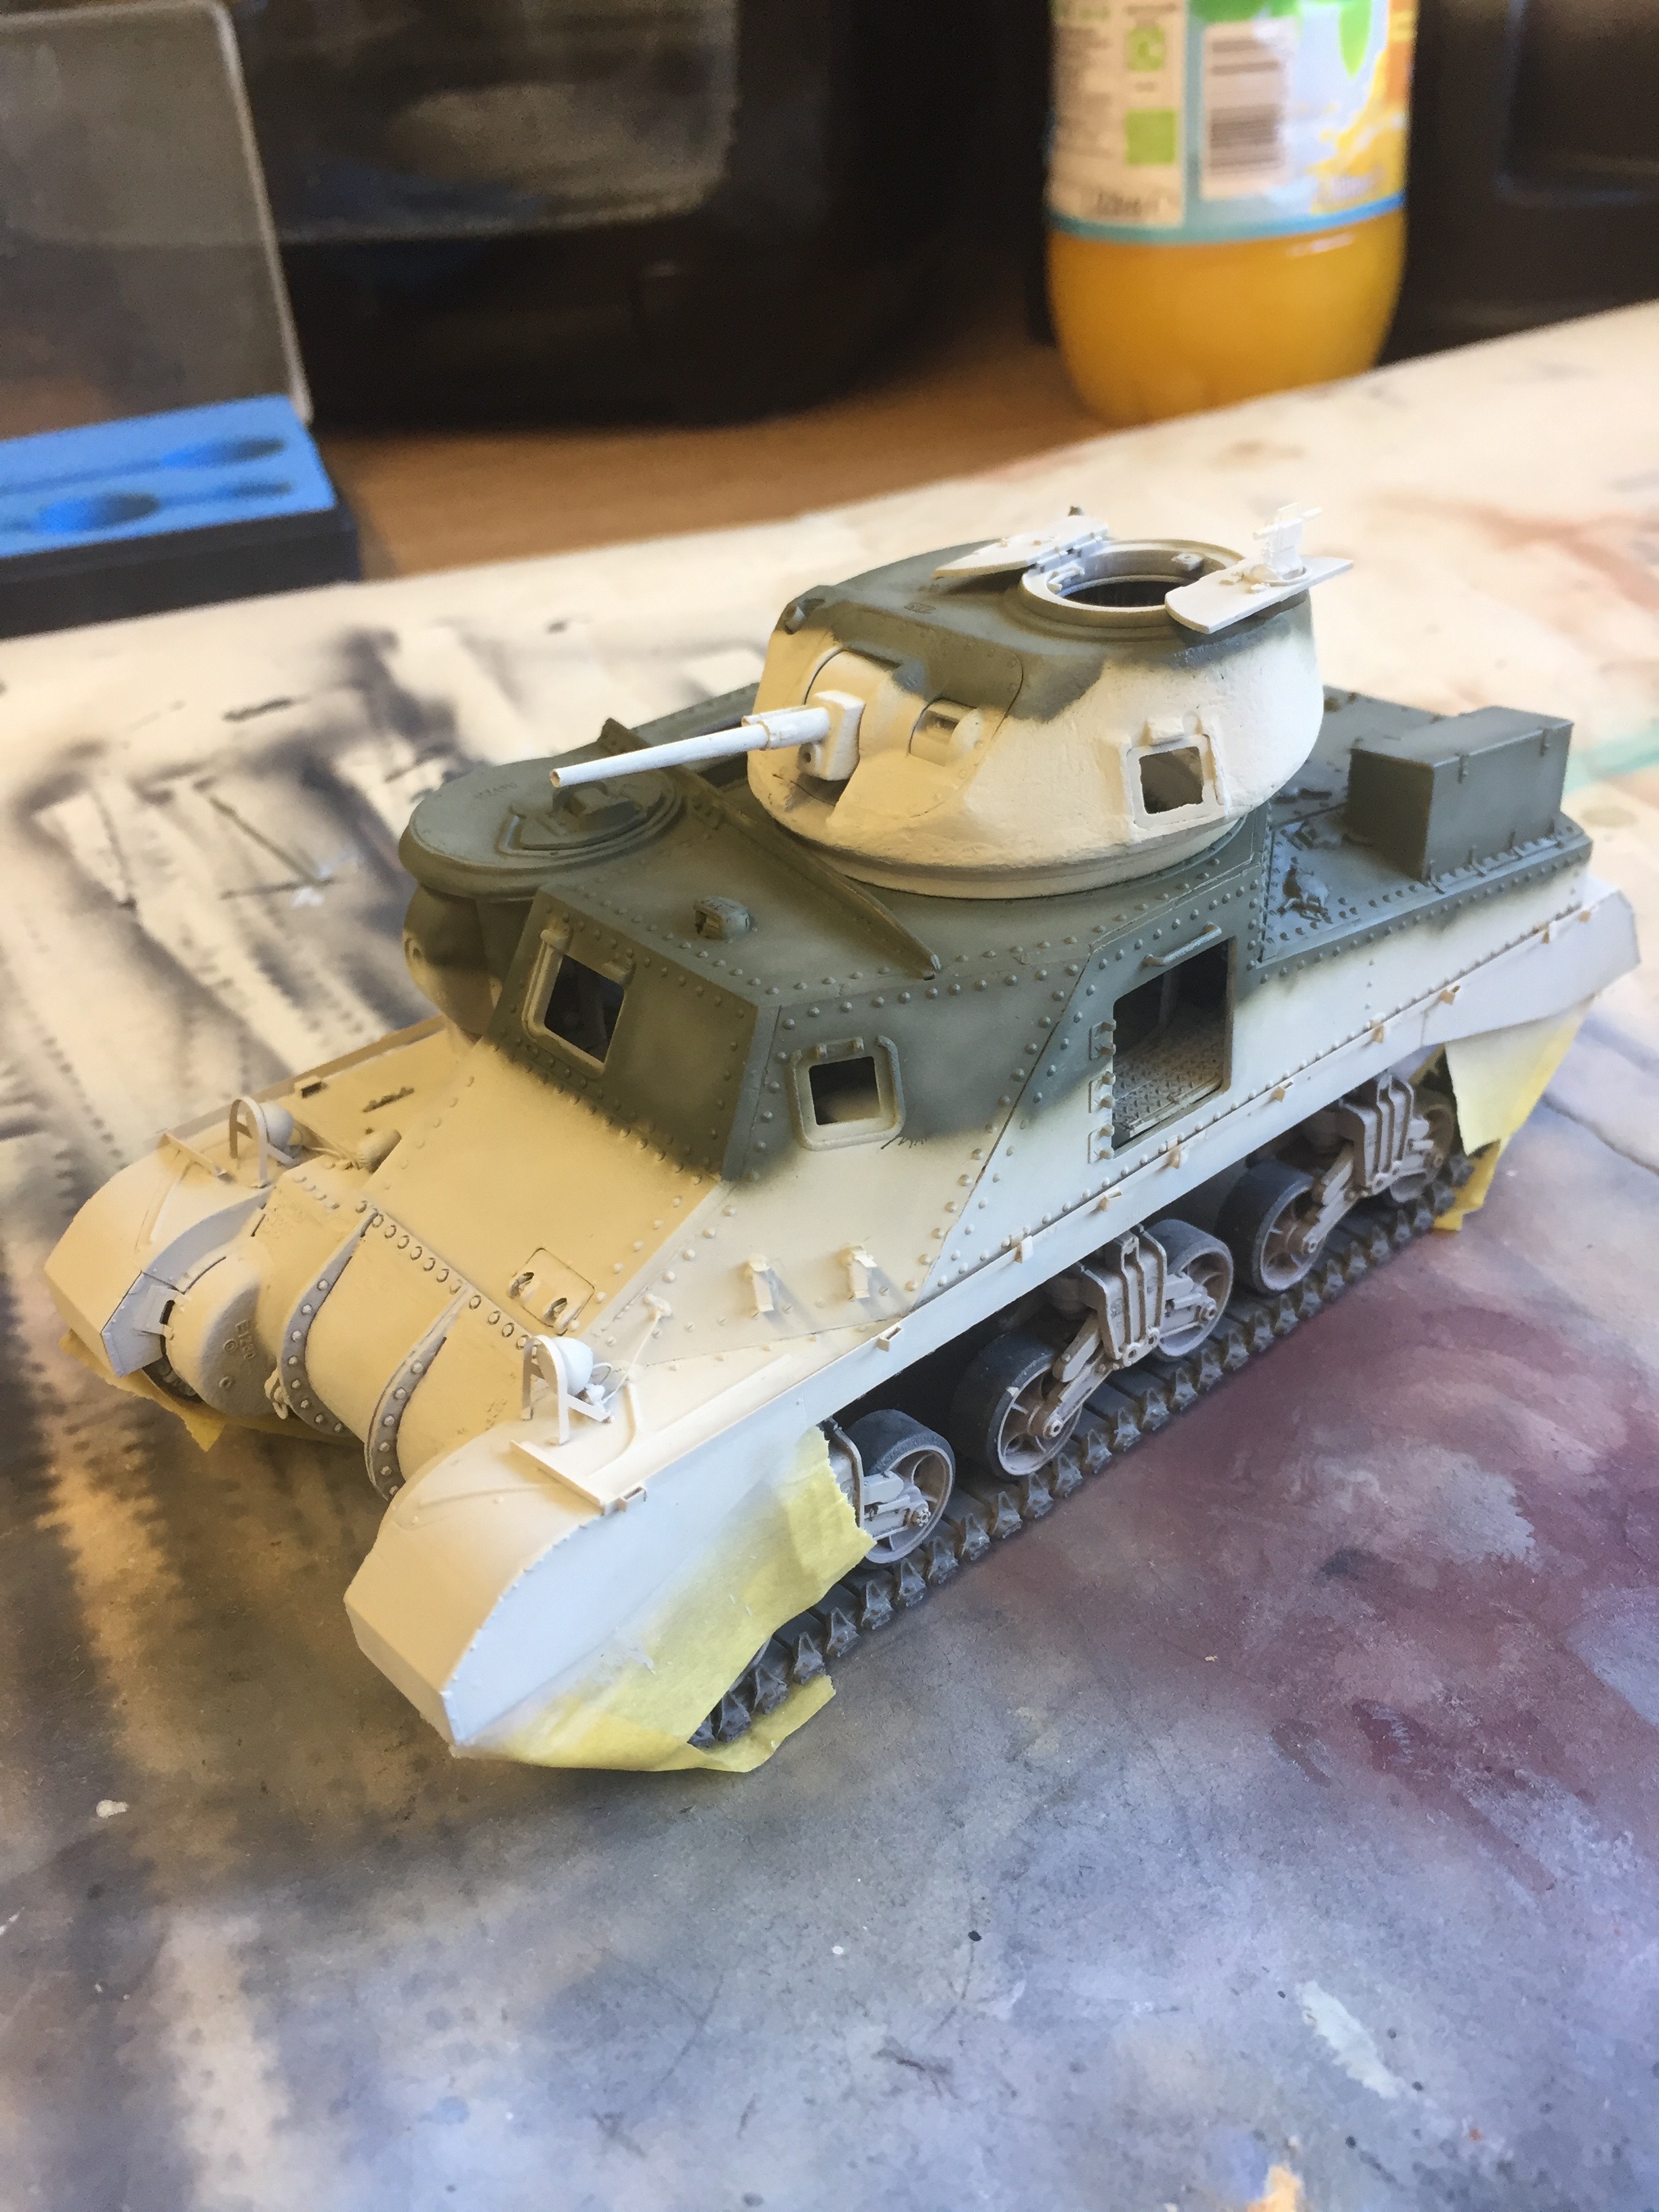
Thanks for reply’s. Some paint progress, the light stone went on fine but the green camo looked way too dark once on the tank, lightened up a bit and went over it again, better but still not sure. One of those situations when you stop and walk away, and then come back and look again and again! Am sure it will be fine after third camo colour and some weathering.
TBC
8 Likes
I think it looks fine except for a missed spot on the driver periscope?.
After weathering it will look even better
1 Like
It looks great. You can really distress and lighten up that green through weathering.
1 Like
The beers
or
the links?
Asking for a friend …
2 Likes
Love it , fine work !!!
1 Like
This is a really nice detailed build Paul. Inside looks very nice, and well painted/weathered/detailed.
Really like the external cam scheme as well. I have been thinking about the Grant/Lee but would probably go with one without the interior as I think that would drain my will to live doing all that … Looks great though ![]()
![]()
1 Like

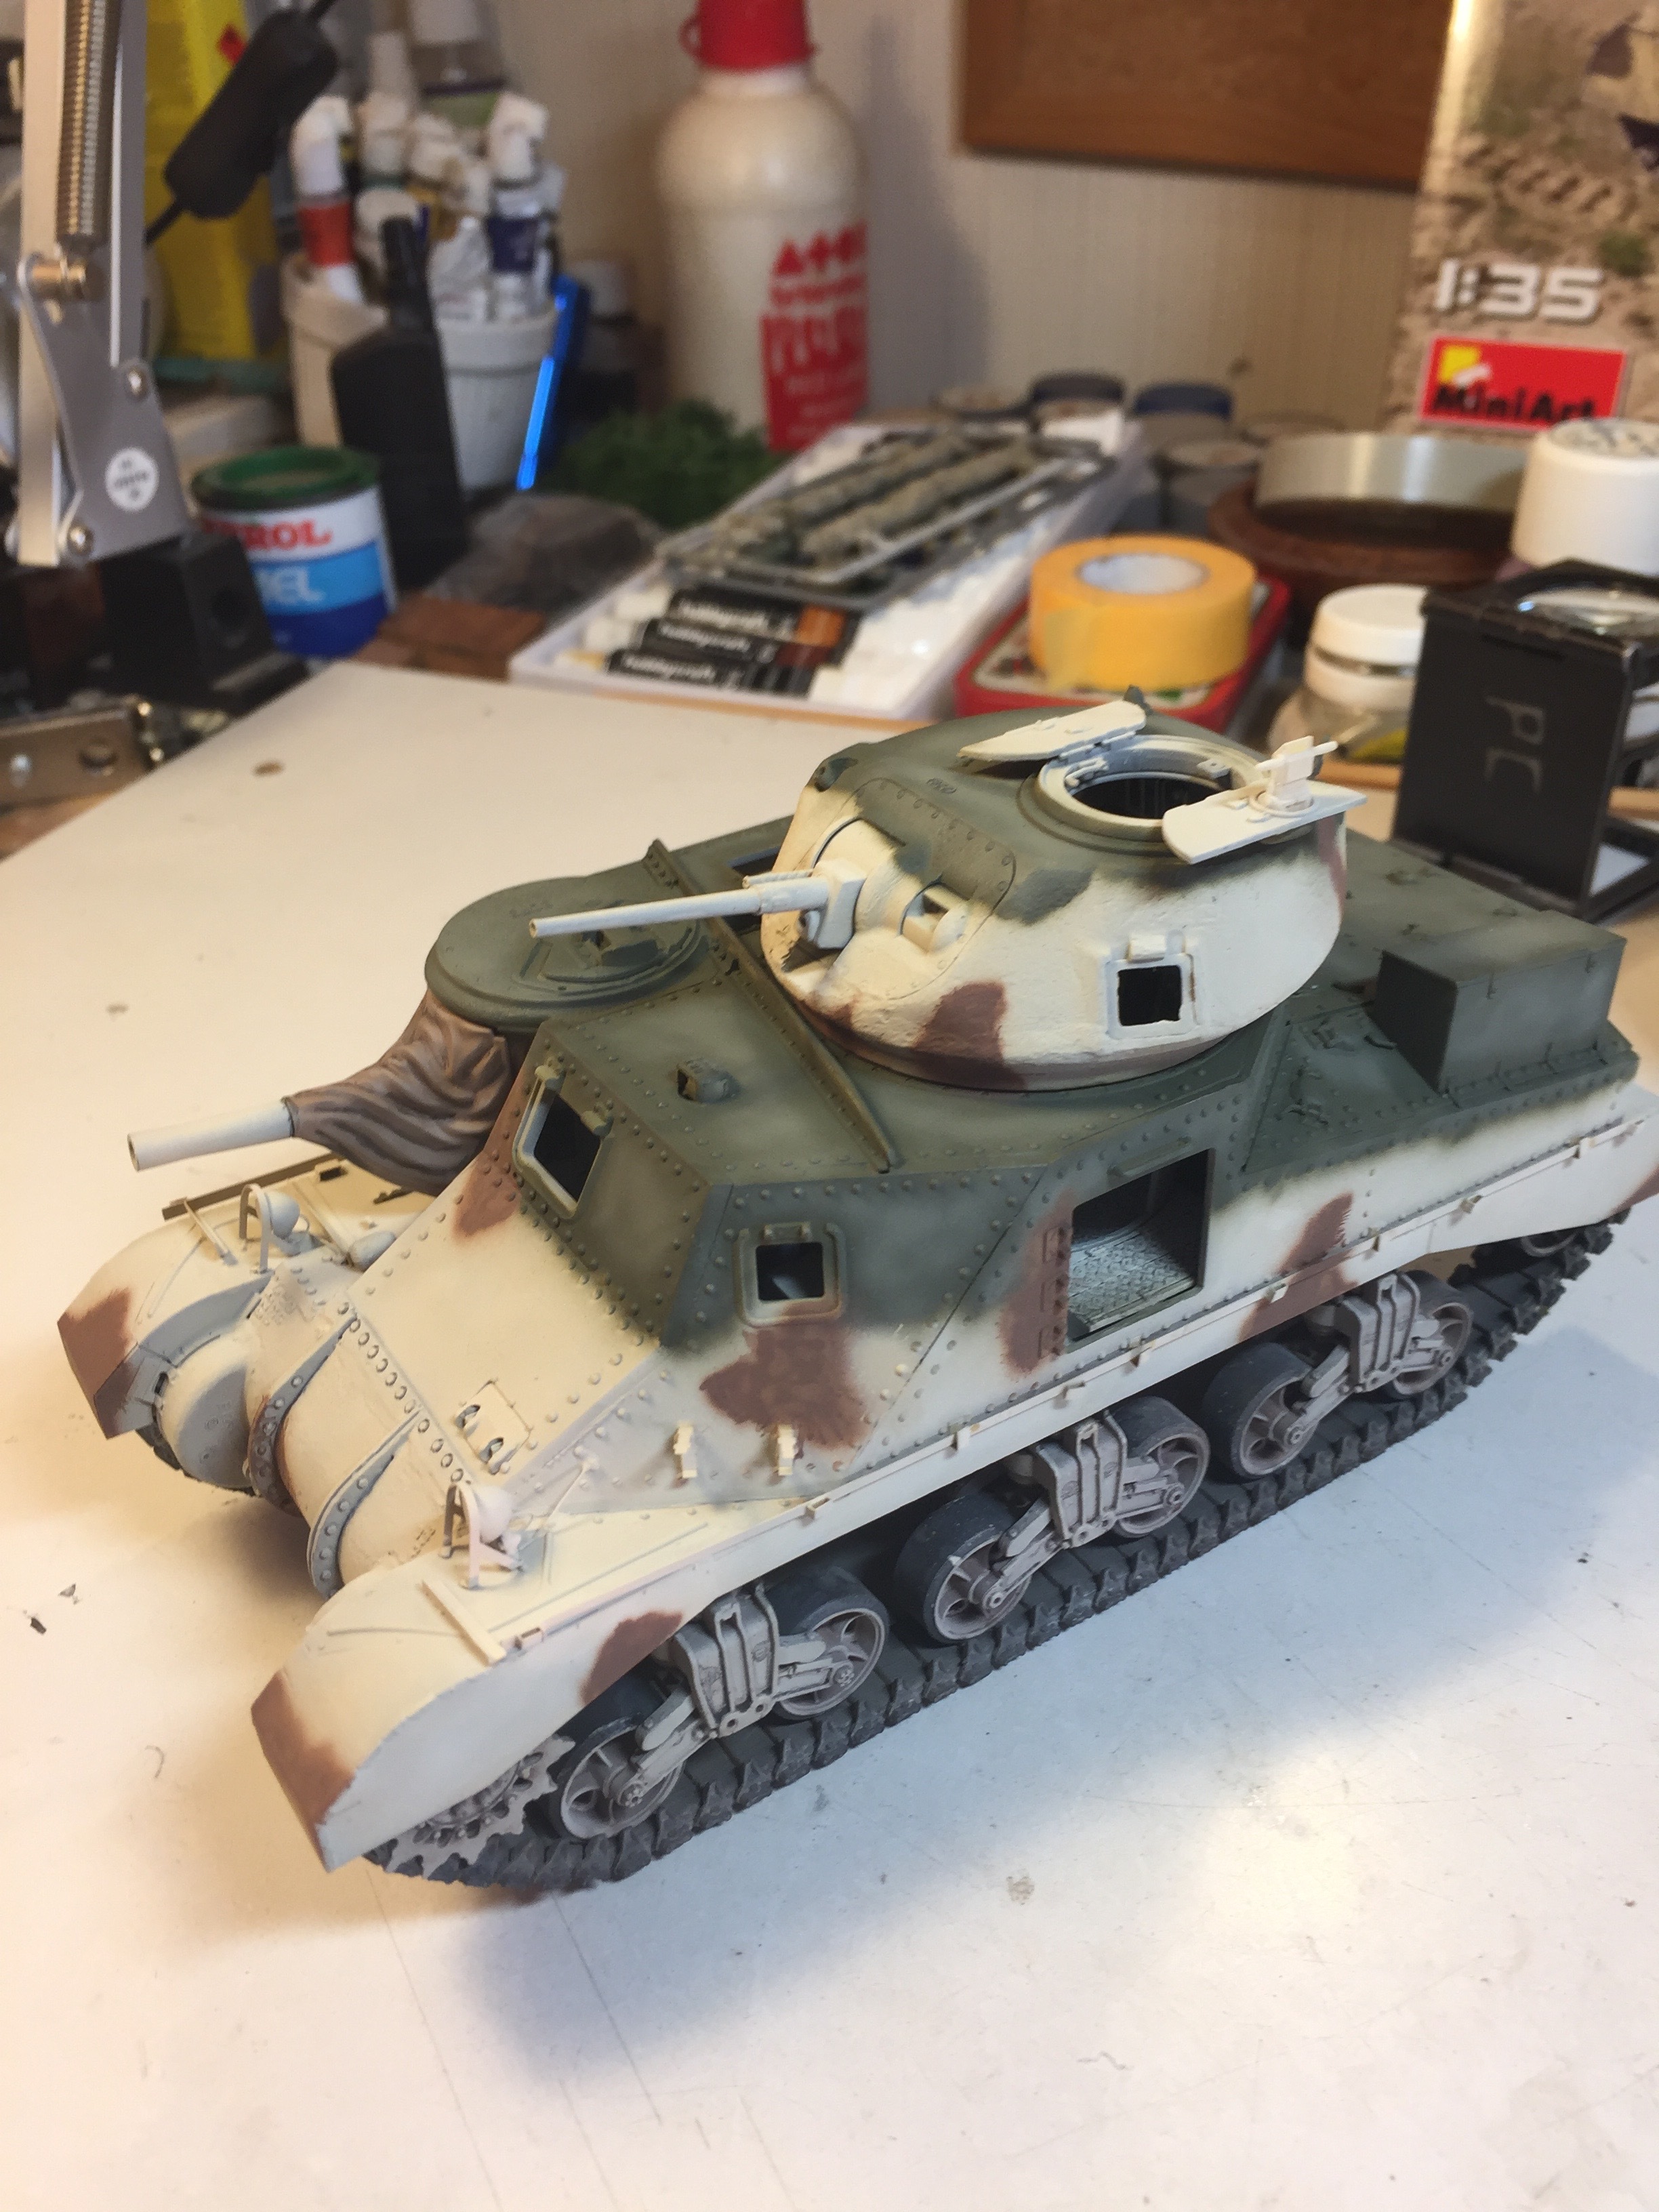
Again thanks for reply’s, have got he brown splodges on and 75mill barrel in place. Think paint will be ok after a bit of messing about with cheapo airbrush spidering a bit.
Definitely limiting number of links at a time, beers will take care of themselves. Tell your friend.
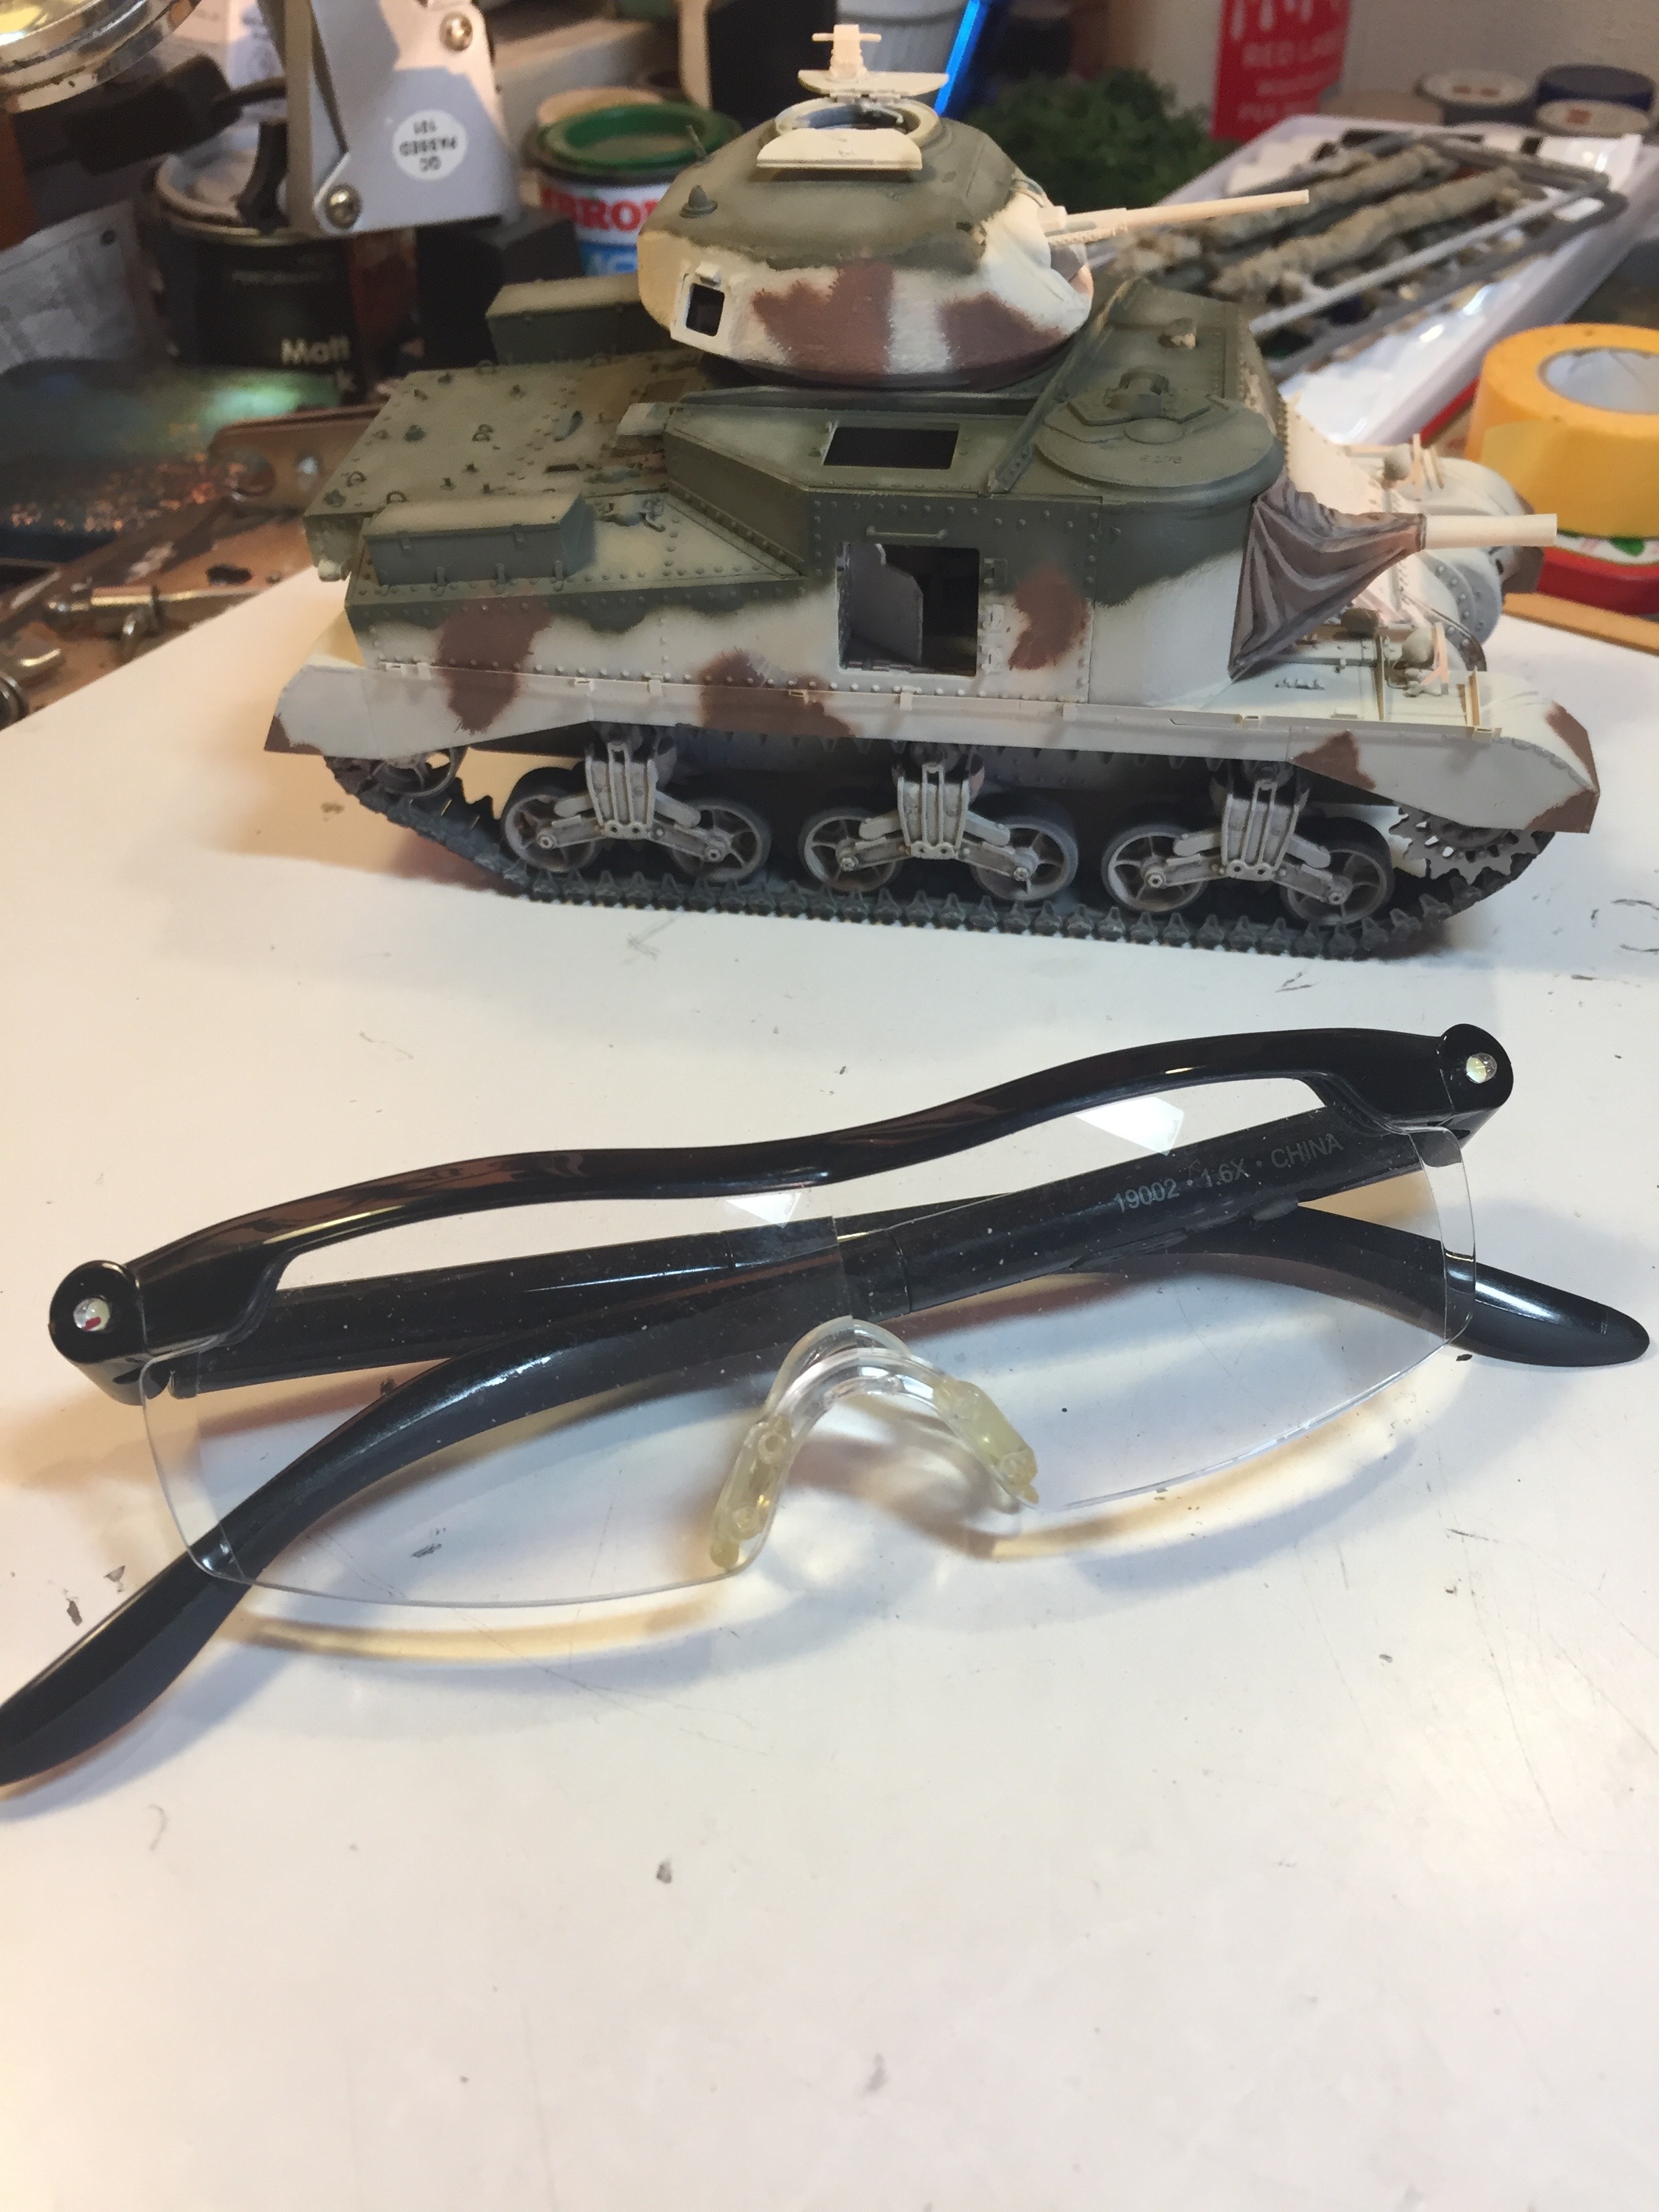
Great kit but watch out for suspension bogies, mine are not great and it will be going onto a base to disguise some of the running wheels not being true. Got given the magnifying specs for Xmas, wish I’d had them years ago!
TBC Paul
6 Likes
Looking good.
Friend has been informed ![]()
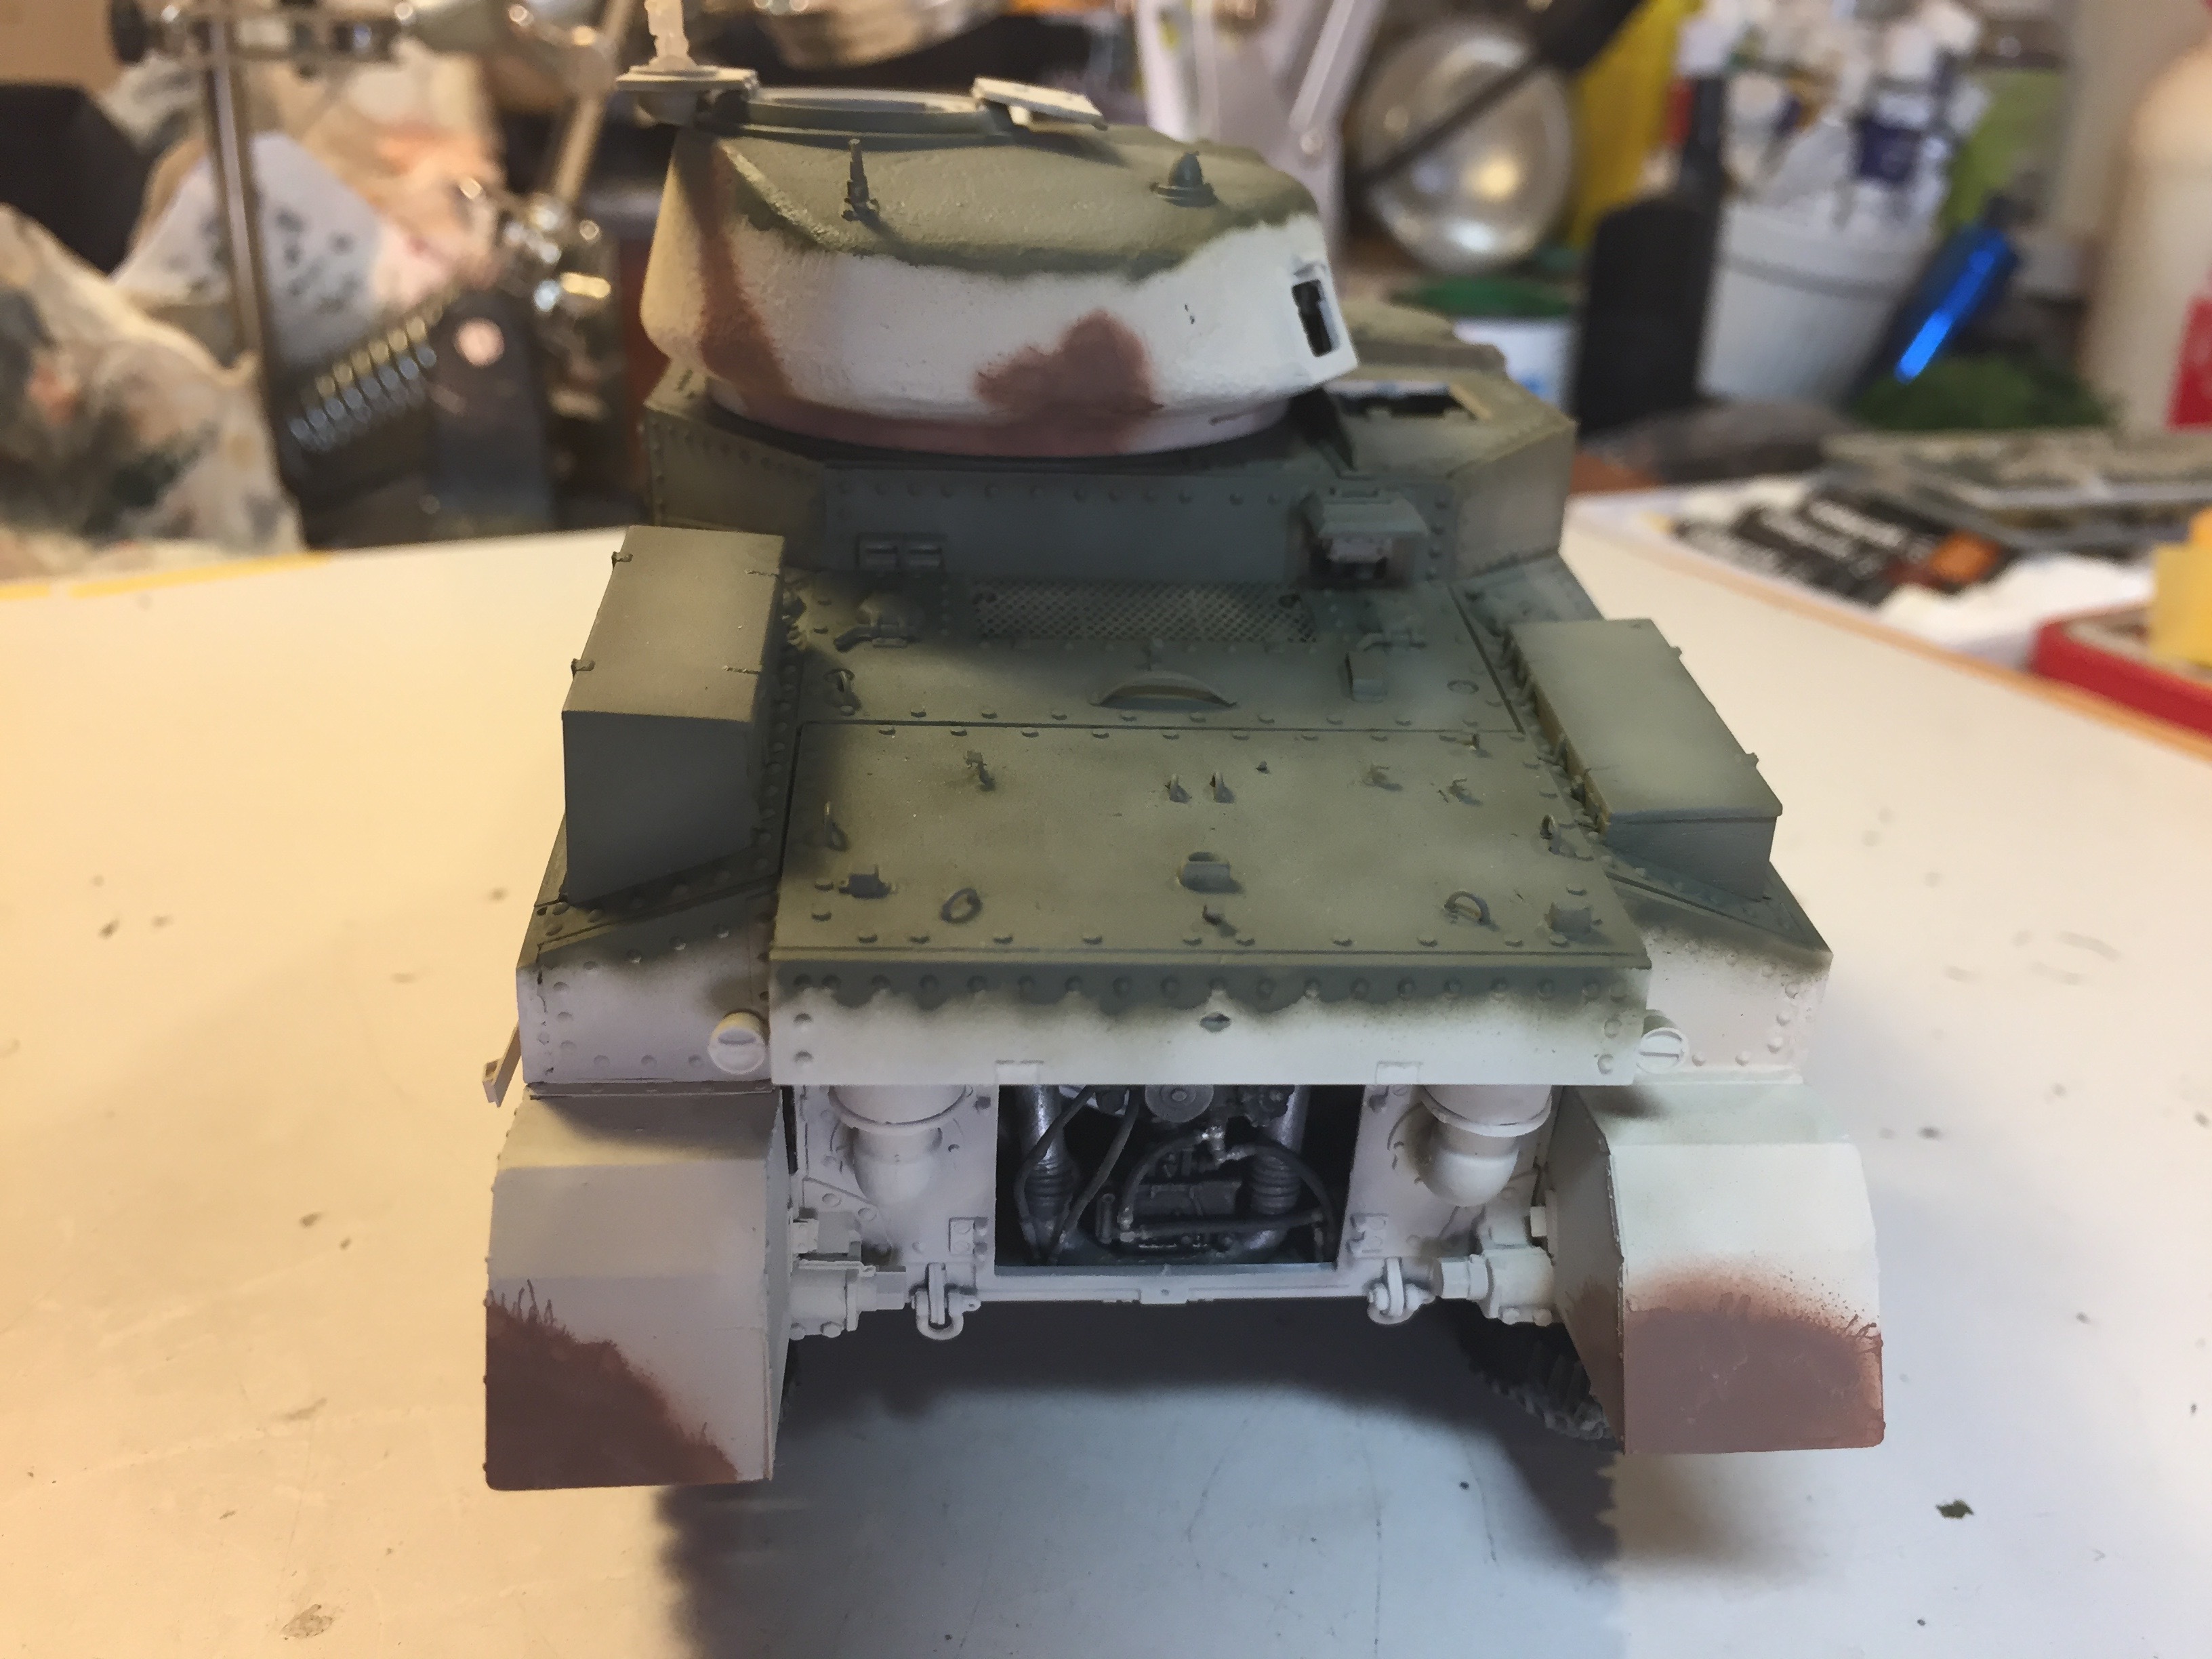
I think you are getting the paint too wet, possibly in combination with thinning too much.
More air and/or don’t pull the needle so far back. Coverage should be built up in layers
to avoid getting the paint too wet. Airbrushing takes some practice to get comfortable with.
Experiment on some scrap plastic.
Single or double action airbrush?
1 Like