Here is the Miniart M3 Lee Mid production 35209 which has always been a favourite.
So much so I ended up getting 2 of these M3 LEE kits.
The urge was too much that I had to get in and build the LEE, after step 9 I am having concerns as to why did I start this kit.
It was a break from the Panzer 38T’s which is like the Famo, a war and peace trilogy.
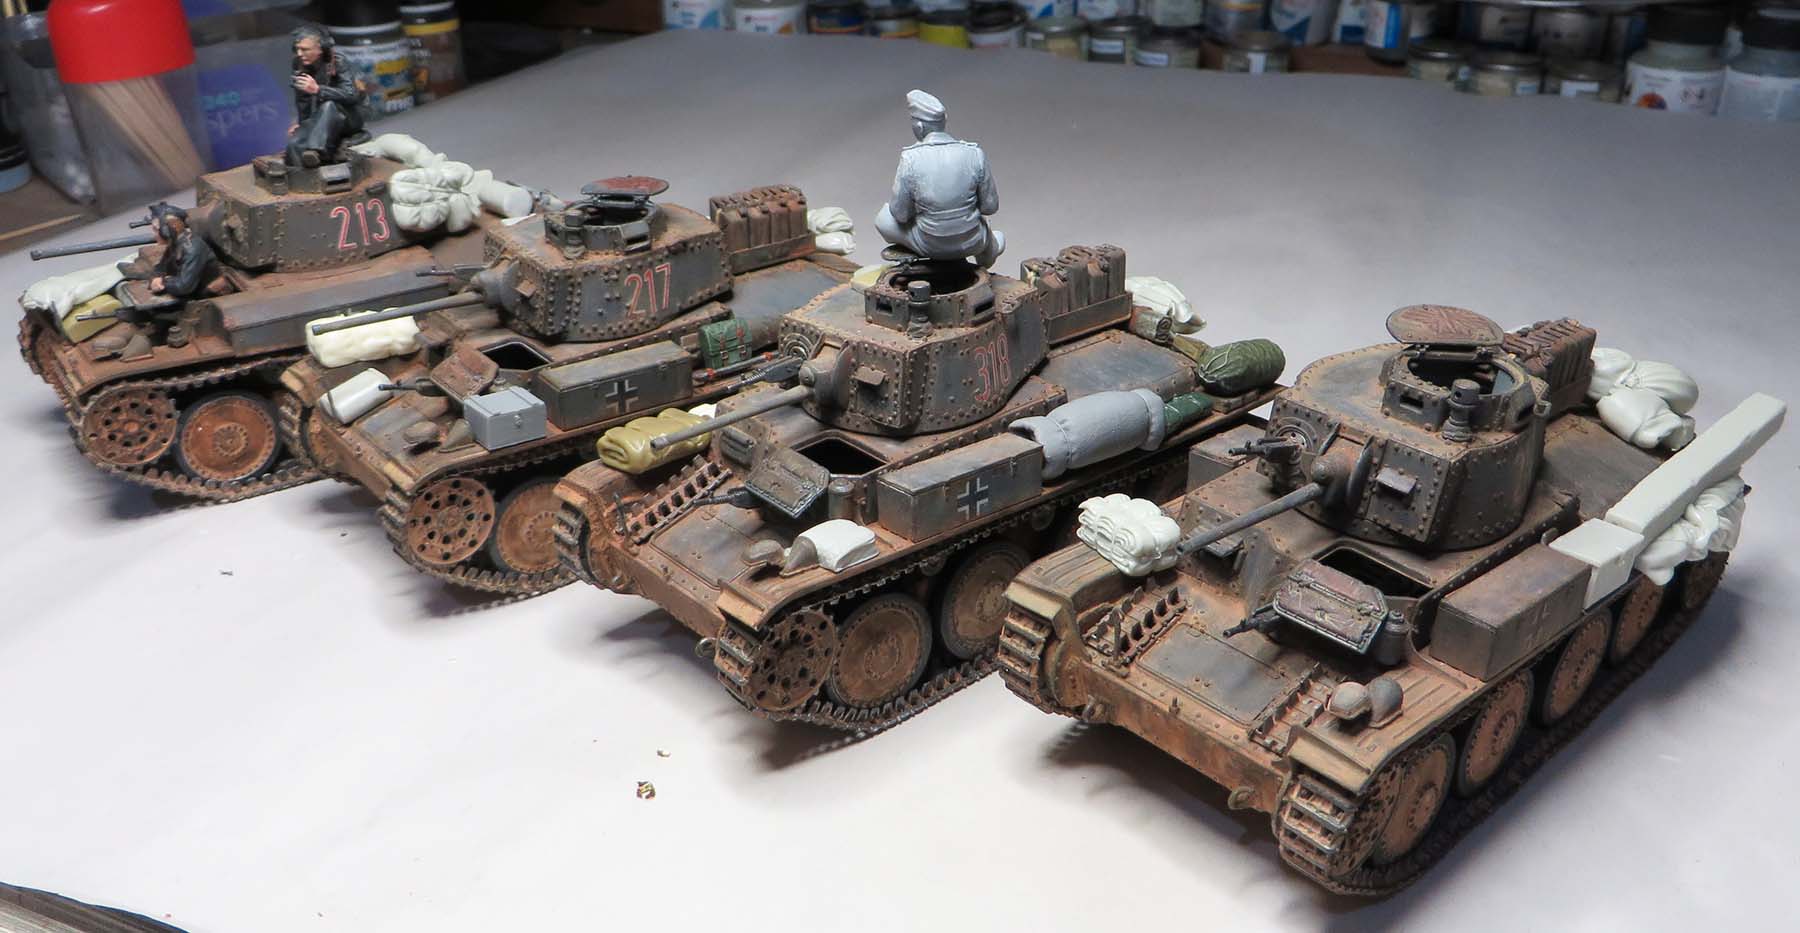
Here is where I am up to now on the 38t’s.
By the way I ended up getting another Hobbyboss 38T with interior and added it to the group.
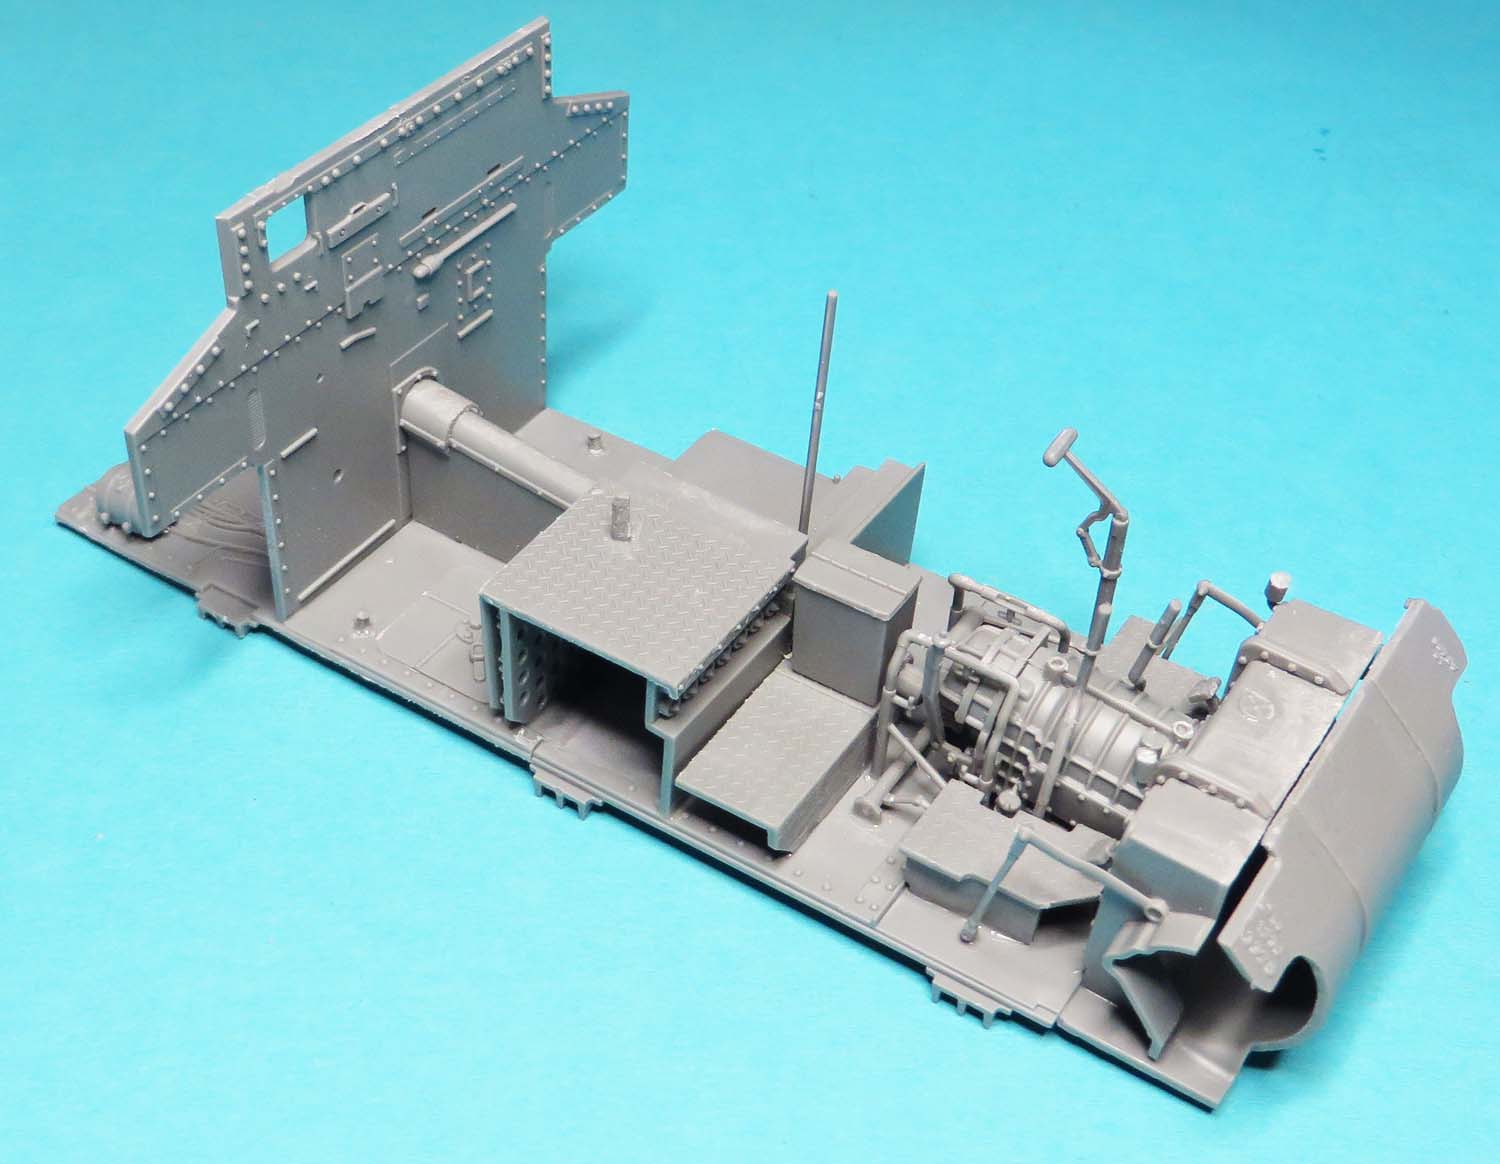
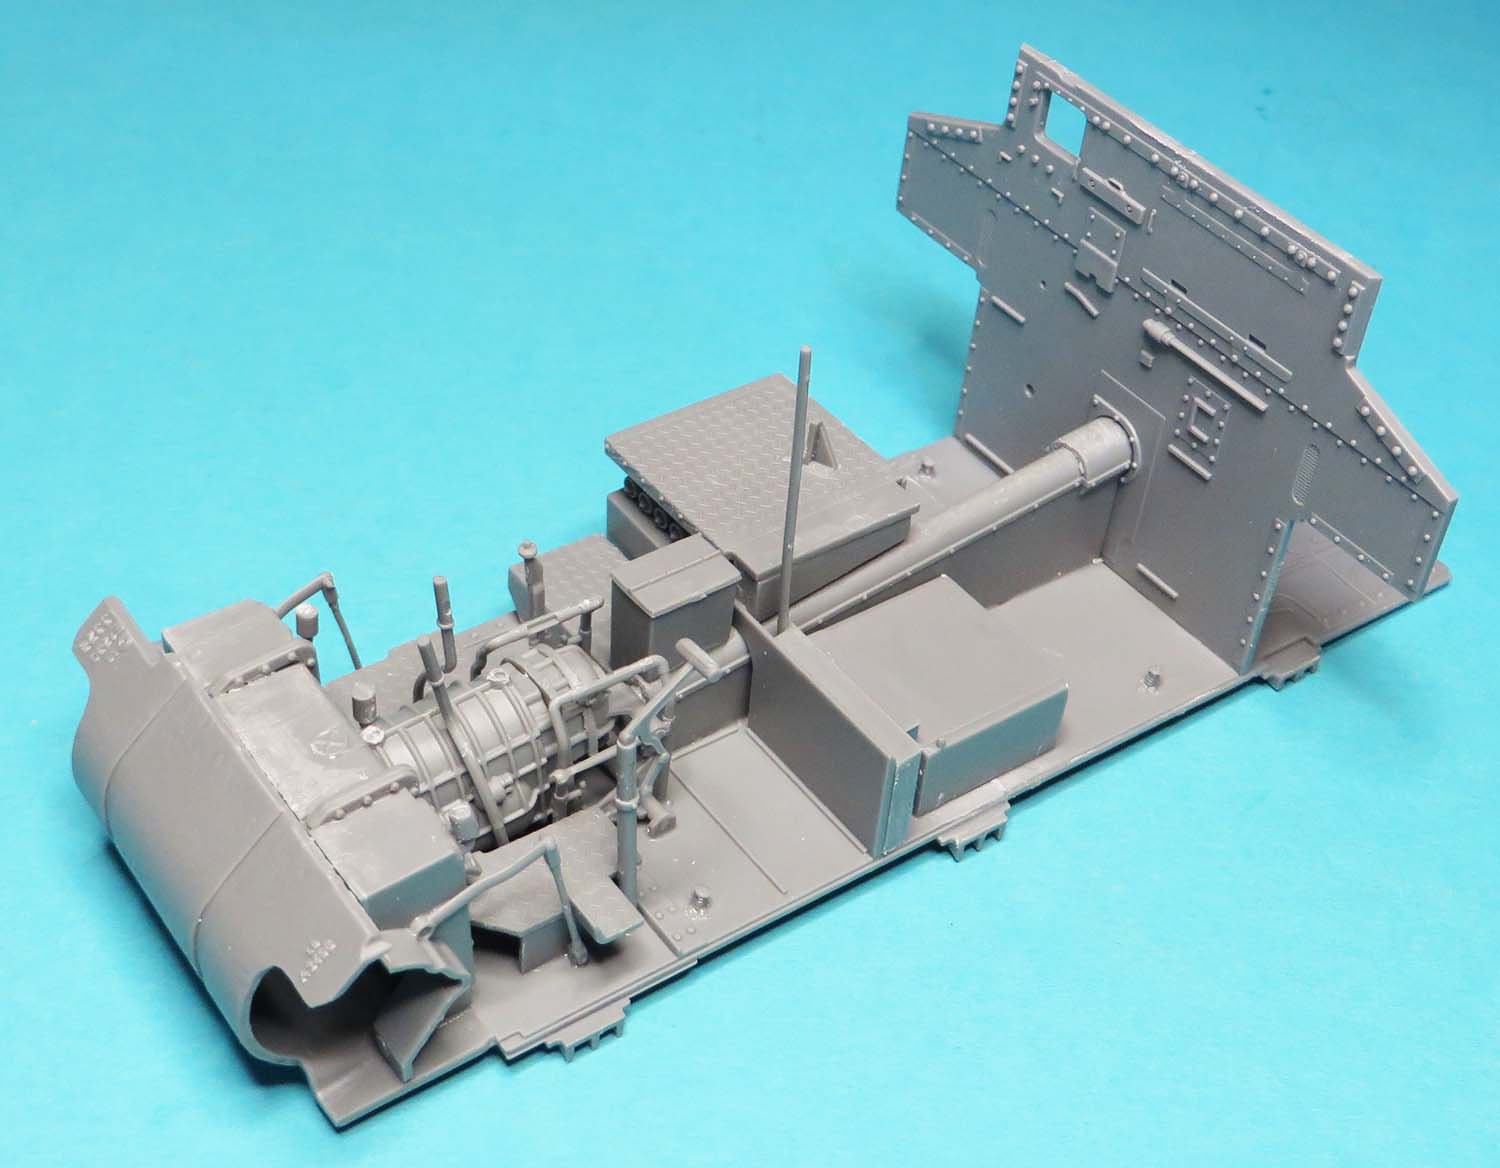
The progress made on step 9.
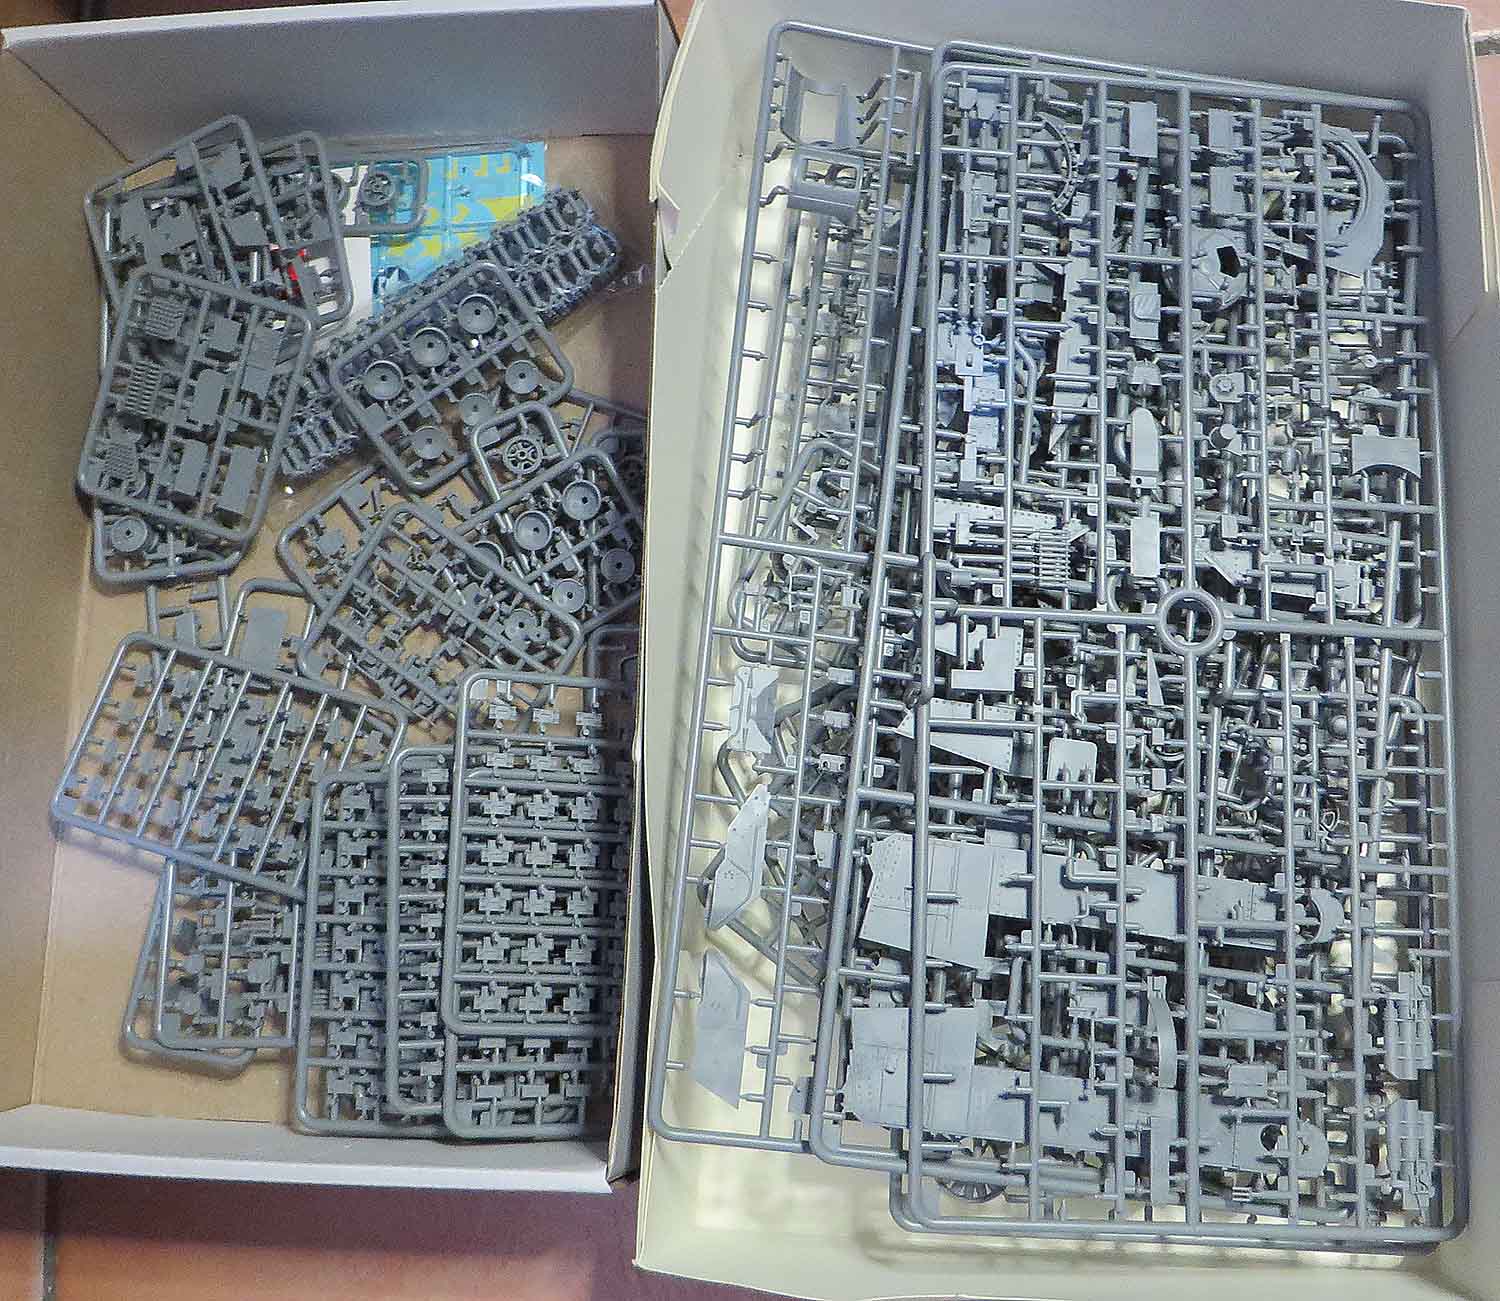
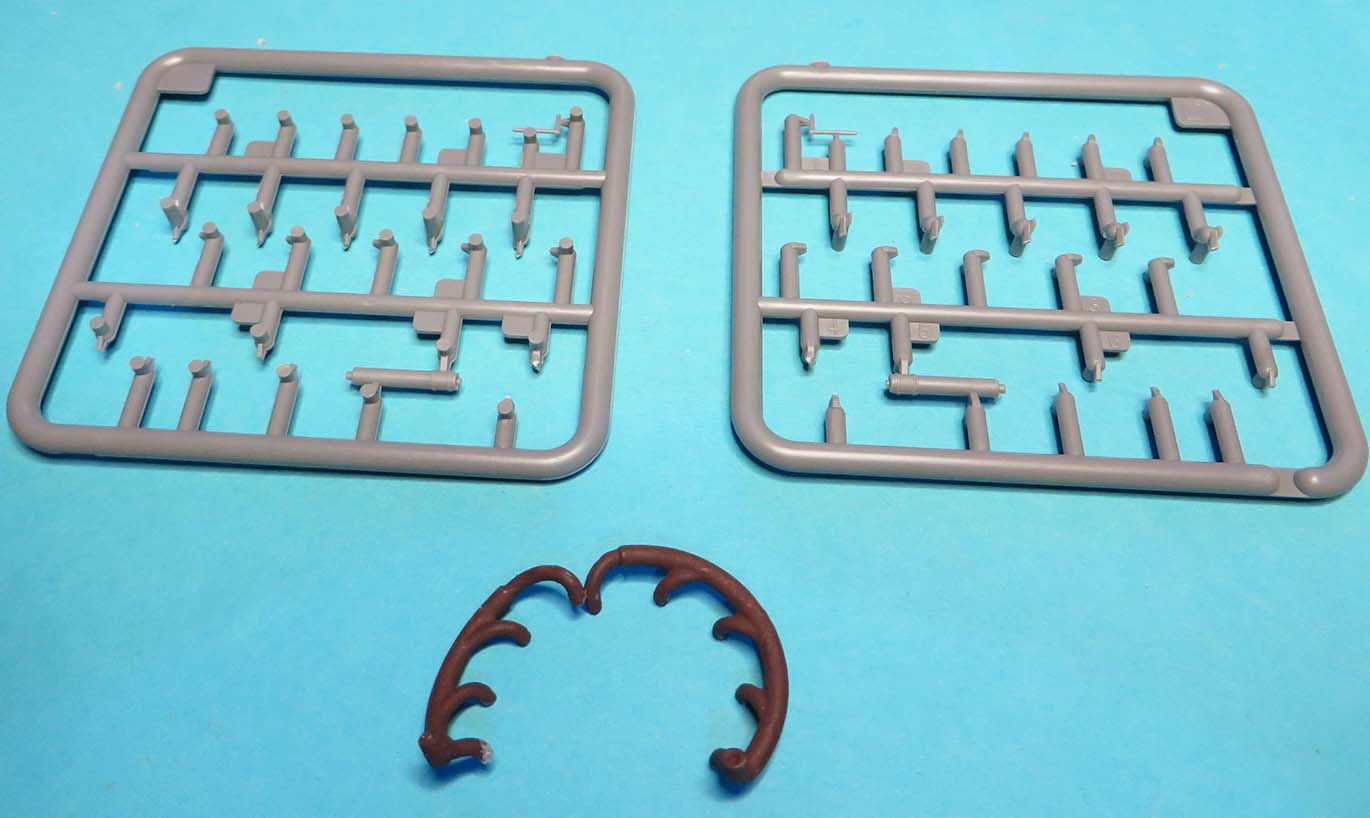
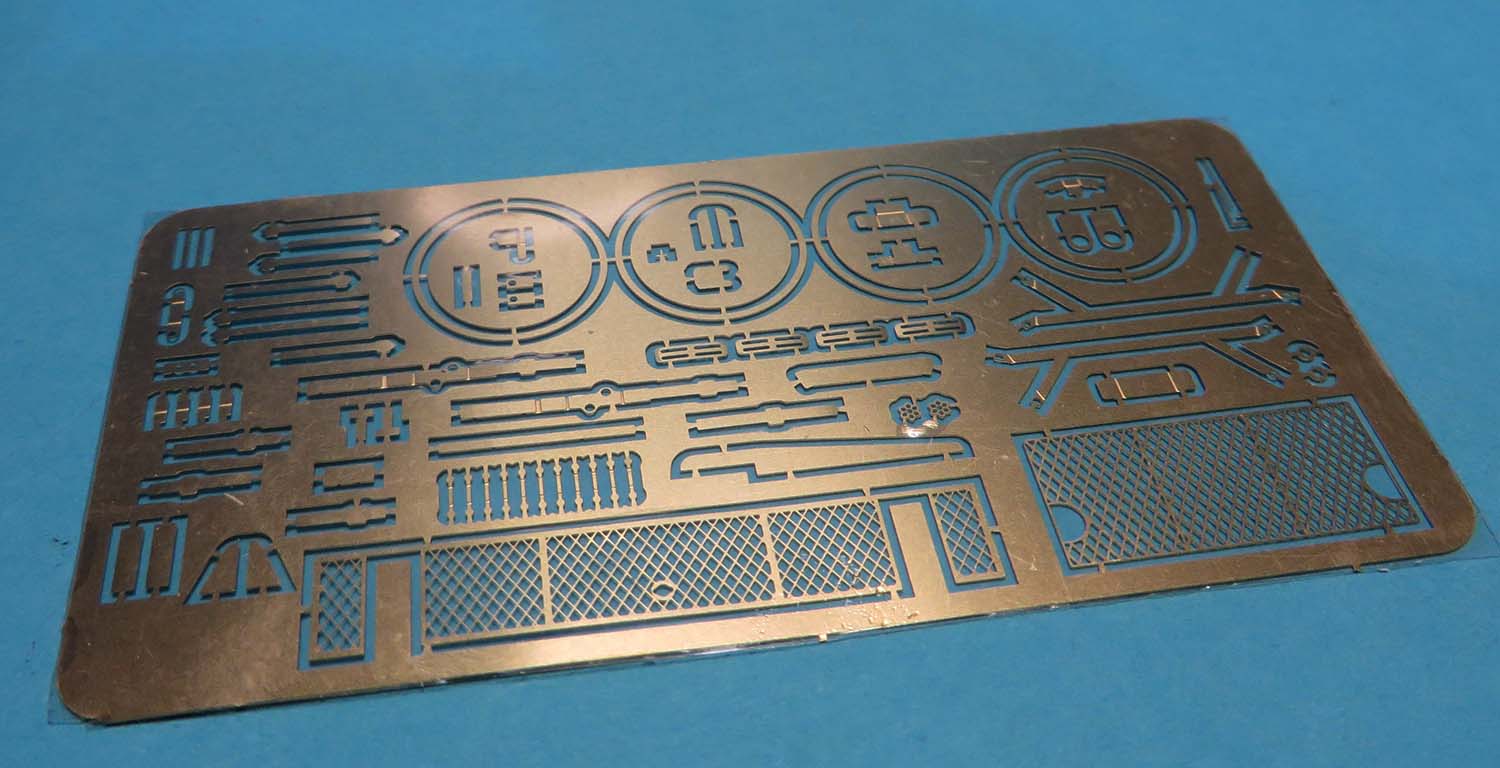
This is not a shake and bake kit like the wonderful Tamiya kits but I must say a big observation is the amount of connection points on the interior components is incredible. They are well secured in place and need utmost care when removing from the sprue and cleaning the tags off the parts.
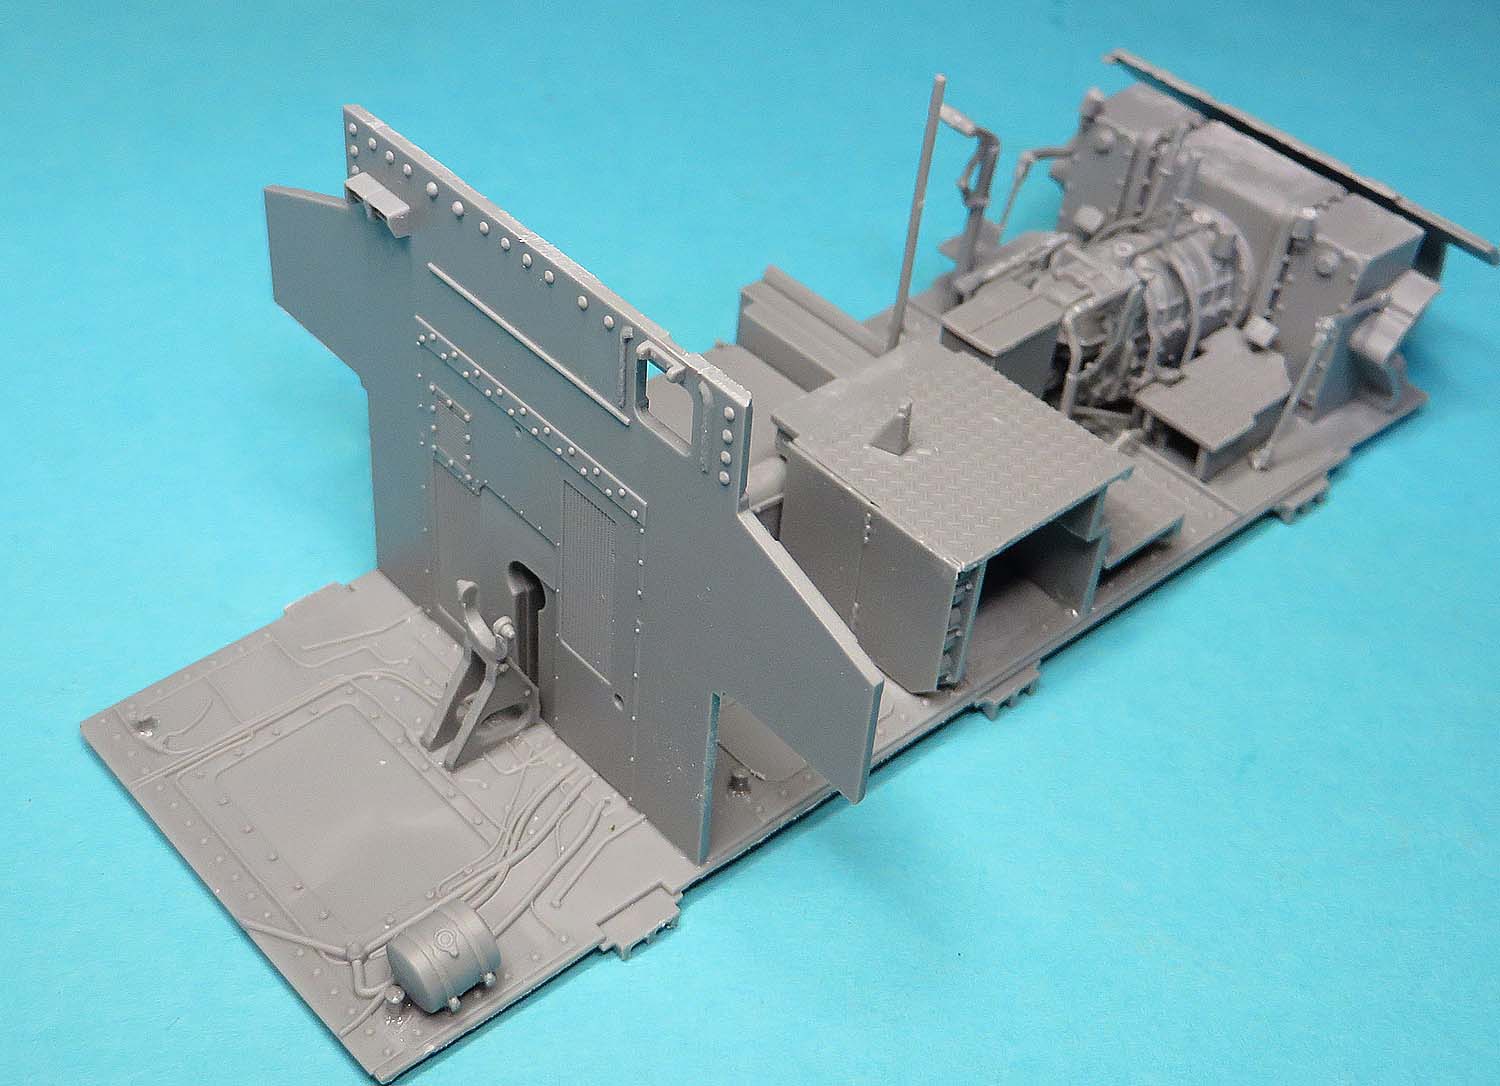
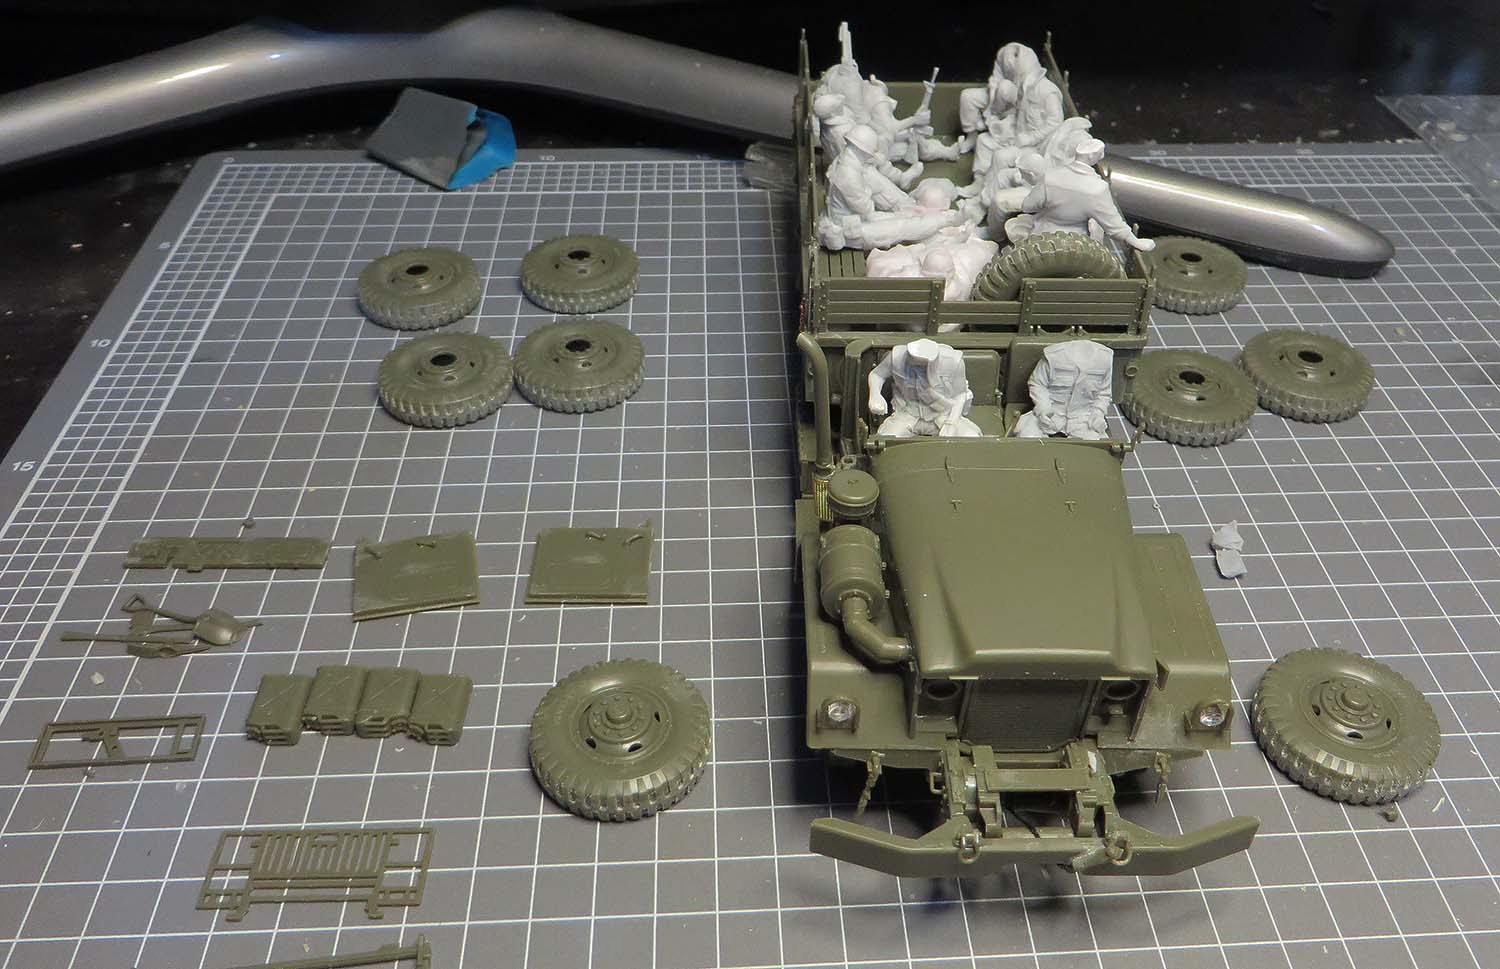
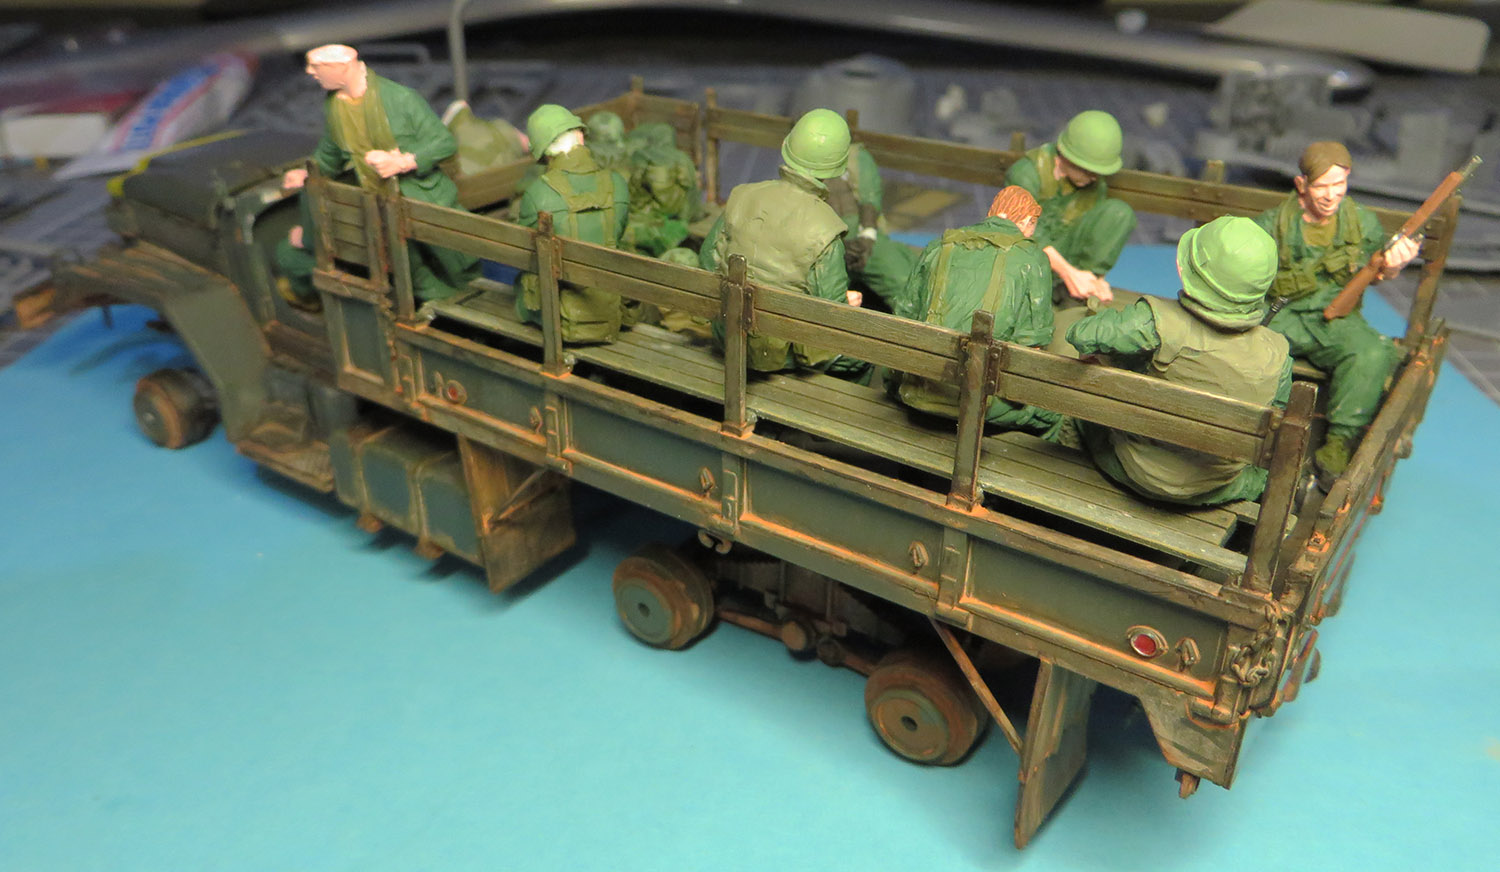
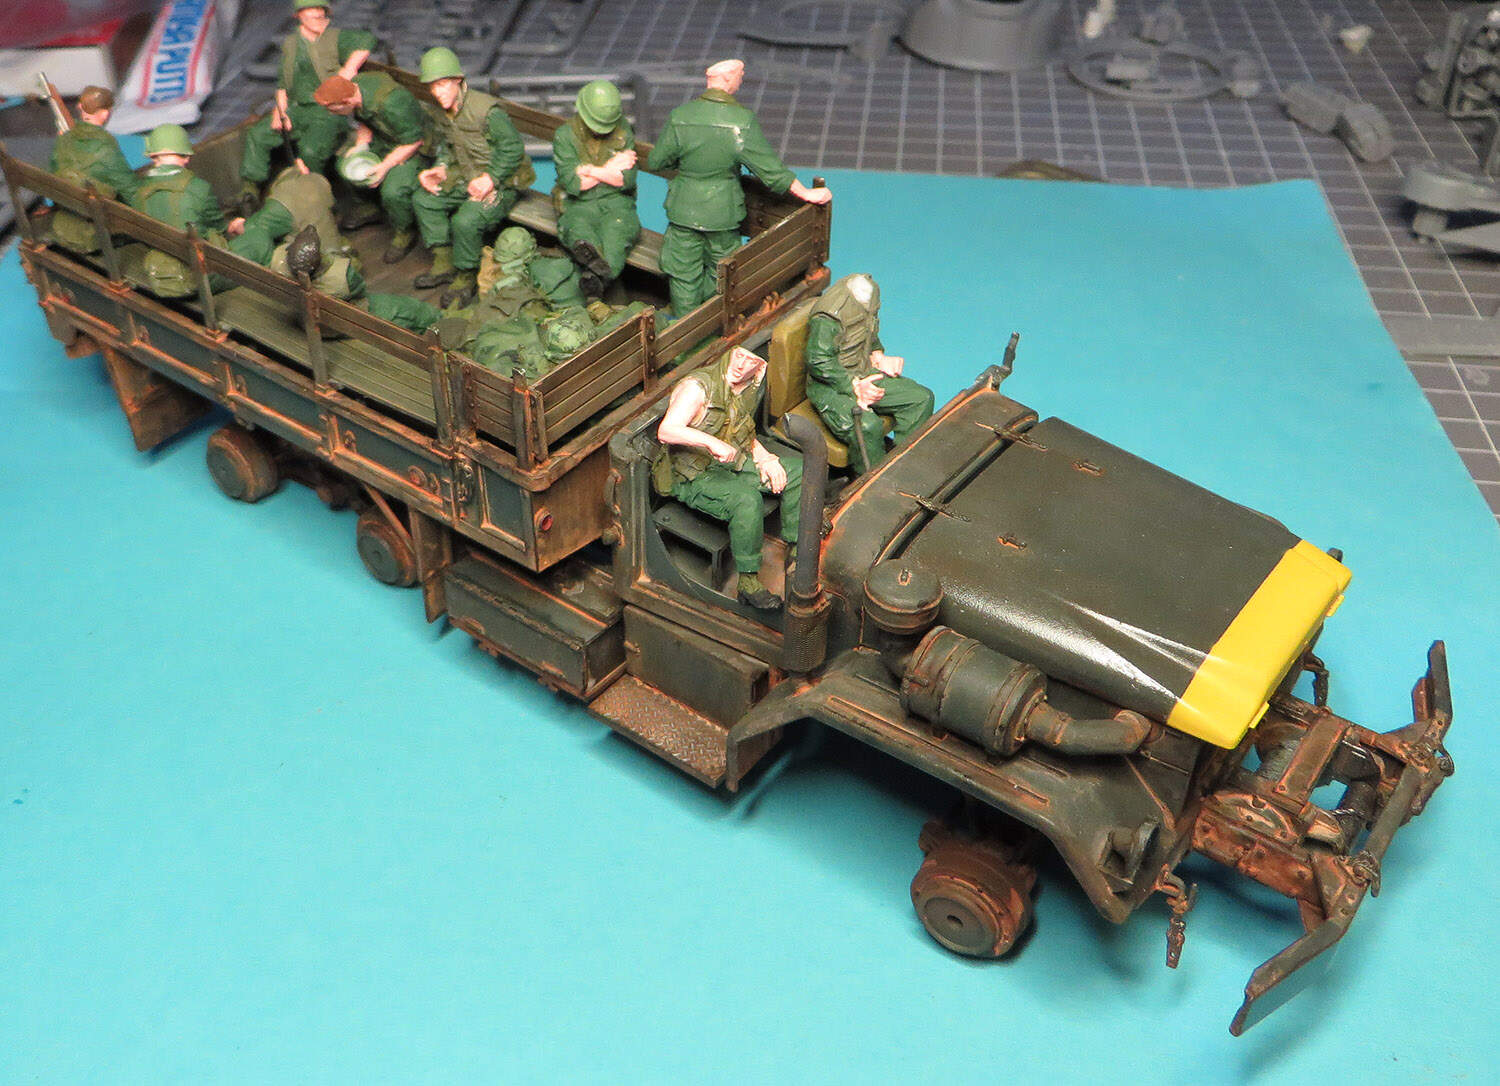
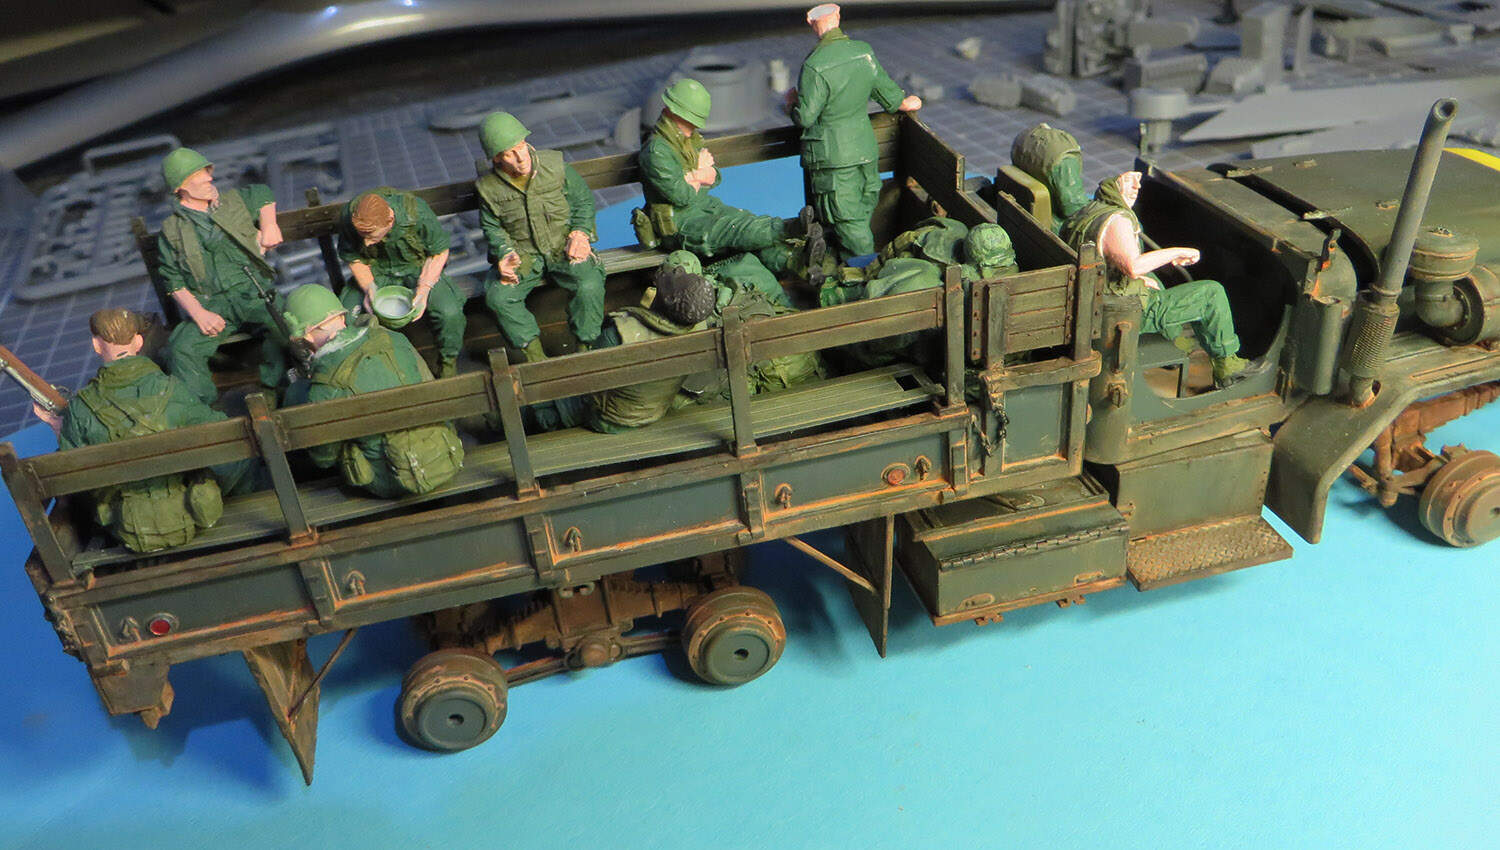
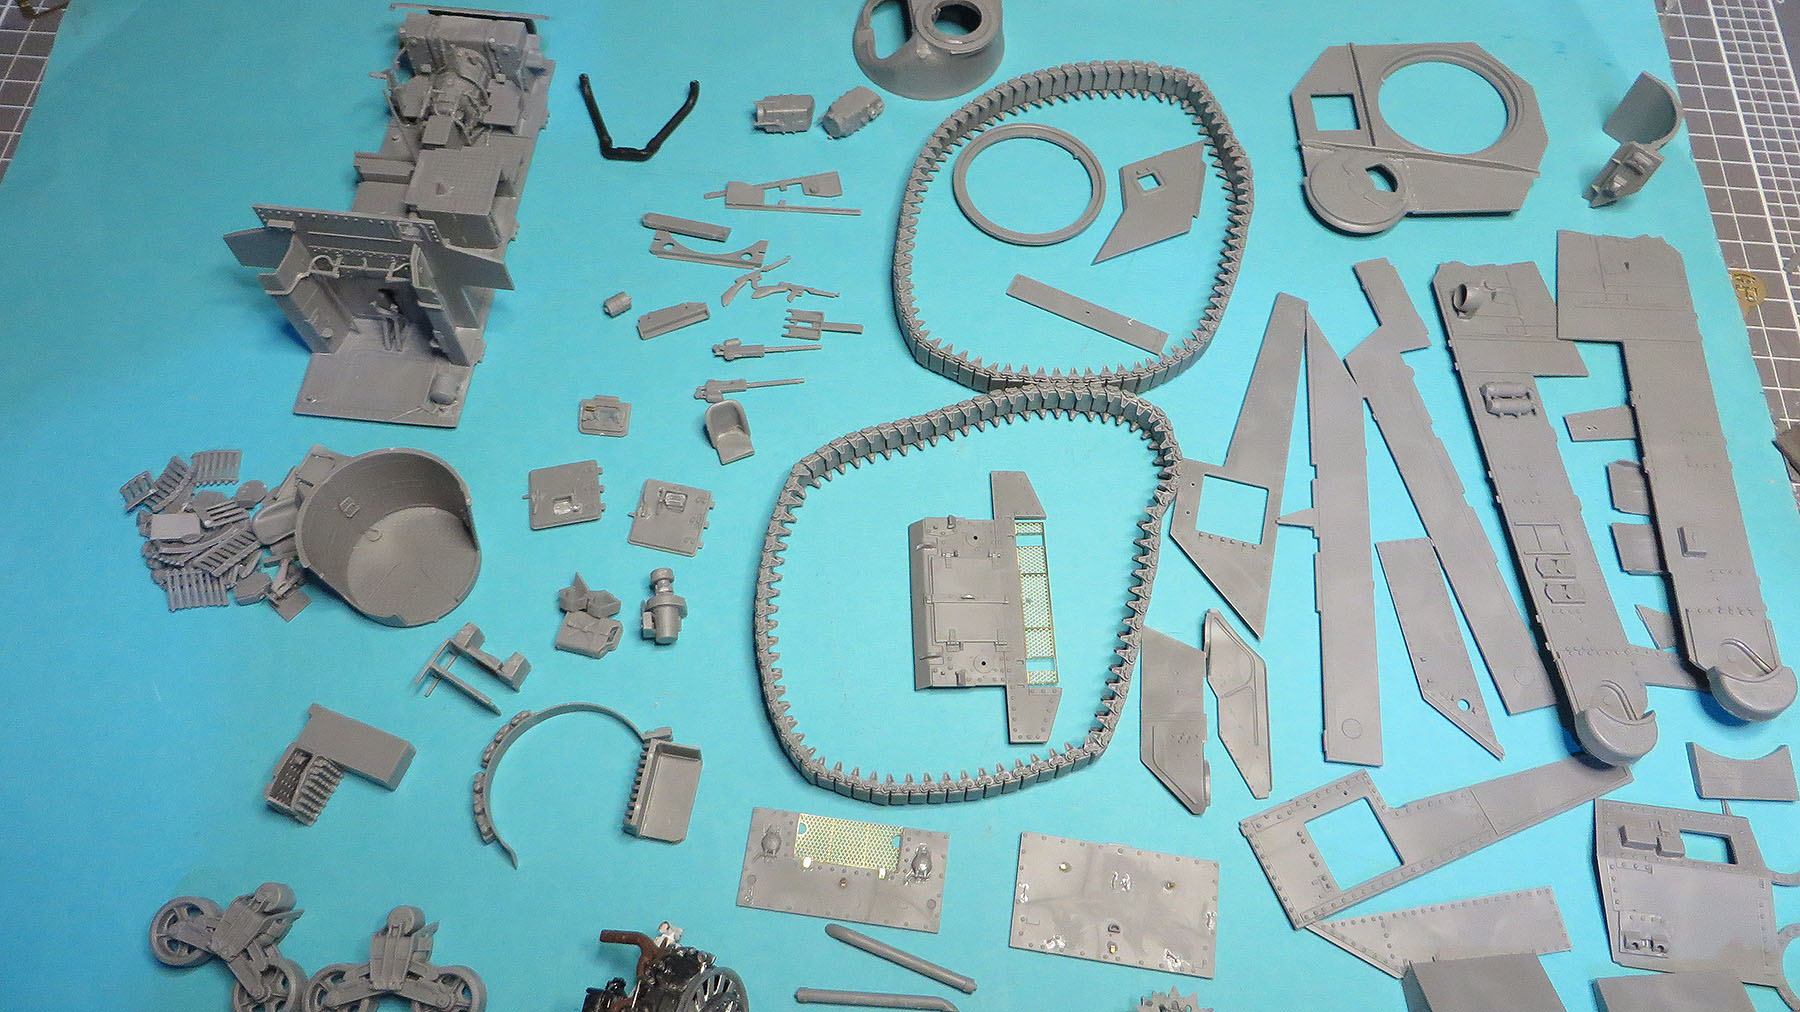
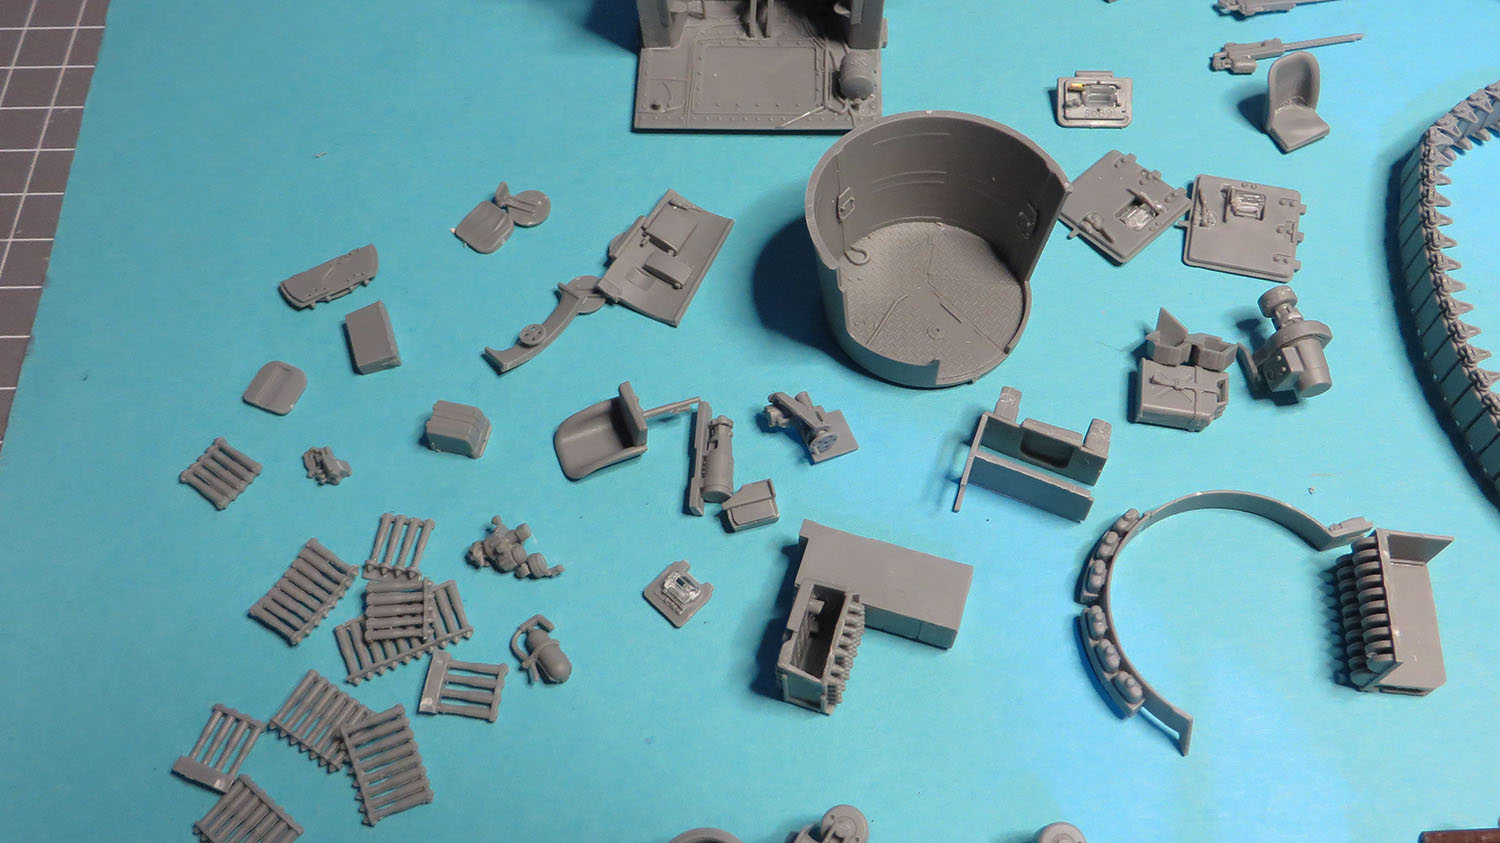
Here are some images of the progress so far.
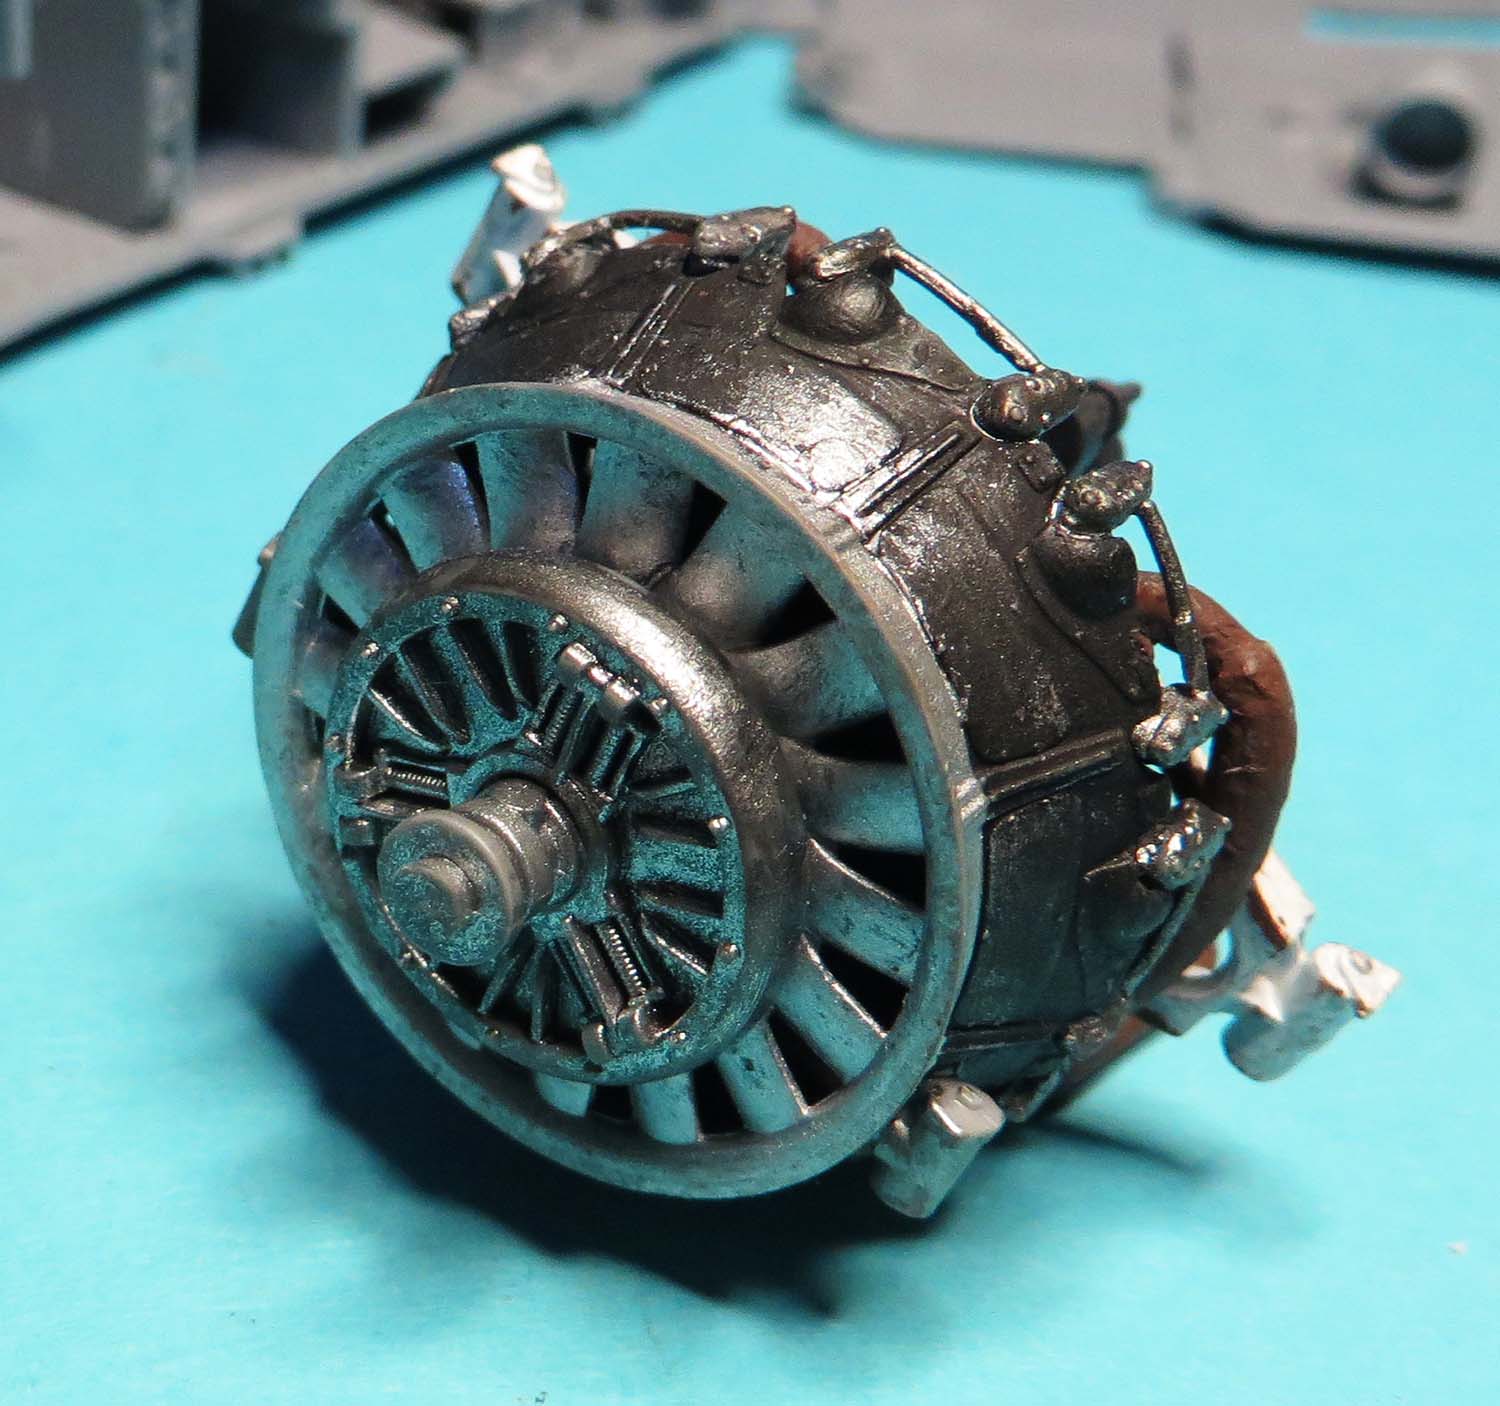
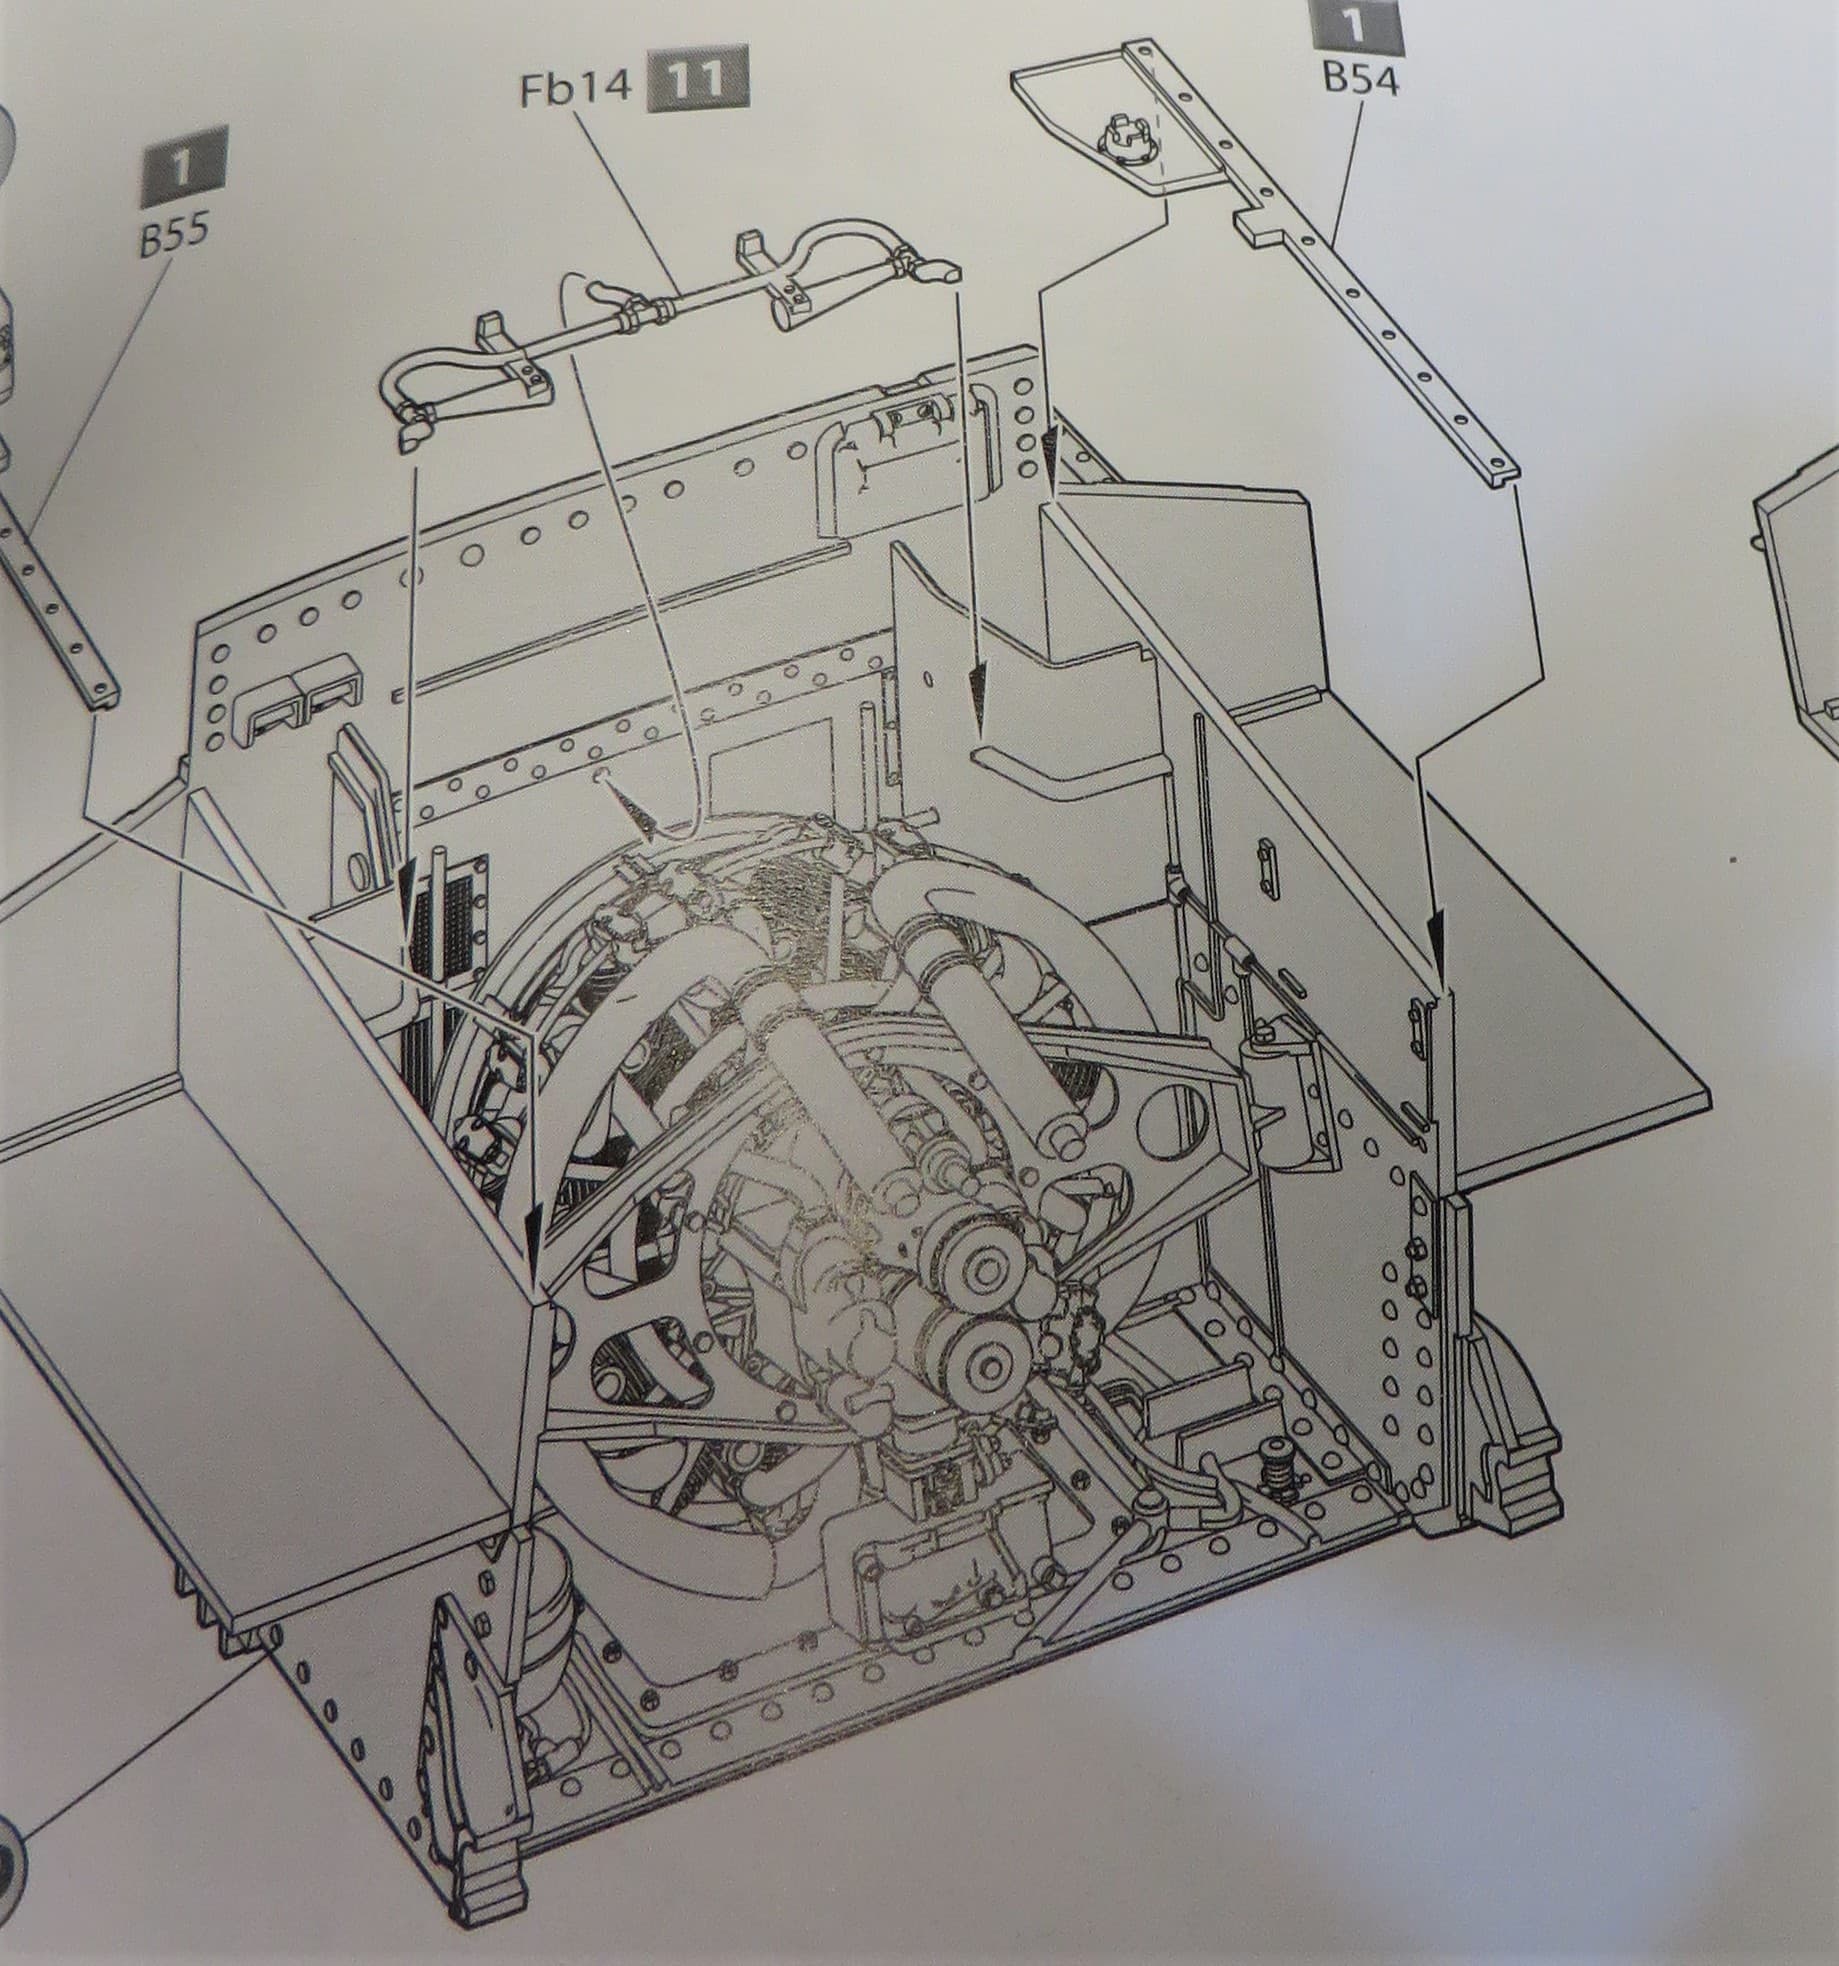
The main aim was to build and paint the radial engine and have the engine ready to drop in place once the interior is painted.
Once the interior is painted and detailed the side of the hull and roof sections will be glued in place.
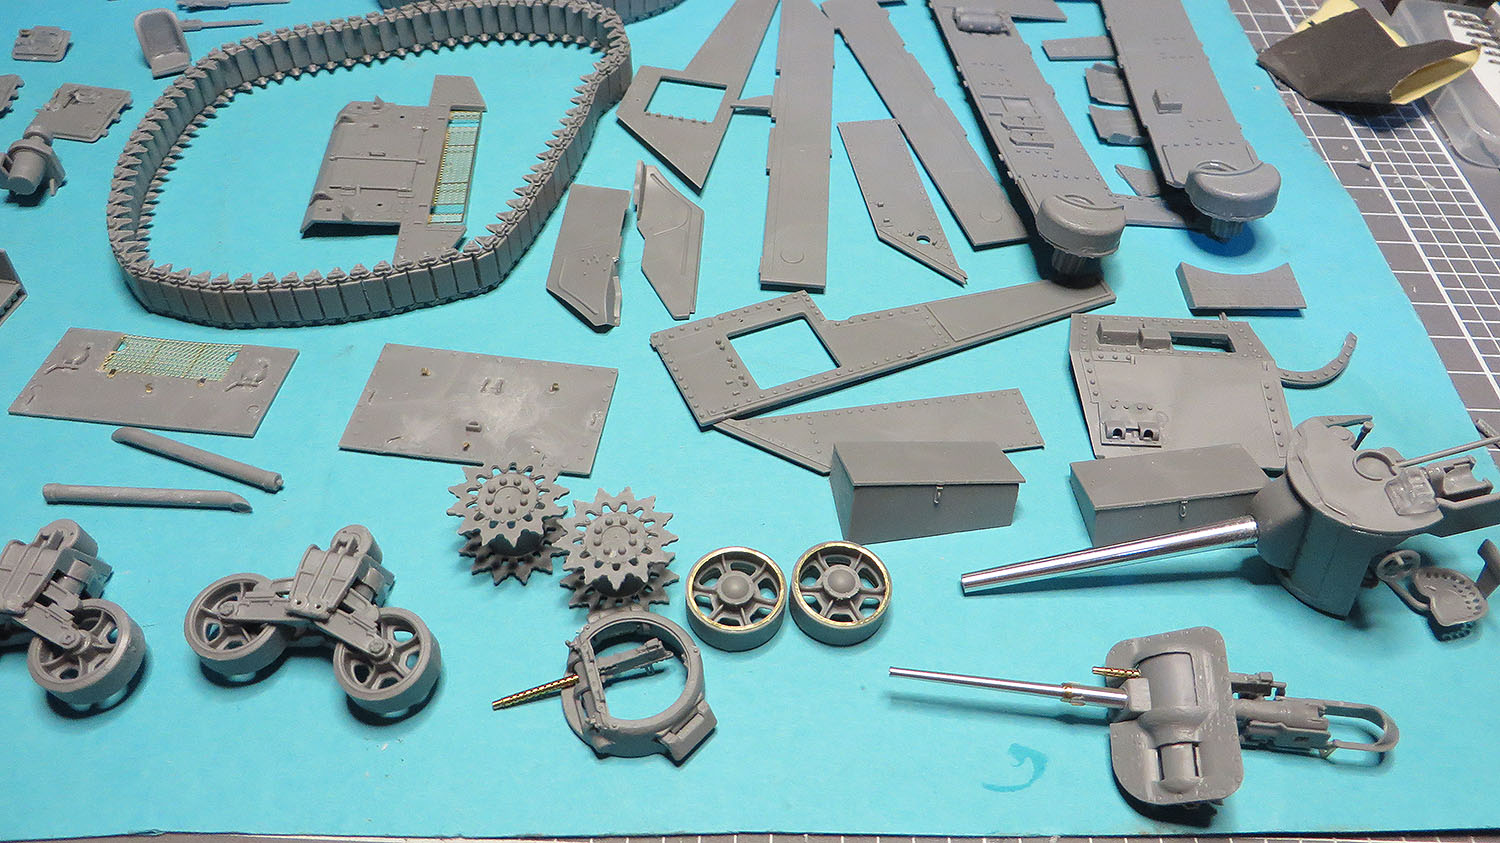
The 75mm gun mount and radial engine took up most of the weekend to get together. It was well worth the time as they come up a treat.
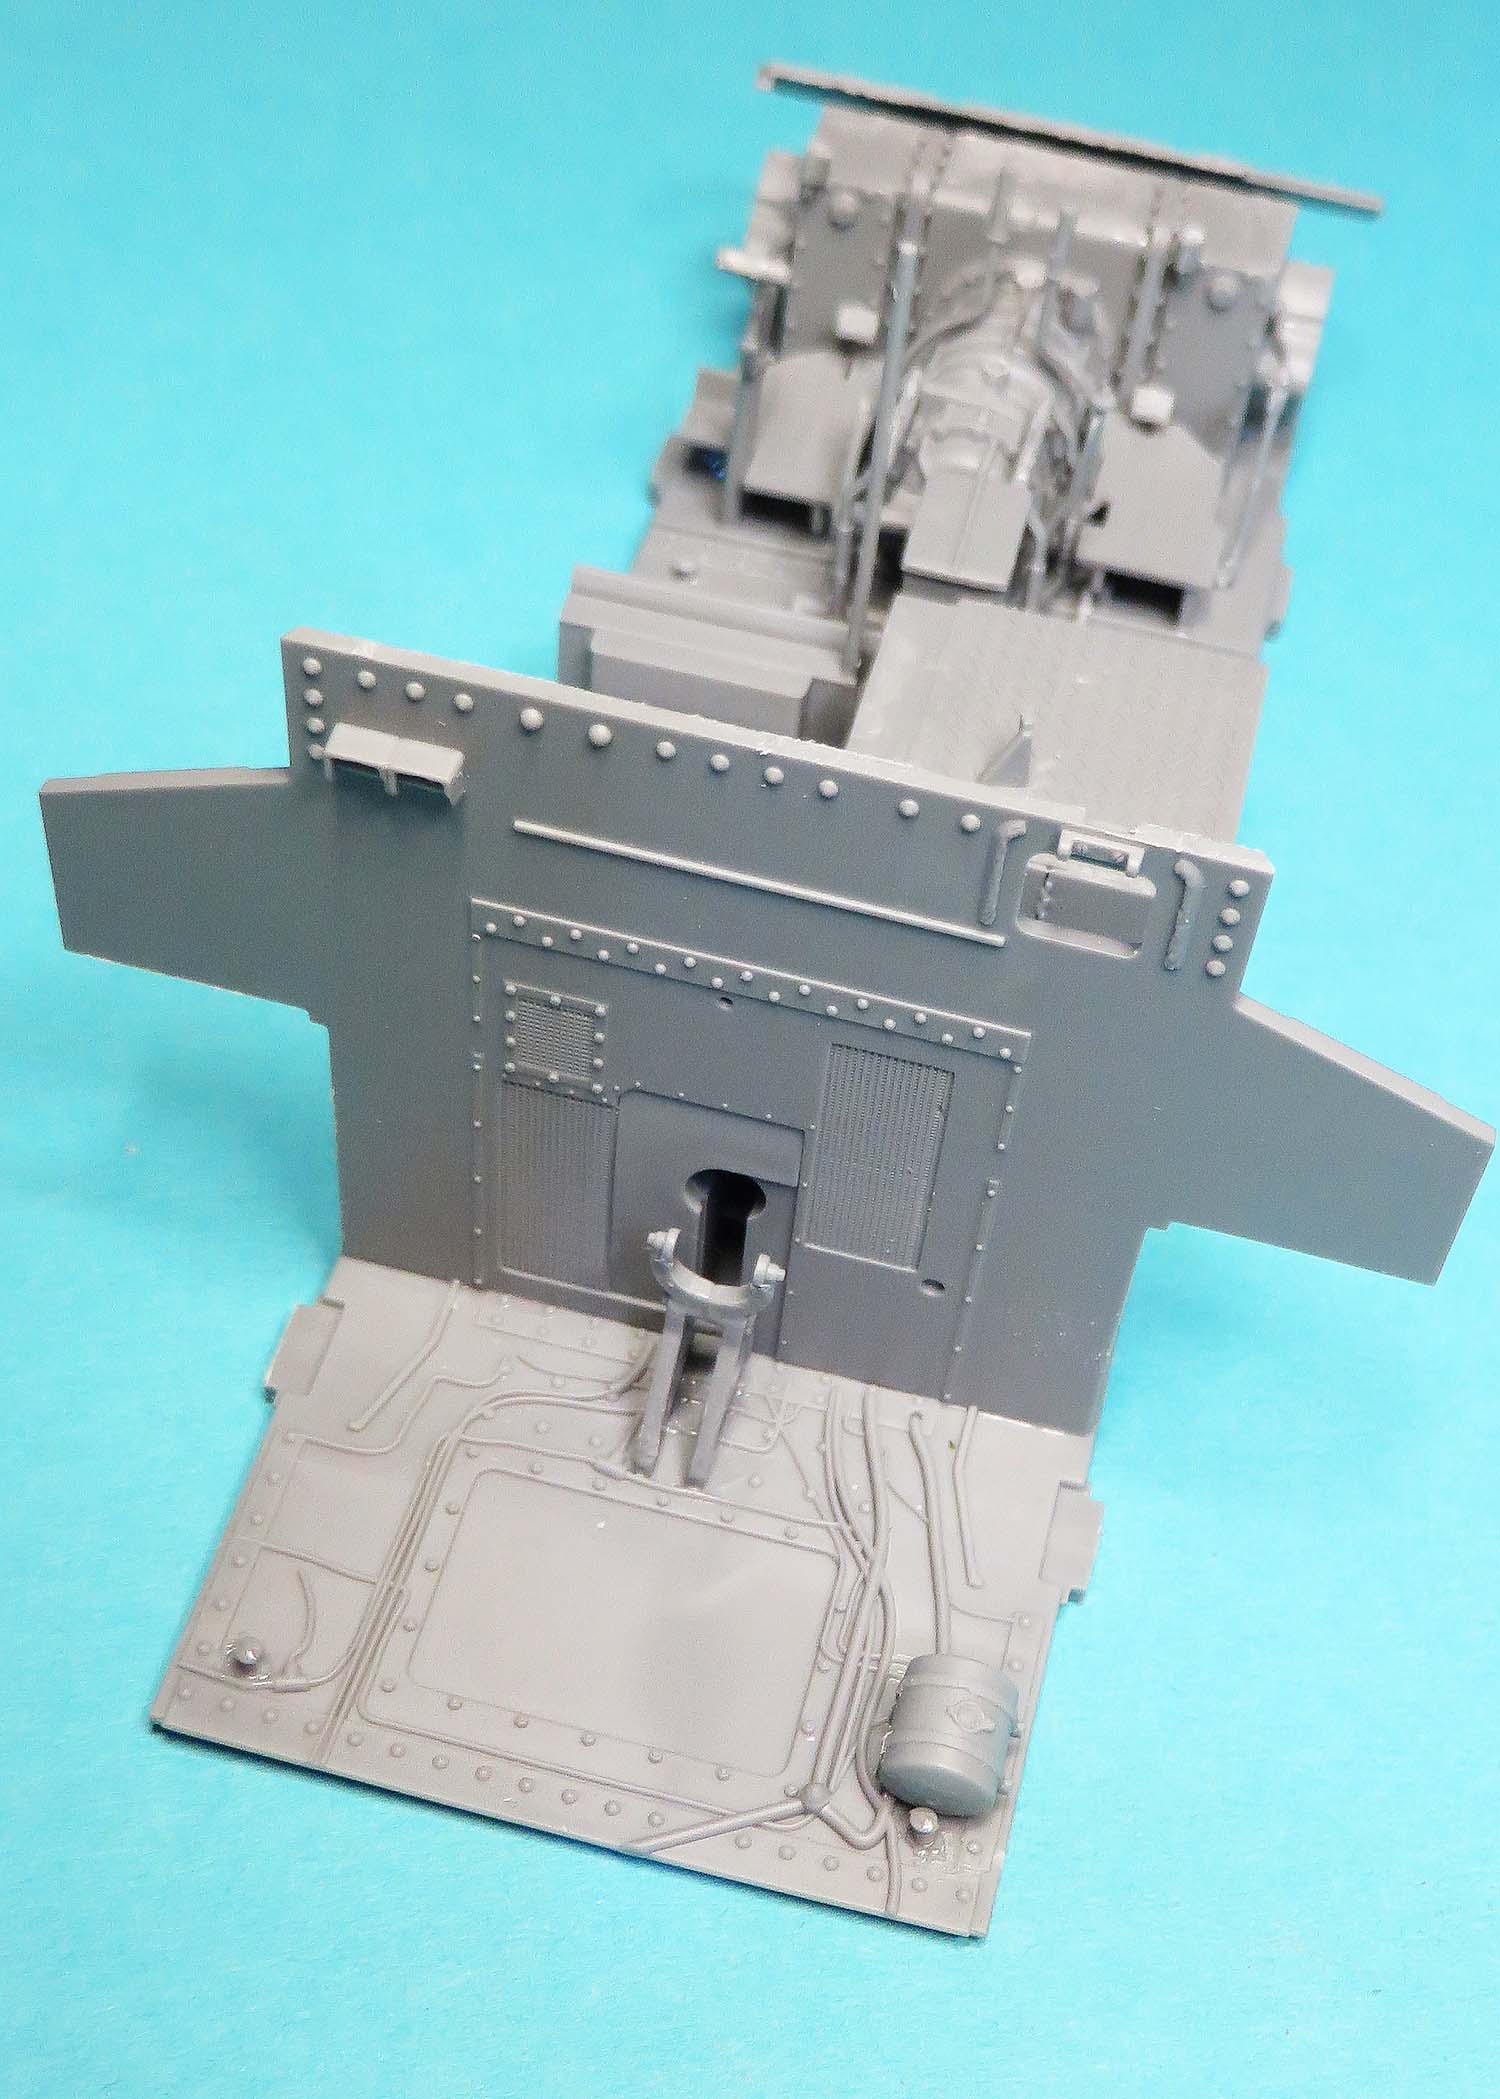
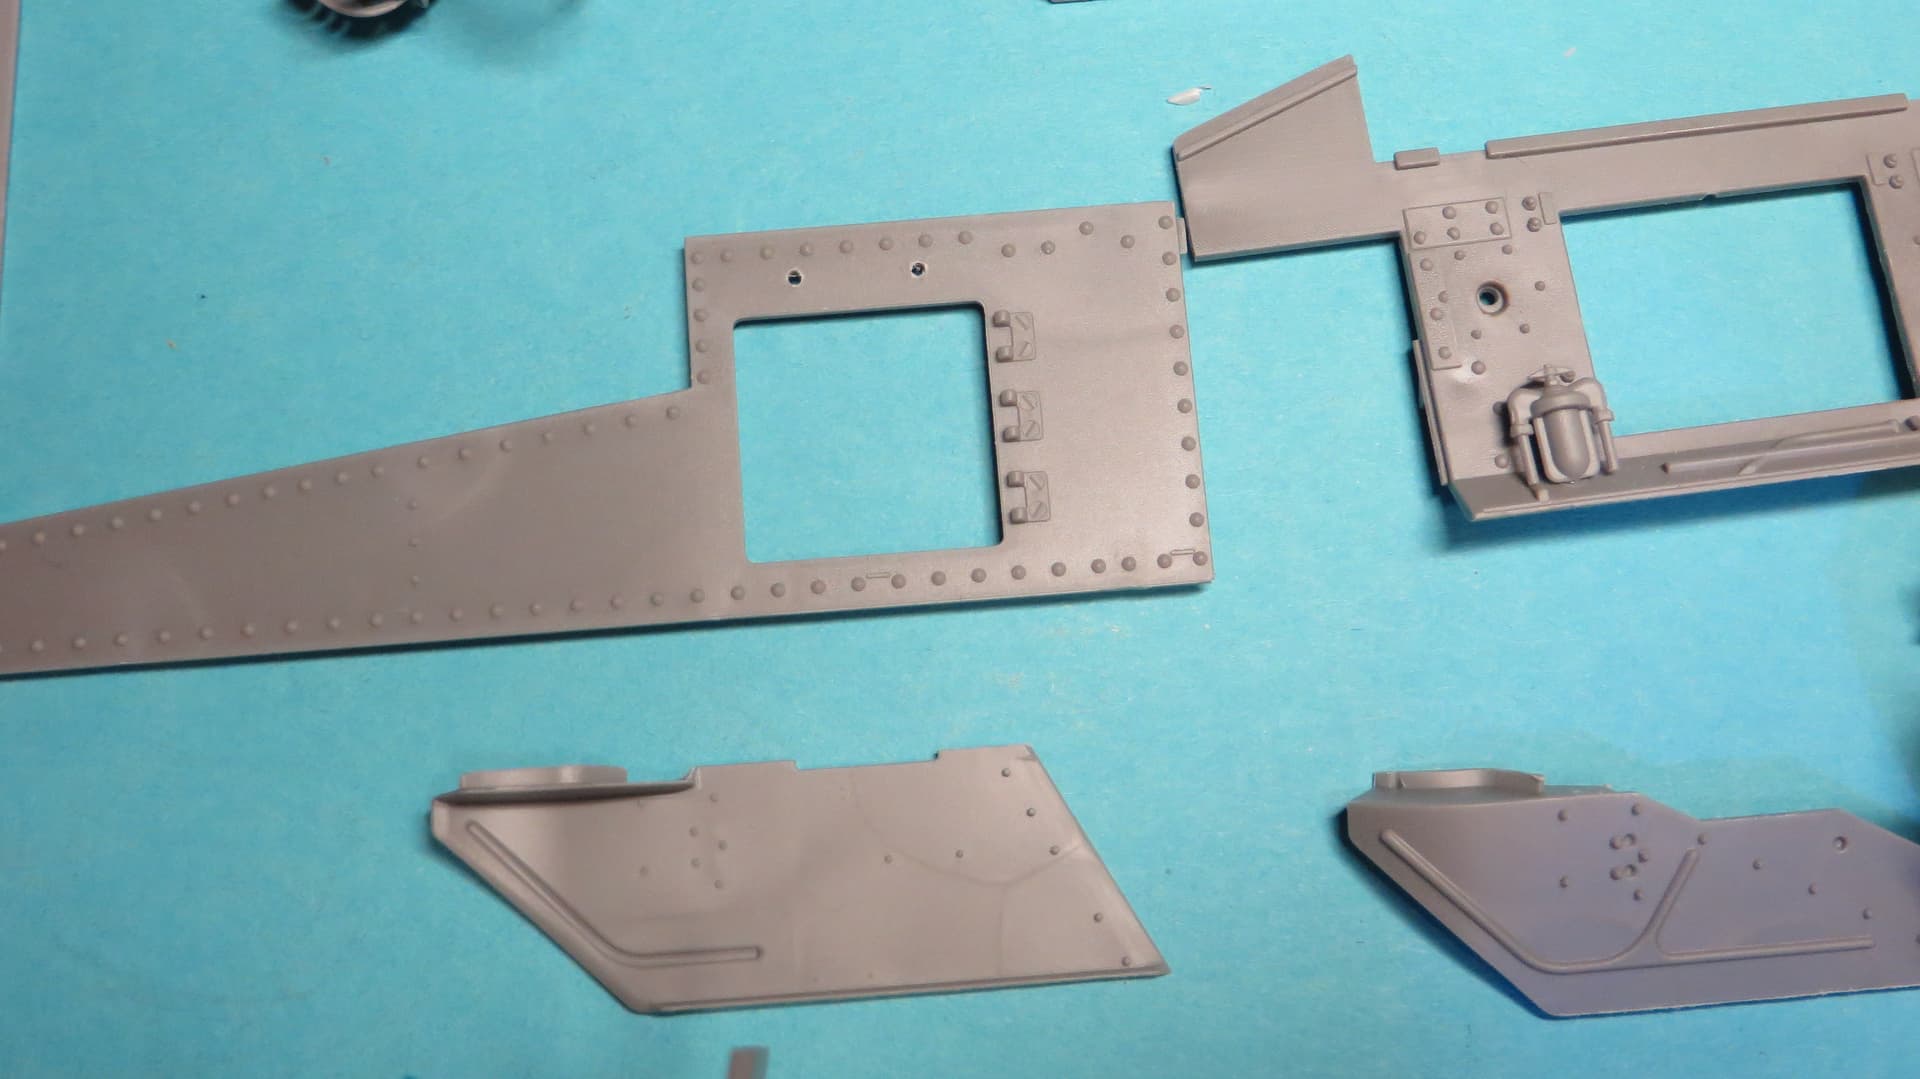
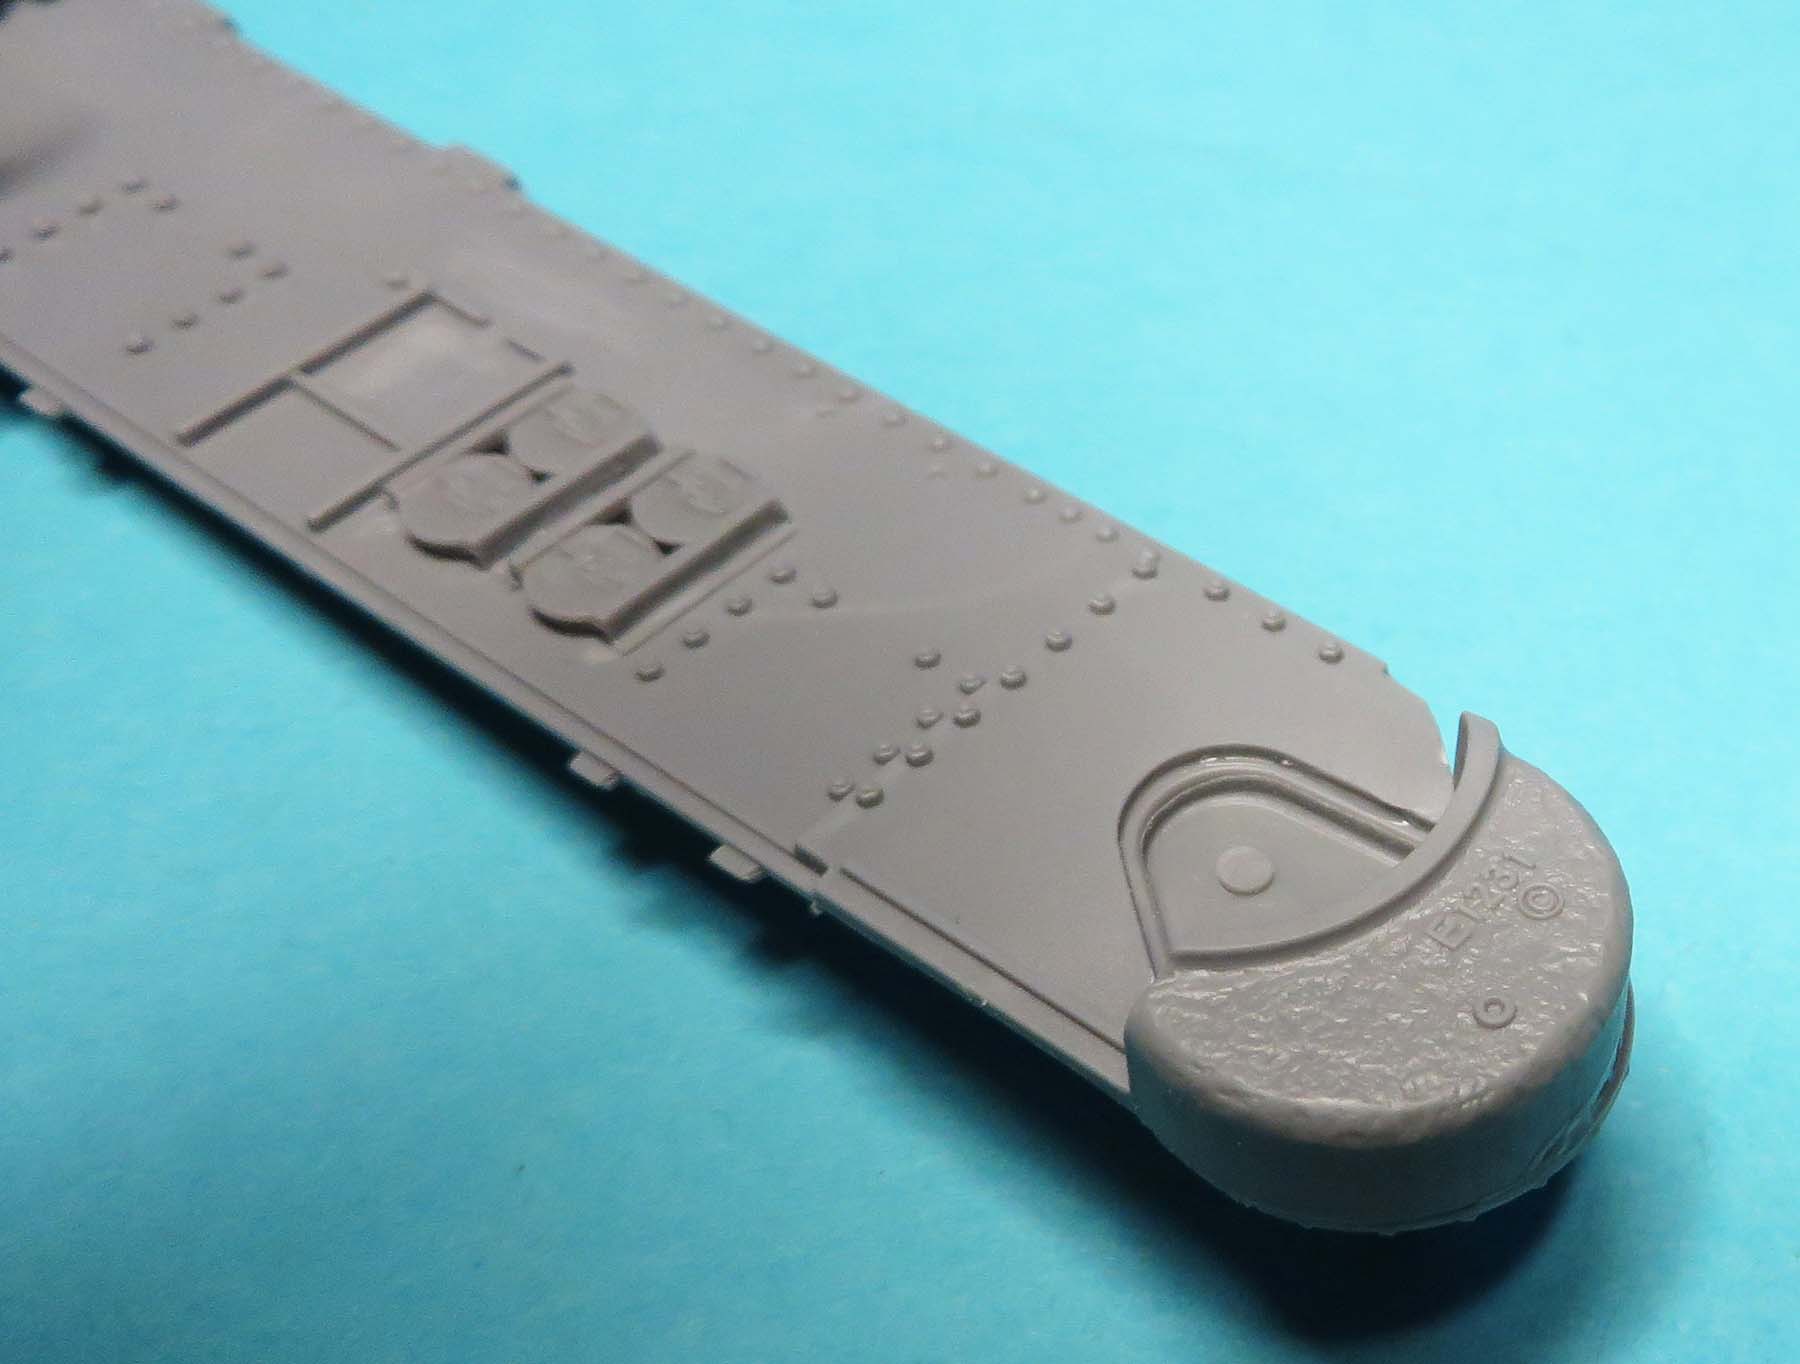
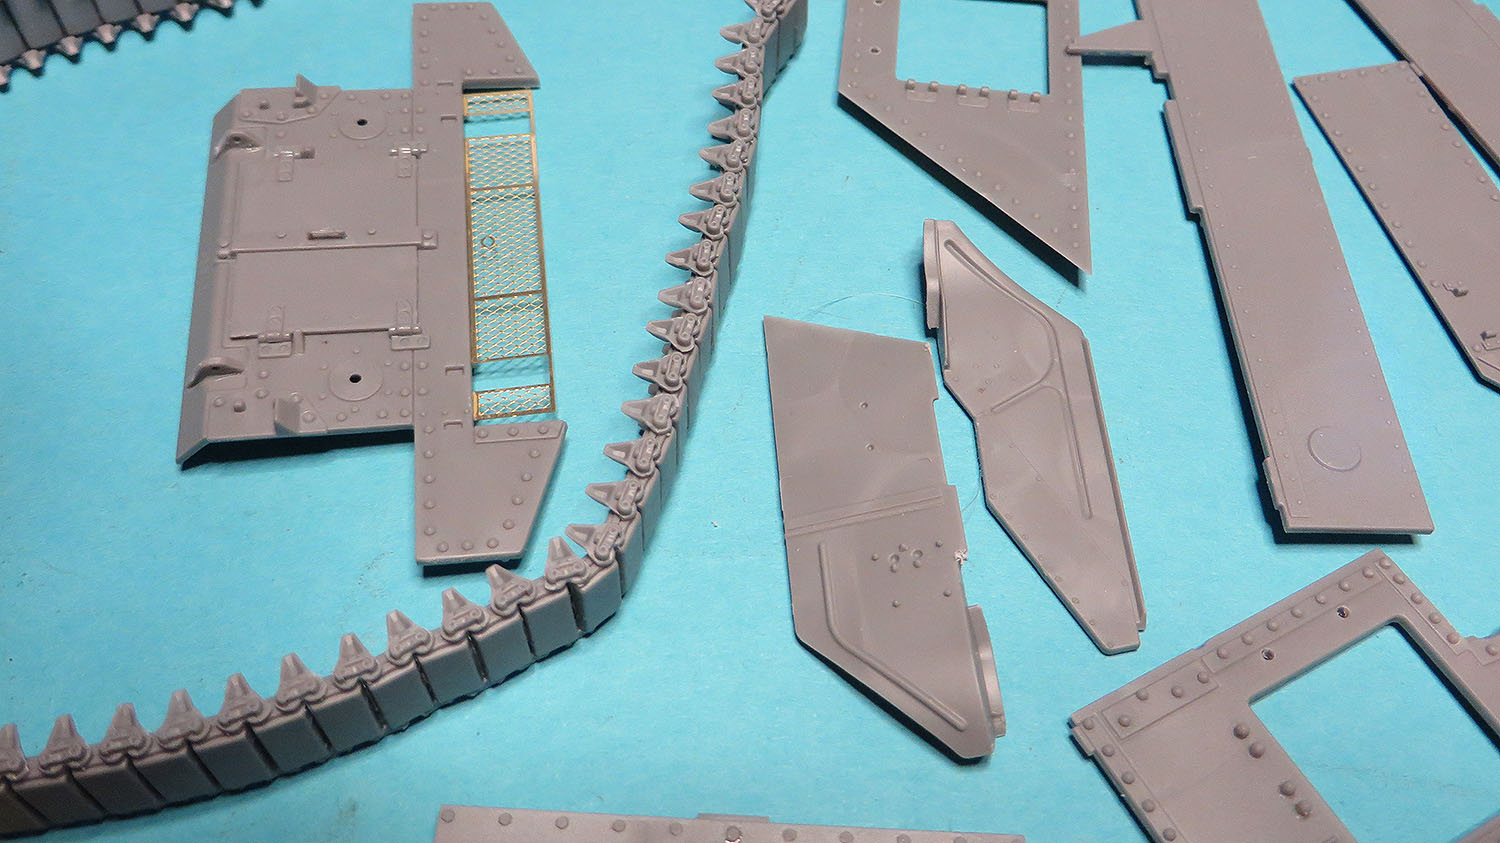
Including attention to rivet and bolt head detail inside and outside of the hull. The rivet heads are very prominent. More so than the Takom, Academy and Tamiya M3 Lees.
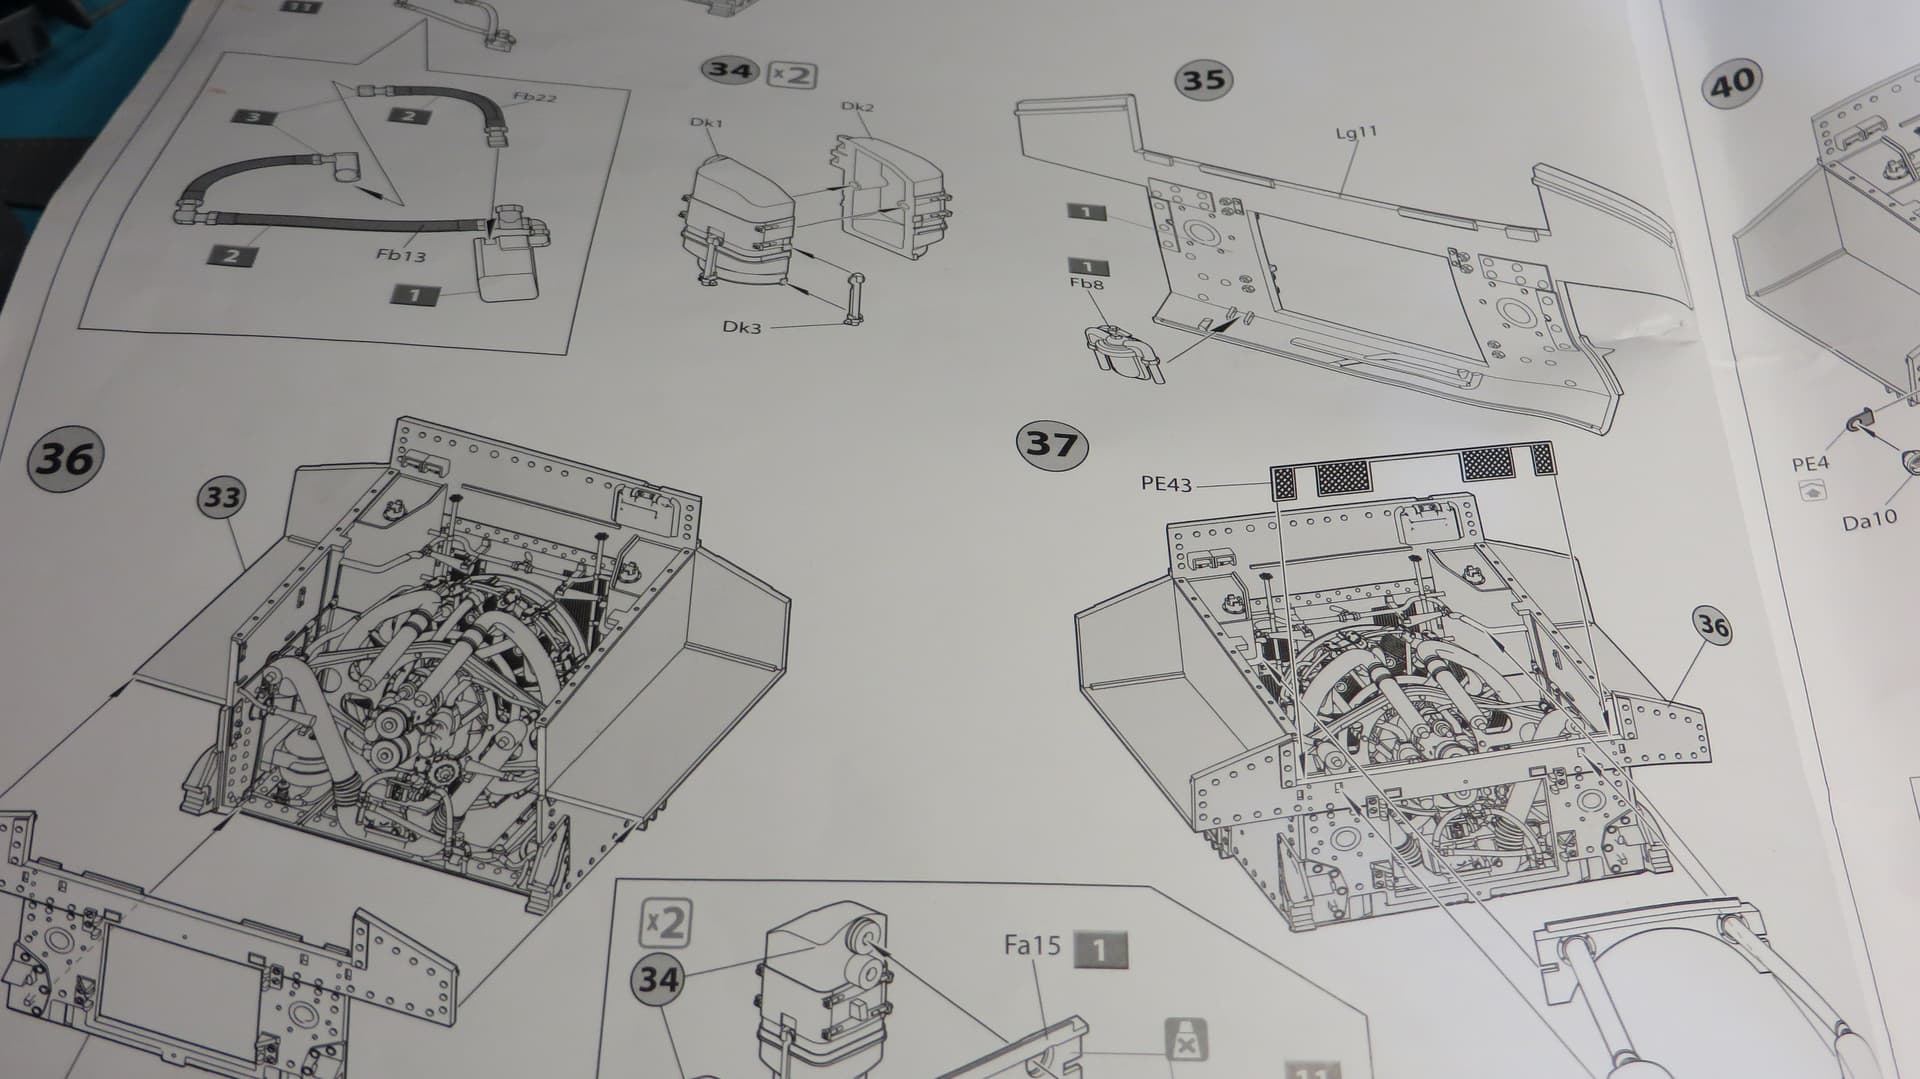
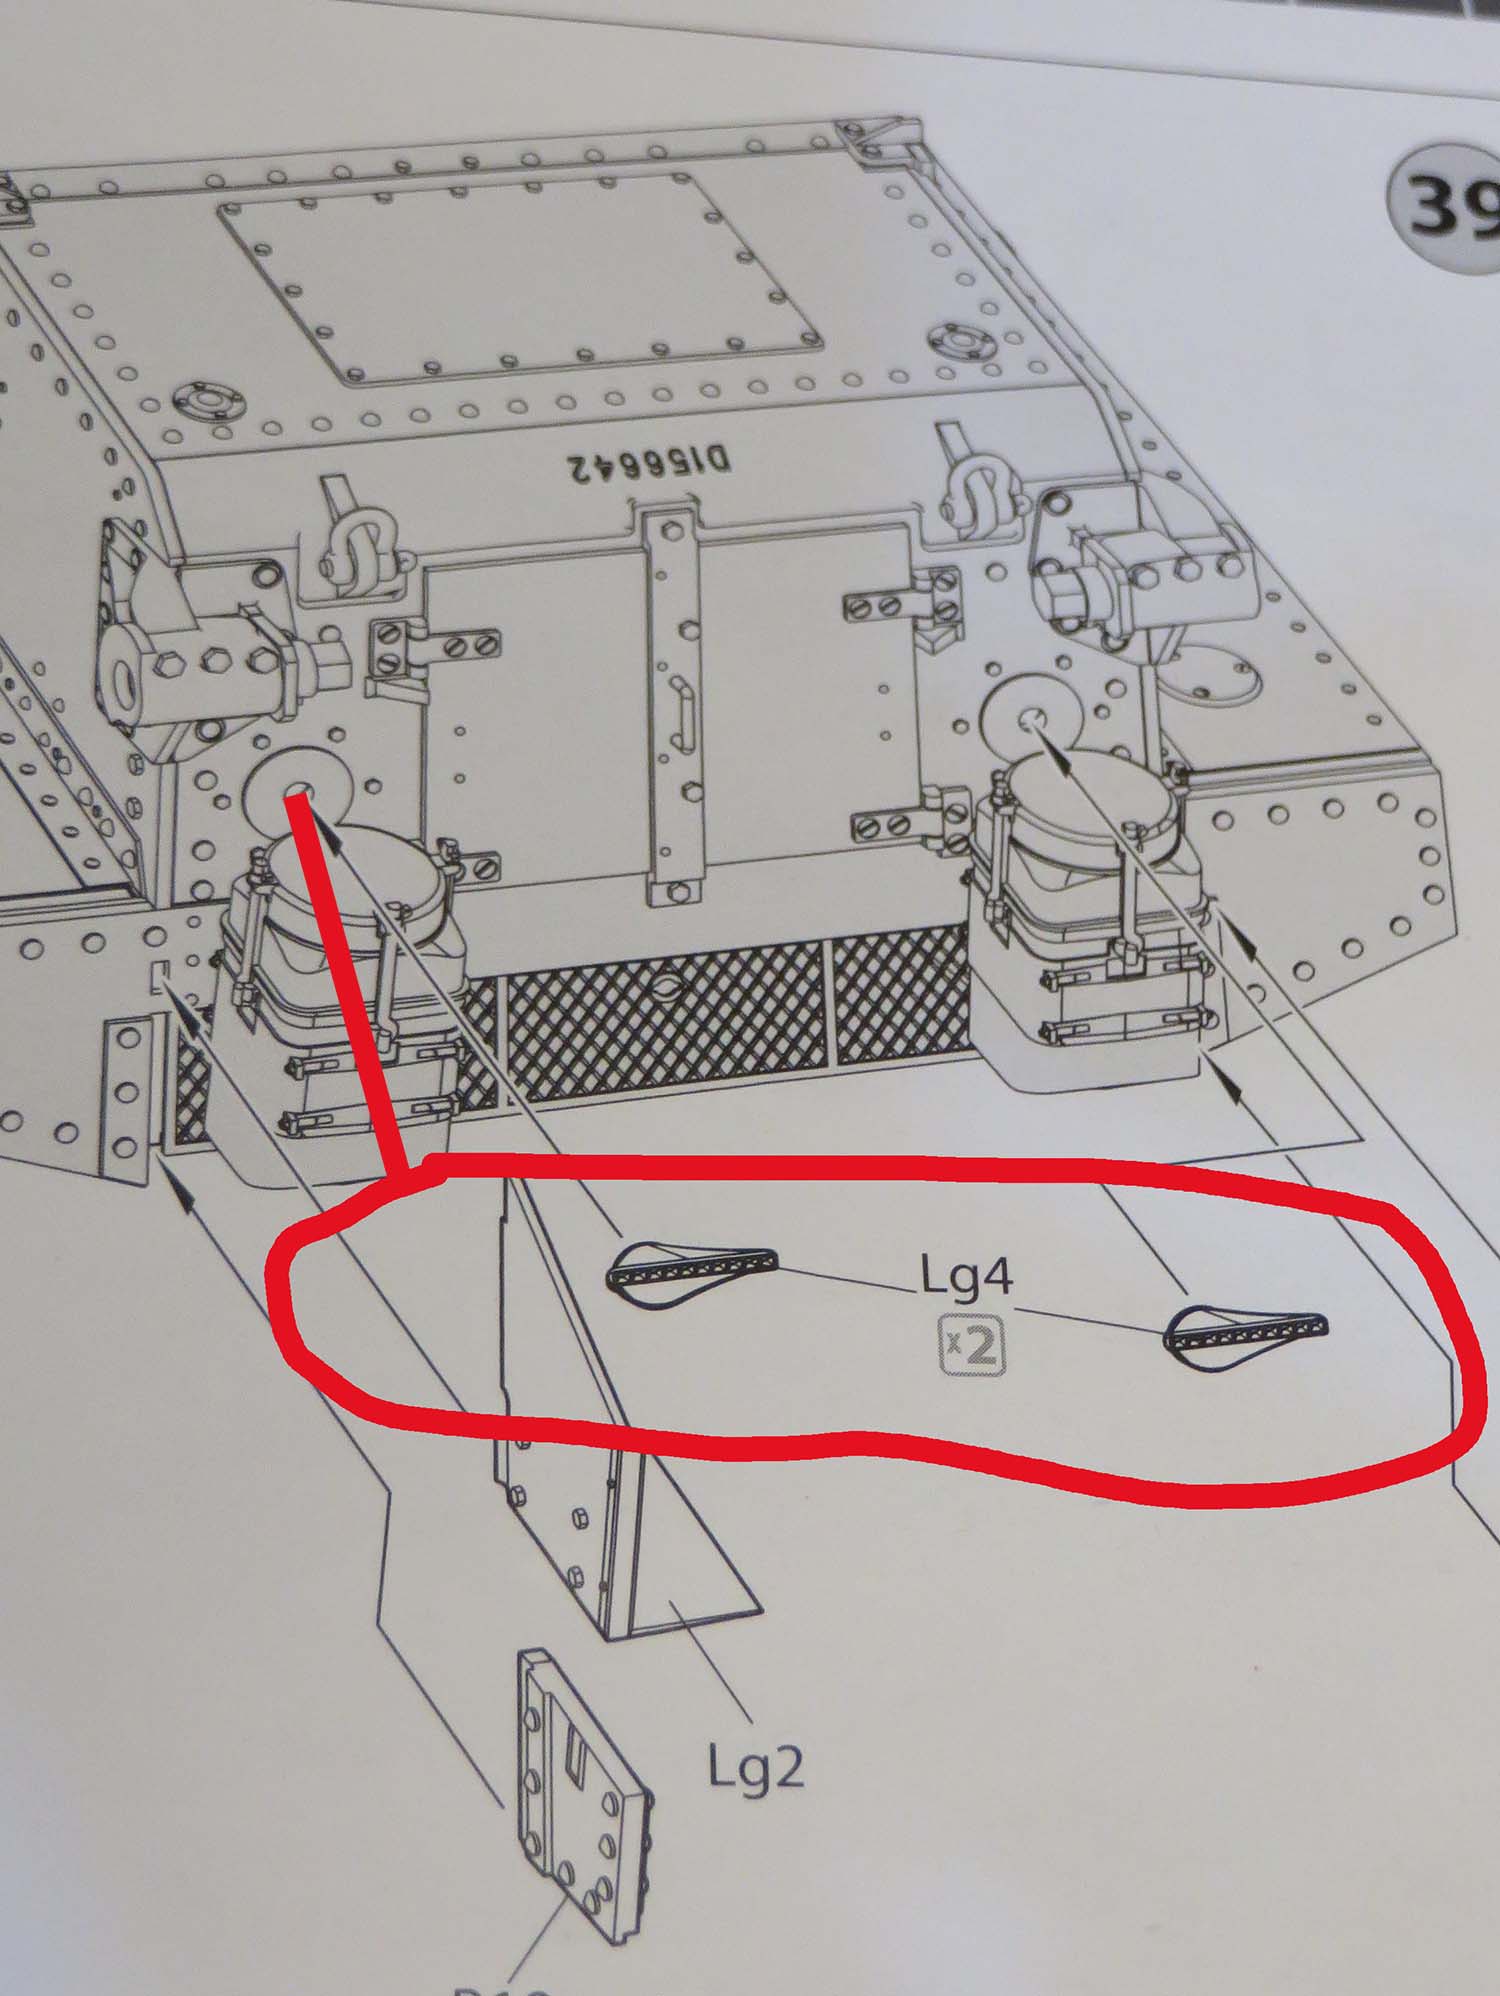
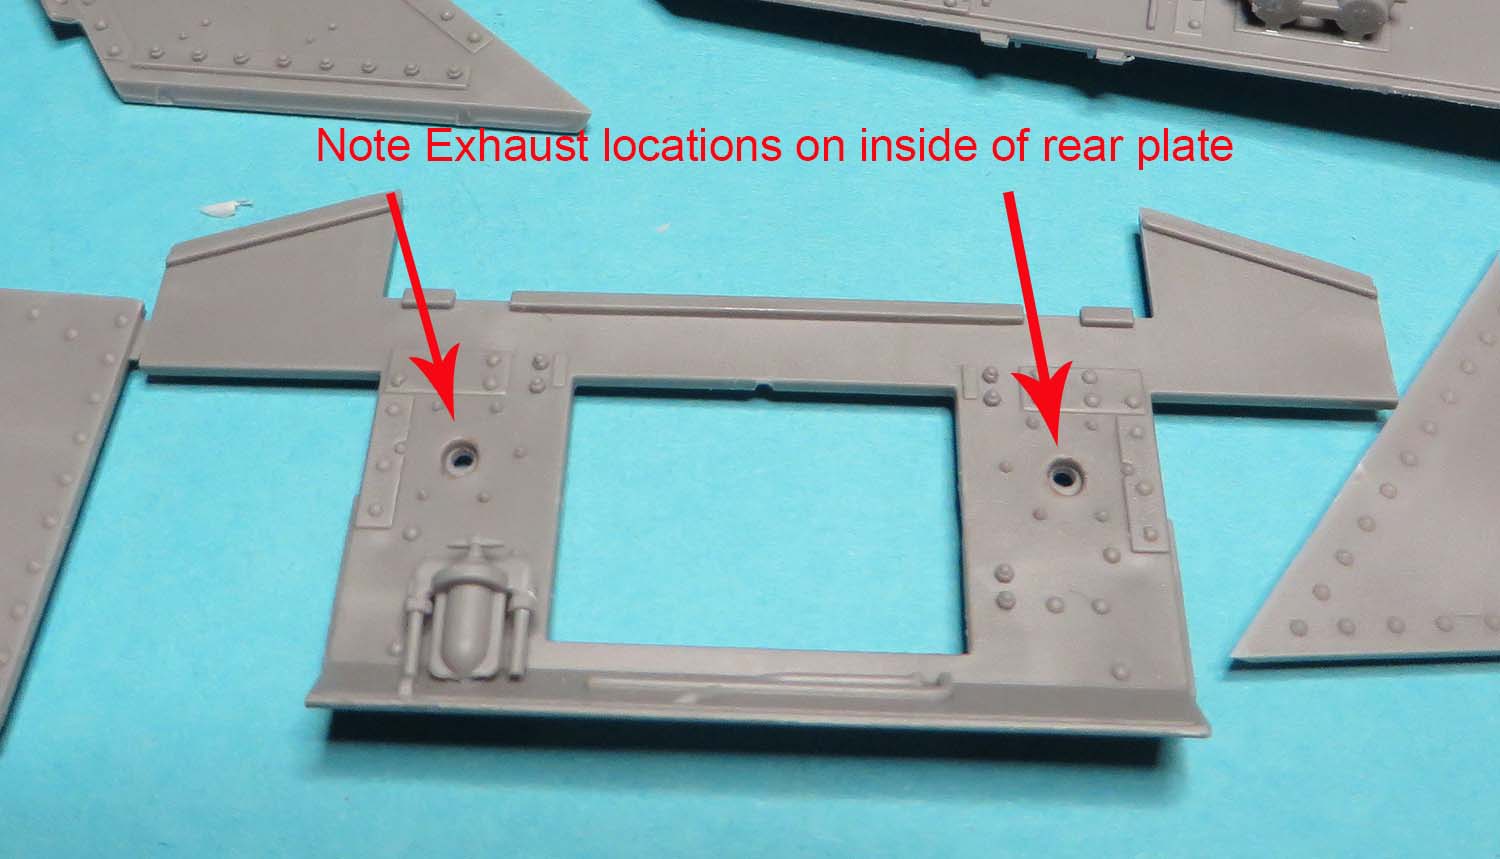
One huge error is with the instructions. It led me to go back to the reference material on hand to check why the radial exhausts had not matched up.
Here is the finished instructions
Thinking what the hell
Then after reviewing references and checking the colour art in the books the M3 is correct. They placed the wrong exhaust pictorial in the instruction booklet.
The good thing Miniart does do is it provides the option to make a later variant.
The exhaust pipes above are in there for the later variant.
Nice progress with the M3 – the inside sure looks complex but nicely detailed. will much be on show ?
Ref the 38T’s - were they part of the epic build with 2 million figures and horses … if so, hows that going … still a slow WIP ??
Back again with the next installment of images of work.
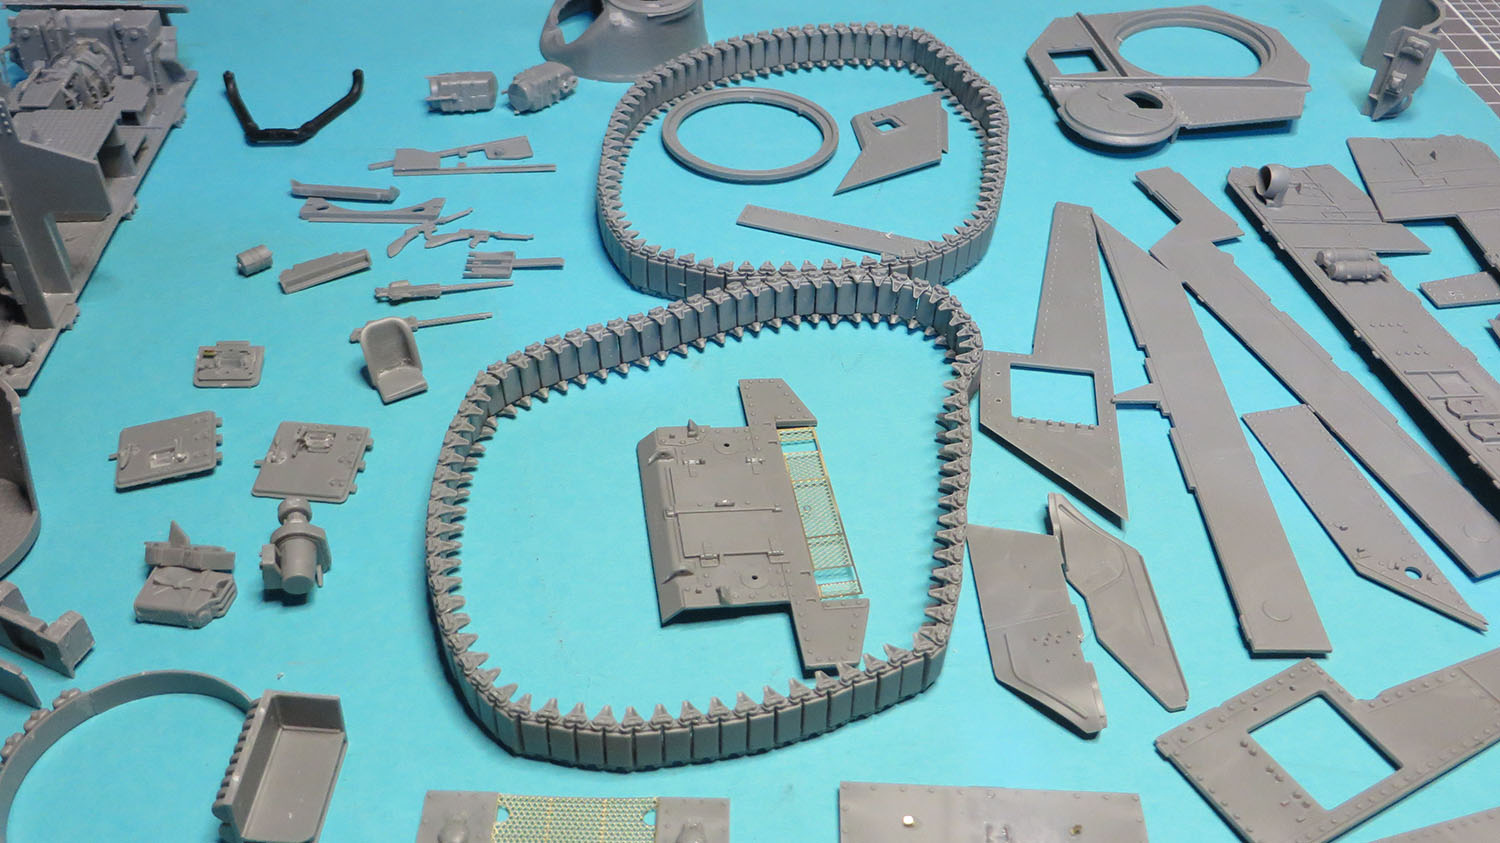
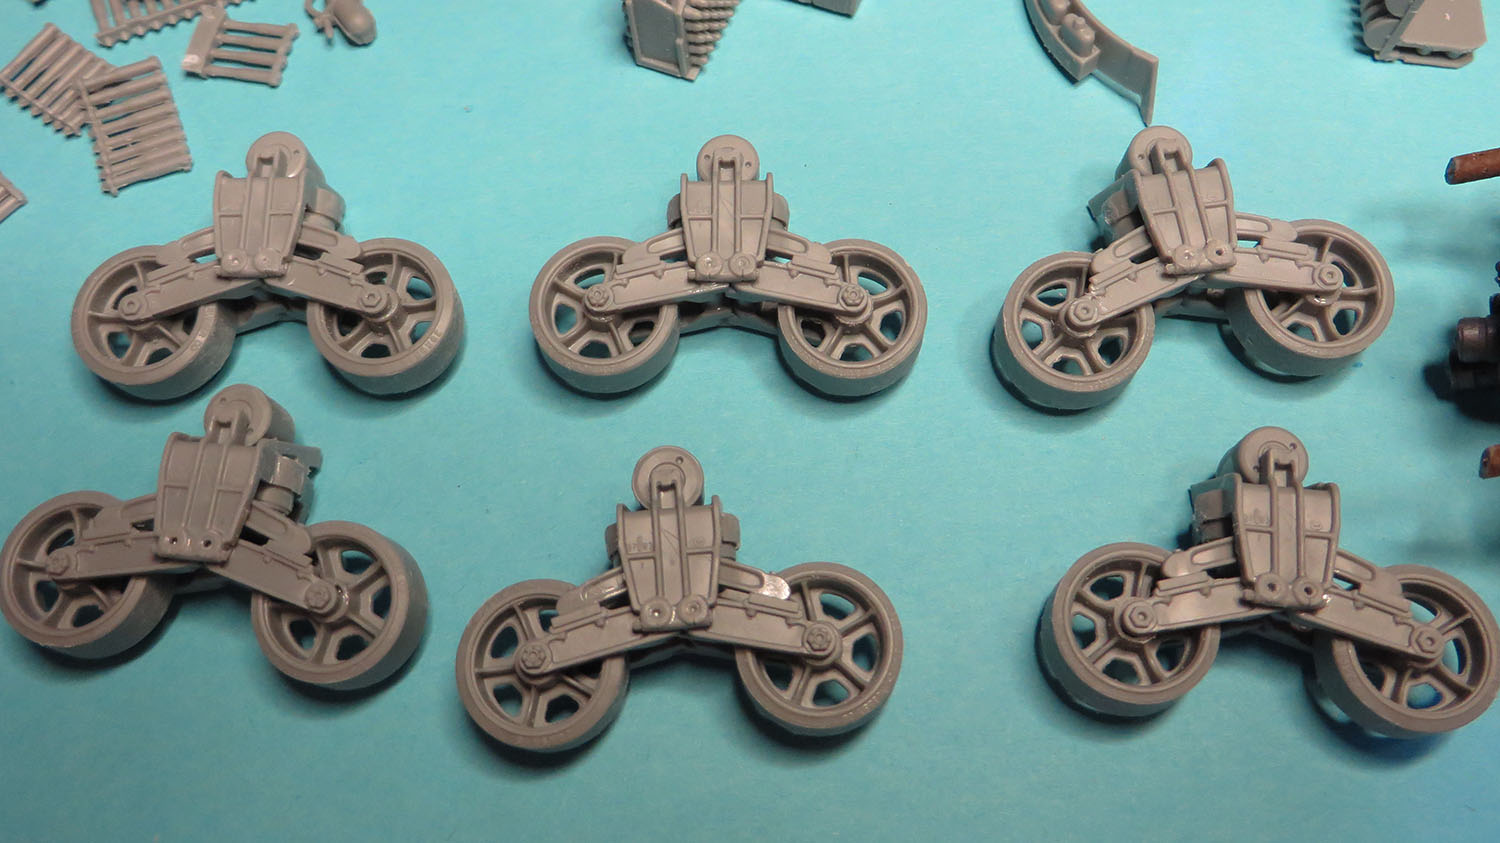
Note: The tracks are painfull to get together. Very time consuming but the best part is they are movable.
All the parts are in sub sections now ready for painting and weathering.