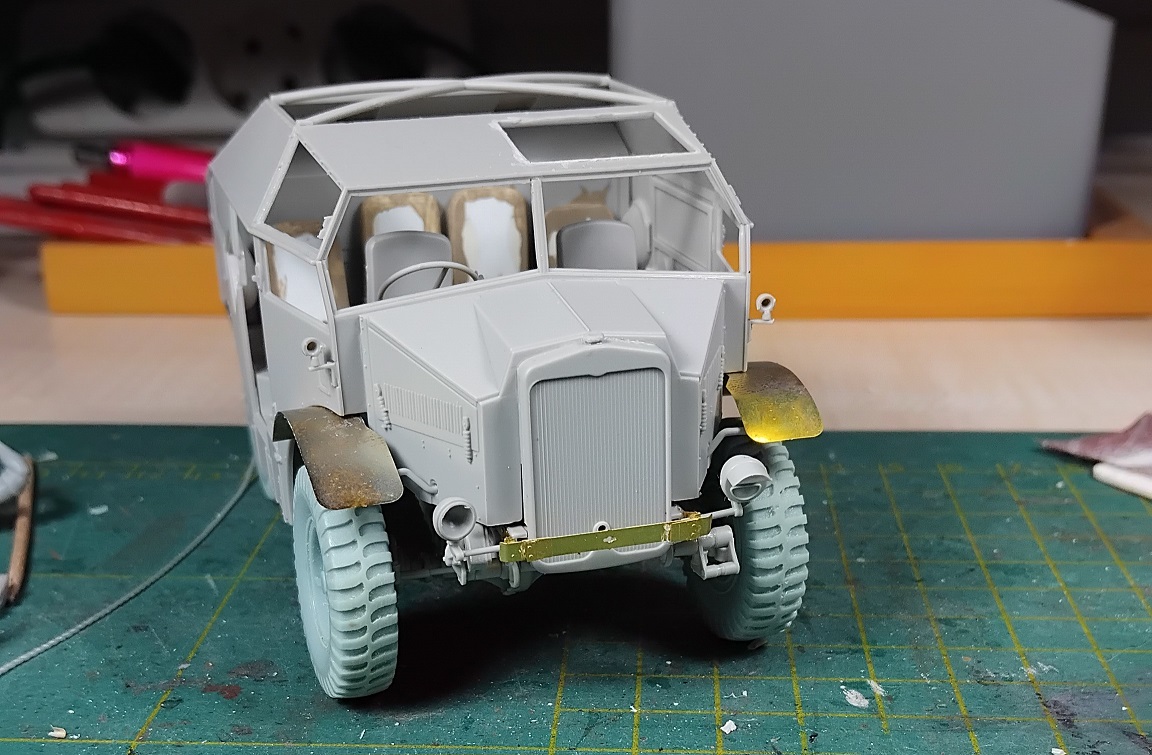
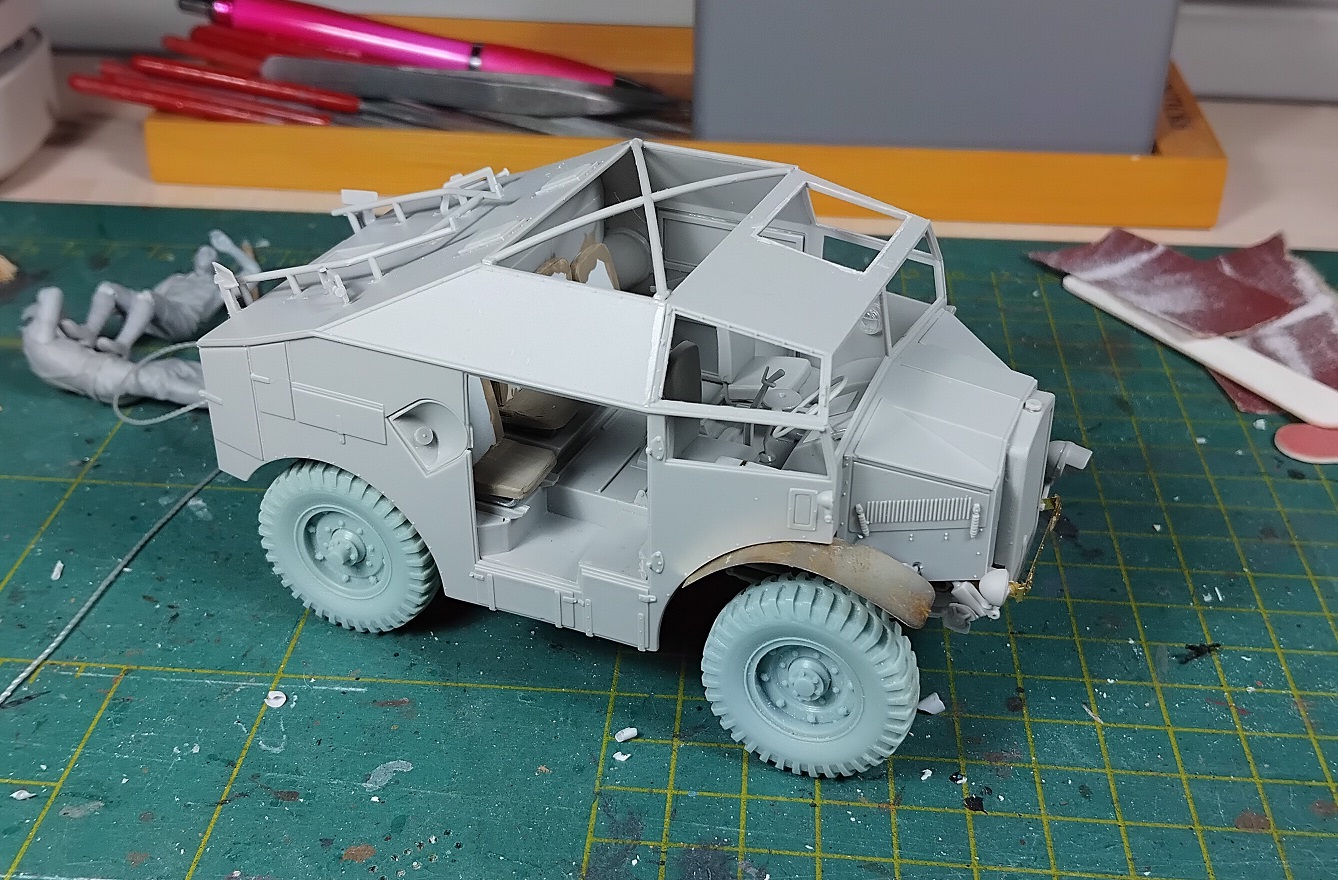
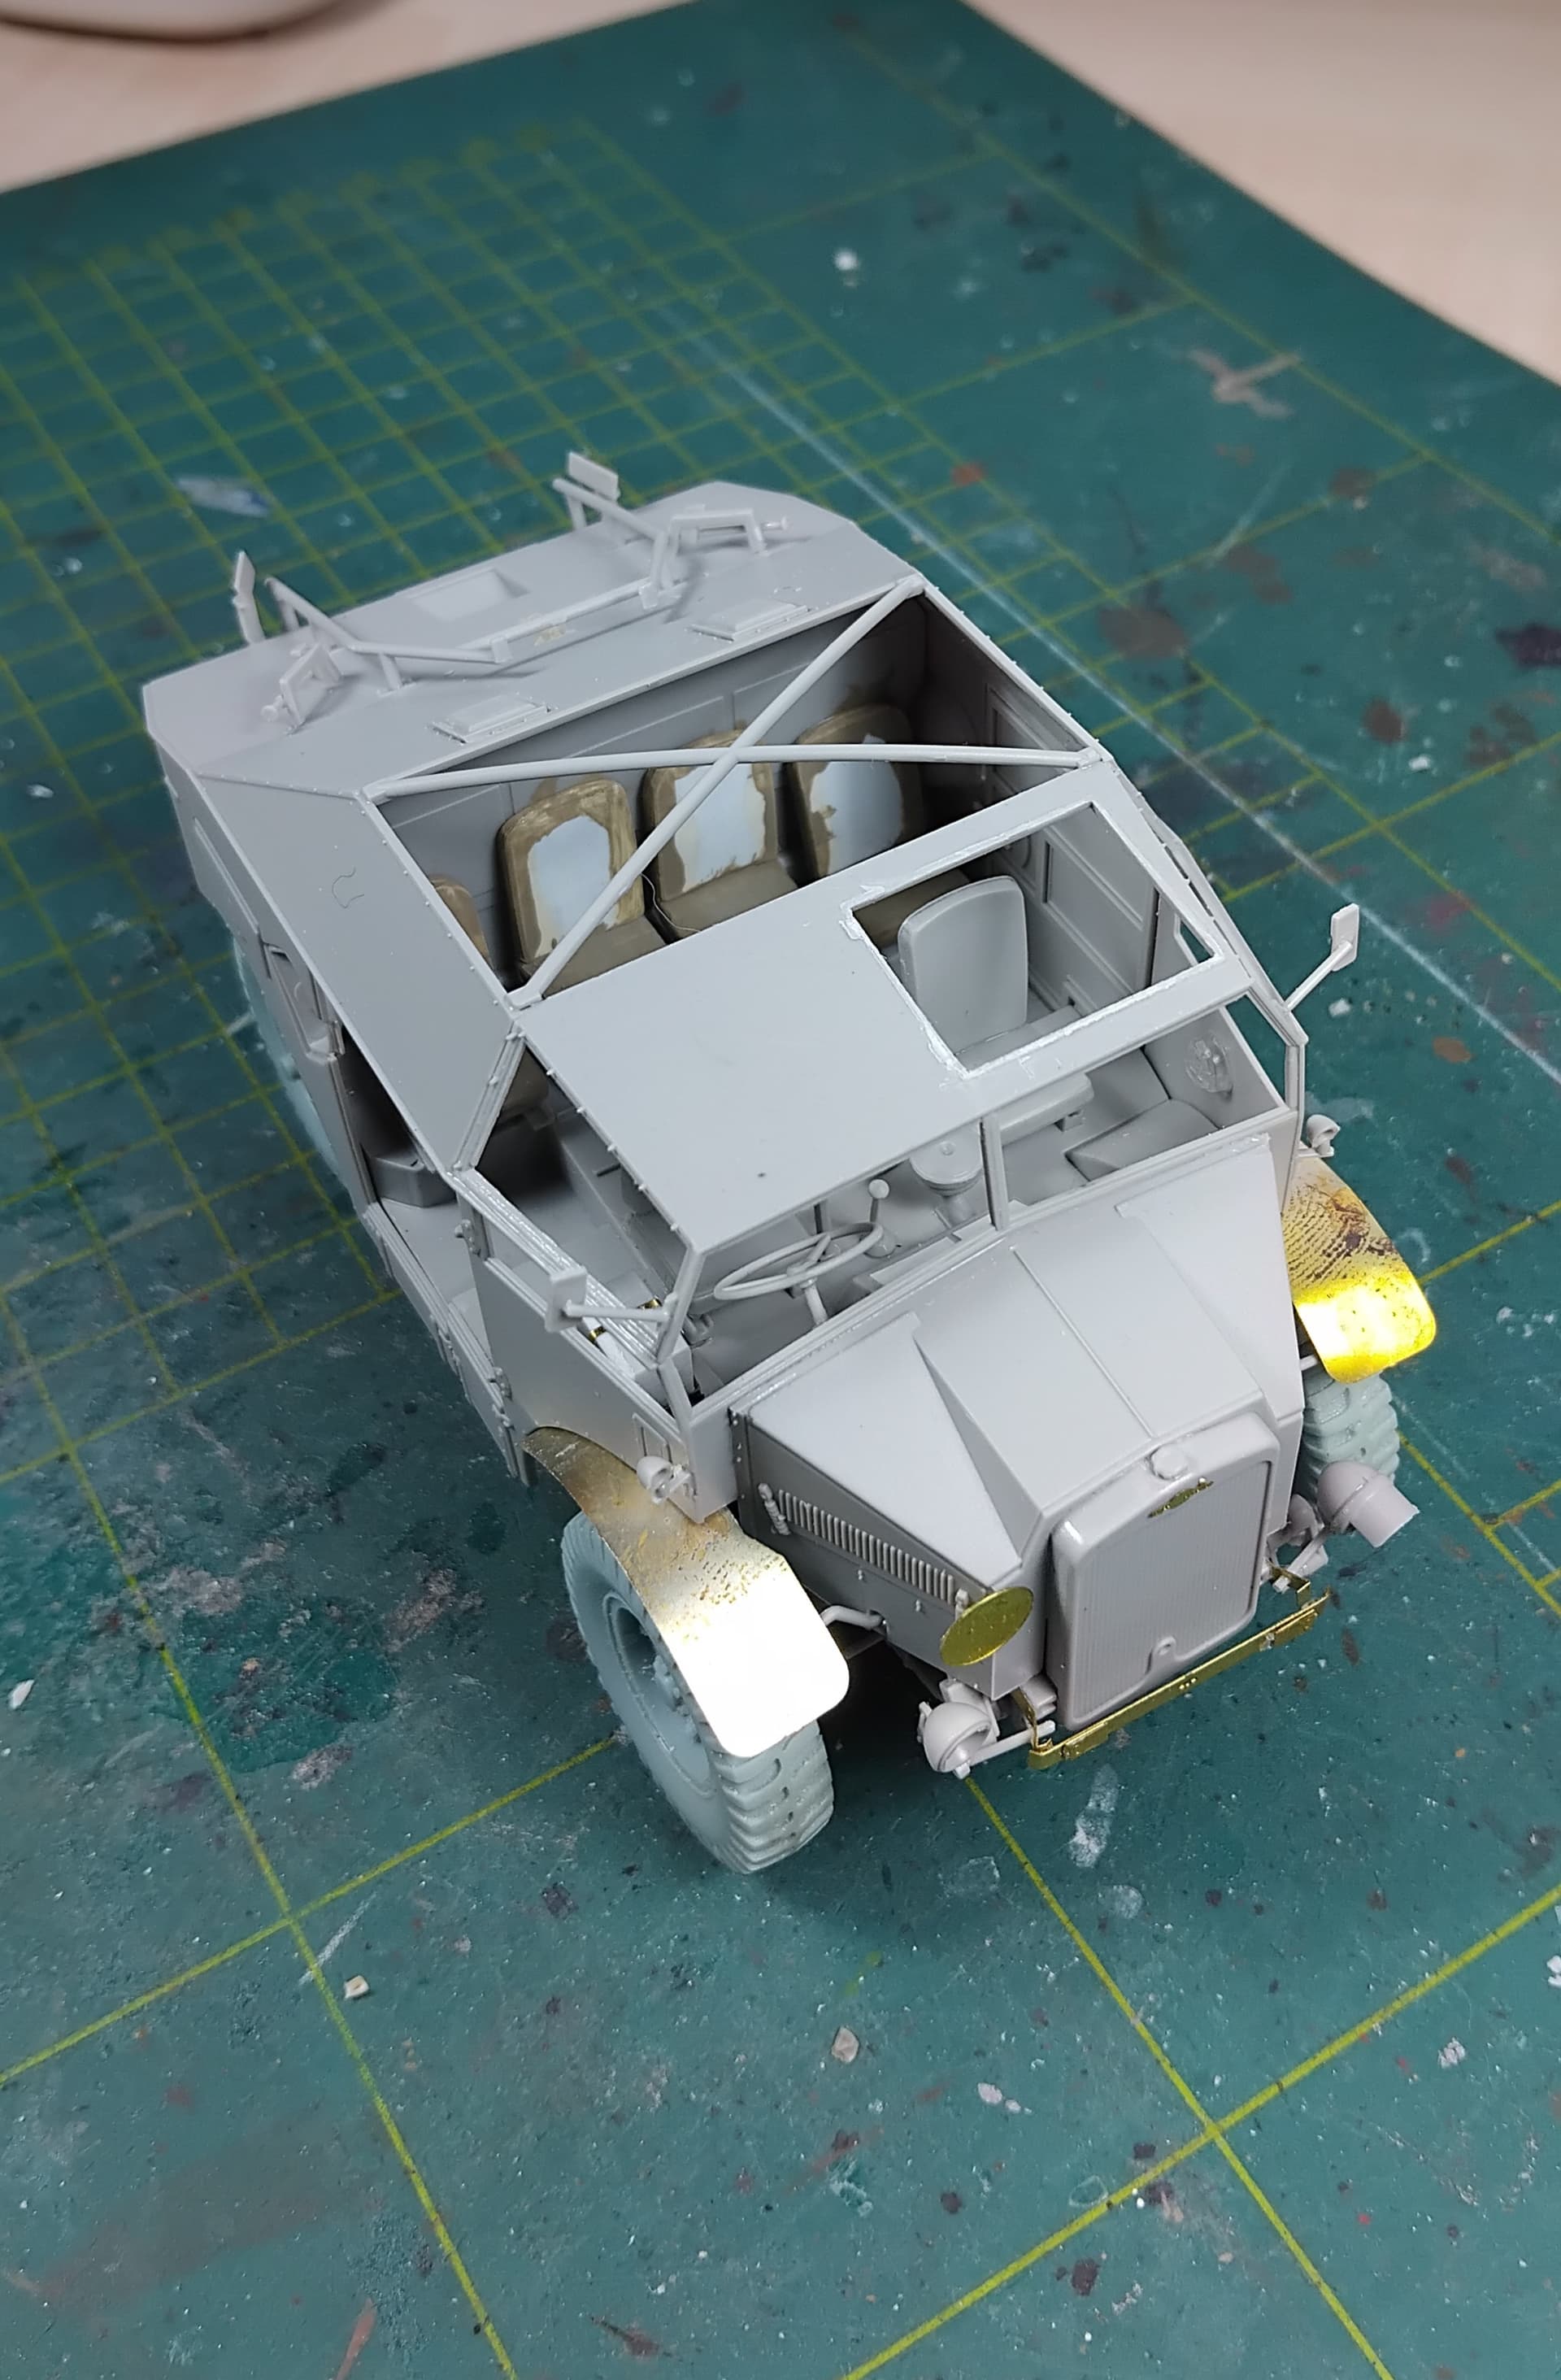
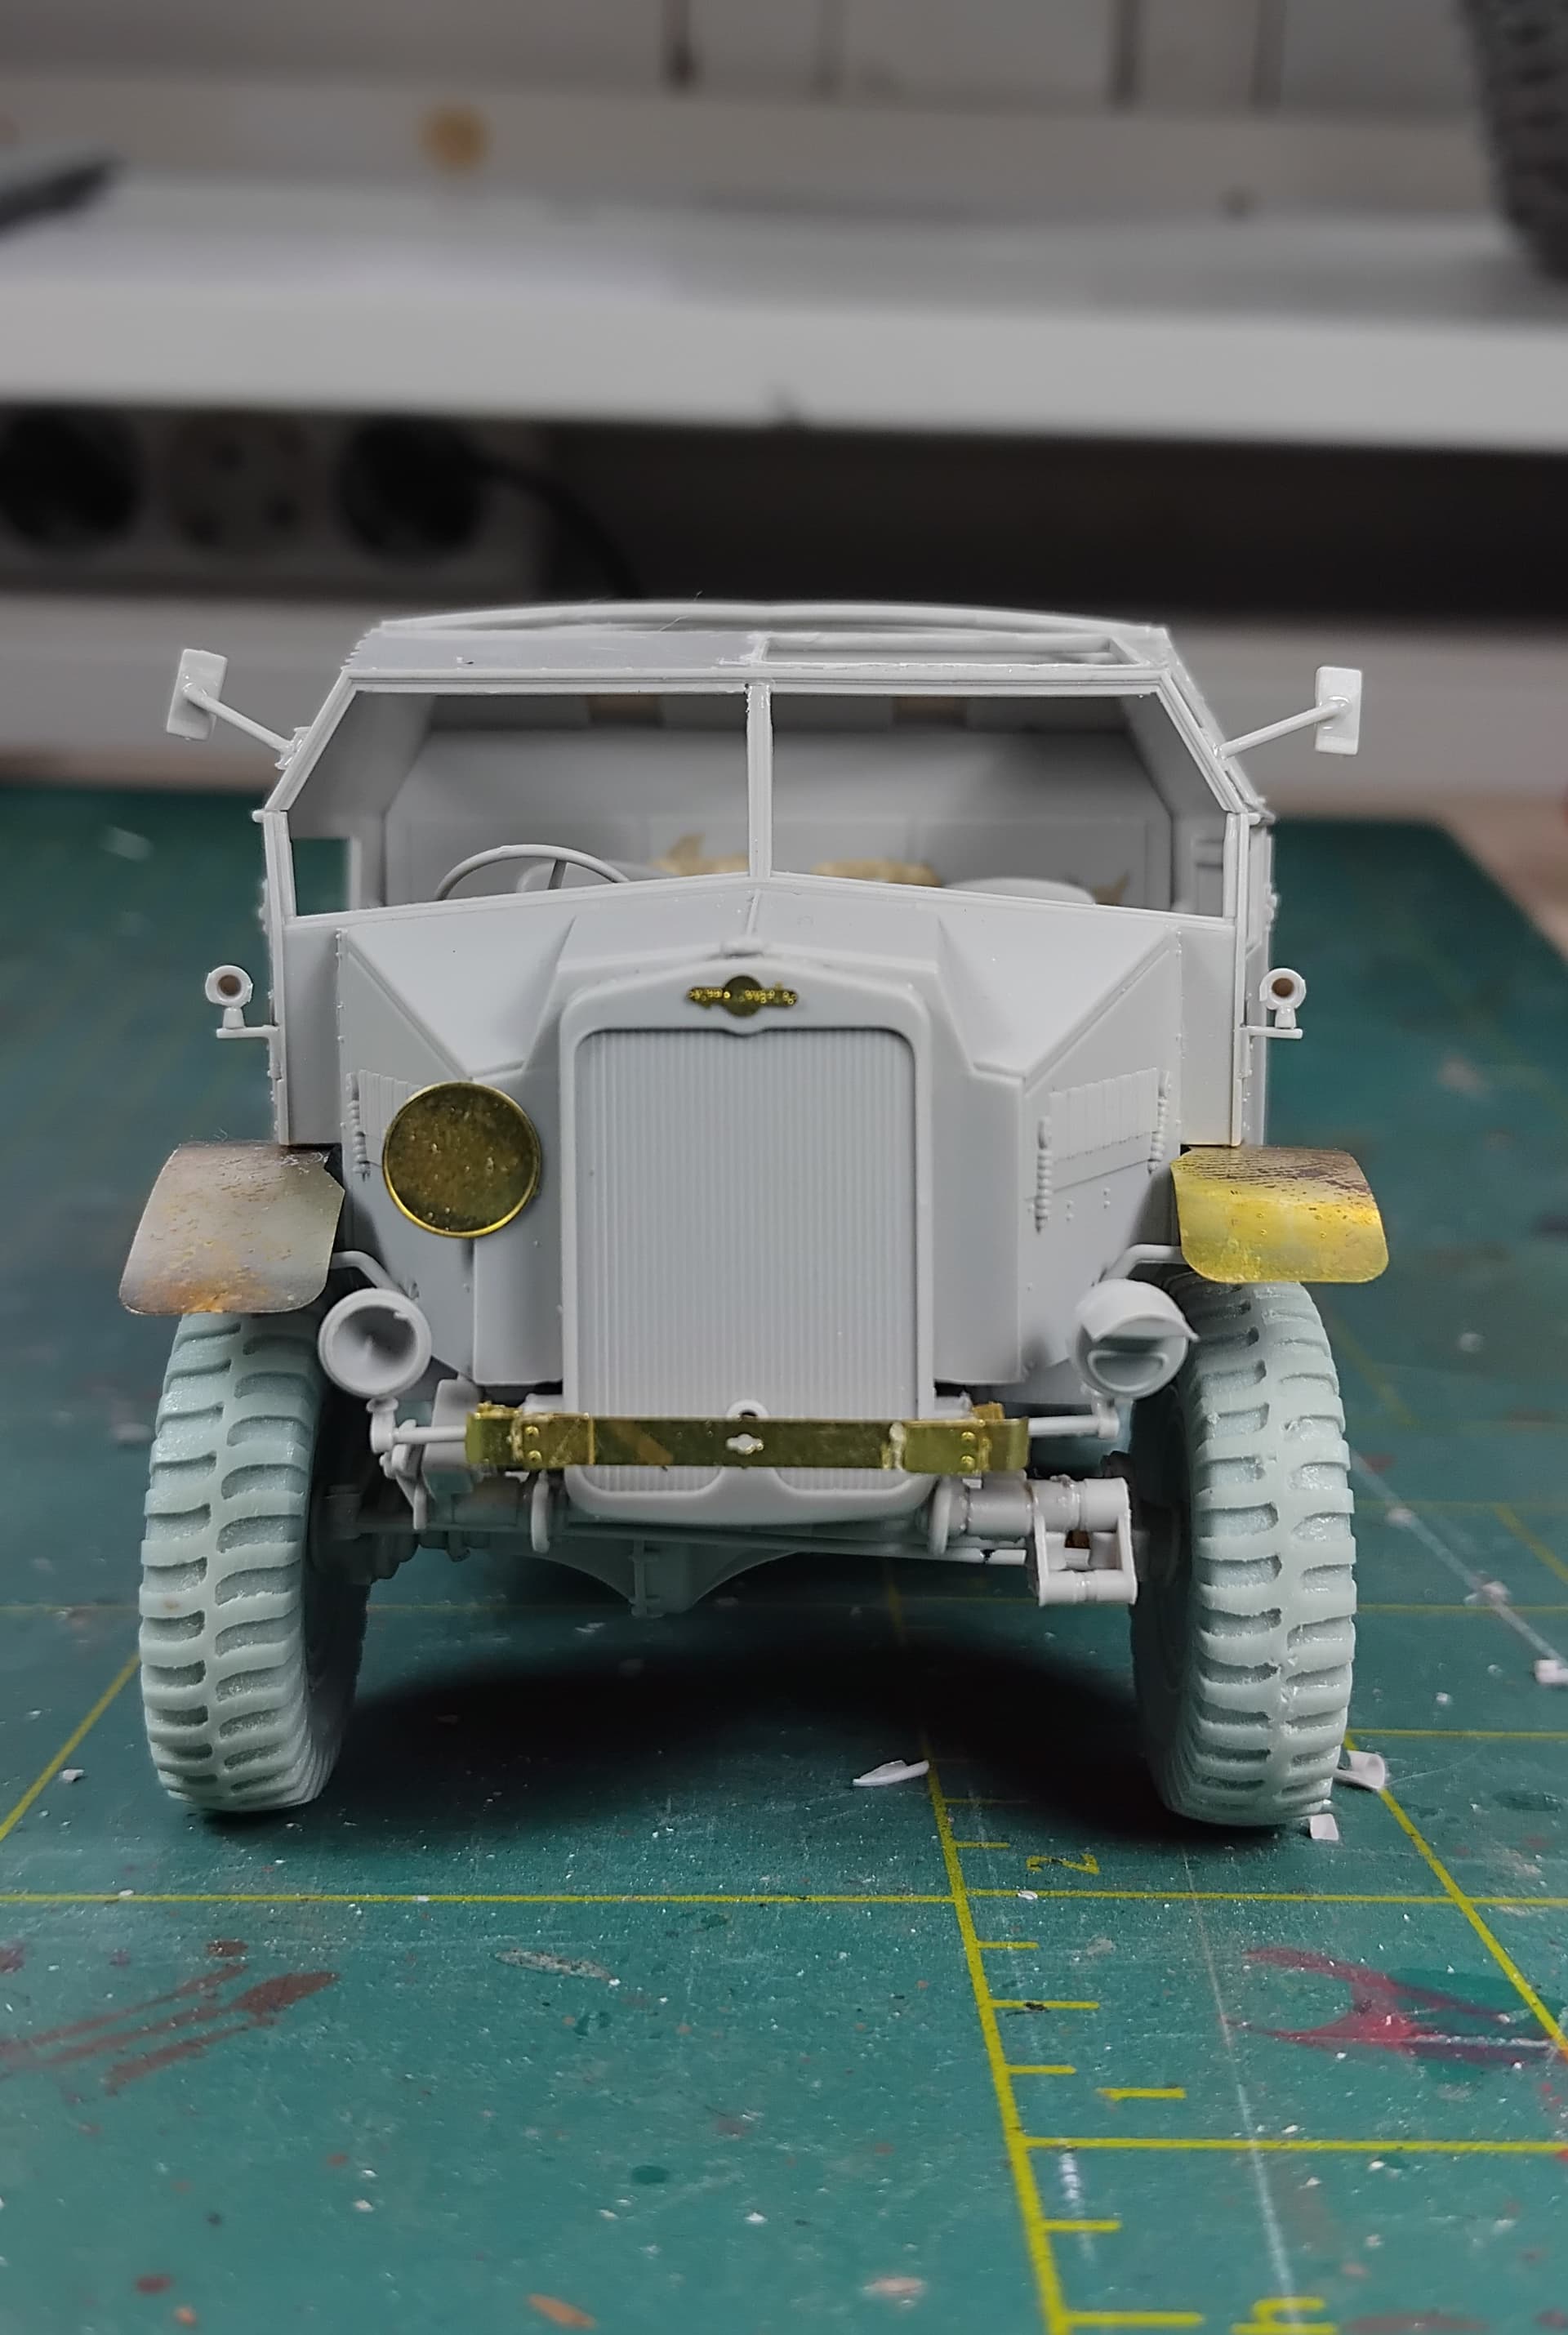
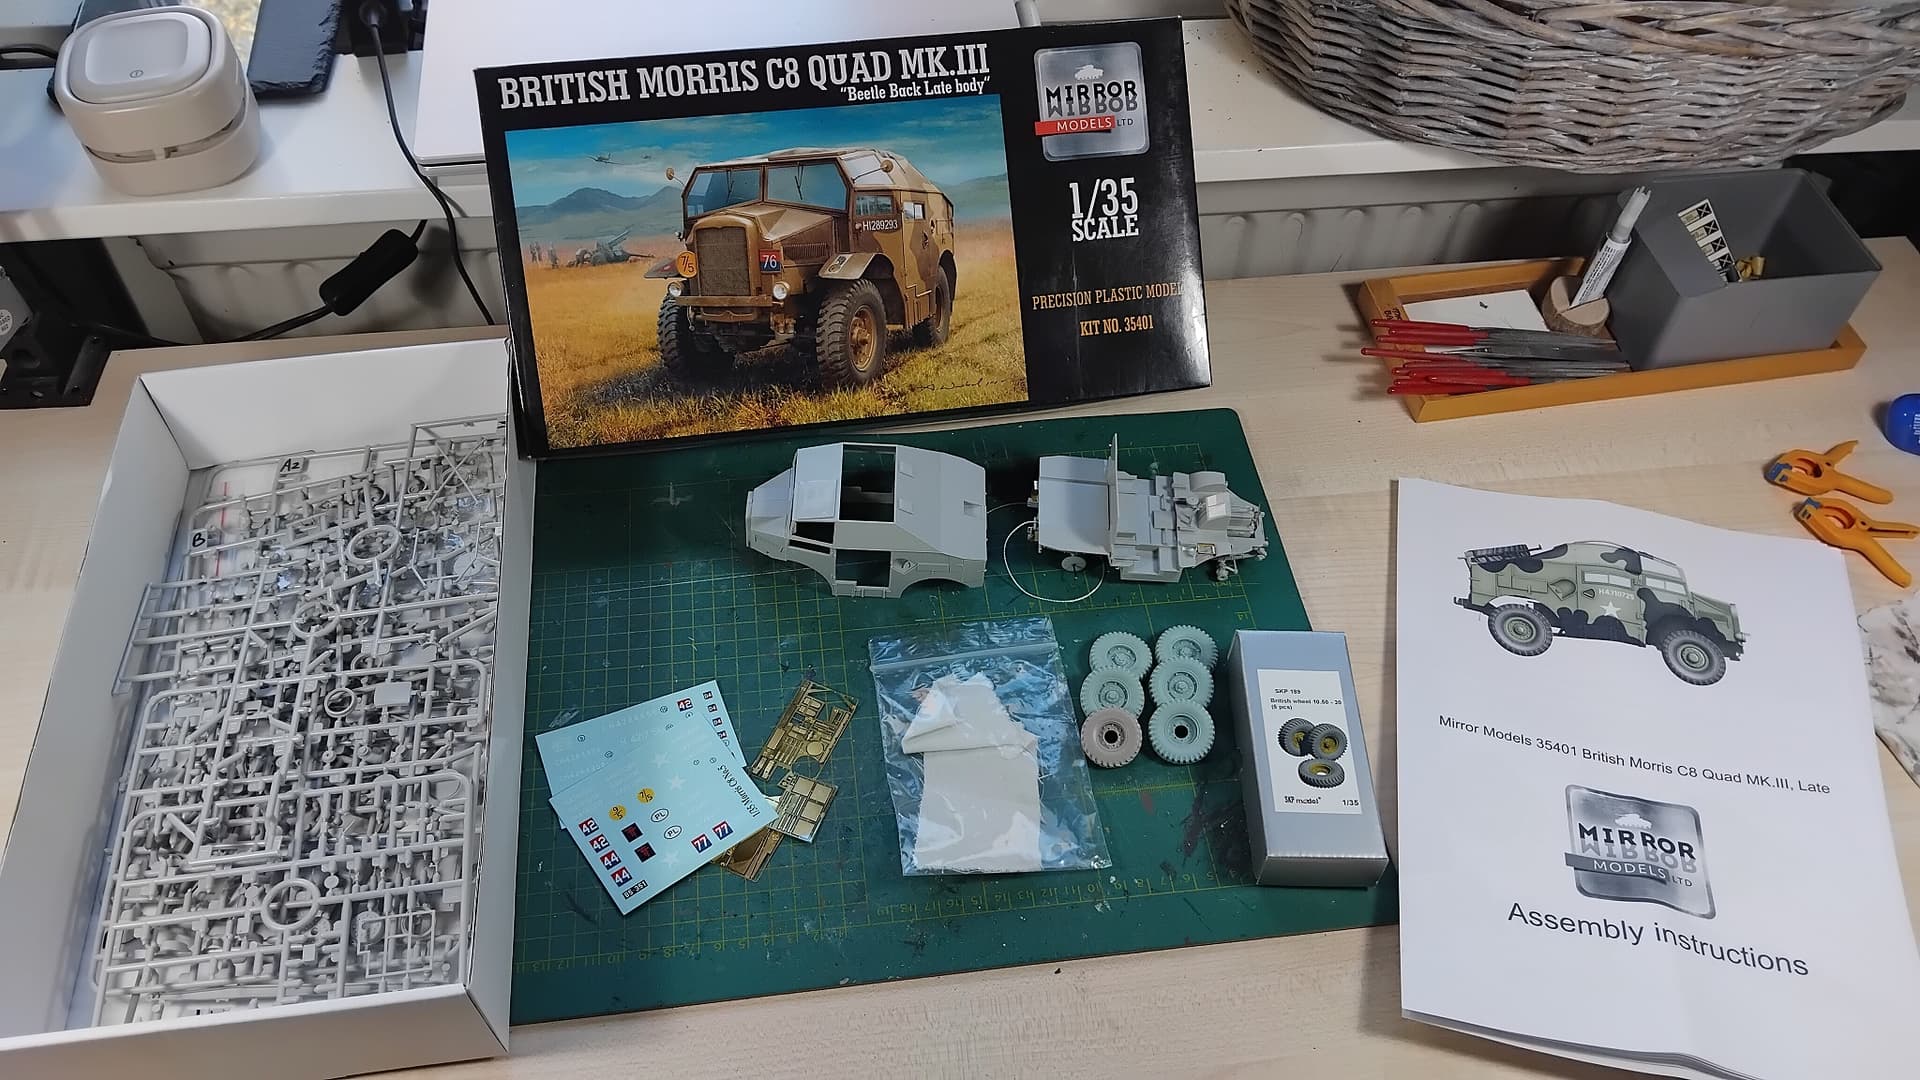
I was given this partially built Morris from Mirror Models and it comes with TPK resin wheels.
It is a subject I am wholly unfamiliar with, so there will be a learningcurve here. Any and all info regarding this vehicle will be most welcome! Maybe some far away and lesser know conflict, country of use (I am thinking Dutch Expeditionary Force in Indonesia post WW2) or colours/patterns.
I have been contemplating on how to do this vehicle, spending the better part of yesterday looking for information and references.
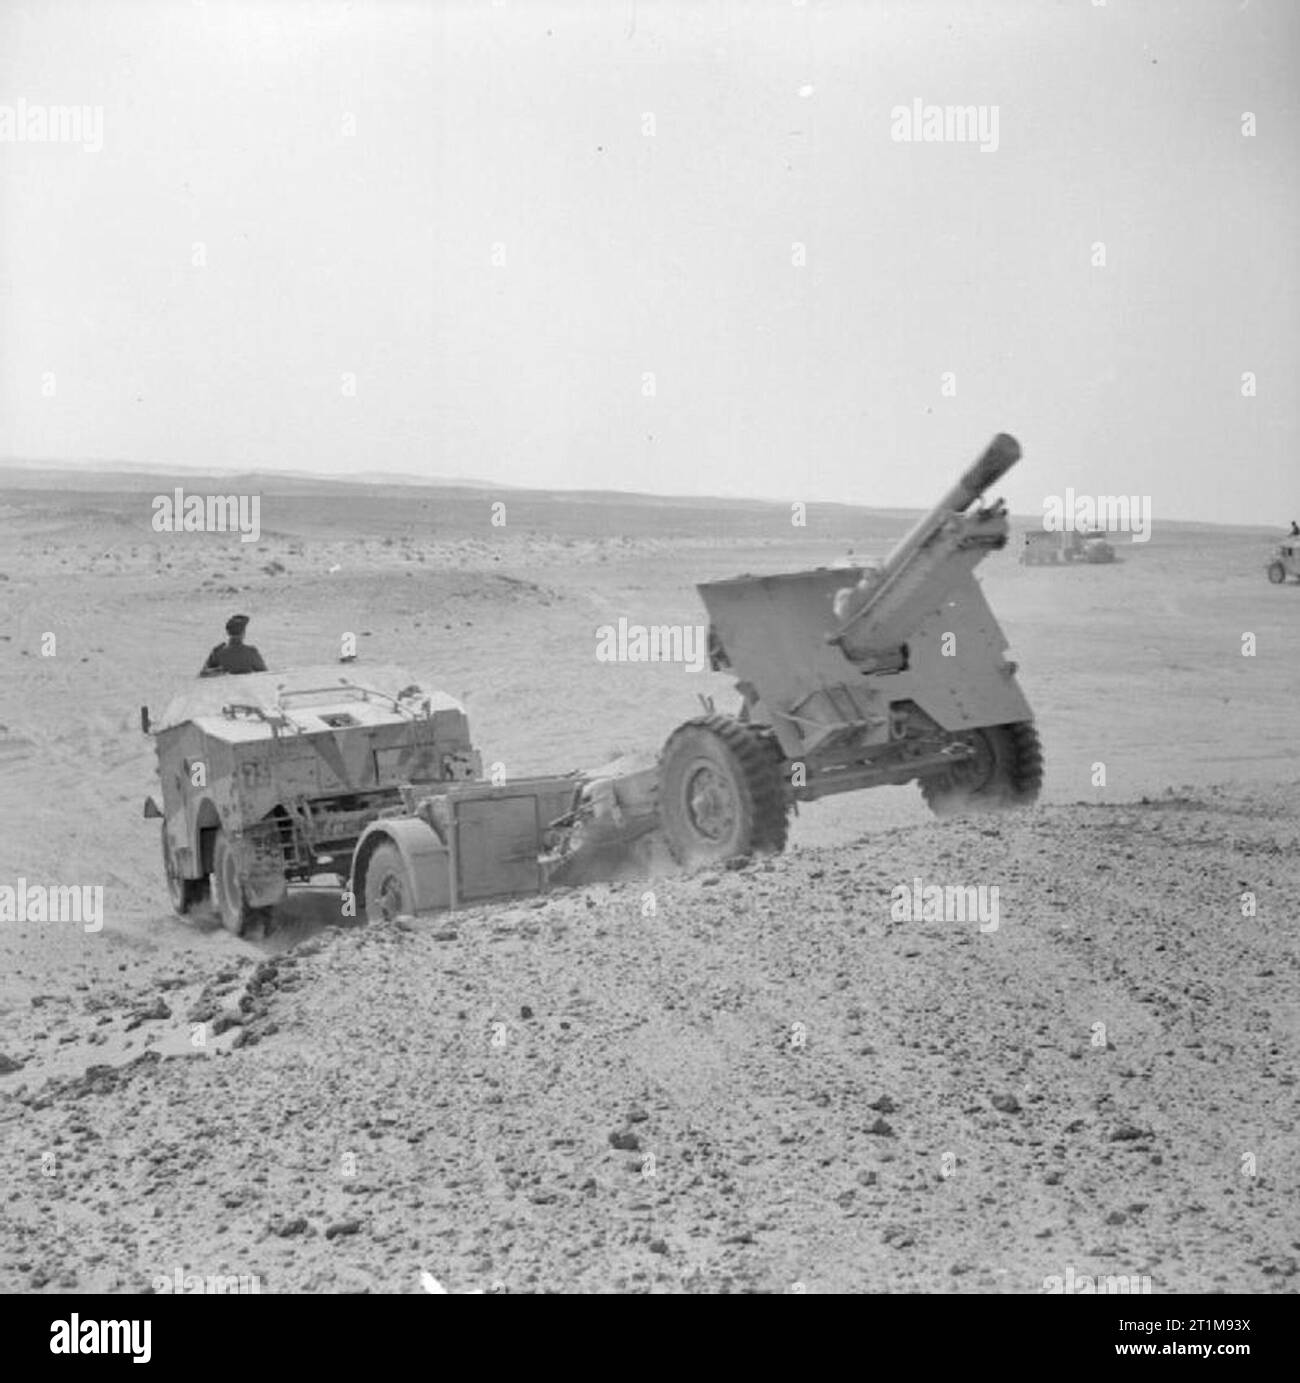
Apparently it was not used by the Dutch postwar army at all, so no KNIL/Indonesia. It neither is a sexy or versatile vehicle, only used as a tractor, really. So nothing exciting there either.
That leaves me with theatre of operation and related colours or camouflage schemes. But I do not want more olivdrab/green!
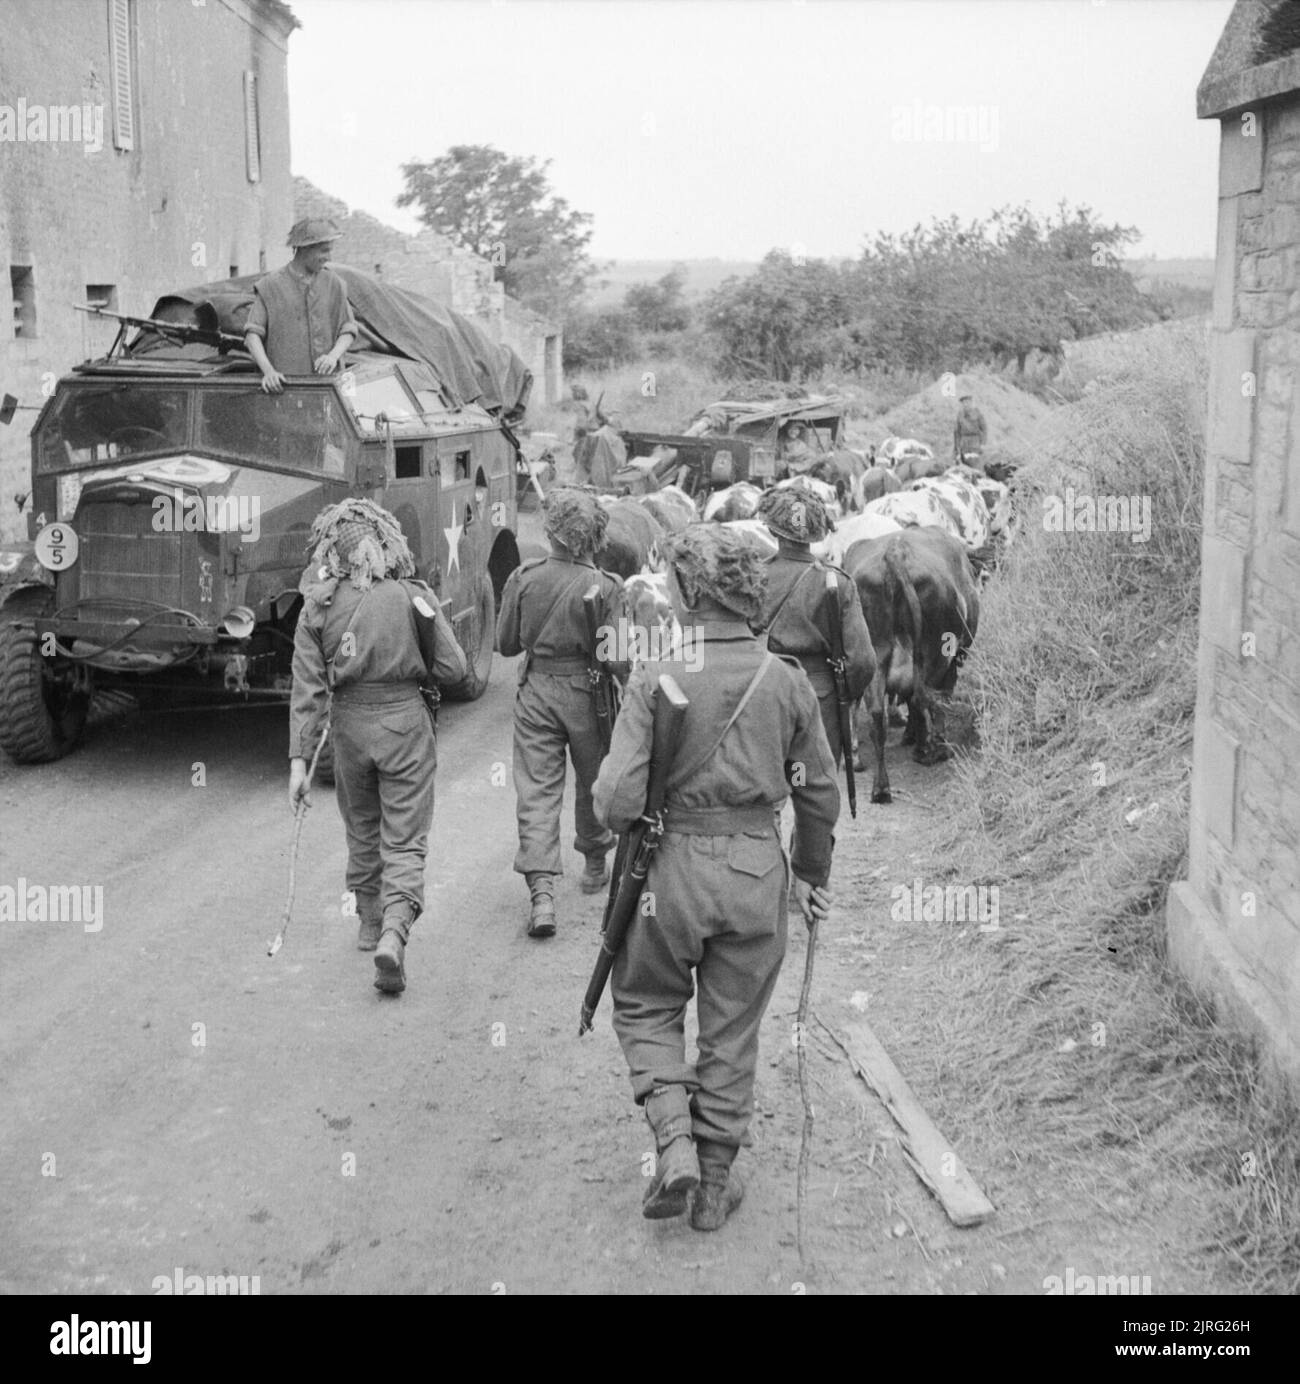
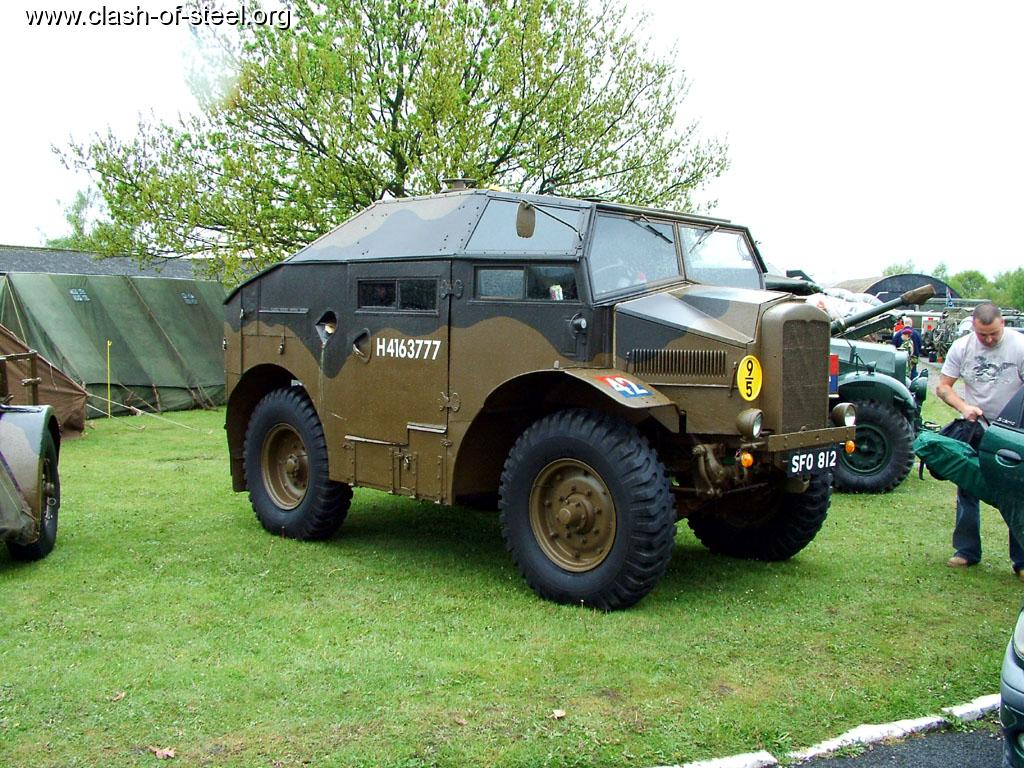
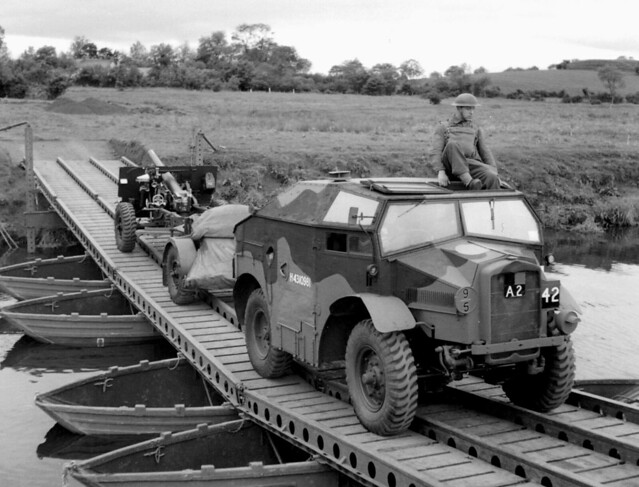
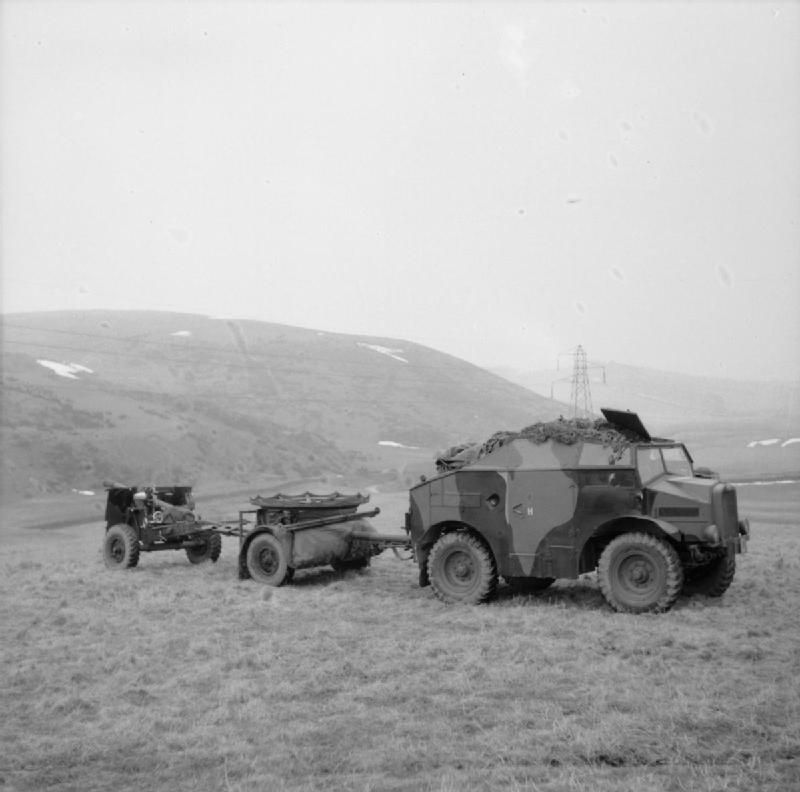
Hmm, what about a “Mickey Mouse”-pattern, like in Italy or Normandy?
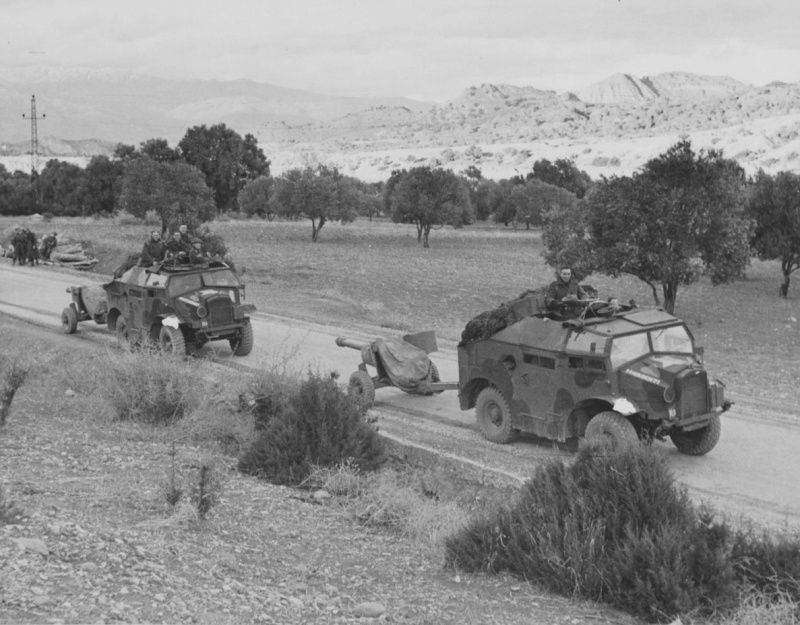
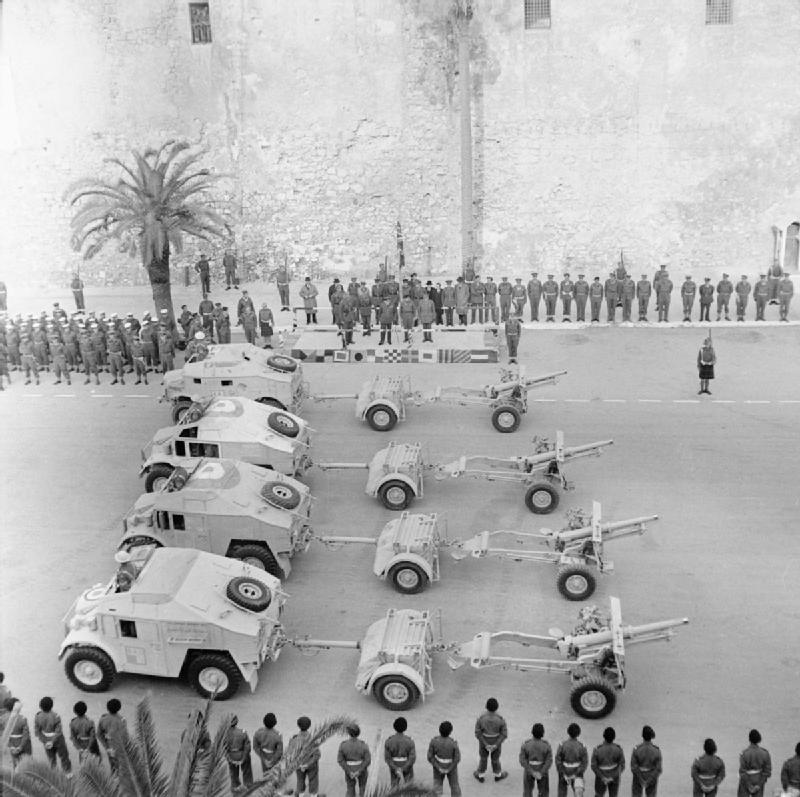
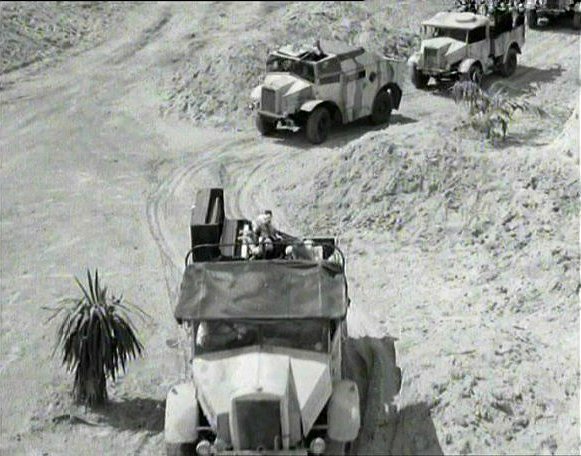
Or perhaps Africa in light stone, pale cream or deep cream? Perhaps with dark green disruptive pattern or a national airrecognition marking? I like that one! Look at the different shades of “pale”.
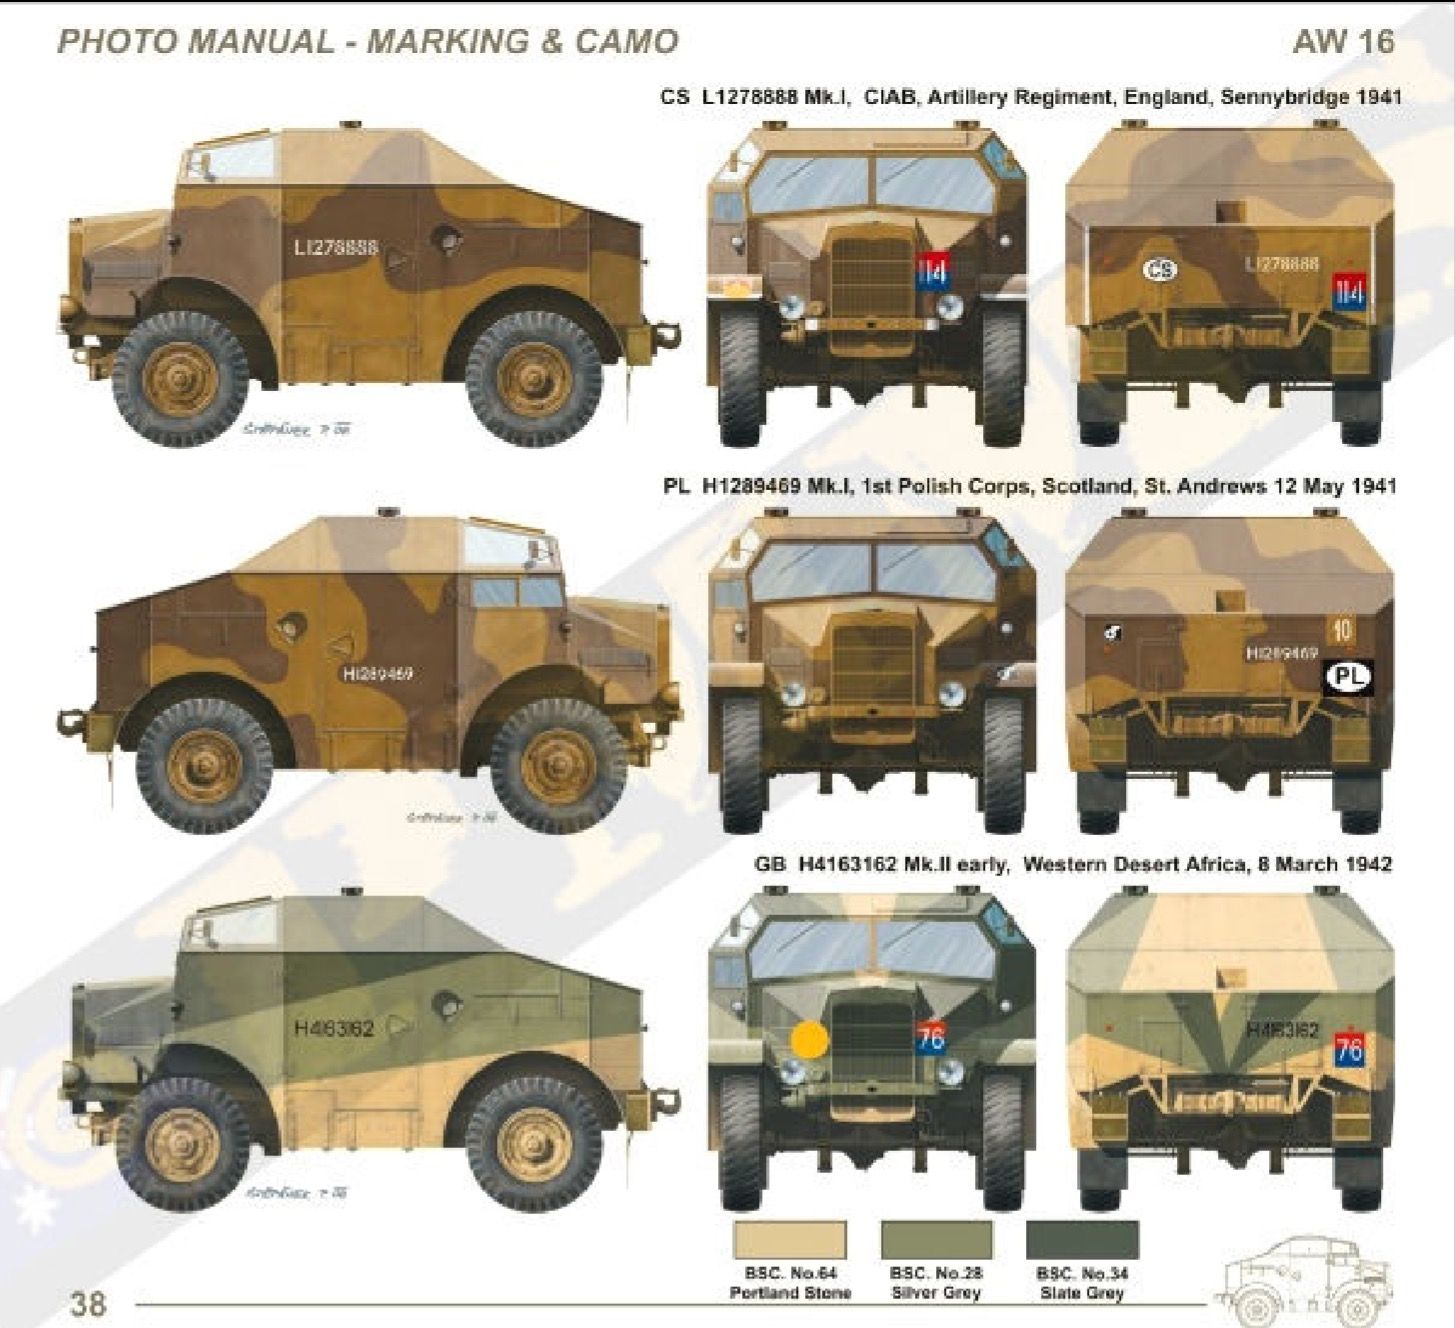
@Abstractspoon I am leaning toward a combination of pictures 3 and 4, probably not historically accurate, but a plausible representation that makes this otherwise bland vehicle pop out more.
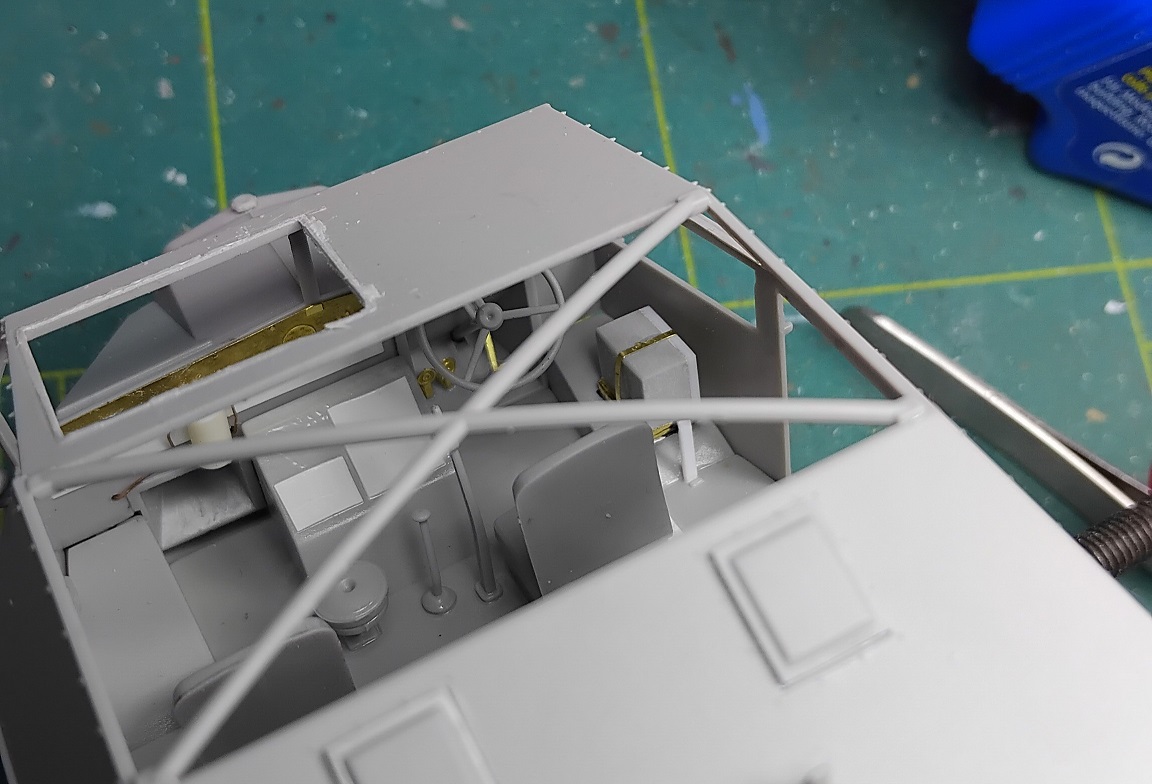
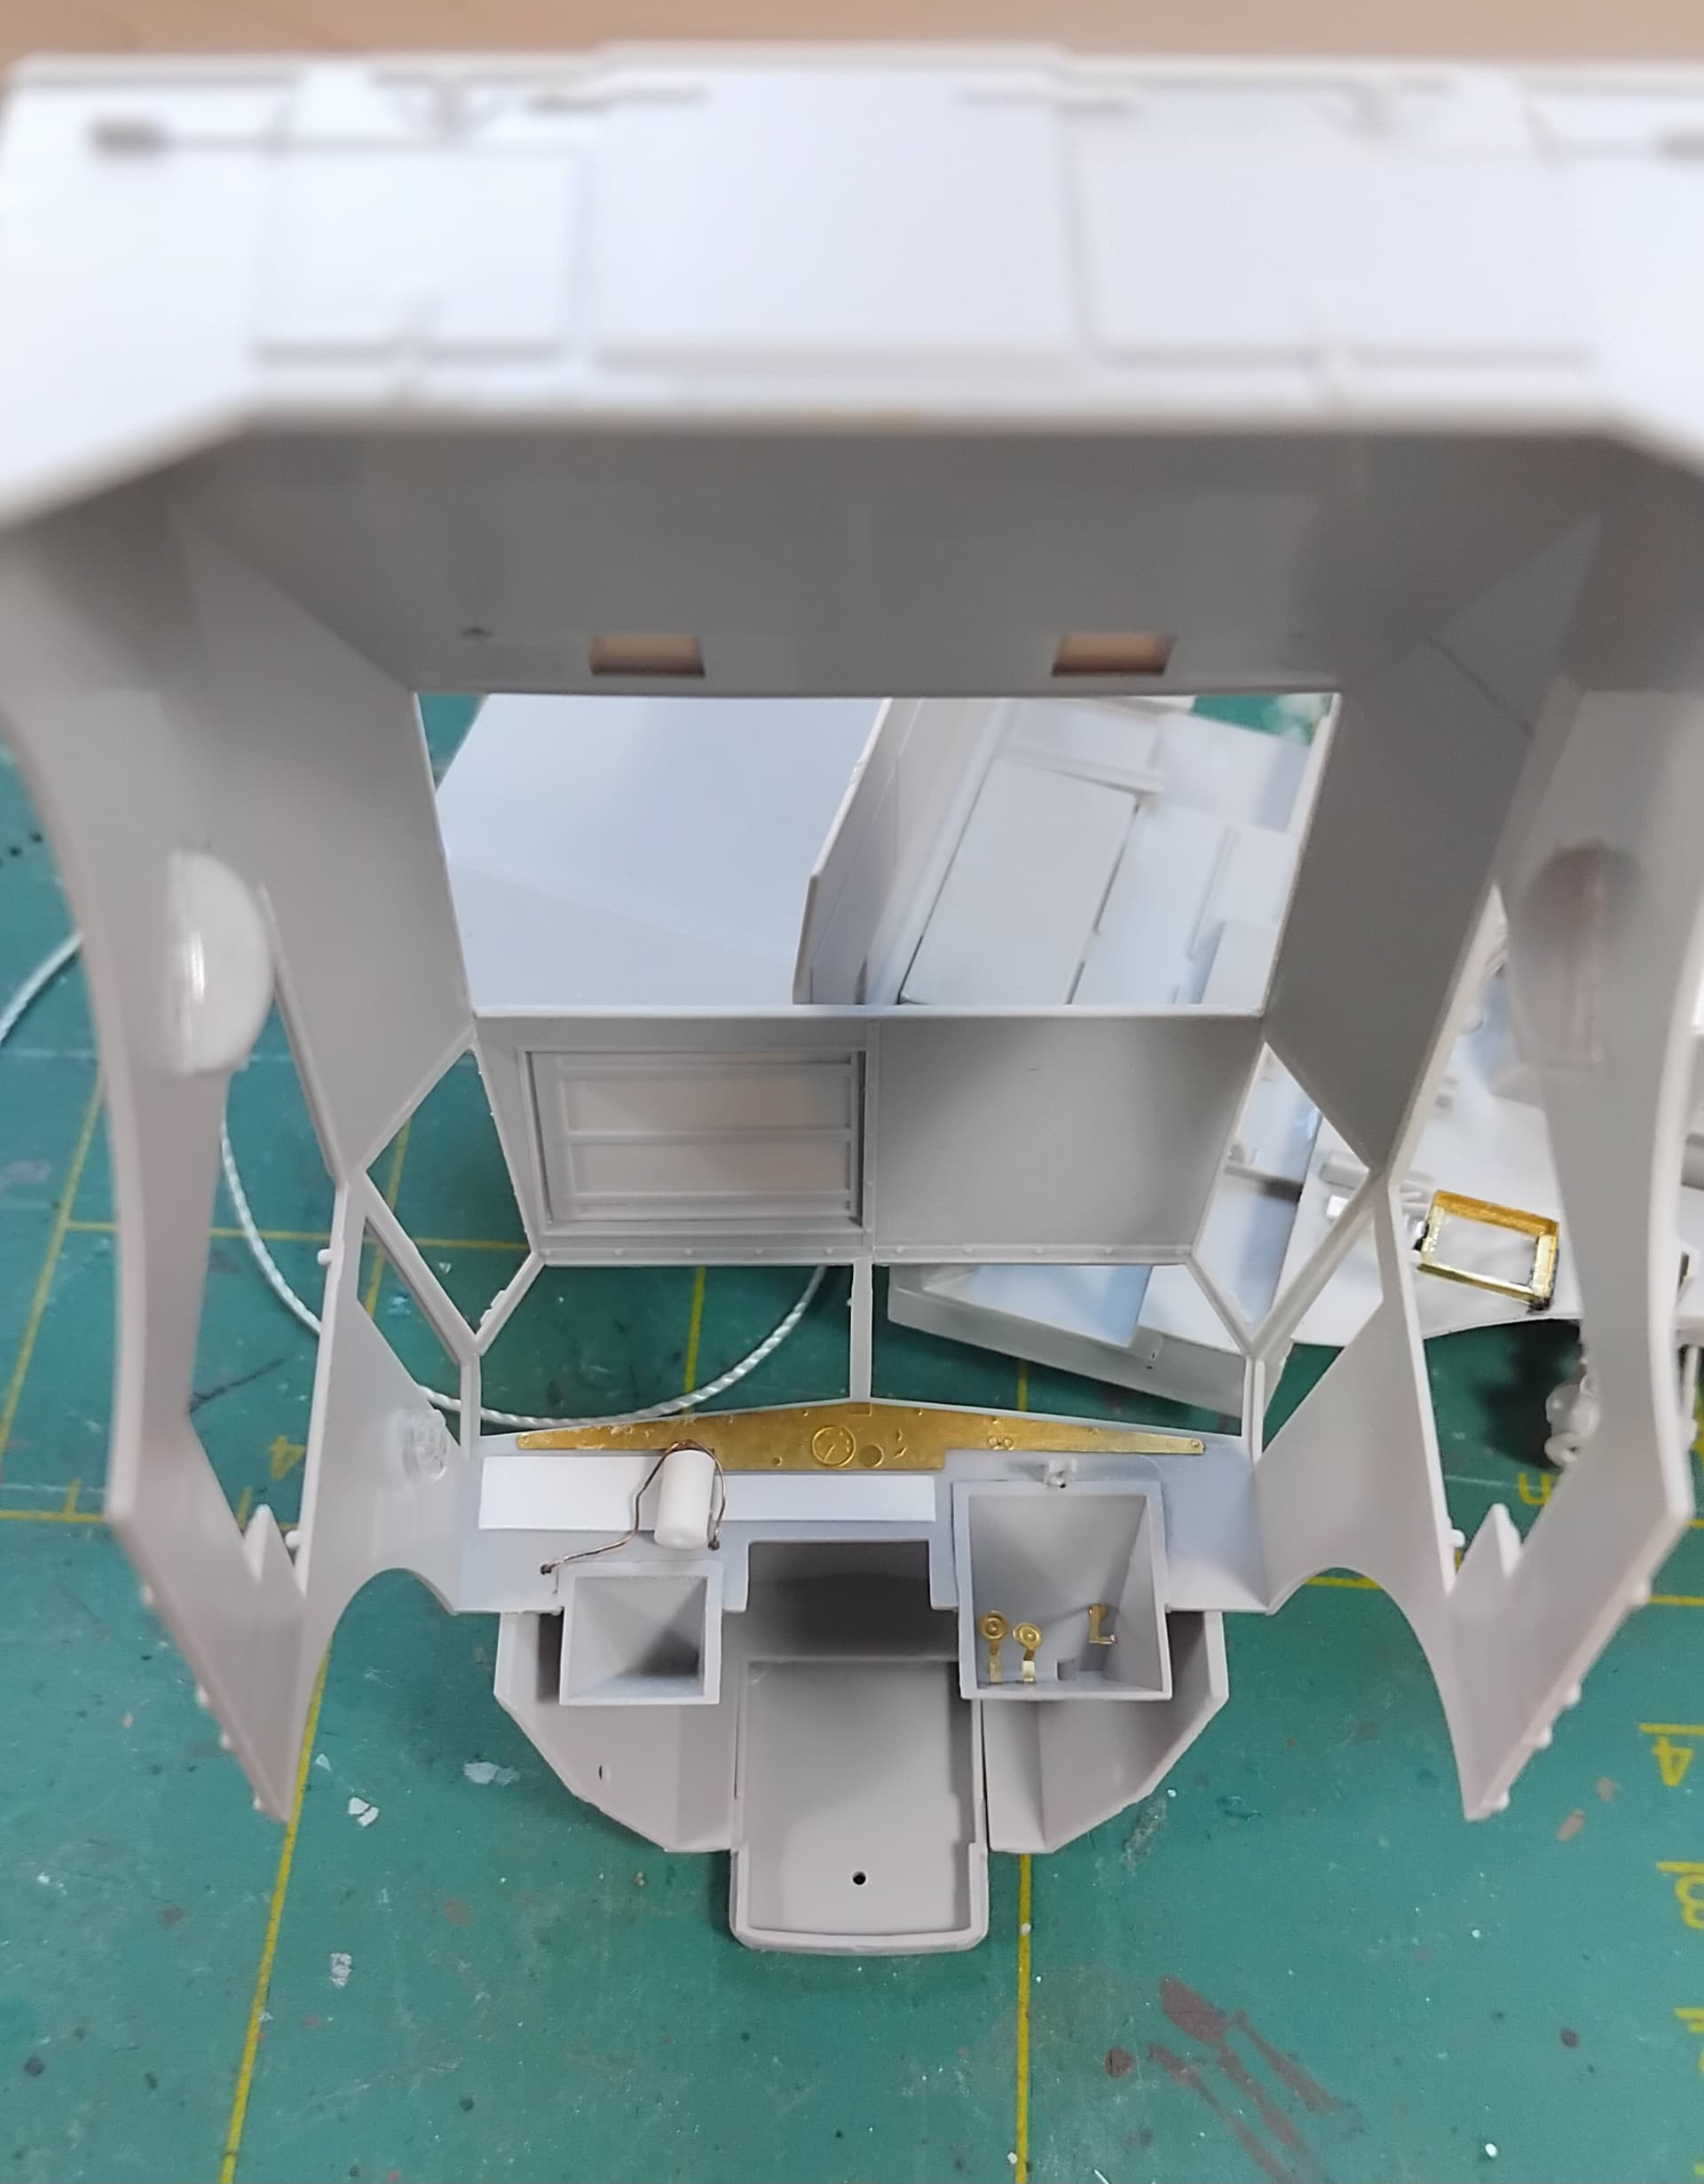
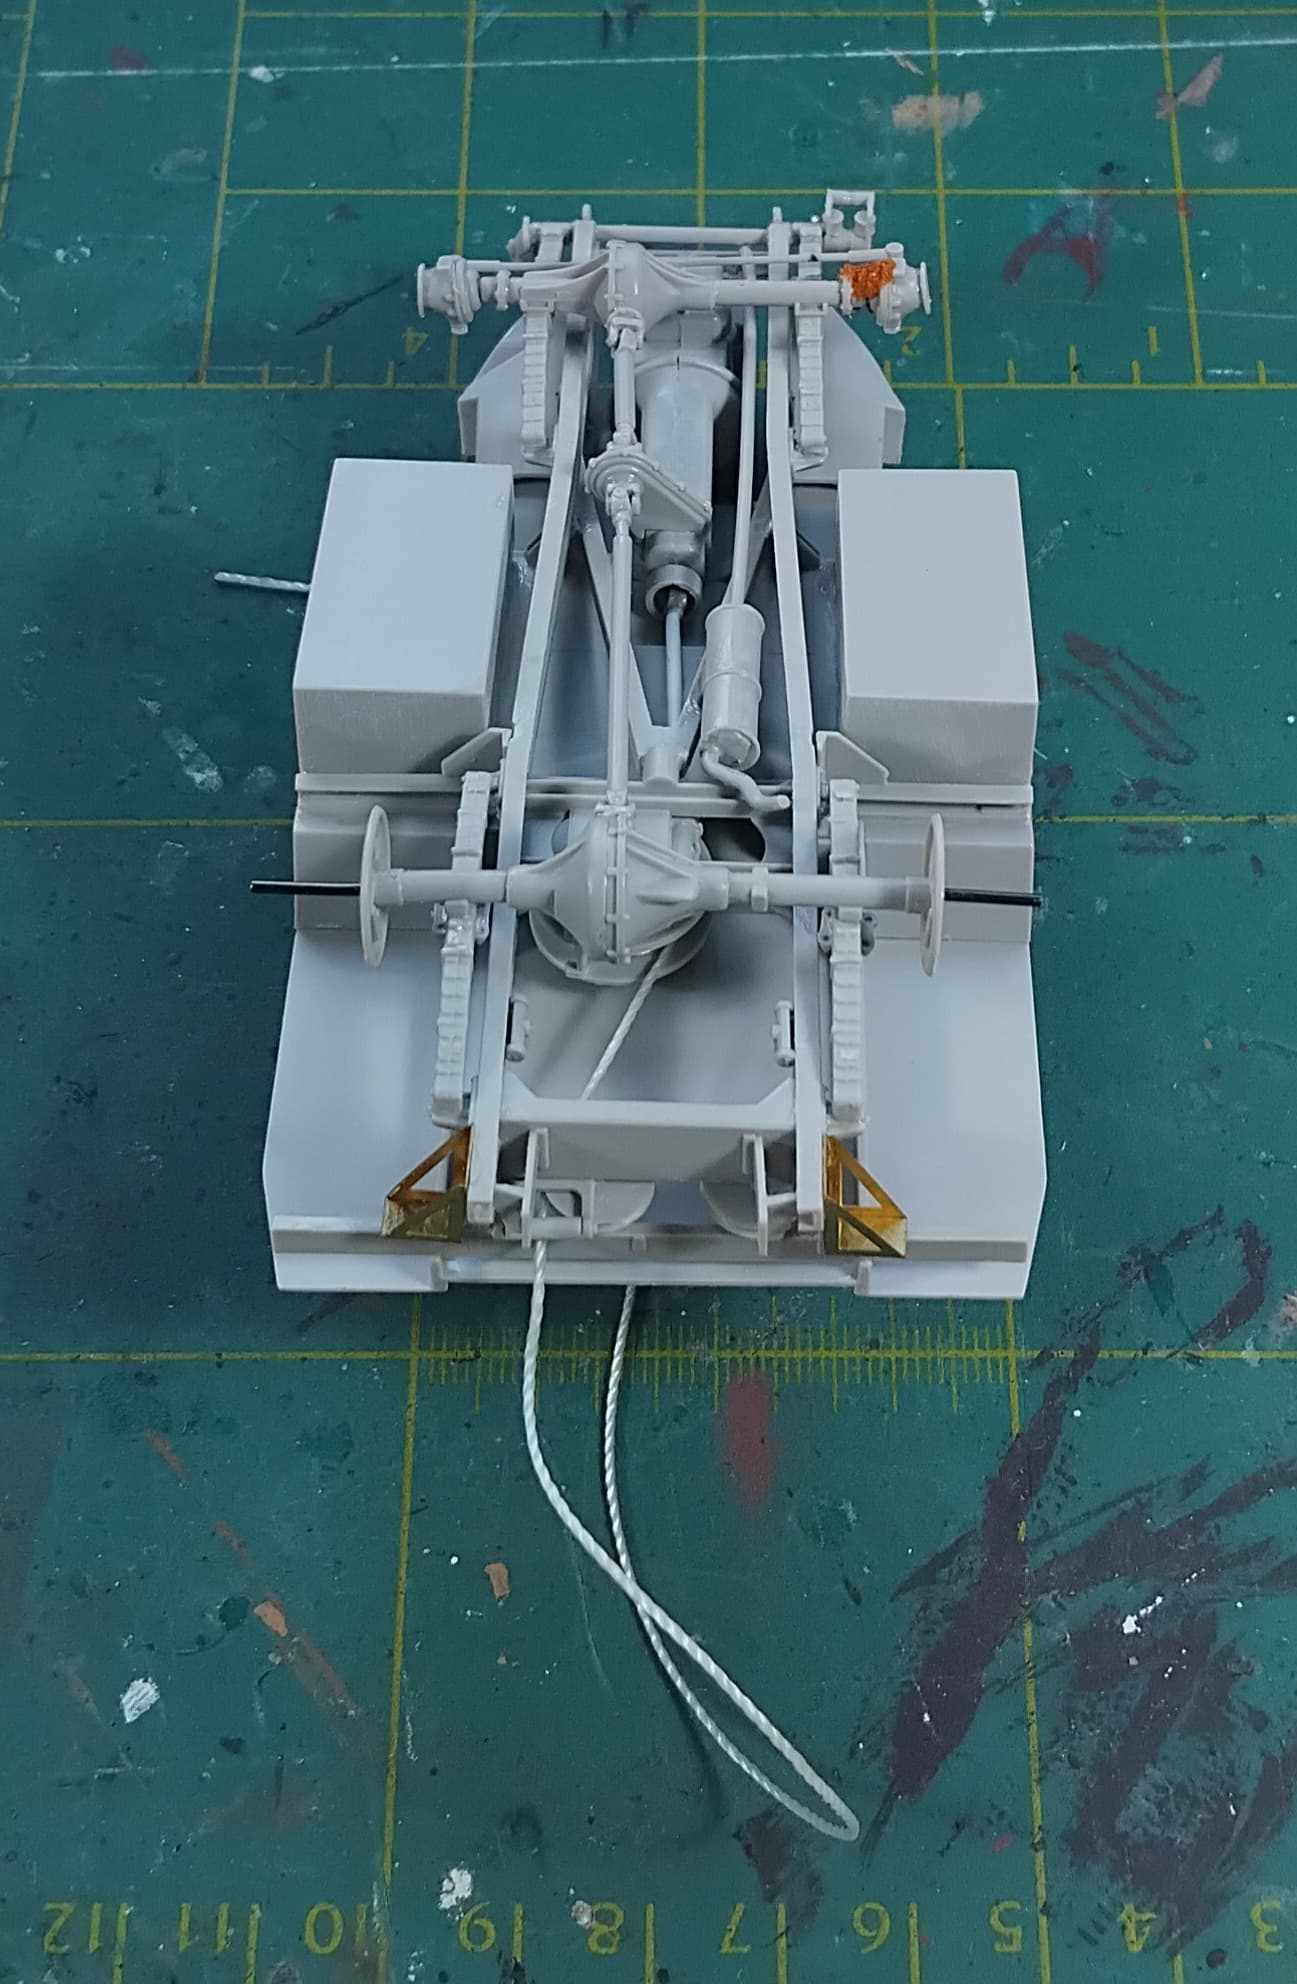
I went over what was in the box and most of it appears to have been assembled correctly and tidy. There is some scratch work done and a decent amount of PE, which is good, since I no longer have to do that.
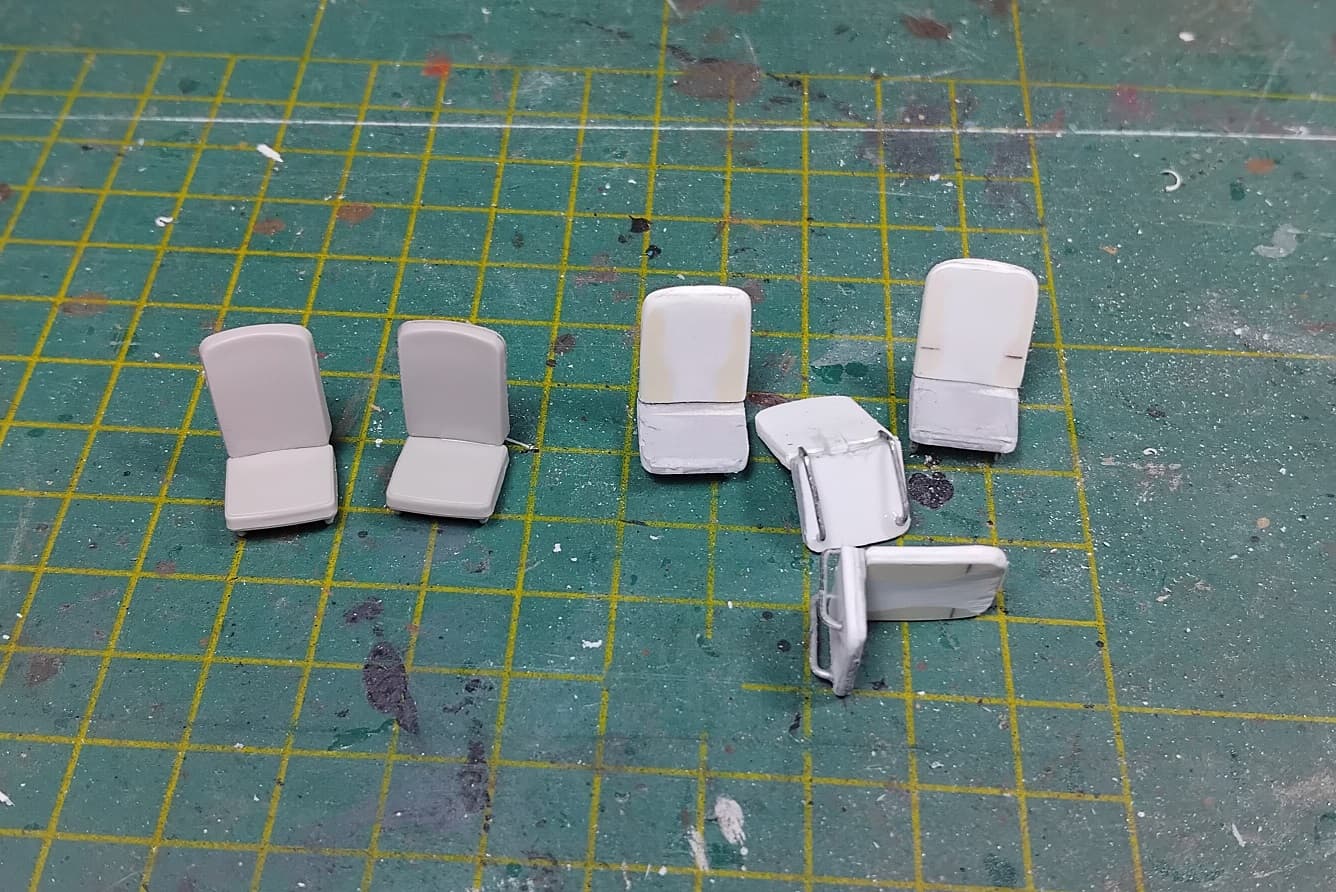
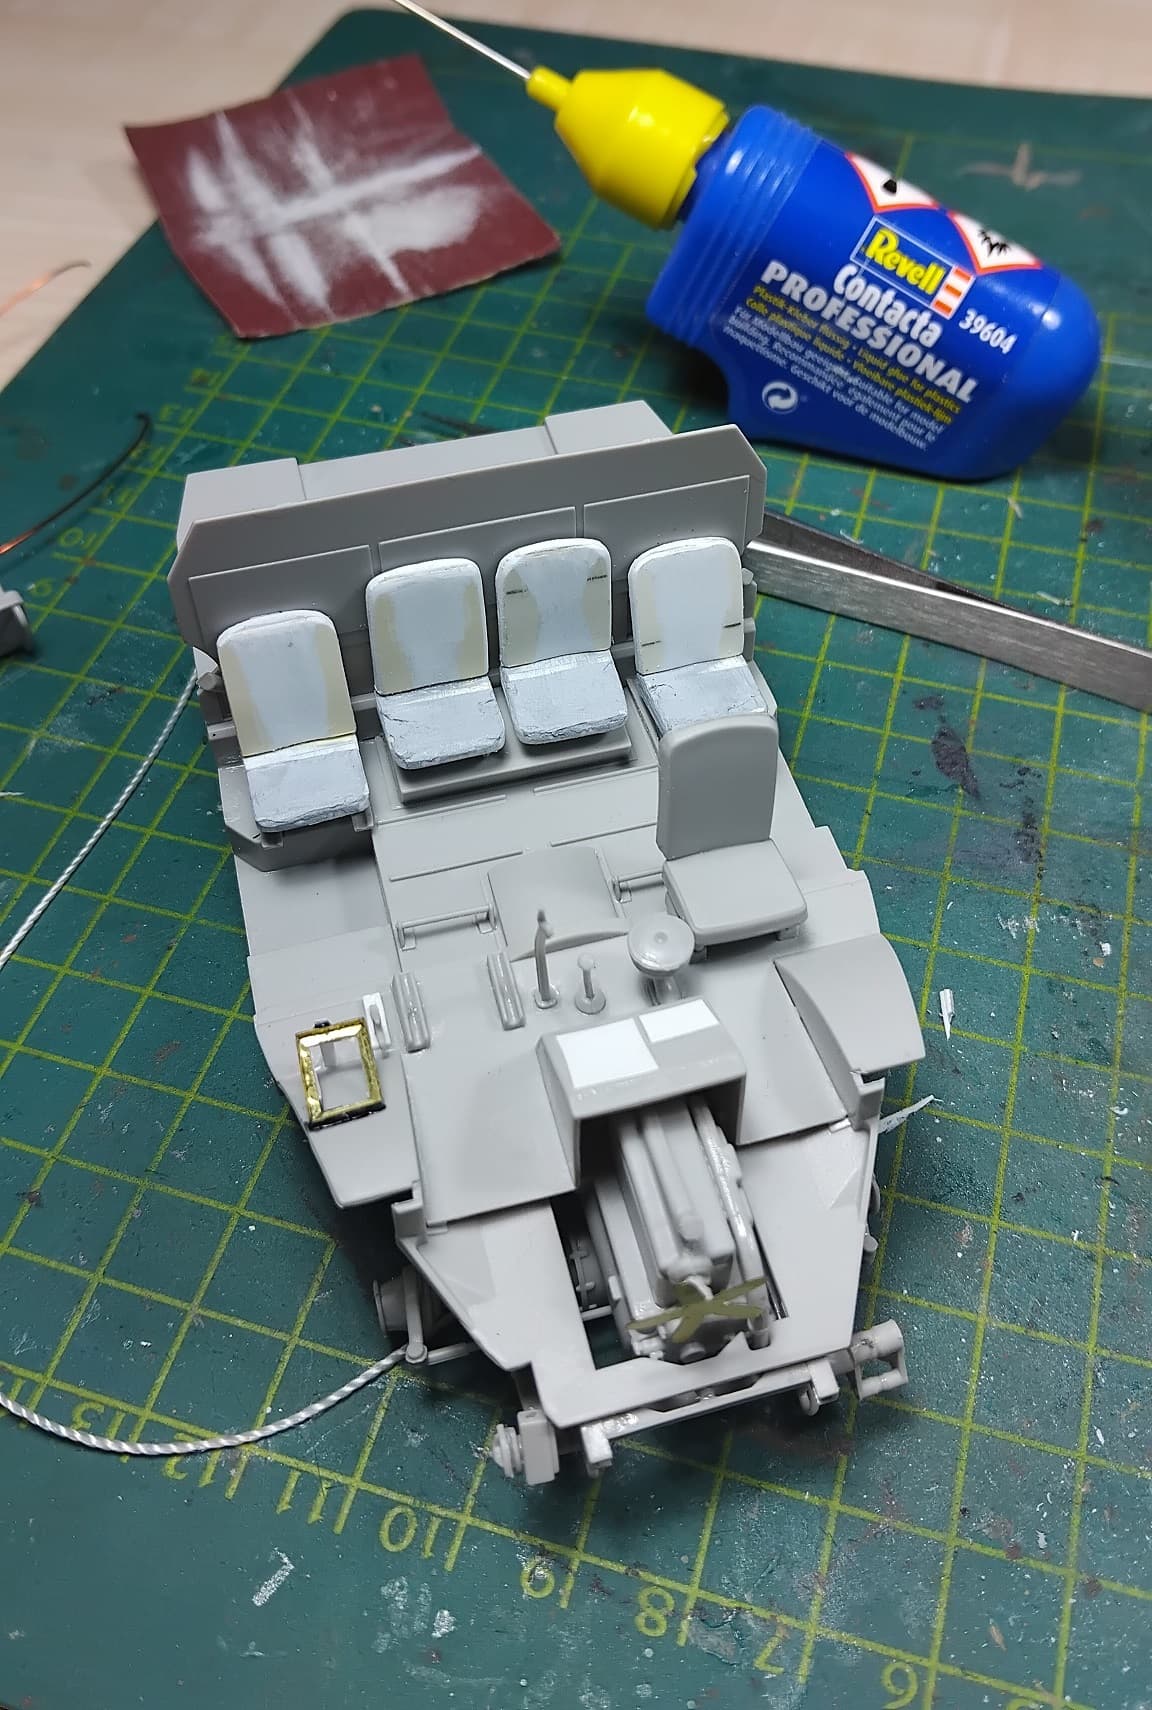
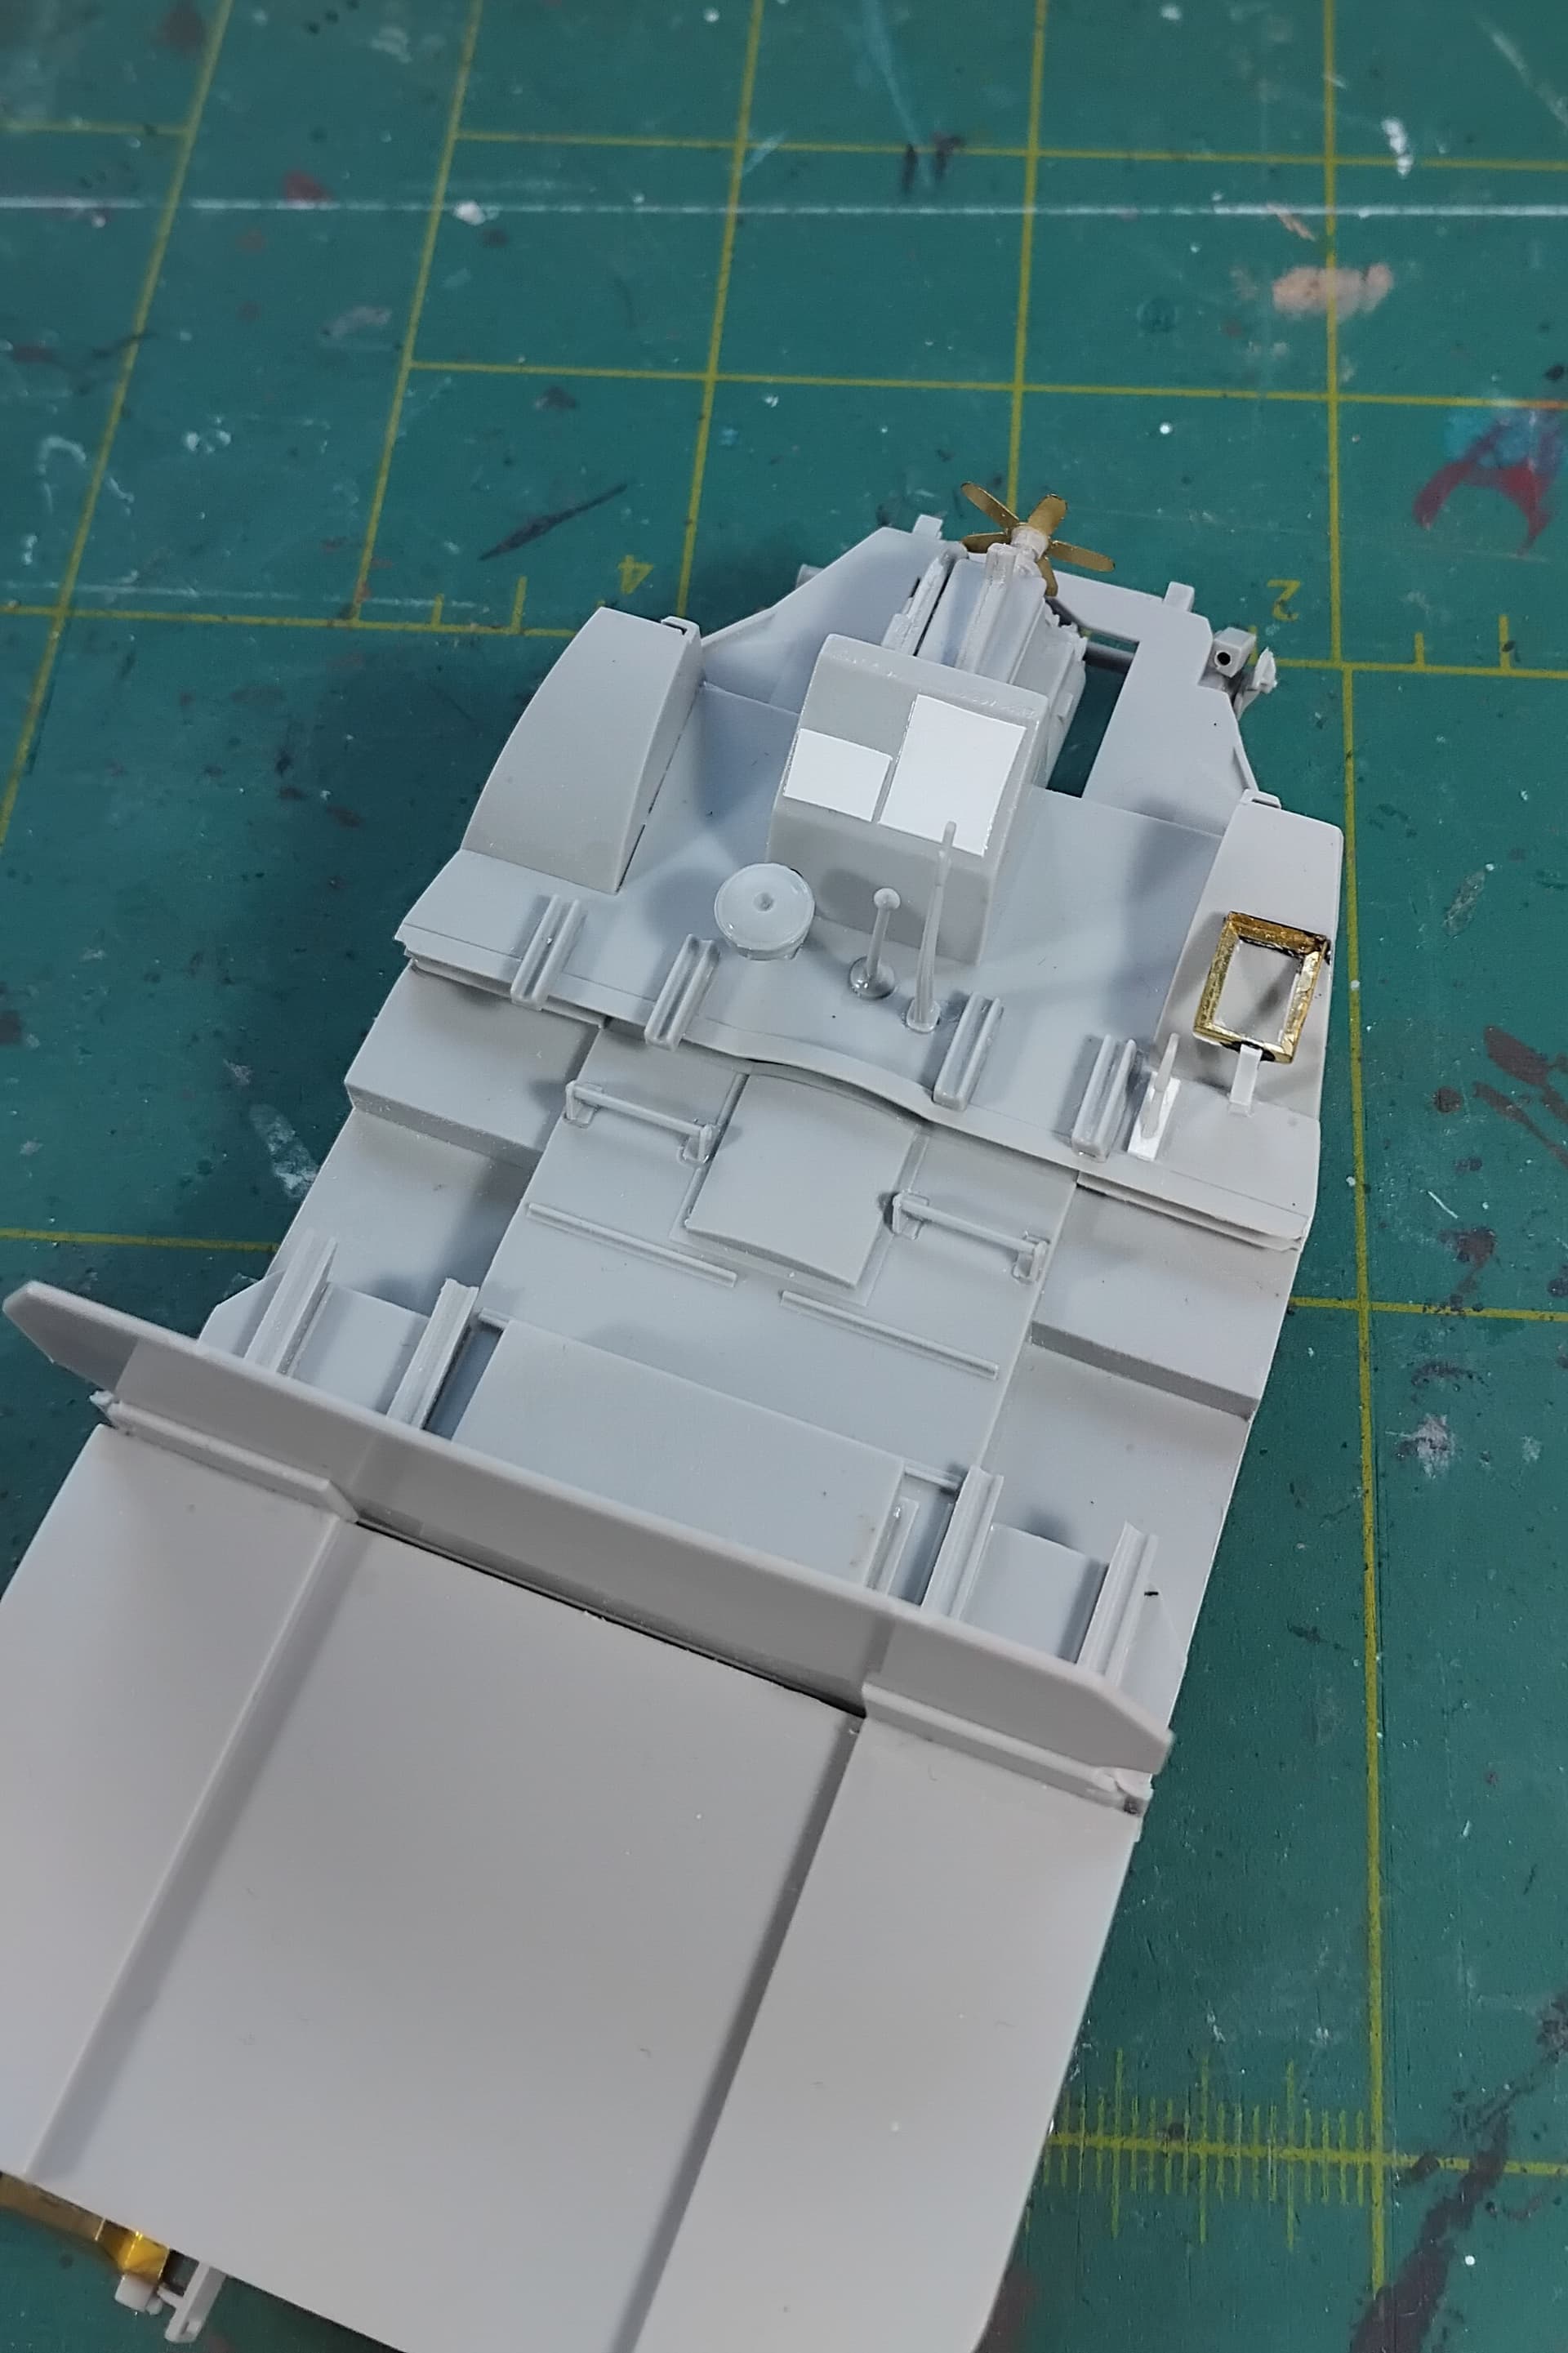
However…. the roofhatch was glued shut and I wanted it open, so set about to carefully cutting and prying it loose. I also went over the remaining construction steps and noticed some parts were indeed missing, such as the presumed batterie next to the driver and 4(!) seats! So I have to try and make these myself… Luckily there are 6 in total and the parts for the other 2 are still there, so I will use those as templates.
Do you mean the pattern with the straight lines? That consisted of Portland Stone (a pale tan), Silver Grey (a light grey-green) and either Slate (a darkish grey) or “New Service Colour” which was Khaki Green No. 3 (a slightly greenish, dark brown). Light Stone (a pale yellow) could also be used instead of Portland Stone.
Very definitely, none of those colours is blue That Silver Grey was light blue is a misconception from (at a guess) the 1960s–’70s that still keeps cropping up to this day.
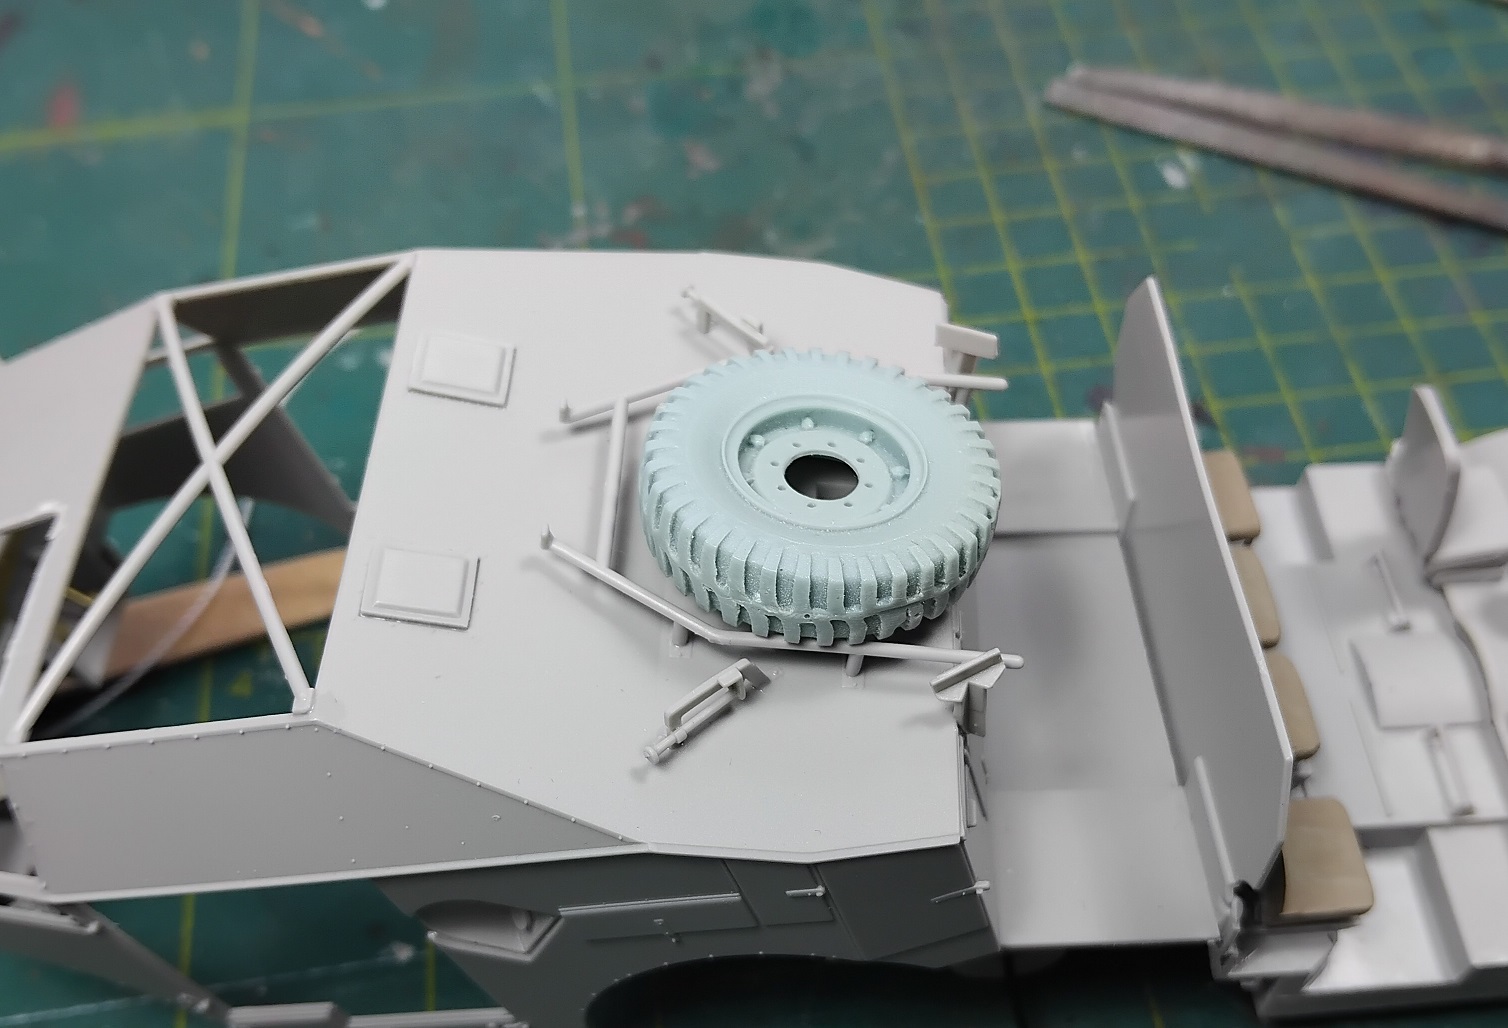
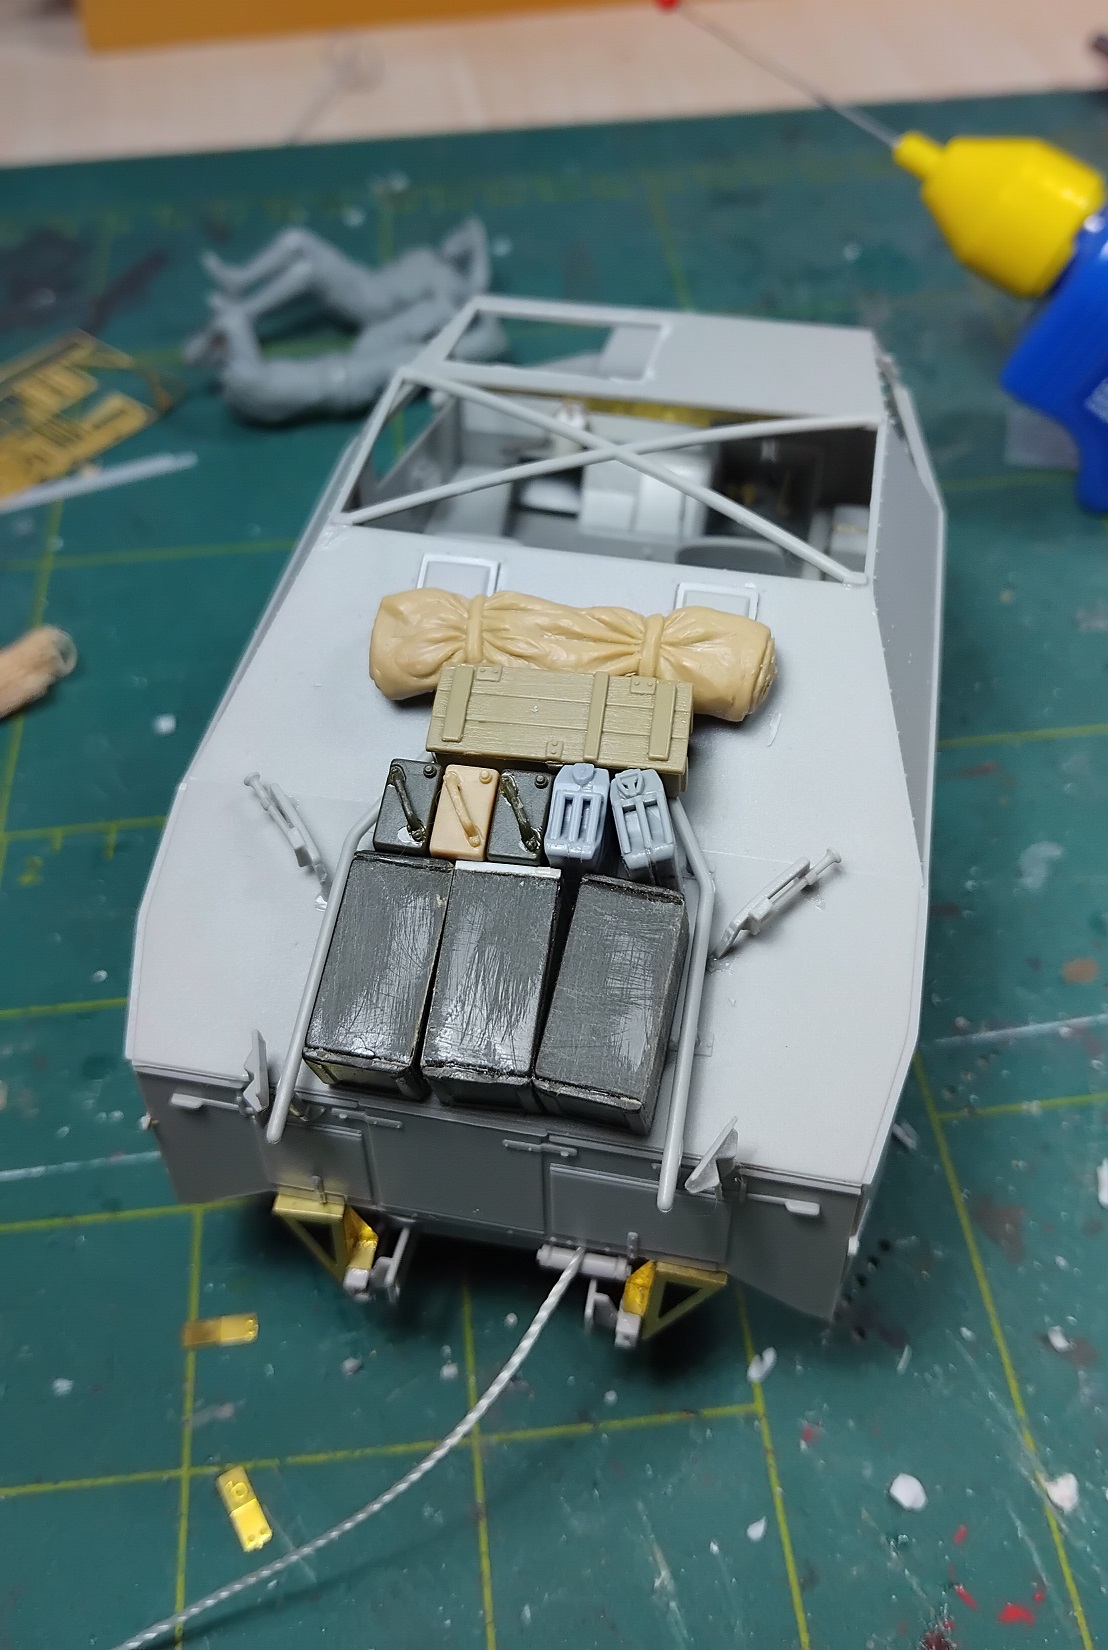
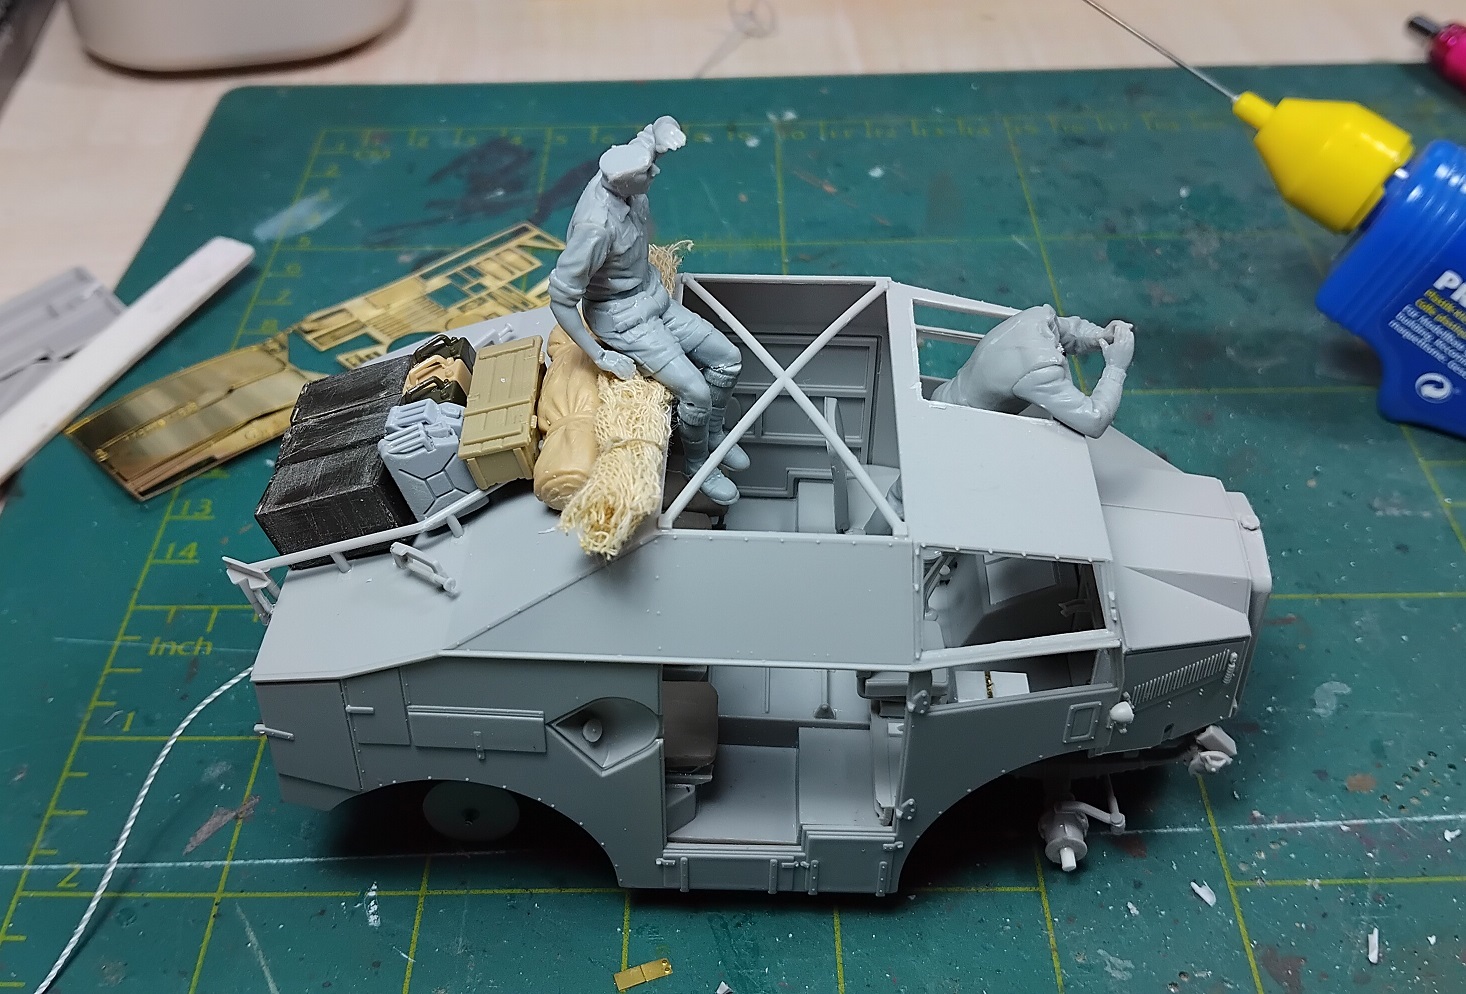
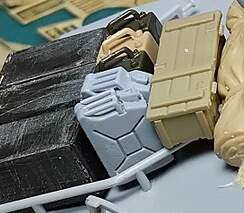
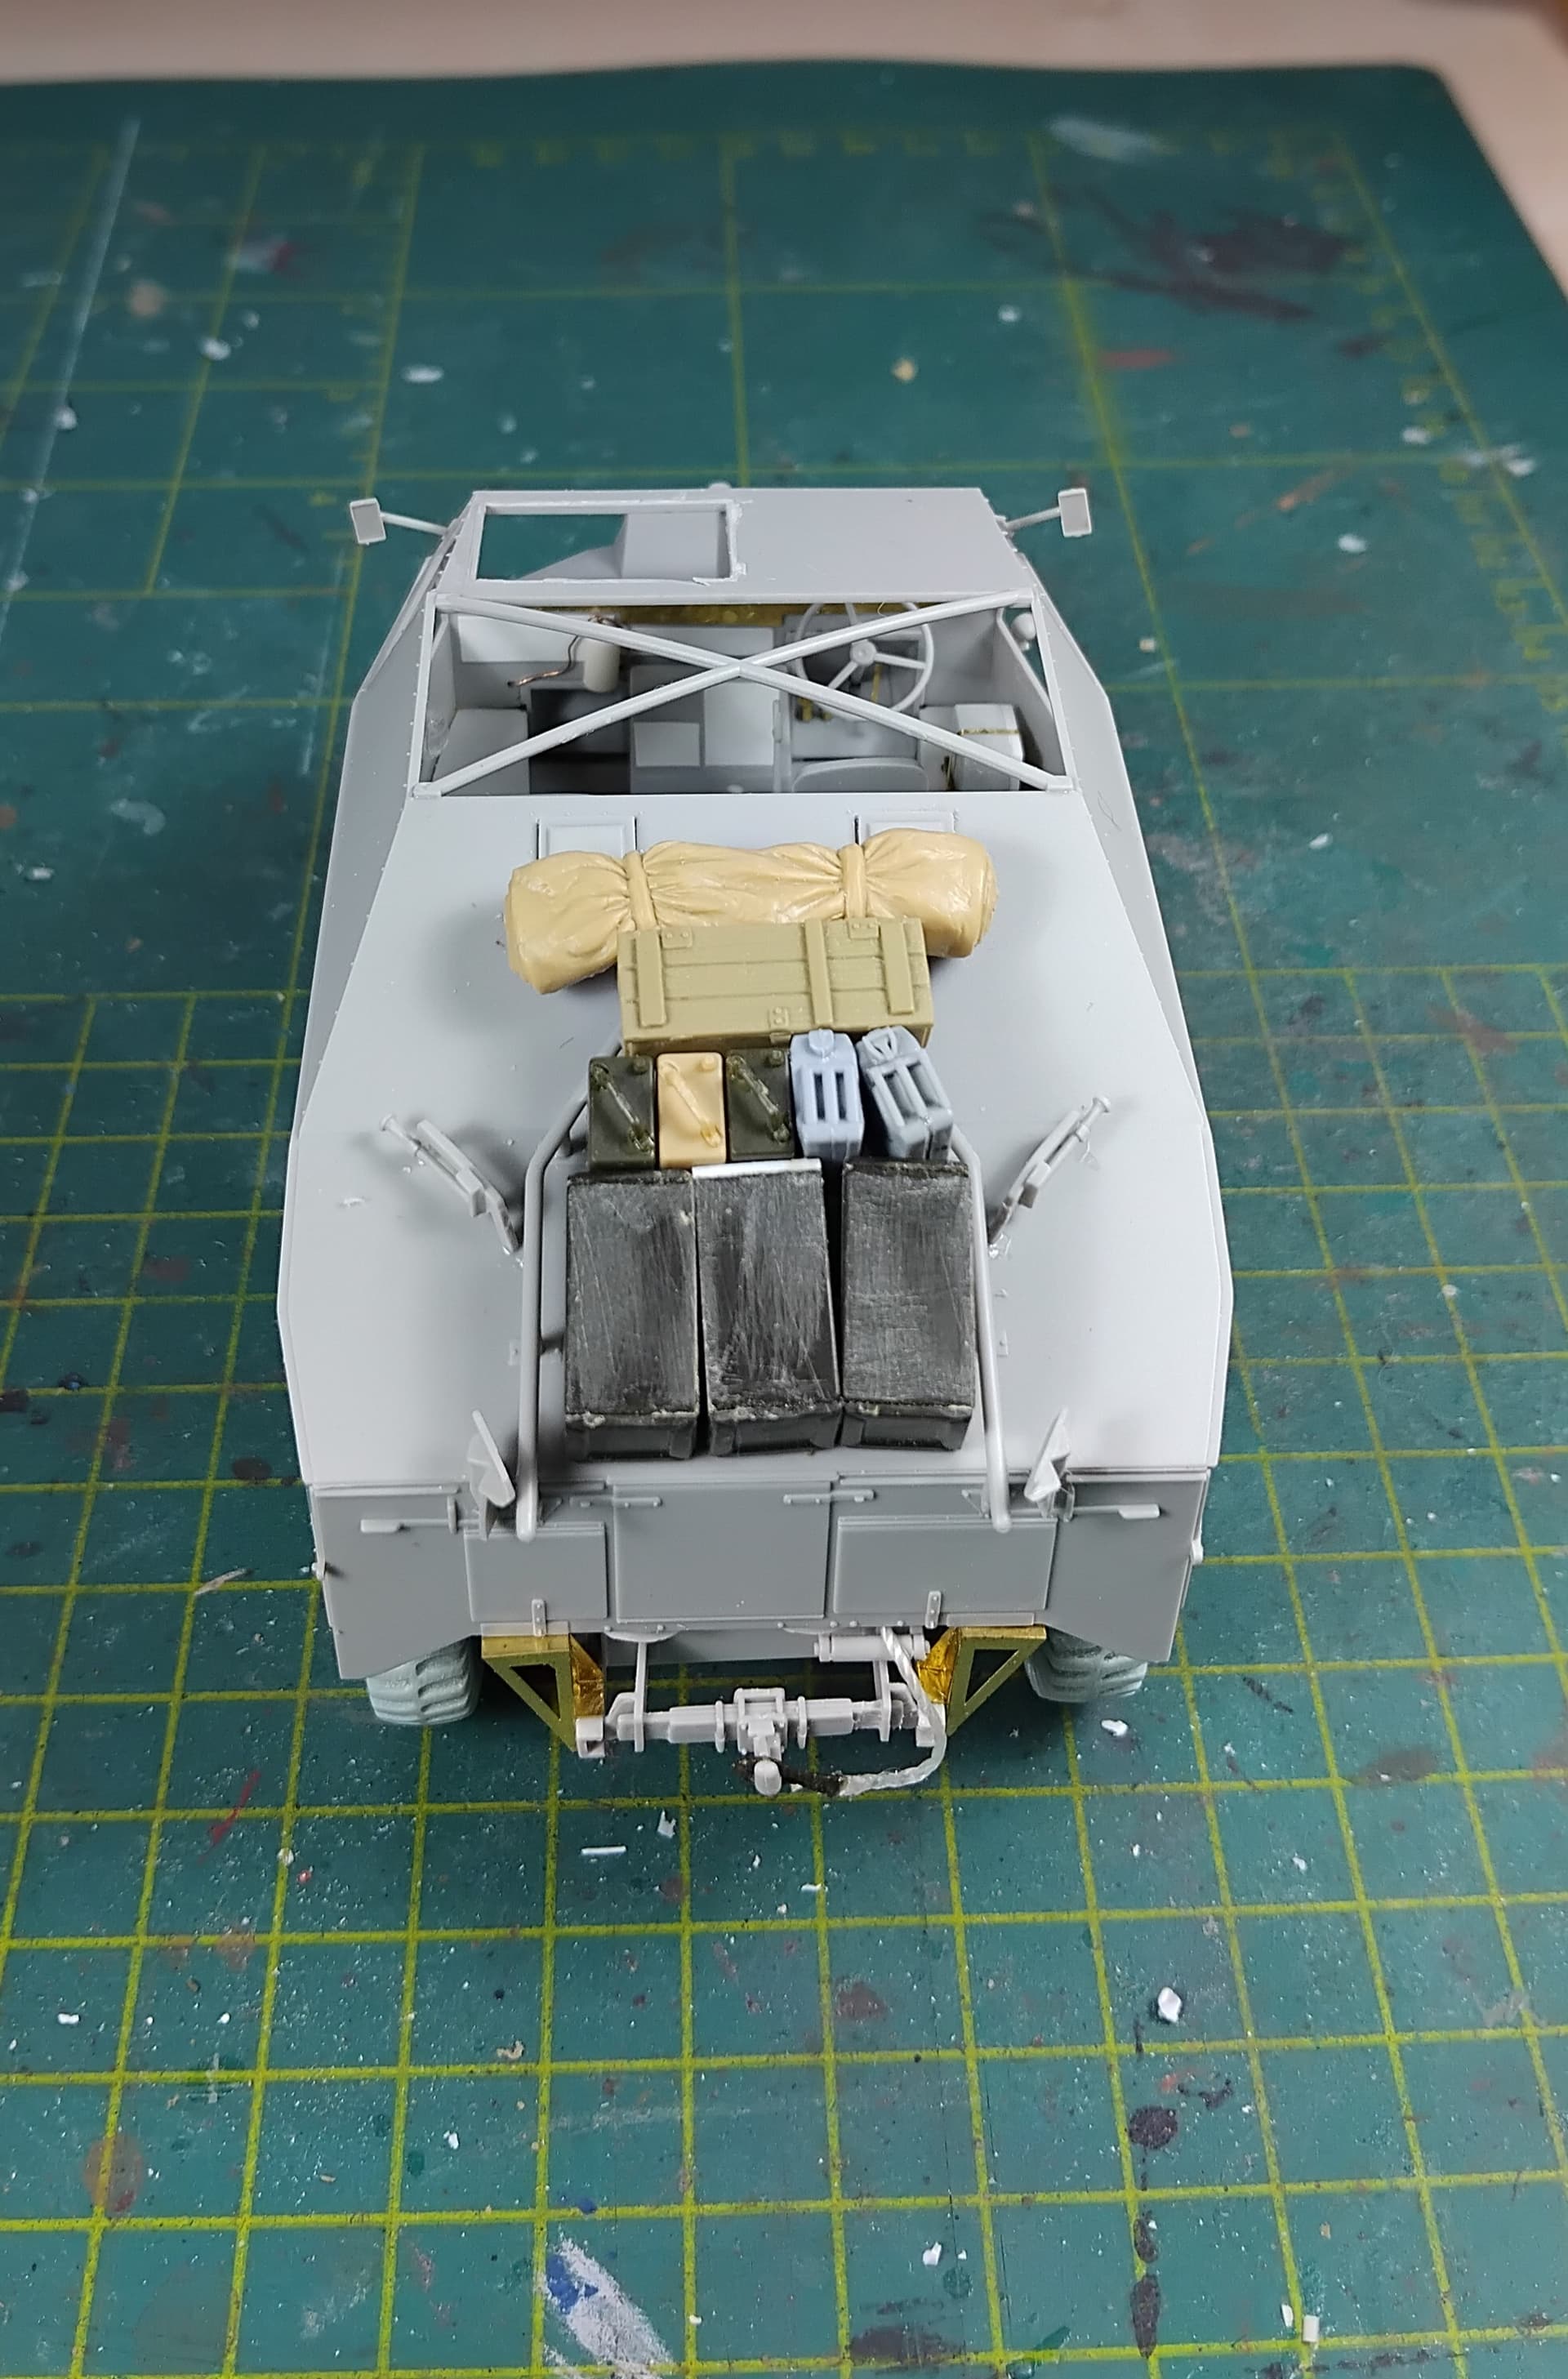
Unfortunatly quite a number of parts are missing, so have to be homemade. Other… do not fit. The spare wheel from SKP Models does not fit within the frame, so can not be used. Mirror Models does not provide anything to attach the wheel to, anyway Checking references it was not uncommon to see the wheel or the frame missing in the field. I decided to keep the frame, add 2 beams and fill up the empty space with stowage.
I had clicked the body into place in order to be able to fit a number of parts in the right place. Now I can not get it off anymore. That’ll be fun when painting. I blaem inexperience with this sort of kit for this mishap!
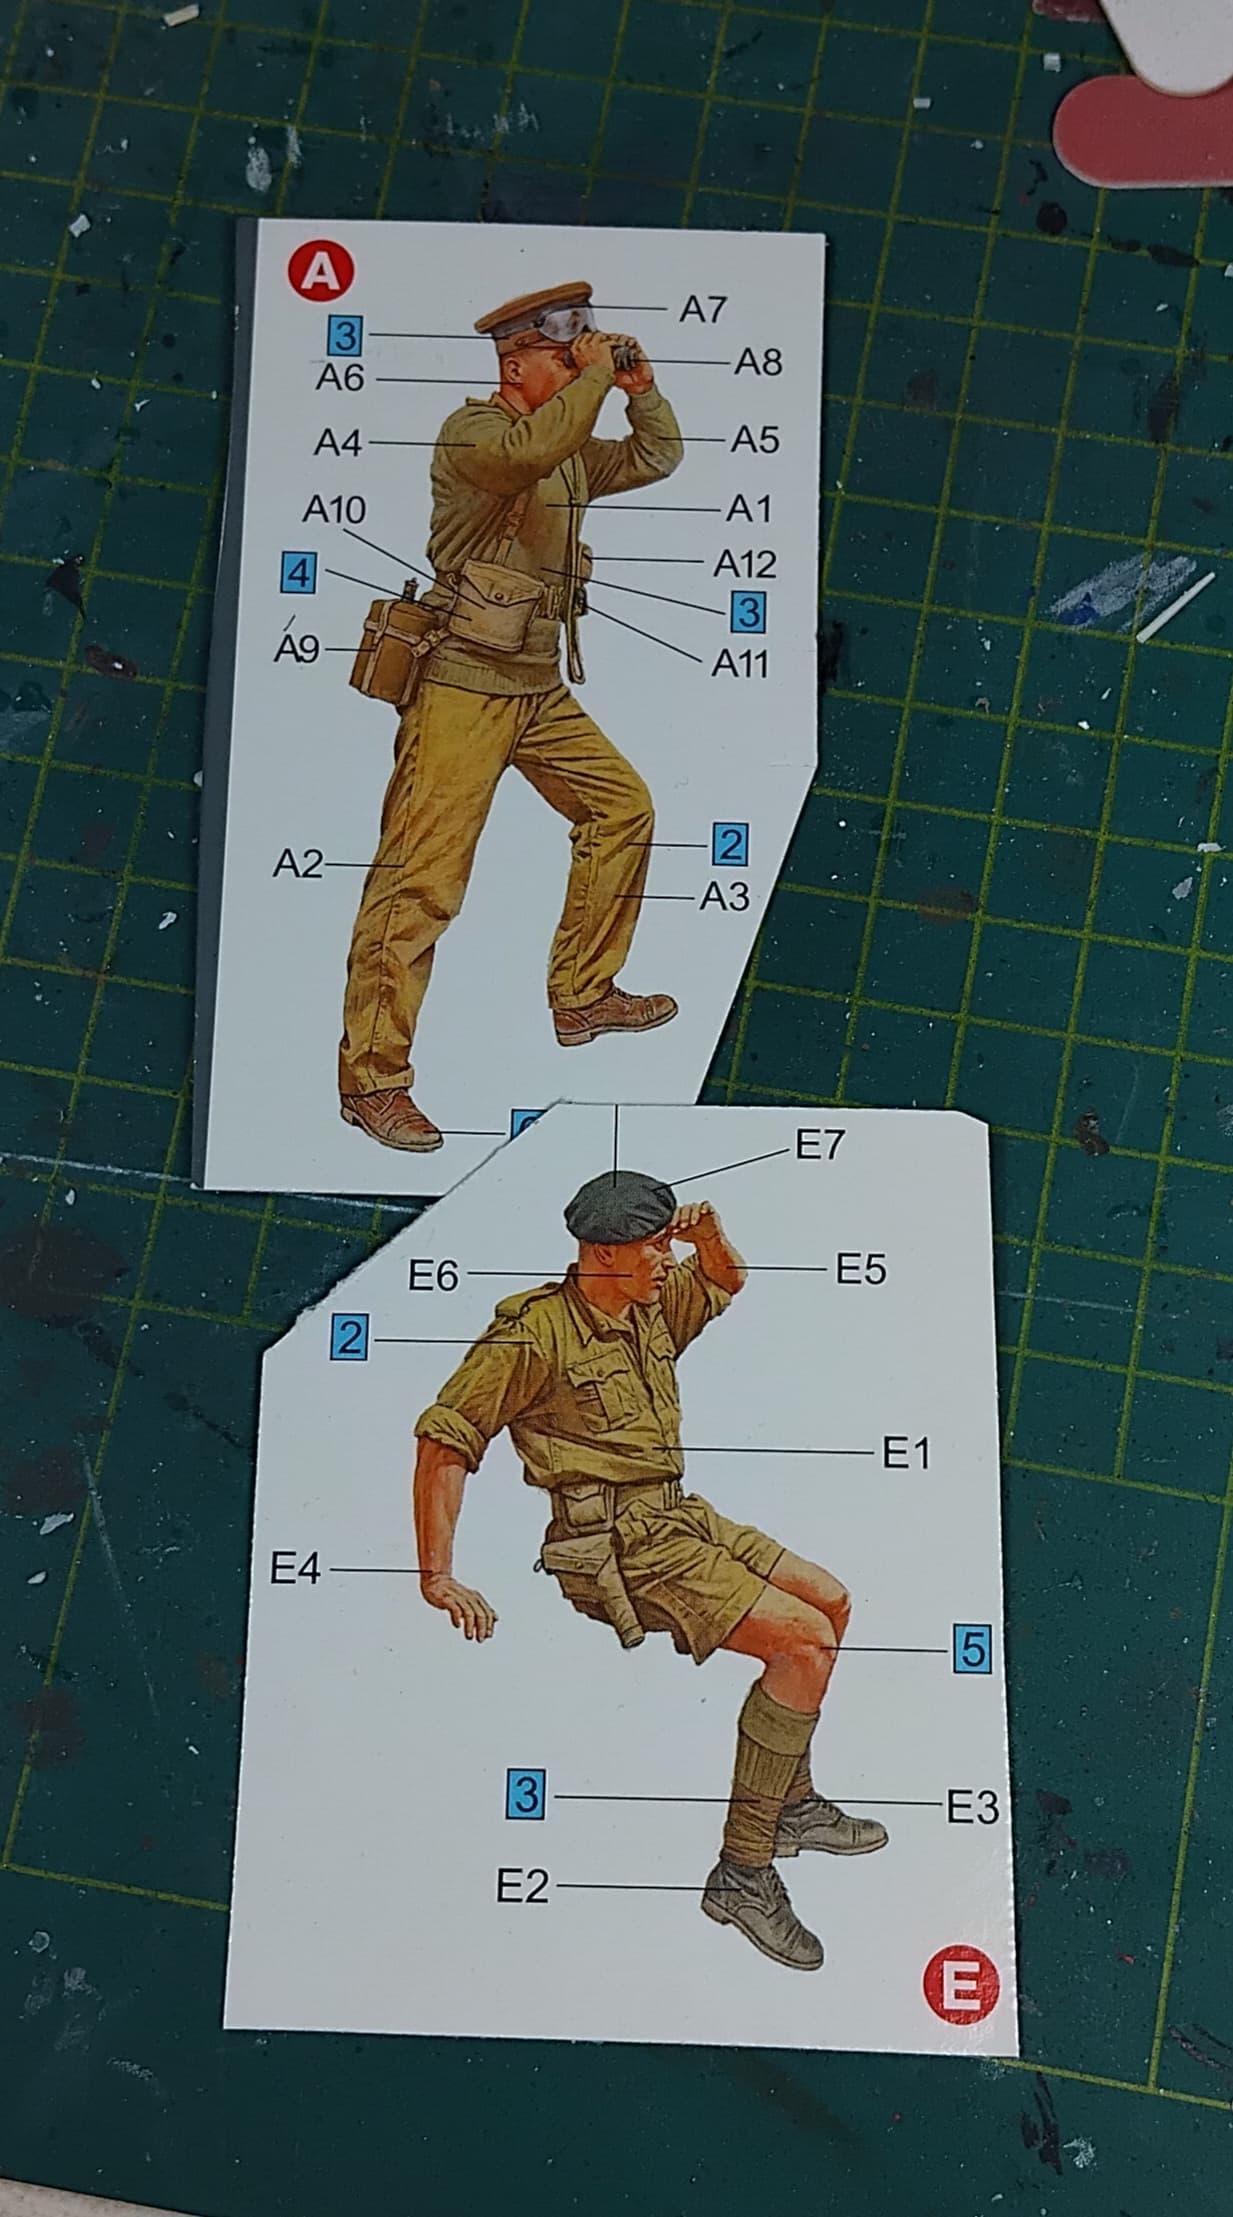
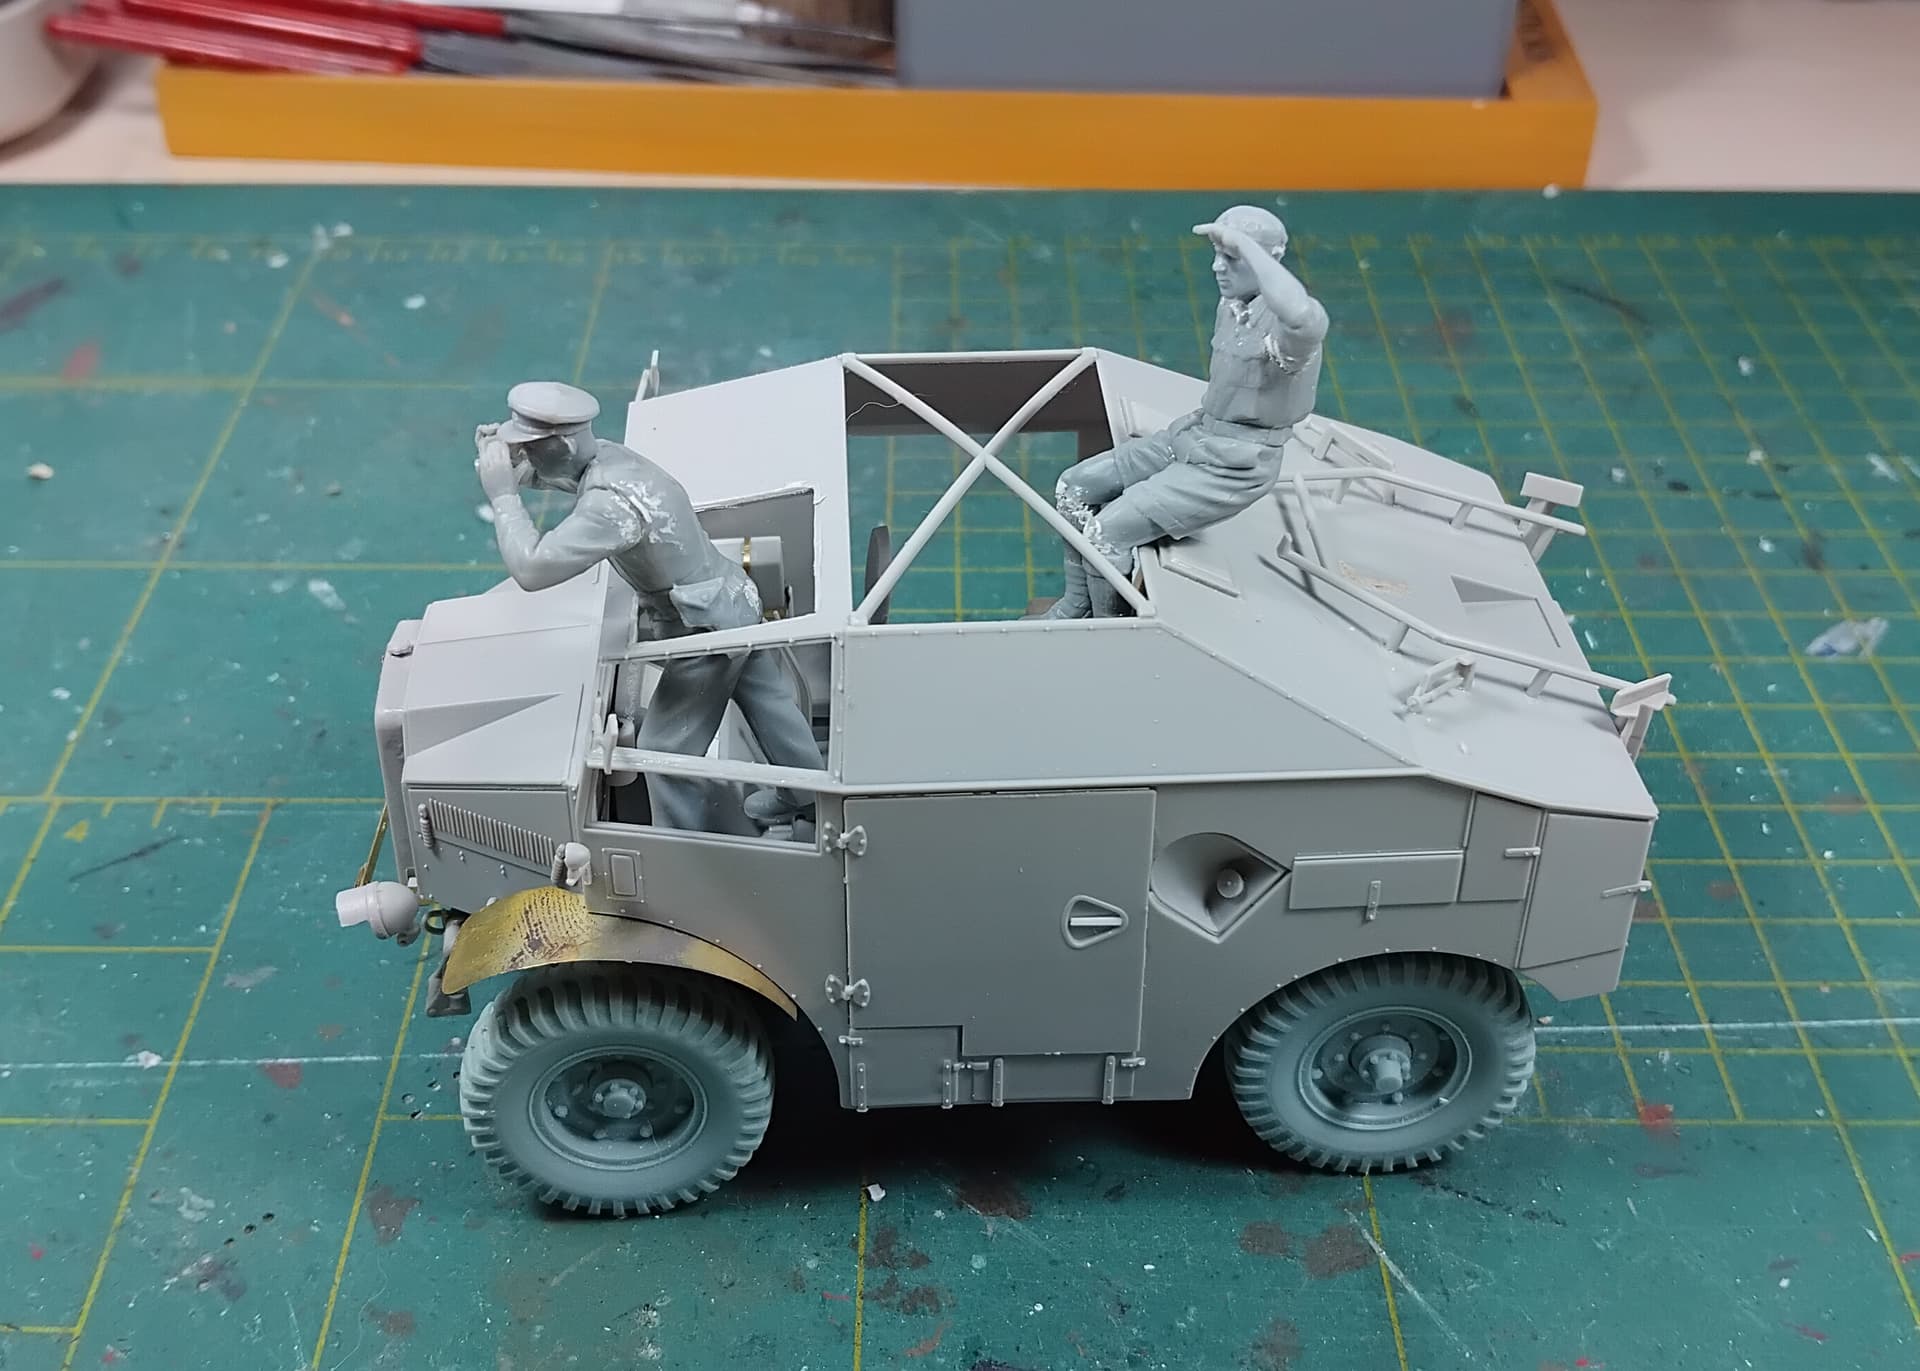
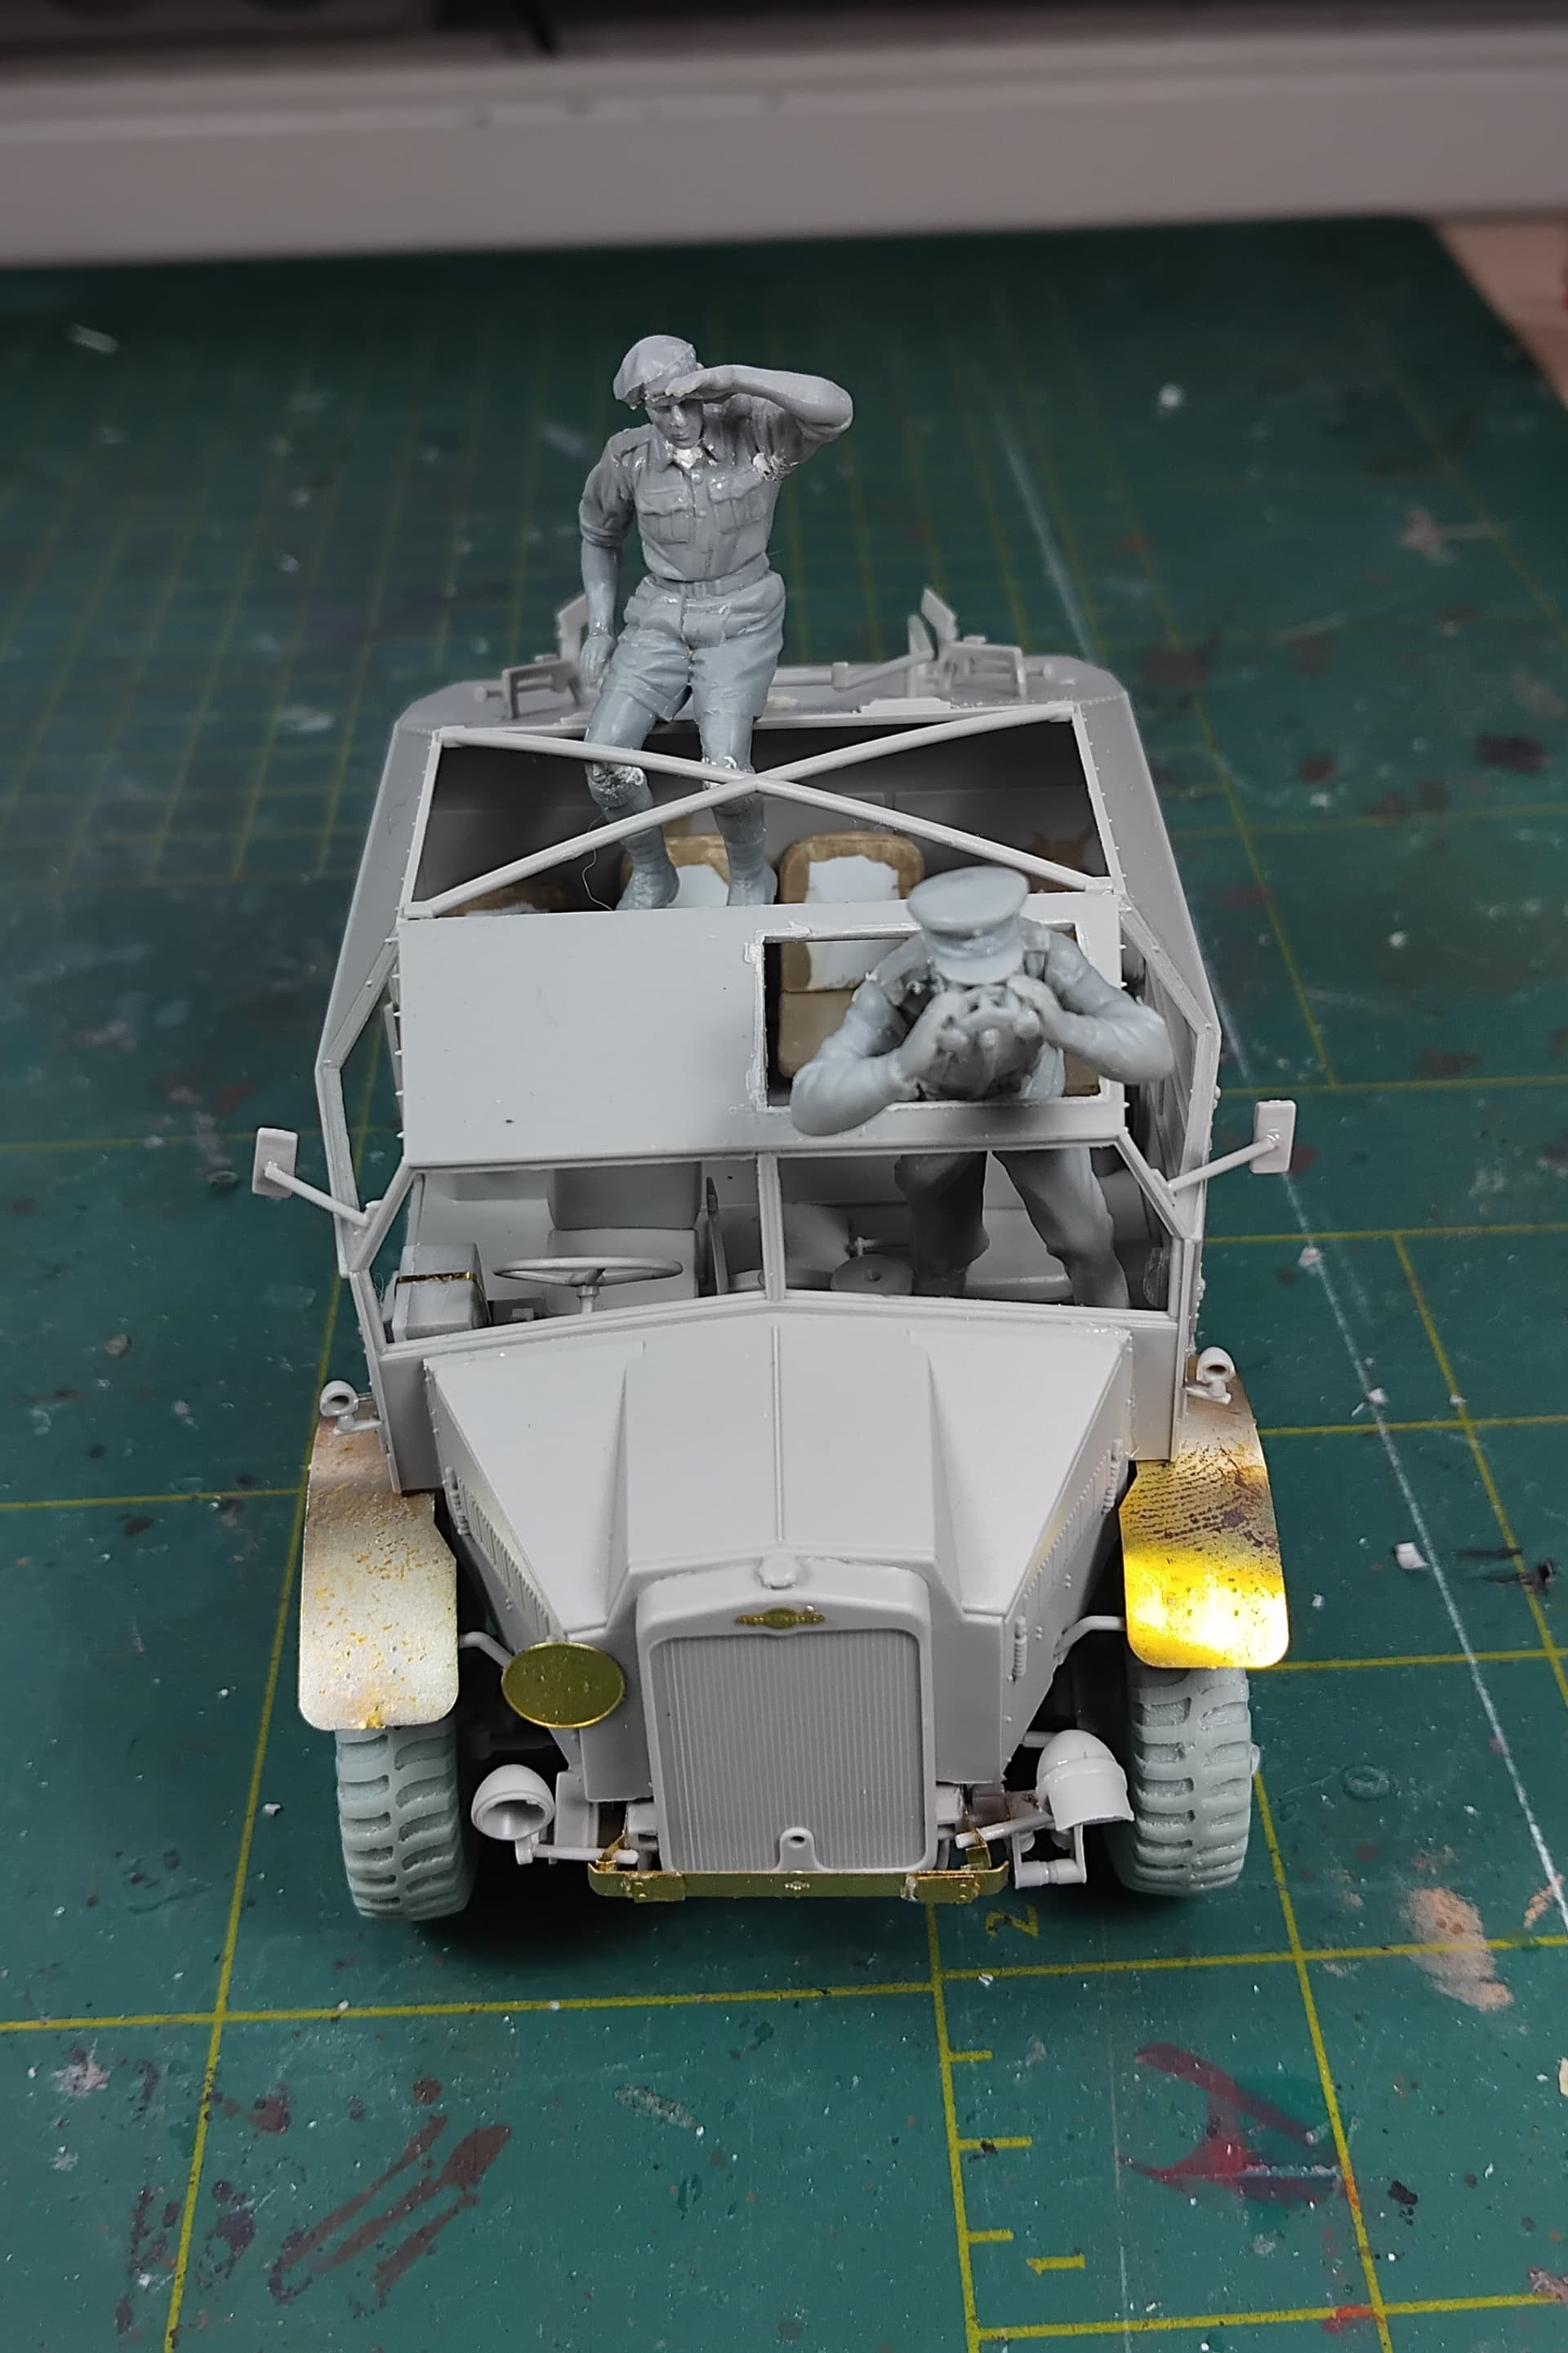
I also started playing with soldiers… I had to alter the positions of knees, wrists and ankles to make them fit. The commander is leaning too much, so I could not place him on the roof. Now he stabilizes his binos by leaning the elbows on the frame. The scout is sitting on a temporary camouflagenet to get the right posture.
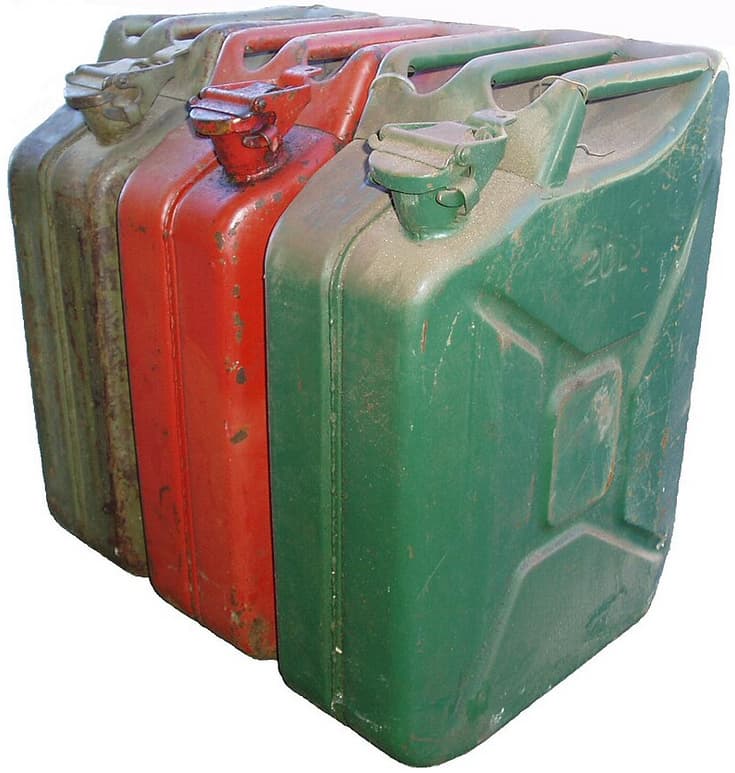
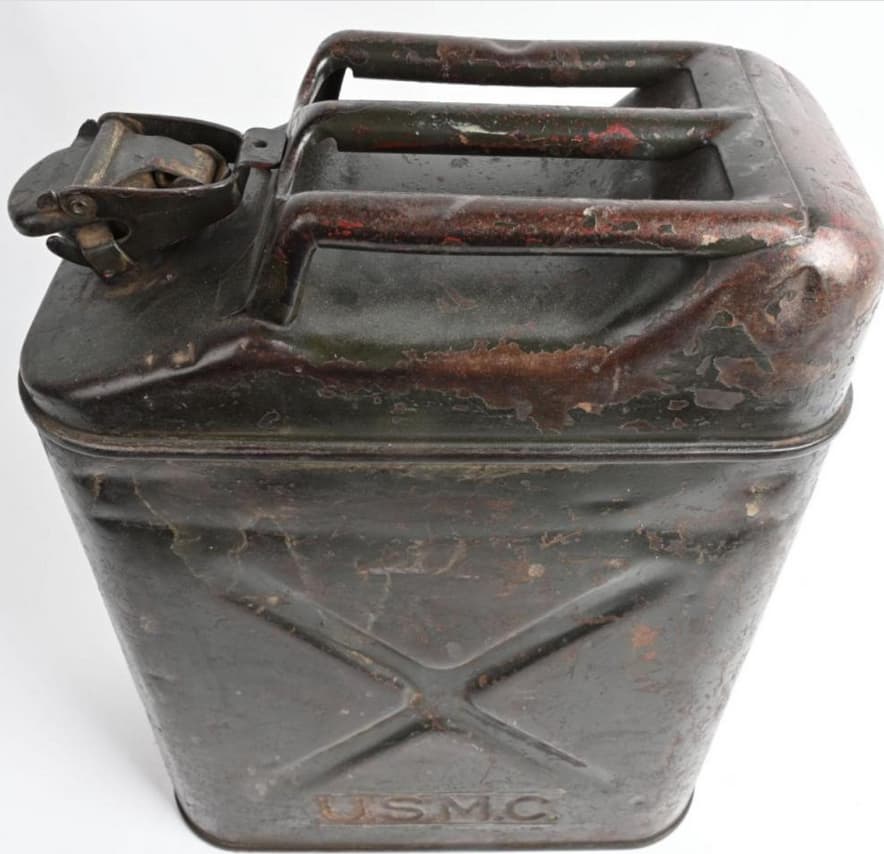
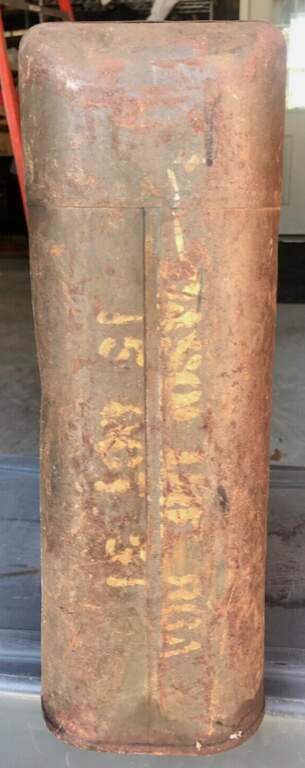
Great work, Ron! Just a tiny inaccuracy: Jerrycan spouts always sat to the left of he central crimp seam (as seen when pouring), in the middle of the left can half. Looks like you might move the one on the can next to the flimsies.
The German can had two main parts, left half and right half, stamped and welded.
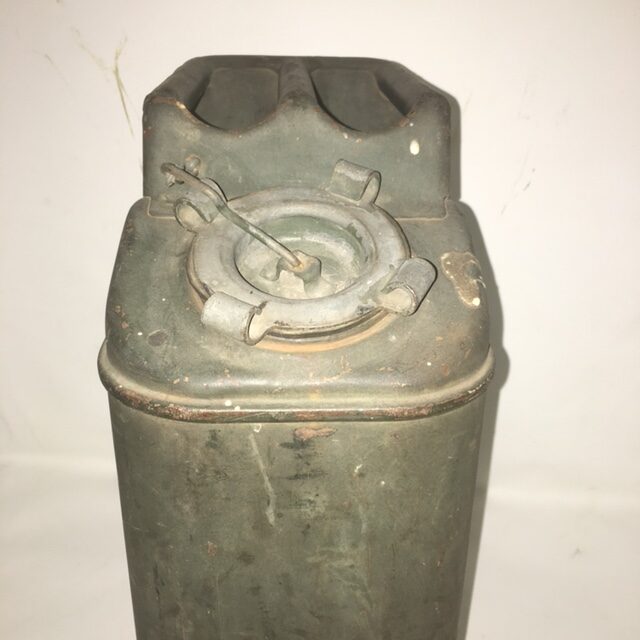
The US can had three main parts, stamped bottom, stamped top, main body made from sheet metal, stamped on the sides and rolled up to make a rectangular “tube” welded
down the back.
Pouring technique:
Hold the can on its side, spout upwards, pour a little more than half the volume.
Stop pouring, flip can so it is on its other side, spout is now on the lower half.
Pour the rest of the contents.
The can is a lot easier to hold on its side since the handles are horizontal (hand does not slip) and the top corner does not hit the side of the vehicle.
It is surprisingly a lot of fun and it is cute of ugliness!
I ran out of parts, so this is as far as it’ll go, buildingwise. I suspect that an entire sheet of PE is missing, since I can not find the parts for the flimsy holders and rear mudguards. Not all that much of an issue, since these drove around without too, but it would have been fun to add them.
I added the brandlogo to the front, allthough it should not be there. Thought it was a nice detail.
Tried to remedy the spoutopening on the jerrycan, but it is cast in place and hard to remove without causing damage. And I have no spares at the moment.
The US style can is just fine as it is.
The German style can is good enough, maybe the spout should be half a mm
closer to the side but it is hardly noticeable.
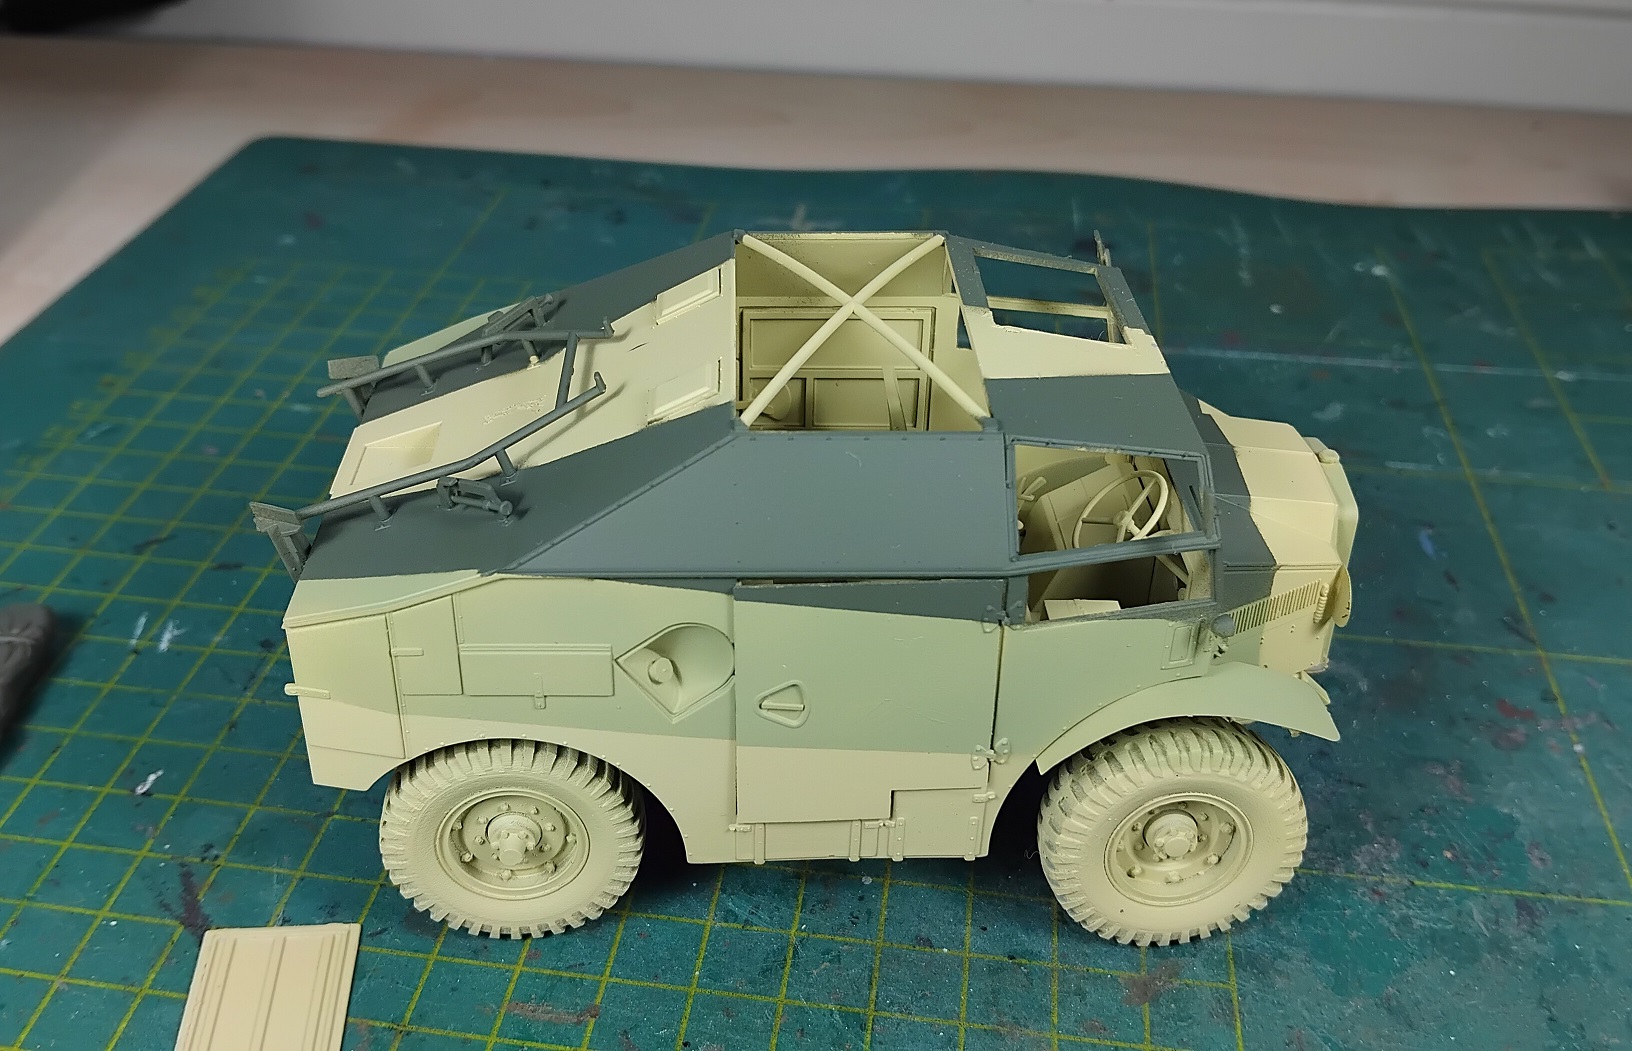
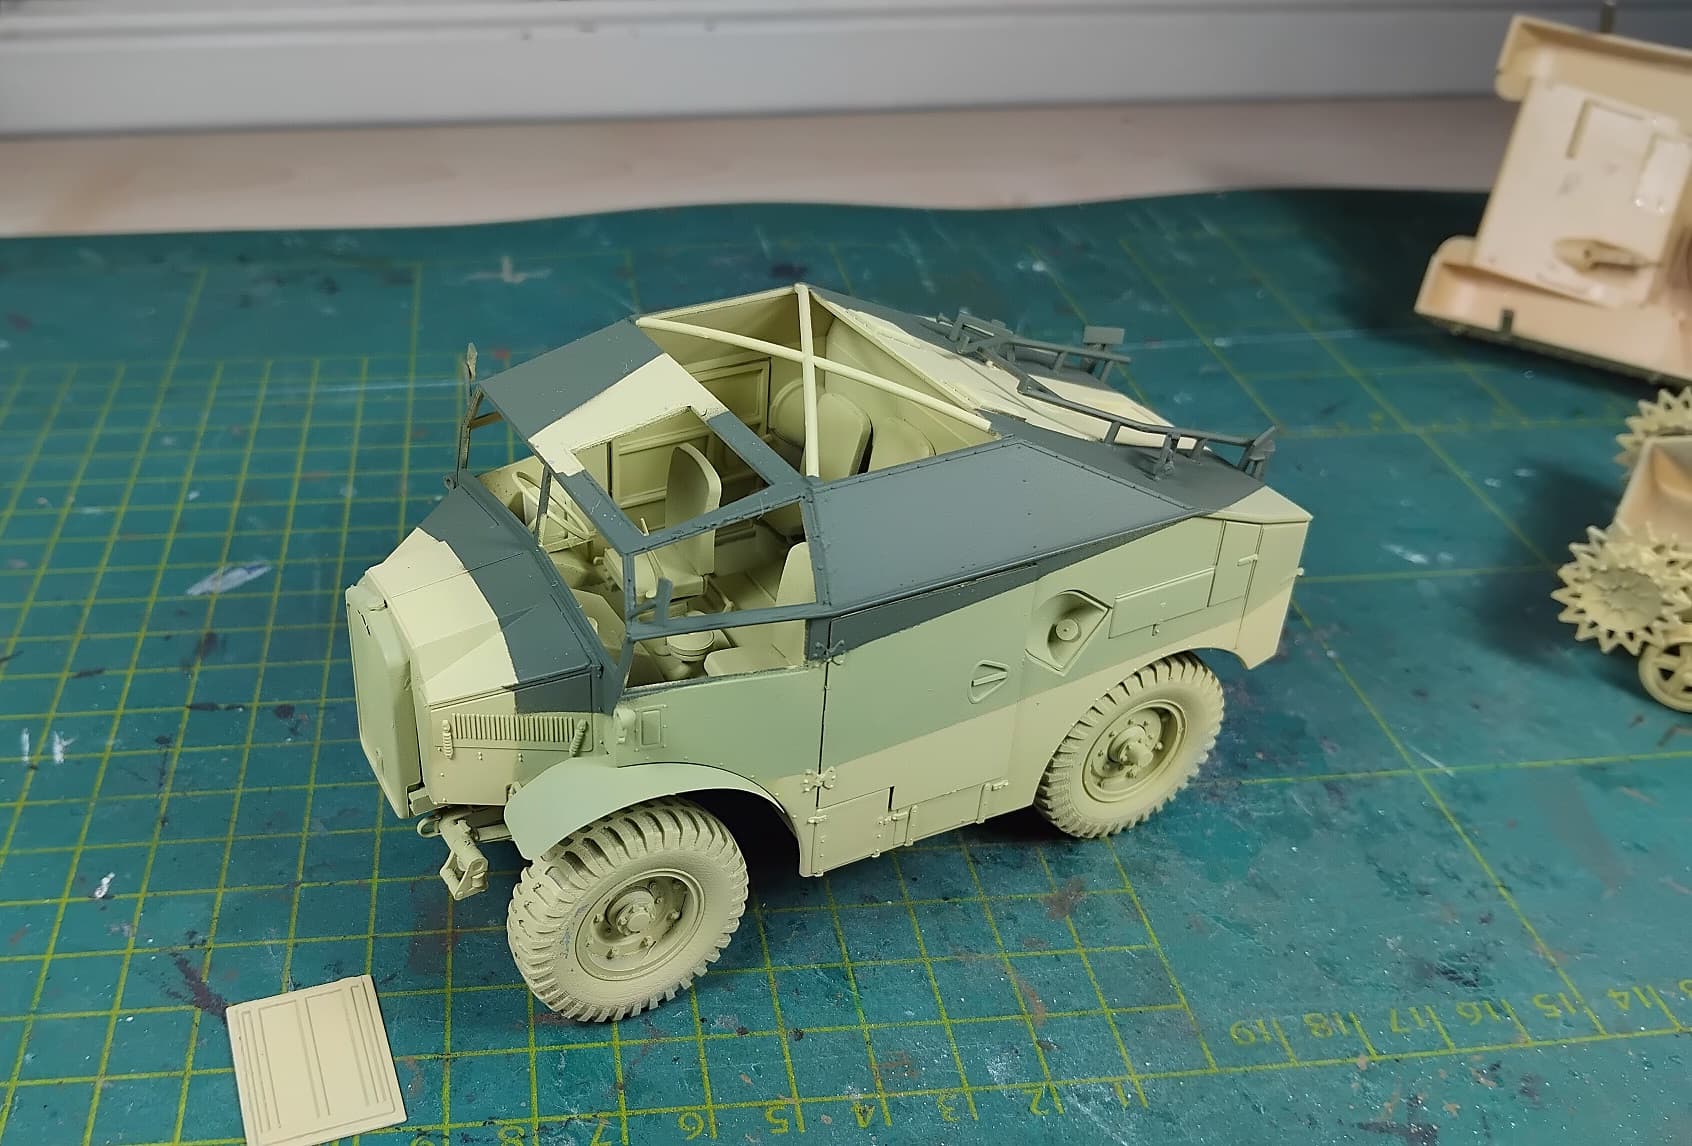
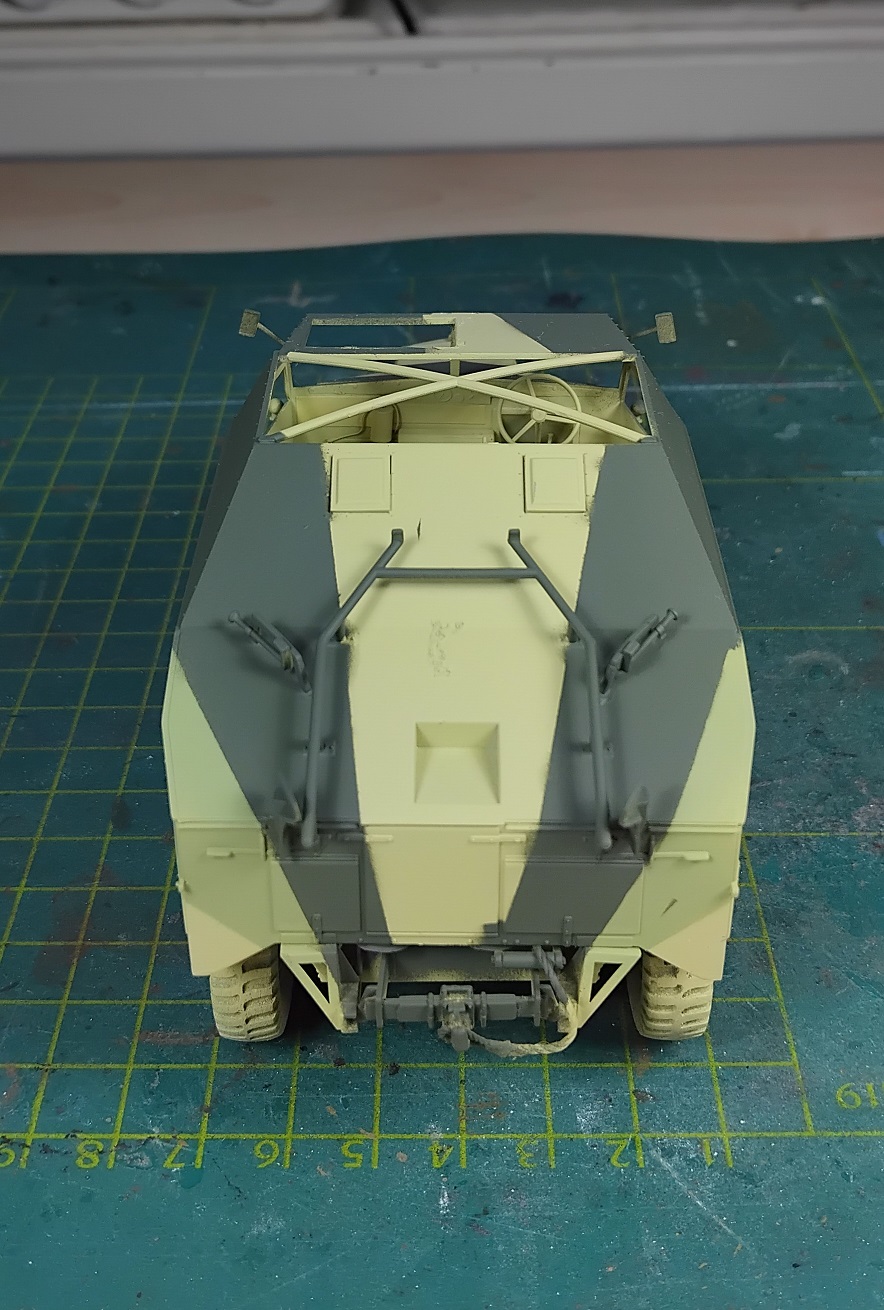
As per Jakko’s suggestion I will go for a Caunter paintscheme on this one. It will be a lot easier then what I had planned for the Stuart with all its nooks and crannies.
As said I used the AK-set; portland stone as a base inside and out, second layer is silver grey and last layer is slate grey. The paint is too thick to be used as-is and has to be thinned. I used a rough ration of 3:1 paint to water. This worked quite ok and the paint was thick enough to not bleed to much under the masking tape.
I used to colour images as a rough guide and used artistic freedom on the rear and top.


 That Silver Grey was light blue is a misconception from (at a guess) the 1960s–’70s that still keeps cropping up to this day.