Monogram 1/24 Scale 427 Shelby Cobra racing version

Basically back in my High School days I wasn’t much into drag racing, but got hooked on road racing both here in the states and in Europe when I bought my 1st copies of Road & Track, and Car & Driver magazines in 1963. Each had a section on road racing, so I got to follow F1 and Sport cars racing even though they were usually a good 3 months behind the actual event. Still, it was better then nothing.

By 1965 the 427ci Cobras were the kings of the Endurance Racing and Sport Car circuits. More then once I concocted all sorts of schemes to convince my father to let me buy a Cobra with my life savings. And more then once Dad just said NO!!. So I never did get one, but I still dreamed of driving one at the Bridgehampton time trials, and SCCA Solo events like I did with my MGB.

I managed to get a job working part time at Rascal Racing and being on their pit crew when needed, which wasn’t very often. But the retail part of the shop often got in some pretty exocytic sports cars, and the owner of Port Washington Motor shop owned a 1965 427 Cobra. While I never got to actually drive the car, Peter would take me for rides every so often. Let me tell you when he drove the Cobra Flat out, it was like nothing I’ve ever experienced. And thus I had the actual car of my dreams to ride in. Way better then just staring at pictures in a magazine.

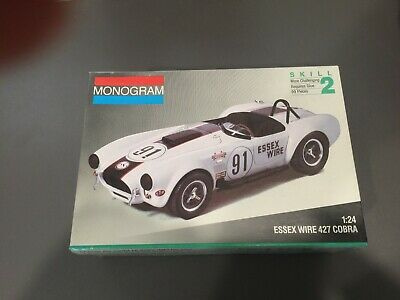
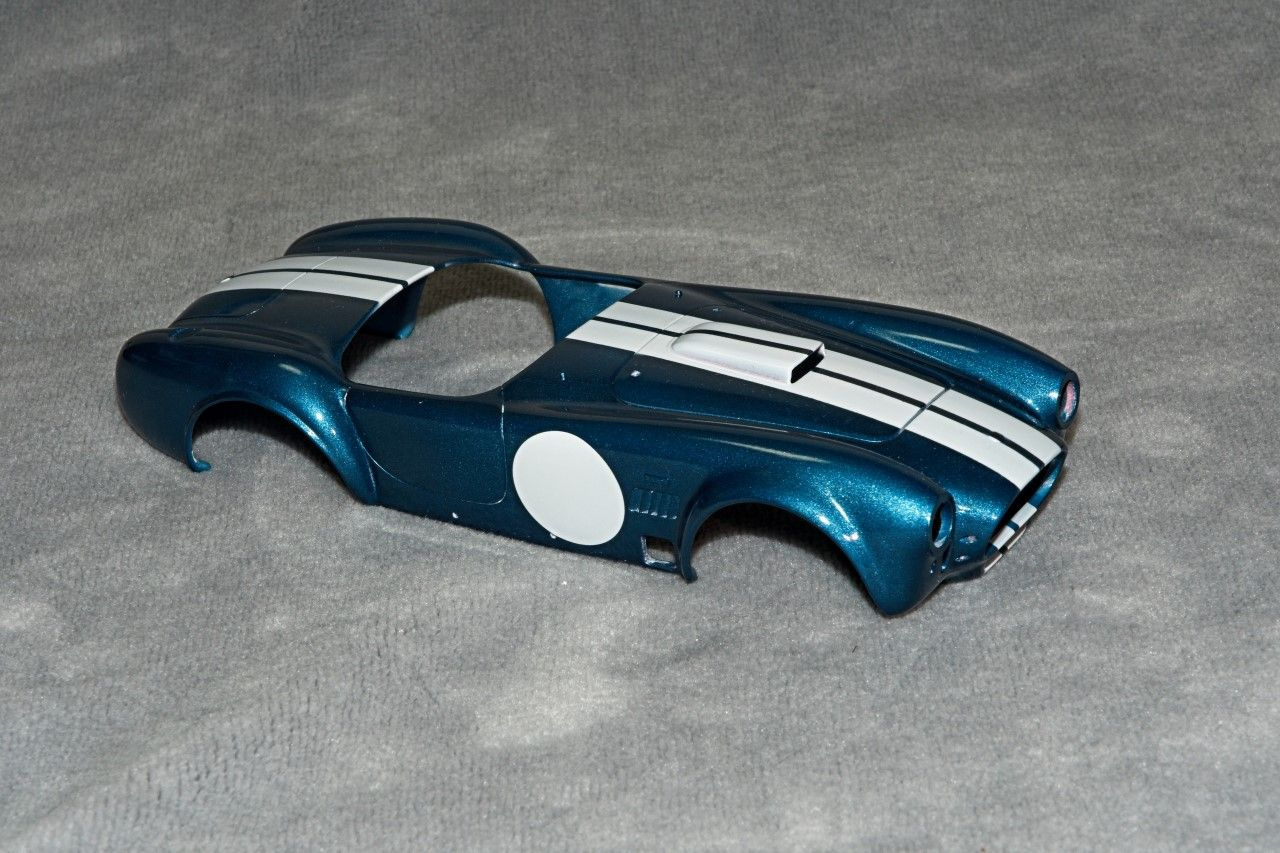
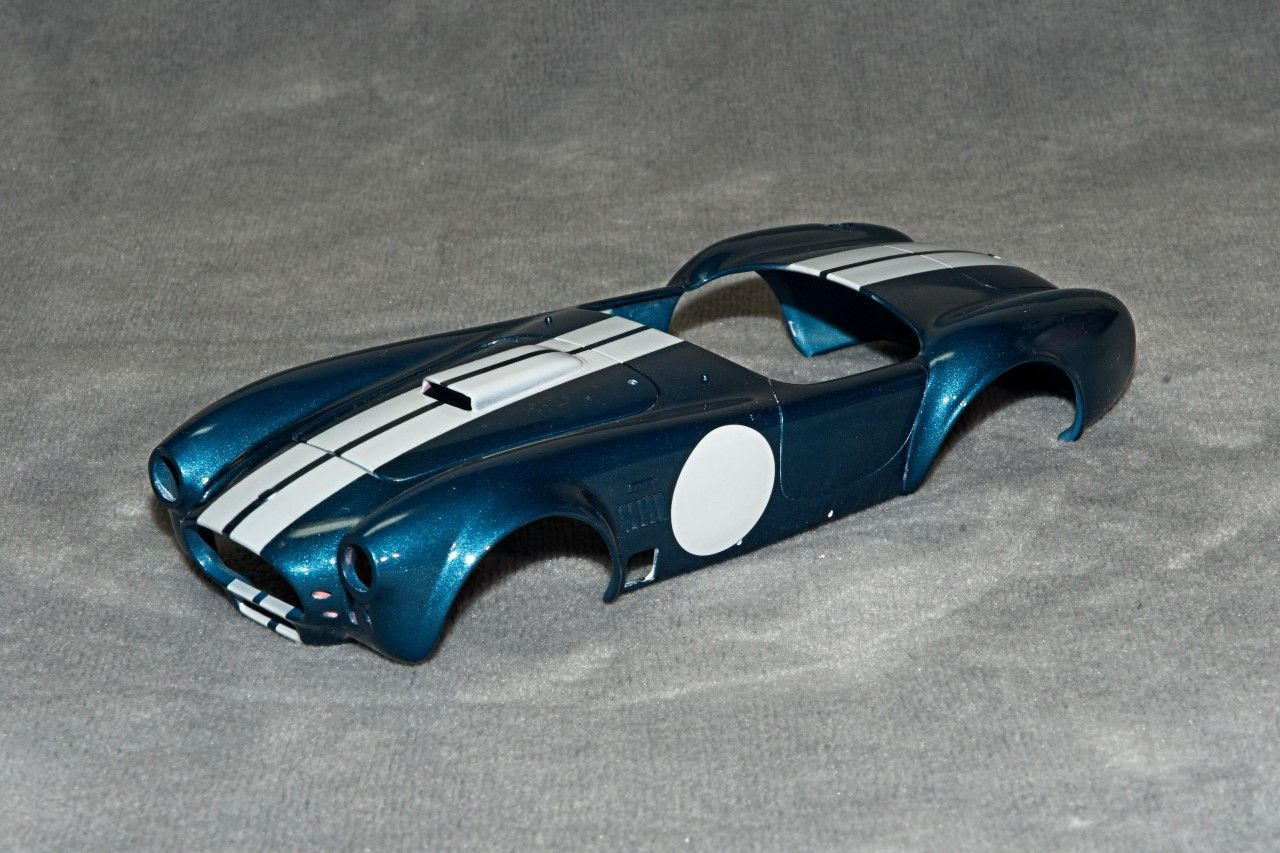
So my 1st build for our GB is the old Monogram 1/24 scale Essex Wire 427 kit, rather then their S/C kit as that’s the kit I have in my stash.

image

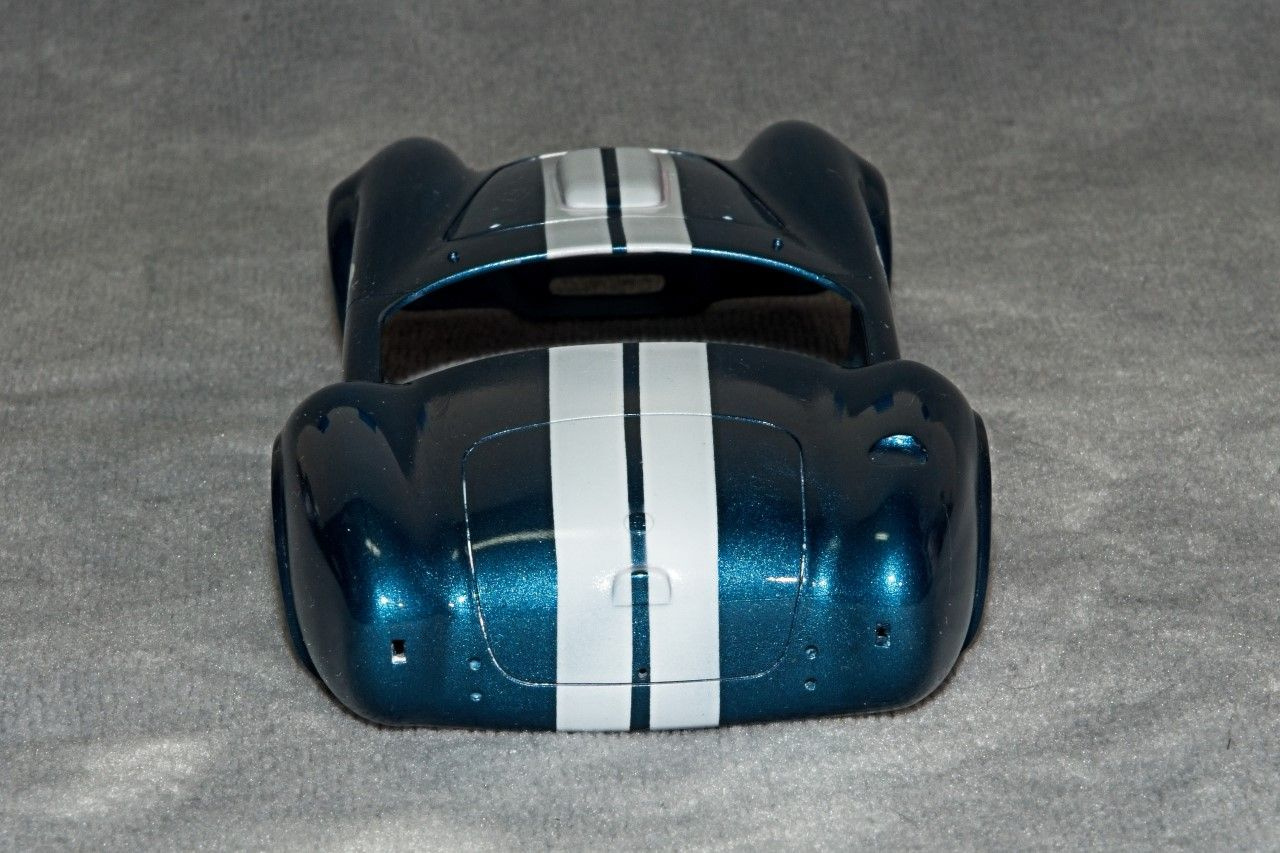
Yesterday I spent several hours focusing my attention on the body shell and hood, which will be able to open & close to see the big block Ford 427 engine. There’s quite a bit of flash that needed to be dealt with, and some major mold seams line on both sides of the body.

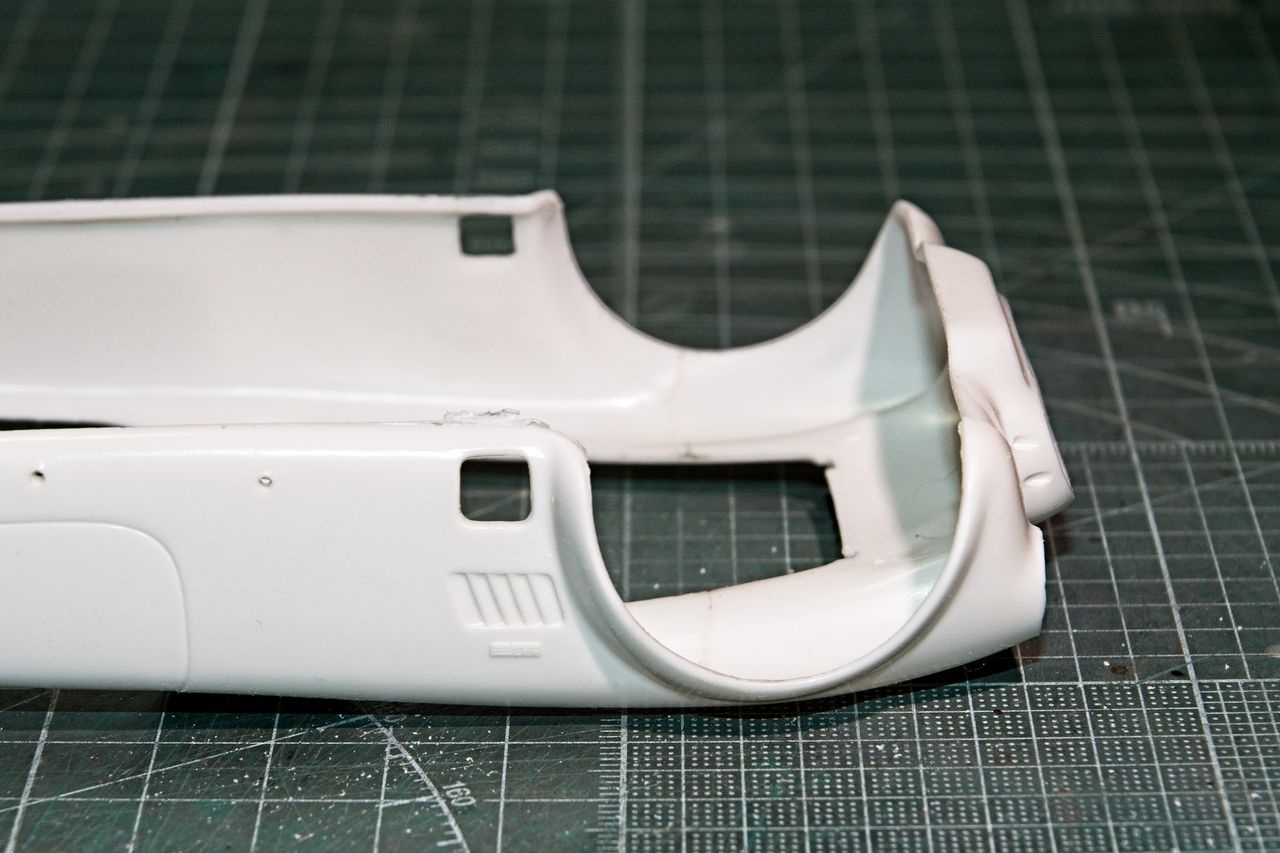
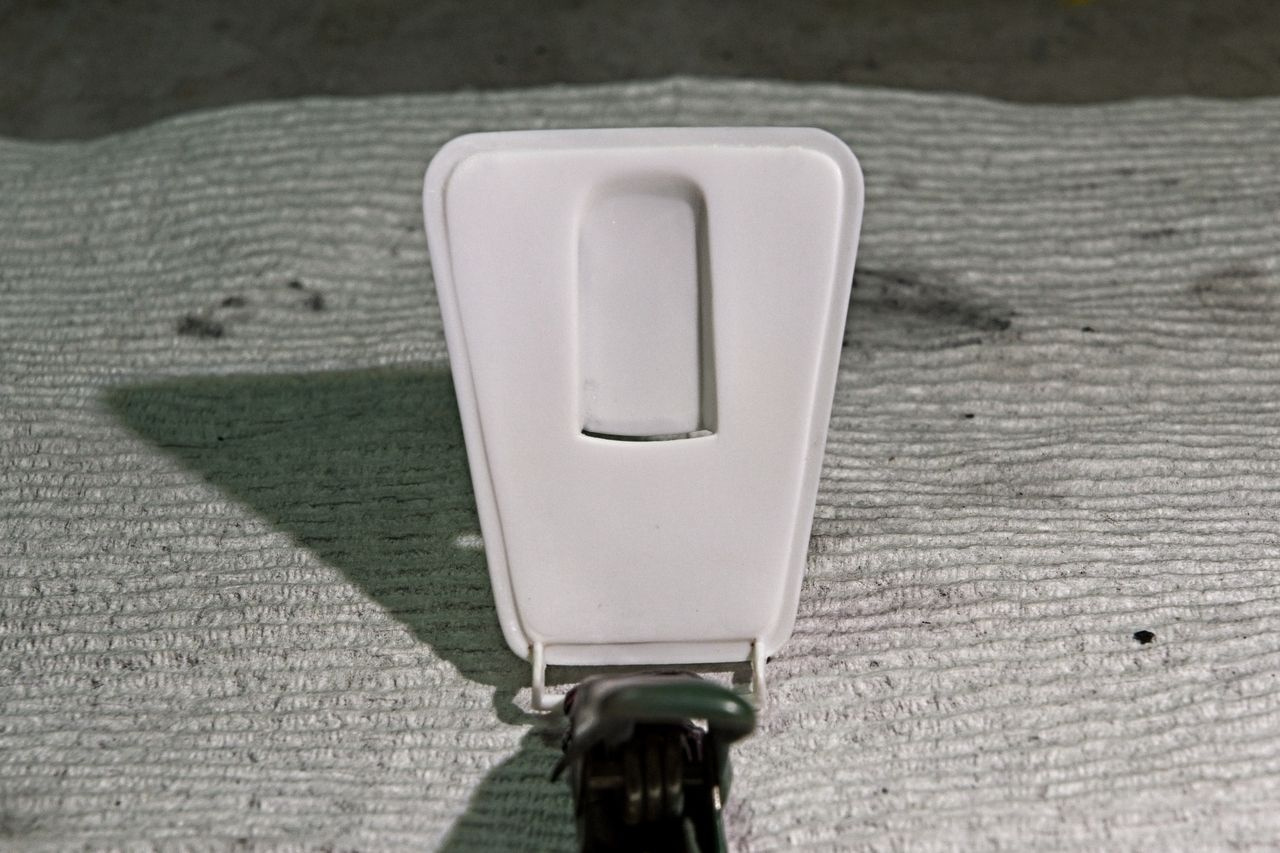
The carb intake scoop also seemed rather thick:

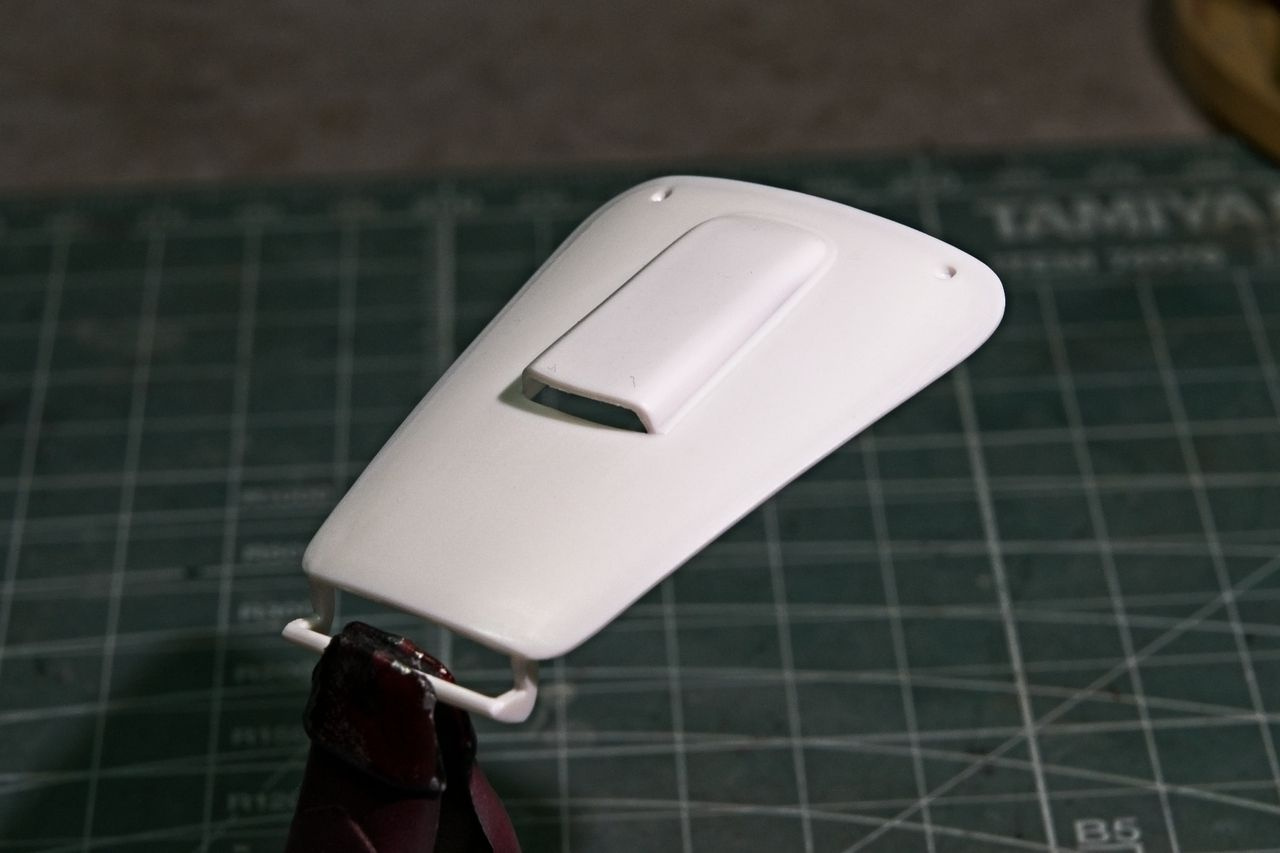
So out came the files and sand paper, and I thinned it down. Final clean up is still needed in this close up picture.

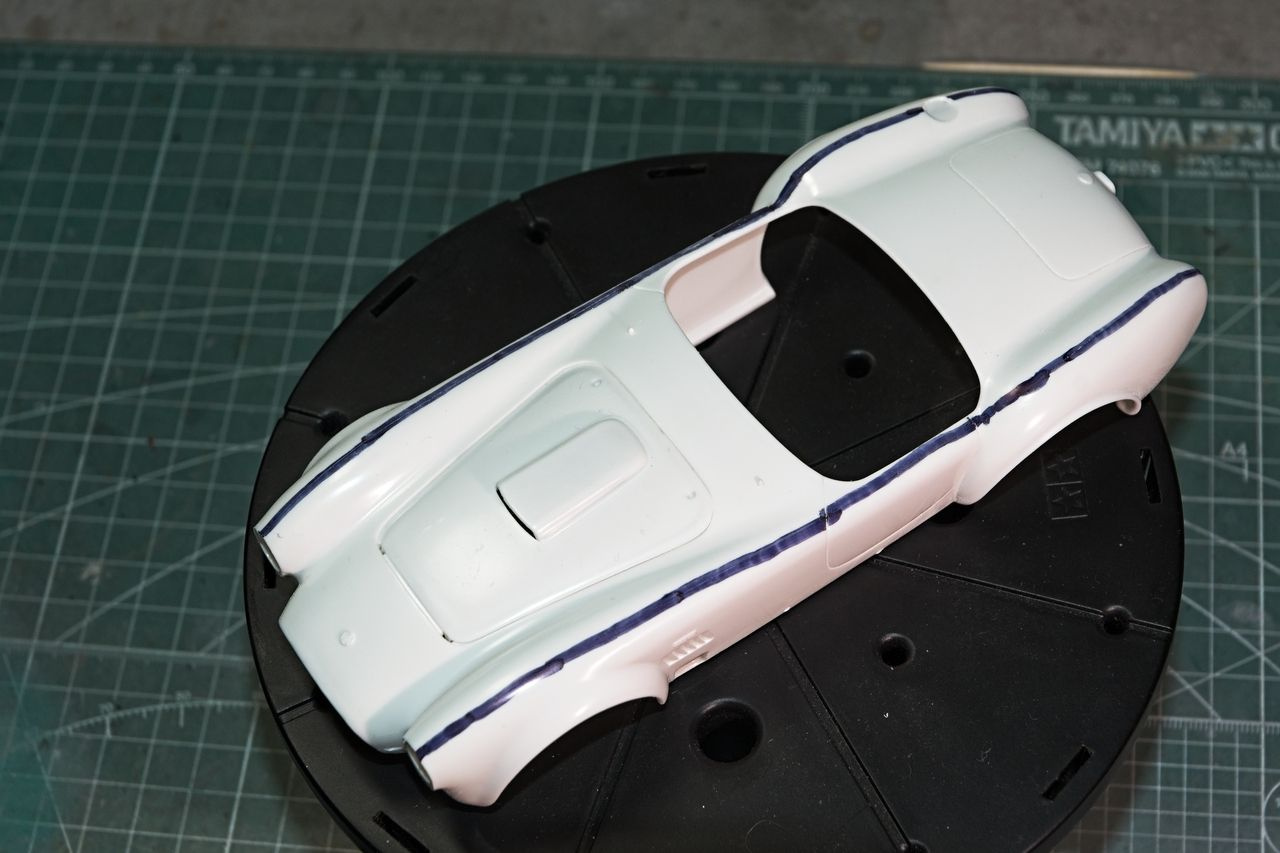
Next up was priming both the hood and the body with Gunze #1500 light Gray primer thinner 2:3 with their #400 Leveler Thinner.

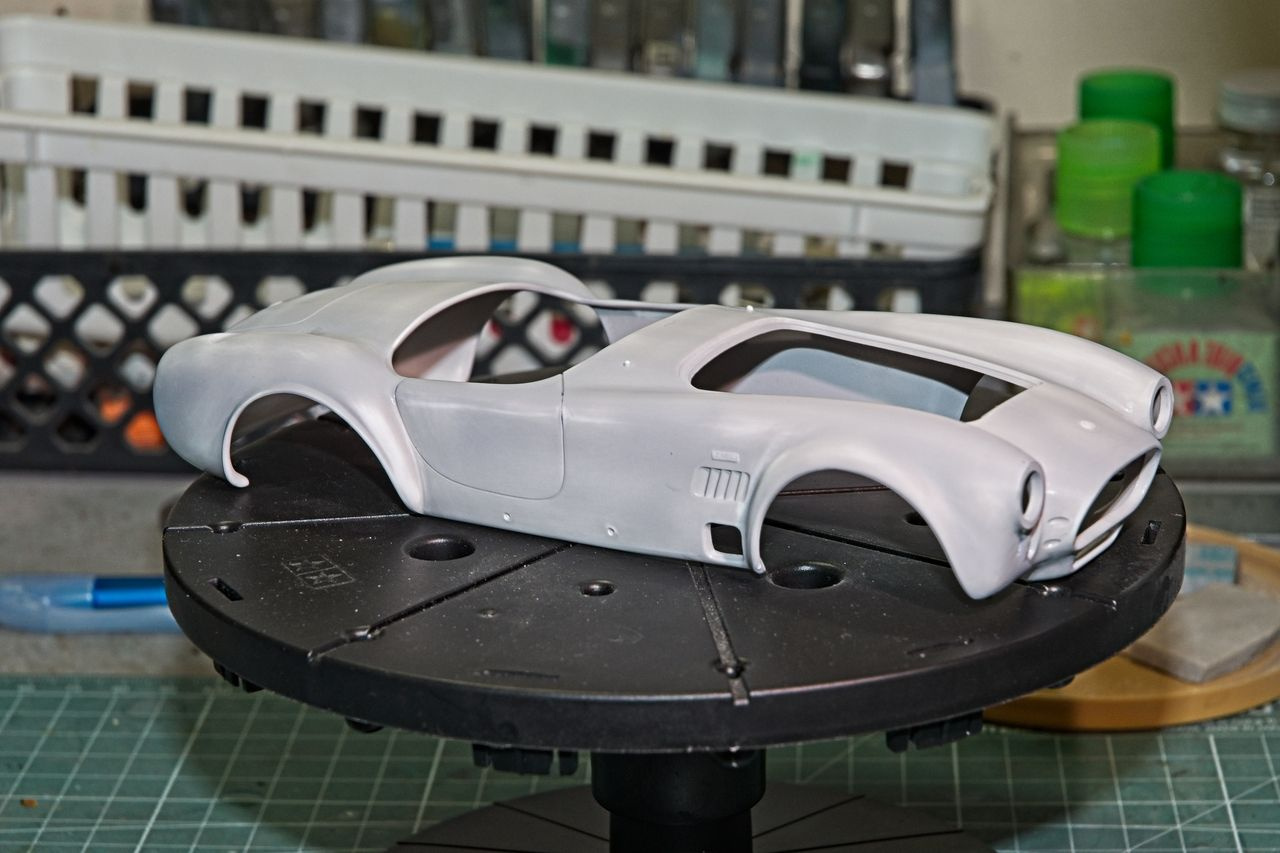
Today I rubbed out the primer with Tamiya #3000 sponge and it’s super smooth. I was going to air brush on the color coat, but it decided to rain today. I really don’t like air brushing when it’s raining unless the A/C is on, which it’s not this time of year. So it will have to wait for another day.

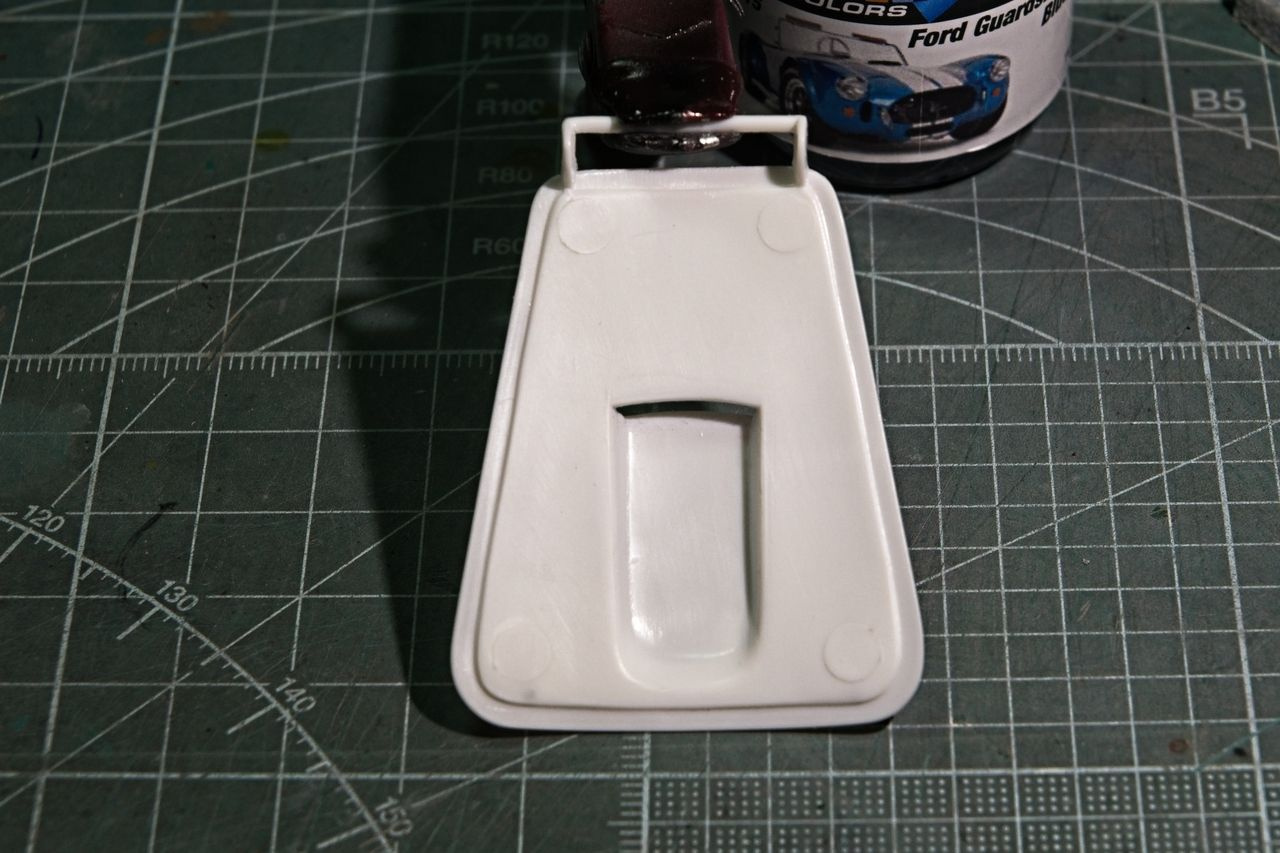
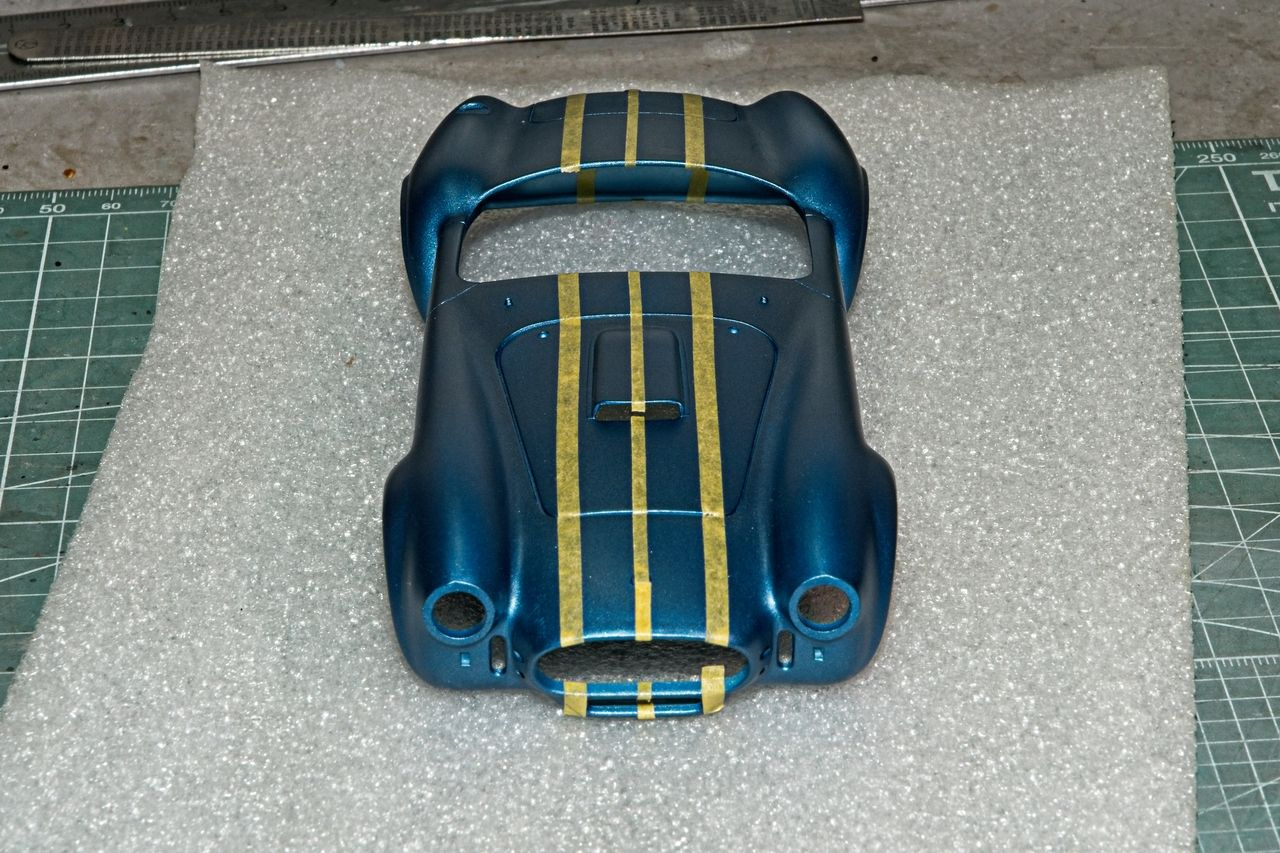
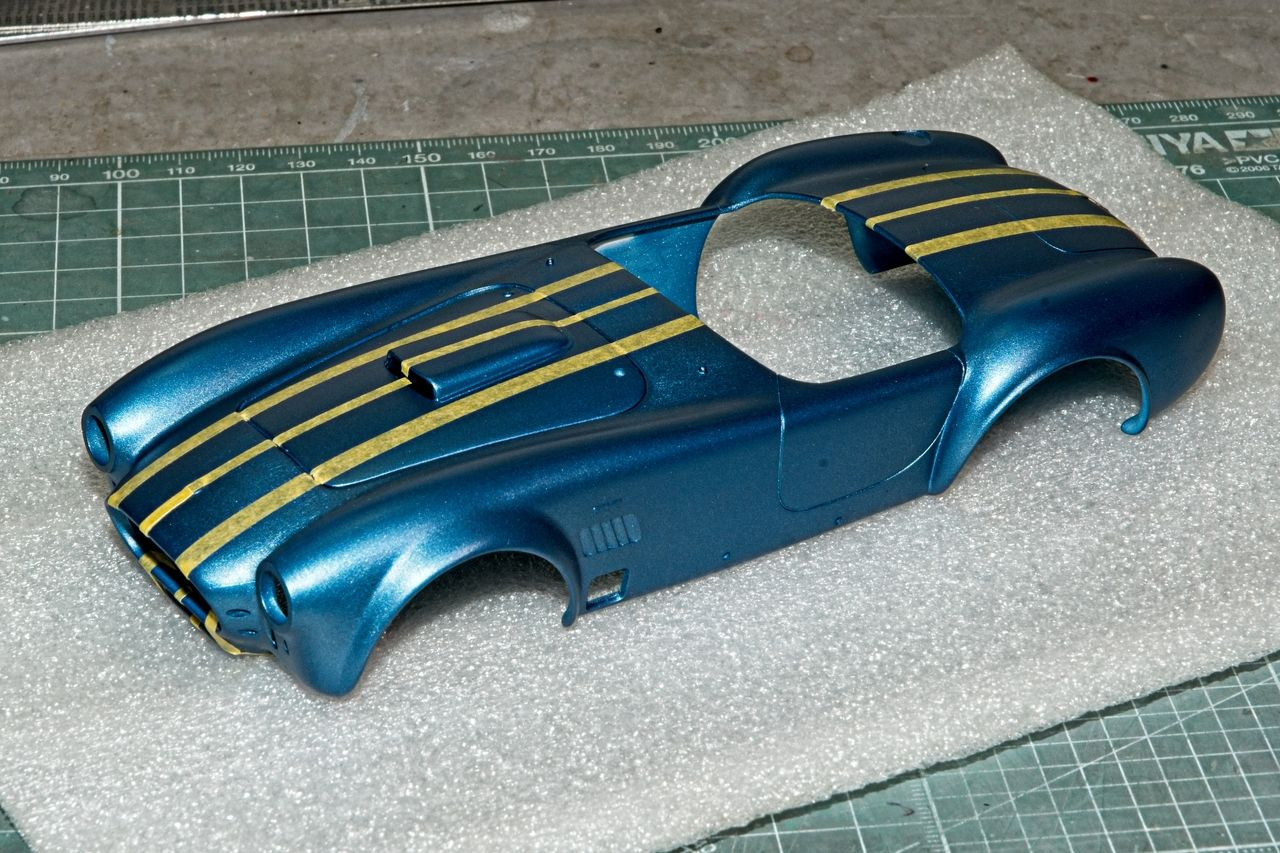
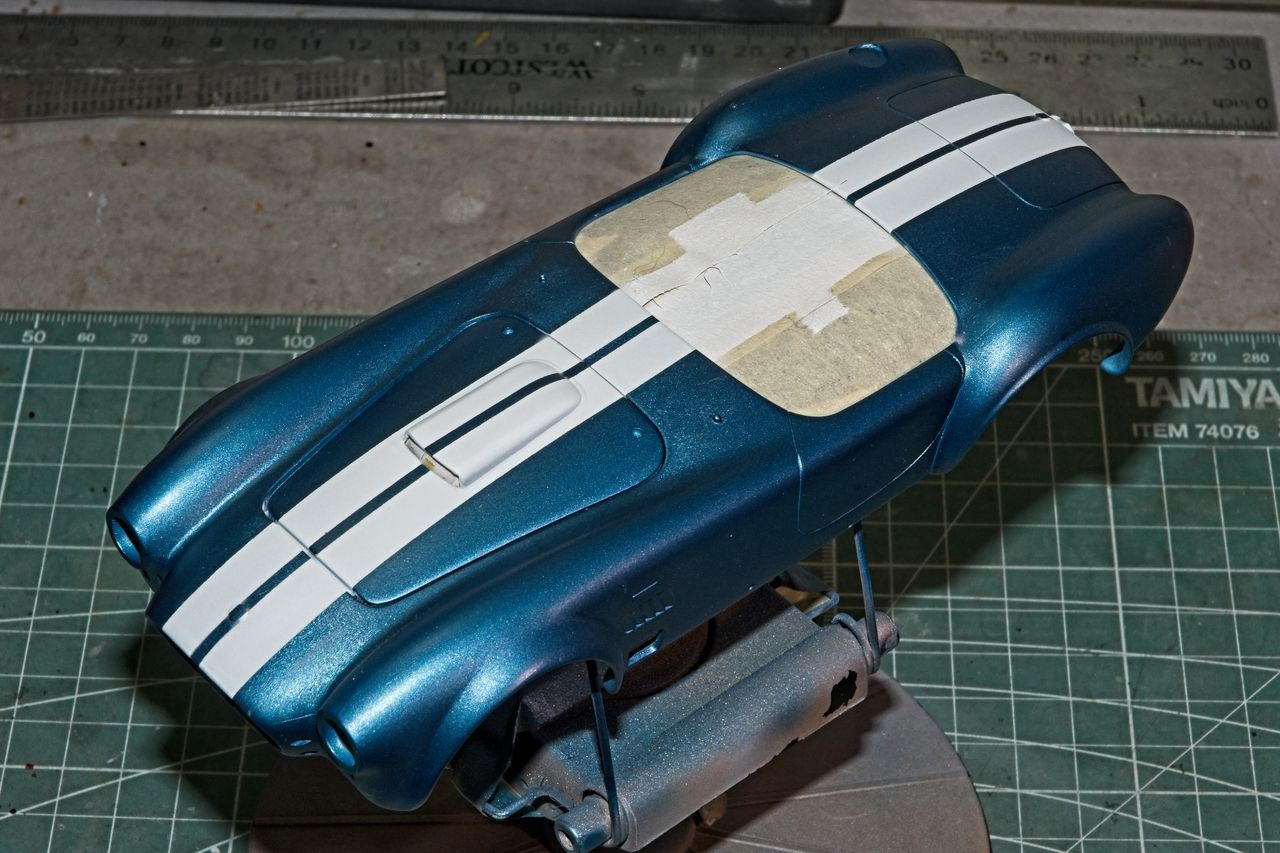
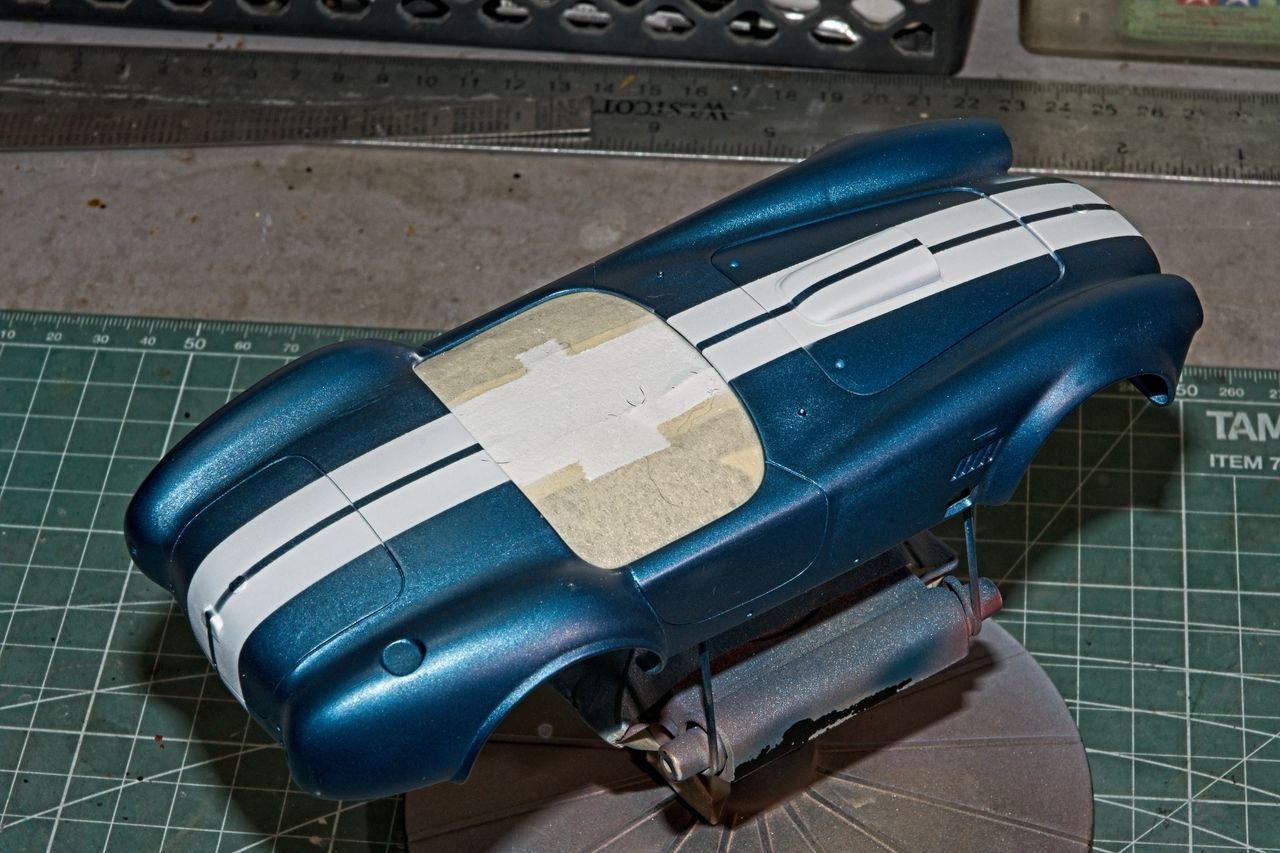
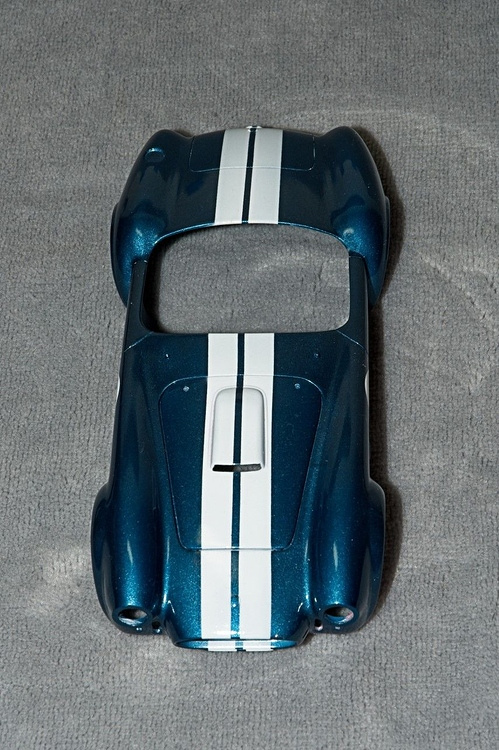
The paint of choice is Gravity’s GC-215 Ford Guardsman Blue, which was one of the factory color options for 1965.

Joel

2 Likes

With the primer on and lightly rubbed out with a piece of Tamiya #3,000 Sponge, I air brushed on the Gravity GS 215 Ford Shelby Guardsman Blue @ 15 psi. Two tack coats, 2 color coats, and 2 wet coats. Then right into the drying bin. Totally forgot to take a few grab pictures the next day.

The next step was to mask out the Shelby double White Stripes that all 1965 Shelby 427 Cobras came with. I thought about using decals, but there’s just no way to get a generic decal to lay down correctly over the engine hood scoop, so I opted to paint the stripes on. The center line was easy as I cut a piece of Tamiya tape 2mm wide, then starting with the hood emblem as one point, and the trunk emblem as the other marker. To ensure that the tape was still straight to the bottom of both clips, I just laid down a piece of tape along edge of the 2mm tape as a guide. The really hard part was going to be getting both white stripes the same exact width, and both have the exact width for the full length. Using a ruler didn’t work, so I cut a piece of Tamiya tape the proper width of the stripes and then laid it down in sections along the center 2mm piece. I used this as a guide to lay down the outer edge tape. Worked like a charm. The hardest part of the masking was the front radiator opening and the chin section below it. I had to eye ball it, and it’s not exactly perfect, but as close to it as I can get it. Finally I taped and covered the rest of the body with paper towel.


As you can tell, I opted to paint the stripes on after the main color, rather then before which goes against the usual preferred method of lighter to darker. The reason for this is to duplicate exactly how the paint lip would have looked on the real car with the White edge higher then the Blue paint. I spent considerable time burnishing down the Tamiya tape but still had concerns about paint bleeding under it. I’ve seen many a paint job that had clean up issues, so I came up with a plan that hopefully would work. I primed with Tamiya White primer thinned 1:1. 2 tack coats to seal the tape edges, and two color coats. Gave it 30 min to cure. I opted not to use Gravity White but rather Tamiya XF-2 Flat white thinned 1:1 not my usual 2:3 ratio. 2 tack coats, 4 light color coats and called it a day. Cleaned out my Grex Air Brush, and then it was time for the moment of truth. Off came tape.

To my amazement, not a drop of bleed through, and the color is consistent from front to end. Here’s what the body shell now looks like. None of the paint has been rubbed out or prepared in any way as yet. That’s the next step. I’m thinking of adding white number circles by the front of the doors since this is a time trail car, not meant for the street.

Joel

3 Likes

Joel_W

1
7d
I finished the basic body shell with my usual wet rub with just 8,000 then 12,000 emery cloth. Then the Gravity trio of polishes, followed by the Gravity liquid wax. I’ve gotta say that this time I’m more then happy with the final results. No orange peel, the metallic Ford Guardsman Blue has just the right amount of metallic shine, and the Mr. Color Clear Gloss Lacquer laid down perfectly.

You’ll also notice that I added from my spare decals two blank white number circles. At every time trial and solo event I entered with my MGB, side panel numbers were required. My usual racing number was a Black 53, but sometimes I was assigned a different number, hence the empty circles. as the numbers were always applied after registration.

Joel

2 Likes

With the basic body shell completed, I next turned my attention to the chassis and the front & rear suspension sub assemblies. I must say that I was rather impressed with the detail of the complex suspensions, as both really looked more then quite good and equal to many of today’s kit offerings, especially considering that the kit dates back from 1992.

I started off with the usual cleaning up of all the parts as there's an abundance of seam lines everywhere. Unfortunately, my effort still left a few here and there. Once that job was done, I've started the paint prep with a 15 min bath in Polident & room temp tap water. The parts not only come out spanking clean, but have a rather nice fresh scent to them. 

I'm still in the camp of priming everthing no matter what, so I used the last of my Gunze #1500 gray primer thinned 1:1 with Gunze #400 Mr. Leveler Thinner.  I let the parts dry and cure for a few hours then I air brushed on Tamiya Semi Gloss Black, with the upper A arms in Gloss Black, and the rubber boots on the steering rod that connects both front wheel assemblies Tamiya Rubber, which really looks like their plain dark military Gray is you ask me.  The following day I masked the cover of the rear end which is part of the rear axle, and then primed it once again as I forgot to mask it off when I painted the axle the day before. Several coats of Tamiya Gloss Red was air brushed on as well as the main body of the rear end gear housing. 

The shocks/springs already were air brushed Semi Gloss Black, but the springs should be gloss Black, so I hand painted them as well as the tops and bottoms of the shocks Mig Ammo Polished Steel.

After seeing the trunk braces highlighting, I really need to tone them down with a light Gray over the Aluminum which is way to stark and bright.

Joel

2 Likes

That body Paint job looks amazing Joel. Leaving the number circles blank is a nice touch. I didn’t know it was done like that.

Great work so far Joel :slight_smile:

Jesper,
Thanks for checking in on my latest build, and liking my paint job, it’s much appreciated.

As for the number circles that’s how we did them back in the 1960s-1970s when I raced. I never cared much for the Black numbers on my MGB’s door panels without the circles which wasn’t a rule, just the numbers were. The circles just gave it a more professional look as far as I was concerned.

Joel

Russell.
Thanks my friend for checking out my build, and liking what you saw. As always, it means a great deal to me.

Joel

1 Like

Some awesome work, Joel! Well done so far! :+1: I’ll follow.

Torsten

Torsten,
It’s always a treat to have you check in on one of my builds. So glad that you’re liking what I’ve done to date.

Joel

Been a while since I last updated my Shelby Cobra Ford 427 build, but finally I’ve accomplished enough with the completion of the engine subassembly to post my next update.

The engine/transmission is the basic 2 piece claim shell that fits together without any issues, so just the usual seam clean up was all that was needed. My research showed that all the Ford Shelby Cobra 427 engines were not paint Ford Gloss Blue, but rather Gloss Black until the last dozen or so engines in the run. Easy enough as I just went with Tamiya X-1 Gloss Black without any primer, as well as the rest of the various engine parts.

I used various Alcad2 metallizers so that there was a difference in the tone of all the metal parts. I got to the point that I could flush out my air brush for the next color in a few min. The kit exhaust manifold looks like the standard cast Ford units, but most of my pictures seems to show them as custom made from Aluminum tubing, so I went with Alcad2 Aluminum. But they look a tad to bright/light.

The intake manifold was air brushed with Alcad2 light Aluminum while the 4 barrel Carb was done in Polished Steel Aluminum, and the Aluminum shell around the carb was done in good old Alcad2 Aluminum.

I had a pre-made distributor with Red wires, so I went with that. Just can’t remember the name of who made it.

Next up was to dry fit the engine with the drive shaft in the chassis to make sure that there wasn’t any surprises.

Joel

1 Like

Very nicely done as usual Joel. The engine looks spot on. The red wires should contrast nicely with the blue body.

David,
Much appreciated for your thumbs up.
Joel

Great work Joel!

The spark leads really help to bring it to life :slightly_smiling_face:

Russell
Thanks buddy for stopping by and your thumbs up. I really appreciate it.
As for the plugs wires, they’re supposed to be plain Jane rubber Black, but I just couldn’t do it. Had to add a little color to the engine. Besides, in my Dream world, I changed plug wires like I always did and always used either Red or Orange. So in a sense, it’s still a viable option.

Joel

1 Like

Ken,
Thanks so much for stopping by and checking out my little old Cobra build. All those little details both made and painted took time, but add so much to the build. Coming from you who does a ton of this type of detailing, makes it that much more appreciative.

Joel

Very nice Joel ! I know you would rather have an MGB though …

:blush: first thing I used to do when acquiring a new car back in my youth was change the leads up for a sassier look! I like it! :slightly_smiling_face:

Richard,
Thanks Buddy for checking in, it’s always greatly appreciated. And yes, I’d rather have a 1967 MGB then any other car no matter the cost or value.
Joel

Russell,
It usually was also on my list, but 1st I had to change the exhaust system to get both the sound and added performance that the stock unit just killed. Then I always changed out the air cleaner to a custom low restriction one. Even my MGB had a better set for the twin SU carbs.

Joel

1 Like