Hi all! I want to present to you my work, which I did 8 years ago.
This is my first blog on this site. I apologize in advance if I’m doing something wrong…

18 Likes
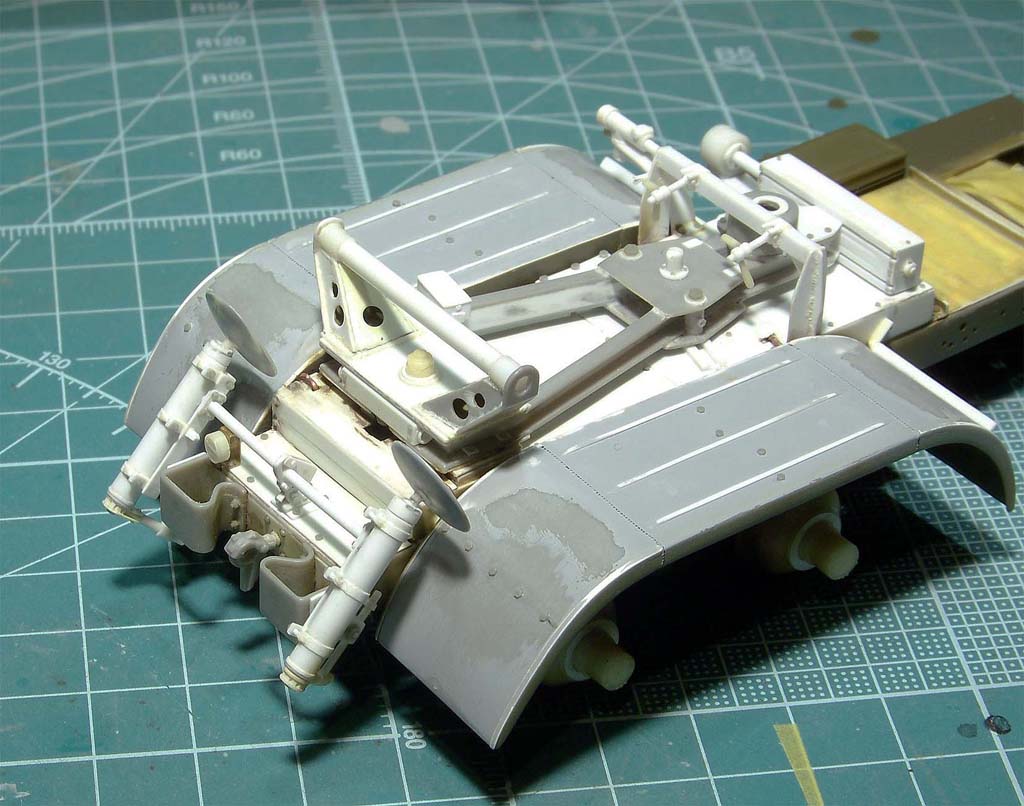
Now briefly about the process itself.
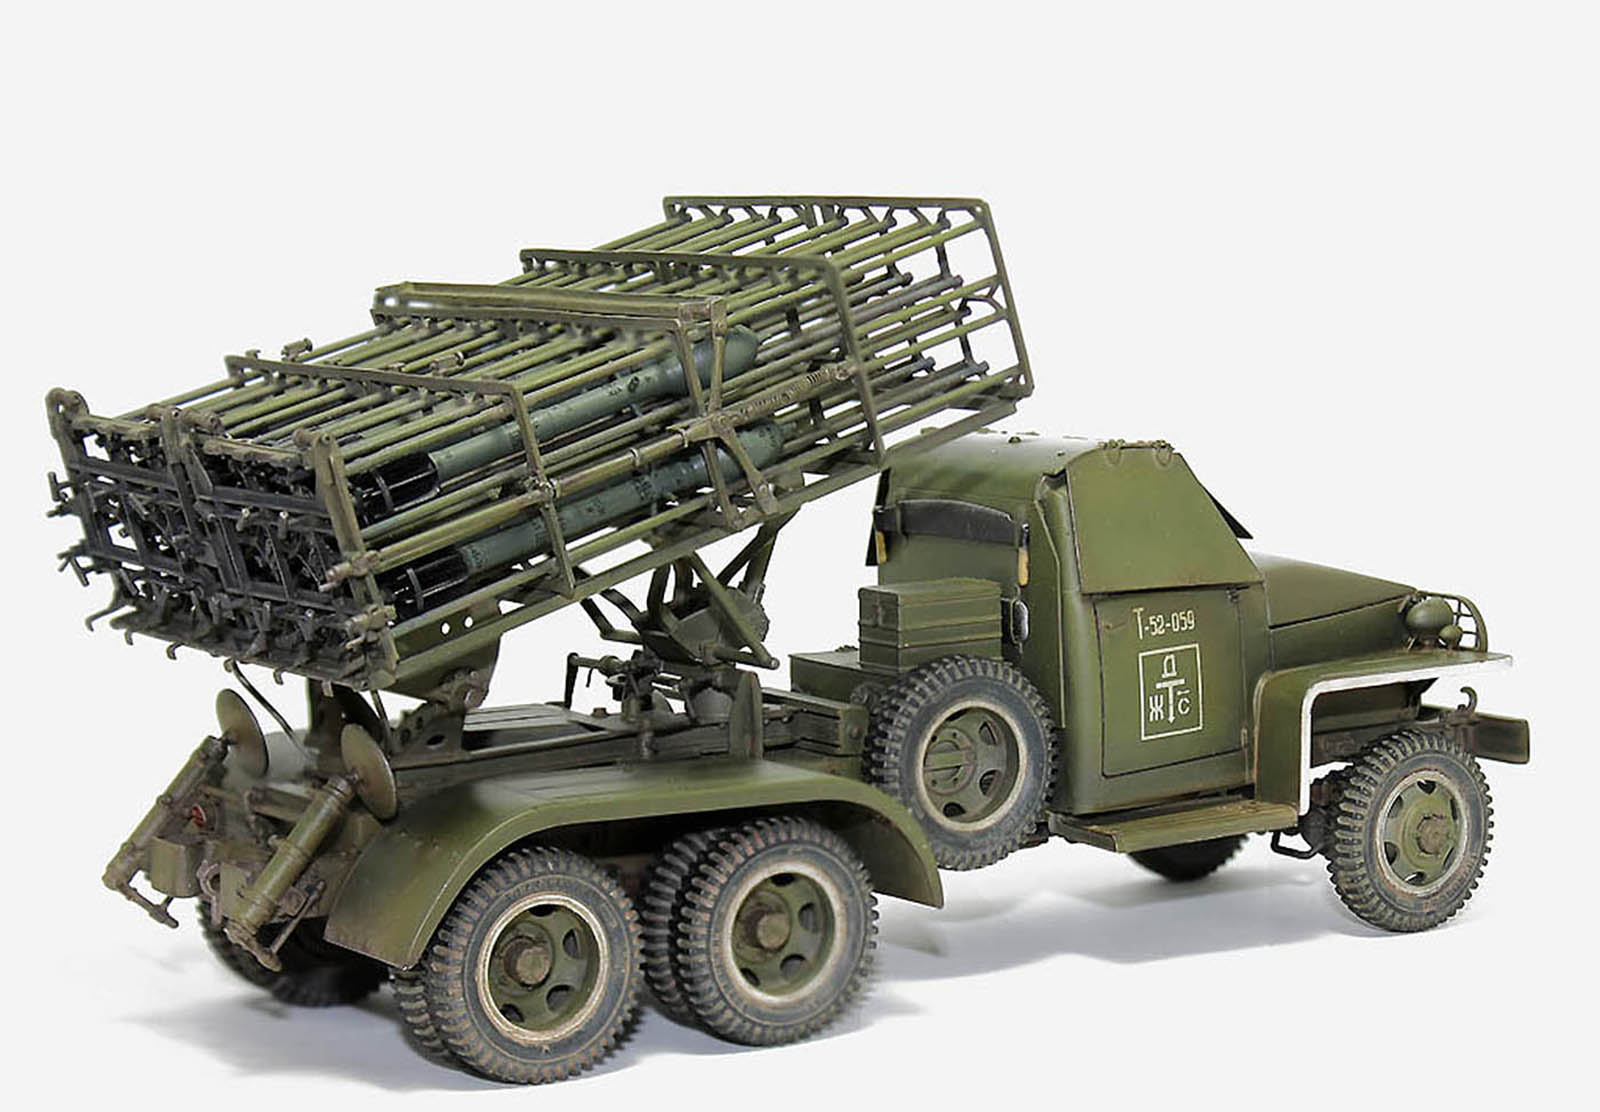
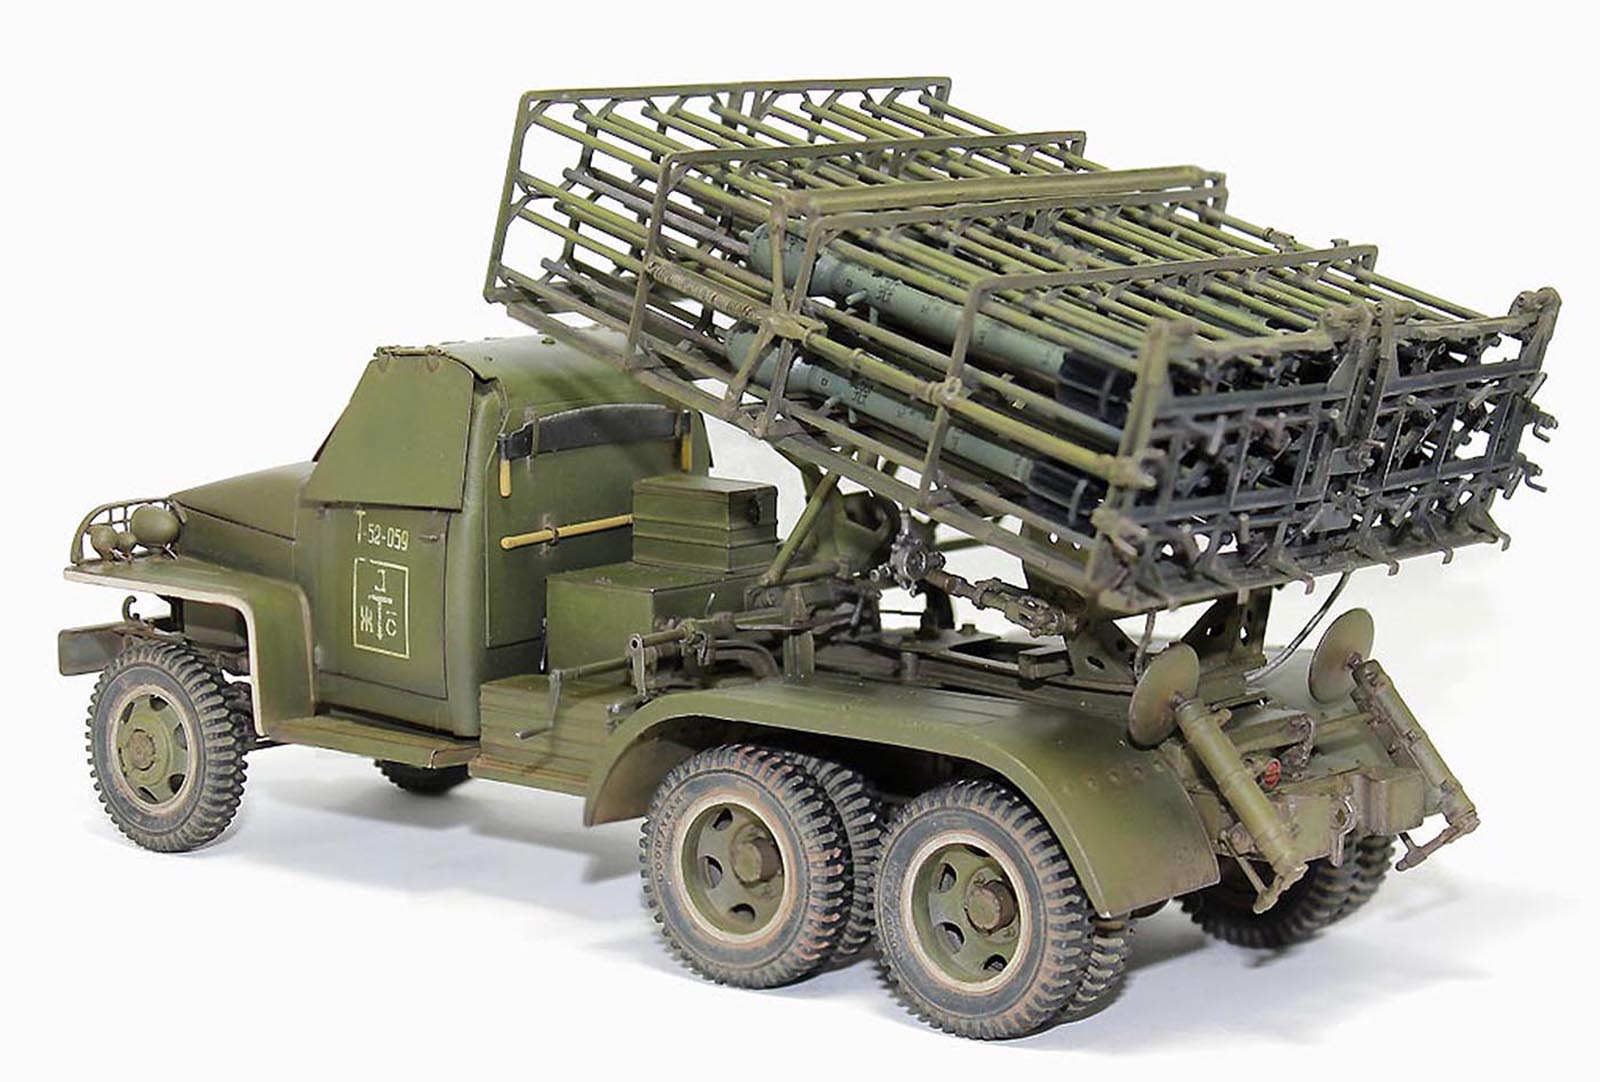
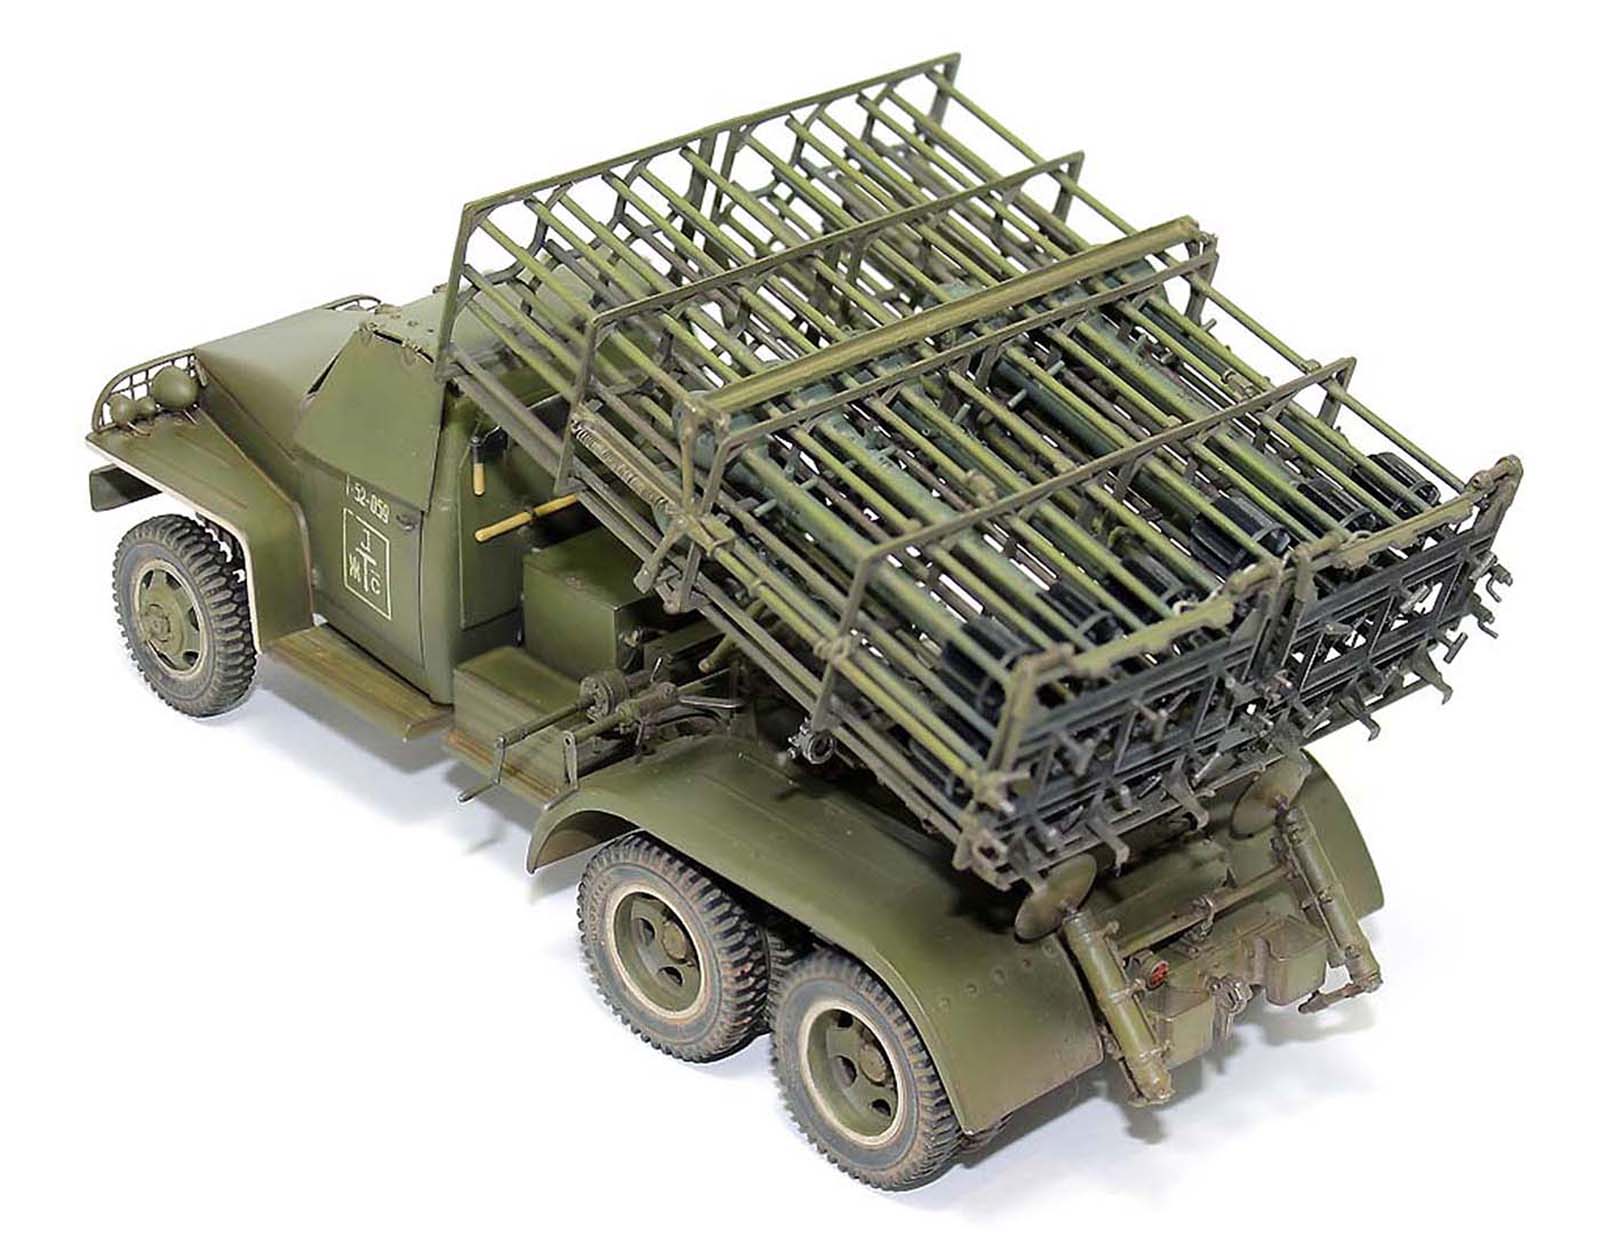
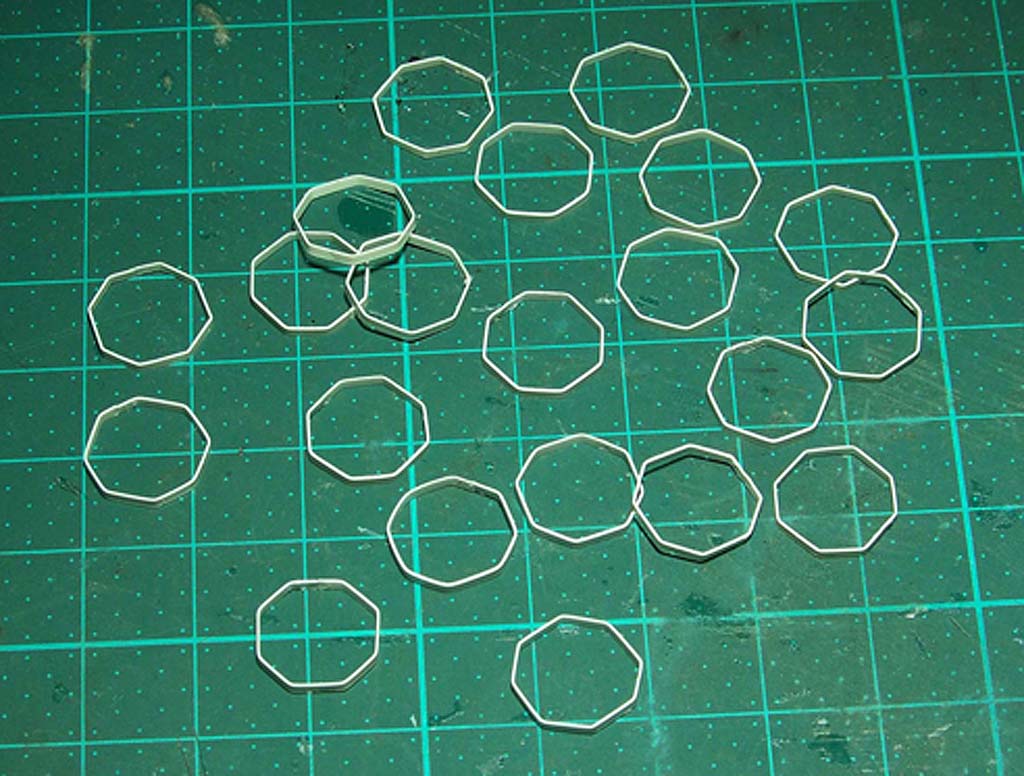
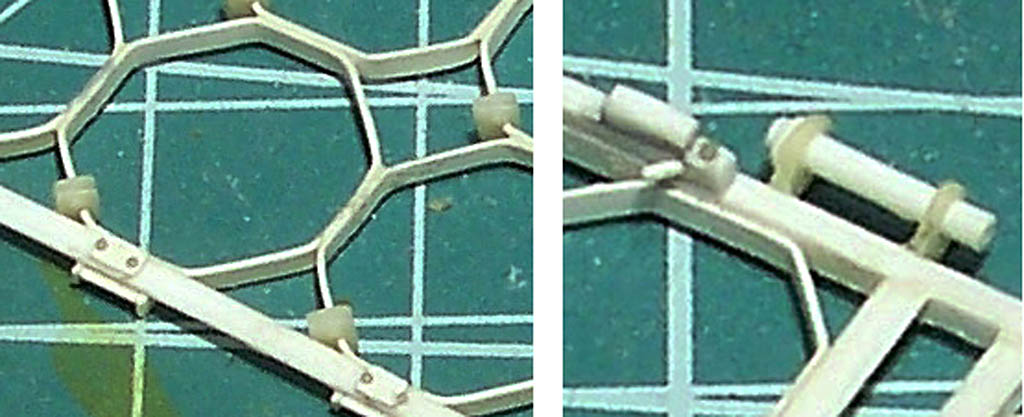
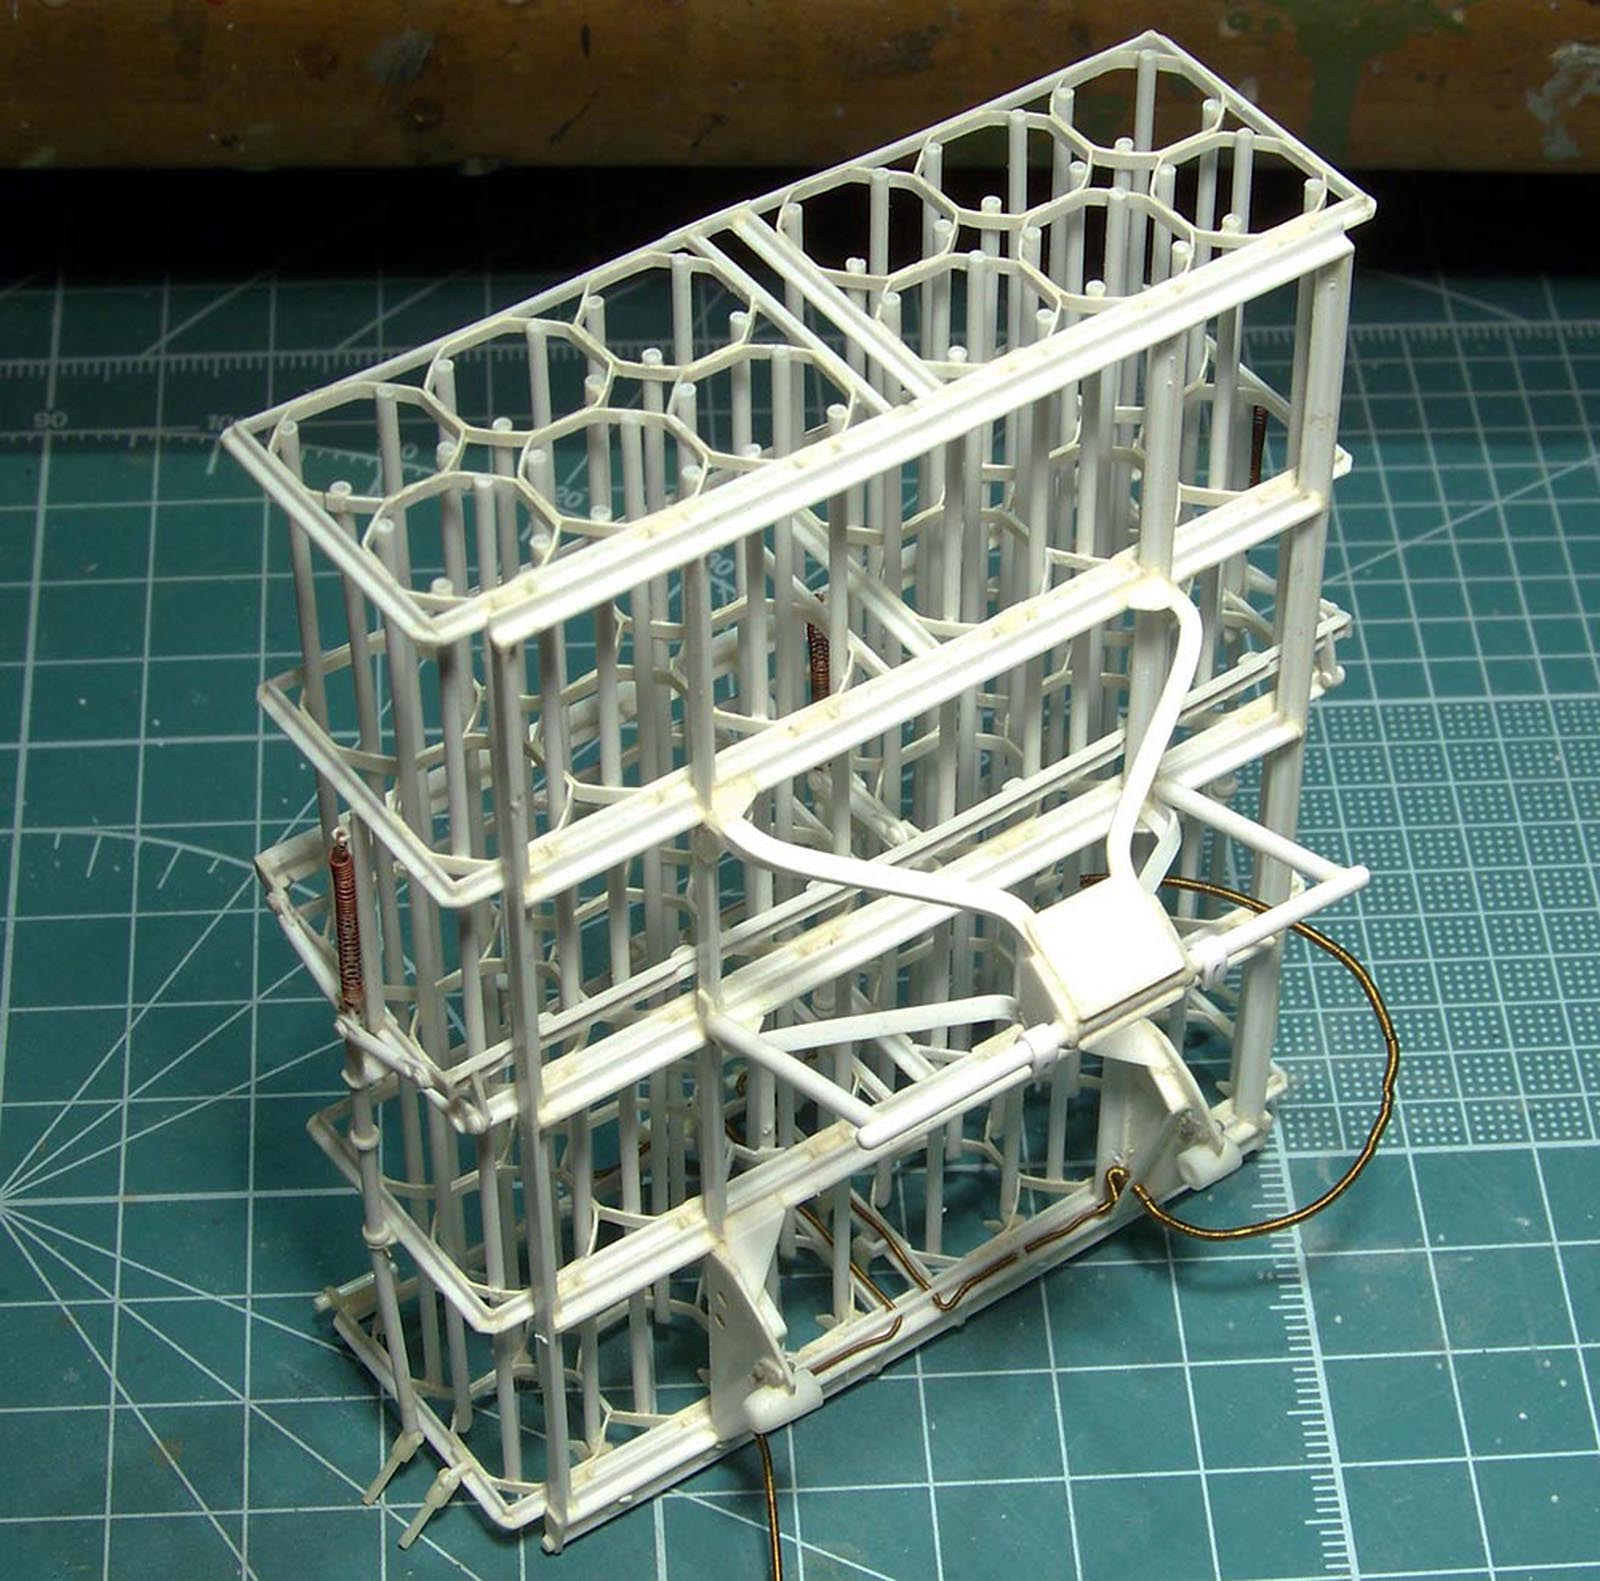
I thought for a long time how to make an octagonal ring for the launcher and came to a decision. I made an octahedron and stuck strips of thin plastic on it.
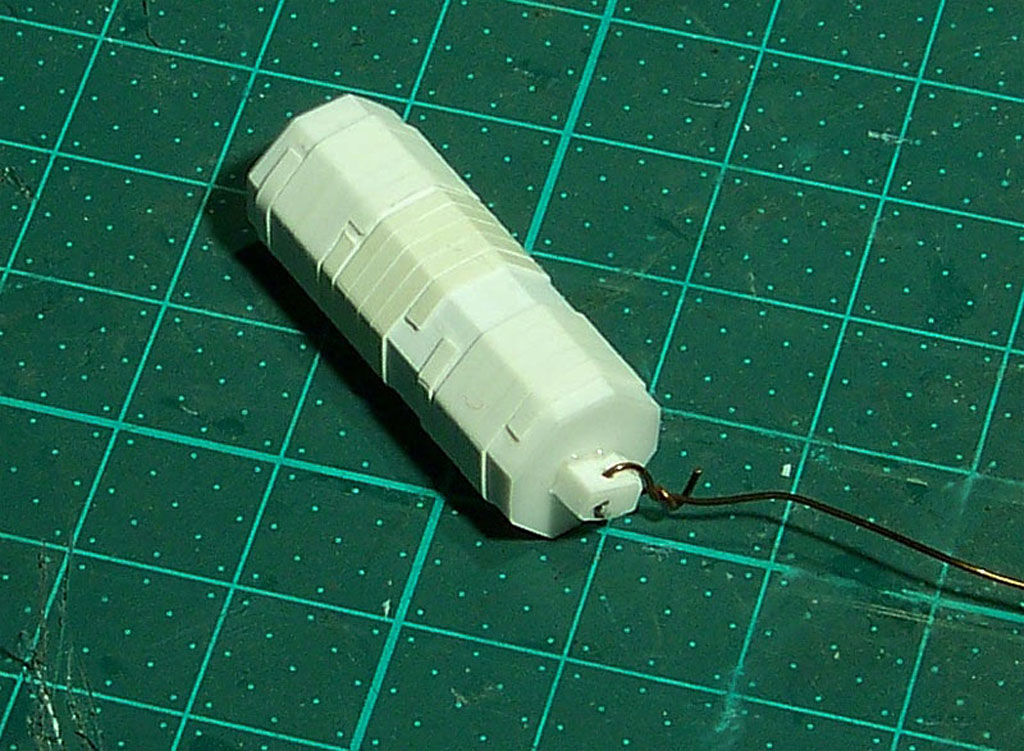
Then I put it in boiling water for 5 seconds. After cooling, I made a cut and removed the finished octagons.
6 Likes
Nope, looks great. Love the work on the launcher.
1 Like
That looks amazing and a great tip on forming strip
1 Like
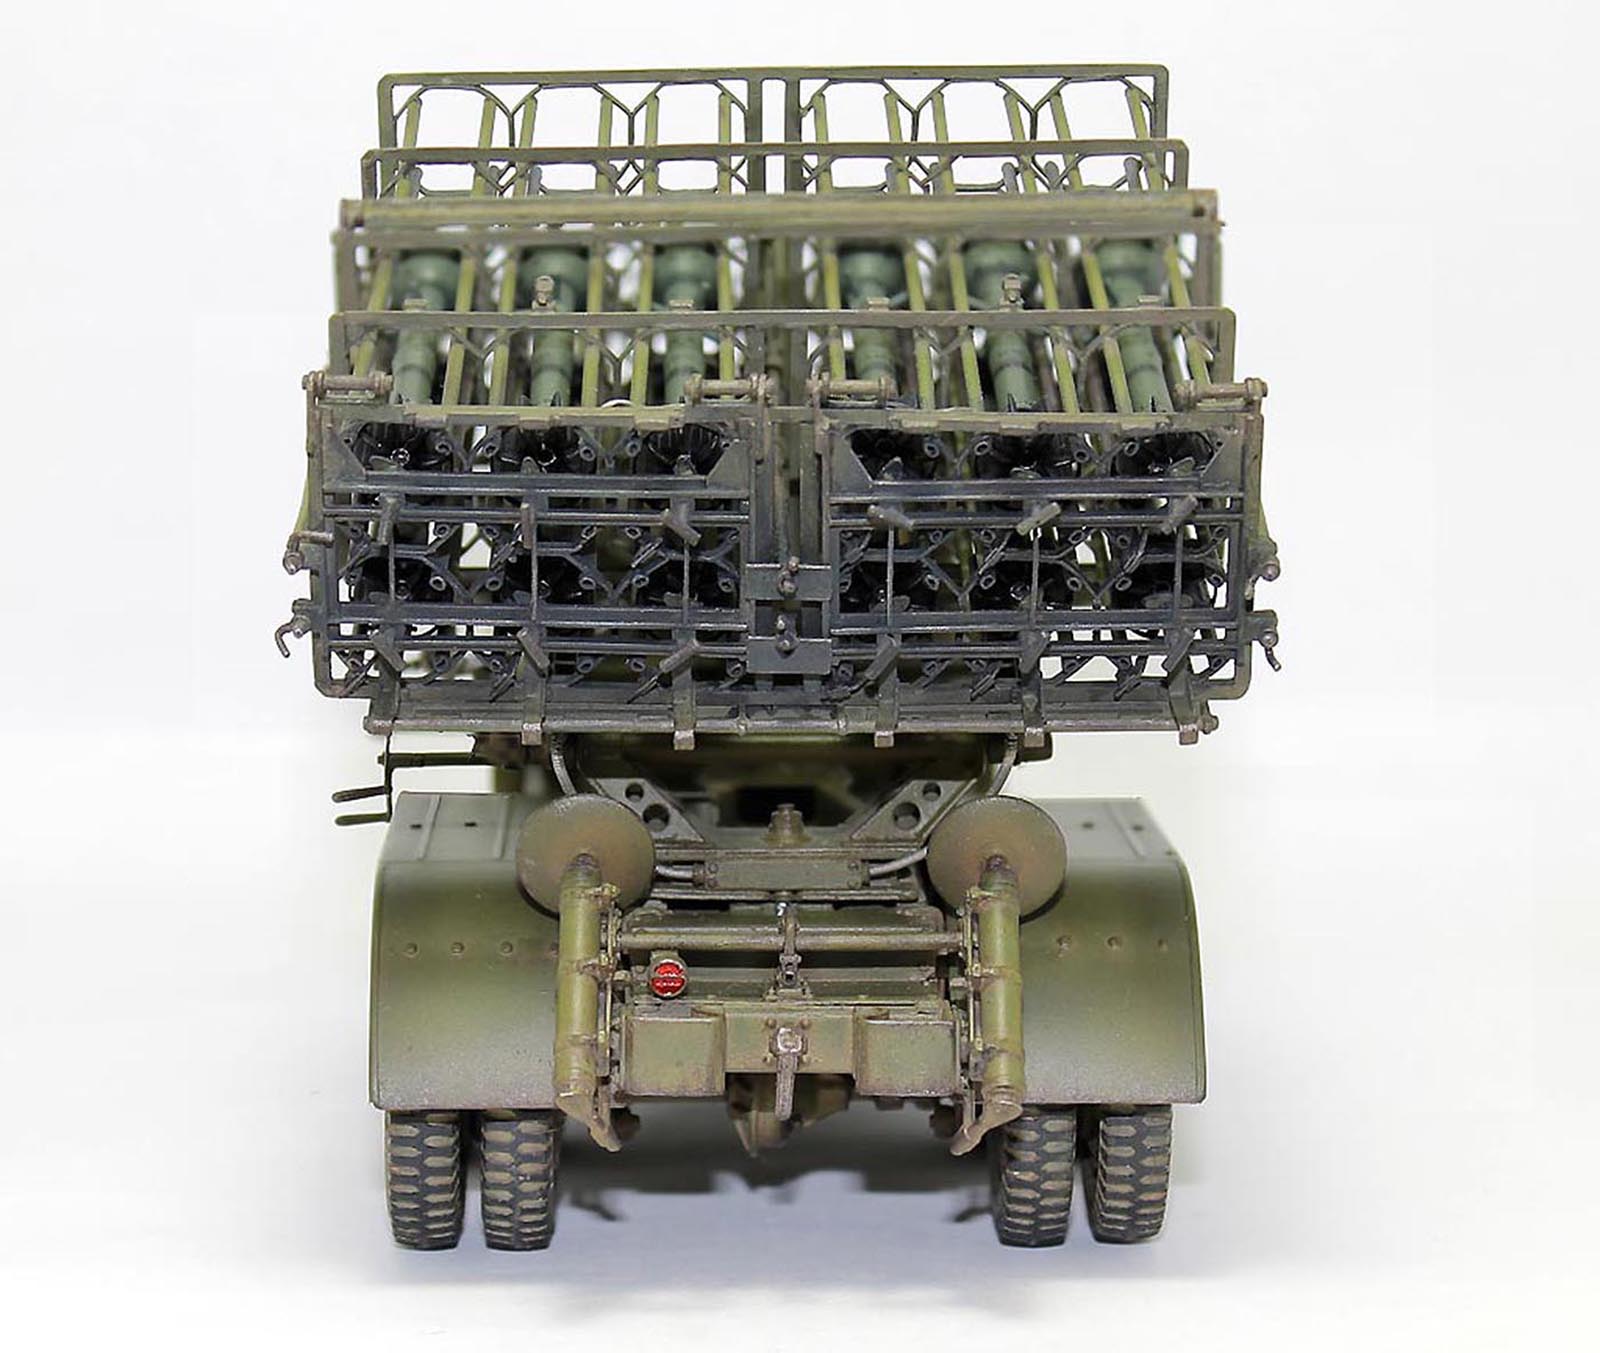
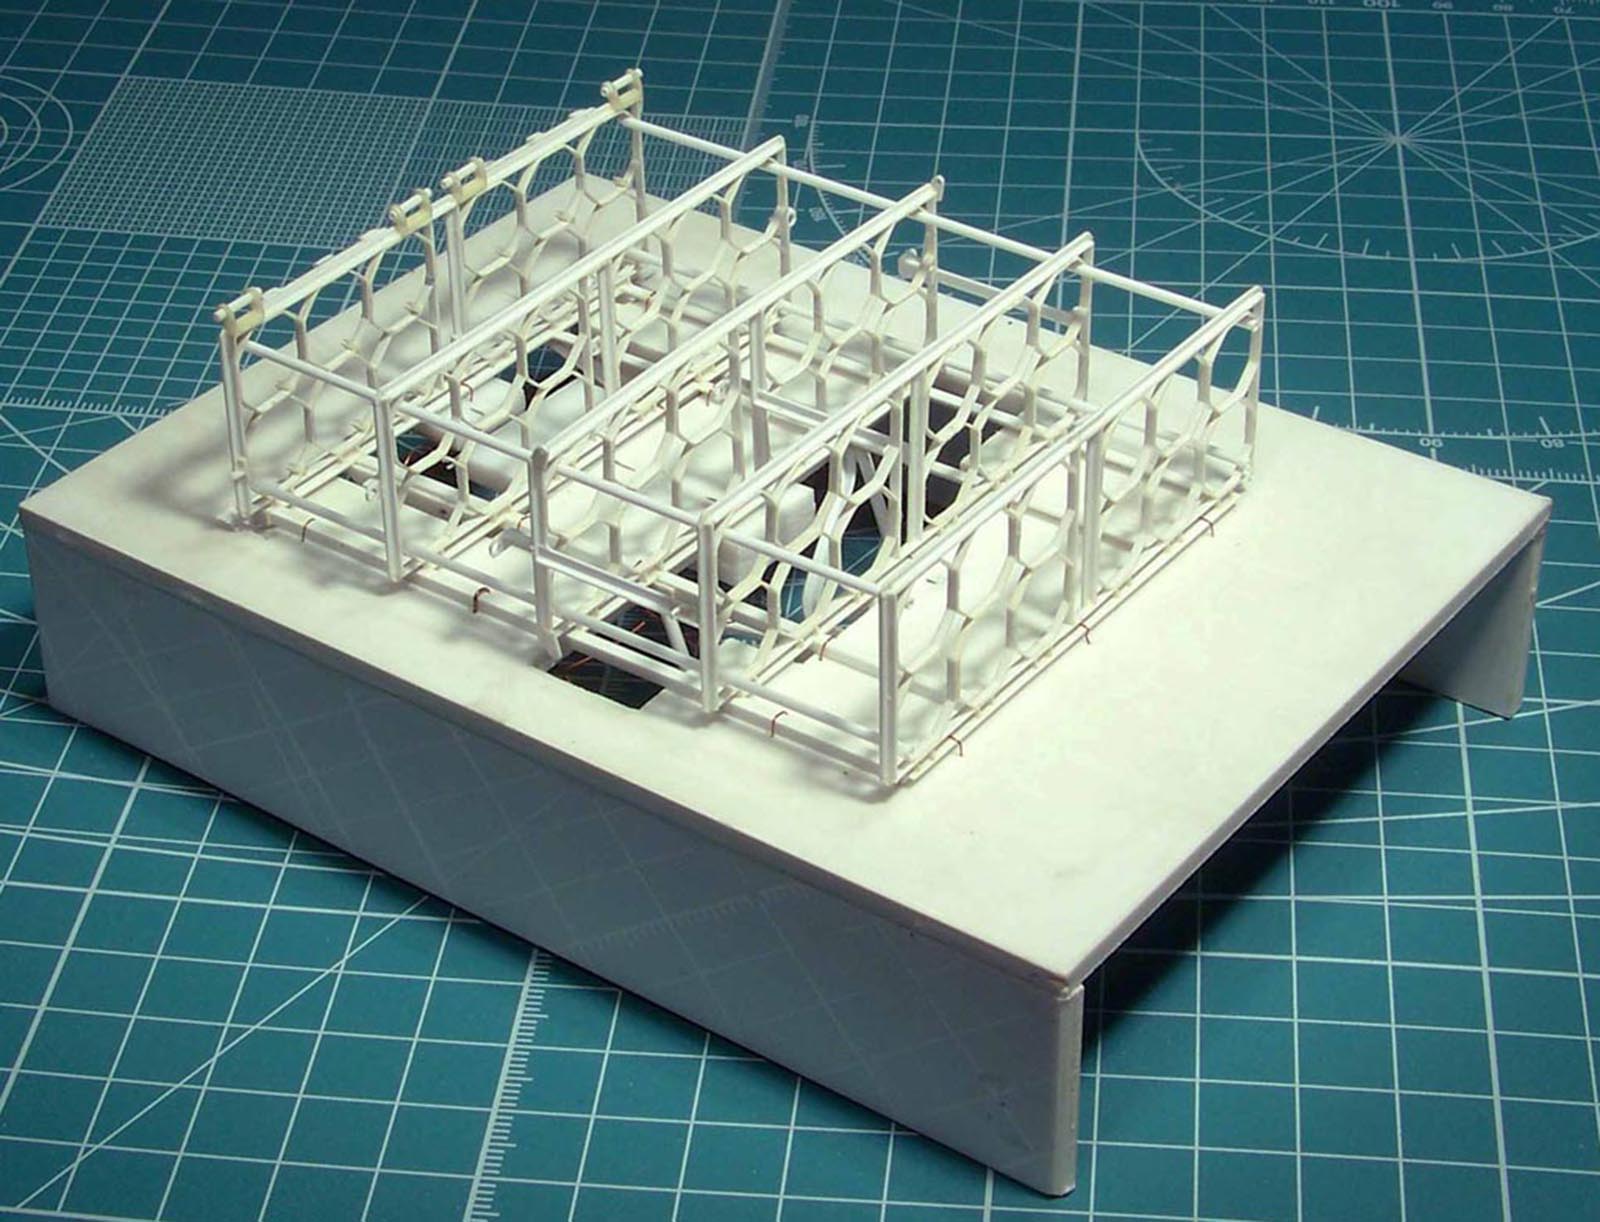
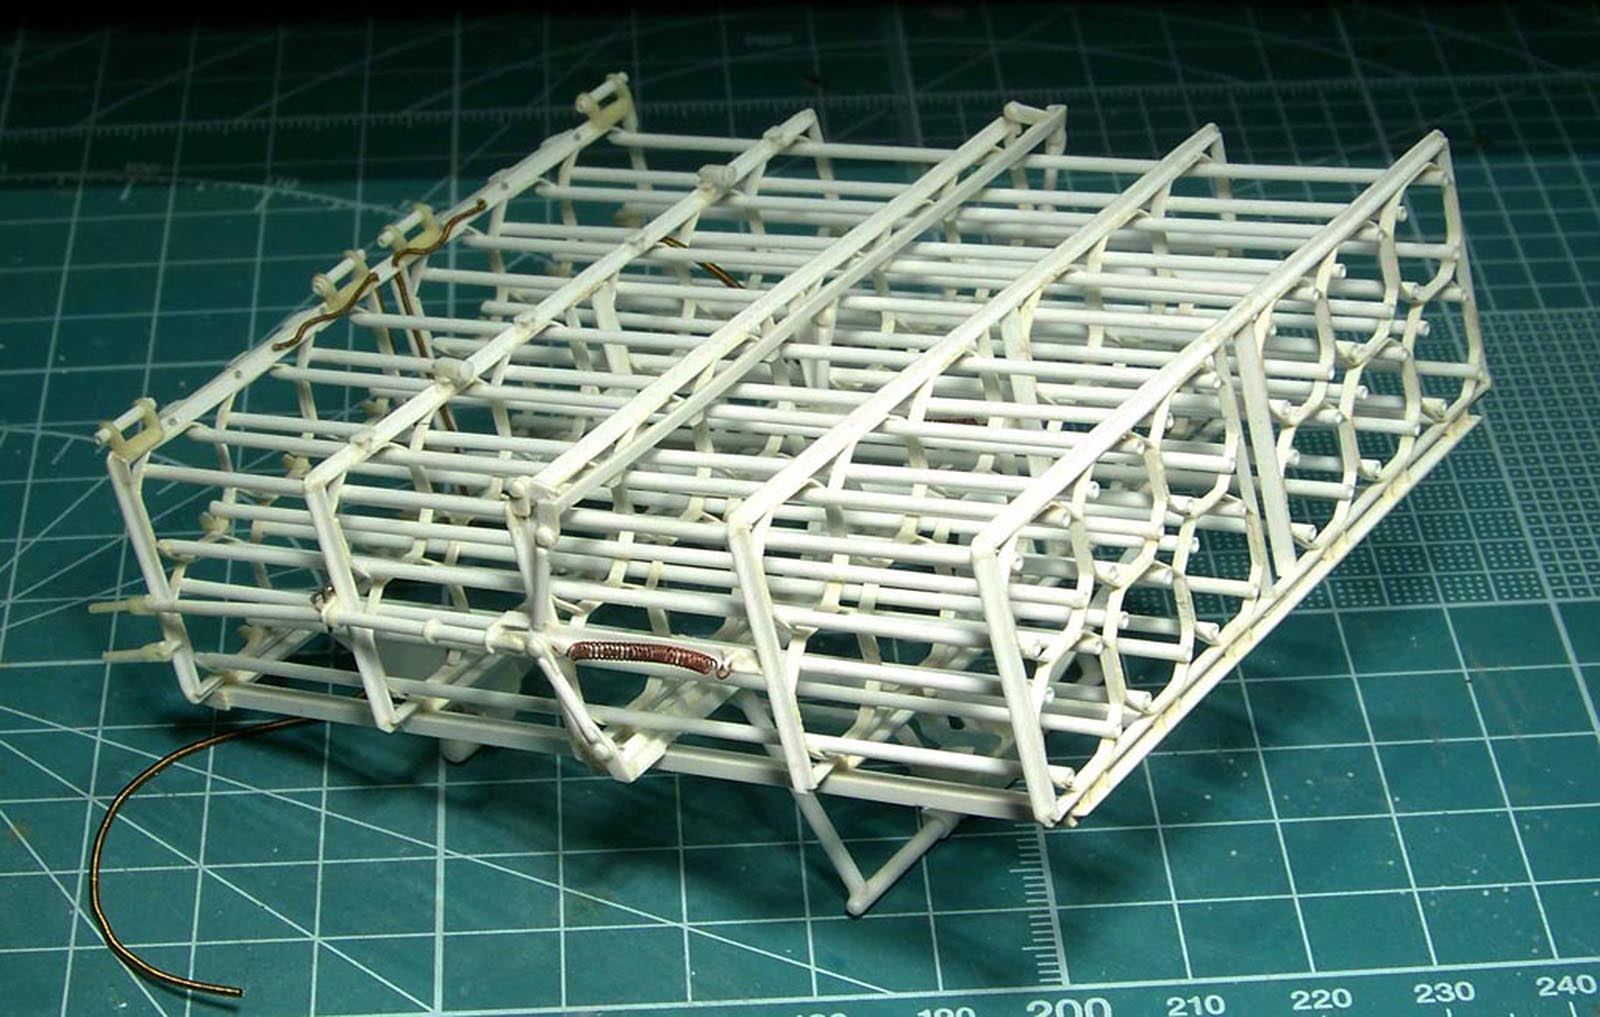
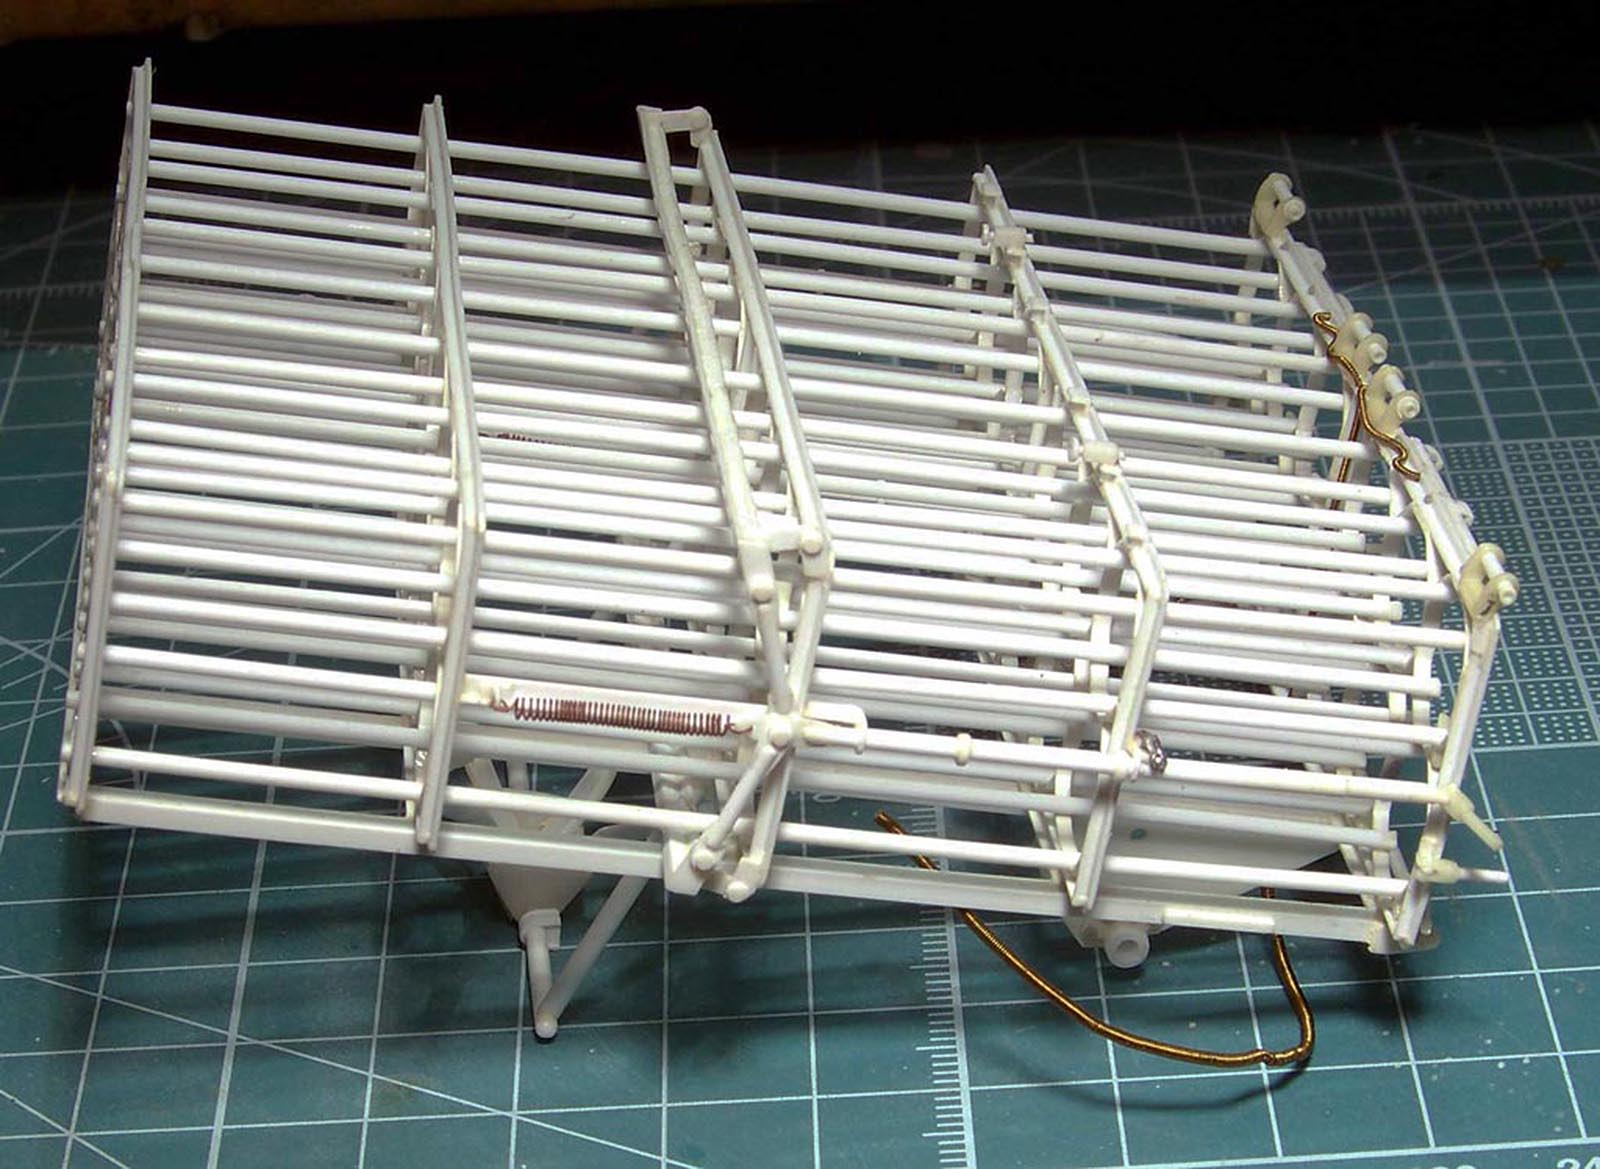
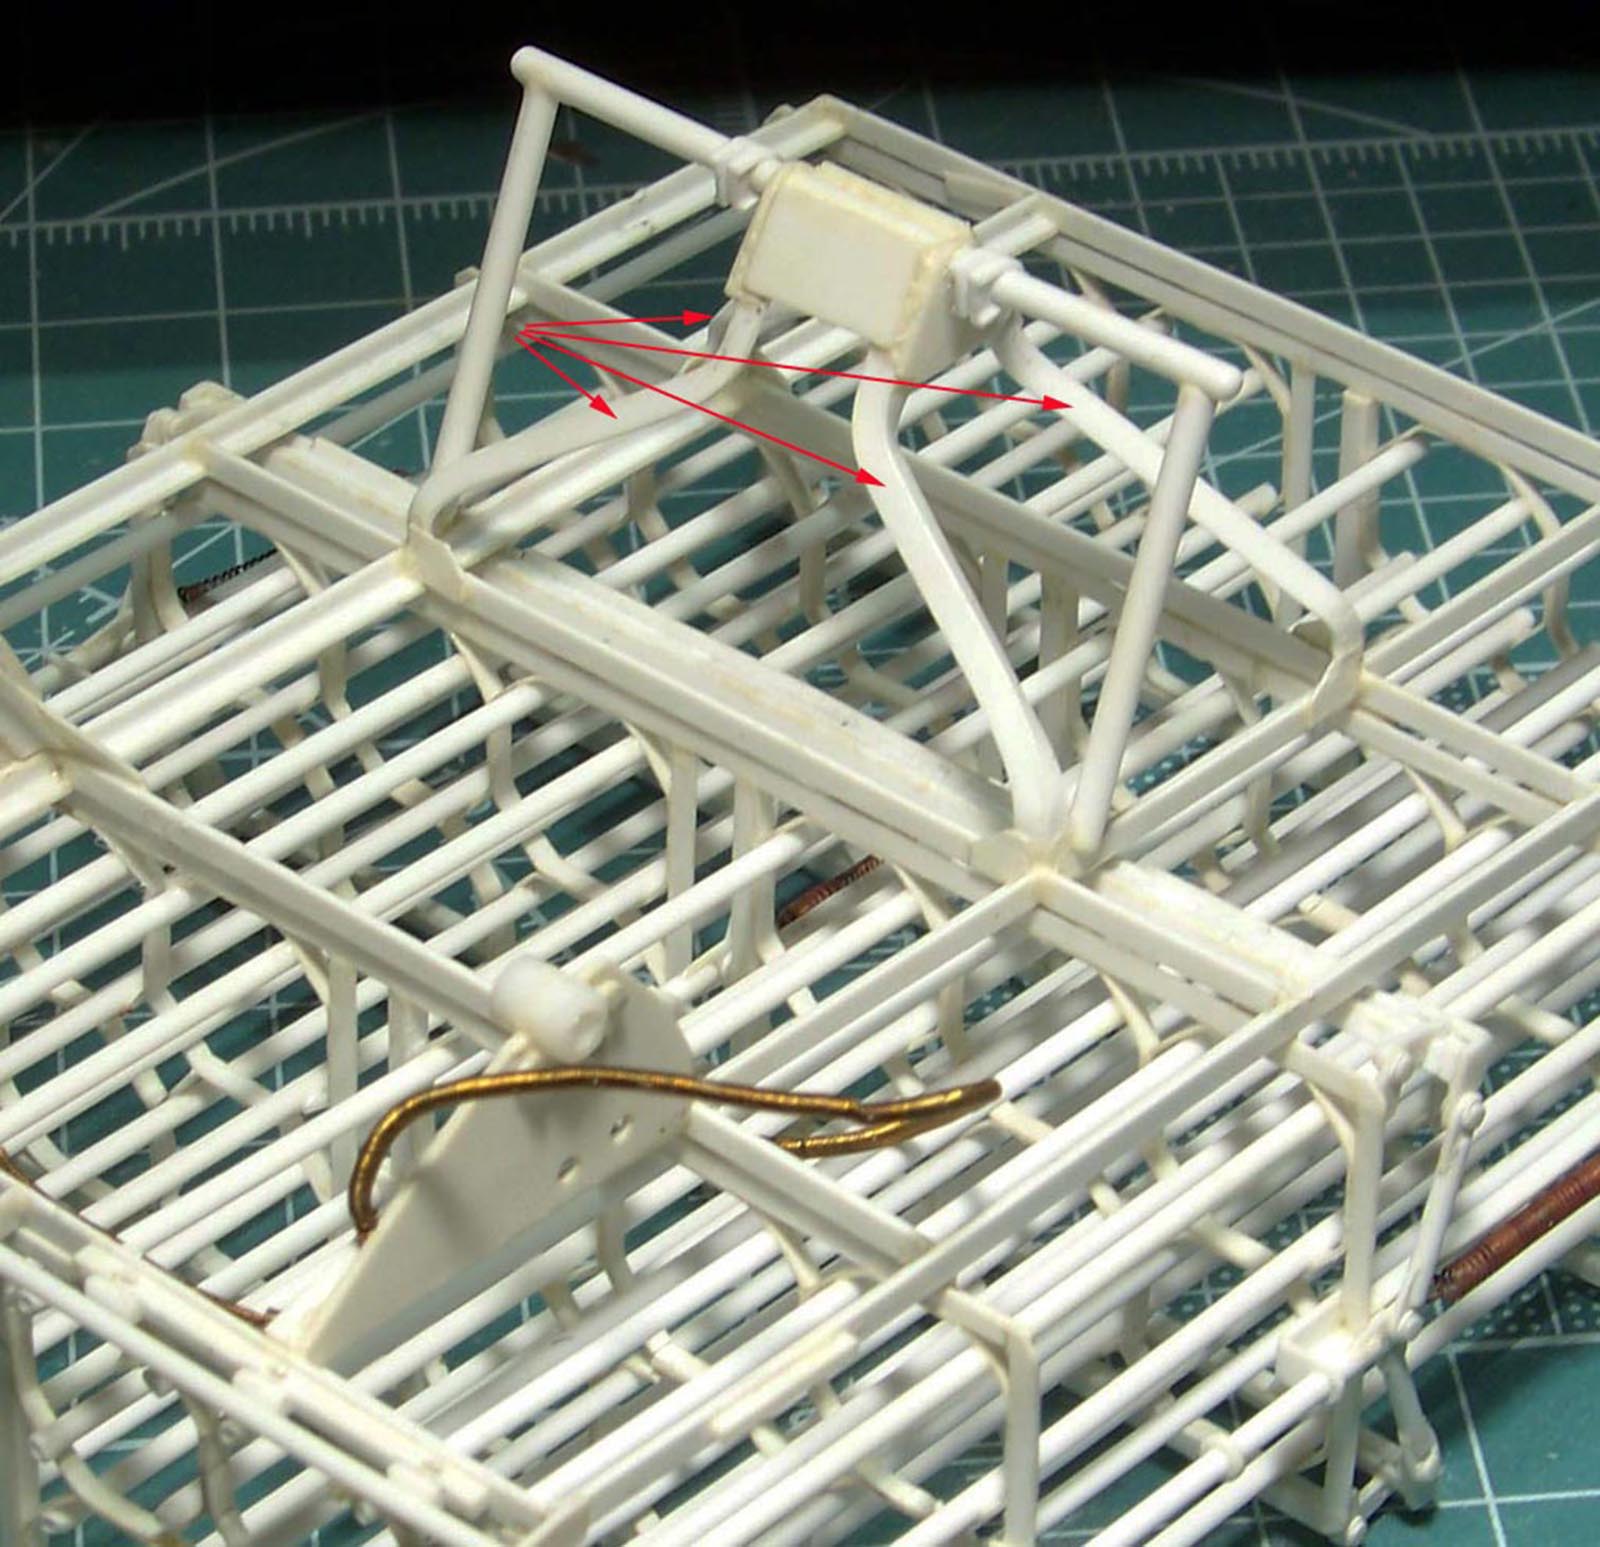
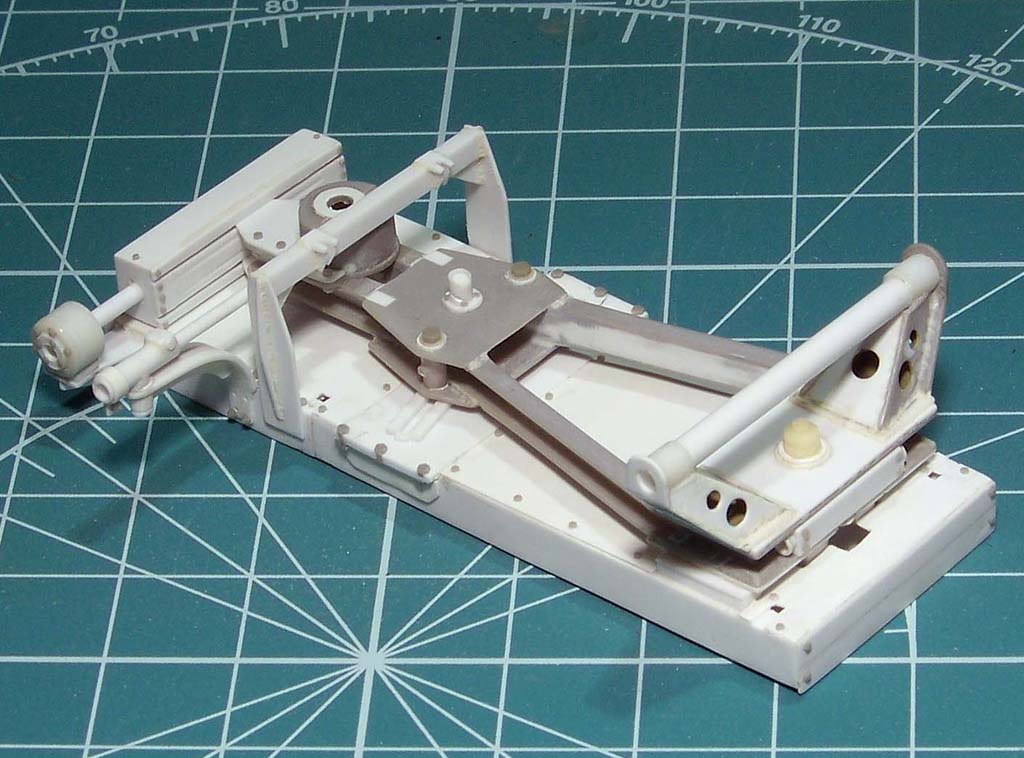
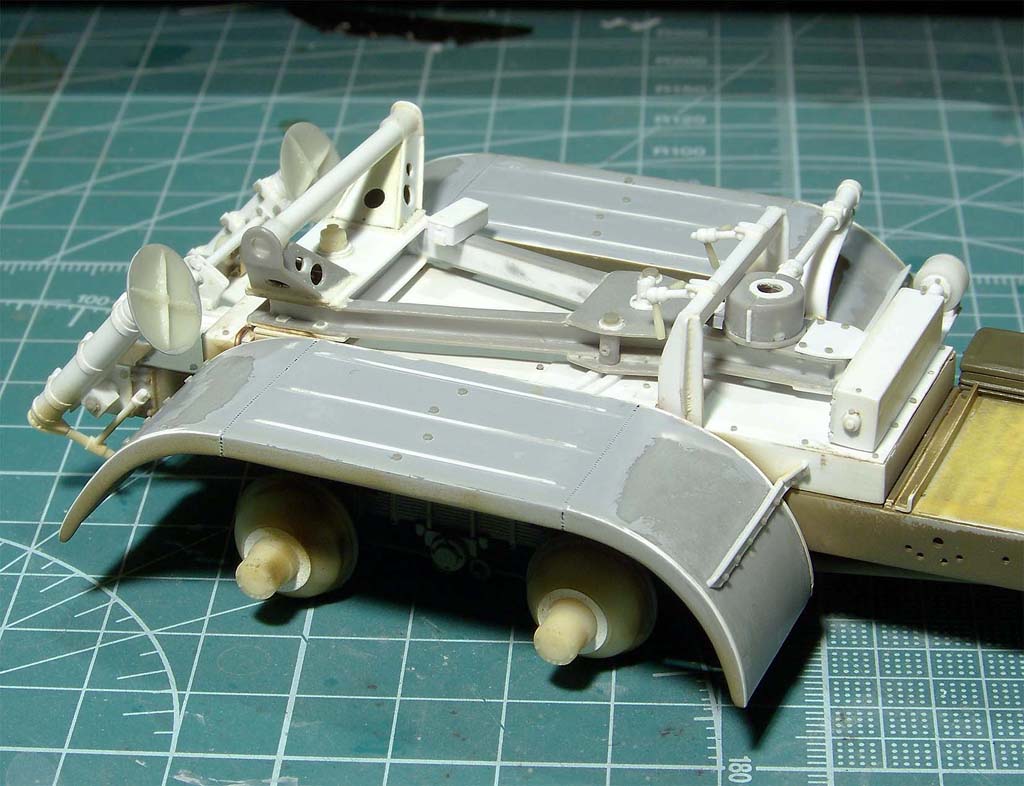
Then I glued the octagons together and added plastic corners.
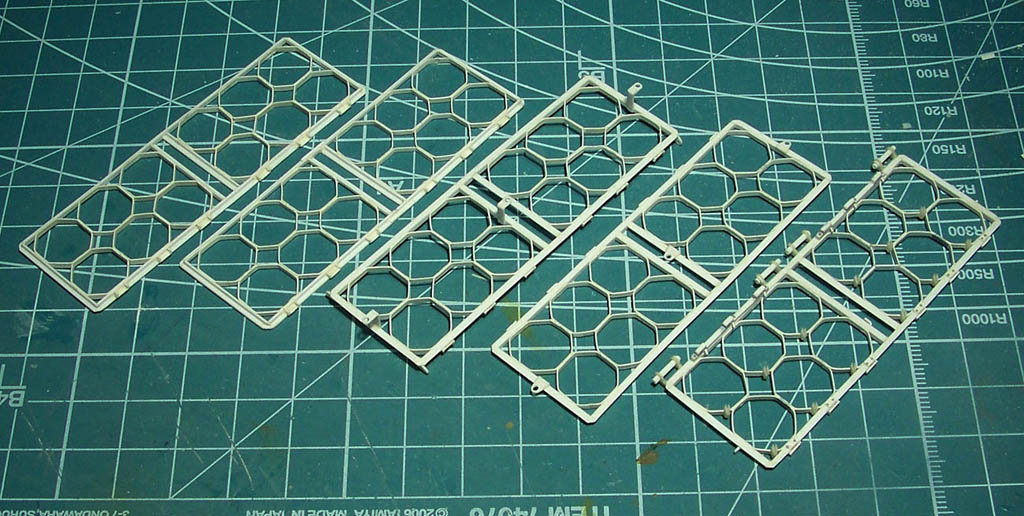
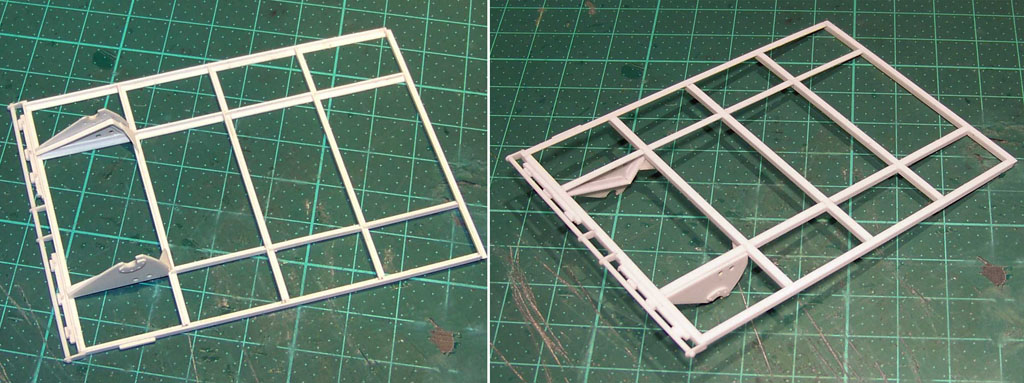
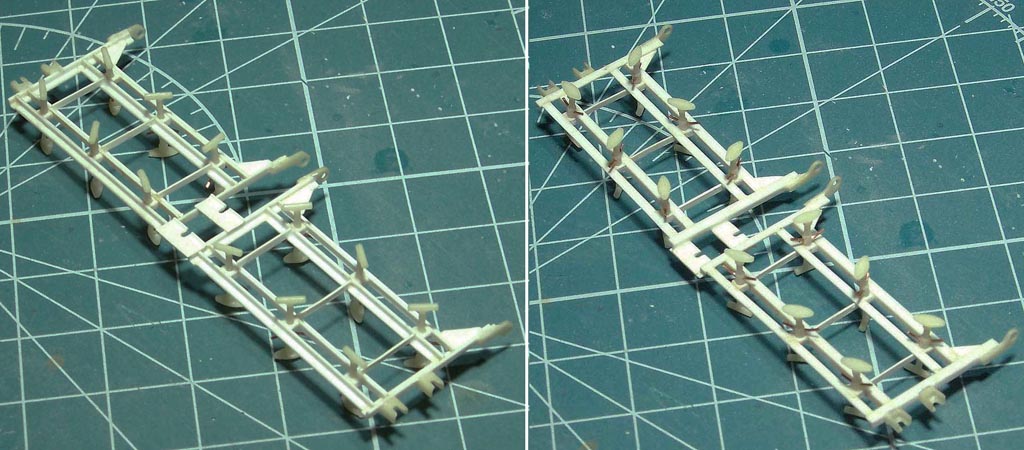
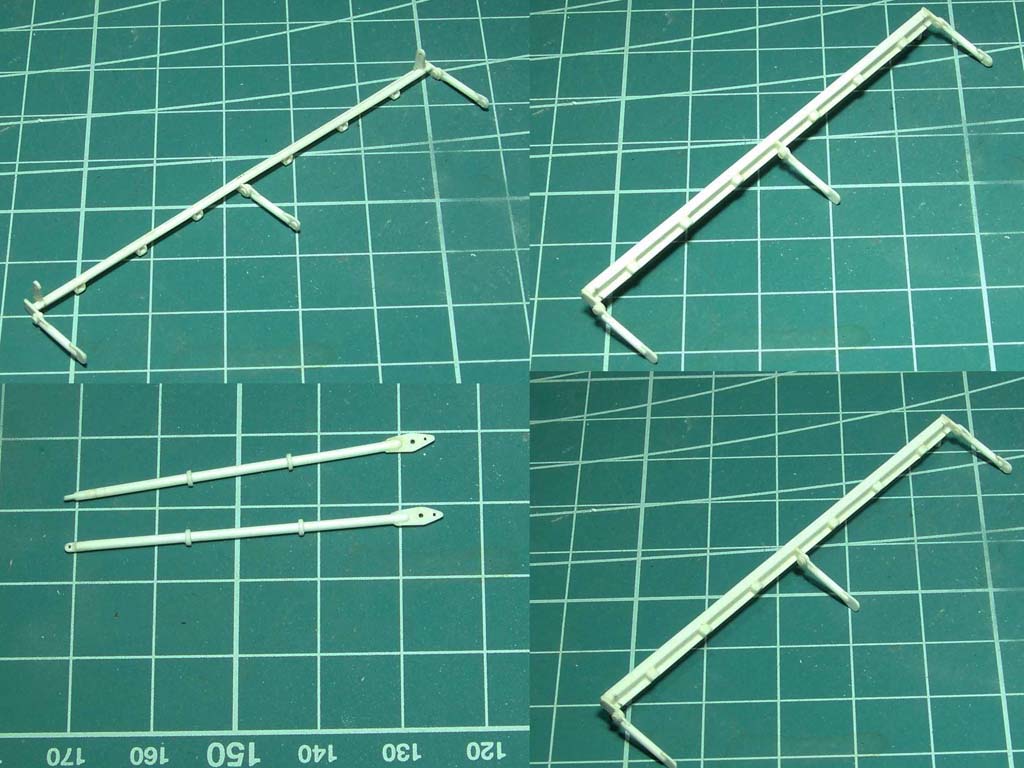
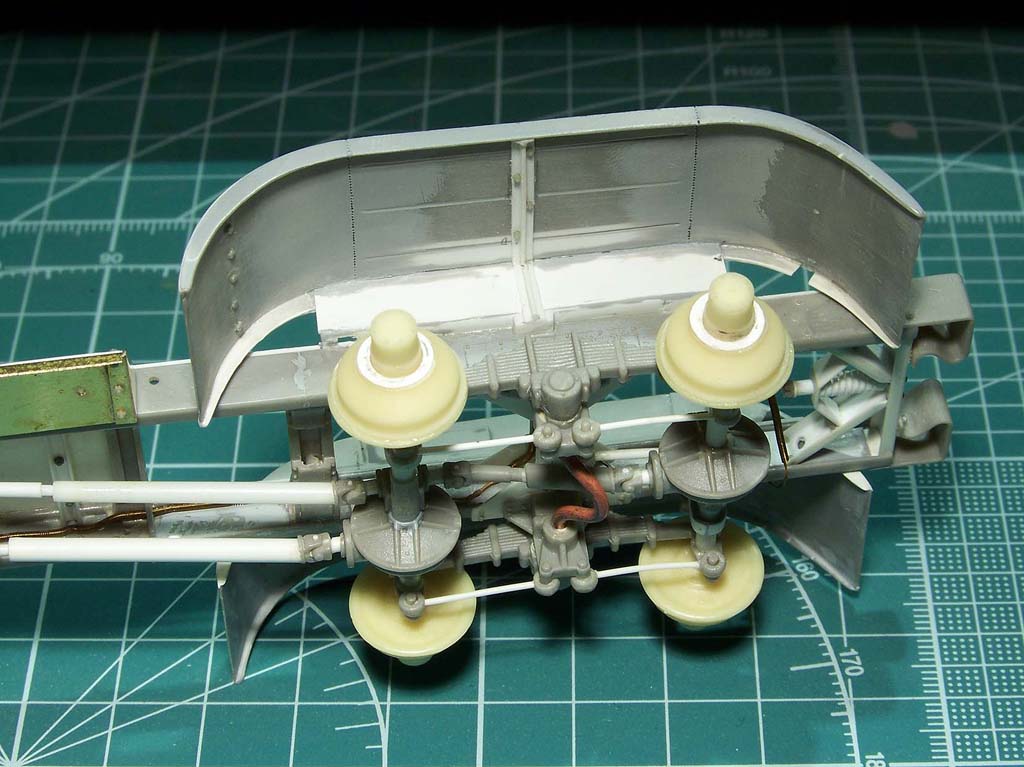
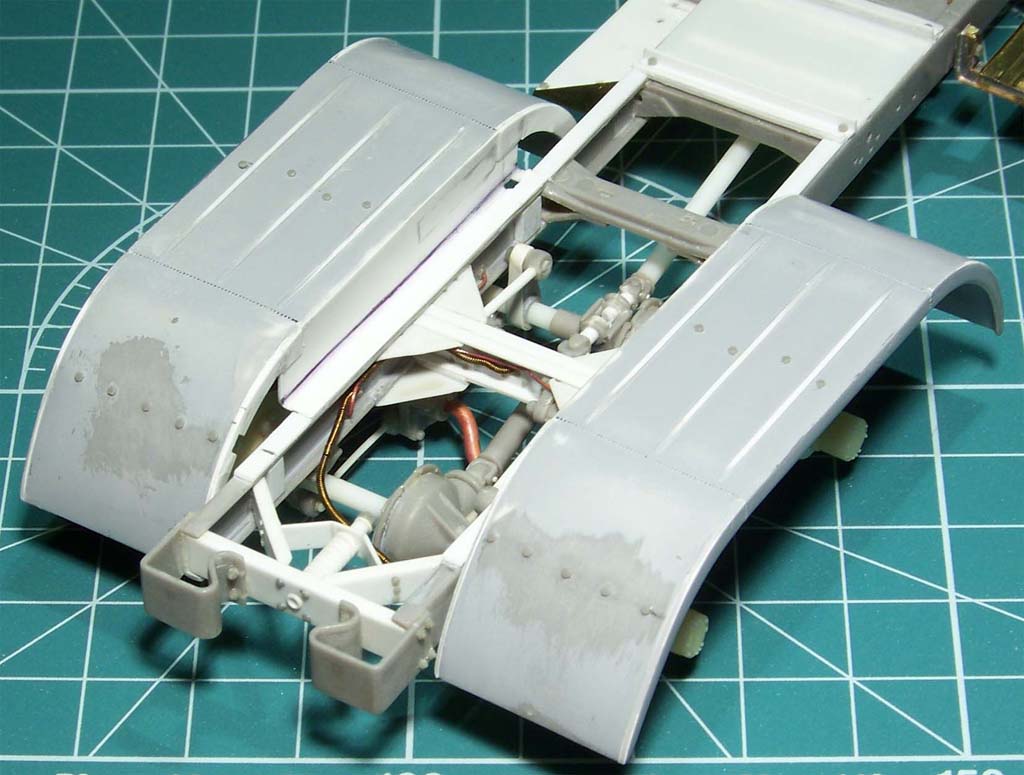
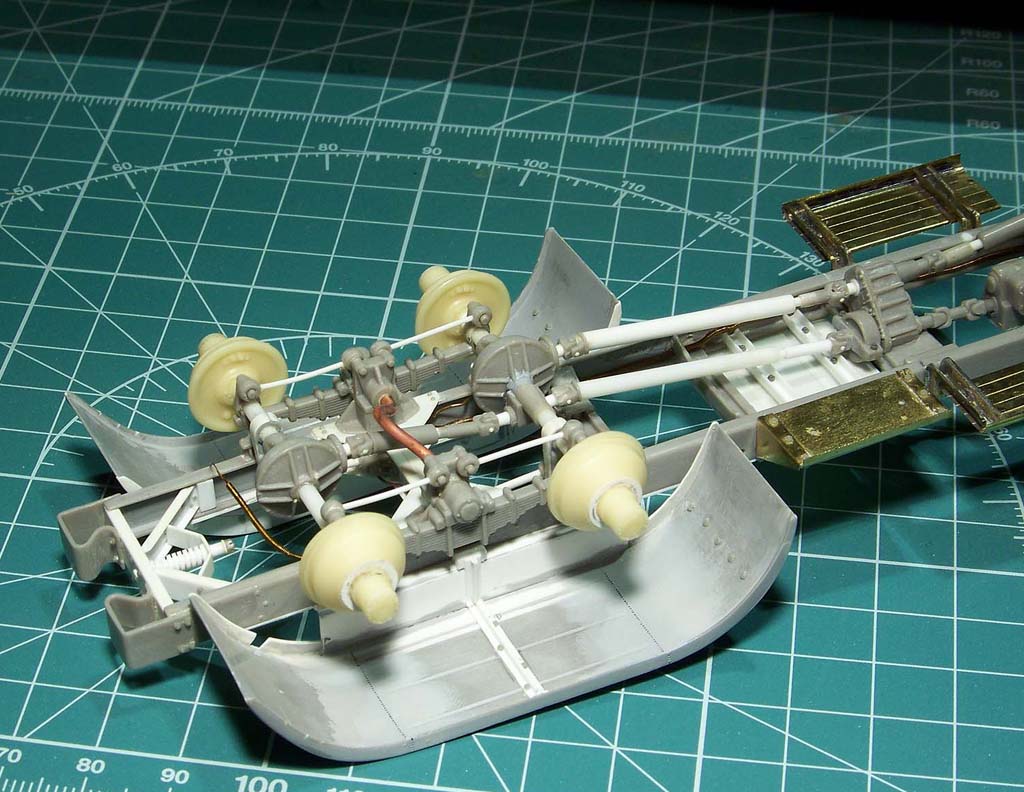
Then I made the base and other elements
8 Likes
Very Nice, great work.
1 Like
That’s some impressive scratch building… Really nice neat work ![]()
1 Like
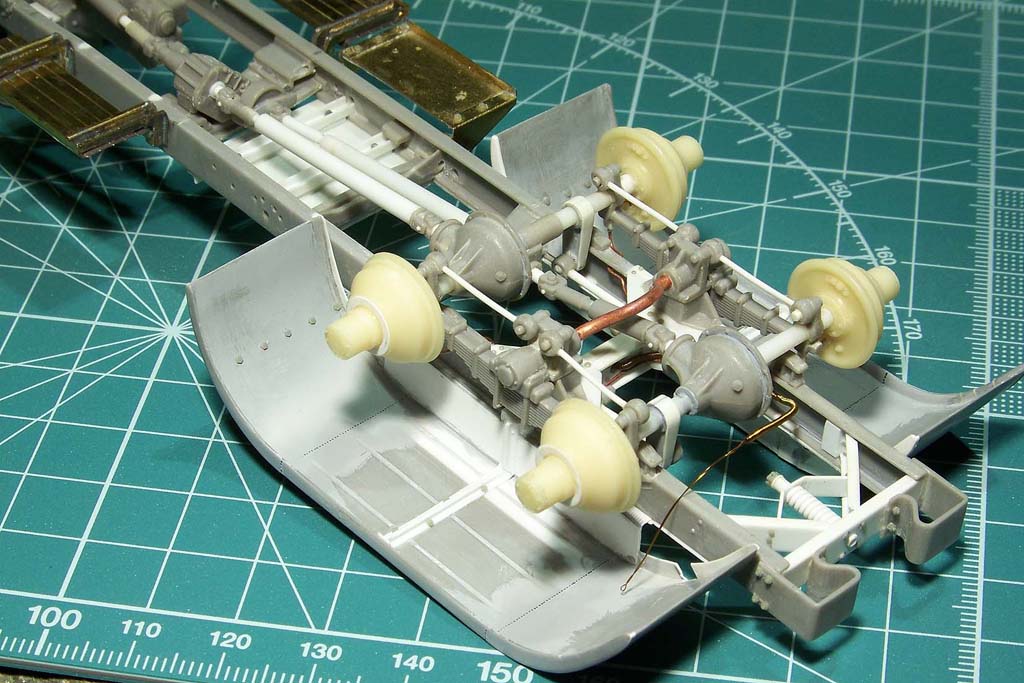
Thank you all for your appreciation and interest in my work. I continue…
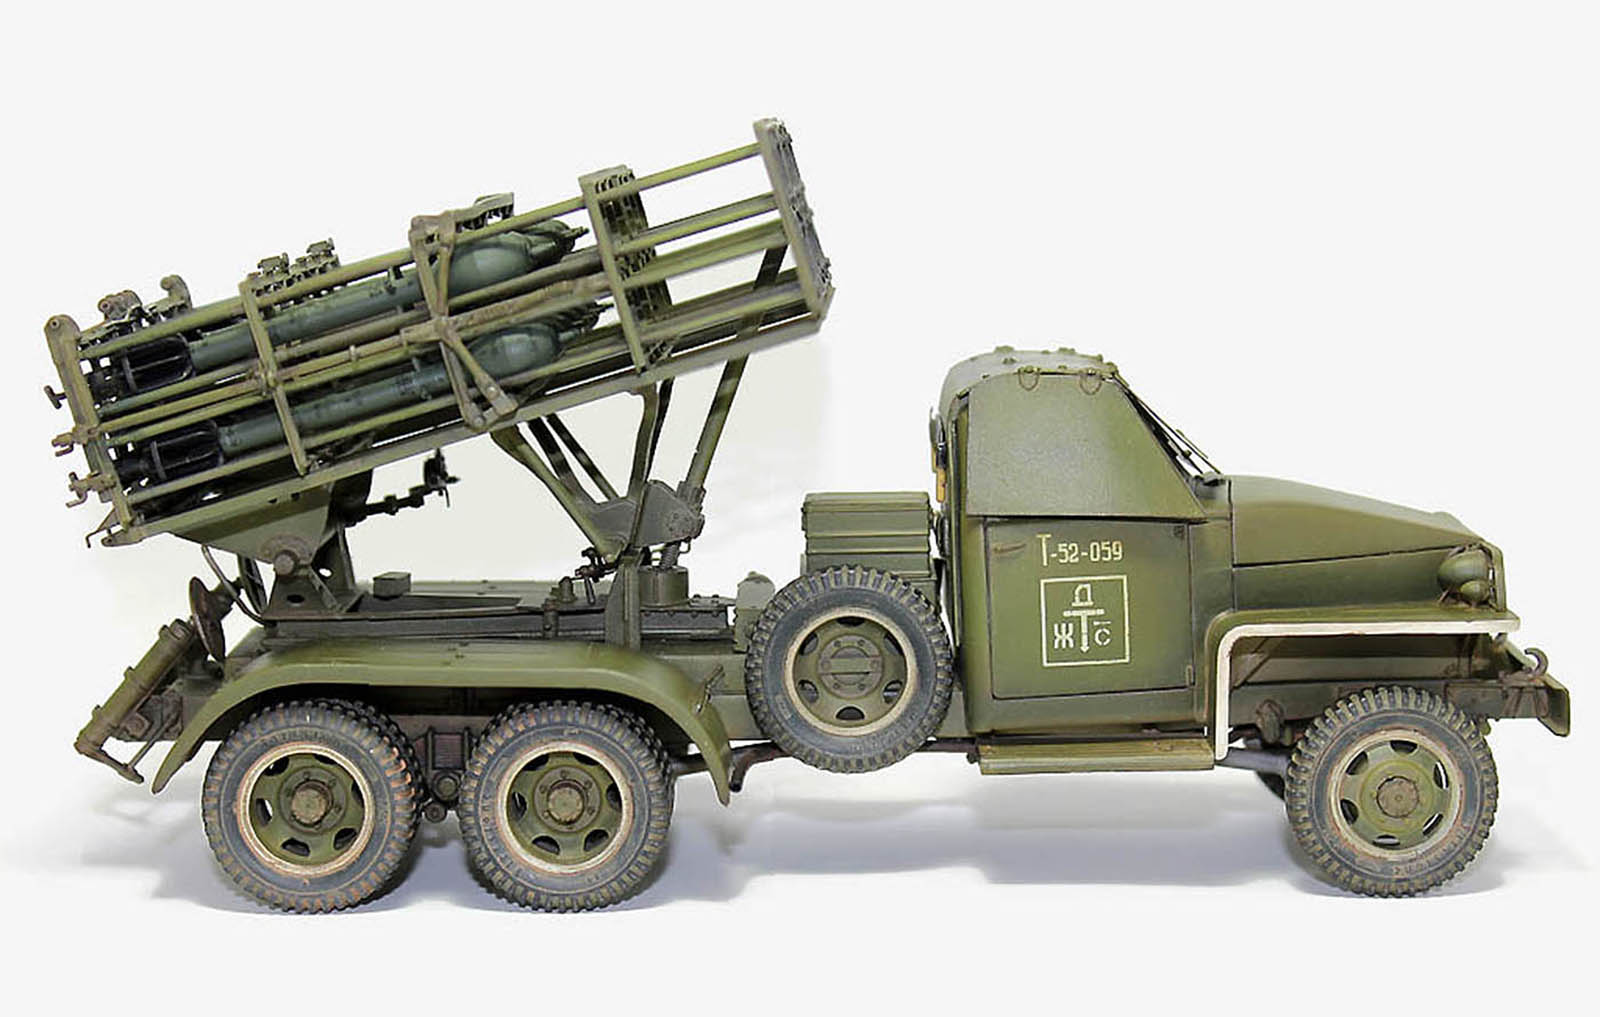
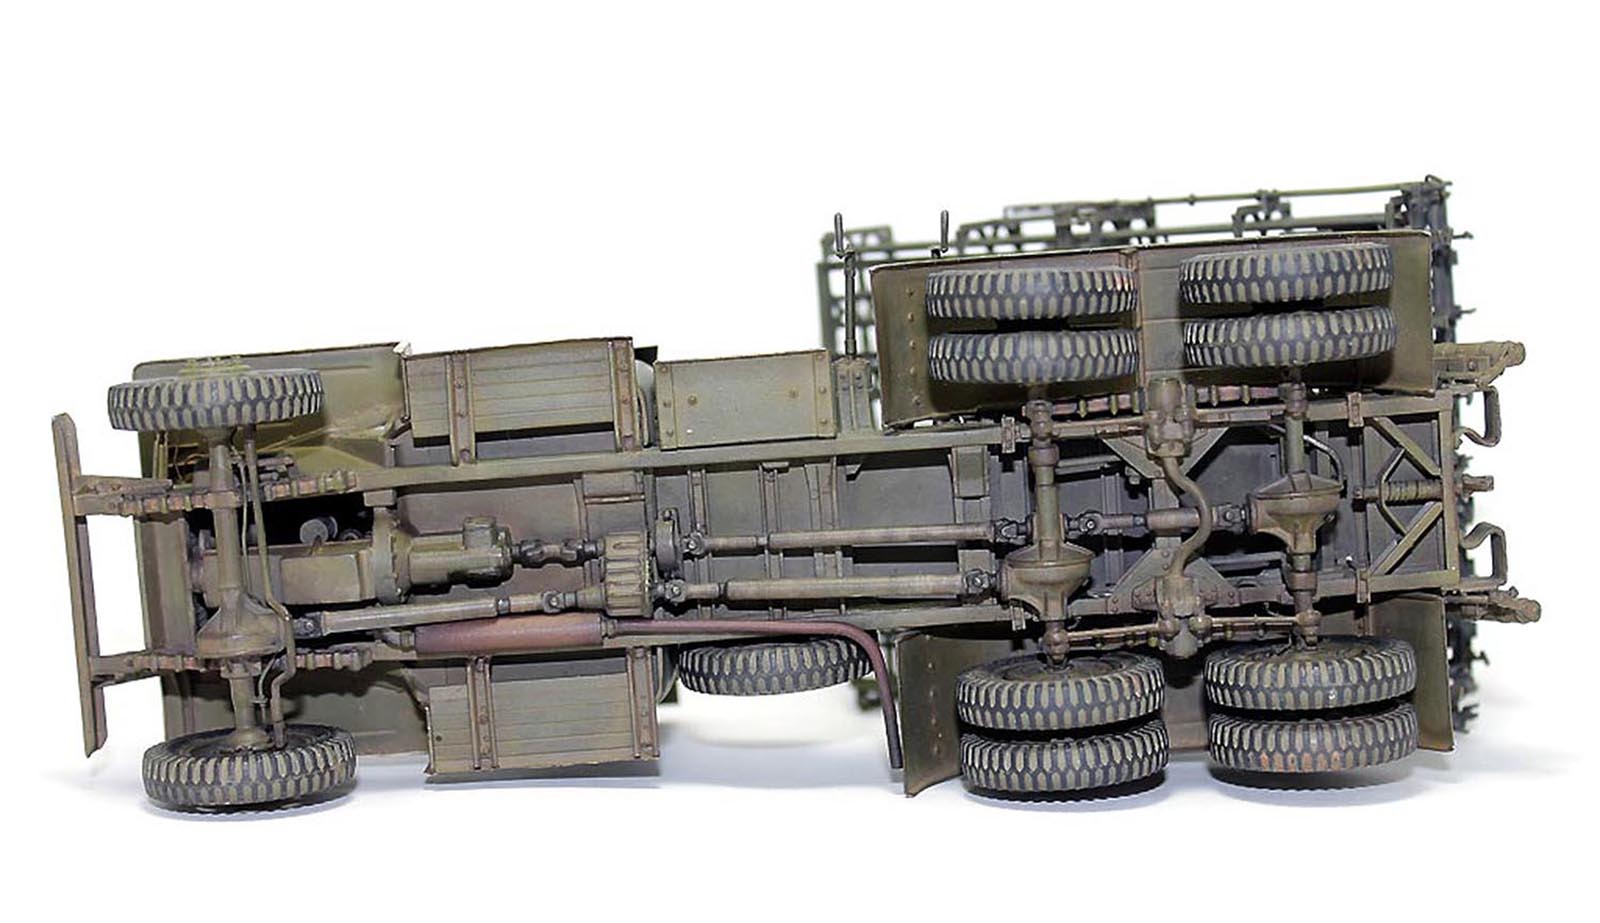
I attached the base to a makeshift pedestal.
This helped the whole structure not to warp during gluing.
7 Likes
Incredible work there ! Excellent job
1 Like

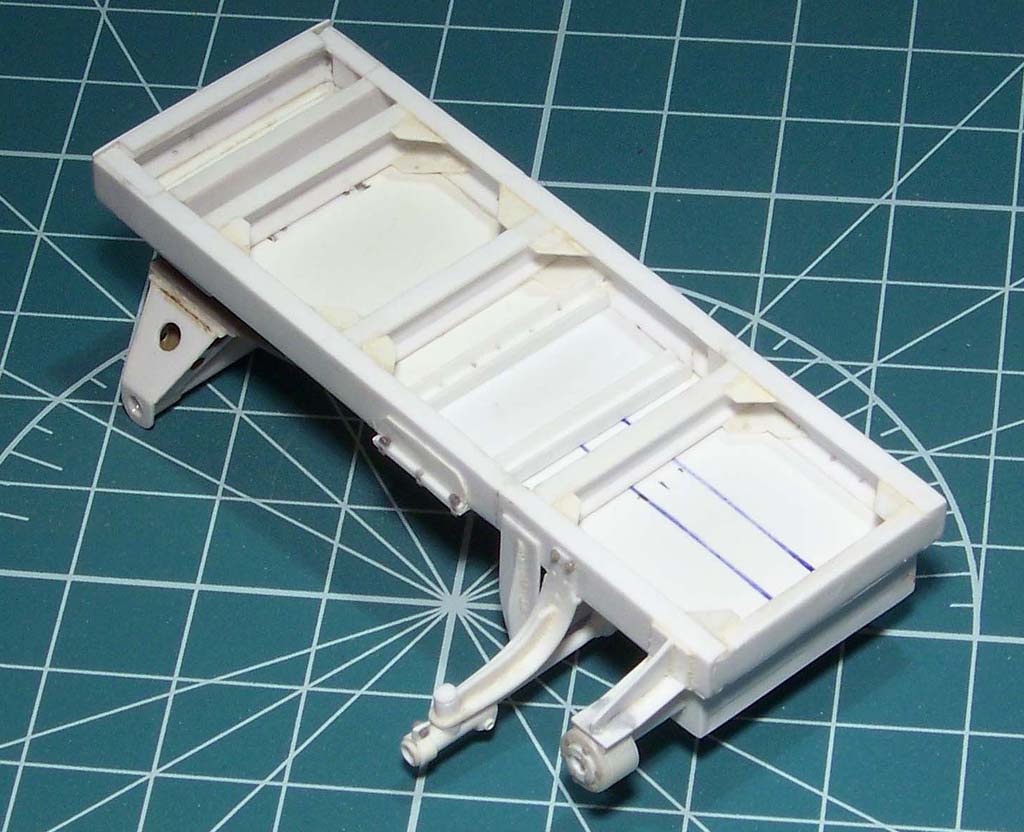

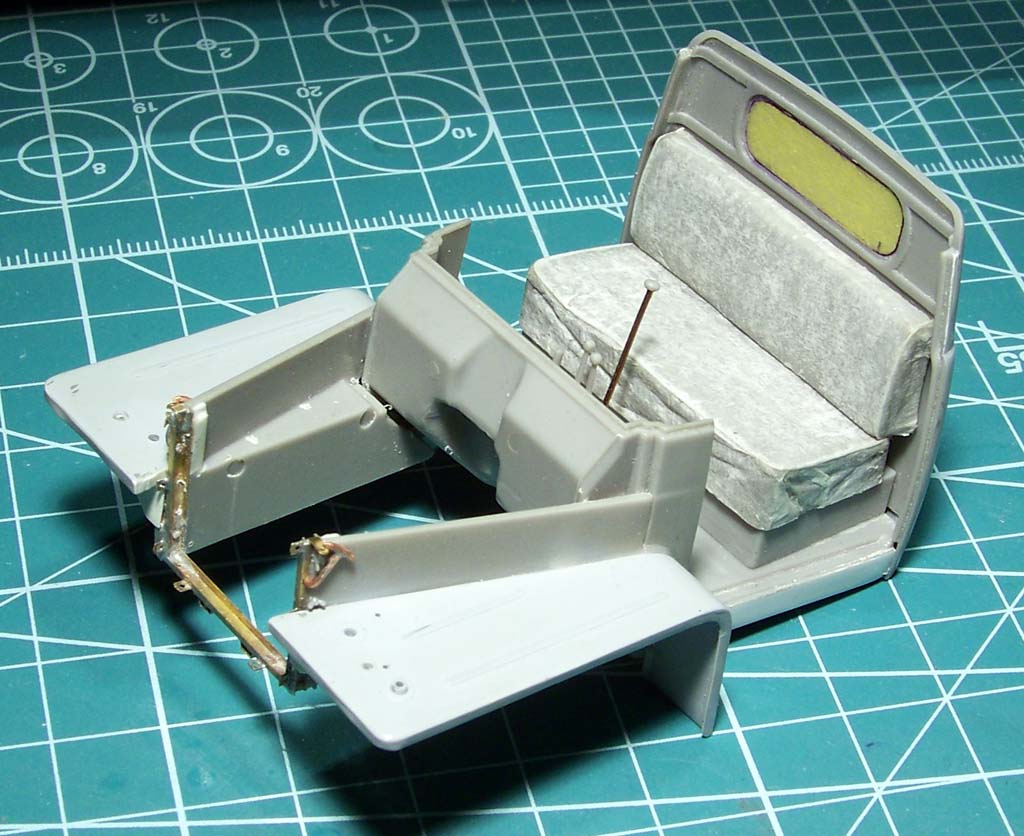
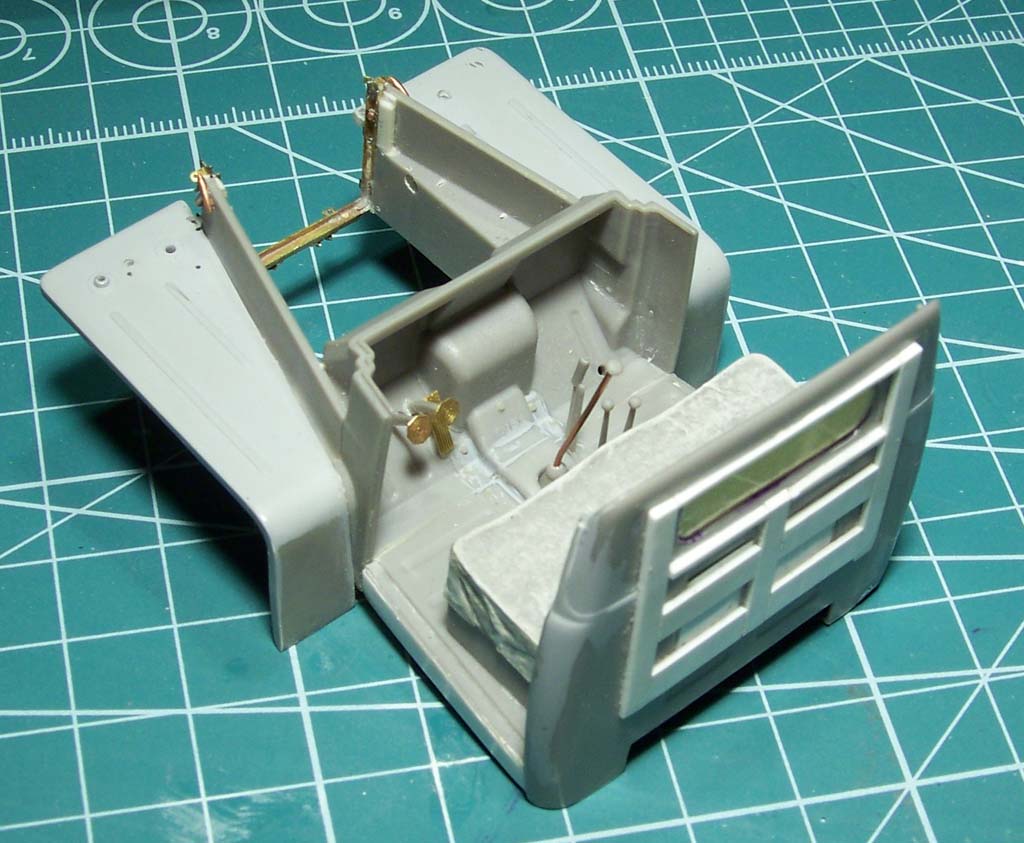
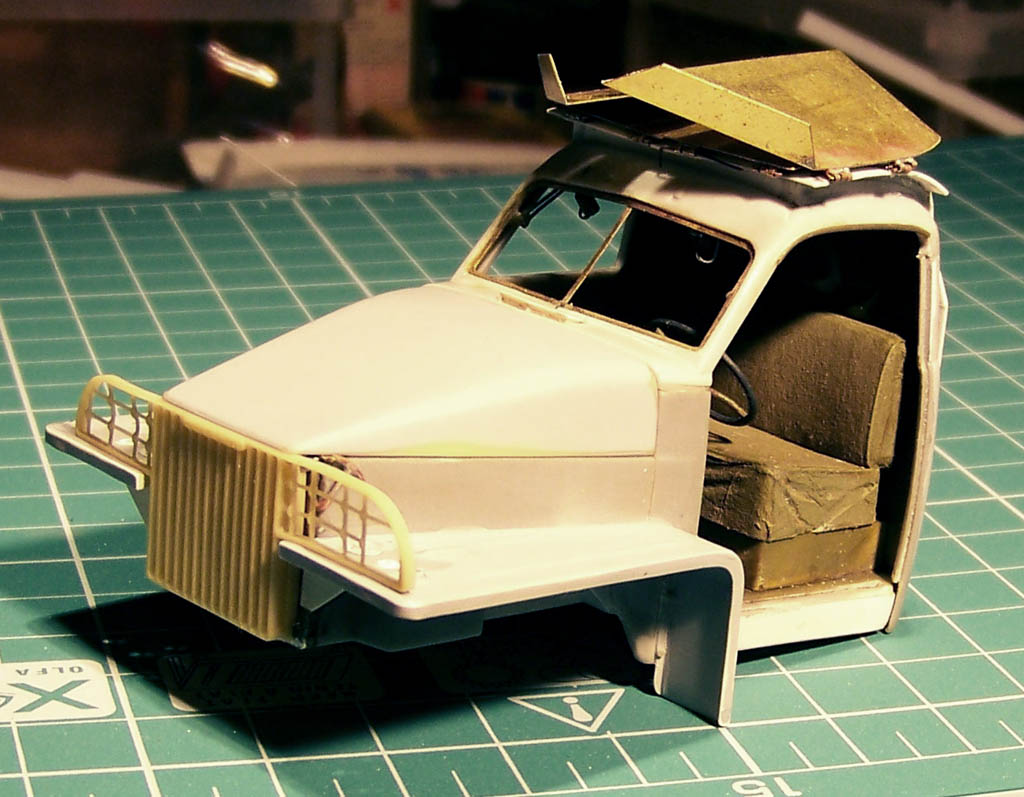
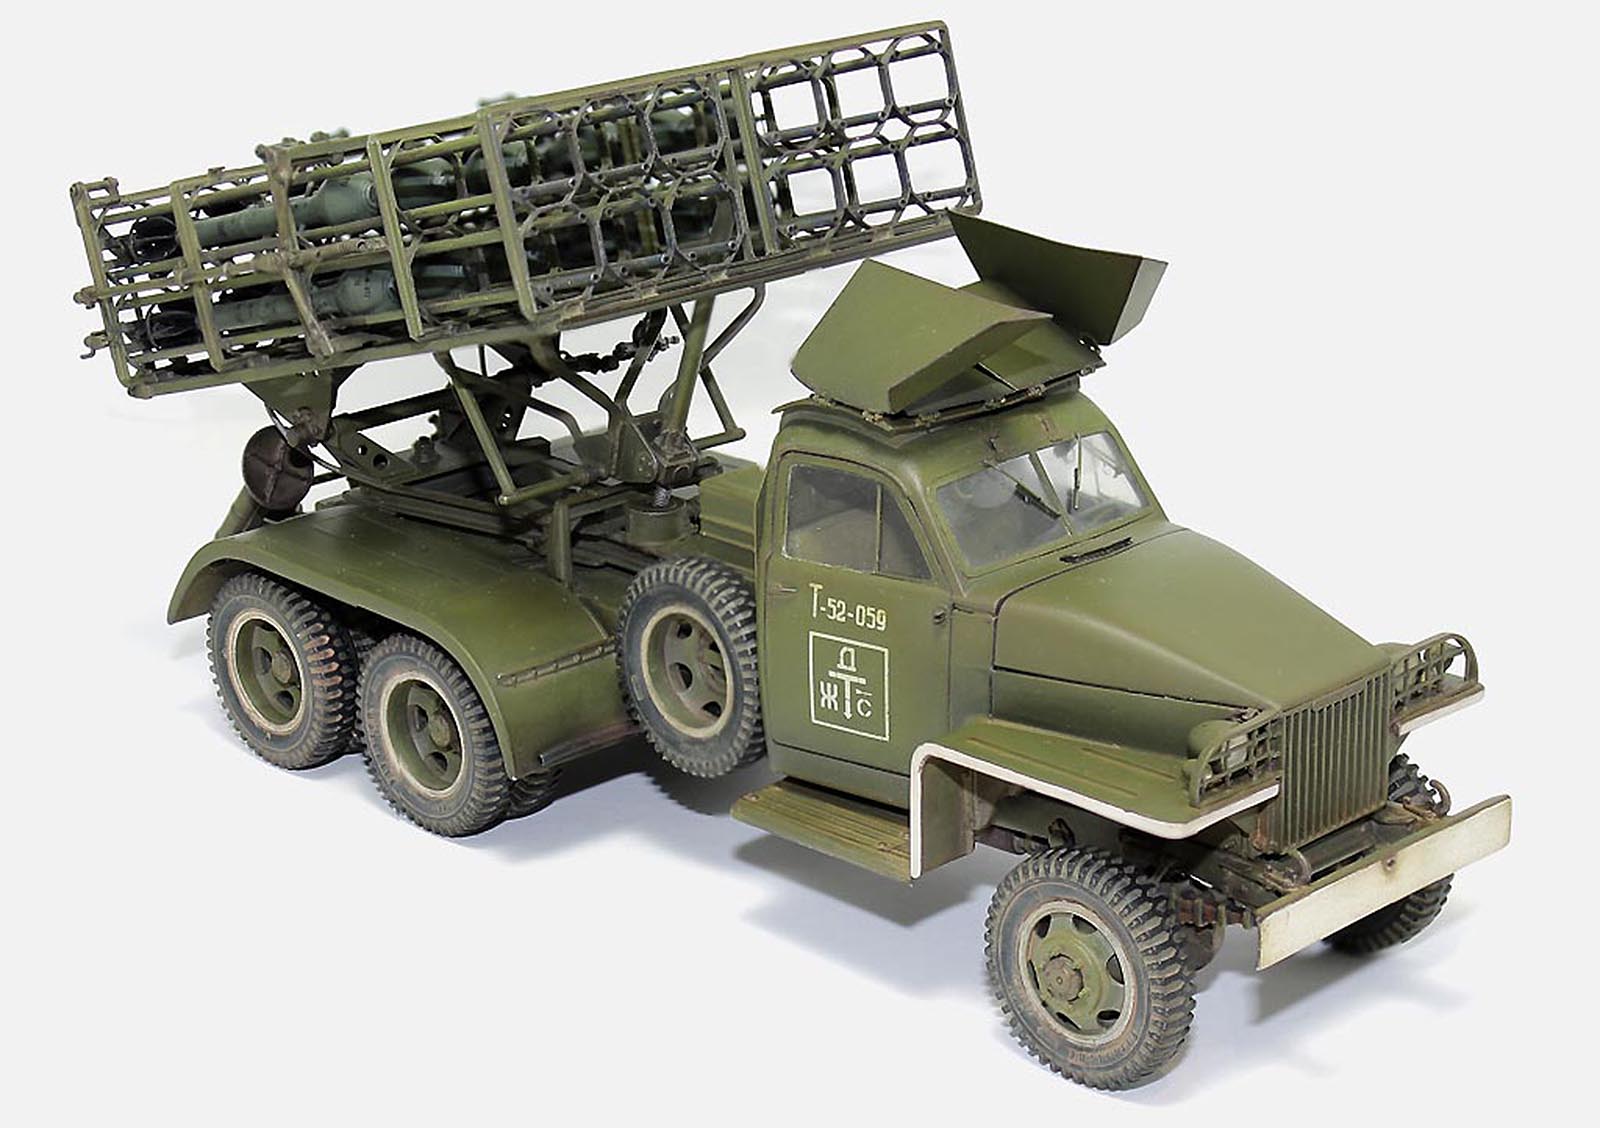
Great stuff. Is that tissue on the bench seat for texture?
1 Like
I used rough paper towels. Polyvinyl acetate glue diluted with water. I
soaked a napkin with this solution and wrapped the plastic seat, forming small folds.
2 Likes
Impressive scratchbuilding skills! Innovative solution to a problem.
1 Like
Very nice work.
1 Like
Wow! That is some serious scratch building. The results are superb. Thank you for sharing this excellent build.
1 Like