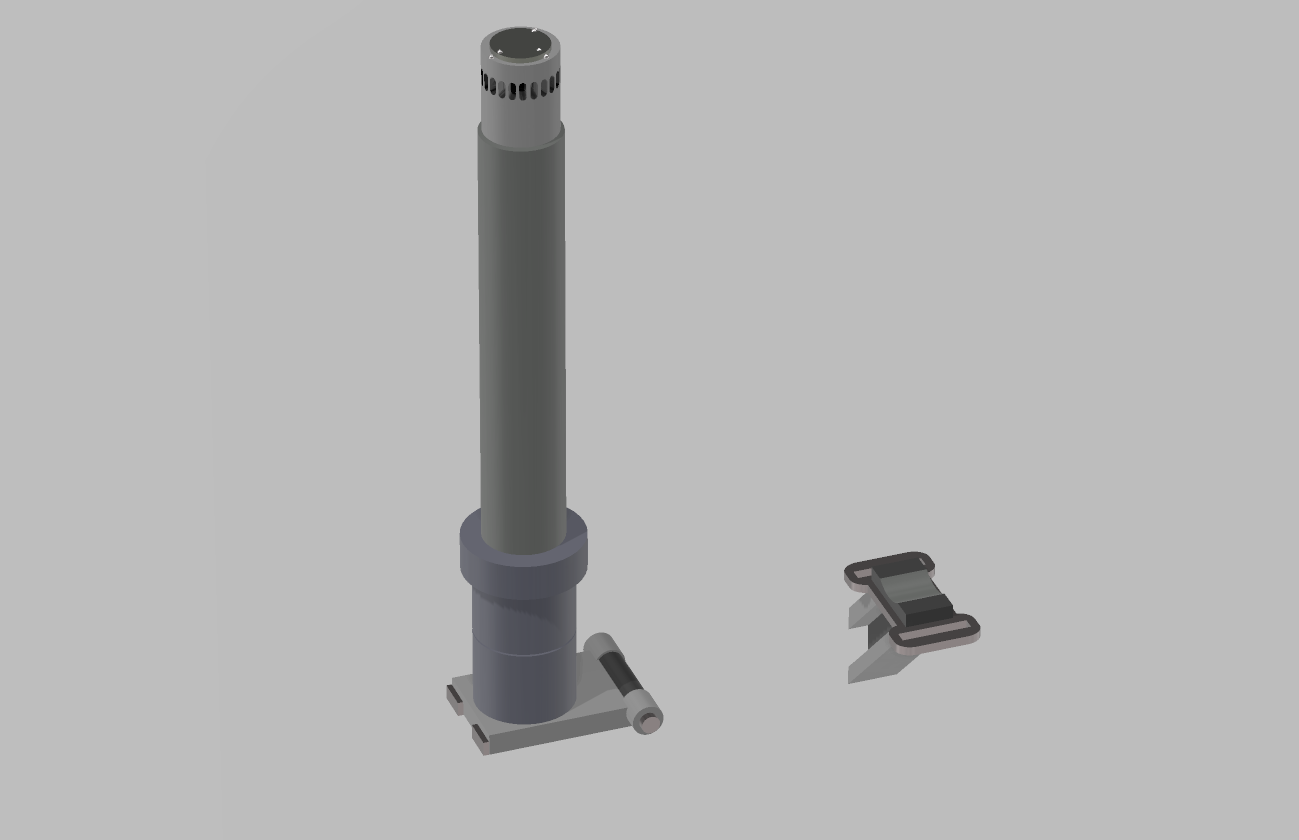
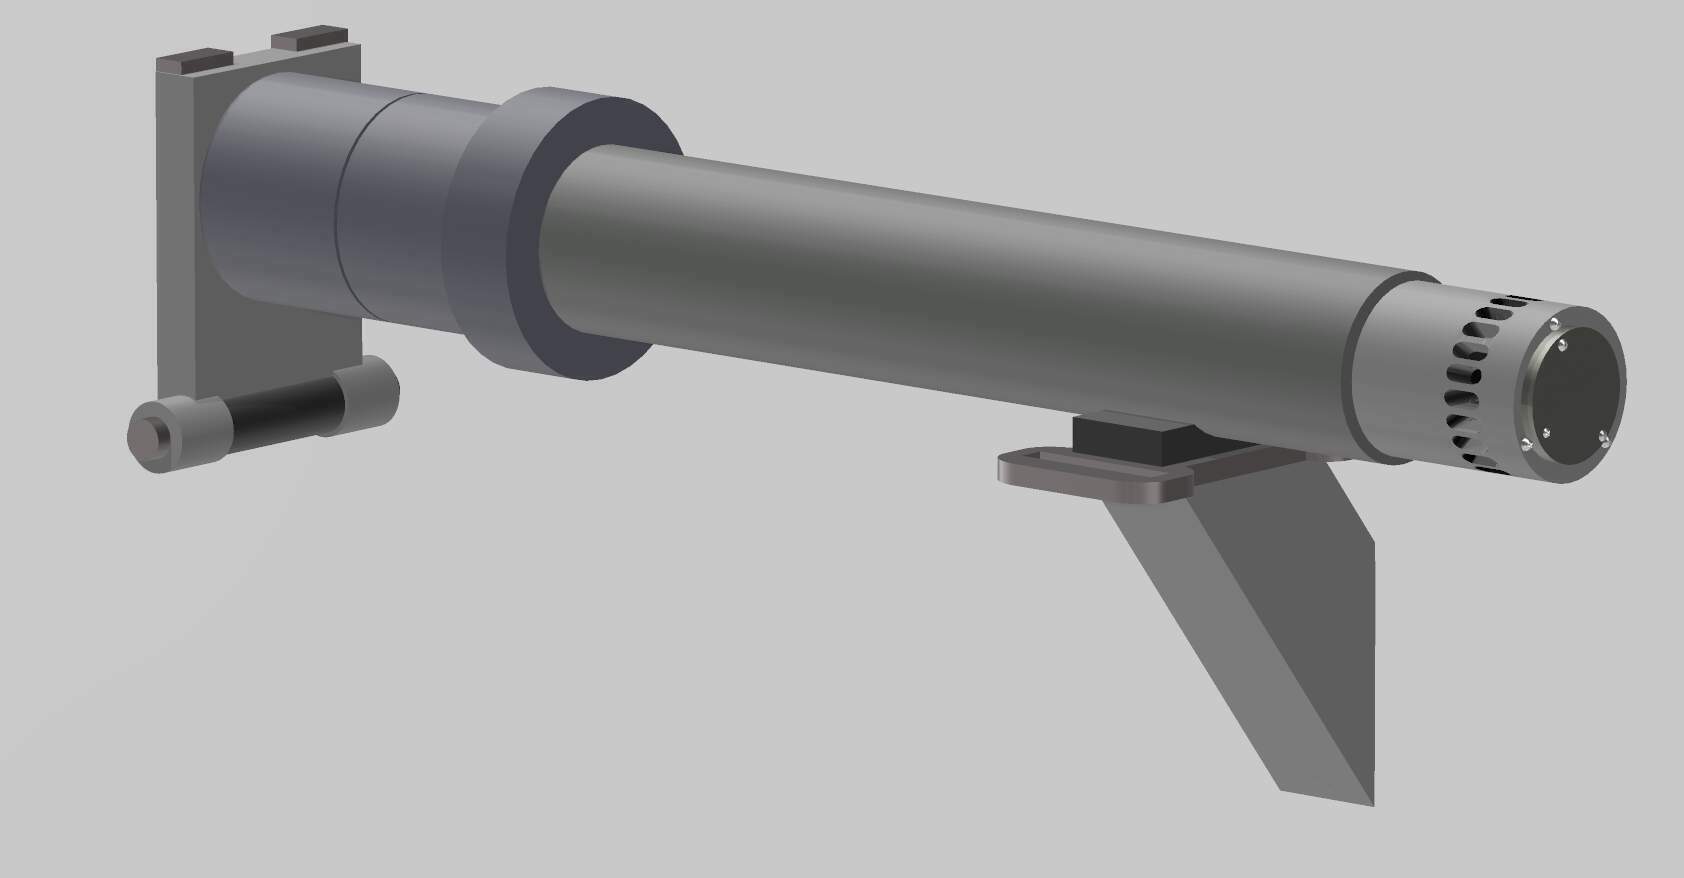
I have had my Elegoo set up for several months, but never did anything with it. After starting the RFM 1991 Abrams, I was disappointed with the crosswind sensor. So, out came TinkerCad and I drafted an attempt to 3D printing. For my first project I am quite happy. These turned out pretty good I think. Maybe some minor tweaks to make but all in all, I’m pretty happy!
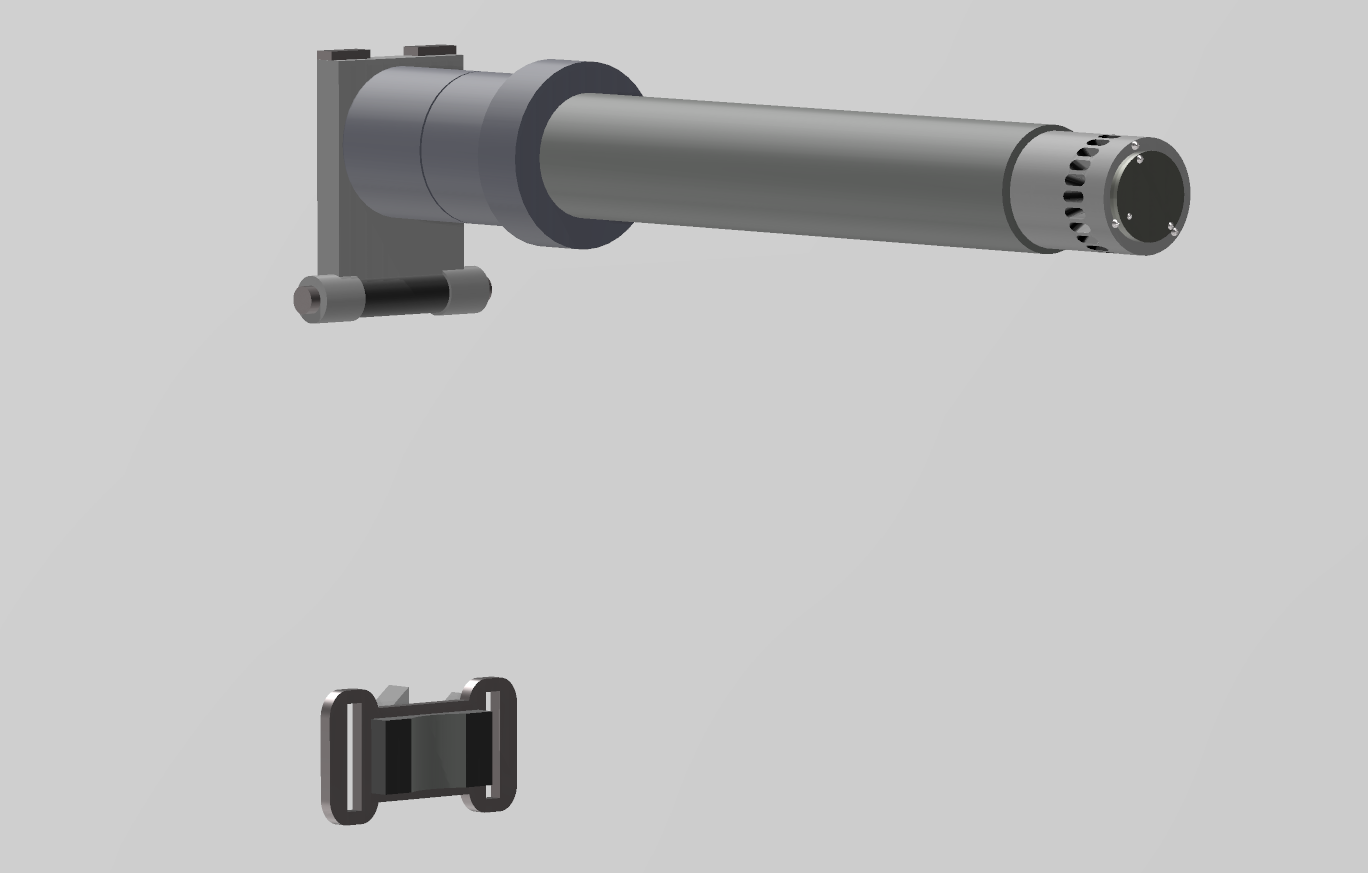
The kit part is in the lower right. I did not like the area that is supposed to be open through and through on the main section. My printed ones are open as they should be.
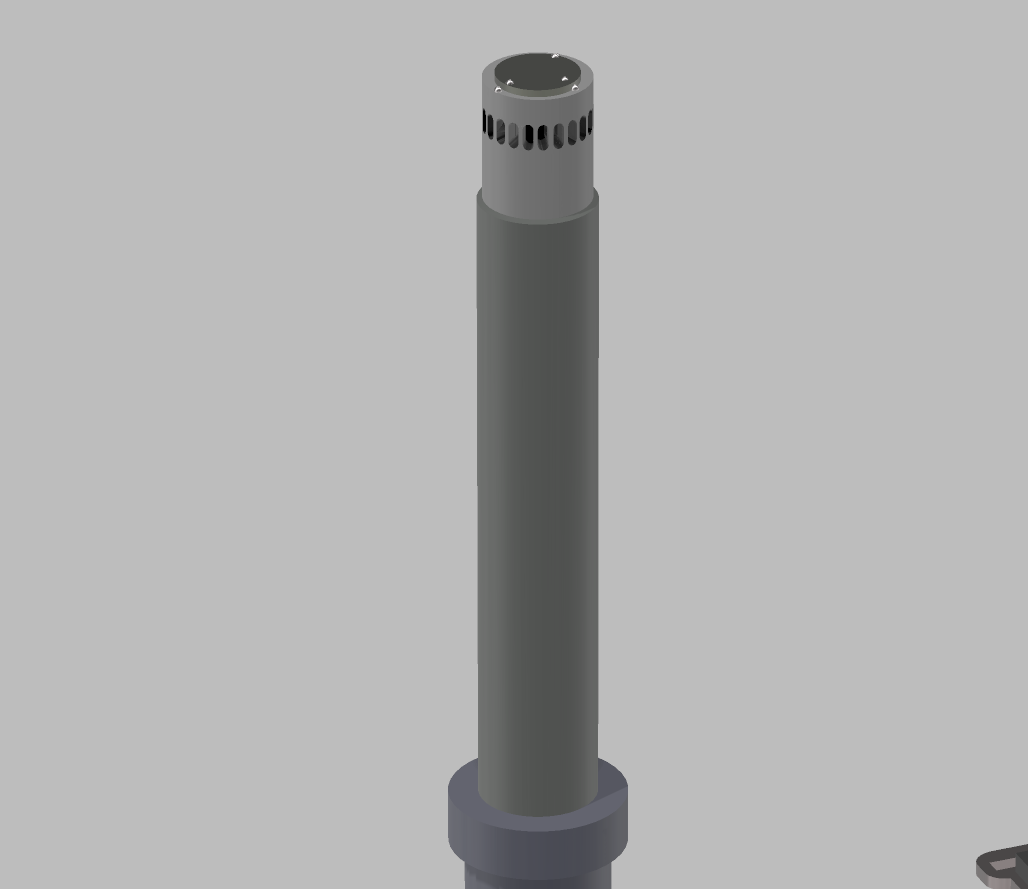
A little closer, you can see the opening clearer here.
6 Likes
Excellent job! You’ll find that with practice and experience Tinker CAD is actually a lot more versatile than it seems at first glance. You can get a lot out of it with a pretty flat learning curve. I love Tinker CAD!
There are a couple of tricks you can easily add to your workflow:
-
Breaking a large and complicated project into several smaller files, then saving the completed “sub-assemblies” as individual STL files and importing those into another new build file to put together as the final object. This will save a huge amount of file space which is a hard-ceiling limit for Tinker CAD - You can only make objects that do not exceed the single file size. (This is kind of like “flattening” a PowerPoint presentation to eliminate all of the meta data in the background which saves a ton of file space.)
-
Using Tinker CAD to re-scale STL files that you get from another source (like Thingyverse). When you go to import the file, TC will allow you to either re-size it by file percentage or re-dimension it in X-Y-Z. These objects can then be further modified by re-dimensioning them again and / or using solid or negative space objects created in Tinker CAD.
(An example of this: find and import STLs of common hand tools, like wrenches, hammers, screwdrivers, etc. from Thingyverse. Use Tinker Cad to resize these objects into the scale-size you want them, then print the tools in the appropriate size without having to design each one from scratch.)
- You can easily find or create simple 2D B&W drawings of text or objects and save them as .jpg. Convert these .jpg into SVG files using one of the free online conversion tools, then you can import those SVG files into Tinker CAD (just like importing an STL file) to replicate very complicated shapes that can be re-dimensioned, X-Y-Z, in TC and added to (or subtracted from as “negative” space) other 3D objects created or imported into TC.
(For example, a drawing of the knobs on the face of a radio cabinet can be turned into an SVG, imported into TC, and then added to the radio cabinet that was created from simple TC shapes without having to create each knob and the arrangement will be as accurate as the drawing that you started with.)
Being able to fairly easily scratch-build complicated parts or create a number of duplicate new parts for your own builds is a VERY powerful tool to have. I don’t use my 3D printer all the time, but, when I do use it, it has proven to be super useful. I’m getting ready to use my printer and Tinker CAD to scratch-build several missing fire-control items for my current build. These could all be done using traditional scratch-building materials and techniques, but the simple CAD designs coupled with 3D printing will add a high degree of visual precision that is very time consuming if done traditionally.
Again, well done!
2 Likes
Awesome! Thanks for the help. Those are some great tips.
As of this morning, my printer is giving me the “file does not exist or is empty” error. I’m trying to work through the update firmware but so far, no luck.
2 Likes
Check to see if there’s an Elegoo Users FaceBook group. (I’m almost certain there is one…) There’s likely to be someone there with the latest and best information on software updates and other issues.
I found that when I was first starting that I got a ton of help and information on the Anycubic FB group. There are also a couple of “gerneric” 3D printer groups on FB that you can find info on (keeping in mind the differences between DLP/SLP printers and FDM printers).
1 Like
Thank you! Over an hour later and still can’t get the printer to recognize my files. The one I printed yesterday is now not recognized, only the sample that came with the printer/chitubox.
1 Like
Almost 2 hours later and I figured it out. The .ctb file also has to be in the usb root, not in a folder on the usb. Printing again!
3 Likes
Glad you sorted it! Remember to repeat the mantra - “computers make our lives easier”… 
1 Like
Hi Cory,
You’re welcome to 3D print my design Free STL file 1/35 M1 or M1IP Abrams' crosswind sensor (old T.S.I. version) - FREE for Xmas 👴 ・3D print model to download・Cults, which I had listed for free since Christmas last year.
Based on this reference photo:
You may want to consider printing the sensor more vertically with small supports for an easier removal and more smooth finish. Here’s how I printed.
Have fun!
Kind regards,
James
3 Likes
I may try those. Those are in my “Likes” folder on Cults 3D. I have several of your files in my “Likes” list from Cults 3D! By chance, know of any files or prints that offer the handles for the boxes on M1A1’s. The molded on handles on the RFM kit need to be removed. I am sure i could CAD some up real quick, but thought I would check here first.
1 Like
I will happily fund your “working gig”. Your designs are great! Thank you for this one, I am just finishing one up on TinkerCad. Looks very similar to this one !
1 Like
You have to make the series 200 lock that goes on each sponsor box! I’ll find you pics.
That’s easy to CAD. I have already made something similar before. A bit tricky to 3D print due to the small size in 1/35 however.
1 Like
Just added to your “working funds”. Pretty much grabbed everything for an M! Abrams that I hadn’t already designed, which was quite a bit. Thank you for all the work you do!
1 Like
I noticed! You dropped some dough today. Thank you for your support, Cory!