Hi there,
Is there a consensus of how best to paint Nato Woodland / Tri-Color camouflage on M1A1 ca mid 1990s?
Let me clarify where I am confused. 1) Are the edges always feathered or always sharp? 2) Are the edges typically sharp from factory, but over usage become feathered as crews tidy up the camouflage while in field? 3) The fading of the middle of the pattern and darker edges are due to touch ups with original (non faded, darker) paint?
These are the questions I am grappling with as Im restoring my old M1A1 from 1990s (Revell, 1:35). I want to give it a proper paint job but note sure on the best approach, and which look I should aim for especially with regards to those small details.
Any help appriciated!
1 Like
Sharp edges. Vehicles are painted by a robot in the factory (is what we were told).
No touch ups generally as the paint is CARC, which is poisonous (is what we were told). You might see a touch up with a can of flat black here and there if something was damaged and metal was exposed.
I have been in the US Army for about 21.5 years as a mechanic and I will tell you that the paint jobs and 100% done by hand in a big booth by a guy with a paint gun. There is lots of over spray and runs. At a distance they look great but up close they are ugly and not very well done. I am not taking away from the people doing the painting the paint is terrible to work with and they usually end up putting so much on that it’s like a hardened shell around the vehicle. As to the robot claim I’m not going to say it isn’t done there may very well be a place that is done, but I have never seen this sone or used. One of my favorite stories from the military regarding paint is the time I watched a tank crew take cans of tan CARC paint and brushes and rollers and hand painted their tank tan in preparation of a field problem. Any modern army vehicle should be painted with the mindset that mistakes are welcome and embraced. Thank you for reading my rant and remember this is all my opinion.
4 Likes
We hand painted (over original factory paint) our M-1A1s in Schweinfurt in 1992. Lots of sharp edges. We didn’t have access to a spray booth for some reason. We were handed the CARC cans, brushes and rollers and told to go at it. My platoon did it so well the Battalion commander had us paint some of the battalion M577s.
2 Likes
Hell yeah if your gonna play with hazardous cancer-causing materials you had better do it right. i can see sharp edges coming in those situations. The soft edges more from the paint booth. We had Building 8000 on FT Carson that we could do a job order to the civilian maintenance, and they would paint our vehicles. This got pretty rare during the second half of the Obama administration do to funding and budget cuts. most of the paint jobs we got there were decent, but you could sure tell the Monday from the Friday paint job.
2 Likes
Robot painting was done at the factory
1 Like
thank you for that follow up. That makes sense.
2 Likes
This is or was how they do it at United Defense (Bradley & Paladin) M548 color quandary - #16 by Seanmcandrews
So, hand painting with sharp edges by hand from 1990s would be ok, so for my build Im going to stick to a mask, not so much of free handing. But for later, spray can is possible for touch ups (like blacks) which explains why the edges look kinda feathered and darker.
Did I get this right?
2 Likes
That sounds perfect to me just remember it’s your model and how you want it too look is how it will look and as long as you are happy screw the critics and the perfectionists. I only ask that you throw some pics up so we can see your work of art when you complete it.
1 Like
I will. The model is being rebuilt from a rather crude kit.
Most images are here on Instagram but these best show my very slow progress: Shipific on Instagram
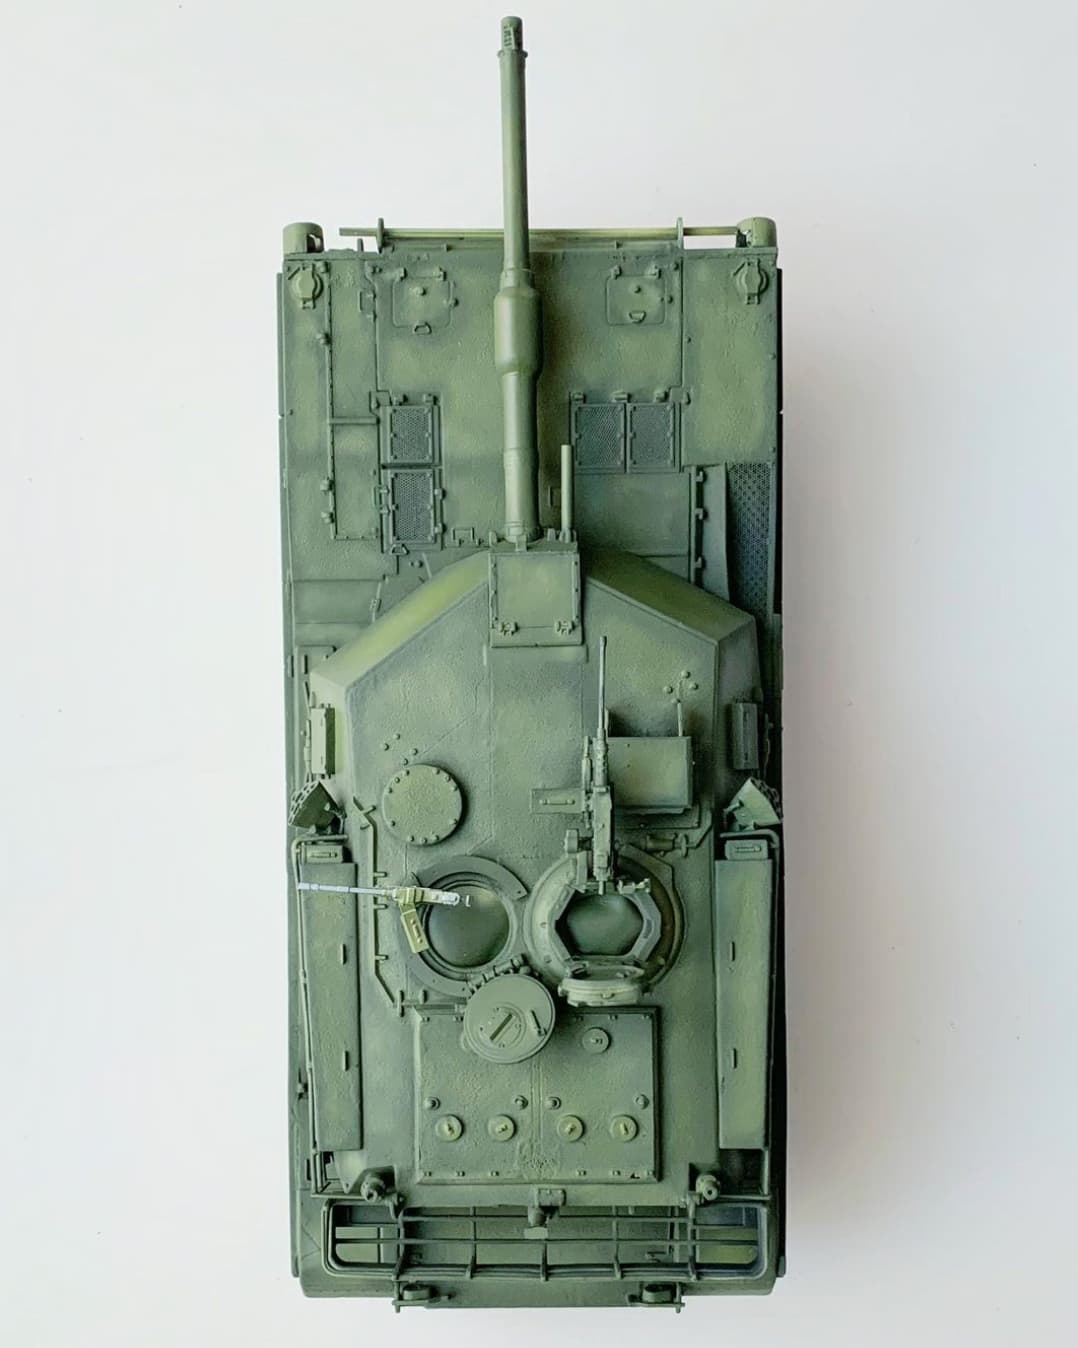
I started like this:
Gave it a green paint:
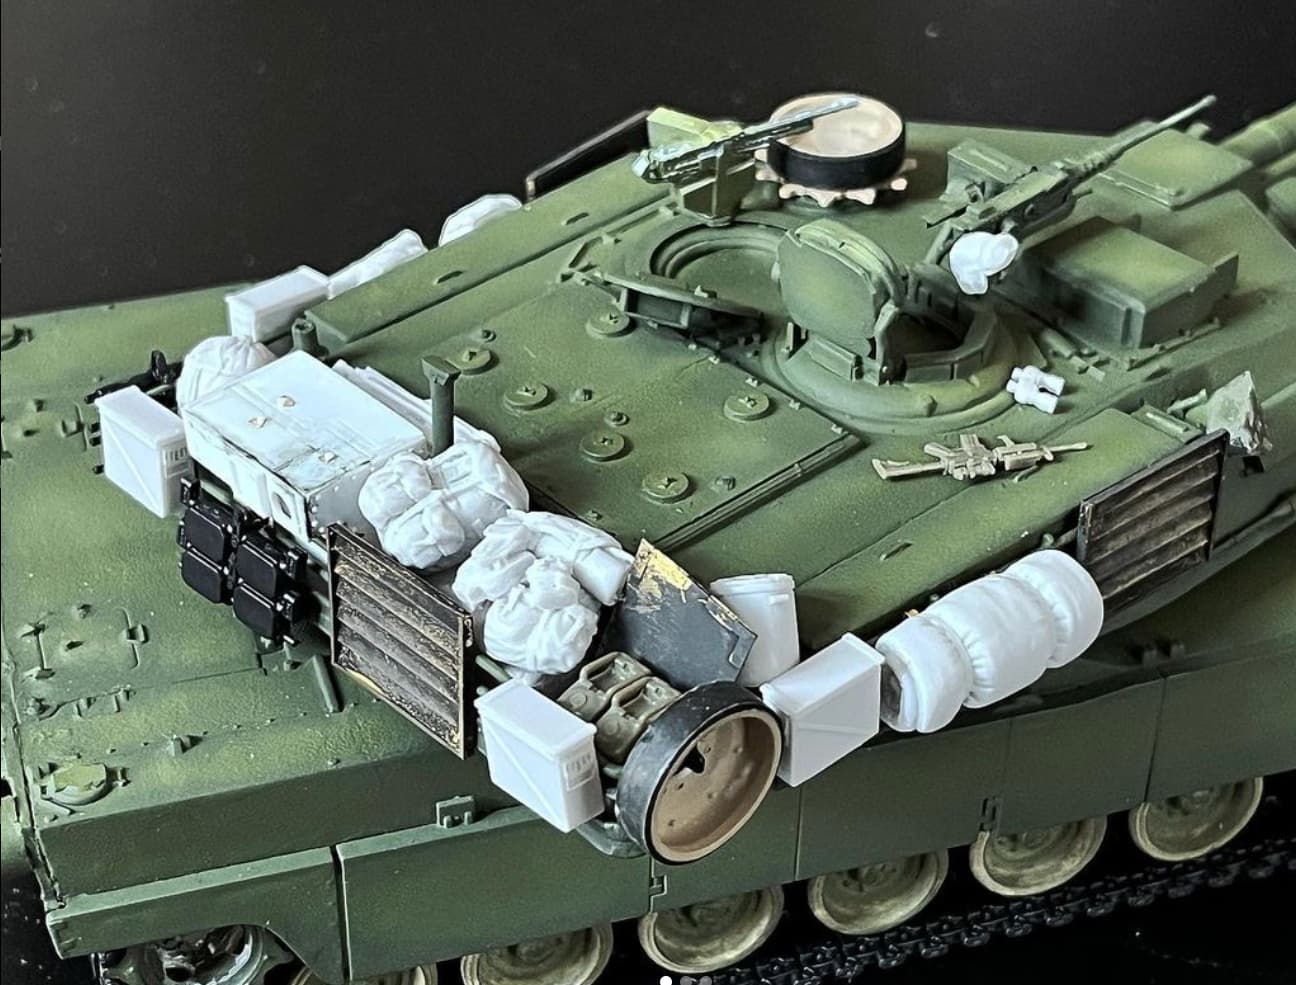
Here is where the tank sits with bunch of stowage I added:
The stowage is a combo of 3 different resin kits, plus separately bought wheels to use some as spares (wasteful a bit yes, i know), trying to make it more fit for Balkan style deployment. I also added IFF panels from PE, and raided a Stryker kit for an M4 to place near Commander’s hatch. The APU is scratch built. Various tweaks were made to the plastic, as it was warped, misaligned, etc. The tracks are AFV club workable tracks, but of course - the wheels are glued on.
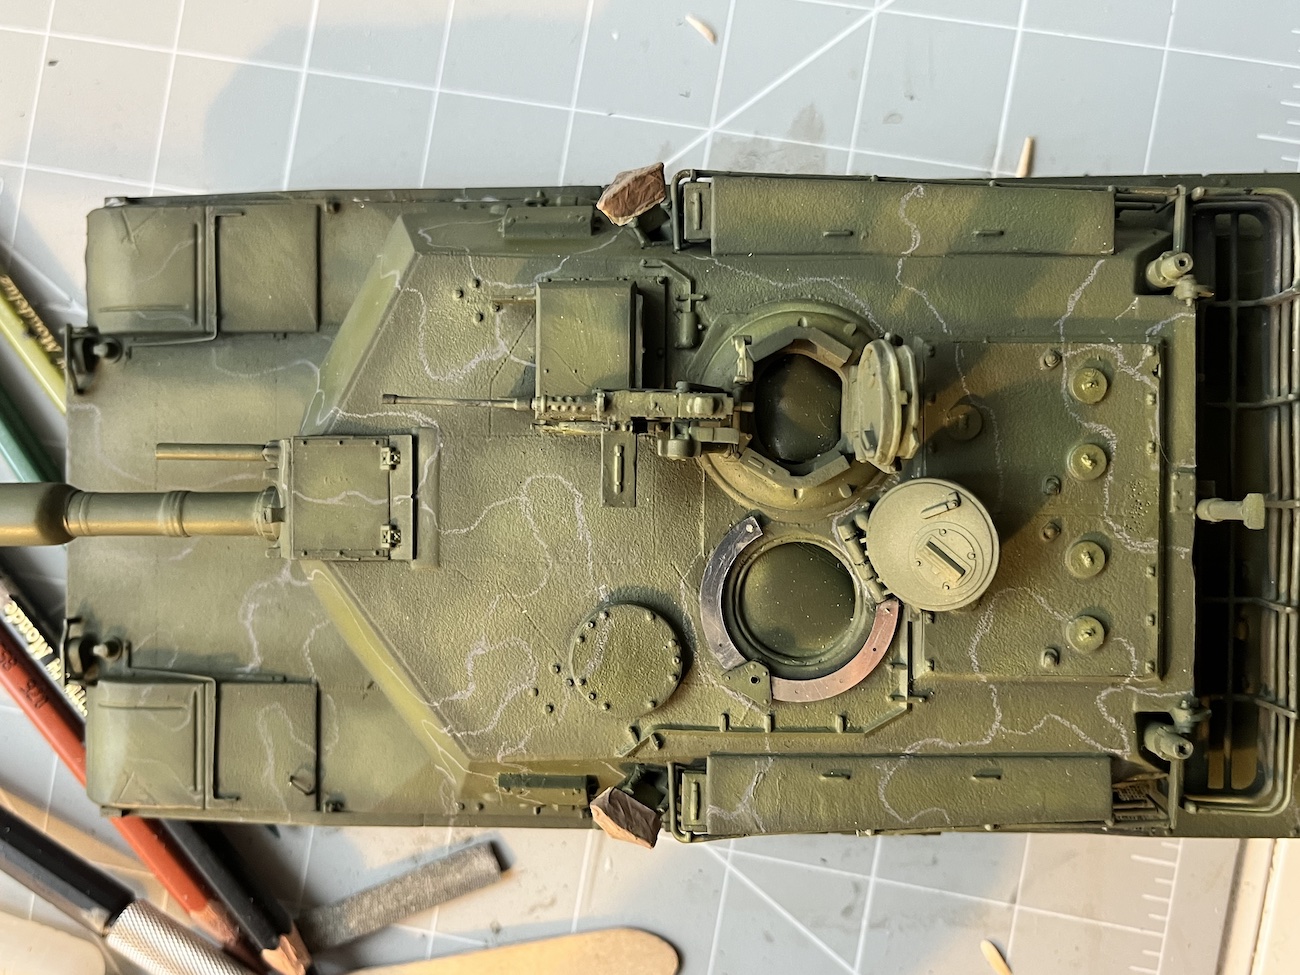
And currently Im in process of outlining the camouflage (using water pencil for now, roughly):
4 Likes
I have used that technique. silly putty also comes in handy and gives a good edge if you get it positioned right.
1 Like
Yes, the sillyputty thing will be used (or blue tack I guess). Just going to take my time on this, no point to rush. Get it nice and crisp and pretty… so I can then destroy all that work with weathering later on, haha.
2 Likes