Here’s the Academy…


6 Likes


An itch I’ve been dying to scratch, it’s really been bothering me that I didn’t do this mod on the first go around. It literally took me an hour to do this and it would’ve been faster had I had the measurements already. It’s not hard to make precise cuts with a razor saw, just make your marks with a marker, then make your line straight on the line.

My Asuka build is getting replaced by an improved version. I’ll probably work on this intermittently as I progress on the other tanks. I got my measurements off of the new Takom kit. It’s not complete, I need to add a small spacer in the rear because when I swung the back out it raised up some. That will be easy just glue a thin strip cut it to shape and then sand it to match the rest of the hull. The added shim is 3mm at the bottom and tapers down to a point.
I know it seems like a pain to do something like this but I don’t like working with resin. To me it’s worth it to make this adjustment rather than order the resin replacement. It’s not about the money, I’v purchased plenty of resin conversions over the years. Sometimes the folks that made the masters get stuff wrong. The way I’m doing it here, it’s the original kit part, just with a small modification. I don’t have to worry that the replacement hull arrives warped or that I got a bad copy or that something else might not fit or whatever. Plus I can get started right away without having to wait weeks or months for something to arrive in the mail.
5 Likes
Found this still on the internet. Looks like these guys forgot to paint over turret numbers. I think they would’ve been yellow but not  . Also appears to have the molded in steps on the FDA too. Not much stowage so maybe they just got the tank?

2 Likes
Been playing with this for half an hour…


I added that strip on the back, some filling and sanding to. I managed to keep the mounting bracket for the spare track holder.
7 Likes
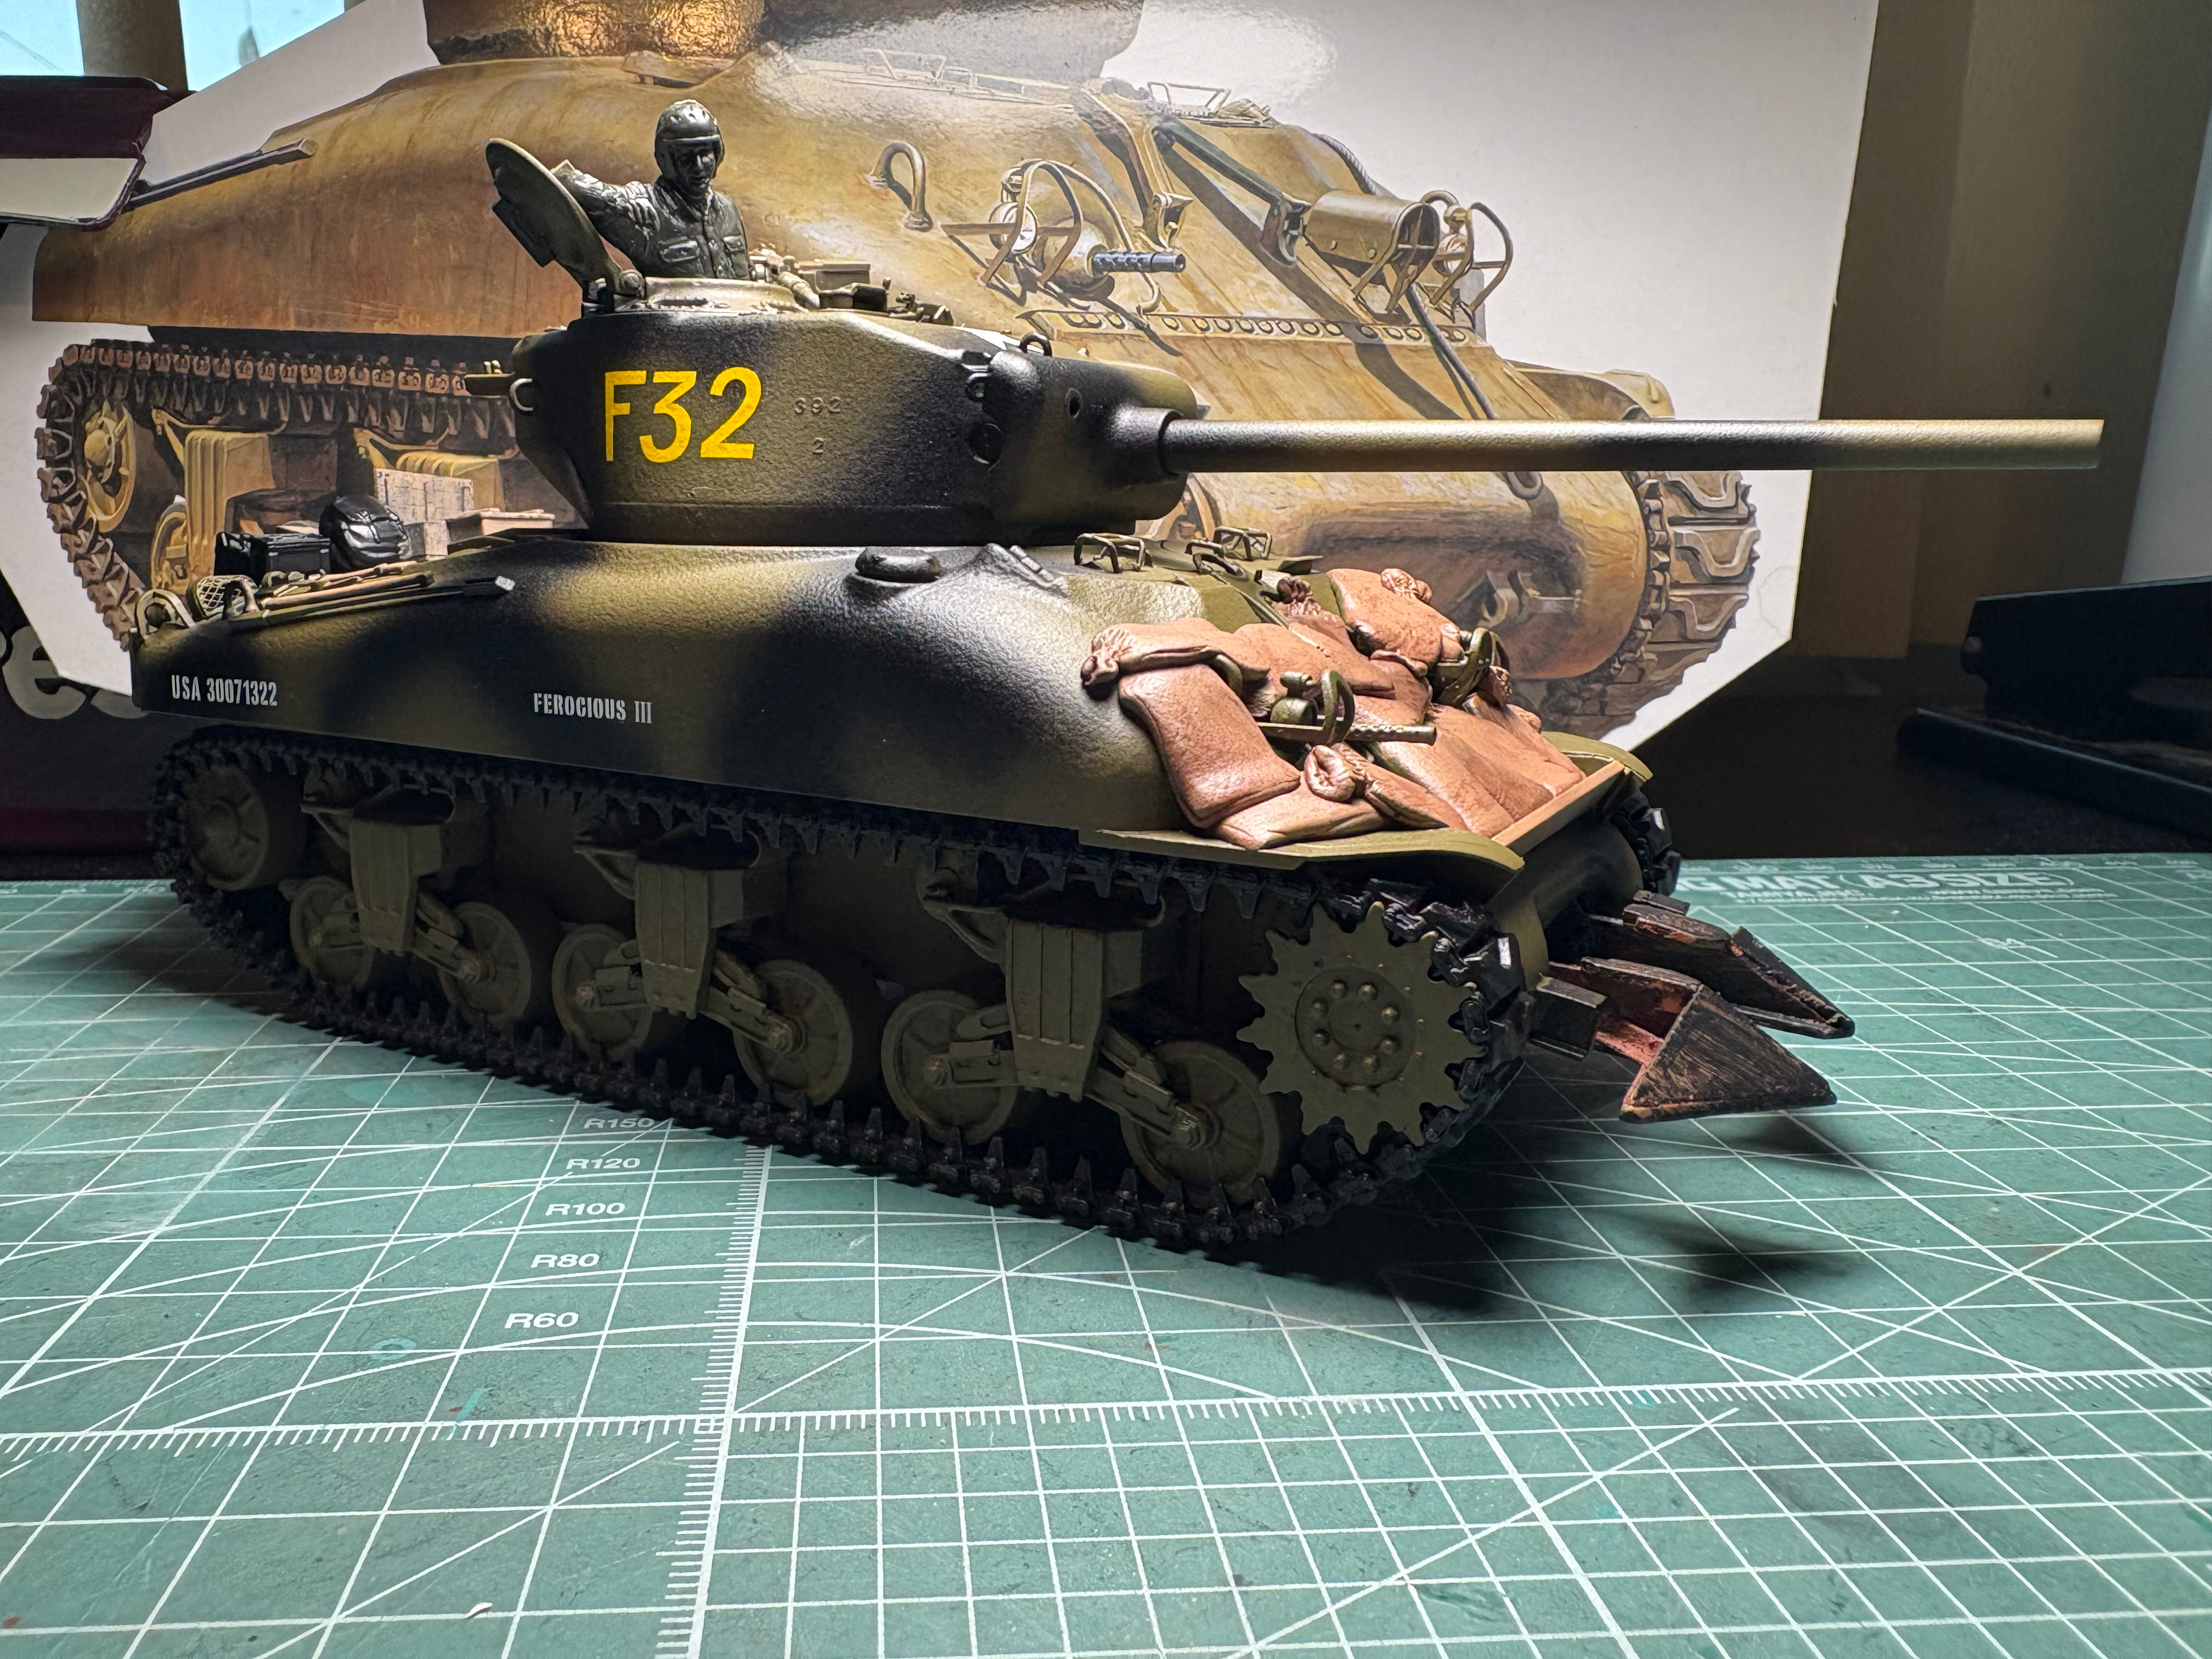
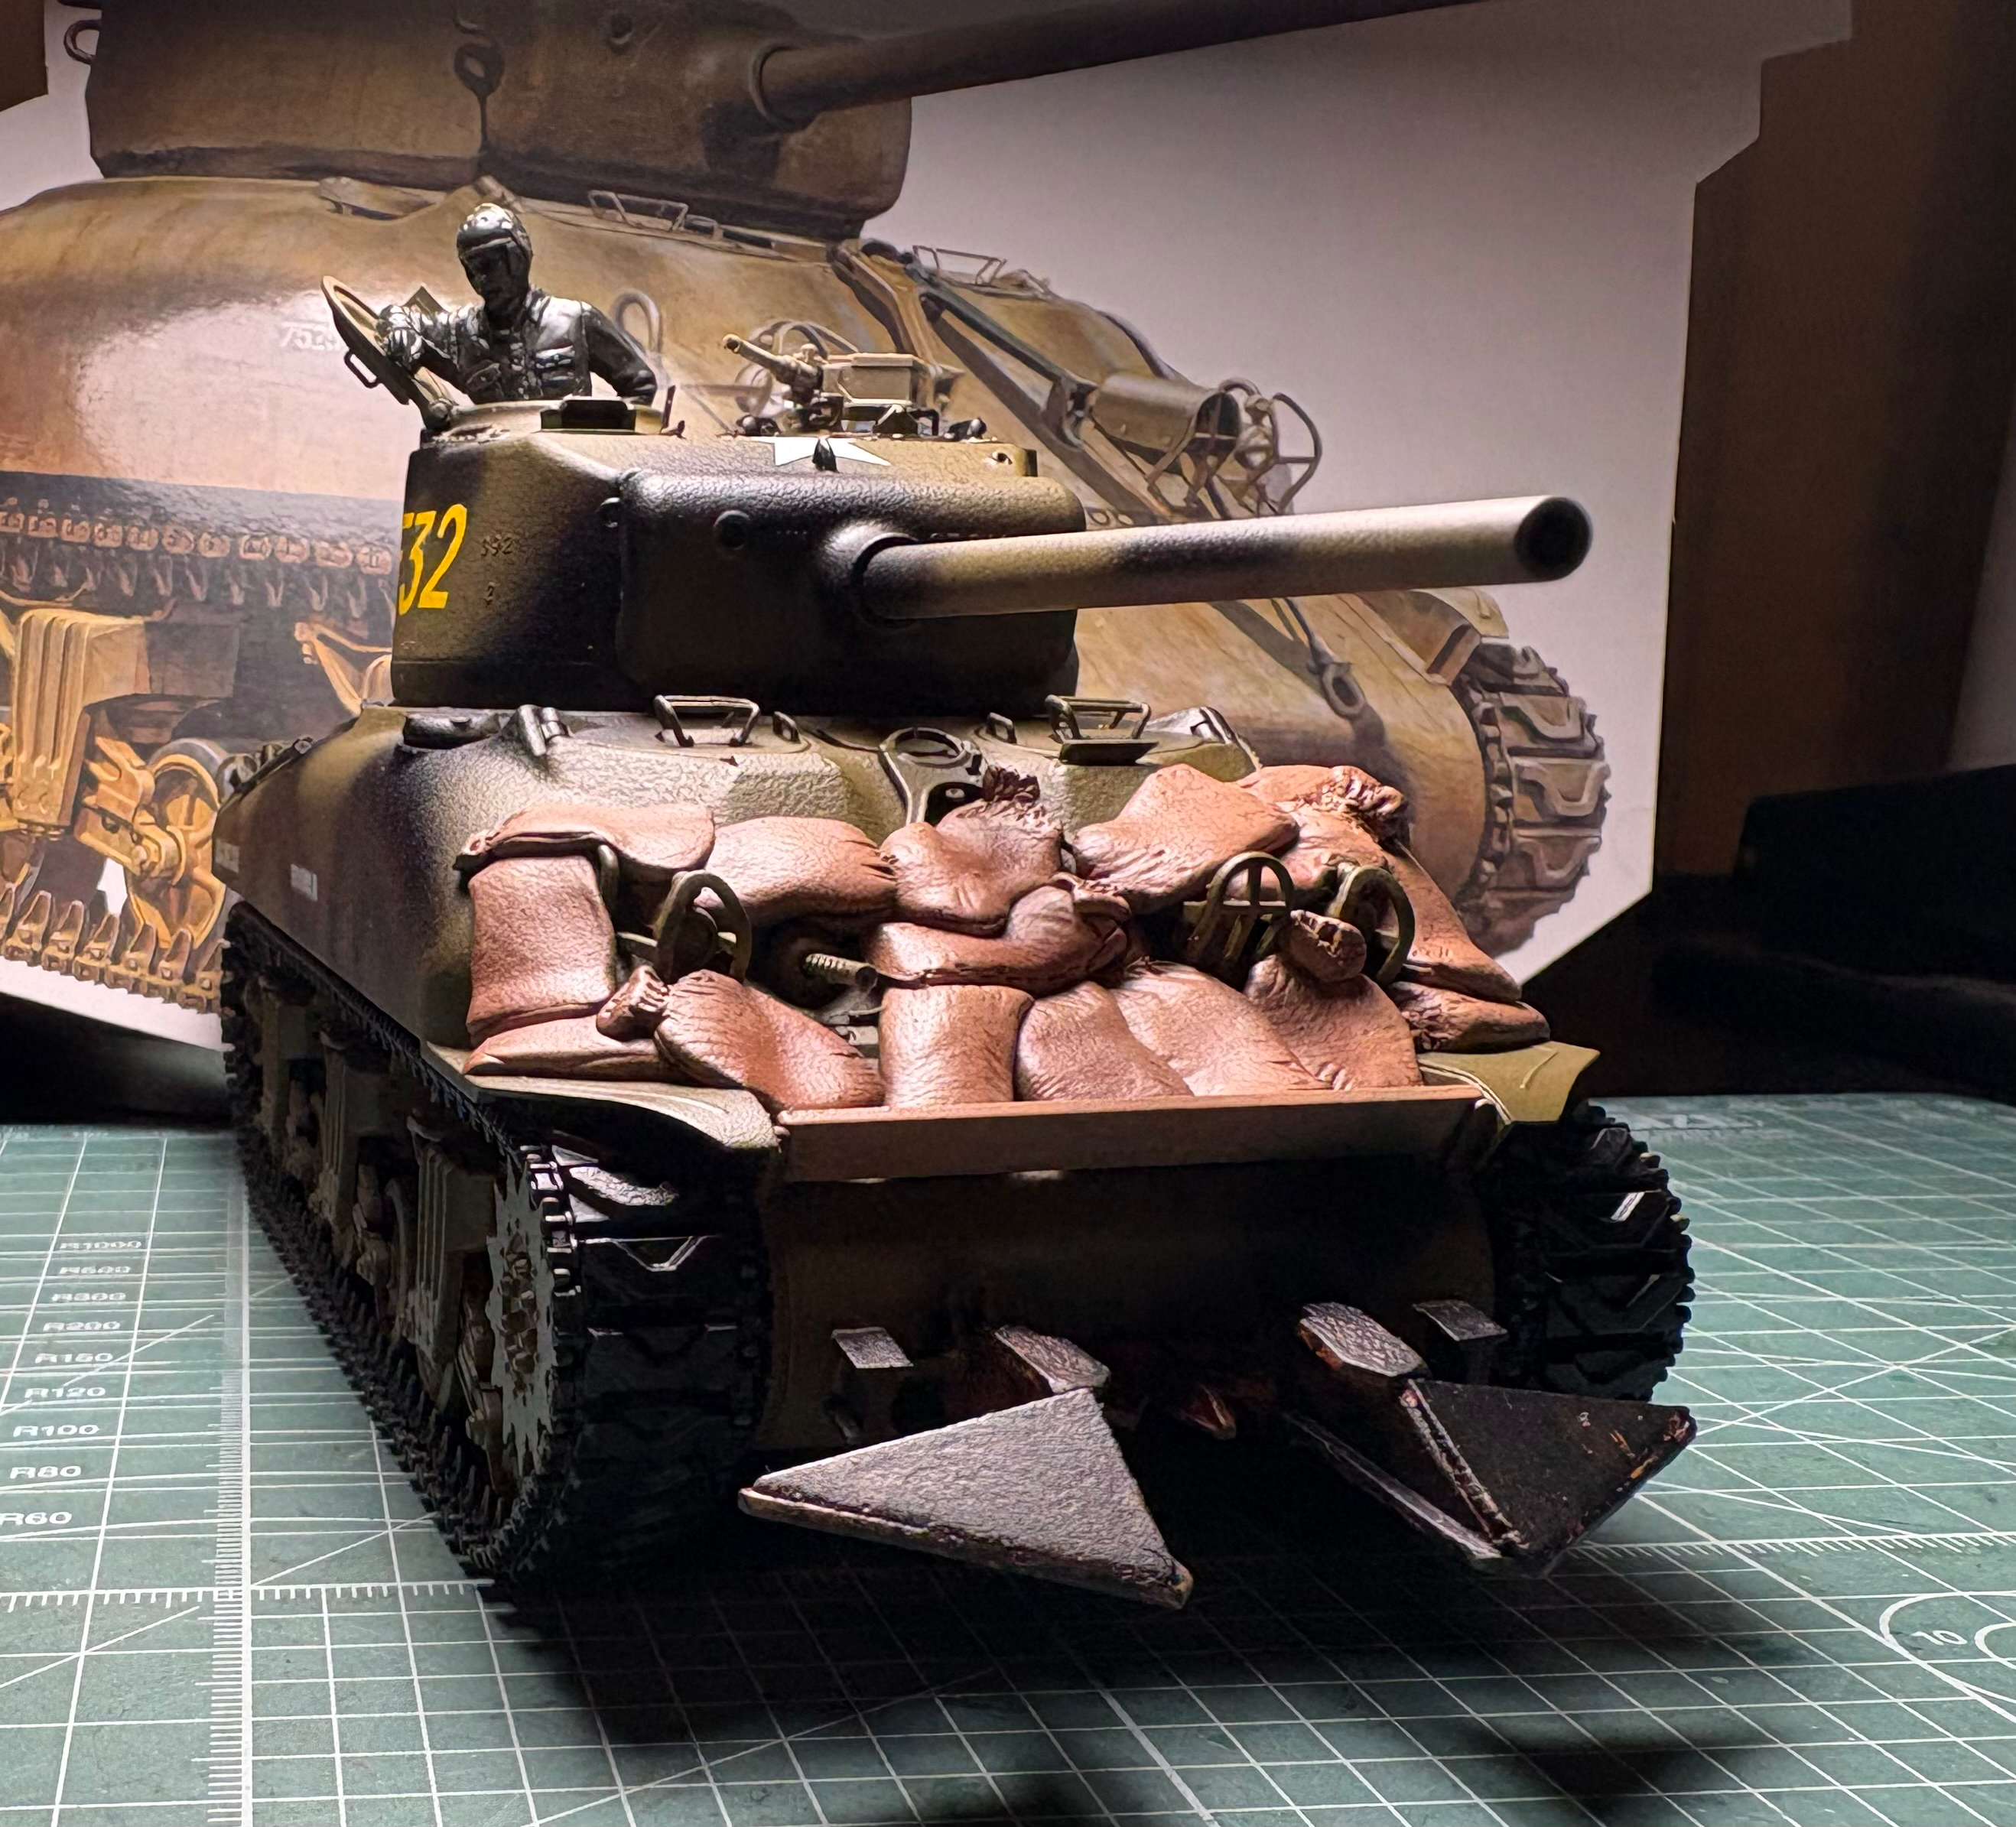
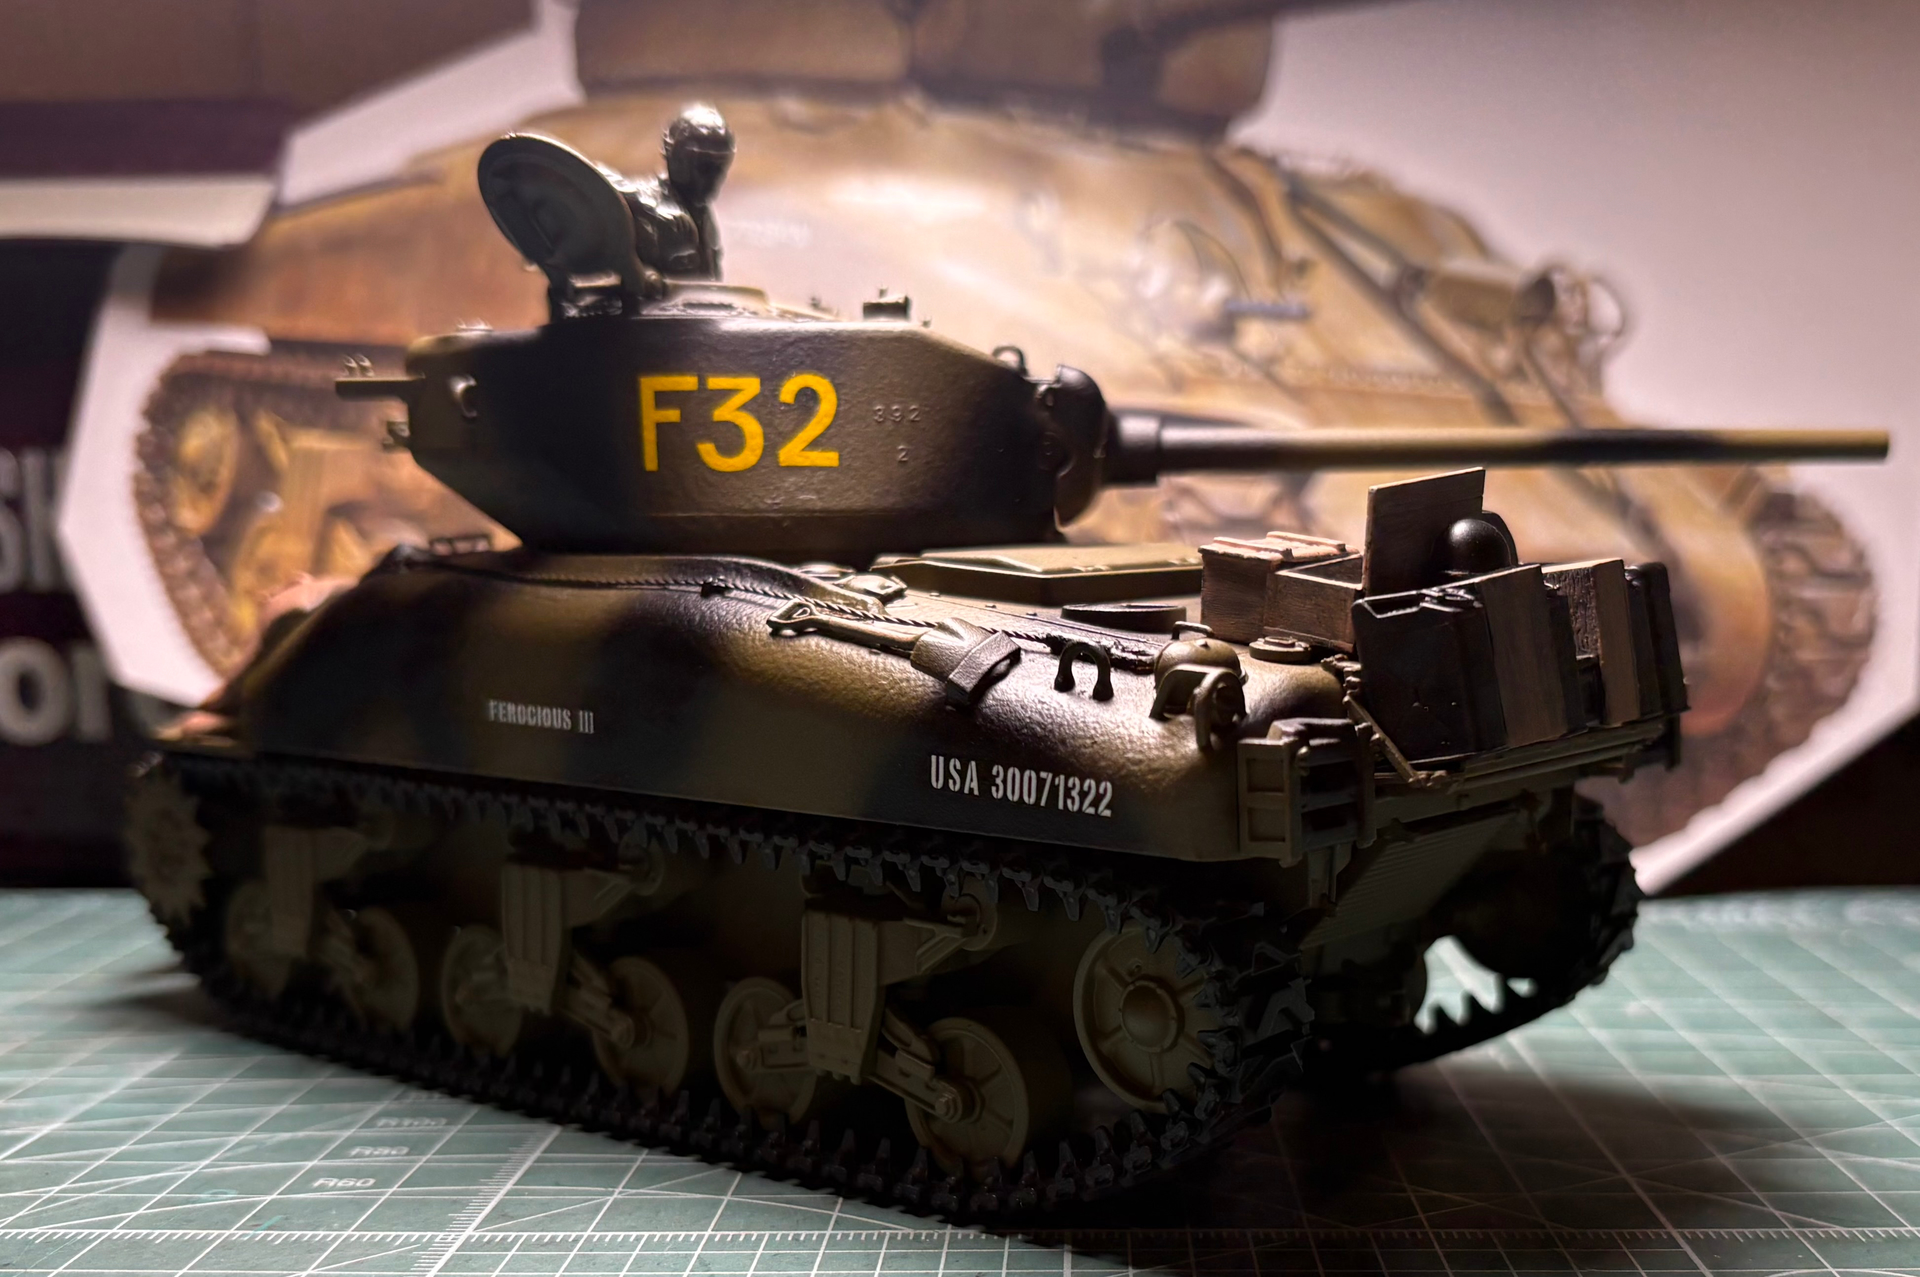
I’m going to stop working on this. And while the tank could use more detail, I honestly don’t see the point in working on this BM kit any longer. Had some fun scratch building a Douglas device and making sand bags for this. Once again, terrible kit, don’t buy one. It took a lot of stuff from my spares box to add missing pieces to this, then to hide the garbage front of the tank I put sandbags on it. The suspension was unbelievably difficult to clean and line up properly given that they don’t give you the means to make the suspension in a neutral pose. So much wrong with this kit I don’t want to rehash it again but it’s all in the thread.
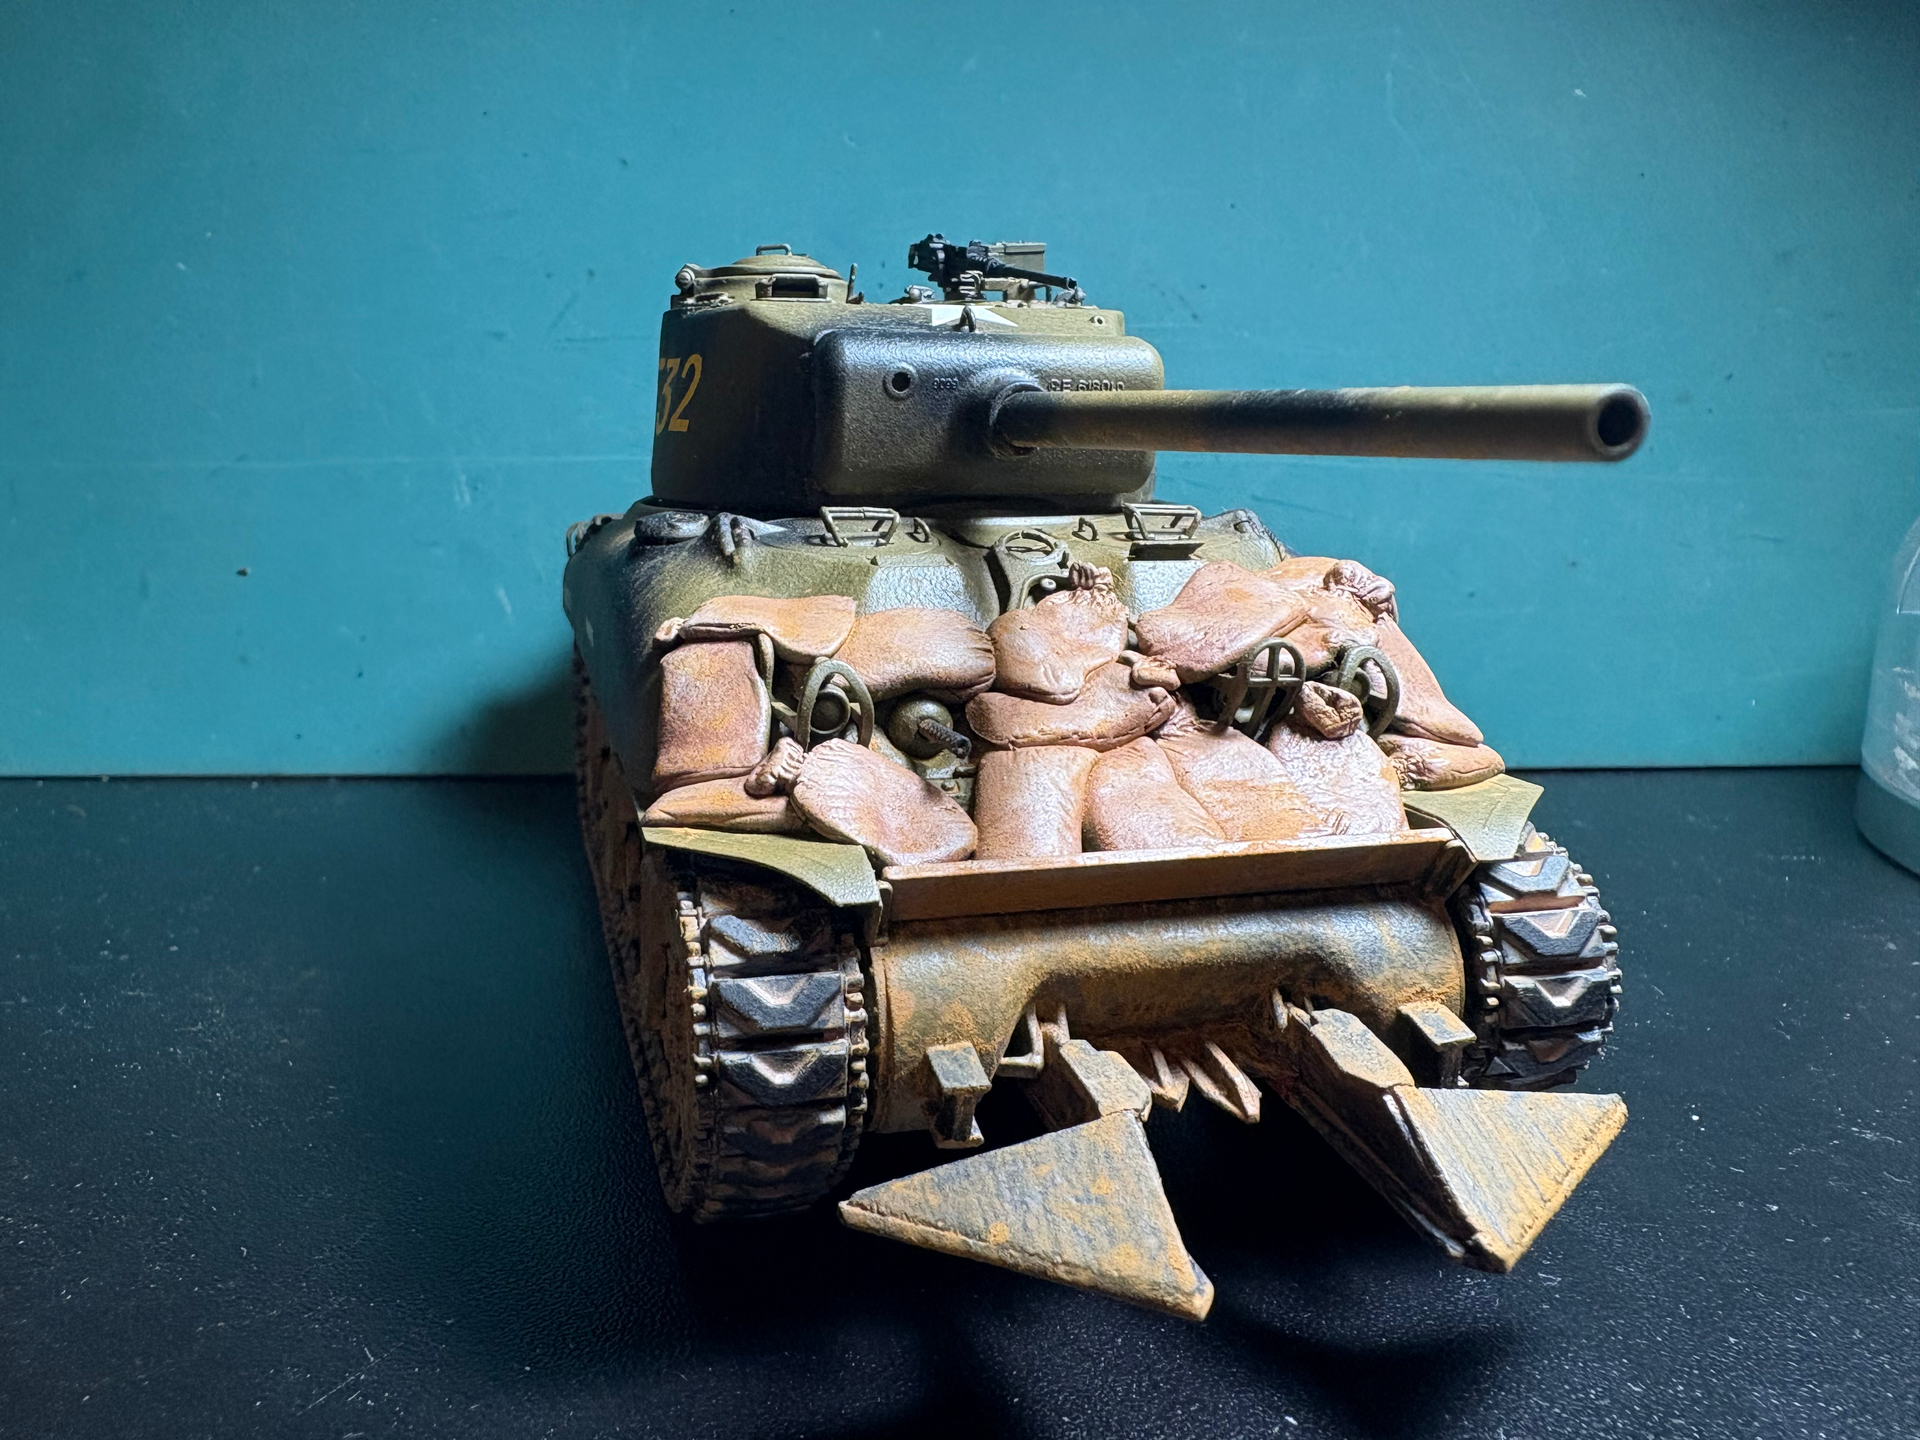

Ready to join the breakout Sherman collection from different manufacturers now.
6 Likes
Like I said elsewhere, you need a Purple Heart for this one!
4 Likes
I appreciate the kind words. I’ve really come to dislike the BM kit. It’s so disappointing that a company would release a kit this bad in this day and age with all the computer assisted design and all the information that is readily available nowadays for free. If you look at the bottom photo I posted and look below the big yellow markings on the turret and see how the contours of the hull go down right there then come back up back where the tools start, so weird and senseless that they would do stuff like this. It’s already out of sight and in a box, I’ll take it out when I want to park it next to the the other orphan breakout Shermans in the Operation Cobra collection but it’s never going to sit on the shelf.
I’m going to continue painting the other orphans an when I get those done I’ll post a group picture of them here. I don’t see the point of starting a new thread for that as they were all born here on this one.
3 Likes
Commiserations, you worked hard for insufficient reward. I get the impression Border Models isn’t the best choice for some other kits either - maybe there’s a clue in their initials: BumMer.
If it’ll make you feel better there’s always this option, works for me…


4 Likes
If it wasn’t part of the Operation Cobra collection I’d definitely donate it to someone to blow it up in a stop motion film 
Speaking of the collection…some progress today on the 2.0 version of the Asuka edition in the collection.
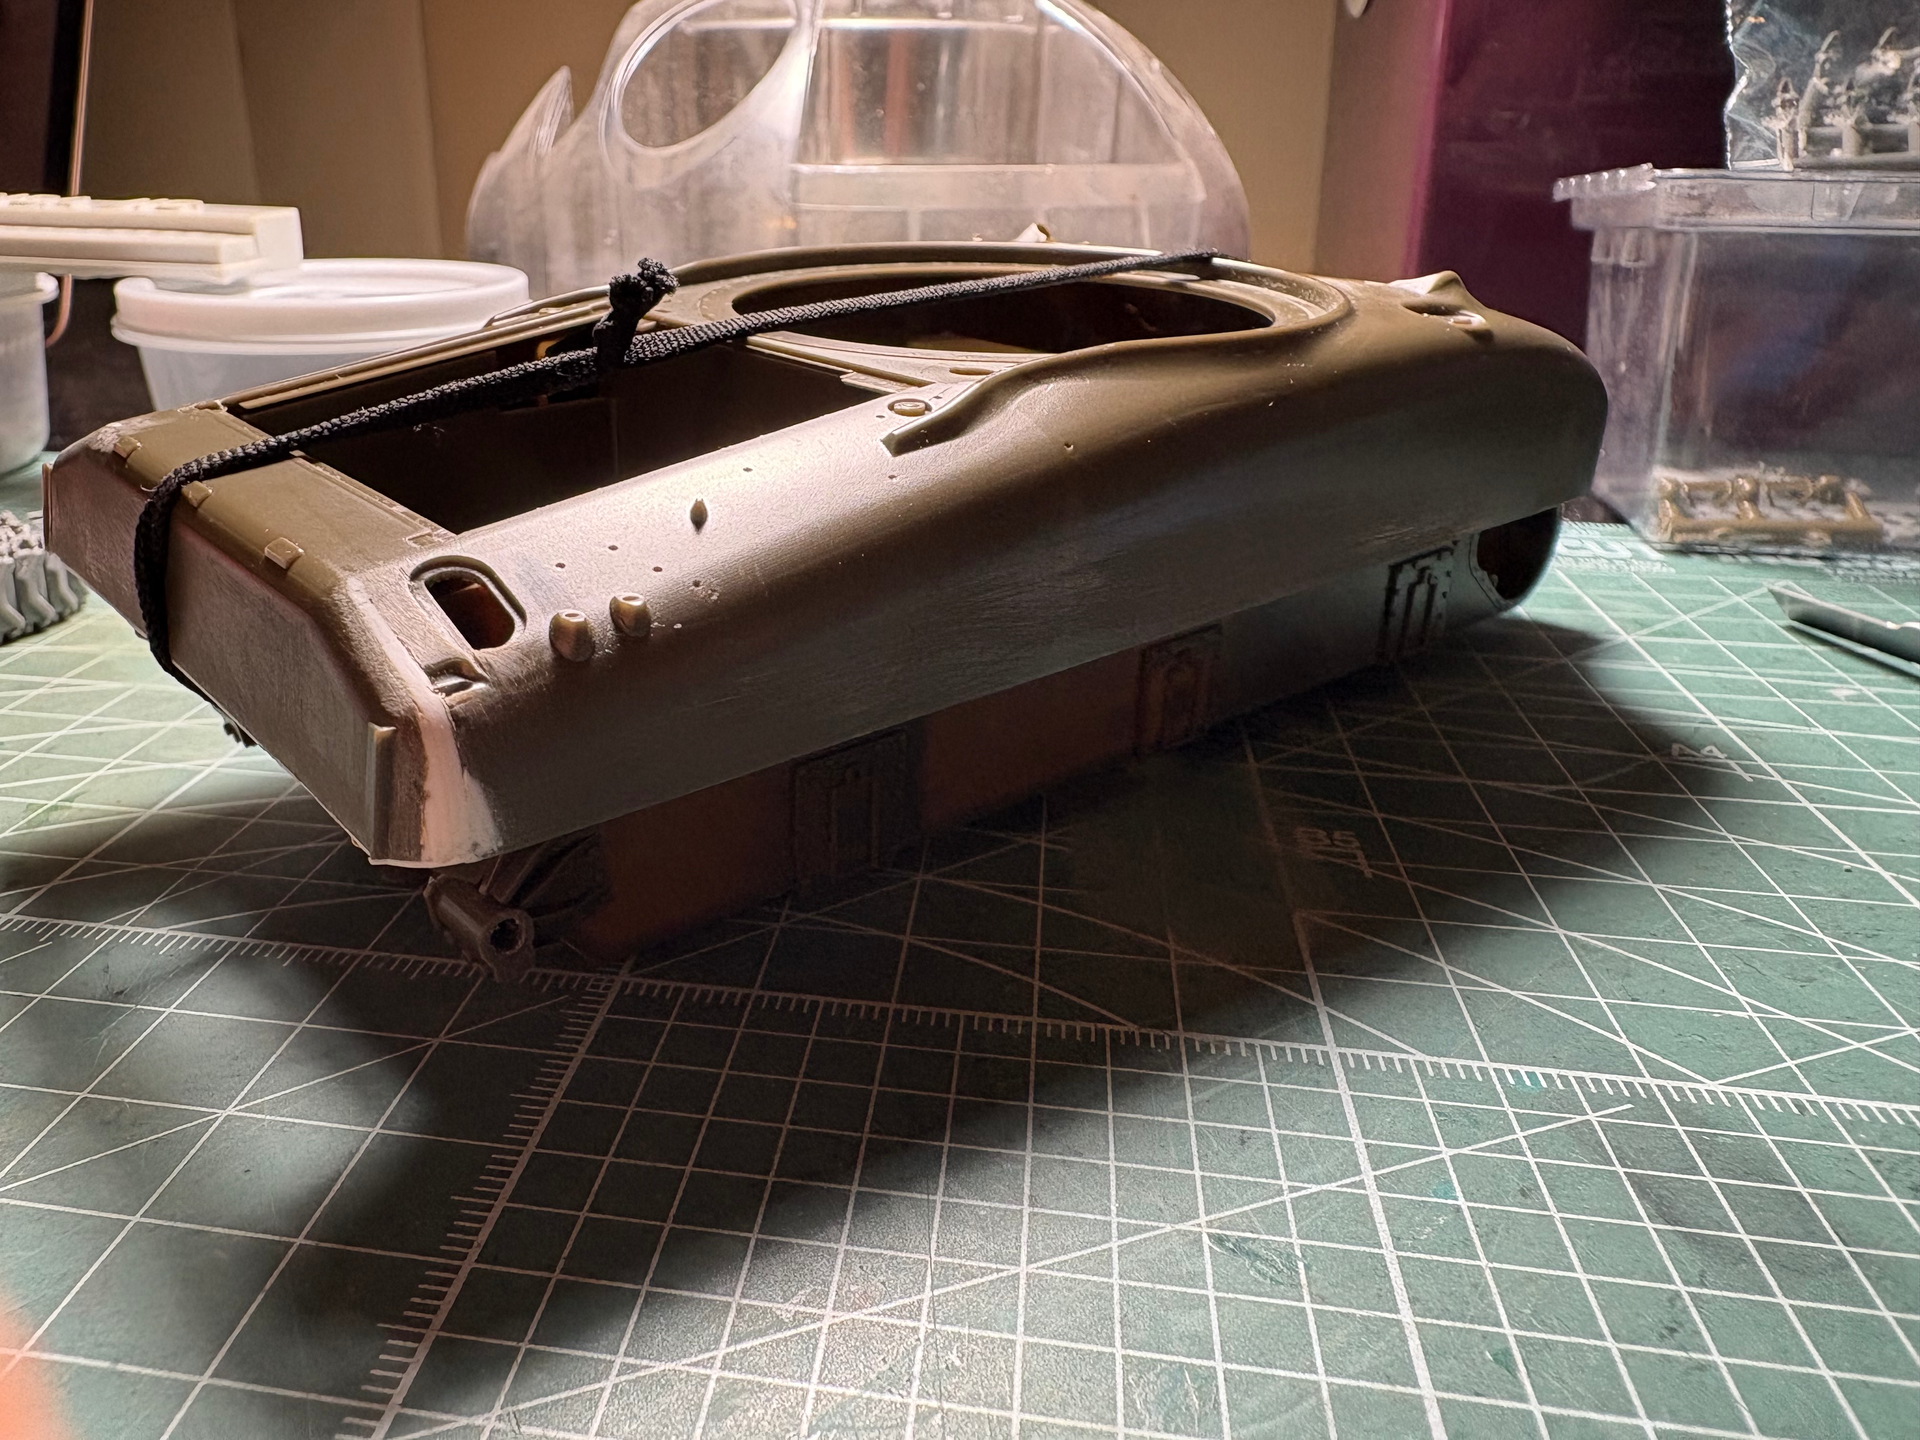
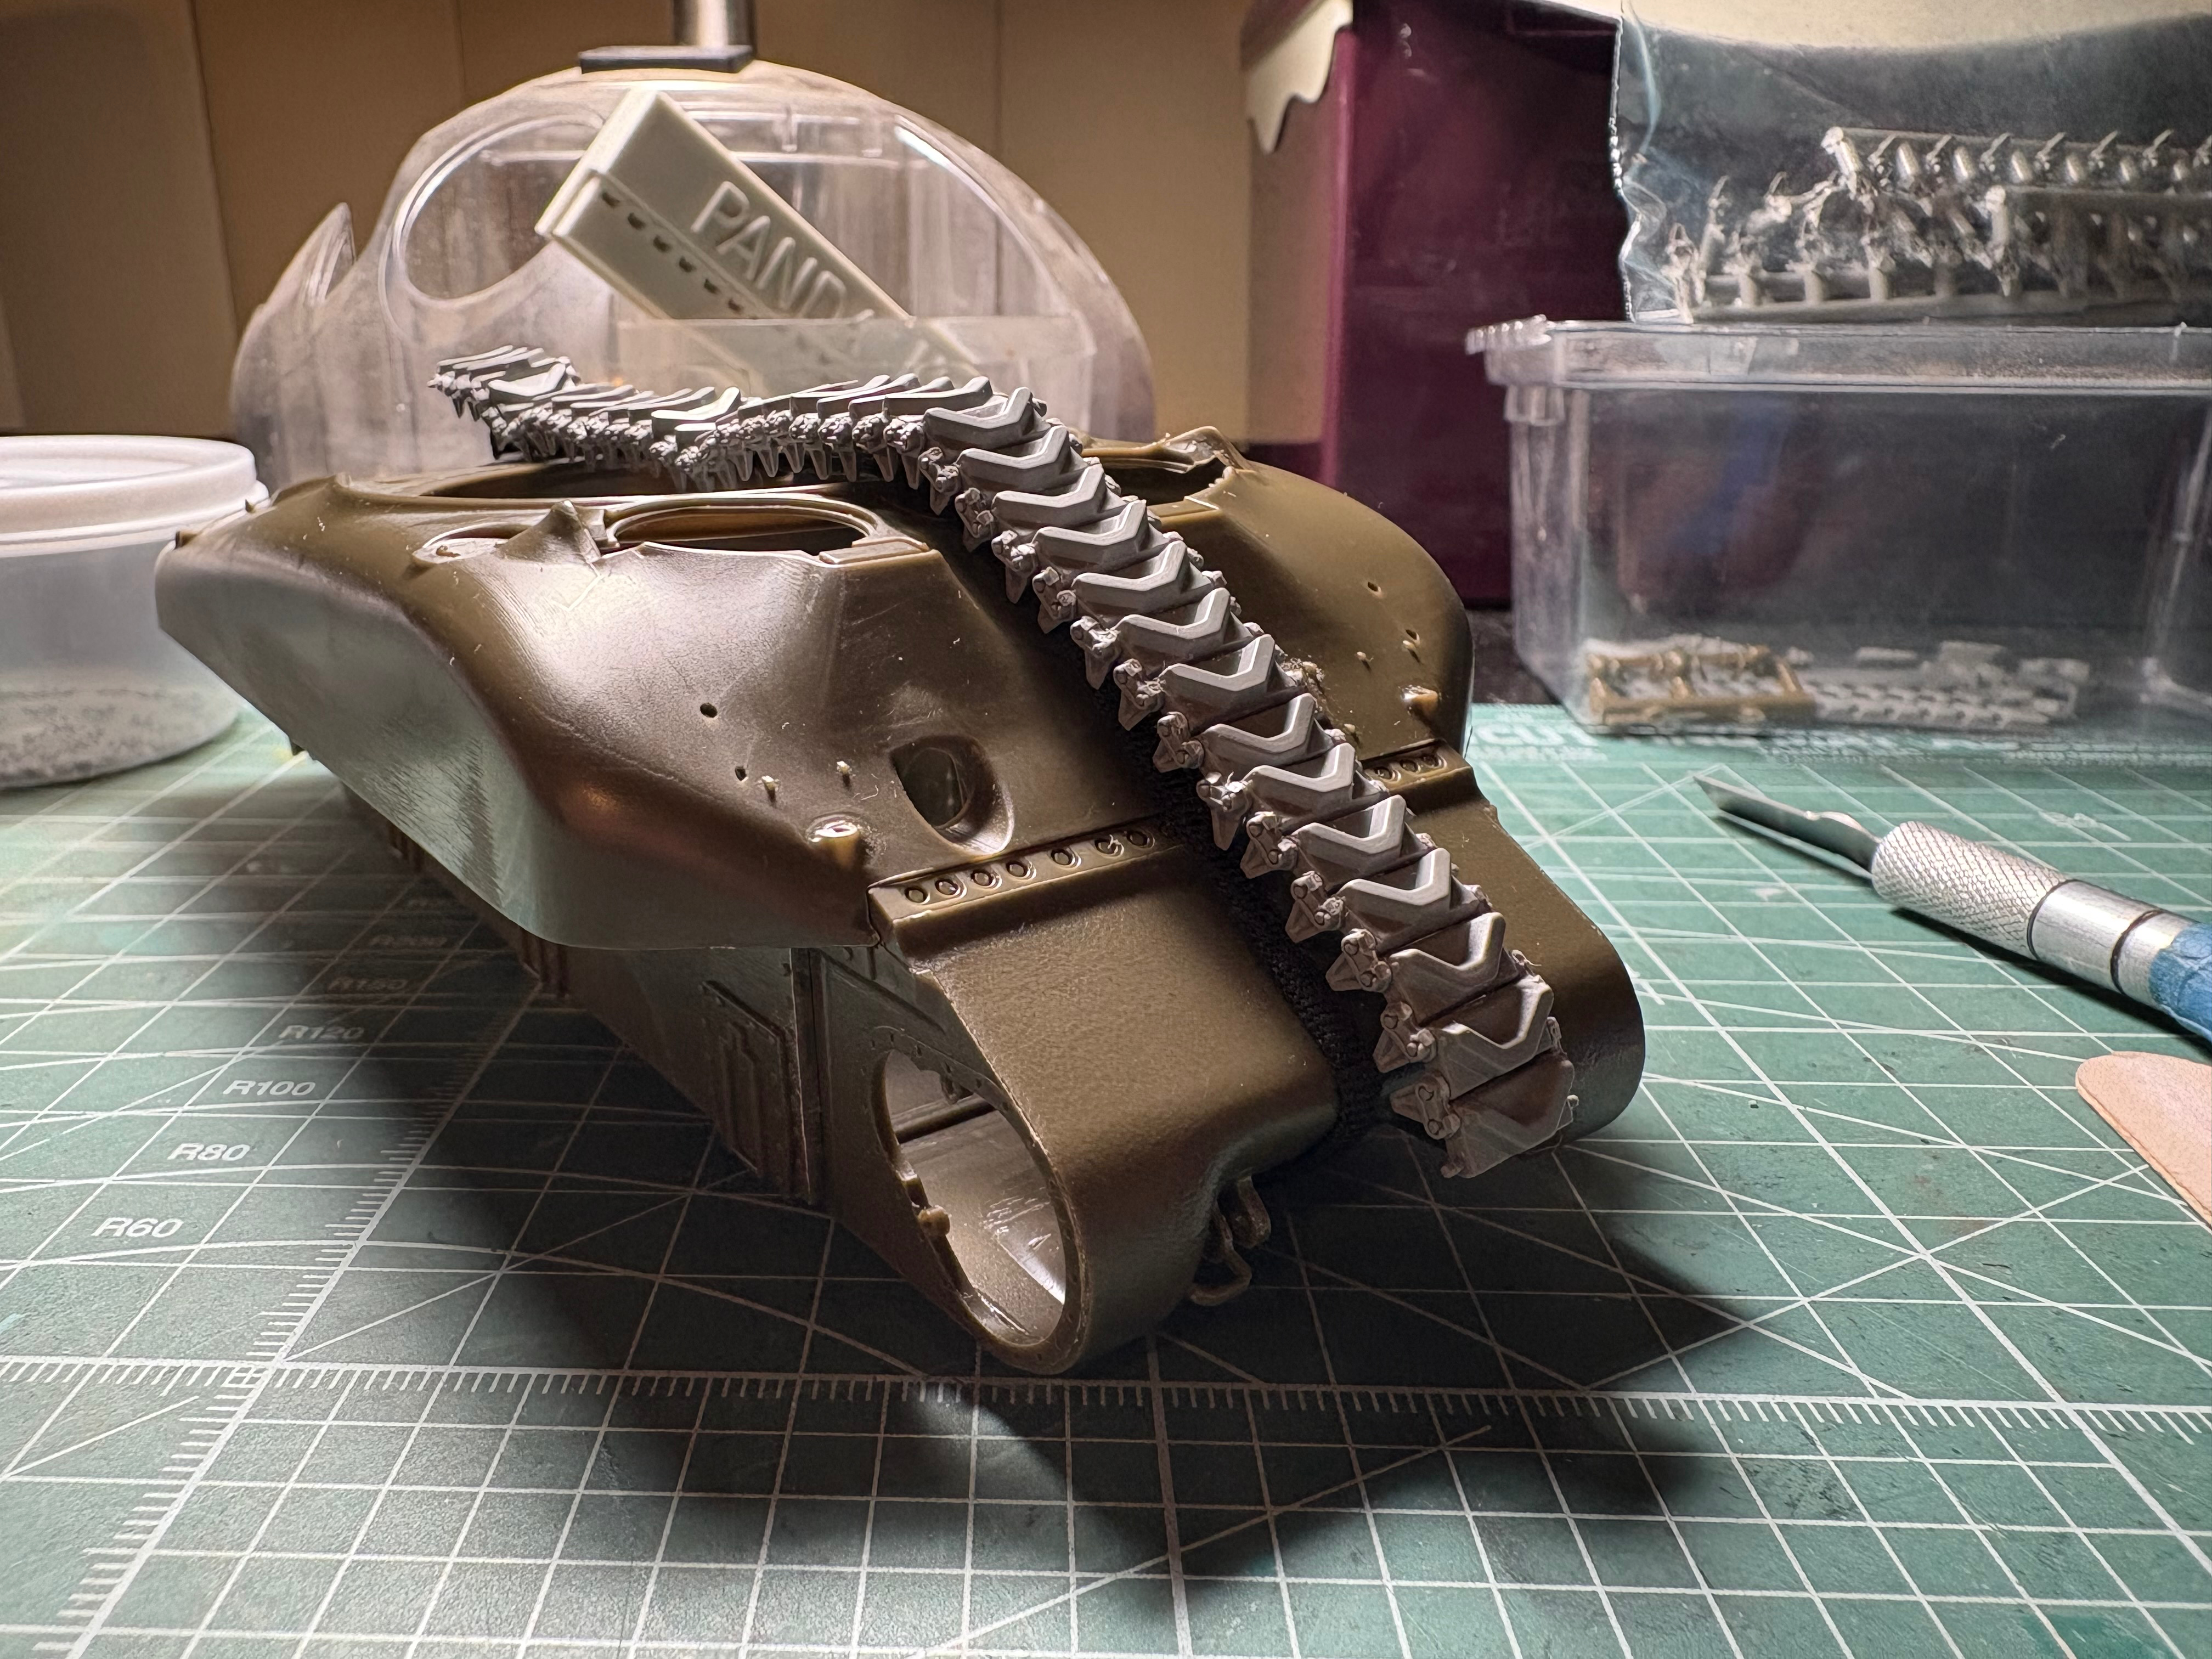
I might have a couple more Tasca rubber band tracks somewhere but I haven’t been able to find them so I’m going to use the BM tracks for this build.
5 Likes
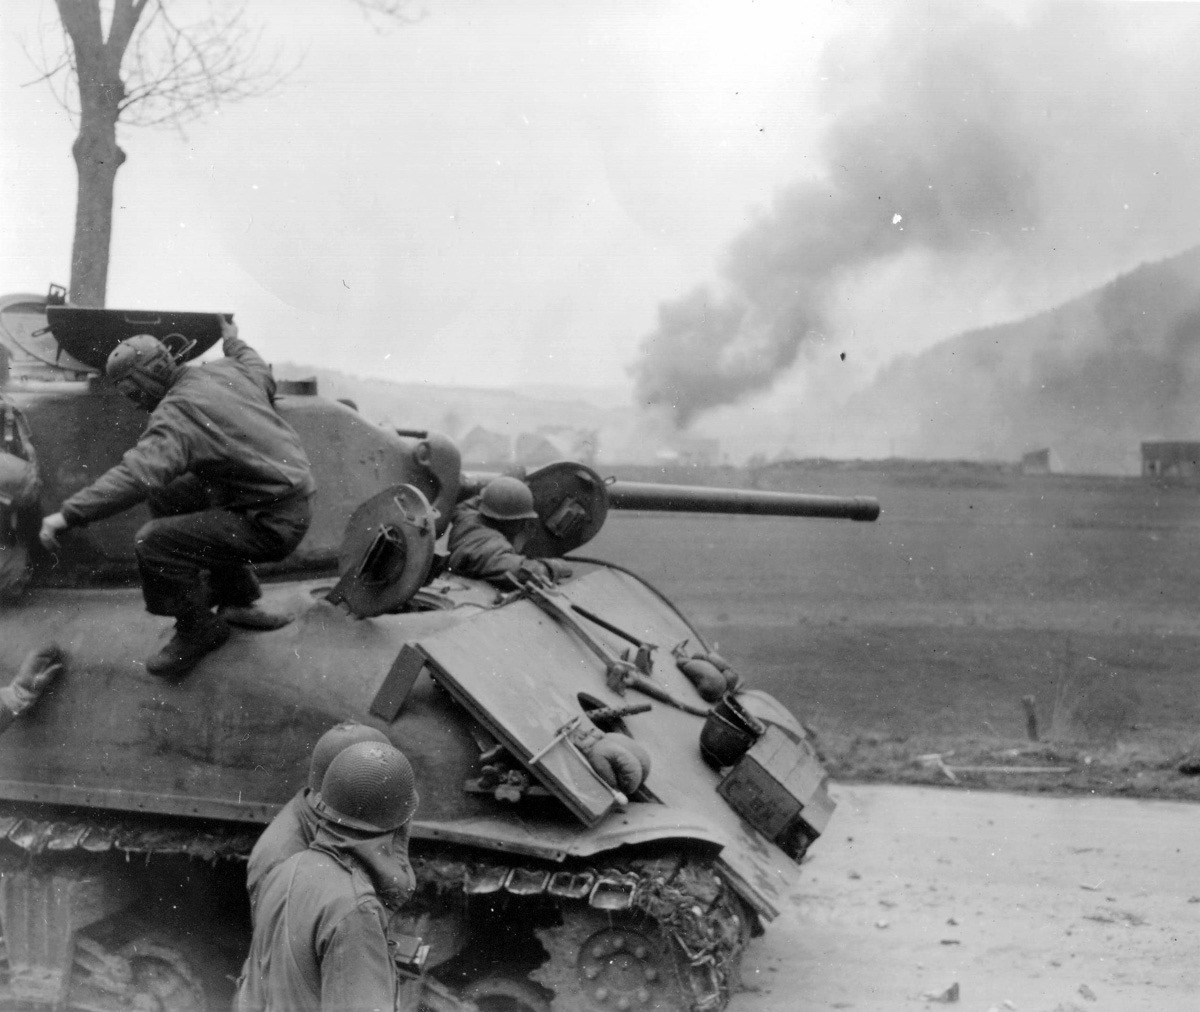
if anyone knows anything about this tank I would really appreciate any information. To me it seems like it might be an orphan tank because it doesn’t have the ventilator cover in the front of the hull. Perhaps it survived the summer, the fall, and part of the winter and was still fighting later on into Germany when the 3rd armored was adding extra armor plates to their tanks. I can’t tell what type of suspension it has or whether it has the ventilator on the back of the turret but it does have the later gun with the thread protector on it…
2 Likes
Son of Sherman (second edition) has this photo on page 502, but it doesn’t really go much further to ID the specifics of the tank beyond what you’ve already mentioned. I’m sure you’ve noticed the crew swapped the commander’s and loader’s hatches  It has the later type of the latter, where the hatches can open to 45° rather than only to the vertical.
Going by the text for the M4A1 (76 mm) PSC tanks, I’d say it could have either type of return roller bracket. According to the book, the ventilator cover was added in July 1944 while the upswept brackets started being fitted in Spring of that year. It doesn’t mention when the M1A1C gun came in, though. However, the chapter on turrets suggests that was around May, which implies this tank was made between Spring and July 1944, and so would likely have had upswept return roller brackets.
1 Like
Thanks Jakko! It also probably had a ventilator in the rear of the turret as those ventless ones were limited to the like the first couple hundred produced. I was thinking that the bag hanging on the left upper side (before the picture cuts out) seems to be hanging from the MG stowage brackets and it seems to be hanging from the upper edge of the turret. So not an orphan survivor, it’s likely from a batch produced sometime after the orphans, it just hadn’t received the ventilator cover in the front of the hull or the muzzle brake on the gun.
The reversed hatches and the armor plate combined with the thread protector at the end of the gun make it uniqued enough for me to want to build it. The new Takom VVSS seems like the logical choice, it already comes with the later turret, the suspension, and the exact add-on armor plate. I’d just need to back date the front of the hull, the gun, and make two sets of boxing gloves out of apoxie sculpt..
2 Likes
I just noticed the turret has serial number 447 over 1. Page 493 of Son of Sherman has a photo of an M4A1 with turret number 465 over 2, the caption for which says it was made in March 1944 and had a rear ventilator. Page 503 has two views of a tank with turret 535 over 2, apparently made in April. 465 had “flat” return roller brackets, 535 had upswept ones, and neither had a ventilator cover.
Assuming turret 447 was delivered to PSC around the same time as 465, that would likely make it from ca. March production as well, with likely the horizontal roller brackets.
1 Like
Well that’s actually great news! It means I’m in time to divert my current Asuka build to make the add on armor tank. Do I really need another Orphan tank right now? I already have an Asuka one but with the faulty rear. My new Takom kit comes with the steel plate parts to make the tank in the photo but everything else in the Takom kit is wrong for the tank. I want a break from all the modifications and stuff. I can use the Asuka almost OOTB to make this all I need to do is reverse the hatches and leave off the front ventilator cover. Then I just need to source a set of T48 tracks with EEC and custom make a couple pair of boxing gloves from apoxie sculpt. Dan already has a Takom VVSS thread going so I think I’ll be taking this Asuka build in a new direction and enjoy building this particular tank😊
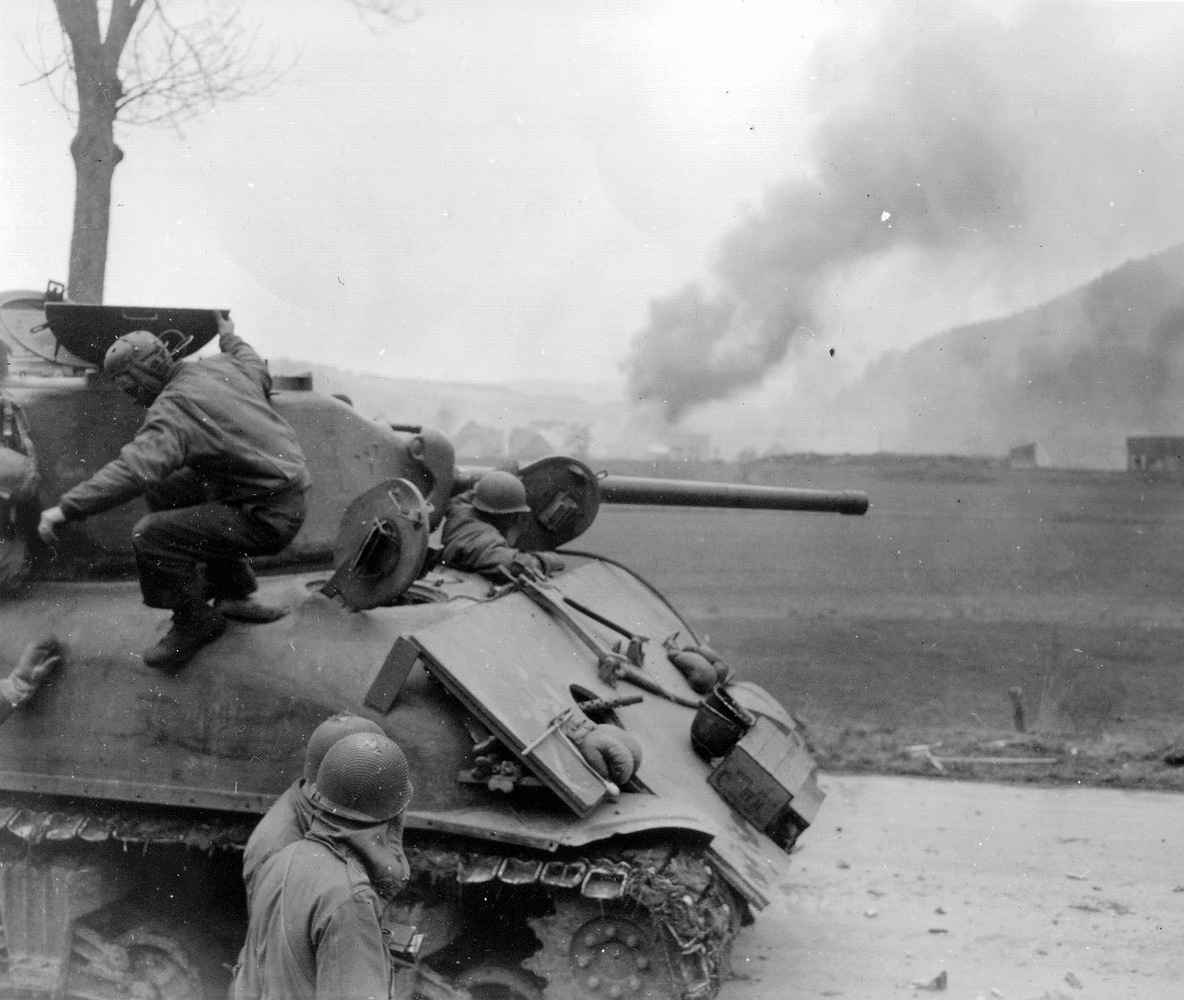
I went and read the caption in the son of Sherman book says that they welded two 1/2 inch metal plate together but judging from the depression on the front boggie and just eyeballing the thickness I’d say that it’s two 1 inch plates.
4 Likes
I suspect they’re neither, but a metric thickness instead I’m not at my computer at the moment, but tomorrow I could crank up Photoshop (well, click on its icon to unhide it) and do some measuring in the image to try and find out the approximate thickness.
3 Likes
A big problem with measuring the plate thickness is finding a known dimension, preferably vertical, in the photo. Had the wheels been fully visible, that would have been easy — though they’re far away from the extra armour plates, so it would not be all that accurate to use them. The least-bad option seems to be to use the height of the sand-shield mounting strips (along the hull, not along the mudguard), which are a known 2 inches = 50.8 mm high.
Having set that length as being 50.8 mm in Photoshop, it tells me the thickness of the two plates together, measured perpendicular to the surface, varies from 32.2 mm near the support at the top to 36.1 mm near the bottom, just above the mudguard. Part of this difference can be explained by perspective: the tank is not seen straight side-on, putting the bottom corner closer to the photographer than the top one.
In any case, I feel fairly confident in saying these are probably two plates of about 15 mm thick steel — which, to American eyes, would look like two plates of half-inch steel, seeing as how 0.5 inches is 12.7 mm in the real world.
In any case, for 1:35 if you use two sheets of 0.5 mm plastic card it should not look wrong.
4 Likes
Thank you for doing all that, I was going to just use the Takom part but now I don’t think I will. I mean I can use it as a template for the overall dimensions but otherwise I think I’ll be cutting two pieces and gluing them together to get the more accurate look.
On the Takom part there is a rectangular cutout in the middle front lower edge of the armor plate. I can’t tell if this tank has a cutout or if it just goes across. Also where the cutout should be there appears to be a tool box or something welded there that keeps the ration box and helmets from sliding off of the plate. If that object is just welded to the plate then the plate probably doesn’t have a cutout, but if’s welded to the FDA inside the cutout it might not even be a tool box, it might be another piece of the support system devised to keep the plate in place.
It’s too bad this is a one off photo, I’ve never seen this tank from different angles. I wonder how Takom decided on the cutout in the front? Unless if they based their add on armor on a different tank? I’ll post a picture of the Takom kit part later when I have some bench time.
2 Likes