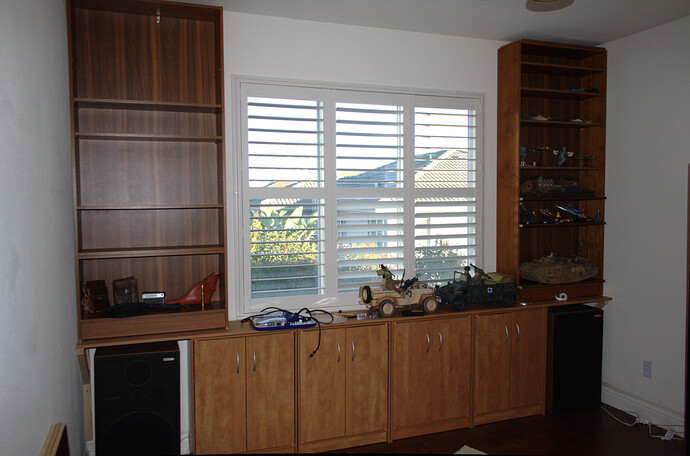
I’ll gladly take a close up if you like but it is not actually one of mine. Sorry if I disappoint anyone but the battle with the CM was executed by my 21st Century strike force! Yes I’m a bit of a kid I have toys too 
OK the Chieftain was an old Tamiya - hey I needed the firepower! - but even that was not one of mine!
Hmm I just spotted 3 Star Wars models that are not in the stash picture hehe.
Not too much interesting to show yet but I am slowly making progress!
One thing I not sure about yet is the chair. I need a new one but those office chairs mostly look like [where’s that poop emoji when you need it!]. Anyone got any thoughts as to what would make a good ‘modeling chair’? I’m tempted to go back to a plain wooden one - if they still make 'em!
I strongly recommend a multi color tweed carpet. Saves you time looking for dropped kit parts because you’ll never find them.
5 Likes

Oh no more carpet! Now I will have to watch for the ‘bounce’ off the hard floor!
Seriously, this is why I’m getting cabinets and shelves etc. up first - I have vowed to have no more junk on the floor. If I can’t put it somewhere it leaves in some manner - junked, sold, stored - we’ll see when I get there! So, in theory at least, if a part DOES just happen to fall and bounce I can still locate it!
I’ll let you know how it goes.
1 Like
My basement workspace is pretty Spartan and has a concrete floor so parts do bounce around and sometimes they bounce under utility shelves and cannot be retrieved. I solved this problem by getting a neutral colored piece of carpet with a tight weave approximately 30" wide X 48" long that fits under my chair and extends forward under the work desk. The small size of the carpet makes it easy to find dropped parts and also greatly reduces the chance that they will bounce very far. A good LED mini light is also very useful for looking for parts. My lost parts count has decreased dramatically. Tweezer launch is still an issue.
My procedure for finding dropped parts:
- Turn the lights down or off.
- Get on my hands and knees with a small LED flashlight.
- Hold the light level on the floor and scan for the part.
Of course I’m more likely to find all the bits I previously cut off than the lost part itself.
1 Like
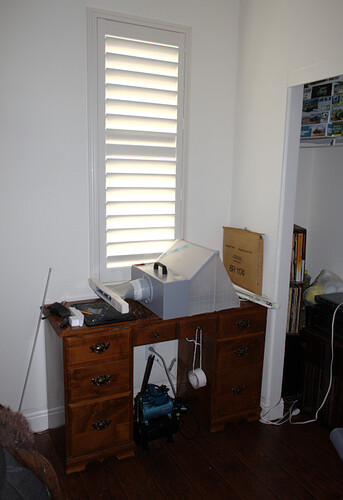
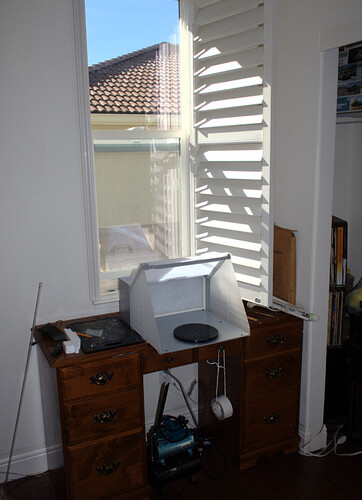
Time for an update! This shows the future airbrush station. The window is right there so I had to cut the vent tube down a bit. Then I added some expanded PS so that the window gaps will be filled up. Now I just have to try it out!
Looks like I will need to do something about that sun shining in! BTW that’s duct tape hanging on a string - not TP! Hiding over on the right are some LPs - don’t play them much any more but I couldn’t just get rid of them! I’ll take another picture of the closet I guess though I don’t have it really sorted yet.
3 Likes
Looking good, we just finished our basement family room and the extra bed room that is my mancave. The longest wall has a window, added 3 4 plex outlets along it so plenty of plugs now, no more powerstrips. I had a two piece L shaped desk that now runs almost the length of it and I built some paint shelves out of trim lumber so those 4 run the length so all my paints are handy and organized and off the desk. Since its a bsement that wall has a ledge in it about 3 ft up so I added a shelf that runs the length so my Hobbyzone organizers sit on it along with all my various cans and jars of whatnot. The only thing on the desk are my brush and tool holders so lots of room, Went w vinyl hardwood on advice of many previous posts but still have a small rug my chair is on, up here in Montana it gets cold and I needed that little extra layer for winter sessions. Still to go is a large built in bookshelf on the wall that the ledge (foundation) runs along. Space also is shared with my fly tying desk/airbrush station, gun cabinet and all my hunting and fishing gear. Need a kegarator and I’ll never leave it. Laundry is right next to it w a muck sink so perfect for cleaning parts etc. Truly lucky to have an understanding wife and daughter.
2 Likes
My modeling chair is an old wooden captain’s armchair I bought at an antique shop for $25. It’s solid and the arms provide stability for precision work. I didn’t bother to refinish it since I figured It was destined to get paint and glue on it.
This without question one of the best ideas shared on the forum, I’ve been using a bath towel since reading this and it has only allowed one part to escape. 
![]()


