New show project for later this year: CATTB build log

Unboxing my BananaTank CATTB Abrams variant. I’l provide more context and history later, but I had to open the box!

The packaging was excellent: foam, bubble wrap, an inner and outer box, and well secures each component in an individual cell deep inside.

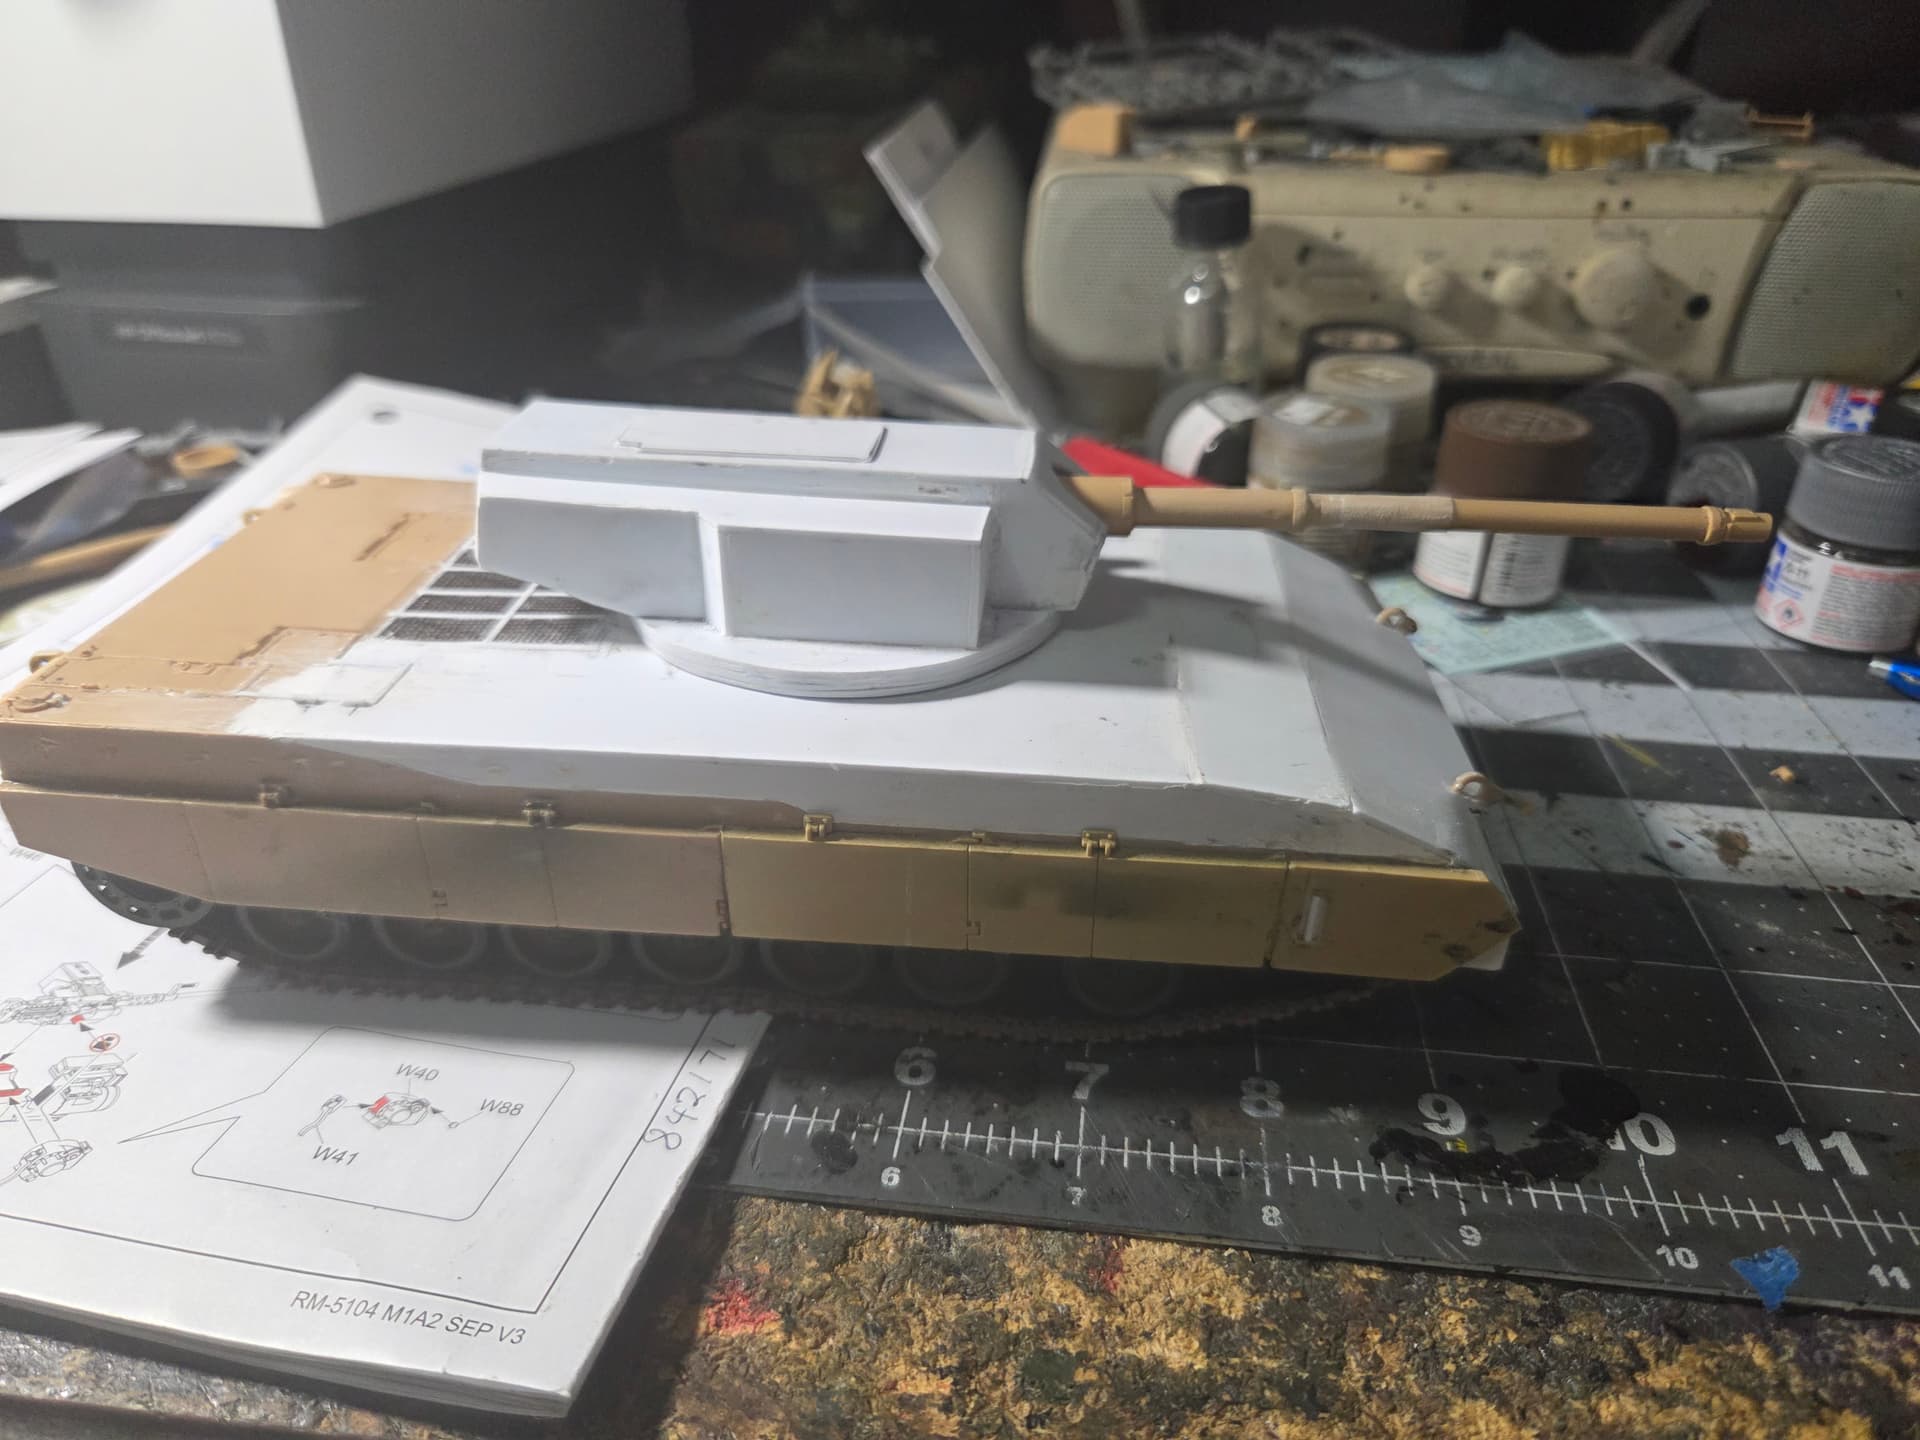
The resin is still banana green, appropriately, and seems smoother than my earlier AGDS. This is welcome, and a nice touch on the part of the printer. The hull appears to be a typical 1990s M1 hull and bitch plate.

The total package is 11 major parts, with plenty of opportunity for making a nice vignette or diorama. I have a question which I’ll post later.

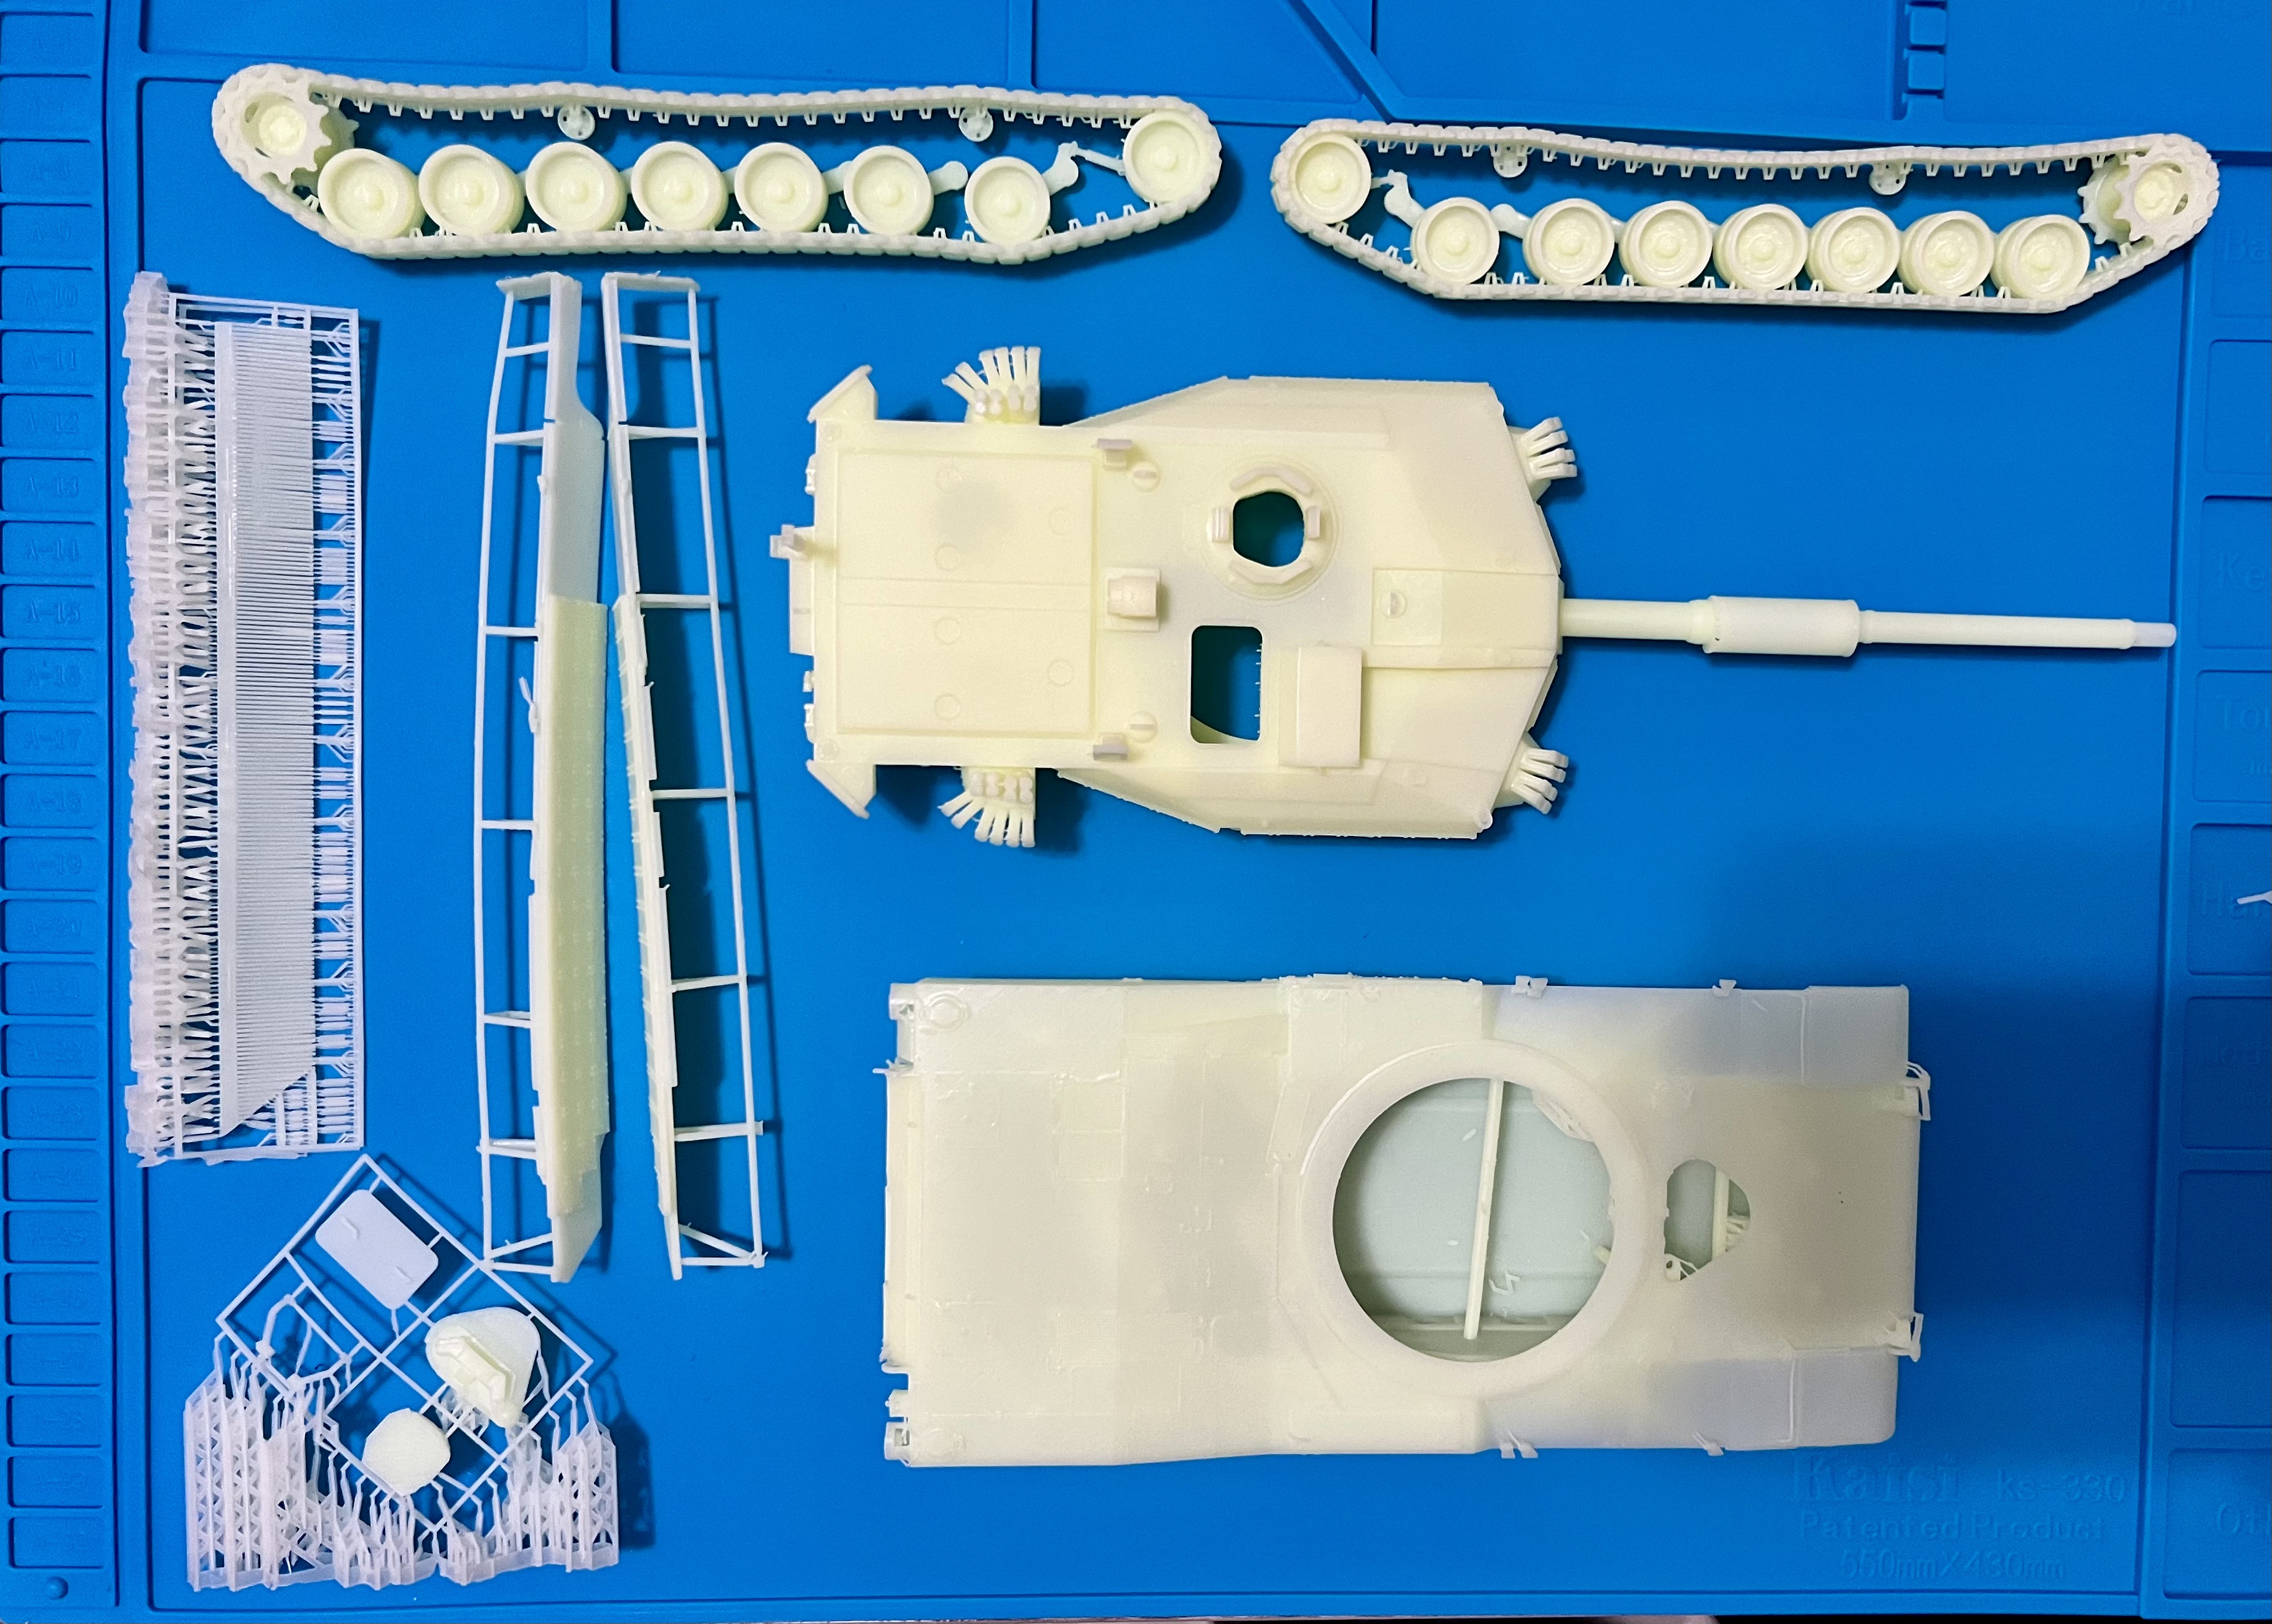
The running gear is a single piece for each side, and appears better-made than that on my AGDS. This is an artifact of 3DP printing I think.

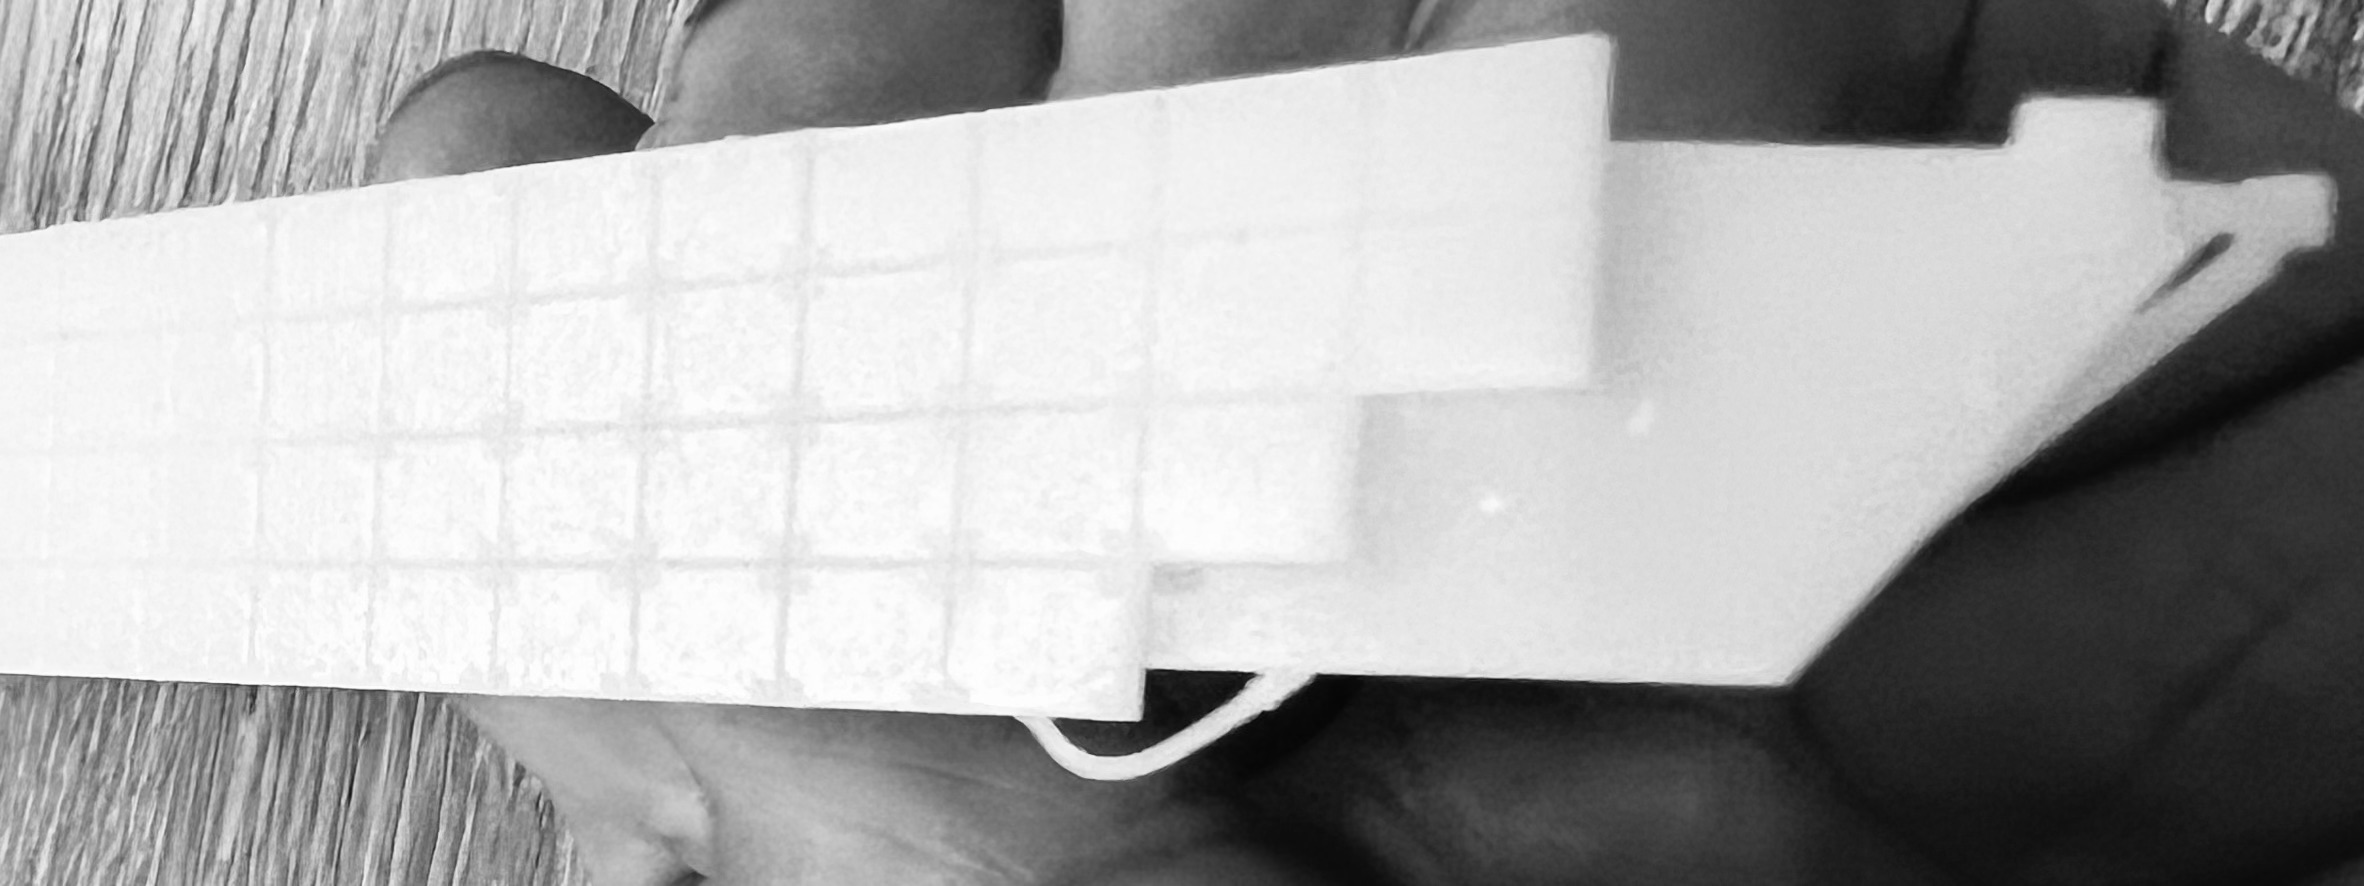
The skirts include a dust-reducing “hem” that hangs nearly to the ground. Think CR1 during ODS. This is made quite well, is very thin, and will be an interesting part of the project.

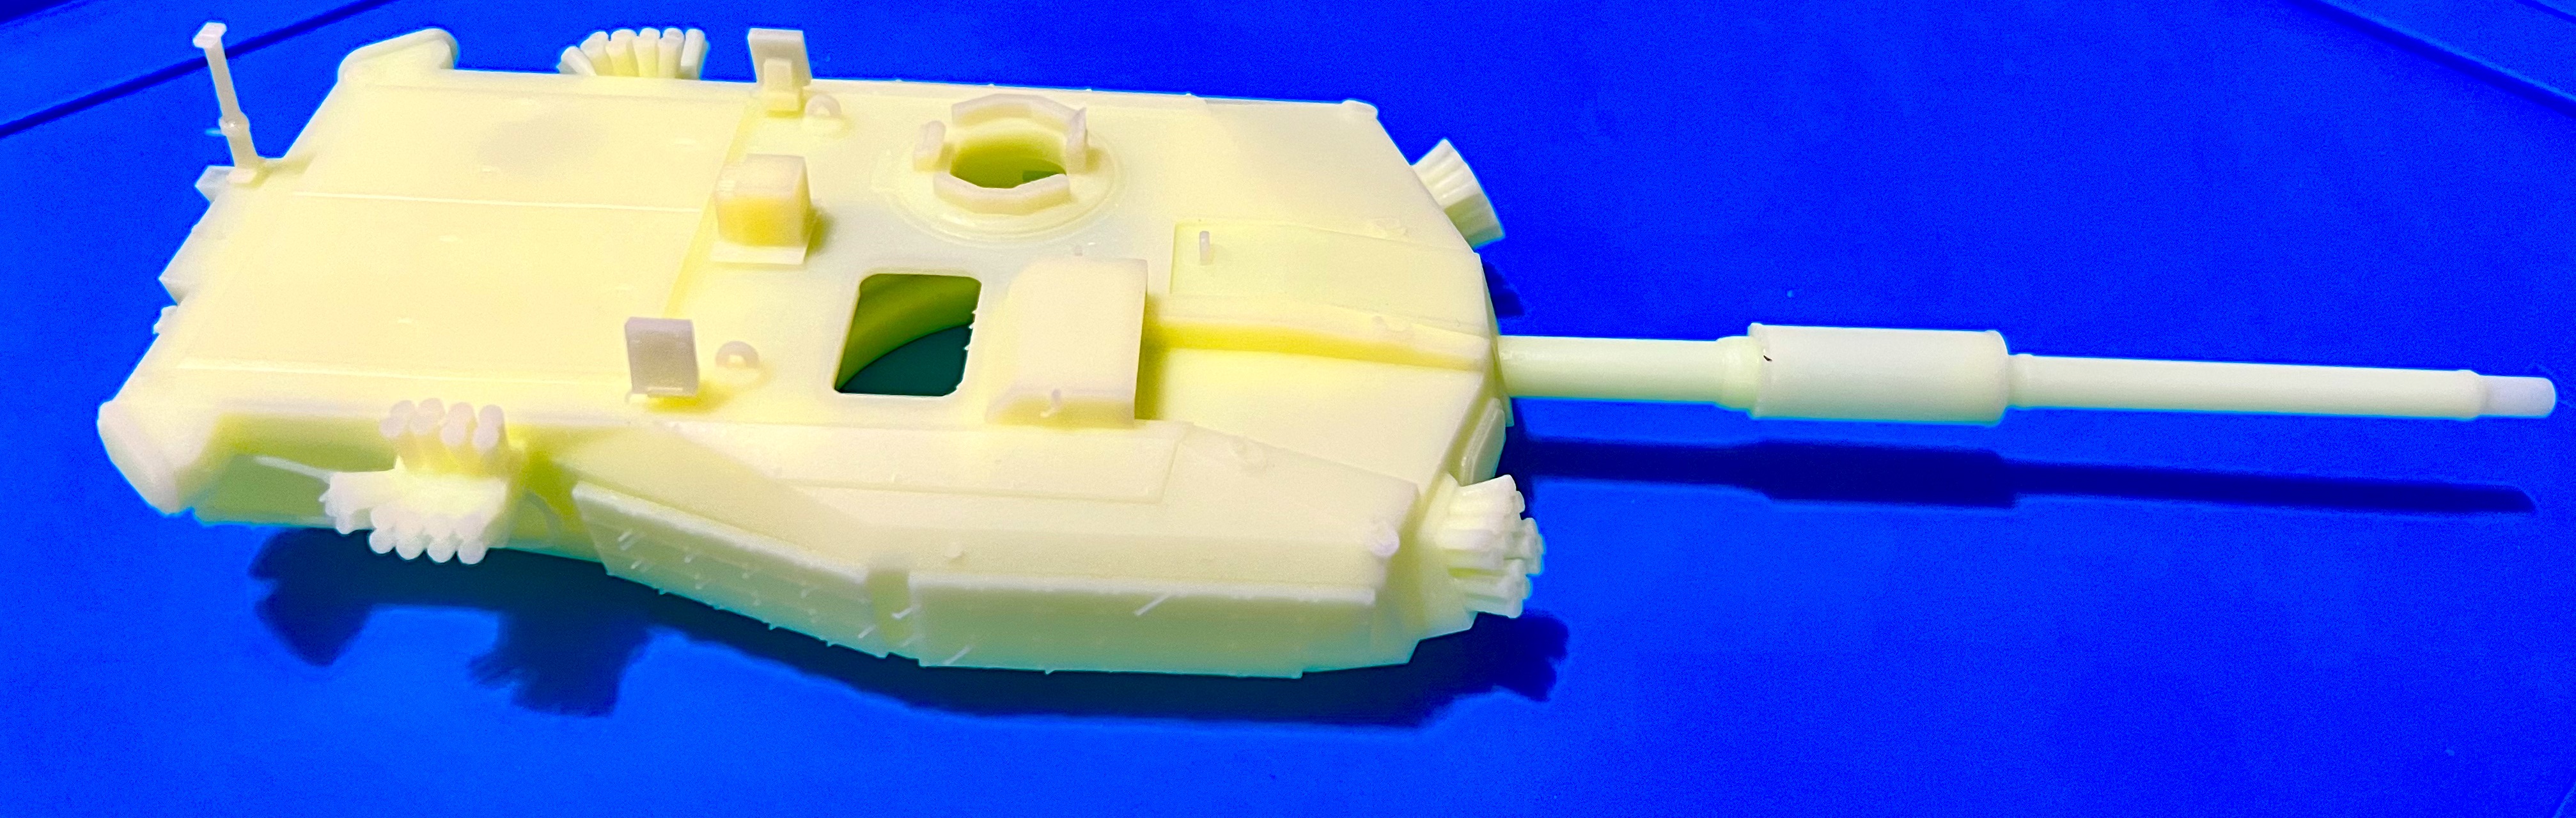
The turret is like a Leopard/Abrams mating that found steroids in the process. The corners all have a radar AESA radar transceiver. There are nearly seventy (did I count correctly?) dischargers that (so far) my research seems to indicate were a combination of as smoke for masking, and kinetics rounds to disable ATGMs (the threat was real in 1993).

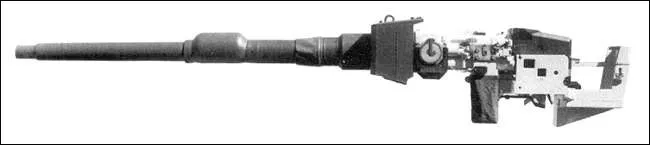
The XM291 140mm gun uses an autoloader, and the gunner remains gun right while the TC is now gun left. The rotor is VERY deep. The GPS (Gunner’s Primary Sight) seems to sit lower in the turret, and has a long Leopard 2-like trough all the way to the turret cheek. On the roof, behind the TC and GNR positions, are sub-assemblies of the APS detection and kinetic kill system. The turret has the early style cross-wind sensor mast w/a T-top. The turret and hull skirts both have constructs that appear to be ERA or Composite armor over the base armor plate.

Overall, I’m very impressed. From Order to Delivery (Amazon: ADMIO is the seller) was only 9 days, including Customs!

Amazon page

@tanknick22 for the link!

This one will be my next step in modeling: preshading (vice marking panel lines after painting), modifying the 3DP resin assemblies, and creating a vignette or diorama. I’ve already asked a lot of questions here, and gotten lots of help. And I’ve watched a lot of FSM and similar videos!

More to follow. Questions and advice appreciated.

4 Likes

Other pics:

3 Likes

CATTB

Component Advanced Technology Test Bed

1 Like

QUESTION FOR THE HIVE MIND:

How can I cut/ream the TC hatch out of the turret roof. I’d love to install a multi-piece later version TC w. Lots of details, etc. Resin is brittle: how have others improvised the detailing in this area?

TIA

1 Like

First, find the TC hatch assembly that you want to use. Then use a Dremel or other tool to grind the old part flat to the top of the surrounding turret. Cut/shape the resulting hole to match the hatch assembly you have.
Do not cut anything until you have the replacement assembly you want, and are SURE that it will fit. If the resin is brittle, use a fine grit/tooth bit in your tool and work slowly, taking a little off at a time.
Ken

2 Likes

what will you do about the ERA bricks and Trophy system on it?

They’ll stay, NIck. The bricks are printed on anyway, and I need to find the original (it’s up at Detroit) or project materials (at the Armor & Cavalry Collection maybe) to understand the technology of the ERA, and APS. The APS devices on the roof look suspiciously like what the IDF developed later. Cooperation?

1 Like

A fine grit indeed. I’d hate to scatter this turret to the carpet monster! Luckily, I have a more recent cupola that has much better detail and might allow me to use clear periscopes and other paraphernalia.

Thanks for the insights.

1 Like

yes and im interested in the kit but i want it to look like in the pics
if you want to go with a RFM lower hull i got one available

1 Like

I’m going to keep the old-model hull for period-accuracy. AndI’ve a complete Dragon (3556) if I go crazy for some reason.

Some insights about the ERA/Composite panels on turret and skirts:

  • the depth is 2mm scale, so roughly 50-52mm IRL.
  • they appear to have bolts at each corner, like upgraded Blazer.


In addition, the turret is not rectangular in cross-section (across the fighting compartment). It is hexagonal!

1 Like

you plan to keep trophy as well?

Yes. Like the ADGS, I plan to build a fielded variant, ready-ready.

1 Like

Doing sme research on CATTB and Thumper, I came across this about L55 guns. Turns out we were WAY ahead of Rheinmetall on developing the long-barrel M256

1 Like

Interesting

1 Like

Then, we contracted THEM to fabricate the tubes. I think that this is contemporaneous with the development and fielding of the M1A1, the earliest of which used Rheinmetall 120 barrels. You can tell the difference when you see one: IYKYK!

1 Like

got to protect the ADGS

1 Like

Interesting topic and will be good to see this one built up as well. The AD one you did was really nice. Ref the Comd station, you could also drill out holes all round the circumference of whats fitted, then that may make it a tad easier removing it and give you a nice almost round hole to trim as you need to to fit the new one when you get it … But like Ken said, make sure you have the new part before any surgery takes place…

2 Likes

how come we didnt develope a NATO standard 120mm but went with the Rheinmetall L44 120 instead?

1 Like

here is what i got soo far on my M1 TTB

1 Like

It’s a story.

In 1978, Congress asked the same question during hearings on the XM1. Army’s answers:

  • 105mm ammunition was increasingly capable of overmatching Soviet systems and armor. But it then ran out of margin fast, as the T-64A suddenly appeared with a 125mm (publicly in 1981 or so).
  • The M68 (L7A1) 105mm was smaller, lighter, and cheaper than a new 120mm.
  • designers at Chrysler and GM nonetheless made the gun rotors and mounts compatible for either.
  • Ammunition FOR the Rh-120 120mm underwent a long development process, and wasn’t really available till the mid 80s. But Watervliet Arsenal made 8 prototypes and a bunch of spares for T&E.

Time Attack!
The Rh-120 (Rheinmetall gun) was finally developed and fielded with Leopard 2 in 1980 or so. But the early German ammunition (DM13) was only capable of perforating the NATO Single Target at 2,000m. The NATO Single is a plate of 130mm thickness, angled at 68* (go check Soviet armor arrays for that era), and it had a LOS thickness of nearly 350mm!

The ammunition could not perforate the heavier armor of the latest Soviet designs.

ARGH! The US would not field the first M256E1 until 1984, and because they’d ramped up 105mm production, the program managers order the first batch (might be as many as 299, with the one prototype, but I am not sure) from Deutschland! M1A1 number 1 was built in 1985, IIRC. Early versions of the M1E1 had a series of ribs around the barrel between the gun rotor and the bore evacuator.

So, a couple of tech issues:

  • initial German APSFDS was lackluster, and did not impress.
  • The US had (post-Vietnam) closed a good bit of its industrial base. Production lines slimmed down, and a new radial forge wasn’t available until late in the 1970s, and was manufacturing M68 barrels by the dozens. That particular forge is being replaced now (budgeted in 2023).
  • development of LRPs (long rod penetrators) supercharged the 105mm and 120mm just before ODS (Operation Desert Storm). The M829 more than doubled the L/D (length over diameter) ratio of the LRP from about 12:1 to 27:1. THAT occurred in 1984.

And the stars aligned.

Drawings:
Rh-120

M256

Of note: the M256 uses a spring coiled around the barrel of recoil energy.

Drawings from en.namu.wiki

1 Like