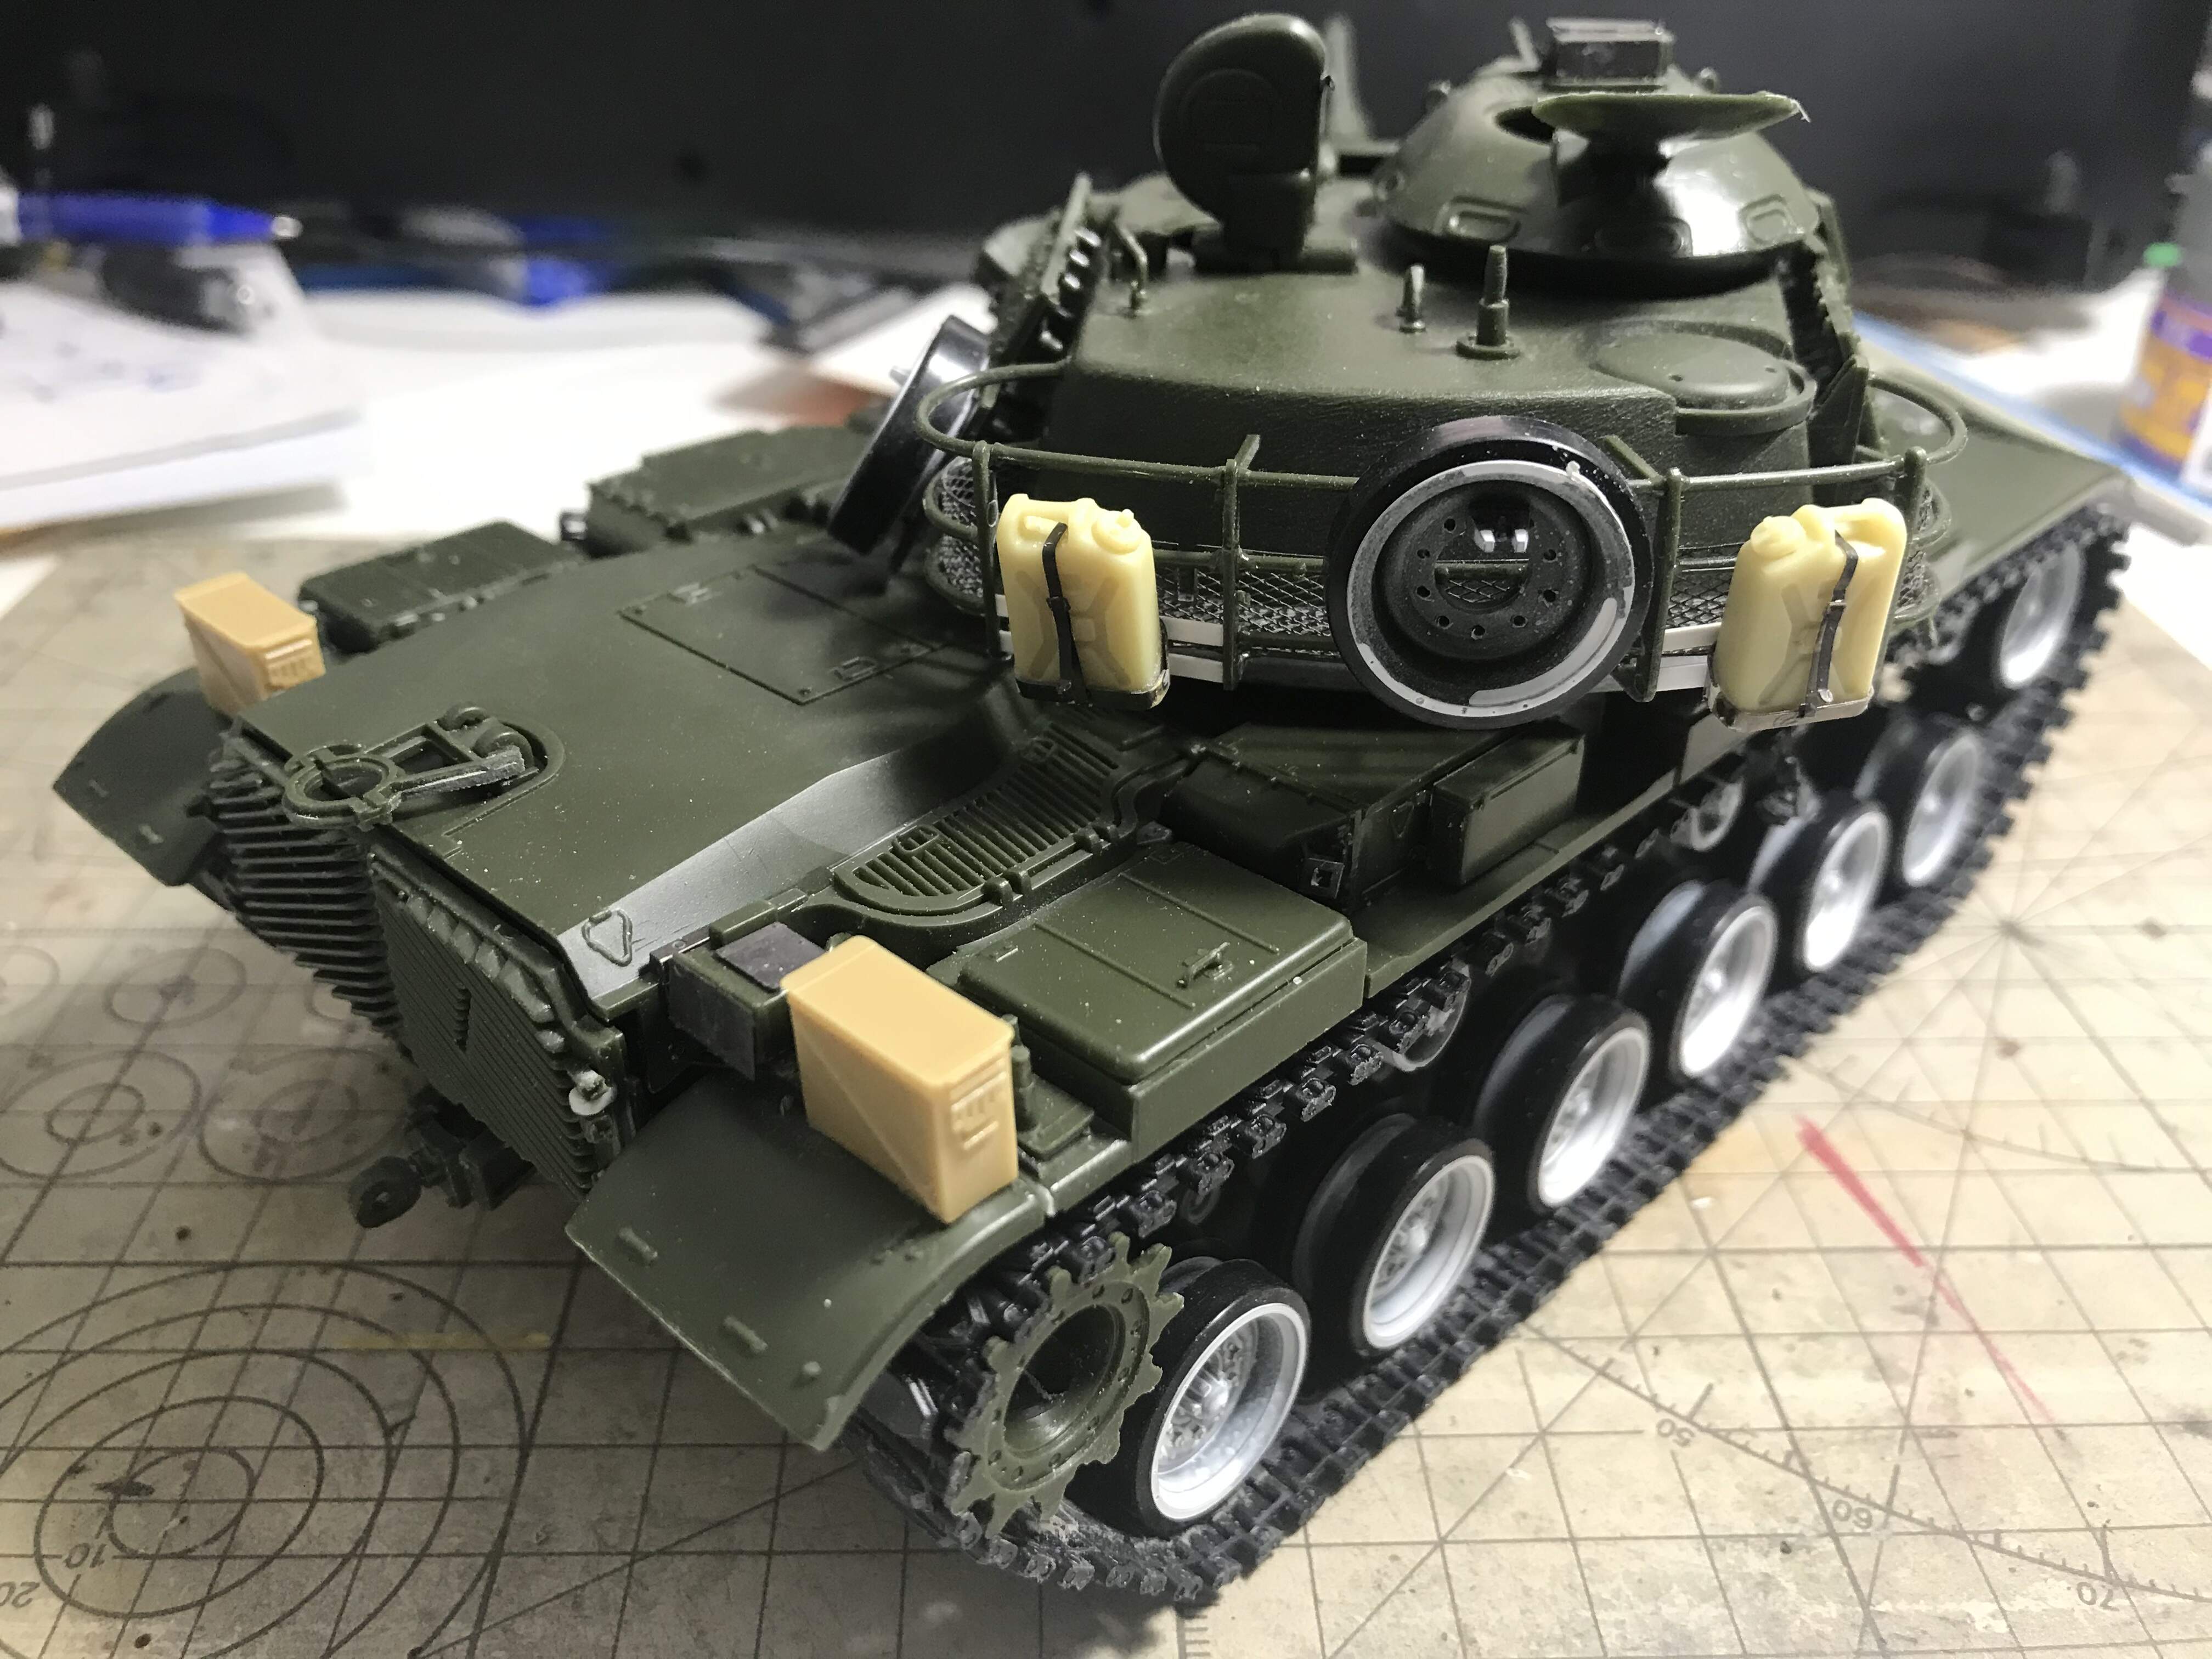
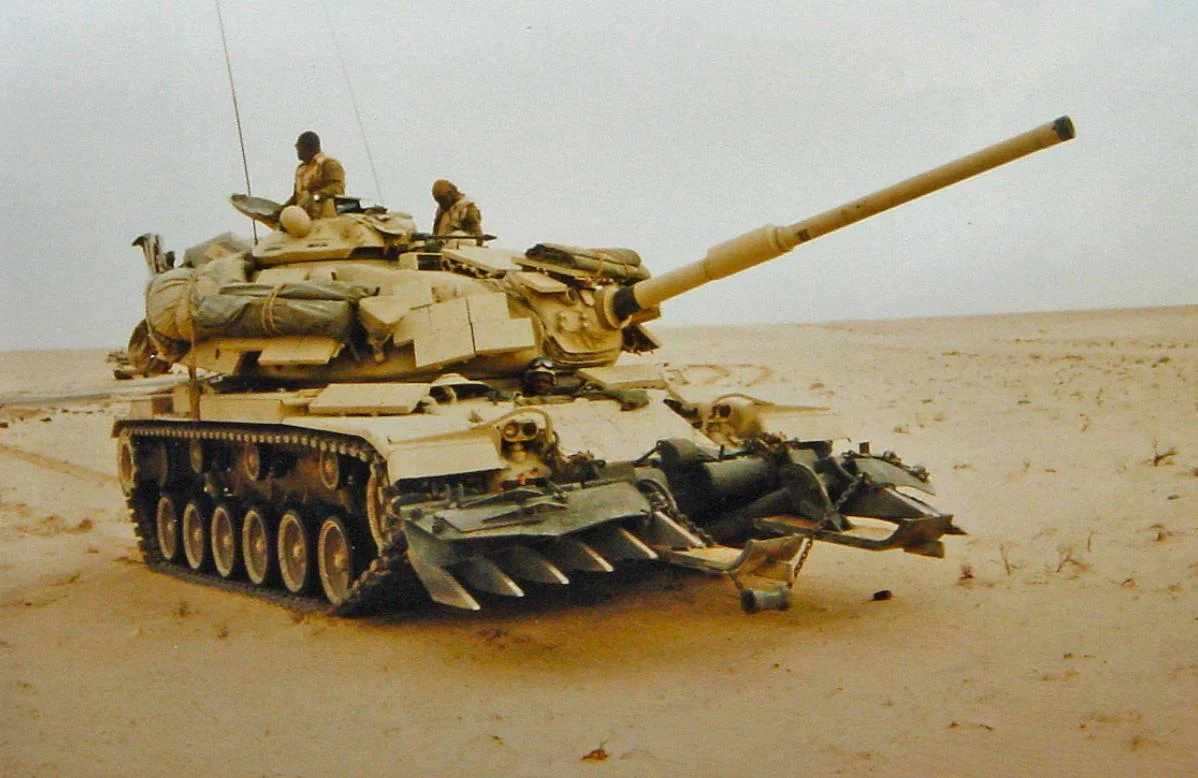
This project started in April 2021 and was supposed to be a quick one. The kit is Academys rather old M-60A1 Rise with a dozer blade, but I skipped the blade when I realized the kit is missing the hydraulic reservoier with all its pipes and connections. I´m aware of the kits faults and misses, but I have not done very much to correct the kit with the exception of some bits and pieces of Eduard PE. I used this walkaround on PrimePortal for references and inspiration, but otherwise the kit is more or less out of the box. Tracks are from AFV Club. I came to the point where 85% was finished and then suddenly lost interest. It went up on the wall of shame were it has been sitting for allmost two years…
There is nothing special with the road wheels except some gray primer. The kit has rubber wheels and I have had some bad experience with rubber melting after a fee years in contact with the plastic.
I have built a lot of kits since then, but suddenly I got inspired to finish it. I have an ongoing GMV on the bench and the crew is travelling from Australia to Norway and not by any means on business class, so in the meantime…
When I re-introduced the kit for my bench this was the status.
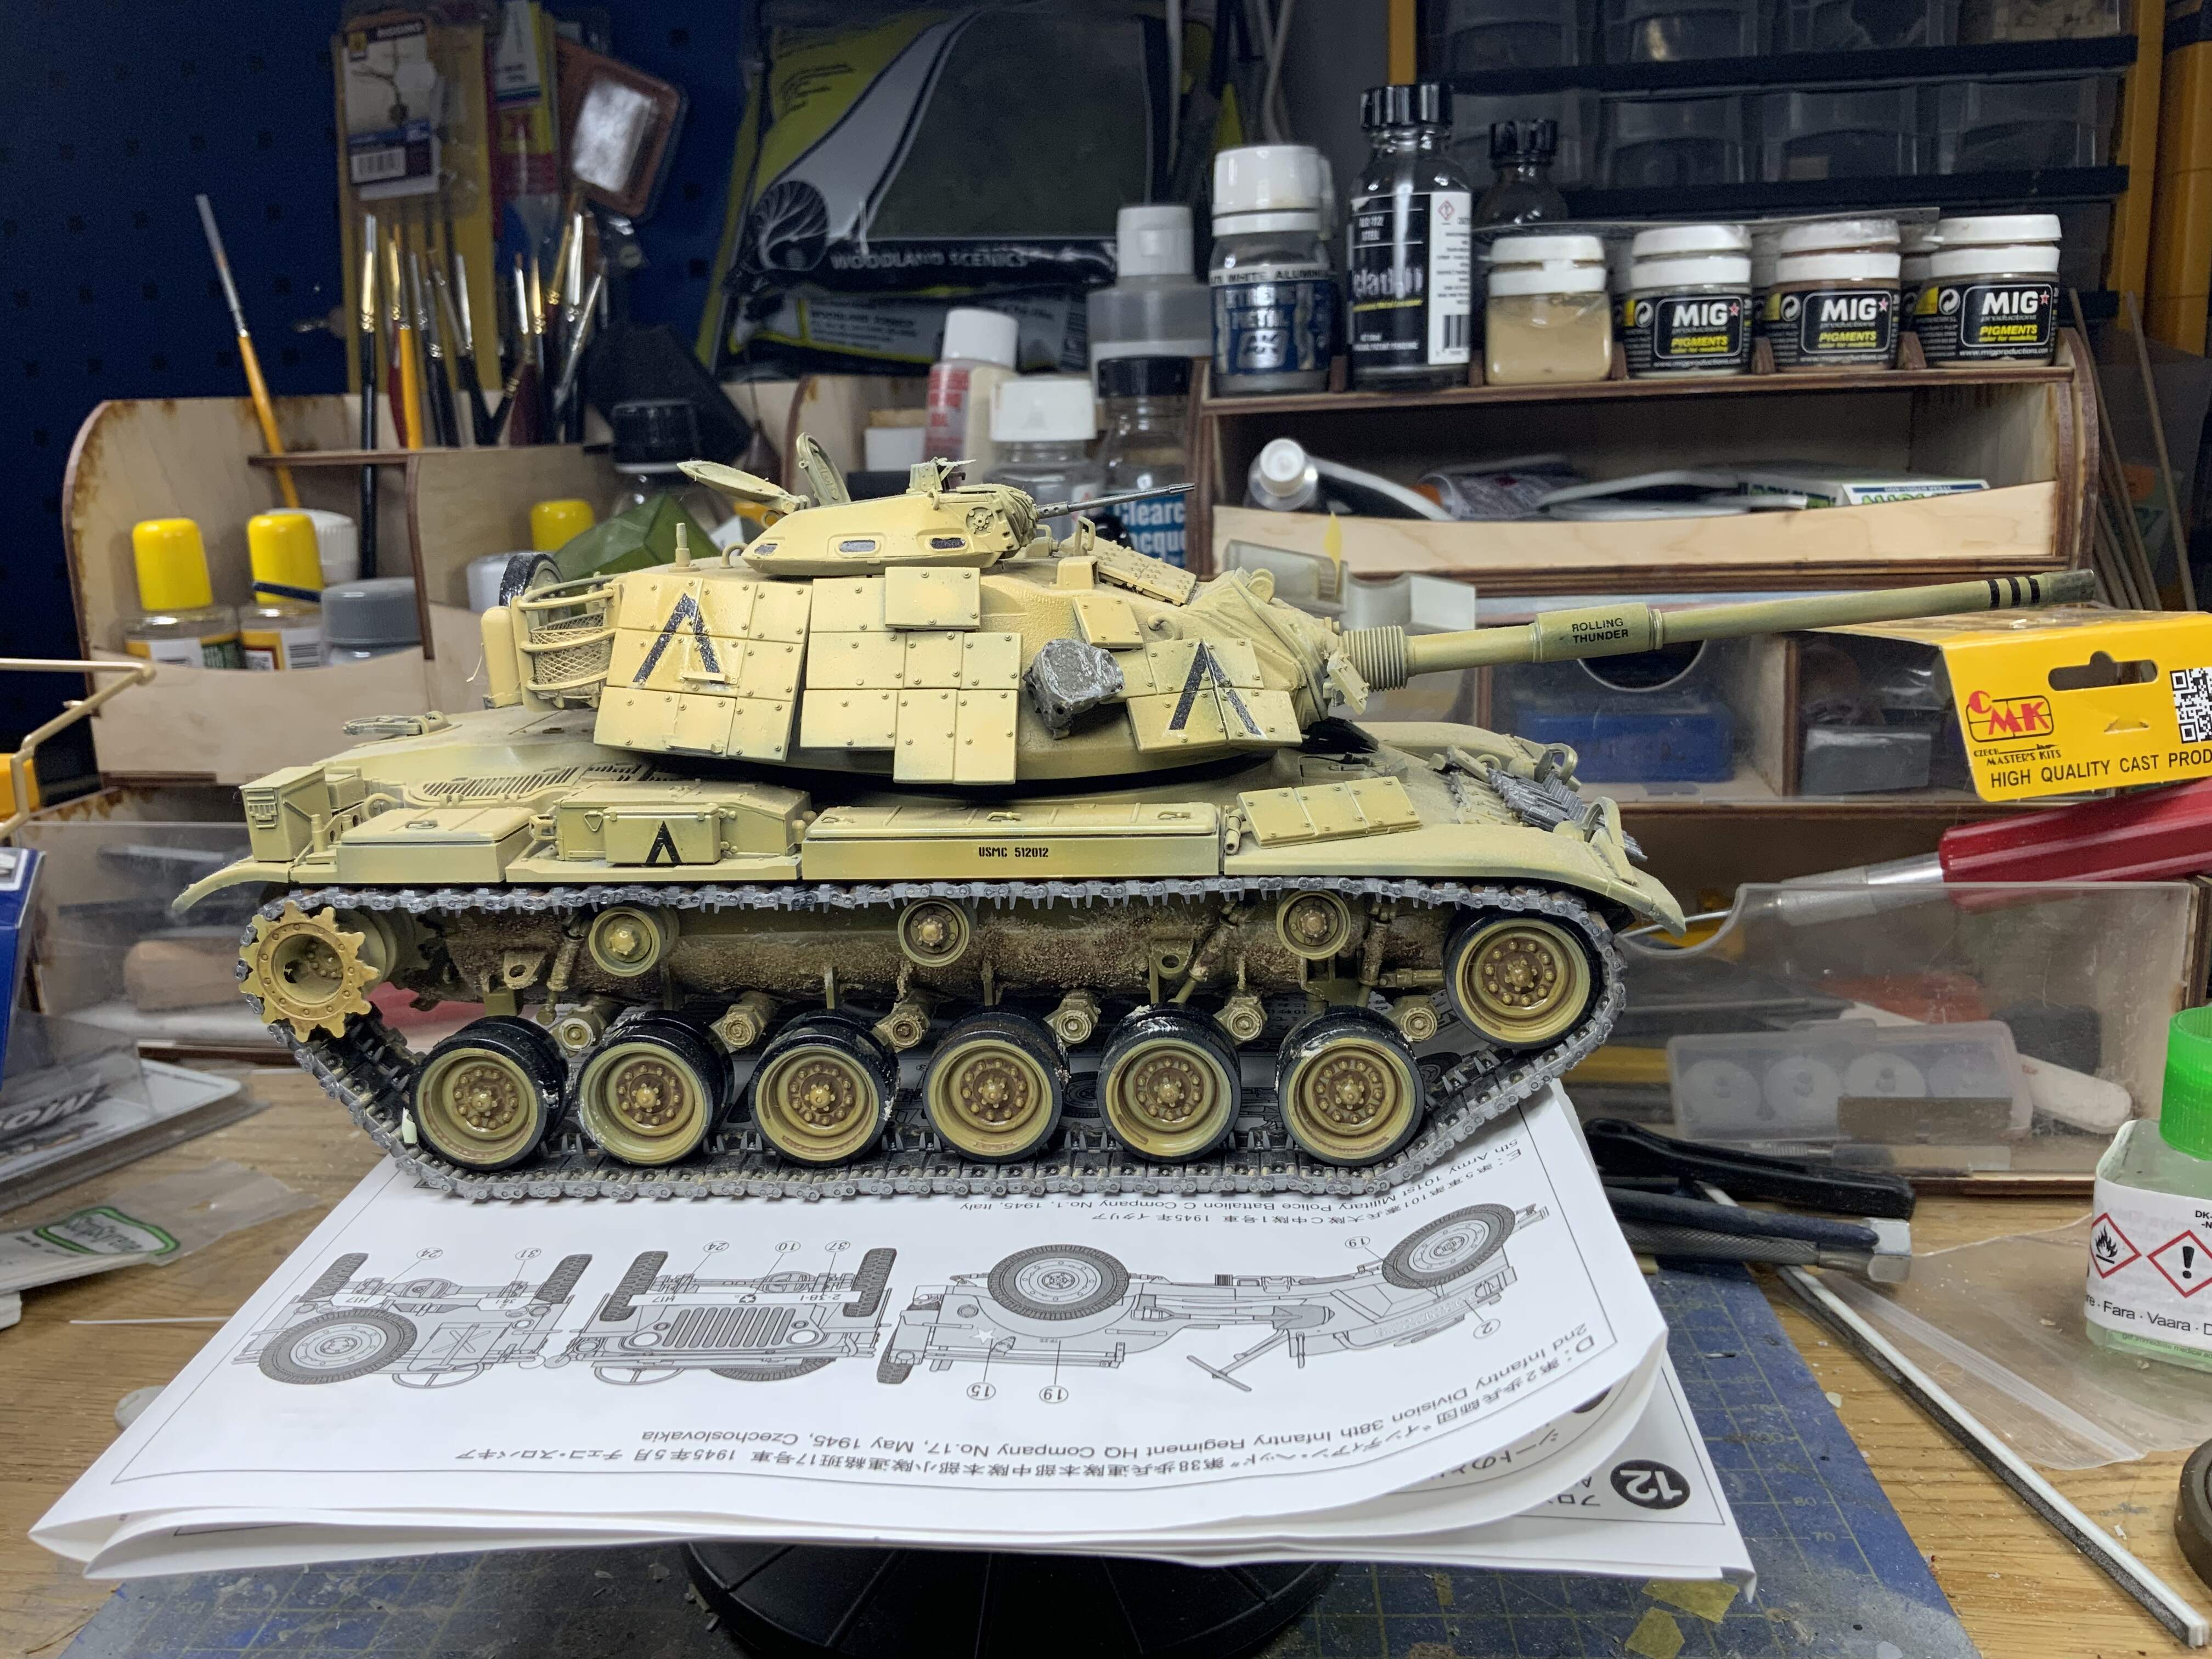
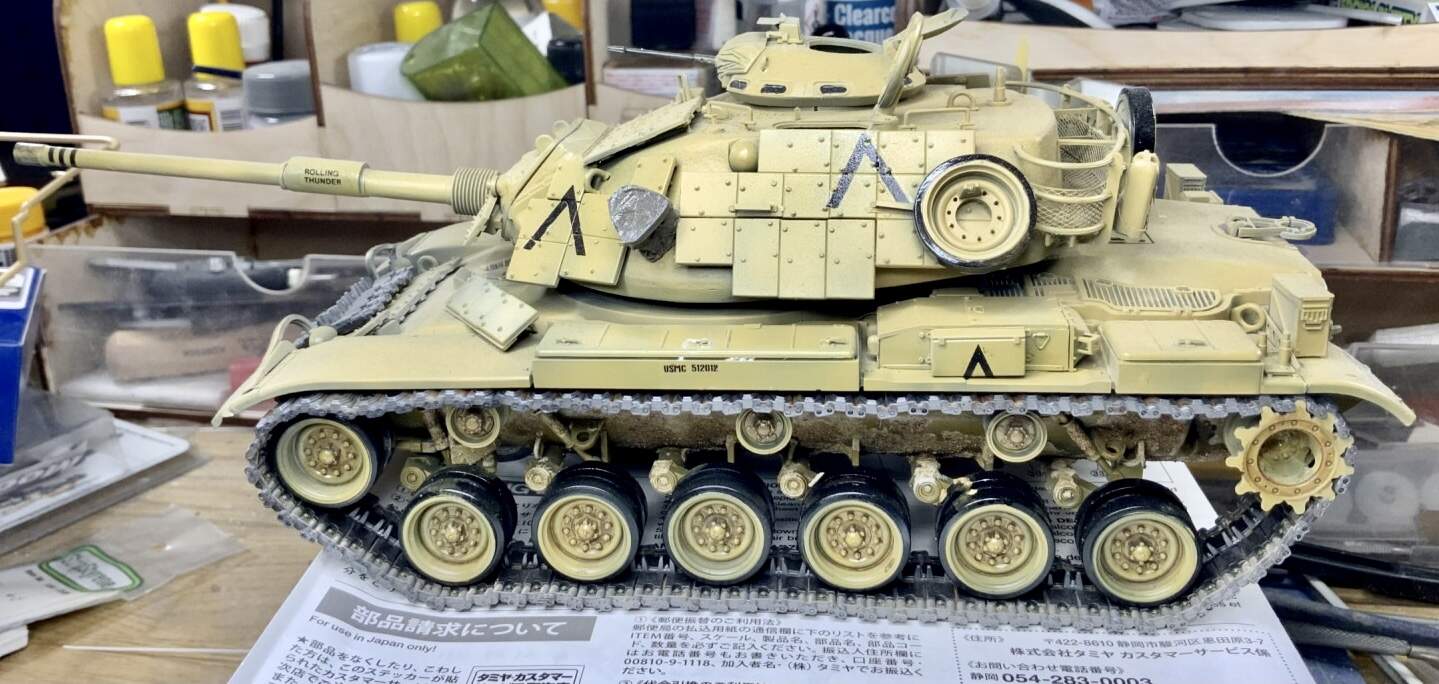
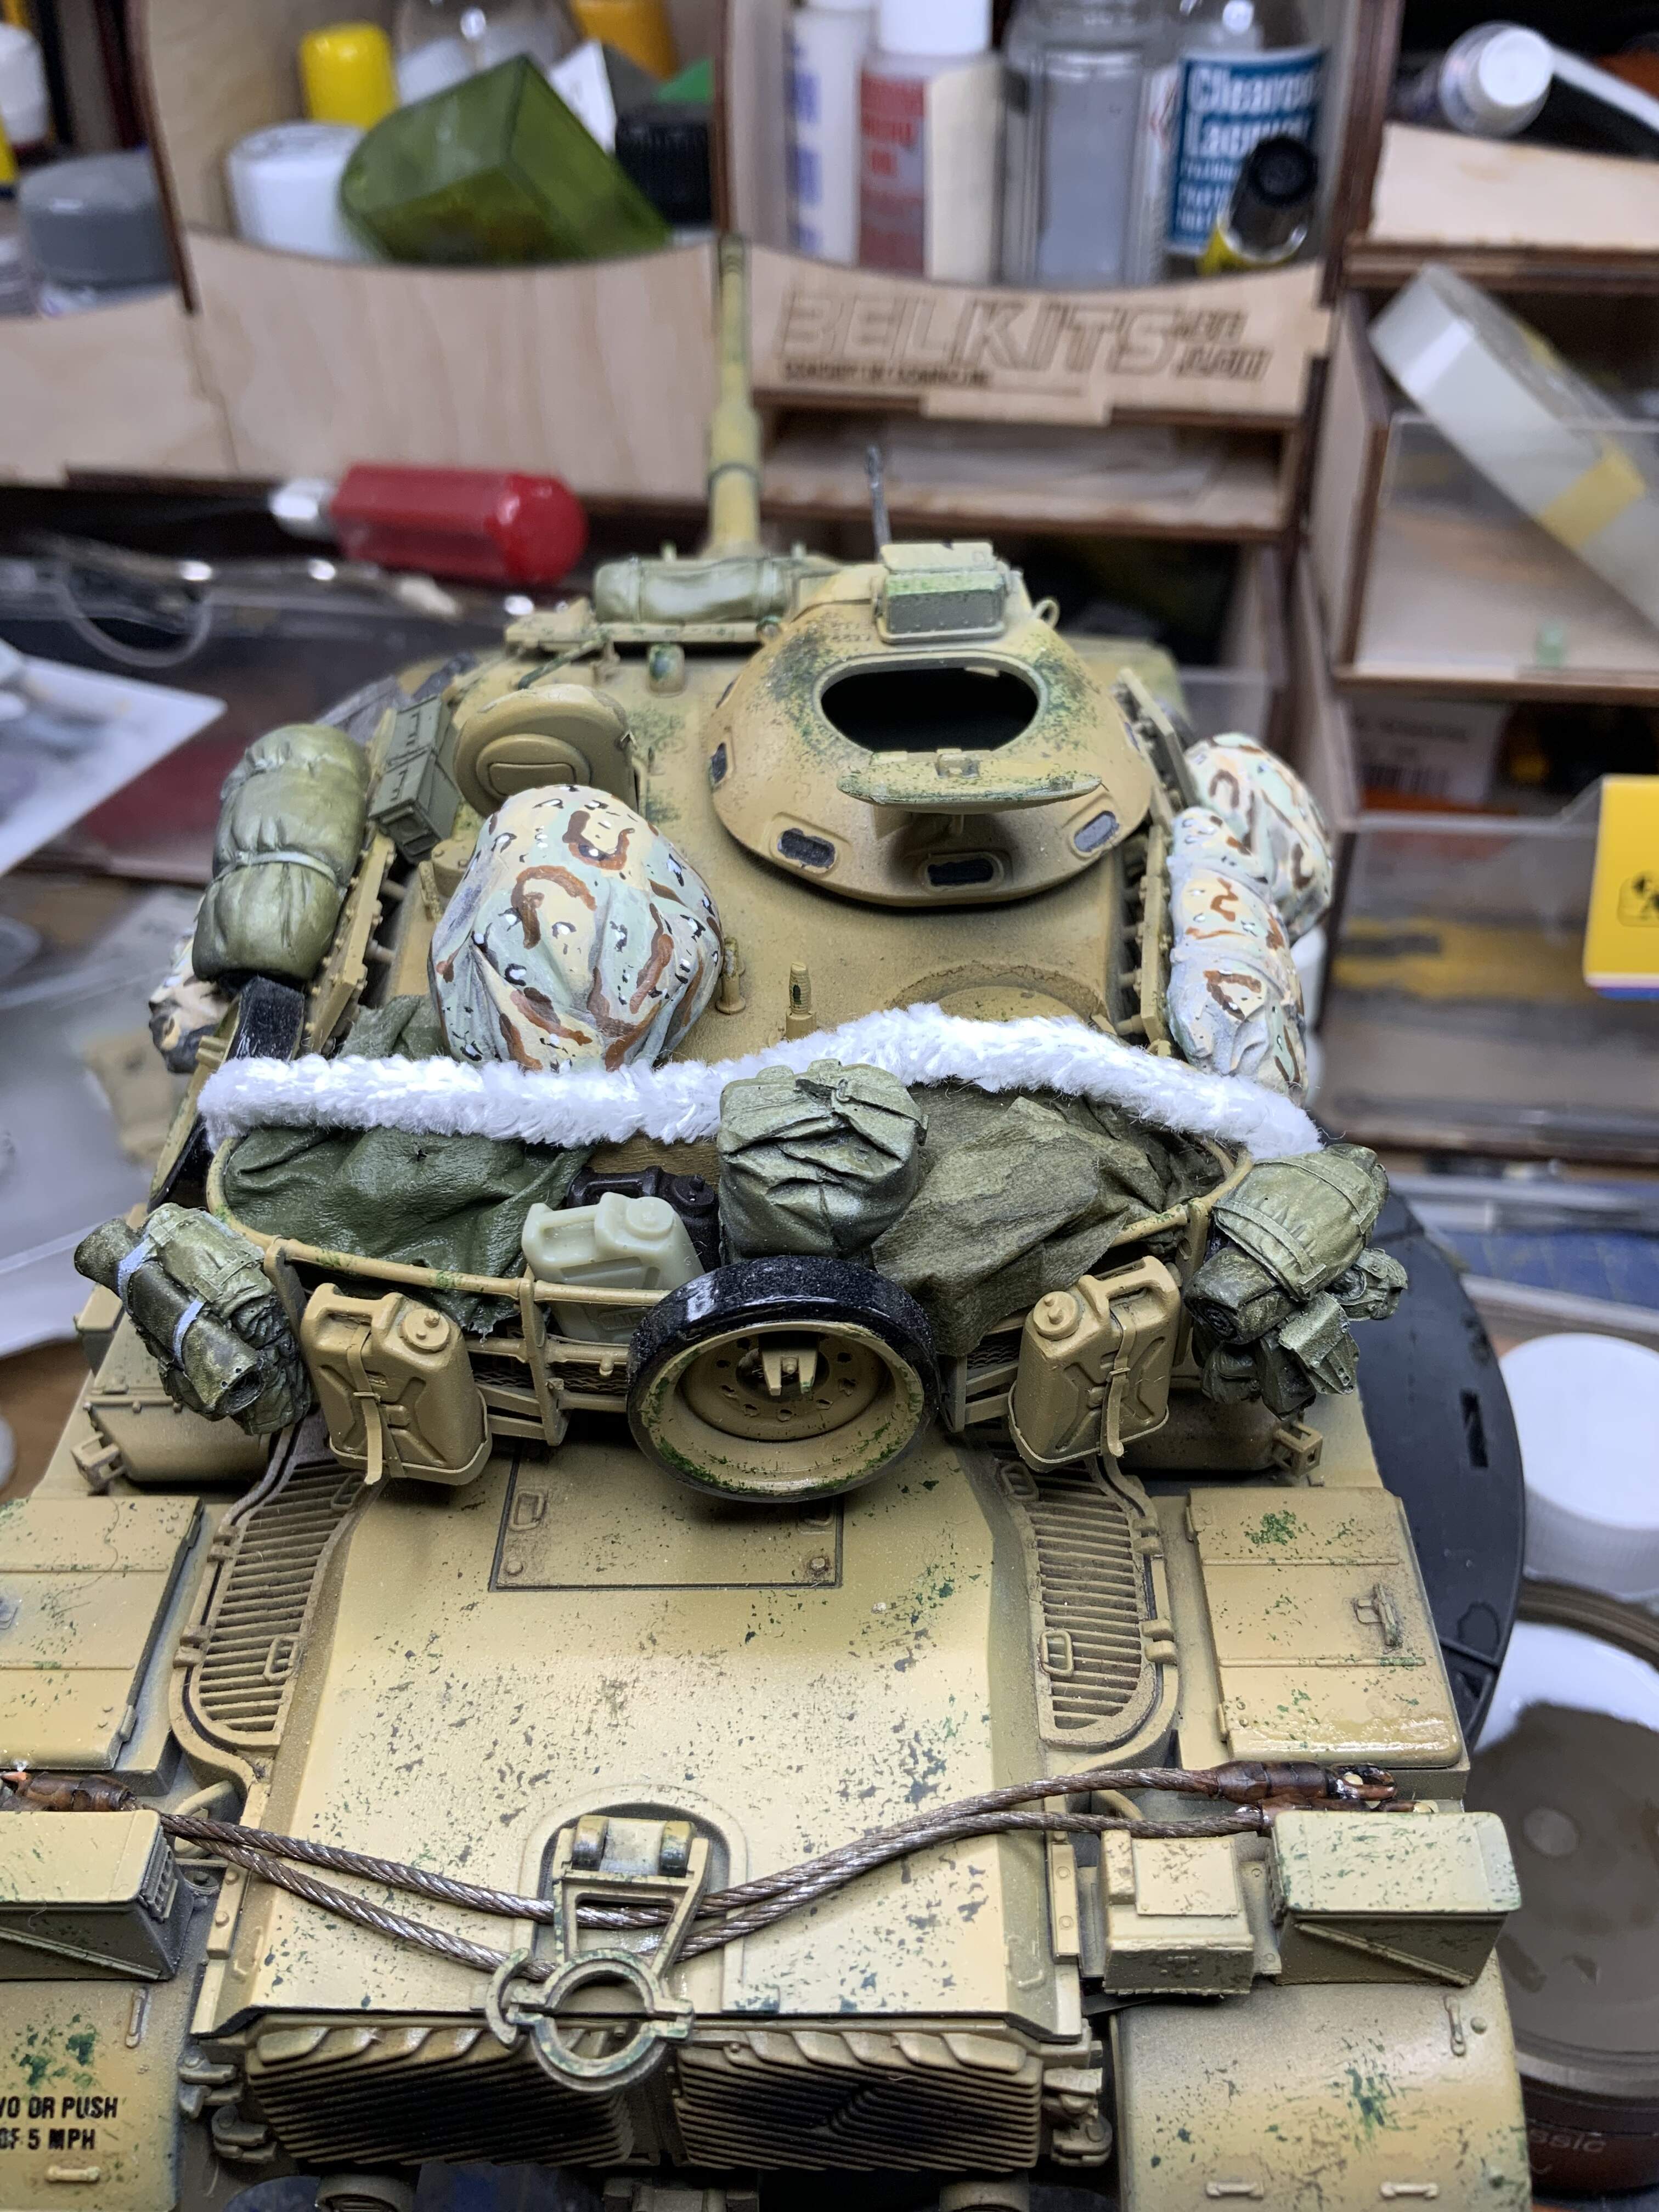
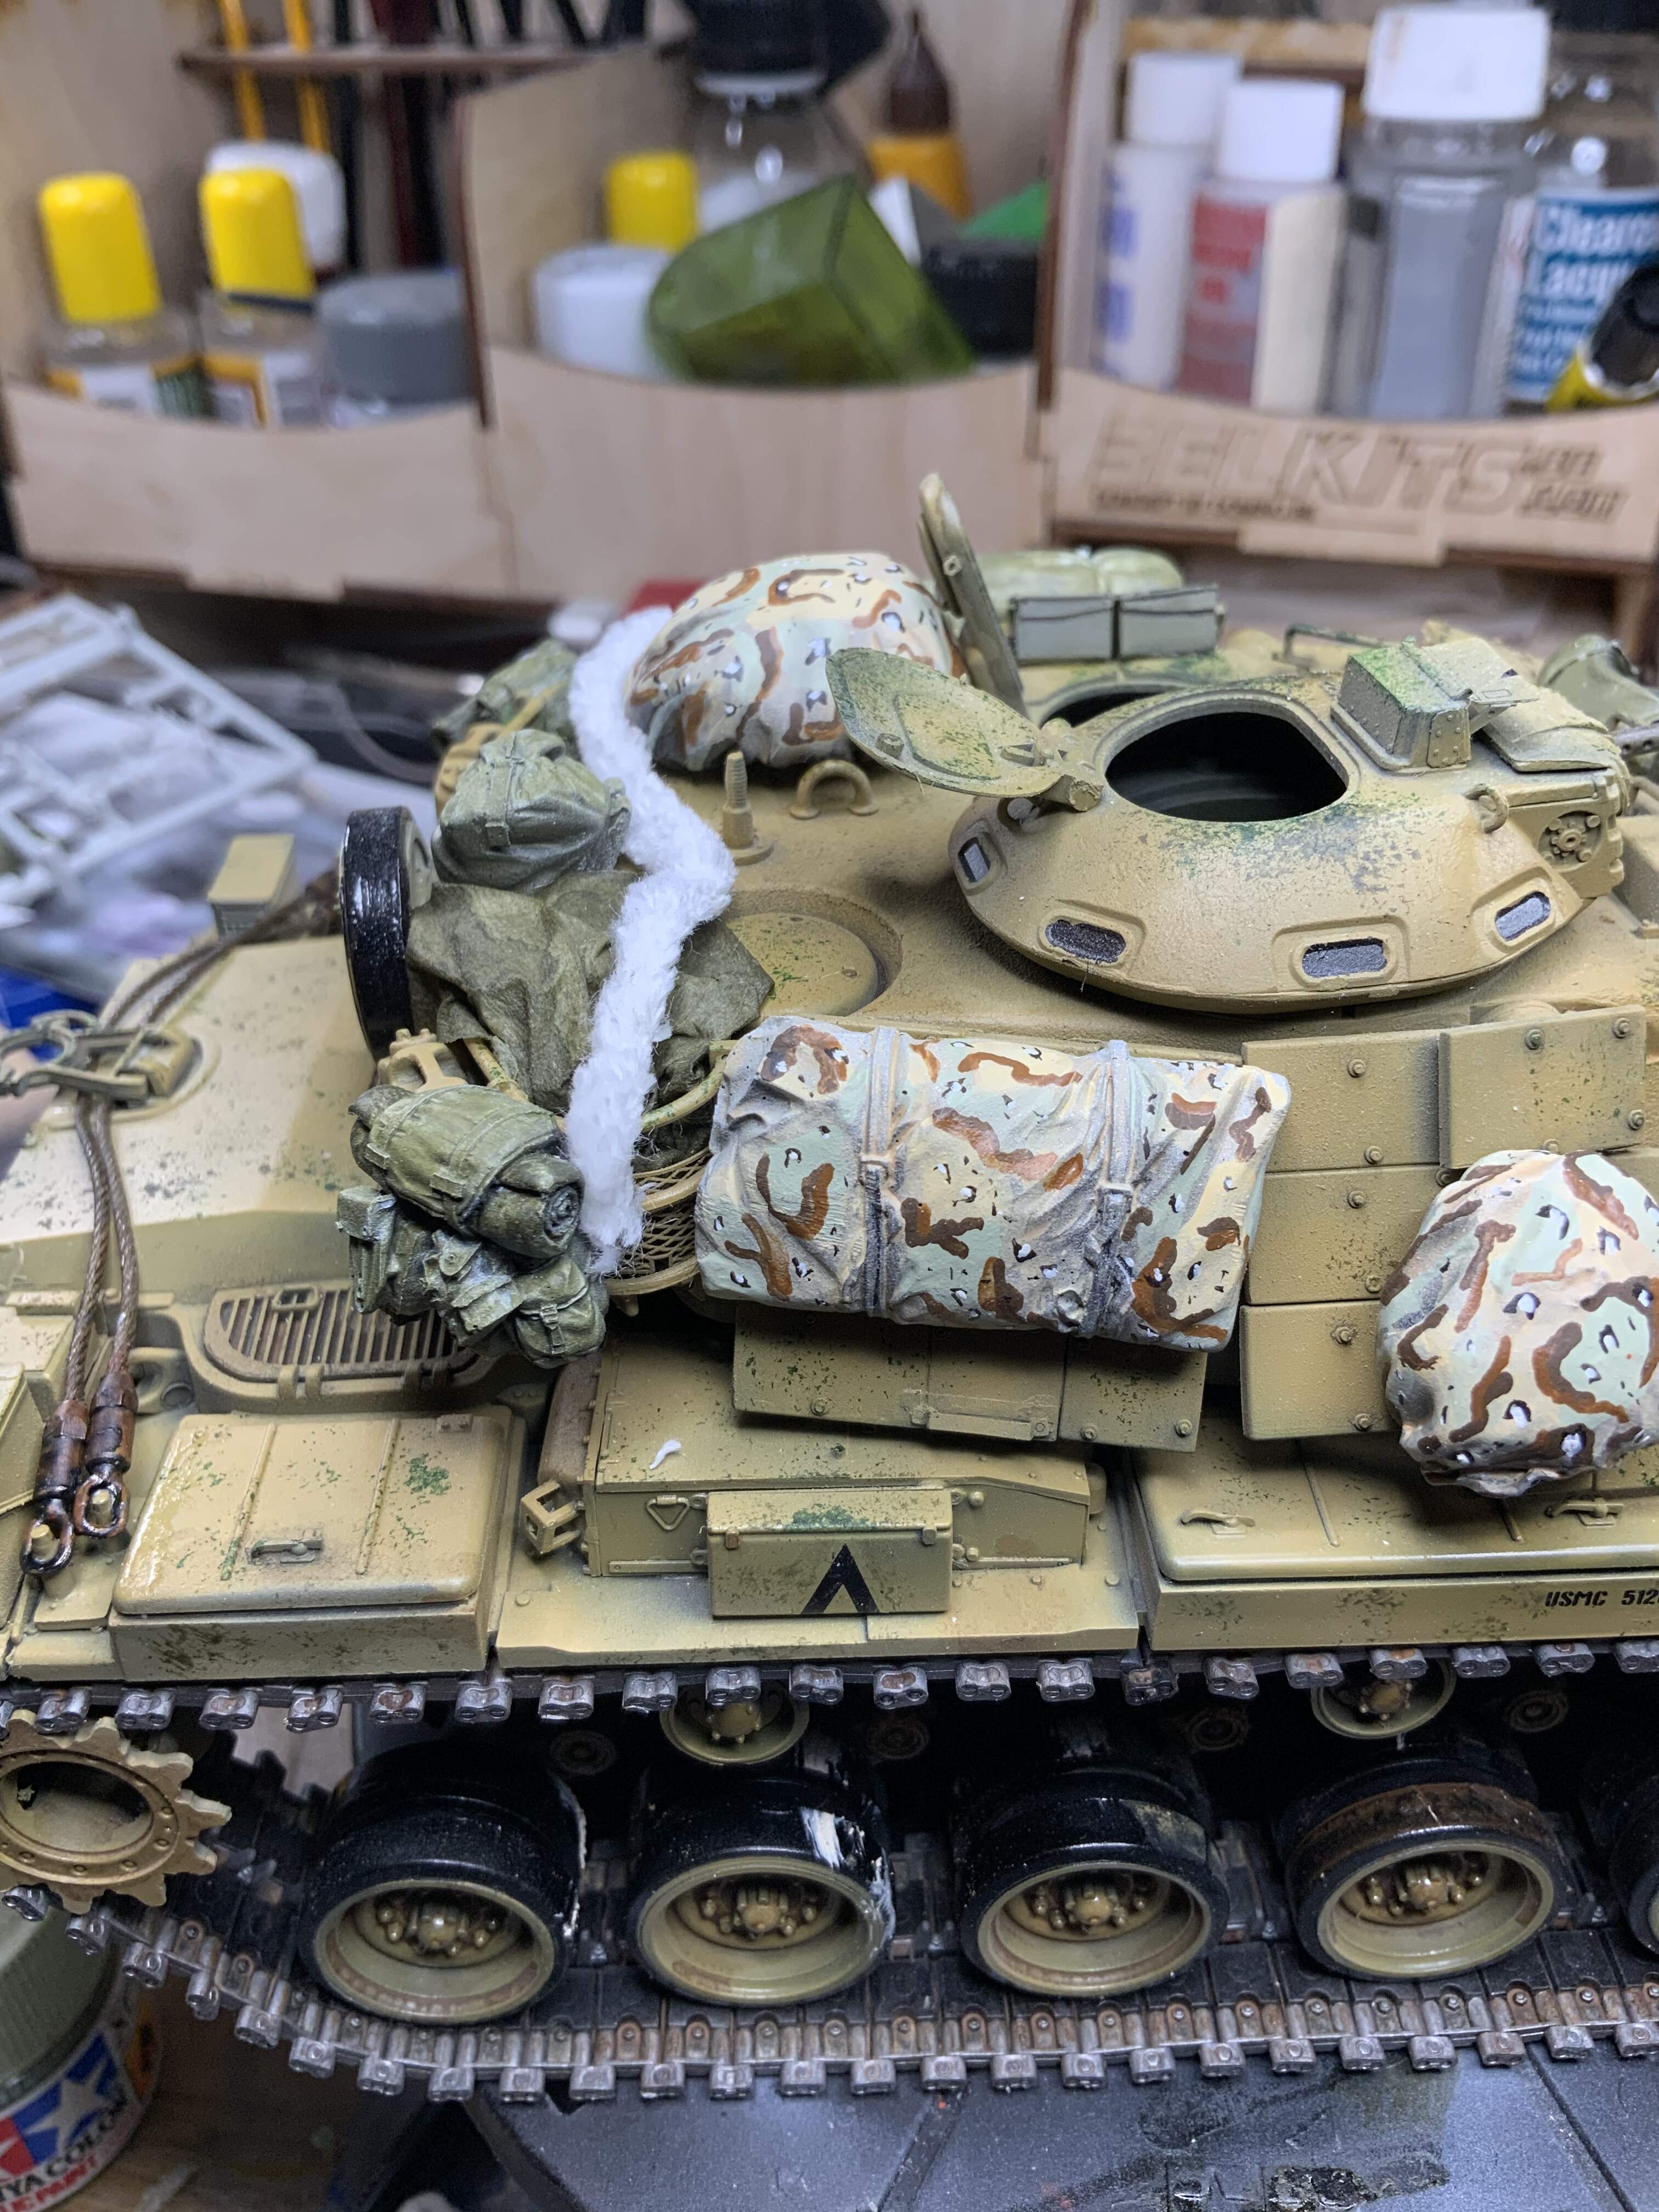
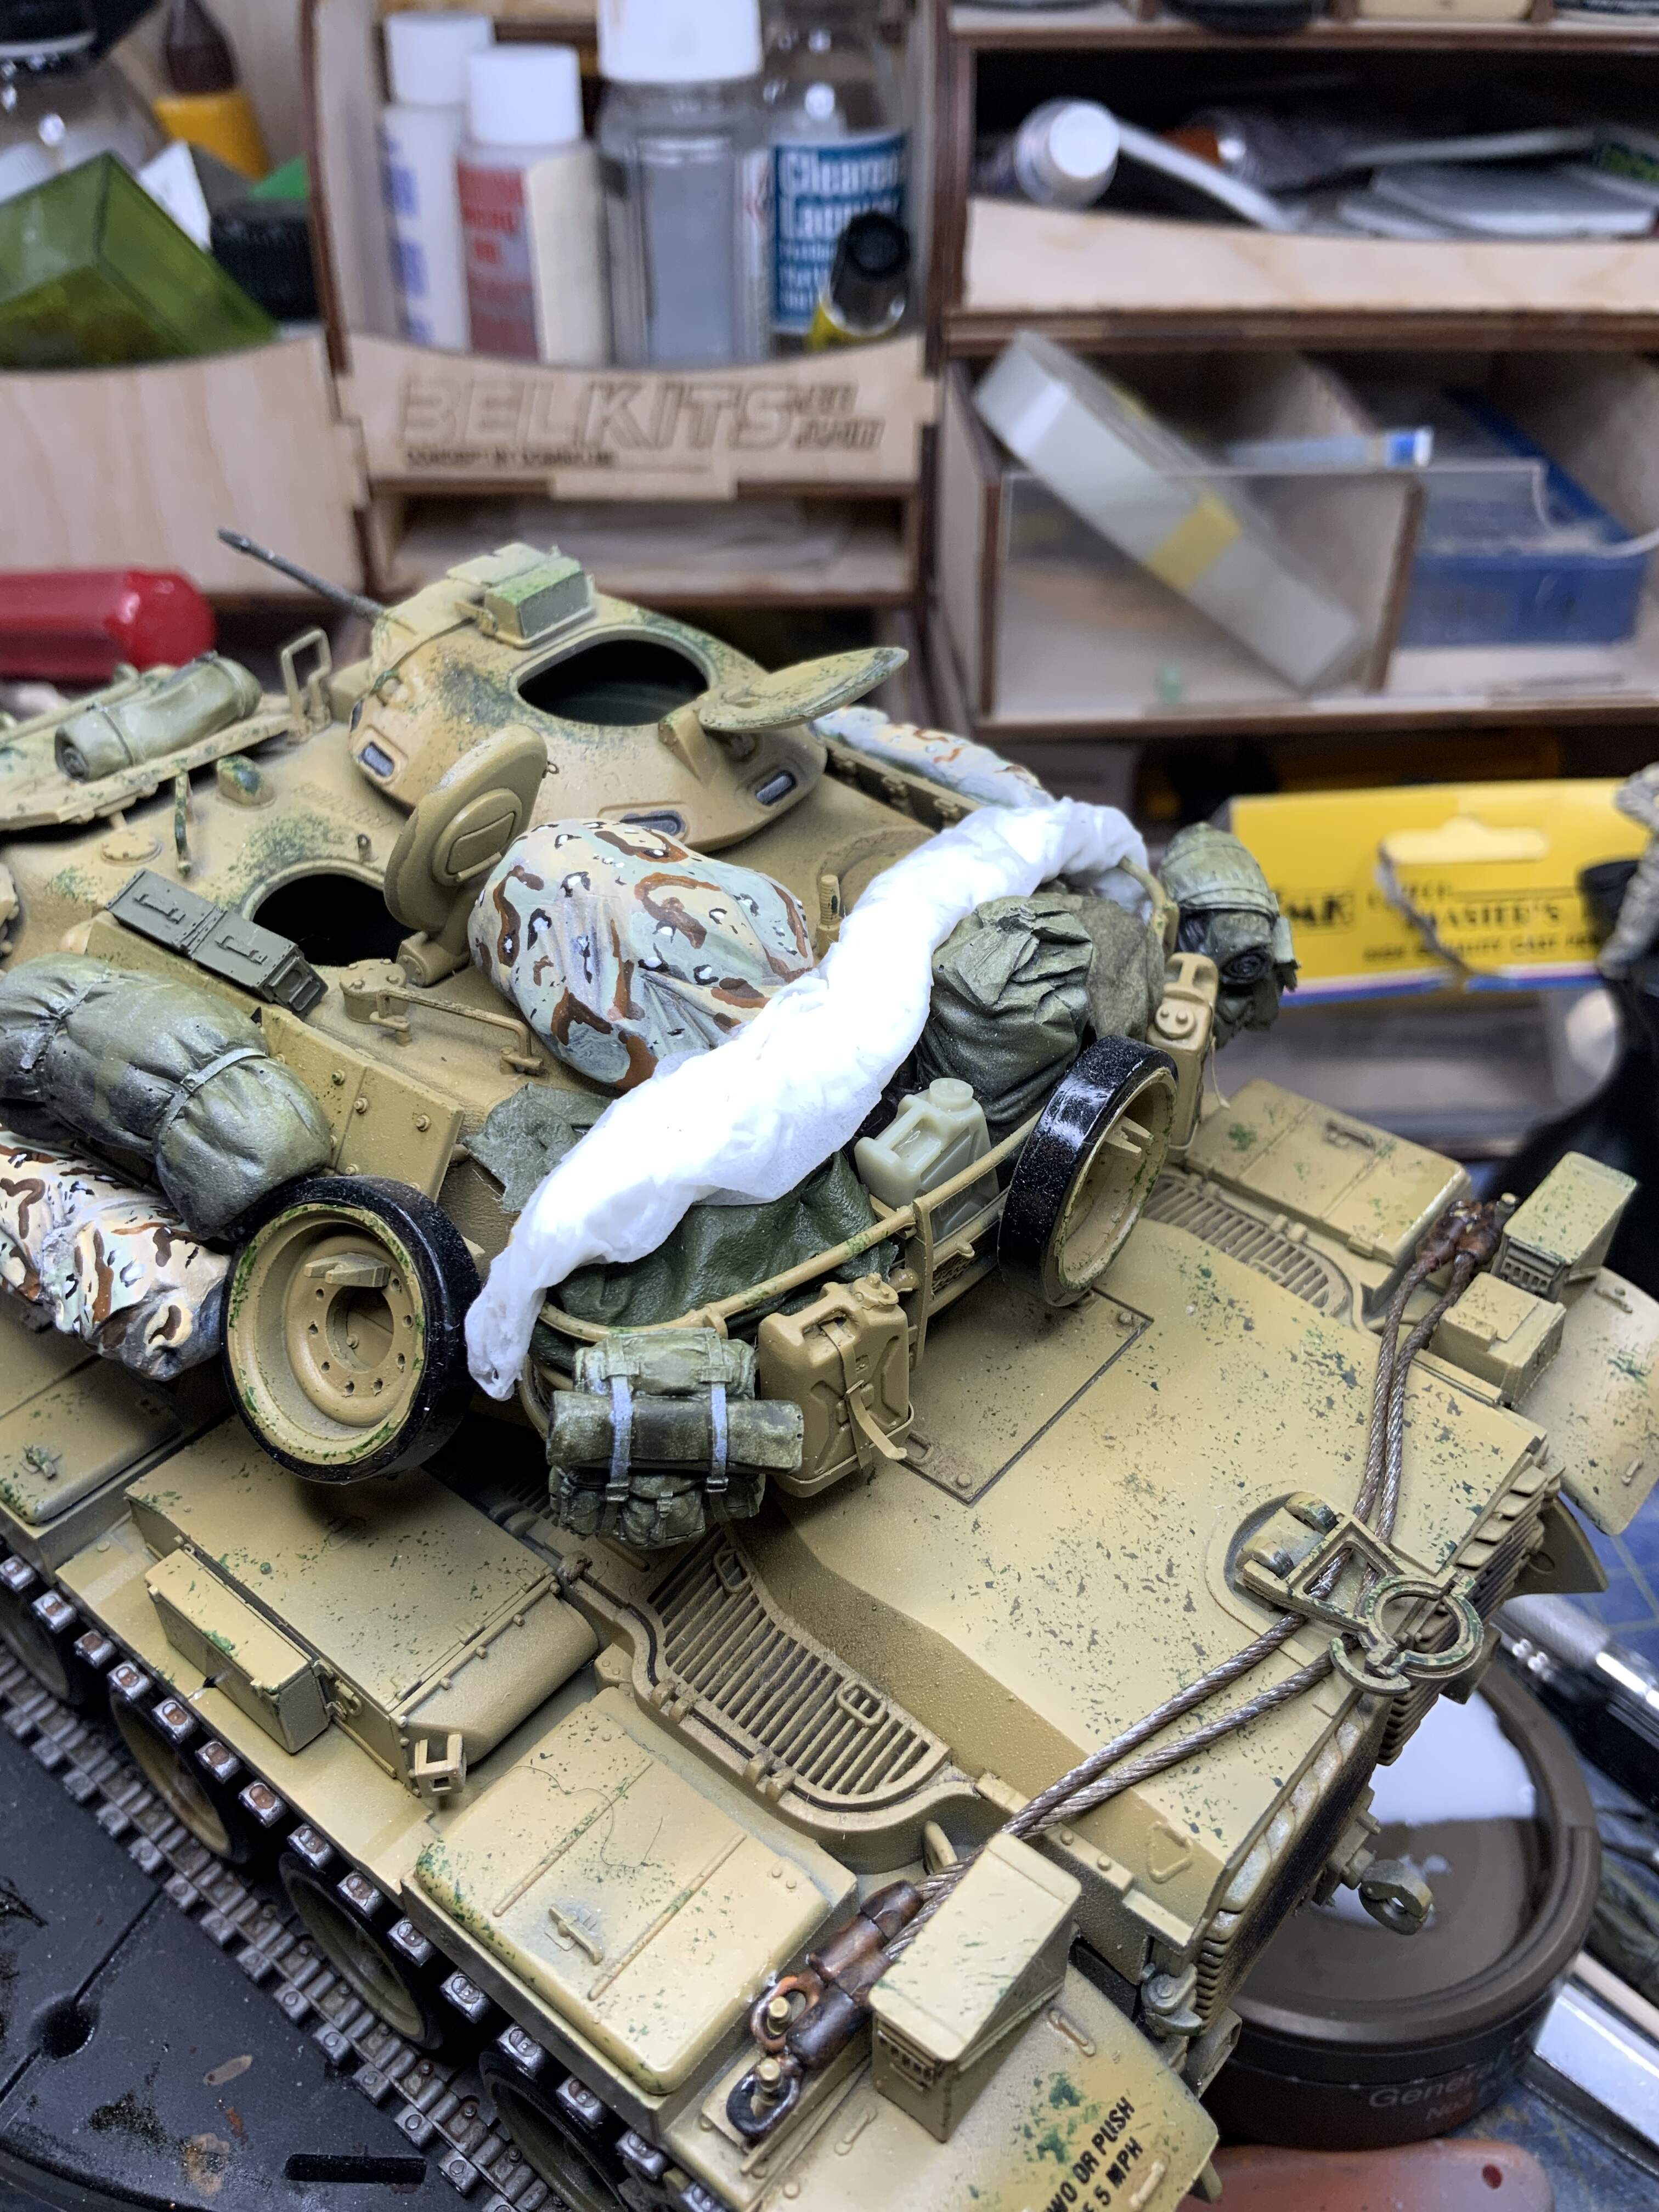
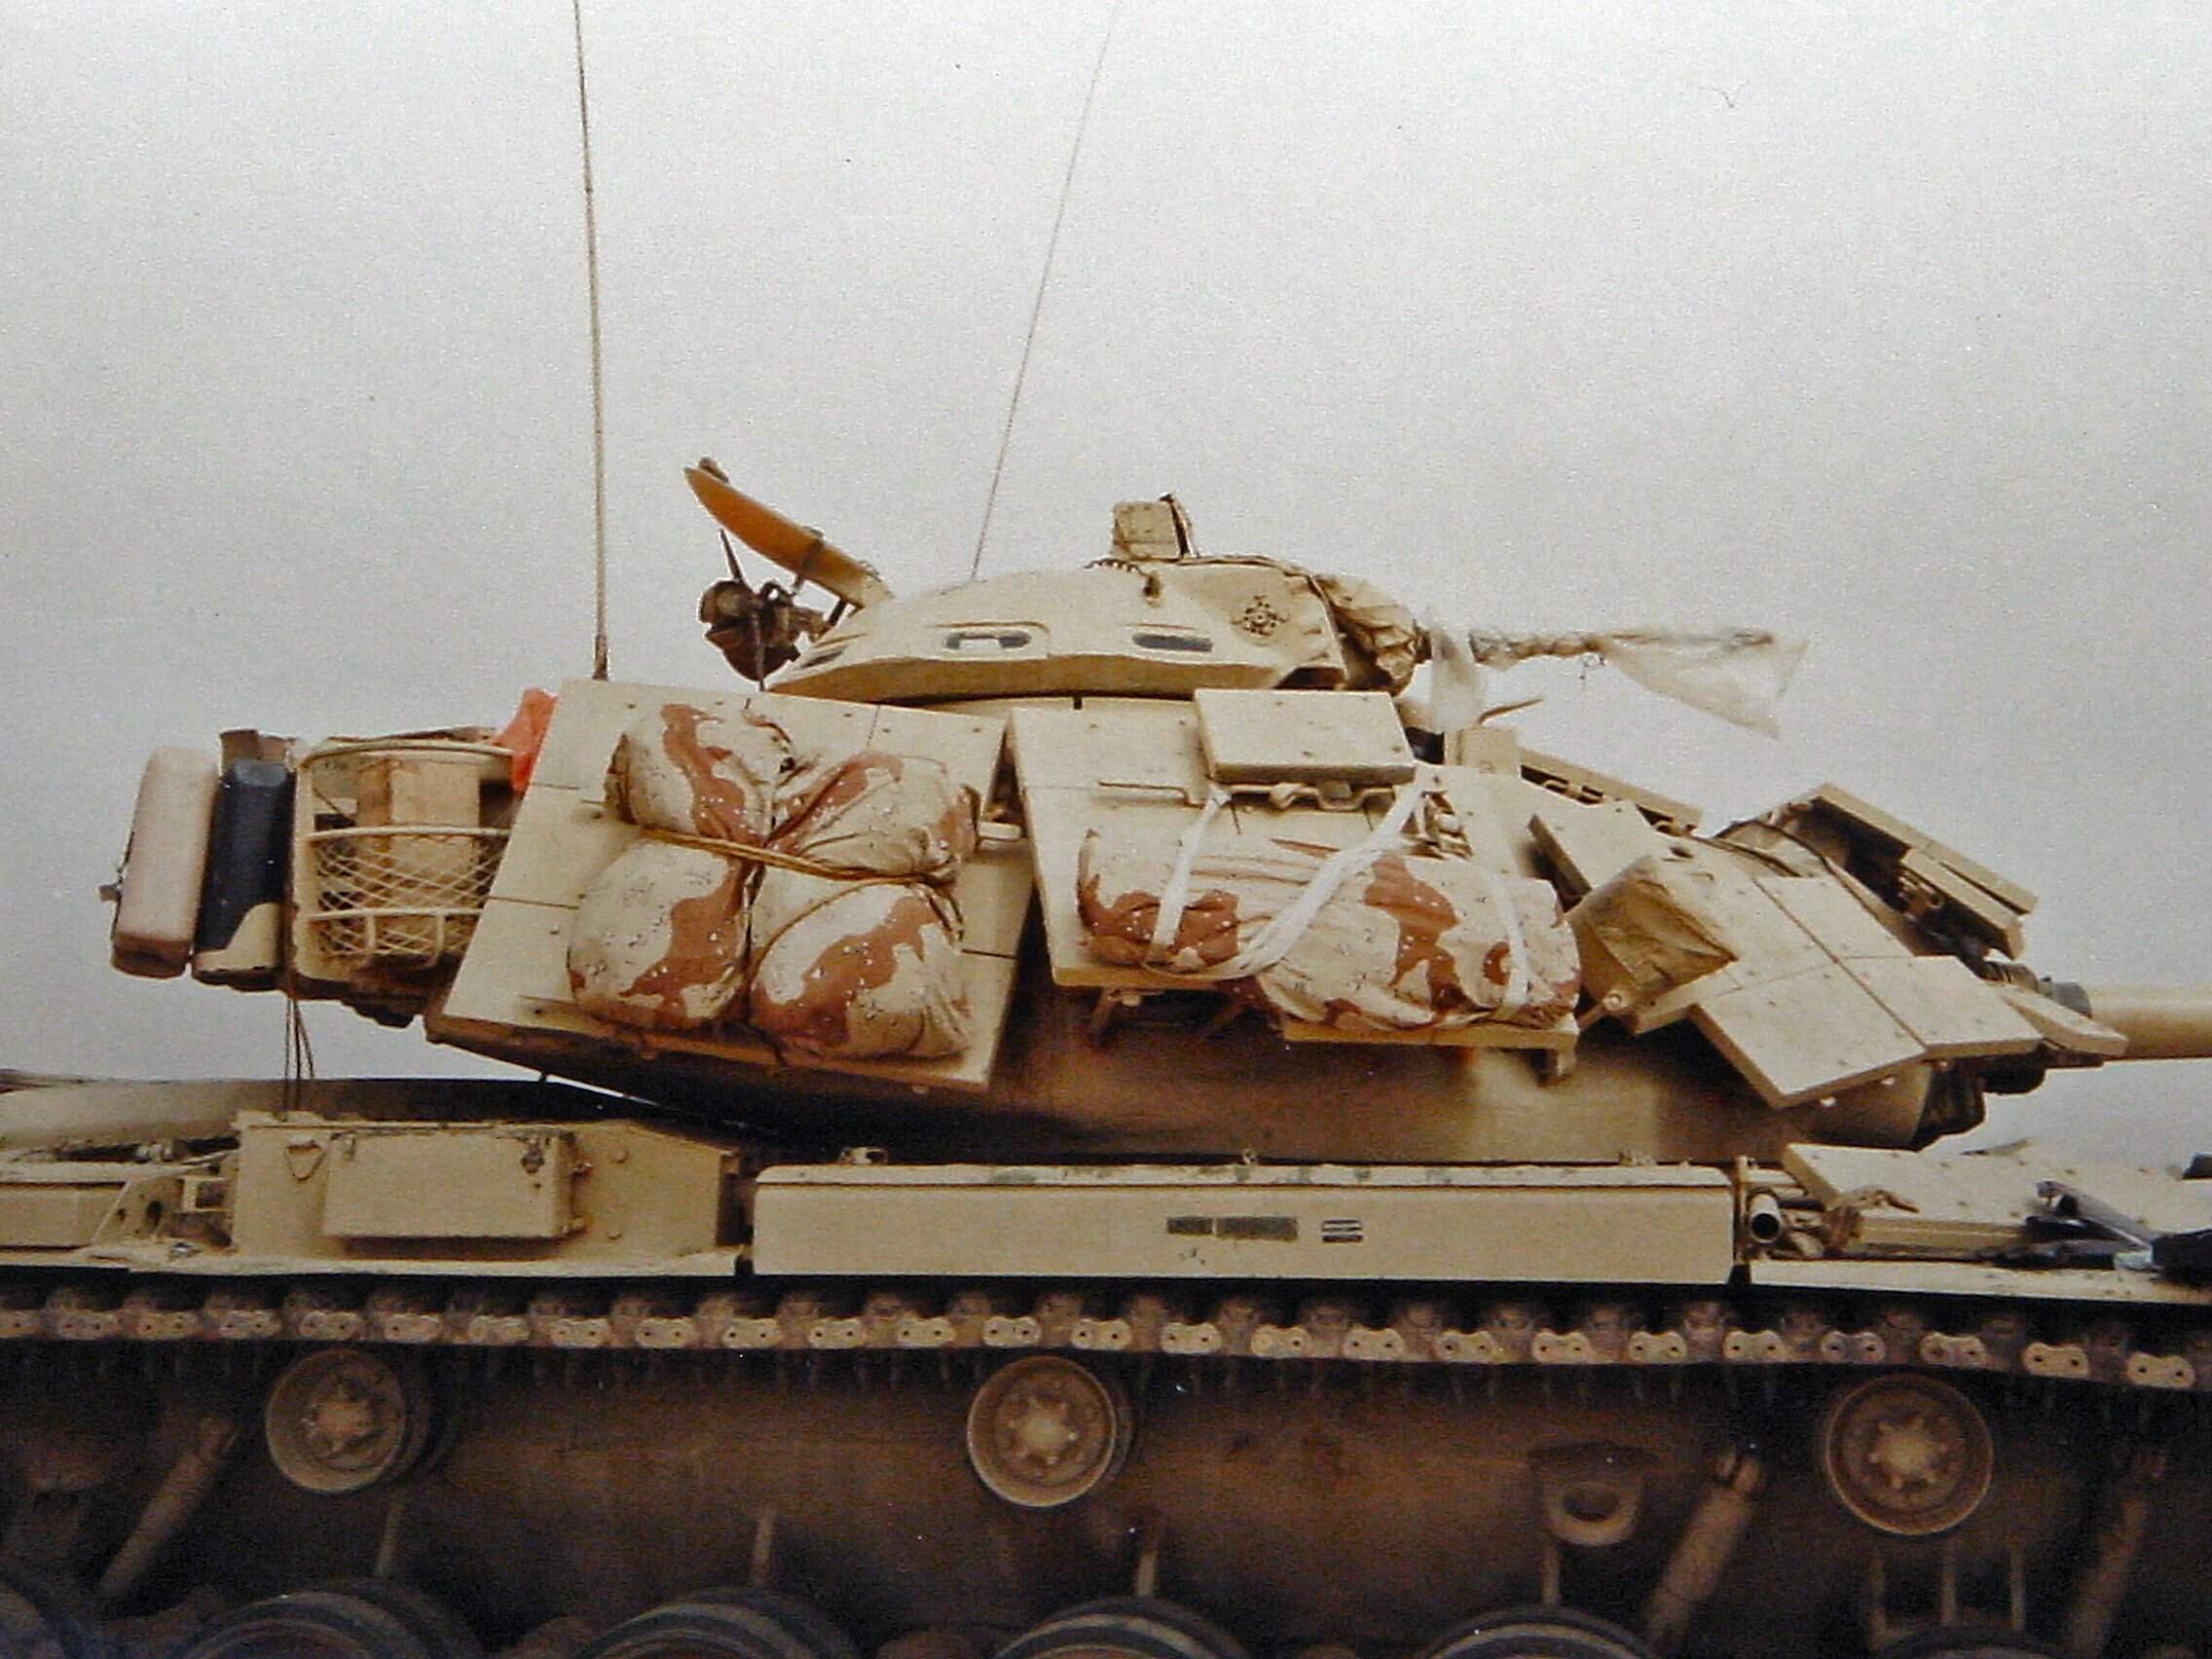
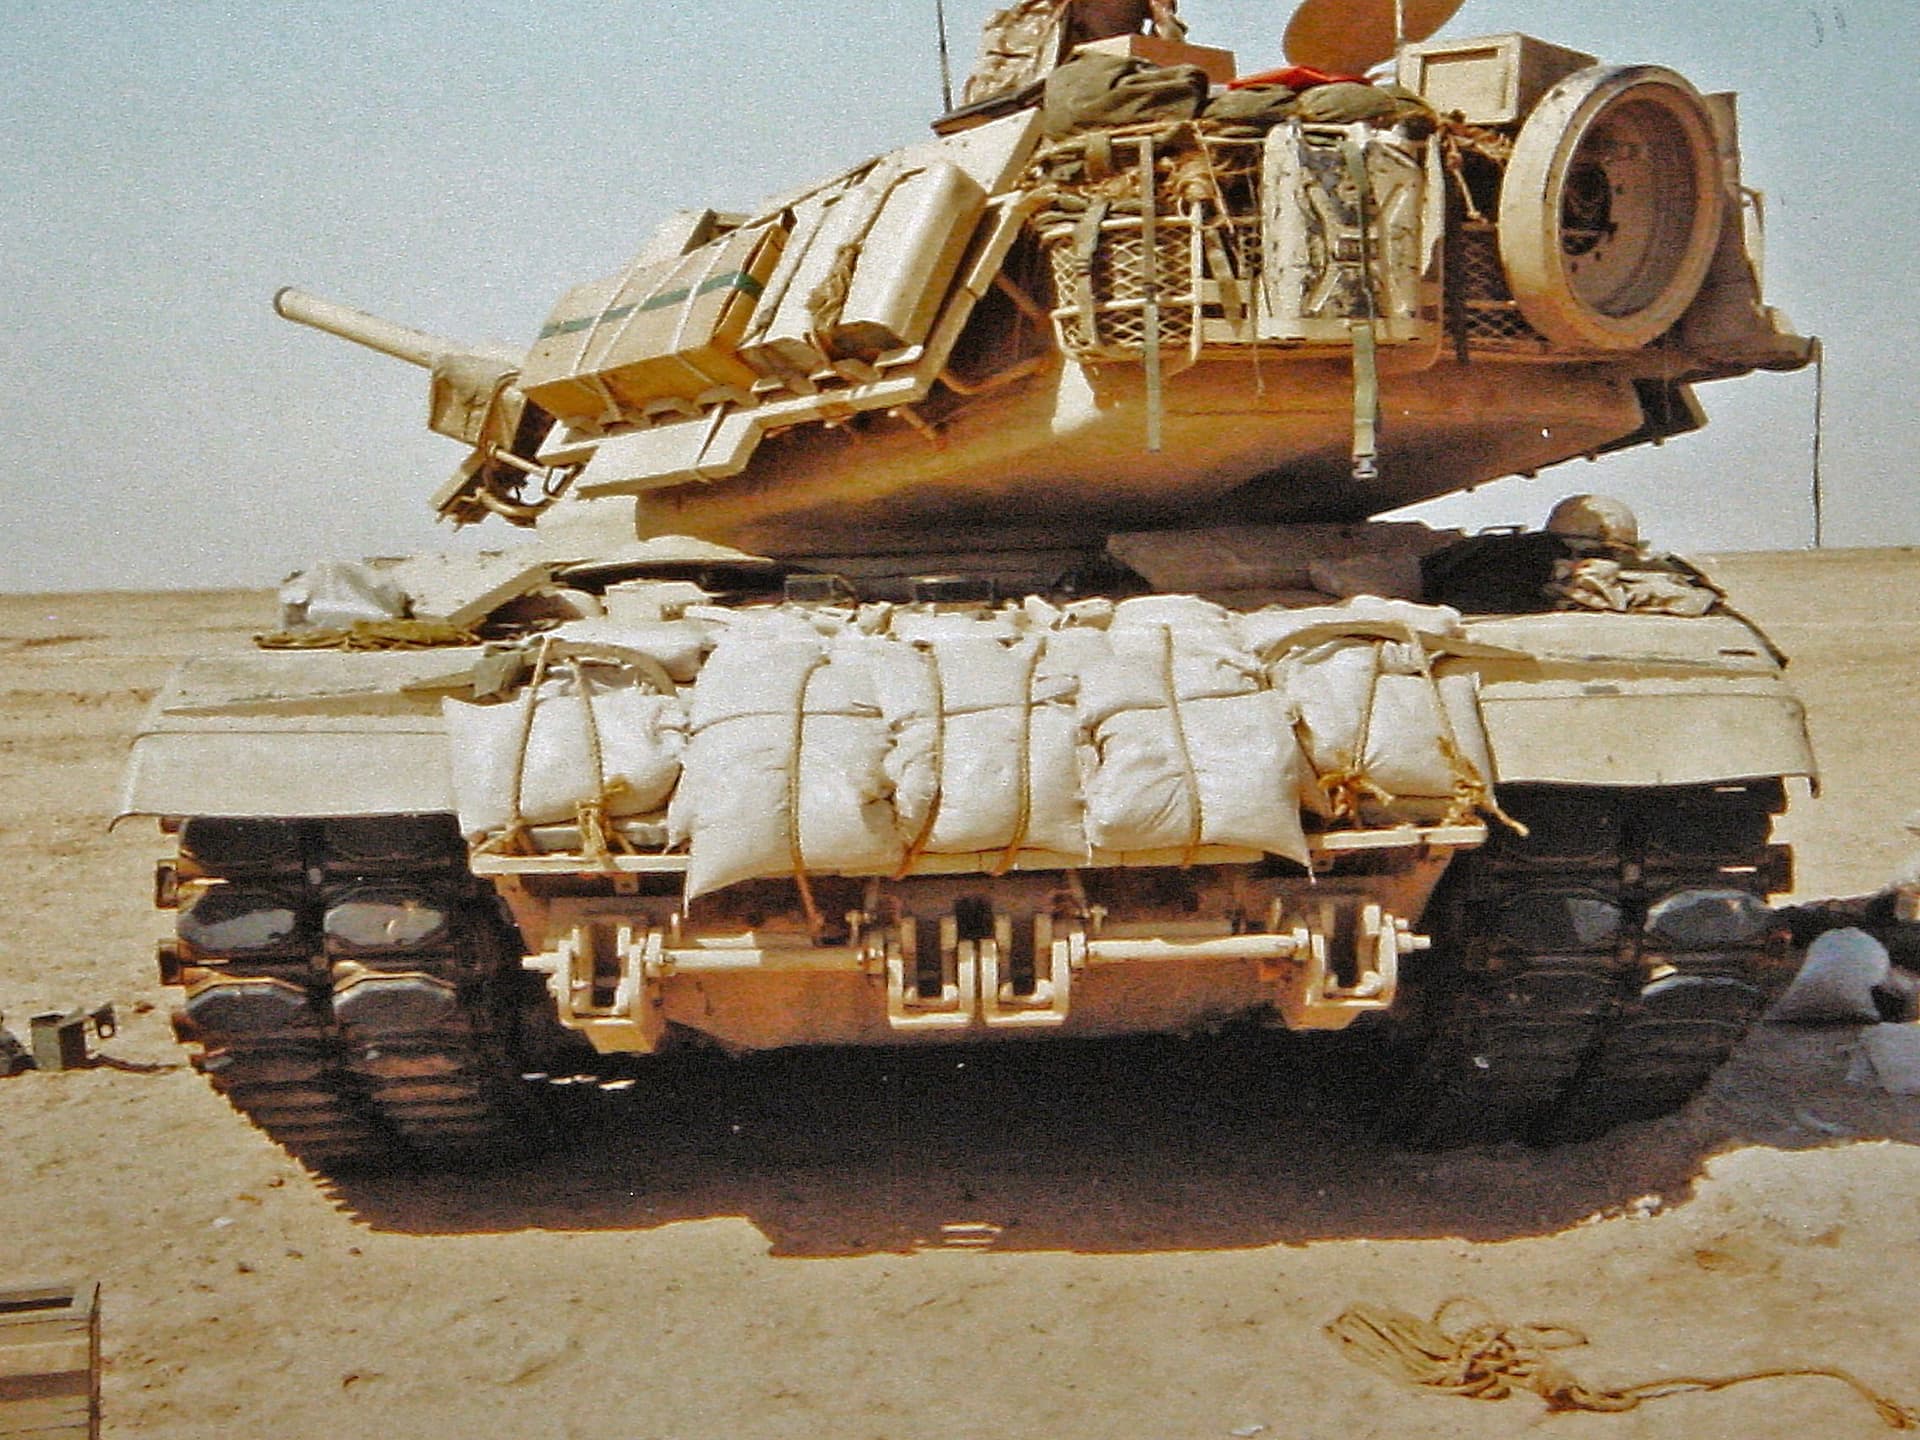
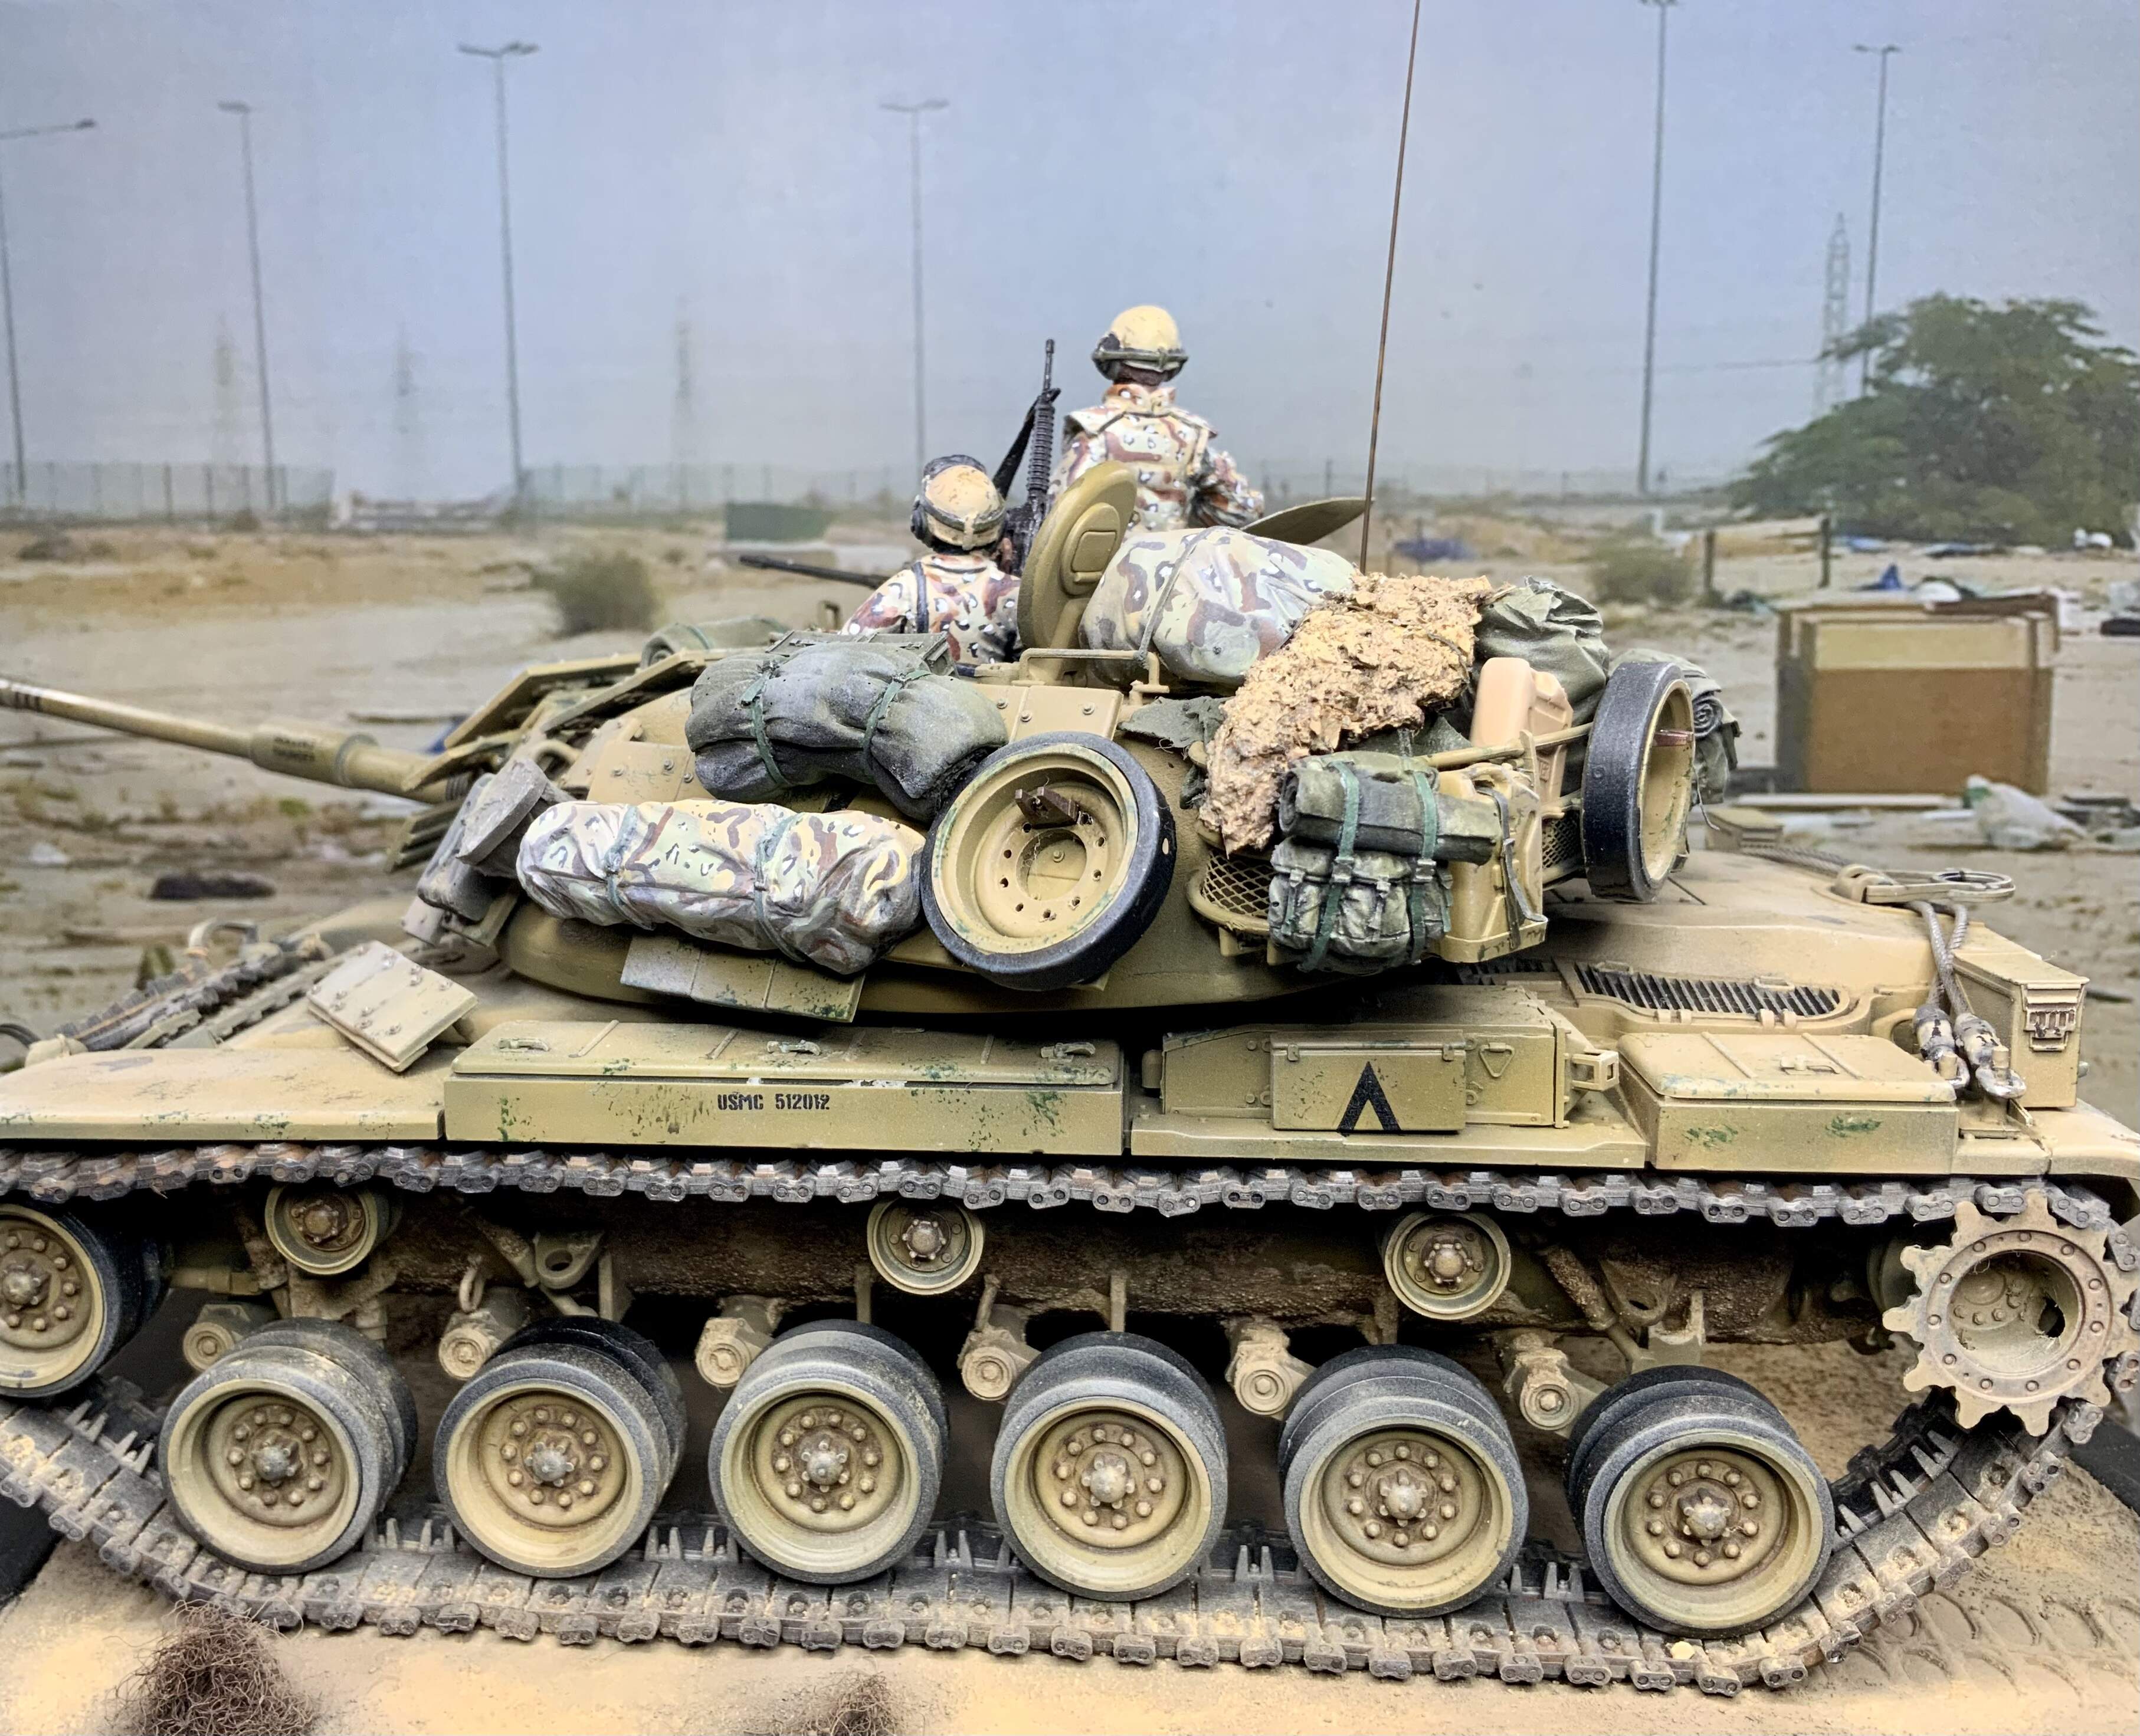
I have had this kit for years and desided not to buy anything new for this project. My stash is way to big as it is. The stowage is a mix of several brands, Legend, Dragon, Tamiya, Real Model etc. I painted some of the bigger pieces in DBDU camoflage since I think it looks interesting.
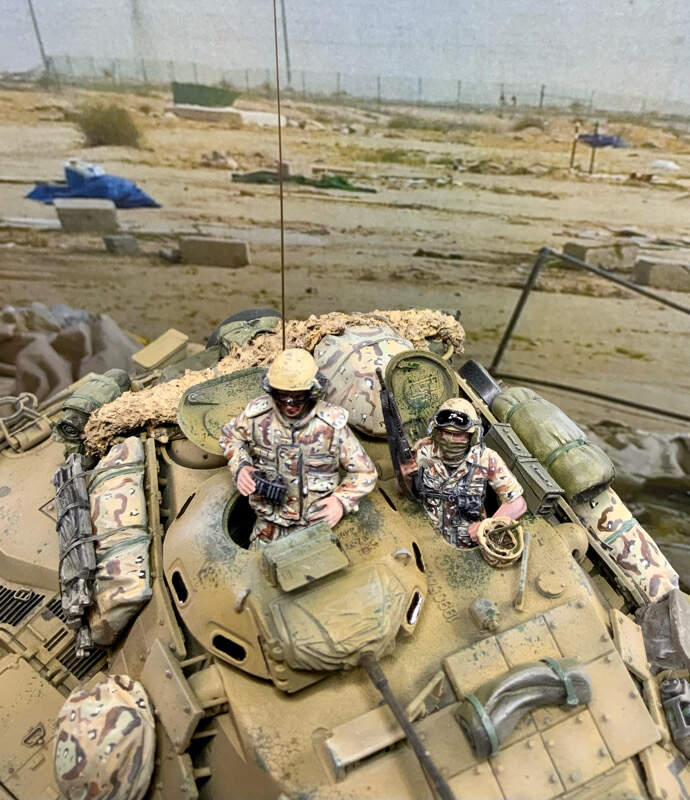
The tarps in the bustle rack is made from Kleenex tissue soaked in diluted white glue and painted. Camo net is made around a pipe cleaner formed to fit the turret and then covered in glue soaked tissue. To get some texture i sprinkle with tea leafes from a tea bag and some oregano. In hindsight you can drop the oregano if you want to try this.
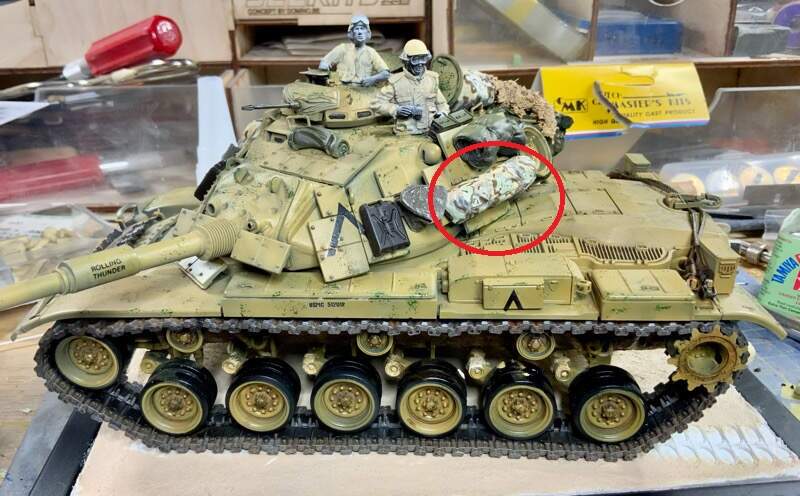
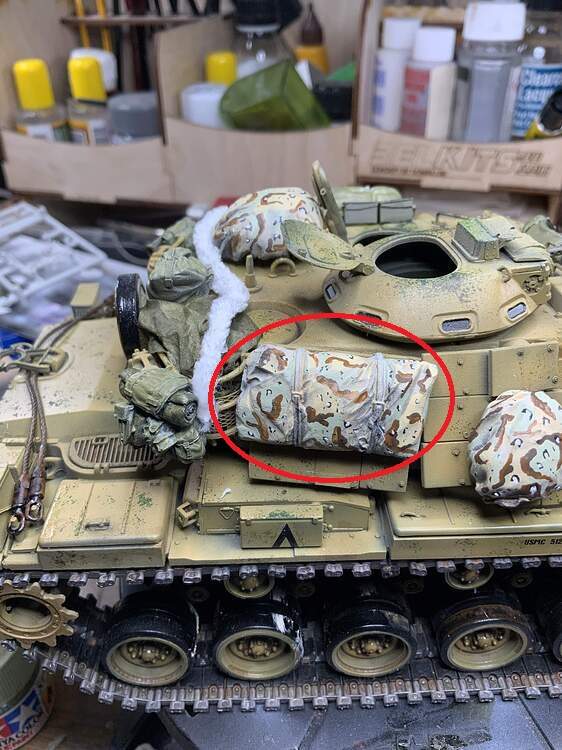
It is looking great. A couple pointers though. The two bags circled below (camo net bag (larger) and camo pole bag (smaller)) should be in dark green. The chocolate chip camo bag covers were only for rucksacks. All other bags were left in their standard green.
Part 2
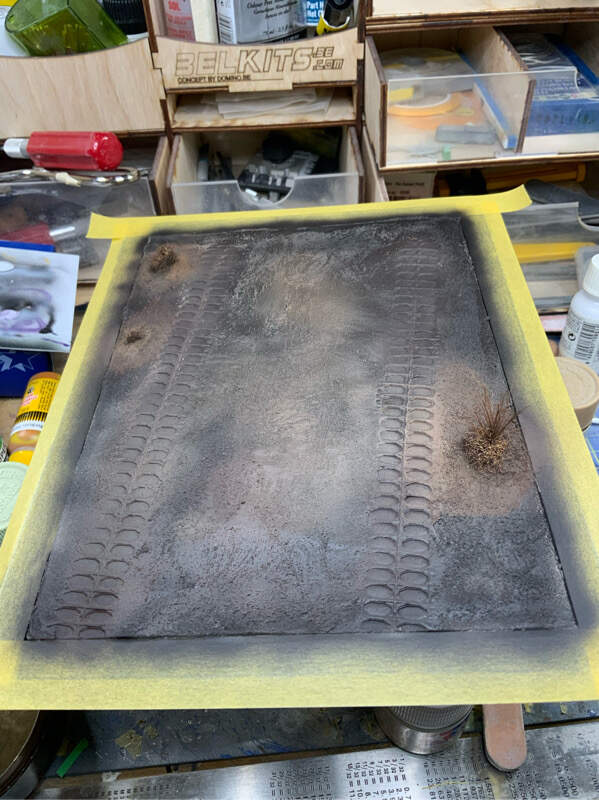
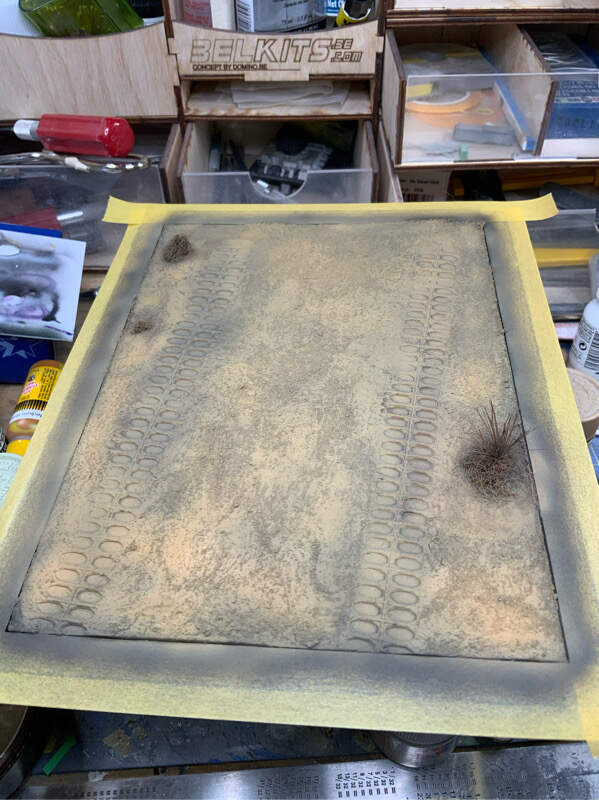
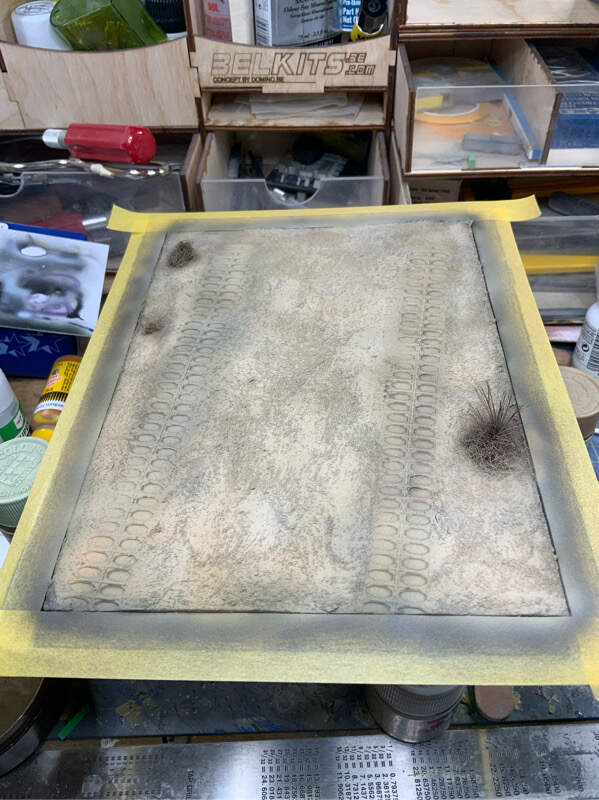
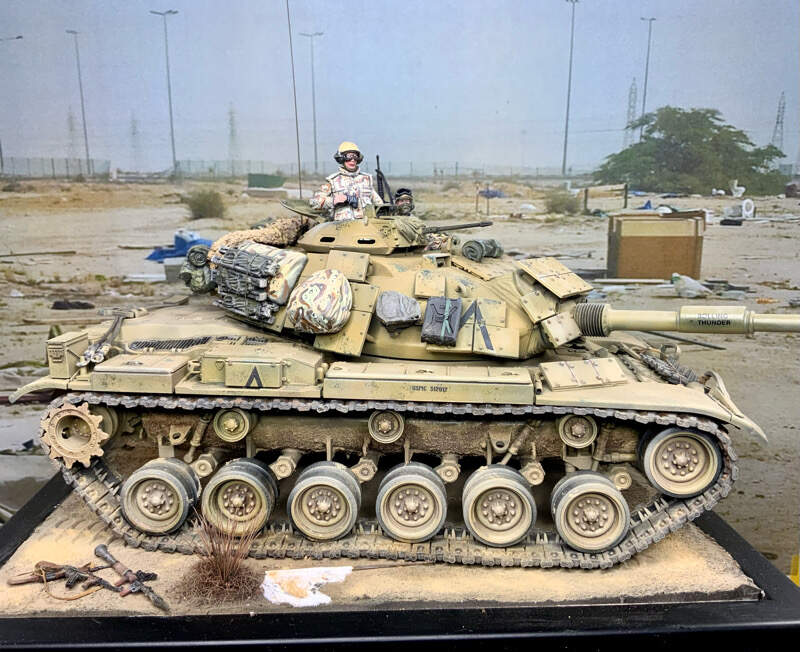
I made a base for the tank from a cheap picture frame covered in DAS clay with some bushes made from poly yarn and fibres from an old paint brush. Edit: I forgot to mention that you have to cover the base with white glue before you add the clay. If not there is a risk of the clay not bonding properly to the base surface. To get some desert texture I used AK acrylic texture and painted it all black before I applied some desert colors, mainly Tamiya desert yellow and Vallejo Iraqi sand.
The track marks were set by using the original kit´s rubber band tracks.
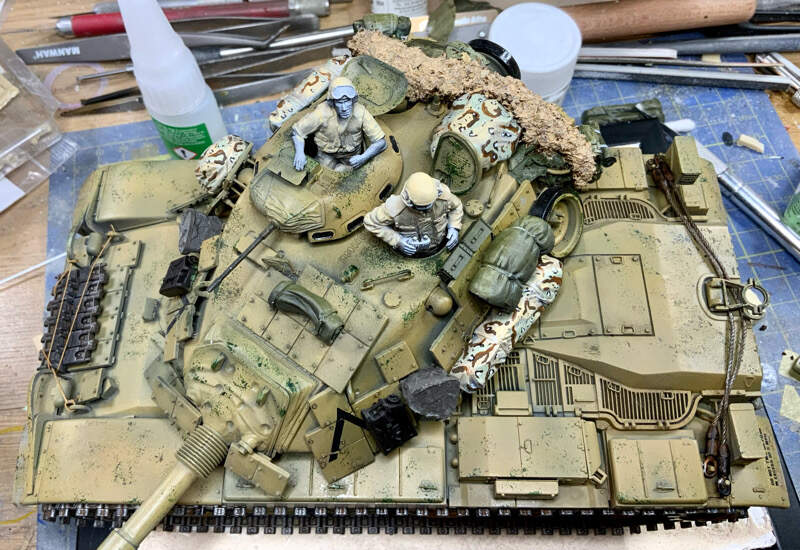
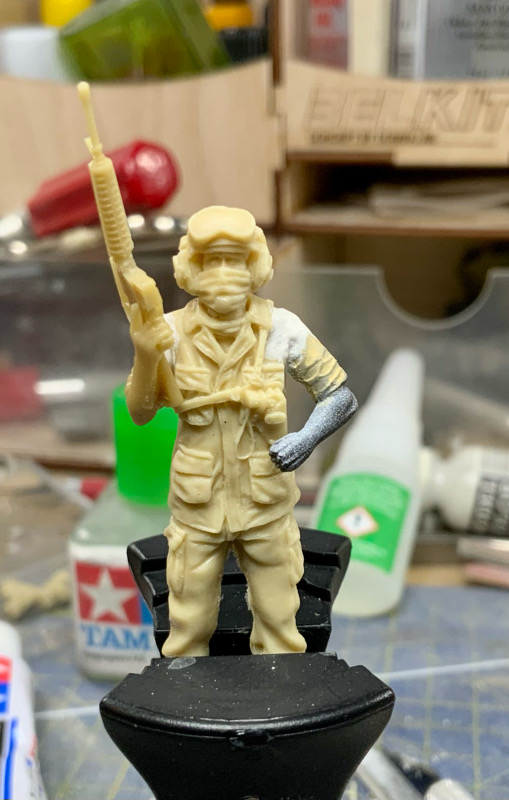
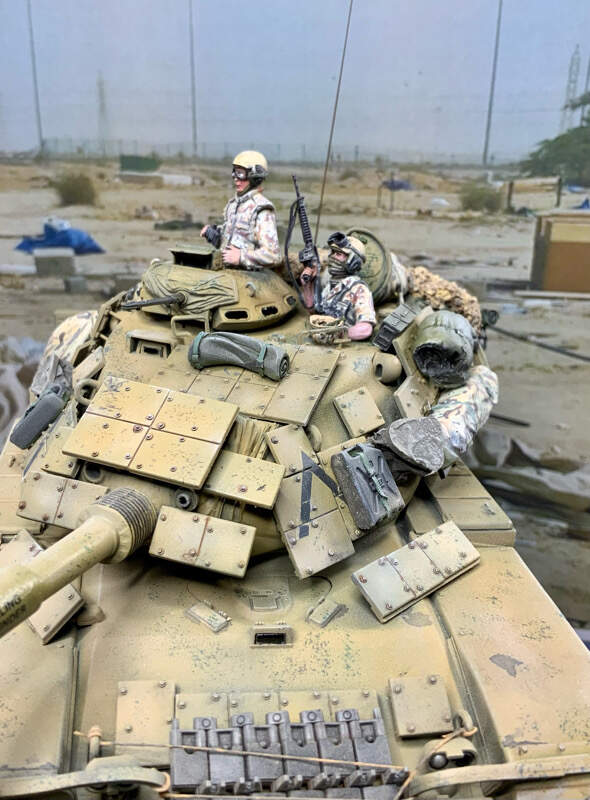
Somewhere in this process I decided to fire the TC because he was to ugly… The loader was promoted to commander and I built a new loader from spare parts. The body is from CMK but I changed both arms with parts from the spare box.
Superglue and thin strips of Tamiya tape was used to make it.
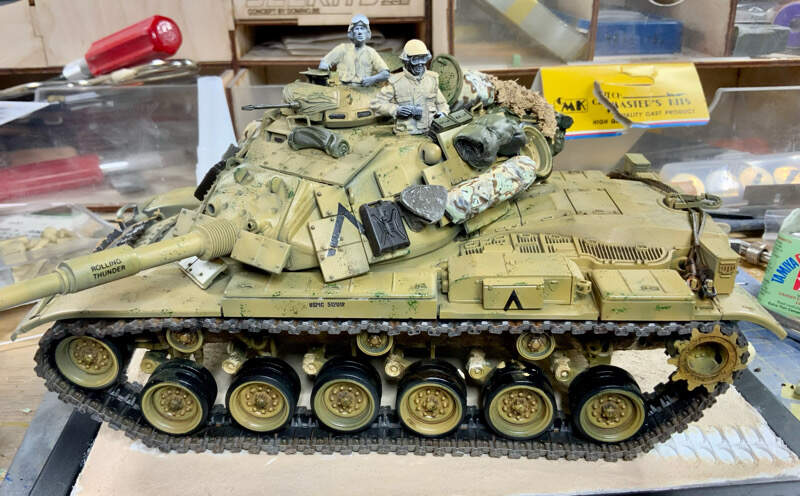
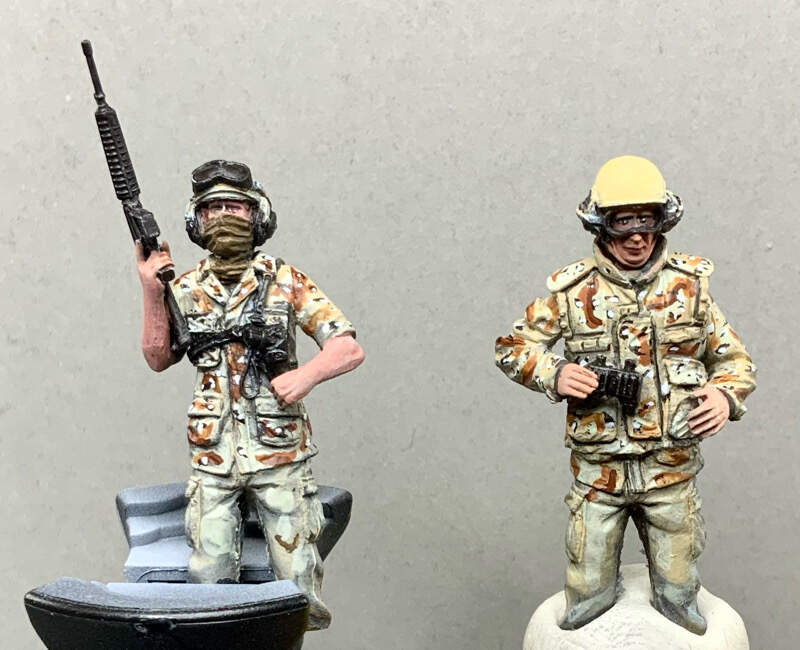
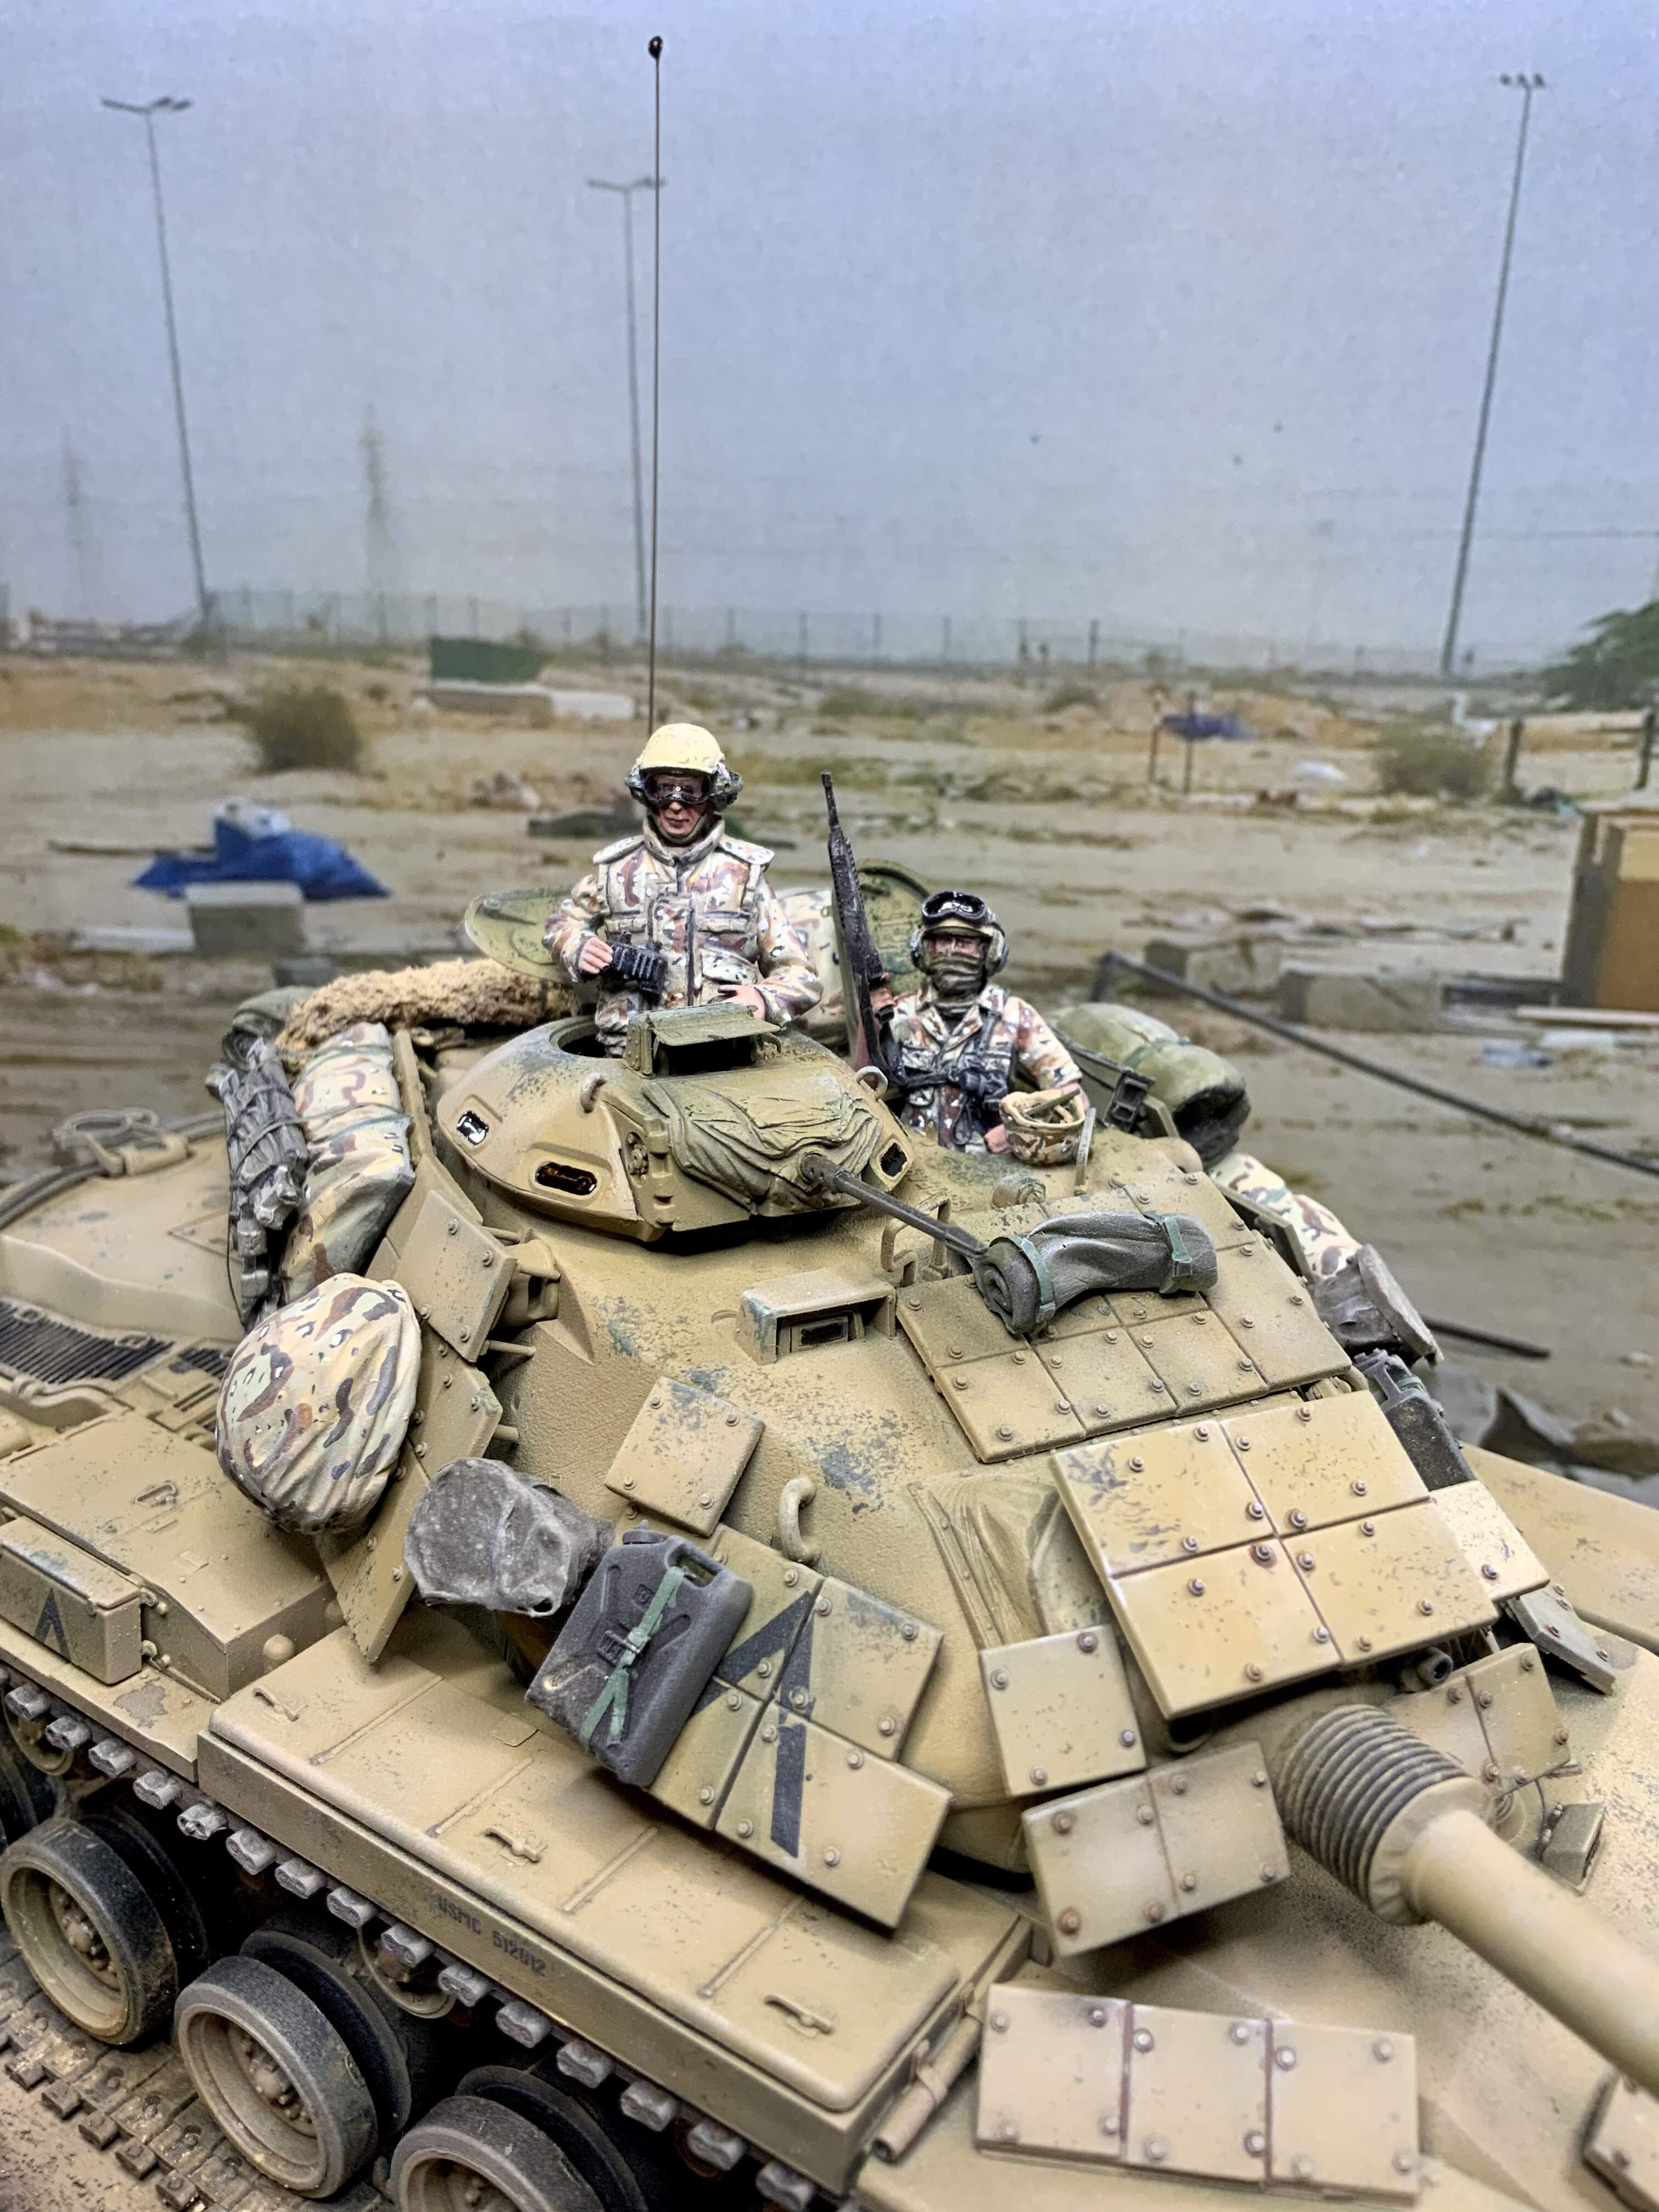
Then it was time to paint some figures. I´m far from the best figure painter around, but I´m getting better… I used a wet pallet for the first time and it was a pleasant experience. I guess the result could have been better, but painting DBDU was easier than I thought. I don´t paint details that can´t be seen, hence the «naked» trousers… At this stage the figures are somewhat semi-done.
You might notice the shine in the TC´s goggles, I made glass from transparent resin since it looked quiet stupid with just the frame.
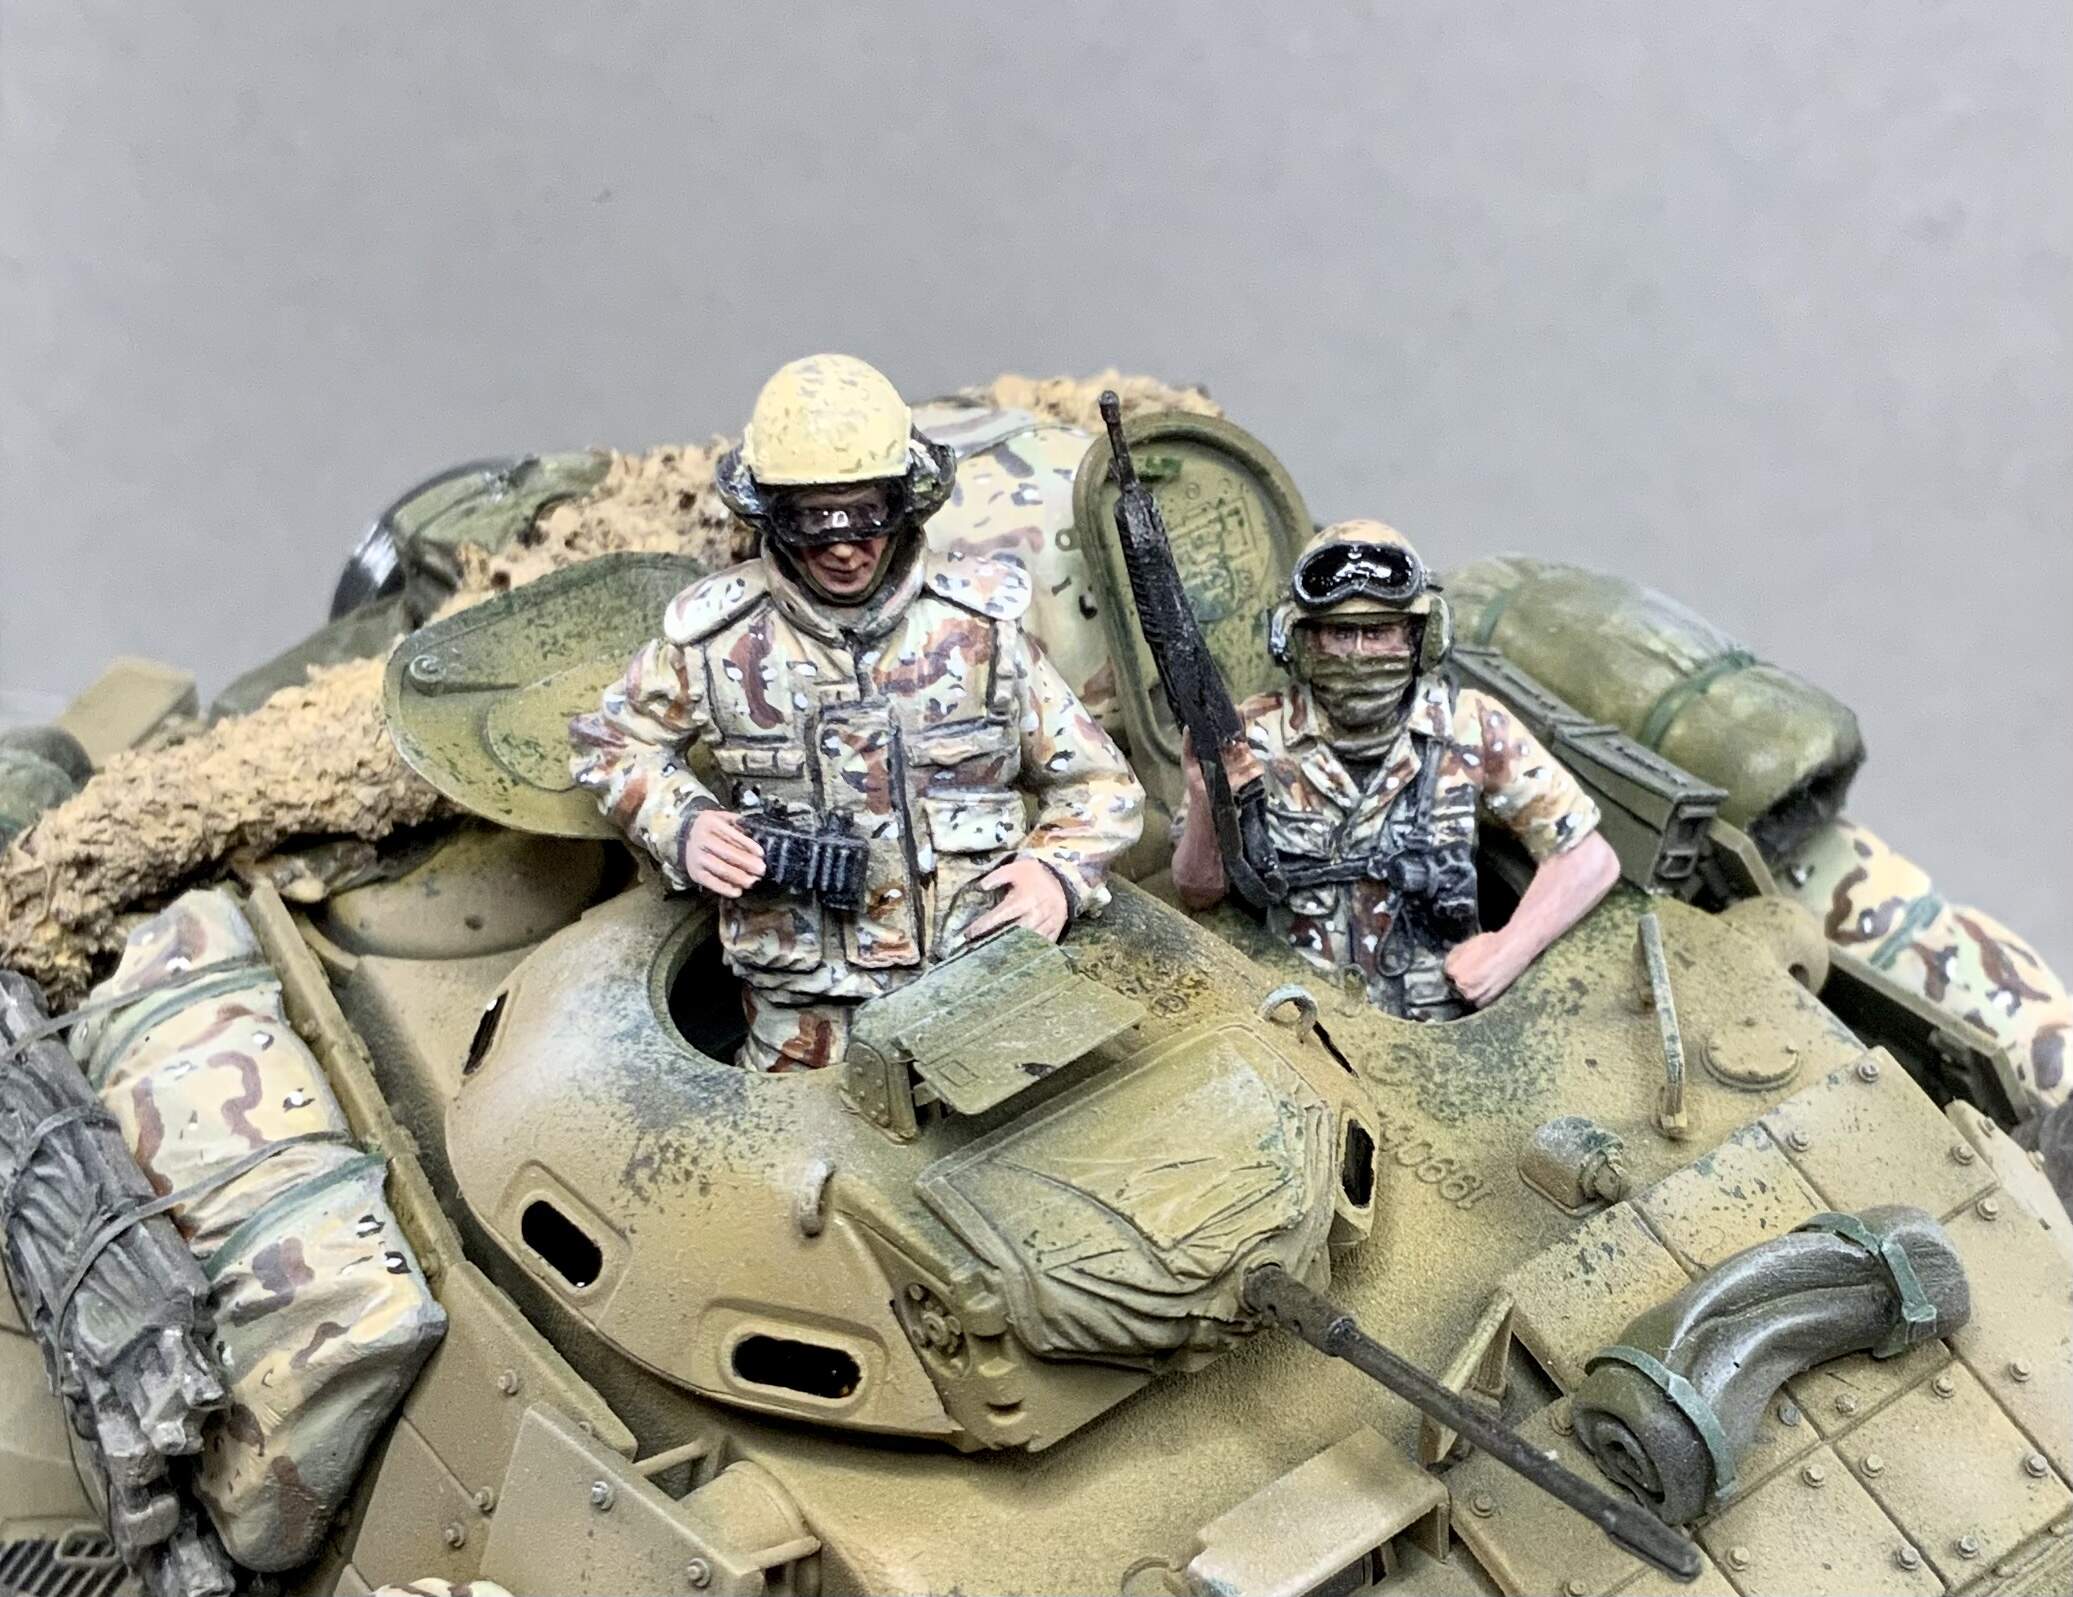
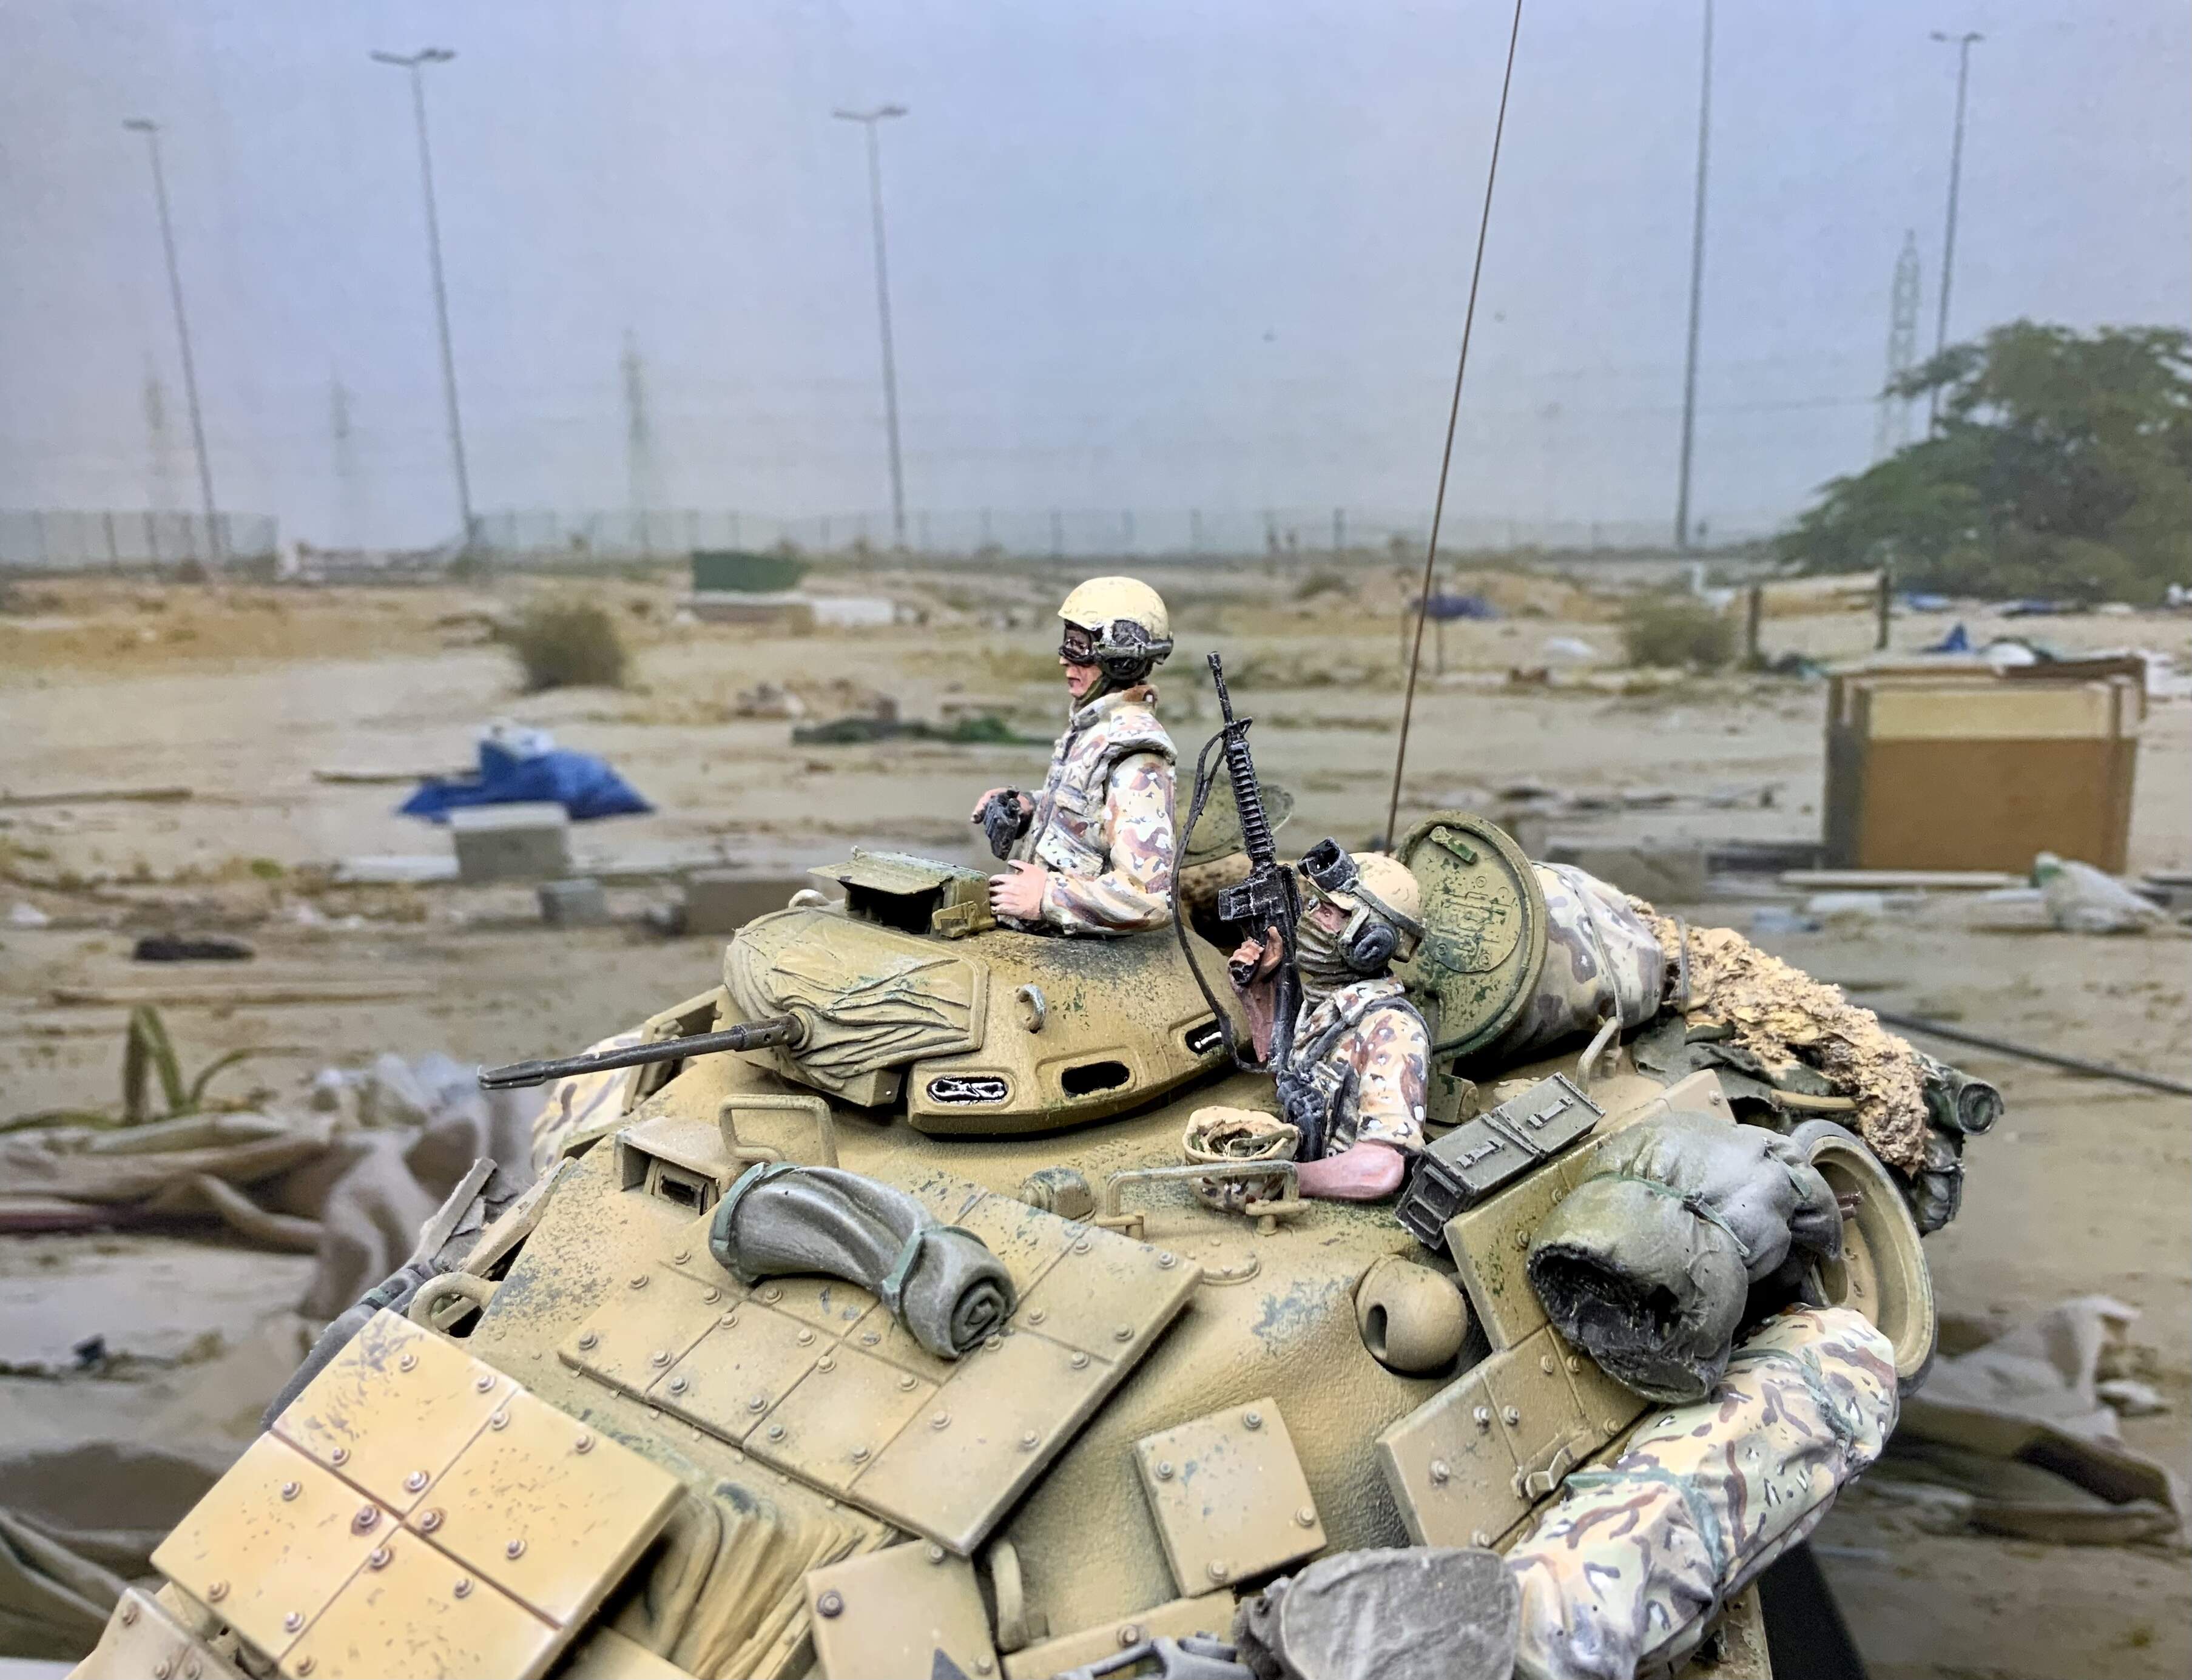
And about an hour ago I finished the build
I will only post a single teaser picture to night, there will be more pictures of the finished vehicle tomorrow.
Thanks, I have never painted chocolate chip camo before, but it turned out to be easier than expected. Using a wet palette really helped. The TC looks a bit cross eyed on the last picture, but that is reflection from the resin glass
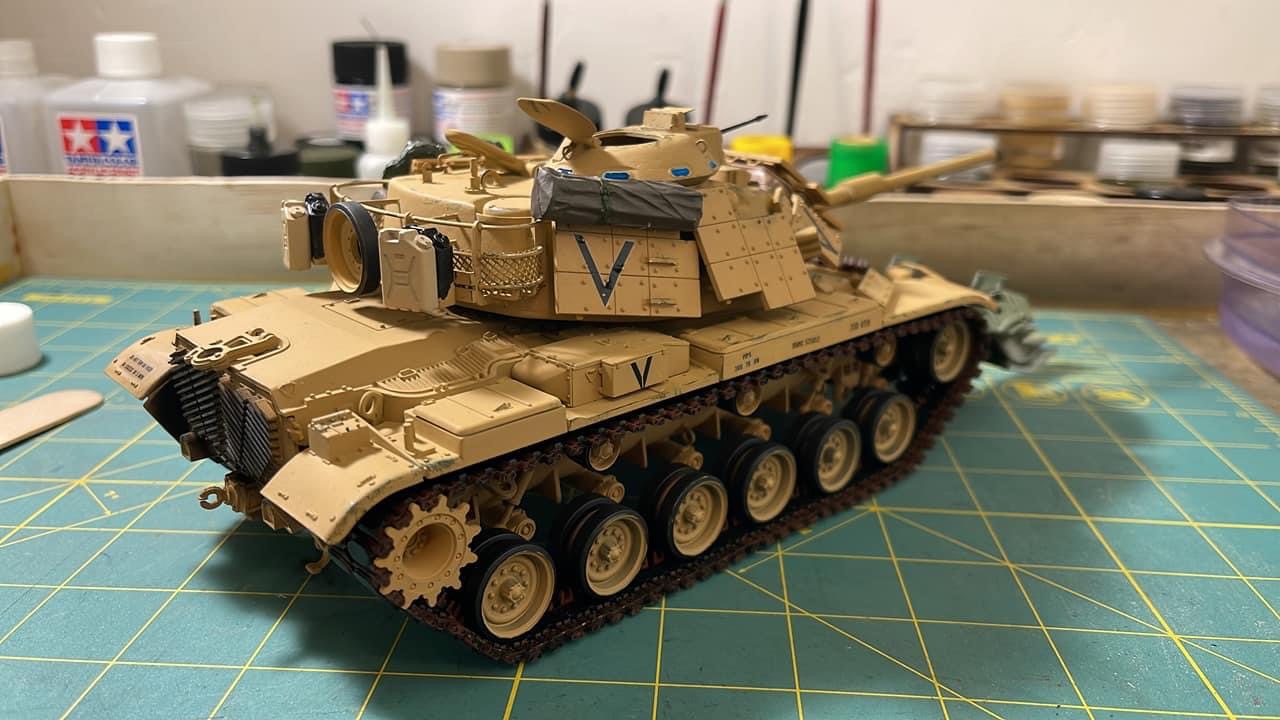
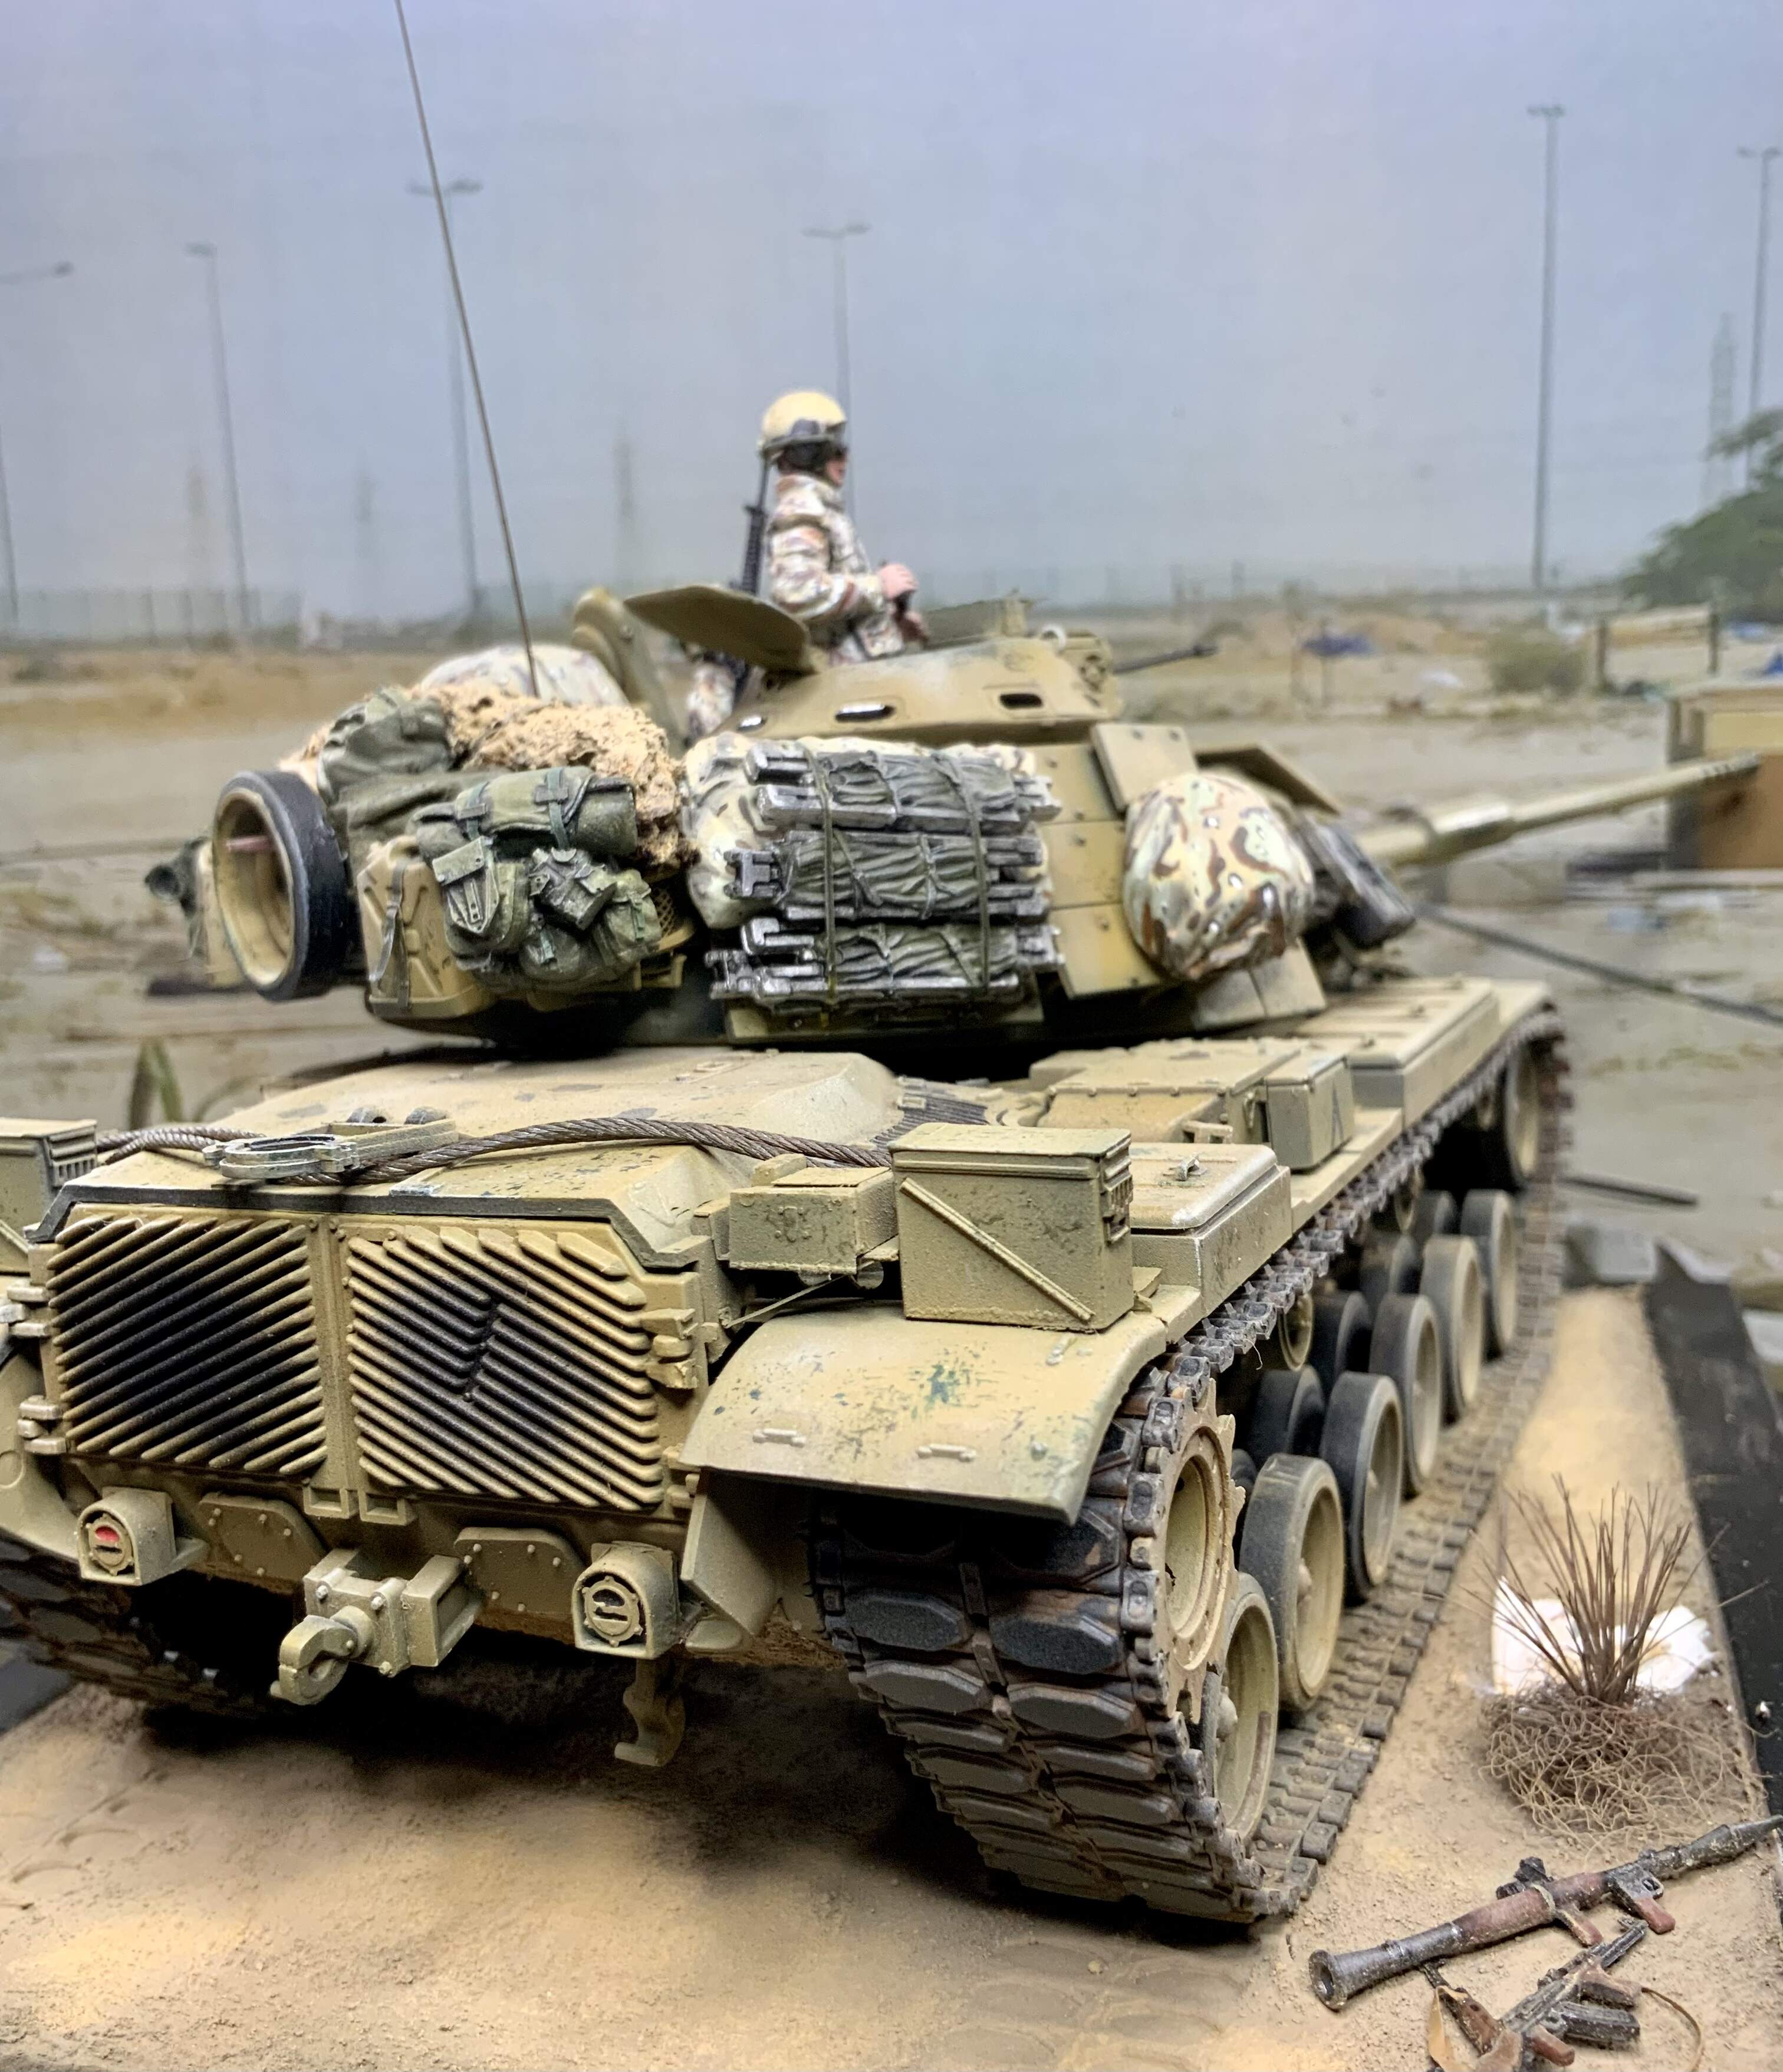
Wow, that is a great looking '60. There is one glaring error/omission, missing parts. There should be some ERA blocks on top of the gun mantlet. Those little divots are the mounting points. You should look to see if you still have those parts.
Other than that, it looks great, and shows what that old kit can look like with a little TLC! And that camo net looks great!
Ken
I remember there was a reason why I dropped the extra armor, when I built the kit two years ago. What the reason was I do not remember… However, it should be an easy fix and gives me something to do after work today. Thank you for the reminder.
Front wiev. The rectangular armor plate on the right side of the mantlet armor has been casted upside down according to reference pictures. An easy fix though.
You were right, Ken. It looks better with the added tiles. Luckily I seldom throw away sprues with parts still attached and for once I found the parts straight away. I suspect I did not add them when I built the tank because they are lister as «optional»…