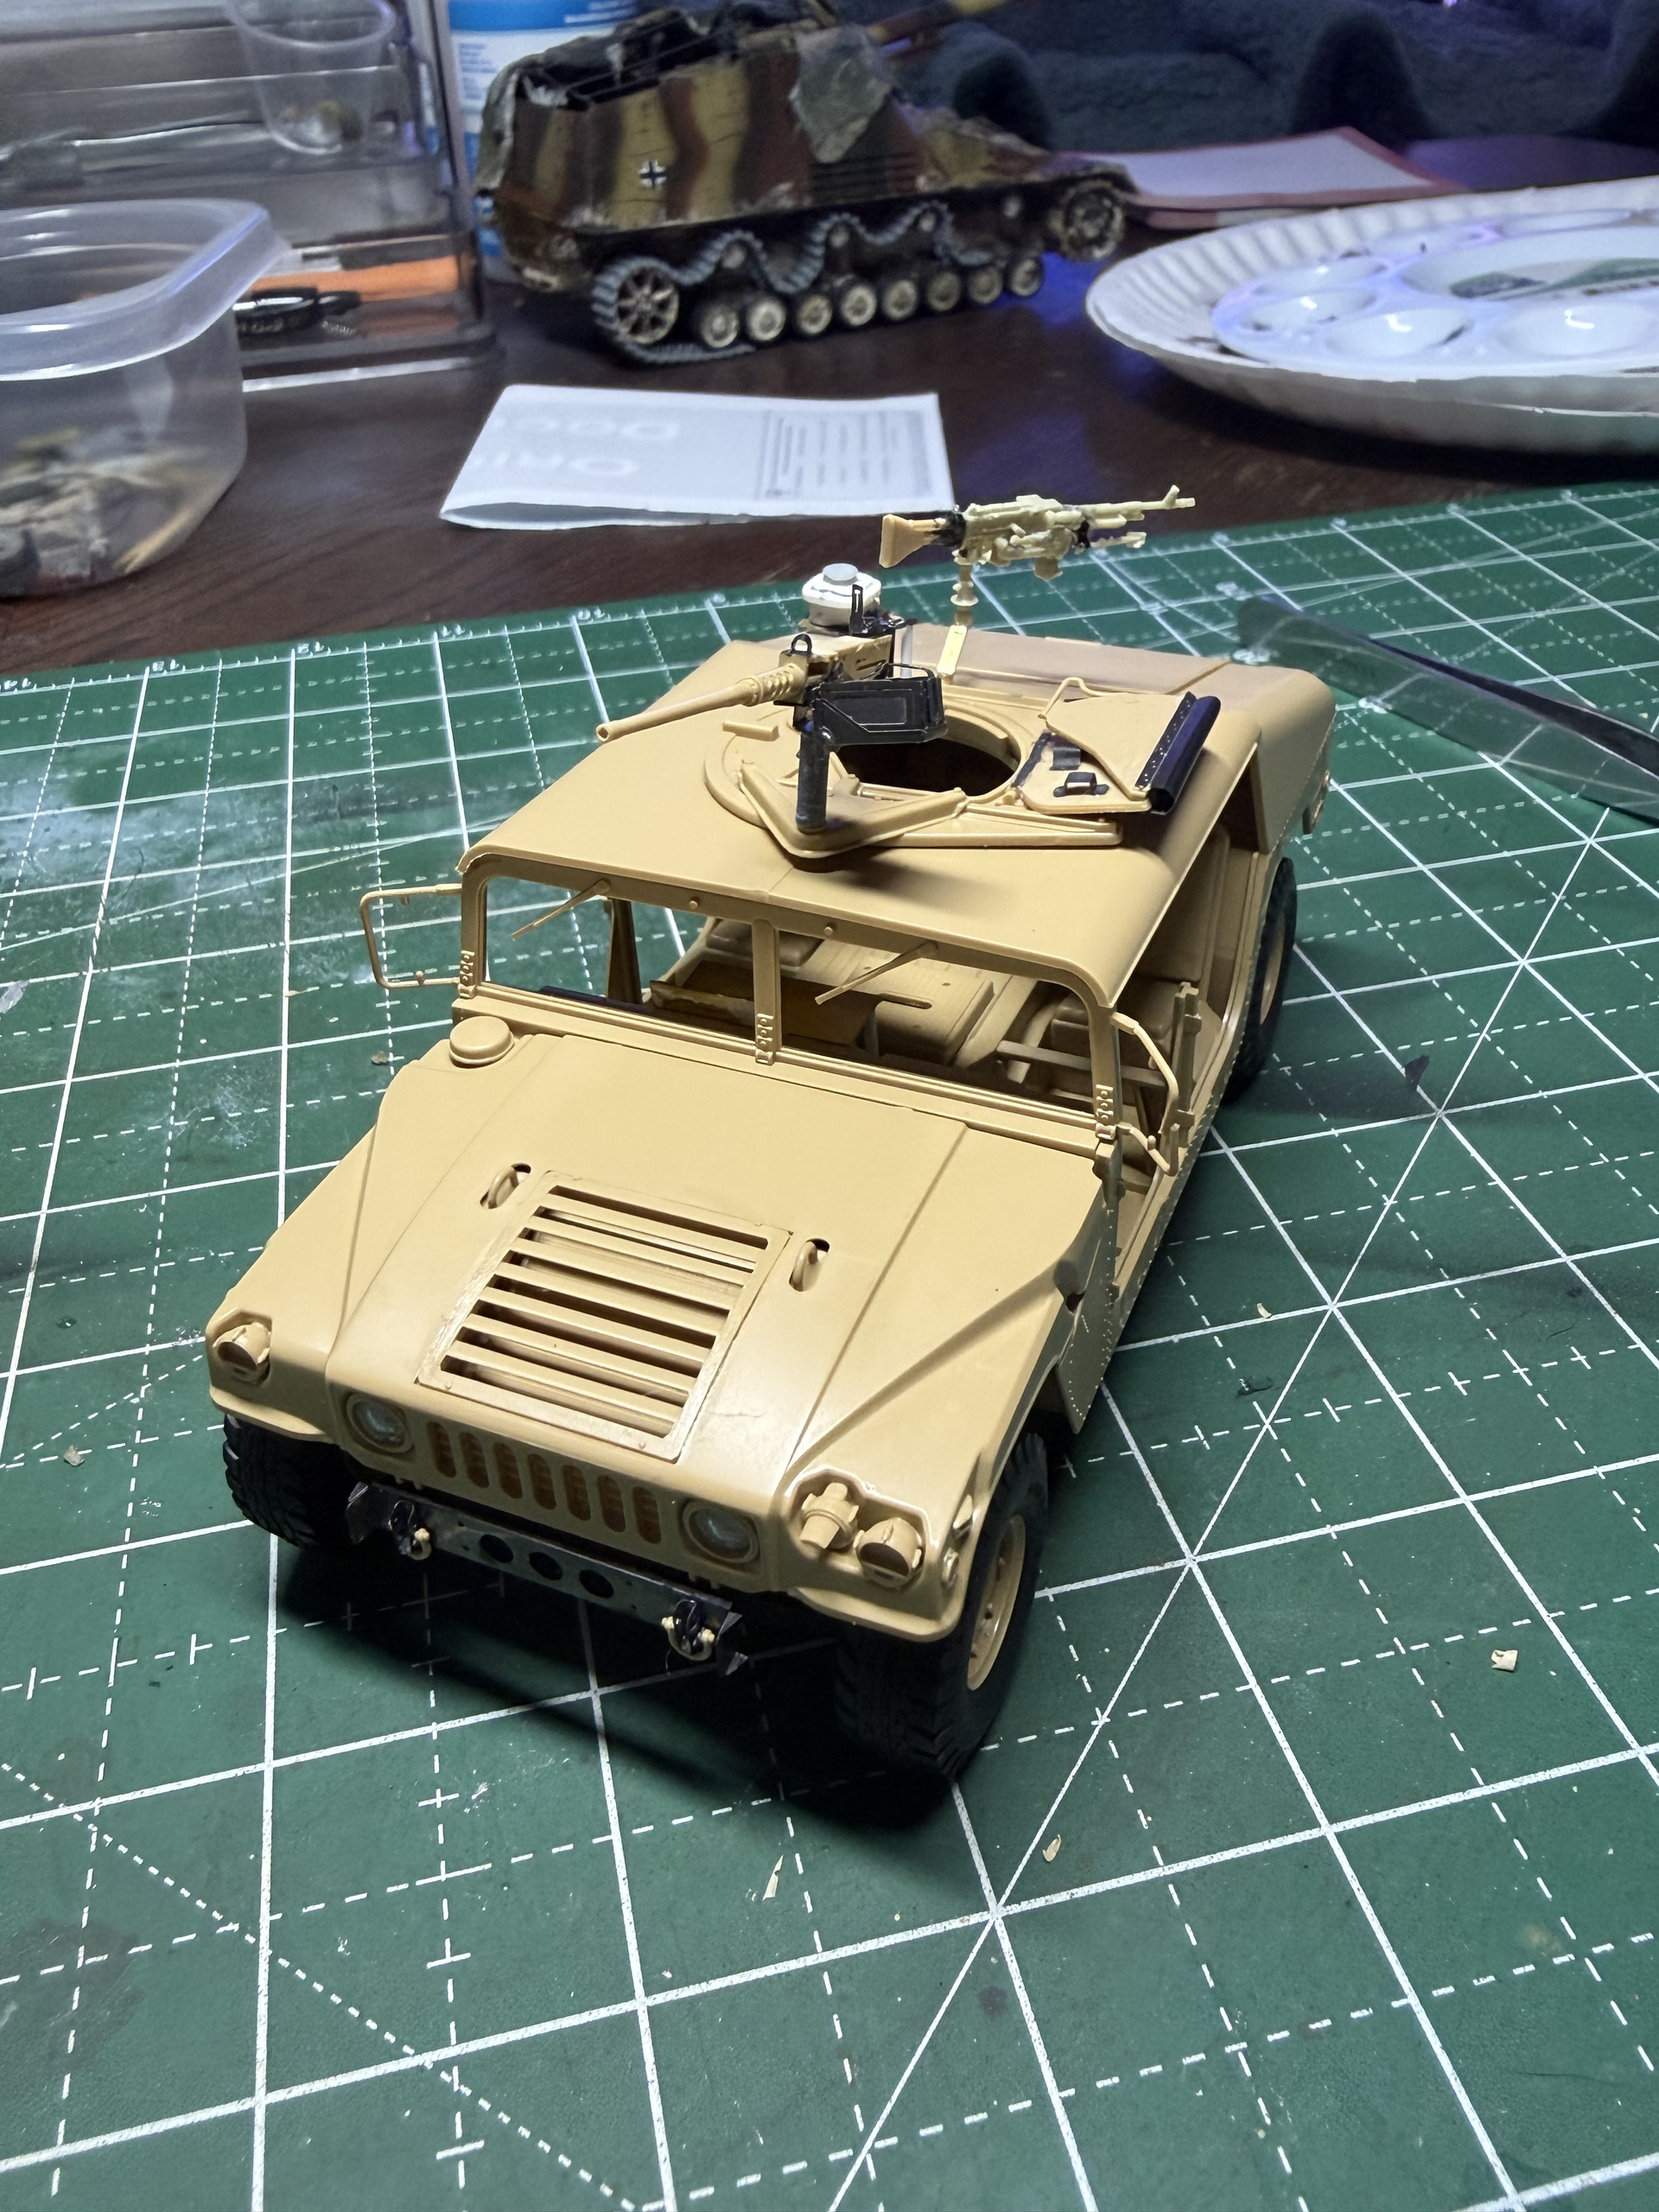
OIF1 early 173rd gun truck. My personal vehicle while I vacationed there for 12 months!

Hi everyone!

Awhile ago I ran across an amazing build of an early OIF HMMWV by the amazing modeler know as Mario. Upon further examination of said vehicle, I noticed the vehicle numbers and mascot belonging to the infamous 173rd Airborne Brigade, specifically of Able Company, 2-503, the Raptors! Well, I passed out because this was MY unit. MY platoon! Actually, I was the one who designed the Raptor mascot stencil that we painted on our vehicles!

I contacted Mr. Mario and got as much info on the kit and aftermarket products that he used. Months later, with as much aftermarket products that I could buy/find/(and afford :joy:), in going to build MY vehicle! You see, the Echelon decal set comes with the vehicle markings as A-13. While this is my platoon, my sister gun truck, I was A-11. 1st platoon, 1st squad, Alpha Team Leader. Now, I’ve commanded this vehicle in combat for a year, so I know the insides and out of what exactly was on it, in it, and what it looked like every day.

There was 3 specific phases this vehicle went through in Iraq. The first was when it was air landed in Kirkuk after we took the airbase, (the second airbase, mind you, after we took Bashir airfield, then took Kirkuk a ways south). These were our normal vehicles that came from our base in Italy. So they still had the NATO camo and were thin skinned. Midway through fun times at Kirkuk, is when the IED party started kicking off. To flight that, we had metal sheet and armor welded and bolted on from the local blacksmiths/metal shops in the city. Just bare bones steel on the sides. Towards the end stretch of our deployment, we were getting the military add-on armor packages with the sand/tan color armor protection and gunners shield. Then after sending a lot of people to meet God, (:folded_hands: praise Jesus Christ our one and only Saviour), we went home and got ready for the next vacation to Afghanistan.

Anywho, I’m going to be building pretty much the same vehicle as Mr. Mario, with a few changes as to the configuration and set up as befit to a very specific vehicle at a very specific time: A-11 from the 173rd Airborne Brigade, A/2-503, Raptor Platoon!

I hope you guys join me on this journey, as not only will it be 100% historically accurate, you will see a living beast, in 1/35 scale!

As for the A-11 decal I need printed, I was going to work with Bedlam Creations, but found out through reviews that he had taken money from modelers than ghosted them. So now I’m working with STS Decals. Does anyone know of either one of these companies/creators, or have had success on other custom waterslide decal makers? Help would be greatly appreciated.

As a side note, I will NOT be using the Tamiya gun truck kit, as I really don’t want to sell a kidney to pay for it. I will be using an older Academy M966 vehicle, which I used to drive as well as an 11-X before I was reclassed to an 11-B when the 173rd was re-activated. So some detailing will be used to convert and use Tamiya kit PE.

Any help, advice, and recommendations will always be appreciated! Huge shout out to Mr. Mario and HeavyArty for all their help and knowledge! Hope to keep a consistent thread going off the build and I hope y’all are excited as much as I am! Happy building guys (and gals if there is any)!

NordicNomad (Chris D)

:saluting_face:

15 Likes

Looking forward to your project here.

2 Likes

I really like it when guys who lived in their vehicle decide to the exact one in scale… this build should be a lot of fun! Looking forward to it.

Mario

PS Chris, please skip the Mr Mario part, people here know me as Maki :blush:

3 Likes

Okay.

Mr. Maki then :wink: :shushing_face:

3 Likes

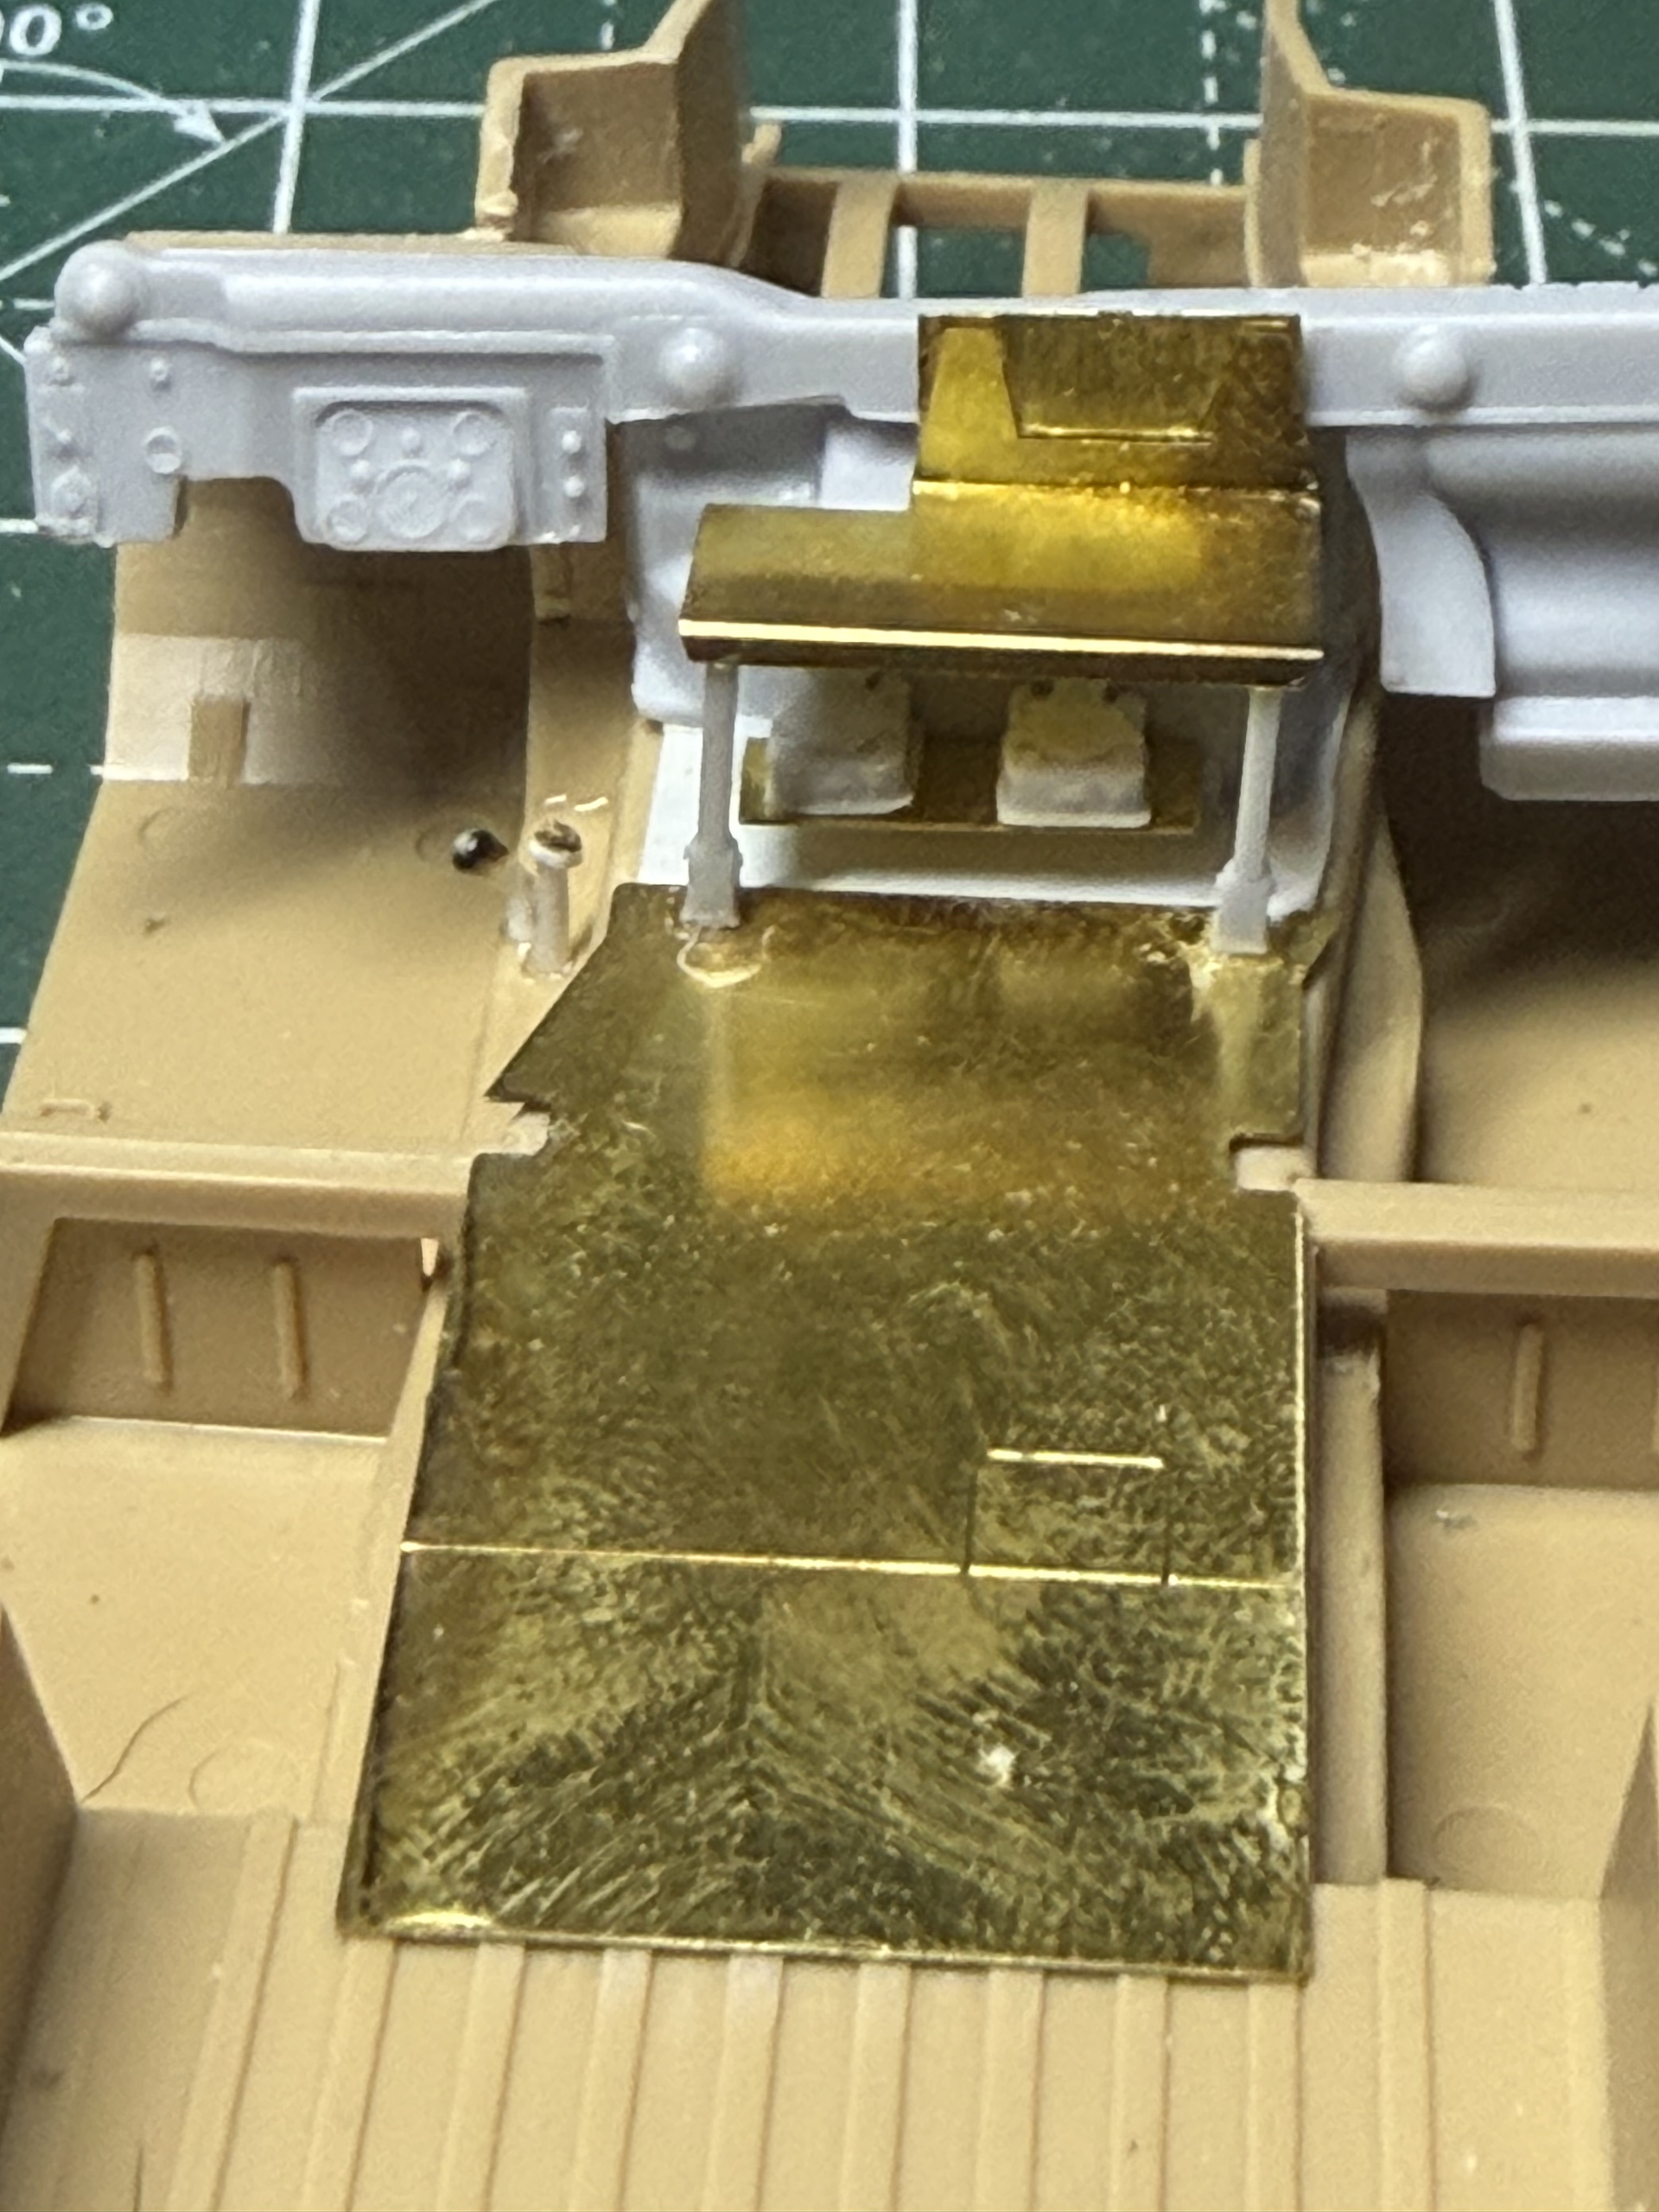
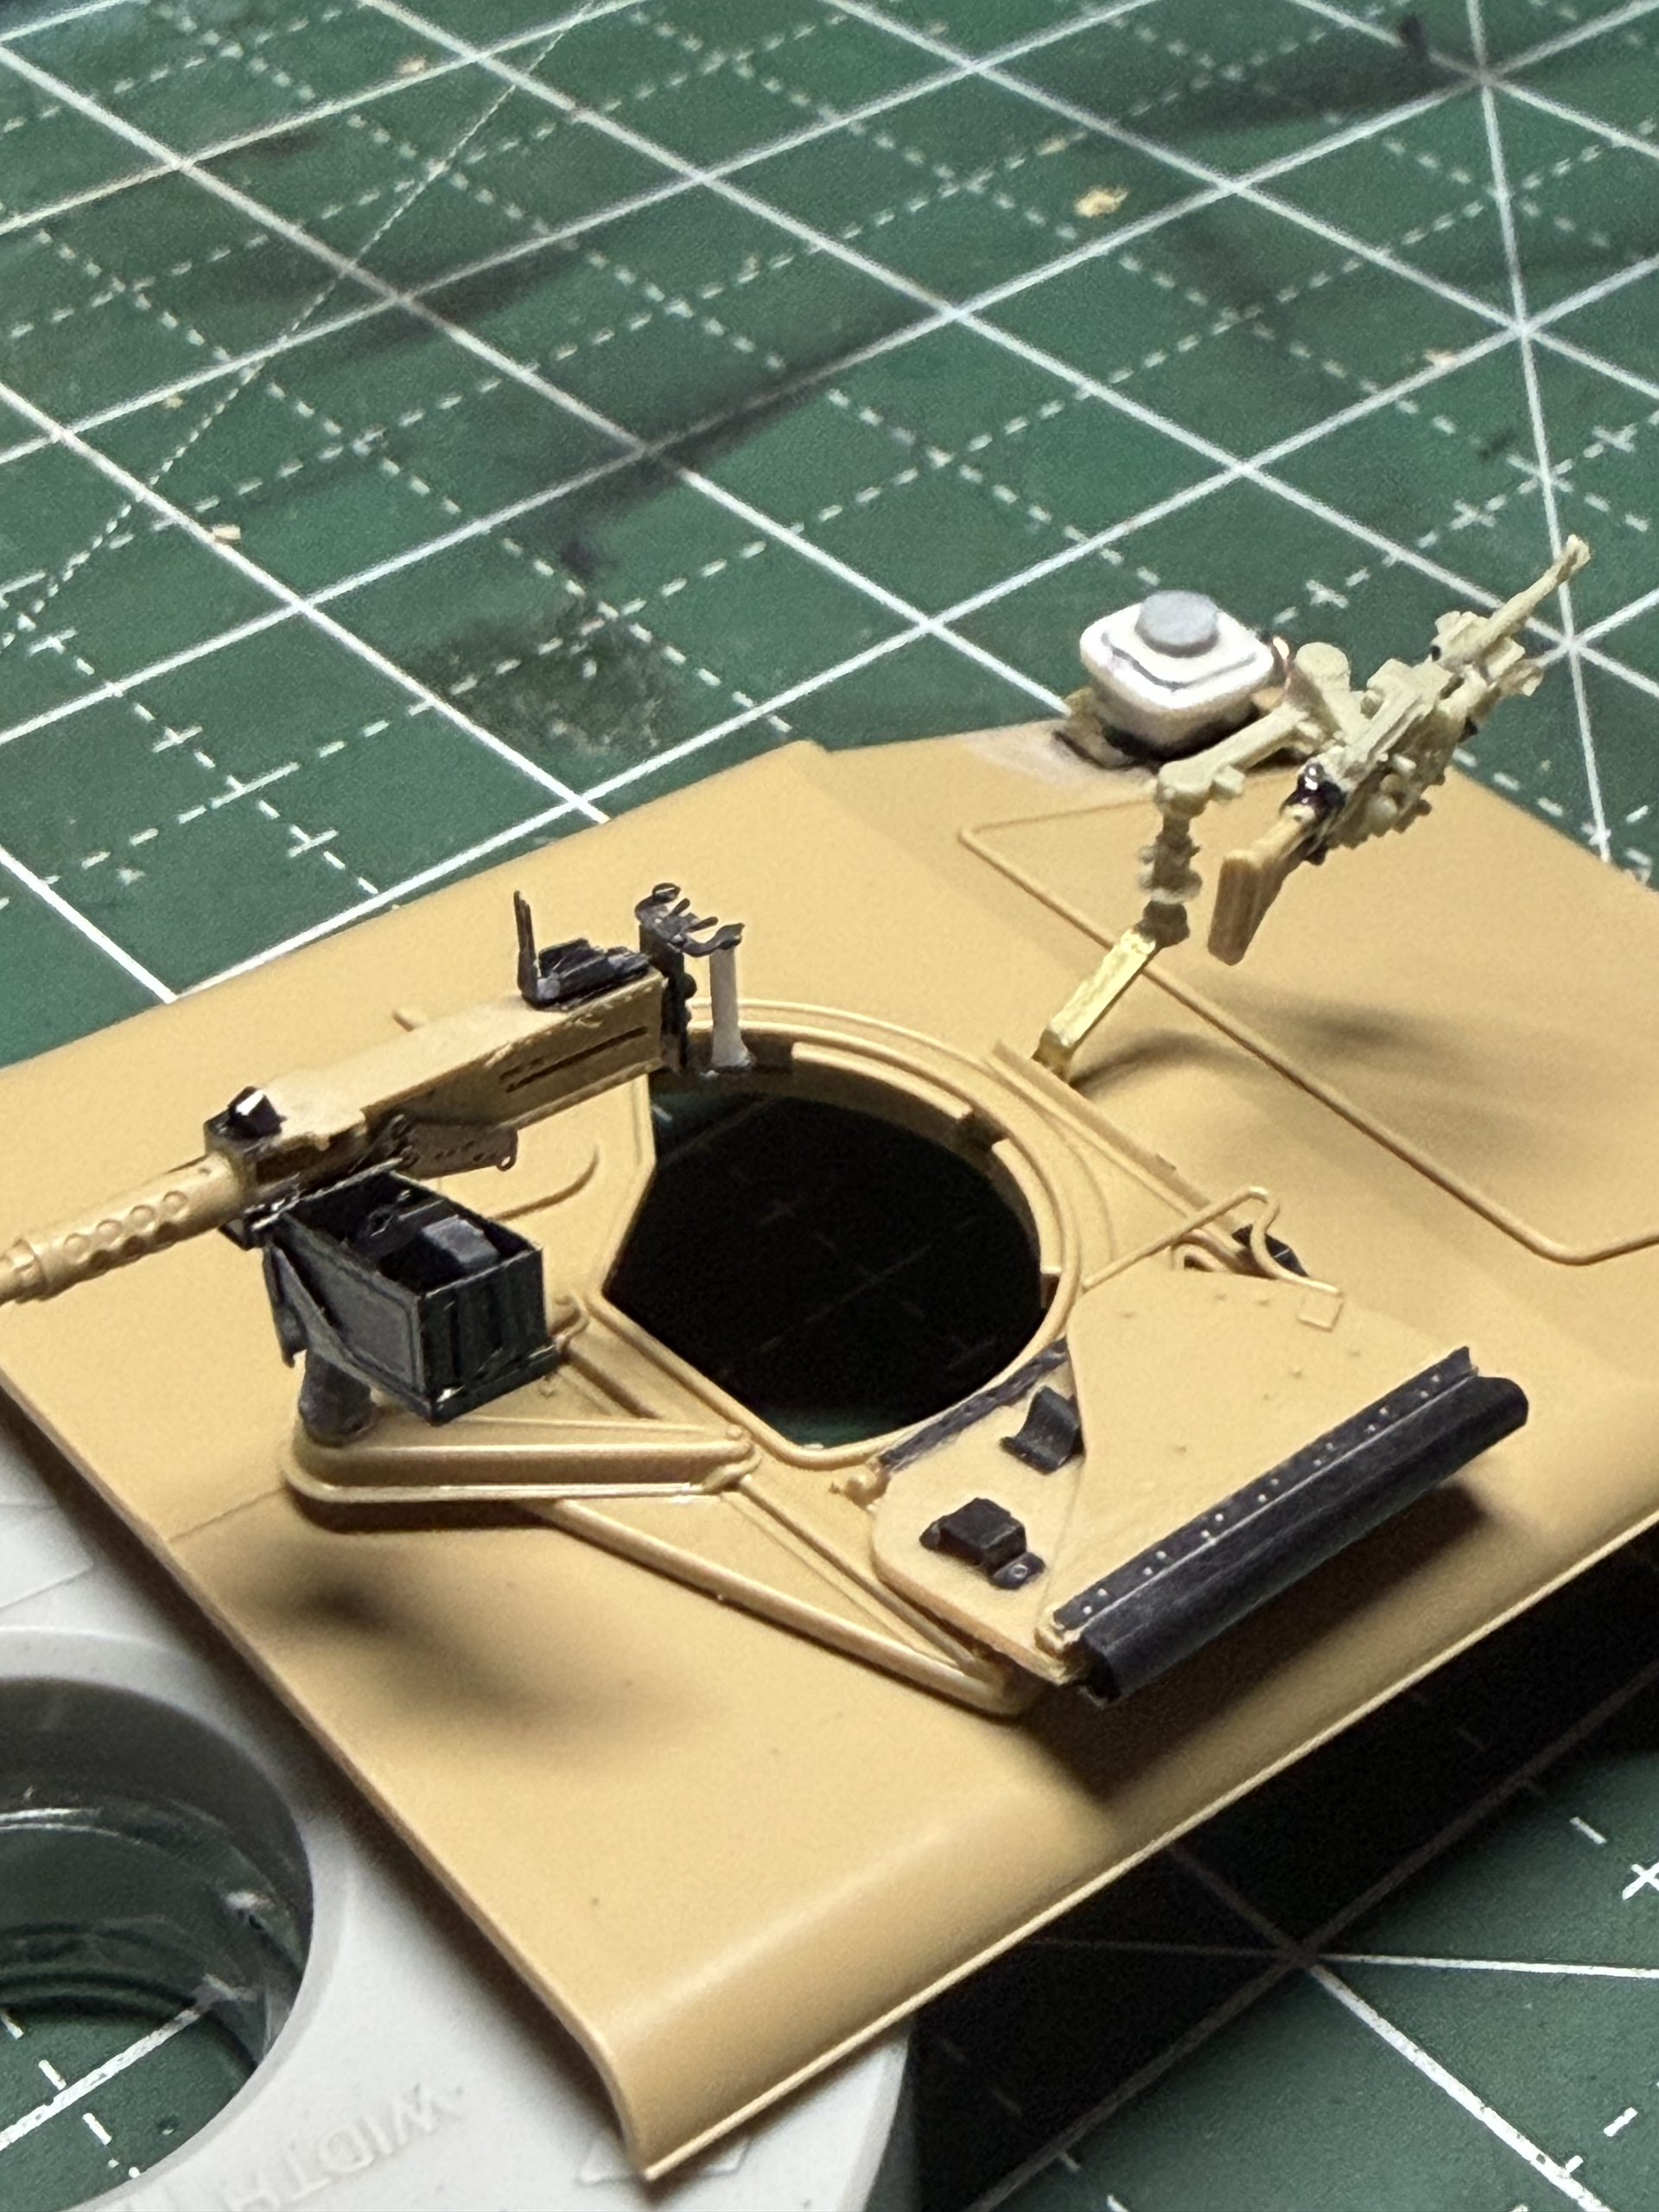
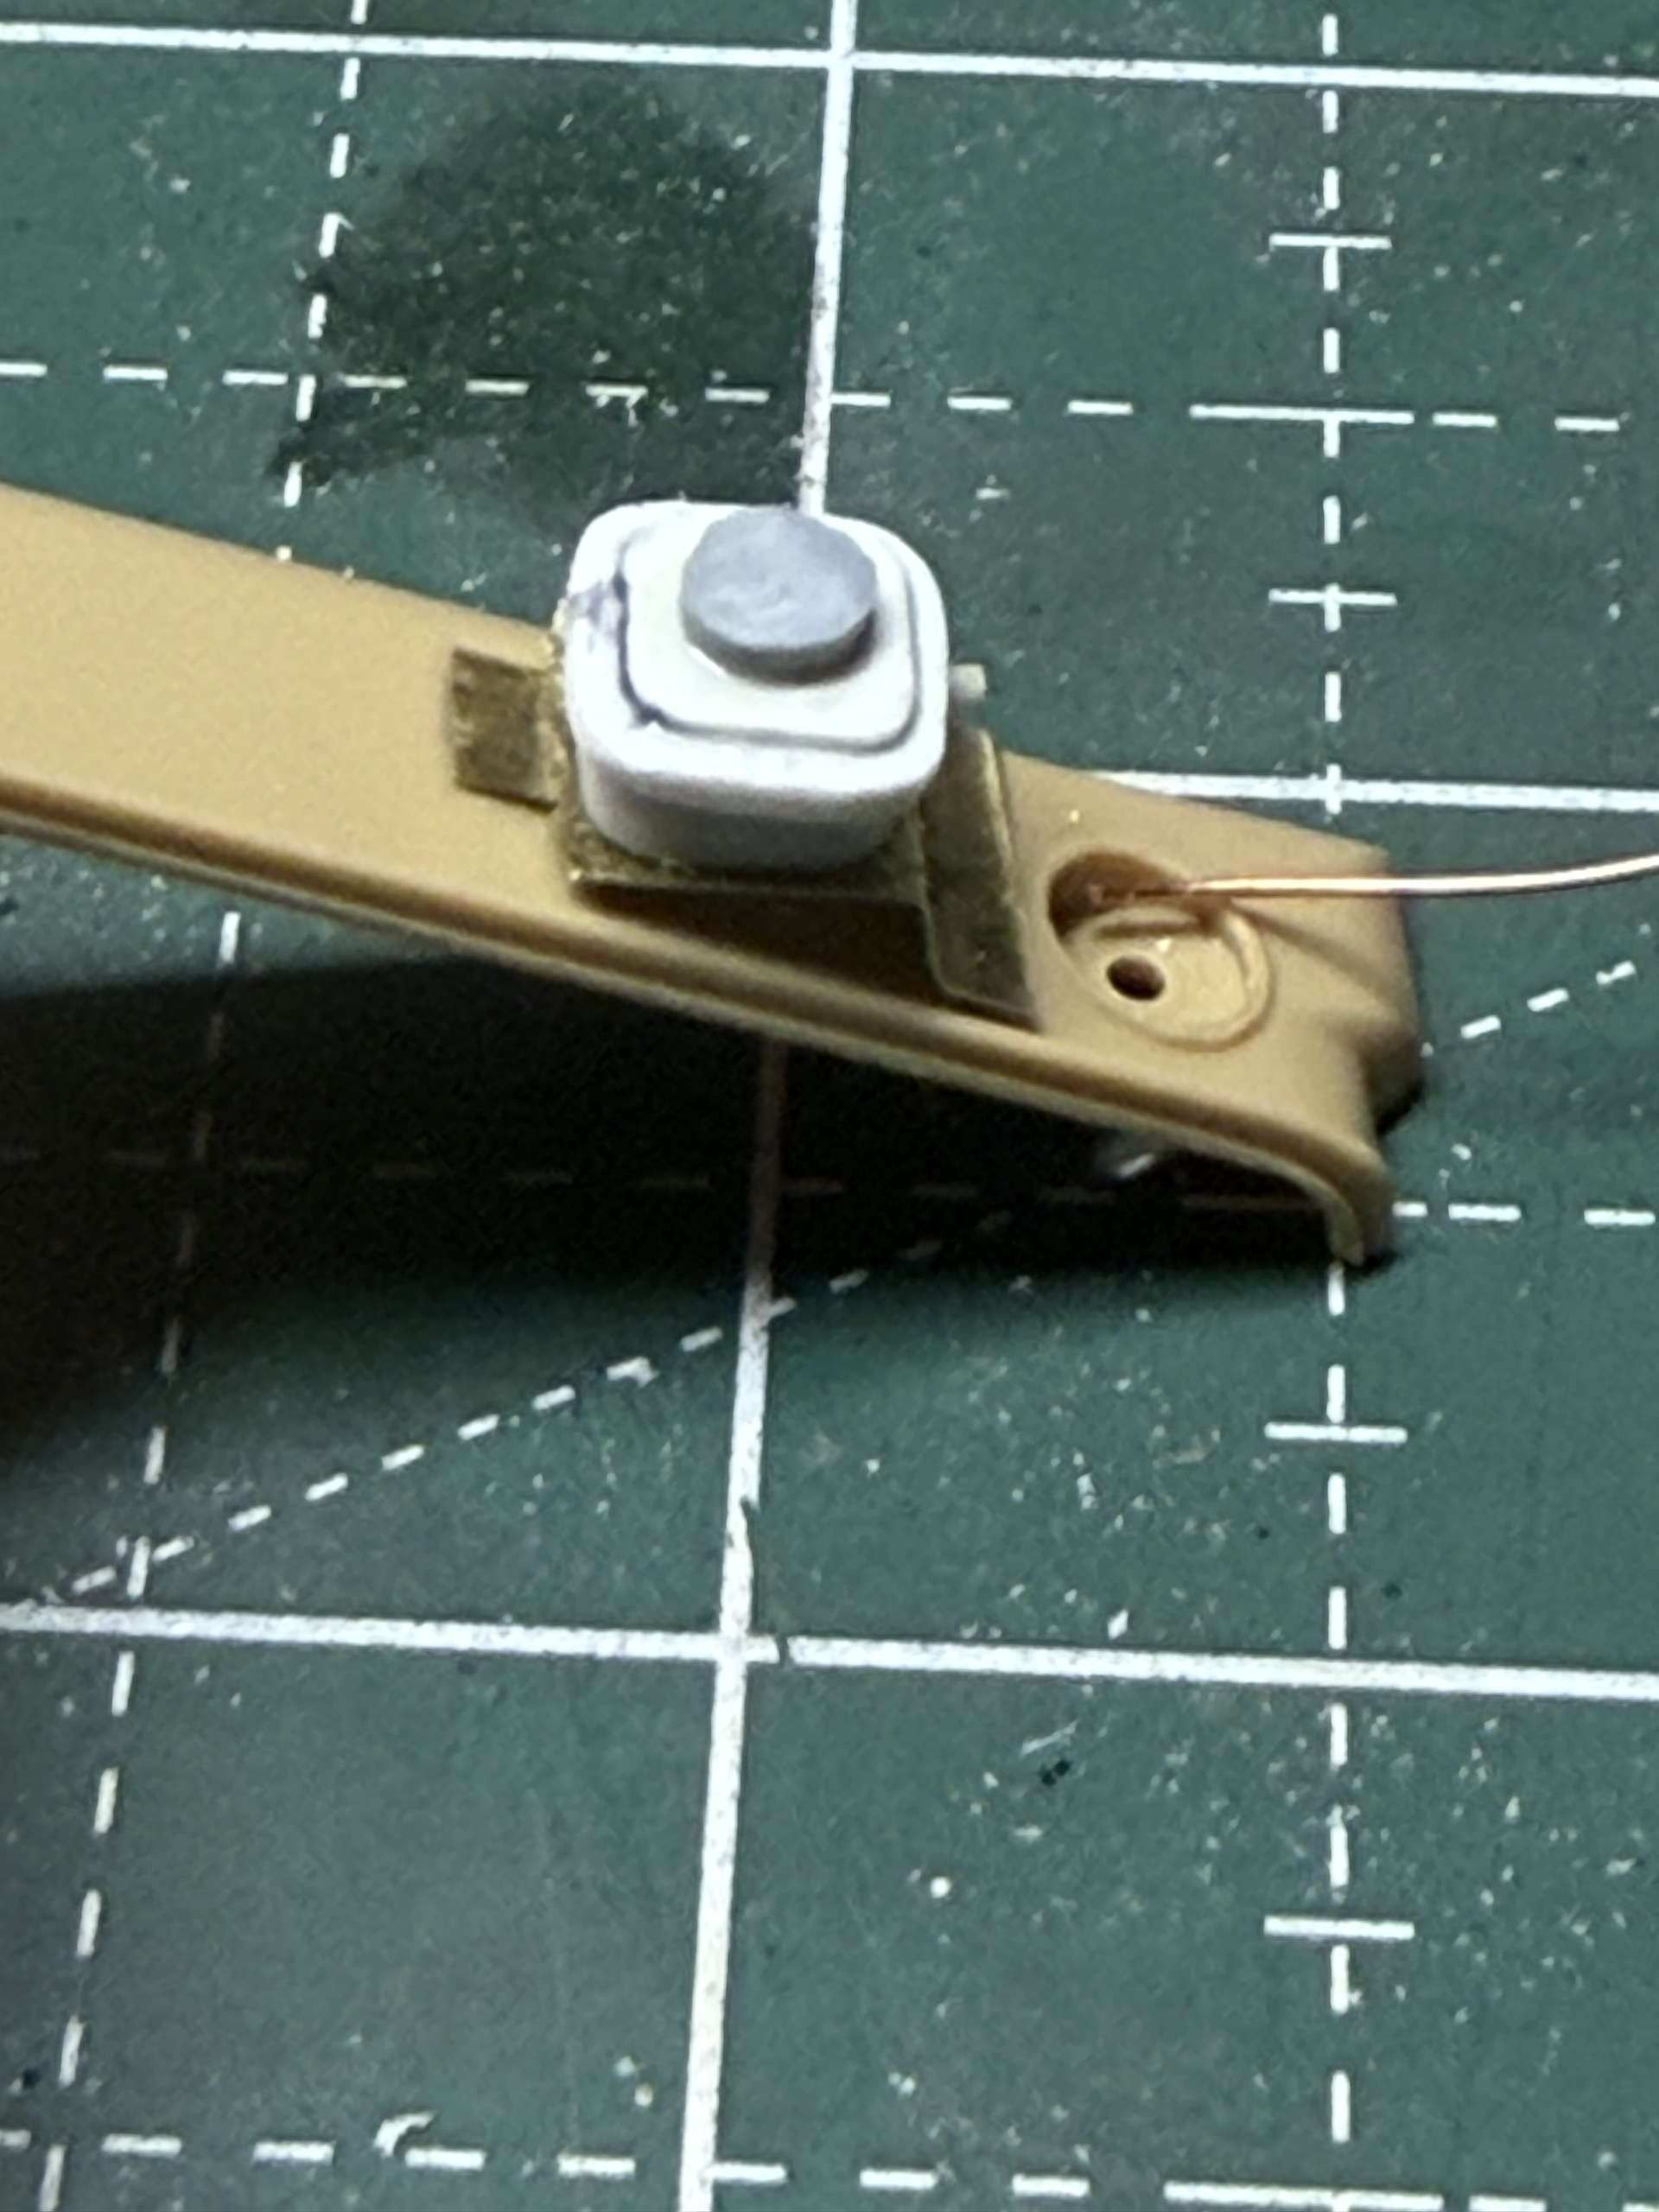
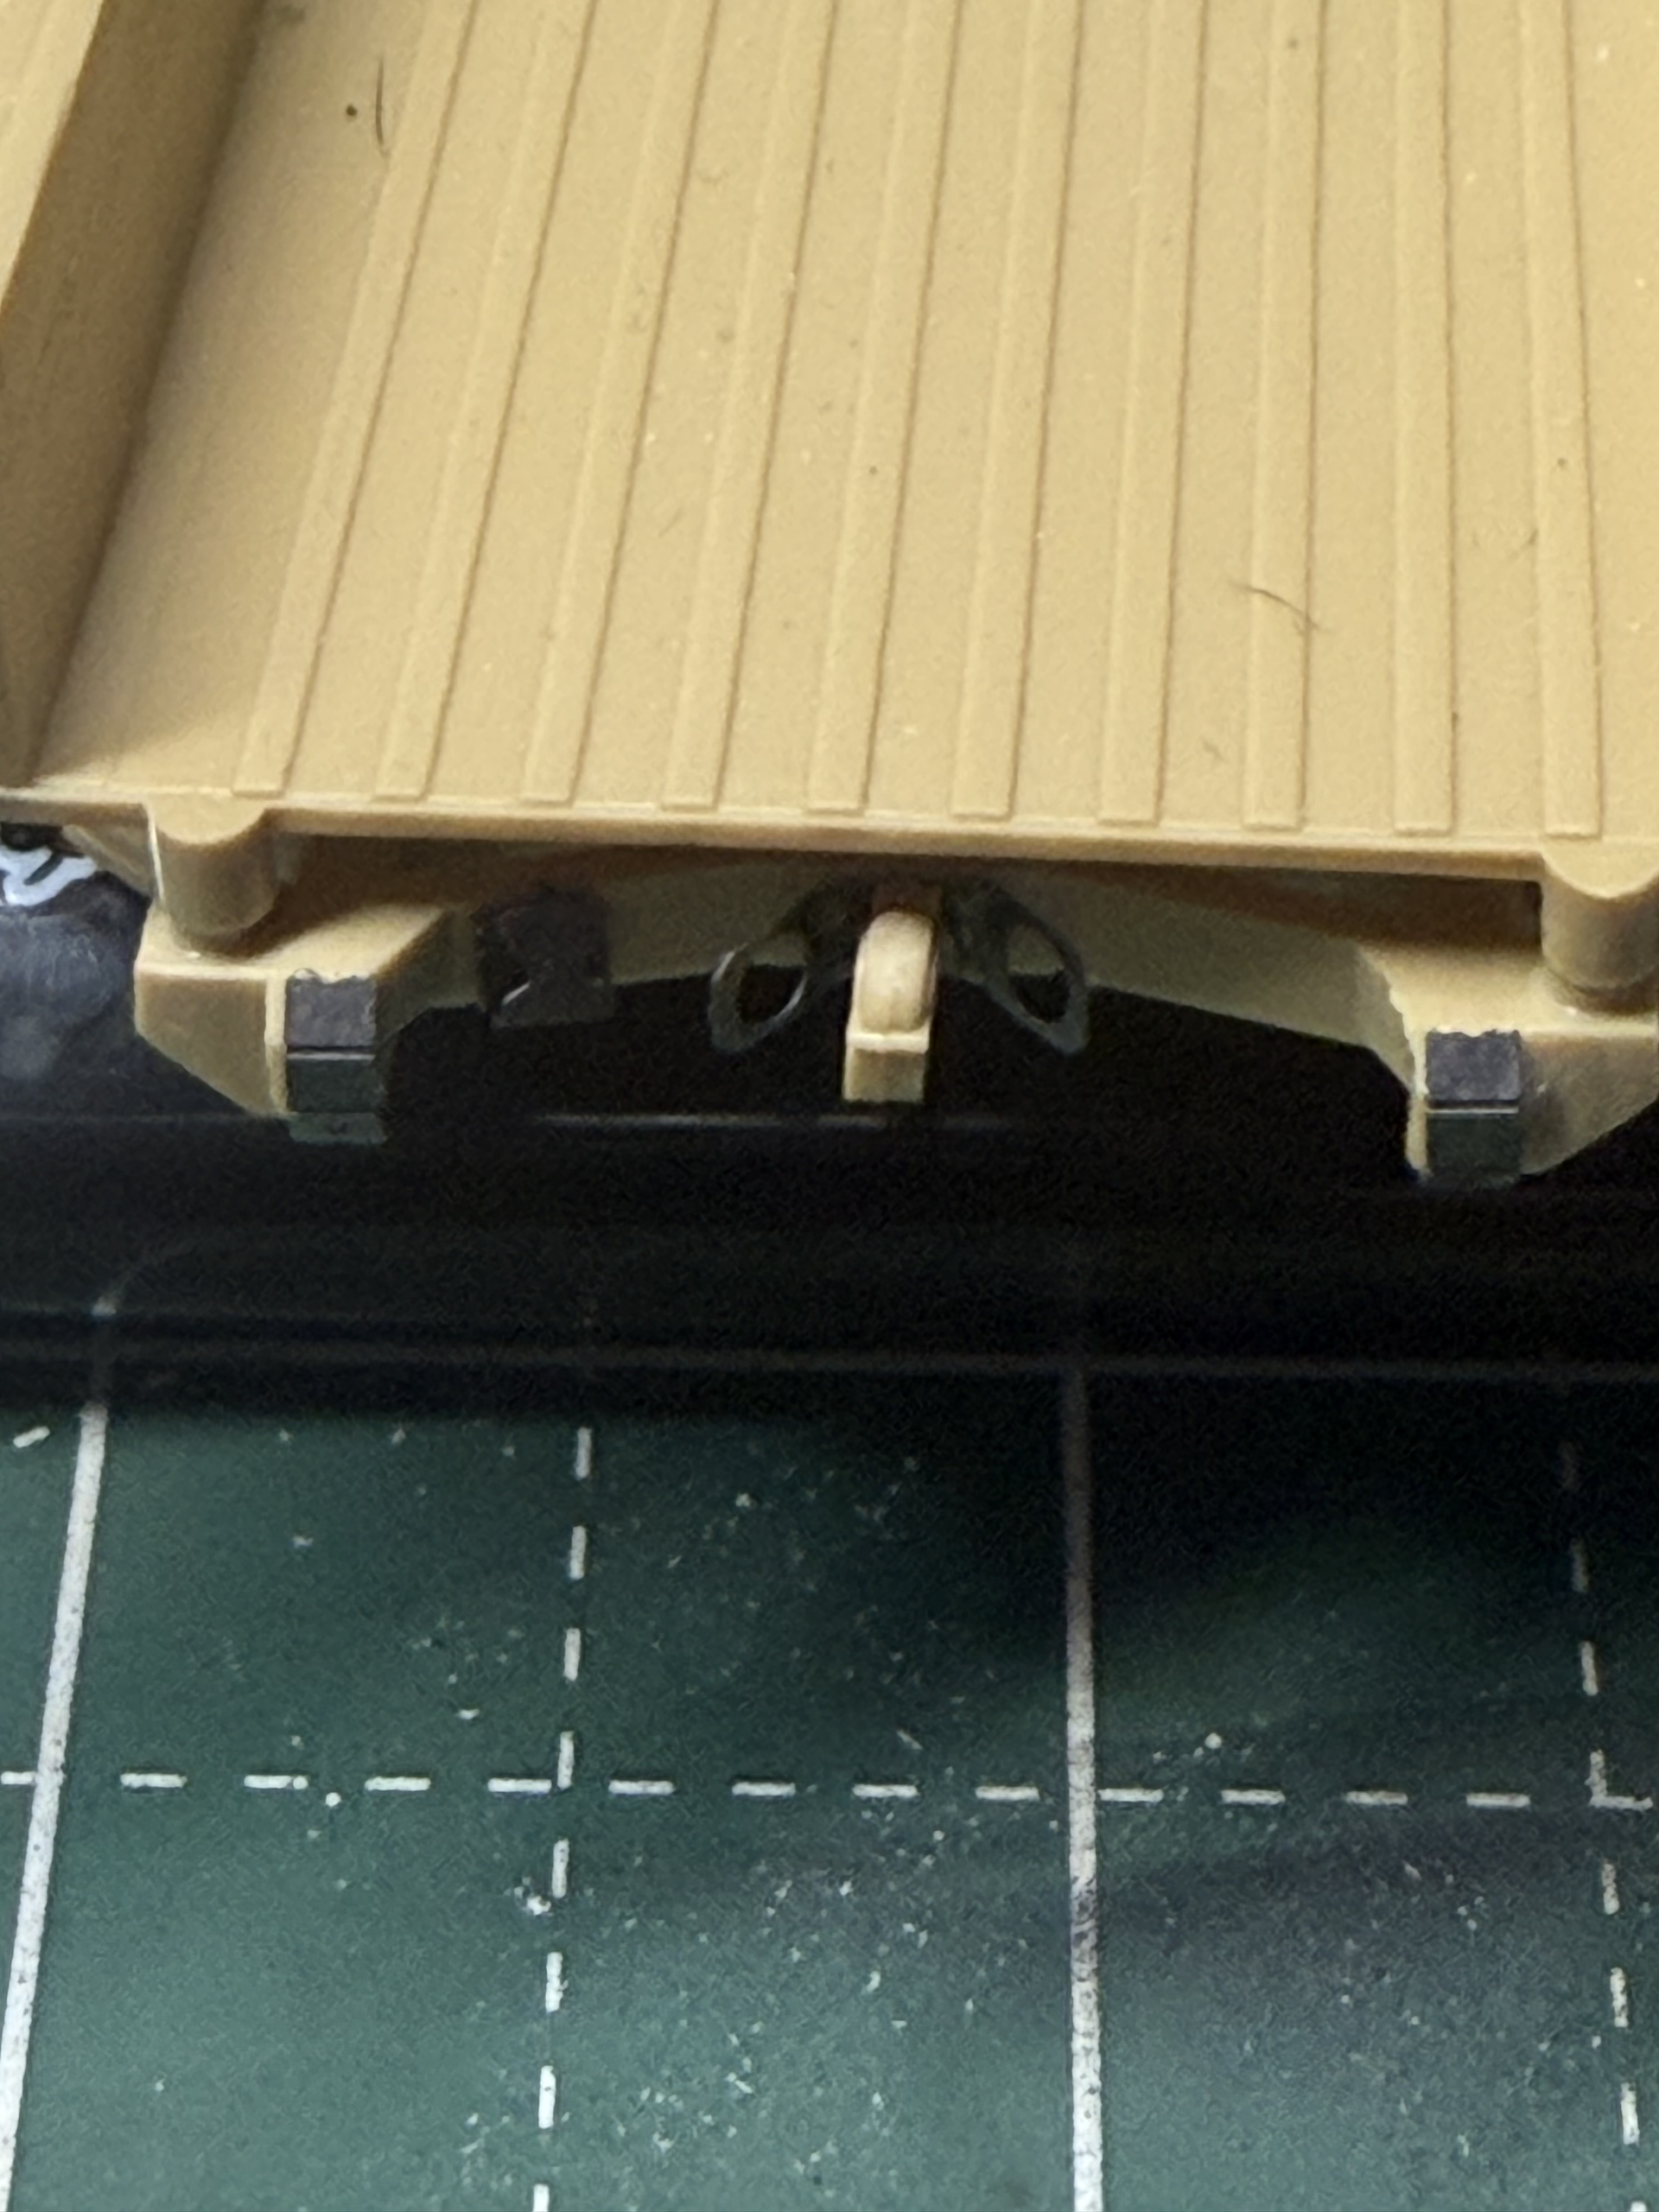
So here is a couple of pics so far. The interior PE is filthy, I know :rofl:. I got a little crooked on cutting out the dash from the resin blocks, and I rebuilt the gear shifters. Academy had them separated and in the wrong places. A shot from the back with some PE brackets and trailer towing connector. And one thing that I think is overlooked in a lot of builds, the Blue Force Tracker receiver. I don’t think I have ever seen one in any aftermarket kits either, although I could be wrong. I built it with a sanded down chunk of resin block from the seats that came from the Legend interior set. (The seats provided in the kit were the seats that were actually in the M1114s. We weren’t provided that luxury. We had the standard 4” foam seat and backing that always seemed to be just 1” of flat material, no cushioning, lol). Then I built the lip with a couple of styrene sheets glued together and sanded down. The bracket is not 100% accurate, as I just used a piece of old PE from my scrap pile that fit the job. It IS accurate in the shape and bends, just not the actual metal cutout. I still have to glue on bolt heads and the wiring harness that will connect to the BFT, through the bracket, and into the rear compartment. Just waiting on my Flexy 5k CA that is being delivered today. Happy building guys!
10 Likes

First of, thanks for your service to our great nation. It’s always wonderful to see guys in our hobby and get involved. So, Like other I to will look forward to seeing your build here. Good luck!!

3 Likes

Thank you so much my friend! It’s an honor be around such great people who share the same interests and are interested in preserving history through our version of storytelling. :saluting_face:

3 Likes

Looks like you are off to agreat start. It should turn out very nice.

2 Likes

I just sent you a message, but i hadn’t seen that you had already started. If you want to start over and use a Tamiya kit let me know, or need Tamiya HUMVEE parts let me know.

2 Likes

Tamiya would be a great improvement over Academy kit.

Mario

1 Like

Hi,
I’m not quite sure which version of the Humvee you want to build. The mounting points on the rear part of the frame prevent the installation of a rear bumper. This means we’re dealing with an early version of the M1025. The dashboard is from the M1151. If you’re installing a BFT, the radio console should look like the ones in the photos and include additional electronic components.

2 Likes

You are correct on the dash panel. Now that I look closely at it. It was a part of the Legend kit and I was mainly focusing on the engine shroud from Legend, as well as the correct version of the SINGARS that we used along with the correct radio mount and the BFT, which we had. So I’m using the Legend set made for the Tamiya kit, along with the Eduard set made for the Academy M966 version which is what I have. We brought our M-1025s from Italy with us to Iraq. We only had 1 M-1114 per platoon for the LT. But there’s some crazy stuff going on with the vehicles, because before the 173rd was reactivated, we was the 1-508 PIR from SETAF. When I was in the 1/508, the only vehicles we had belonged to D-Batt artillery, and Echo company which was an anti-tank platoon. Everyone else was light, non-mobile infantry. Once 173rd was reactivated and we began filling out the 503rd Battalions, all anti/tank MOS was reclassed as 11-B, and the 173rd became a mobile infantry division. Hence, all TOW equipment was taken out and turned into gun trucks for .50 cal and Mk-19s according to the MTOE. We didn’t have the funds like 3rd ID, 4th ID, 82nd to get all new equipment. We worked with what we had and adapted. That’s why we went to Iraq with NATO camo. Everyone else had nice sand M-1114s while we rode around in soft skinned hillbilly ass M-1025s from the 80s. So I’m trying to work with multiple aftermarket kits, made for M-1025s, with an Academy M-966. After all, that the actual process that A-11 went through. I did mess up on the dash, but everything else so far is as I remember my vehicle to be. I haven’t even glued the tailgate on yet to check for fit, but I remember we had homemade fuel can baskets bolted/welded to the tailgate as well. It’s a process.

4 Likes

Do you want a Tamiya M1025? :slight_smile: I PROMISE it wont be too expensive for you…

2 Likes

Sir, I can’t turn down a Tamiya kit! :rofl: might make everything fit better with aftermarket stuff. Please DM me and we can work something out. I appreciate the kindness very much! :innocent:

3 Likes

I don’t think funds had anything to do with it. I was in 1-39 FA (MLRS), 3ID as a Battery Commander and I had an older, soft top M998 4-door. We went with what we had as well. It was only sand because that is what it was stateside as 3ID was tagged as a Middle East-oriented unit, so all our equipment was sand.

2 Likes

Yeah I’ve been watching your build with delight Gino! Well, maybe not “funds” per se, maybe “logistics?” 3rd and 4th ID are MAJOR bases compared to our little base that we called a “camp!” lol. Caserma Ederle. Camp Ederle. We just didn’t have the logistics to keep up with the stateside units. Germany had decent sized bases, but Vicenza was I think 5 miles in circumference? We ran that circle all the time! :anxious_face_with_sweat: and from my memory, i think we loaded what vehicles we had left onto ships in Basra and Kuwait to send back home. When we went to Afghanistan two years later, we used theater vehicles, all up-armored vehicles other than the cargo ones which just had the improved armor package put on.

:+1:t2::saluting_face:

4 Likes

Any update to share on this buddy? Or did you work out the deal and got hold of the Tamiya kit to start over?

2 Likes

One of the very best reasons for building a specific model.
:+1: :smiley:

1 Like

Yeah I got the Tamiya kit. Still working on it. Milking it! Lmao!

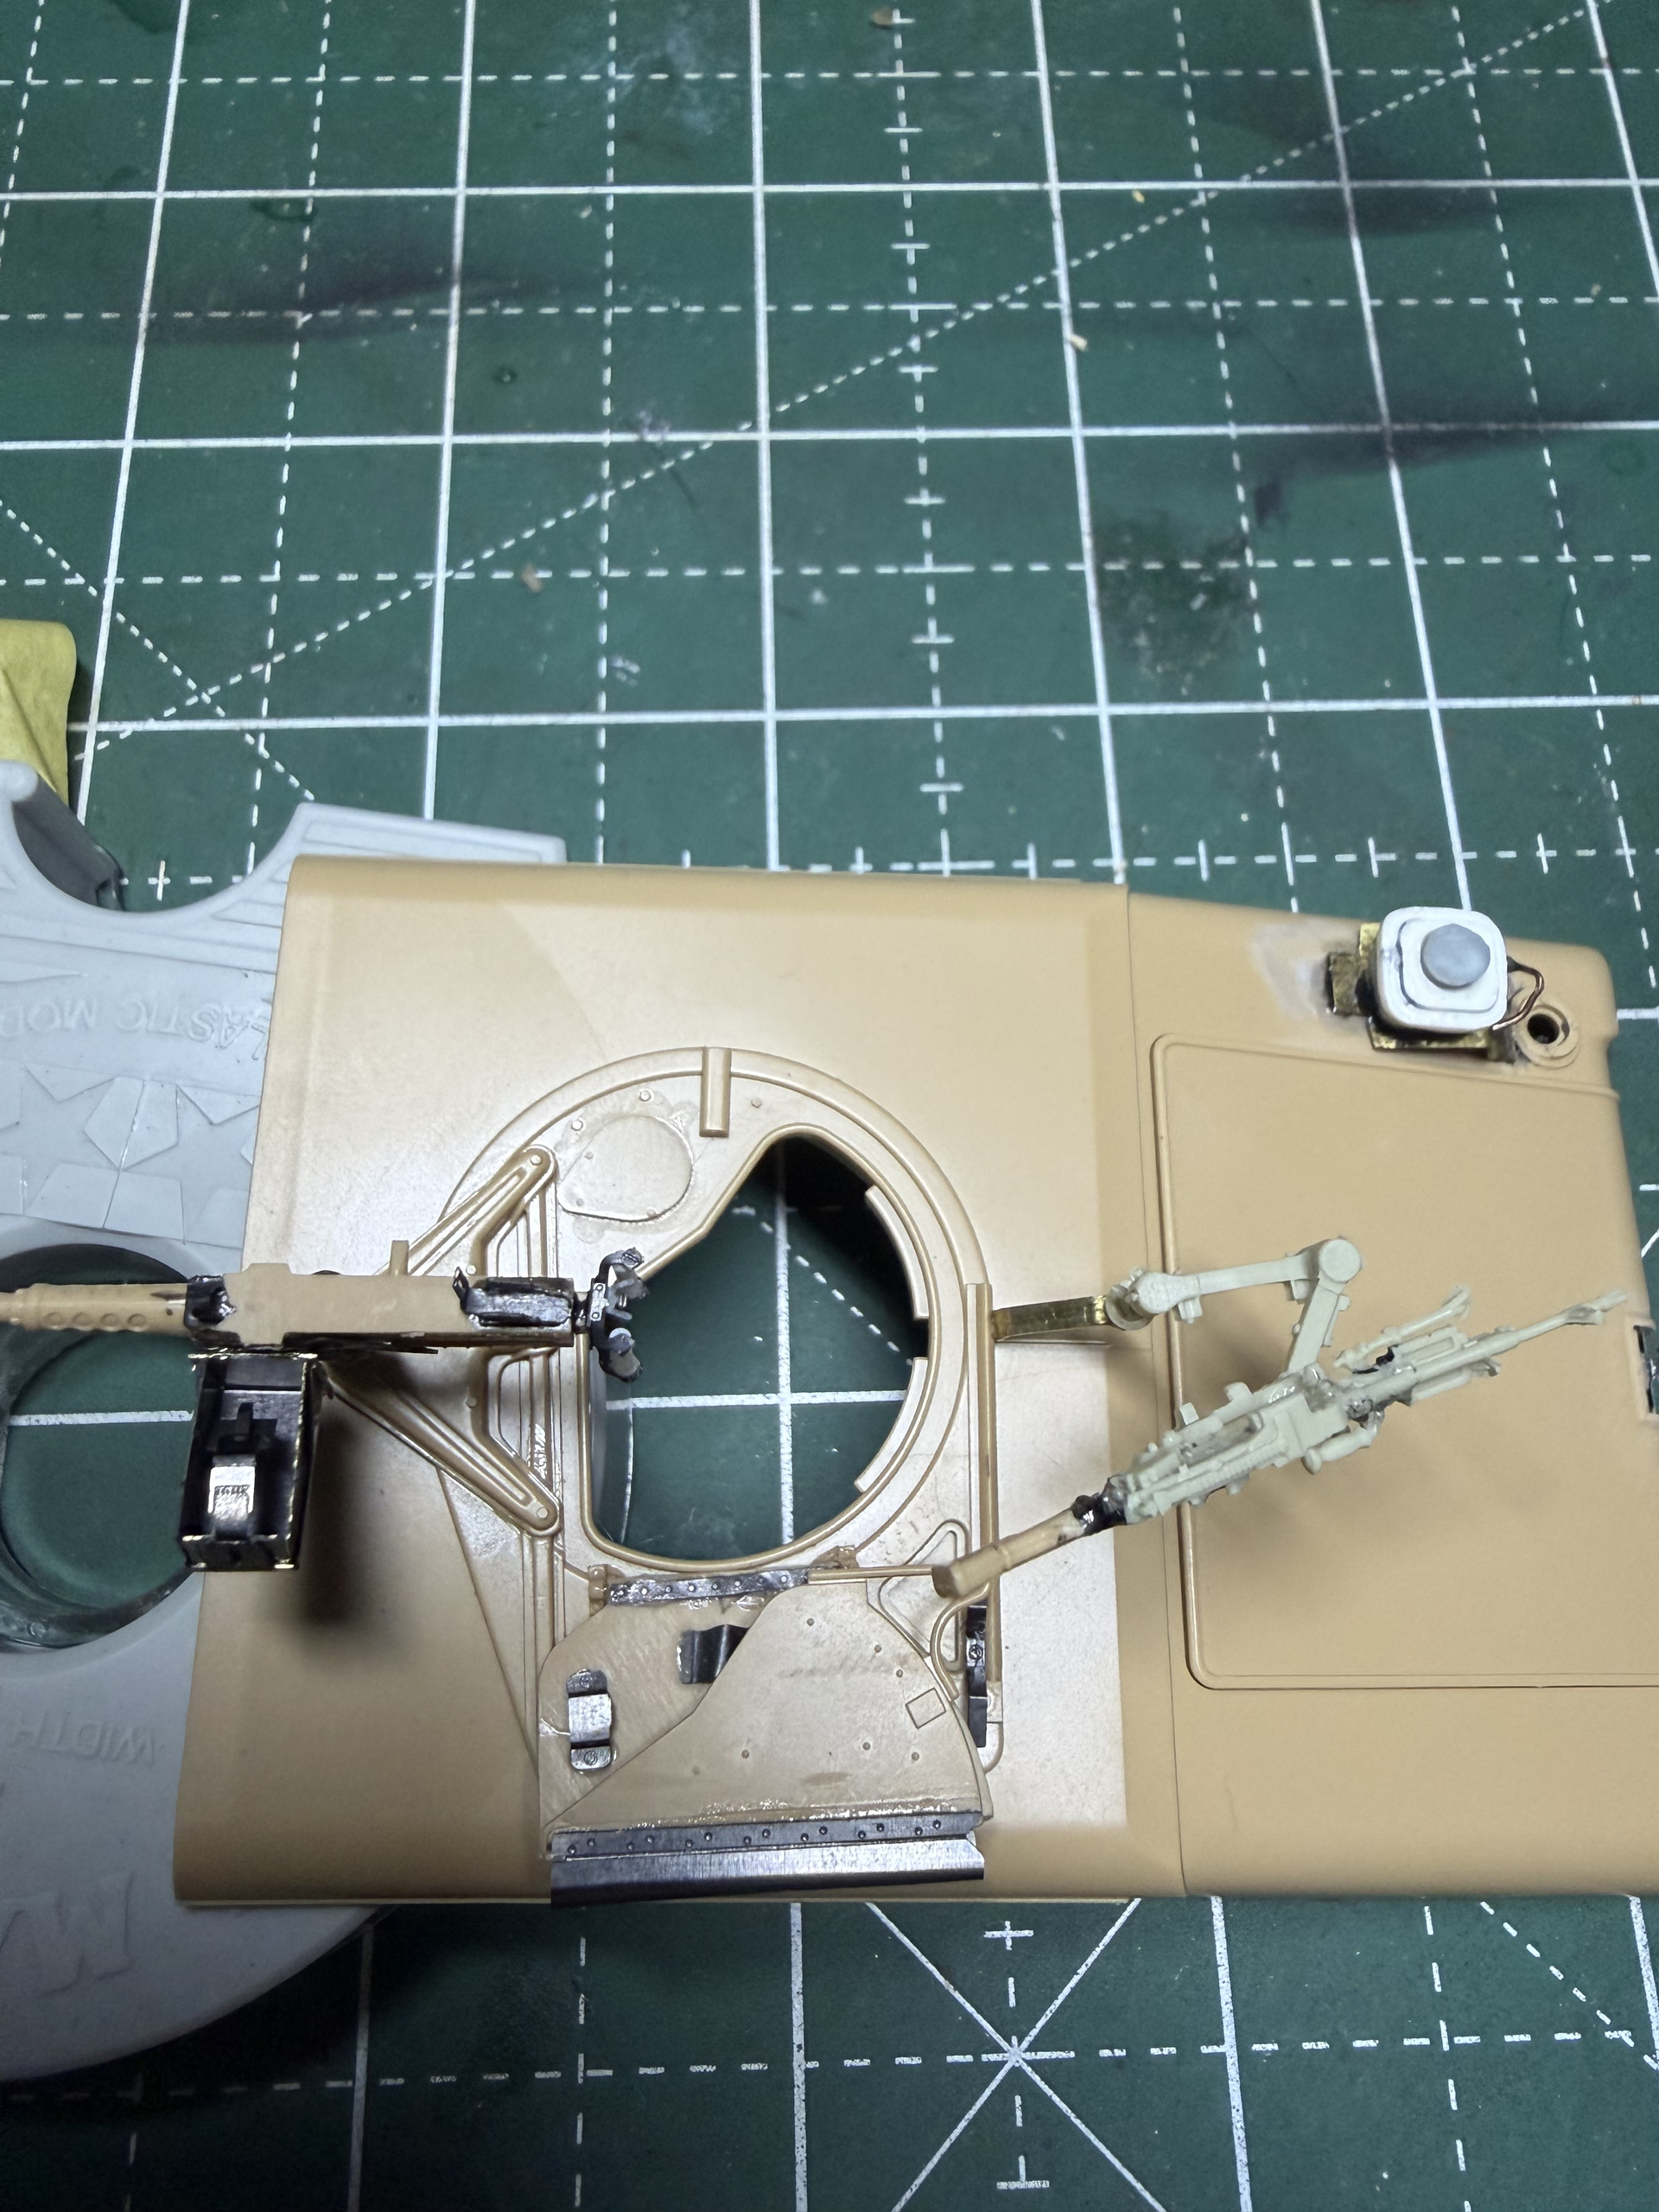
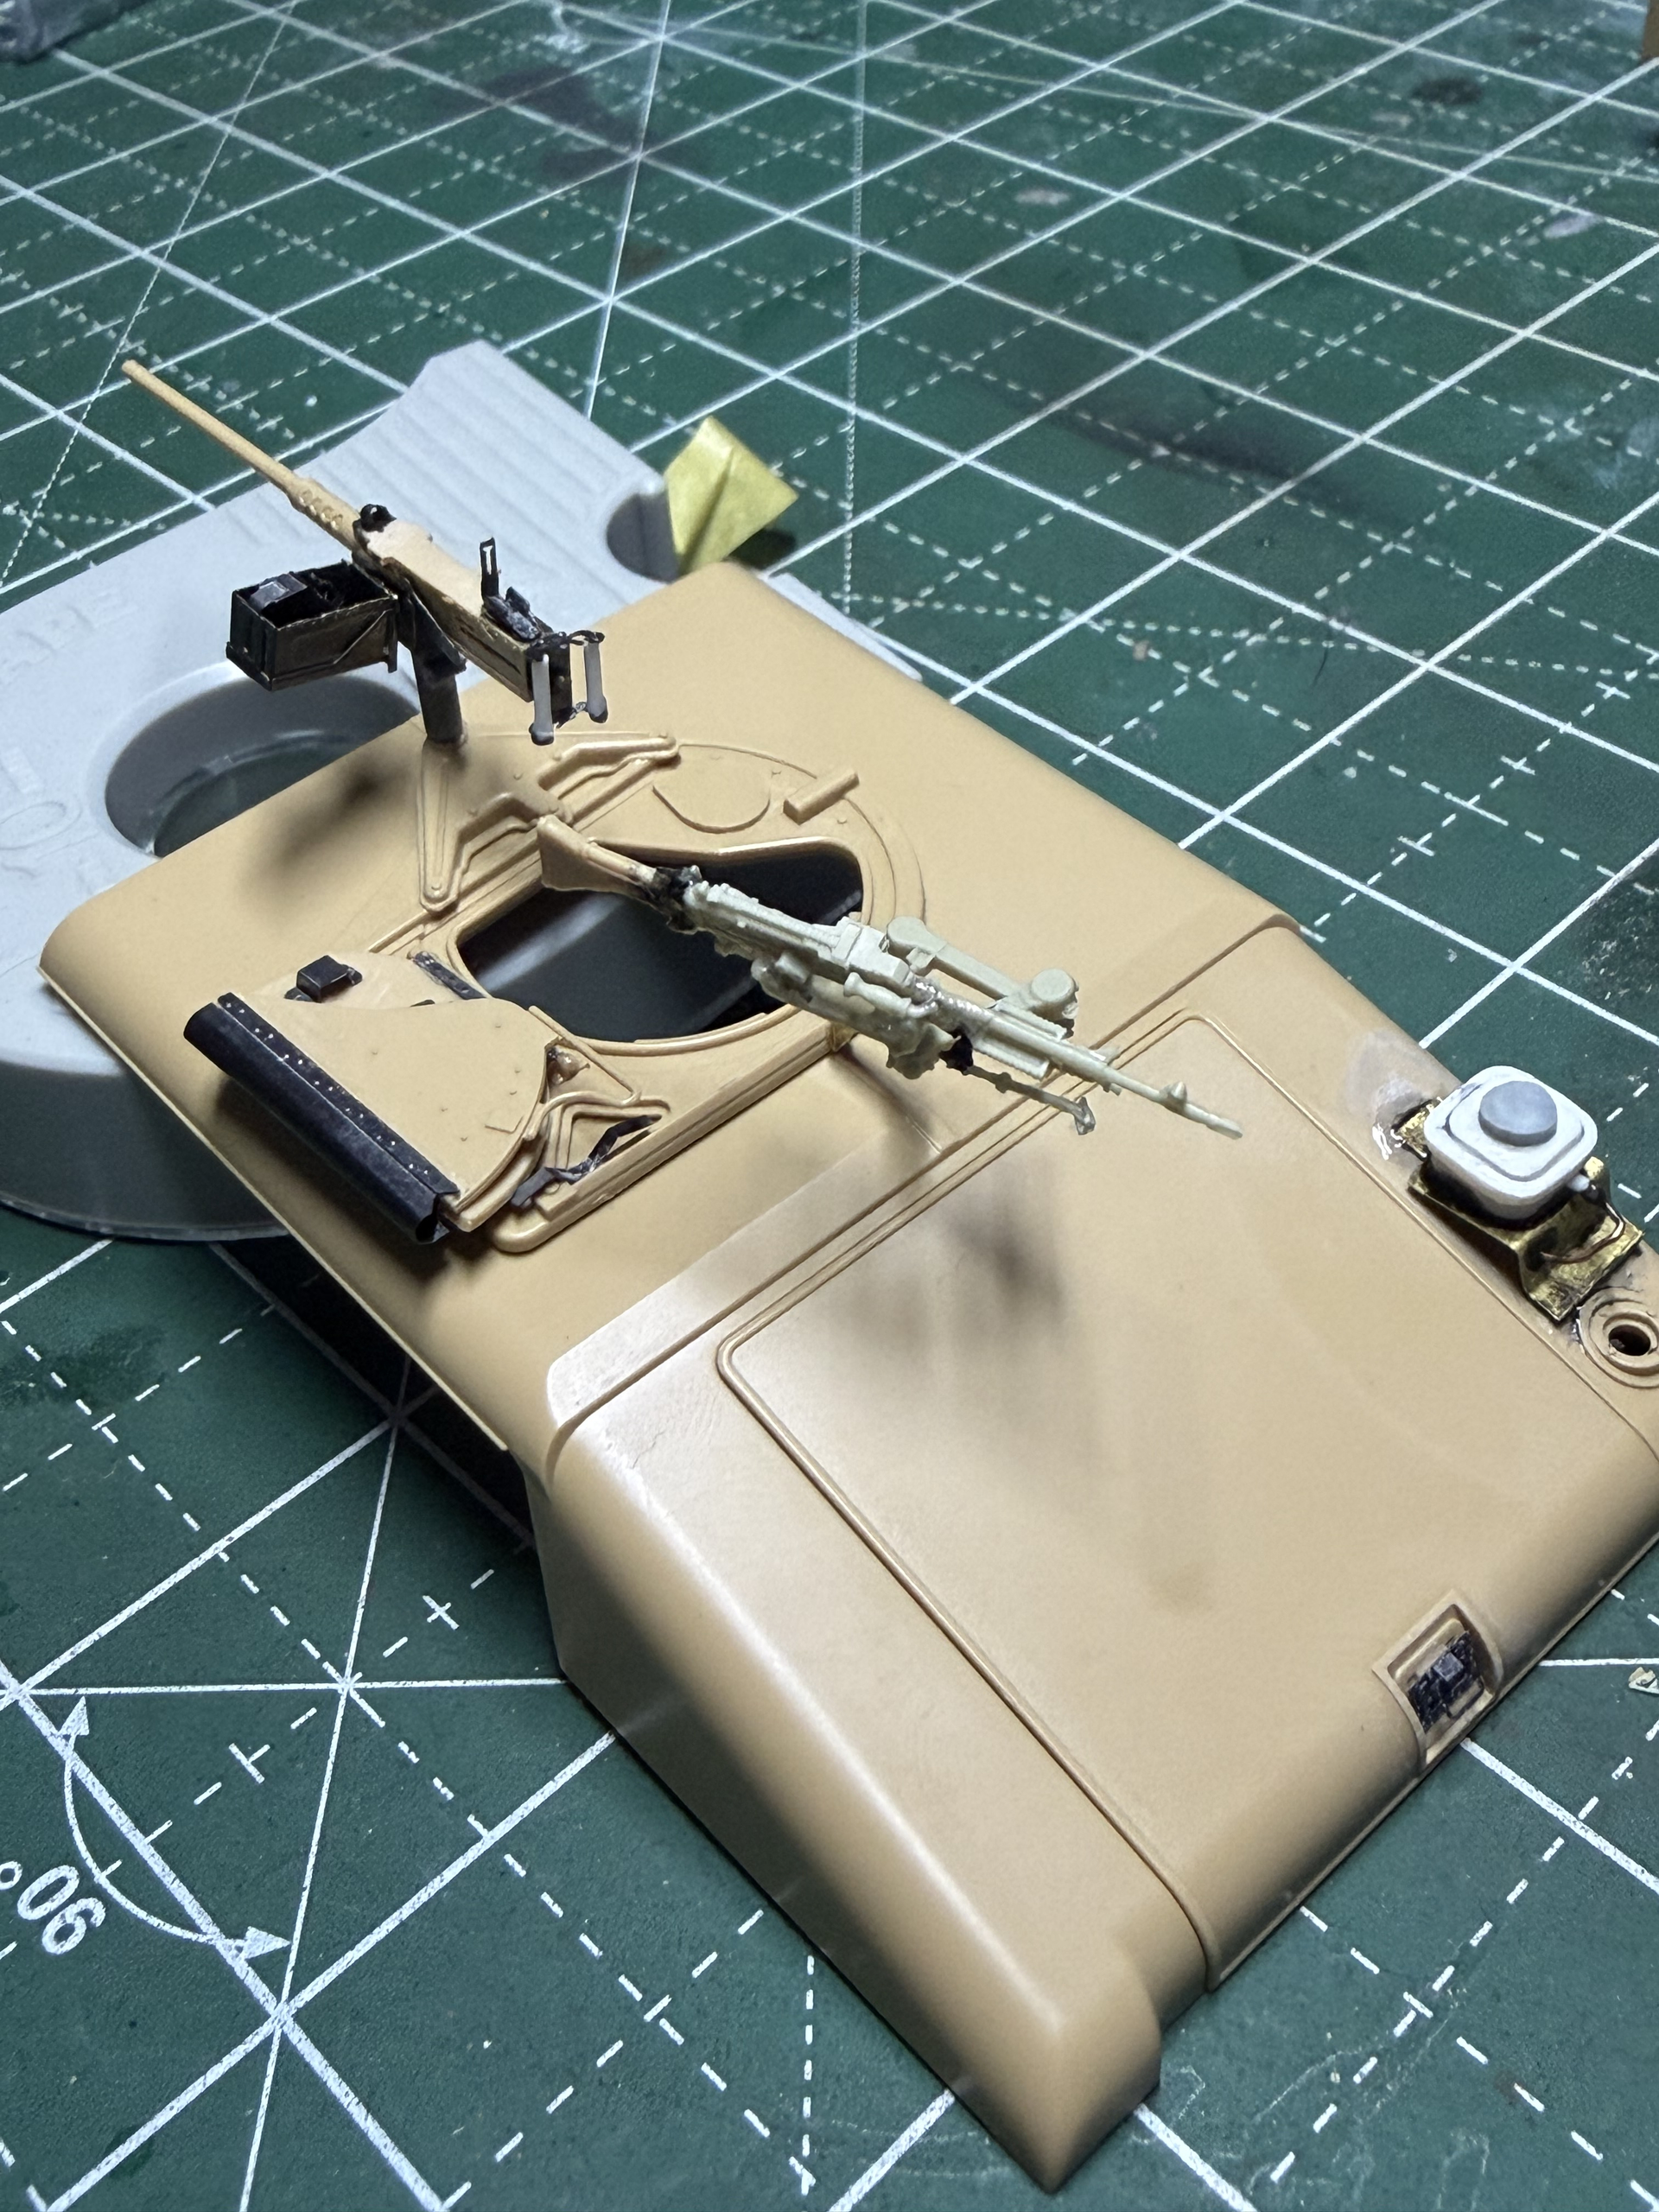
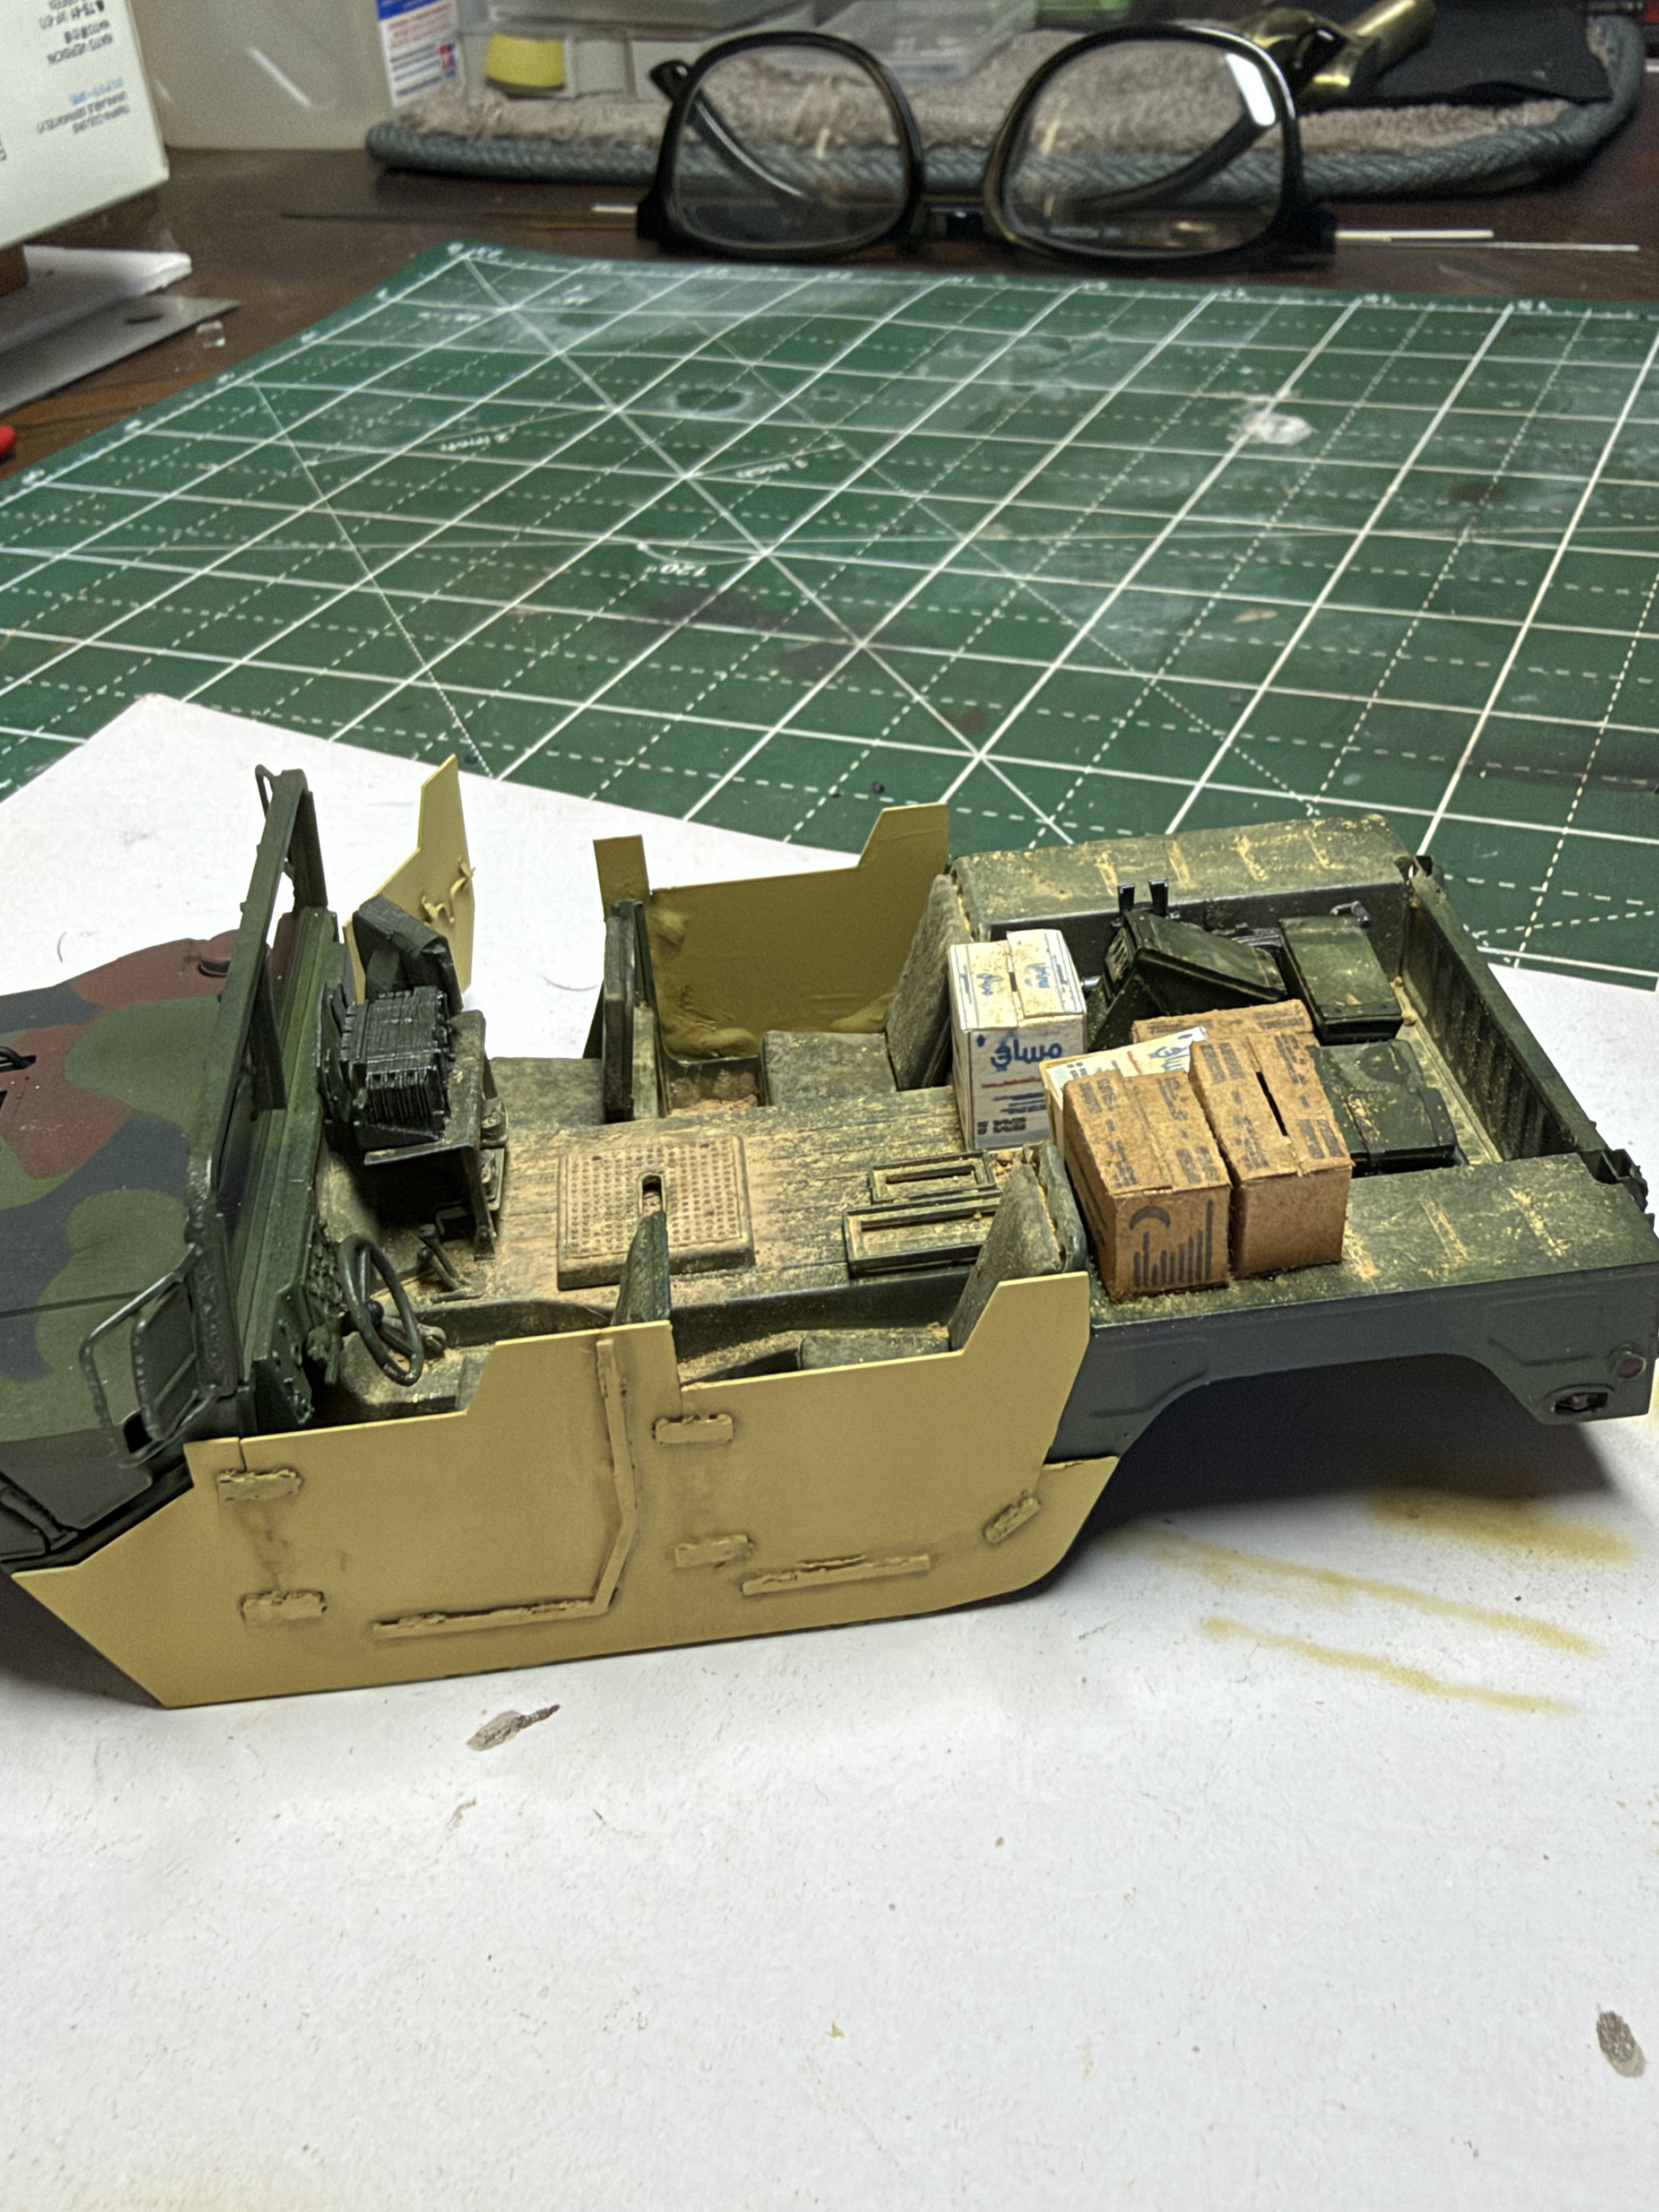
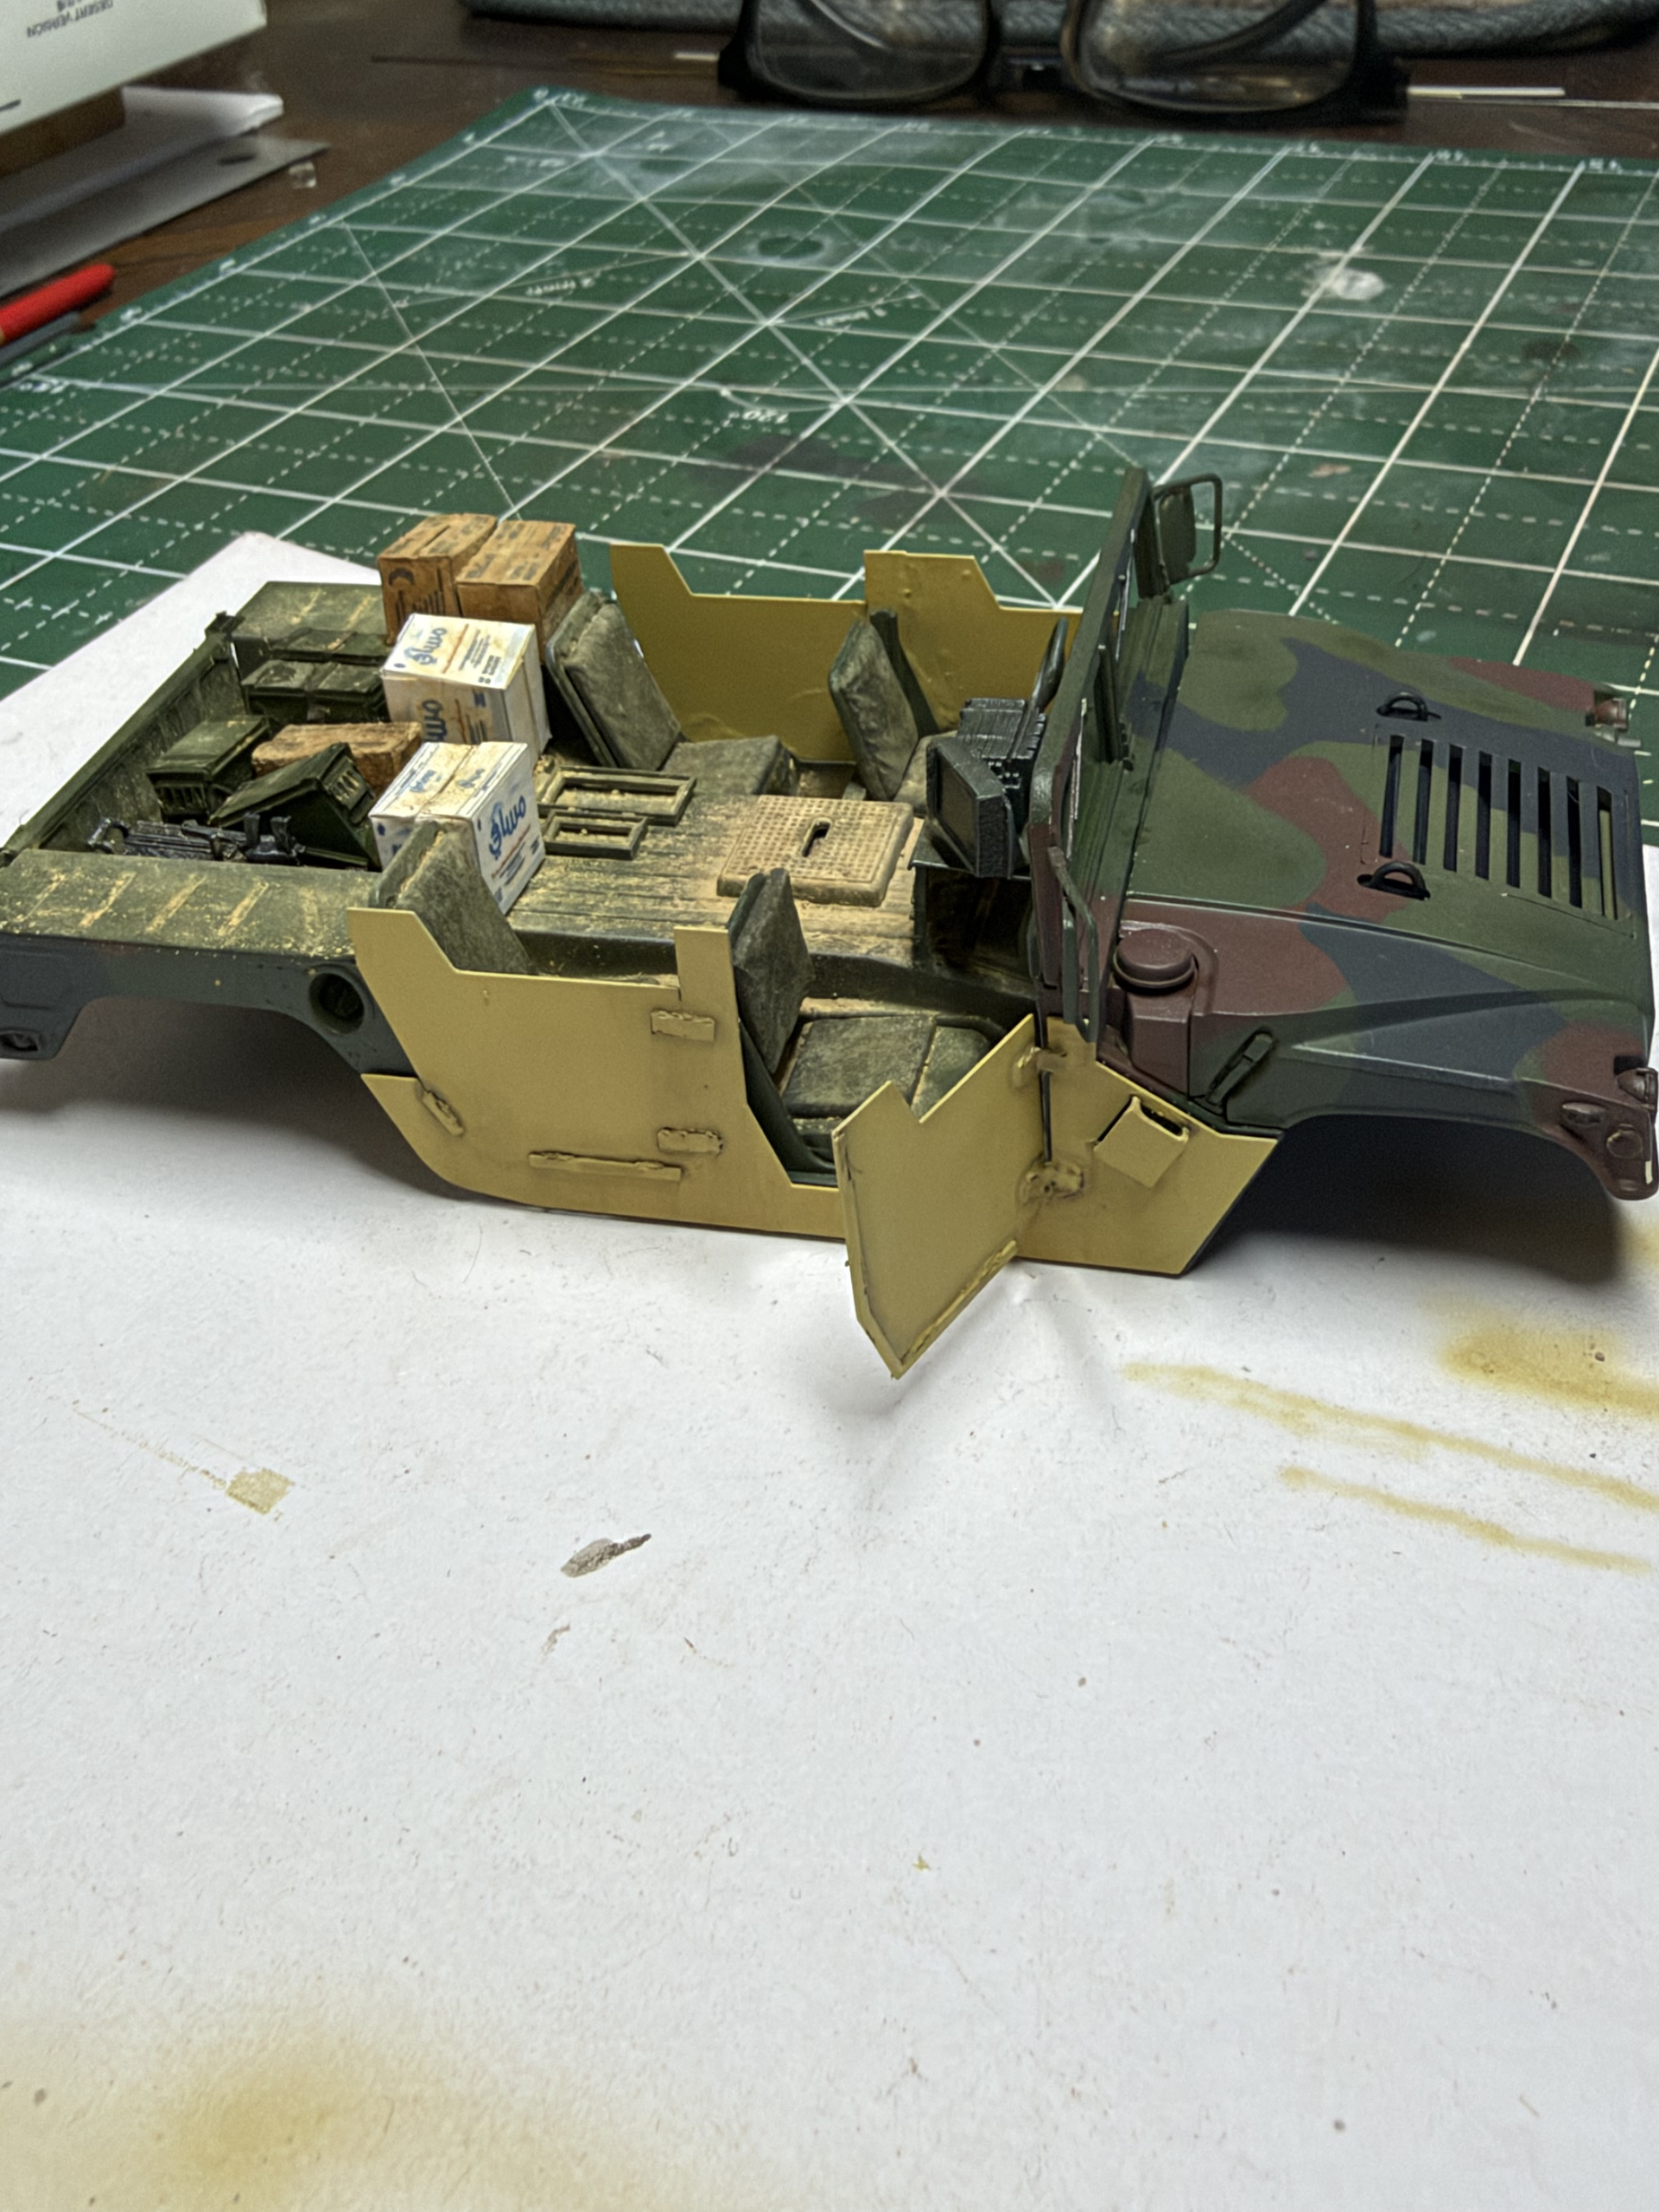
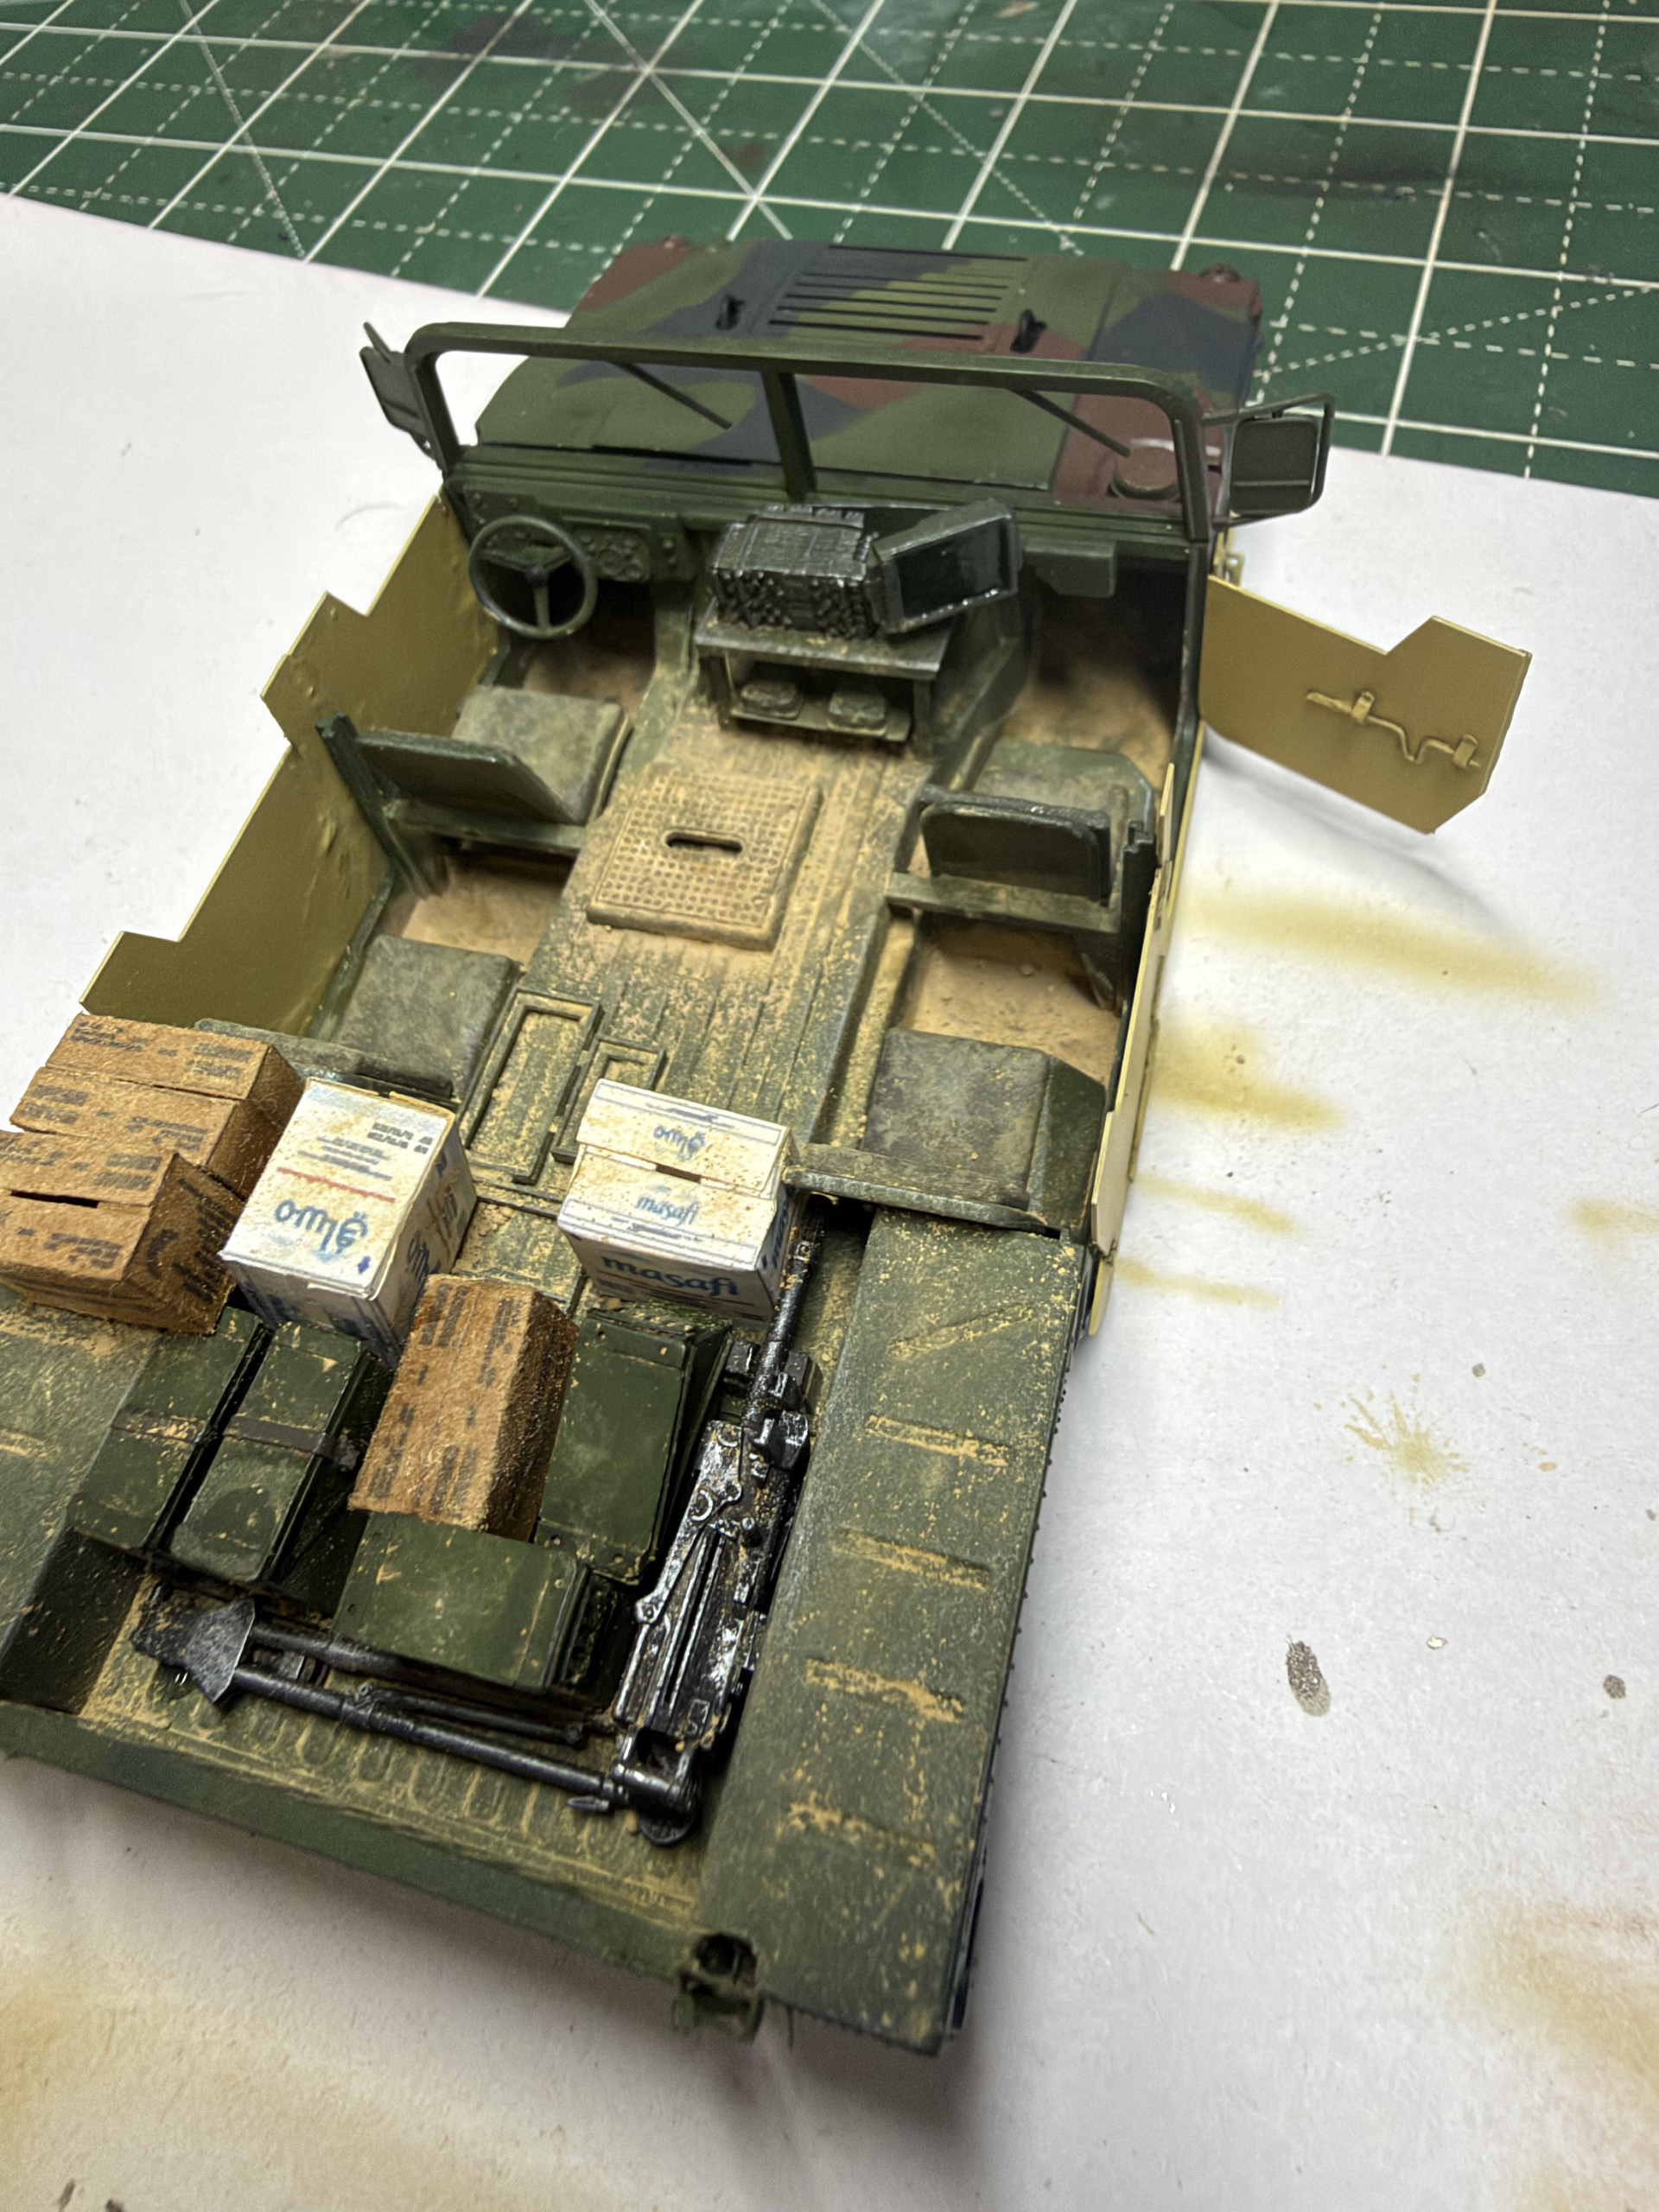
These are a few pics from a couple of weeks ago. I now have the camo on as well as the add on armor. Working on the weathering of the inside and stowage. I’ll shoot a few more pics later today.

5 Likes

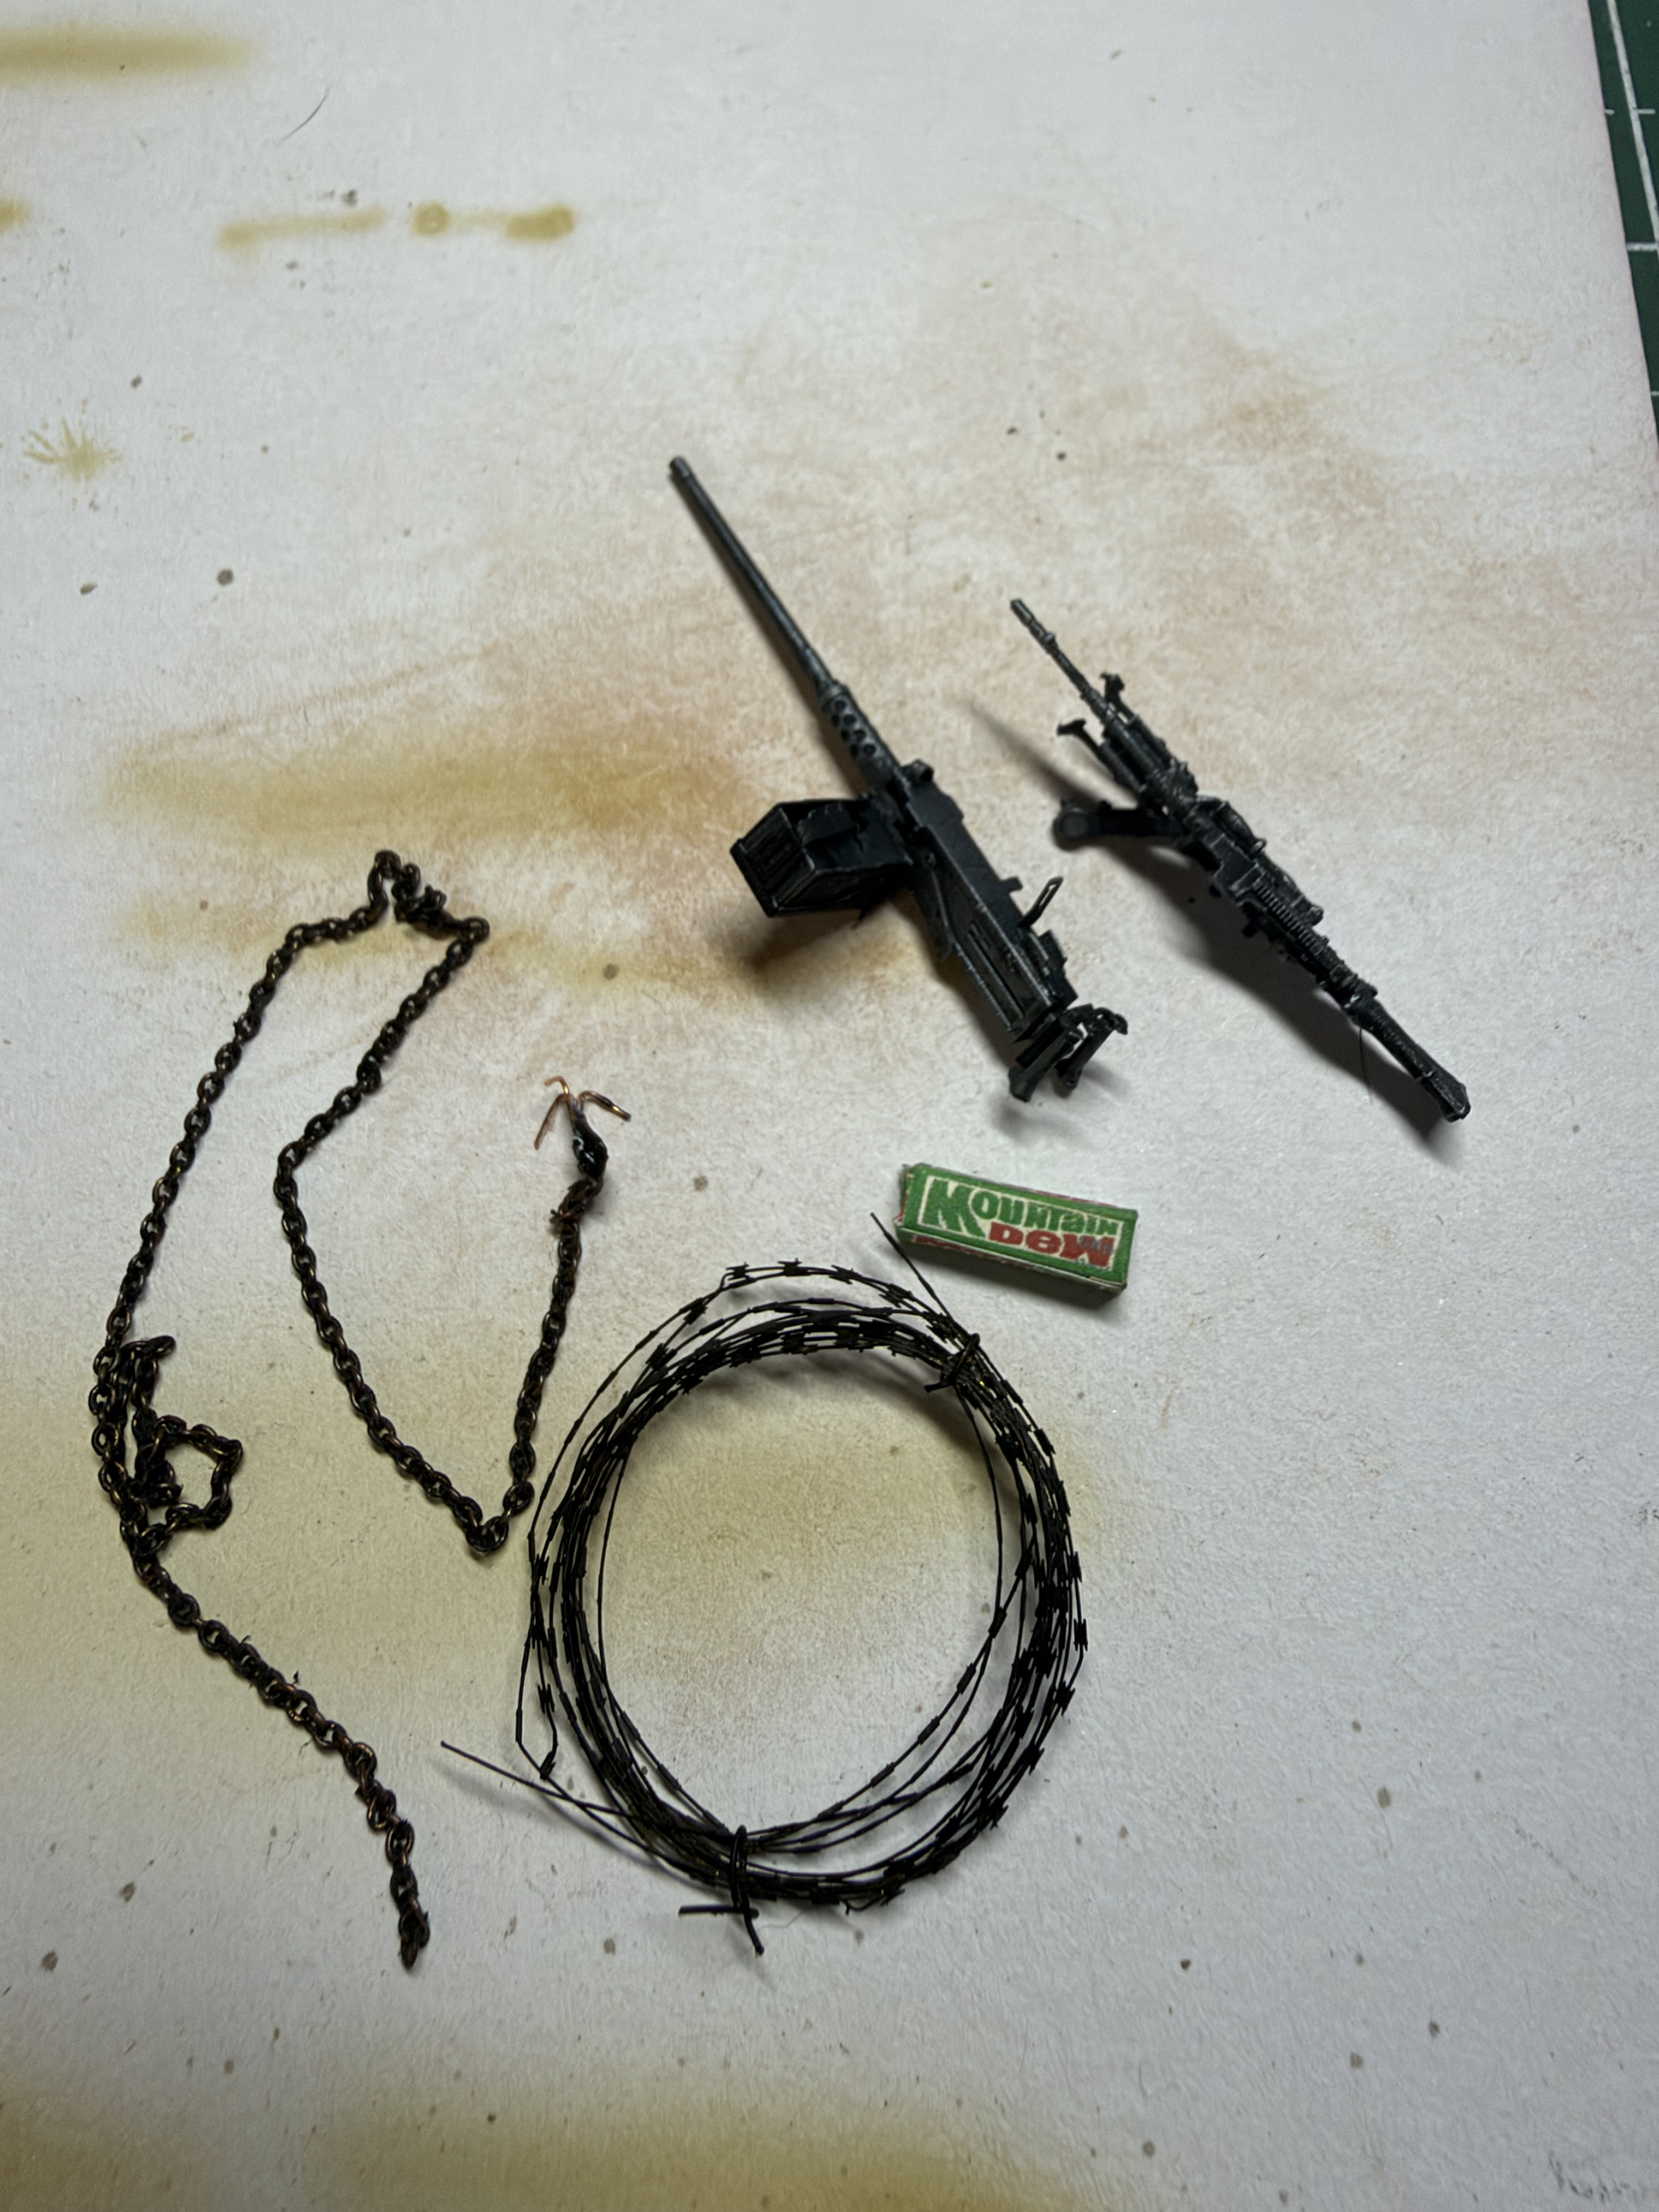
Some concertina wire and a homemade grappling hook. We used to keep a grappling hook hooked up to the front bumper to pull gates off on our raids. I’m still working on the interior. Haven’t really touched the exterior yet.

10 Likes