I know there are many enamel weathering products available from manufacturers such as AK, MIG, Vallejo, etc. Tamiya and Testor also offer a range of enamel paints. After using AK acrylic wash and filtering fluids for my models, I am thinking using oil paints, which allow me to customize the color and tones to fit the model better than ready-to-use product.
However, my first trail seems not that successful. Here is the sample:
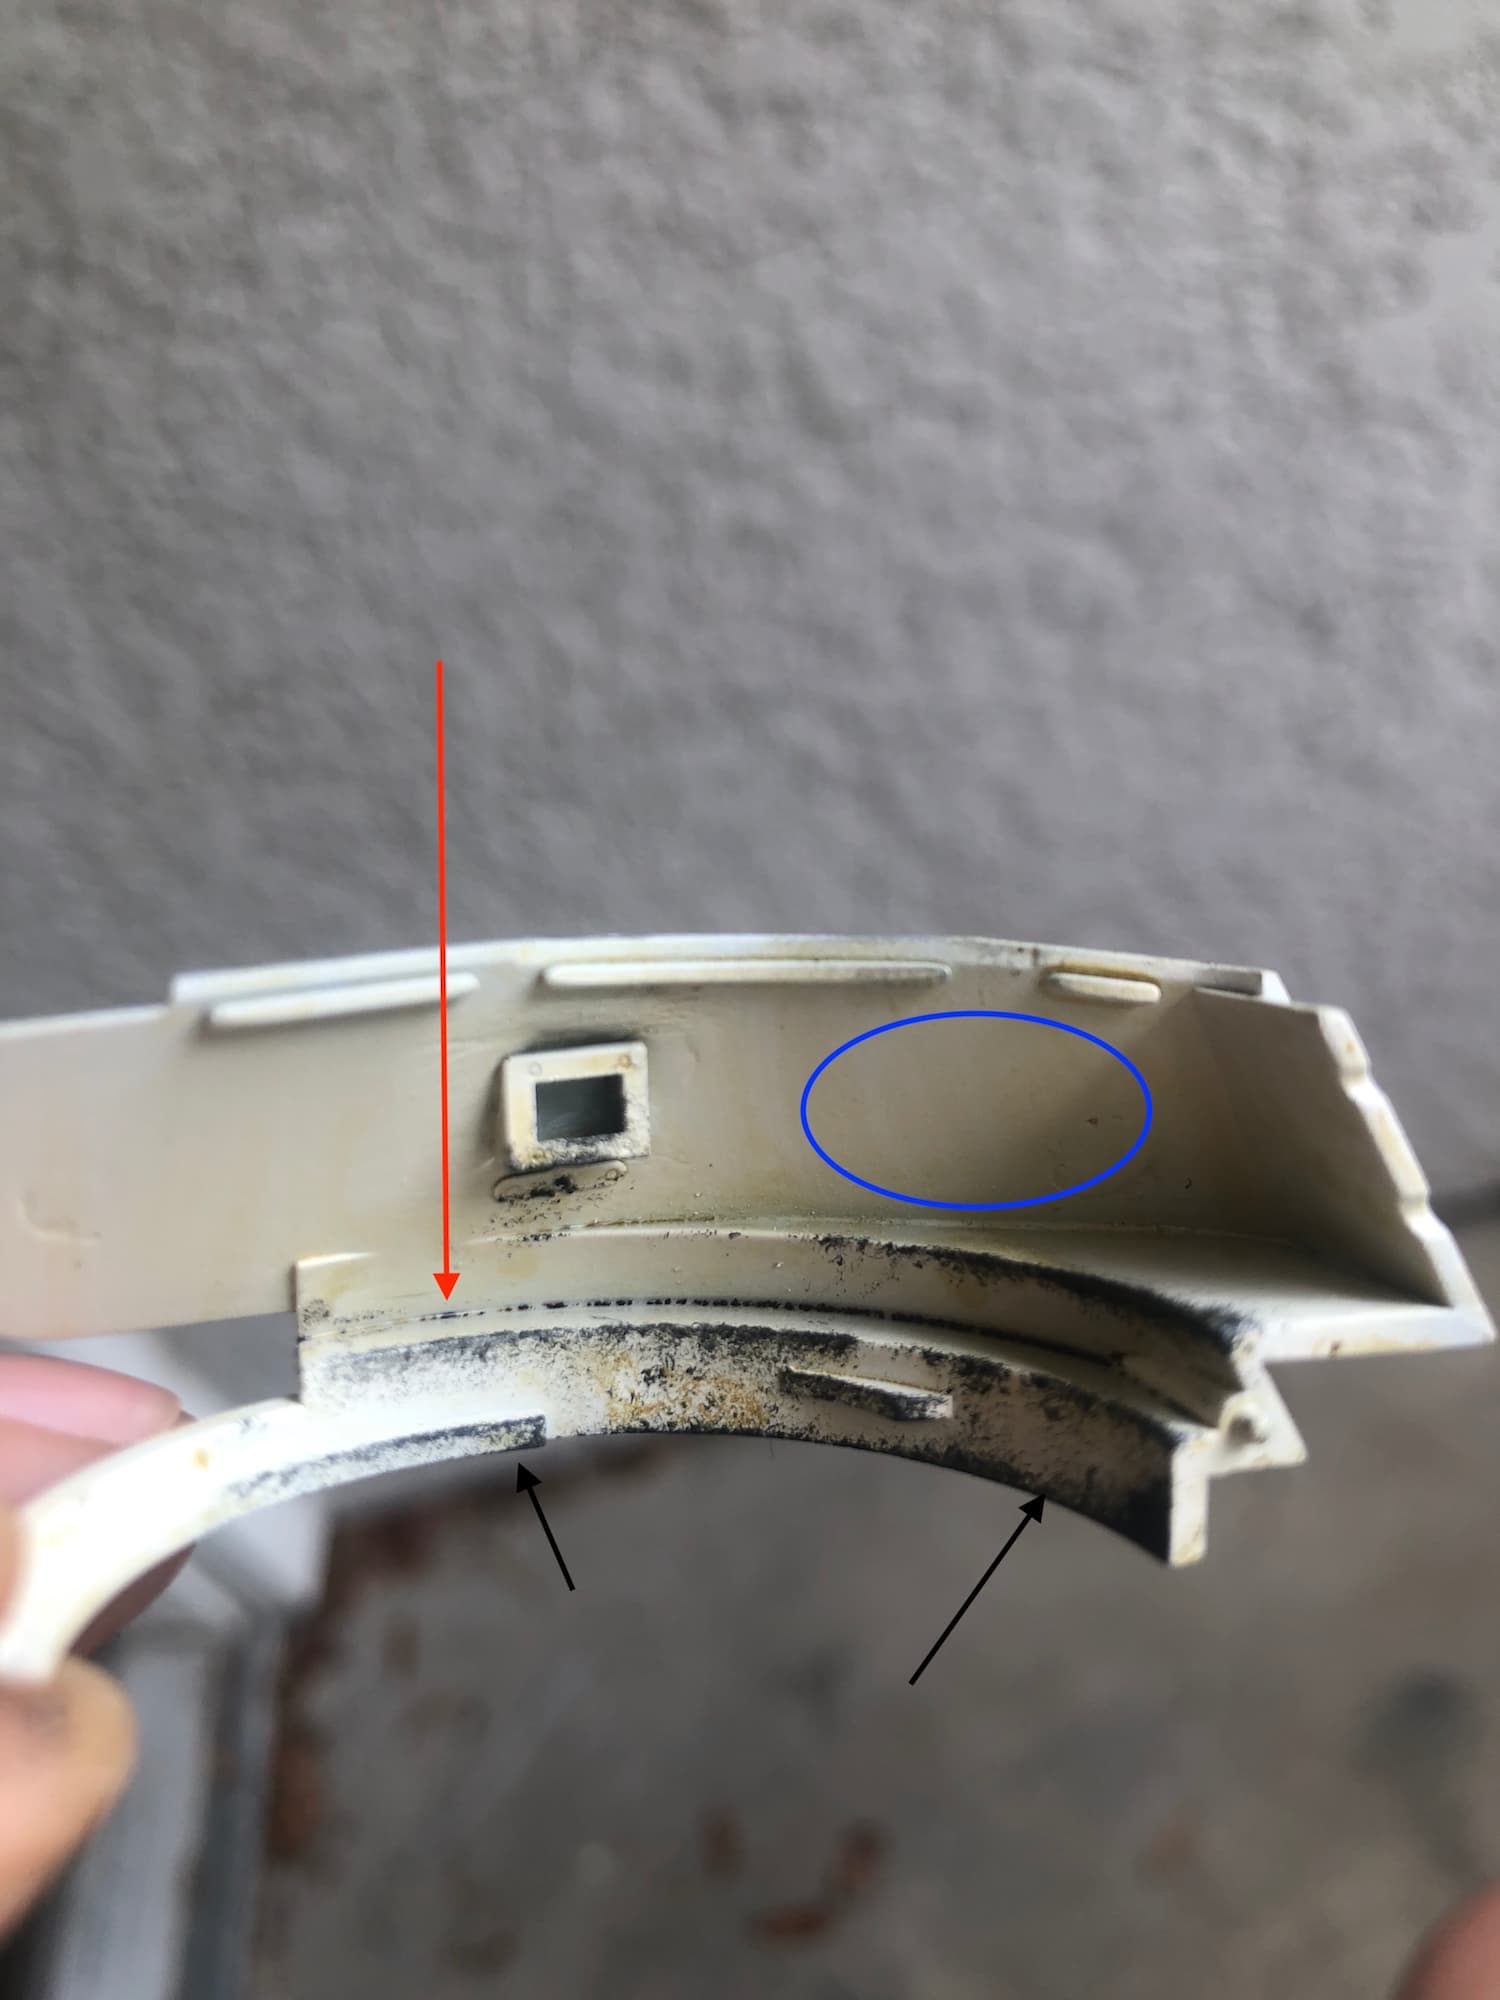
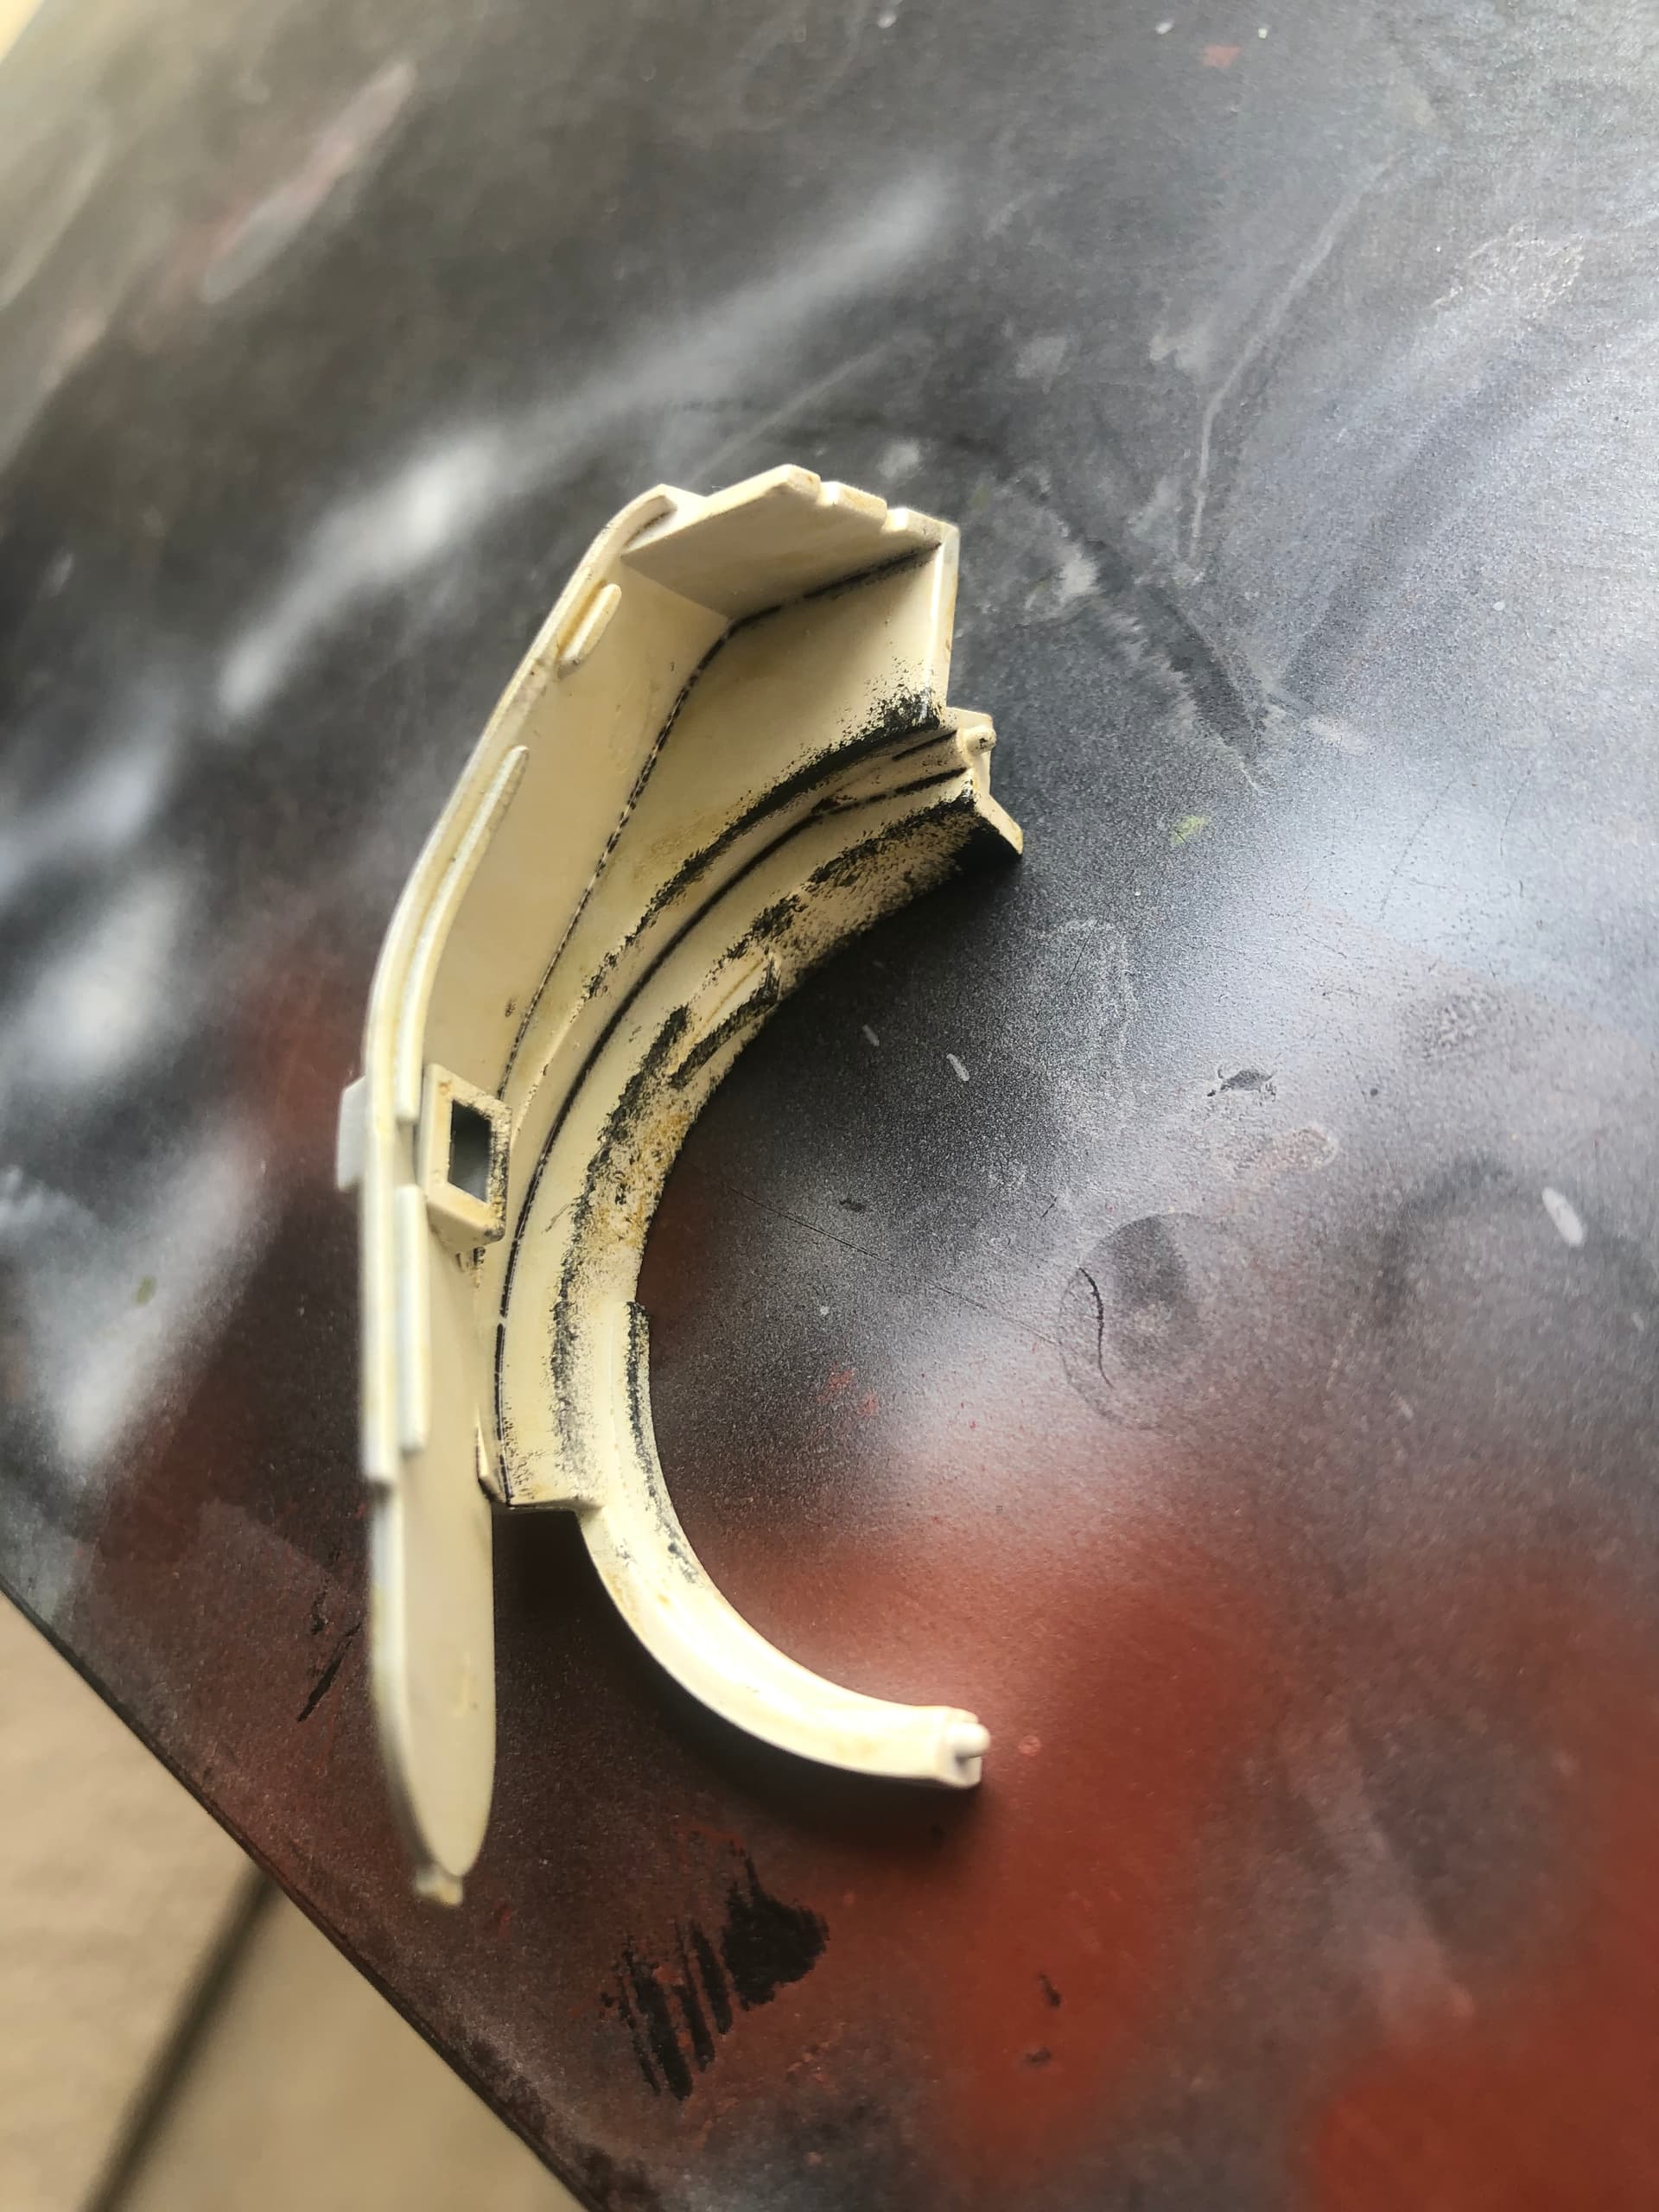
Here is the half of a T-34/76 turret. There is nothing to see in the turret interior other than a gun breech. So I use that to test the oil paint.
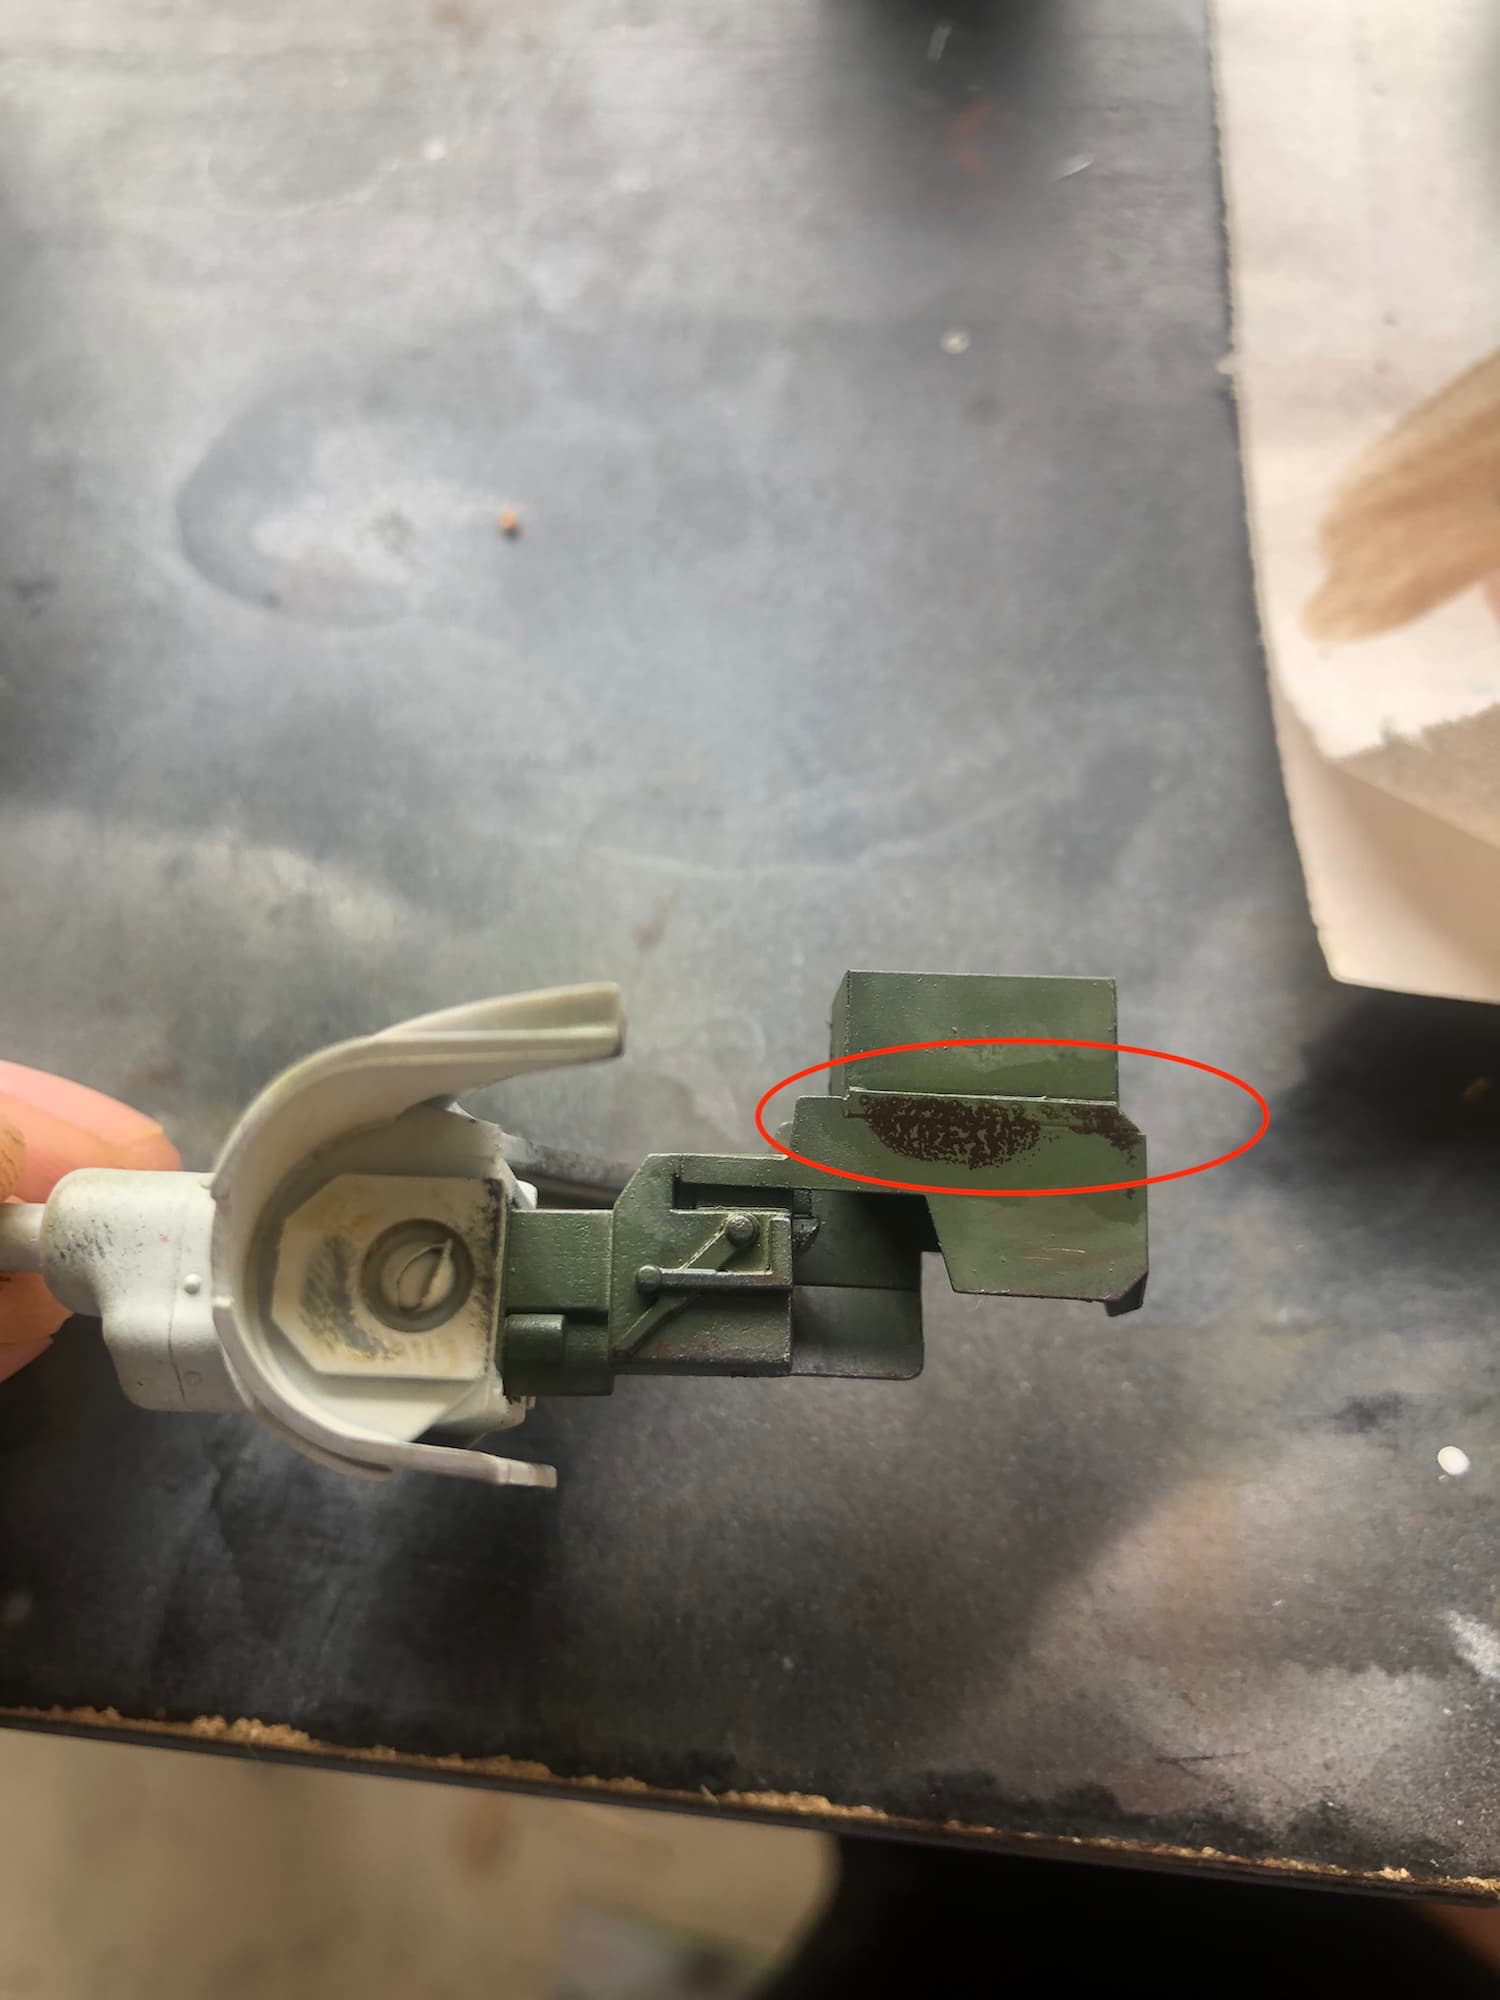
The black arrows indicated the black steel chipping applied on the turret ring, which is NOT by oil paints. The inner surface of turret wall (blue circle) I applied the home-made filtering fluid, which is normal. However, when I apply wash fluid to the corner (red arrow). I found the paint particles are too big. Those particles separates from each other and could not form a solid line.
I try to increase the concentration, or change to a different type of enamel thinner. Nothing help. If I just apply more fluid, the line will be very rough and uneven.
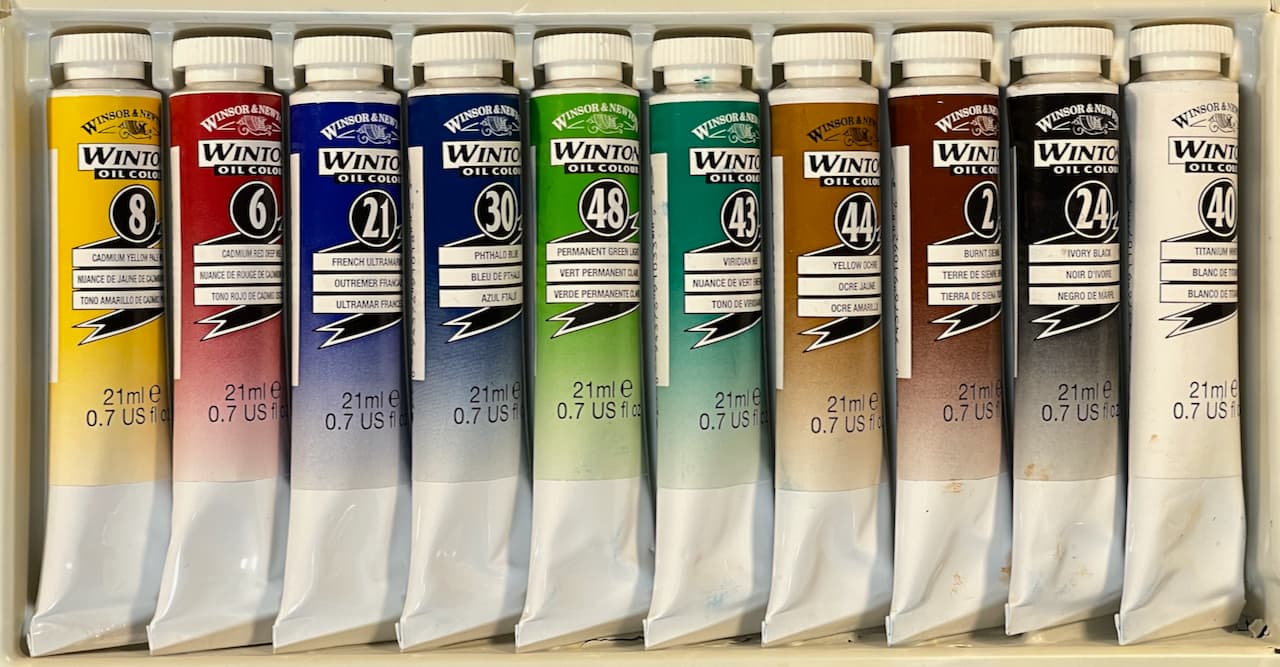
So I guess the different oil paints may have different particle sizes? I notices the black paint is a 12ml tubes from a Winsor Newton starter kit. I assume this is the low-end product so the quality is not as good as the high-end one? The filtering fluid I used Winsor Newton Raw Sienna and Azo Brown, 37-ml tubes which I brought separately from local Michaels.
I also did a research and found the black paint (Ivory Black) are “Opaque” paint while both paints in the filter are “semi transparent” to “transparent”. Is that the issue?
Please share your opinion. Shall I bought a high-end black oil paint for pin-wash?
While Winsor & Newton is a good brand, using a starter kit may have lower quality than needed. If I remember correctly, the Azo is also an alternative to better pigments.
Maybe your paints have excess of oil? You can try to leave them for some time (try minutes to half an hour or more) on a cardboard until it has absorbed a good part of this oil.
Also if your base is satin, matt or gloss may affect
What @varanusk has said is great advice, however I would like to add one extra piece of advice for you. Sometimes oil (and enamel) paints will start to separate in the manner you describe when too much is used at once or if there is too much thinner to paint. Try to use less of your mix on the brush or ensure you have not got too much thinner in the mix itself.
Also a question- are you pre-wetting the surface with clean thinner before you add your mix?
I just figured out the oil paints I got were extremely old and those starter kit do have lower quality. I got the kit from eBay. The package is very beat-up. I just purchase a tube from local Michael’s. It doesn’t have above problems at all.
I’m a newbies at this oil stuff. But I picked up a et of 12 oil colours from the $2 shop and they work just fine. So does cheap mean no good? Or is price even relevant?
Well the no good question is relative, I do follow the advice of my first tattoo artist “good tattoos aren’t cheap and cheap tattoos aren’t good”. But that being said it’s like alot of things in our hobby and I follow the guidelines of buy the nicest supplies that you can afford. More expensive oil paints will have a finer higher grade of pigment. This higher grade will work better doing washes etc by flowing and !icing easier with a cleaner result. And higher grade may be the wrong way to describe it, could substitute more refined pigments etc. As it was explained when I researched it, The bargain price stuff is fine for your kid to paint pictures bit we are after, for our applications, the higher end oils w better pigments and less “filler”. For experimenting the cheap stuff will be fine I’m betting but investing in the higher end artist grade vs student grade (as many are labeled) will pay dividends in workability. I tossed my bargain starter set and started replacing with a US craft store line that’s comparable to Windsor’s mostly because when it’s on sale I can buy 2 colors w the discount vs 1 of Windsor’s. Just my two cents, hope that helps.
Earlier this year, I started using W+N oils that I bought in the early 1980s…
Apart from the challenge of getting the caps of the tubes, the paints are fine…
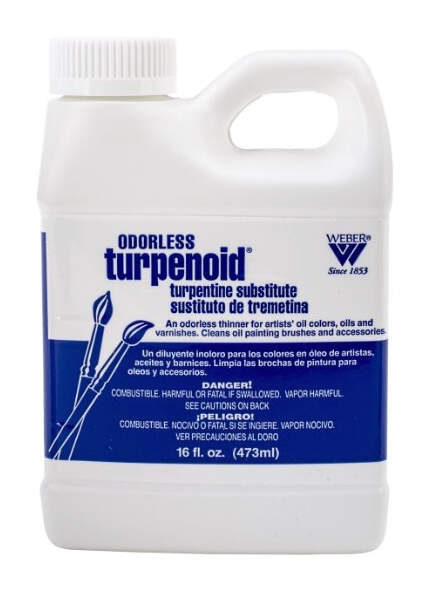
I use blue label Turpenoid to thin, blend and remove them.
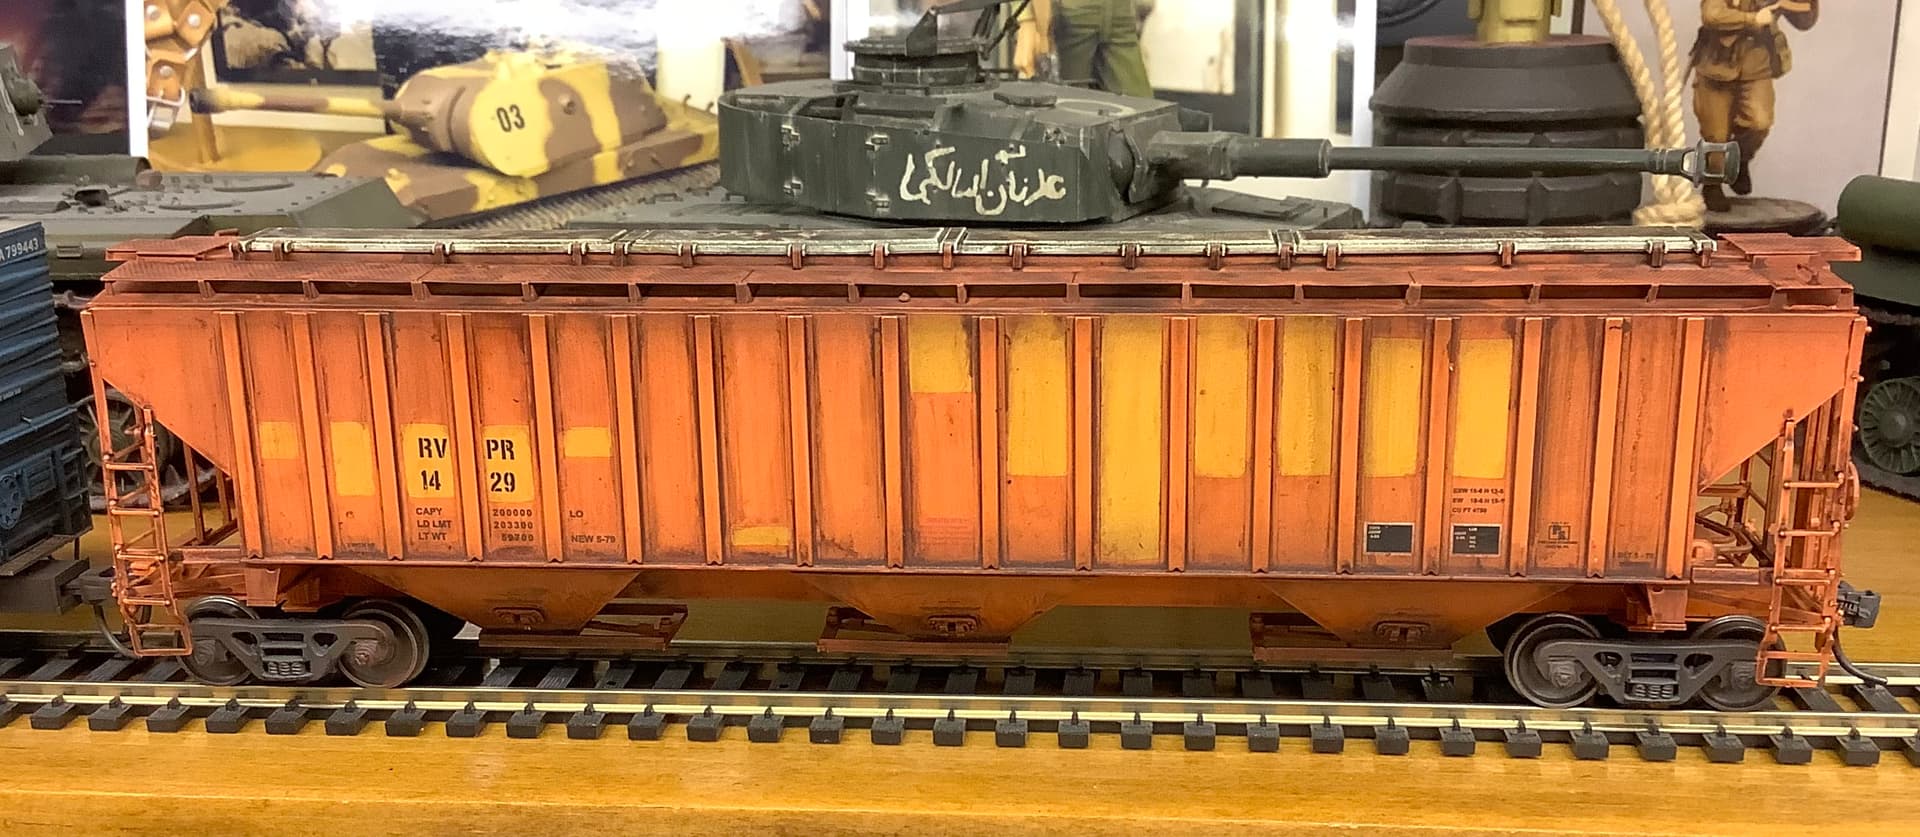
They work well to weather HO freight…
Decent brushes help…
I used to bleed off the oil on cardboard before using them, but now I just use them straight off the palette
@Kraftstoff3 is right about brushes I believe- a decent set made for use with oils would be a good investment if they are going to be something you use a lot.
I had recently a similar issue using some new tubes of artis oil paints. I use oils since the late ninetees and had great results in the past. Some of the tubes went dead so had to replace the paint. I never buy starter paints because an oil paint works 10+ year without problem amd also want to get great results.
So this time I bought some hi quality tubes and started to use them on two tamks. I have seen that these new paints are more oily like the old ones but missed to deal with it.
Two-trhee months later I looked at to the same models and have seen a disaster as most areas were shiny like a content car. Finally tackeld the issue with several layers of matt varnish, but man - the method to cure the oil paint on a cardboard for about 20-30 mins is really a must.
Now I think one of the issues was that I used the very top amount from the tube and probably that had the most of the oil…
The shine is most likely from the linseed oil that is used in the oil paints. The more oil the longer the drying time and the shine. Best way to avoid this problem is to squeeze the paint onto a piece of cardboard or a 3x5 card and let it absorb some of the oil. You’ll see a dark area around the paint that is the oil being sucked into the paper. Doing this will resolve the shine problem and also reduce the drying time. Good luck.
This is very new territory for me and I’m not completely convinced with my cleanliness abilities with oils just yet. So, I guess we’ll just have to see.
Mike, you got it. I use Mona Lisa art thinner available at Michael’s in the oil paint isle. It’s pricy, about $20 a quart when I bought mine about 7-10 years ago. The 40% off coupon is your friend. Only thinner I use when I make my washes etc. and never had a problem.
I’d suggest picking up a color wheel. Using that bright red, yellow and green can lead to some interesting results. My first time doing the dot method I was doing a 3 color Stug IV and ended up w deciceky green tint, realized later it’s cause I had blue and yellow in the mix. I’ve avoided that by reducing what I call primary/brighter colors and stock to ‘warmer’, if I need to lighten one I’ll refer to my color wheel and look to see what to add cause it isn’t always white.