On Sherman "What If's", JagdShermans and more

Ever since I first saw the StahlHelm Models Assault Sherman kit, I have been intriqued by the idea of a Sherman variant like the German Jagdpanther, JagdPanzer and similar type vehicles. My interest was further increased when I saw the models made by Maschinen Krueger (Bryan Krueger) in the Facebook group “https://www.facebook.com/groups/324369661324650/”. So I began looking around, if any companies did models similar what Bryan Krueger had accomplished.

The German company Bold Division has a small number of “JagdShermans” ready for sale, and I have bought the both of them for future projects. I am of course aware no such vehicles were made IRL, but still the idea of a US JagdSherman is very interesting to me.

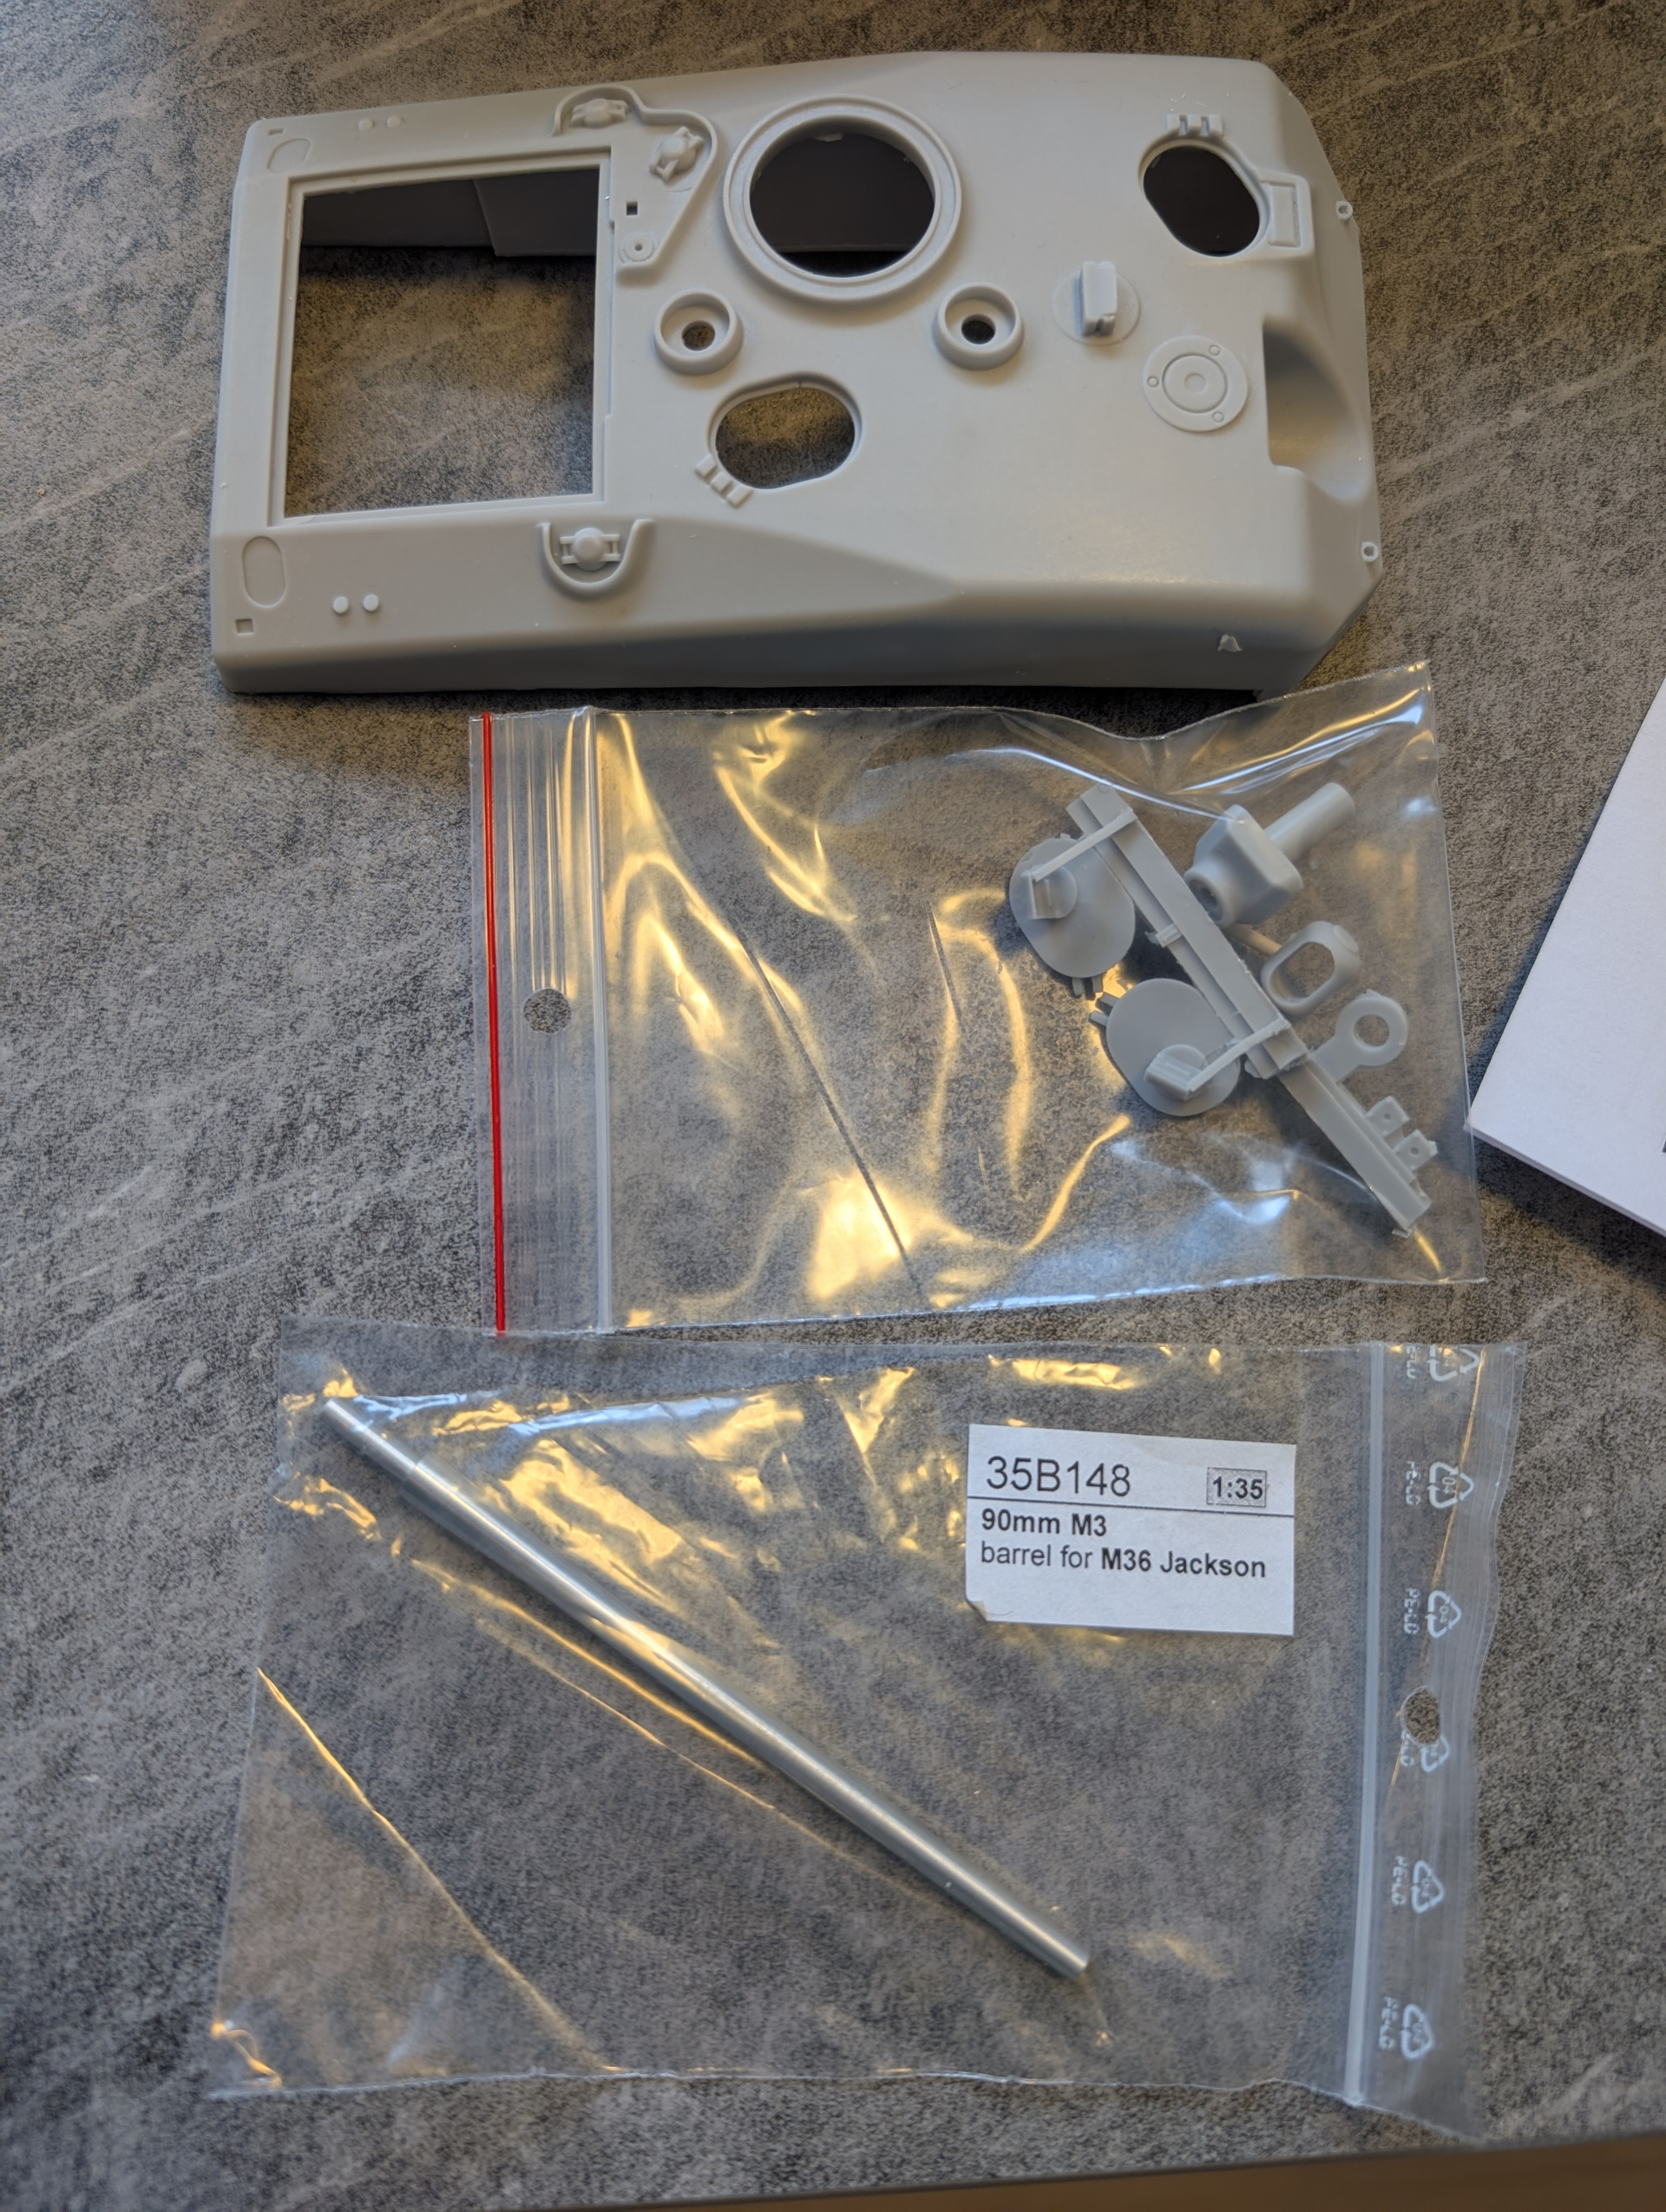
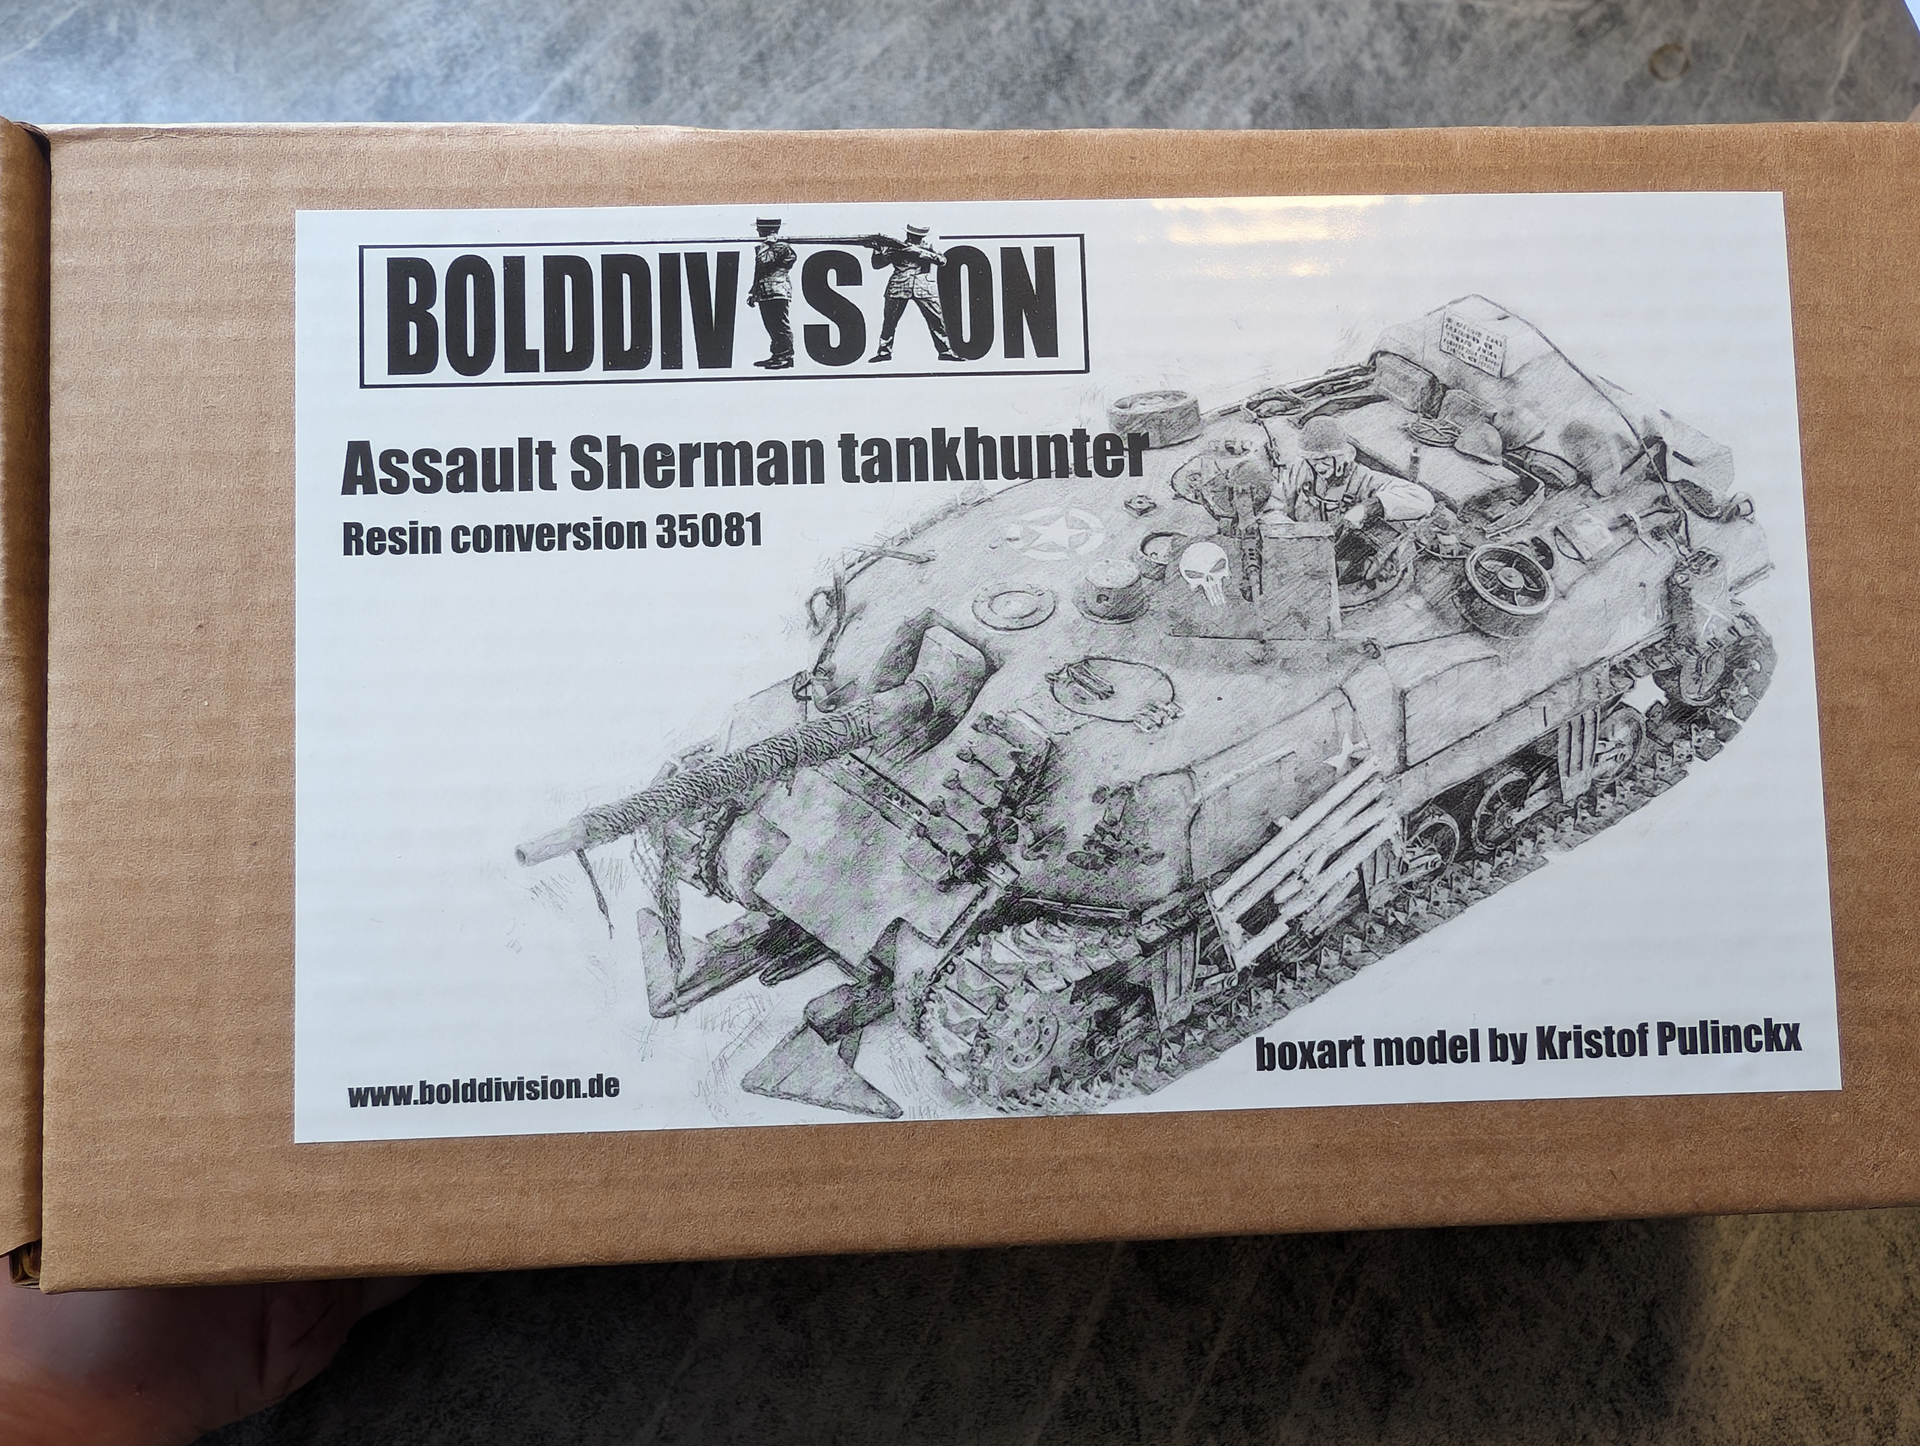
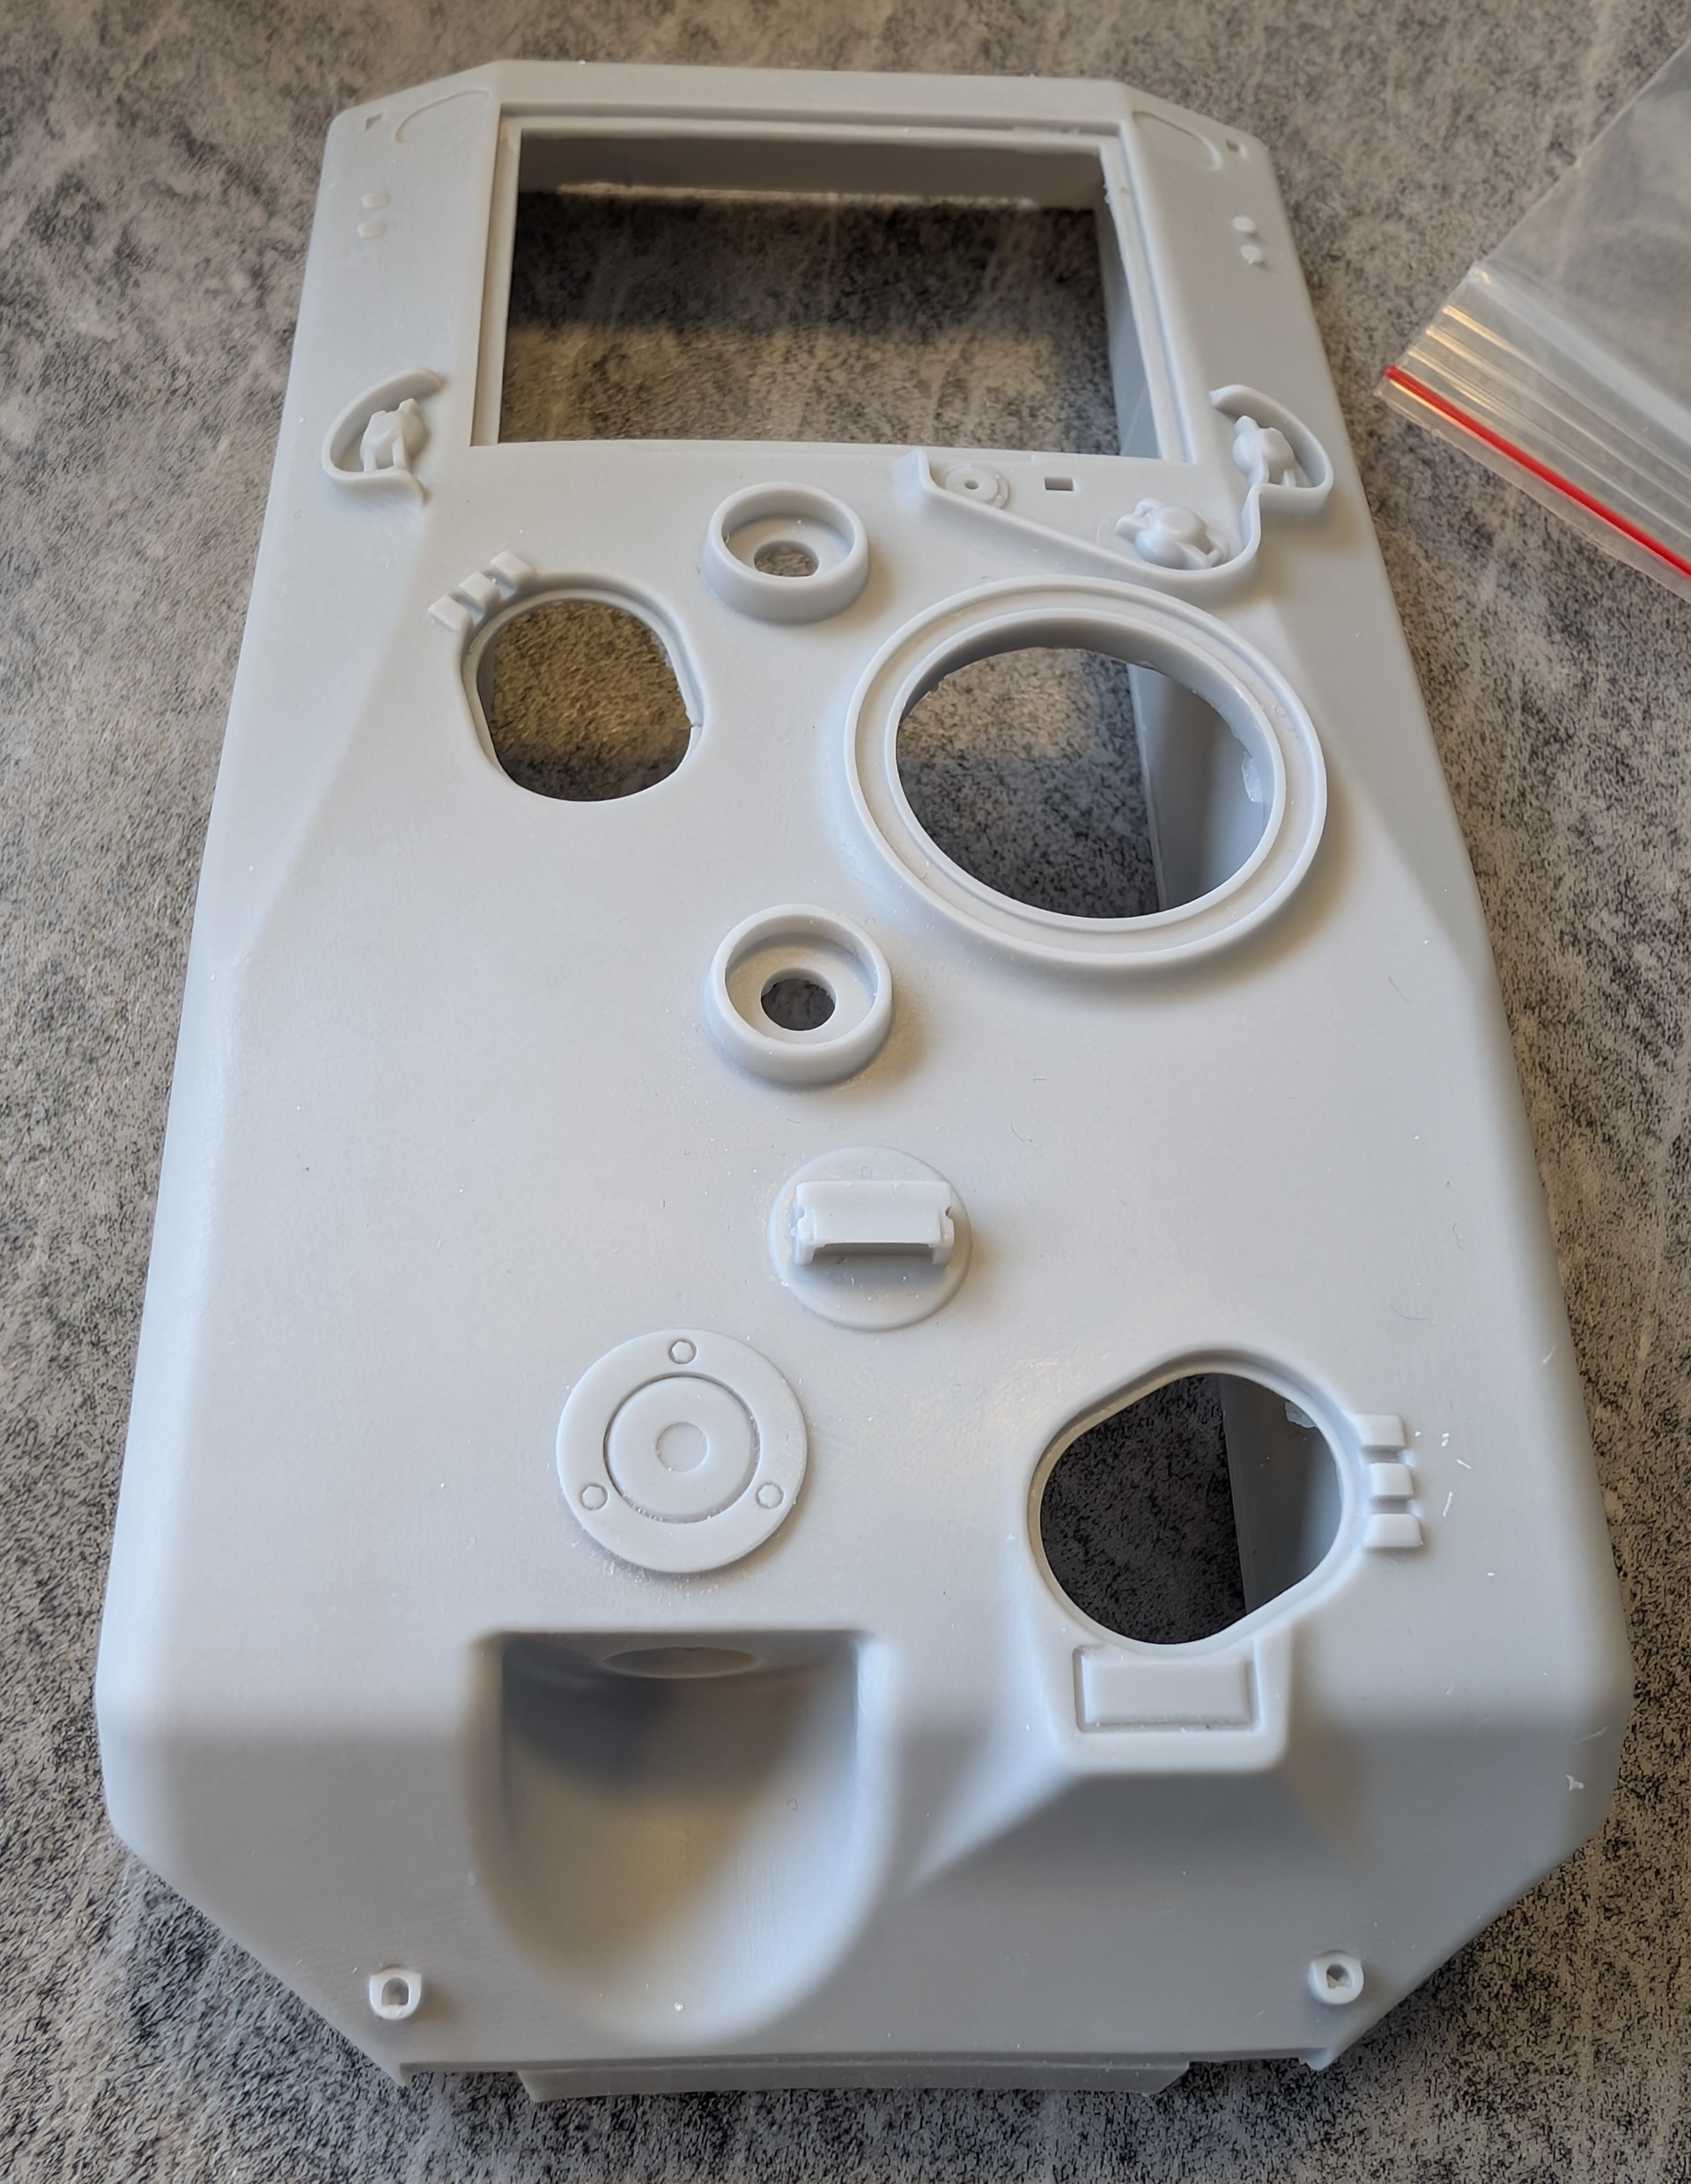
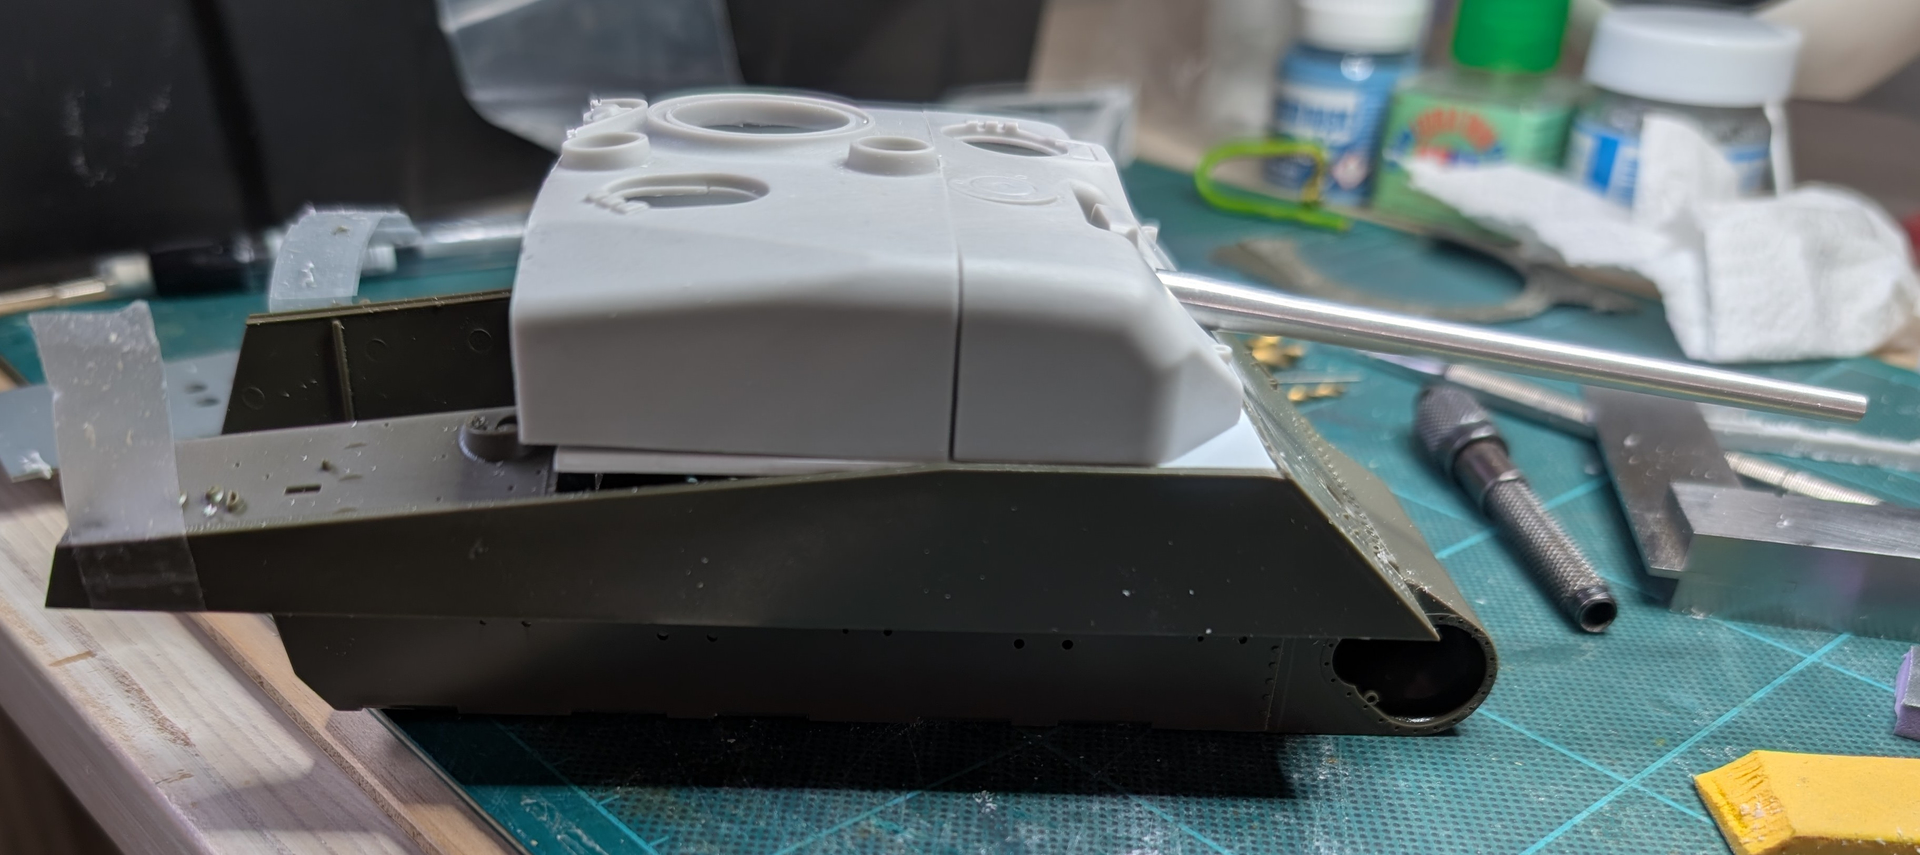
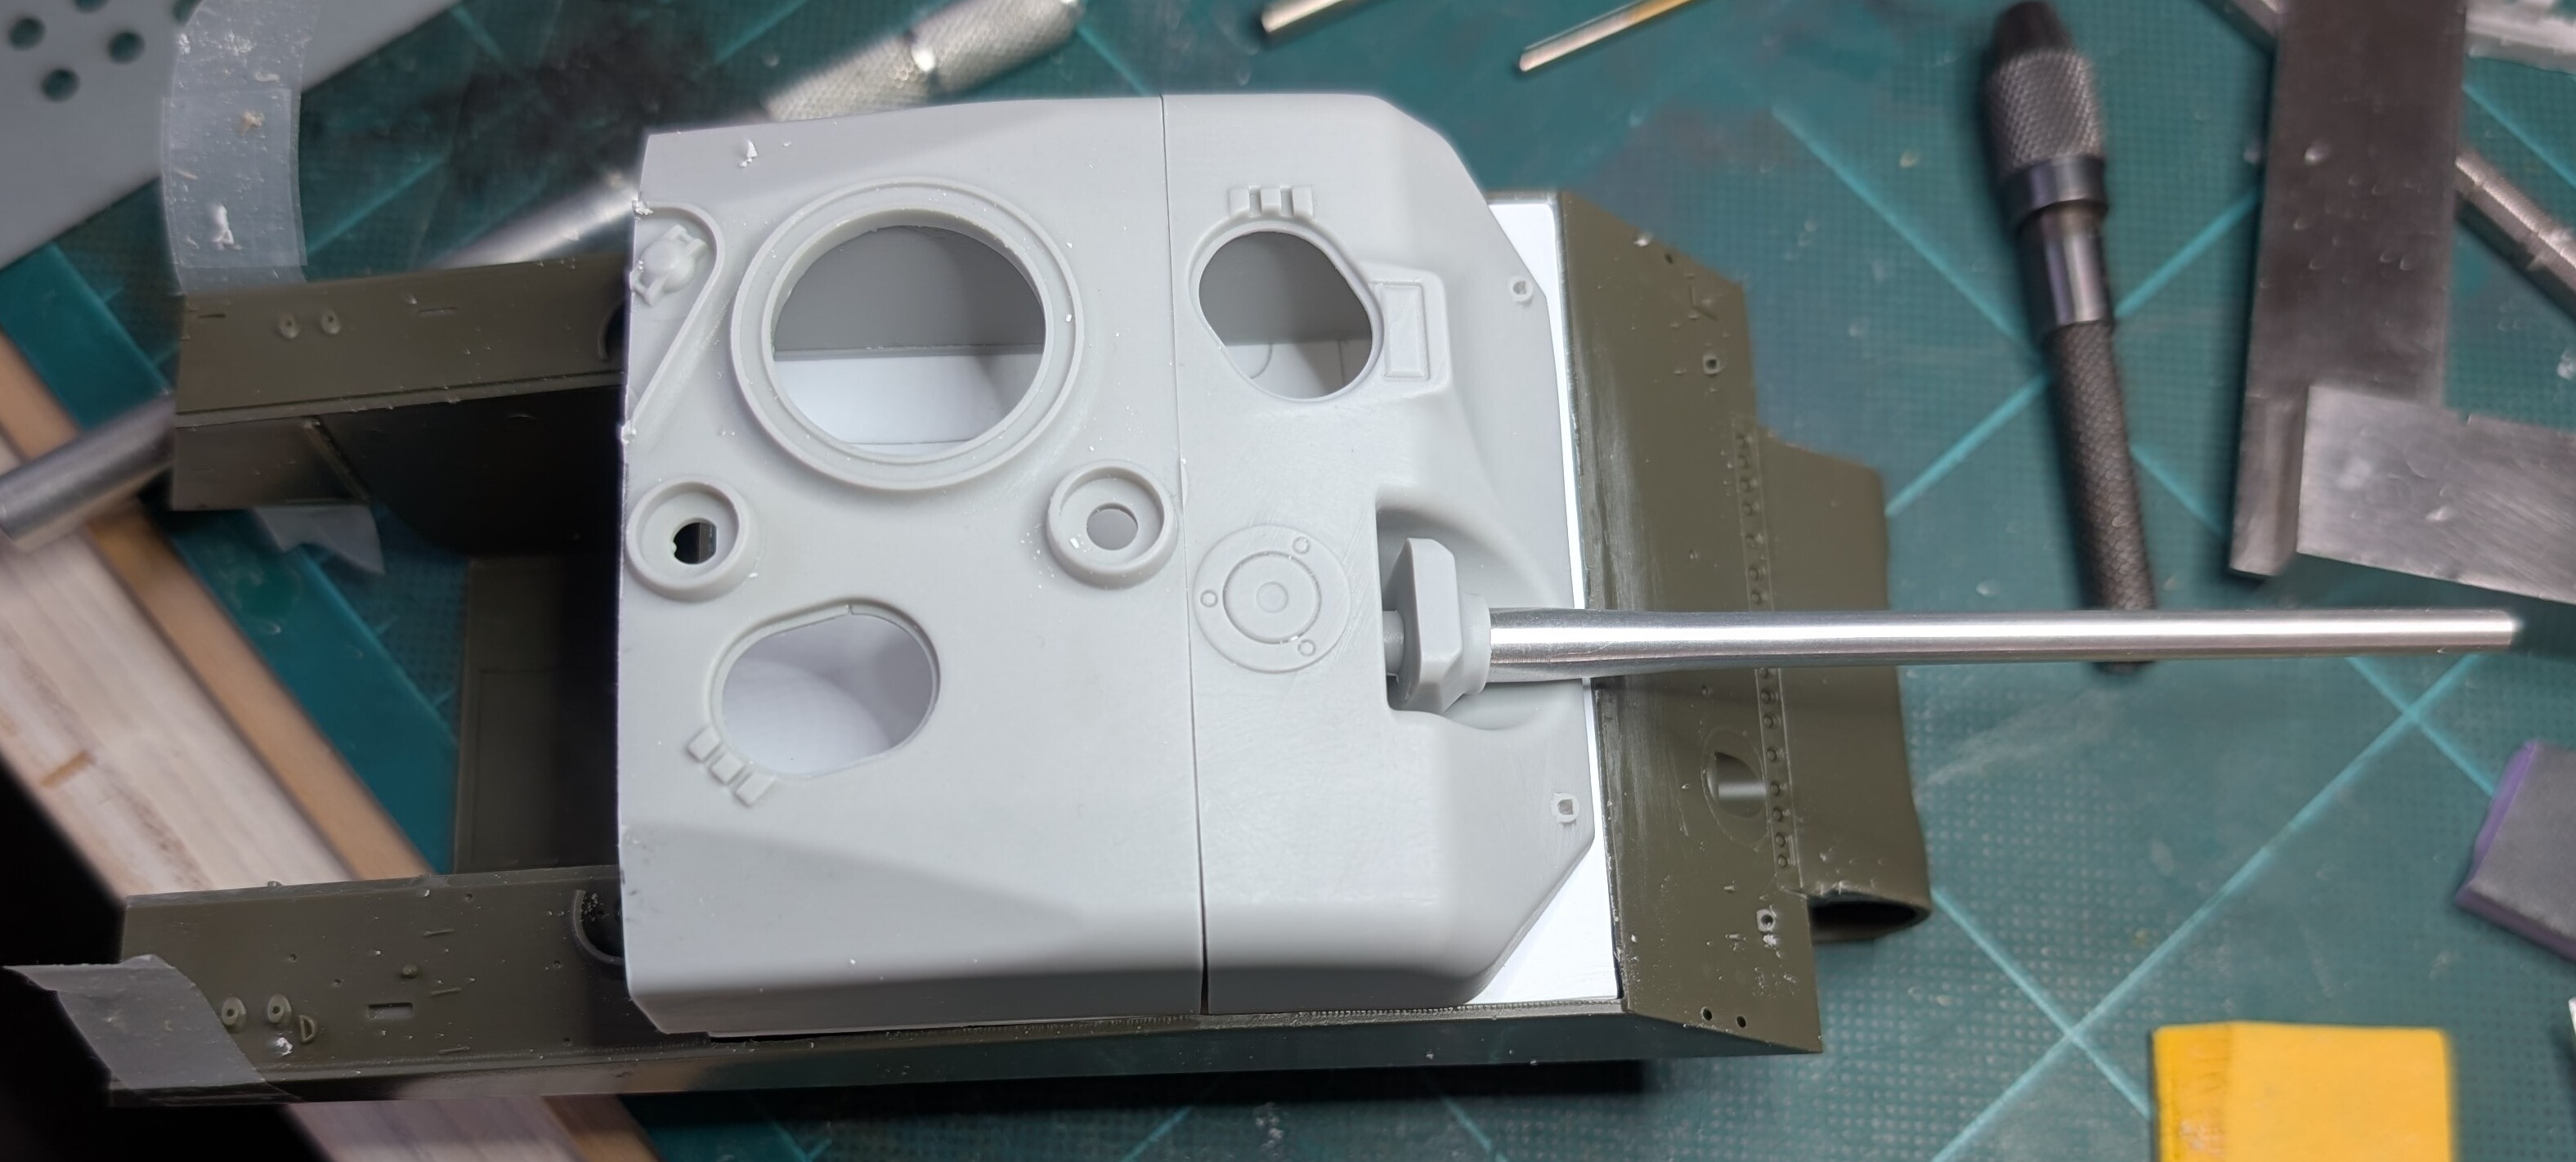
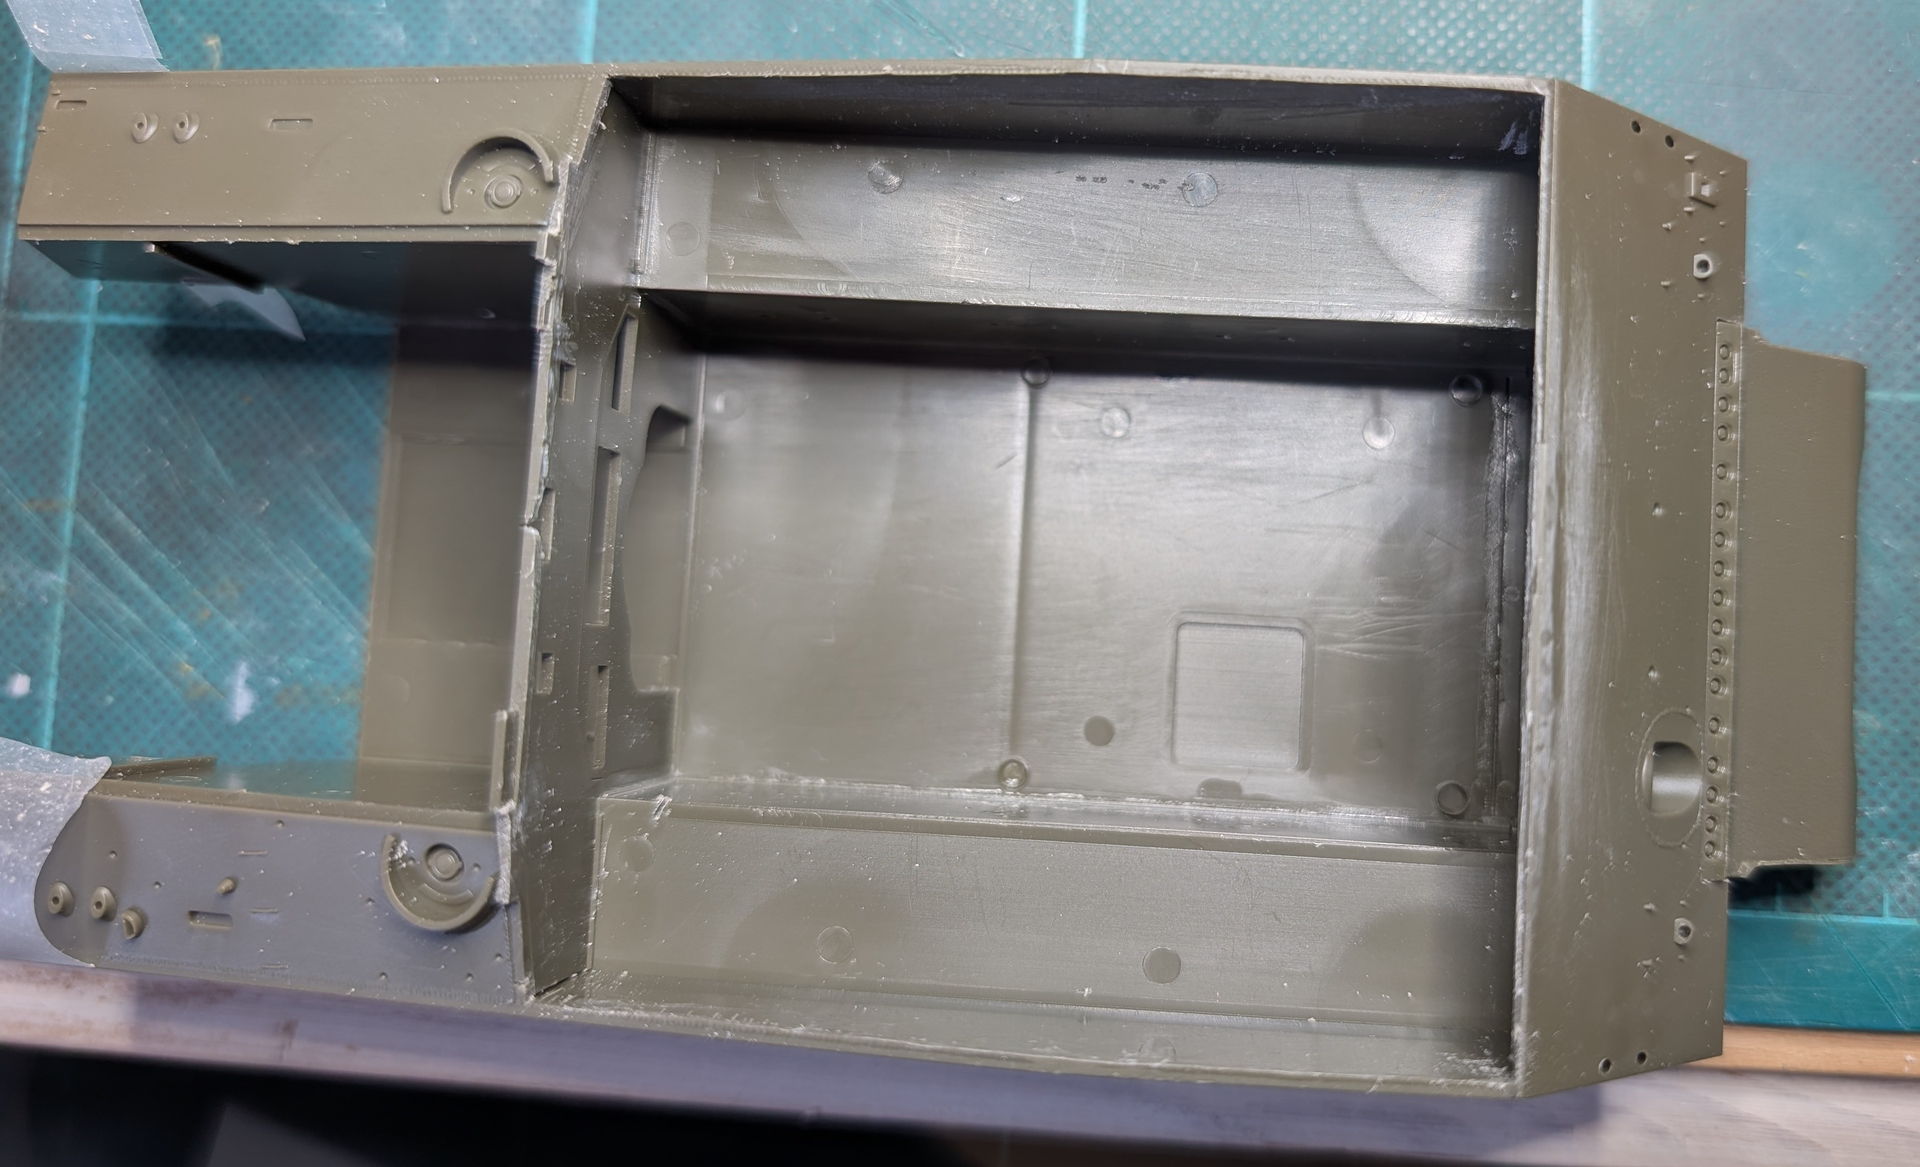
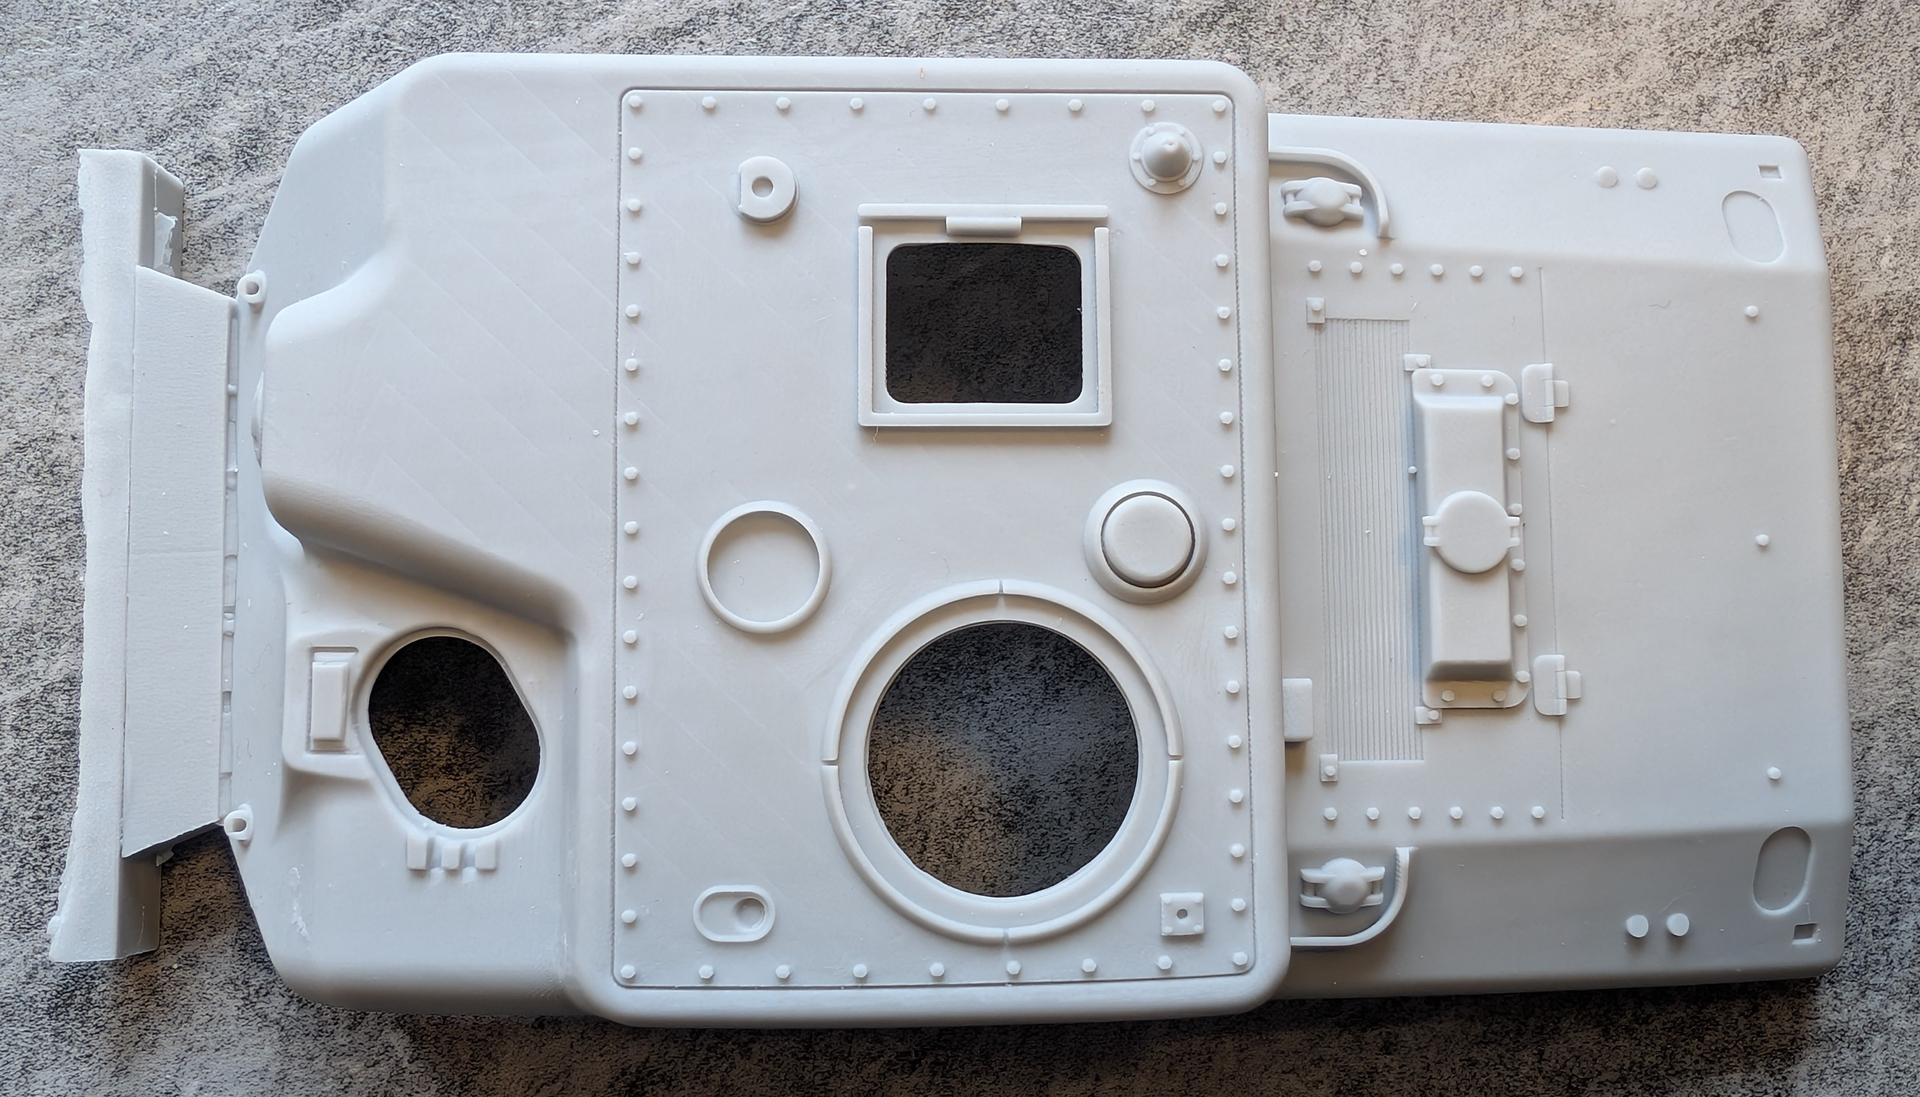
The kit “Assault Sherman Tankhunter (Art. No. 35081)” I was initially rather reluctant about. The obvious choice would be to just build it as it is. However, it disturbs my peace of mind, that this kit is designed by somebody, who has never seen the inside of a Sherman. The transmission and the power transfer axle from the engine compartment take up too much room inside the kit low profile crew compartment to make this version possible. So I was thinking of raising the crew compartment with the aid of a M4A3 kit as donor, and so I proceded. What you see in the photos is my first attempt to make a “JagdSherman” from a combination of the BoldDivision “Assault Sherman Tankhunter” kit and an Asuka M4A3 kit with HVSS. The casemate is obviously still too long, but I will fix that later. In order to have stable base for the casemate, I removed the upper side of the hull, and replaced it with a 2mm plastic plate.

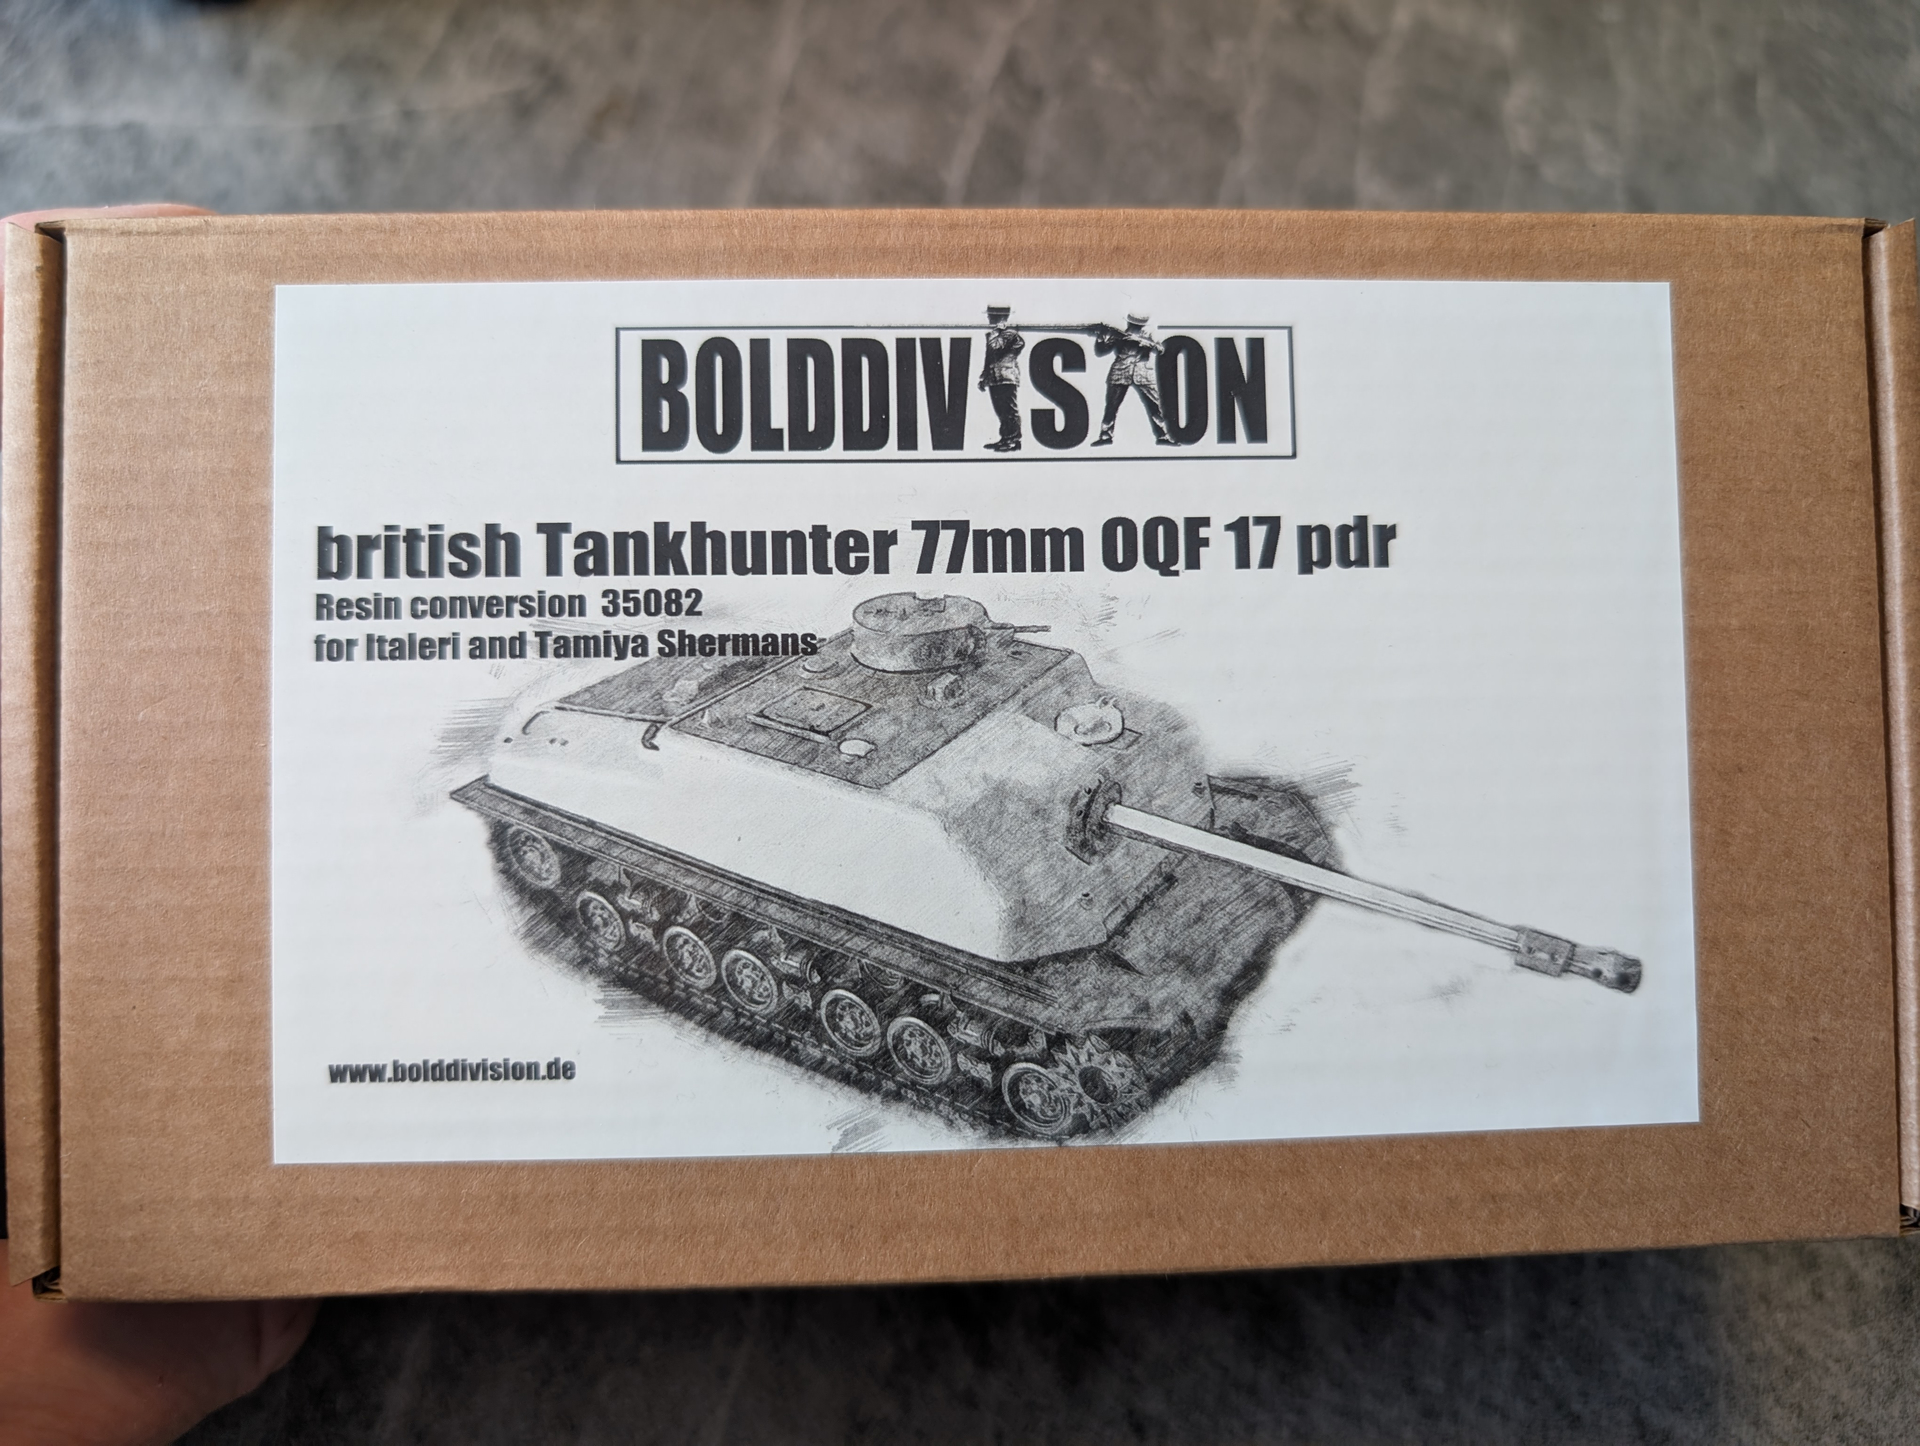
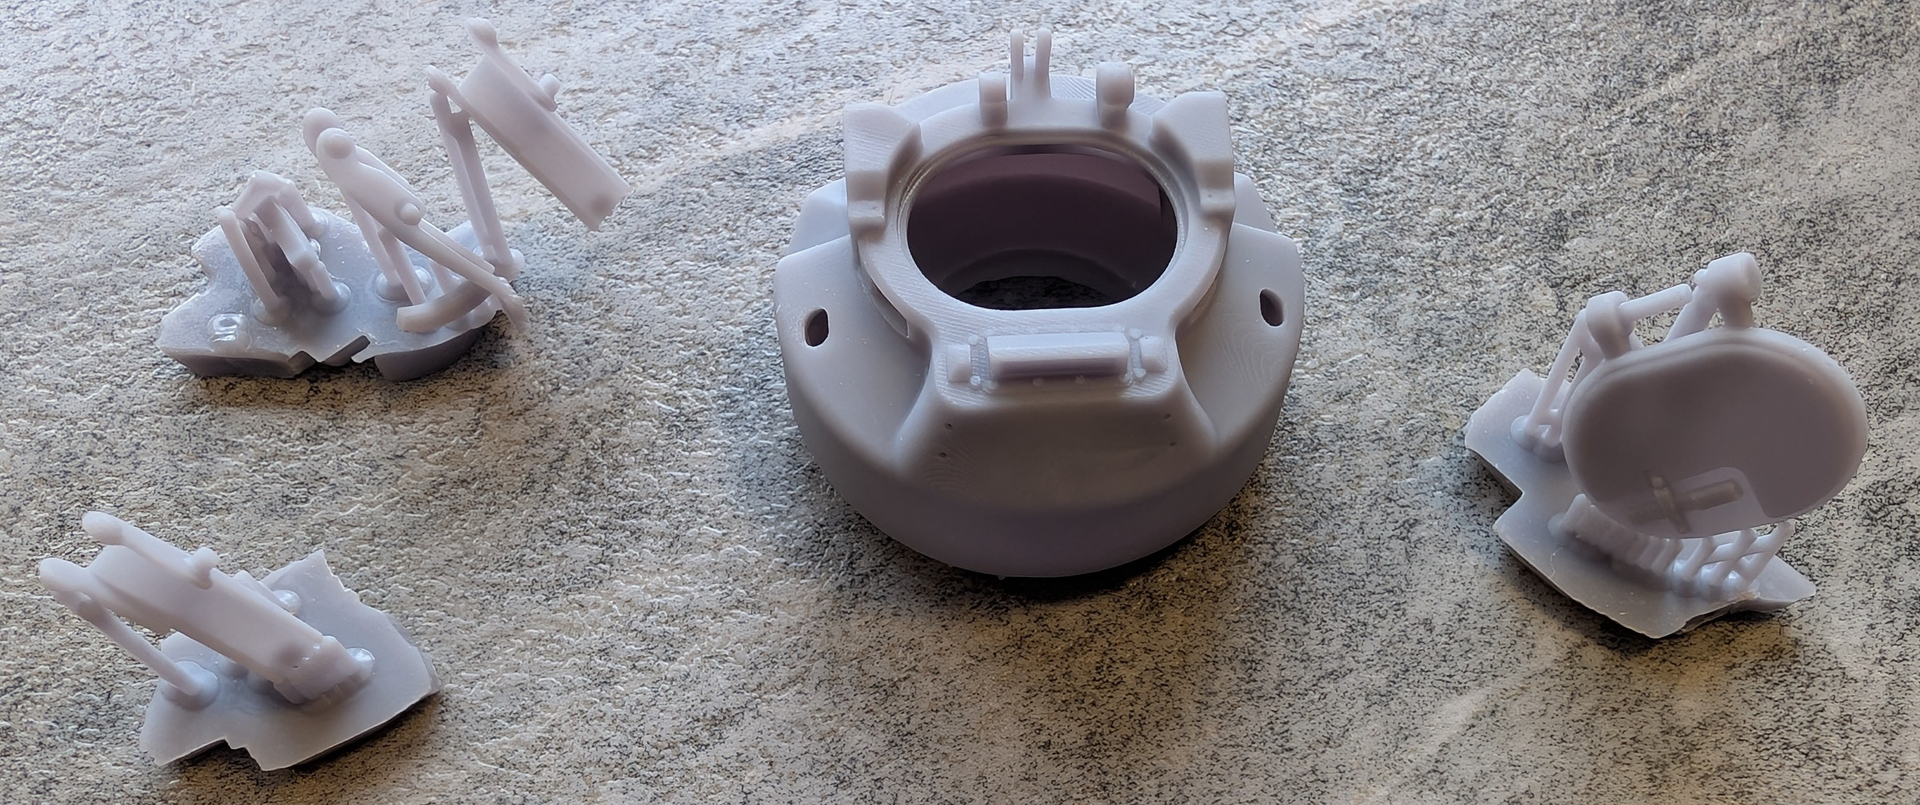
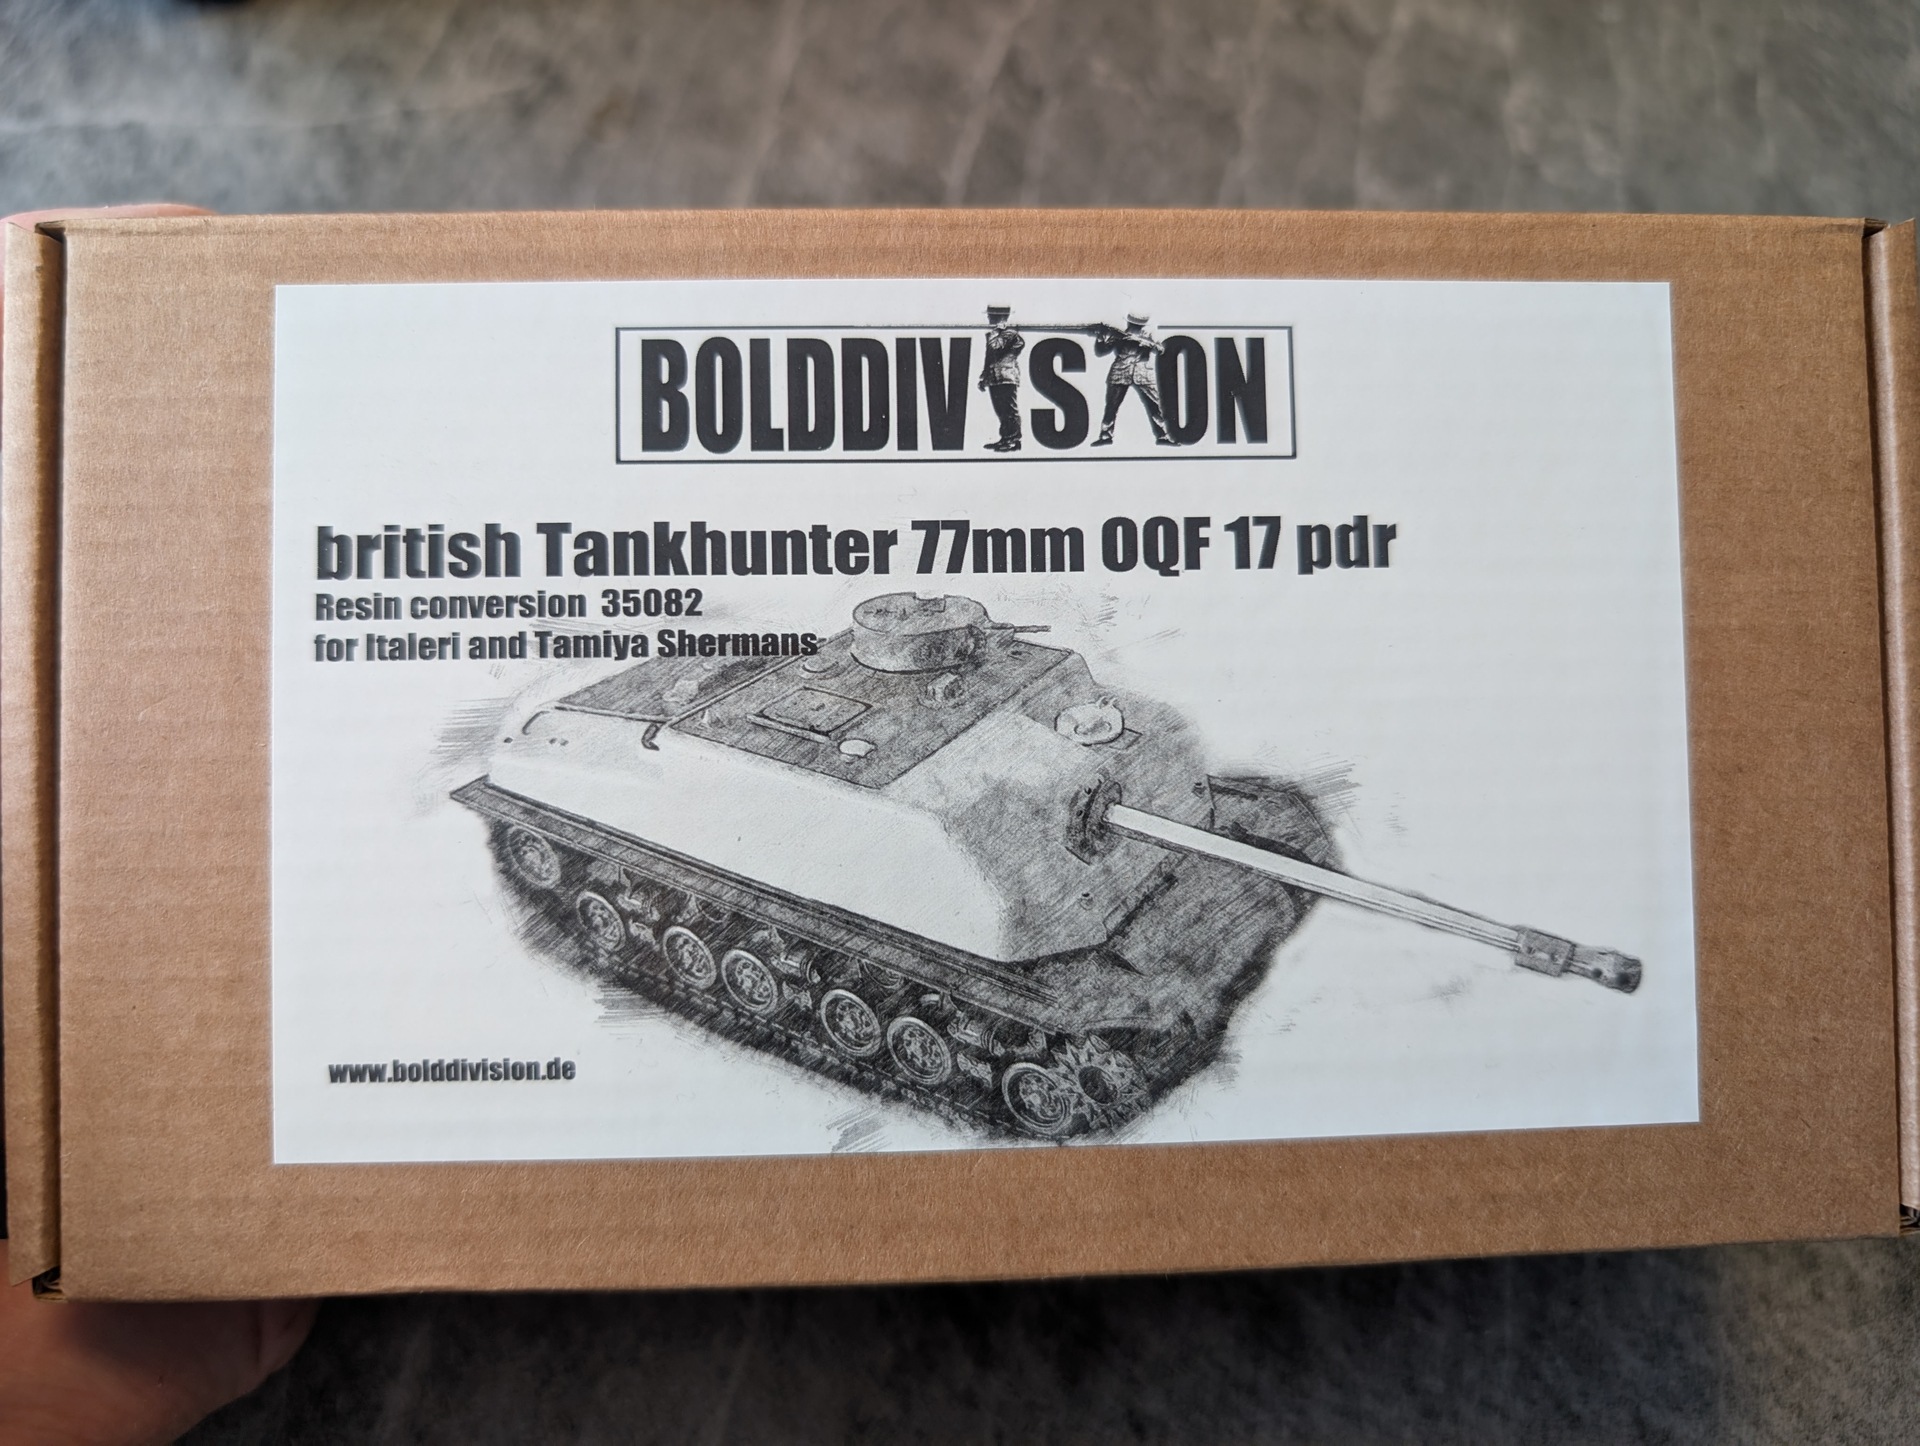
The other BD kit is the “British Tank Hunter 77mm OQF 17pdr. kit (Art. Nr. 35082)”. The “British” features are quite evident, the 17 Pdr. gun, the loaders hatch, and the two different commanders cupolas. This conversion will require a M4A4 donor kit. If I should have designed this kit, I would have made it more modular, so it could be used for more variants. Different plug-ins modules for the loaders hatch (standard US loaders hatch/the square British version) and a separate engine deck, so any engine deck could be fitted. It is still possible to do this, just with a lot of work.

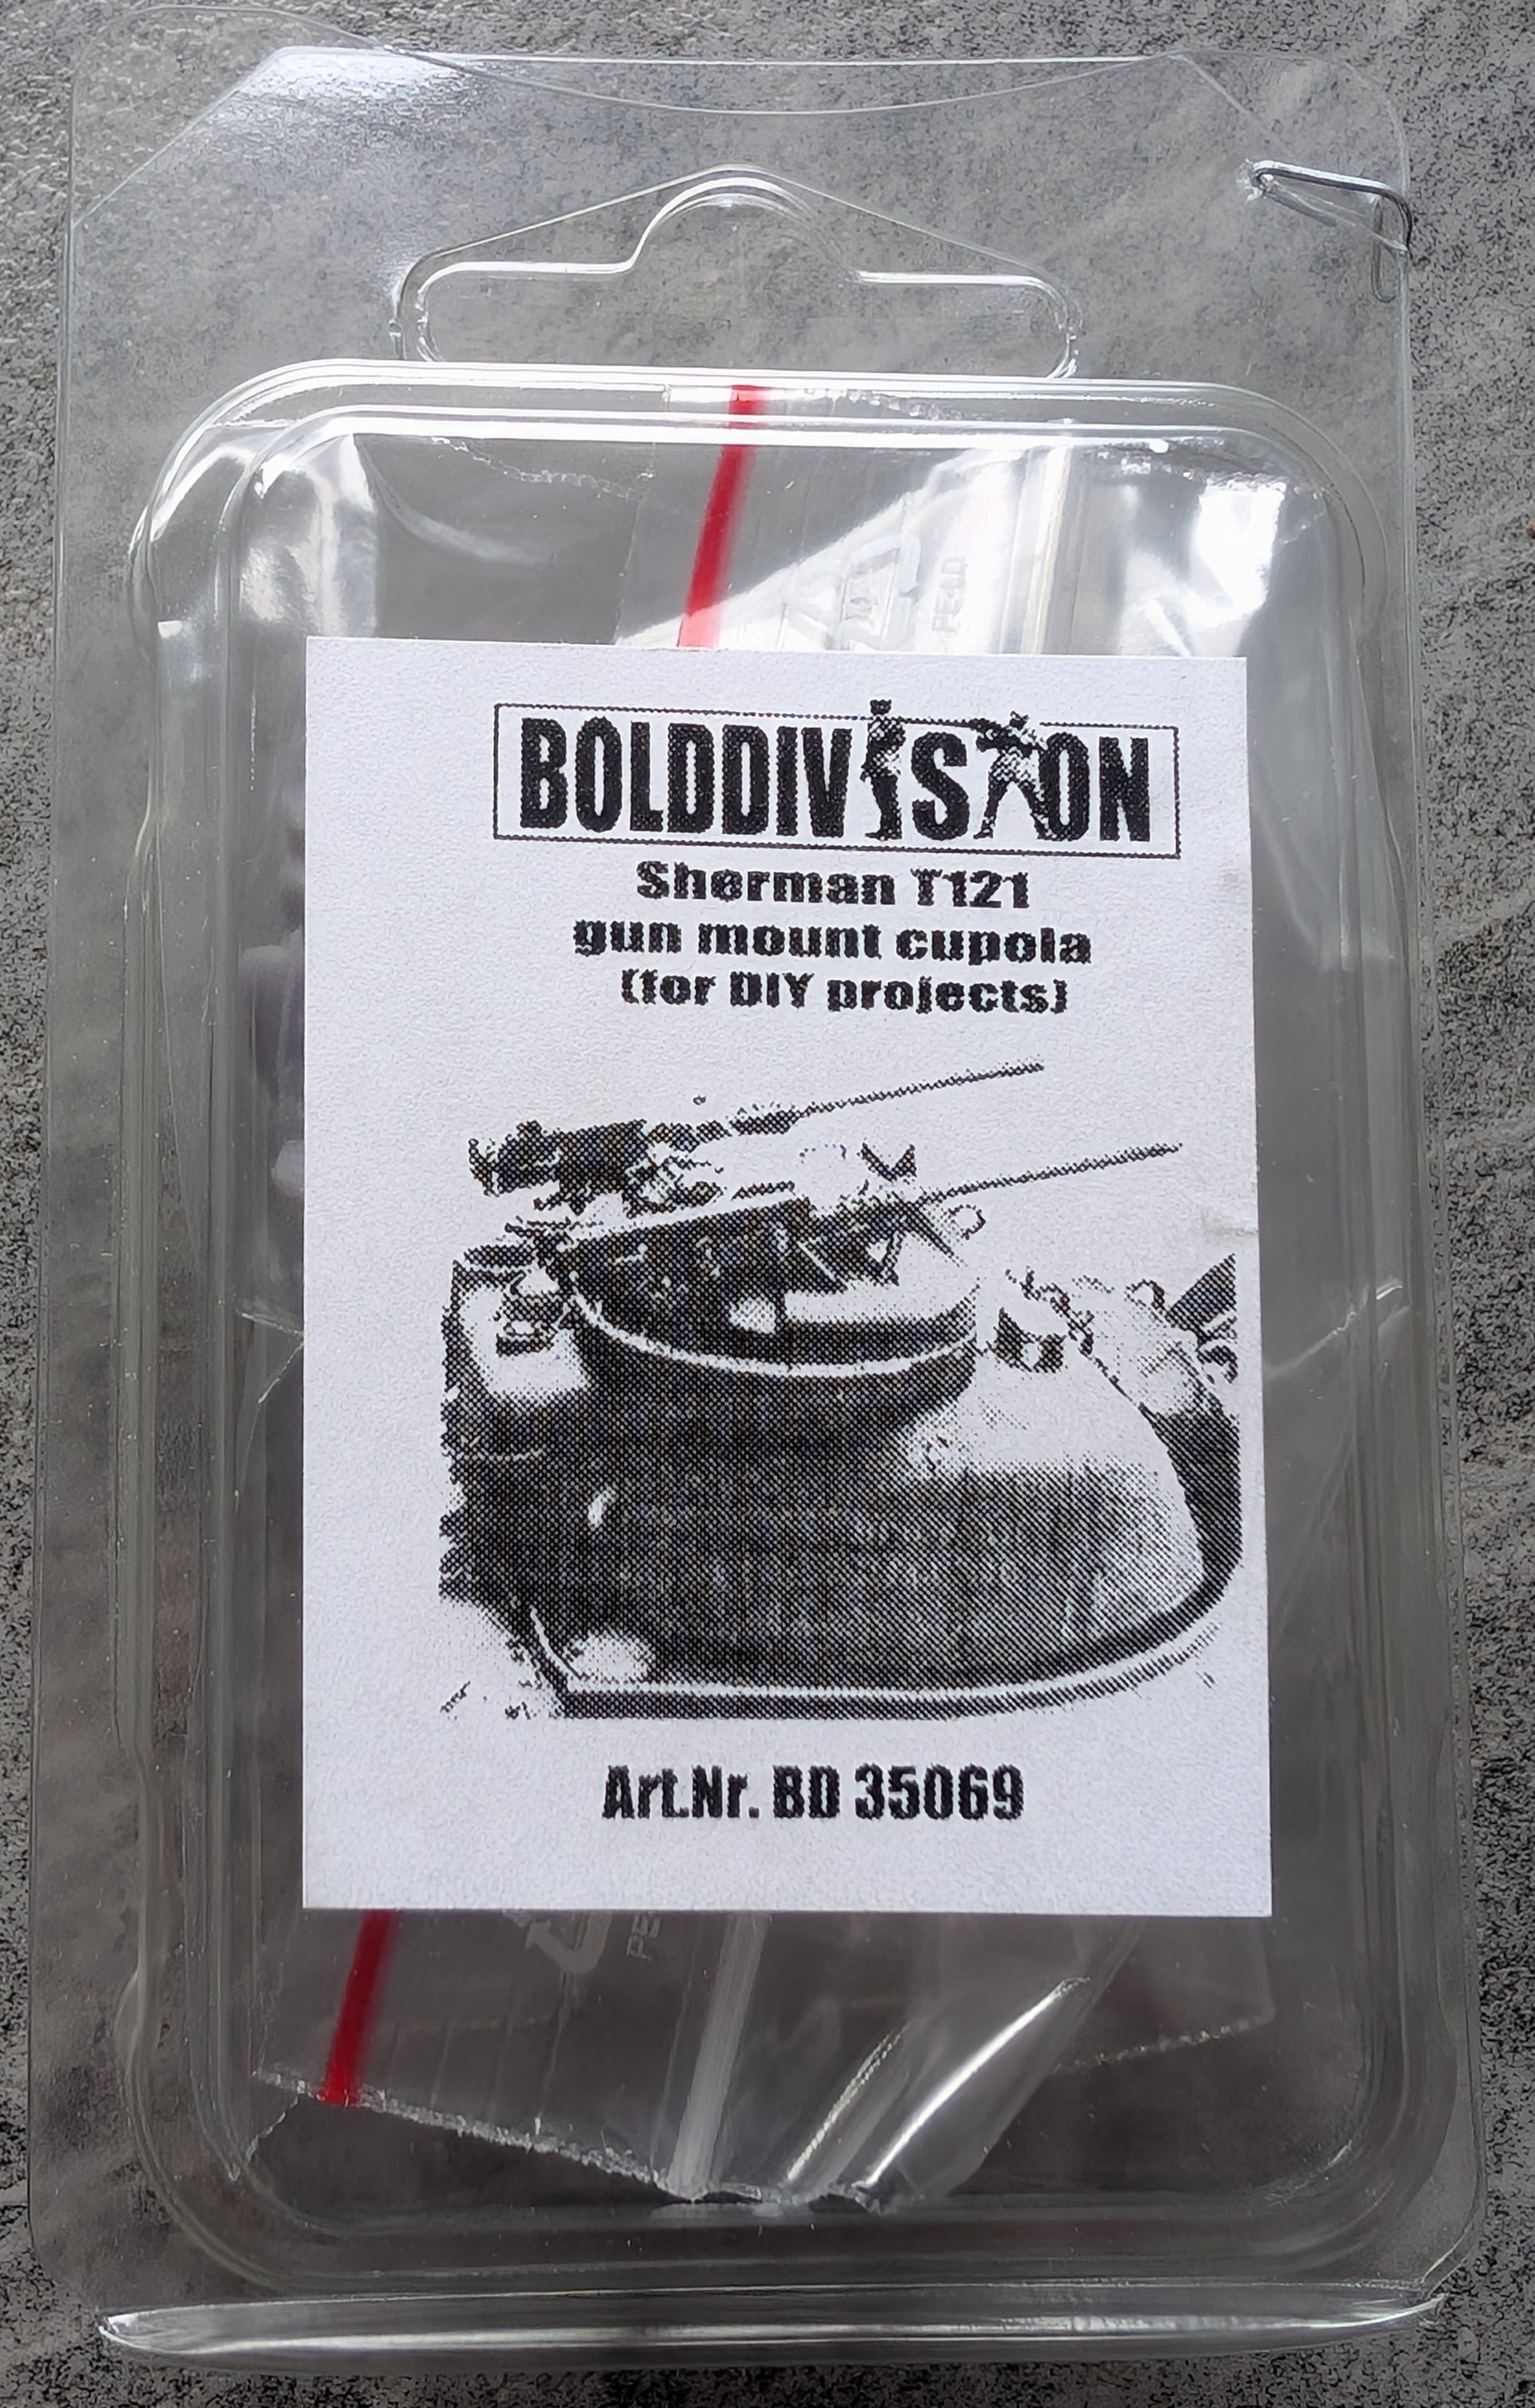
The T121 dual .50 HB cupola is a neat addon for one of the above projects.

Generally speaking the workmanship of the Bold Division kits is very high. All casting are sharp, straight and blemish free. More info on kit contents can be found in the link below.

https://www.bolddivision.de/shop/bausätze-kits-1/liste/

Summing up, inspired by Bryan Krueger in particular, I have couple of very interesting projects in front of me.

Please let me know, how you feel about these “What If” Sherman variants?
11 Likes

Cool!

But I think you’d have to lower the superstructure into the hull, so that it comes down to the row of bolts on the front and the maingun falls into the place of the bow machinegun.

1 Like

Really like all three, and looking forward to your build

1 Like

My first attempt at a “JagdSherman”. Bold Division kit no. 35081 modified. Asuka M4A3 HVSS base kit.
The casemate is a cut-down version of the hull part from the BD kit. The casemate is obviously still too long, but I will fix that later. In order to have stable base for the casemate, I removed the upper side of the hull, and replaced it with a 2mm plastic plate.

4 Likes

Maschinen Kruegers (Bryan Krueger) three versions of “JagdShermans”:

Bryan is a very gifted modeler, who has created three very destinct versions of “what if” Shermans.

2 Likes

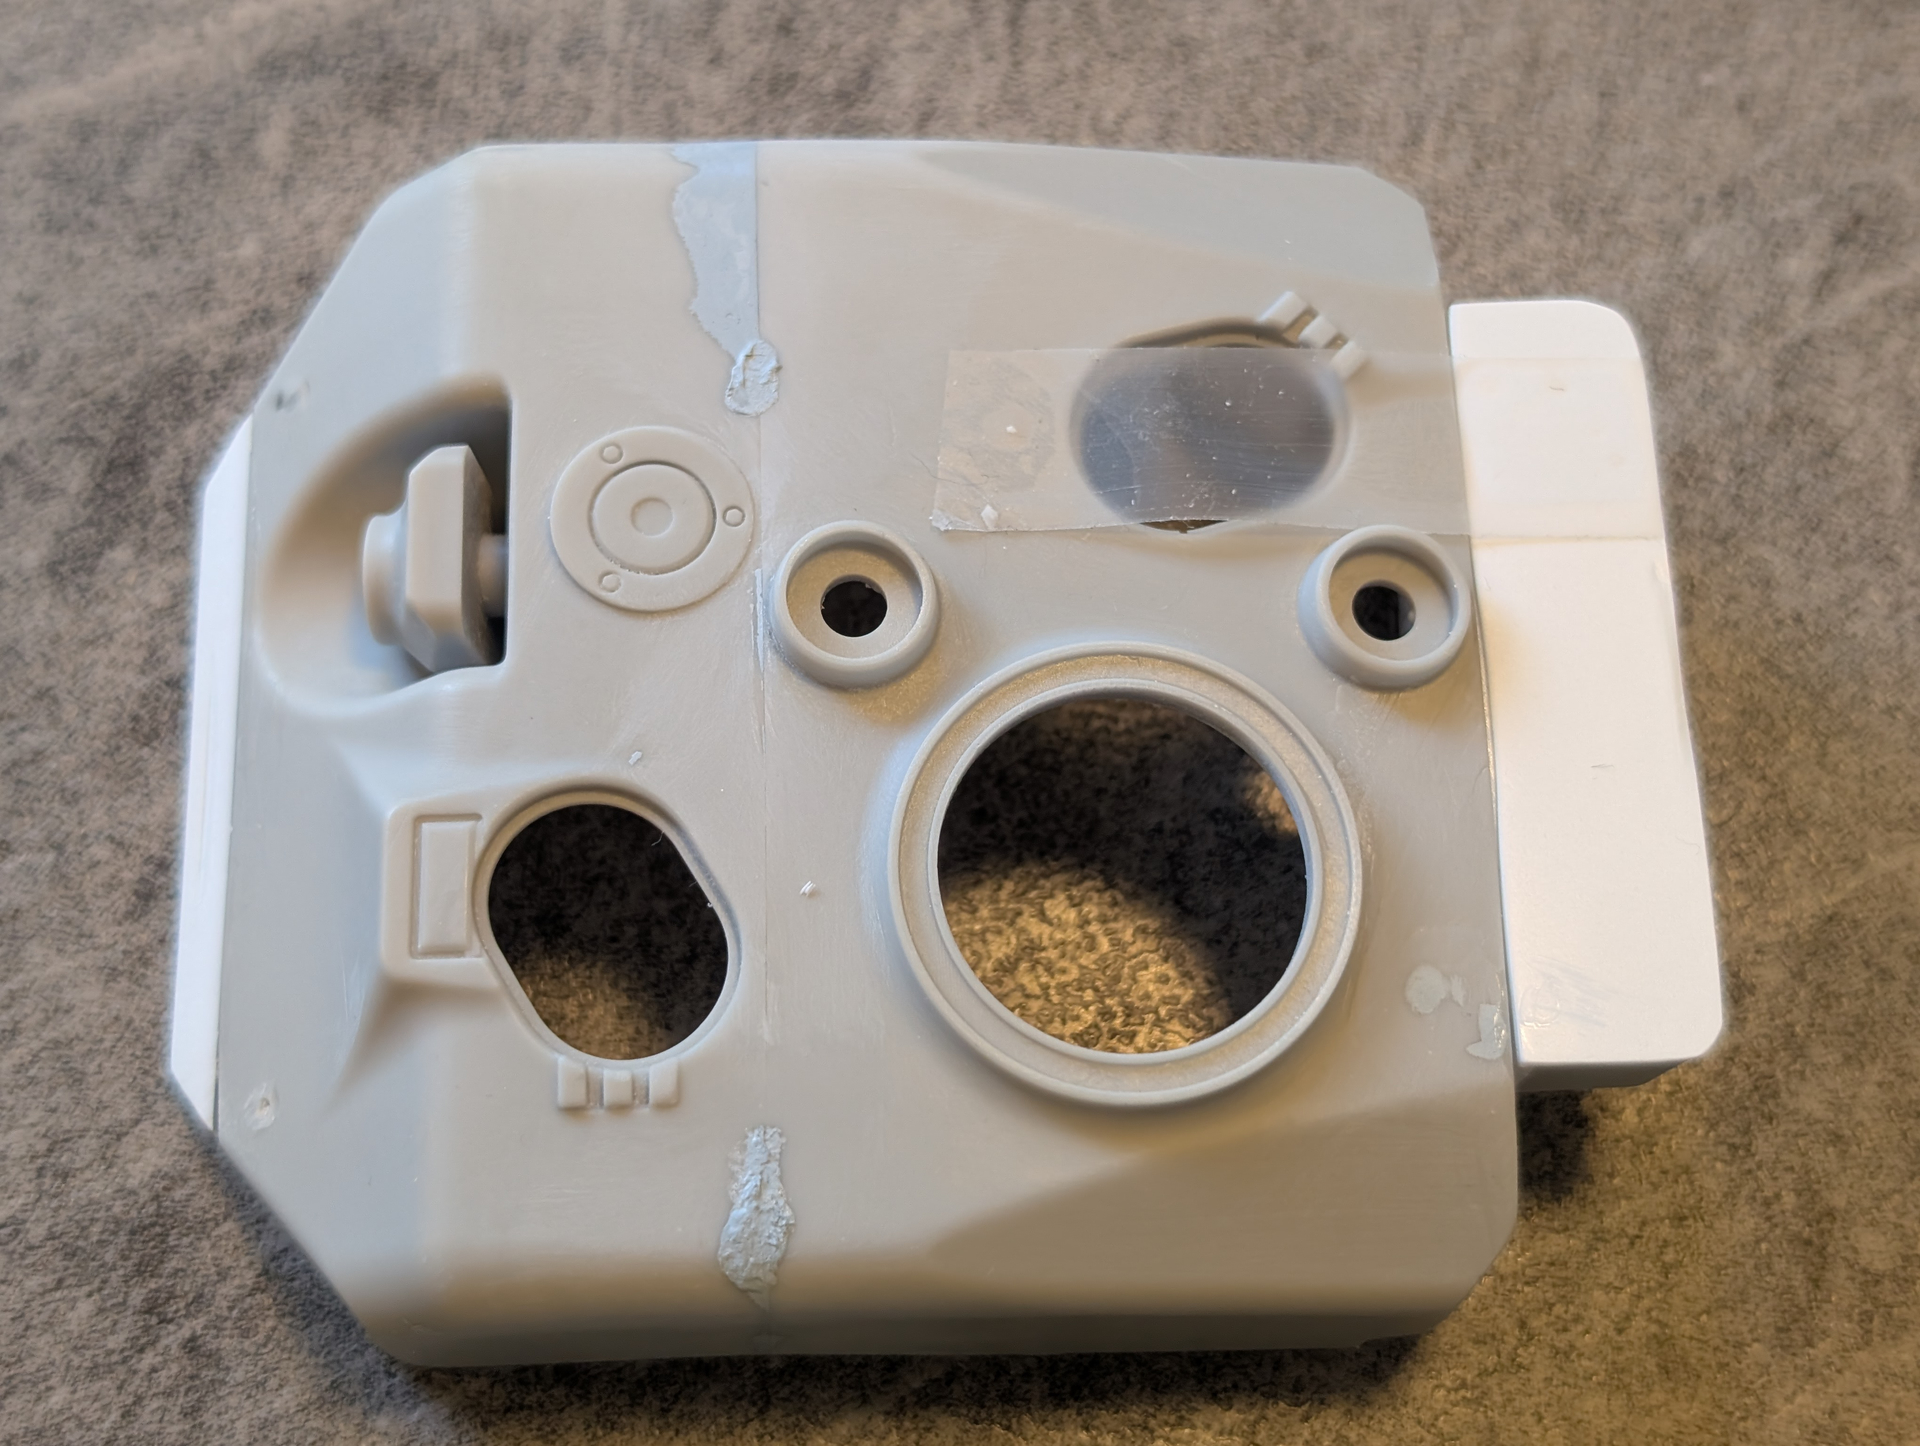
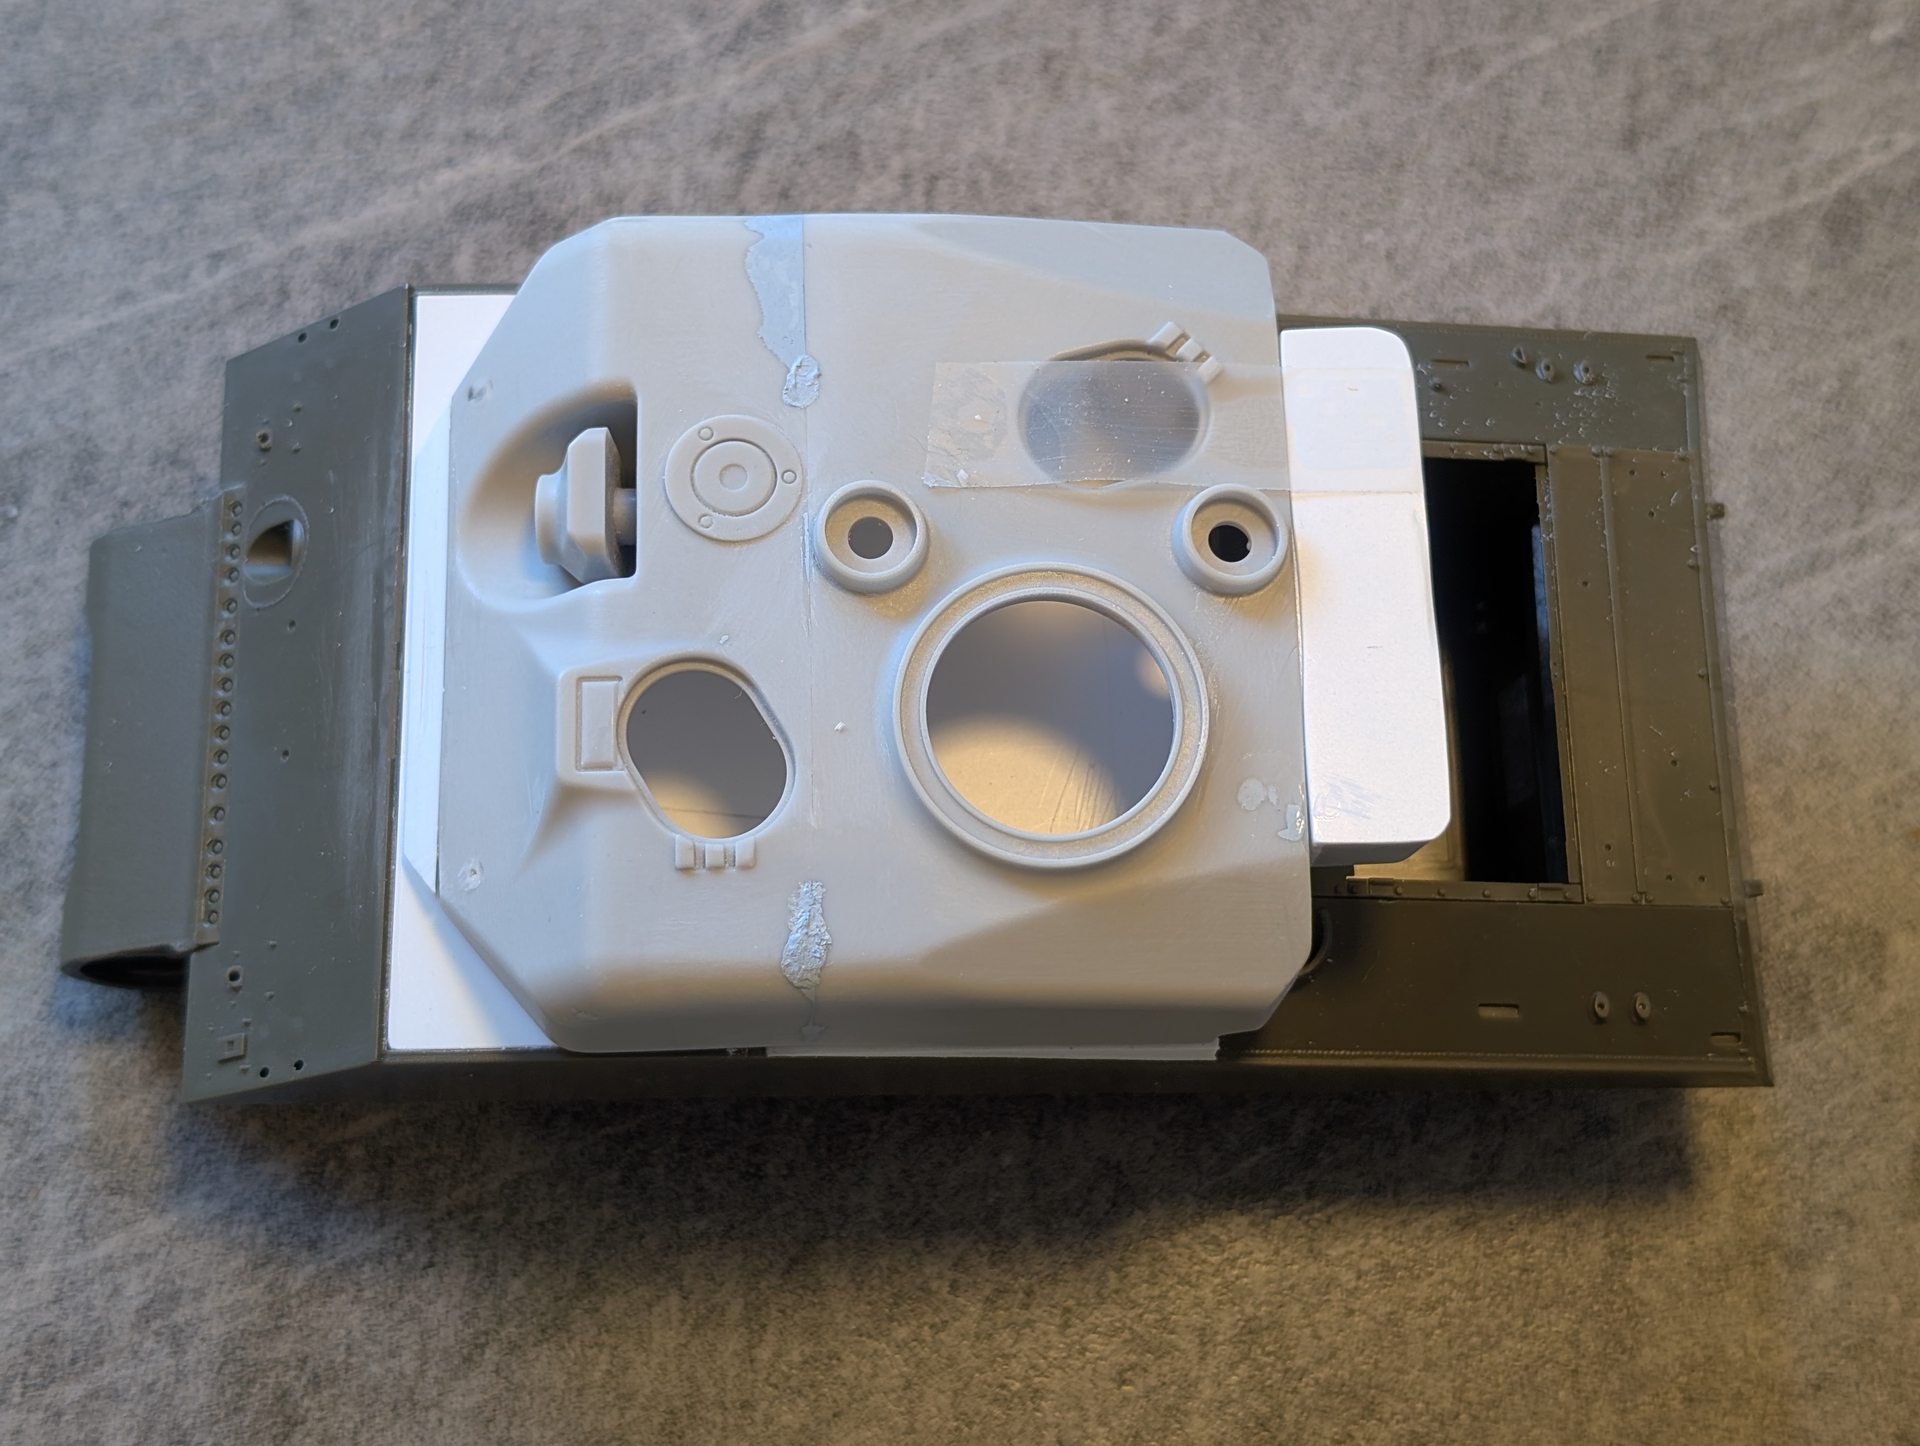
Time for an update. The casemate is nearly ready, apart from a little sanding here and there. The turret extension is a homage to the T-23 turret with its similar extension. The extension is made from the last part of the original upper hull, cut down, and turned 180 degrees.

Next task is the turret hatches. As they are better detailed, I would like to use the Asuka hatches, but they are too large. So now, I need to find out, if I should adapt the Asuka hatches, or use the kit hatches, even though, they provide less detail.

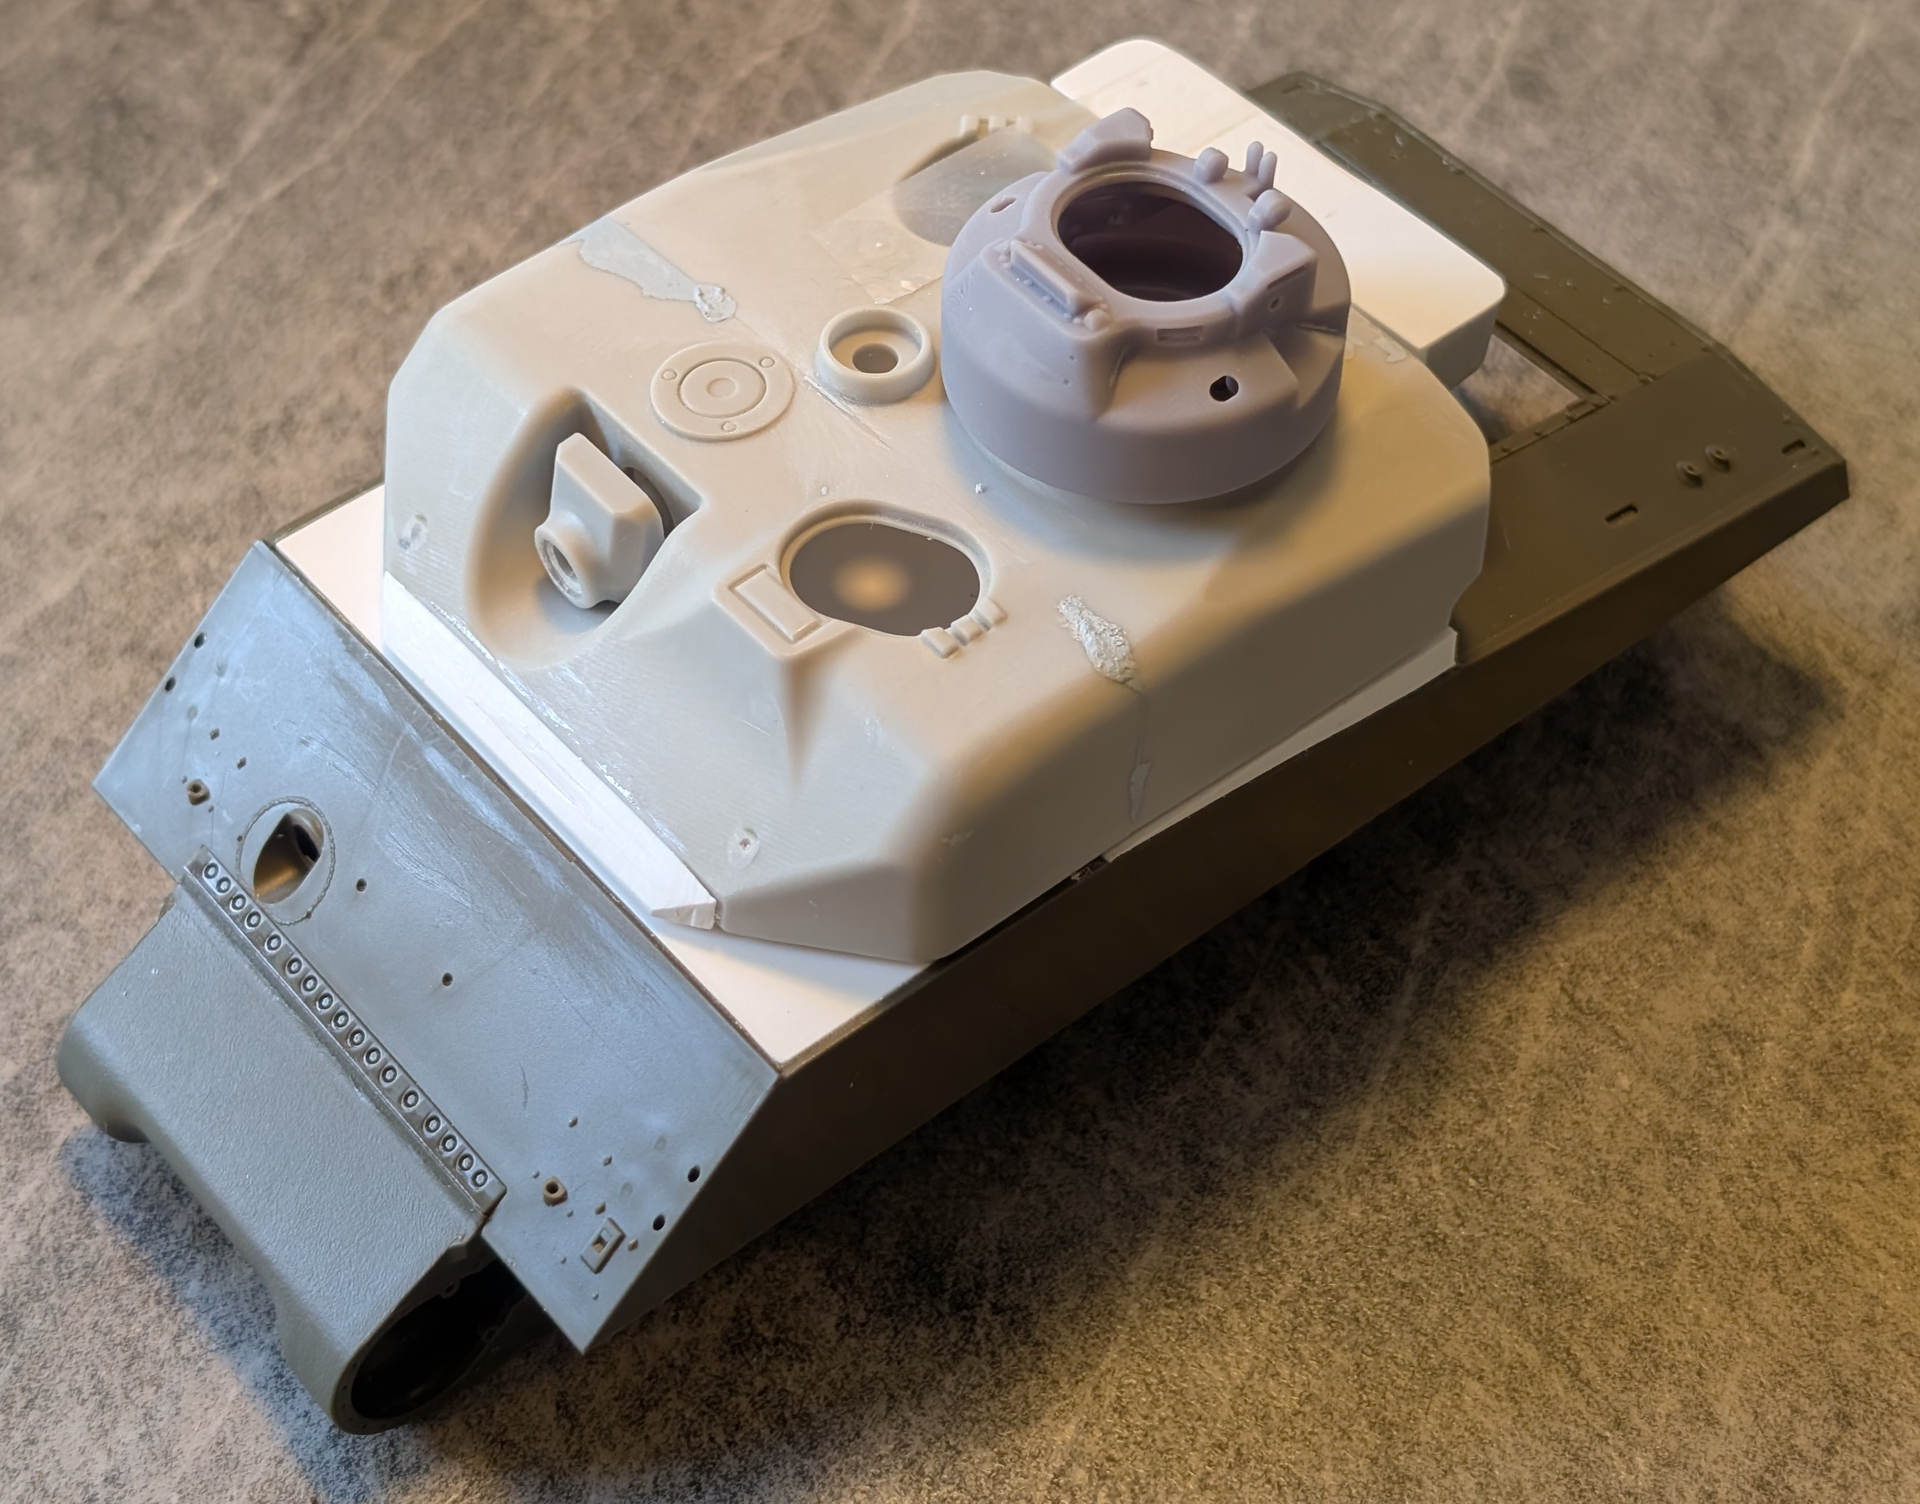
Also, I intend to use the Bold Division T-121 cupola. It is always handy to have two Browning M-2s nearby.

7 Likes

‘Only just caught up with this; I personally think that What-Ifs are great fun, especially if the modeller concerned goes a little further and makes it all plausible. My only experiment to-date was a Bundeswehr M103, which was hardly stretching very much at all, but as a theme, I’m becoming more and more of a fan - though my build rate would indicate otherwise(!)

Keep at it it Thomas - great work.

5 Likes

Hi Brian,

I certainly remember your BW M103A2. It’s on my list of future “What If” projects as well. You could gild that lily even further than you did. I’m thinking Leopard 2 tracks, Leopard 2 gun and gunners sight, and maybe even an Leopard 2A4 inspired turret basket? :slight_smile:

My current project is inspired both by Brian Kruegers projects as indicated above. But more importantly, I found the Bold Division kit lacking in the sense, that if would be impossible to operate a vehicle portrayed by the kit. Simply not room enough inside the casemate. But I certainly like the idea of a cast casemate on top of a welded hull, in order to get the 90mm gun in a closed encasing as opposite to the M36 Jackson with its open turret. So there I went … :wink:

1 Like

That really endorses where I’m coming from; there has to be a certain logic and plausibility in the design, other wise it’s just the sort of chimera that appears as say, “22nd century Hover tank” with the tracks replaced by cigar tubes or similar. I’ve noticed on a lot of (successful) projects this type of modelling is also supported by an extensive back-story, which also helps and adds design credibility.

Anyway, looking very forward in continuing to see what you produce.

2 Likes

Does anyone else get a strong Tortoise vibe from this one?

Interestiing projects

Mal

6 Likes

That is a very neat vehicle. It looks very different from the Jagdsherman I built.

2 Likes

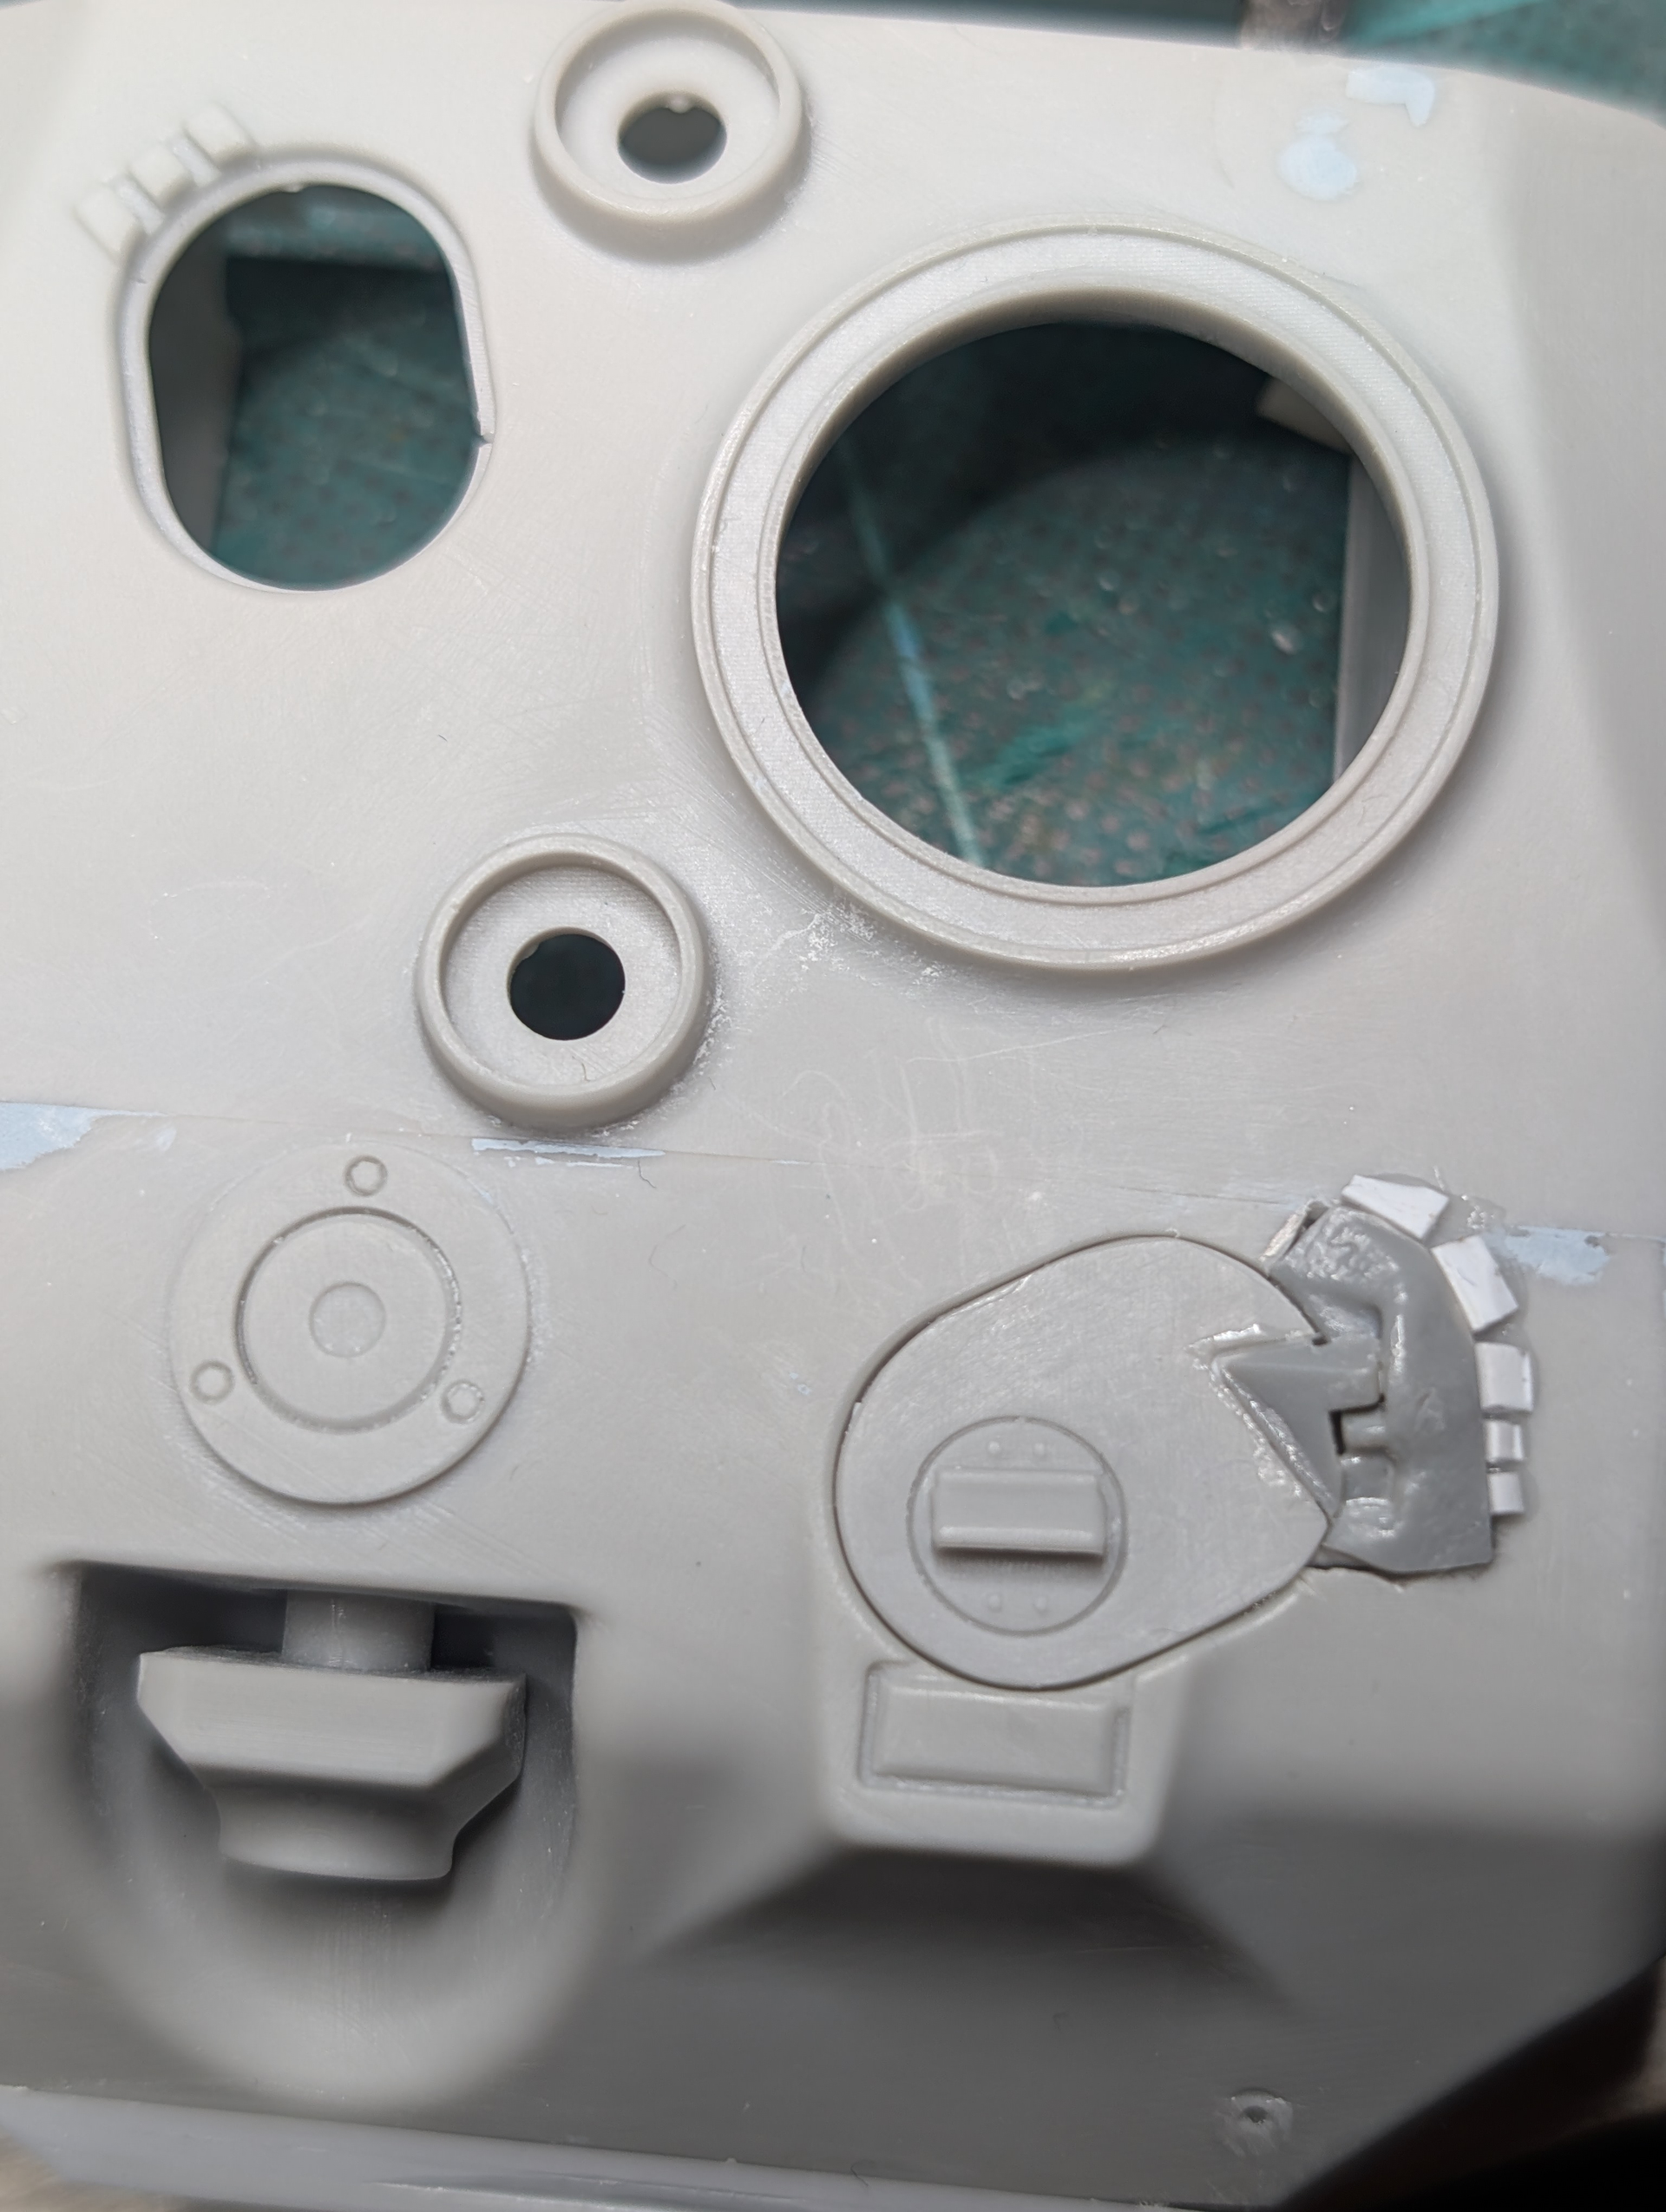
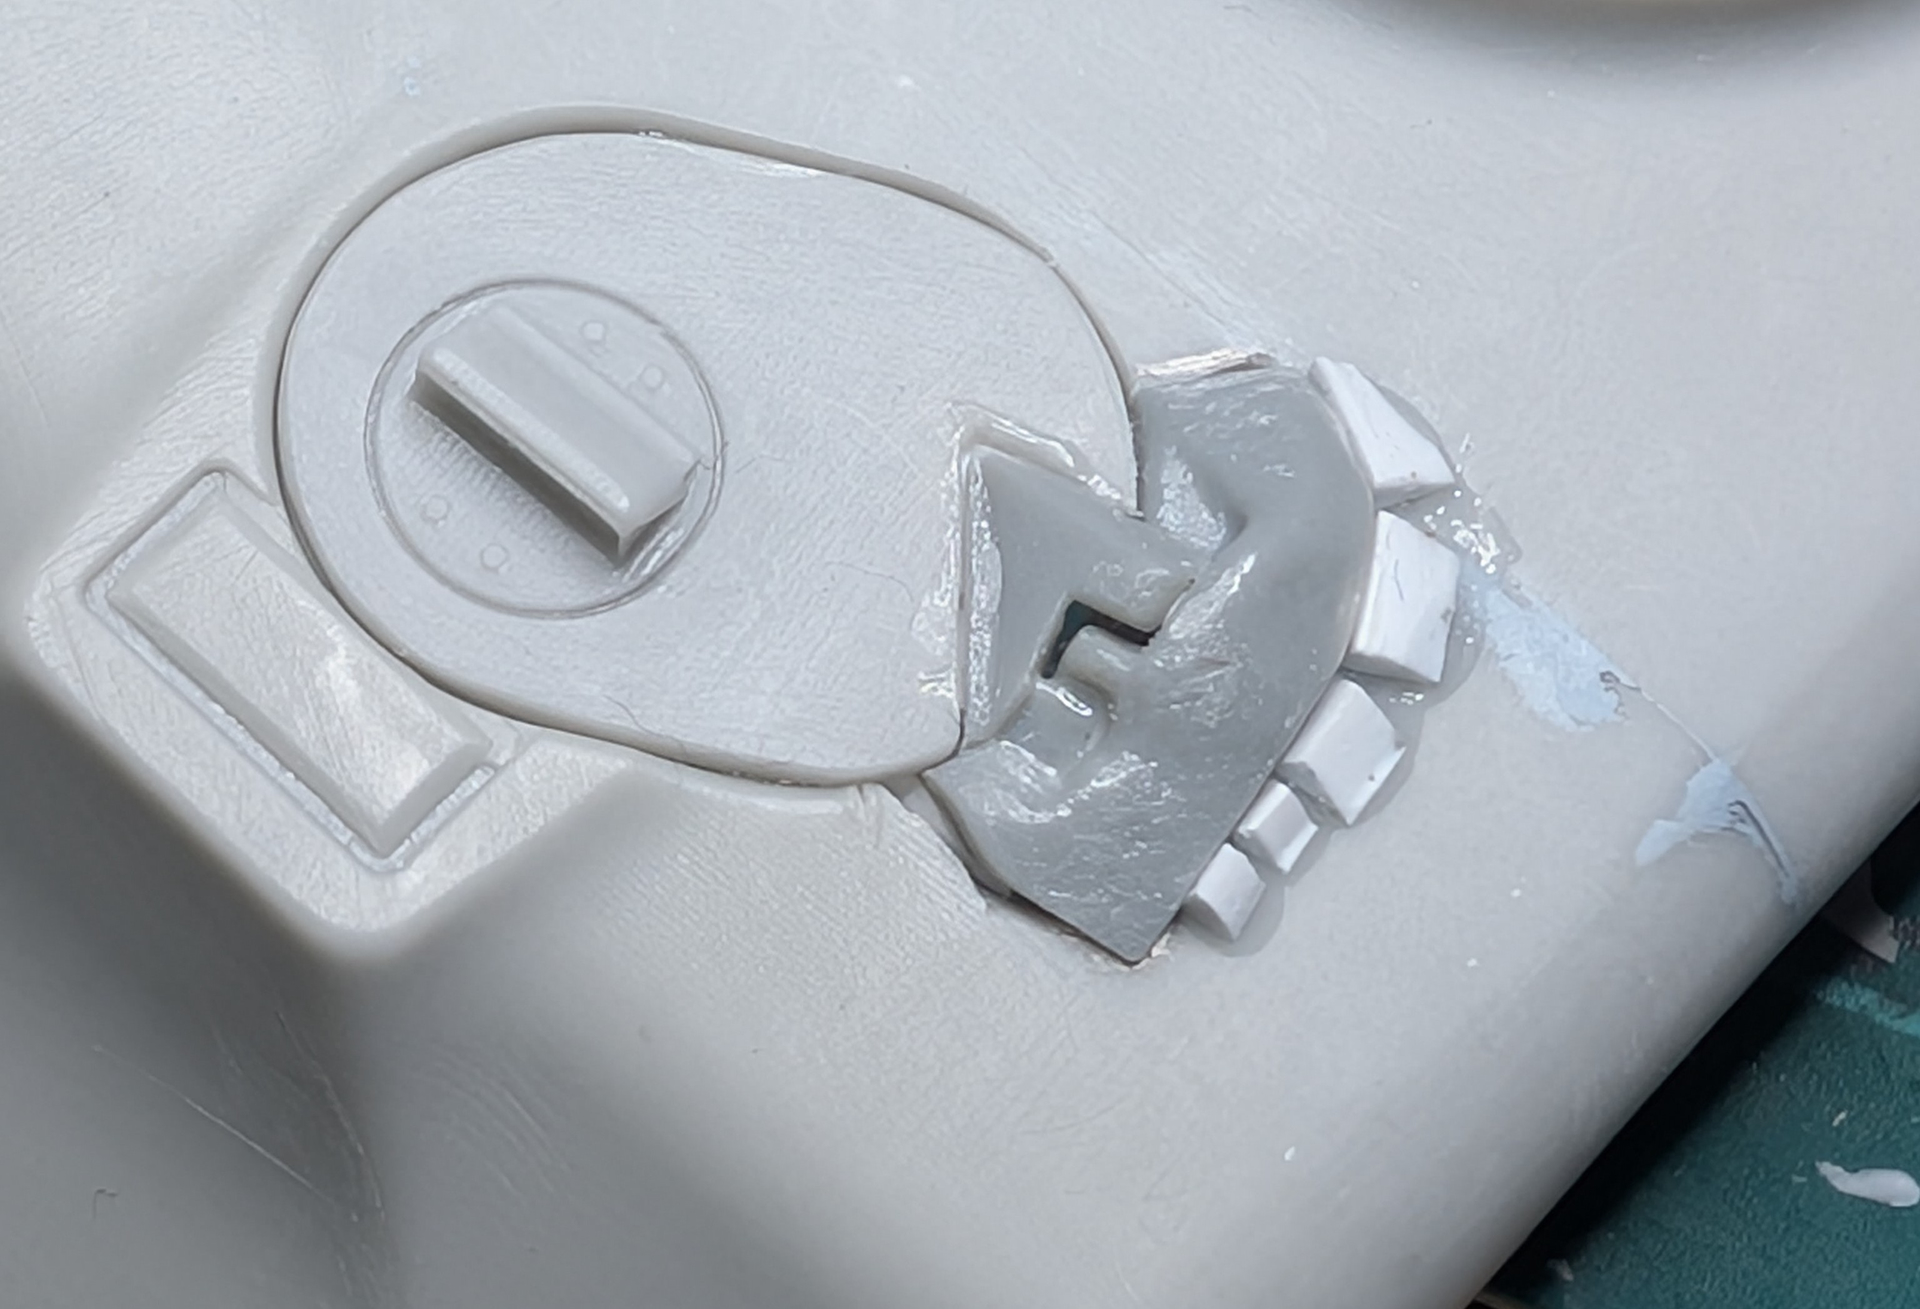
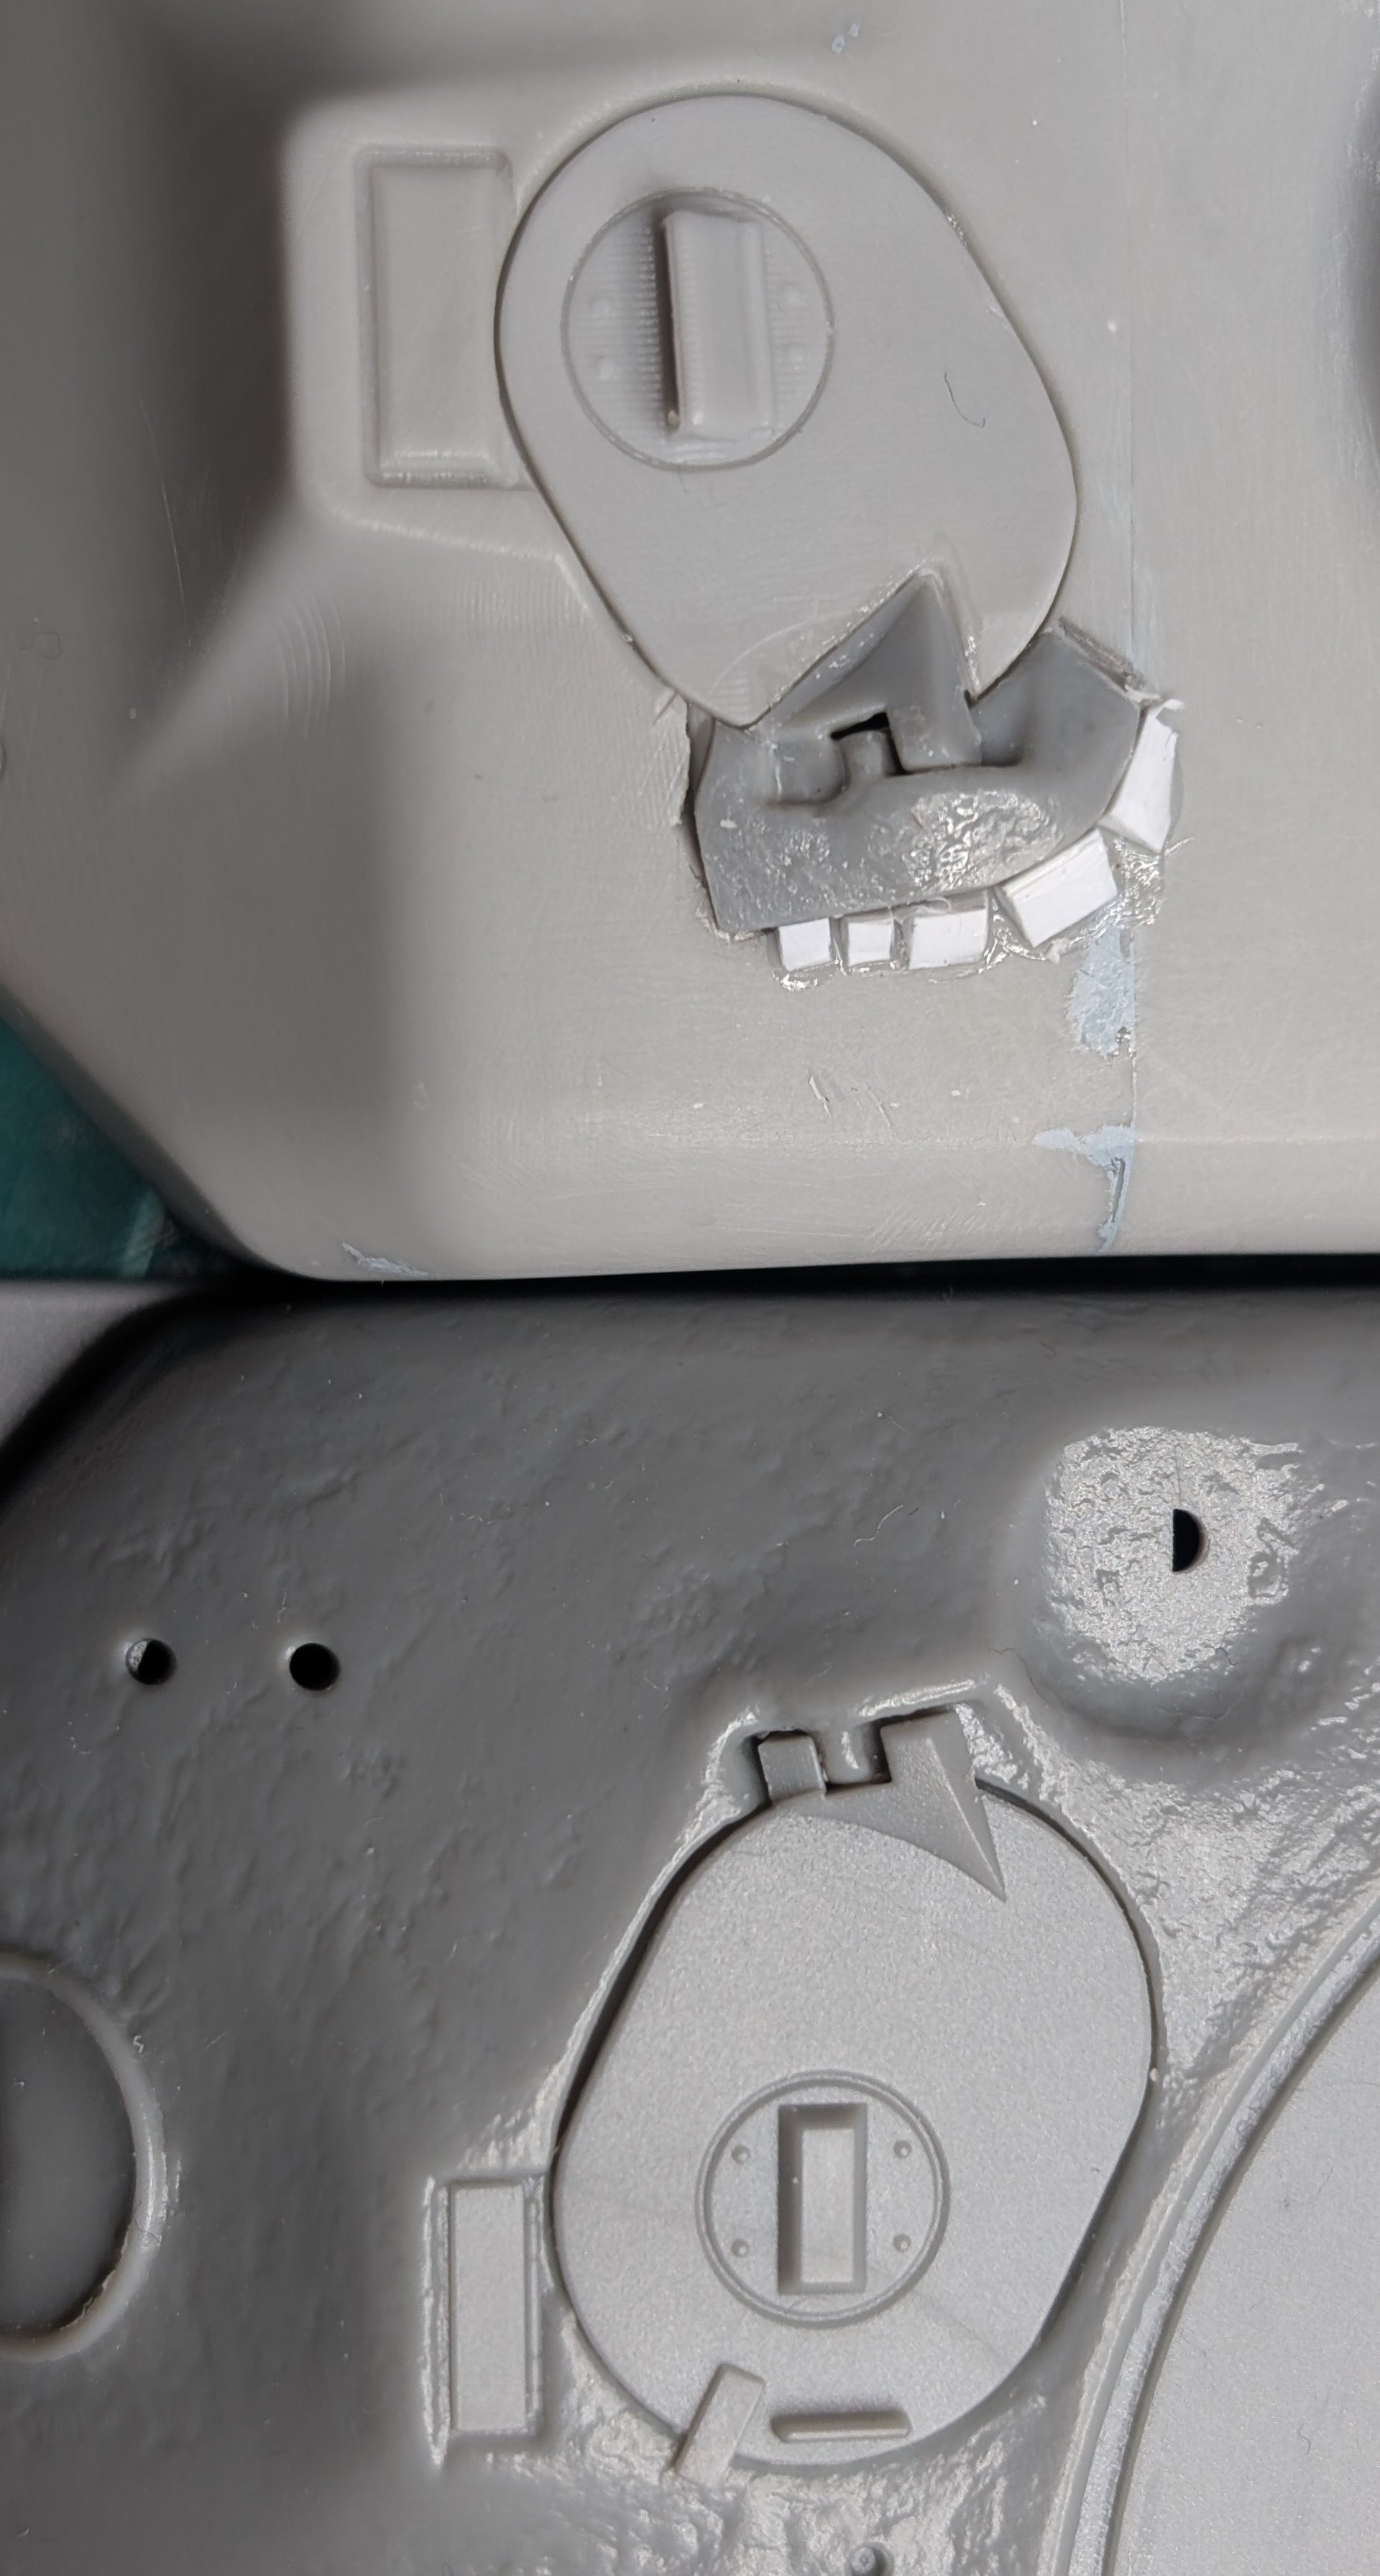
The devil is in the detail, as they say. In this case a very evident detail, the two hatches on the casemate roof have only a superficial resemblance to the real hatches, or rather the hatch hinges have a superficial resemblance. I decided, I could not live with this uncanny appearance of the hinges, so I cut the hinges of an old Dragon kit and mounted them on the modified hull. It was not easy. But, what doesn’t kill you, makes you stronger :slight_smile: The hinges will of course be faired in with putty, but the pictures should give you an indication of what I intend to model?

/Thomas

3 Likes

The last couple of days work, the forward crew hatch has been faired in with putty, the turret extension has been glued on and the first length of weldline applied.

Next thing to fix is the other crew hatch. Then all the standard T-23 turret fittings :slight_smile:

4 Likes

I really like that superstructure design. It looks so very American.

2 Likes

Tamiya/Italeri haven’t done any M4A4s?

Time for another update. The second crew hatch hinge has been done, and covered with Mr. Surfacer 500 to imitate the cast metal effect. The entire casemate will be covered in Mr. Surfacer 500, as the BD casting is very smooth.

The integration of the hatch hinges into the casemate casting proved some what more difficult than I had anticipated, but I am satisfied with the result, and that is the most important thing.

Next job in line is all the standard T-23 turret fittings, lifting eyes, gunners sight and what is usually seen on a Sherman T-23 turret. And of course, the casemate will be glued to the hull. I am seriously looking forward to that.

4 Likes

An update is long overdue, but life has a way of getting in the way of modelling, may be you know this too?

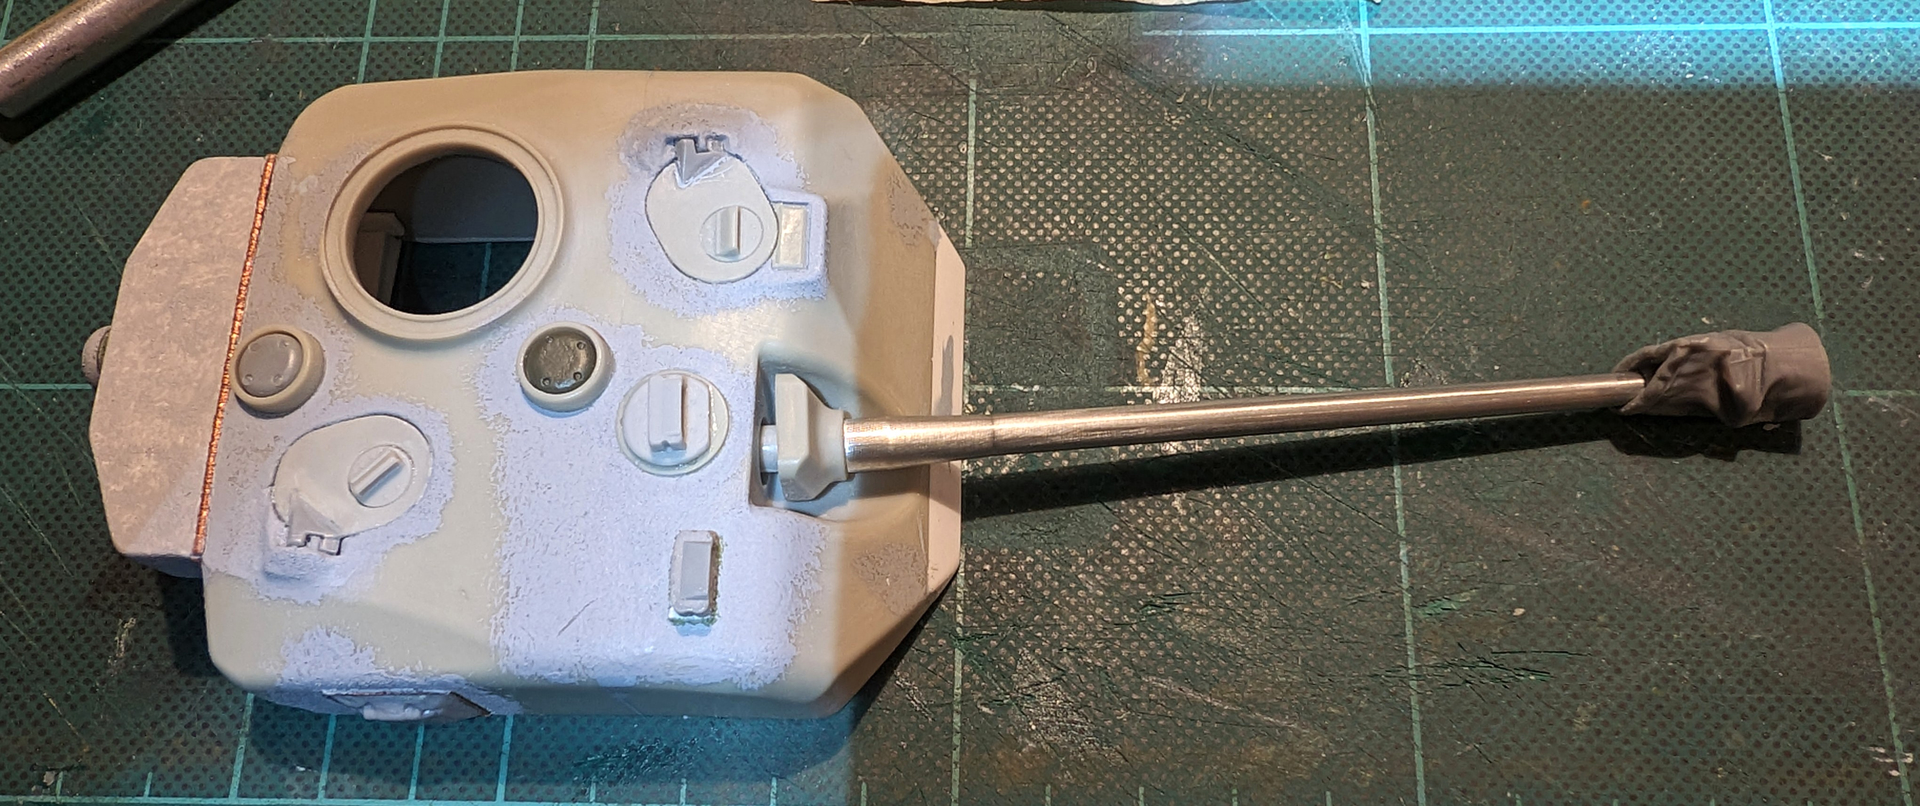
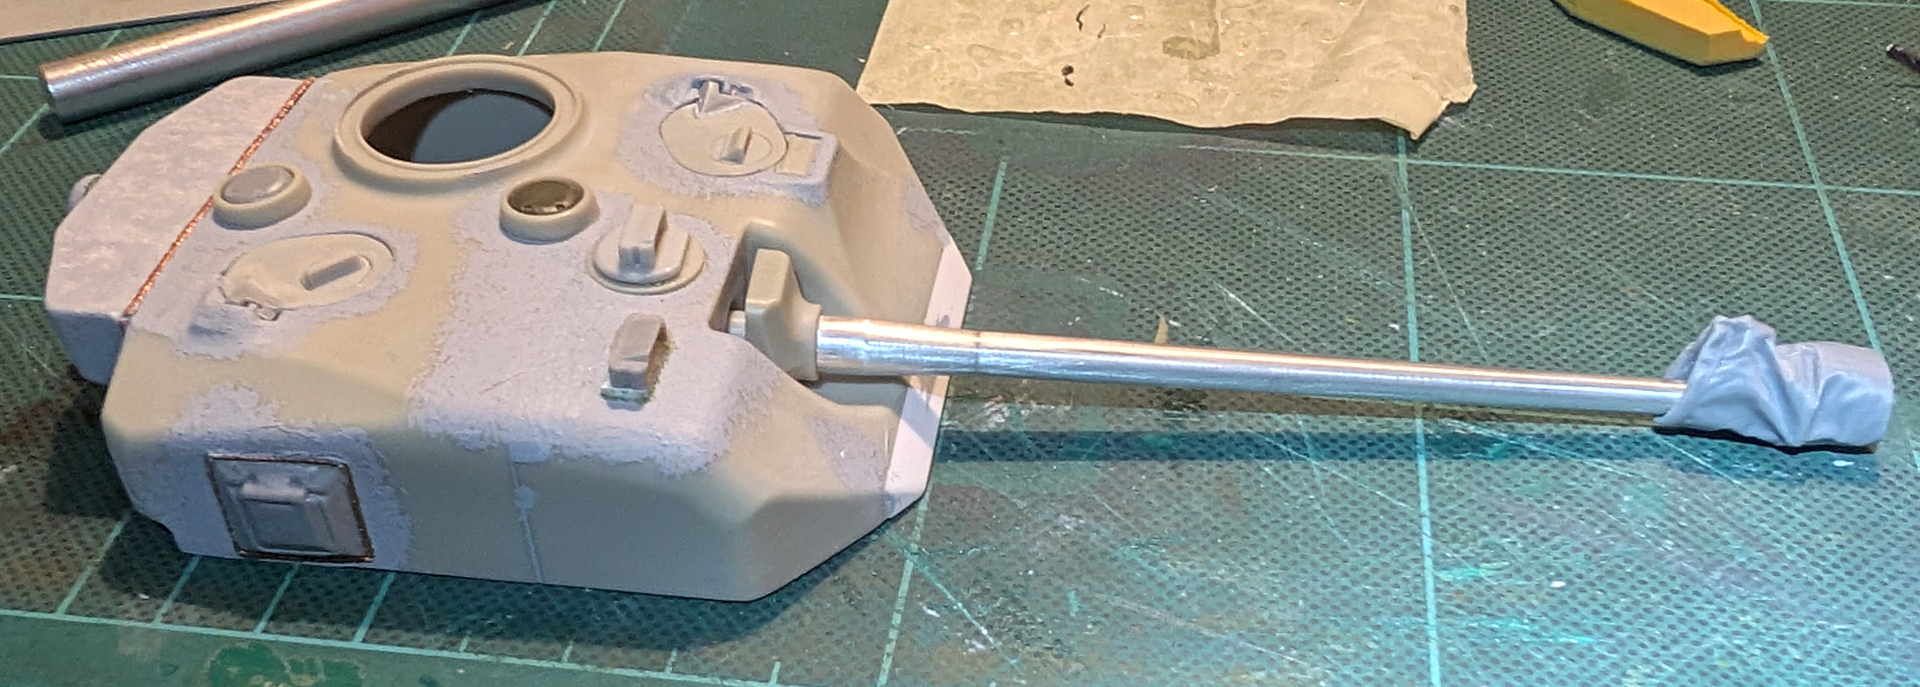
This time I have been working on adding some of the regular parts from the T23 turret, like the exhaust blowers and the pistol port with appropriate weld markings.

Also I had to figure out, how the gunners sight would work out. On a real Sherman, the gunners sight periscope is situated in the mantlet and the periscope used to get an overview of the area in front of the tank is situated in the roof. In the BD kit, the mantlet is not wide enough to accomodate a periscope. So I relocated it to the turret roof, where it can turn with the gun. The area periscope is situated to the right of the first periscope.

The main gun is mounted upside down, in order to be able to glue the mantlet. It will of course be turned 180 degrees. The bag covering the muzzle is from the DEF Model M26 muzzle brake detail kit.

Also I am working my way through covering the casemate surface with Mr. Surfacer 500. Apart from giving the intended cast structure, it also helps blend the main parts of the turret together. All in all, things are moving in the right direction.

7 Likes

This is an interesting build! I wonder about the turret crew locations, as that space to the right of the gun is mighty narrow. With the gun breach in the way, he’s toast if they have to bail out!

2 Likes

Arrrgh! Breech breech breech!

4 Likes

I have given that question a lot of consideration my self. Either there is just a three man crew.(commander/gunner and loader/driver), or the gunner sits between the driver and the commander on the left side of the gun. There certainly is no room for a person on the right side of the gun.

2 Likes