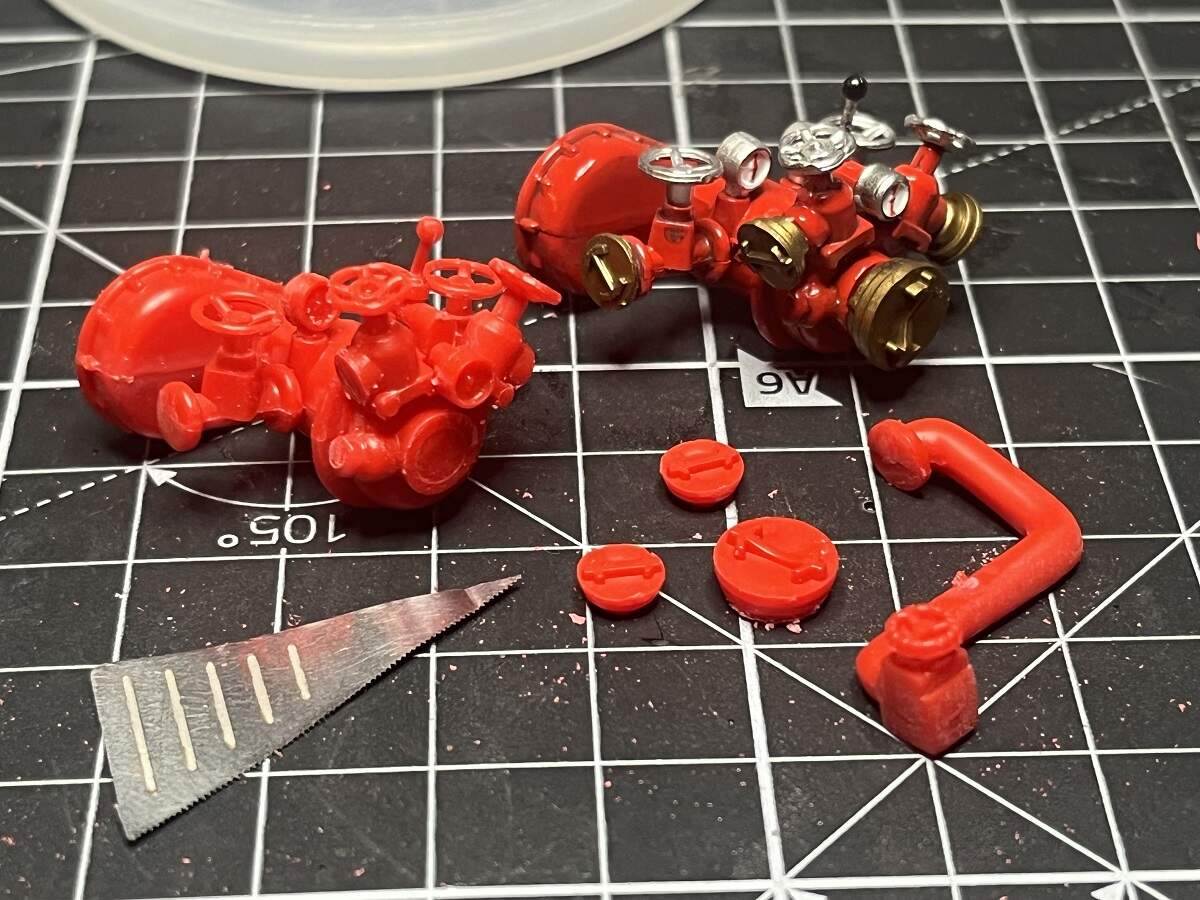
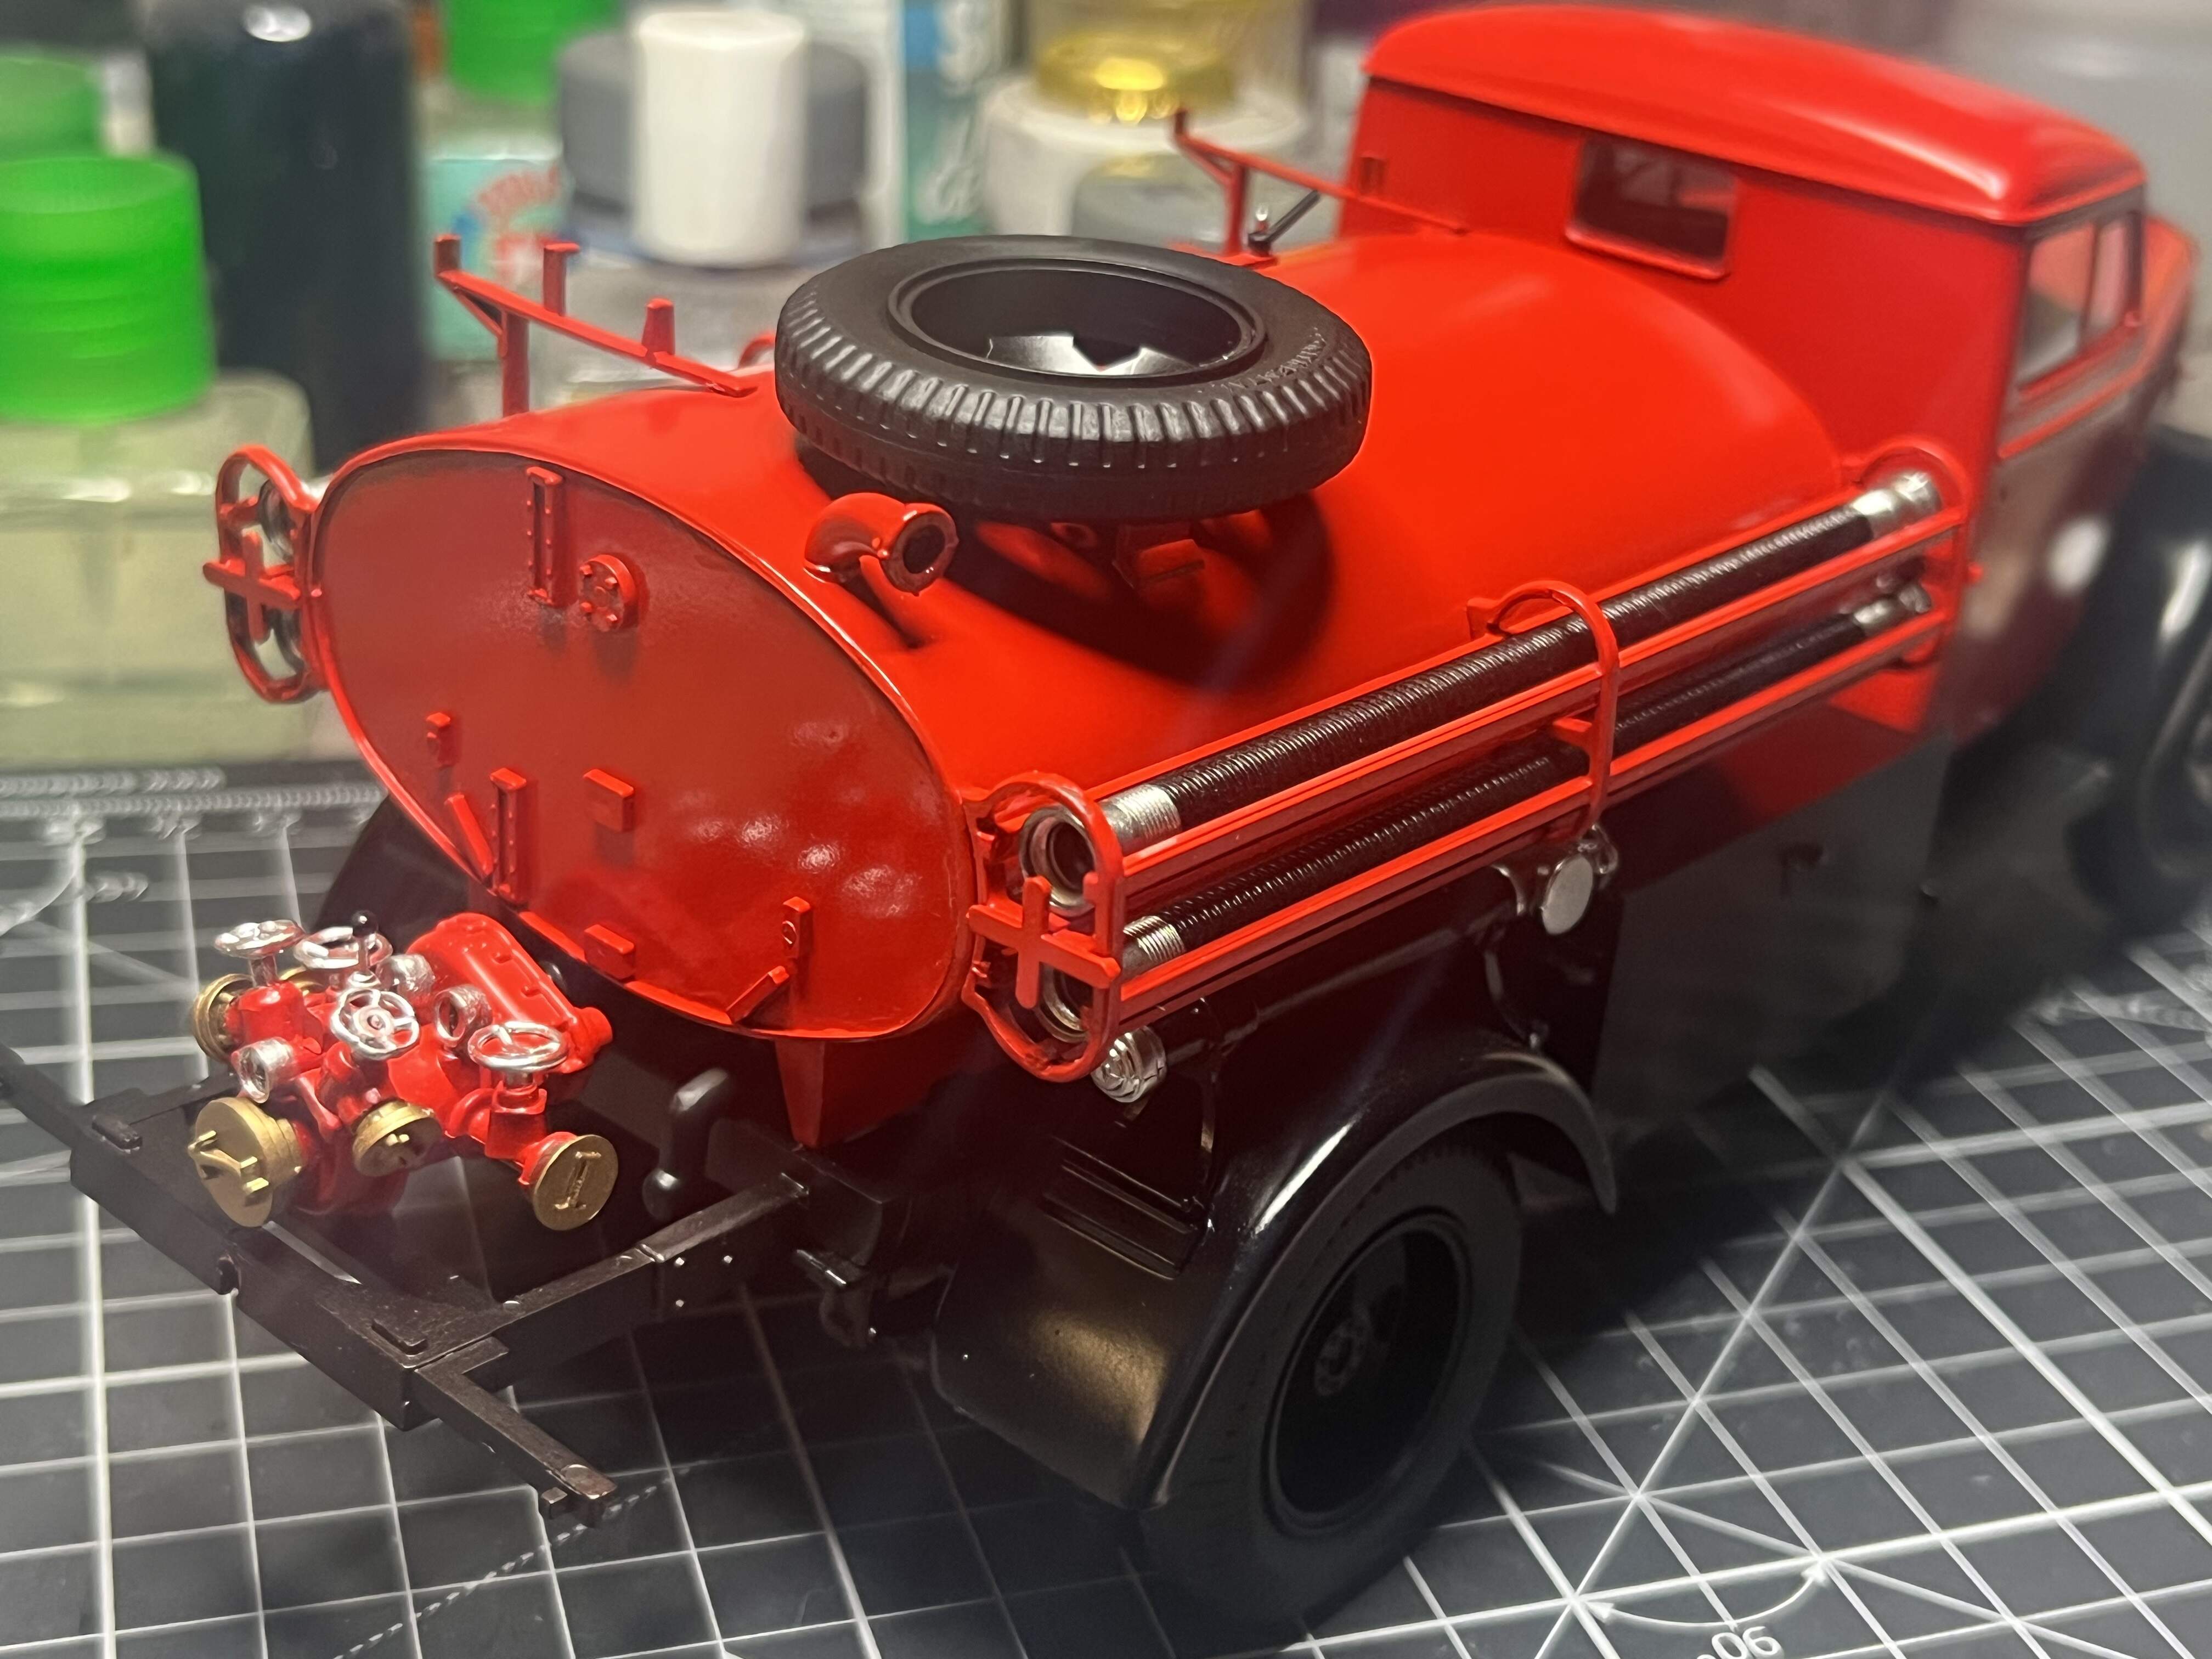
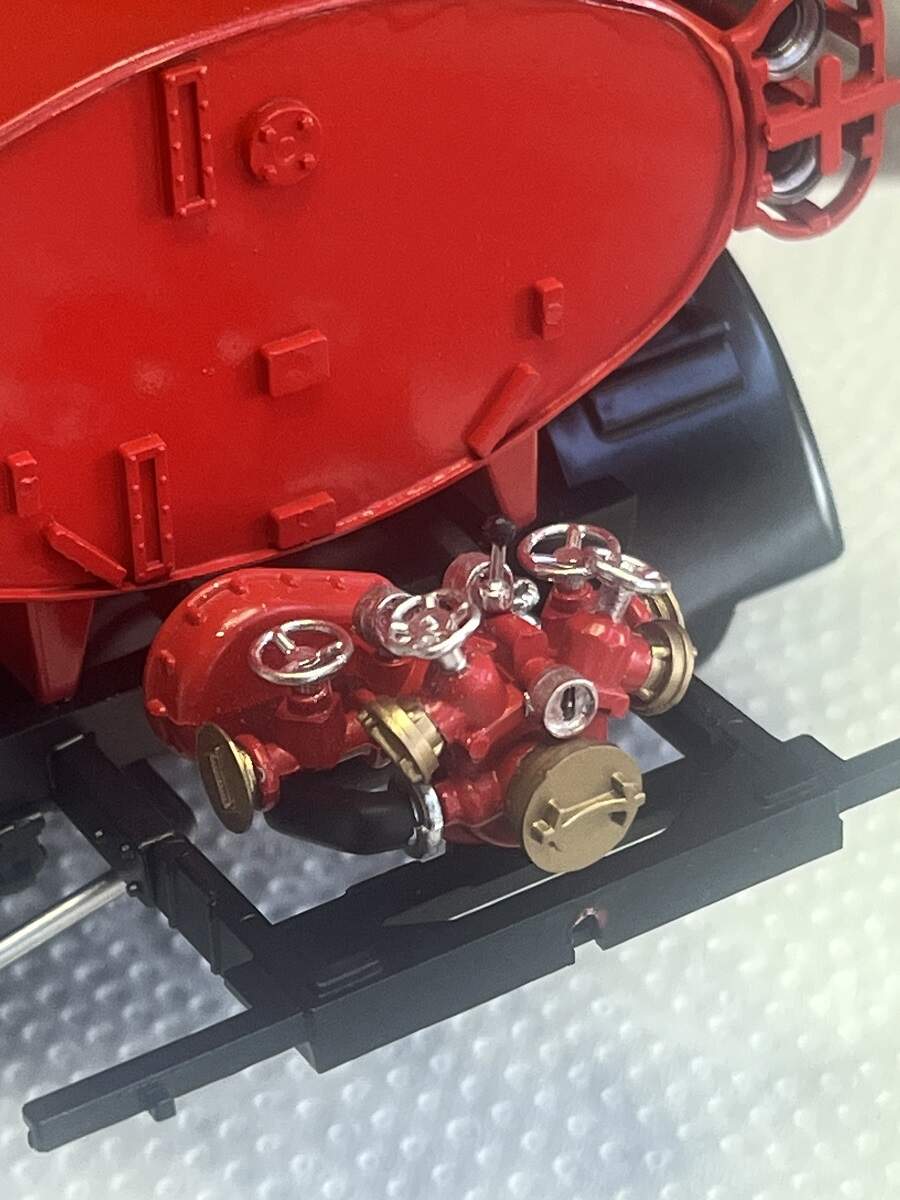
I got a bit ahead of myself all those years ago and completely assembled the pump unit, not forward thinking enough to account for details and varying finishes, so I took to the assembly with a razor saw to remove the brass plug parts. As with the same unit on the Fire Jeep I built last year, I will need to scratch build a pair of brass plugs that are not provided in the kit.
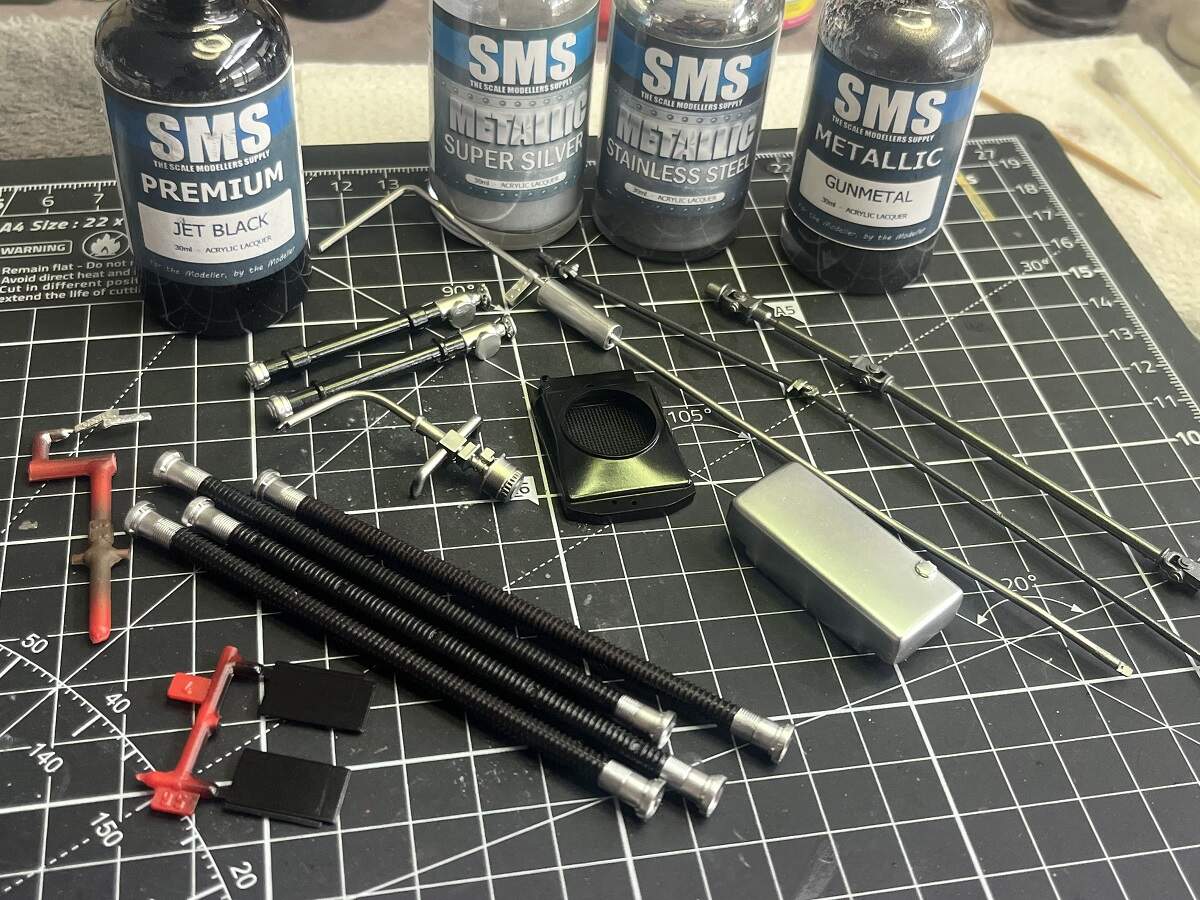
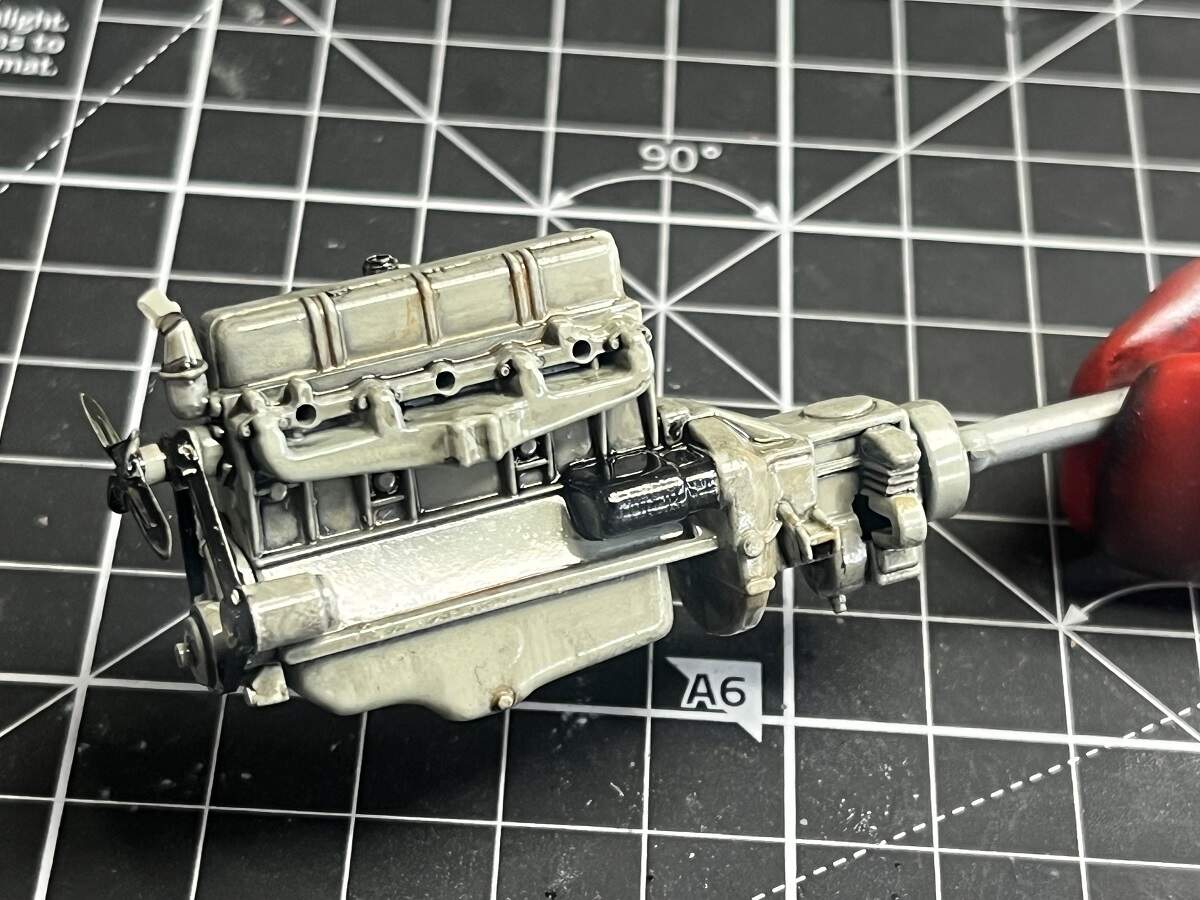
Airbrush got some love with SMS metallics.
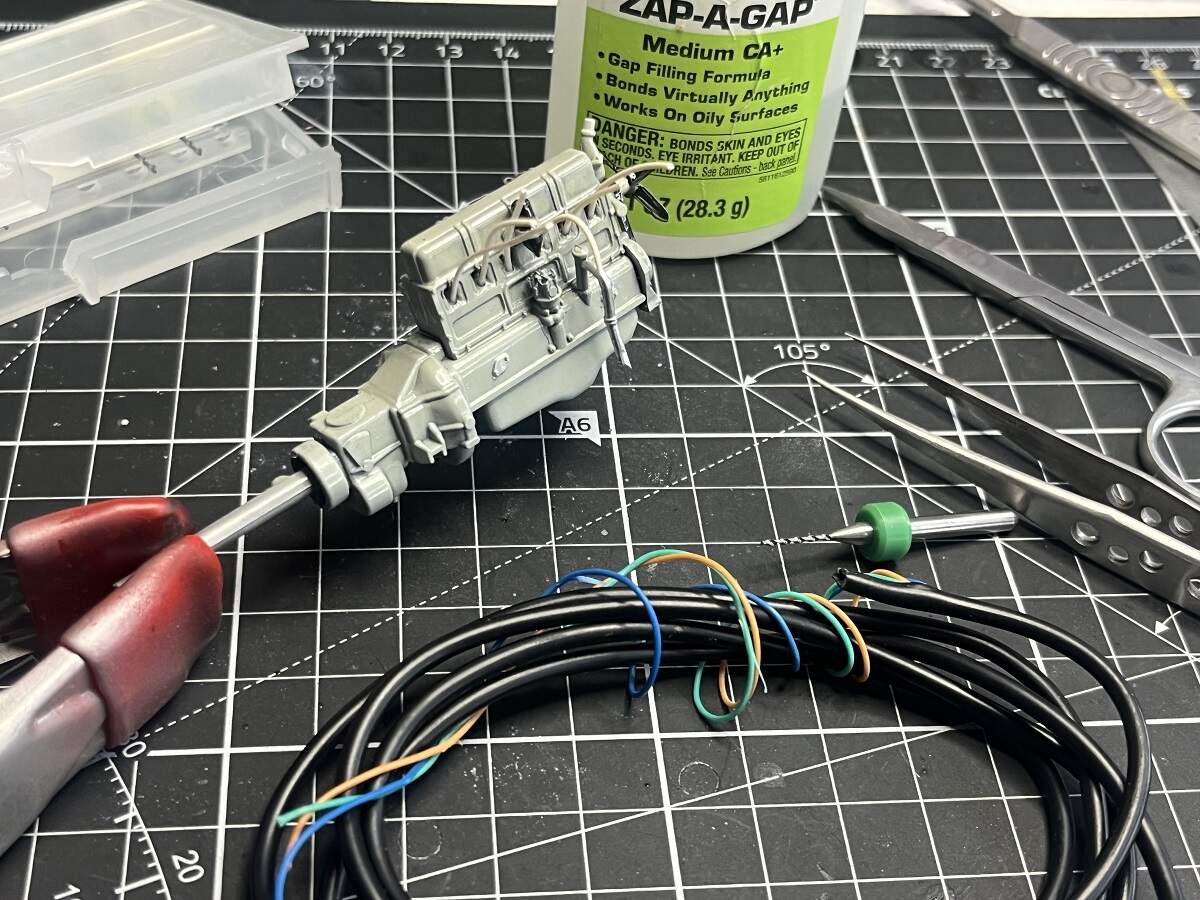
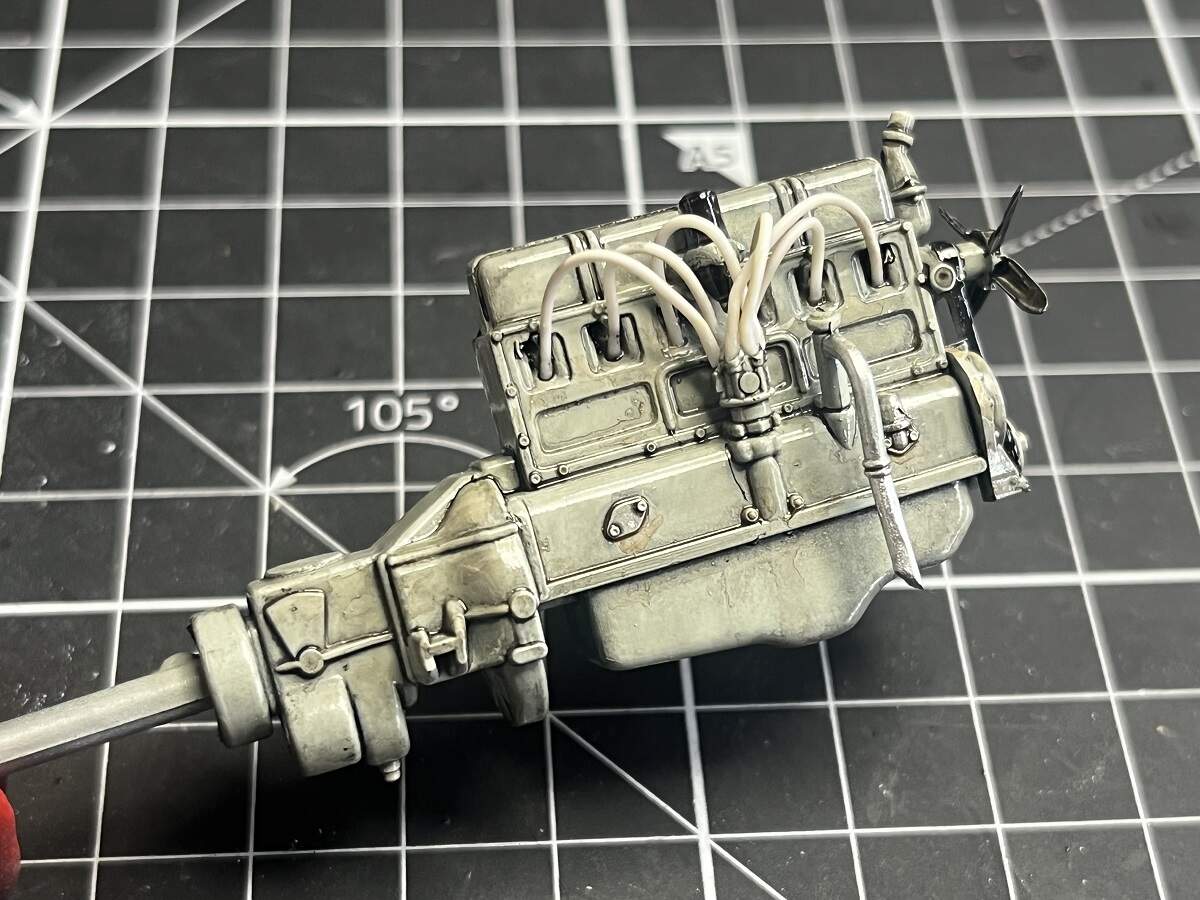
The engine got a non-descript grey and started on some detailing. Wires from a USB charger cord.
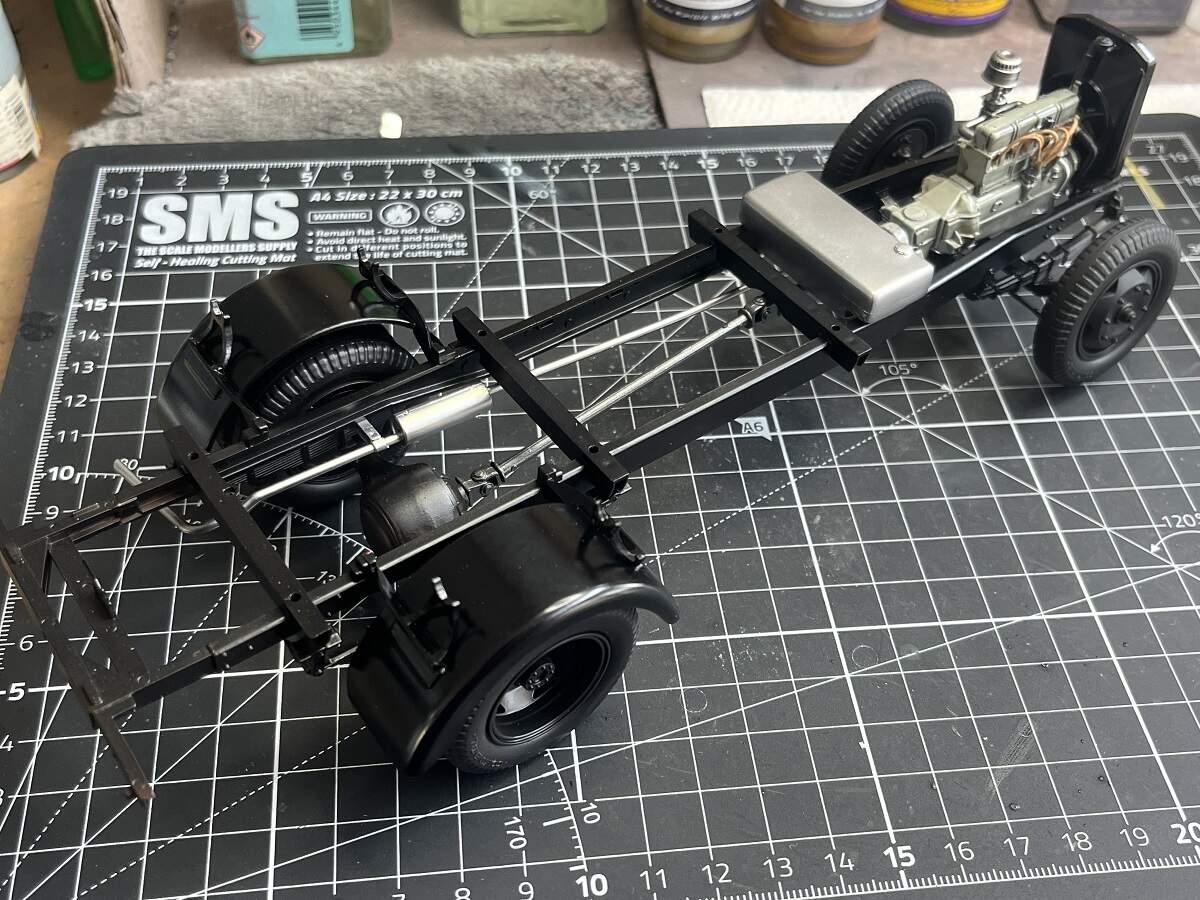
Almost ready for adding a bunch of parts to the chassis assembly.
Cheers, D
9 Likes
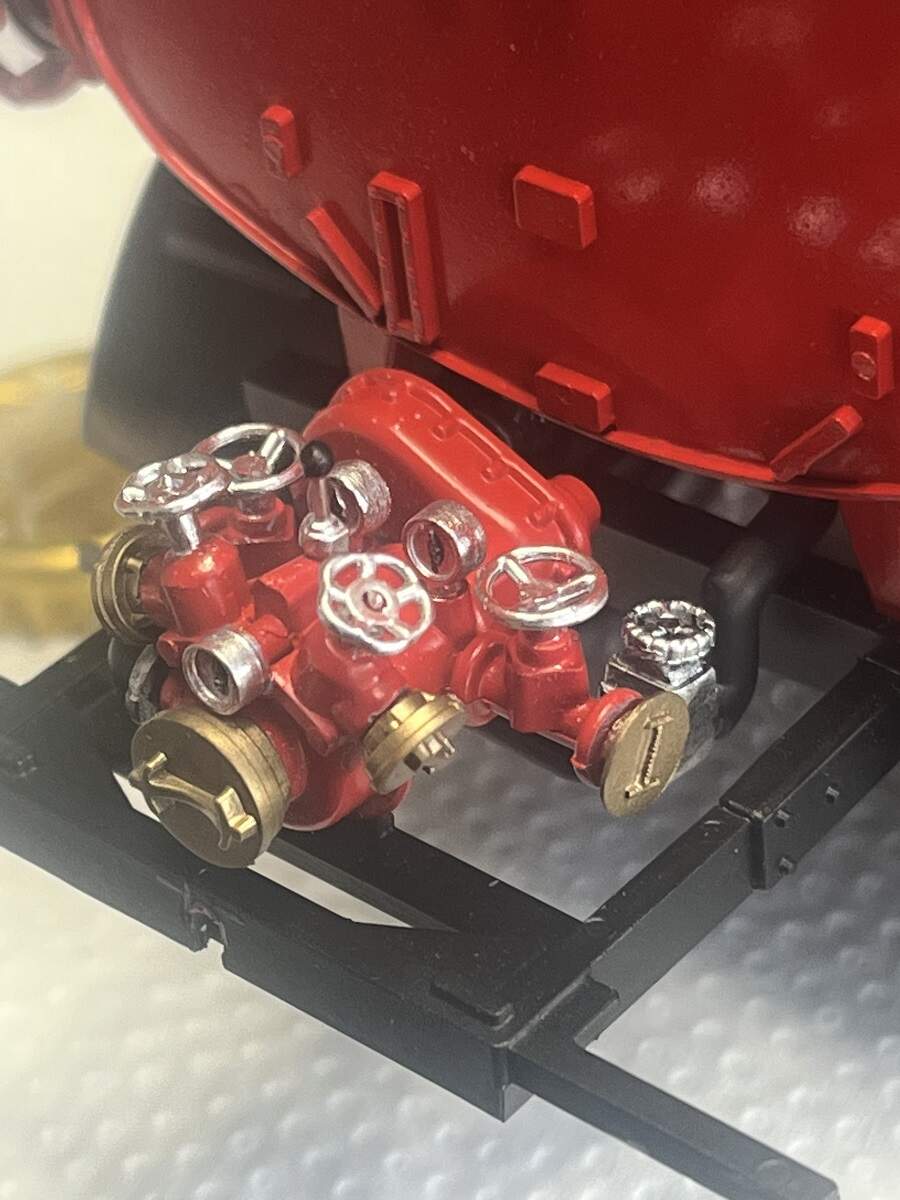
Hi D - I really like the bright color contrast on the pump - wow! and the contrast with the engine - all looking good 
Cheers,
Nick
1 Like
Wow that looks awesome D, beautiful work.
It may (or may not) seem simple enough, but your SBS in basic prep prime and two color painting has really helped me. Appreciate the small details in wet sand, touchups etc And the results you’ve achieved after changing 2x the finished color is impressive.
Cheers Dave 
1 Like
@strongarden - Always very happy to hear that my shenanigans are providing some assistance and inspiration Dave. Please don’t hesitate to reach out if you want more info on anything along the way 
@Stickframe - cheers Nick! Really appreciate the feedback mate.
Cheers, D
To bad about having to saw it all apart, but once it’s brassed up and back together it’s going to look so good. The other one you did on the jeep looks fantastic.
The engine detailing is perfect. Little touches like this just make the finished build look so much better. Great work 
1 Like
A milestone step in any of my auto builds, the chassis is completed and up on its feet!
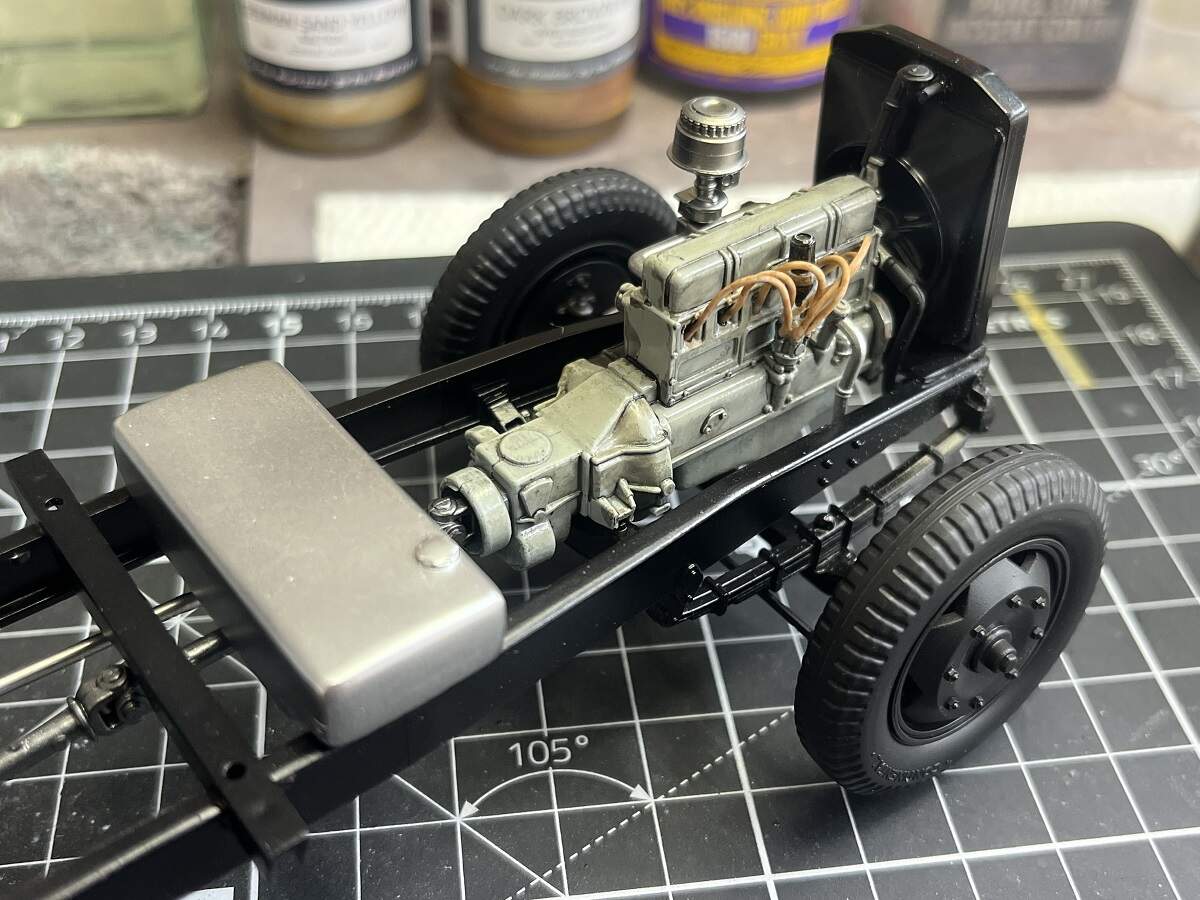
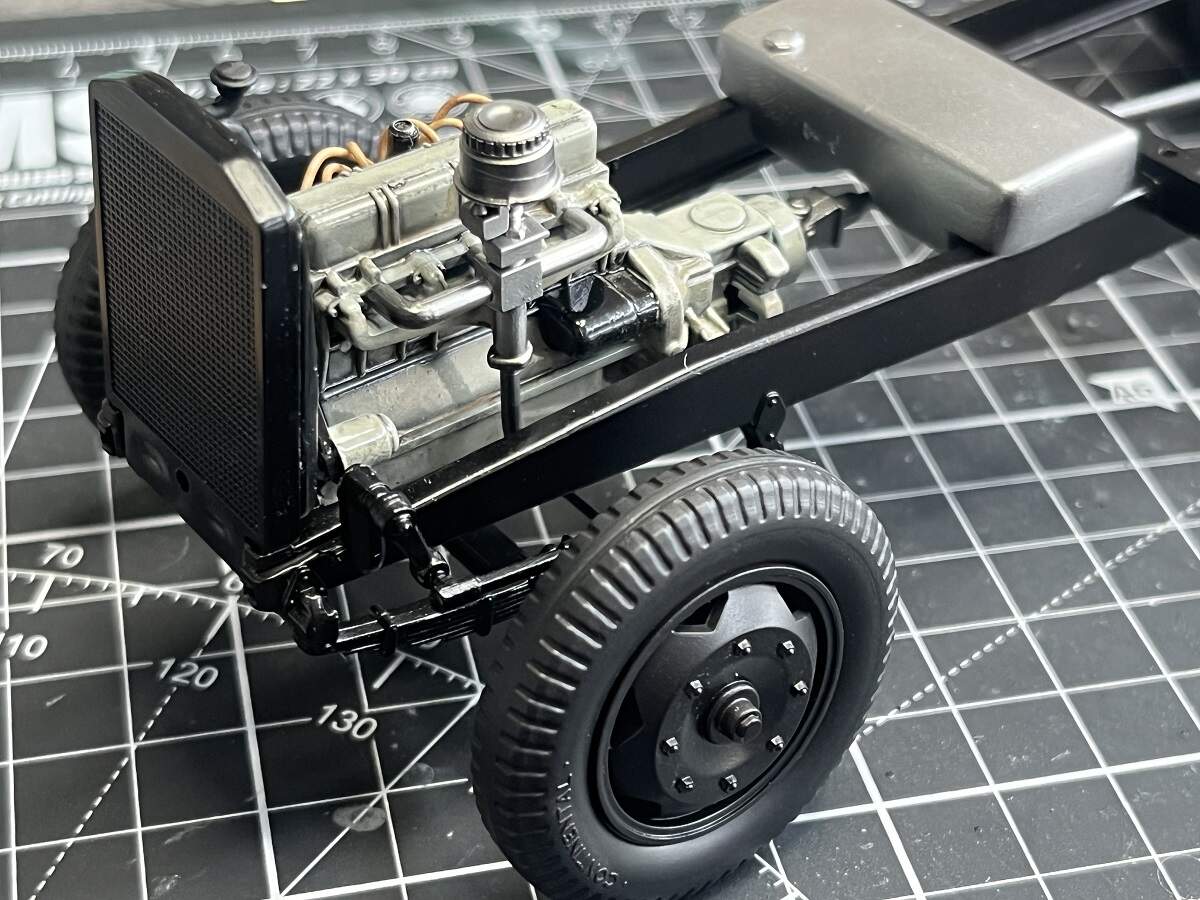
I wasn’t overly happy with the white colour of the ignition leads, so I gave them a light touch of brown PLW and worked it around with some white spirits to give them some character. Once they are cured fully I might go over it again.
And as always a cheeky test fit up on its feet now.
Cheers, D
7 Likes
Wow! beauty! understanding the risk of annoying you (but not trying to), might you be adding a few other colors to the engine? maybe a grey, or even slightly rusted exhaust manifold etc? The ignition wires look good as they are, very nice.
Cheers,
Nick
1 Like
Ca n’ t say annny thhiin gg…

3 Likes
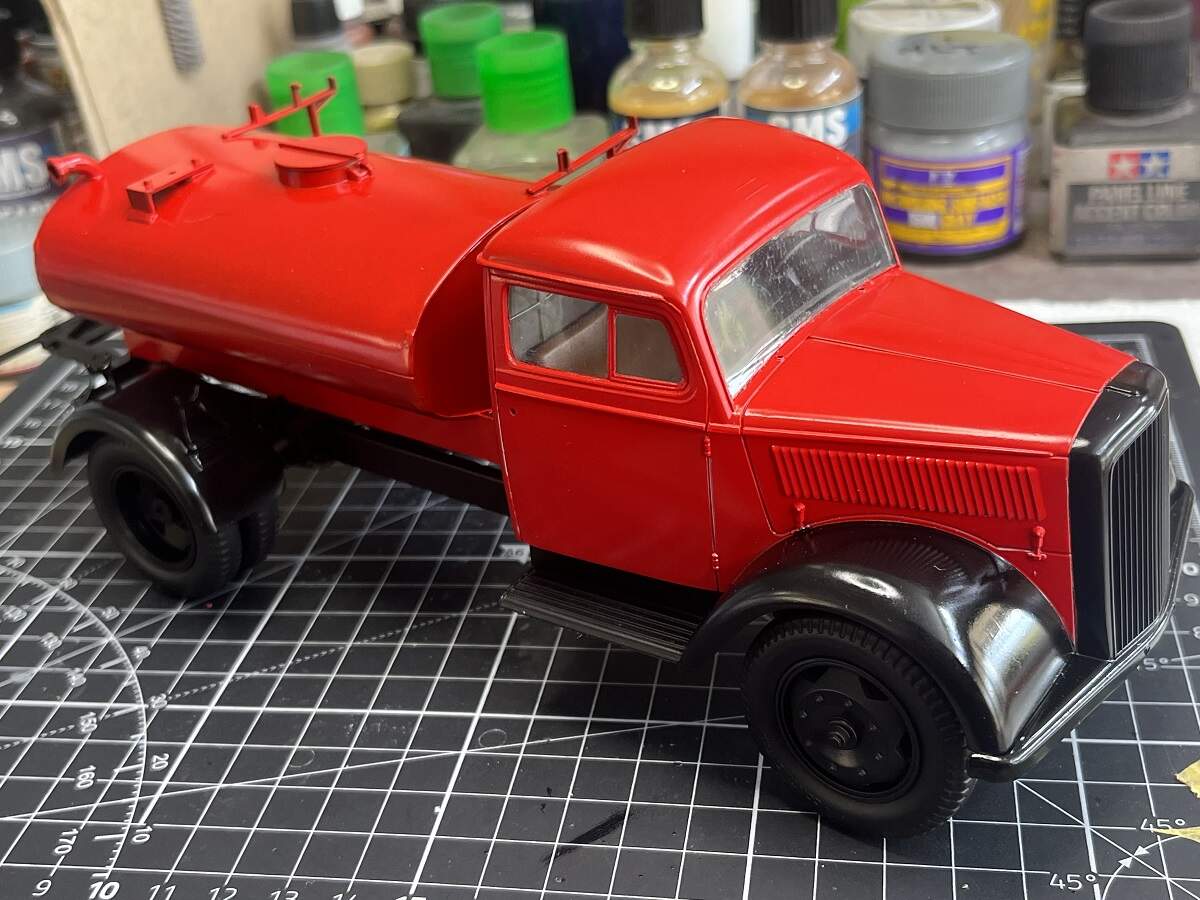
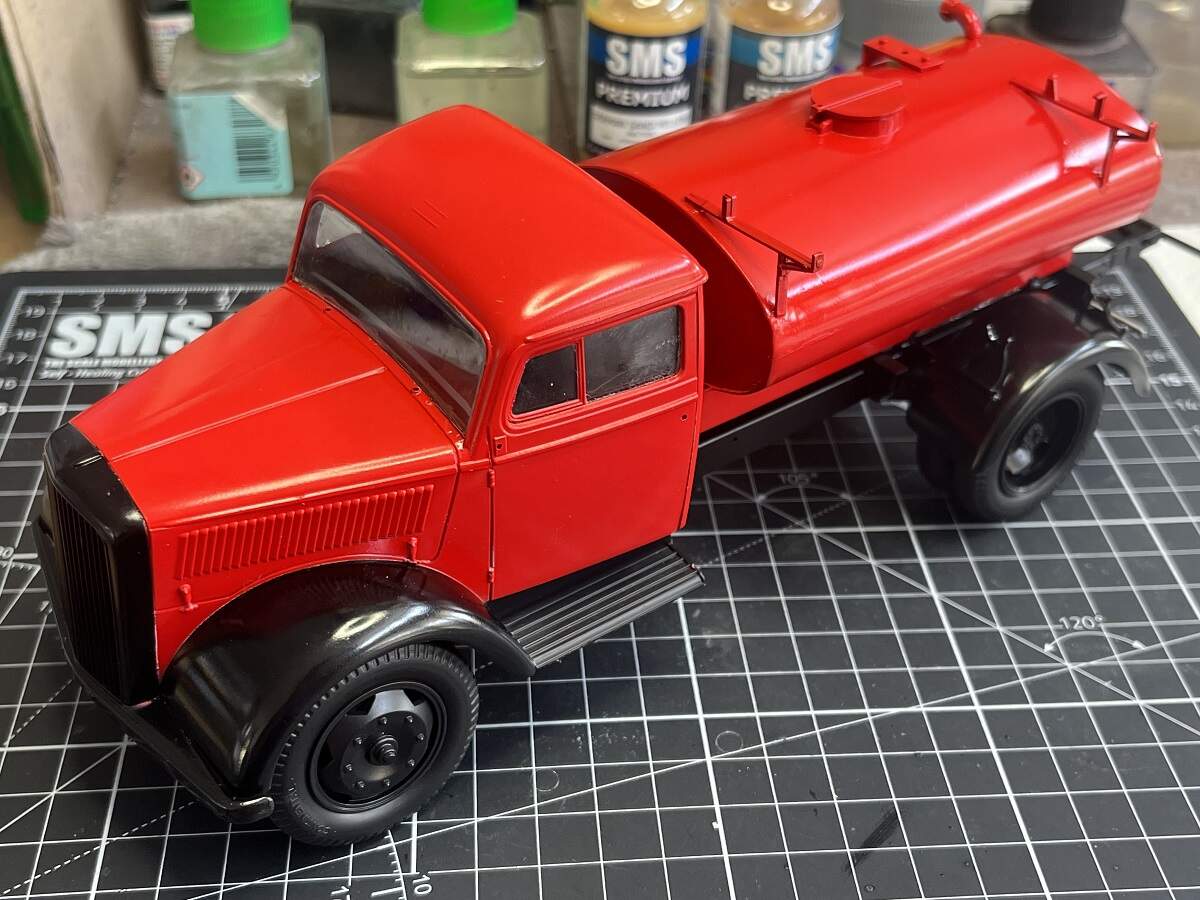
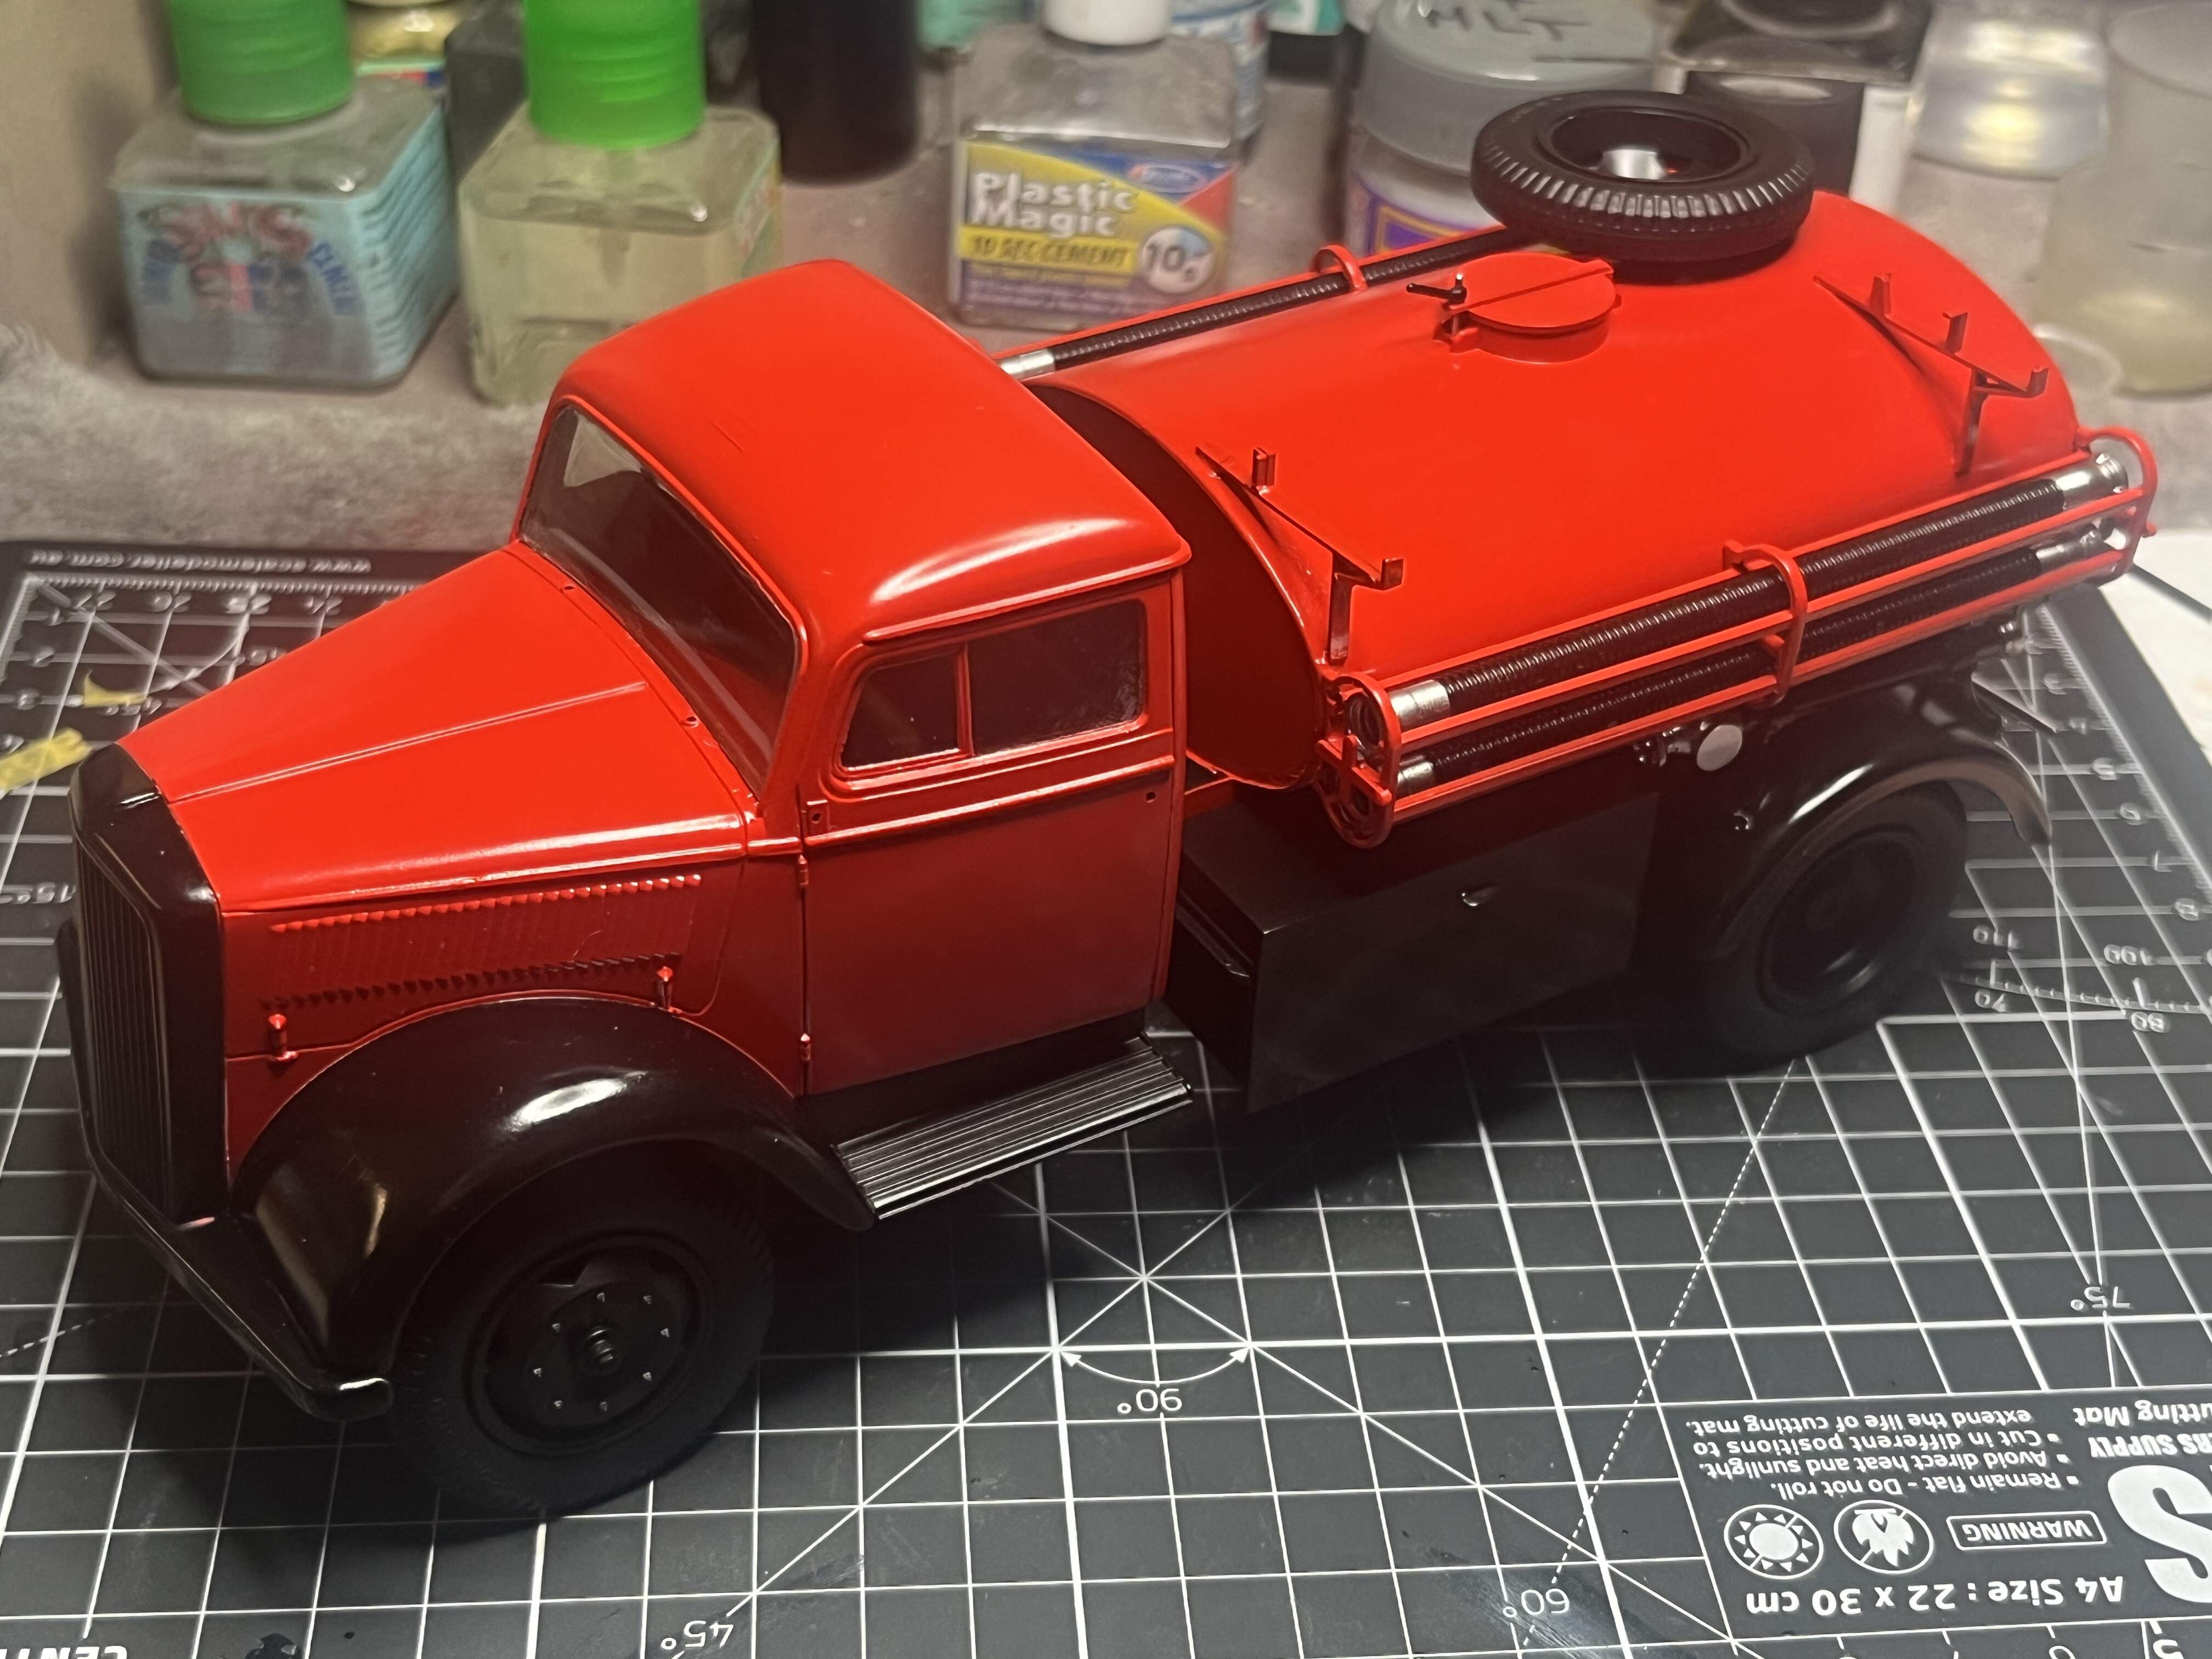
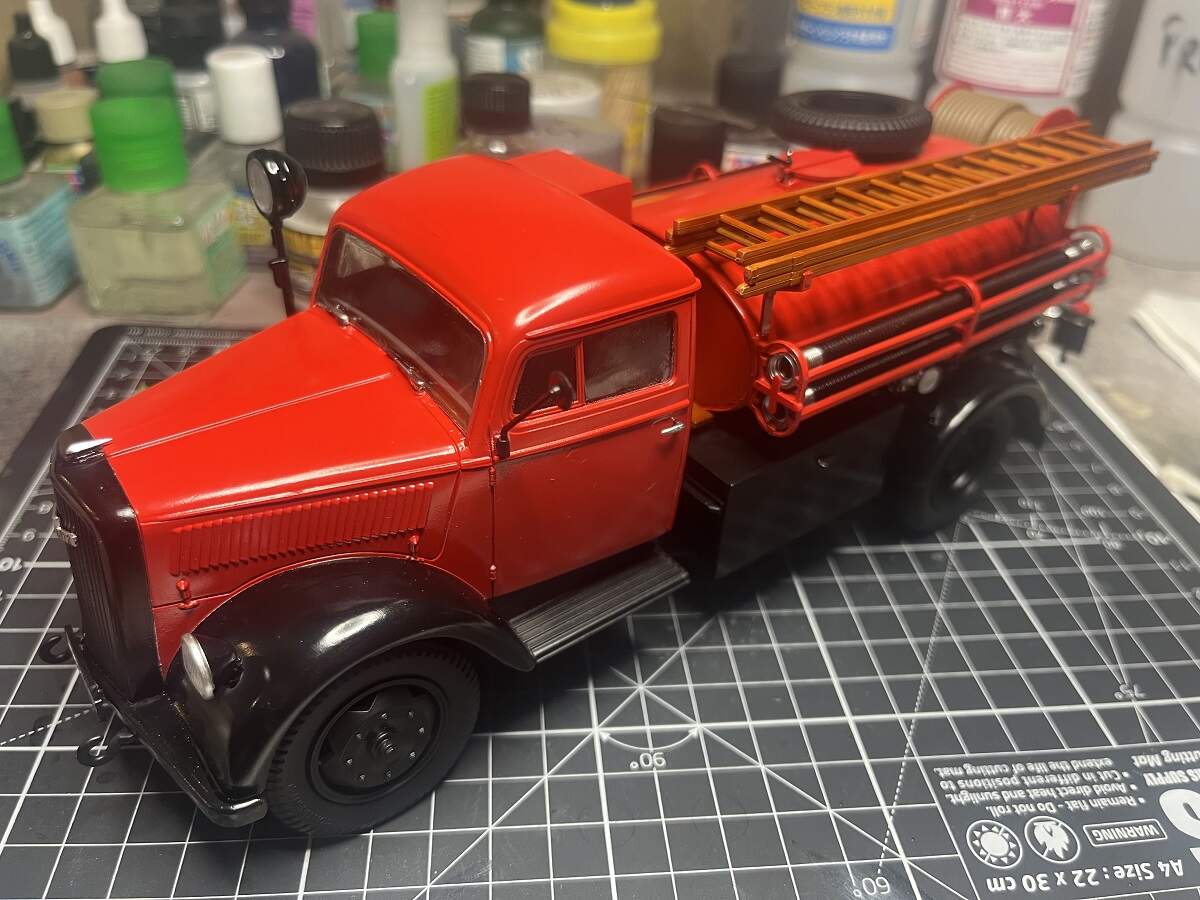
Fixed the tank in place on the chassis and started adding the bits and pieces to it. The pump is painted and dry fitted here. The cab is also just dry fitted.
Very happy with how this is coming together now, I’m going to push through to completion then get back to my other projects.
Cheers, D
9 Likes
That is looking outstanding D. The only question I would be asking myself is … very slight weathering or factory fresh and nice and sparkly … Personally I would love the factory fresh look to show that paint scheme off to the max
1 Like
That is a show stopper! the colors are so strong - nice
1 Like
Thanks so much for the feedback and support guys, very much appreciated!
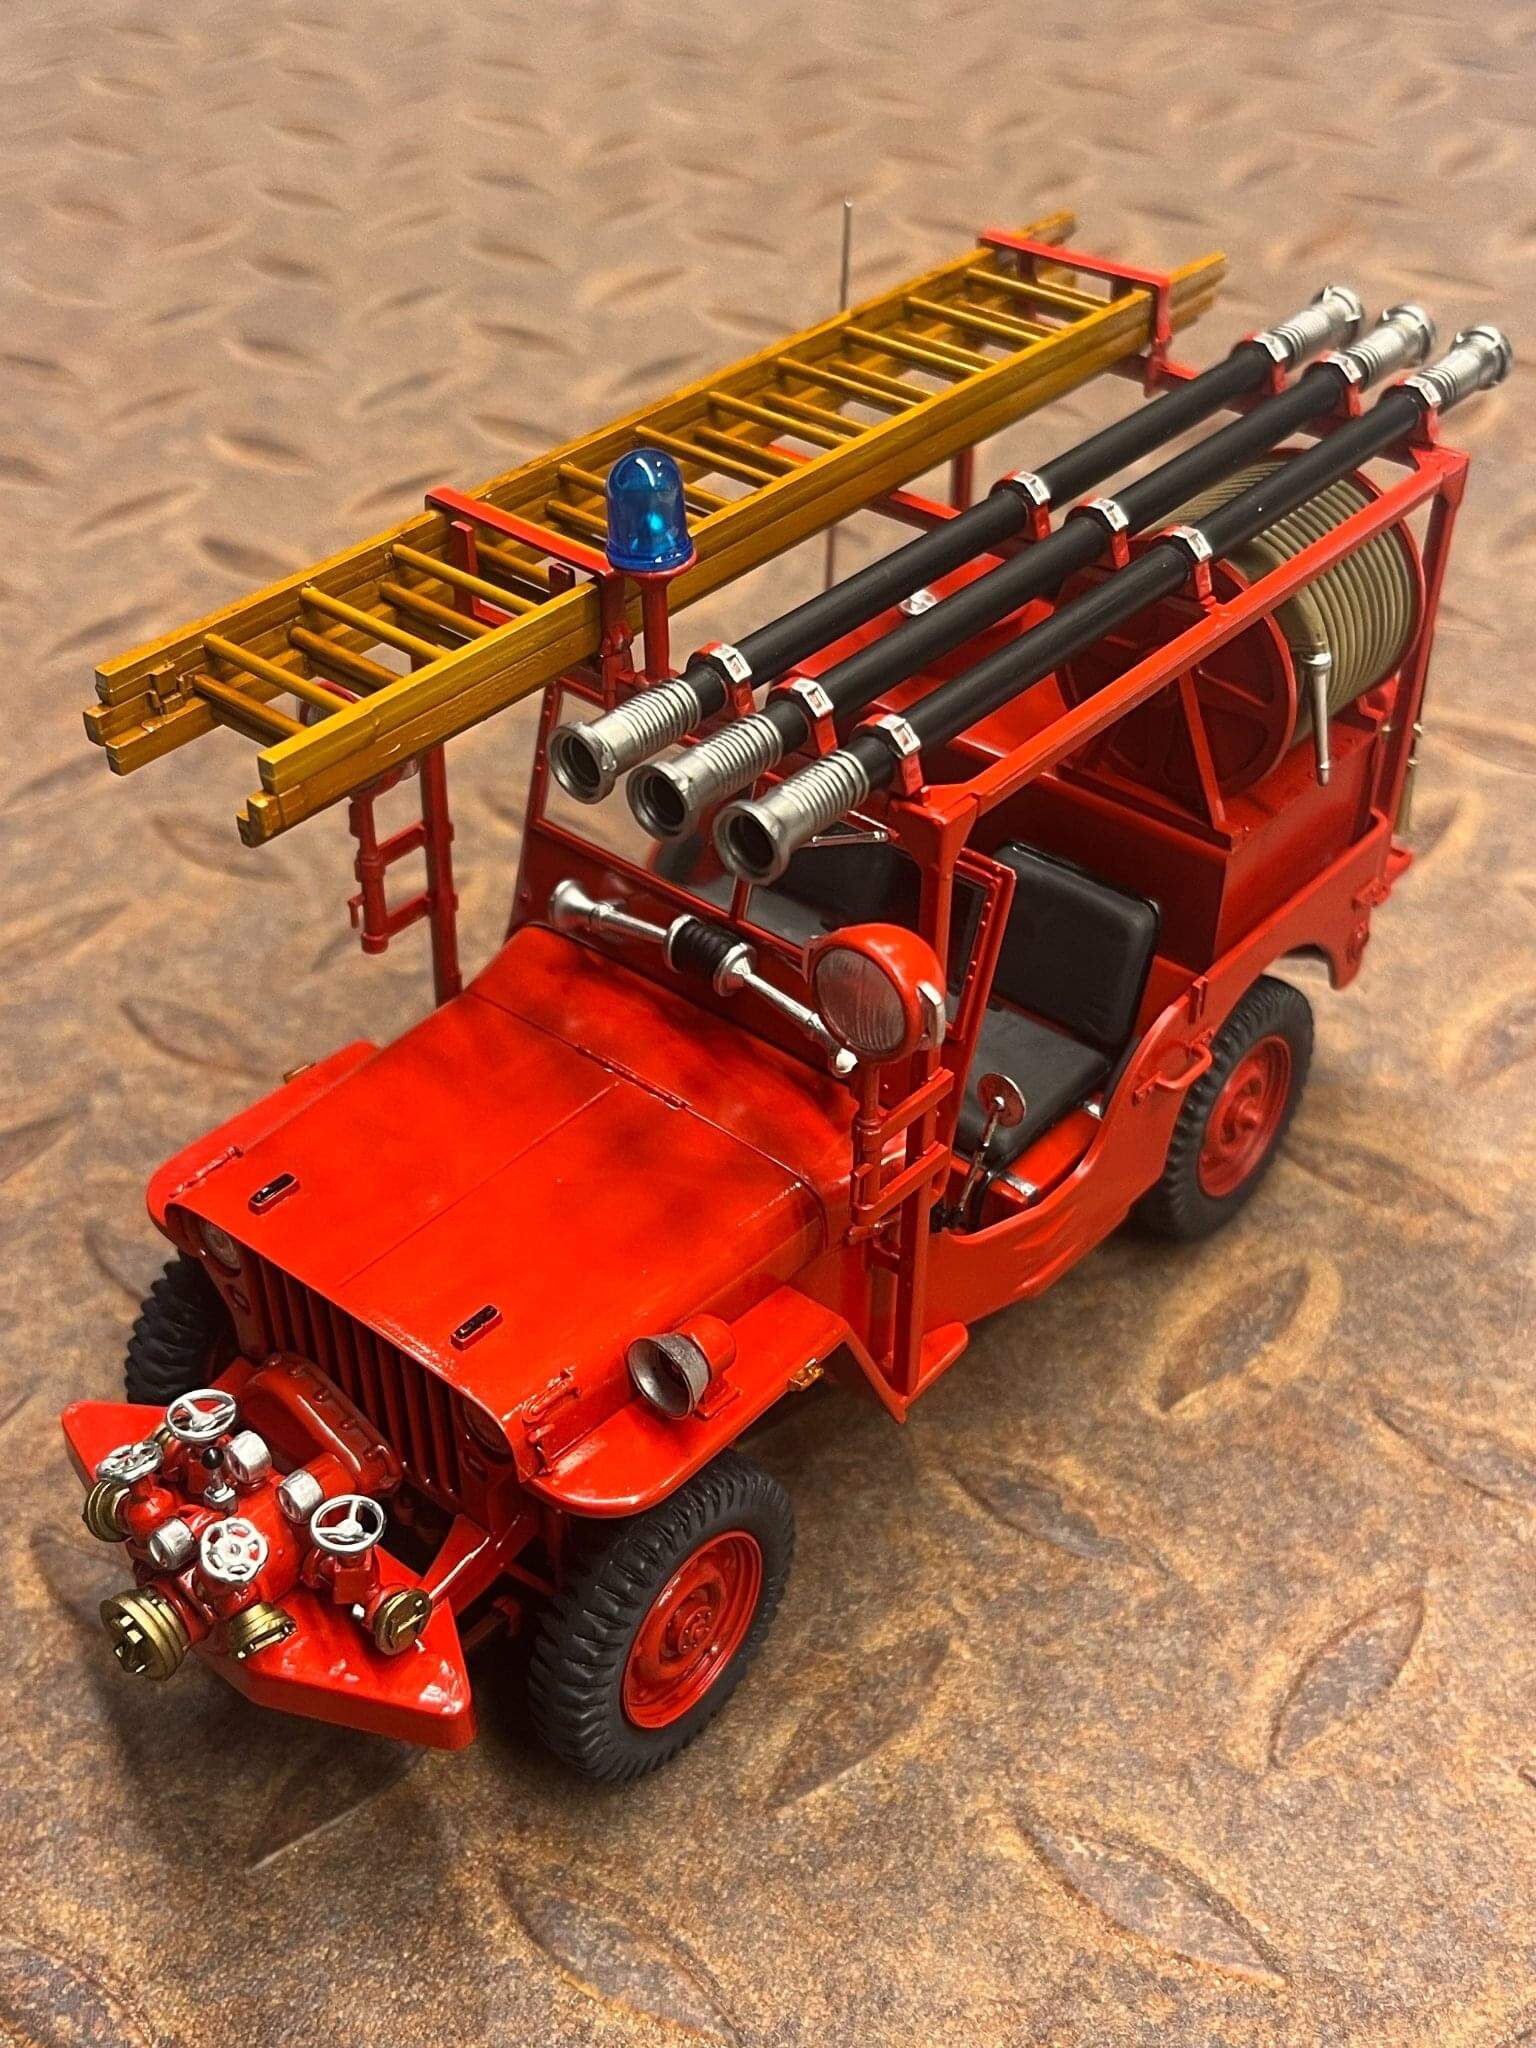
My vision for this is a working museum display so at most I will fade the rubber a bit and a light panel line wash. I’m looking forward to having it sitting beside the Fire Jeep I did last year.
Cheers, D
6 Likes
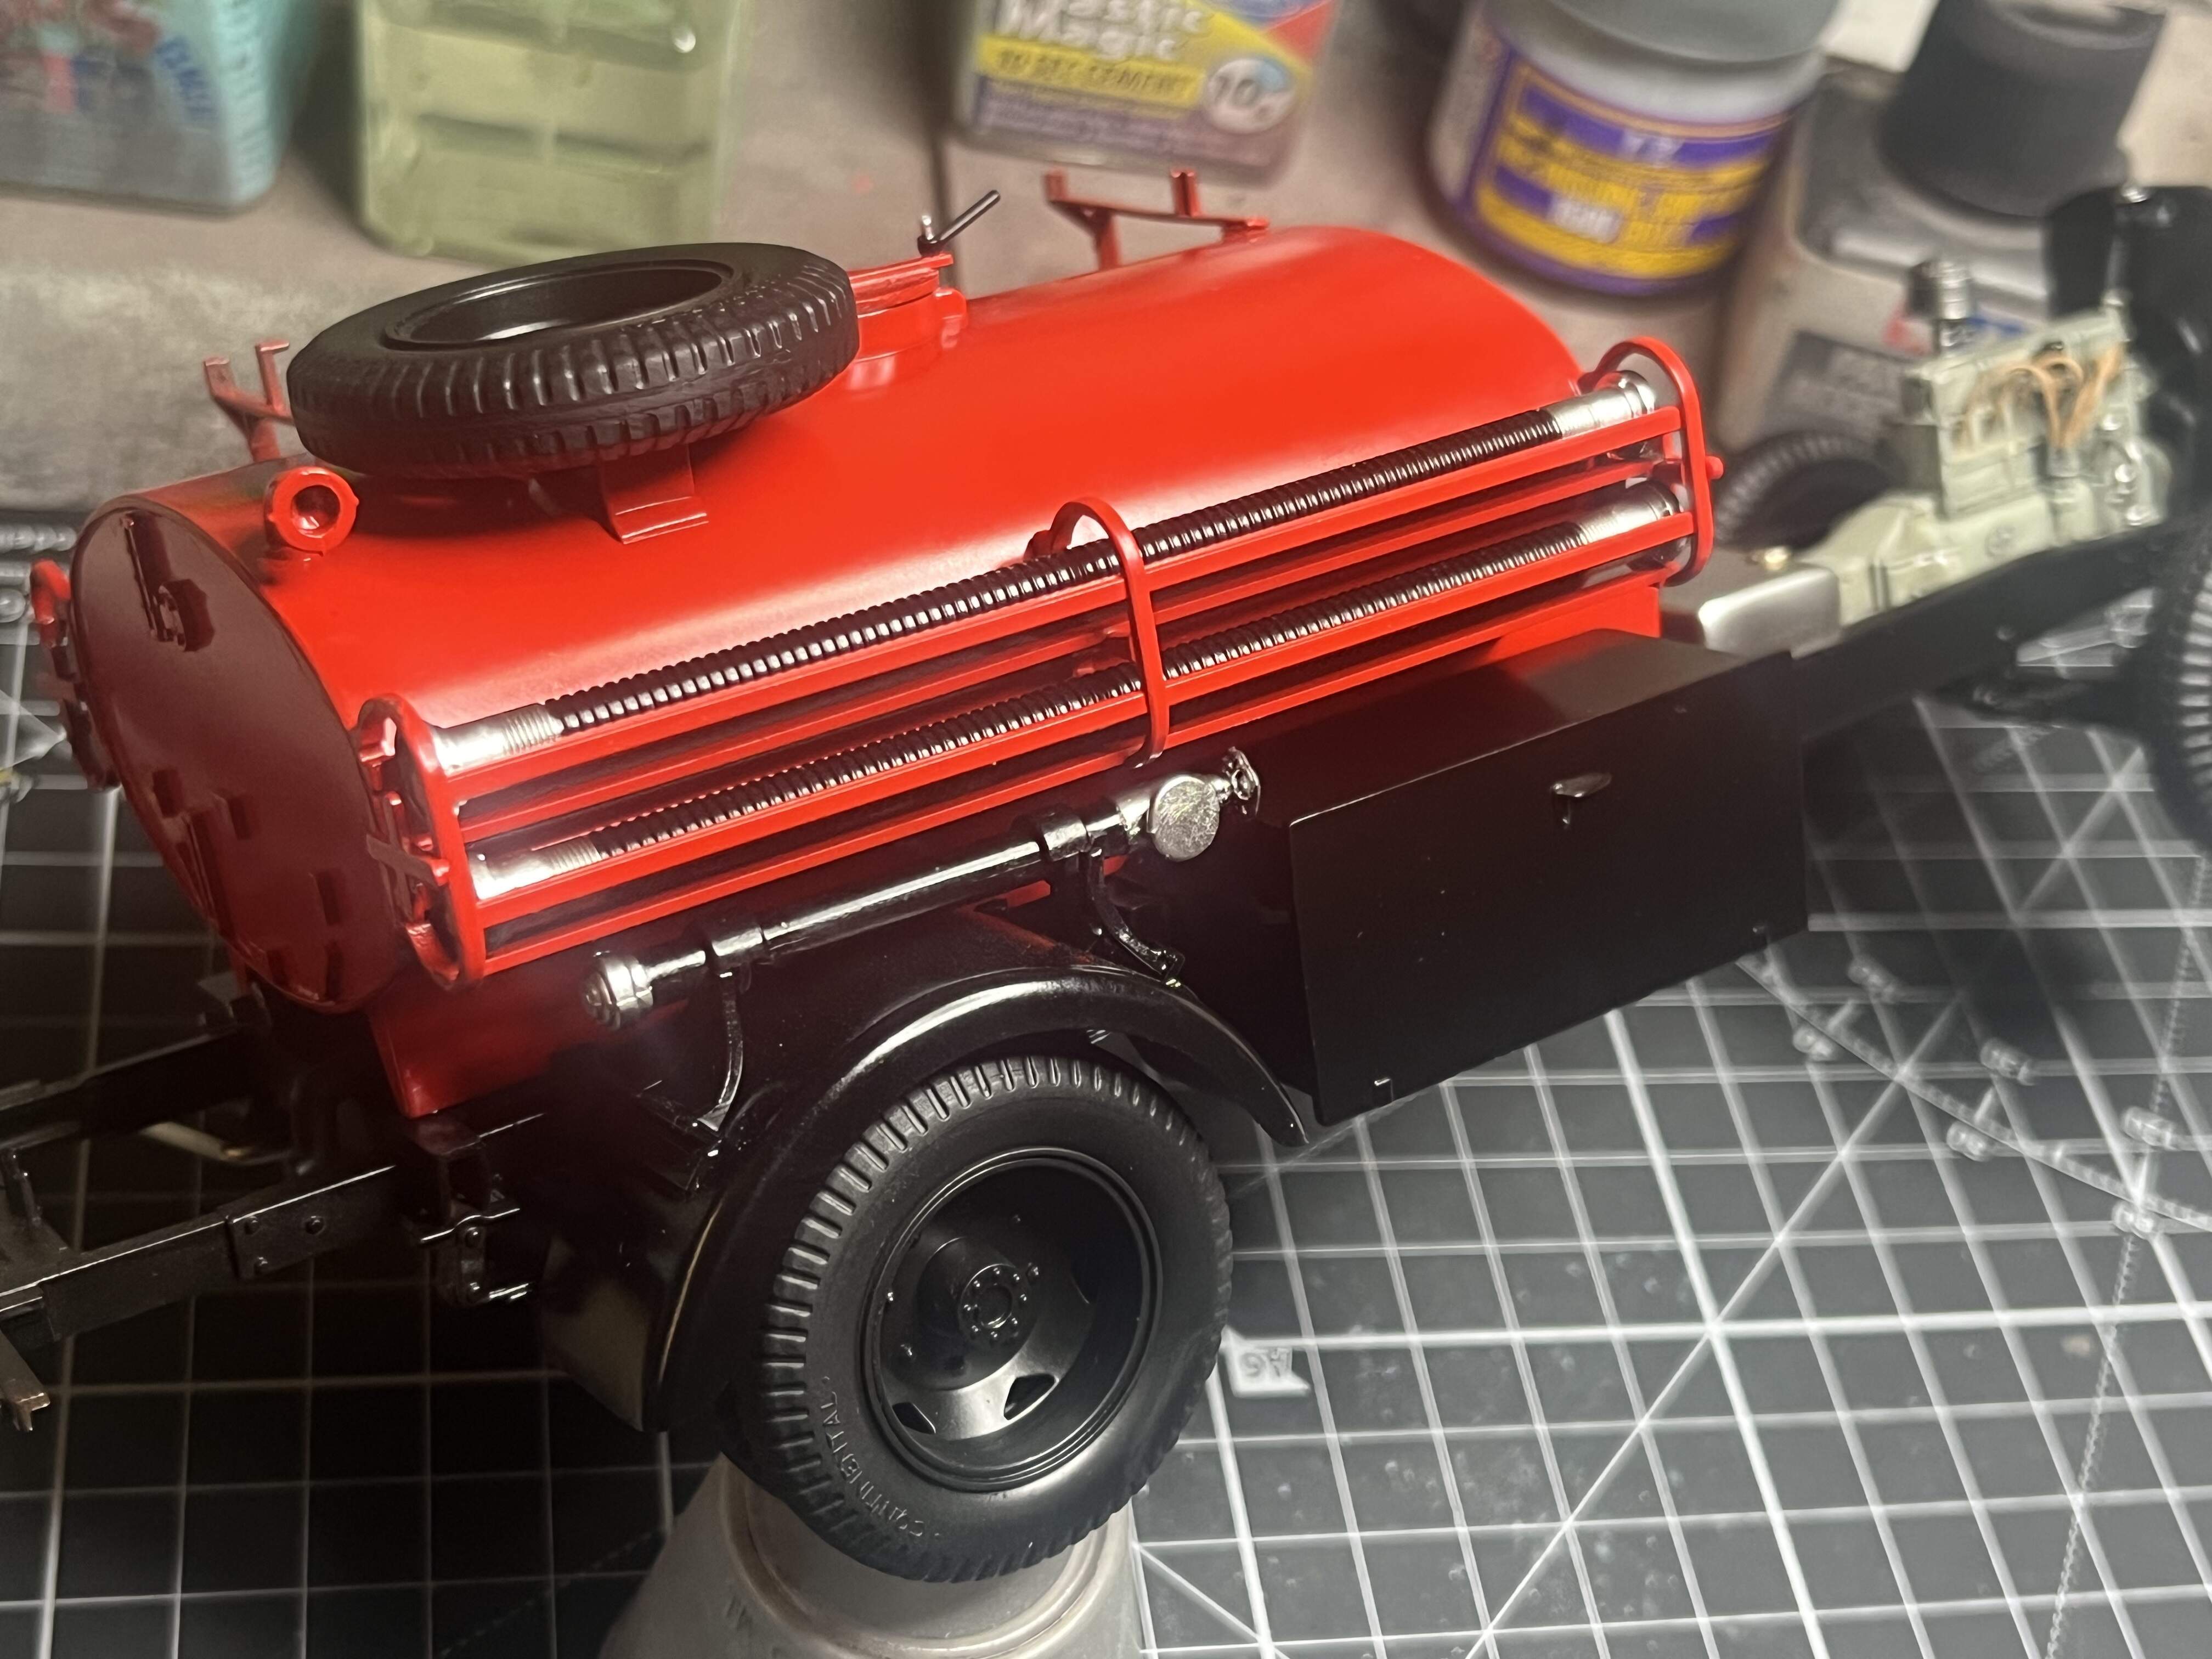
Well a mixed bag at the bench today.
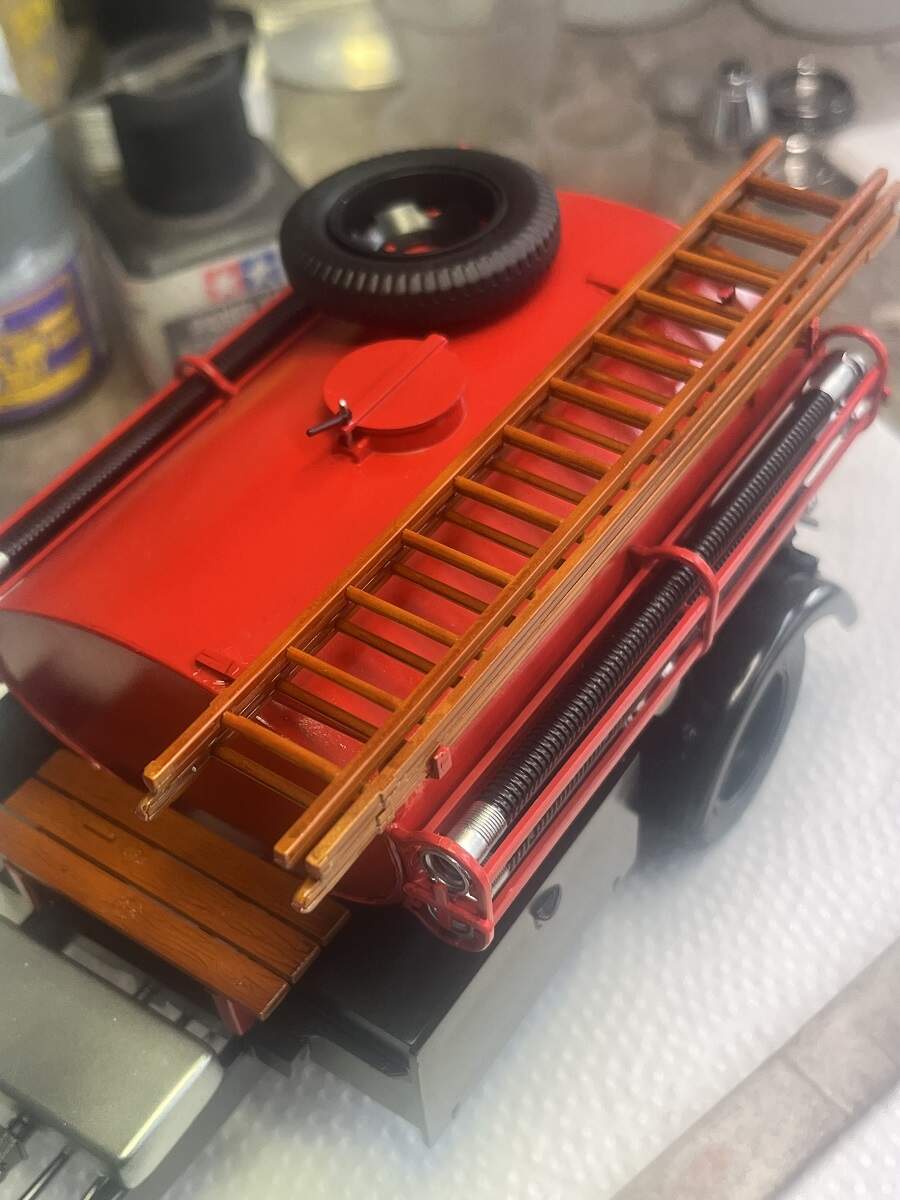
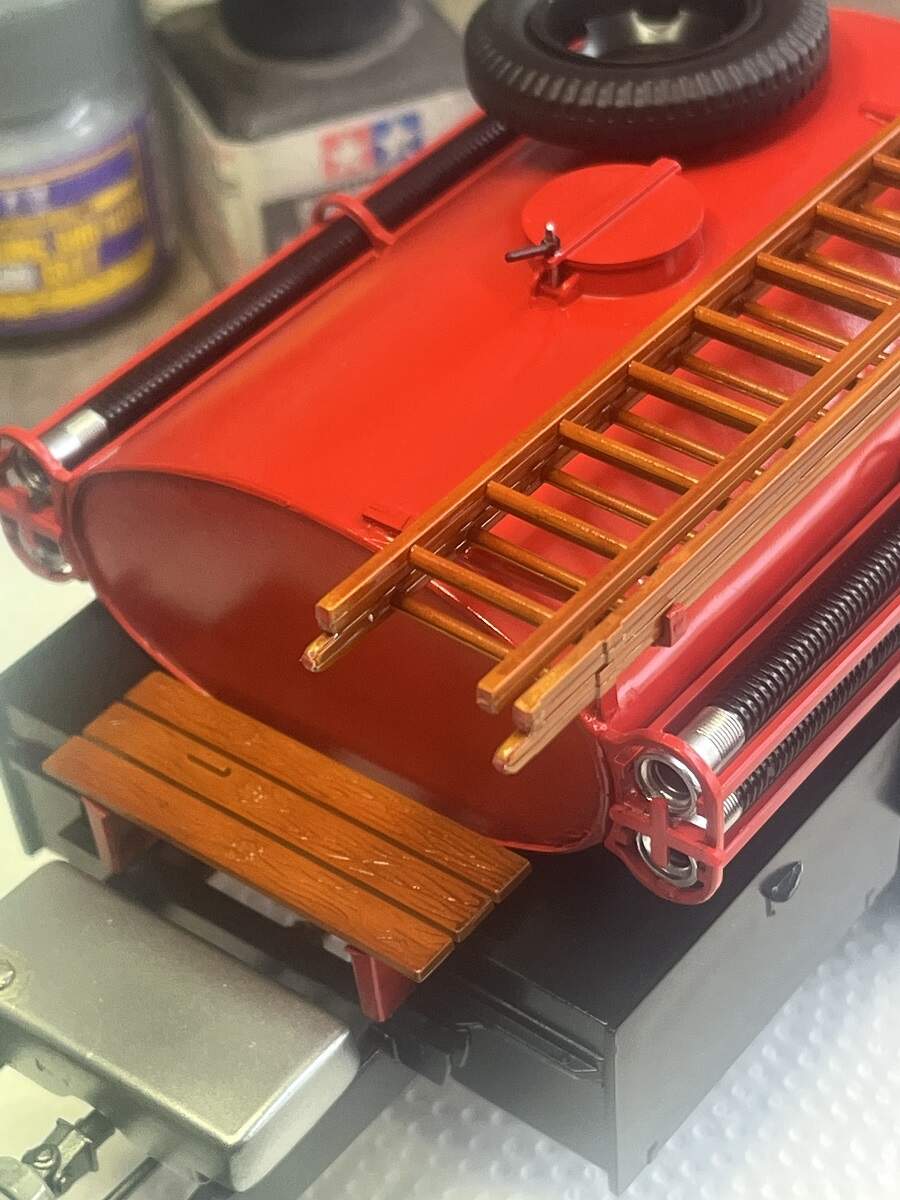
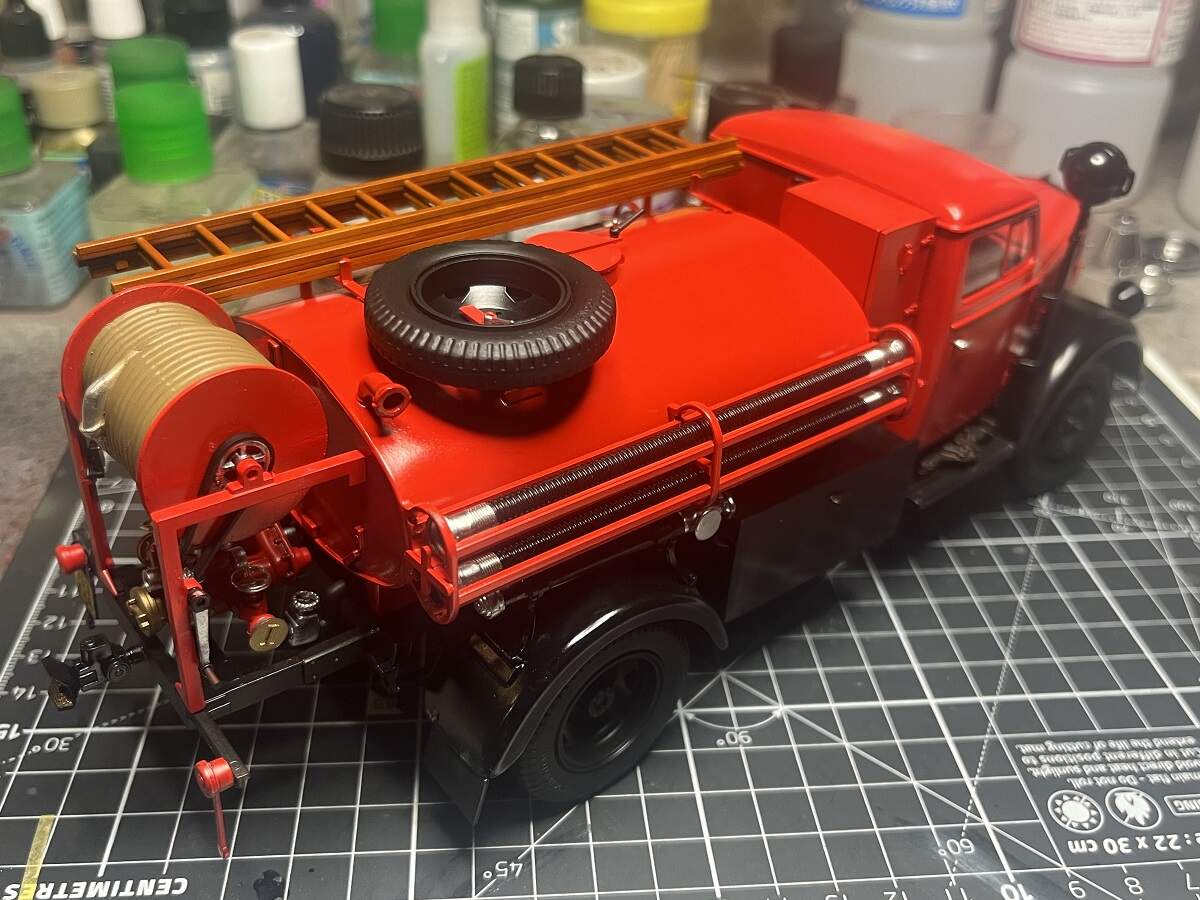
First, making plastic bits look like wood bits. All good!
Second, adding main feed pipe to the bottom of the pump and fixing the assembly in place. All good!
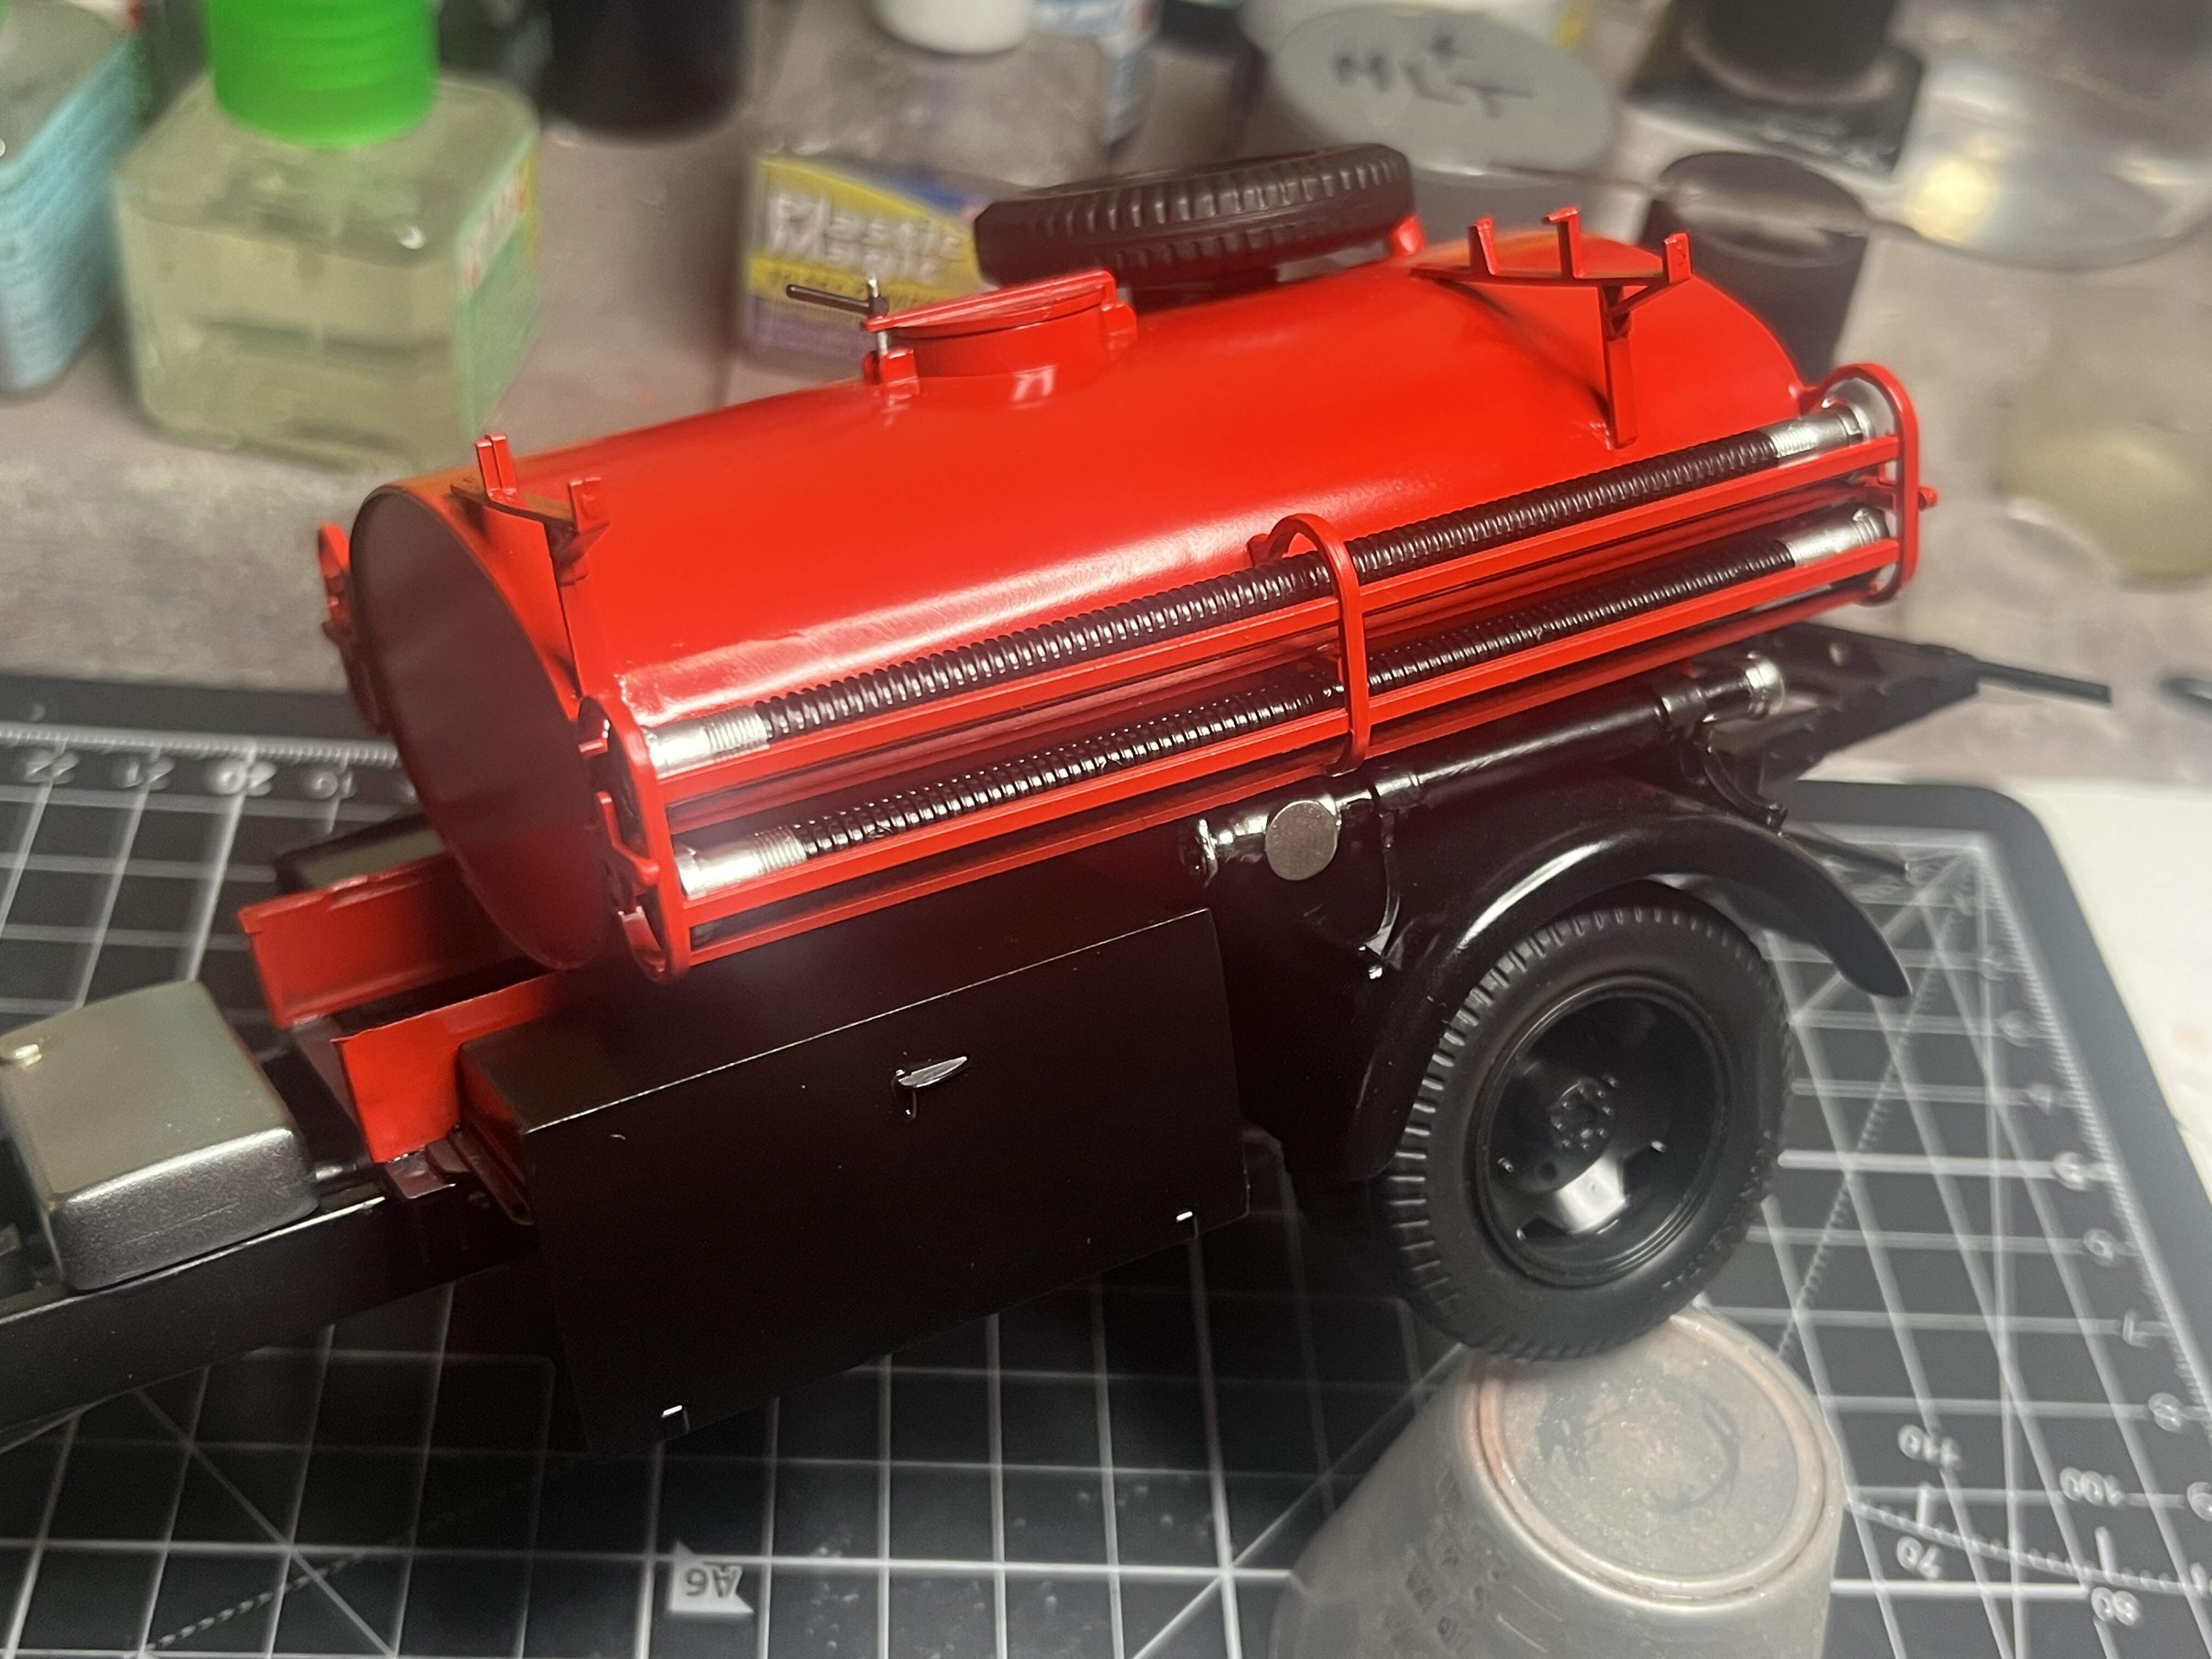
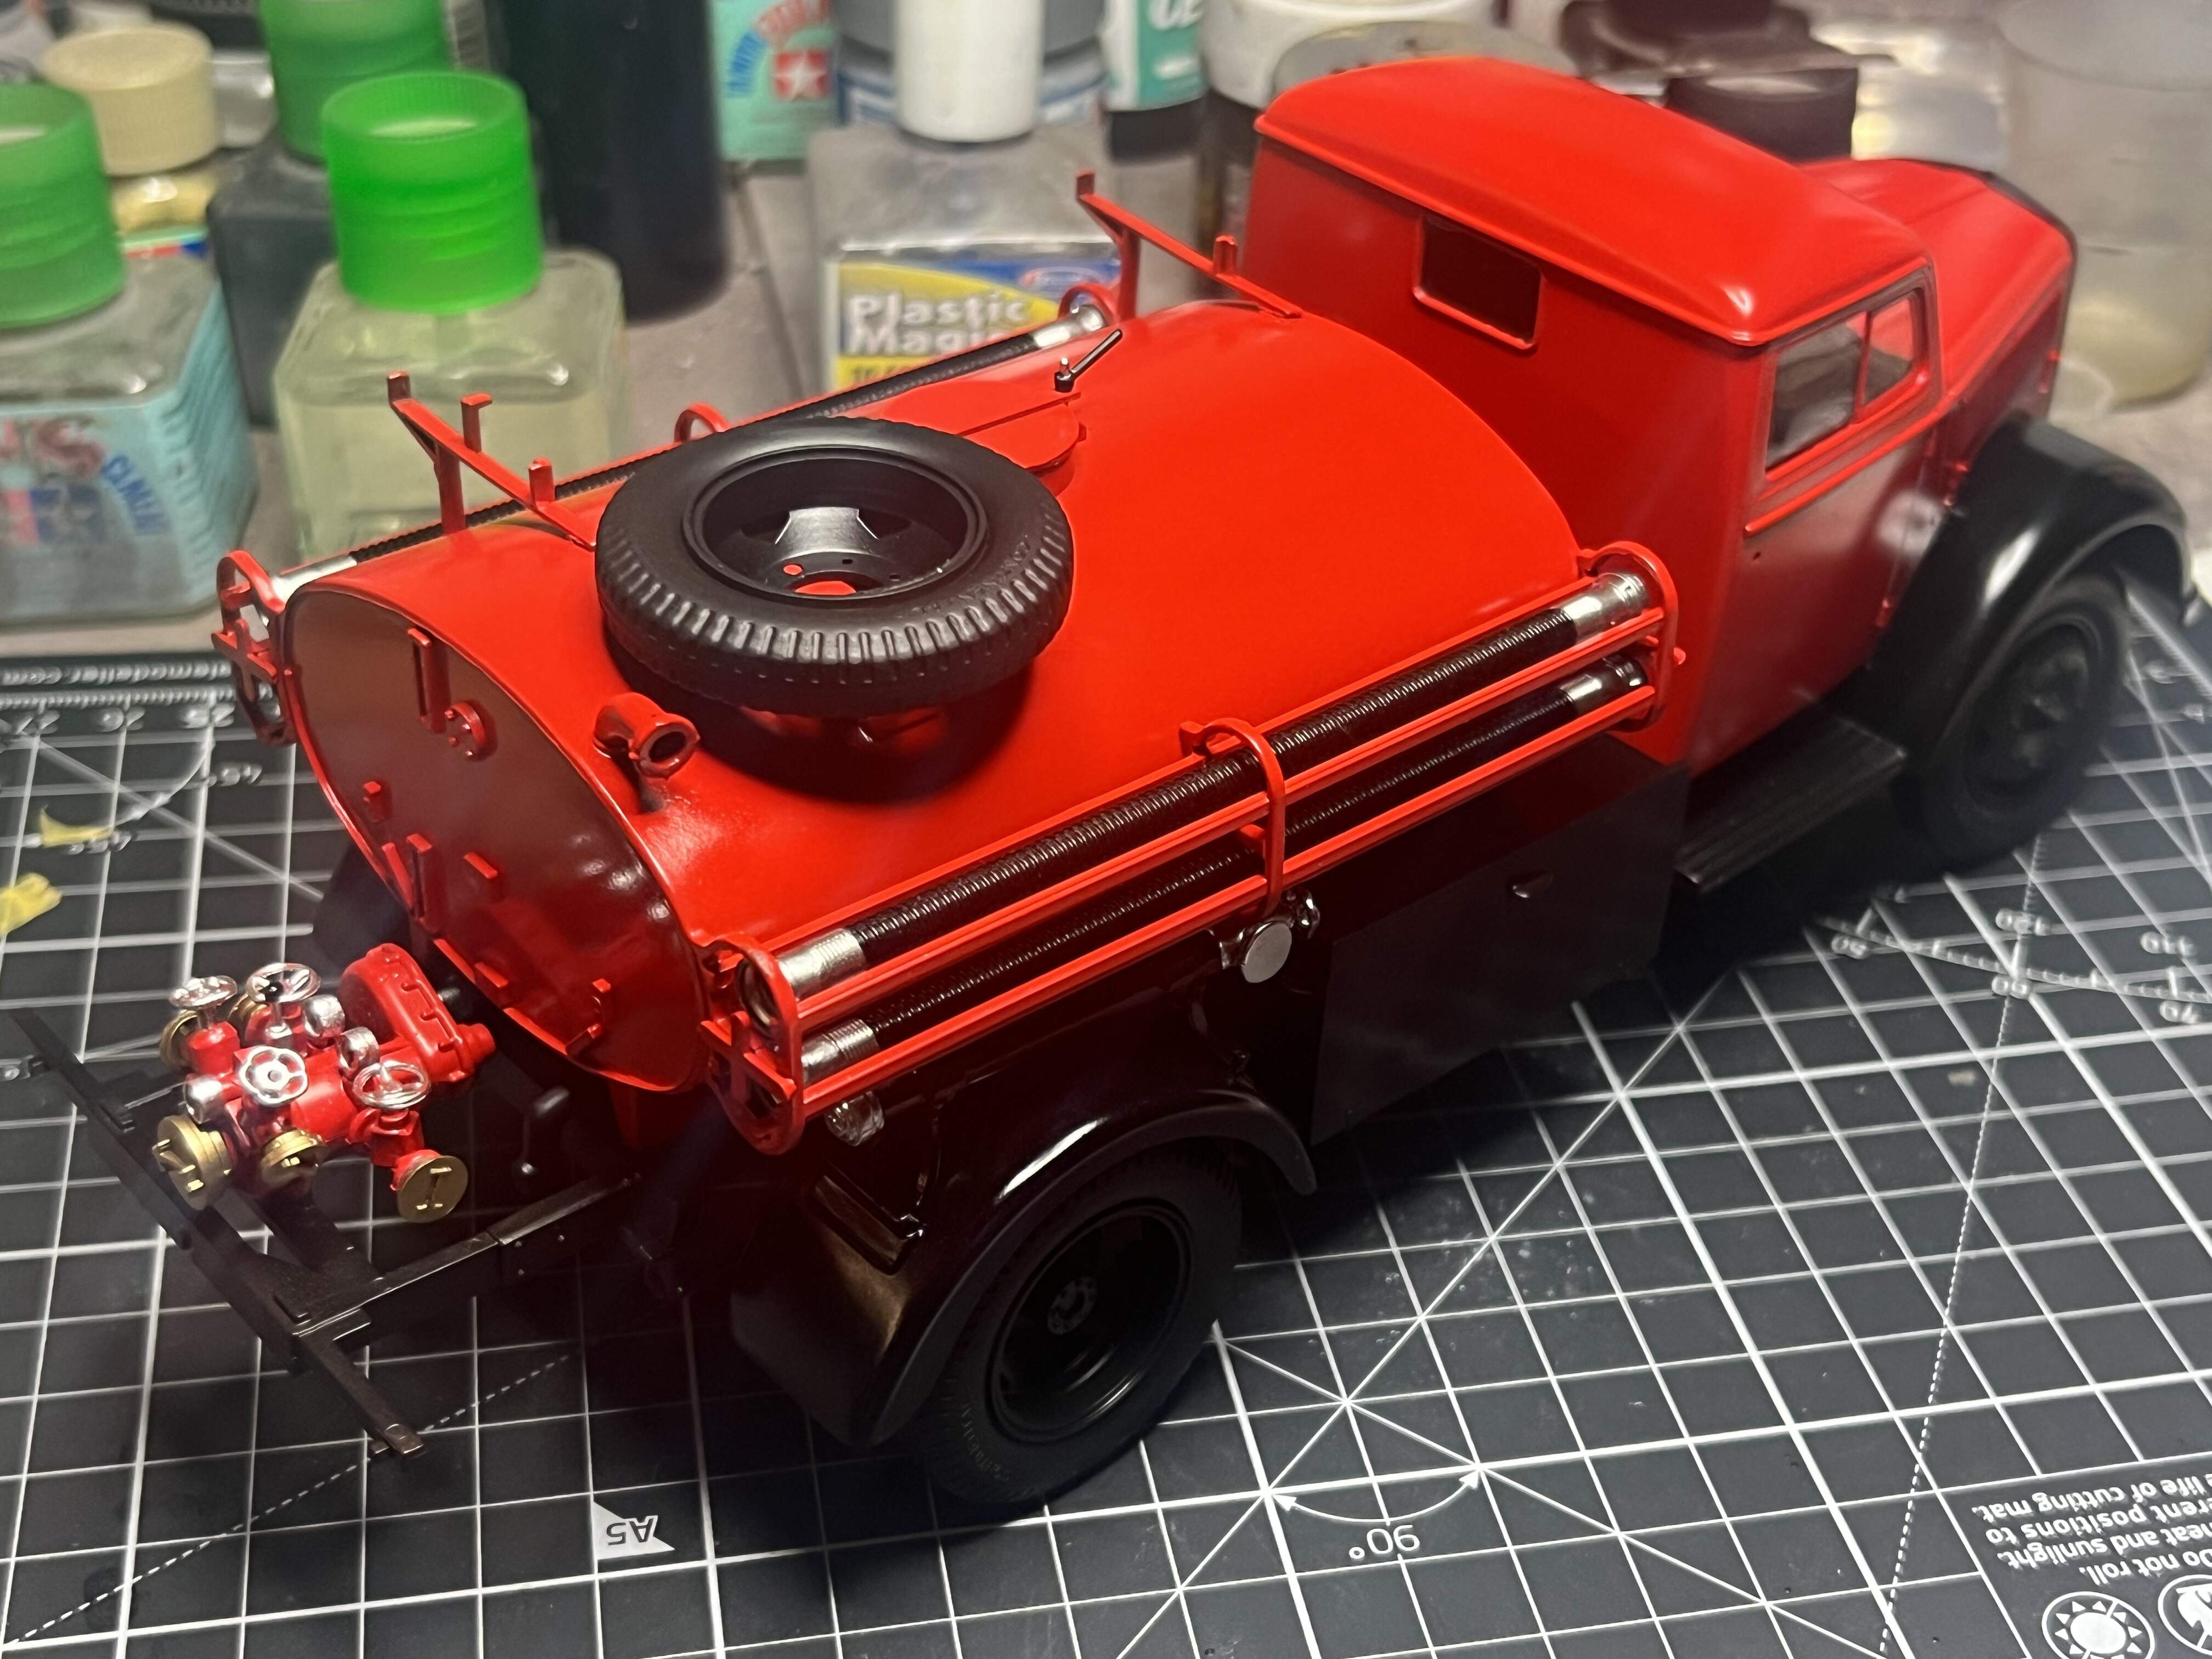
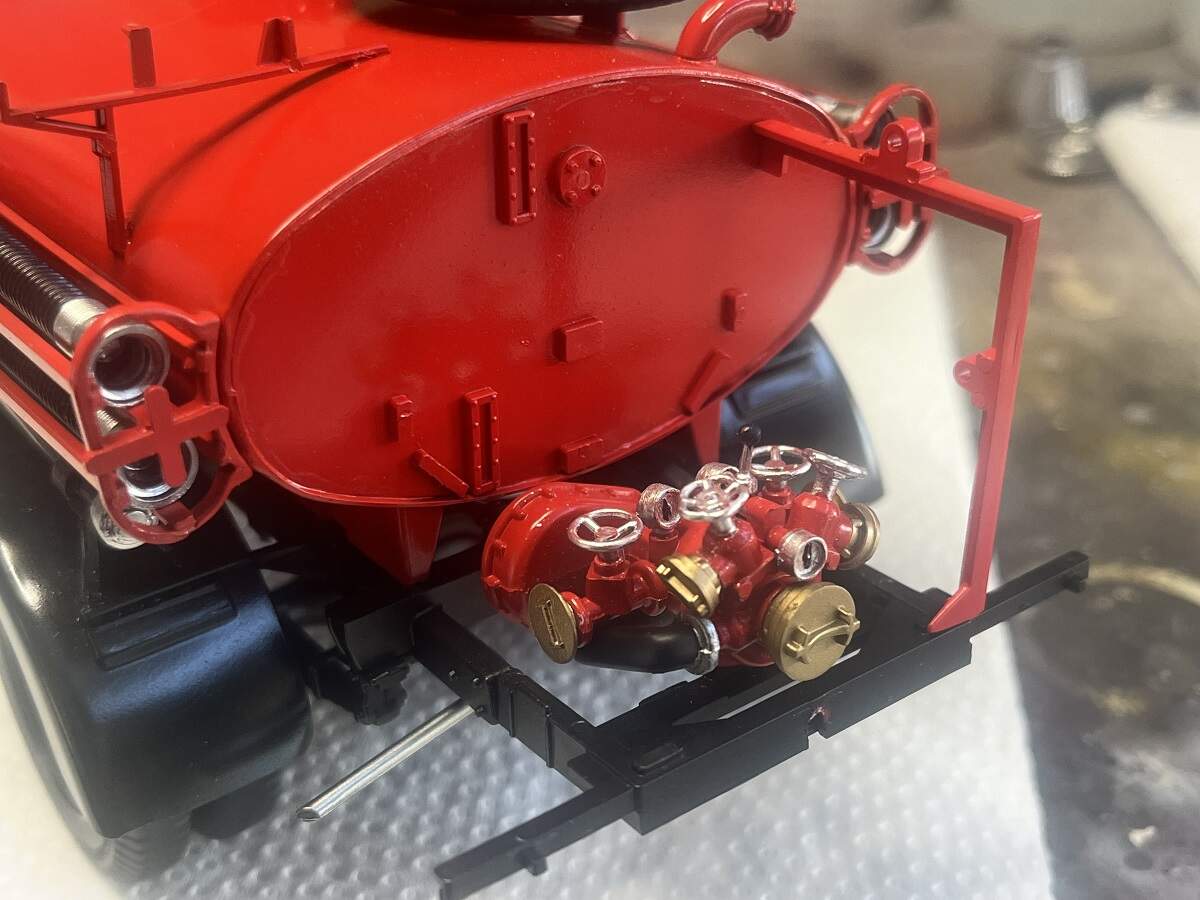
Third, test fit the hose reel mount frame to the chassis and tank. Ummmmmmmm . . . . . . 
Why are there no positive locating points on the tank ? Because I’m an idiot and I installed the rear end of the tank upside down all those years ago 
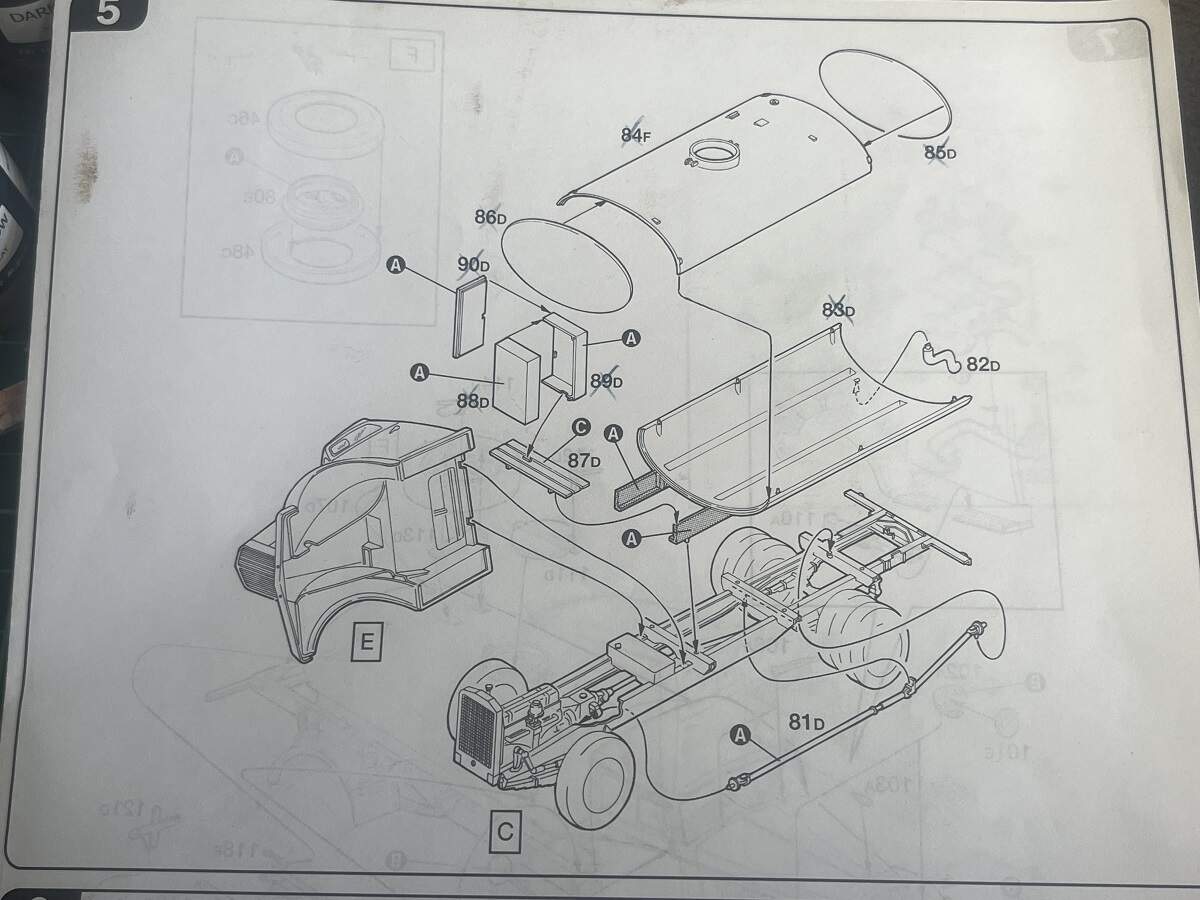
How could I possibly have got it so wrong? Well now, in all fairness, there are no positive locating points for fitting the ends of the tank, and looking back at the instructions you can only see the inside of the rear end of the tank so unless you look further along in the instructions there’s no way to know. Obviously I didn’t have that foresight 

Oh well, we live and learn. I will assemble the hose reel and frame nice and square and eyeball it
Cheers, D
6 Likes
Upside down water ‘Down Under’,
makes sense, maybe …

4 Likes
Outstanding outside of the location issue it looks gorgeous. 
2 Likes
Well I finally crossed the finish line with this build tonight.
I will get some decent photos with the Jeep in daylight tomorrow. Oops, today, it’s just passed midnight
Cheers, D
7 Likes
Very nice D - as expected from your talented hands
- really like the wood graining.
Cheers- Richard
1 Like