As part of my “2023 War on WIP” I want to revisit this kit that I started back in early May 2010. Yes folks, it’s pushing 13 years on the shelf of doom 
First sub assemblies work
My initial plan was to build this as a captured vehicle during WWII overpainted in US Olive Drab.
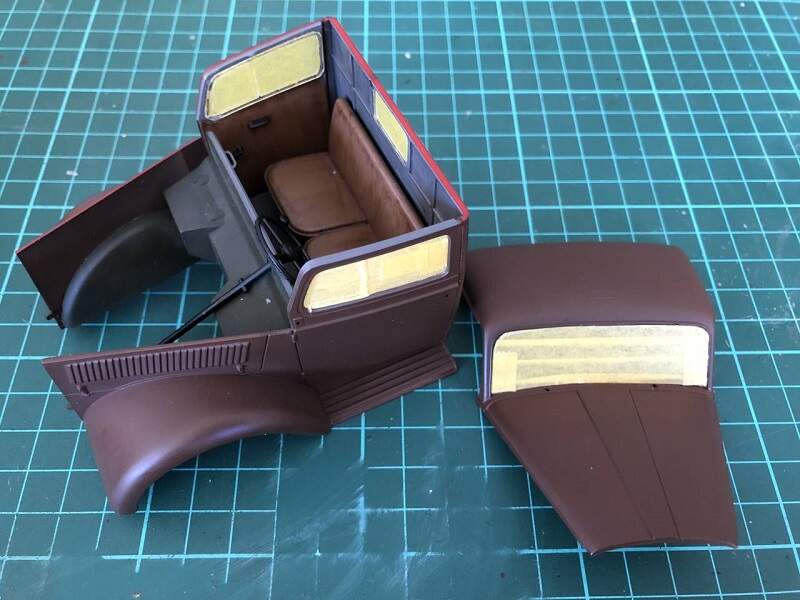
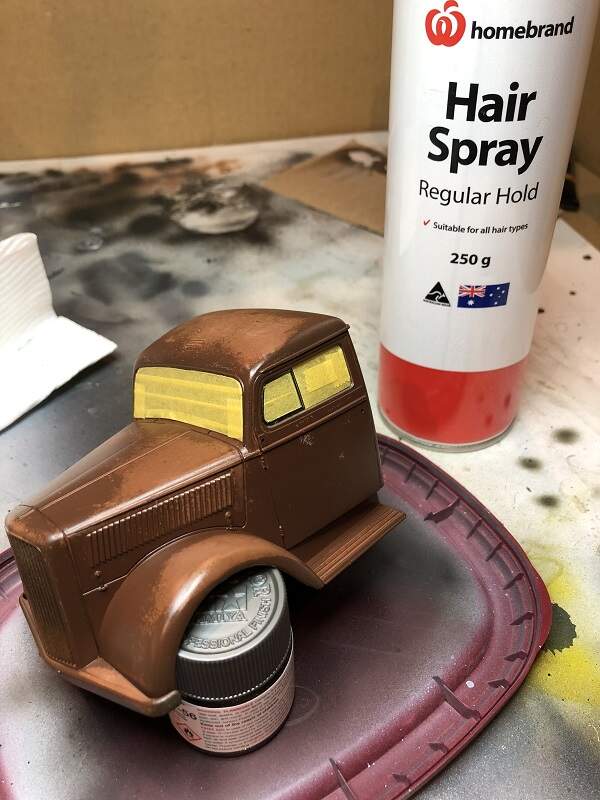
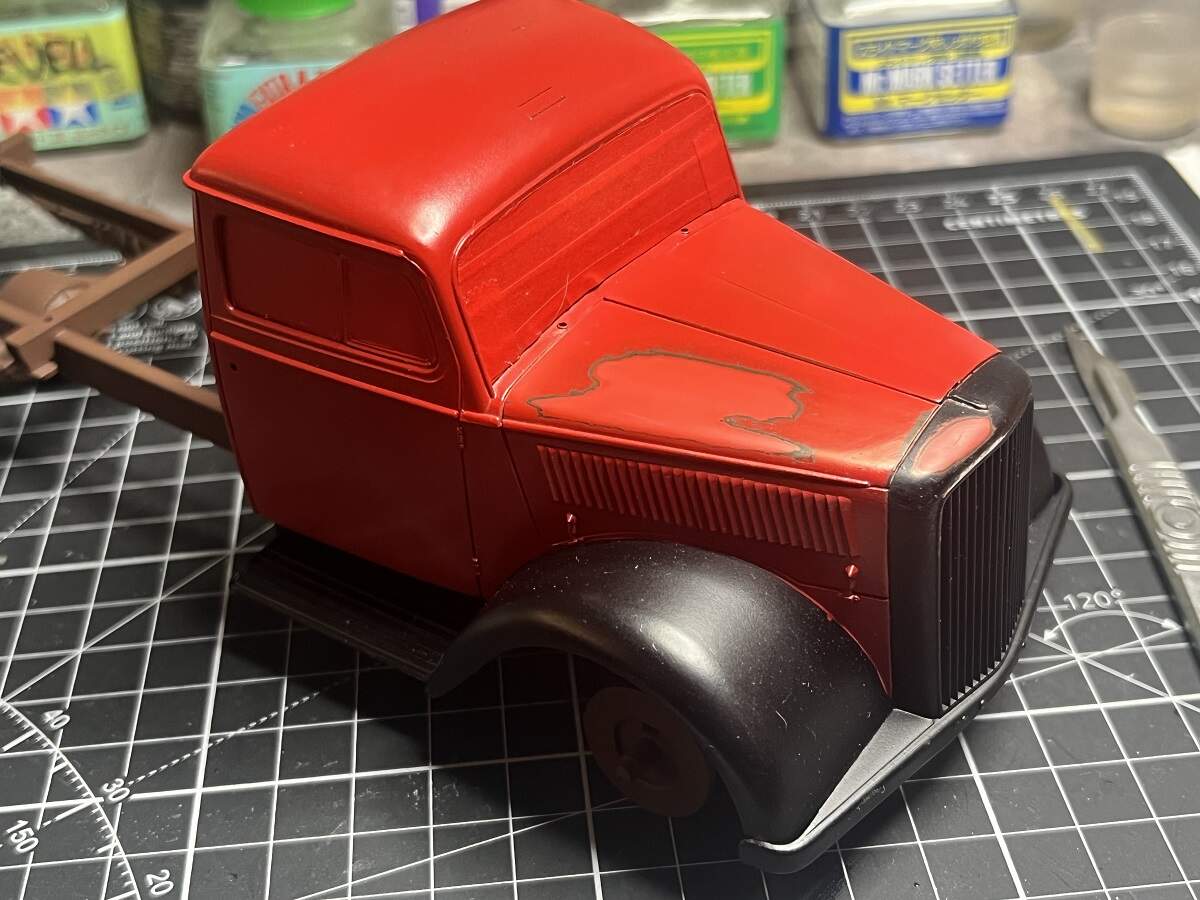
I can’t recall why it was shelved back then. A few years later I dragged it out with a plan to change it to a rusted derelict just waiting for a restorer to discover it. To that end I painted over the OD with Red-Brown to serve as a rust base and then built up the cabin and shot it with hairspray ready to start the weathering process.
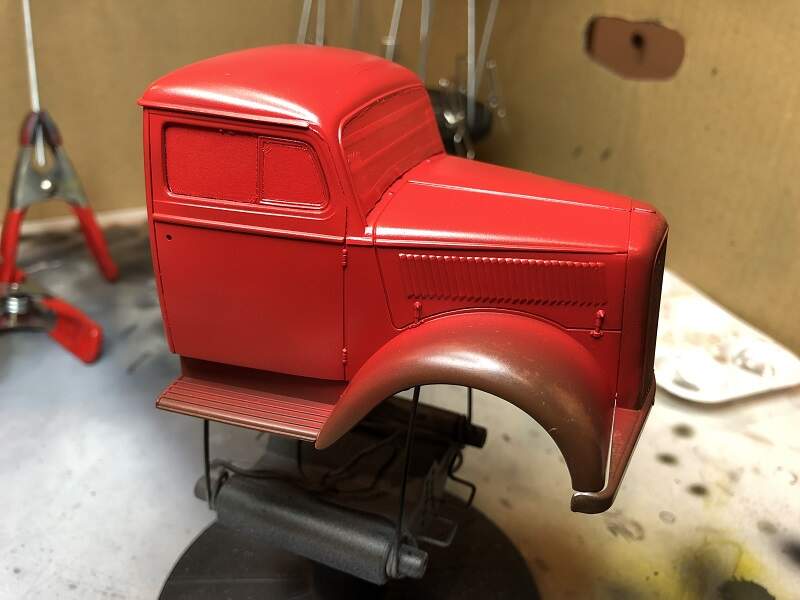
After that I shot the cabin with Italian Red and Chassis Black (SMS lacquers) and once again it got shelved (early 2019) for some reason.
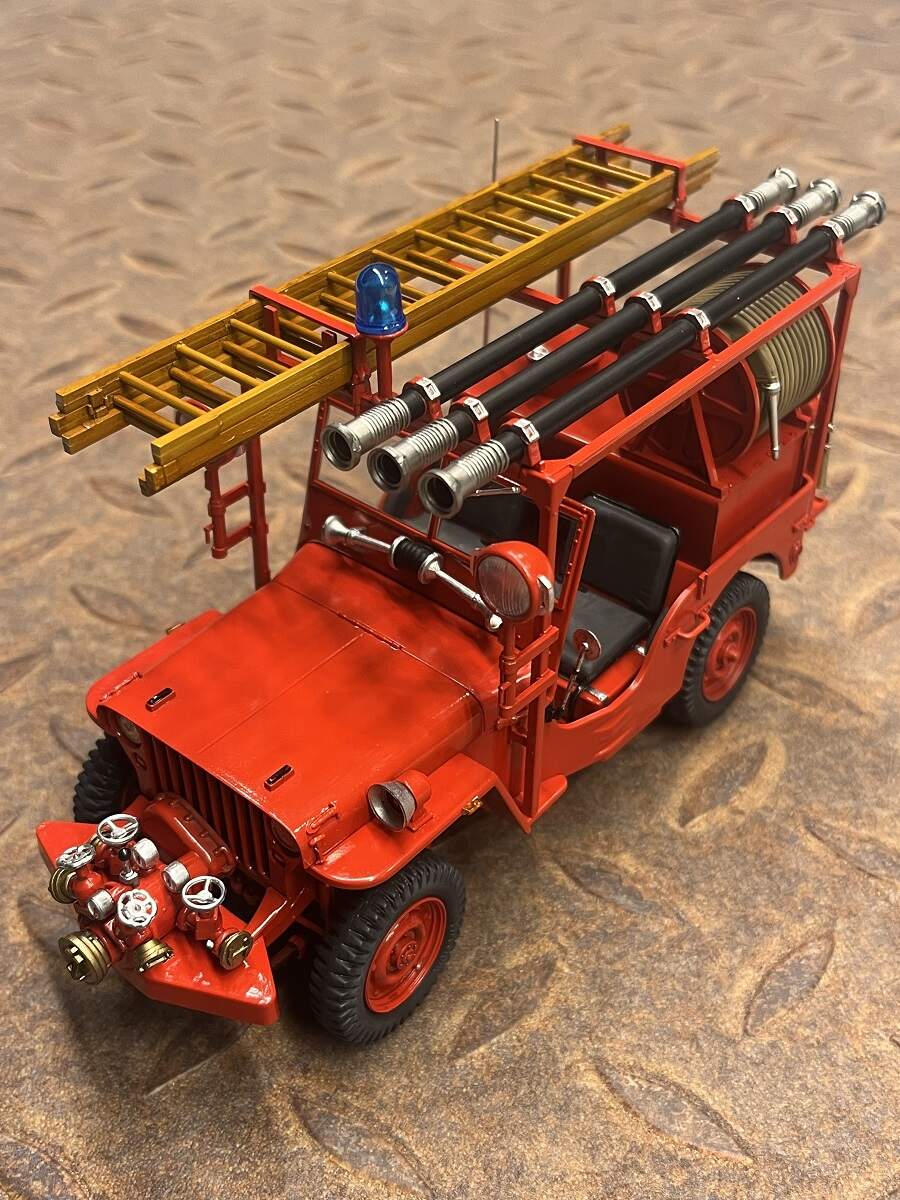
After building the Italeri Fire Jeep last year as a restored display vehicle, I’m thinking now that I will go down the same path with this kit and keep it nice and clean. The pair will make a very nice display together.
Cheers, D
8 Likes
I have picked up this kit in the LHS several times with serious consideration to take it home. I have seen some great builds of the ICM Model T kits and it gets really good reviews.
Seriously tempted.
Cheers, D
2 Likes
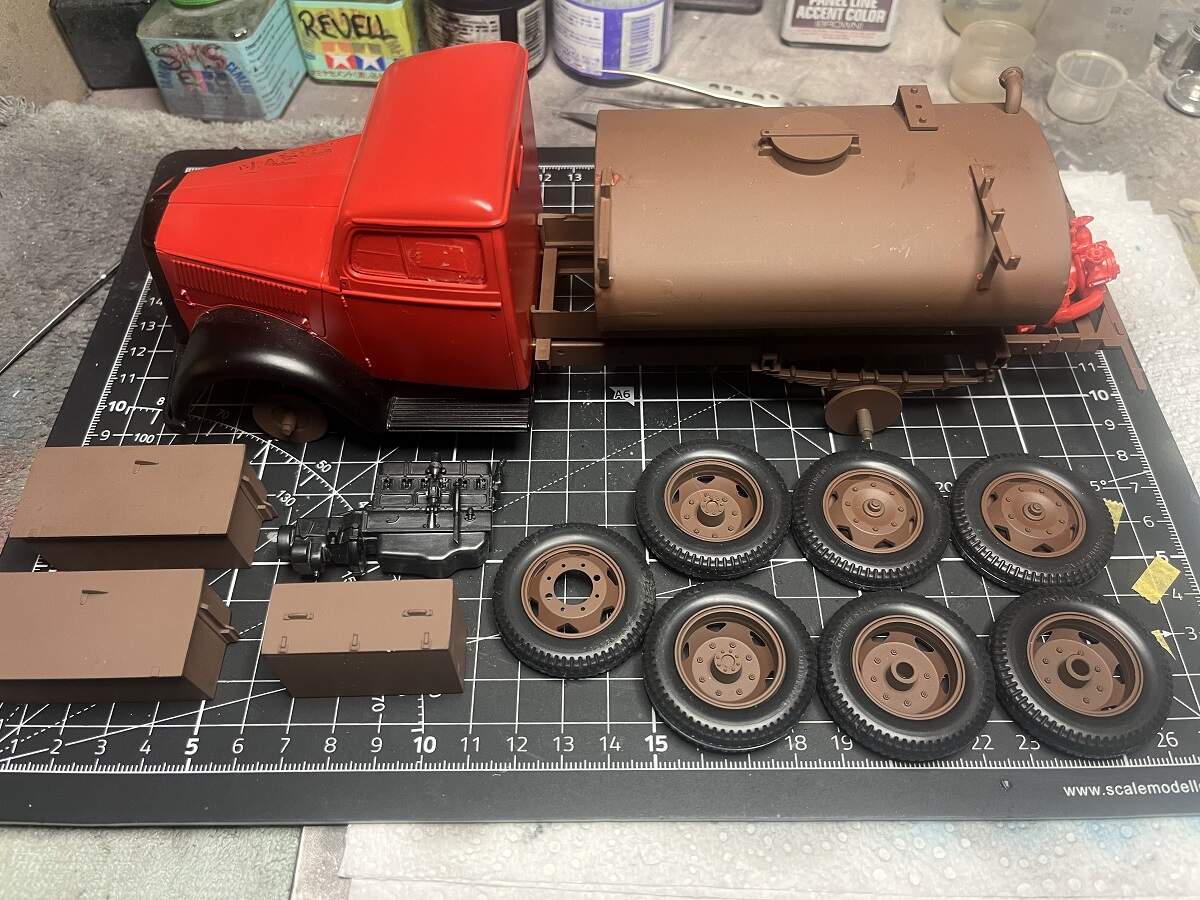
Ok, a quick inventory and everything is present and accounted for. Here’s what I’ve done previously.
Time to start playing!
Cheers, D
5 Likes
Coming along nice. I have a similar kit and I thinks it’s been sitting in my collection for almost 13 years.
1 Like
I managed a bit of tinkering on this build while my P-47 dual build was at a resting stage with the decals.
There were a couple of paint spots on the nose that I wasn’t happy with, so they got the wet sand treatment to prep for repriming.
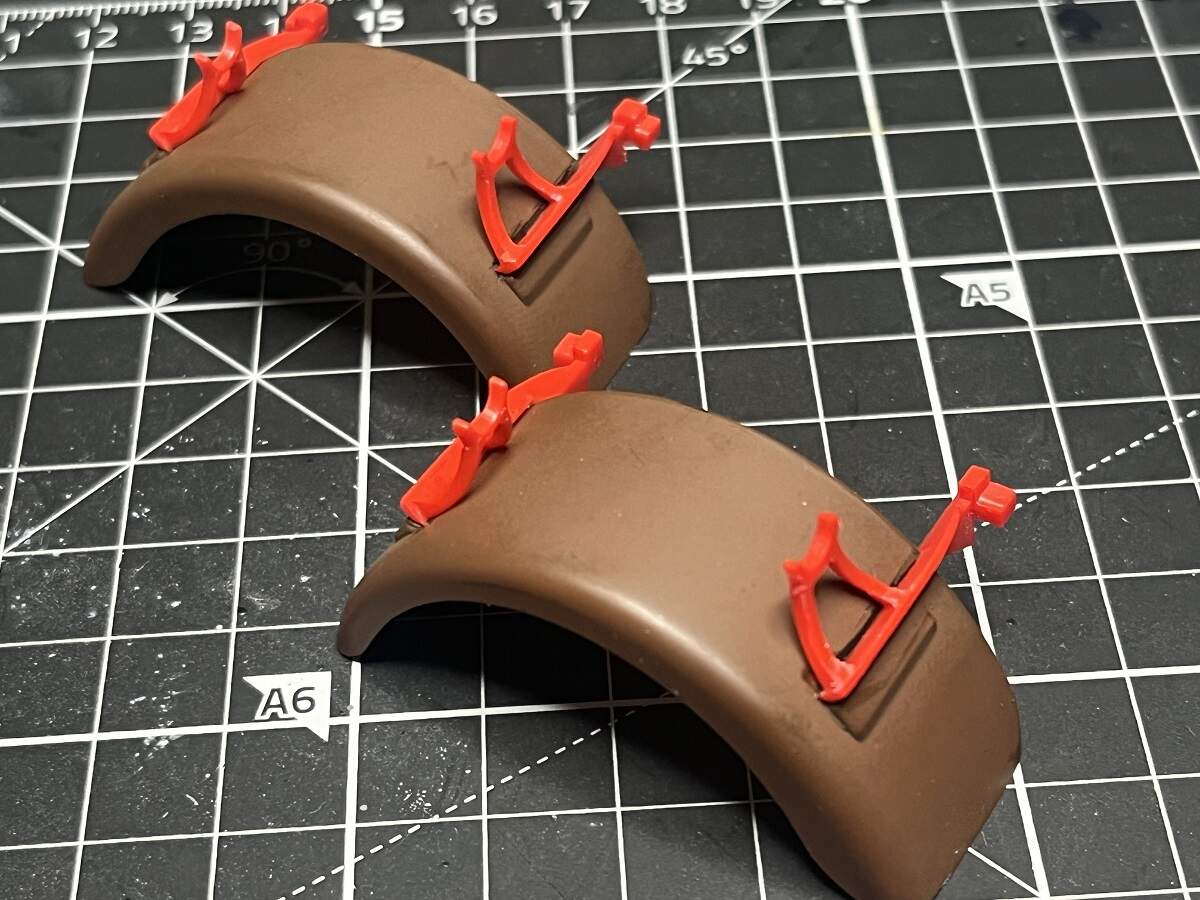
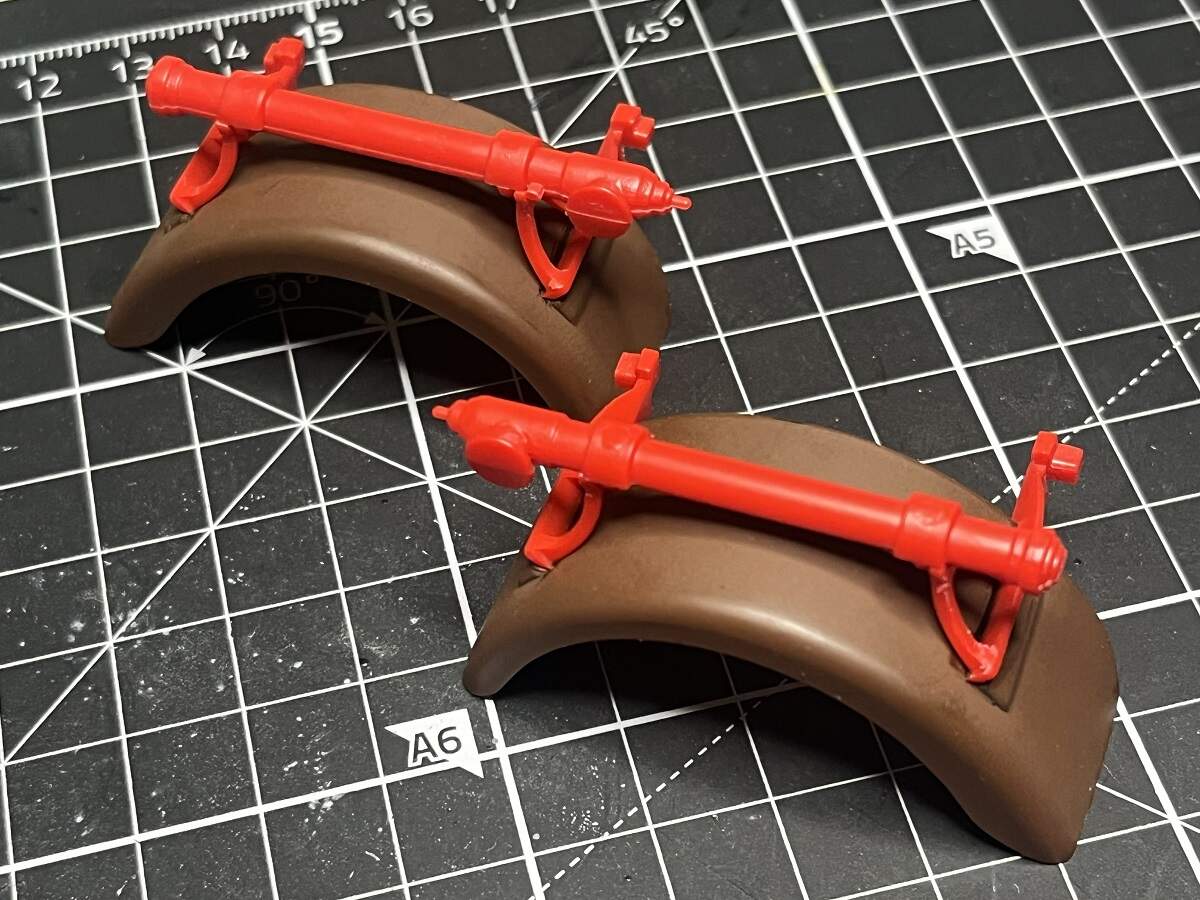
The rear fenders have a custom bracket that also provides a mount for some hose connectors, and they have a very soft alignment with no positive locating points. It took me a while and some adjustments to get them sitting right, they are now cemented in place after scraping off some primer.
Cheers, D
5 Likes
Awesome detail all around and LOVE those seats.
1 Like
Absolutely no locating points or marks for the rear fenders, so I lined them up as best I could and measured up the bracket locations on the chassis rails. Ceramic scraper was used to remove some of the Stynylrez Primer then the brackets cemented in place.
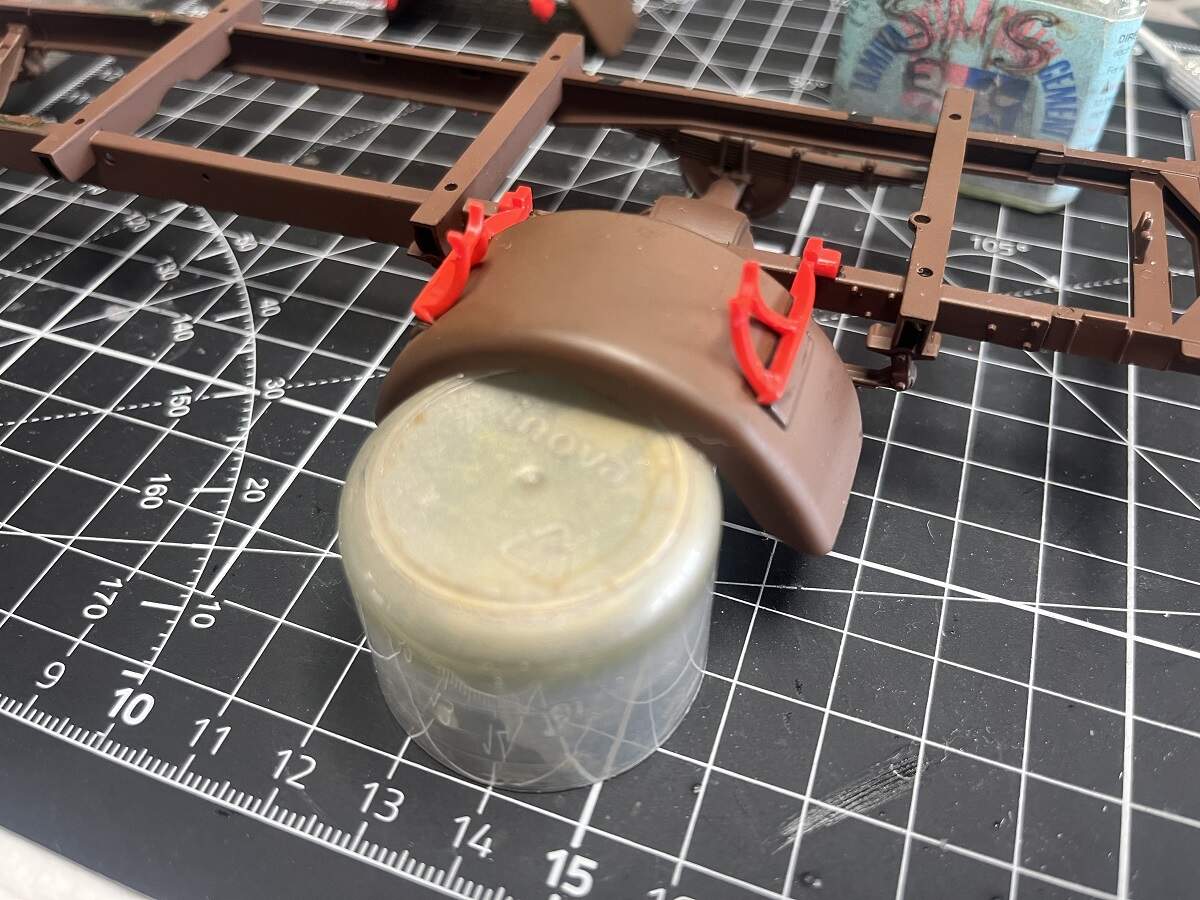
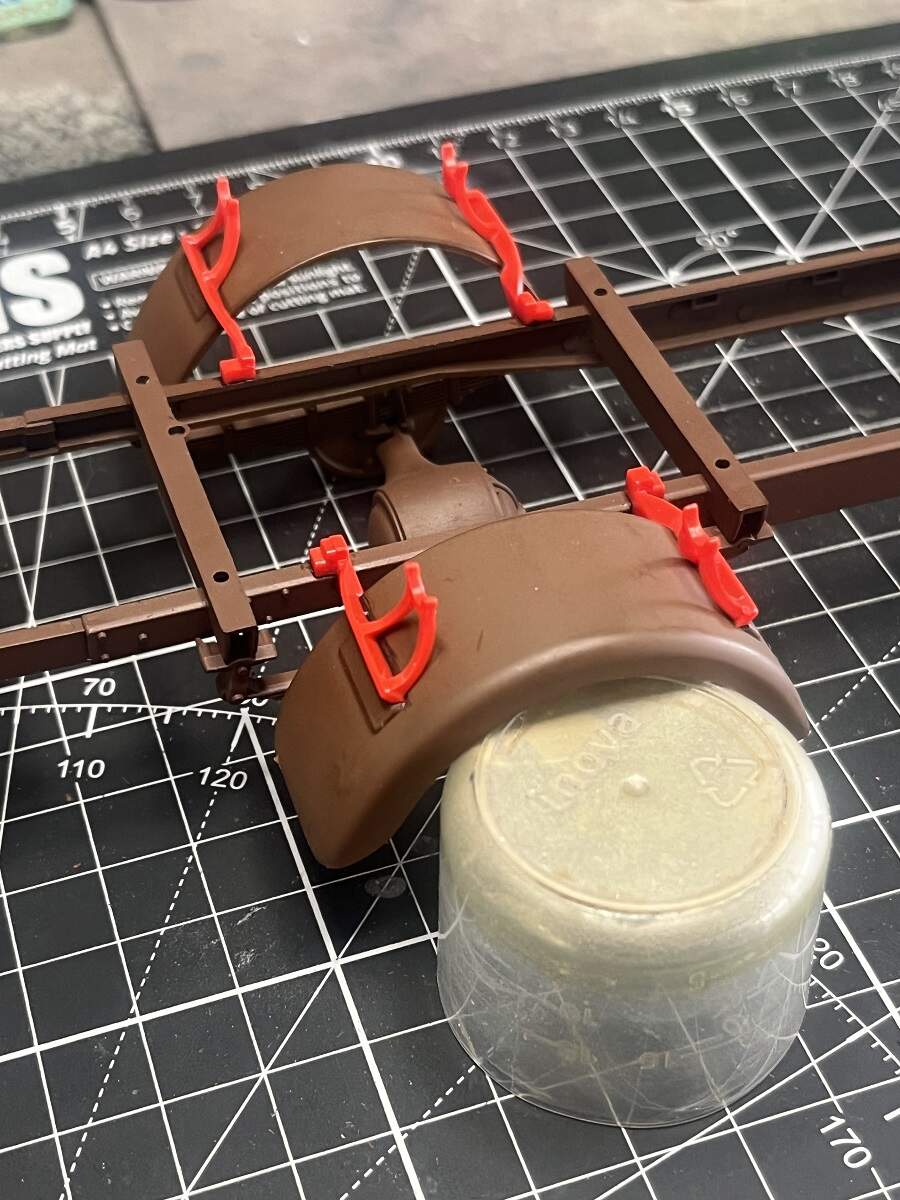
Improvisation is key, a little plastic cap inverted was used to set the fender level.
Cheers, D
5 Likes
Threw a bit of paint on today to see how it will look. Satisfying.
Cheers, D
4 Likes
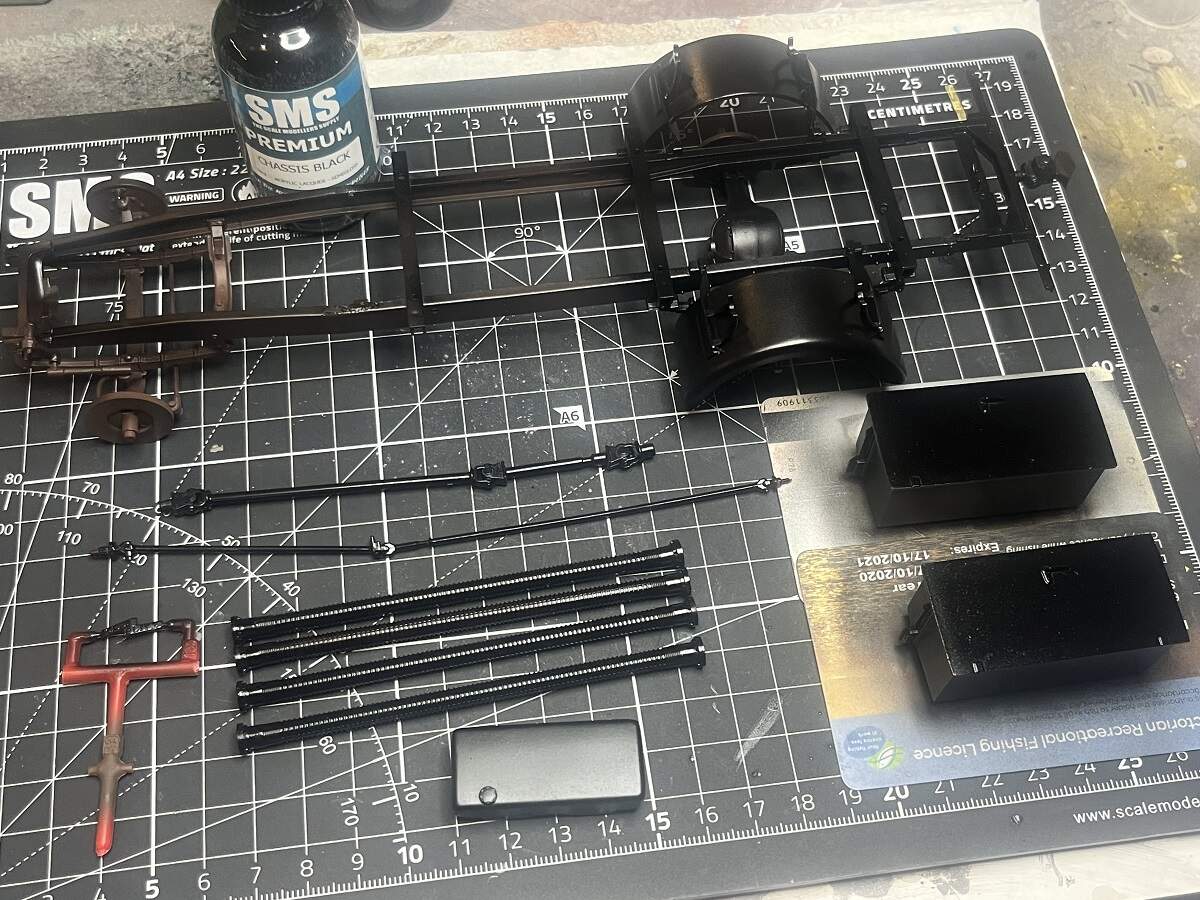
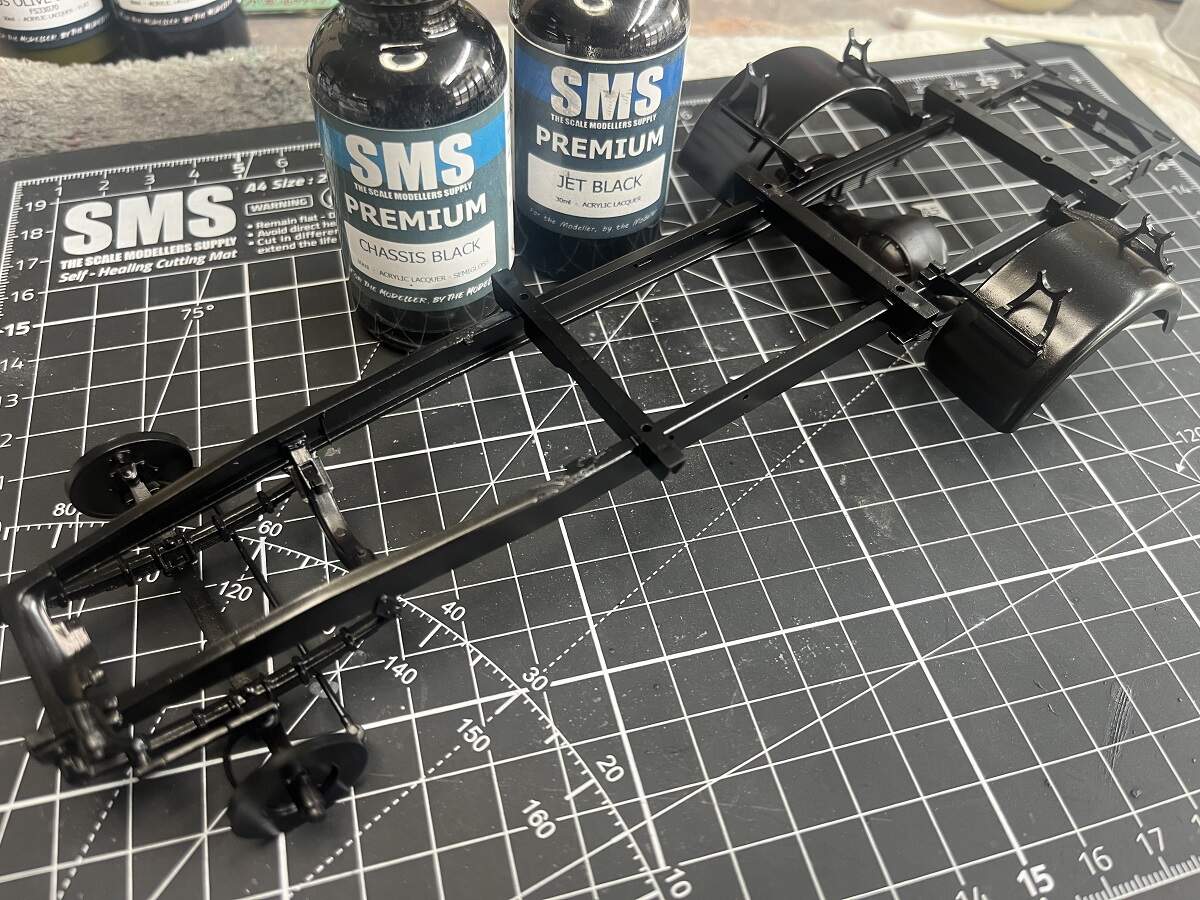
I was out of town for work this past week so nothing much got done, managed a short session to finish the chassis off with SMS Chassis Black and a freehand shot of Jet Black over the fenders.
Cheers, D
3 Likes
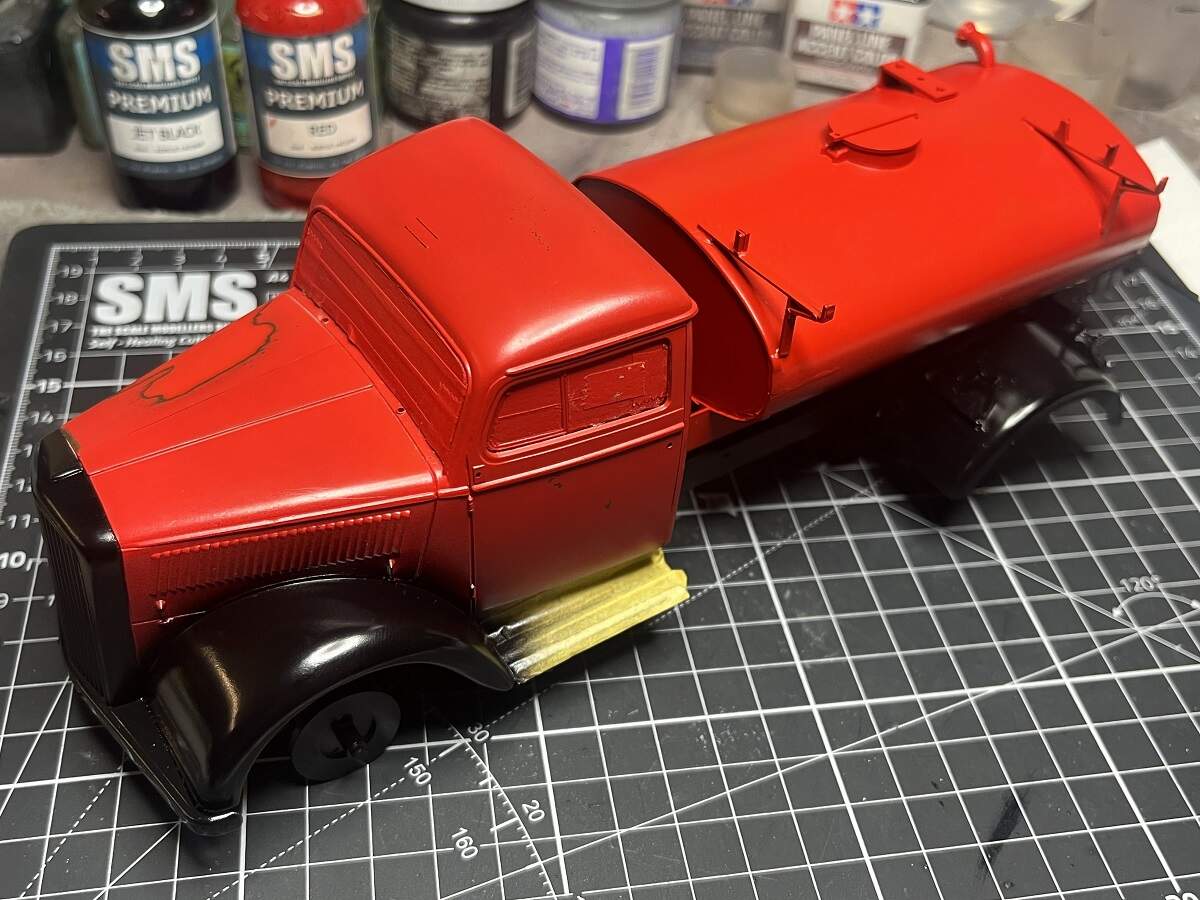
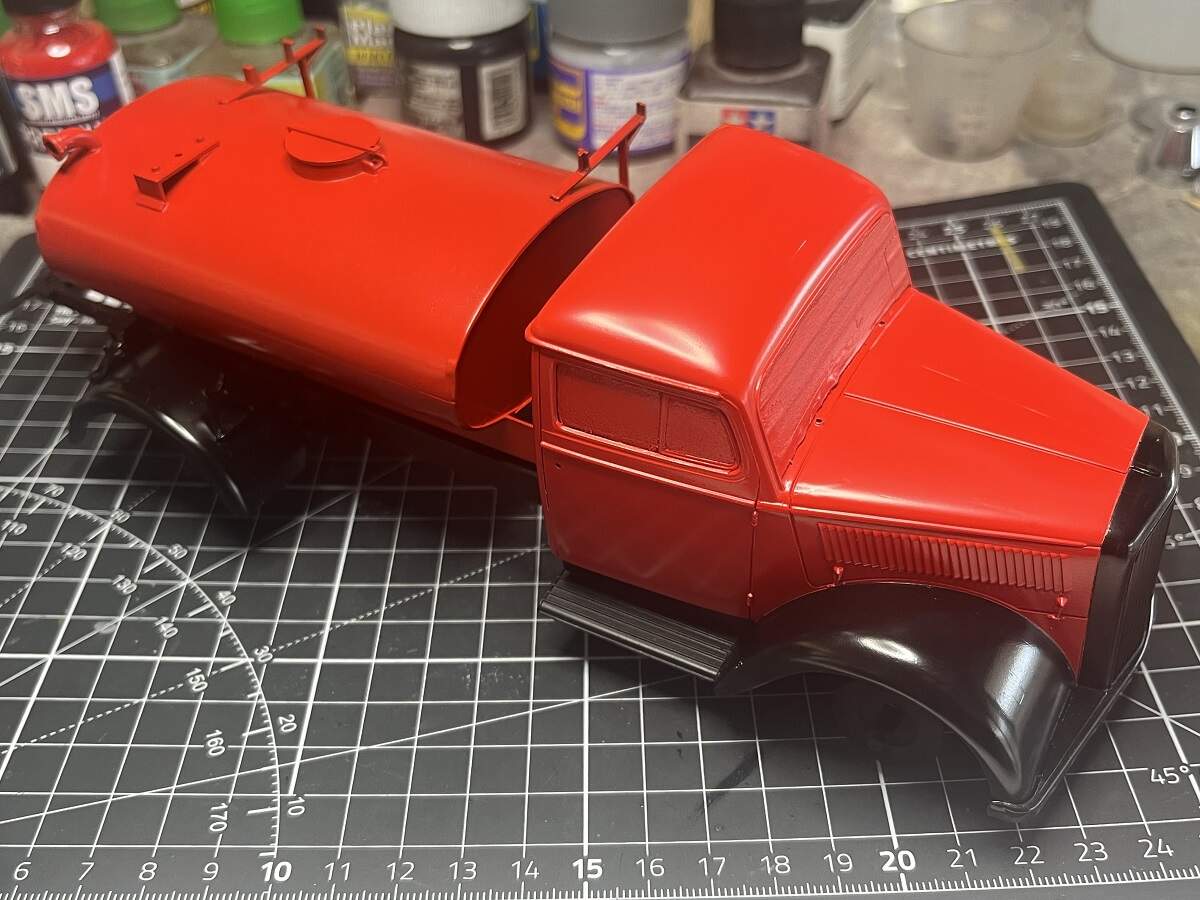
Some more paint tonight, I shot the front fenders/grille/bumper/toolboxes with SMS Jet Black and gave the tank, hose racks and tool cabinet an initial dose of SMS Red. Always time for a cheeky dry test fit as well. Next up I will mask the Jet Black areas and re-prime the cab ready for a better red coat.
Cheers, D
8 Likes
Looking very nice … That red really pops … beautiful contrast with the black as well … great stuff 
1 Like
Thanks for checking John, much appreciated! I’m loving the black/red combo as well.
Cheers, D
1 Like
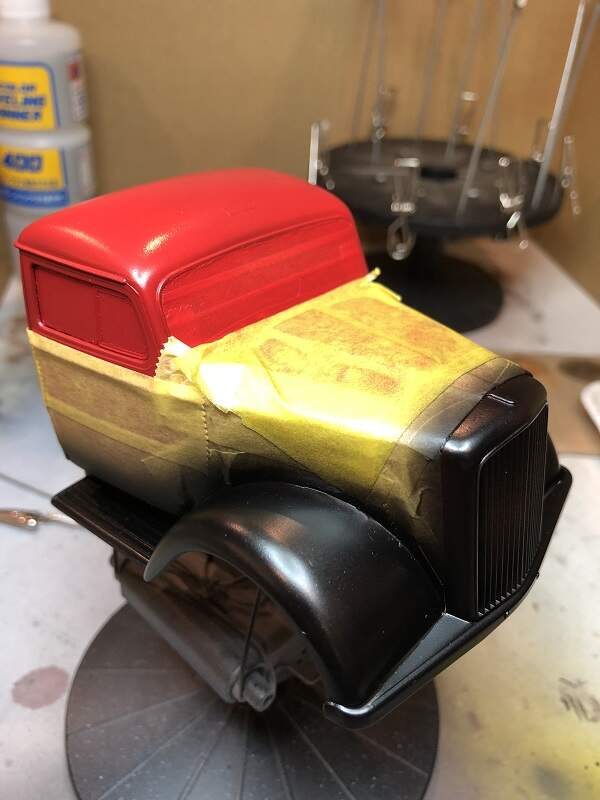
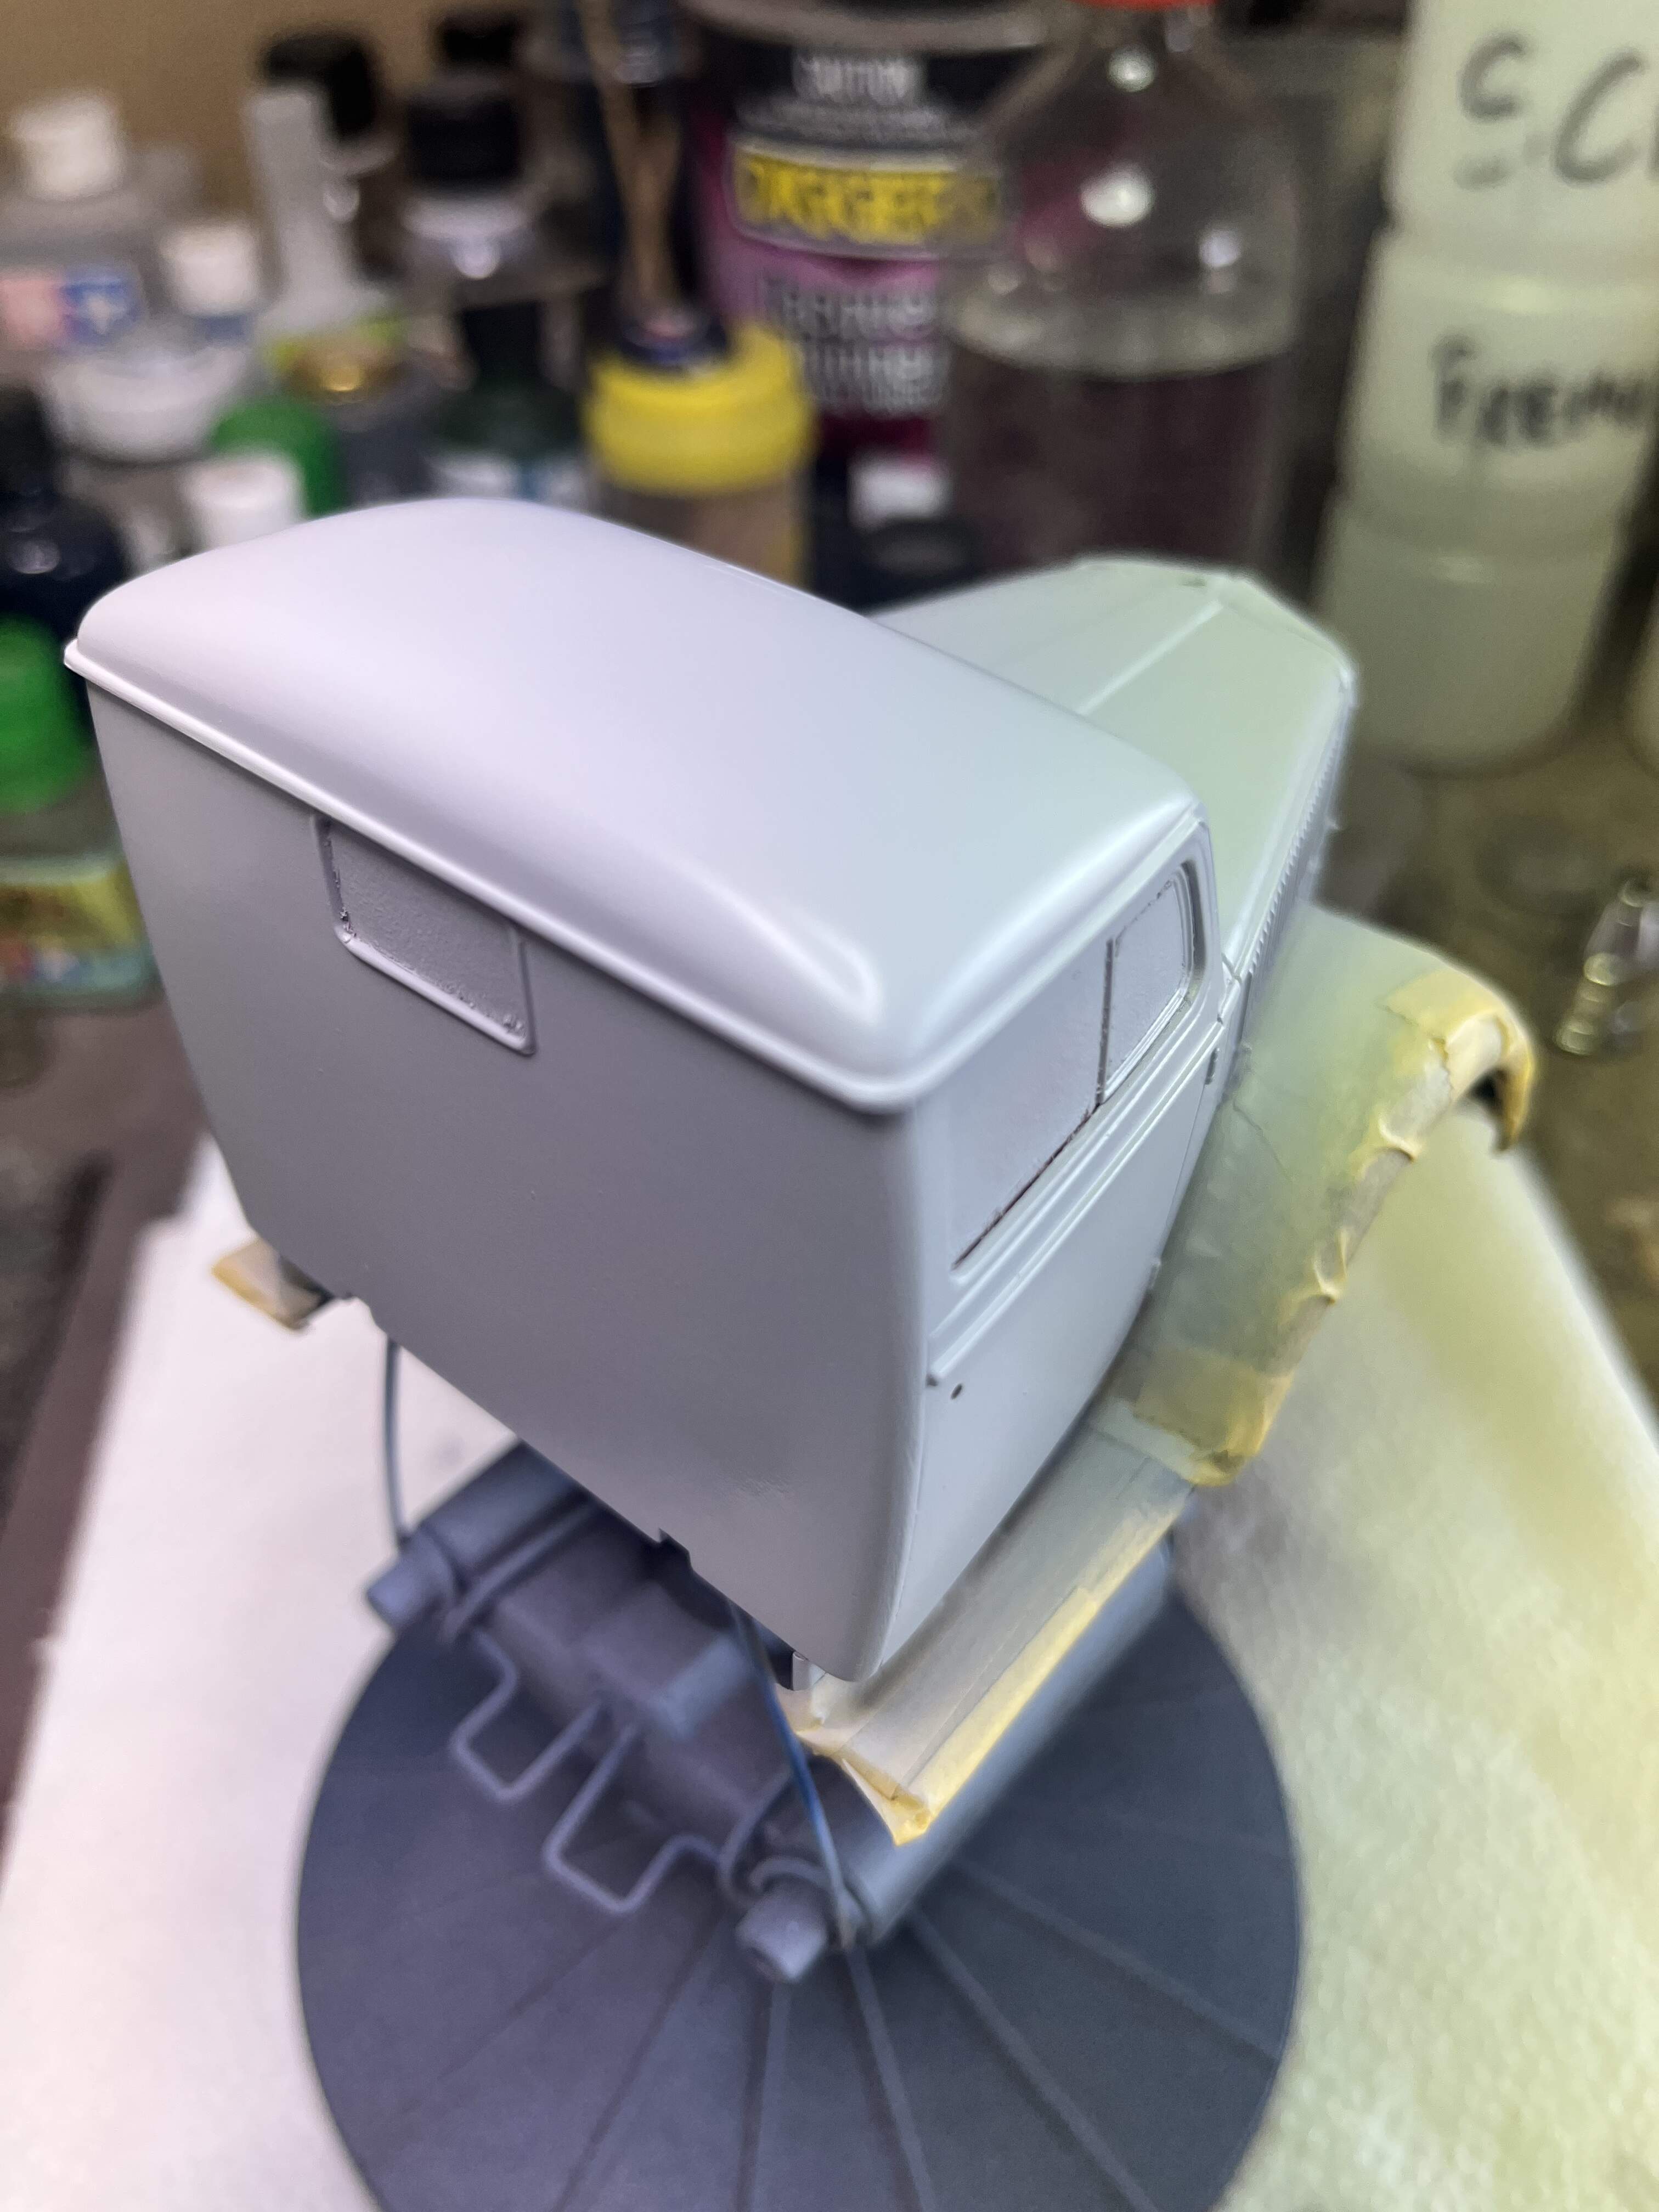
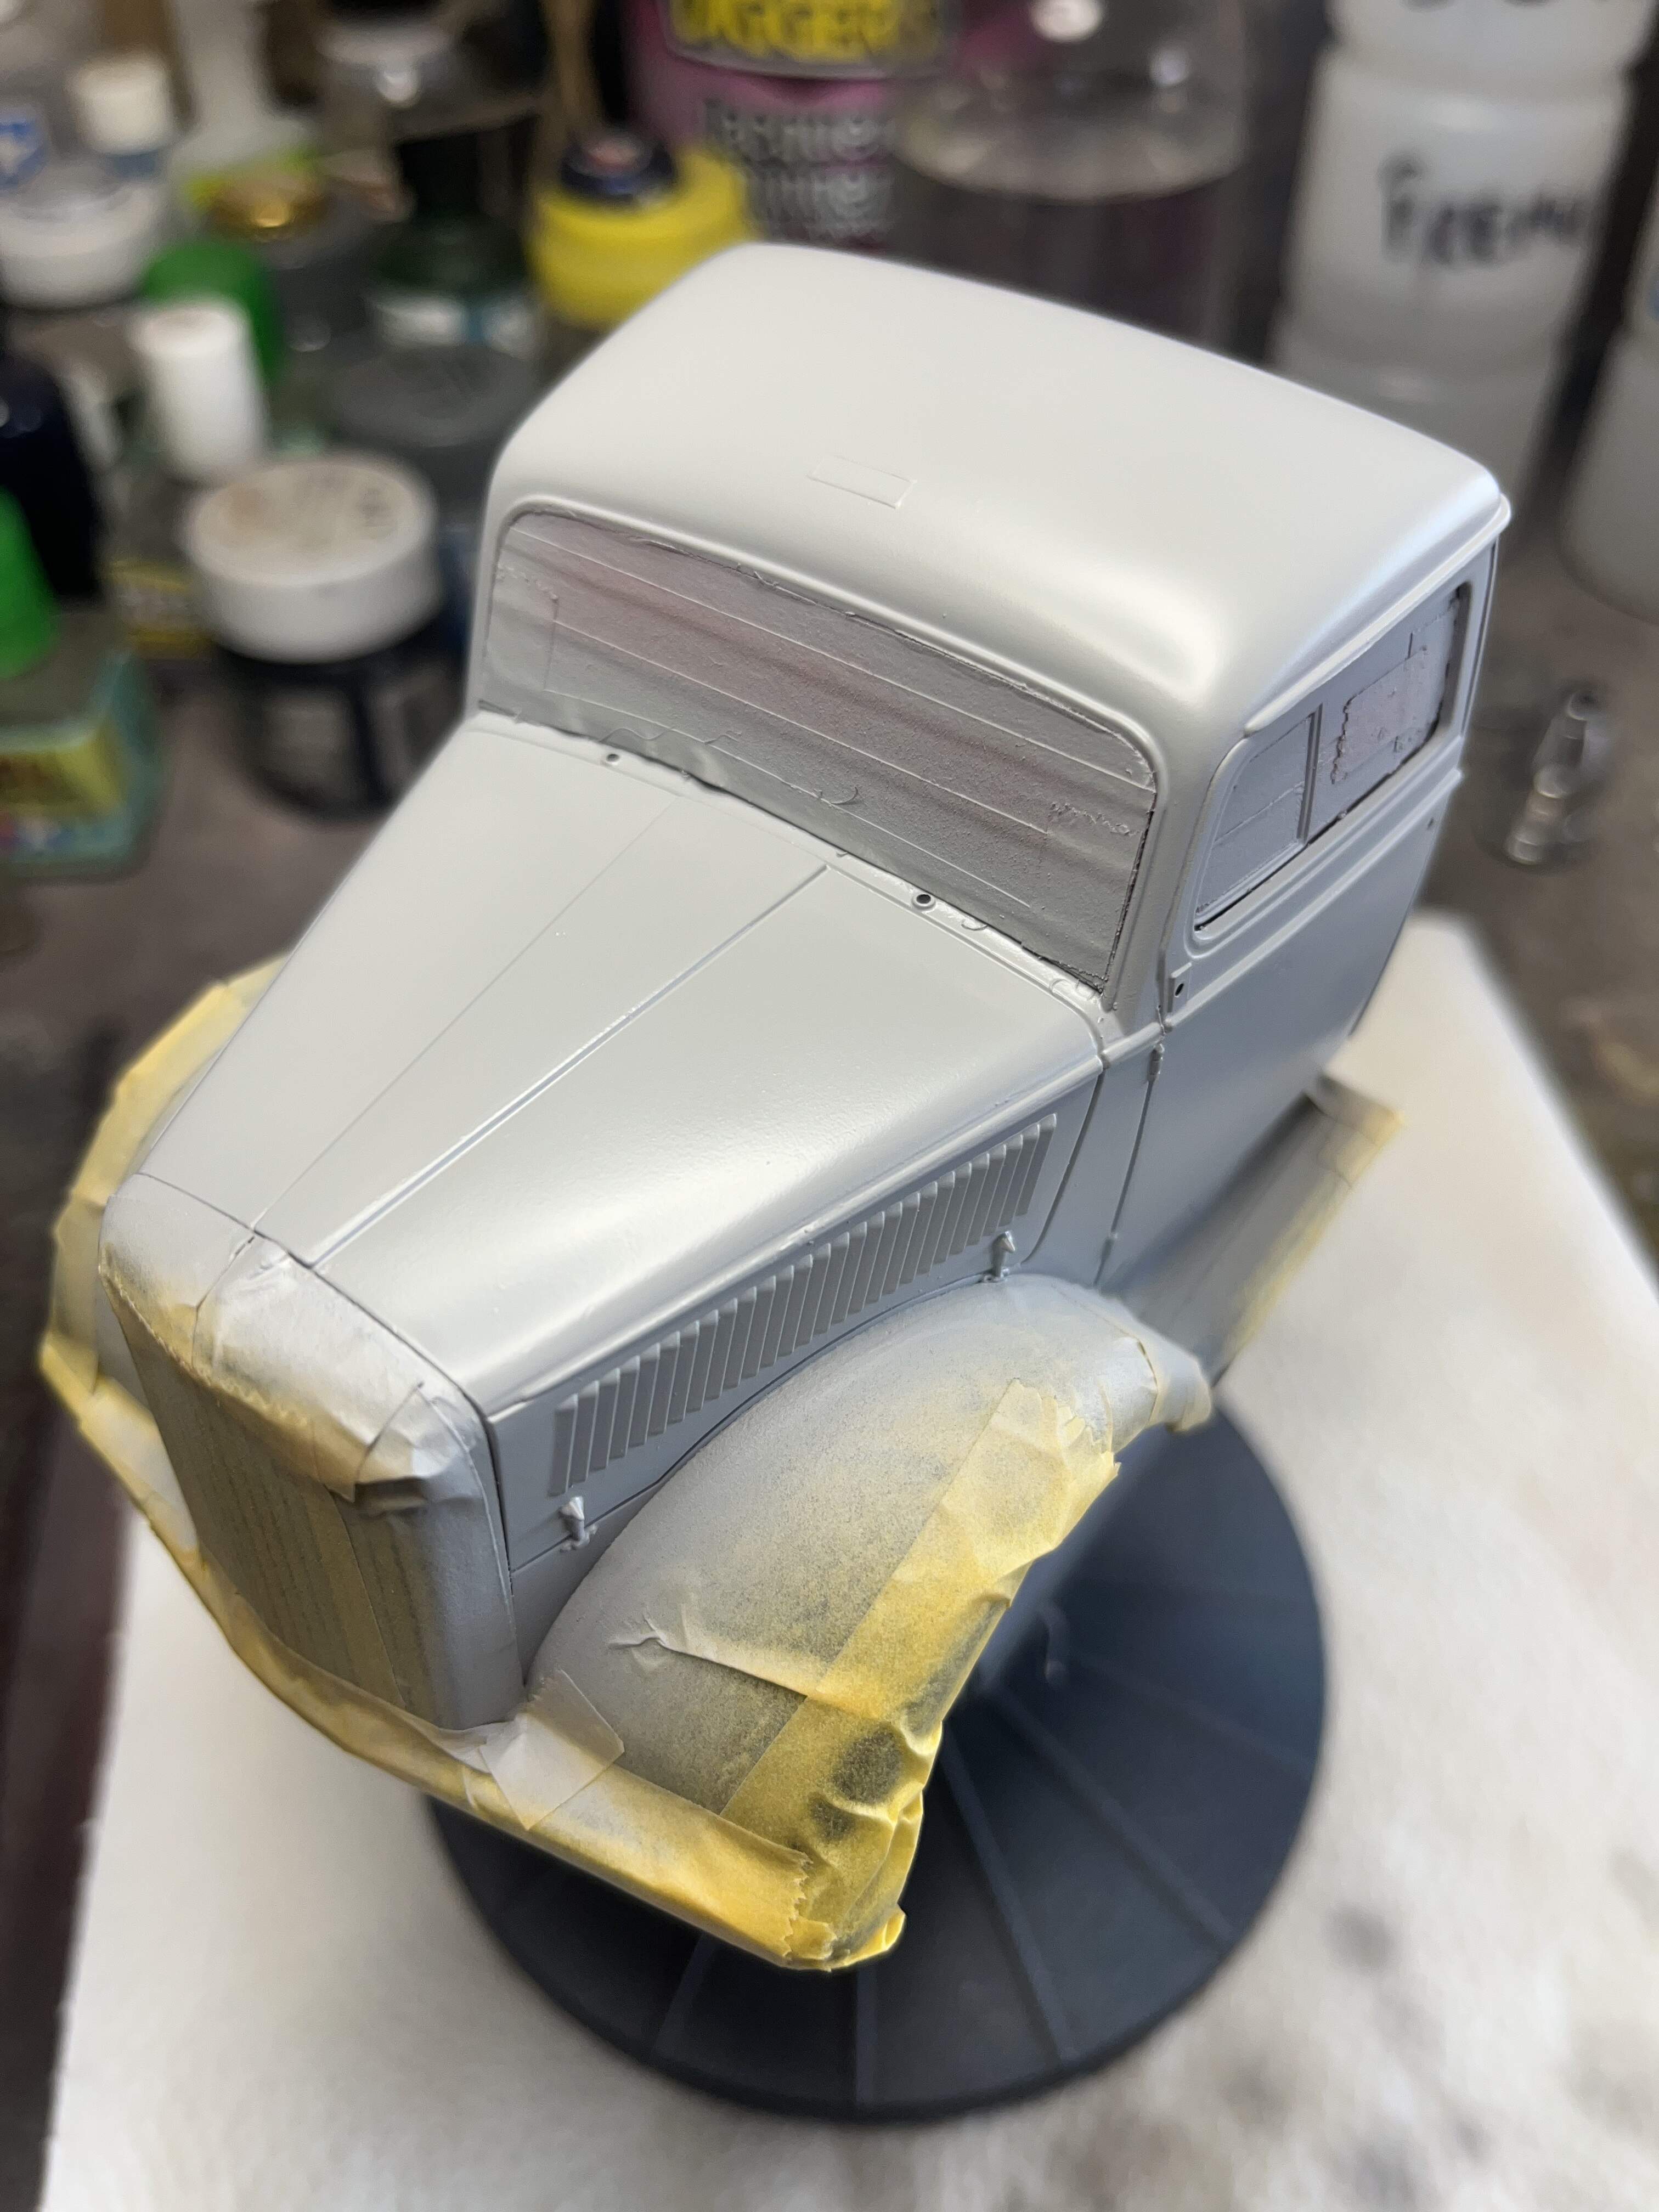
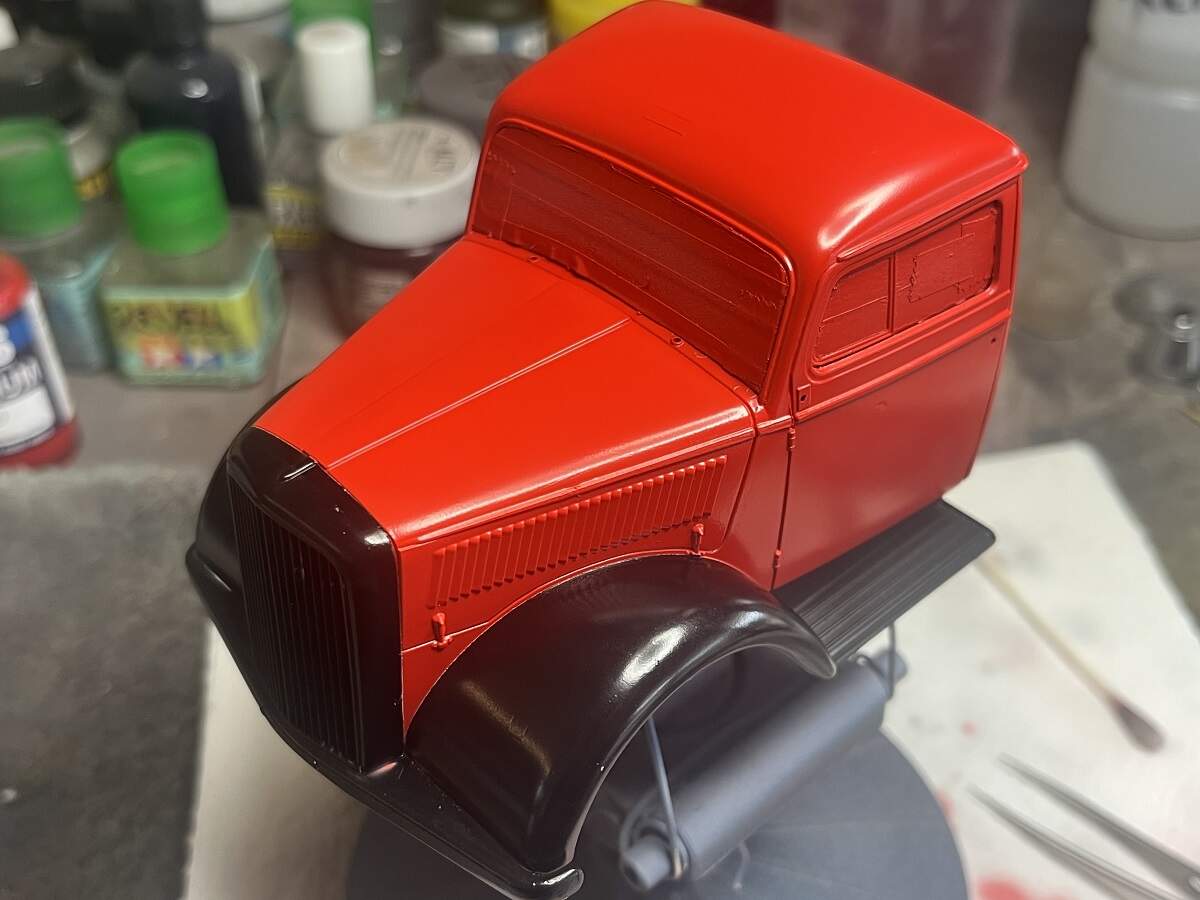
Very limited bench time lately, dragging me down a bit but trying to push through. I managed to mask the front guards and grille assembly and shoot some primer on the cab.
A couple of days to fully cure then I can polish it up and see if any more work is needed prior to top coat.
Cheers, D
6 Likes
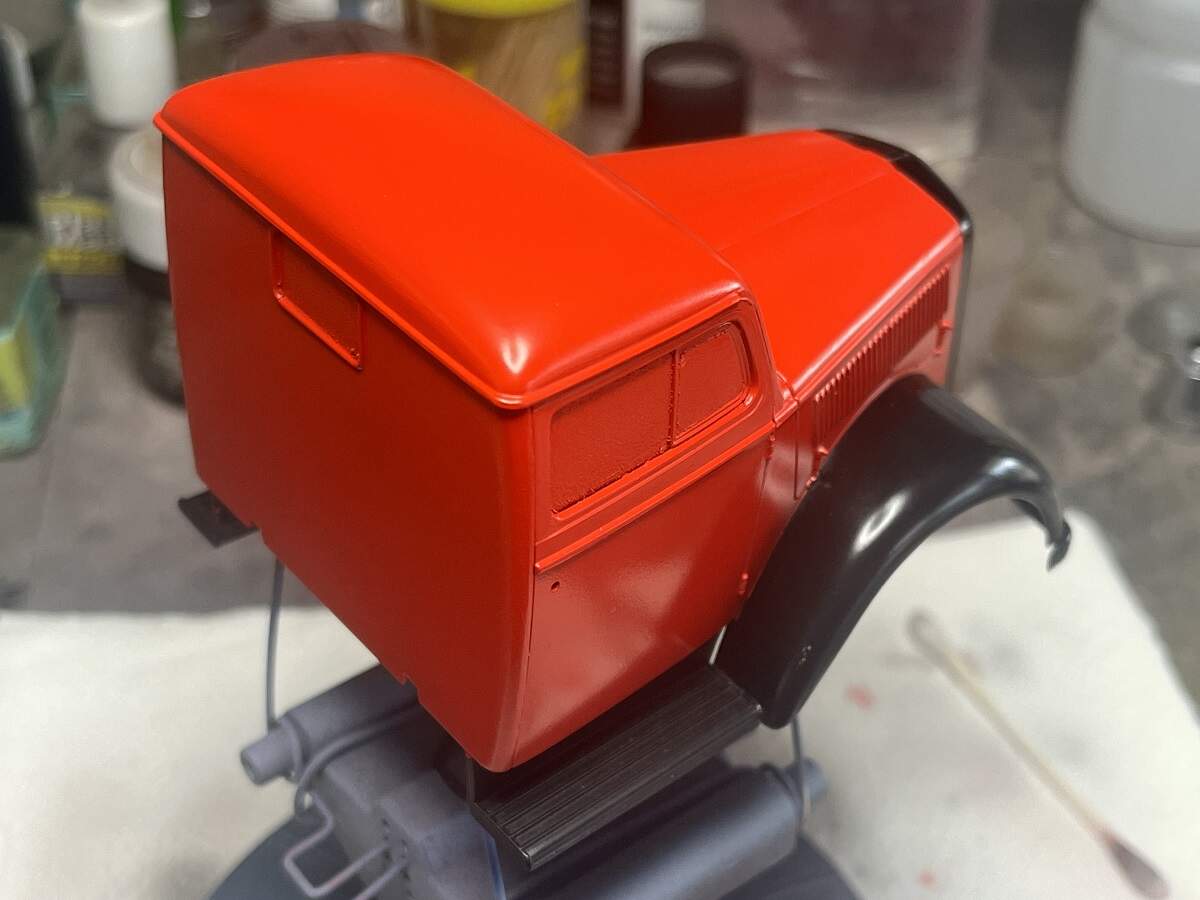
The cab has been painted and unmasked and had a quick wet sand ready for clear gloss.
Always time for a quick dry test fit as well. The tank had a wet sand to get rid of some dust and needs another shot of red to tidy it up before gloss.
Cheers, D
8 Likes
Lovely vibrant red that has gone down there D … and still has that great contrast against the black … lovely
1 Like
Shiny  Time to start on the bits and pieces to hang off it now
Cheers, D
10 Likes