O.K., I’ll go with something like this:

You did say Operation BARBARELLA, didn’t you…
Cheers,
M
O.K., I’ll go with something like this:
You did say Operation BARBARELLA, didn’t you…
Cheers,
M
This will be nice
That uniform might have proved a bit chilly when winter set in.
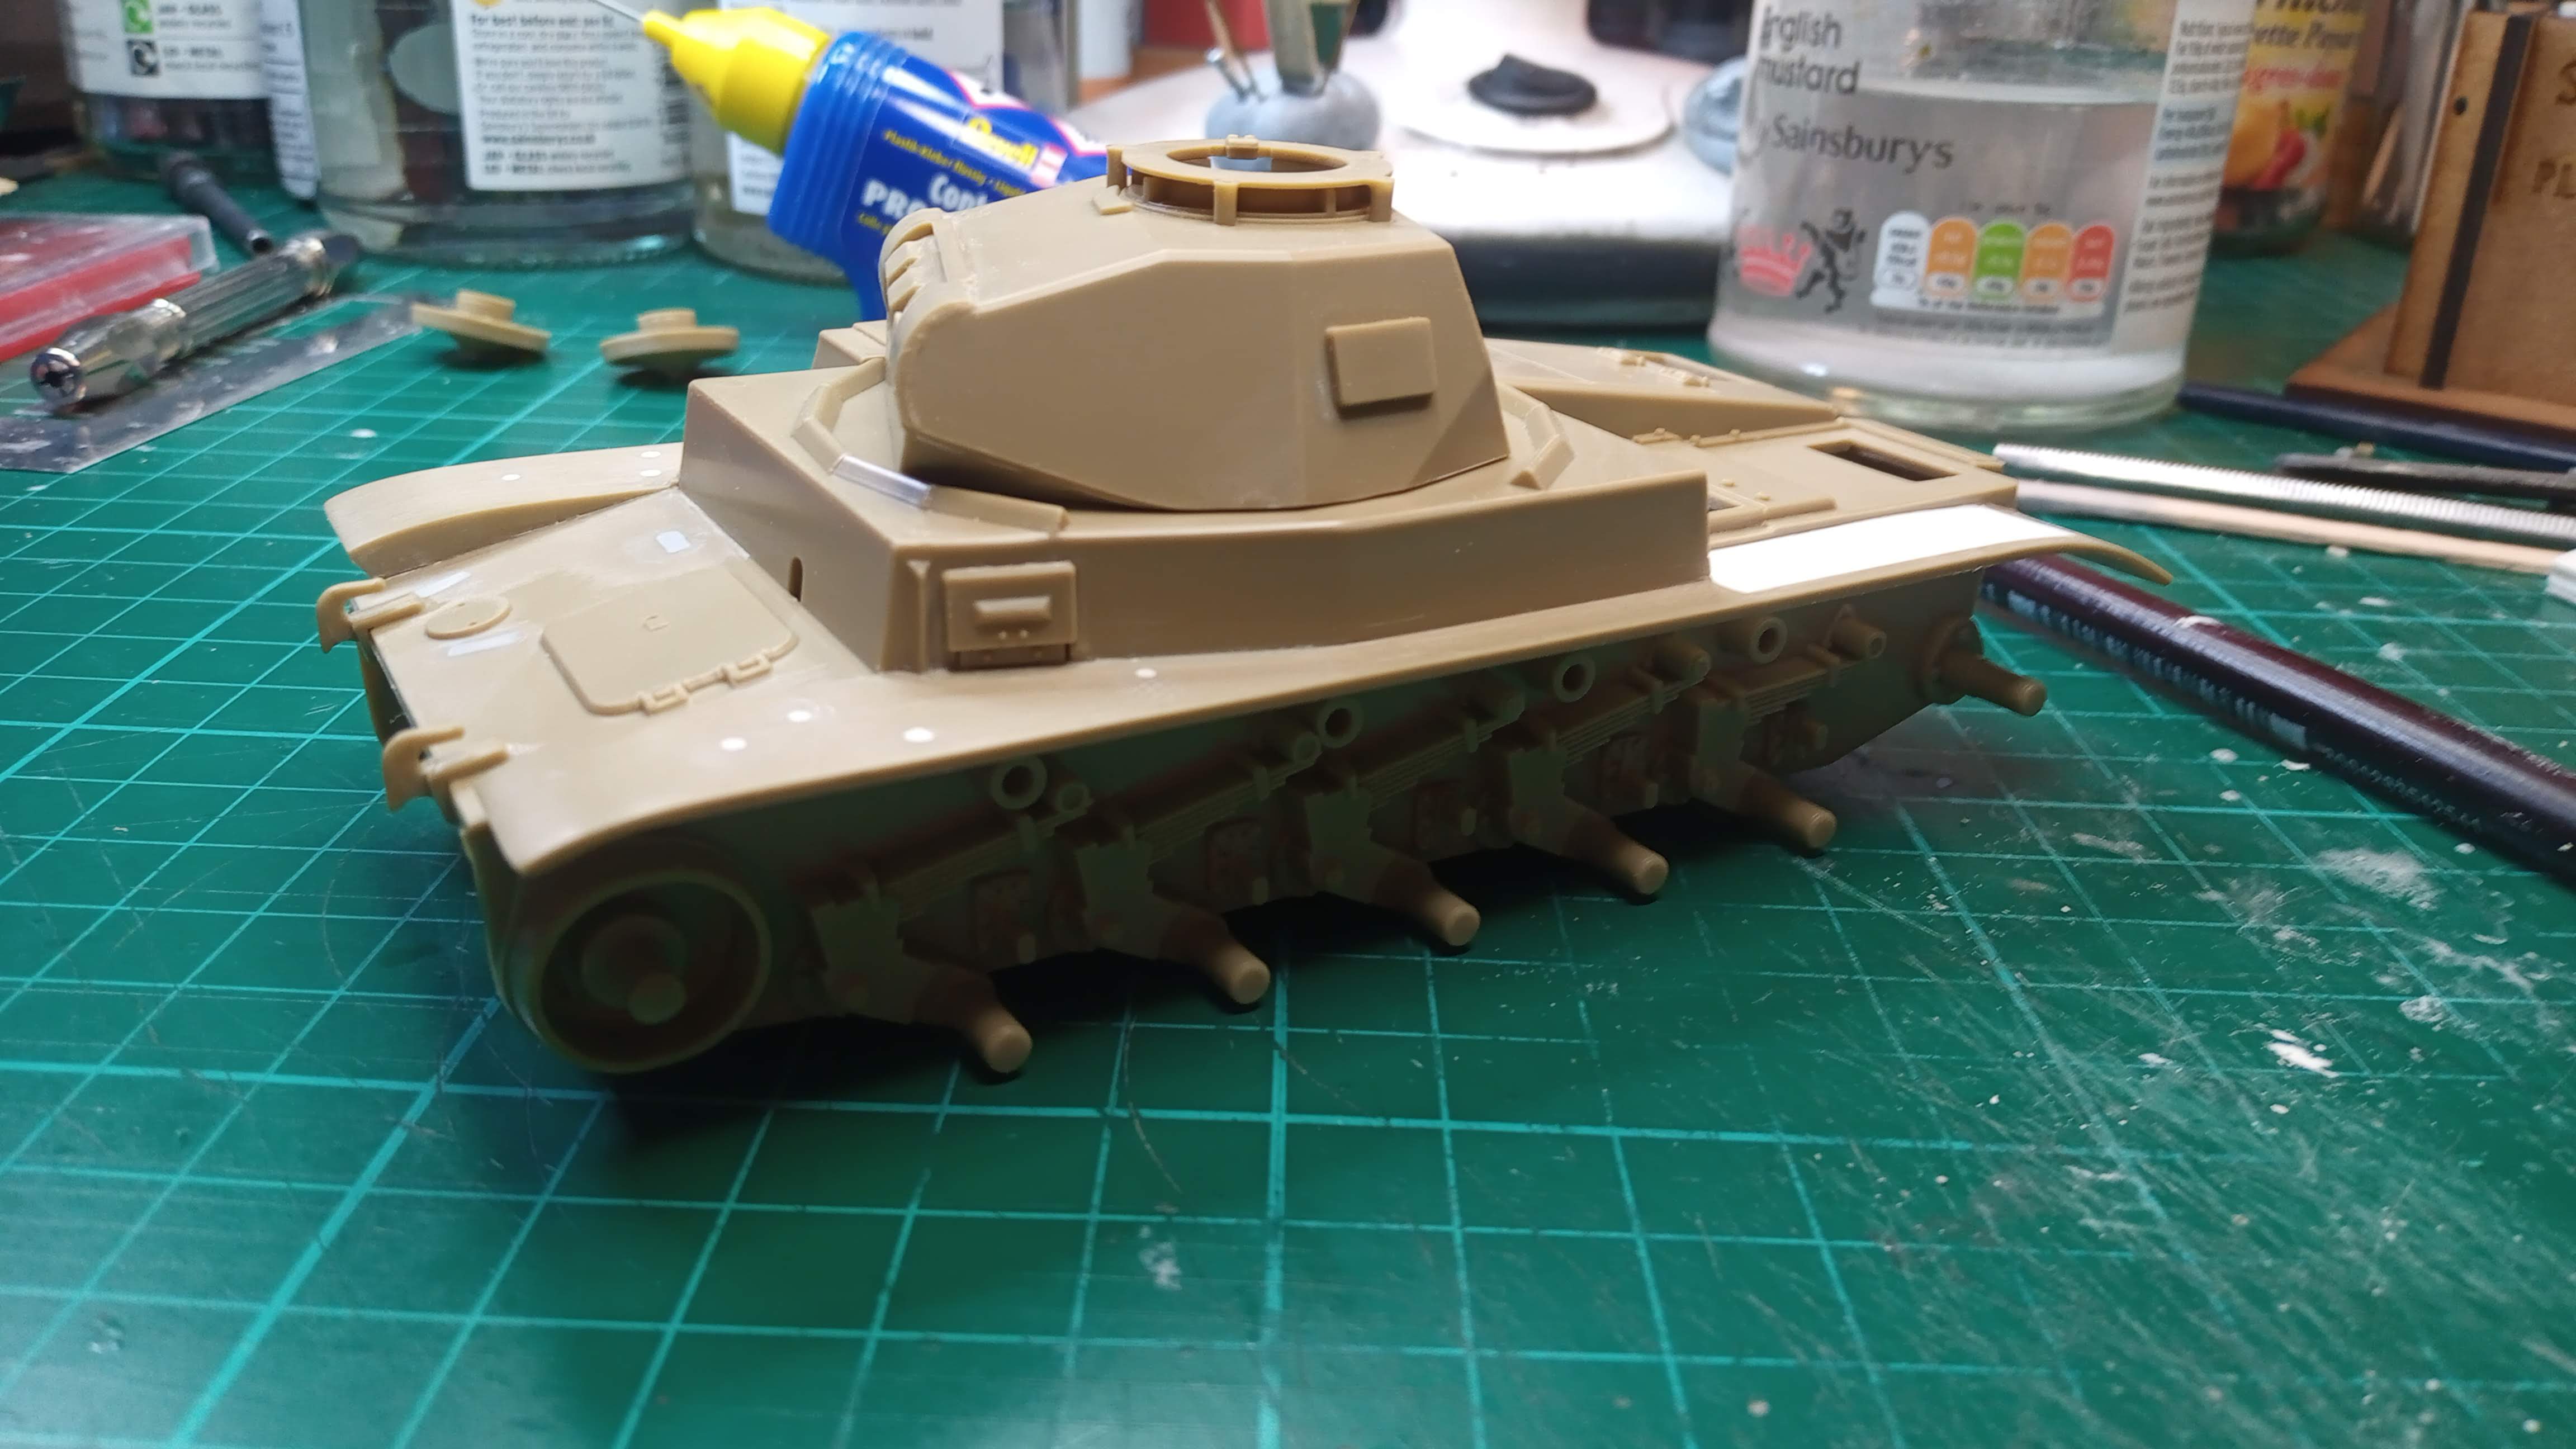
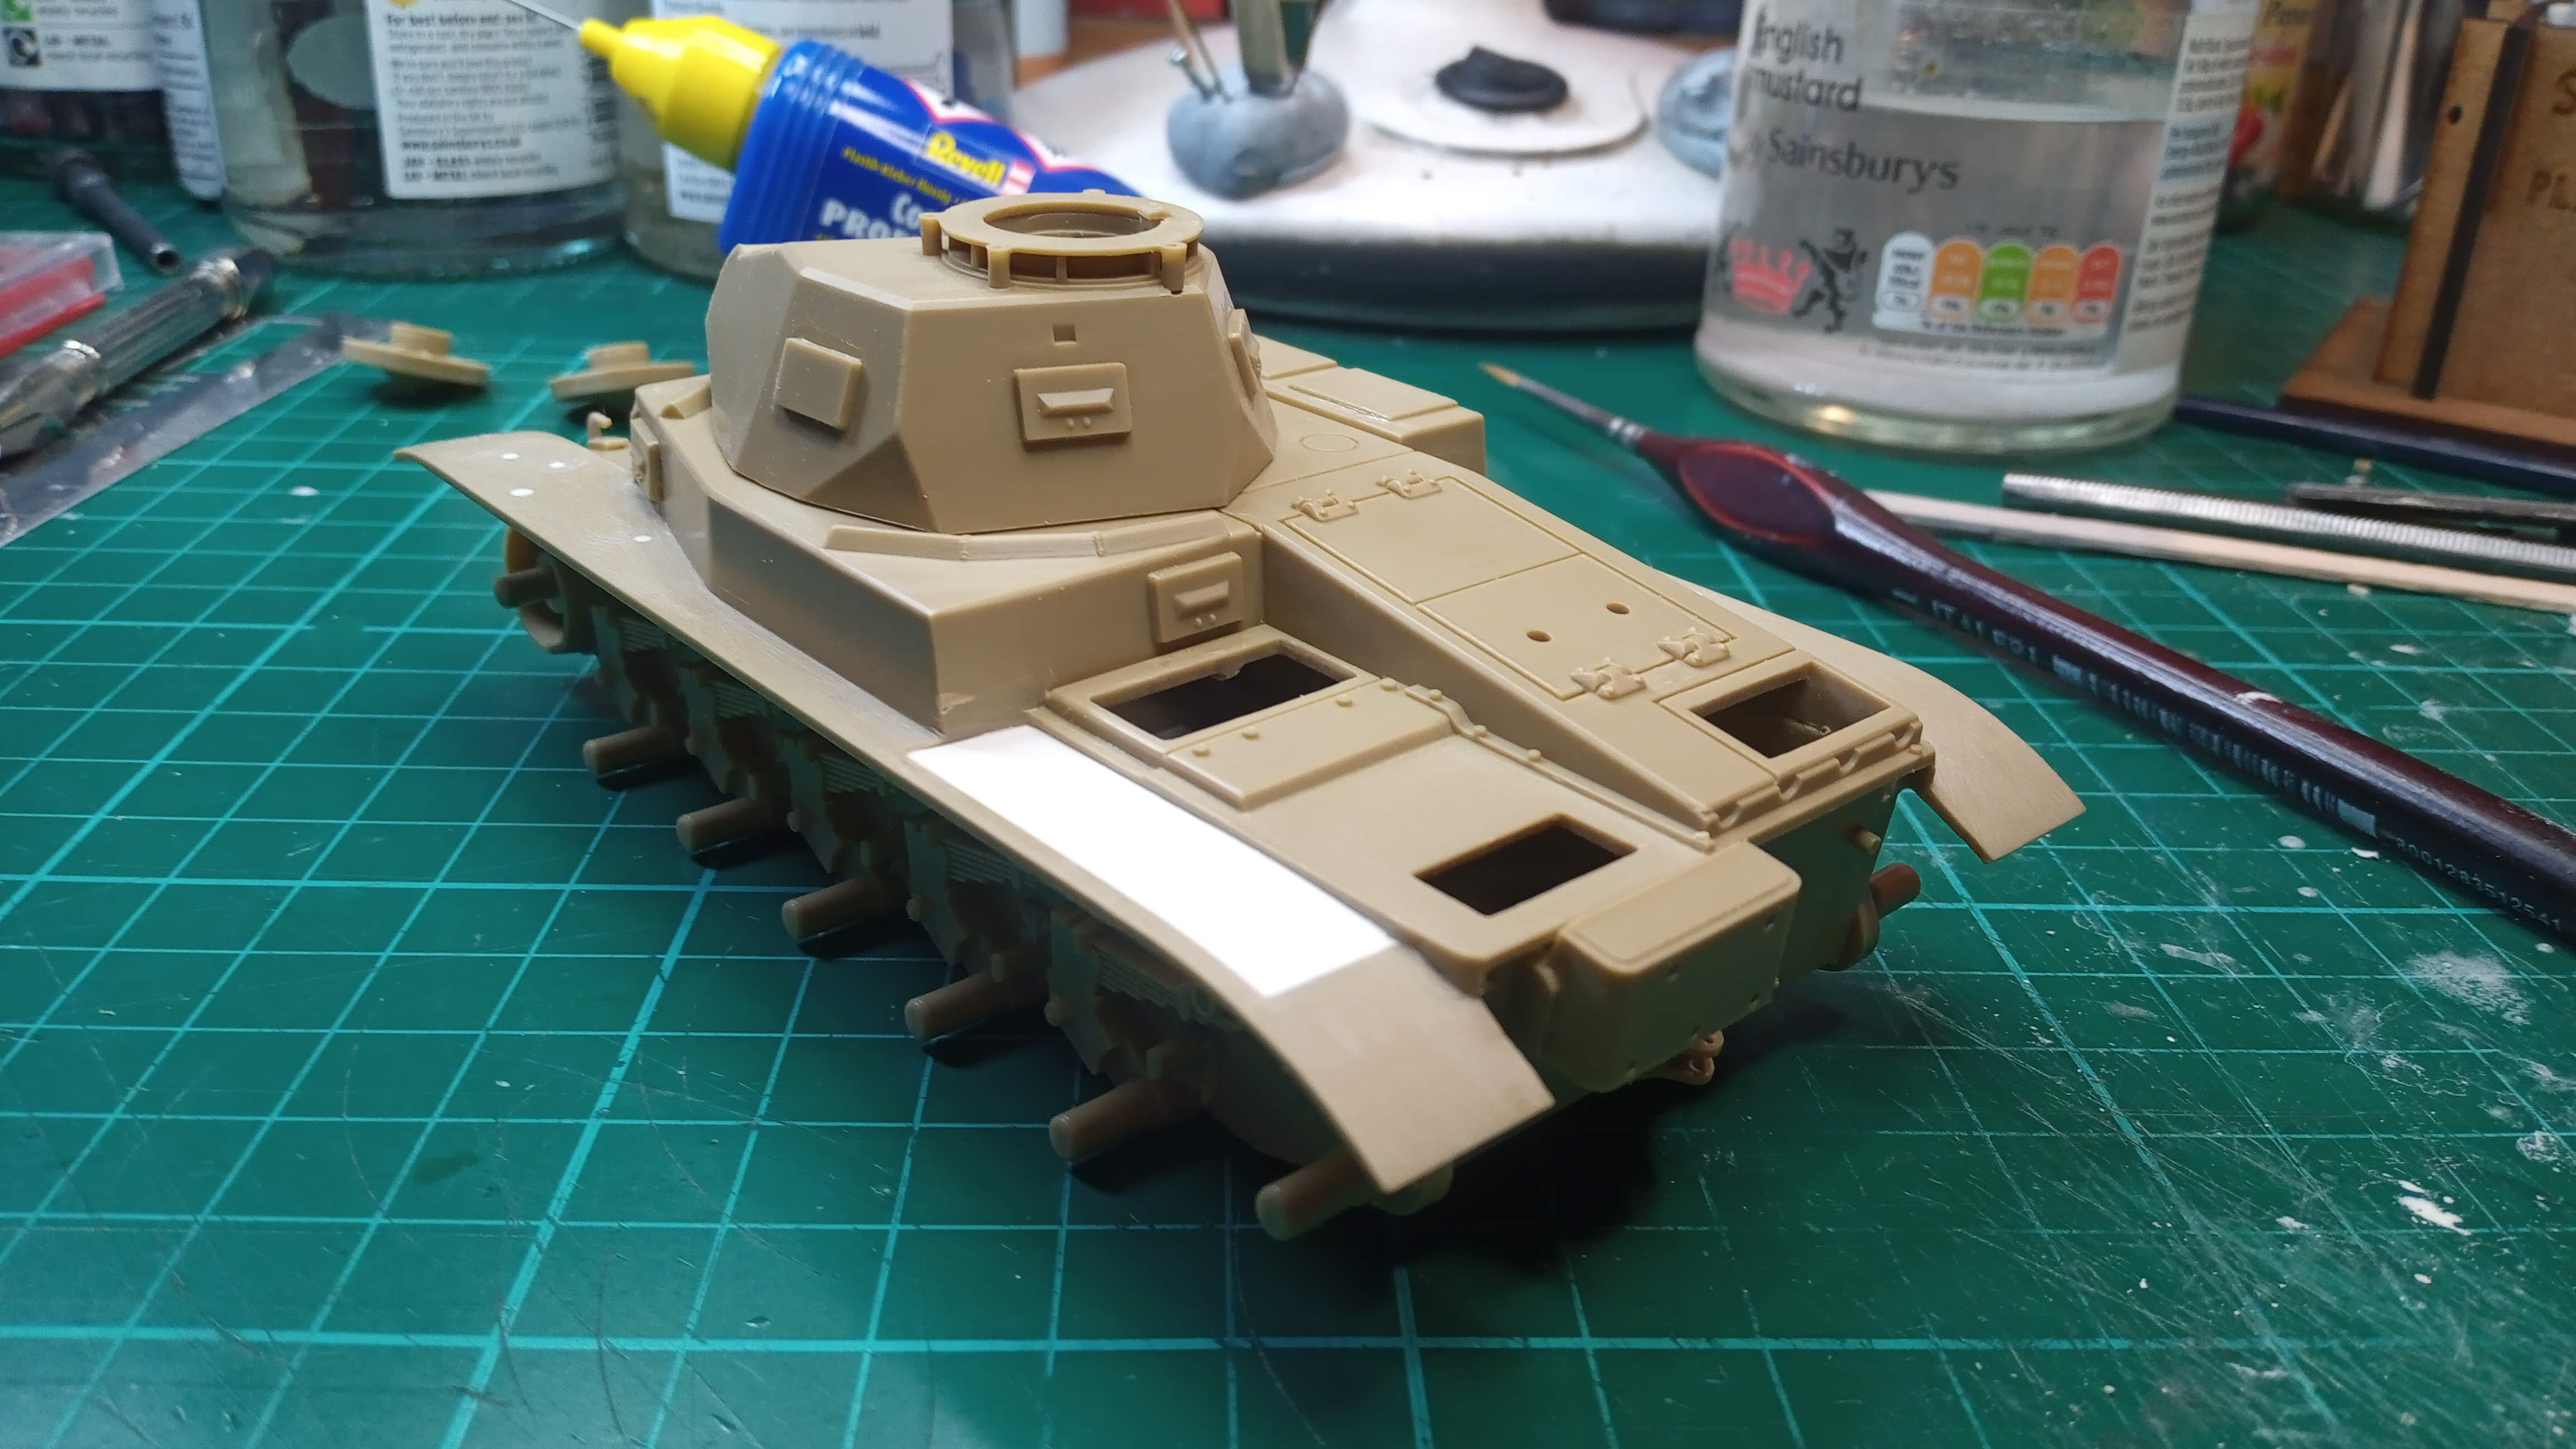
Day one and I’ve managed to transform this: (apologies to the original poster of this picture, I forgot to take my own photograph before starting so lifted this from here: 1/35 Tamiya Panzer Kampfwagen II Ausf. F/G - Work in Progress - Armour - Britmodeller.com - hope you don’t mind)
Into this:
Perhaps tomorrow will be a T-35 day ![]()
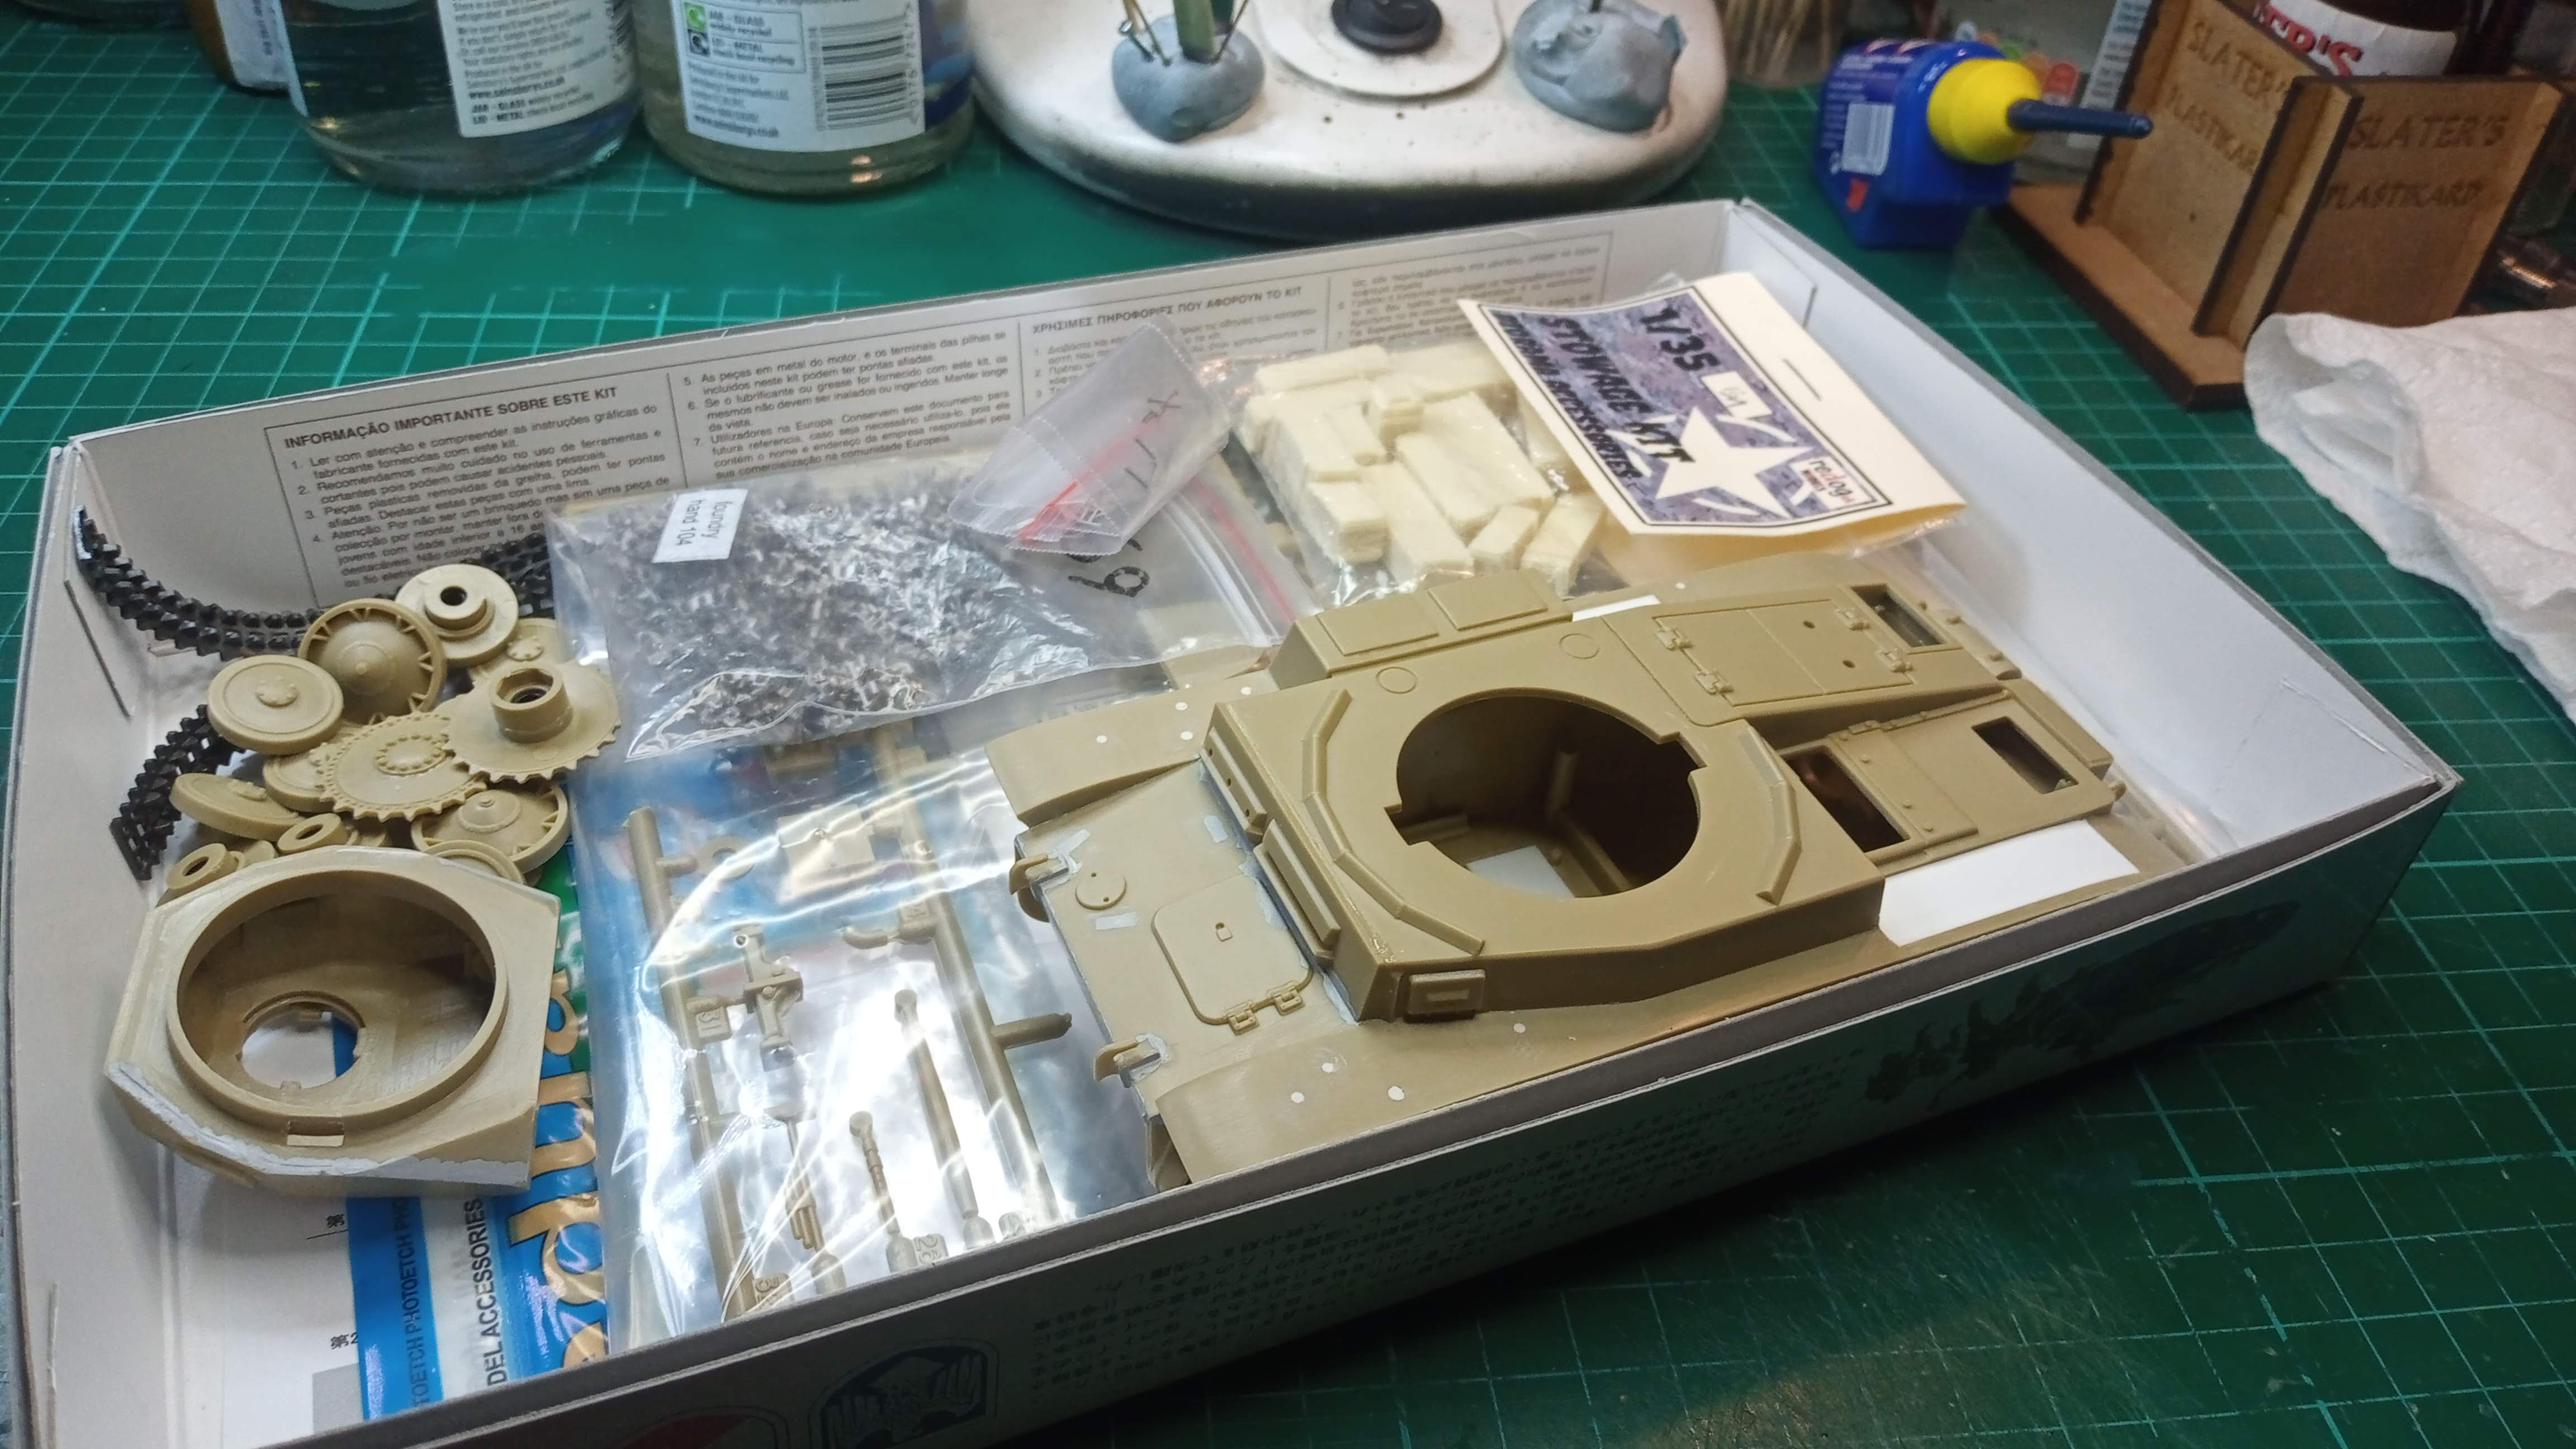
More work on my aged Tamiya Panzer II.
I checked the date on the box that the kit was originally launched to market…1971!
That makes it 50 years old. So it was released on the 30th anniversary of Barbarossa, when quite a few of the original participants were still alive.
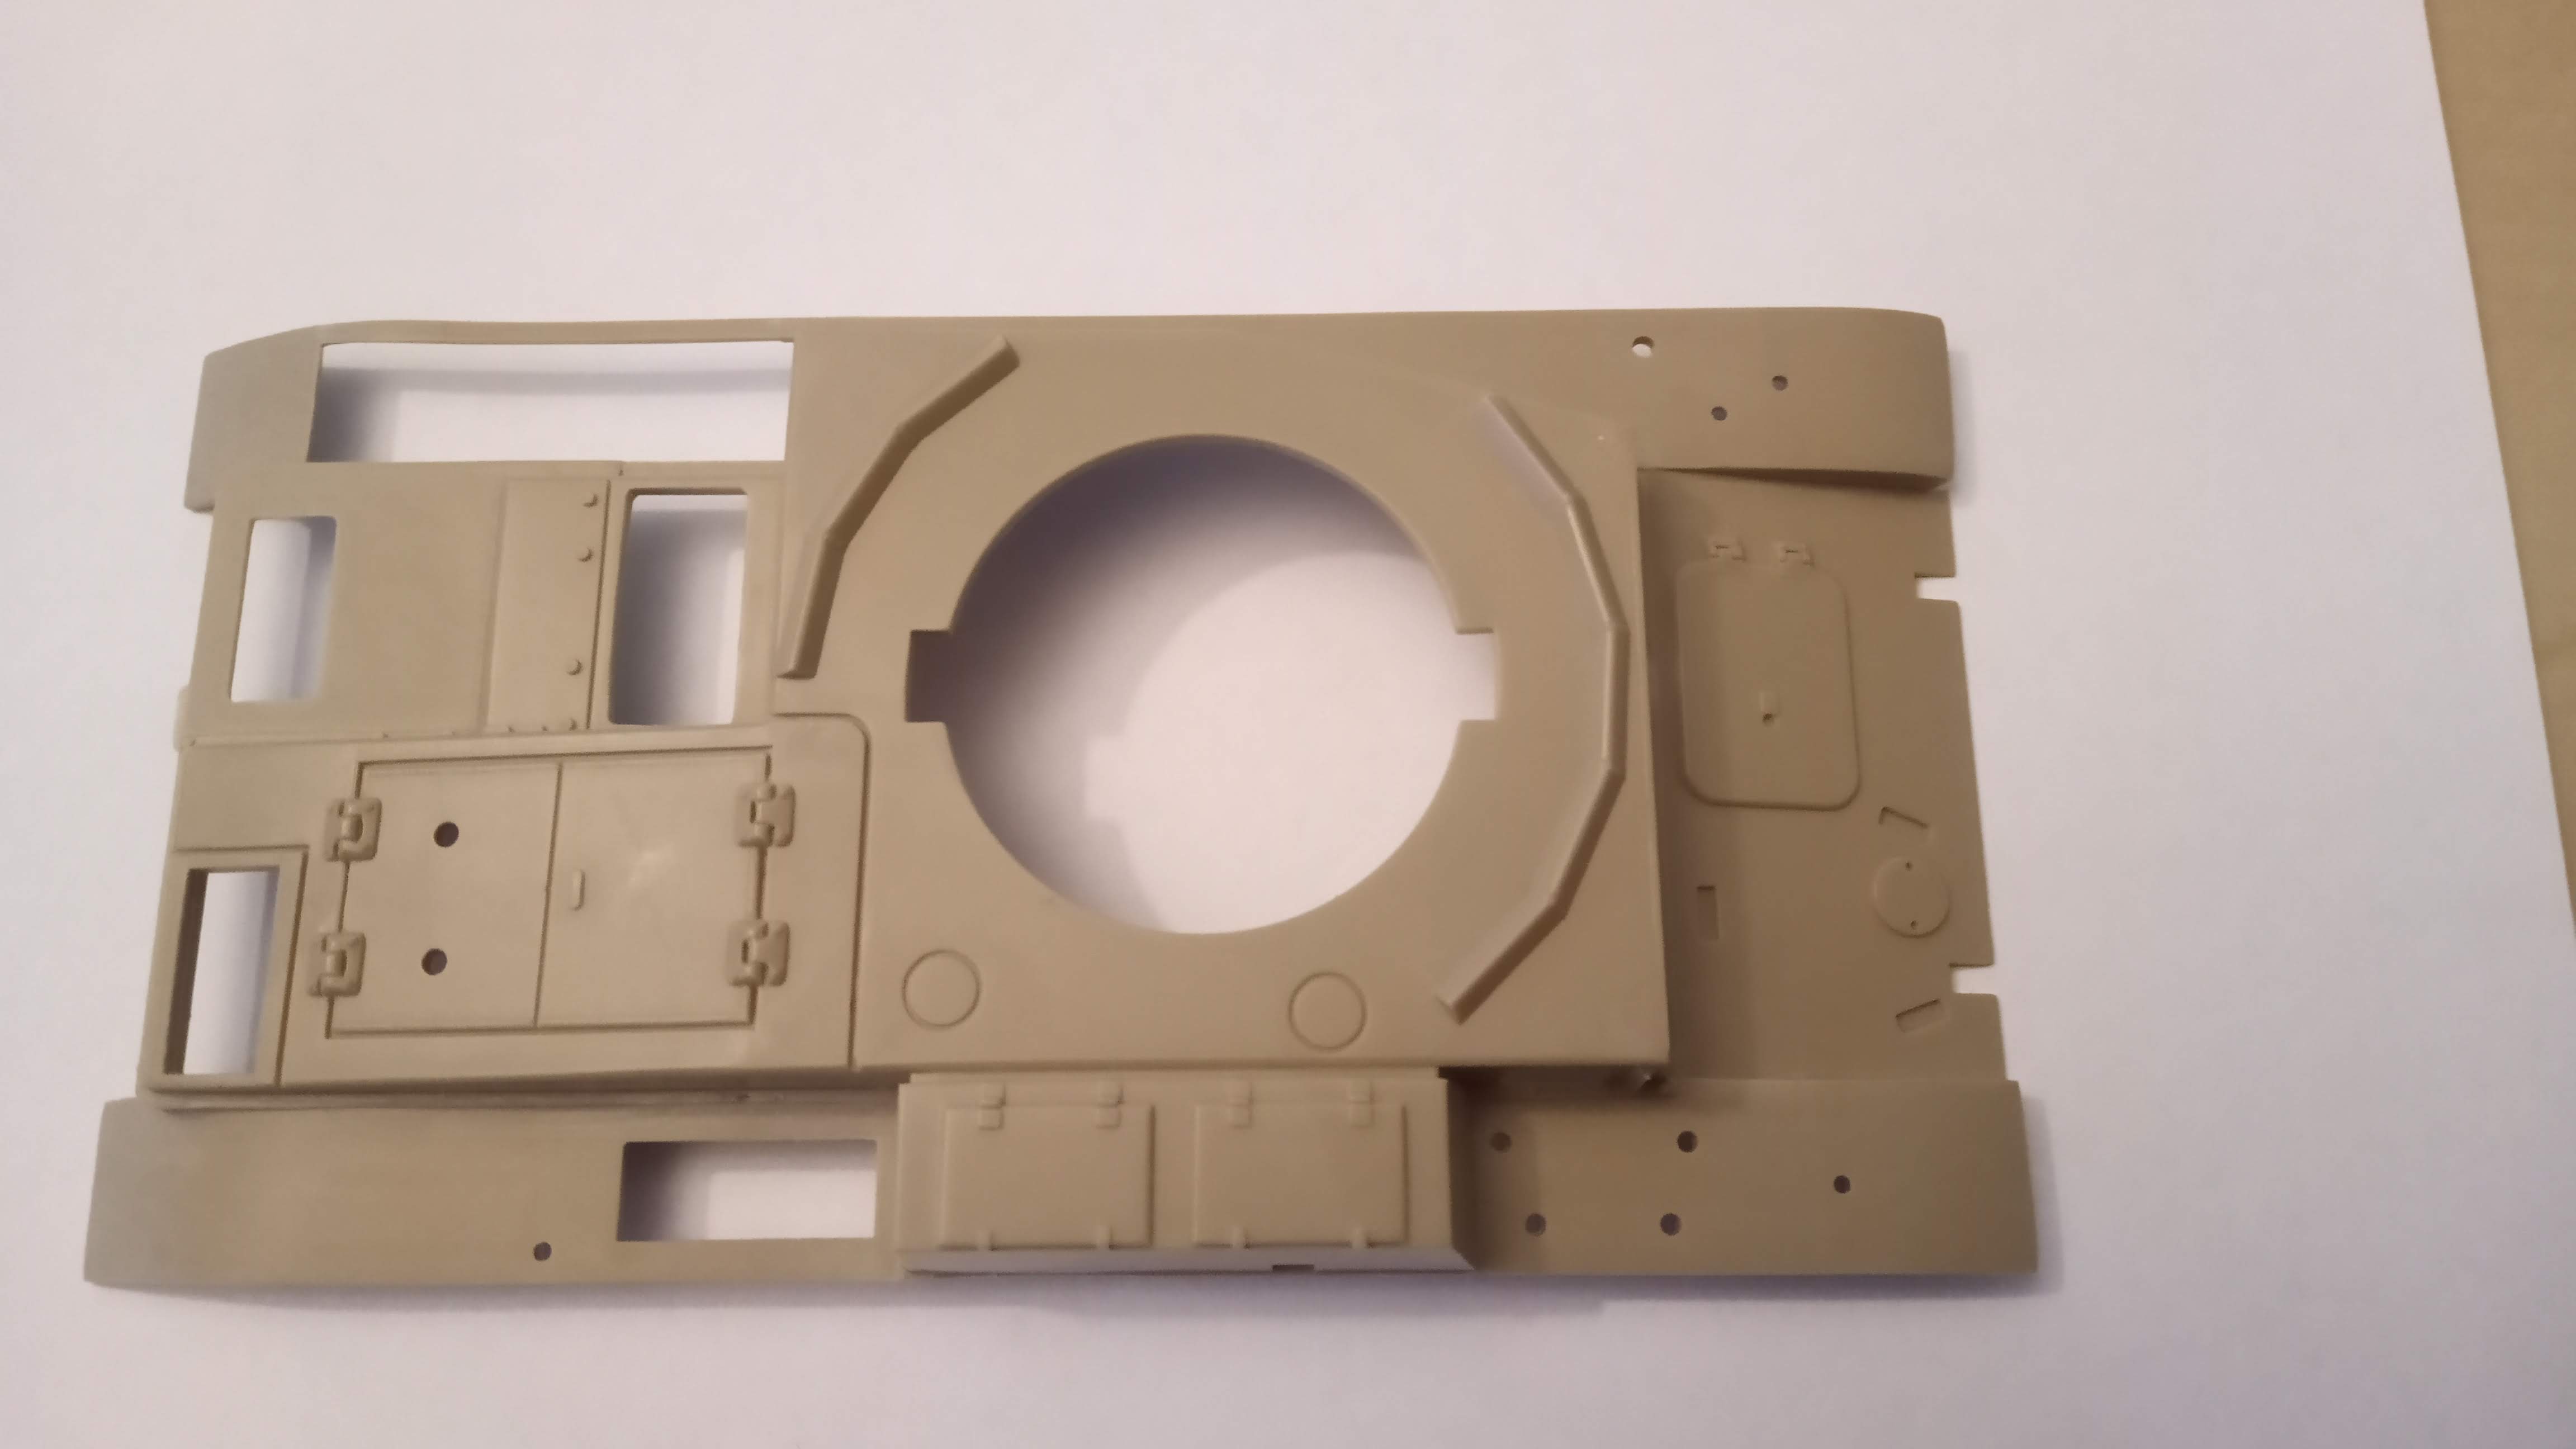
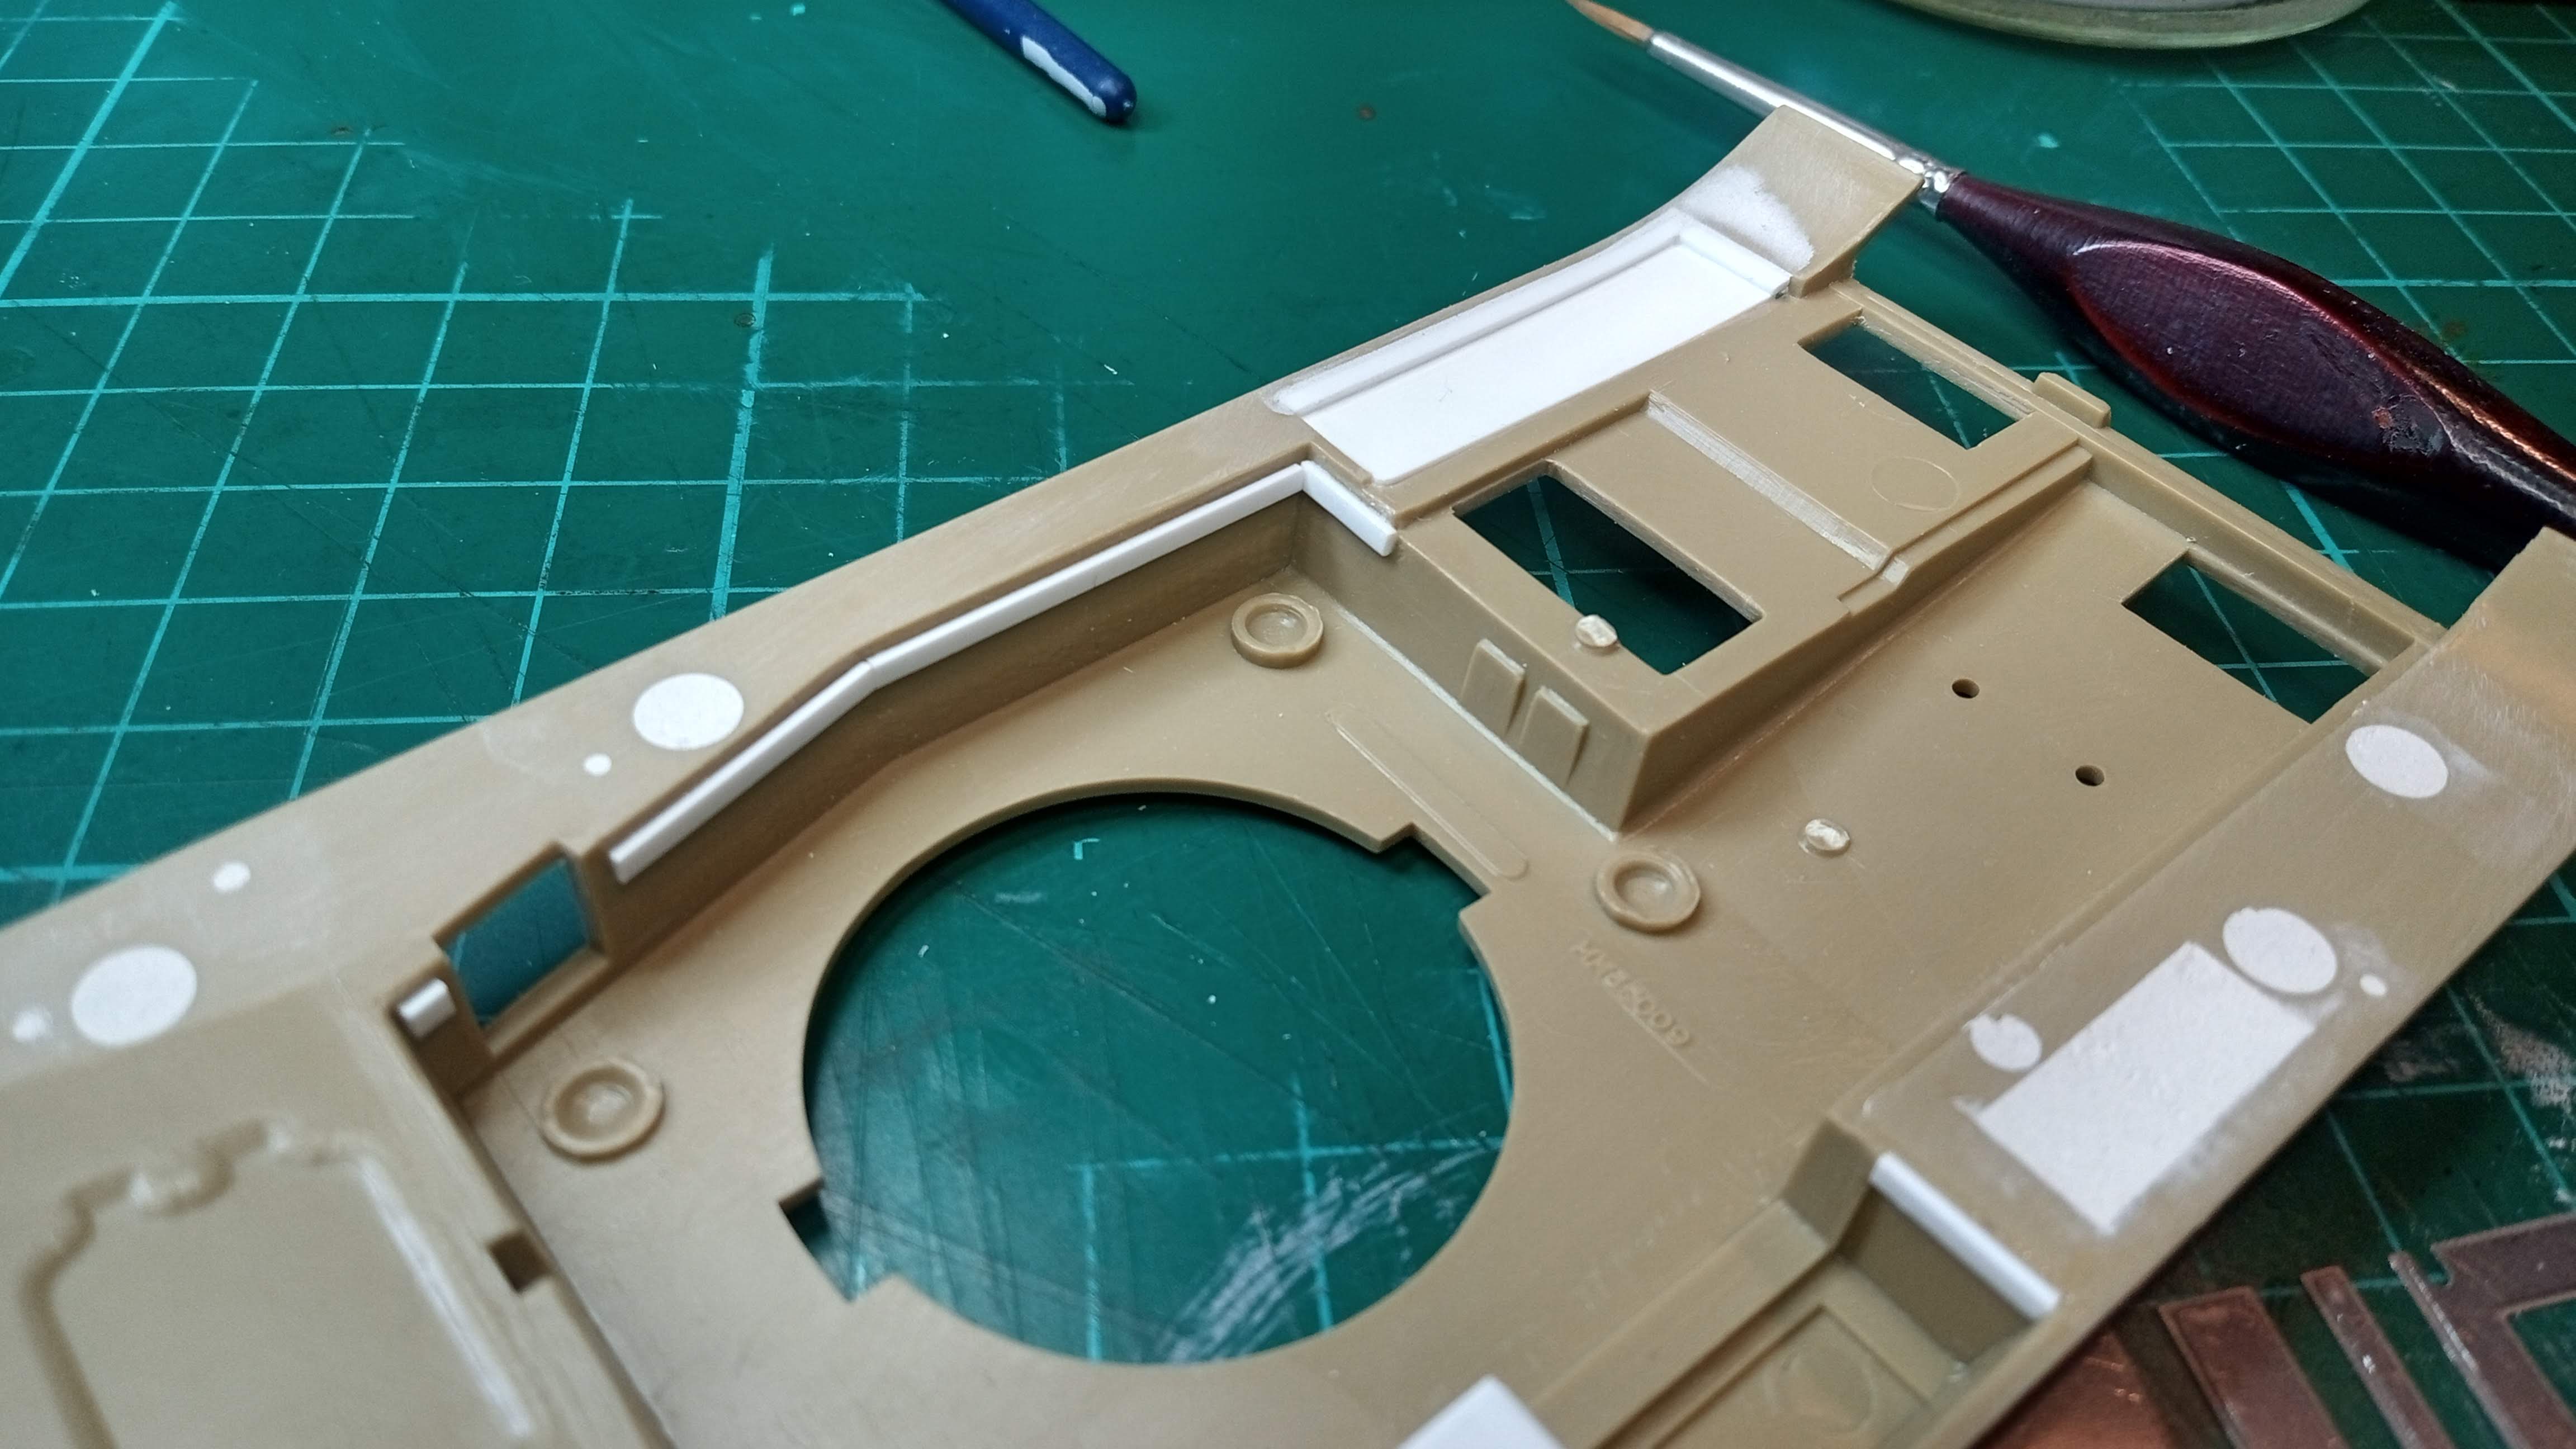
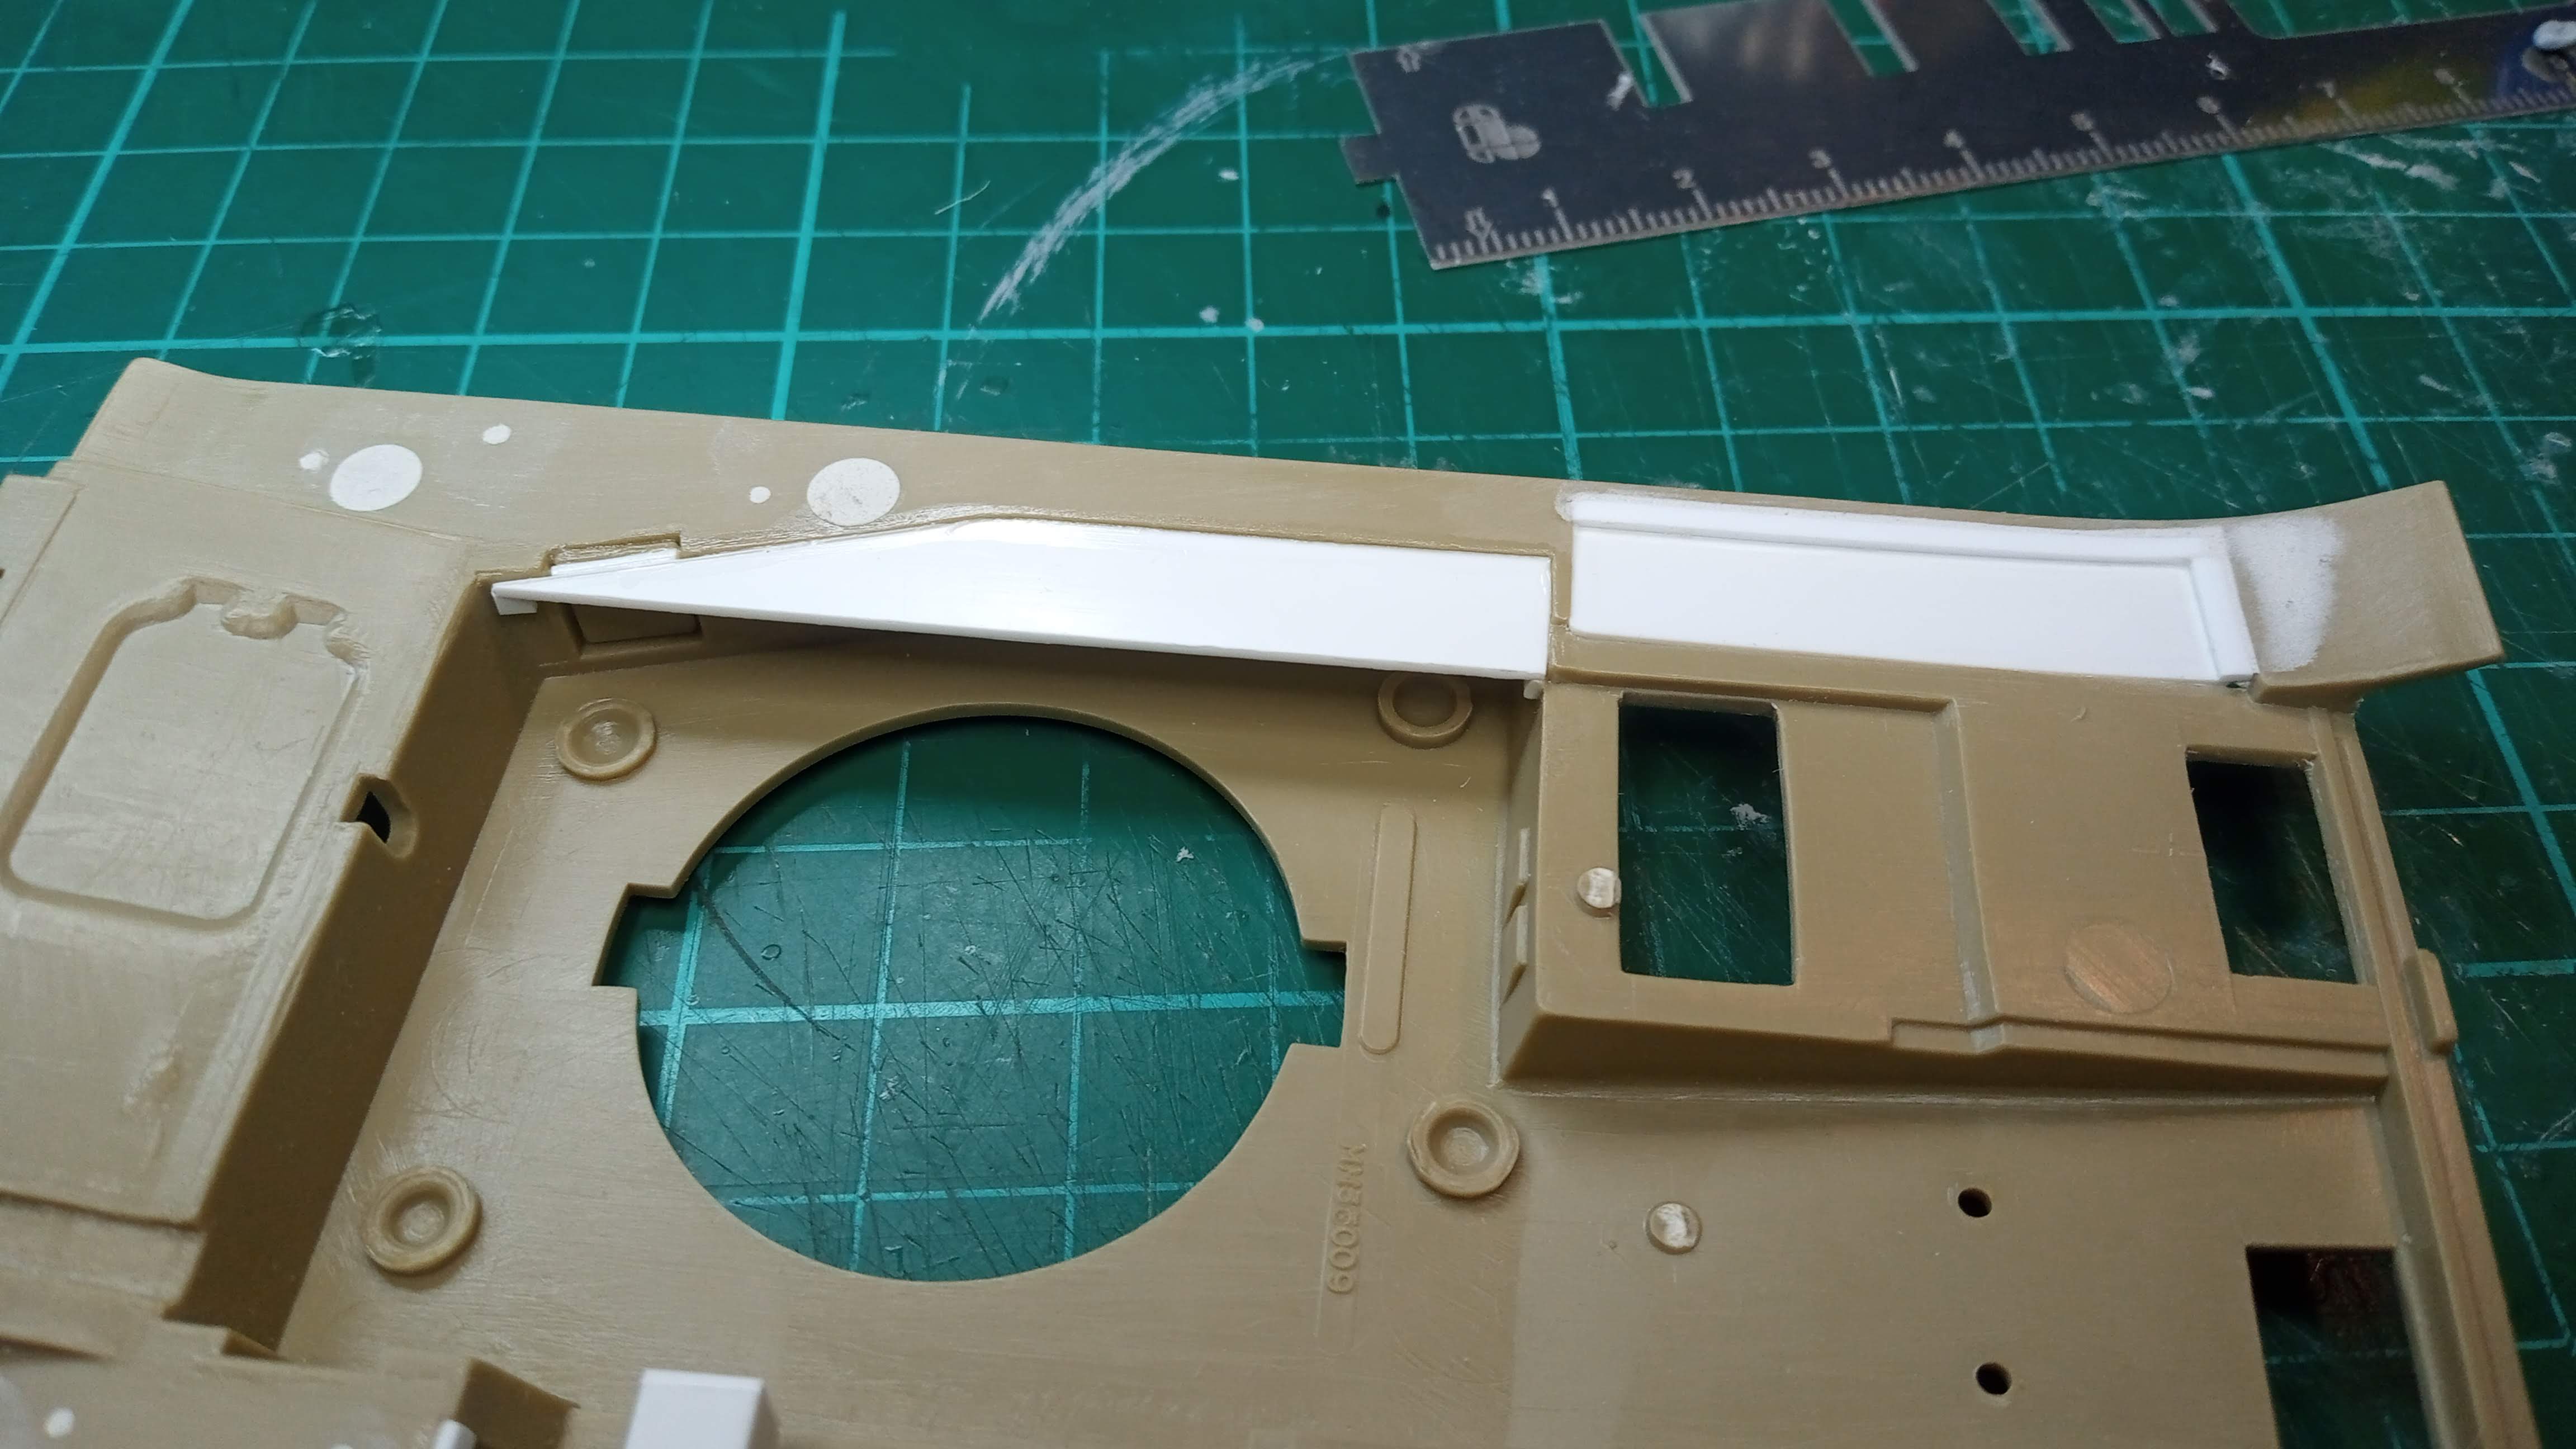
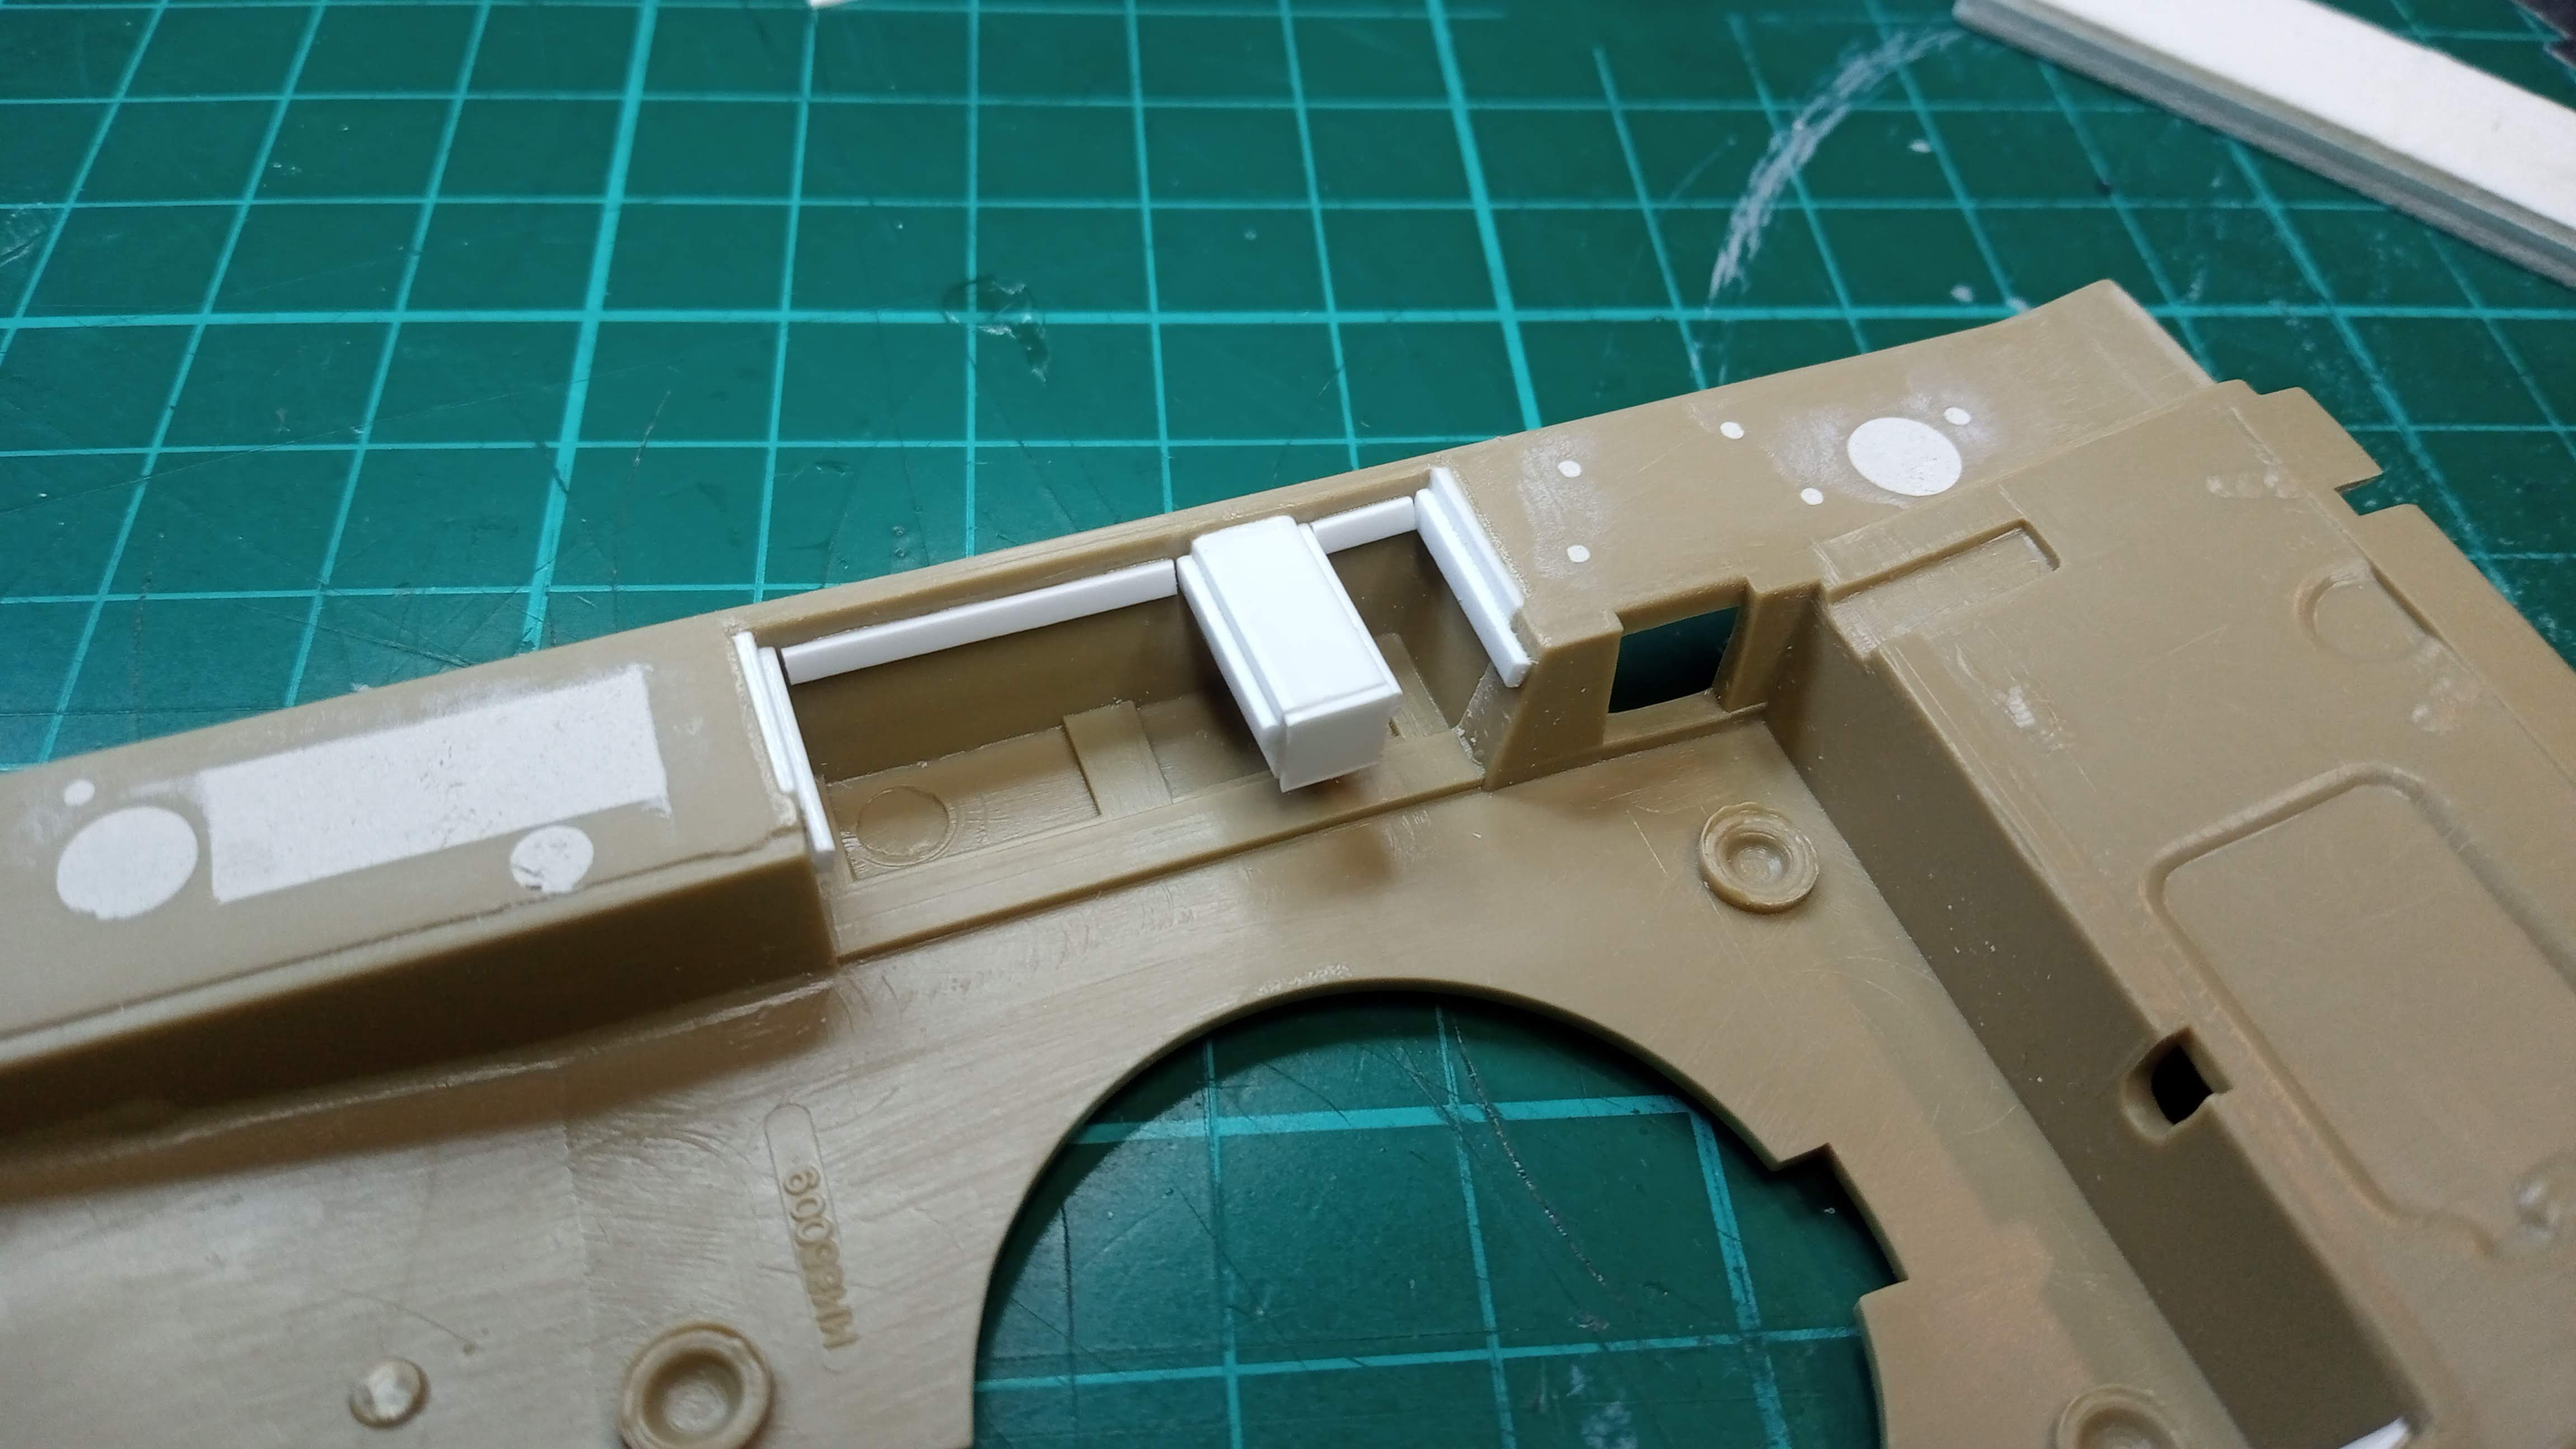
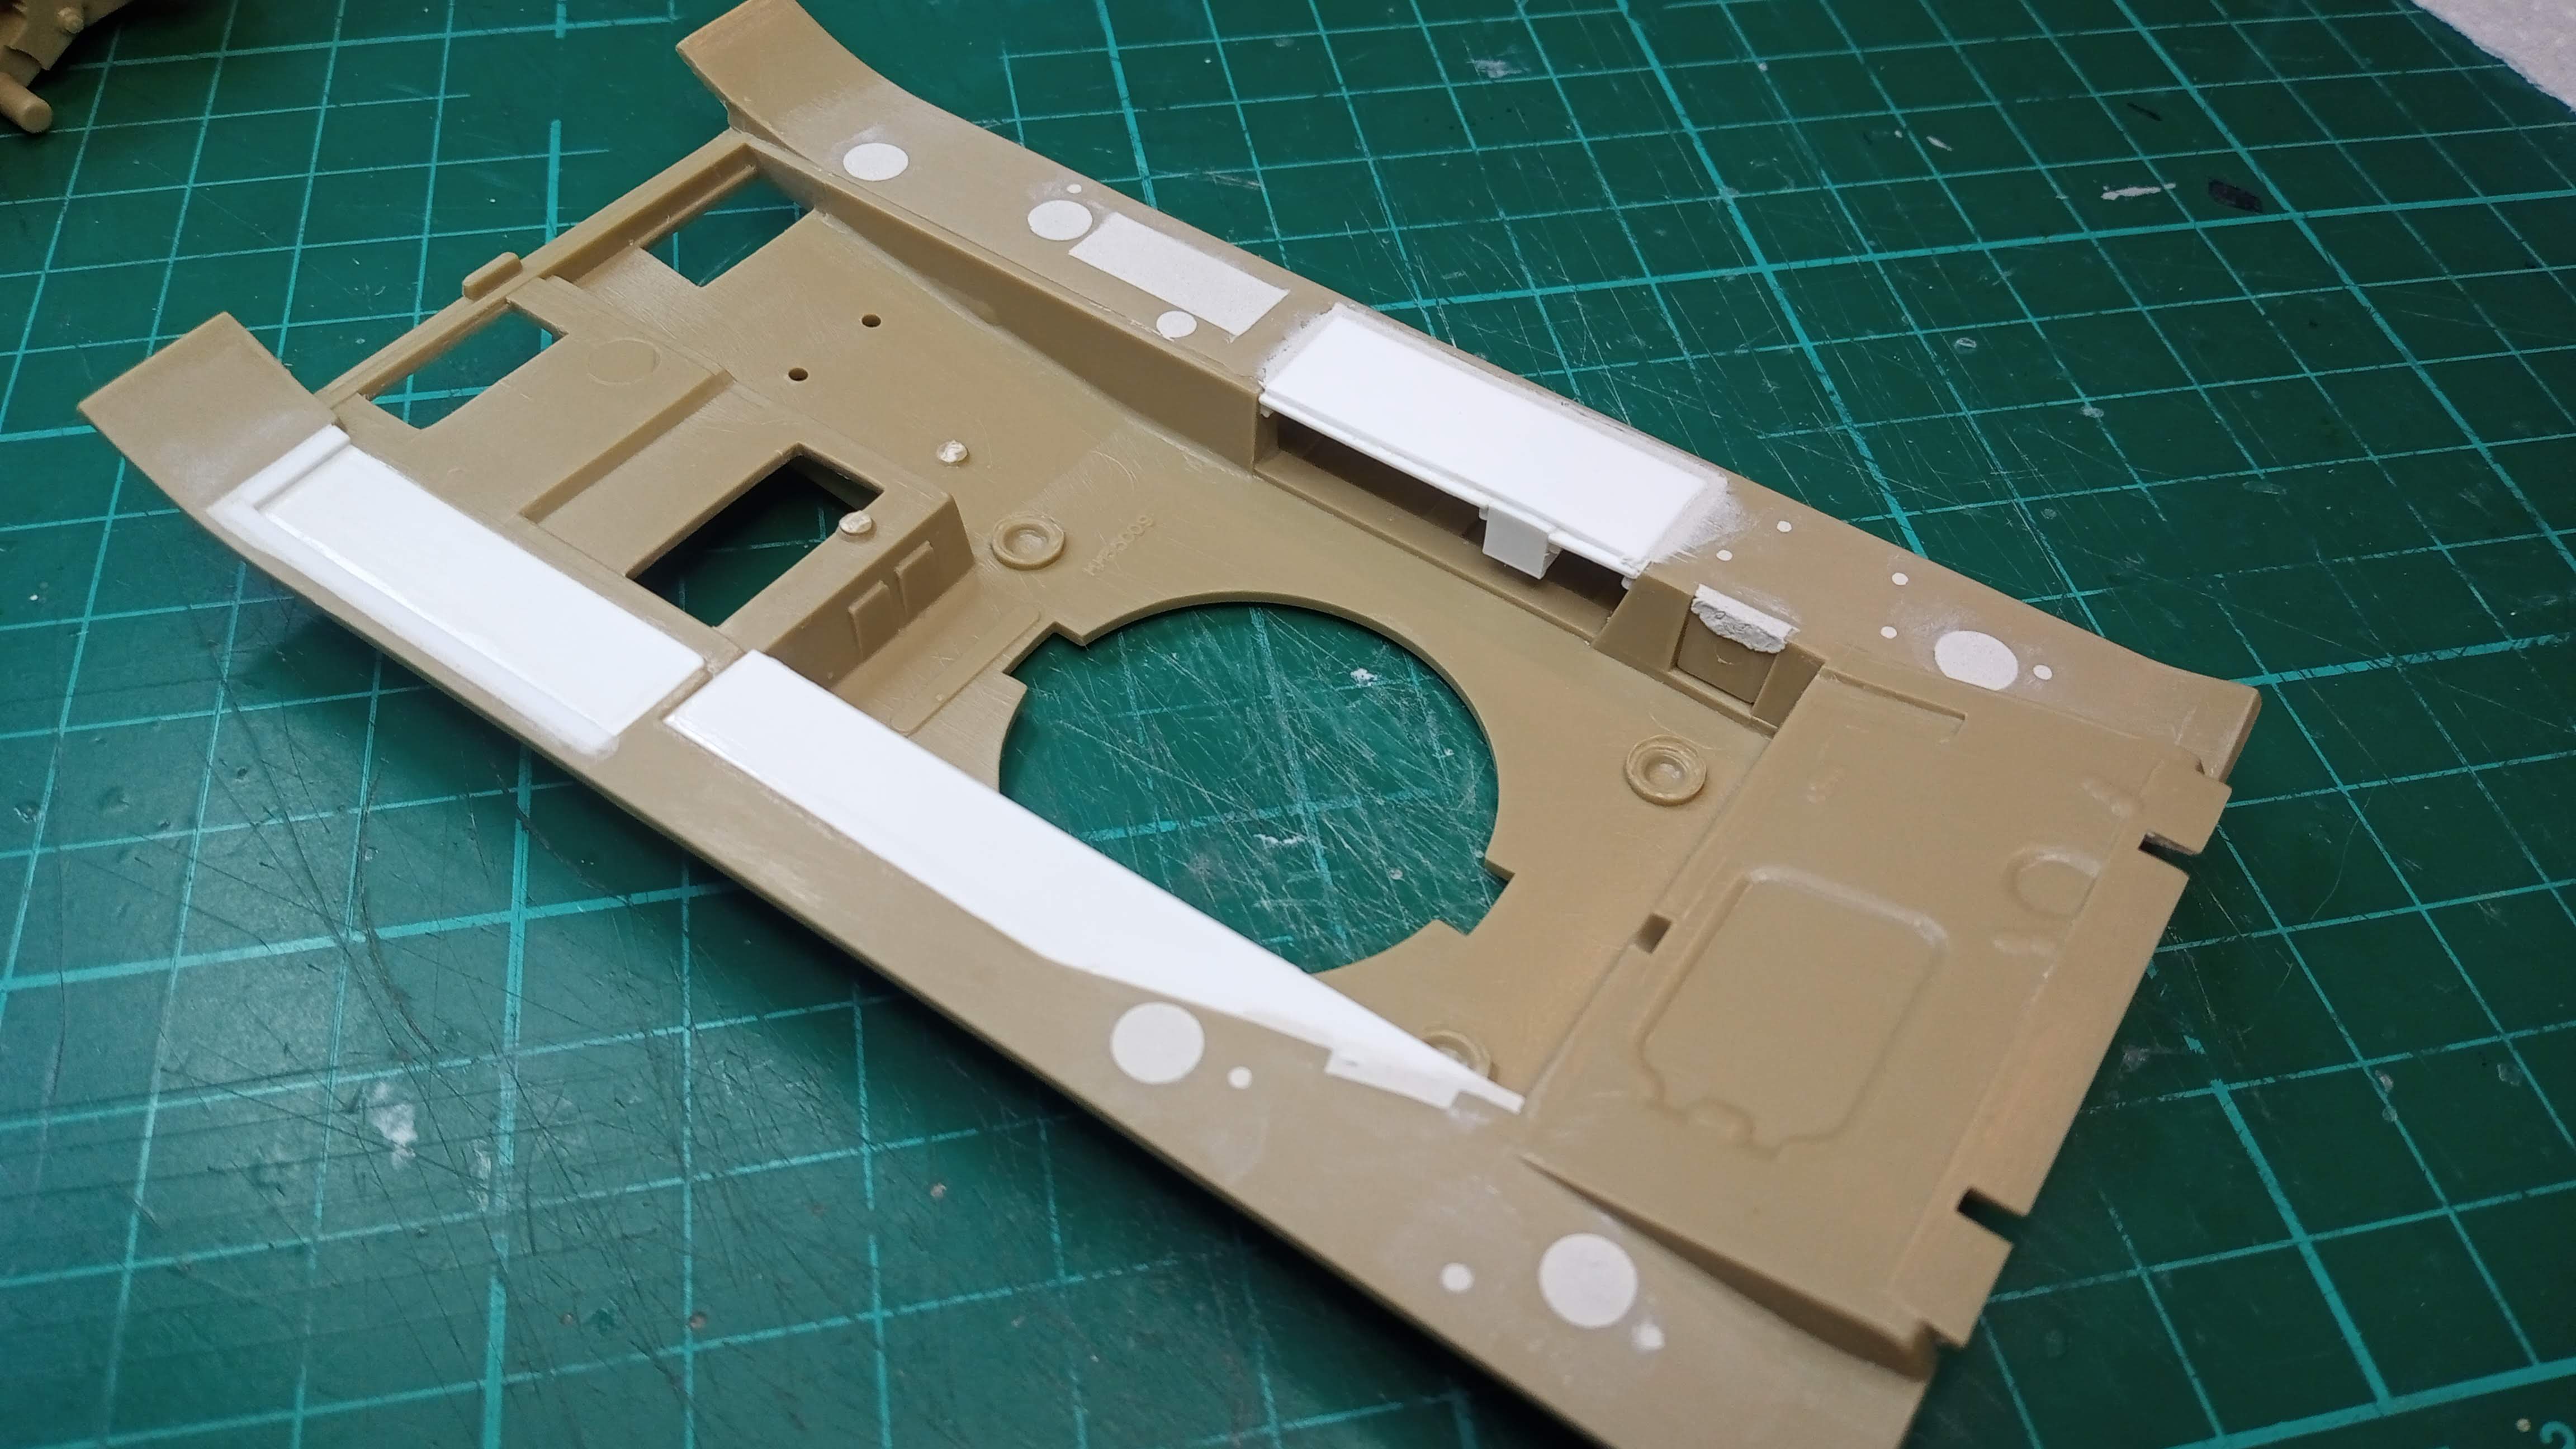
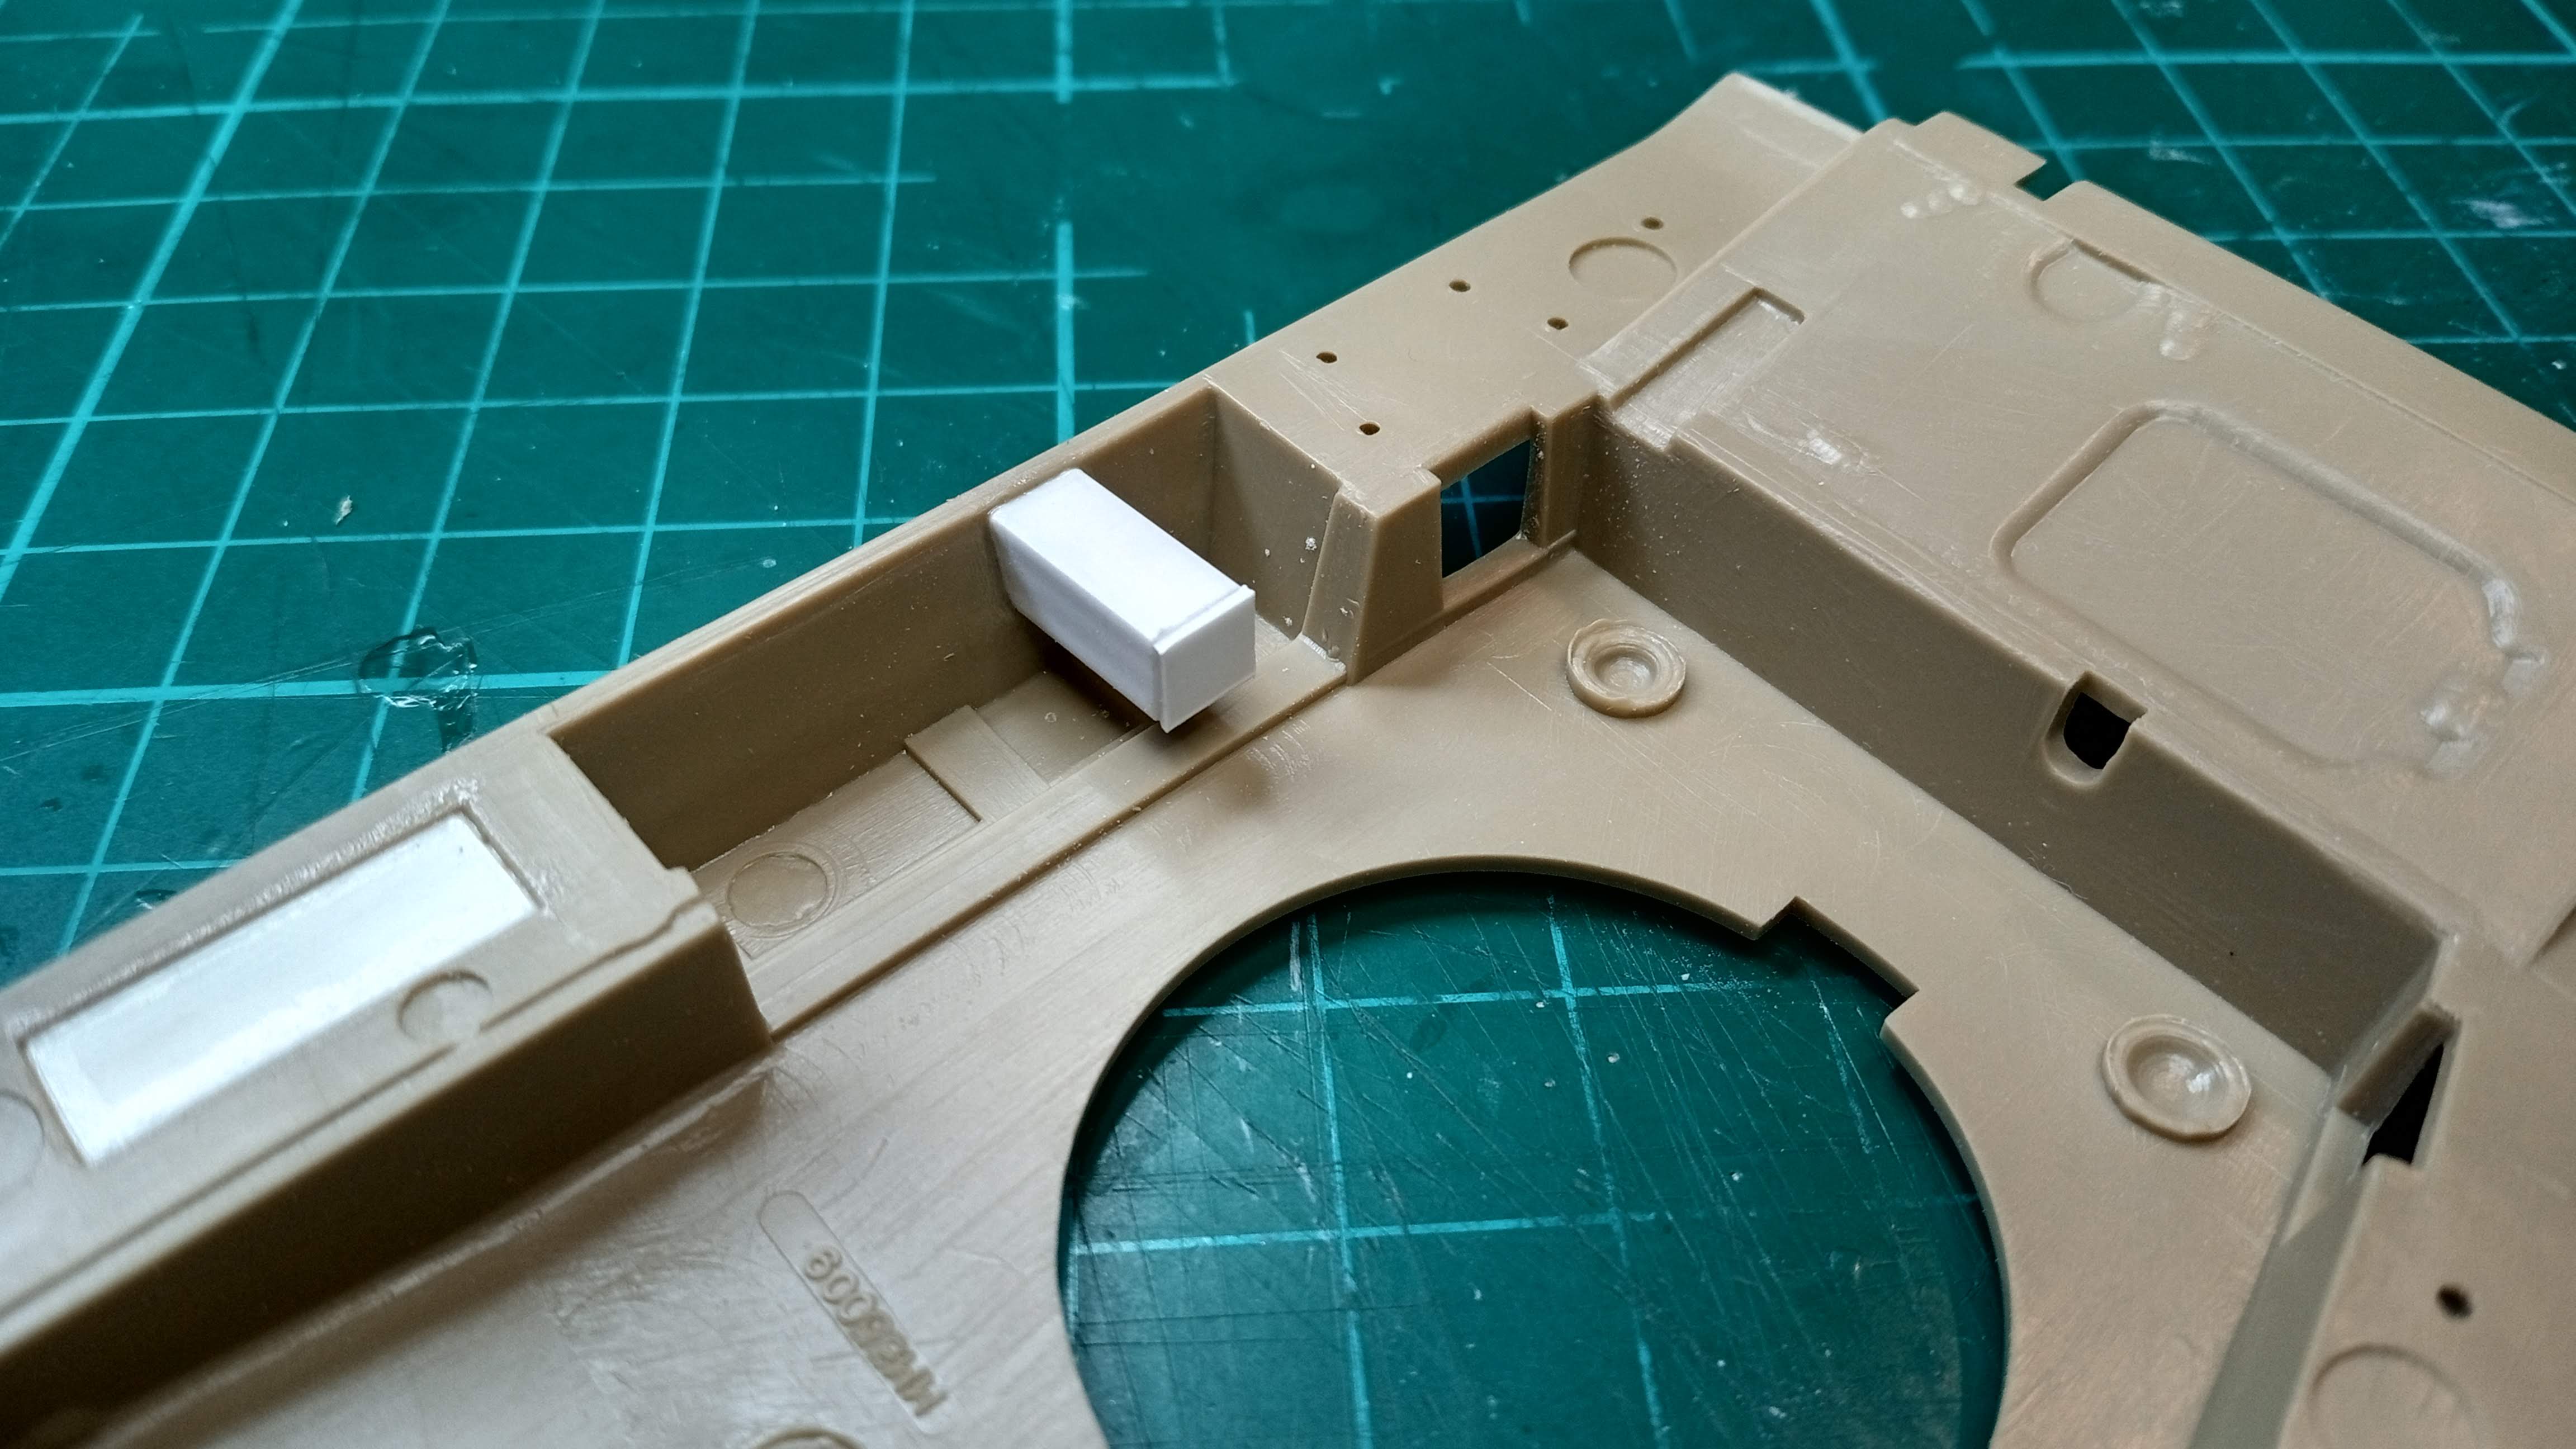
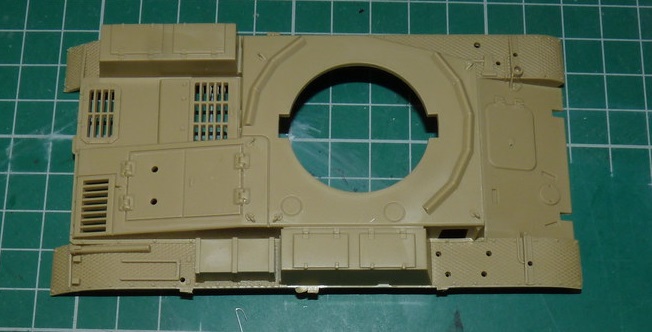
Anyway, I spent some time filling in the holes that I created as a result of removing the unwanted stowage containers:
The great thing about this kit is that there’s only about 100 parts absolute tops in the box. Although with the PE
and the aftermarket tracks I’ve got a bit more to do.

Keep tanking folks!
I did this one in DAK-colours and OOTB recently. Fun little kit!
You’re doing a better job with it then I did. Good luck with the tracks. I found it a bit troublesome to align them with the wheels and they are not… up to date.
Nice progress, Jon.
Looking forward to see more. 
Excellent work, Jonathan.
I’m making steady progress with Tamiya’s 2008 panzer ii c.
Running gear and tracks done…
I made a mistake, applying the wrong part for the ausf c driver’s armour plate. Tamiya includes no less than 4 types in the box. It was a relatively easy fix using glue buster and gentle persuasion with a scalpel.
And now corrected…
More soon.
Cheers
Matthew

I would like to join in with this old kit. I’ve had it sitting around since it was first issued, so I think this is a good opportunity to finally get around to building it!
Welcome to the campaign!
Great to see something a bit different being built, and quite an old kit by the looks…
Thank you!
Yes, it is an older kit. DML released it in 1993 but Alan tooled it before that. Either way it is not too bad and and with a few little enhancements it should look decent enough (if I don’t screw it up) when it is done.
I have that in the stash, still in shrink wrap. I bought it second hand, got it home and then saw the Alan logo…and on past experience, there it sat…
I will look forward to see how your build comes out. Maybe I’ll give mine a go afterwards.
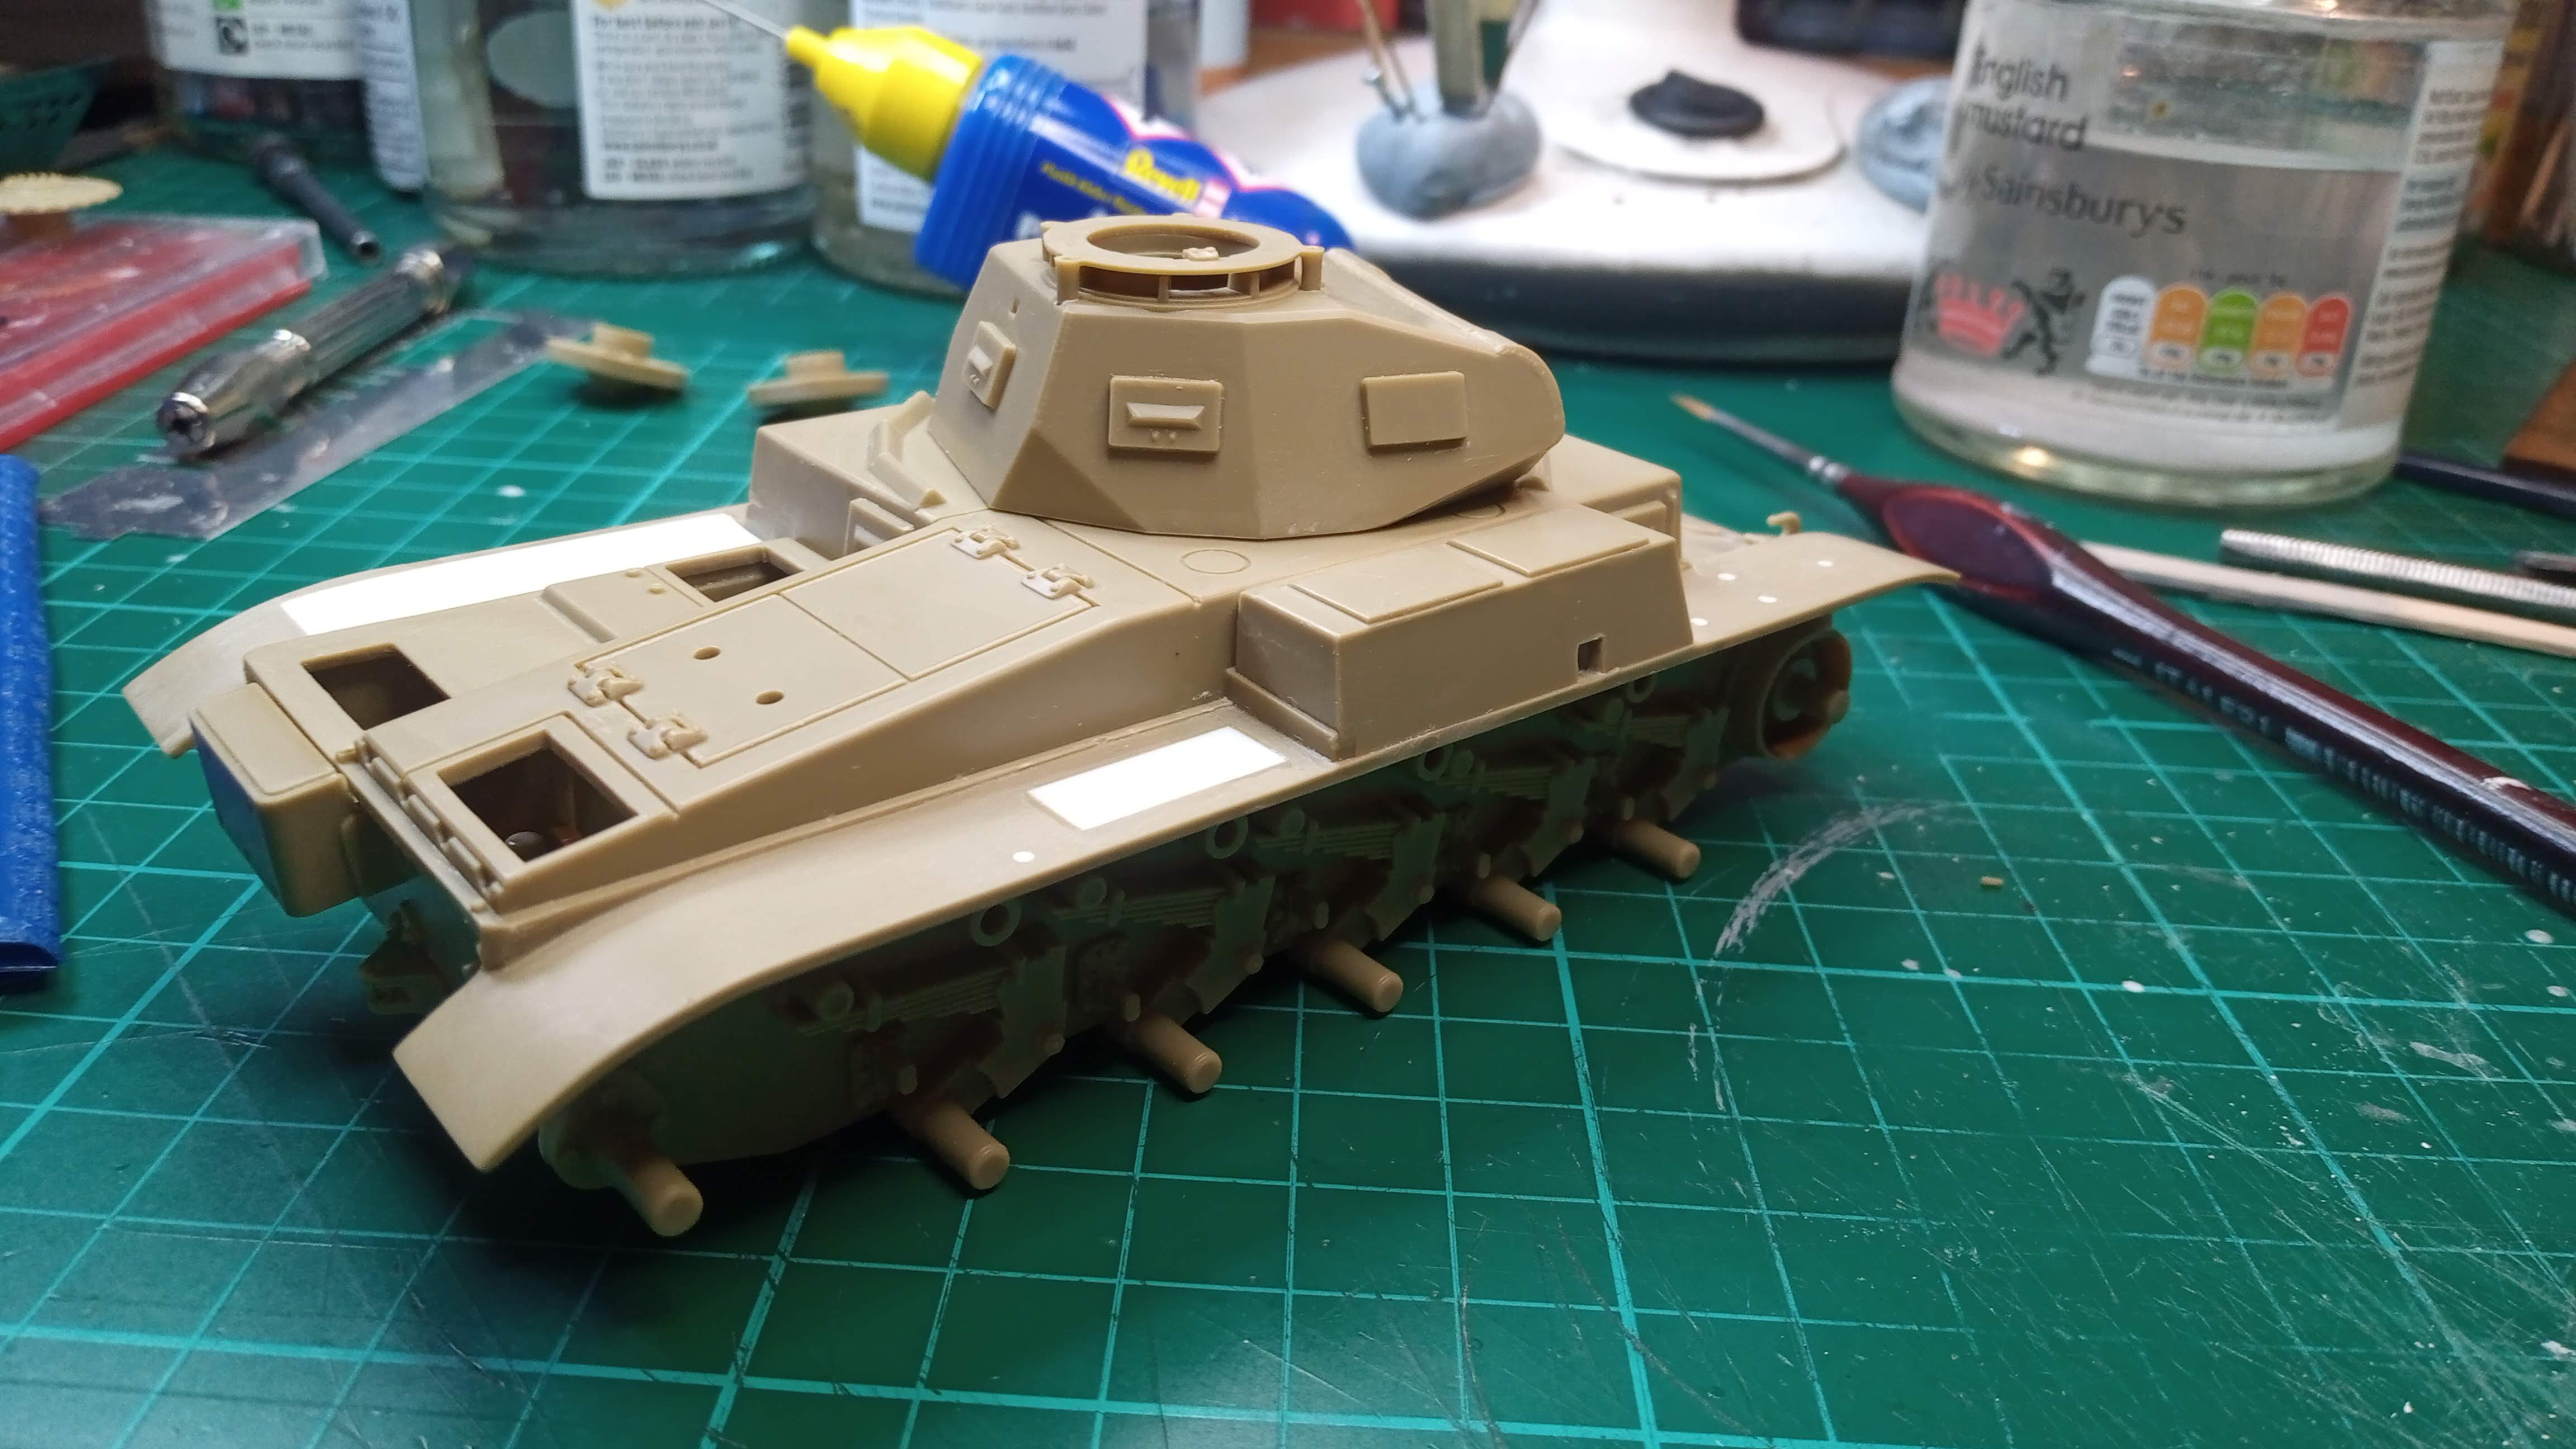
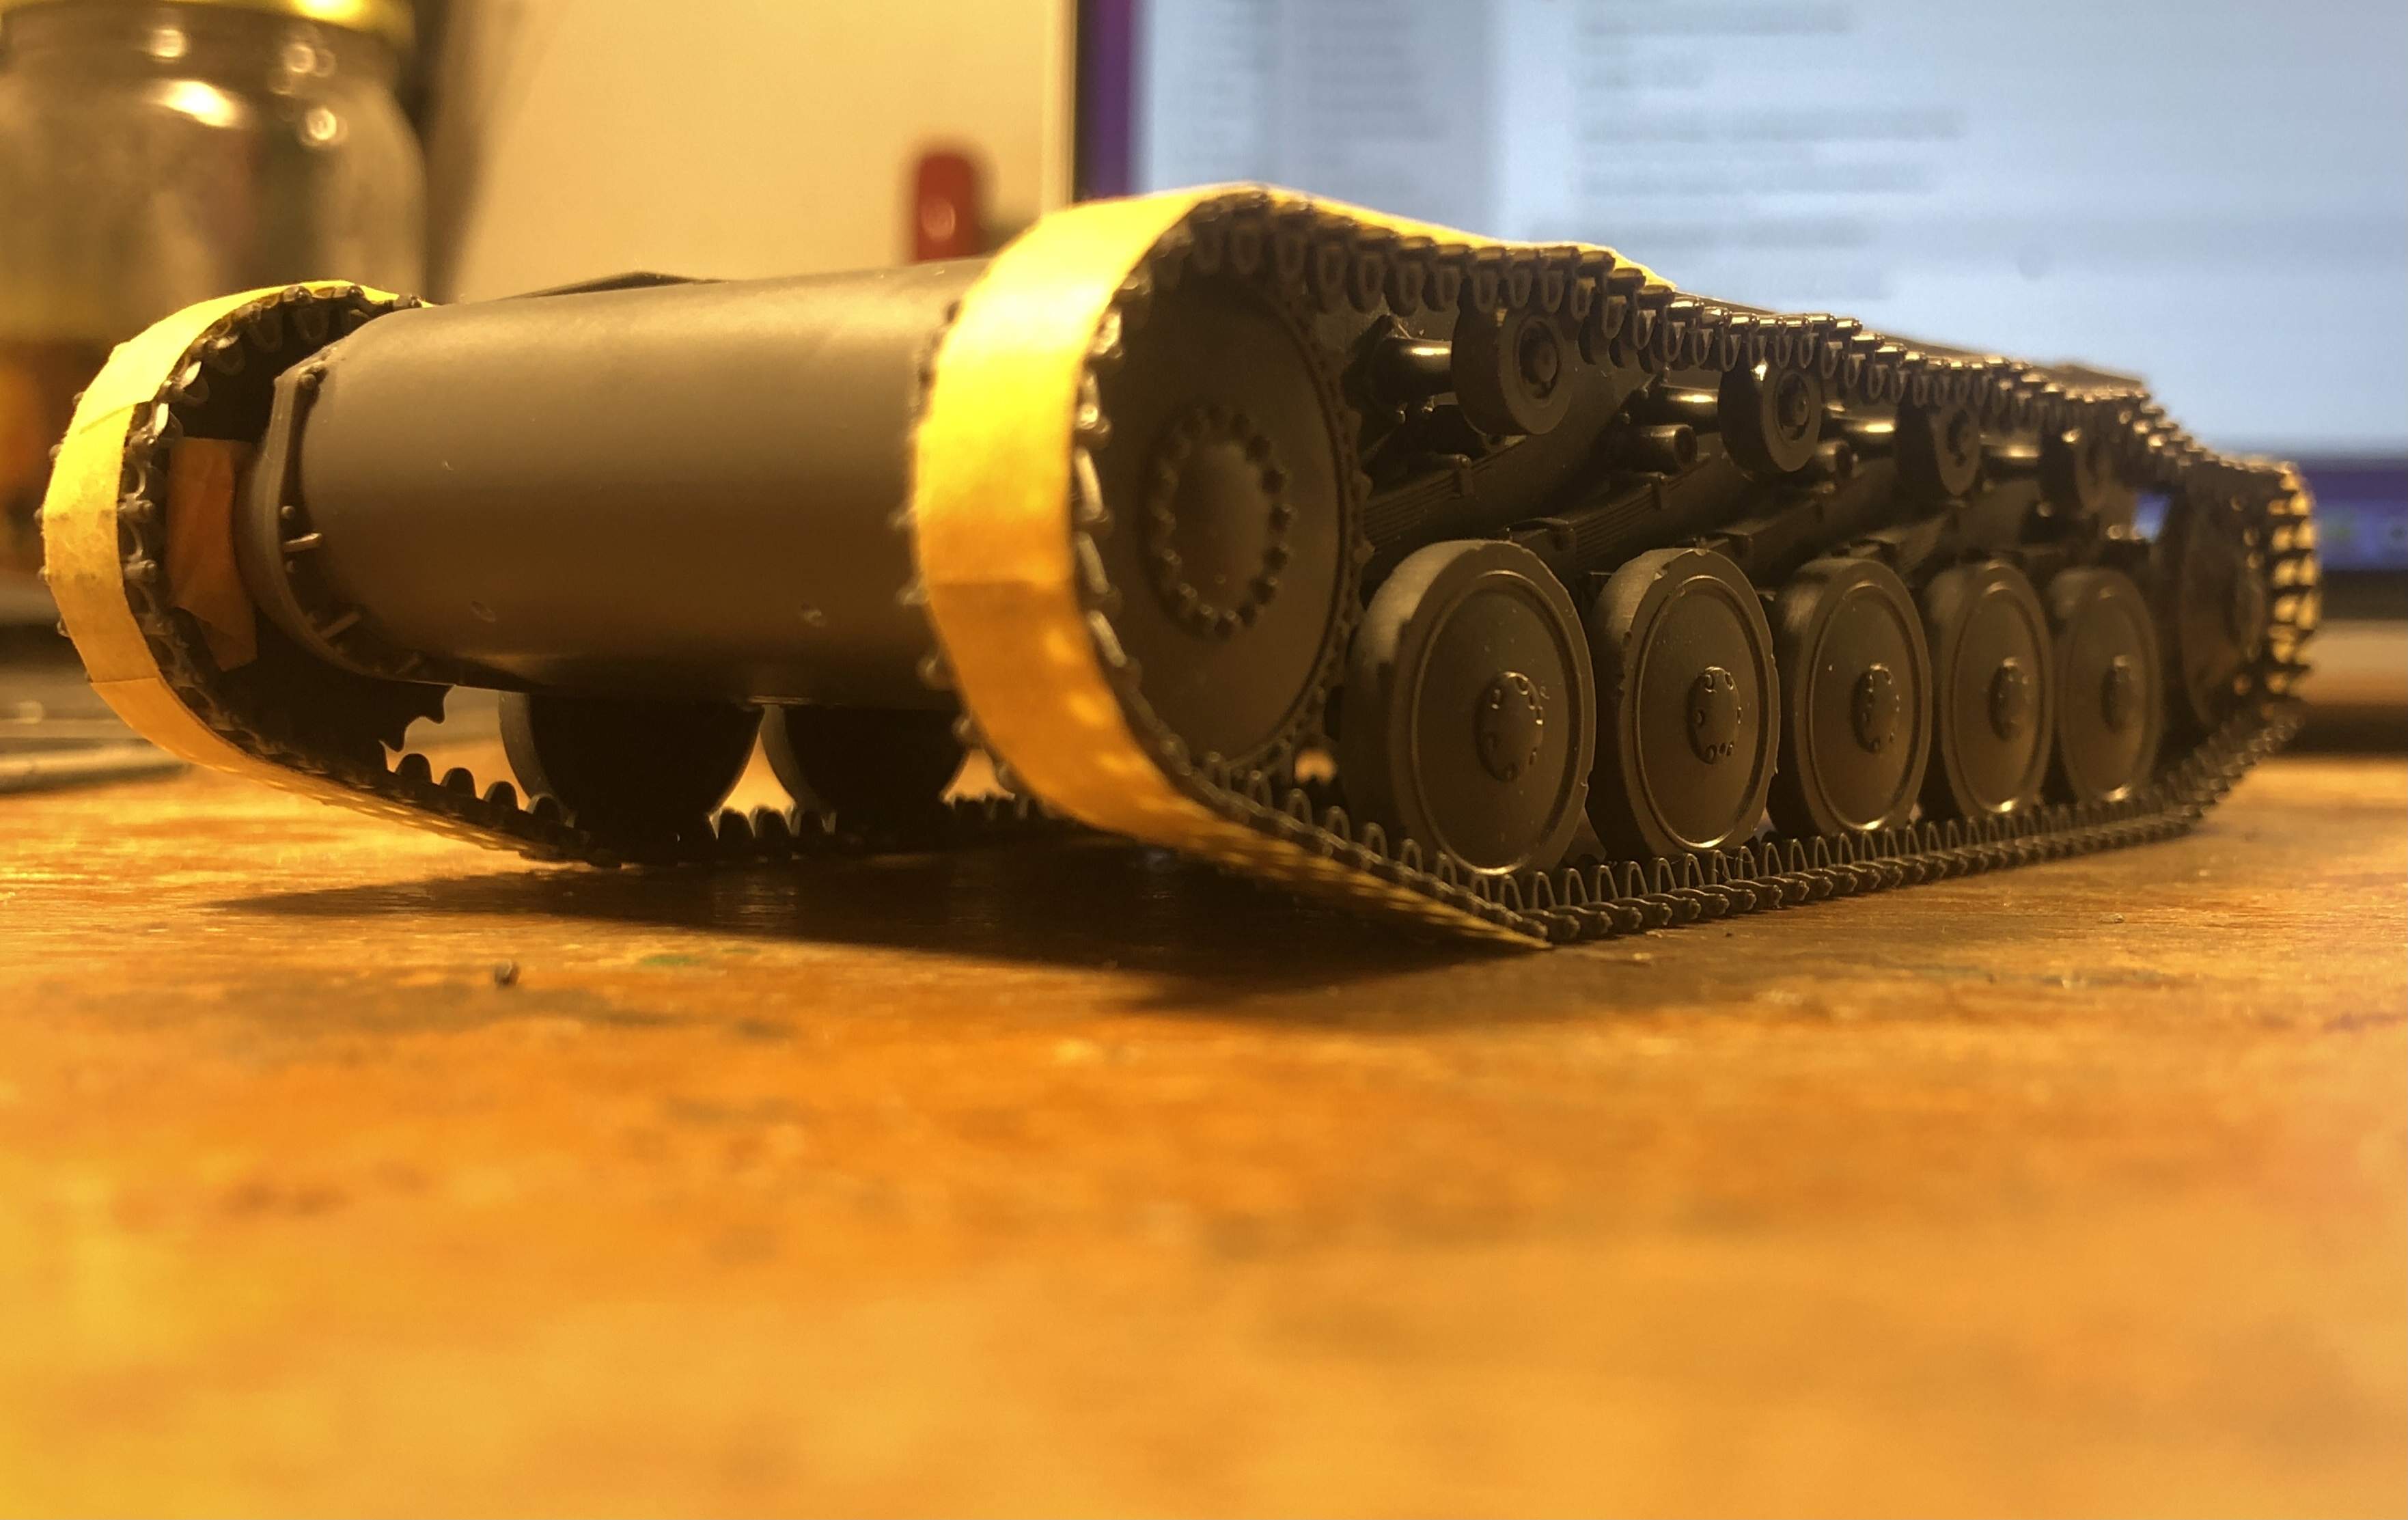
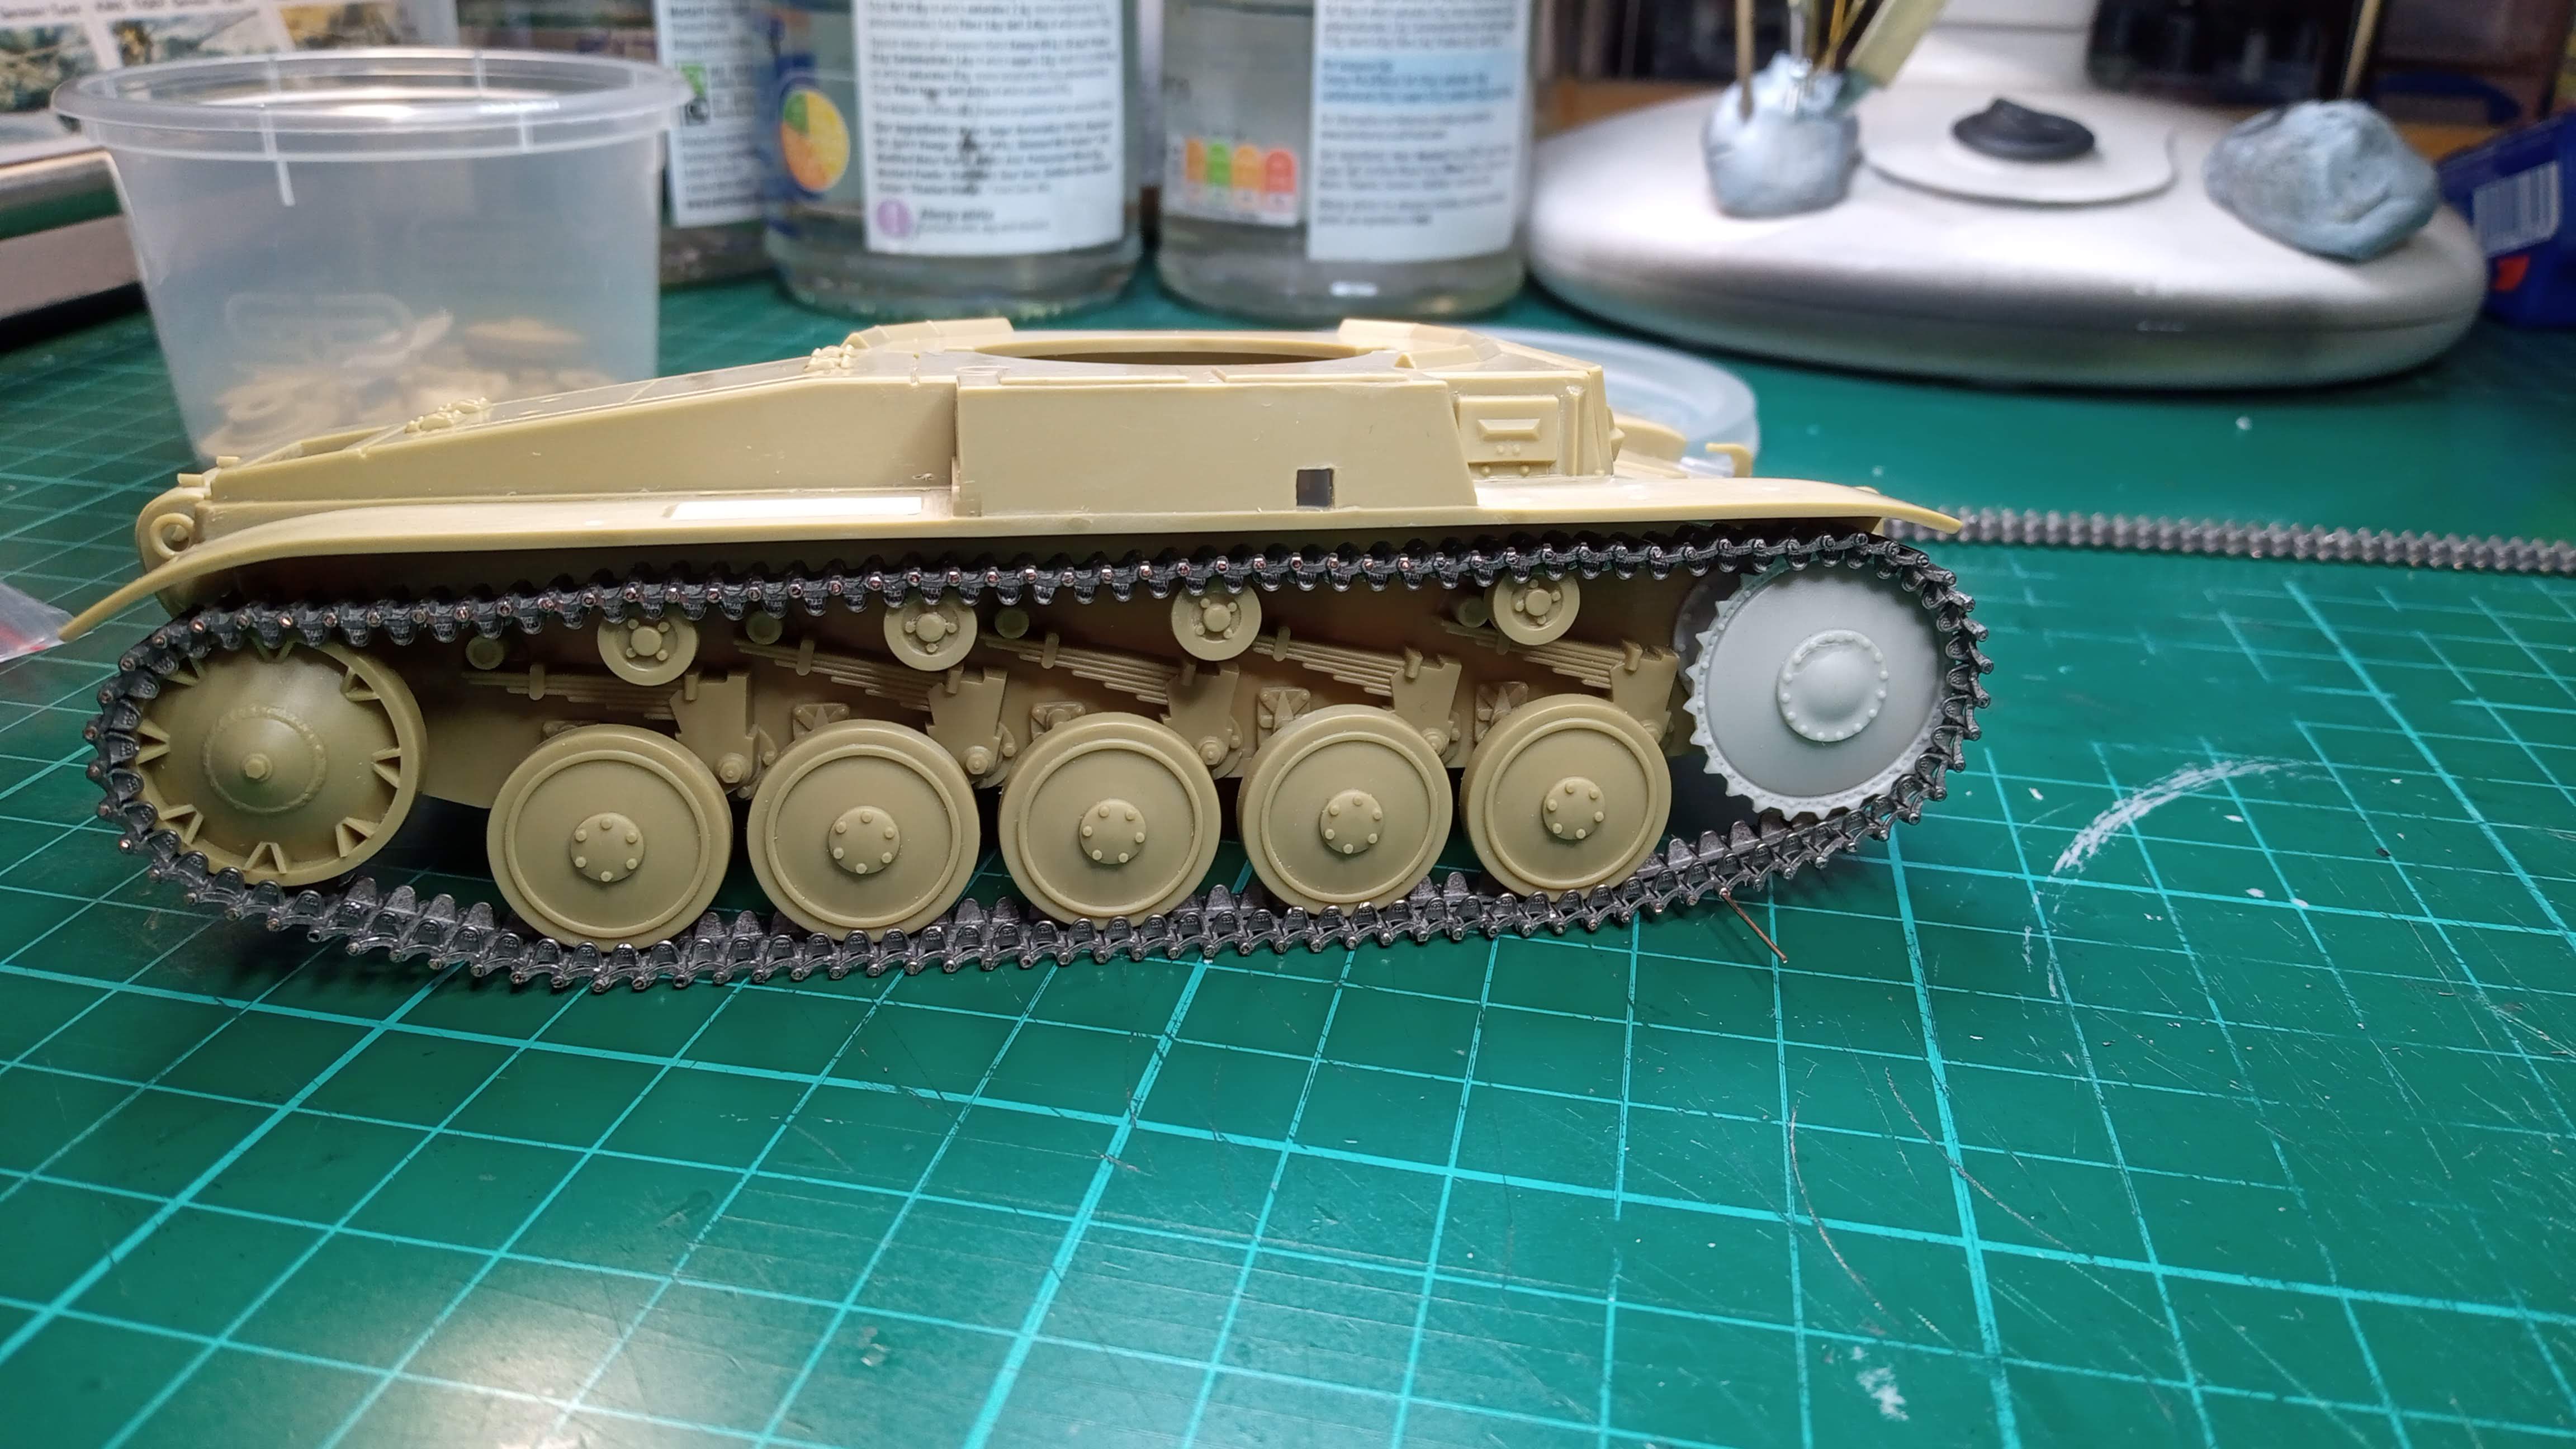
Got a bit more done on my old Panzer II:
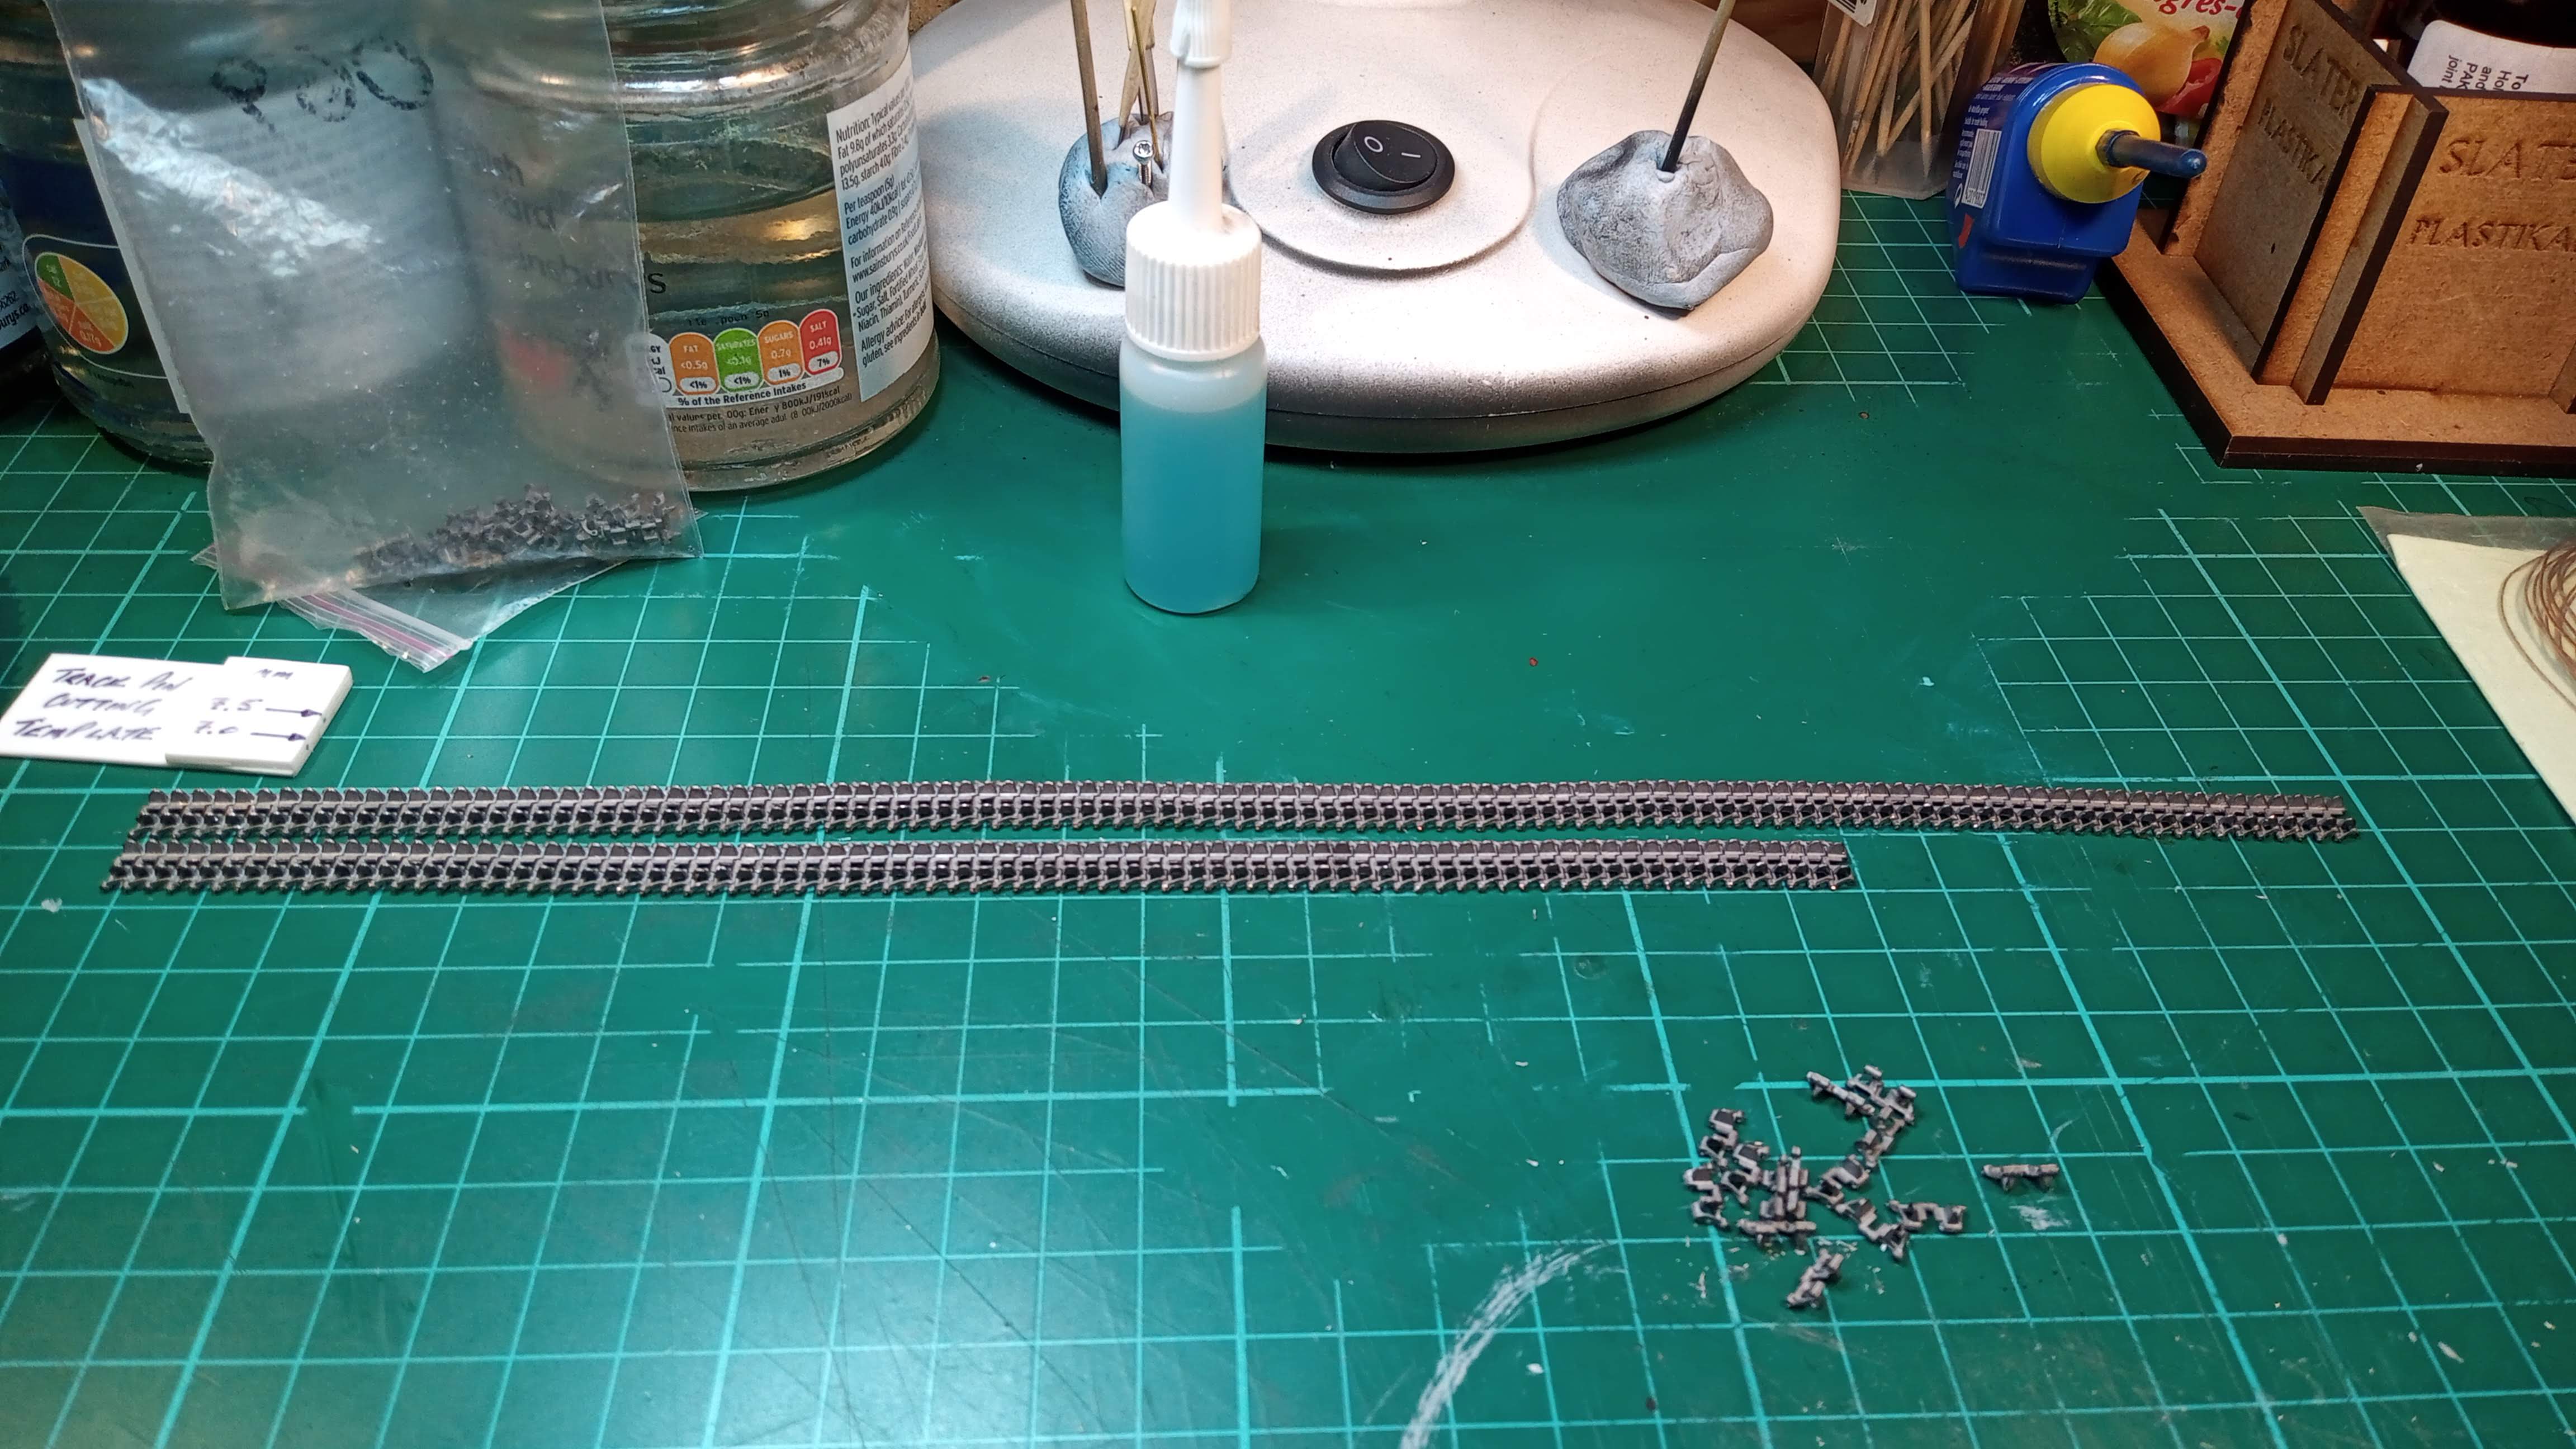
Spent many hours making up a pair of Masterclub tracks. Dispensed with the bendy resin track pins and made my own wire ones instead.

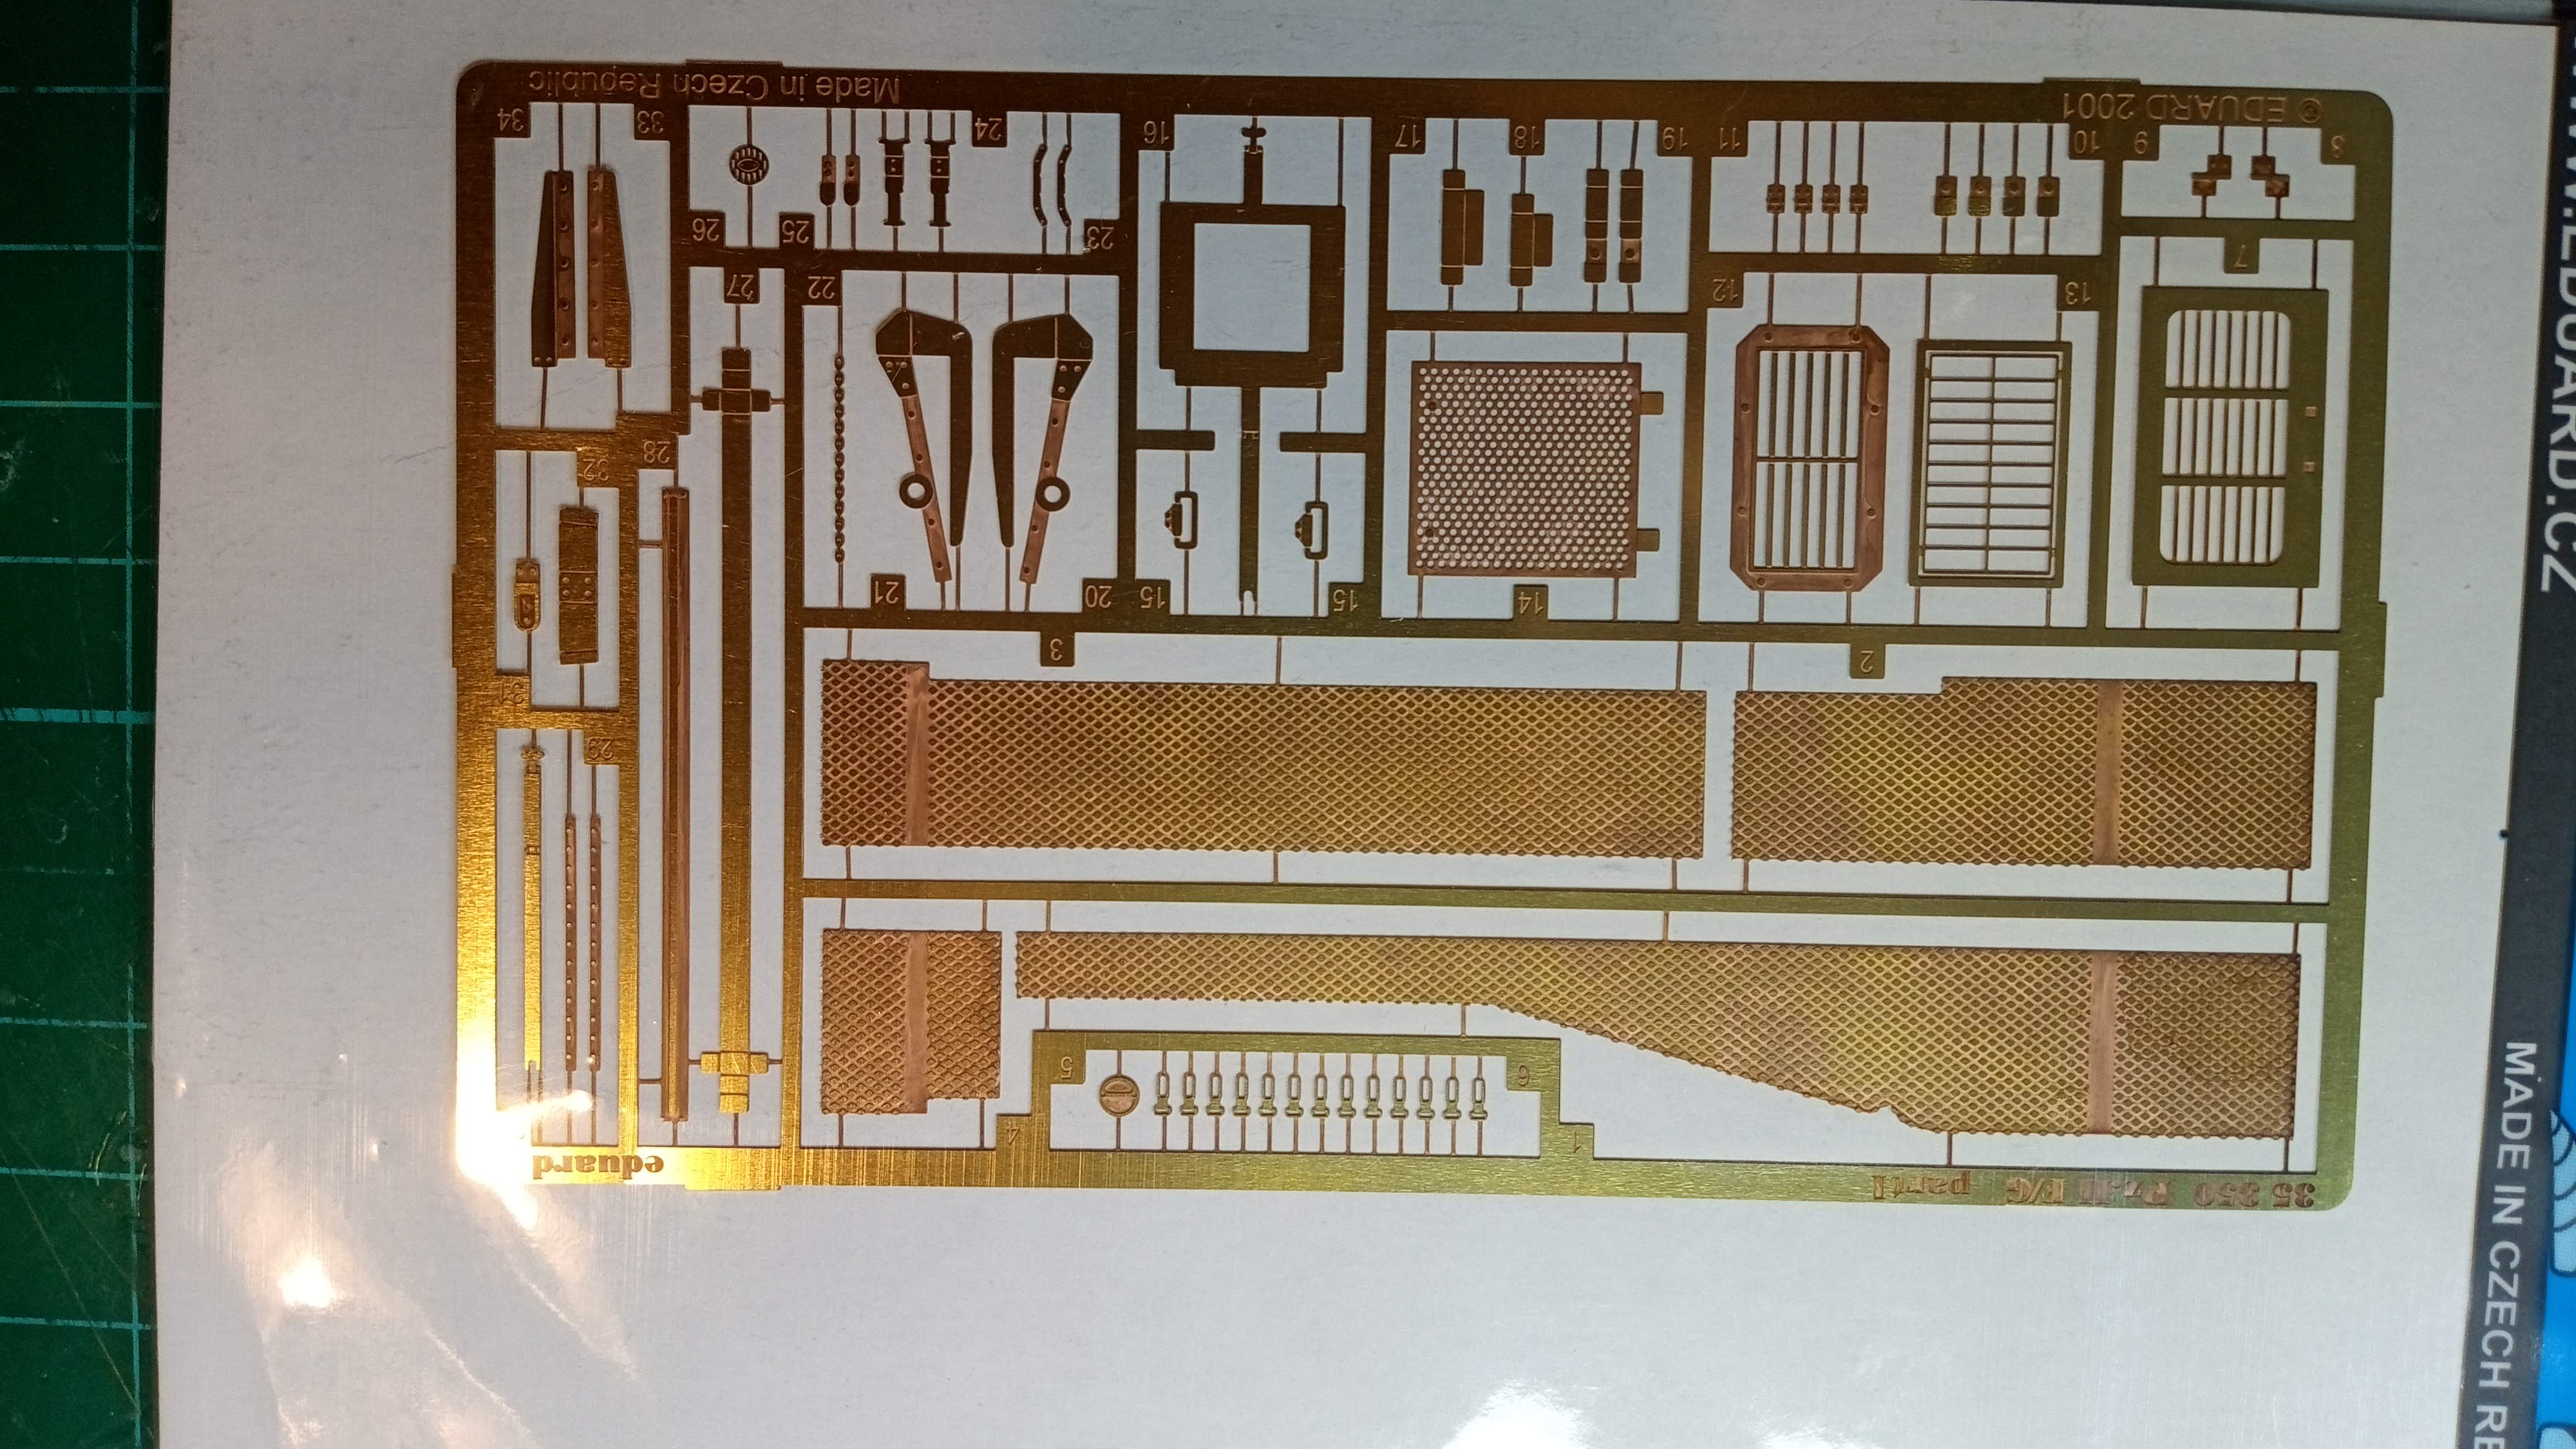
Next up, time for a bit of photo-etch.
A long time ago, a friend in my club bought the VM/Dragon Bishop SPG. He bought a Tamiya 25 pounder as the kit’s gun detail was awful. He also bought the Eduard etch set for the VM Kit as well as the set for the 25 pounder. Then he bought Fruil Tracks for it. It sat for a while, then Miniart brought out their Valentine kits, so he bought one intending to fit the casemate to it - It did not fit. Back into the stash it went. Then Bronco released their kit… he bought and built that instead. The other sits as a reminder to him not to go overboard again… ![]()
Ernie, make sure to align everything on the BA-20. I have build the original Alan offering. It requires careful alignment before you start glueing.
Jon, nice progress on the Pz. II. Looking forward to see more.
Thank you; yes, it is a bit of a challenge to get everything to fit and lined up well ![]() However it is coming along …
However it is coming along …
Been plugging away on the BA-20, the kit is sometimes short on locating features, such as placing the turret vision ports. I used apiece of Tamiya Tape for curves to layout a line around the turret to use as a guide to try to keep the ports at least on the same plane.

I have gotten the frame, chassis, and body pretty much all assembled as separate units. Now the fun exercise of cleaning them al up and making them all fit together as well as adding some small details as I go.

The kit is what it is, so I am not going overboard with it, there are newer and better detailed and fitting kits out there, however this is the one I have to work with at the moment. I would like to add a figure or two to it, and the front vision blocks are designed to be posed open, so I will paint the the interior incase it can be seen, but won’t be adding much (any) extra detail there. I did invest in a set of Panzer Art wheels as the kit ones are not great at all. Also, based on how everything has (not) fit together so far I made the executive decision to remove the mounts for the radio antenna and thus depict a non radio equipped car. I want to finish this kit, and it seem the odds are better if I don’t have to mess with the antenna and its seperate mounts 
Looks like you have done a great job so far Ernie.
Looks good, Ernie. Seems like you will be making a silk purse out of a pig skin. 
Looks like you’re having lots of fun with that one Ernie.
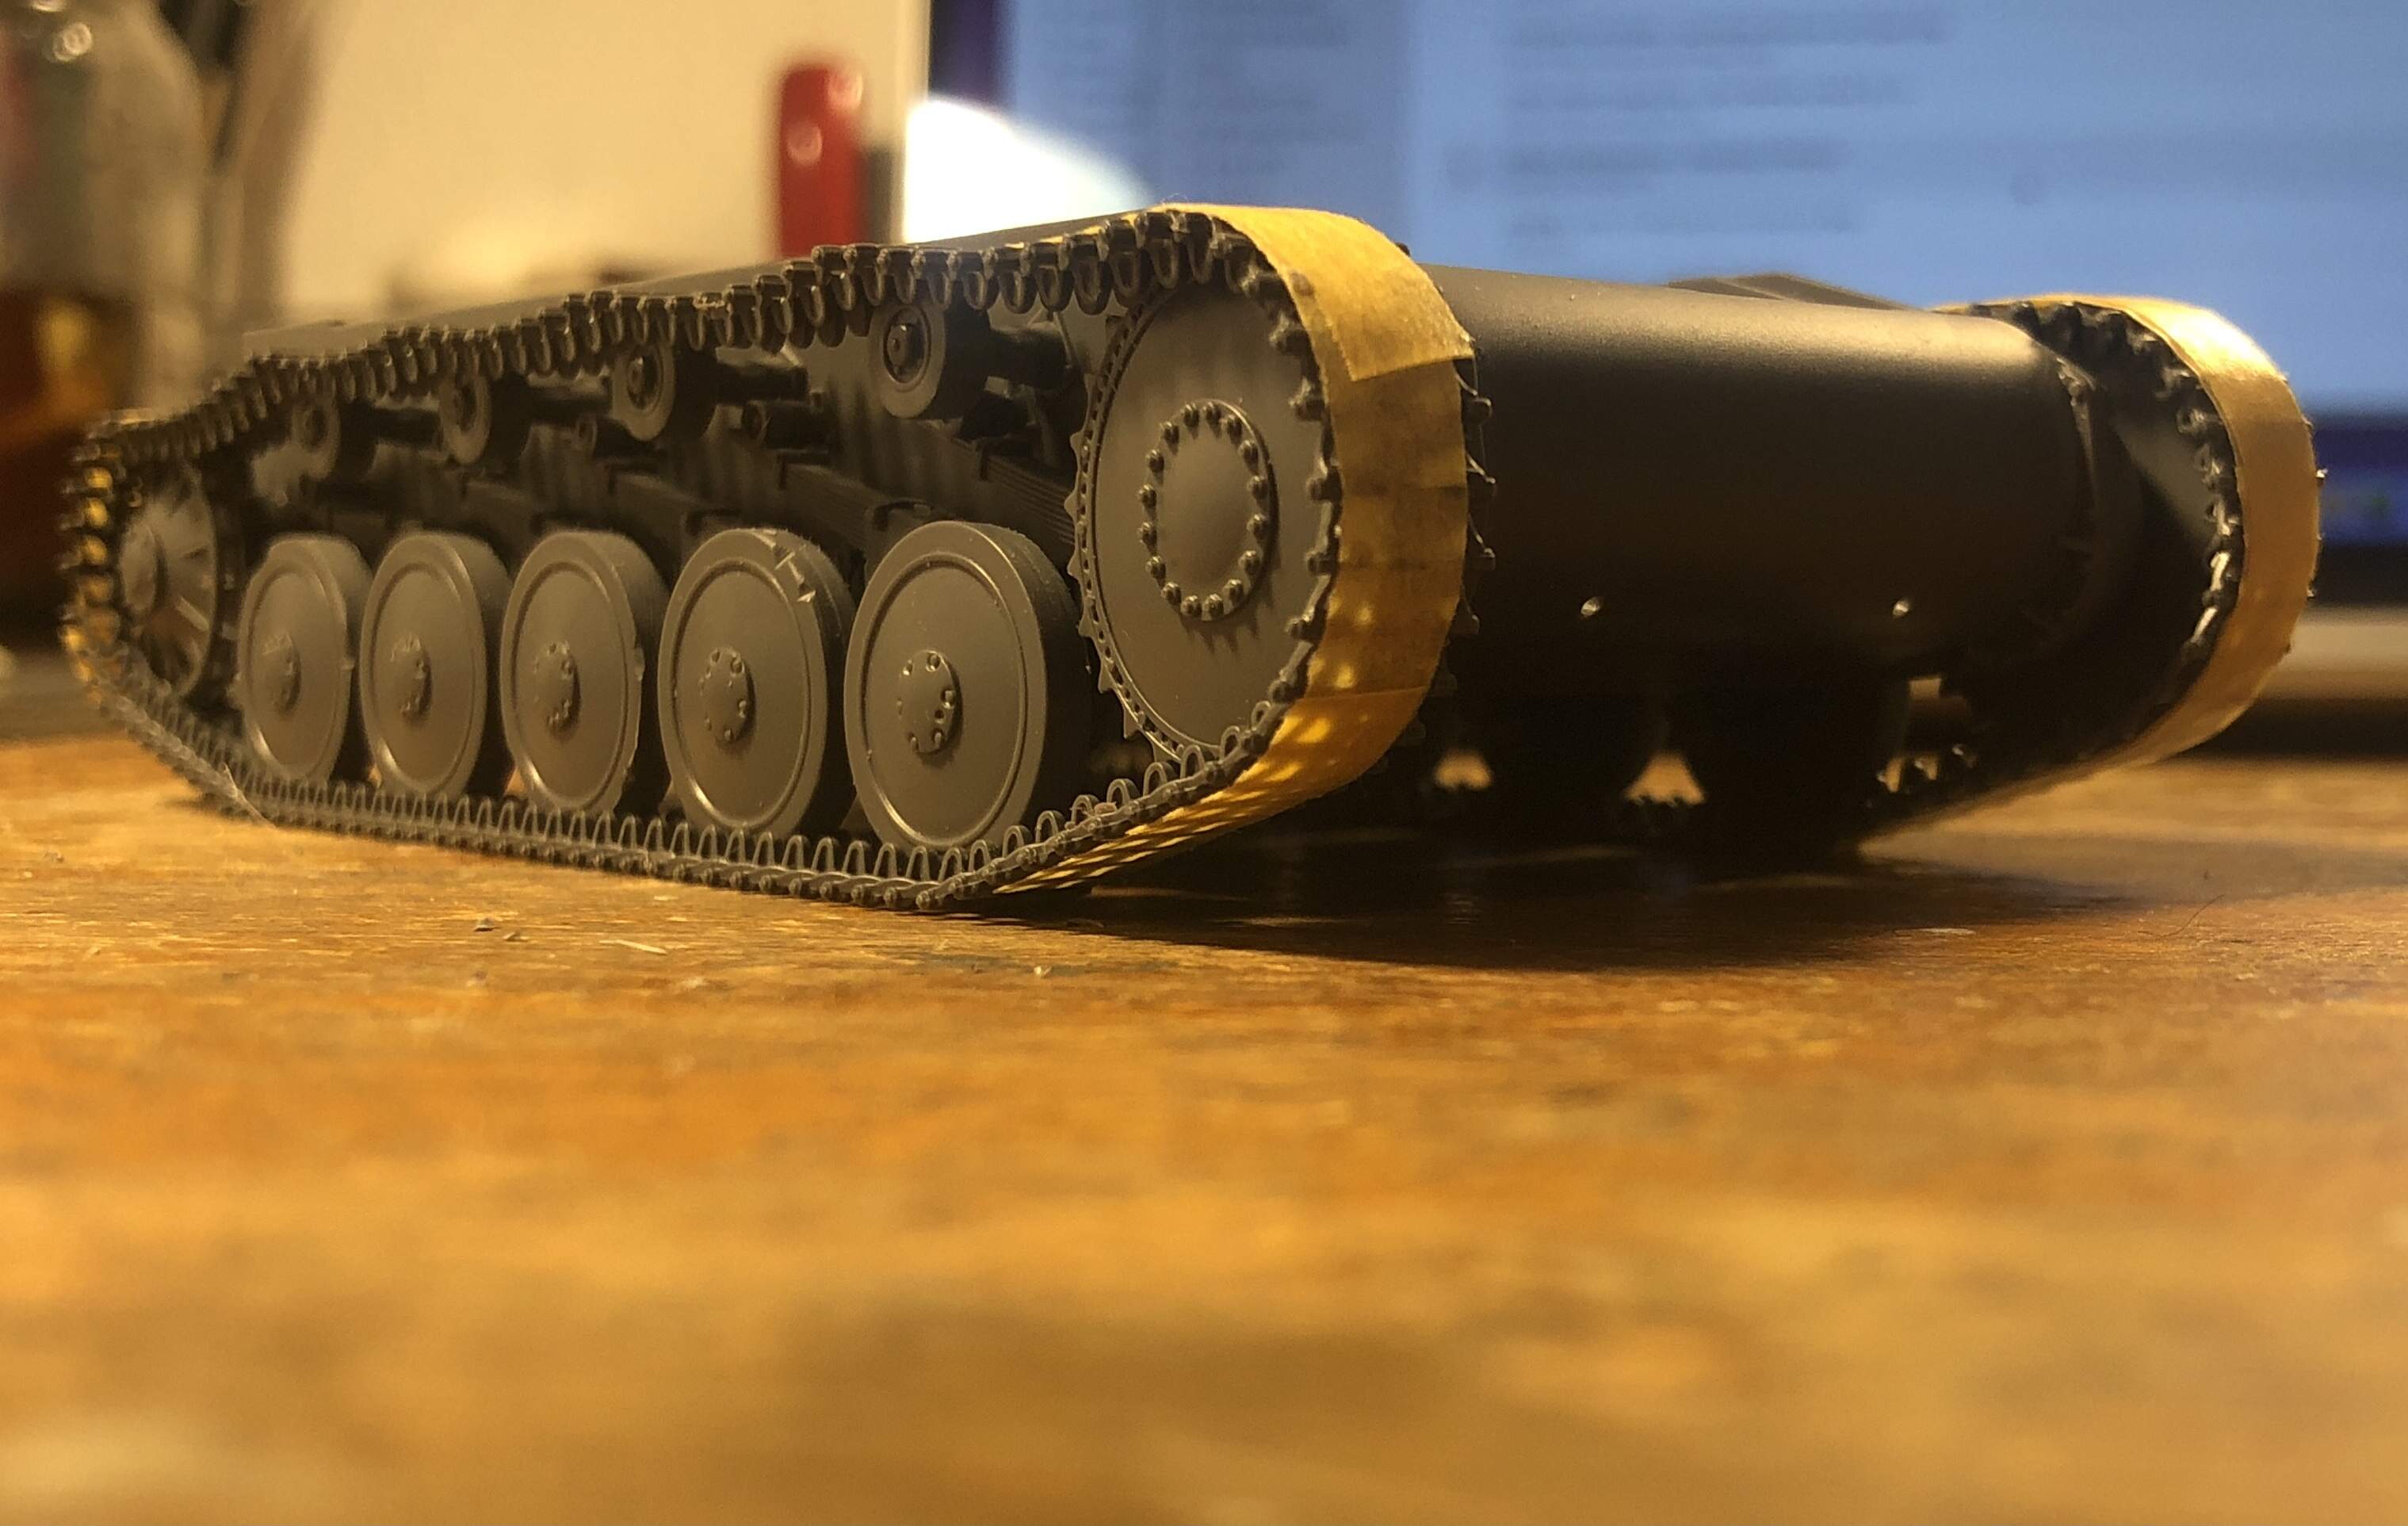
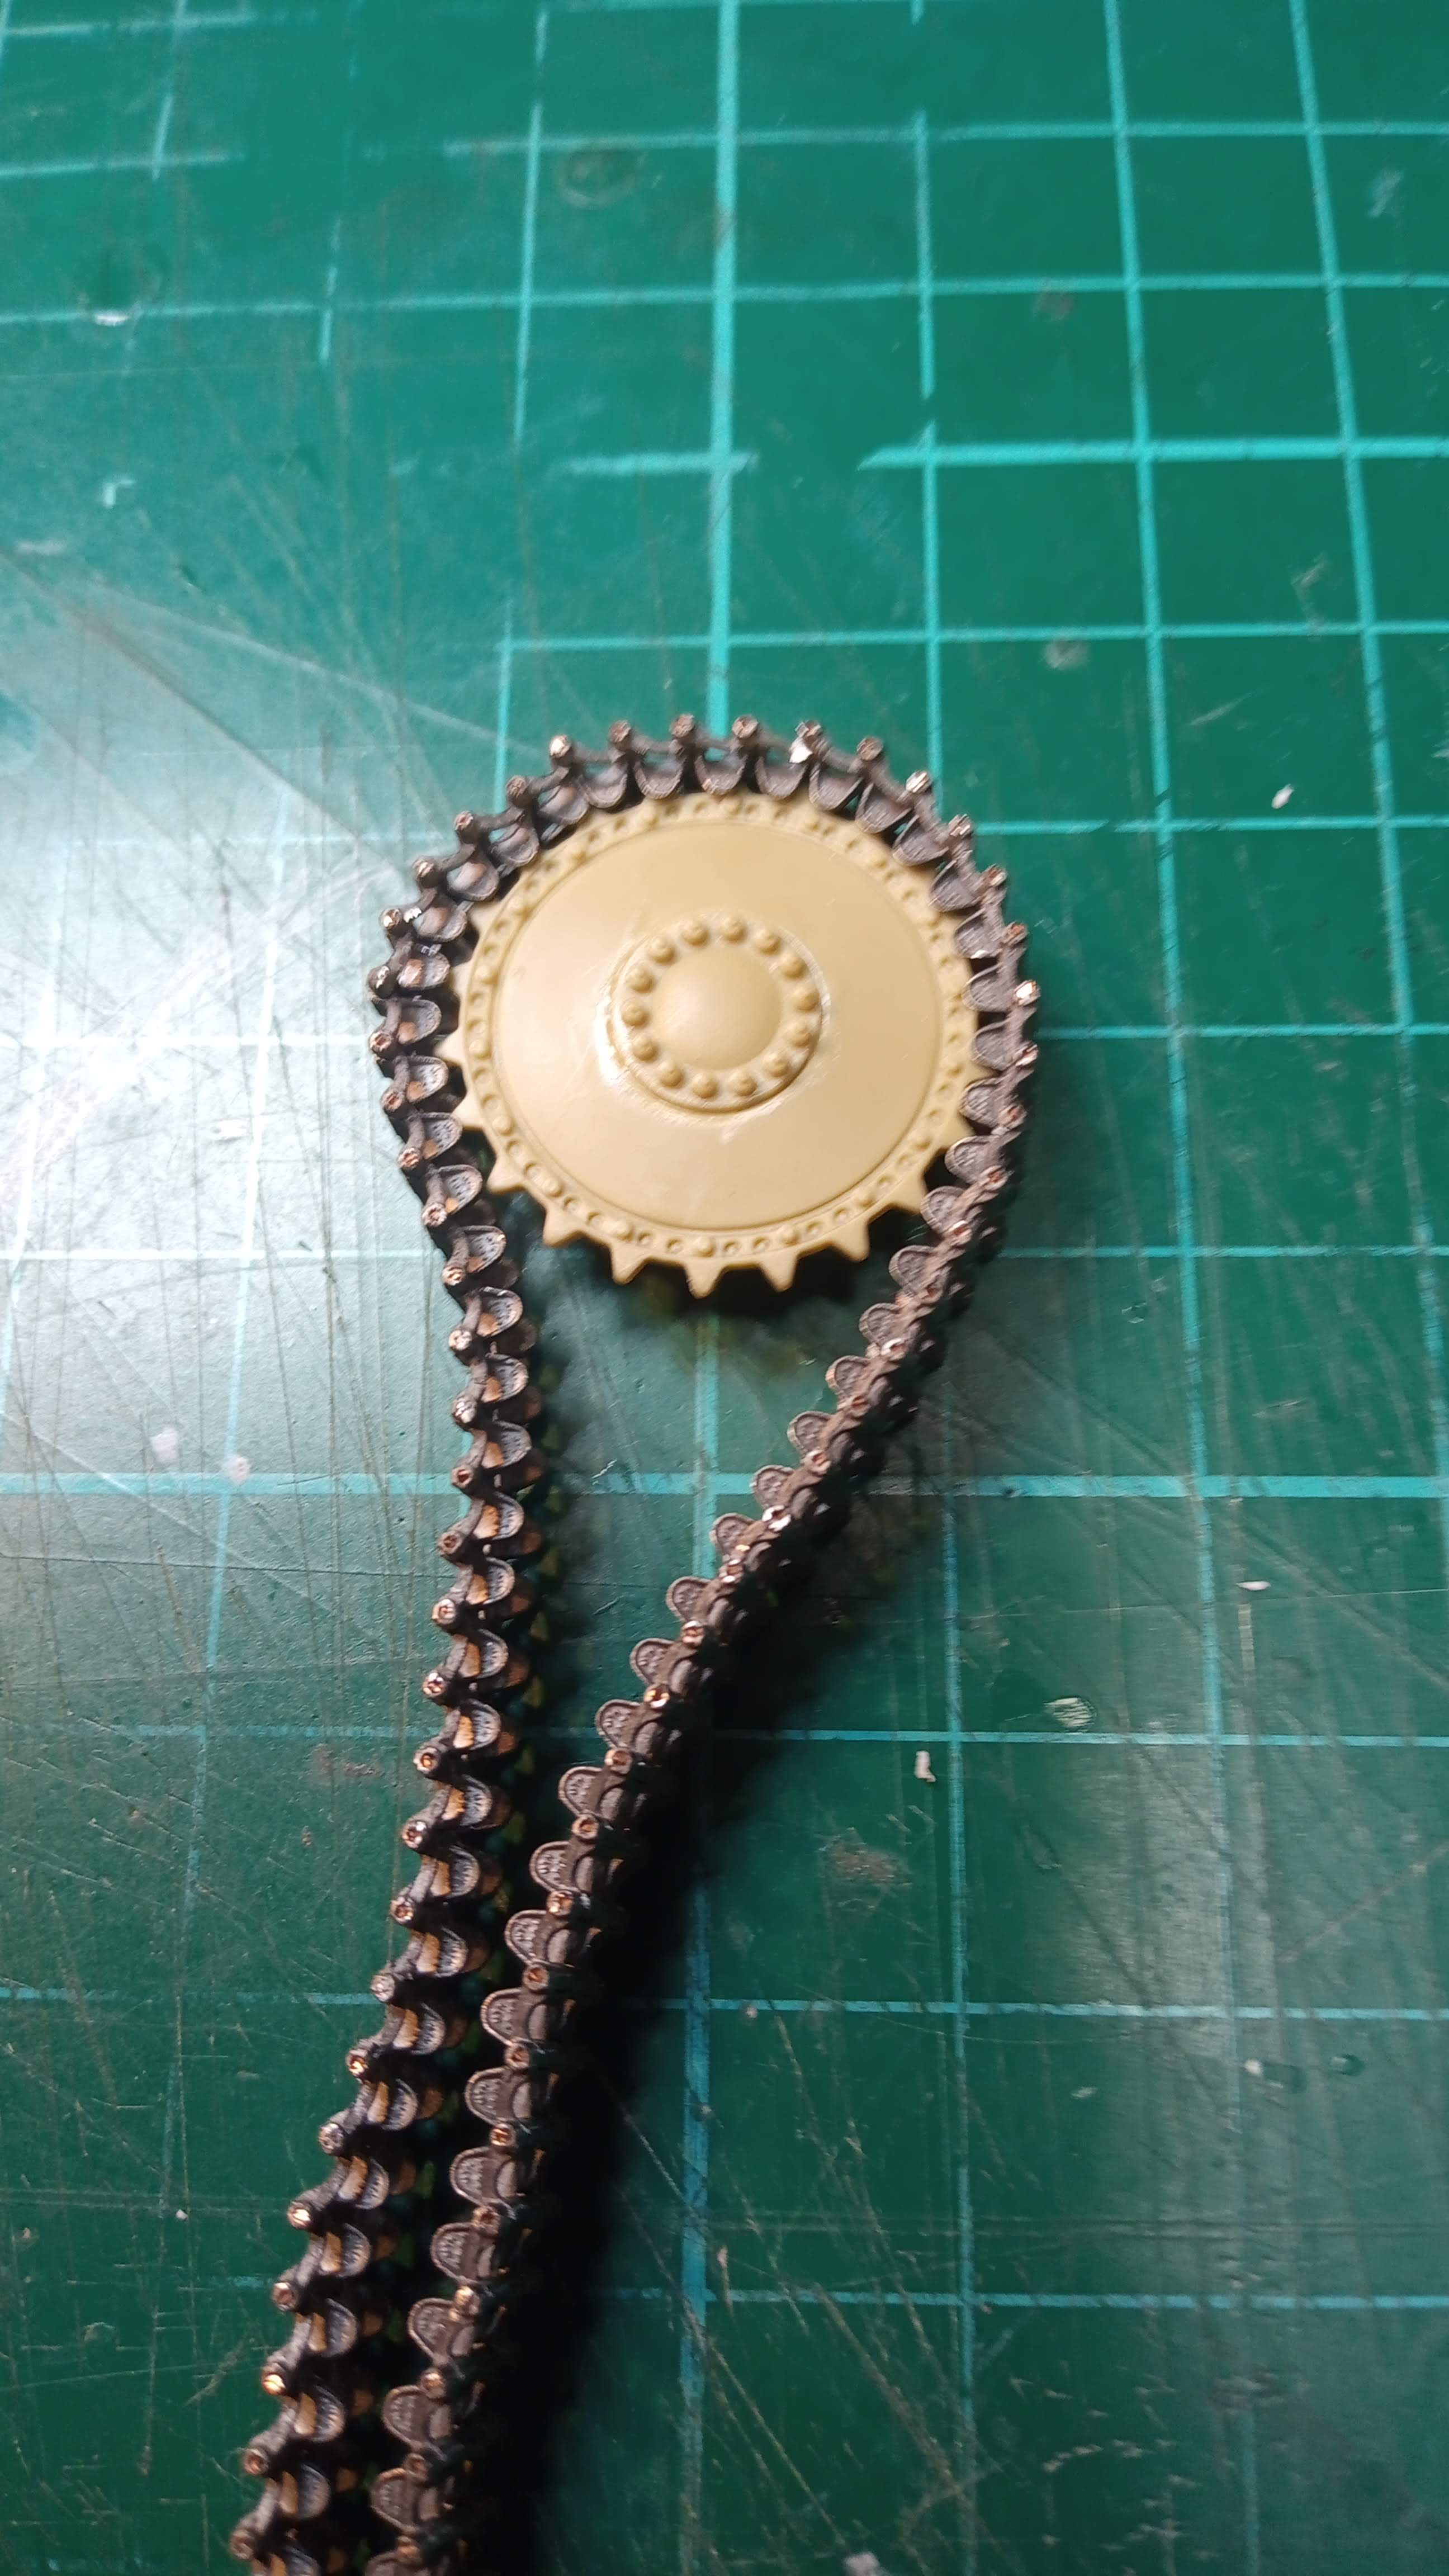
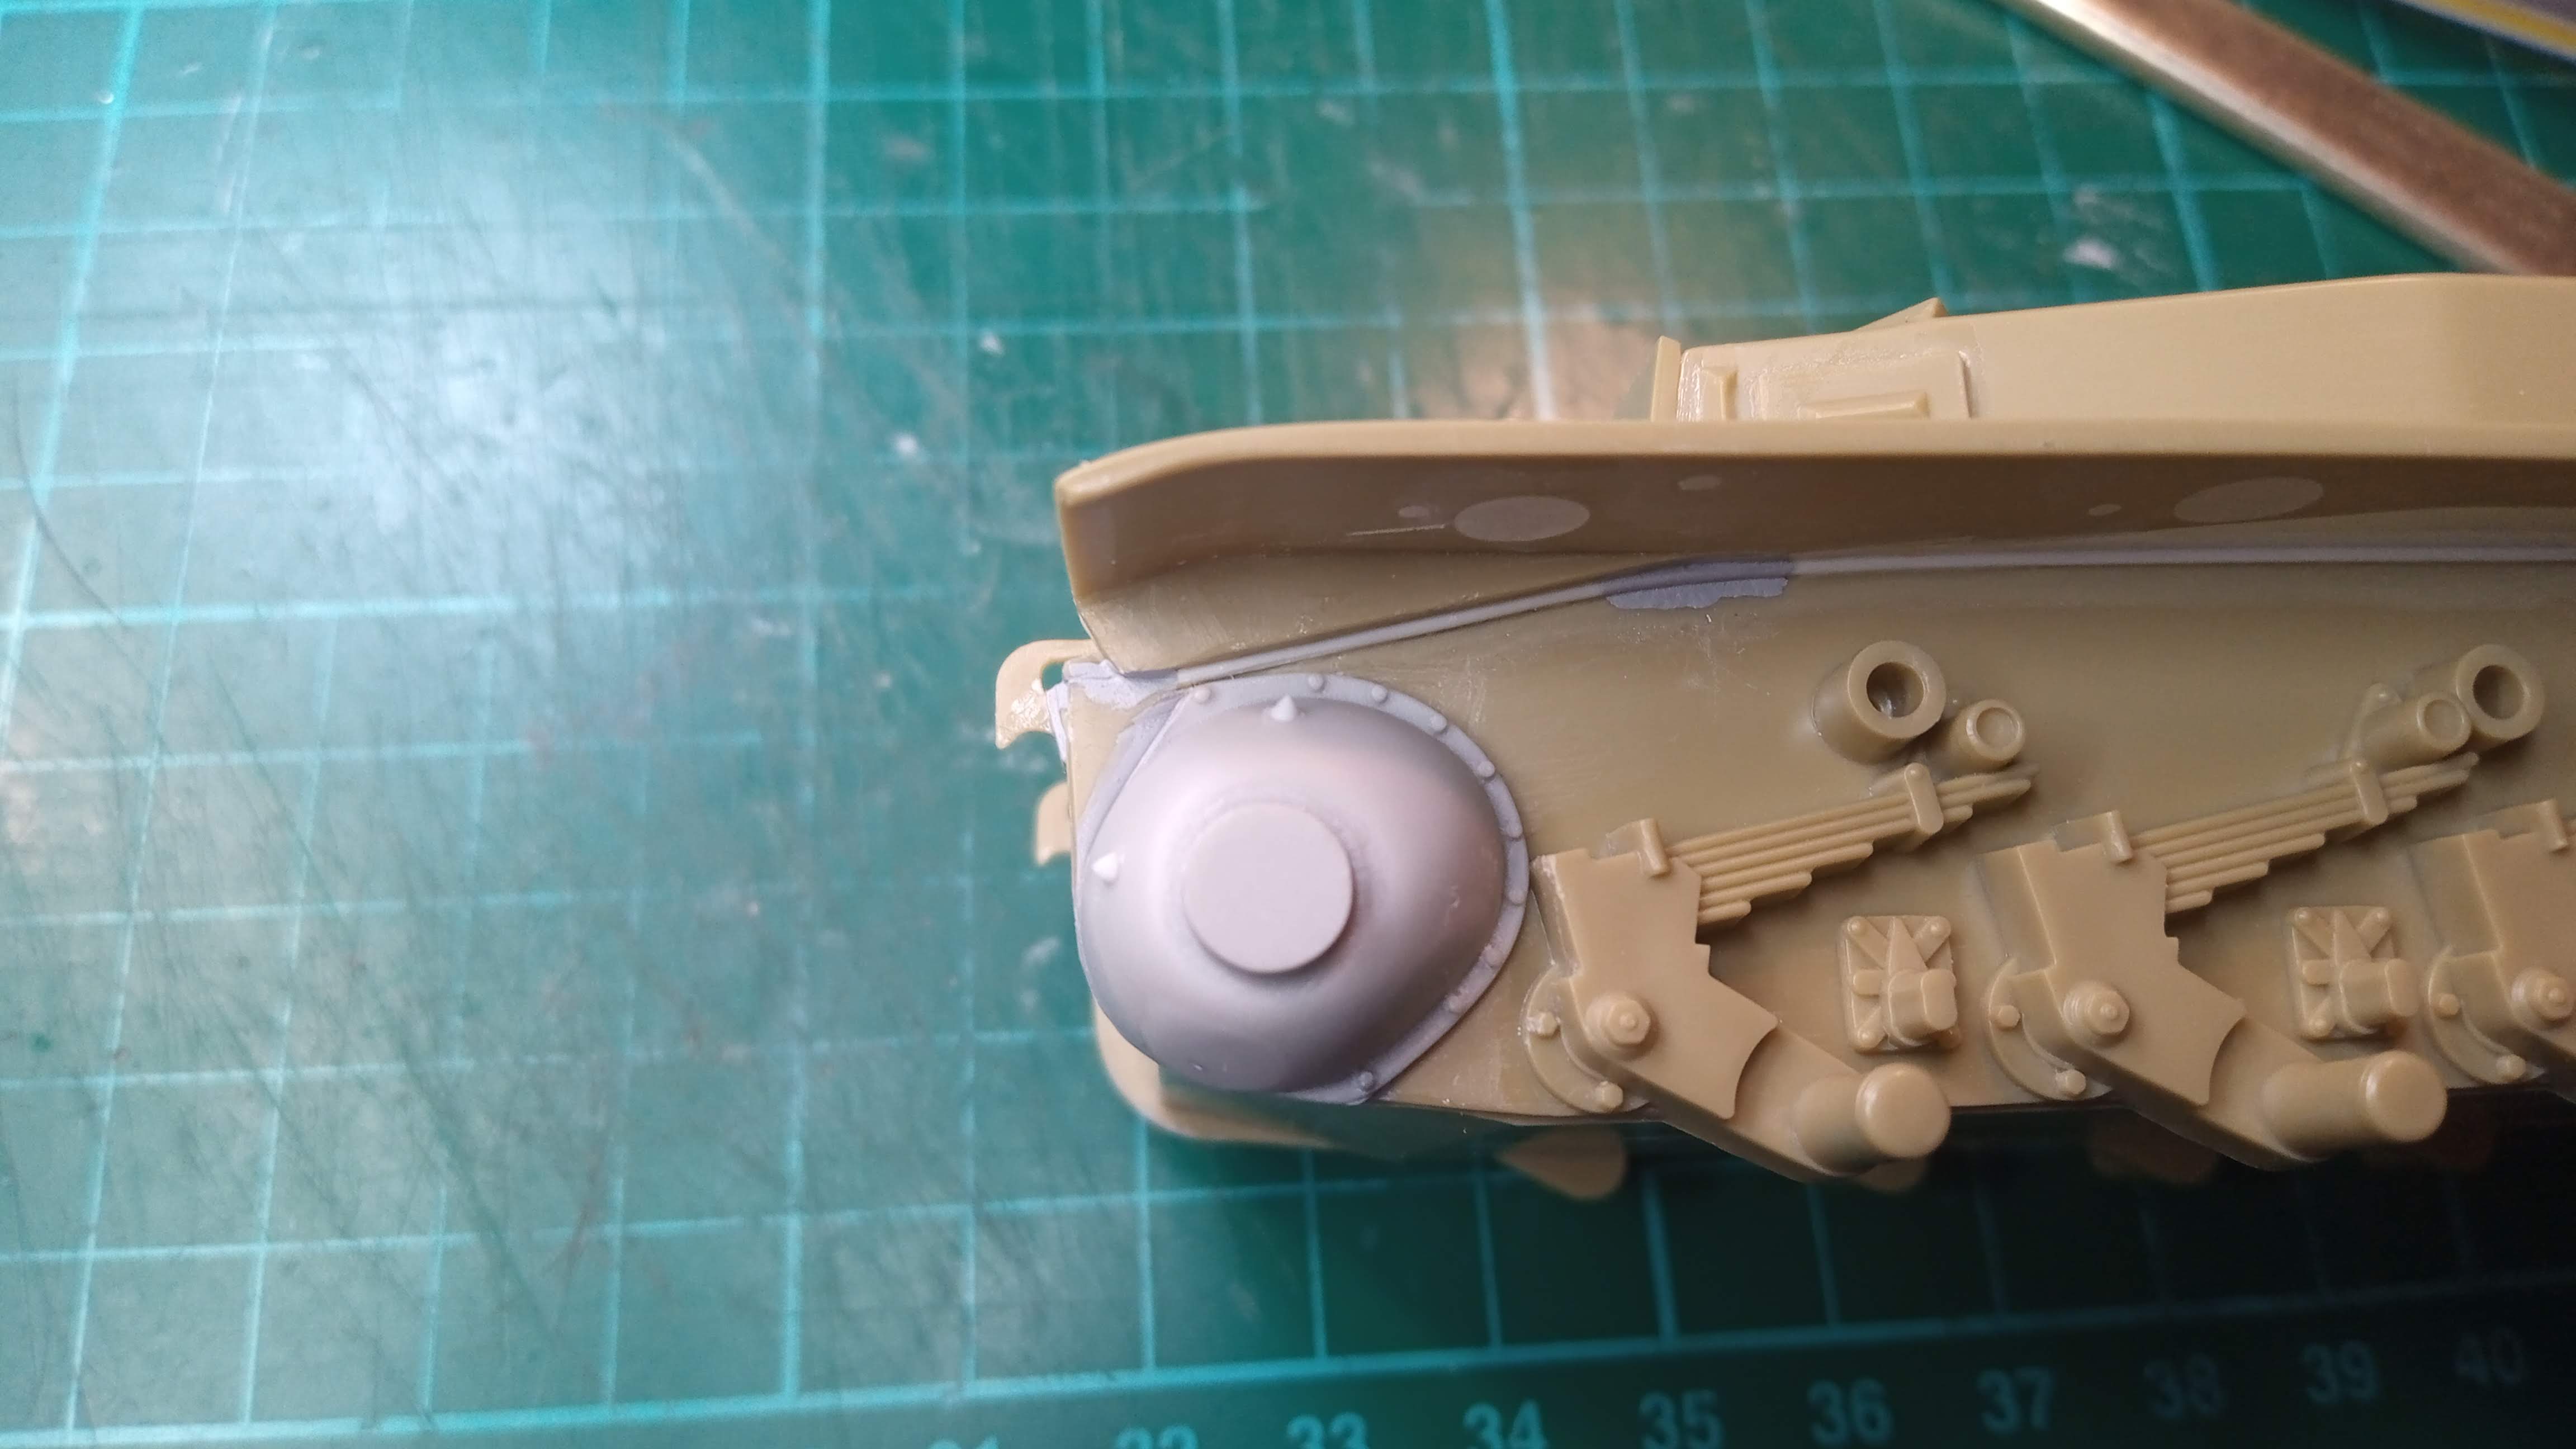
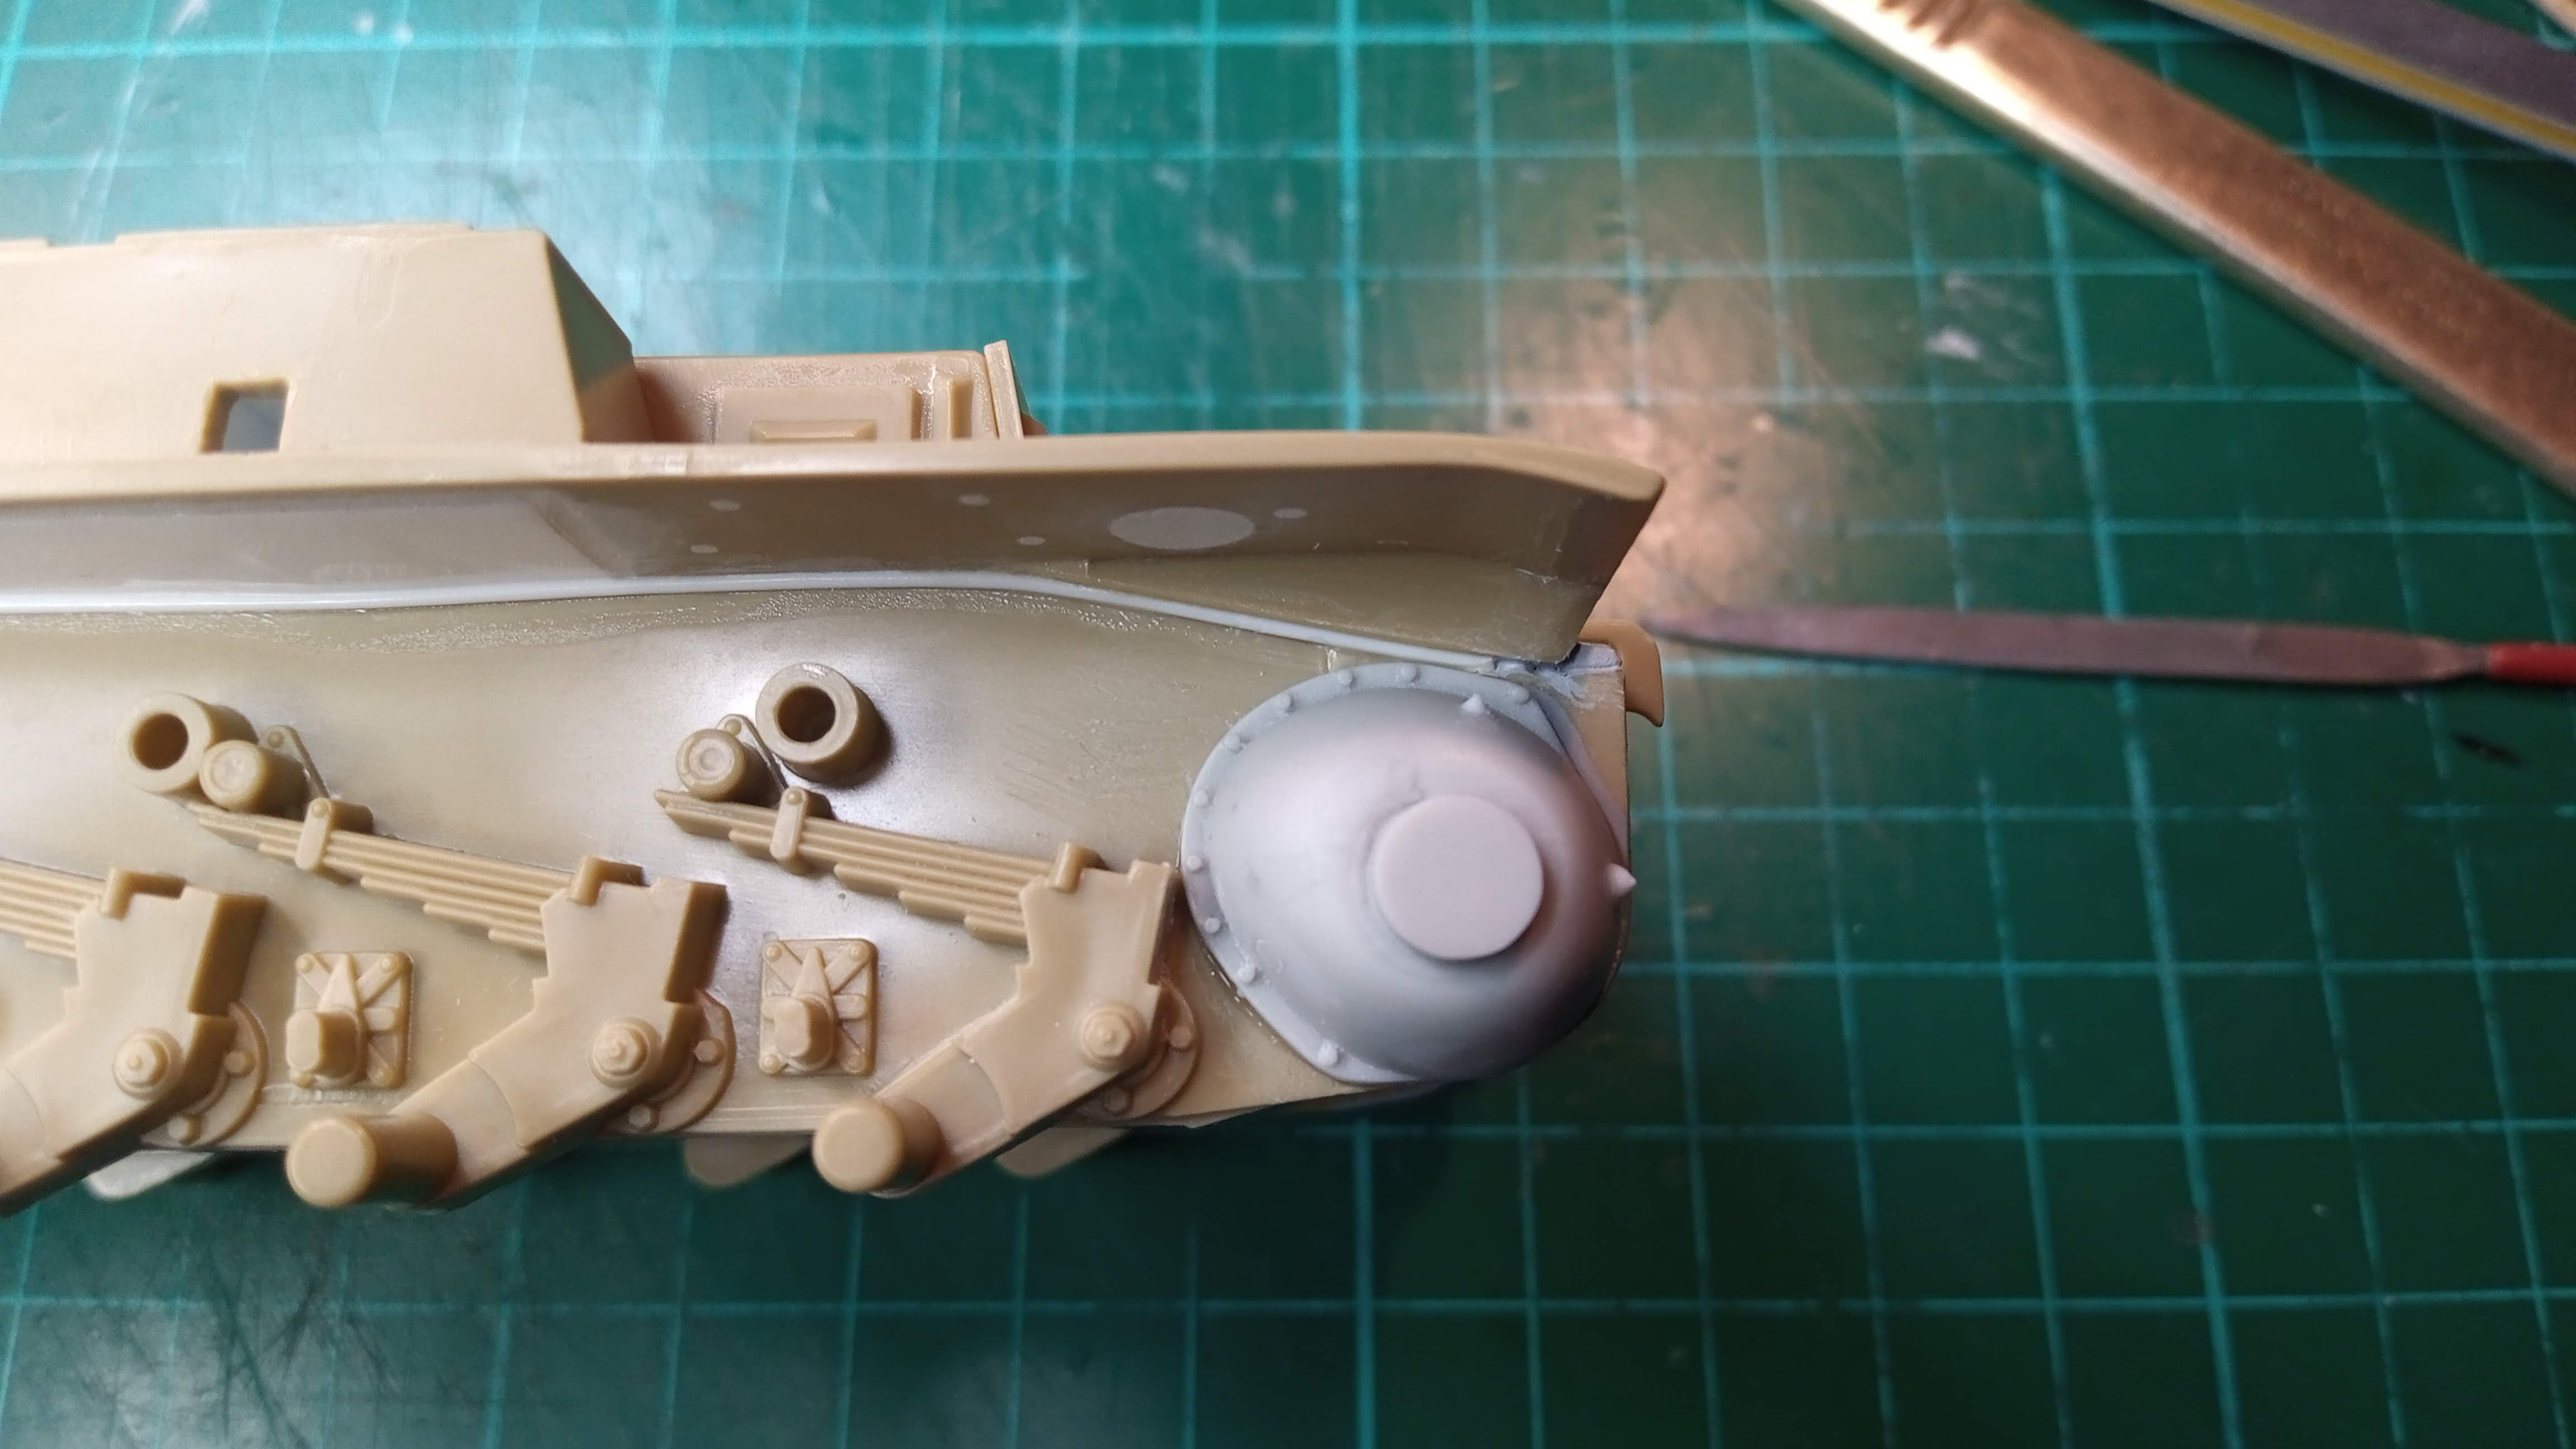
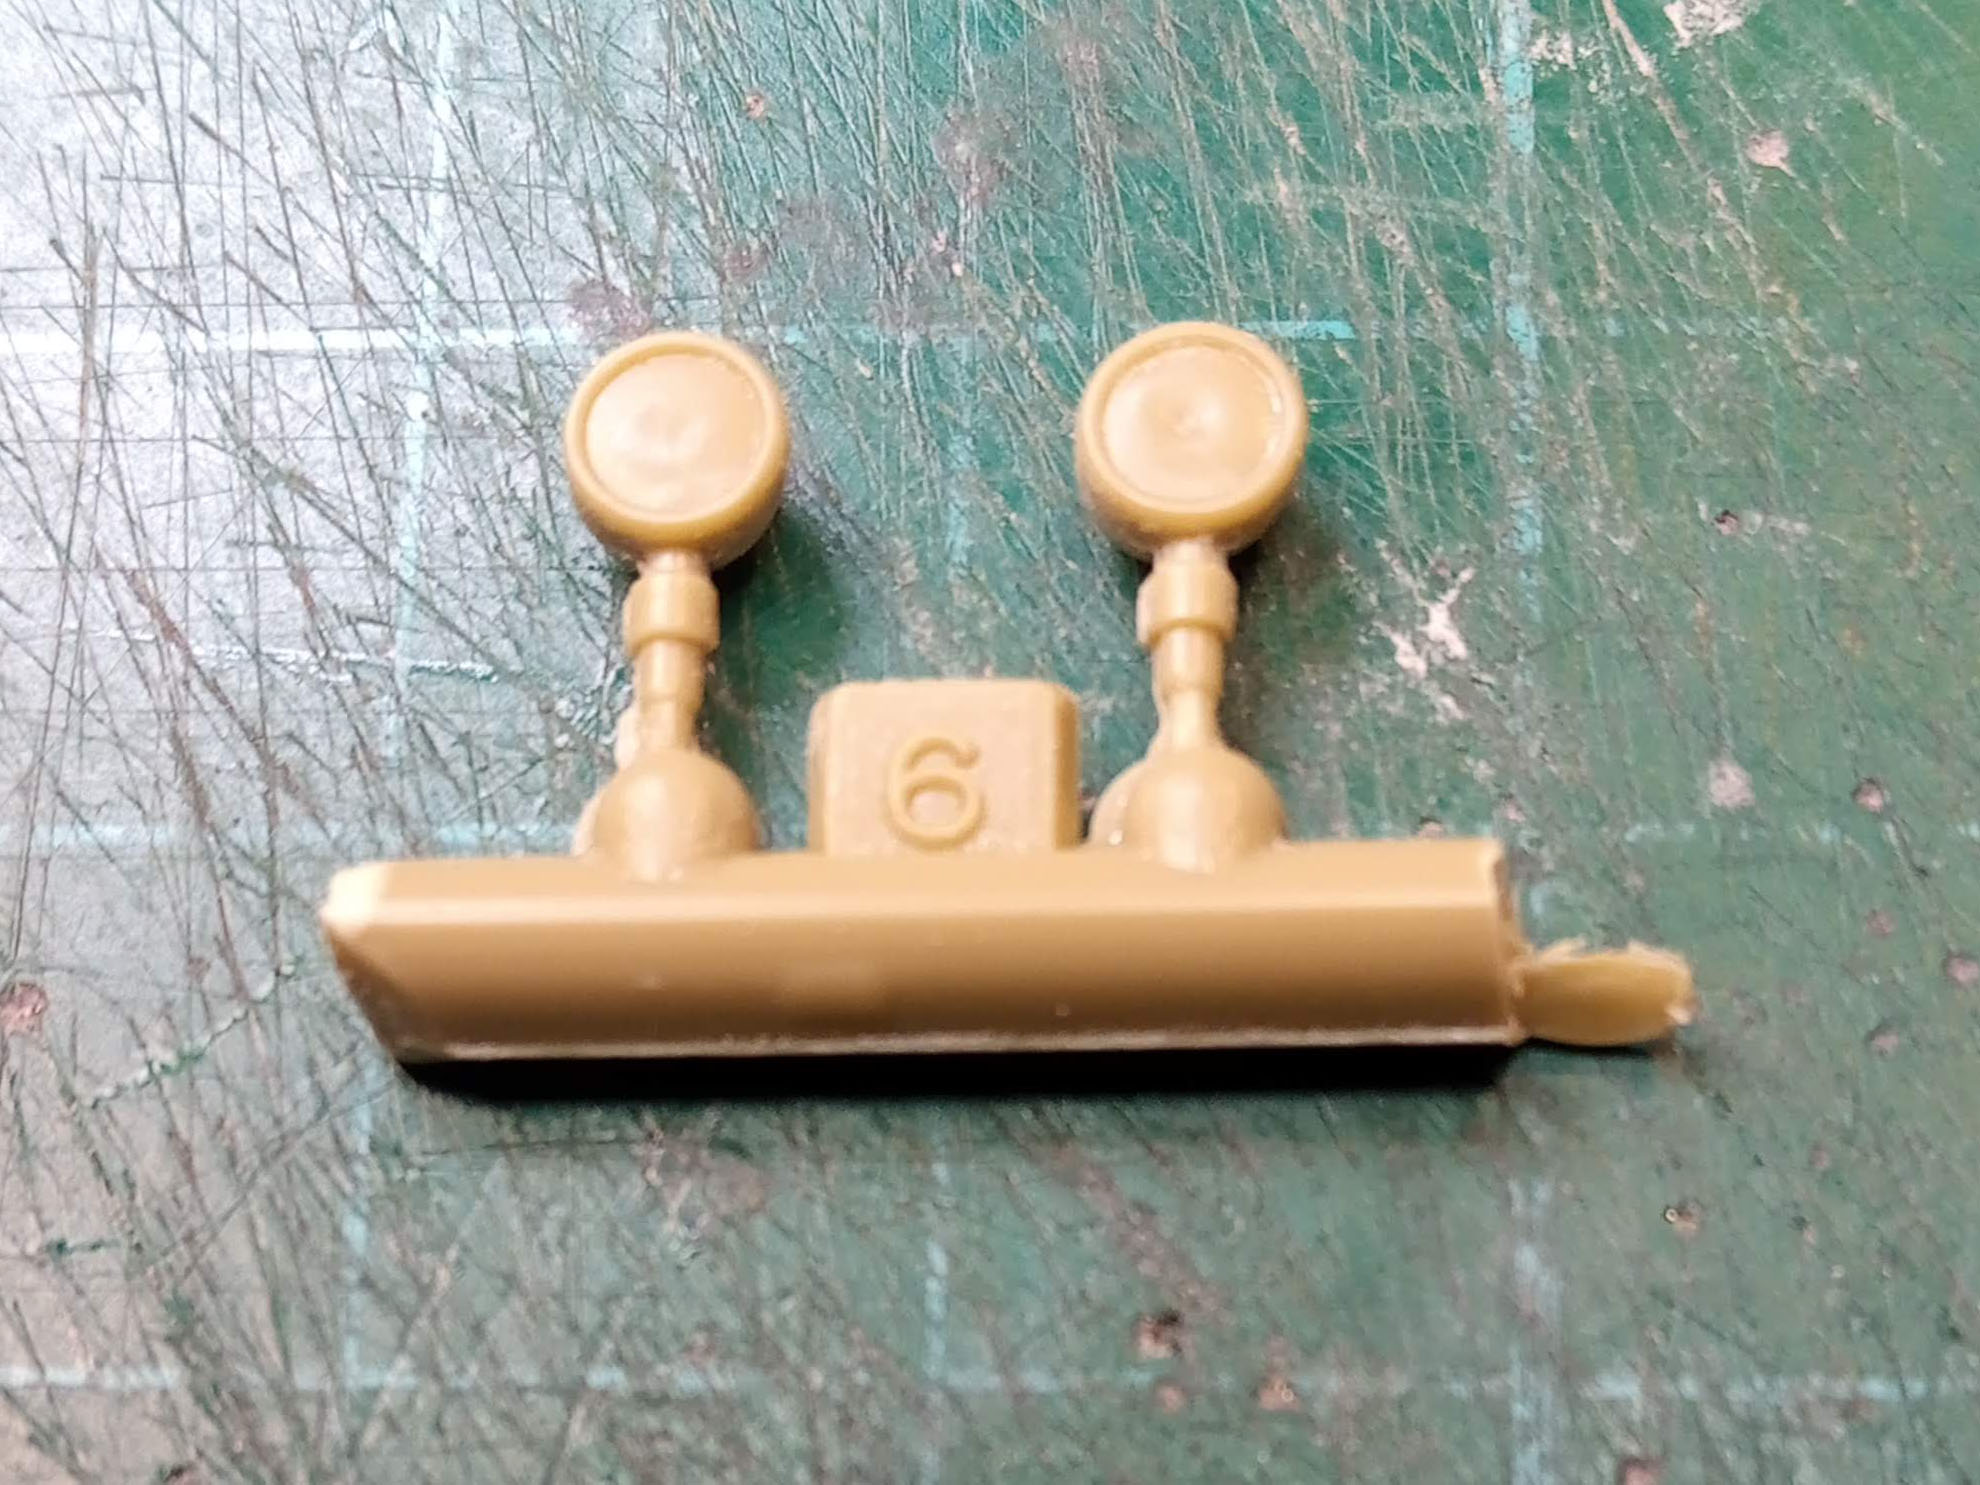
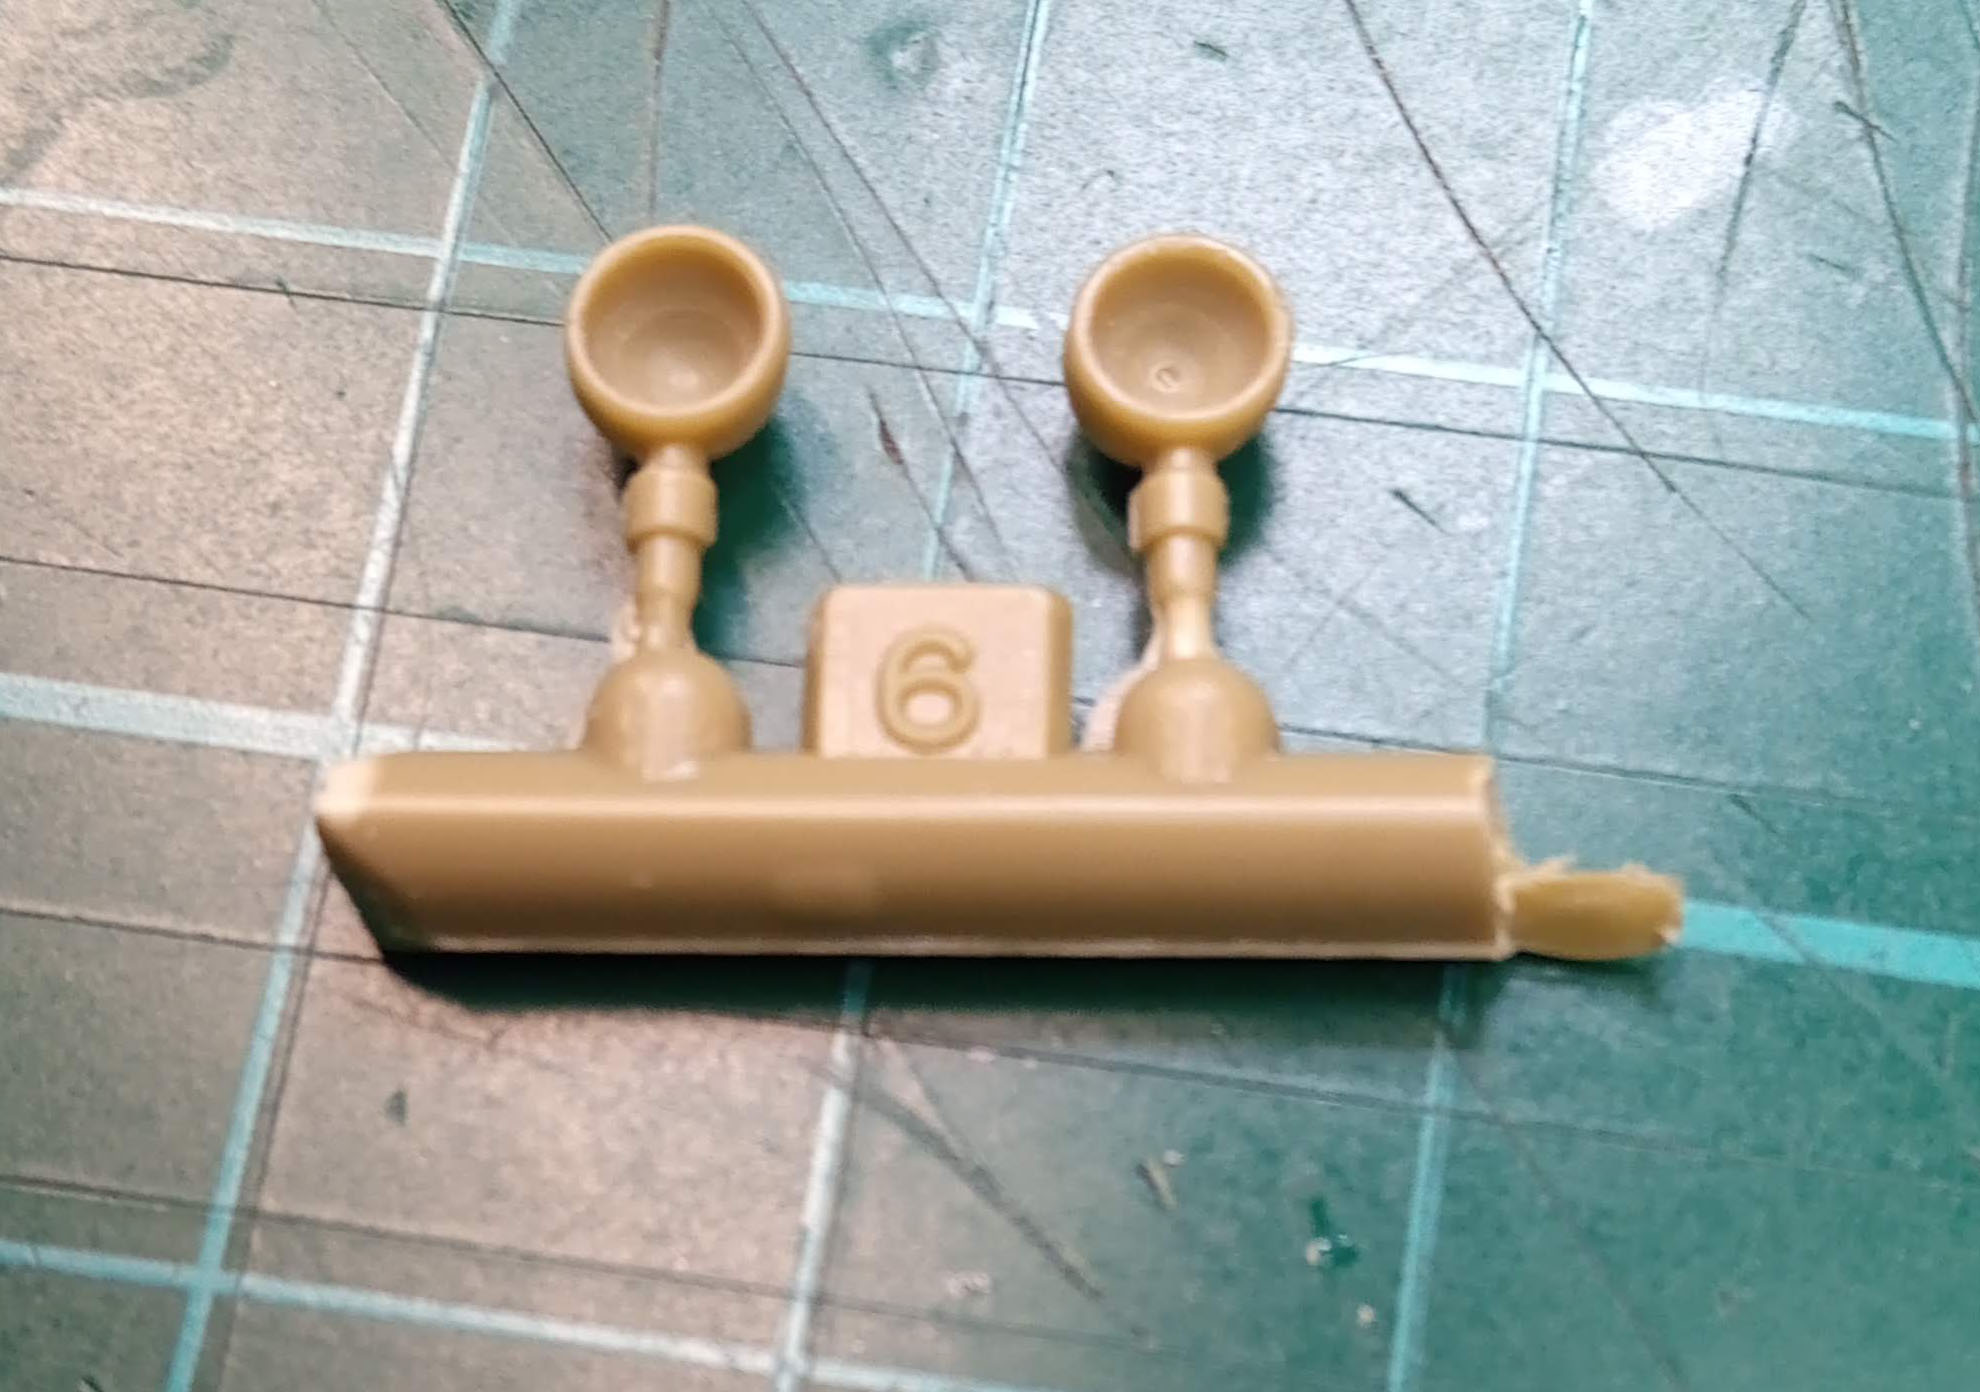
Time is money so the old saying goes. Well, with these older kits it’s very easy to spend too much of both on them. Having sorted the drive sprocket problem I had to cut/file away the moulded attachment points on the original and replace with these:
This is how it looks with the MasterClub tracks:
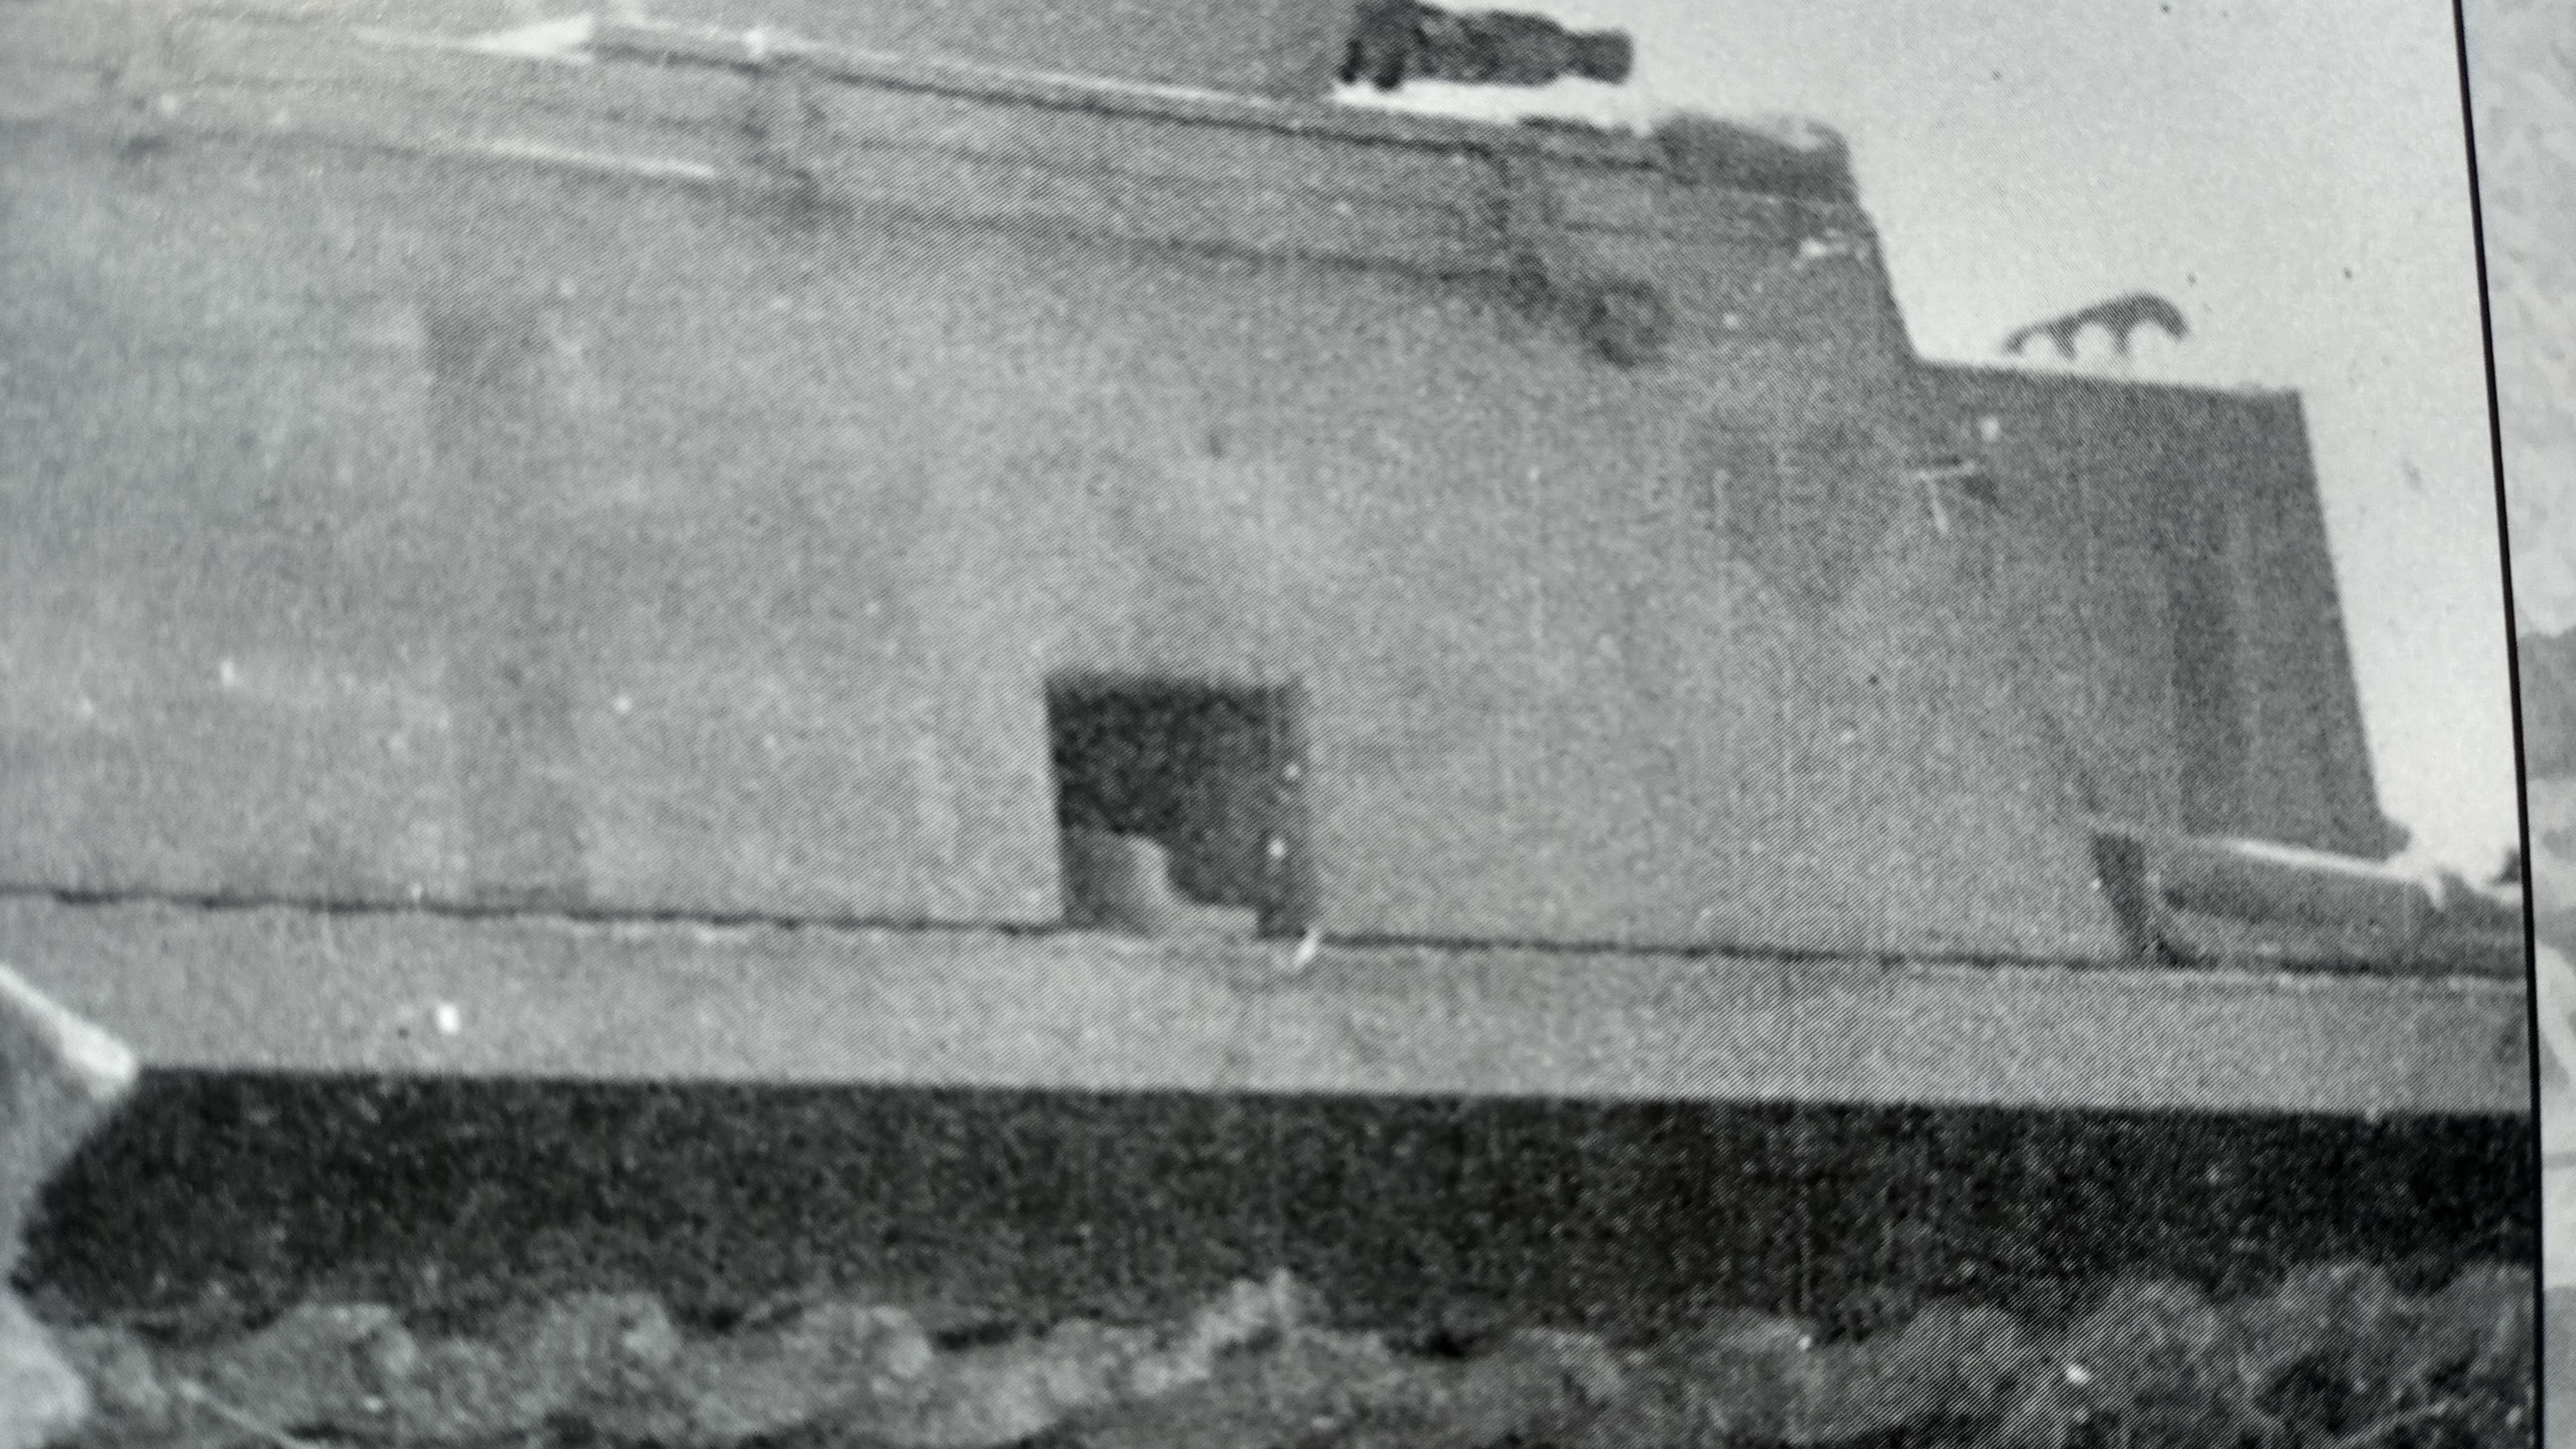
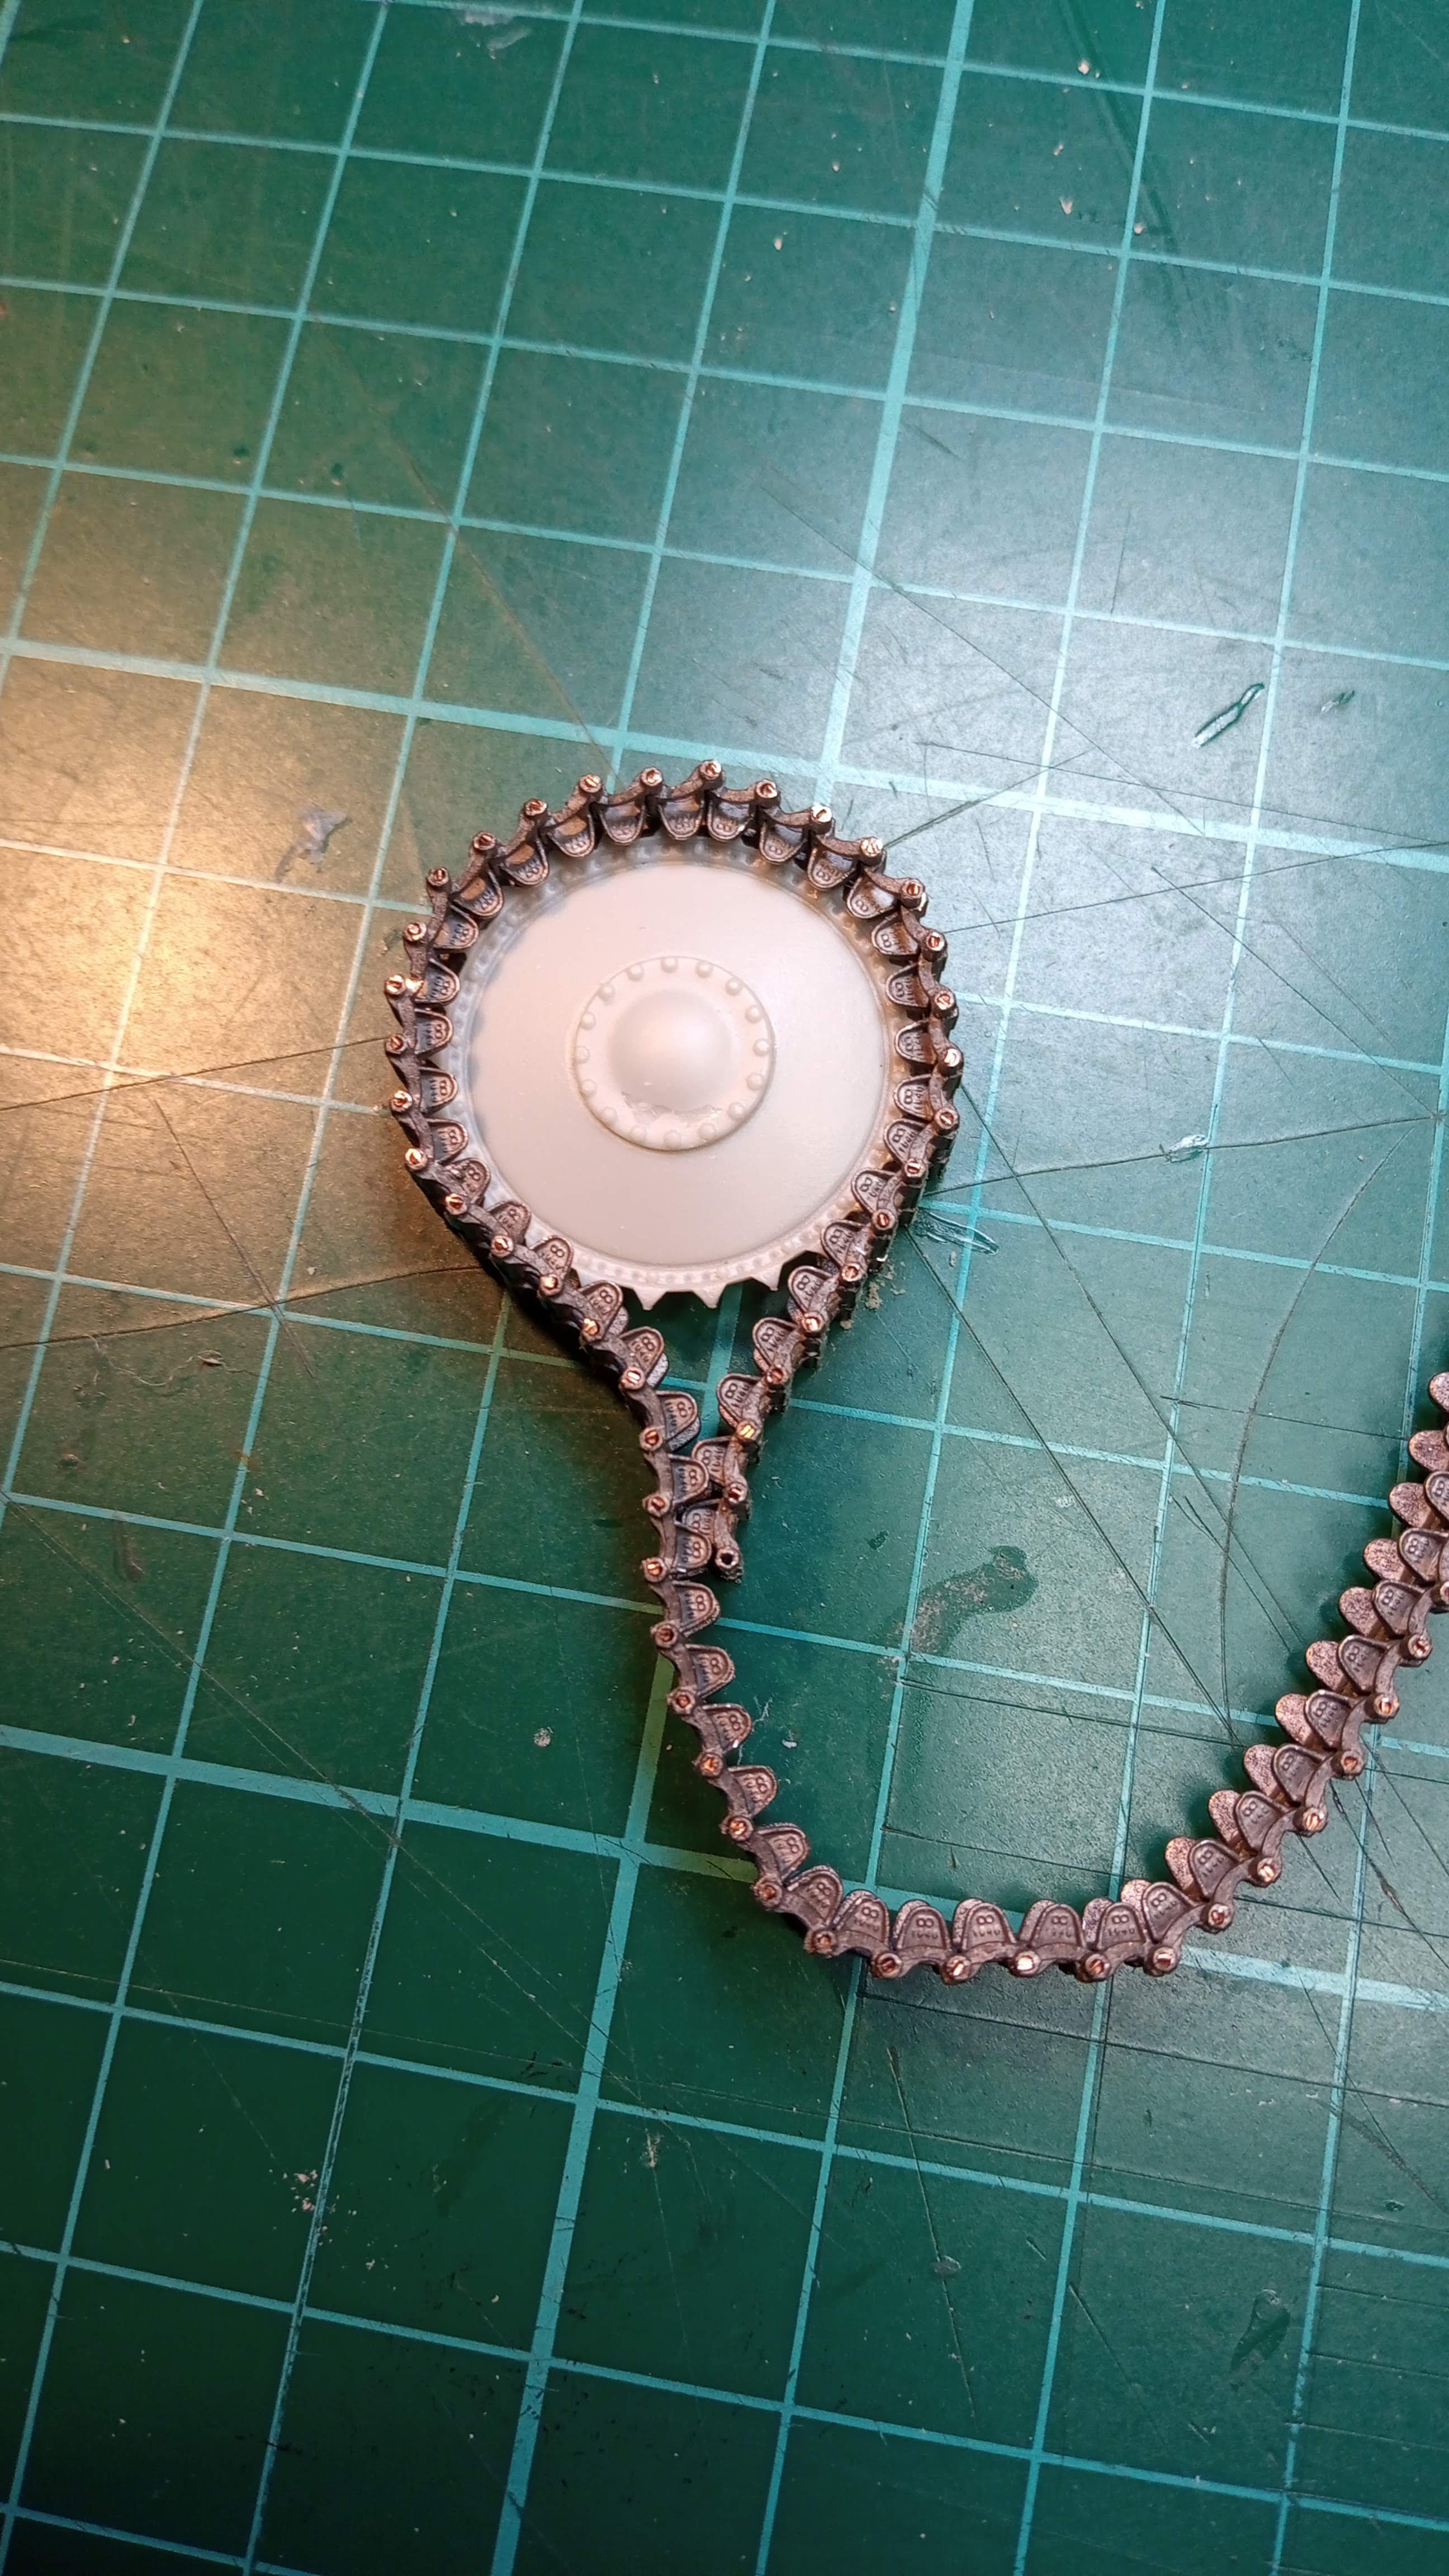
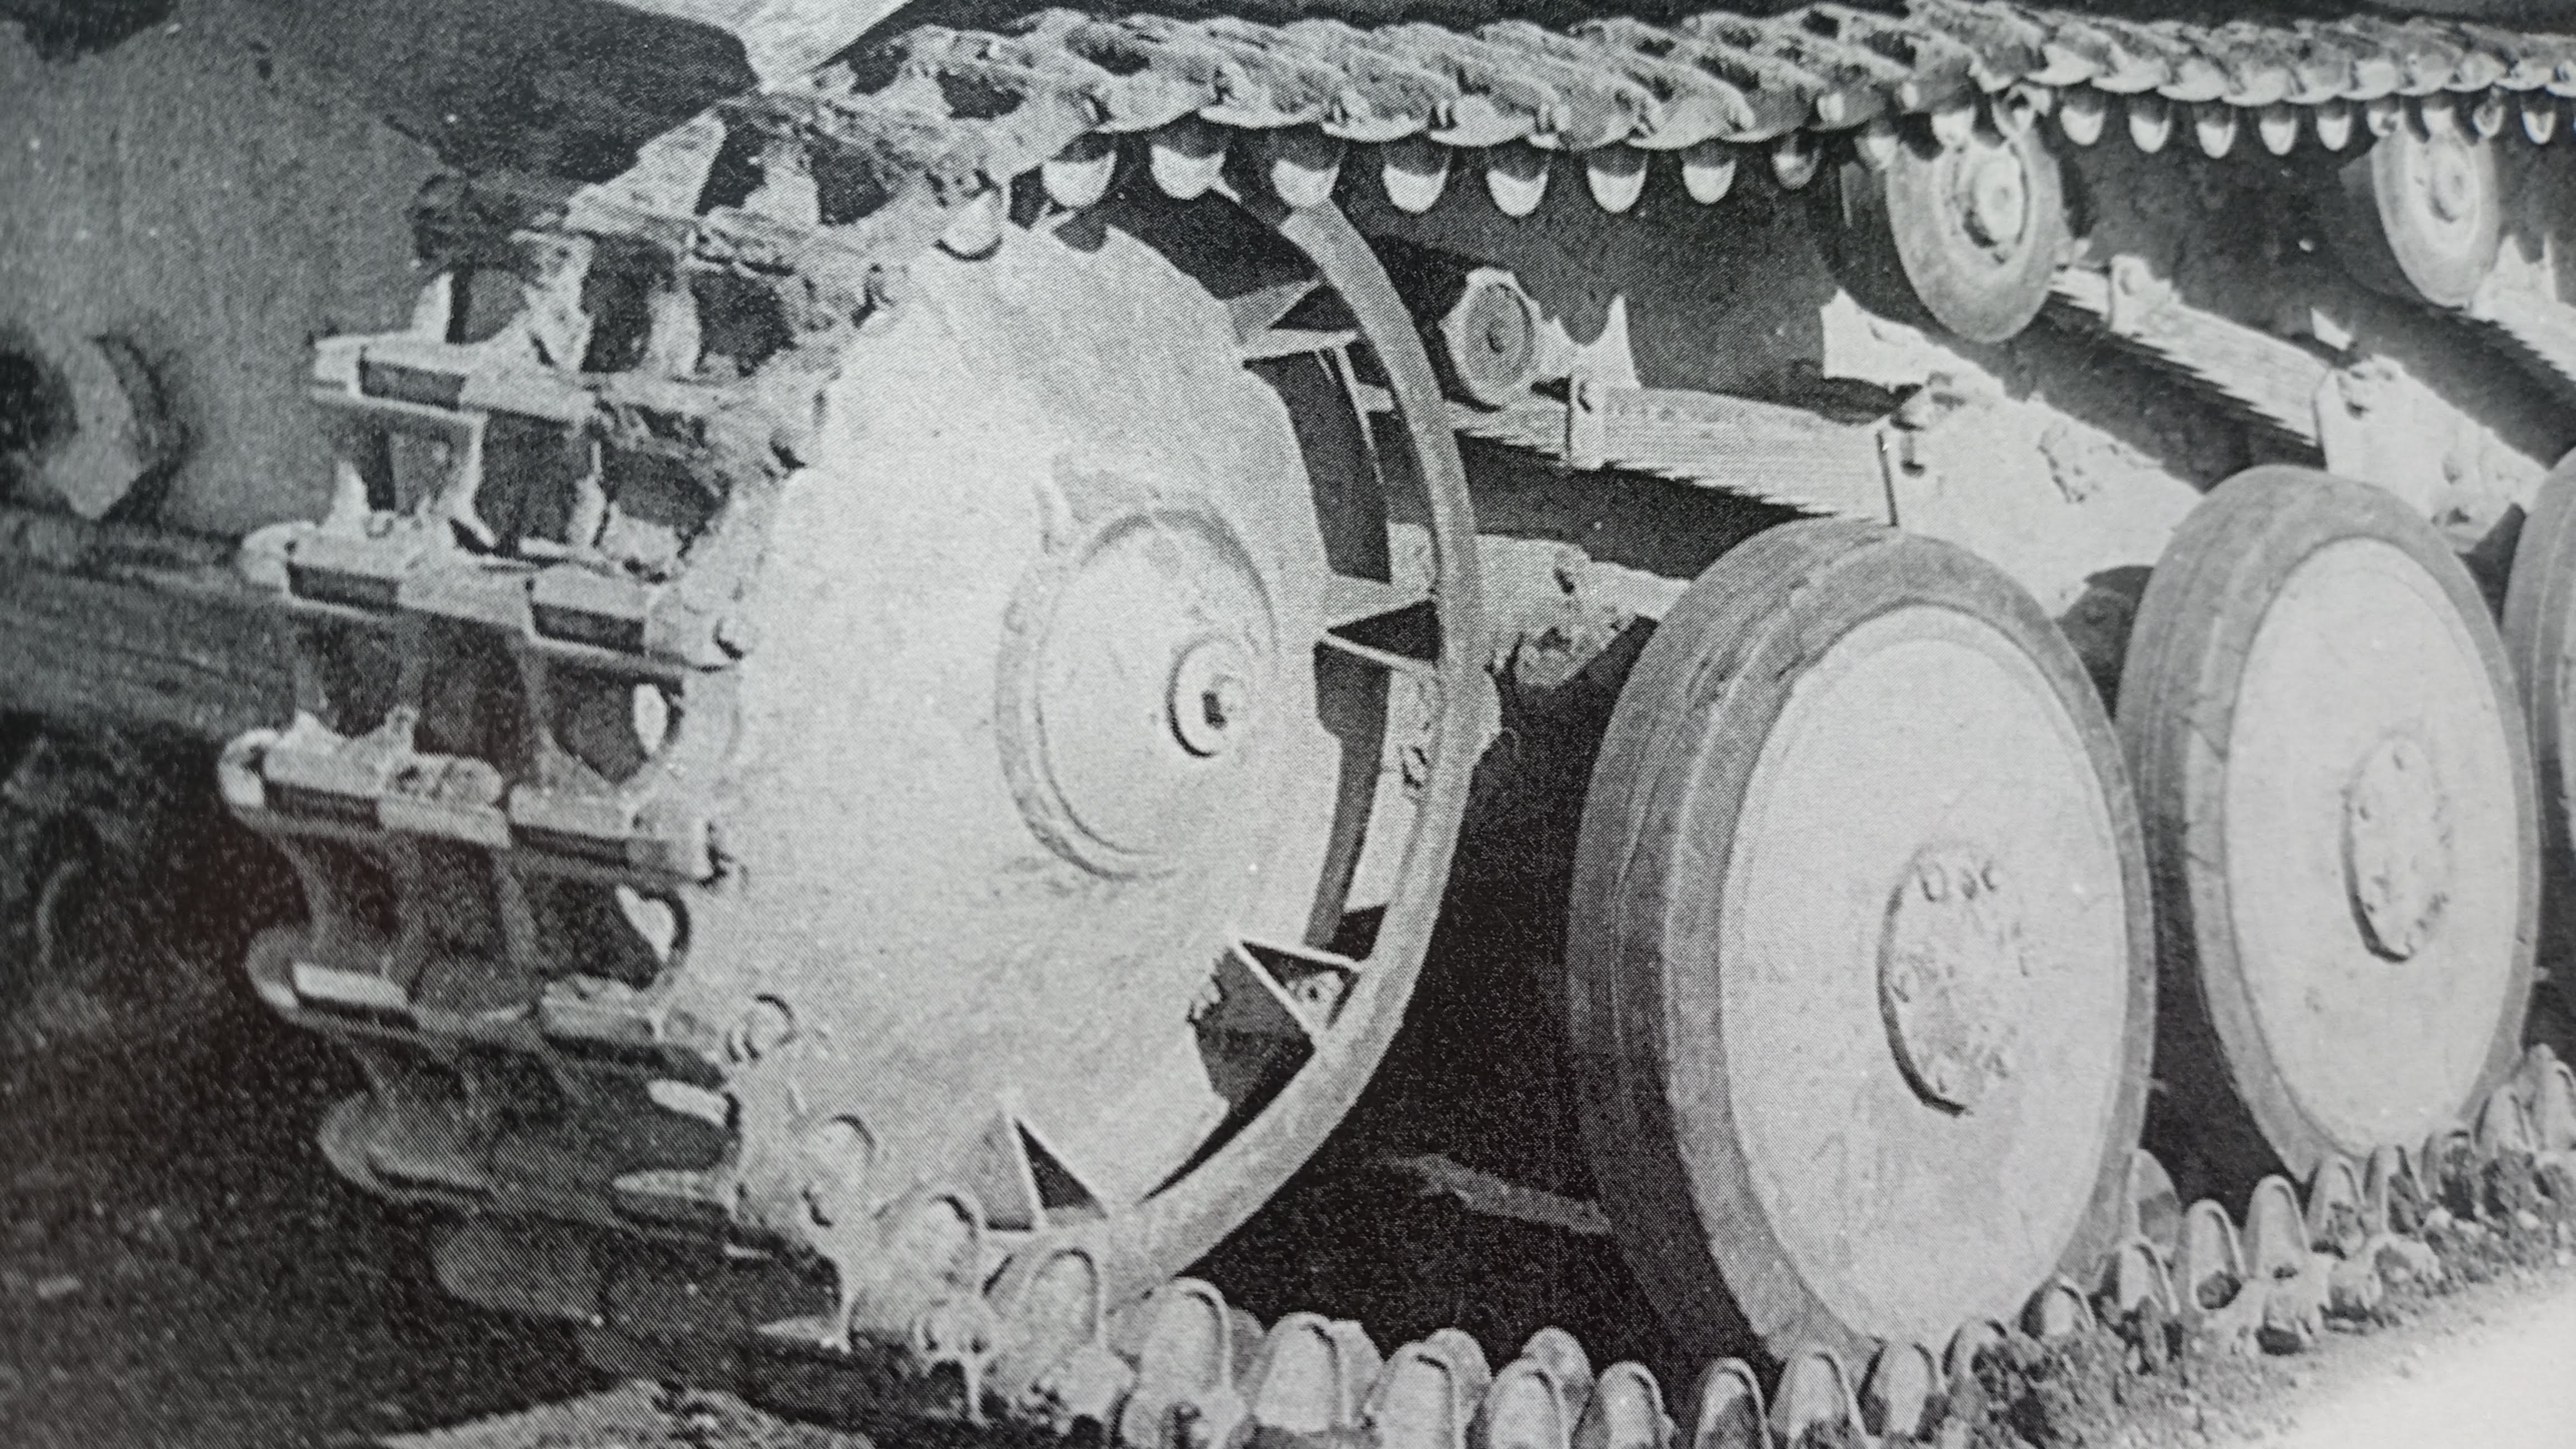
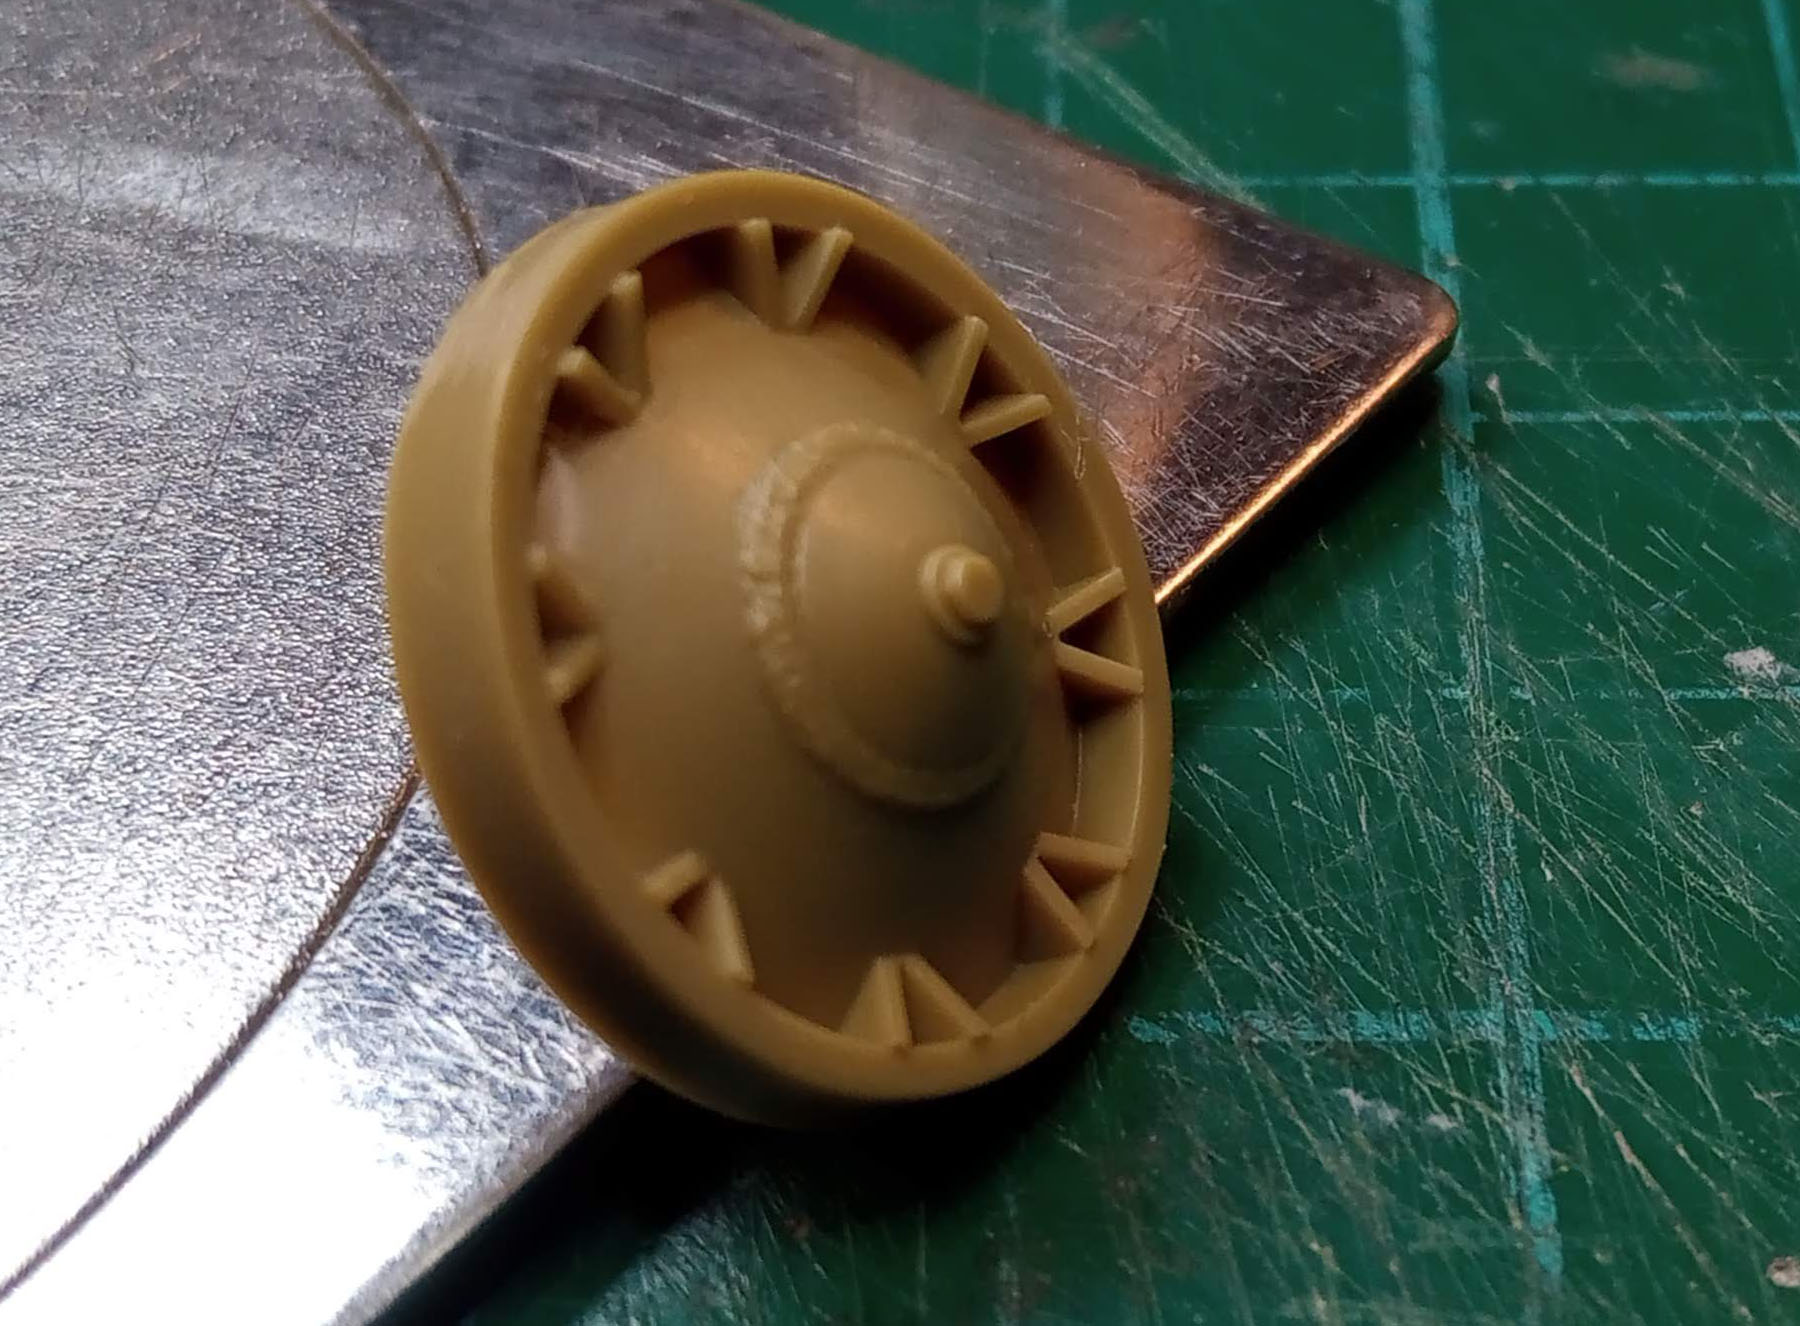
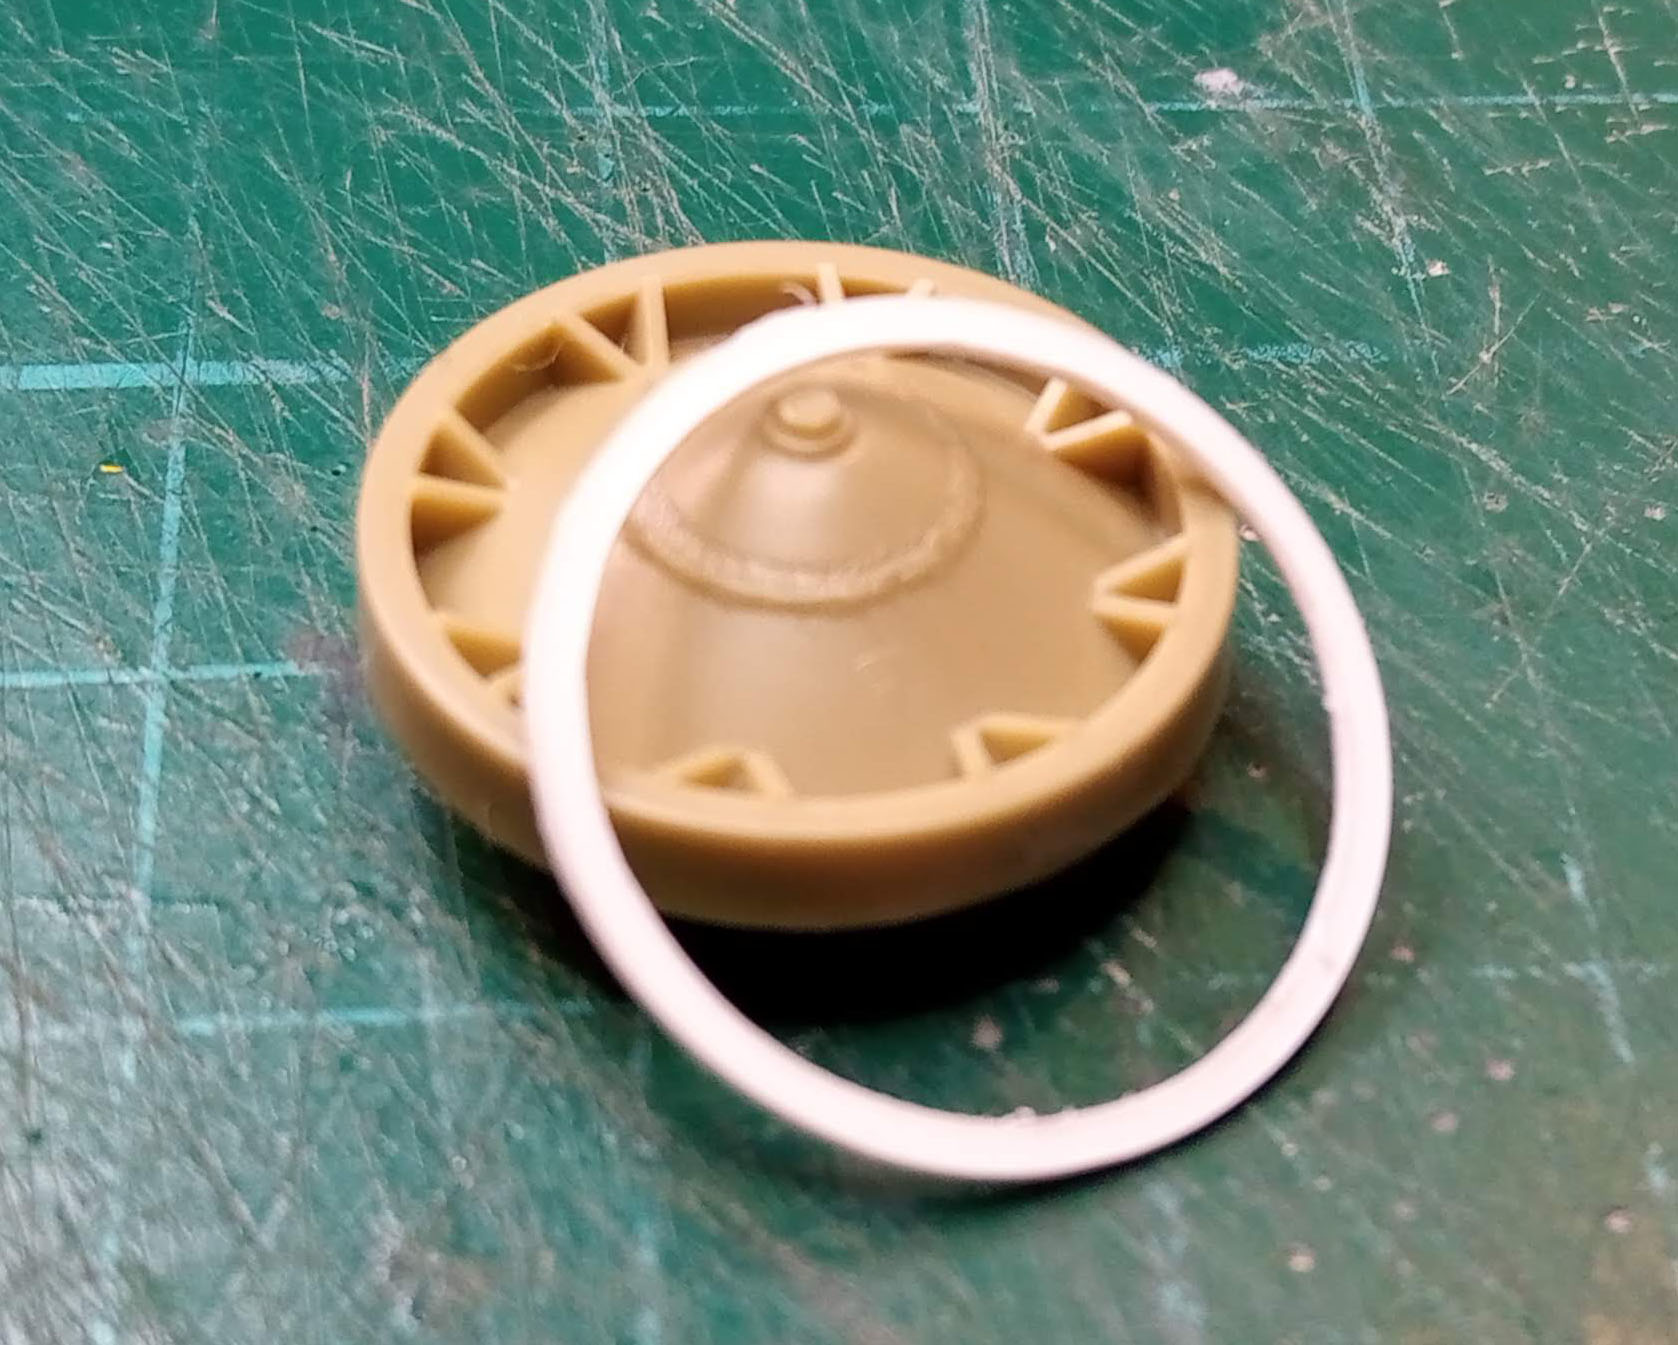
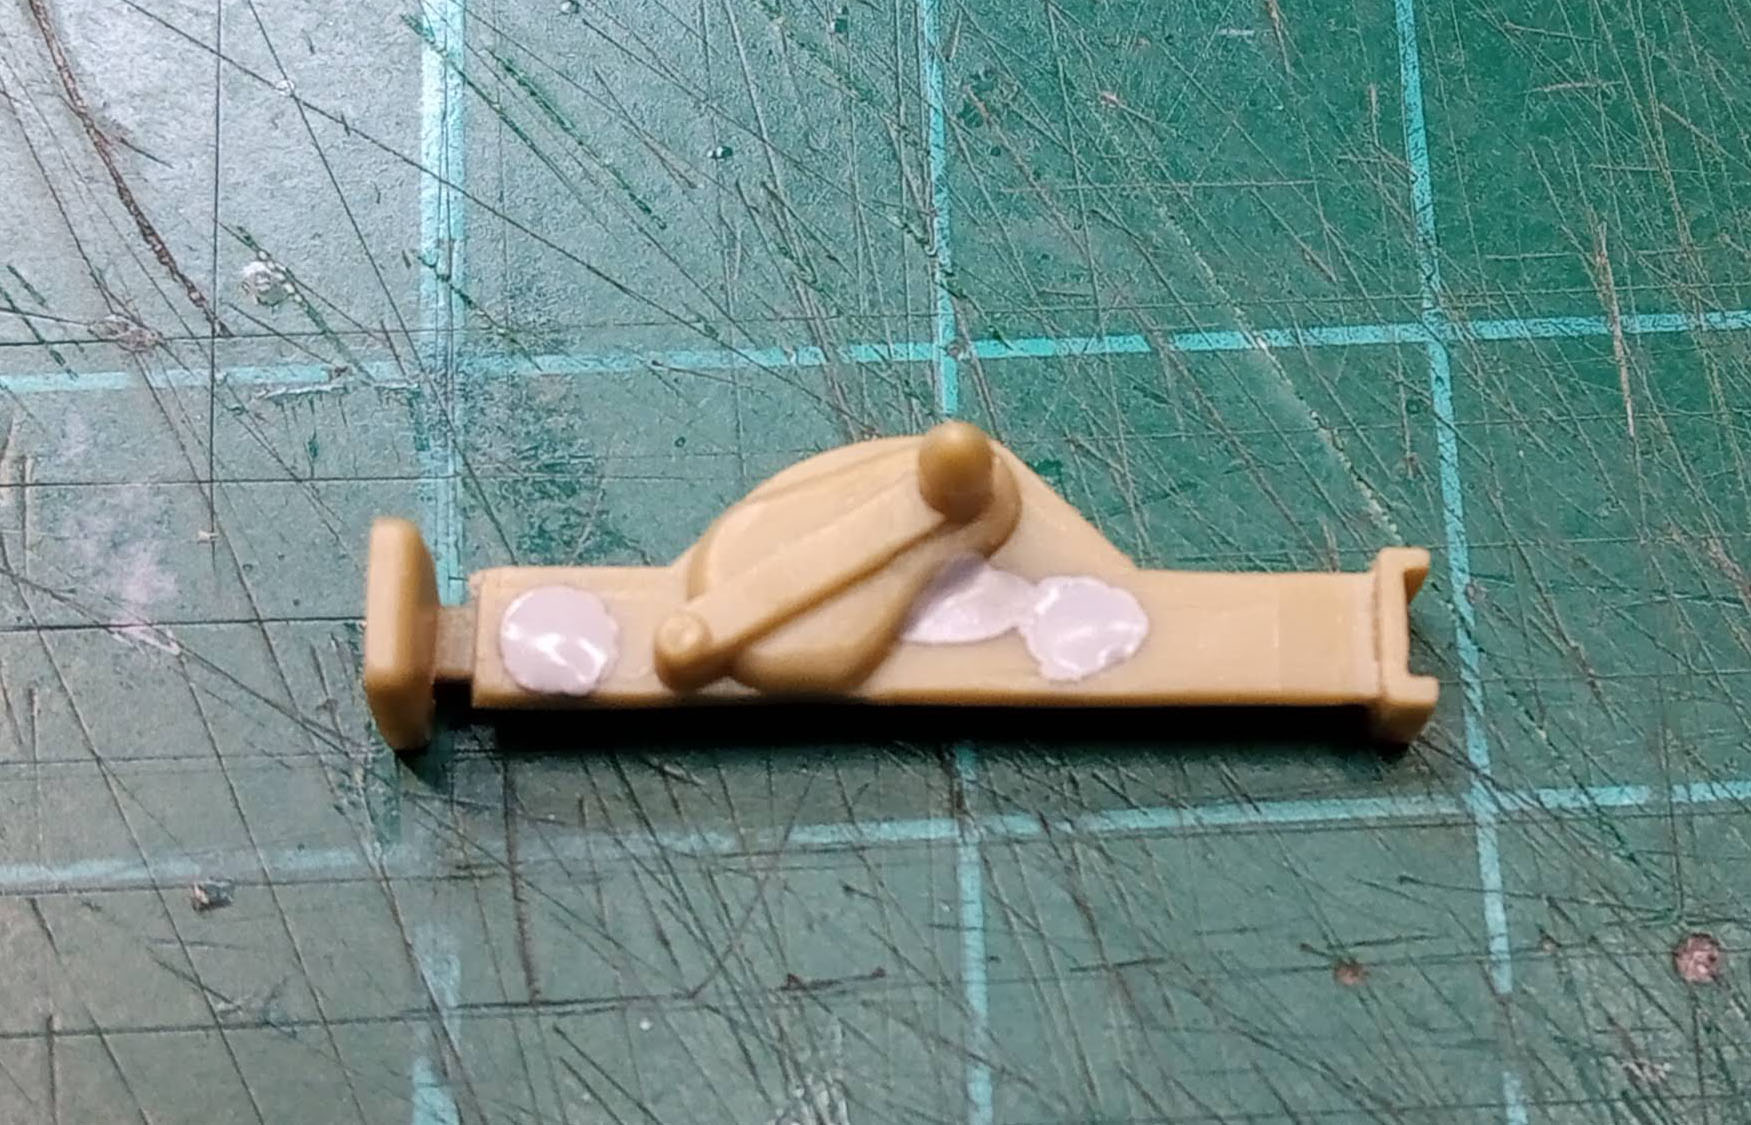
Then, much to my annoyance, I came across this reference photograph in my Big Book of Panzer II’s:
Unfortunately Tamiya’s idlers look like this:
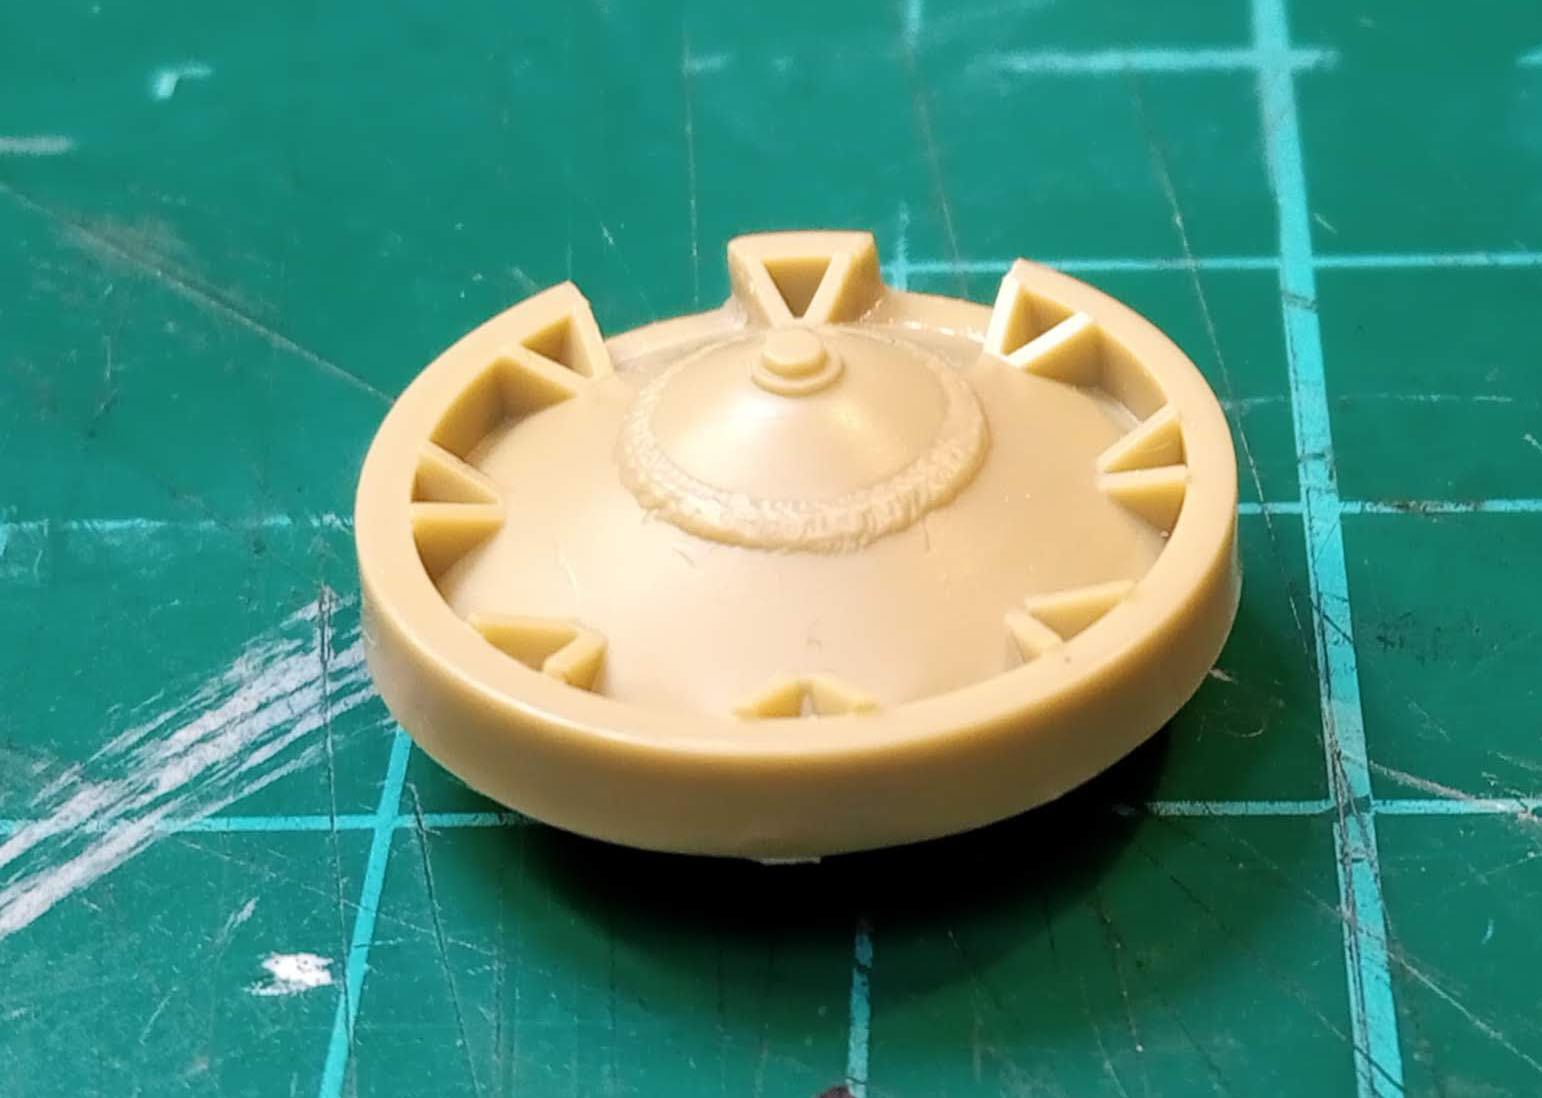
So here’s my solution:
Just an easy four hour fix  .
.
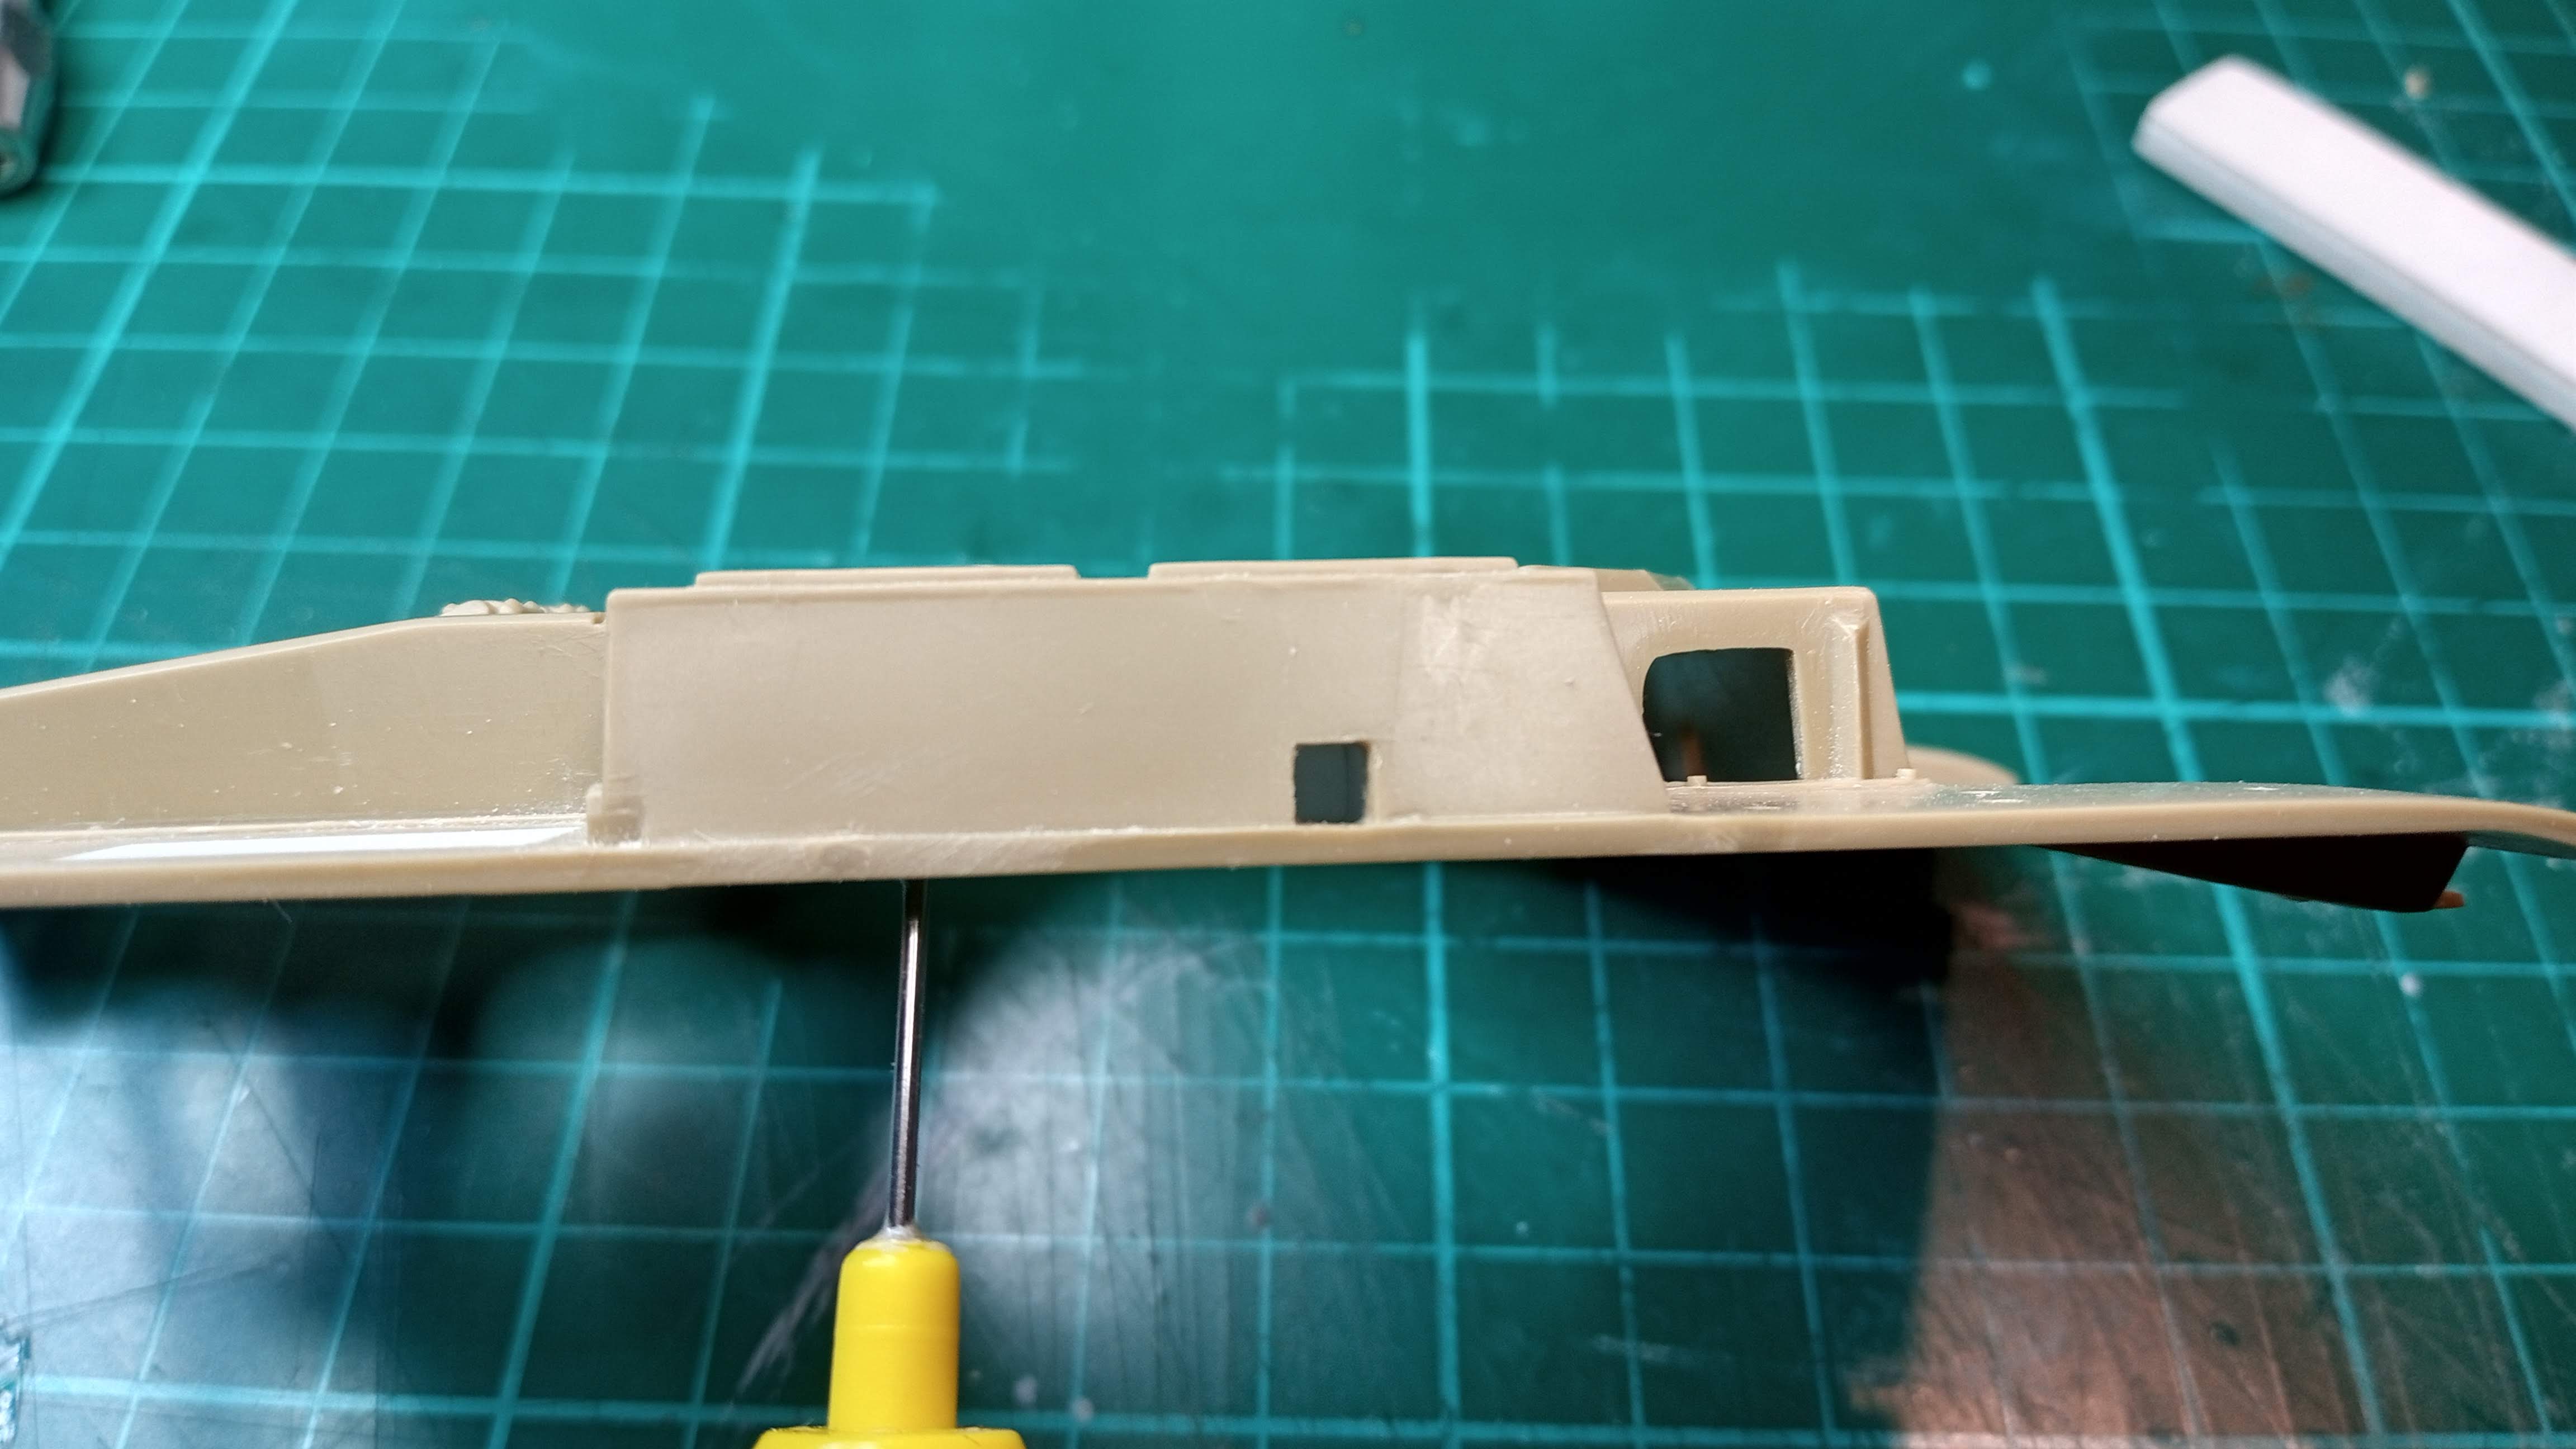
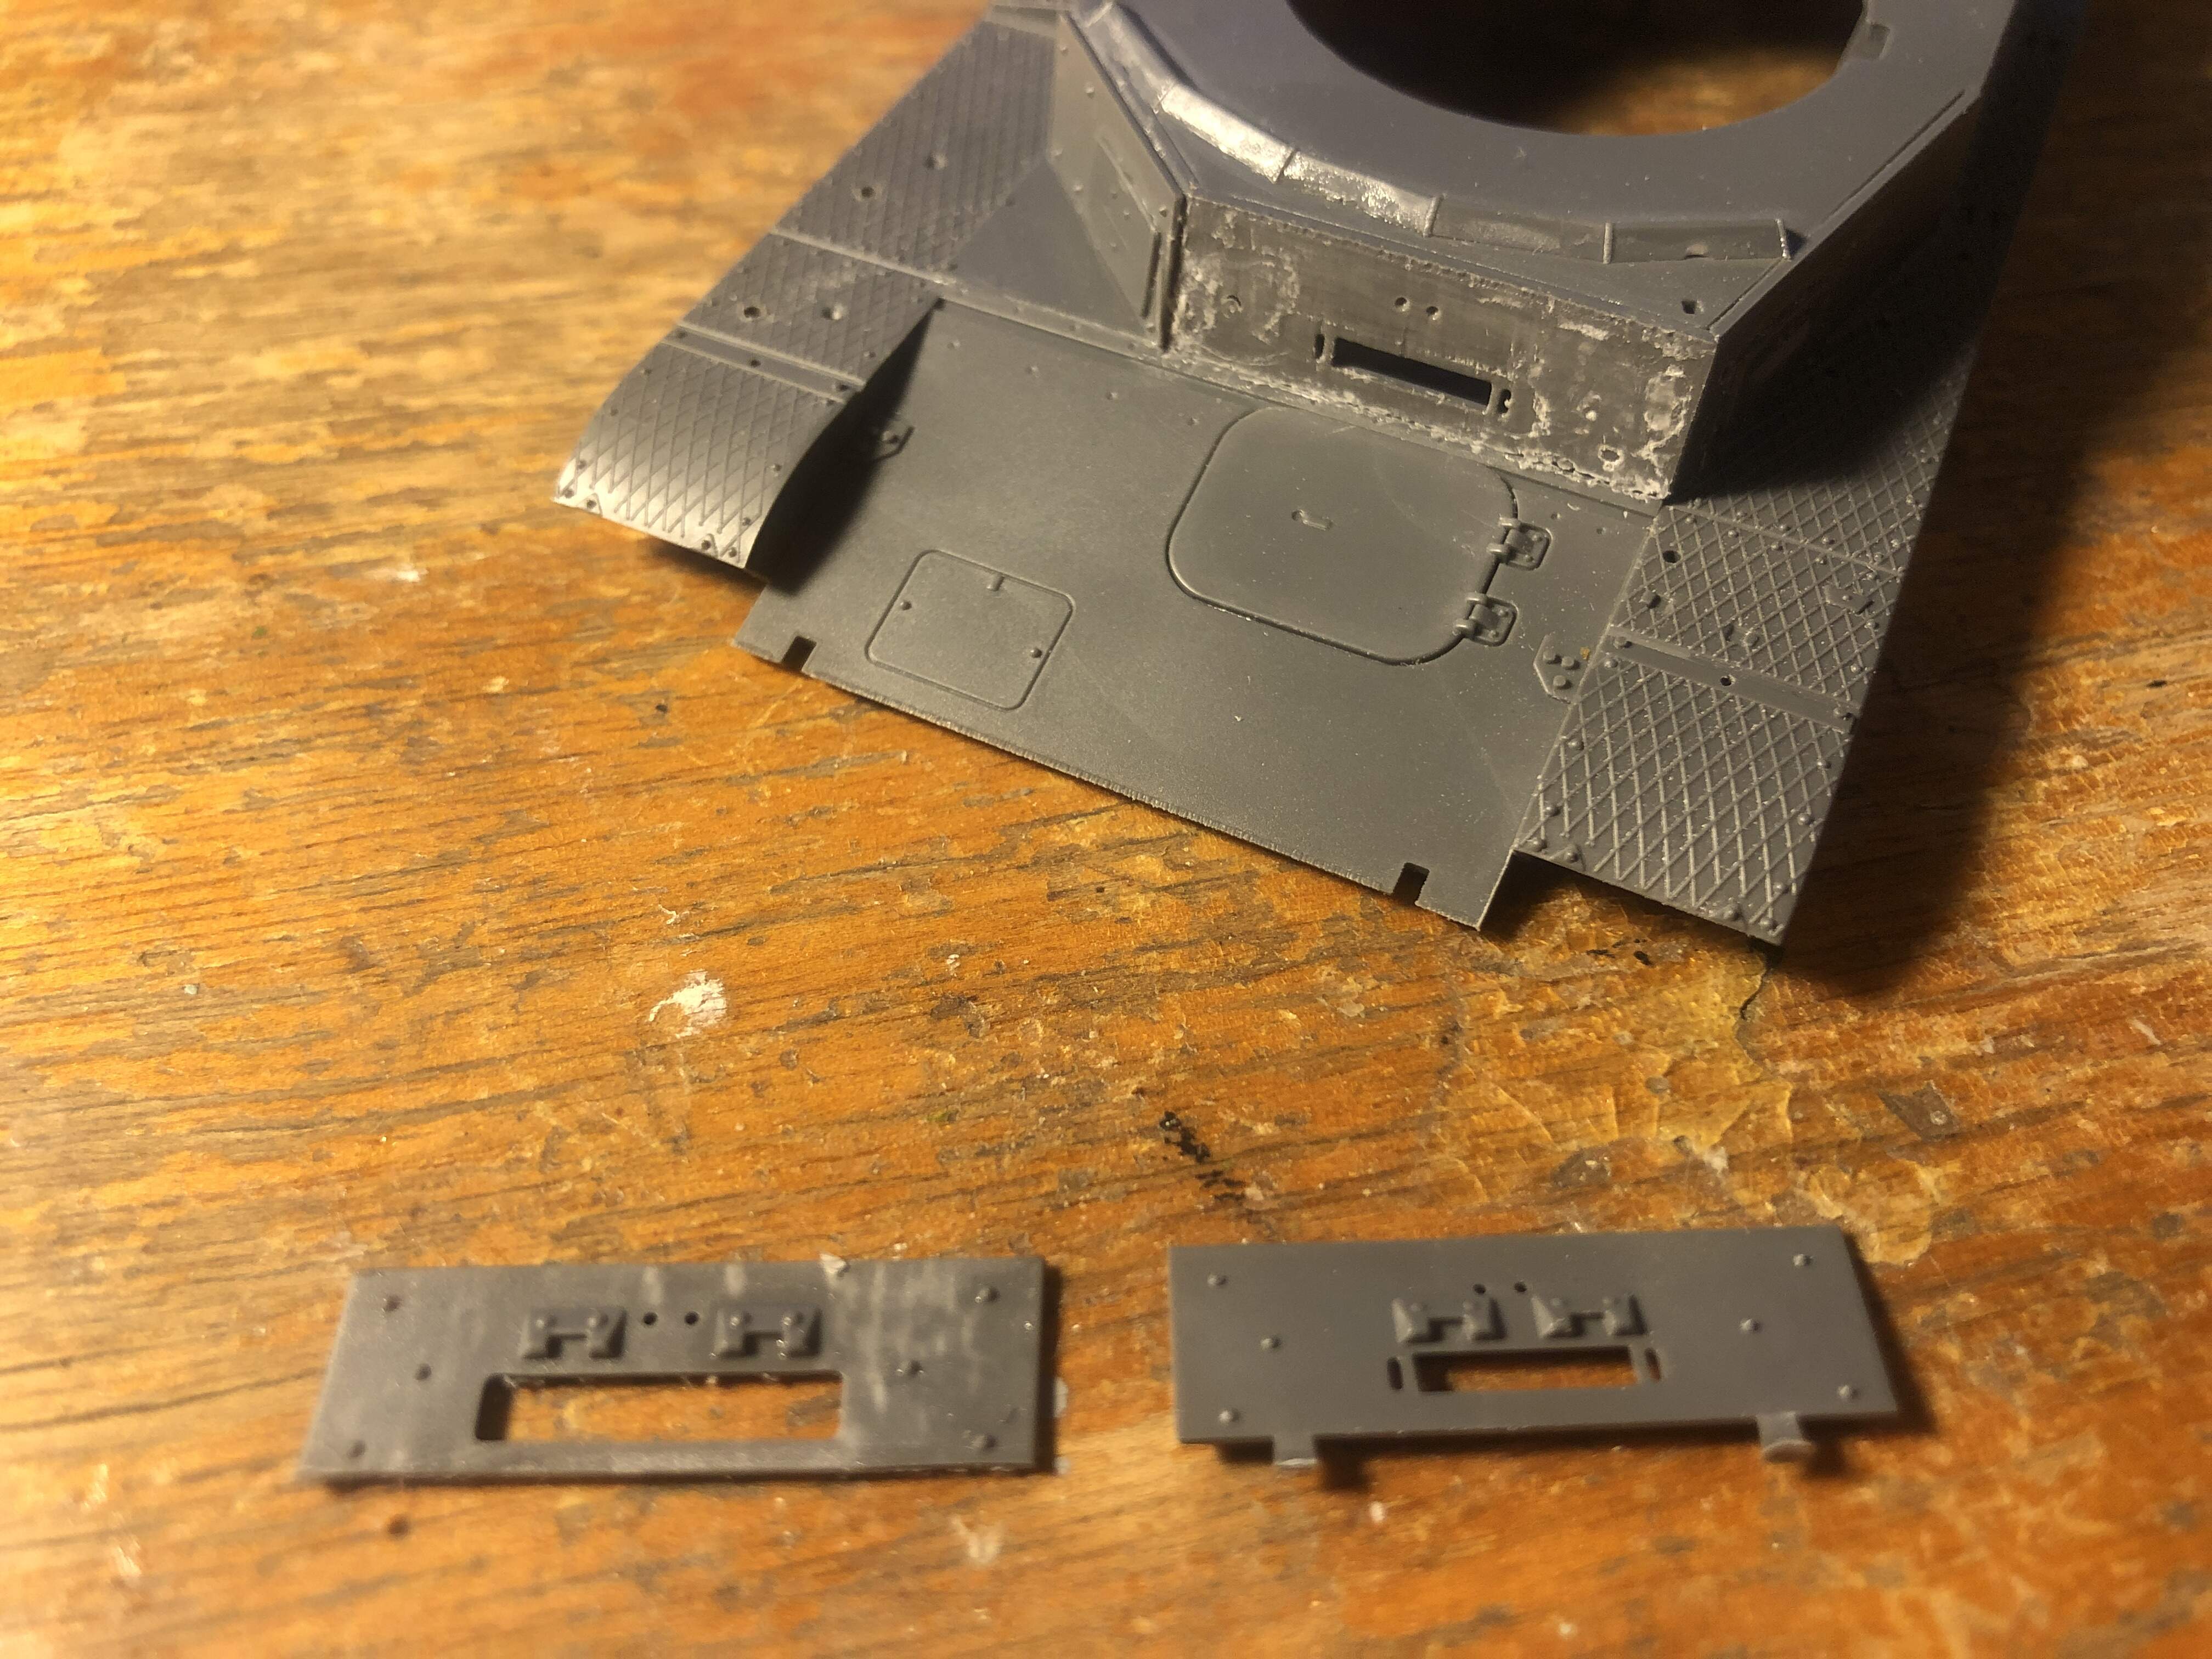
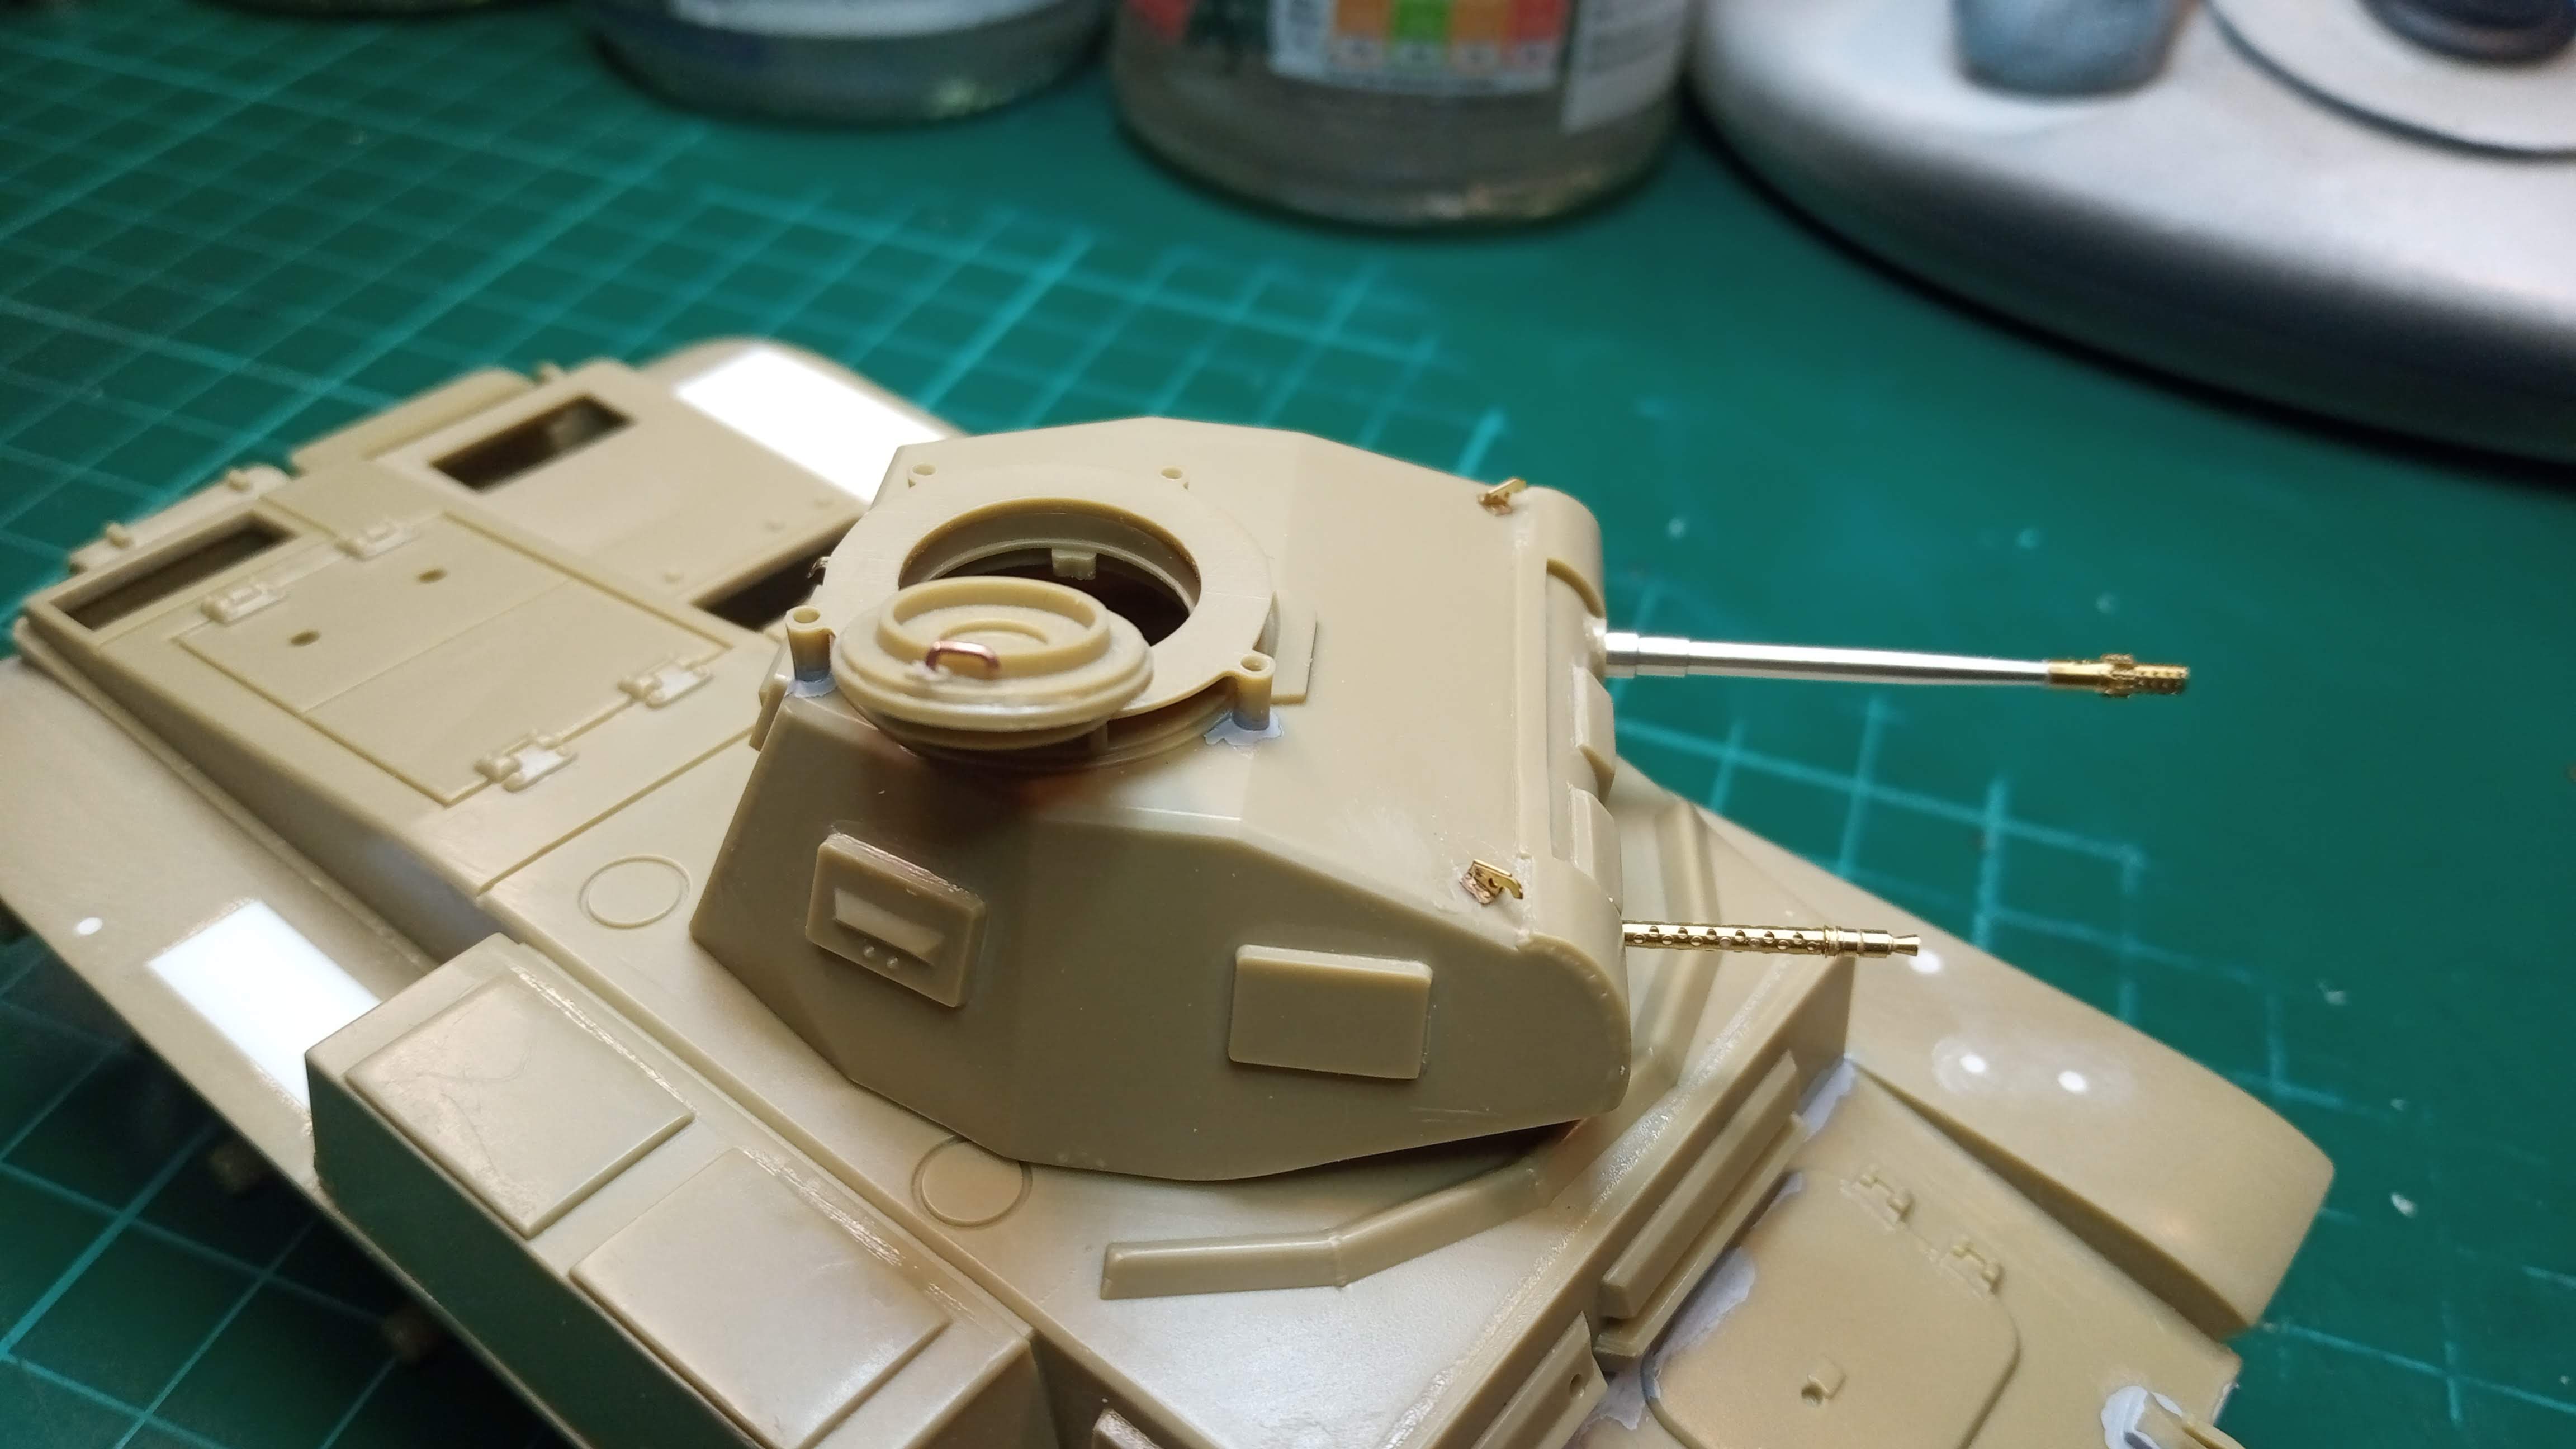
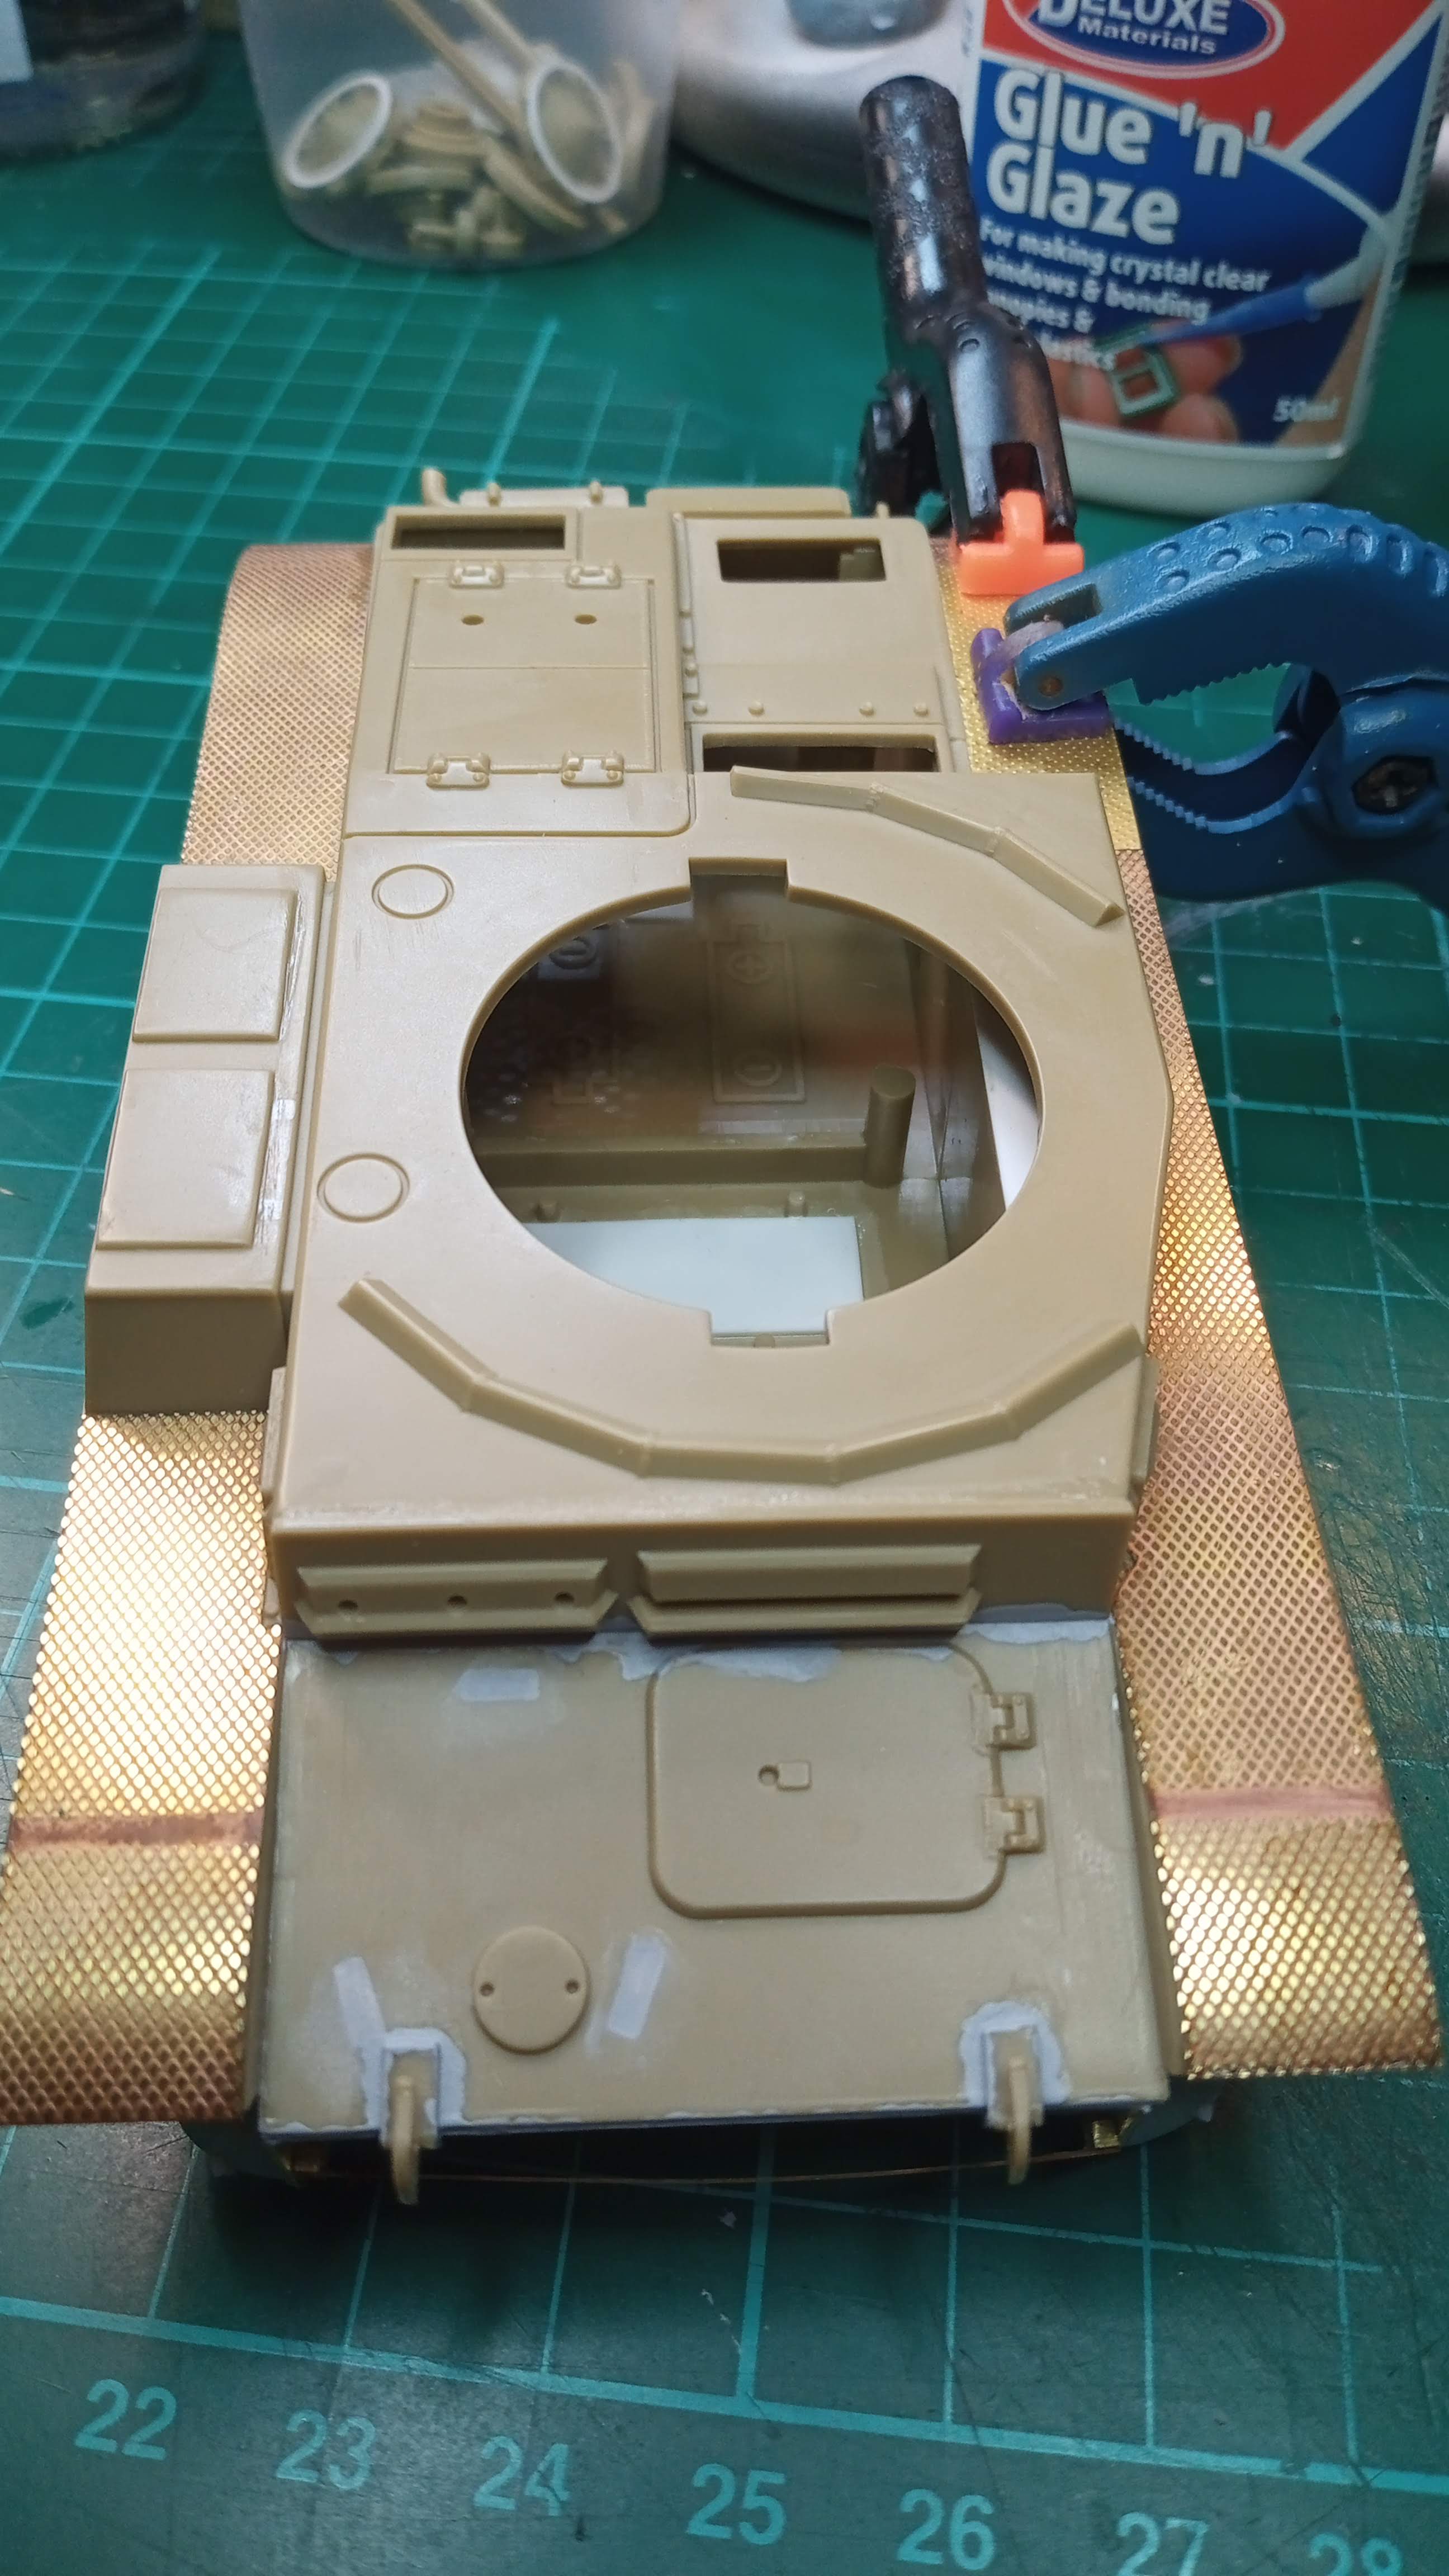
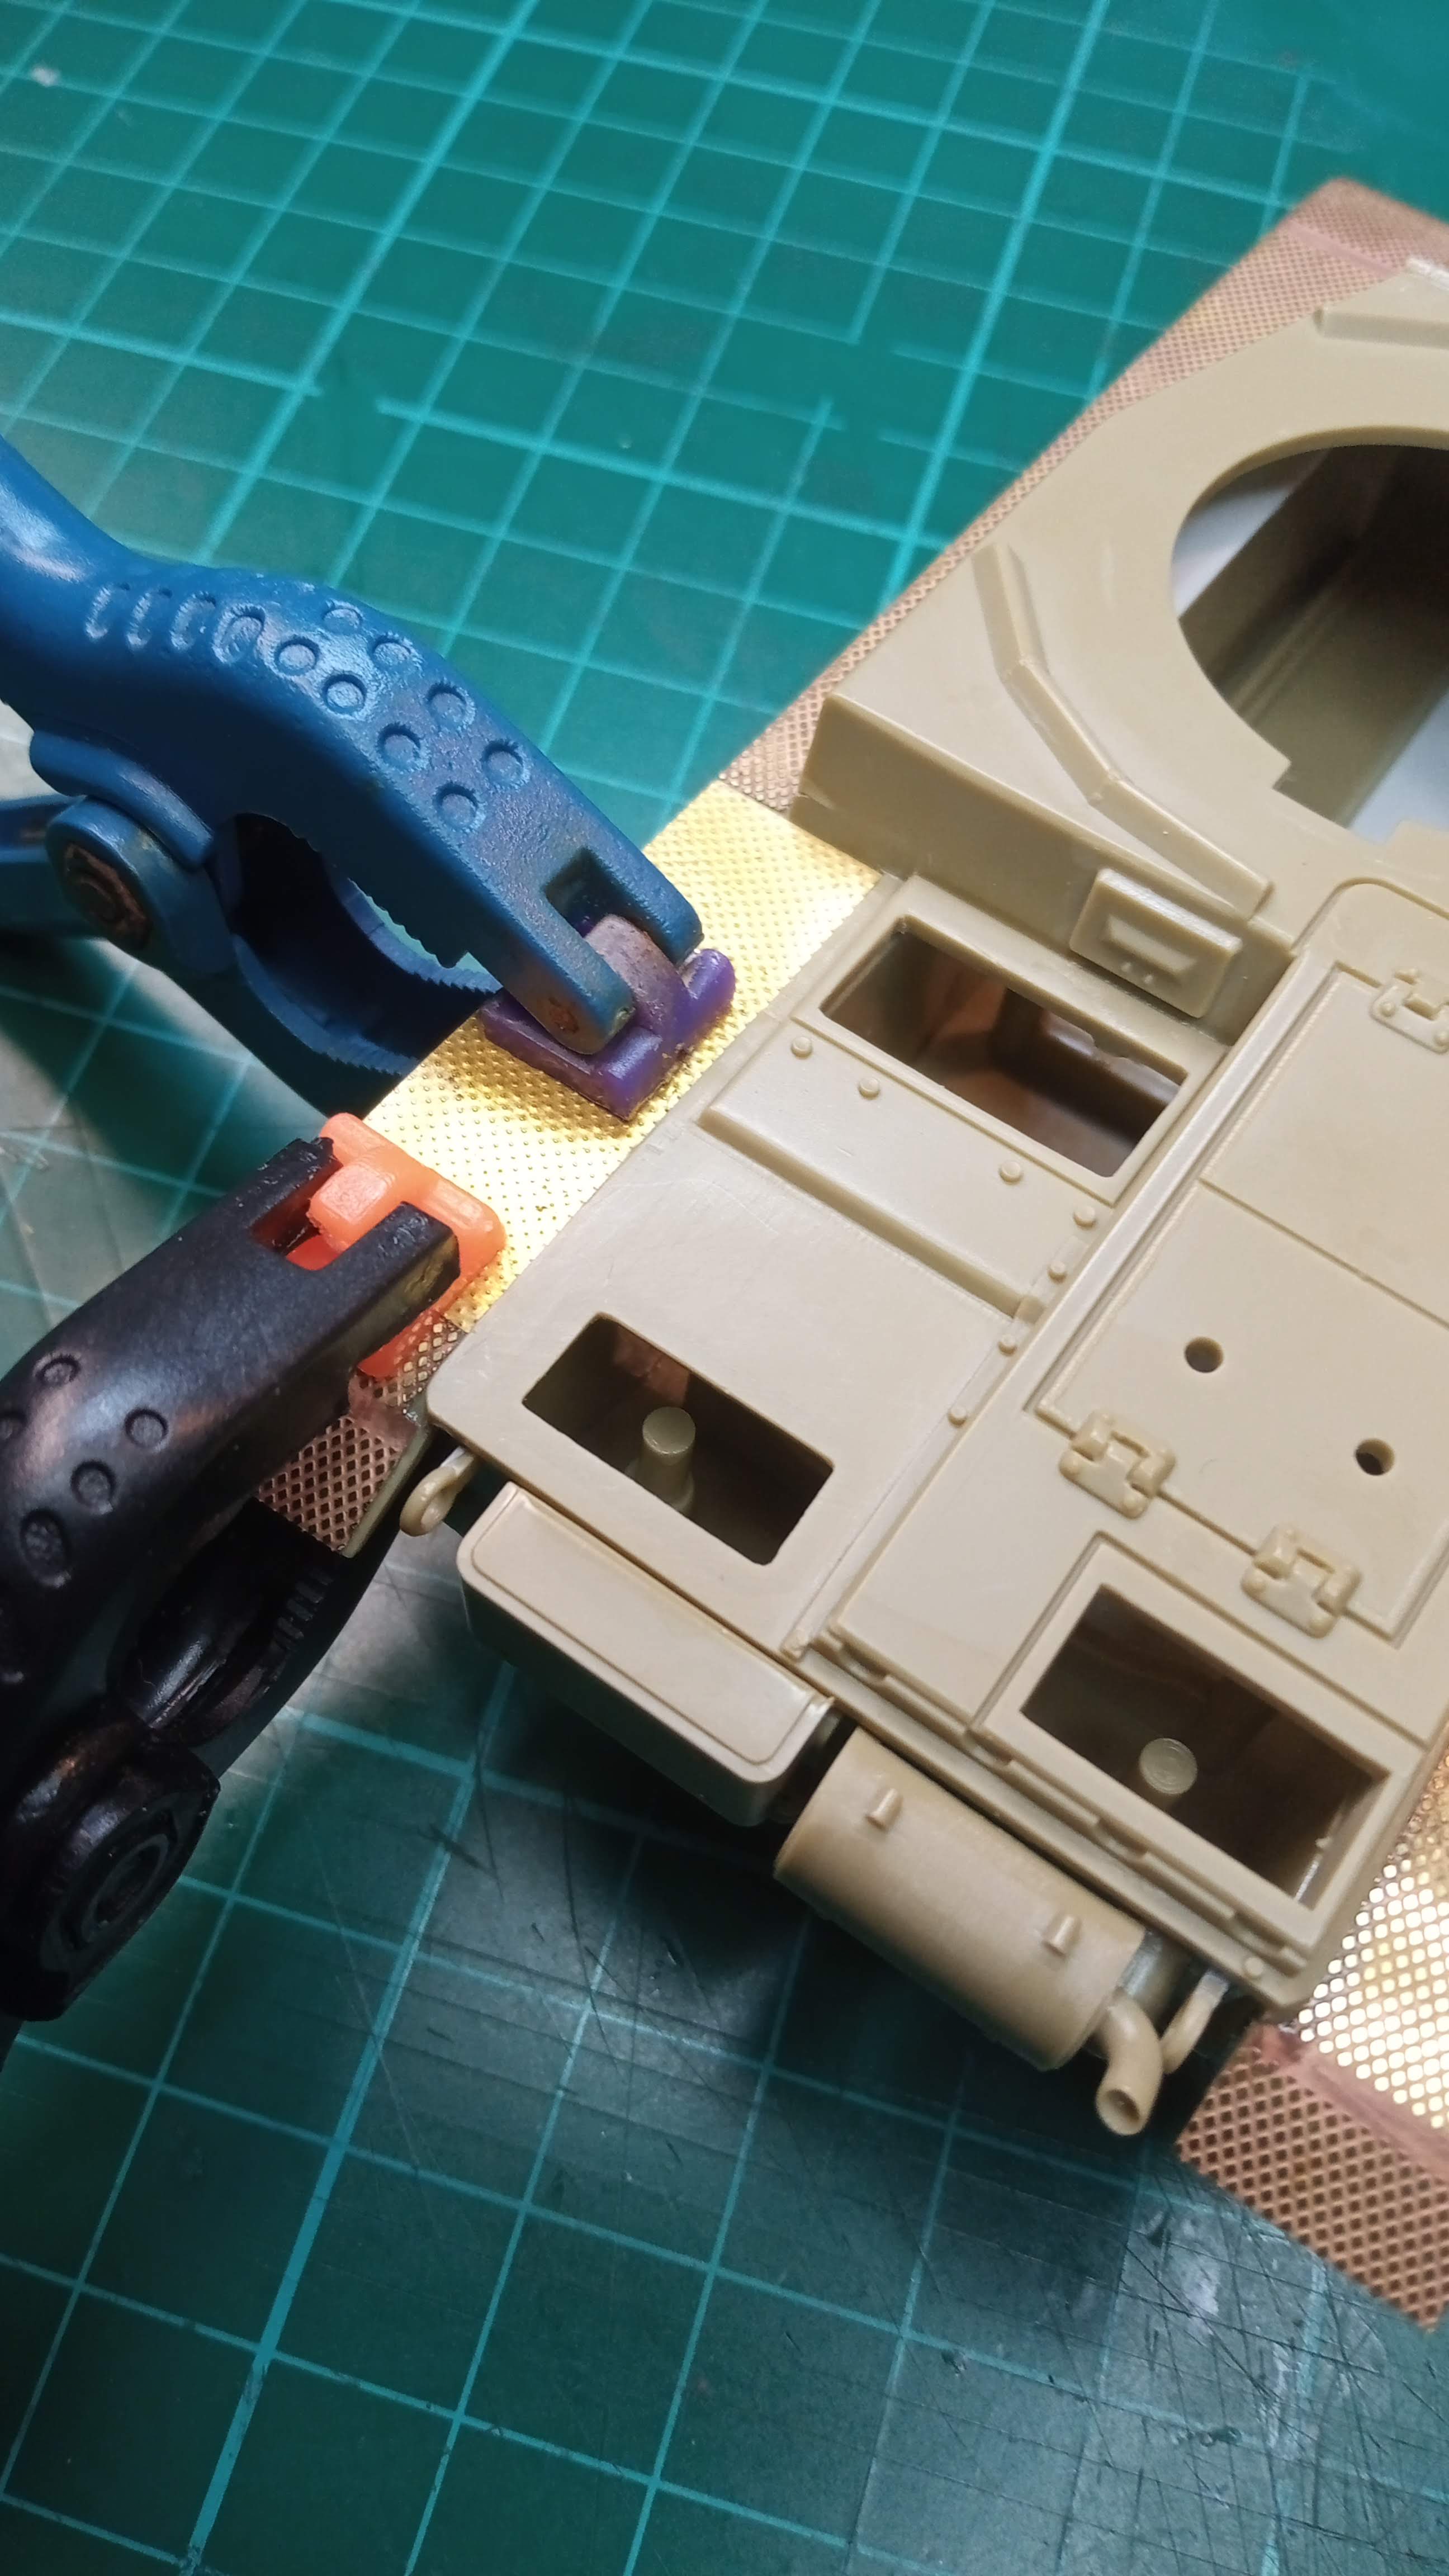
And to while away a bit more time I drilled out the headlamps and removed the moulded clamps from around the jack:
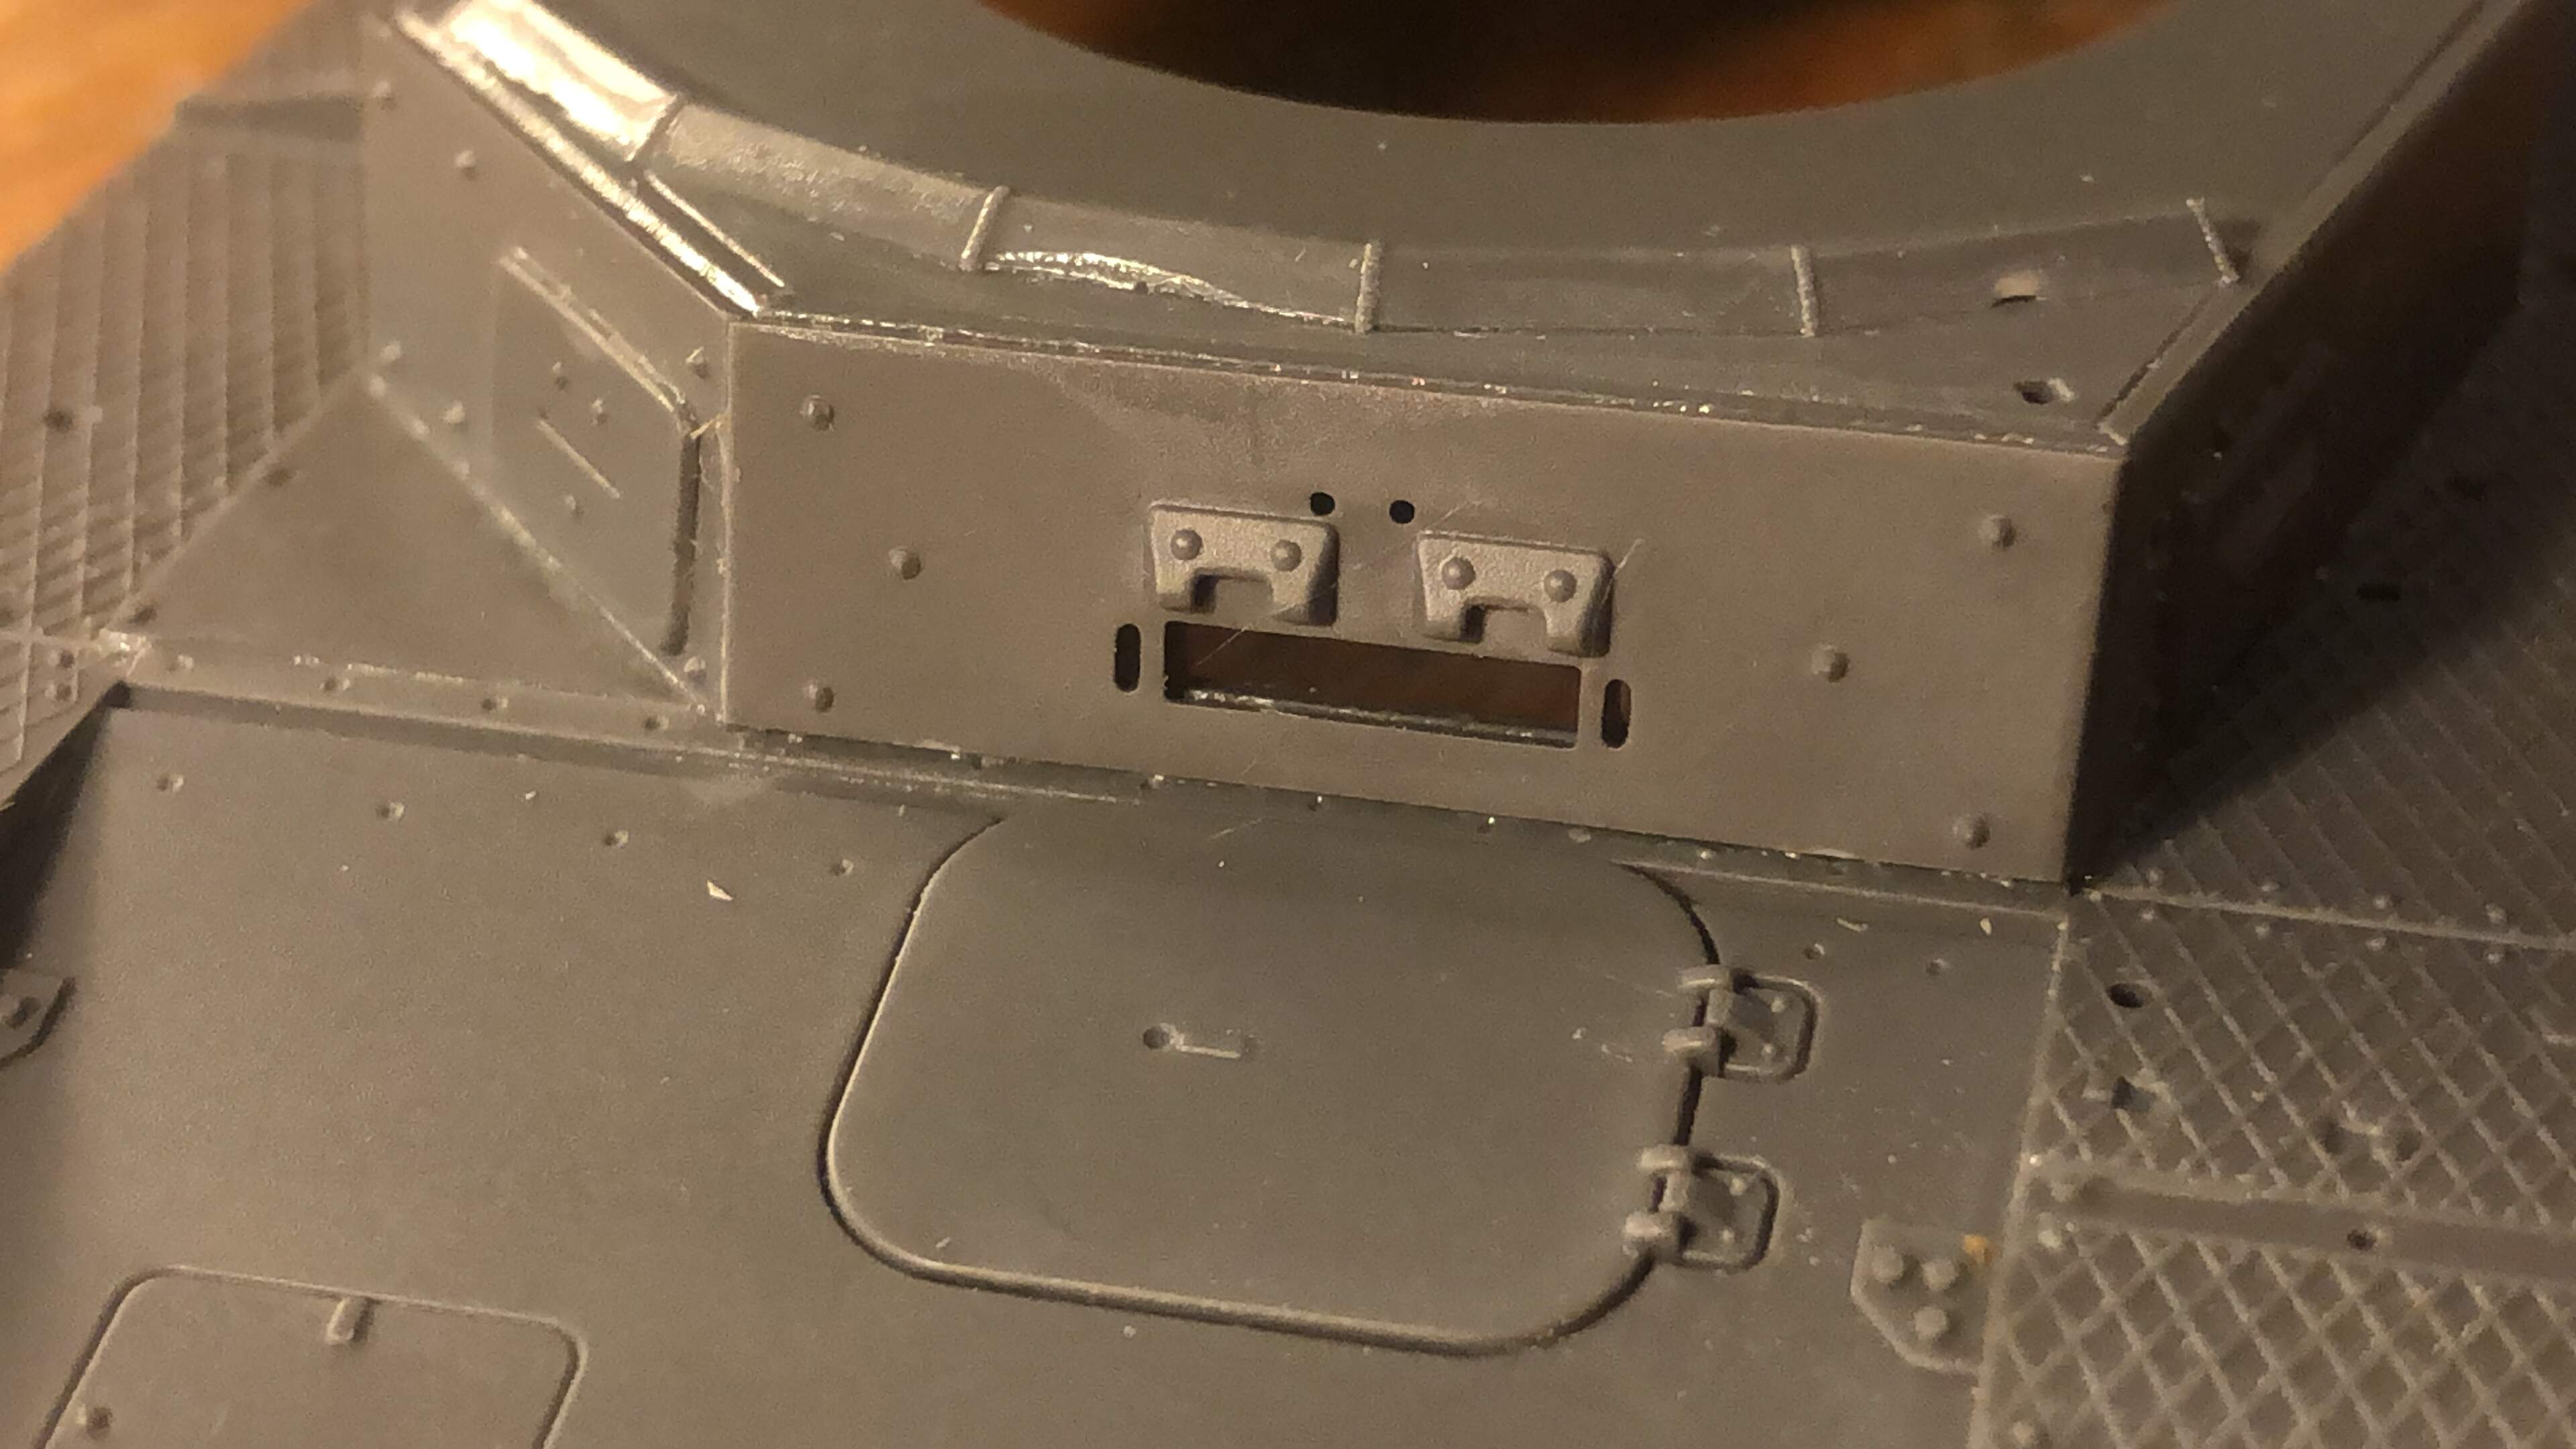
Added some turned metal gun barrels and PE to the turret:
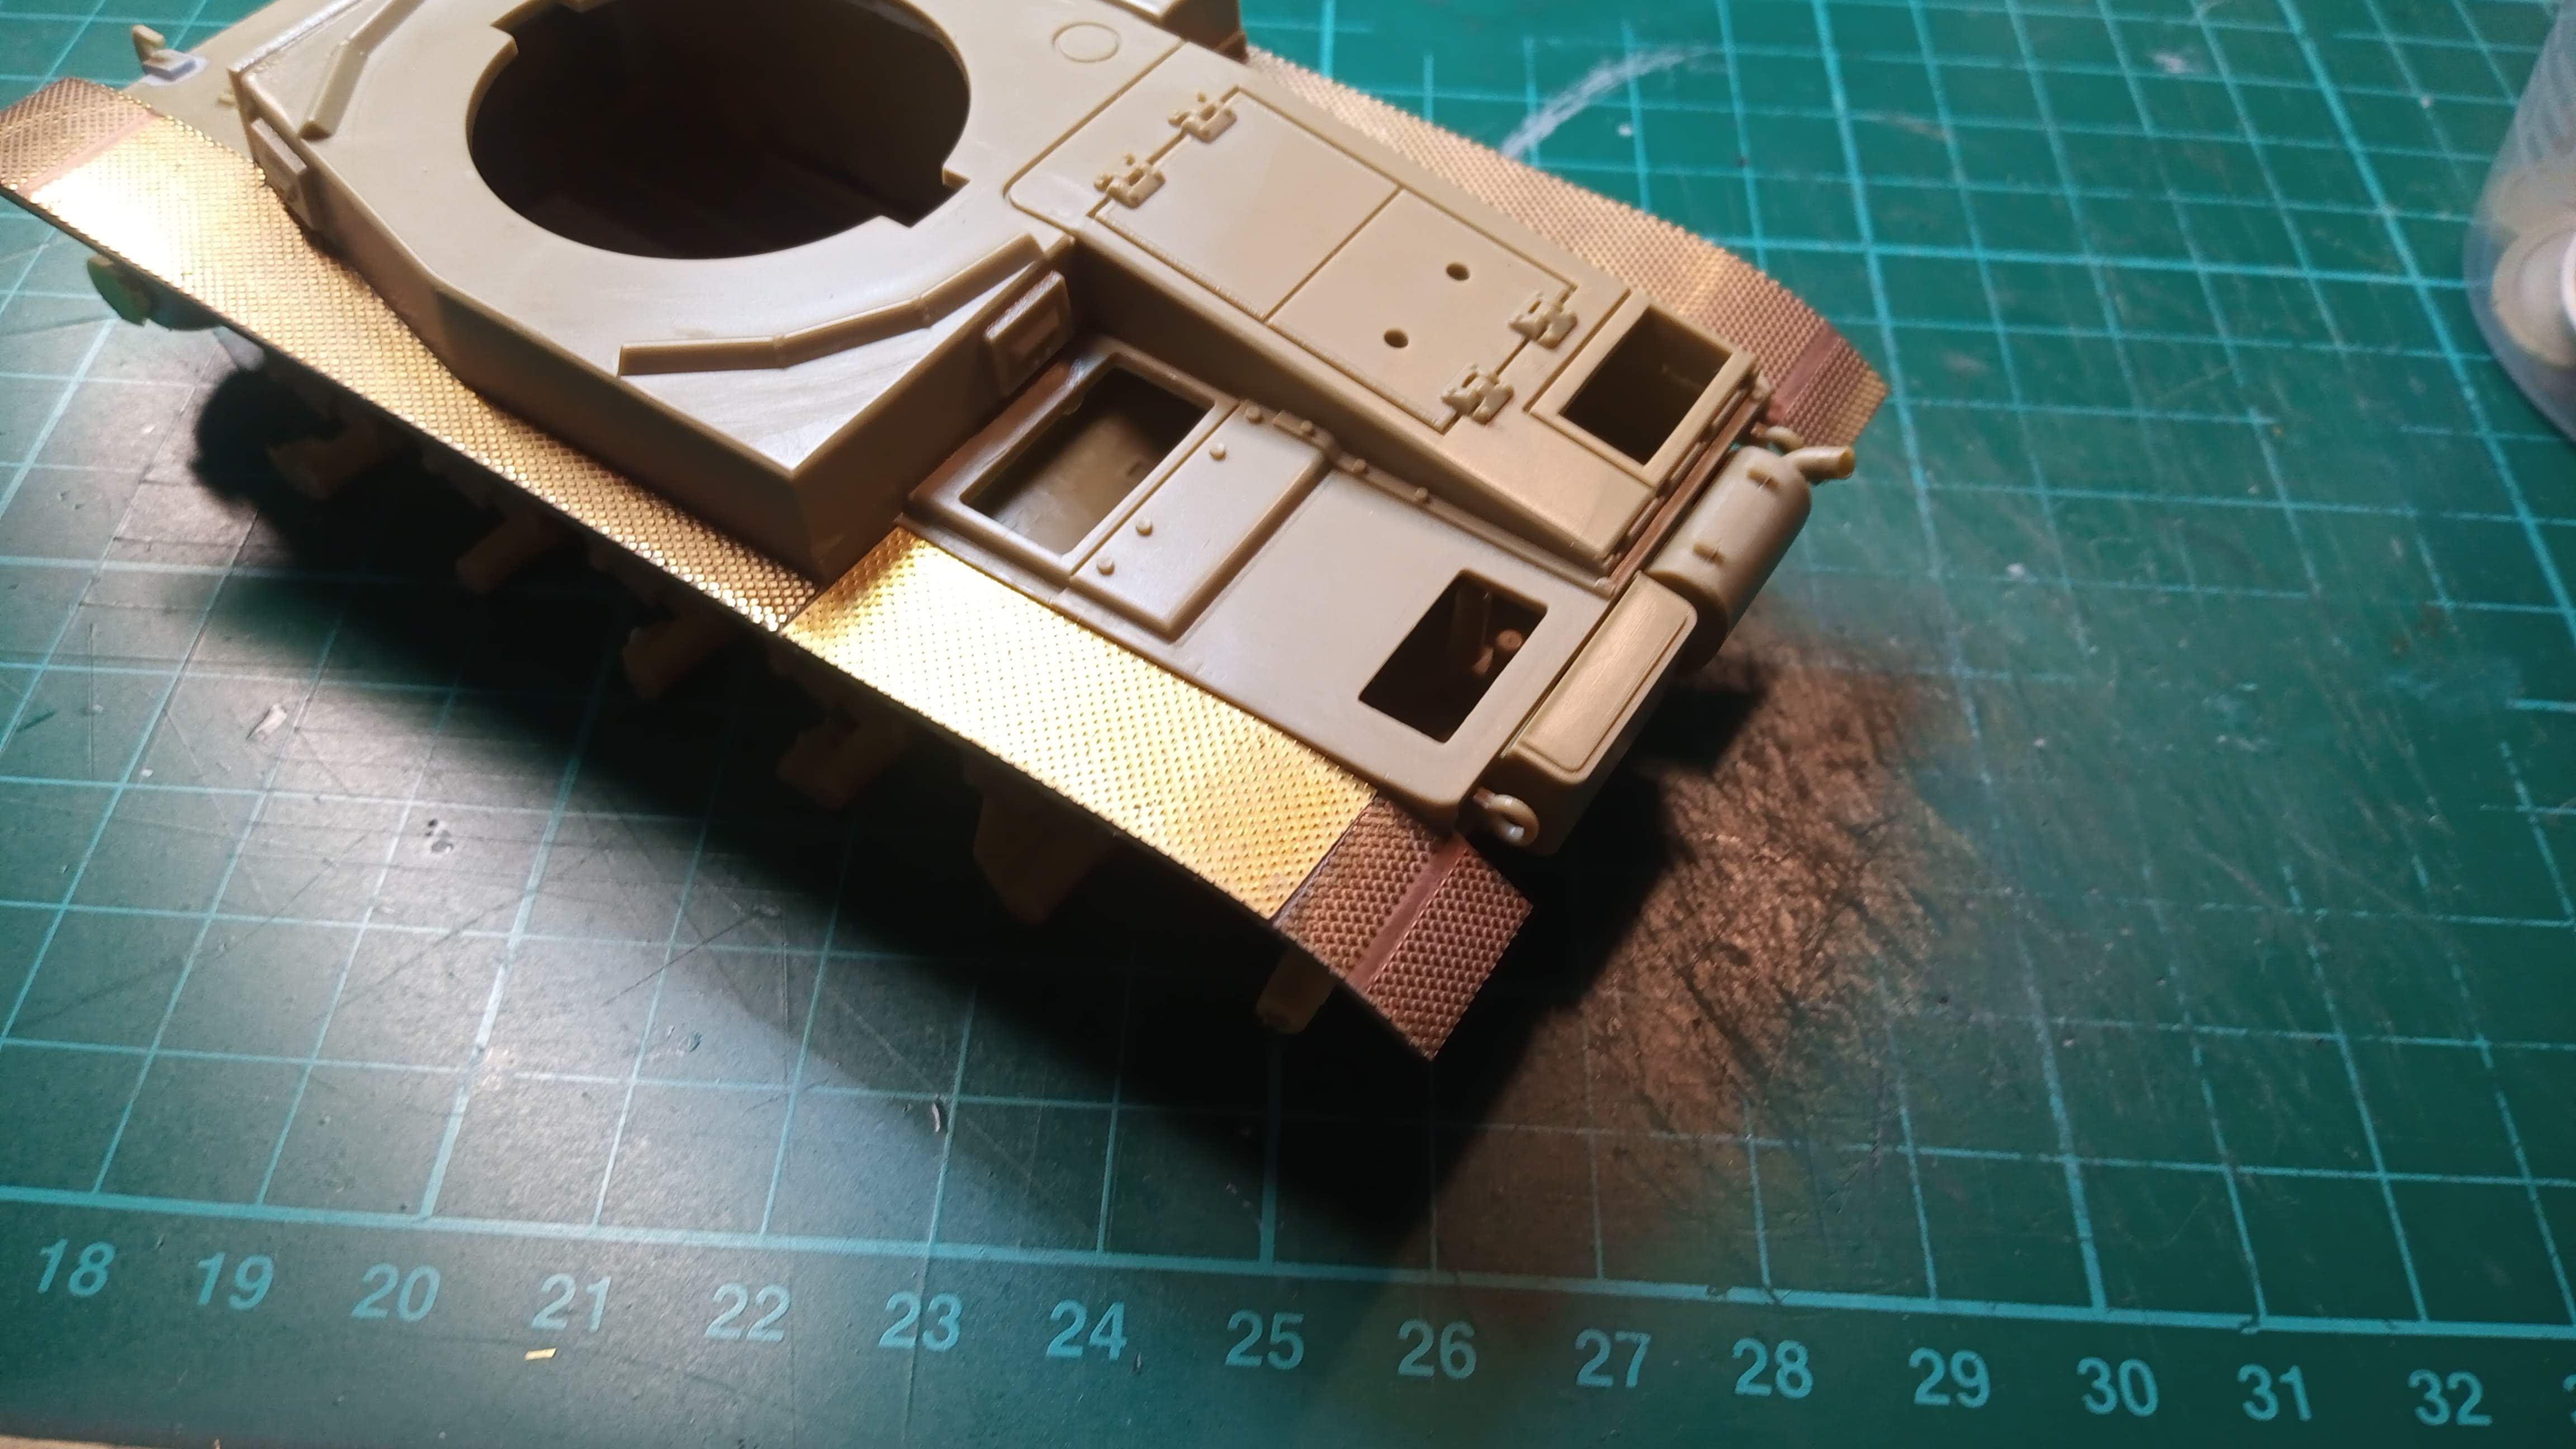
and attached the PE anti-skid plates to the track guards:
I realise that the extra bit of PE that I have had to add where I removed the Gepakkasten doesn’t quite match but am hoping that, once I’ve added lots of clutter to the rear deck, it won’t be so noticeable, and I guess that I could argue that it was an “in the field” repair
Keep having fun everyone and keep tanking!
Jon