Operation "Corporate" /Operacion "Azul/Rosario"

I recently read a lot of books about the Falklands war (its the 40th anniversary!).

In '82 I was just the same age as many of the british sailors and the argentinian conscrips. I planned to join the merchant navy and so was very curious what was going on in the South Atlantic. I did not expect so many modern ships being sunk in a regional conflict.

Nowadays I am equally interested in planes. They relax me after P/E orgies and major butchery on some of my ships.
That’s why I decided to model some of the planes involved in the Falkland/Malvinas campaign:

Unfortunately (or fortunately?) I could not get an Avro Vulcan in 1/48 :wink:

I will start with the Sea Harrier, the most famous of the involved planes

Cheers

Tom

3 Likes

Great choices! That Hobbycraft Argentinian air force Skyhawk is a rara avis. Occasionally you’ll find one selling on eBay.

That’s where i got mine with a bit of luck, James :slight_smile:

Cheers

Tom

I am currently building the same Sea Harrier from Kinetic. Watch out for the instructions! The Pucara is a fantastic kit! And I see you found a A-4B Skyhawk… I was searching and looking…

@Basco: I am quite disappointed by the Sea Harrier kit, actually so much that I stopped making photos for a time. Paint schemes are really nice, but the rest is missing numbers and any reasonable paint instructions. I actually downloaded instructions for the newer GR 3 kit to unterstand which PE goes where. Fit is not good either. Give me PM I don’t want to rant here all day :wink:

Btw the A-4 looks nice and simple and will be a nice canvas for one of the colorful camouflage schemes.

Cheers

Tom

Yes, it is not their best kit, their Sea Harrier. Would be great to see one in the Gold edition soon. One always have to take extra care with Kinetic instructions.

I am a bit lagging with the blog and must admit that I stopped making pics for a while due to high bloodpressure and the urgent feeling to throw the kit against the wall.

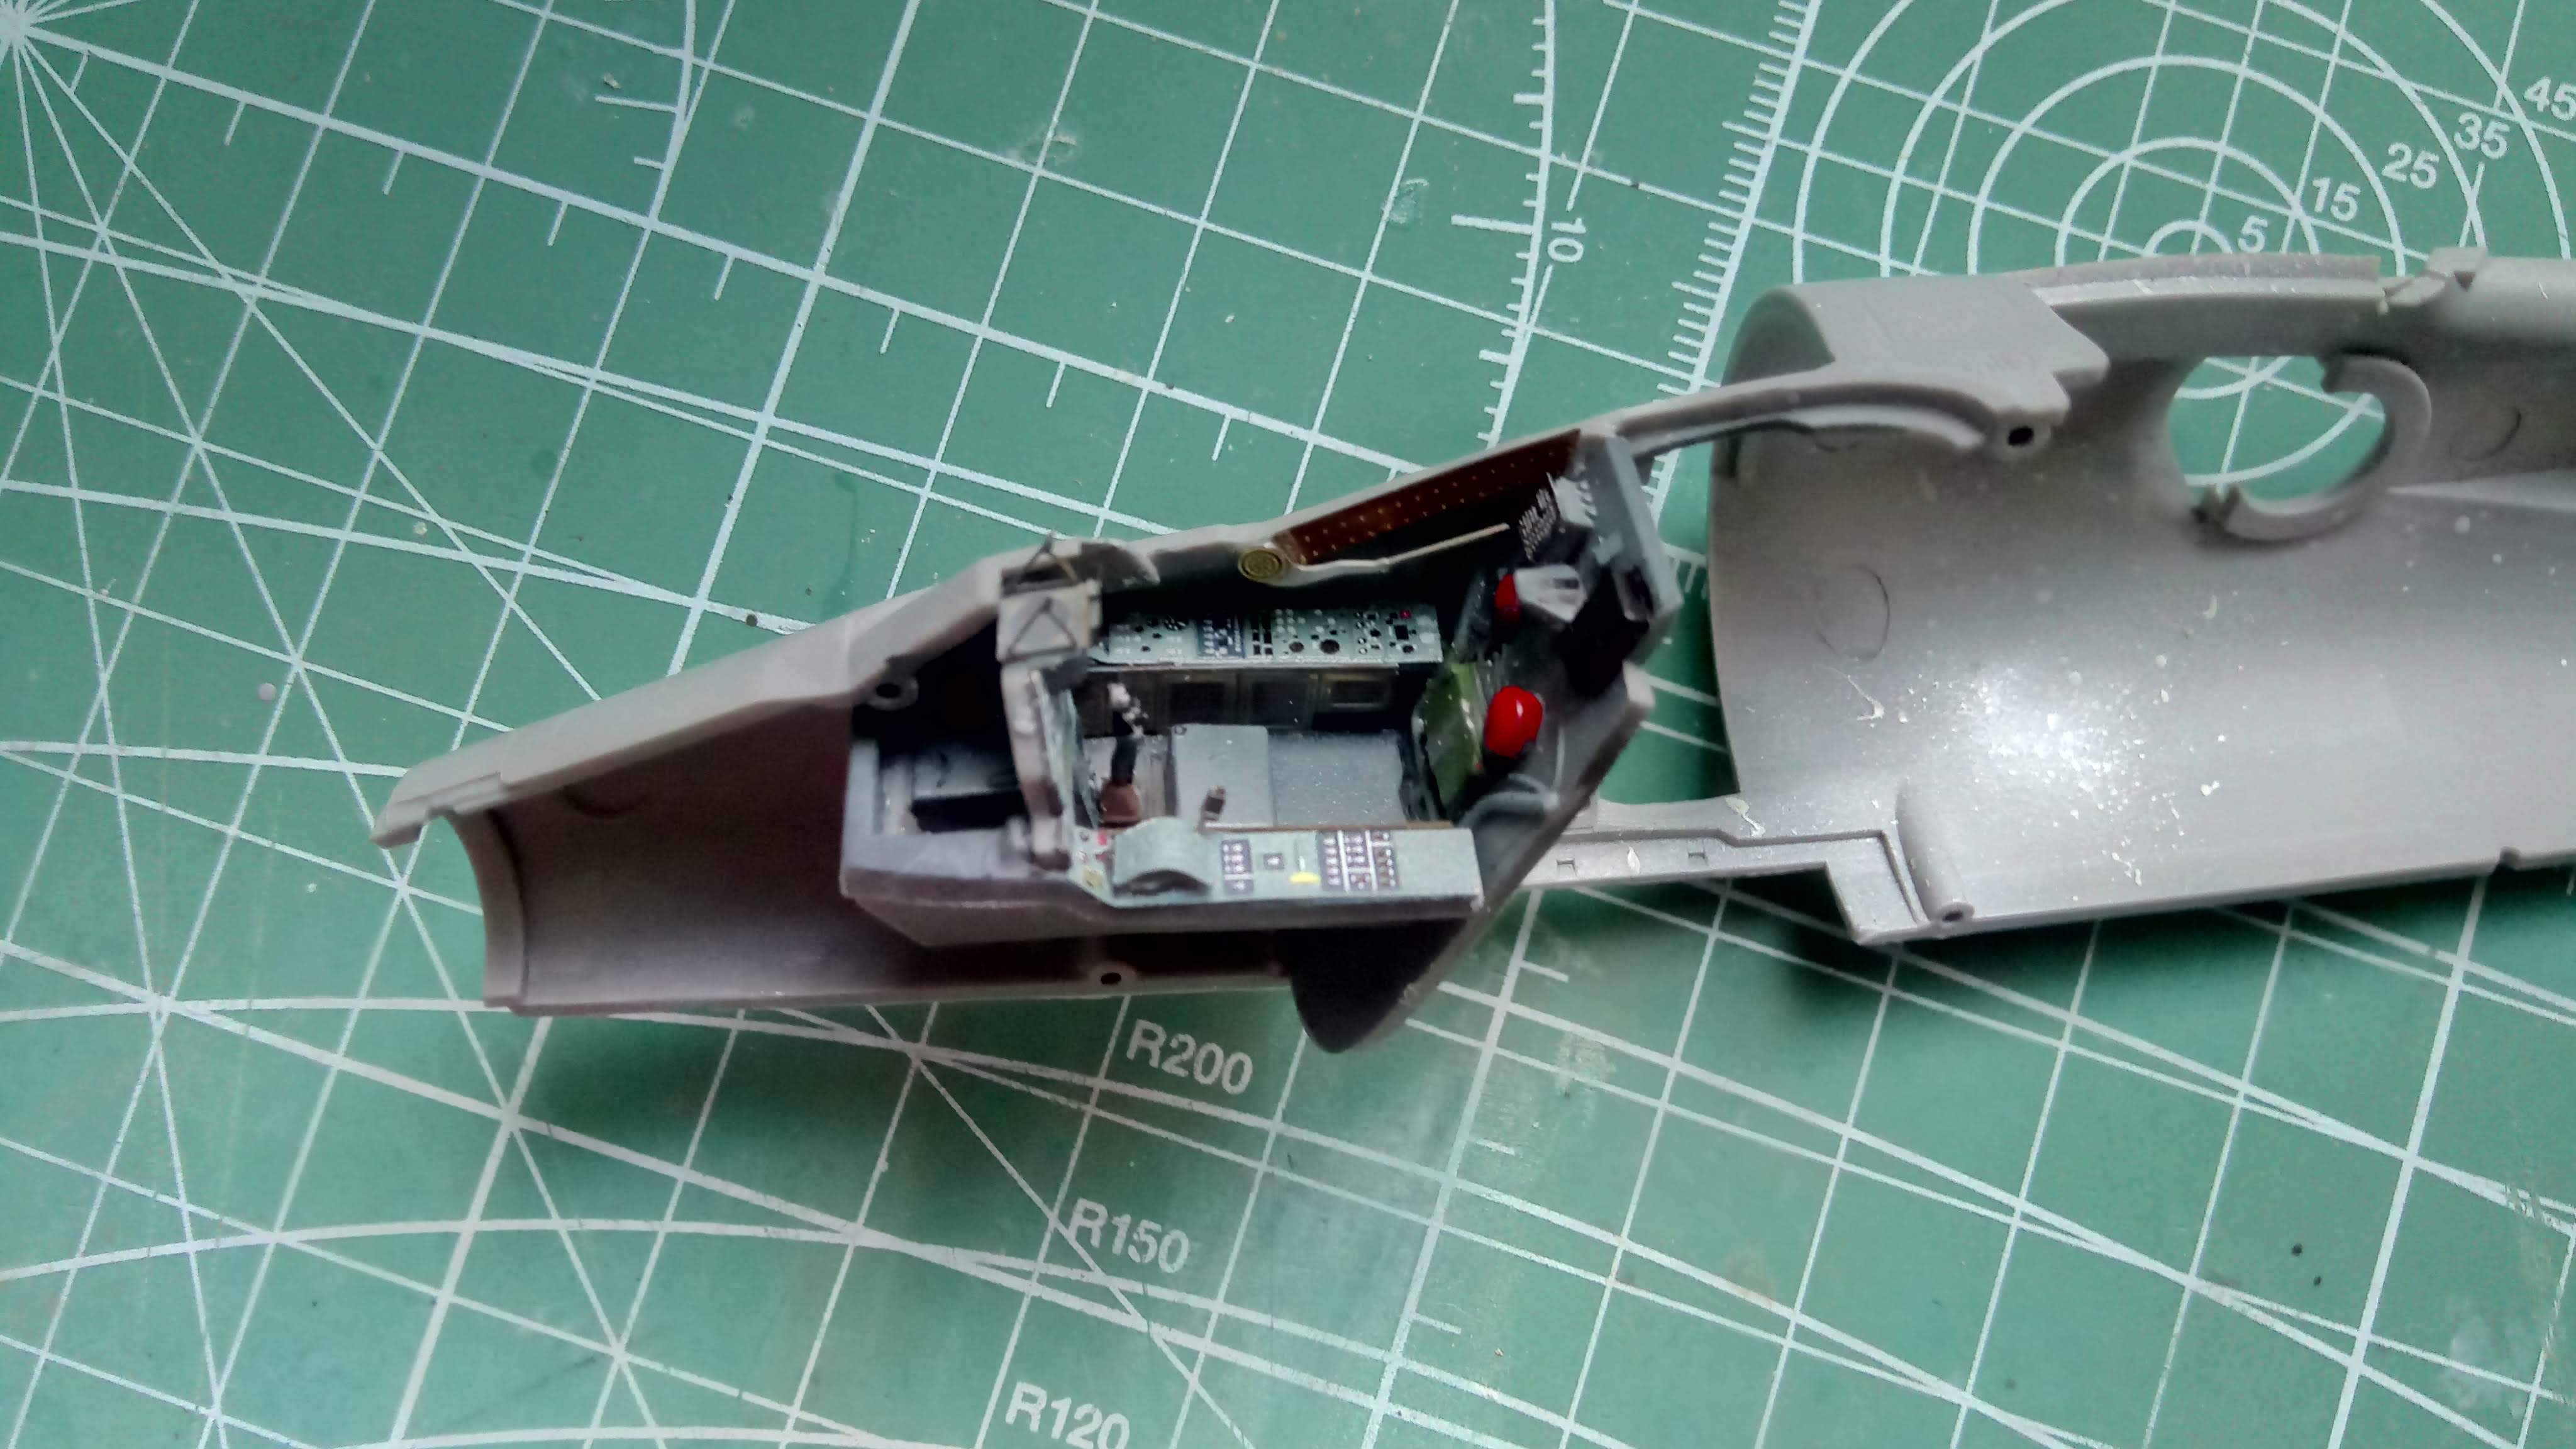
Everything ok yet, I upgraded the cockpit with the Eduard painted PE

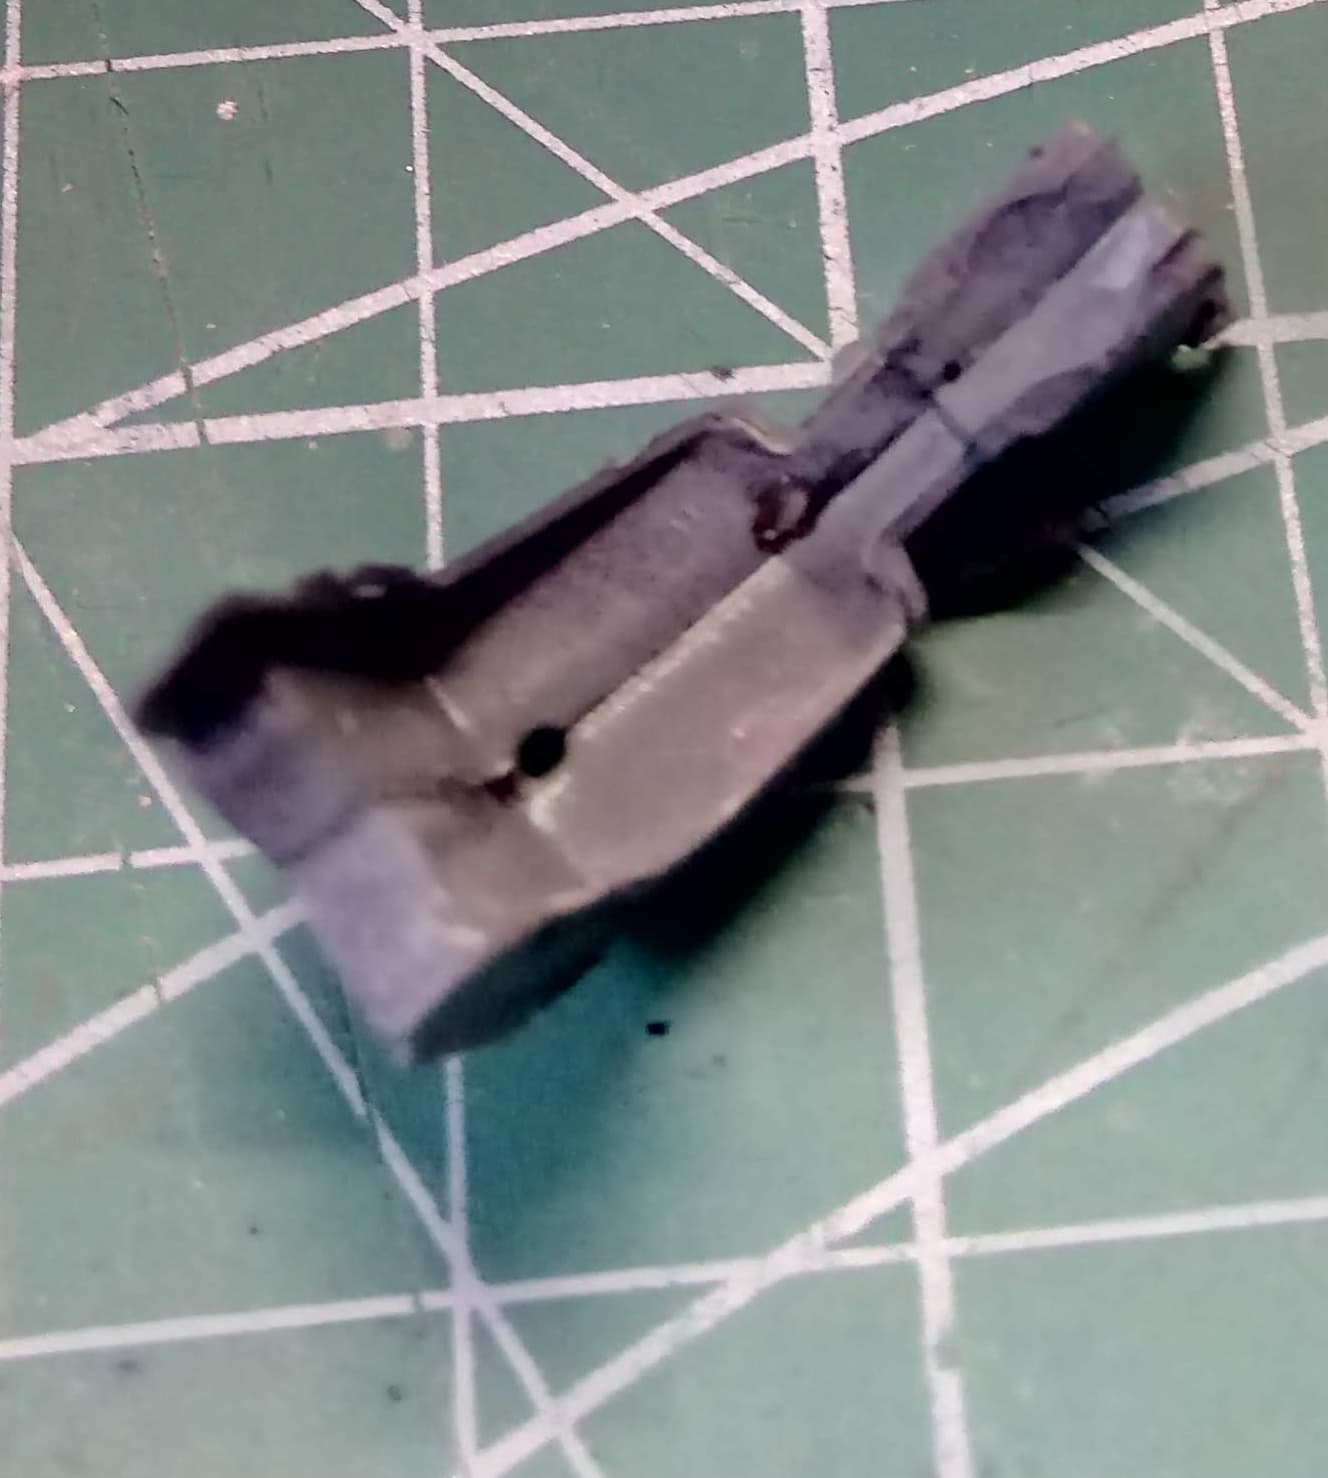
But look at the seam in the middle of the seat, which is only partly covered by the cushion :angry::

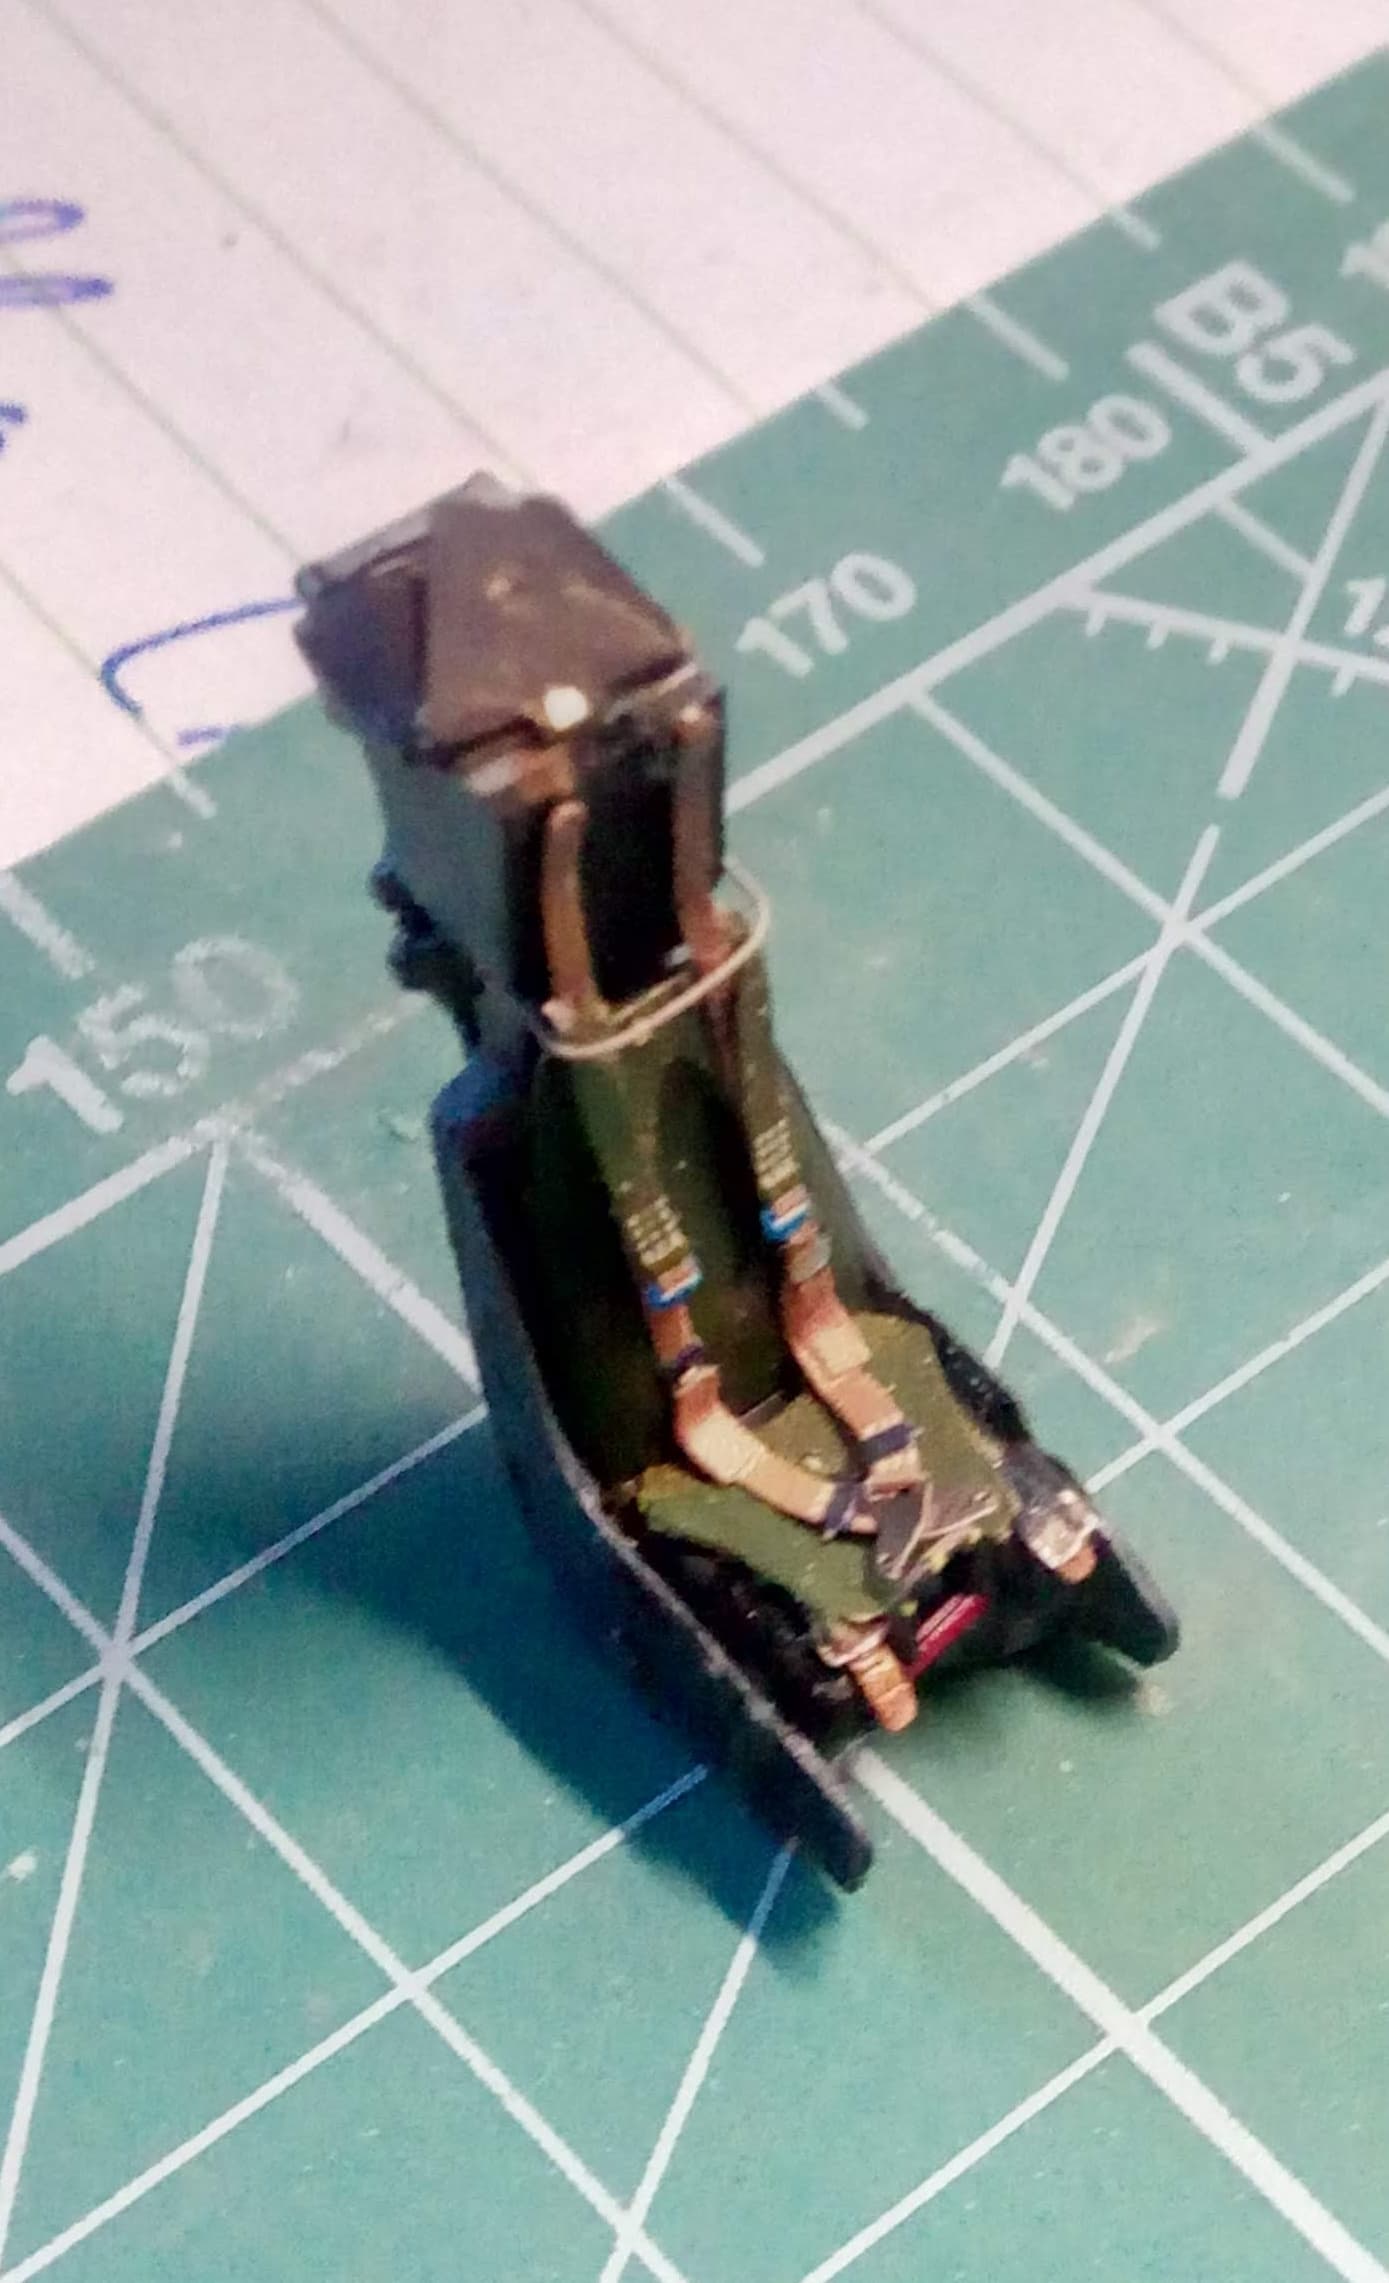
It has been rescued by Eduard not completely finished:

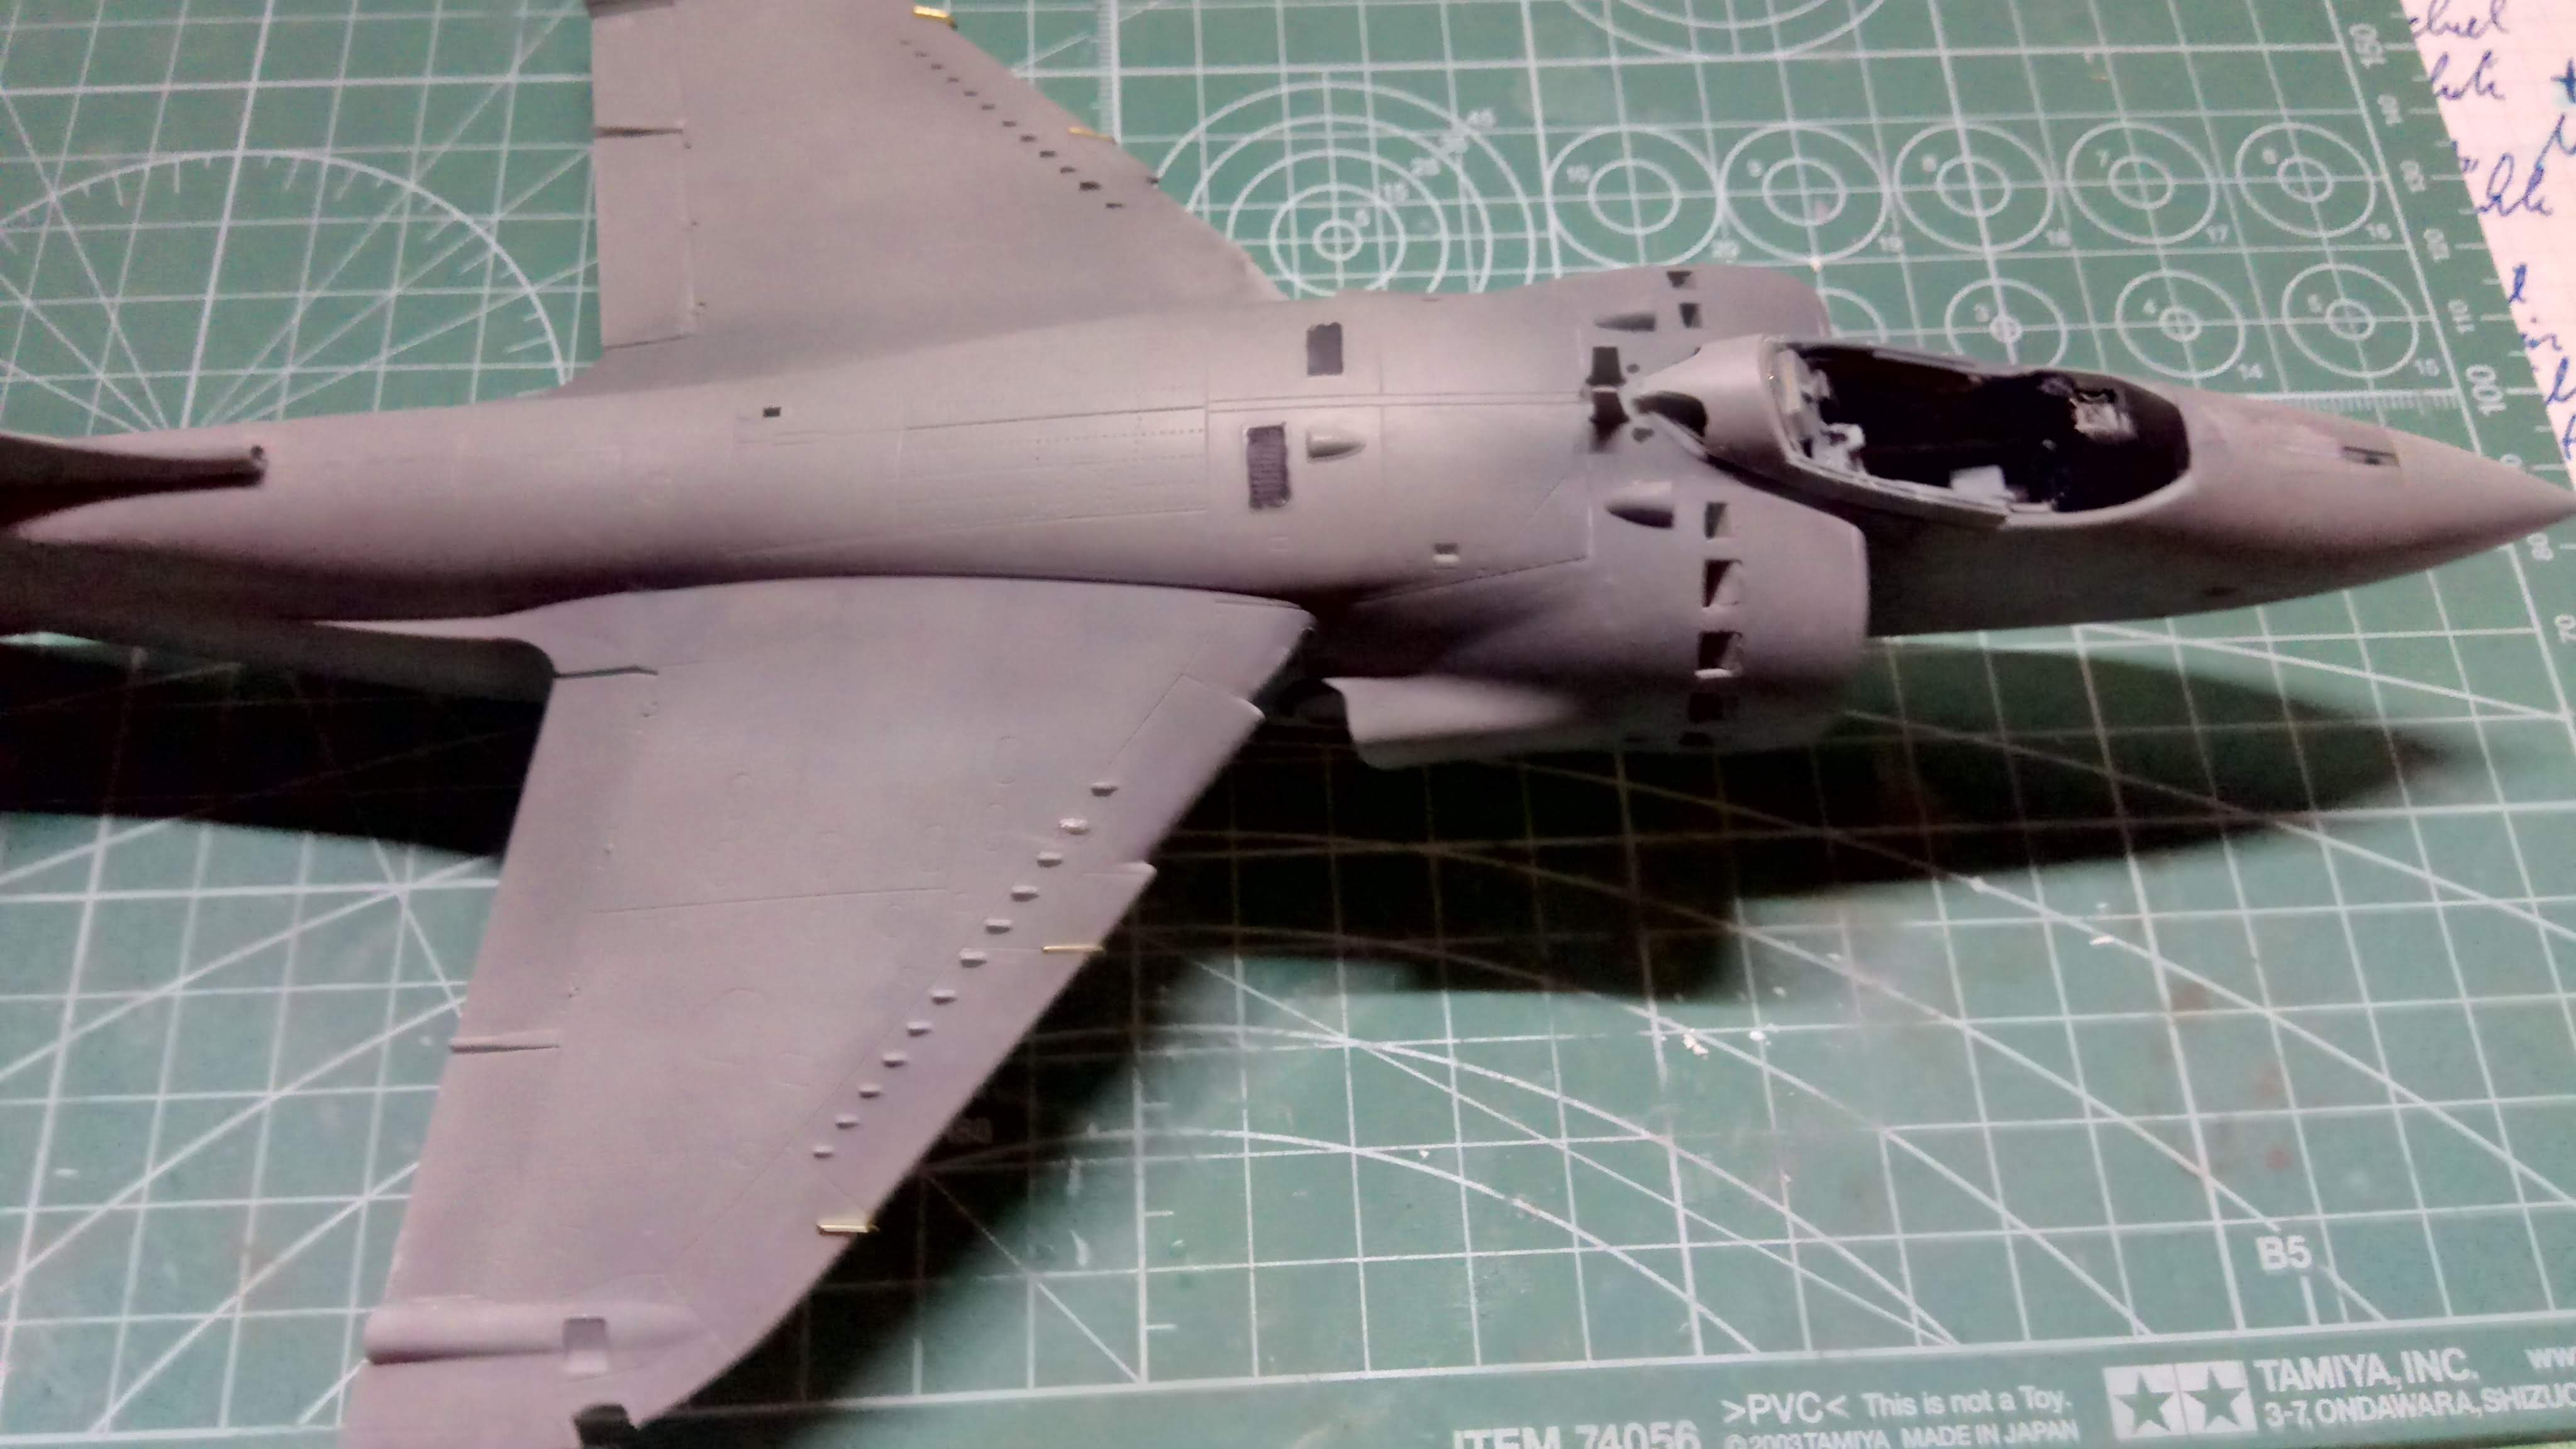
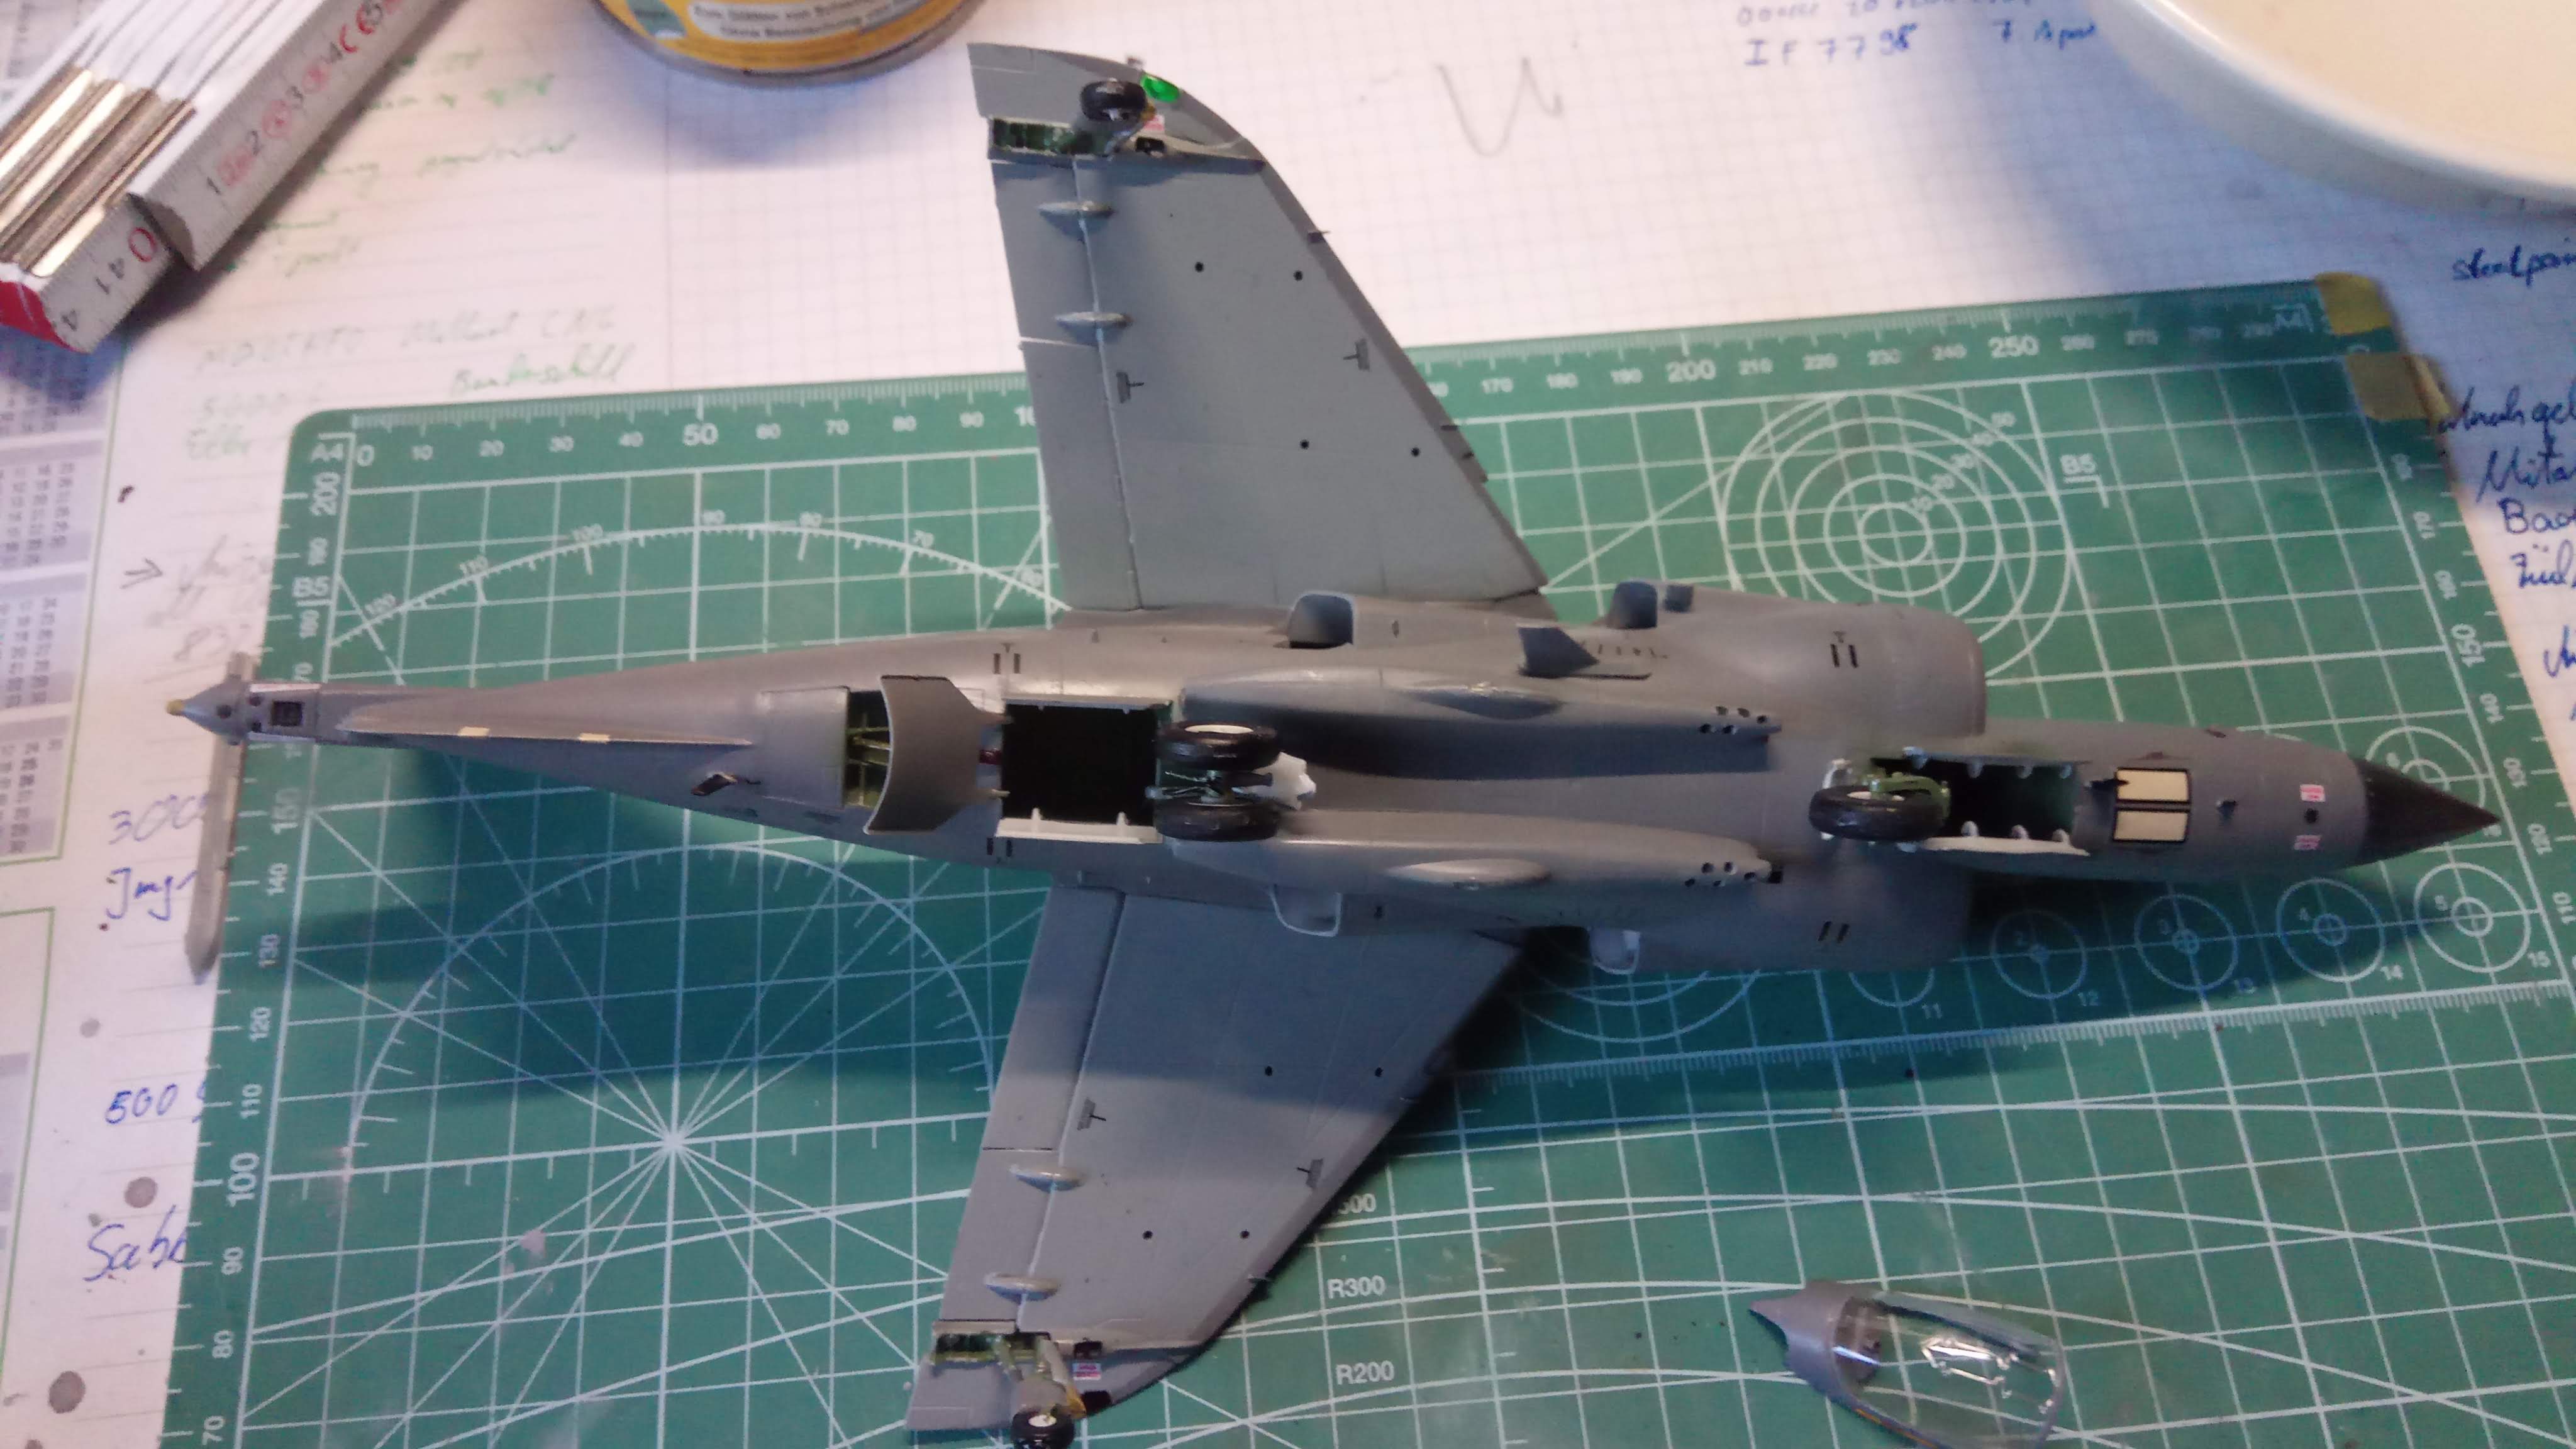
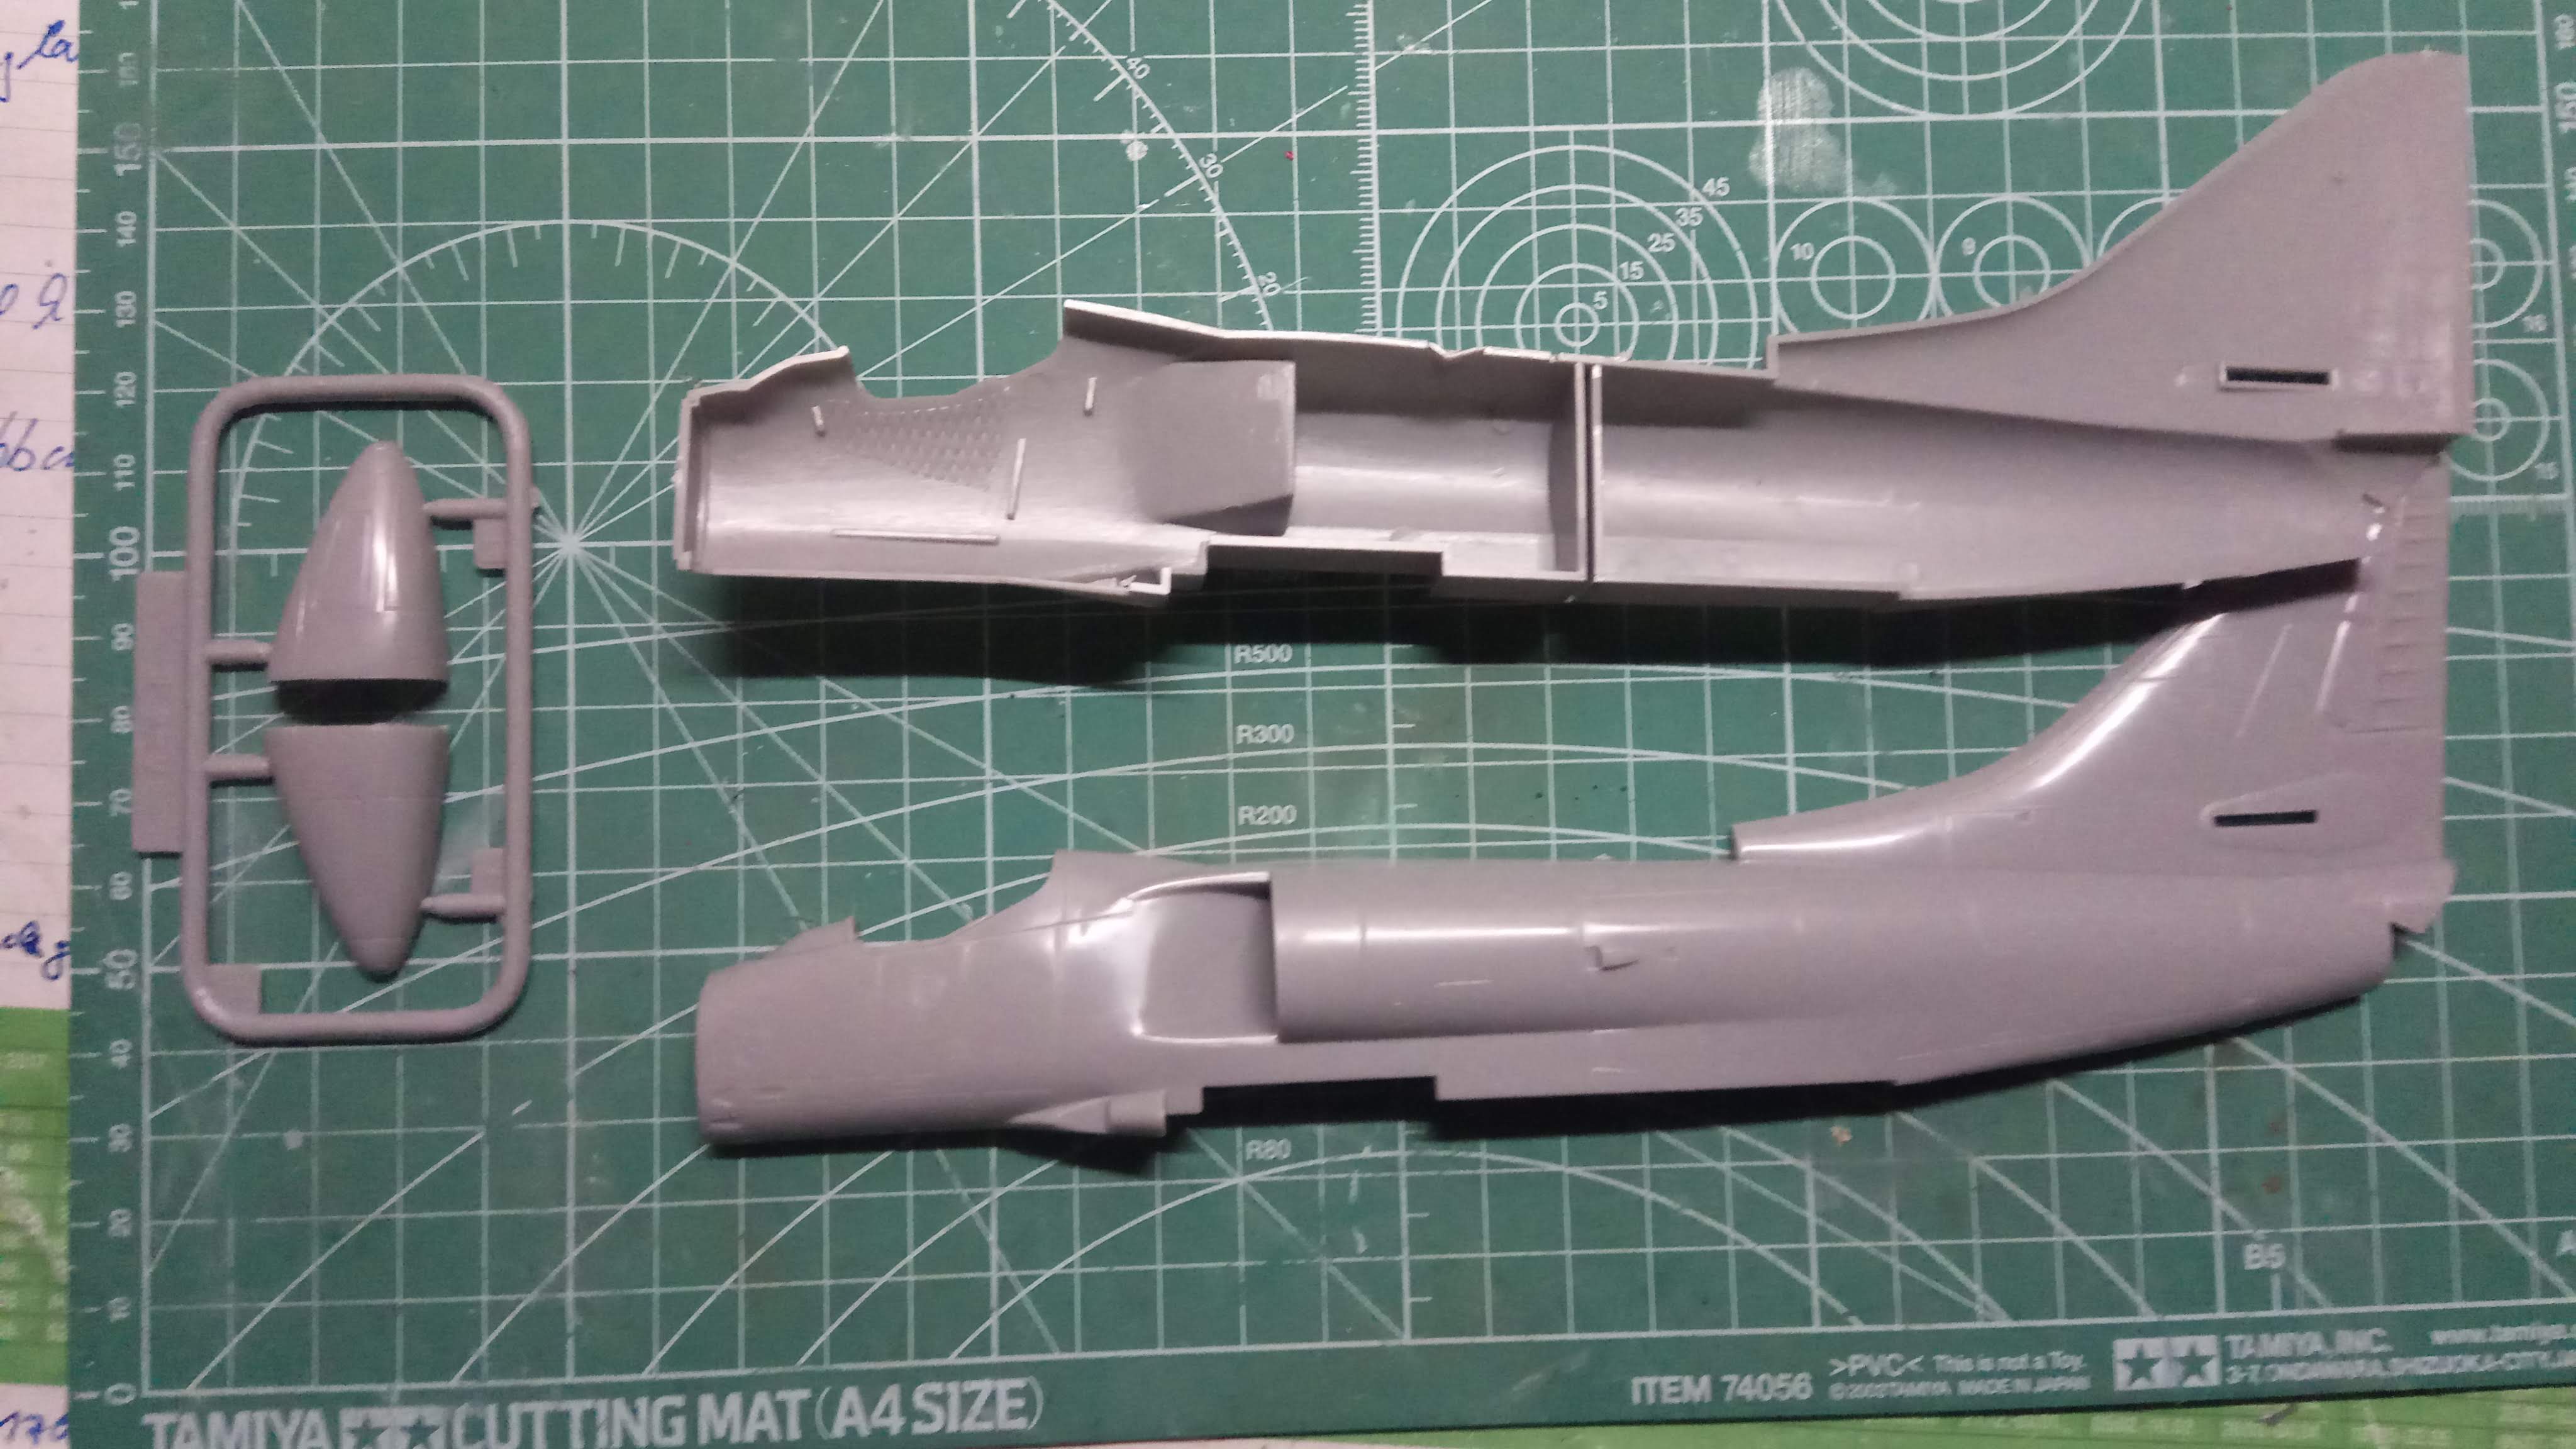
Unfortunately it continued this way. I spend a lot of time carefully alignining the inlet ducts as seamless as possible, but the outside covers required a huge amount of sanding.
Then the worst of all: The engine face is integrated in a bulkhead supporting the 2 fuselage halves.
So far so good, fuselage fits well togetether, but the top wing did not fit at all. I had to remove it, massage it, glue it again, sand, fill… The aft part of the wing part was too high, the forward part too wide.

And when then I installed the non fitting inlet duct covers I was so fed up that I forget to make pictures.
I have some pictures of the problems I faced since. EVERY part was fighting me
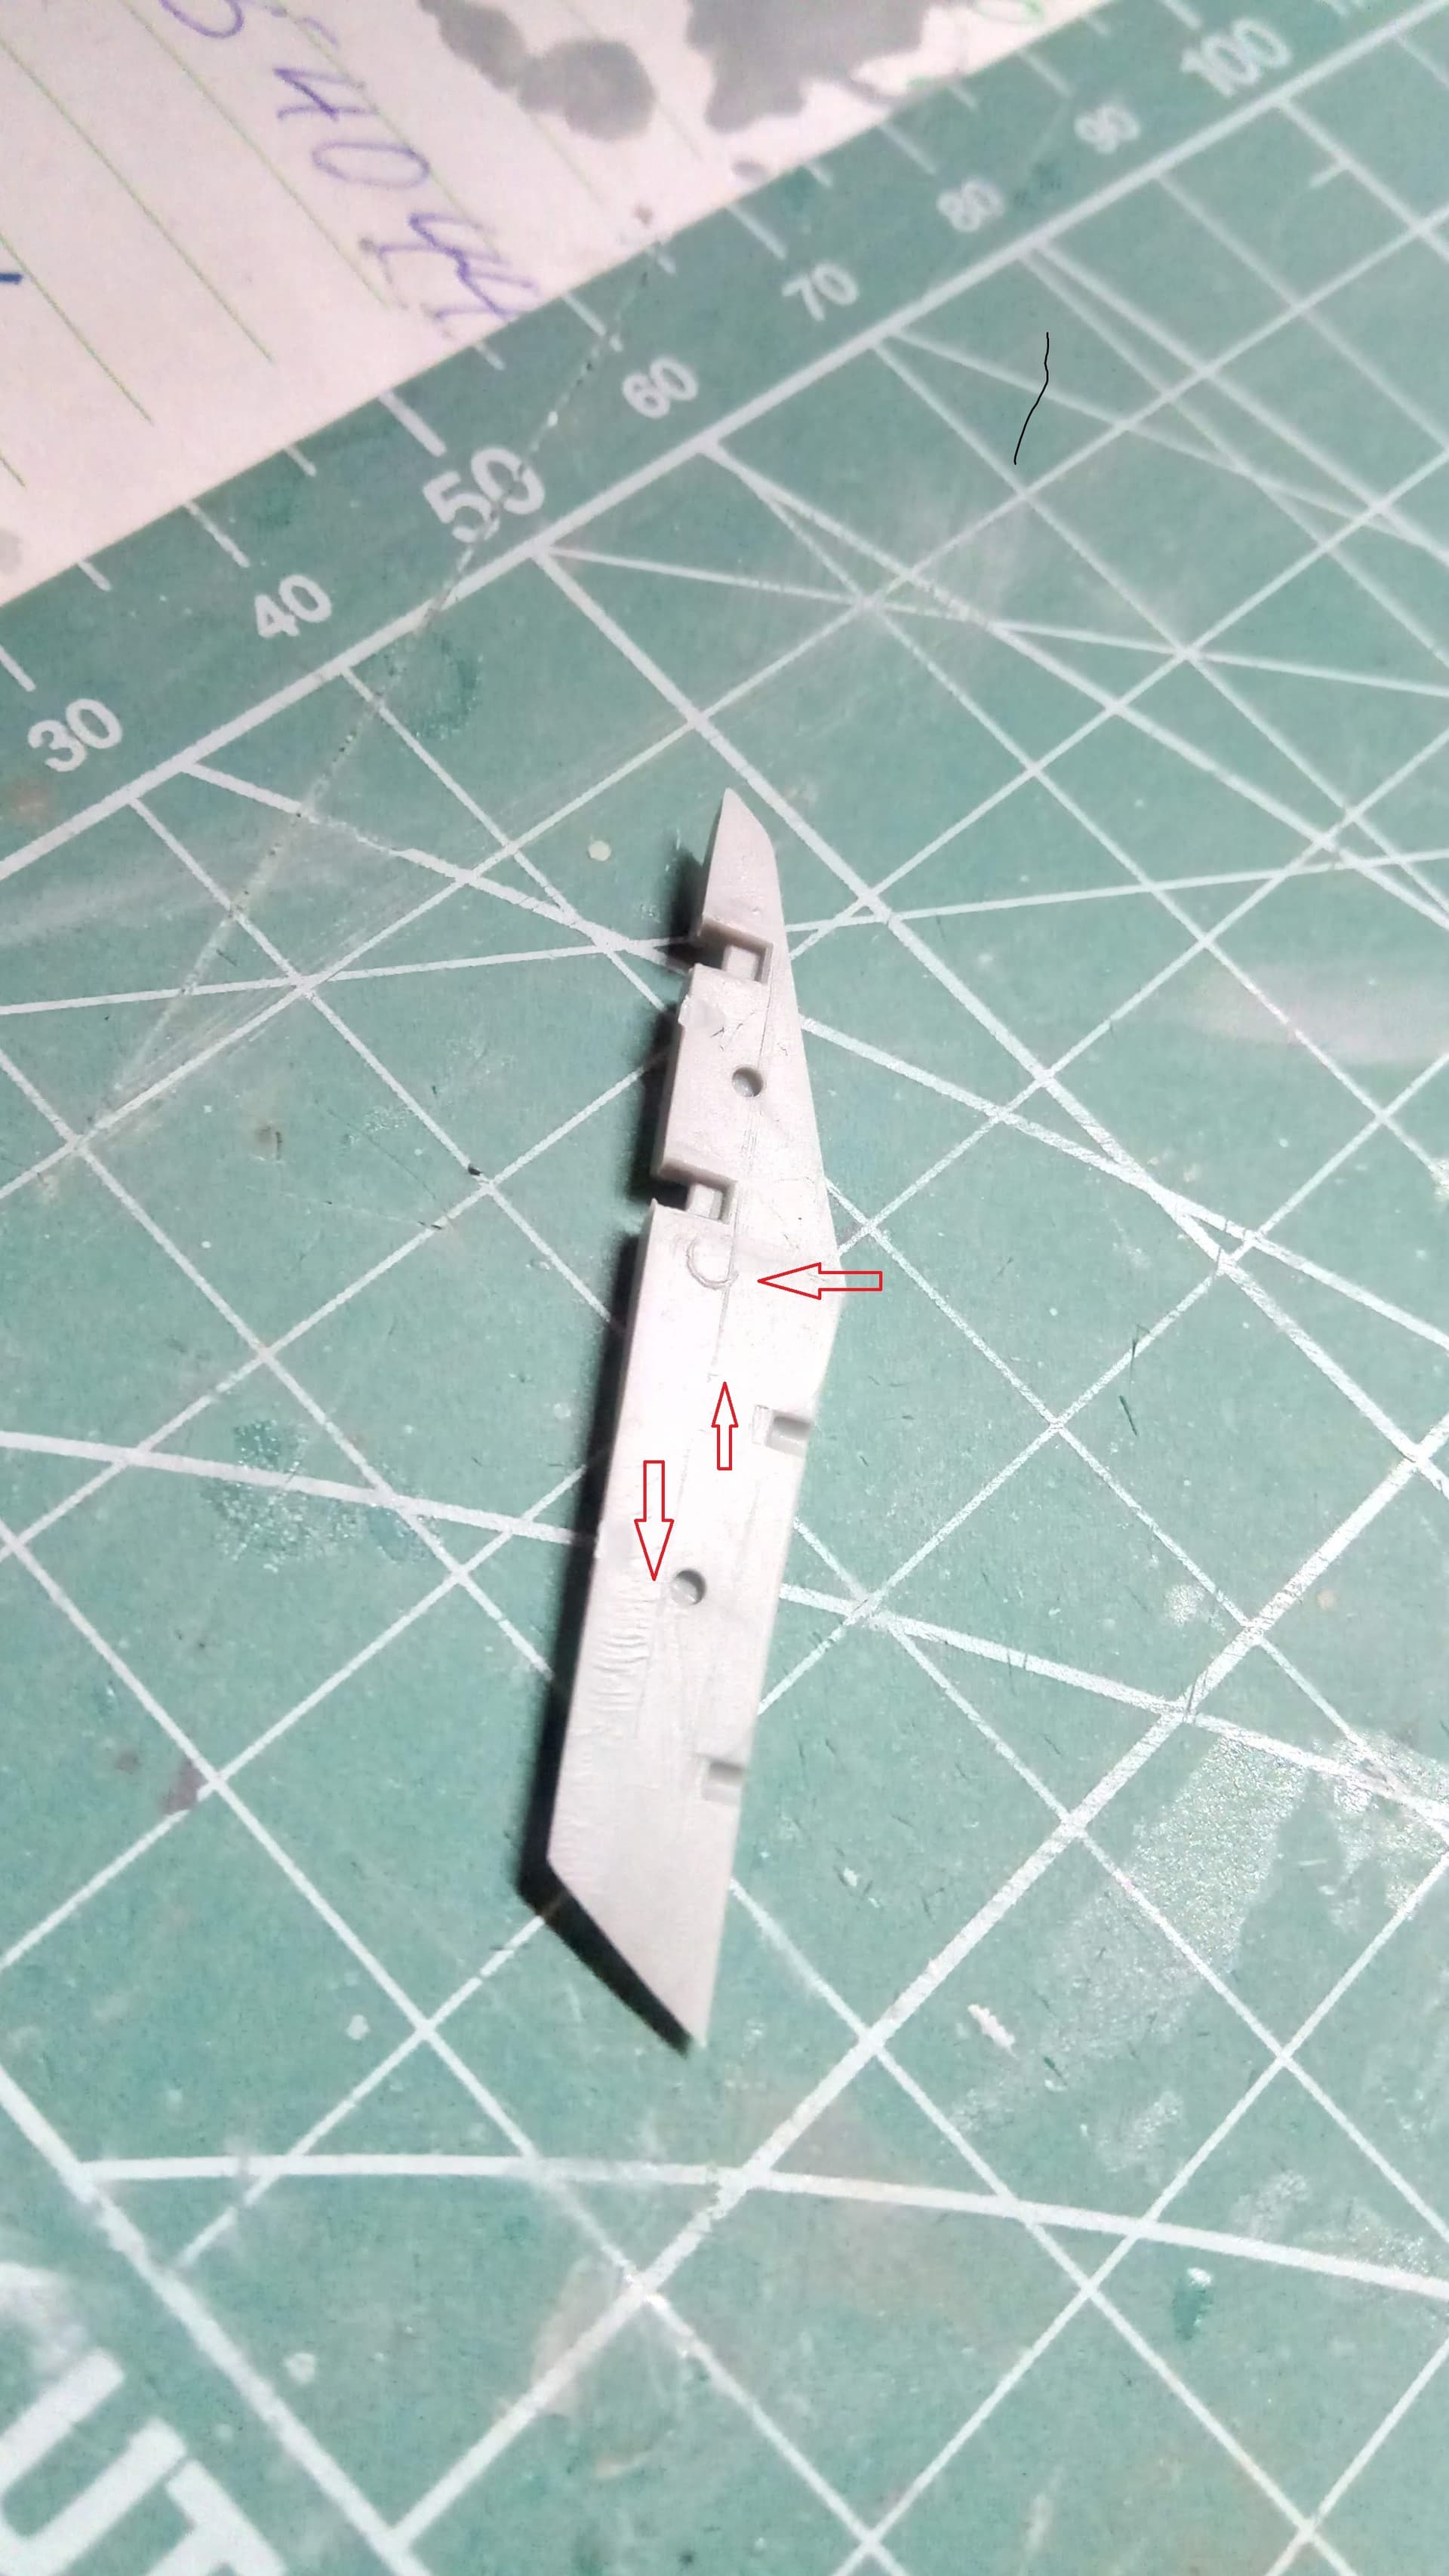
Actuators of flaps and ailerons: one locating hole missing, not fitting anyway due to different thickness of flap and wing.

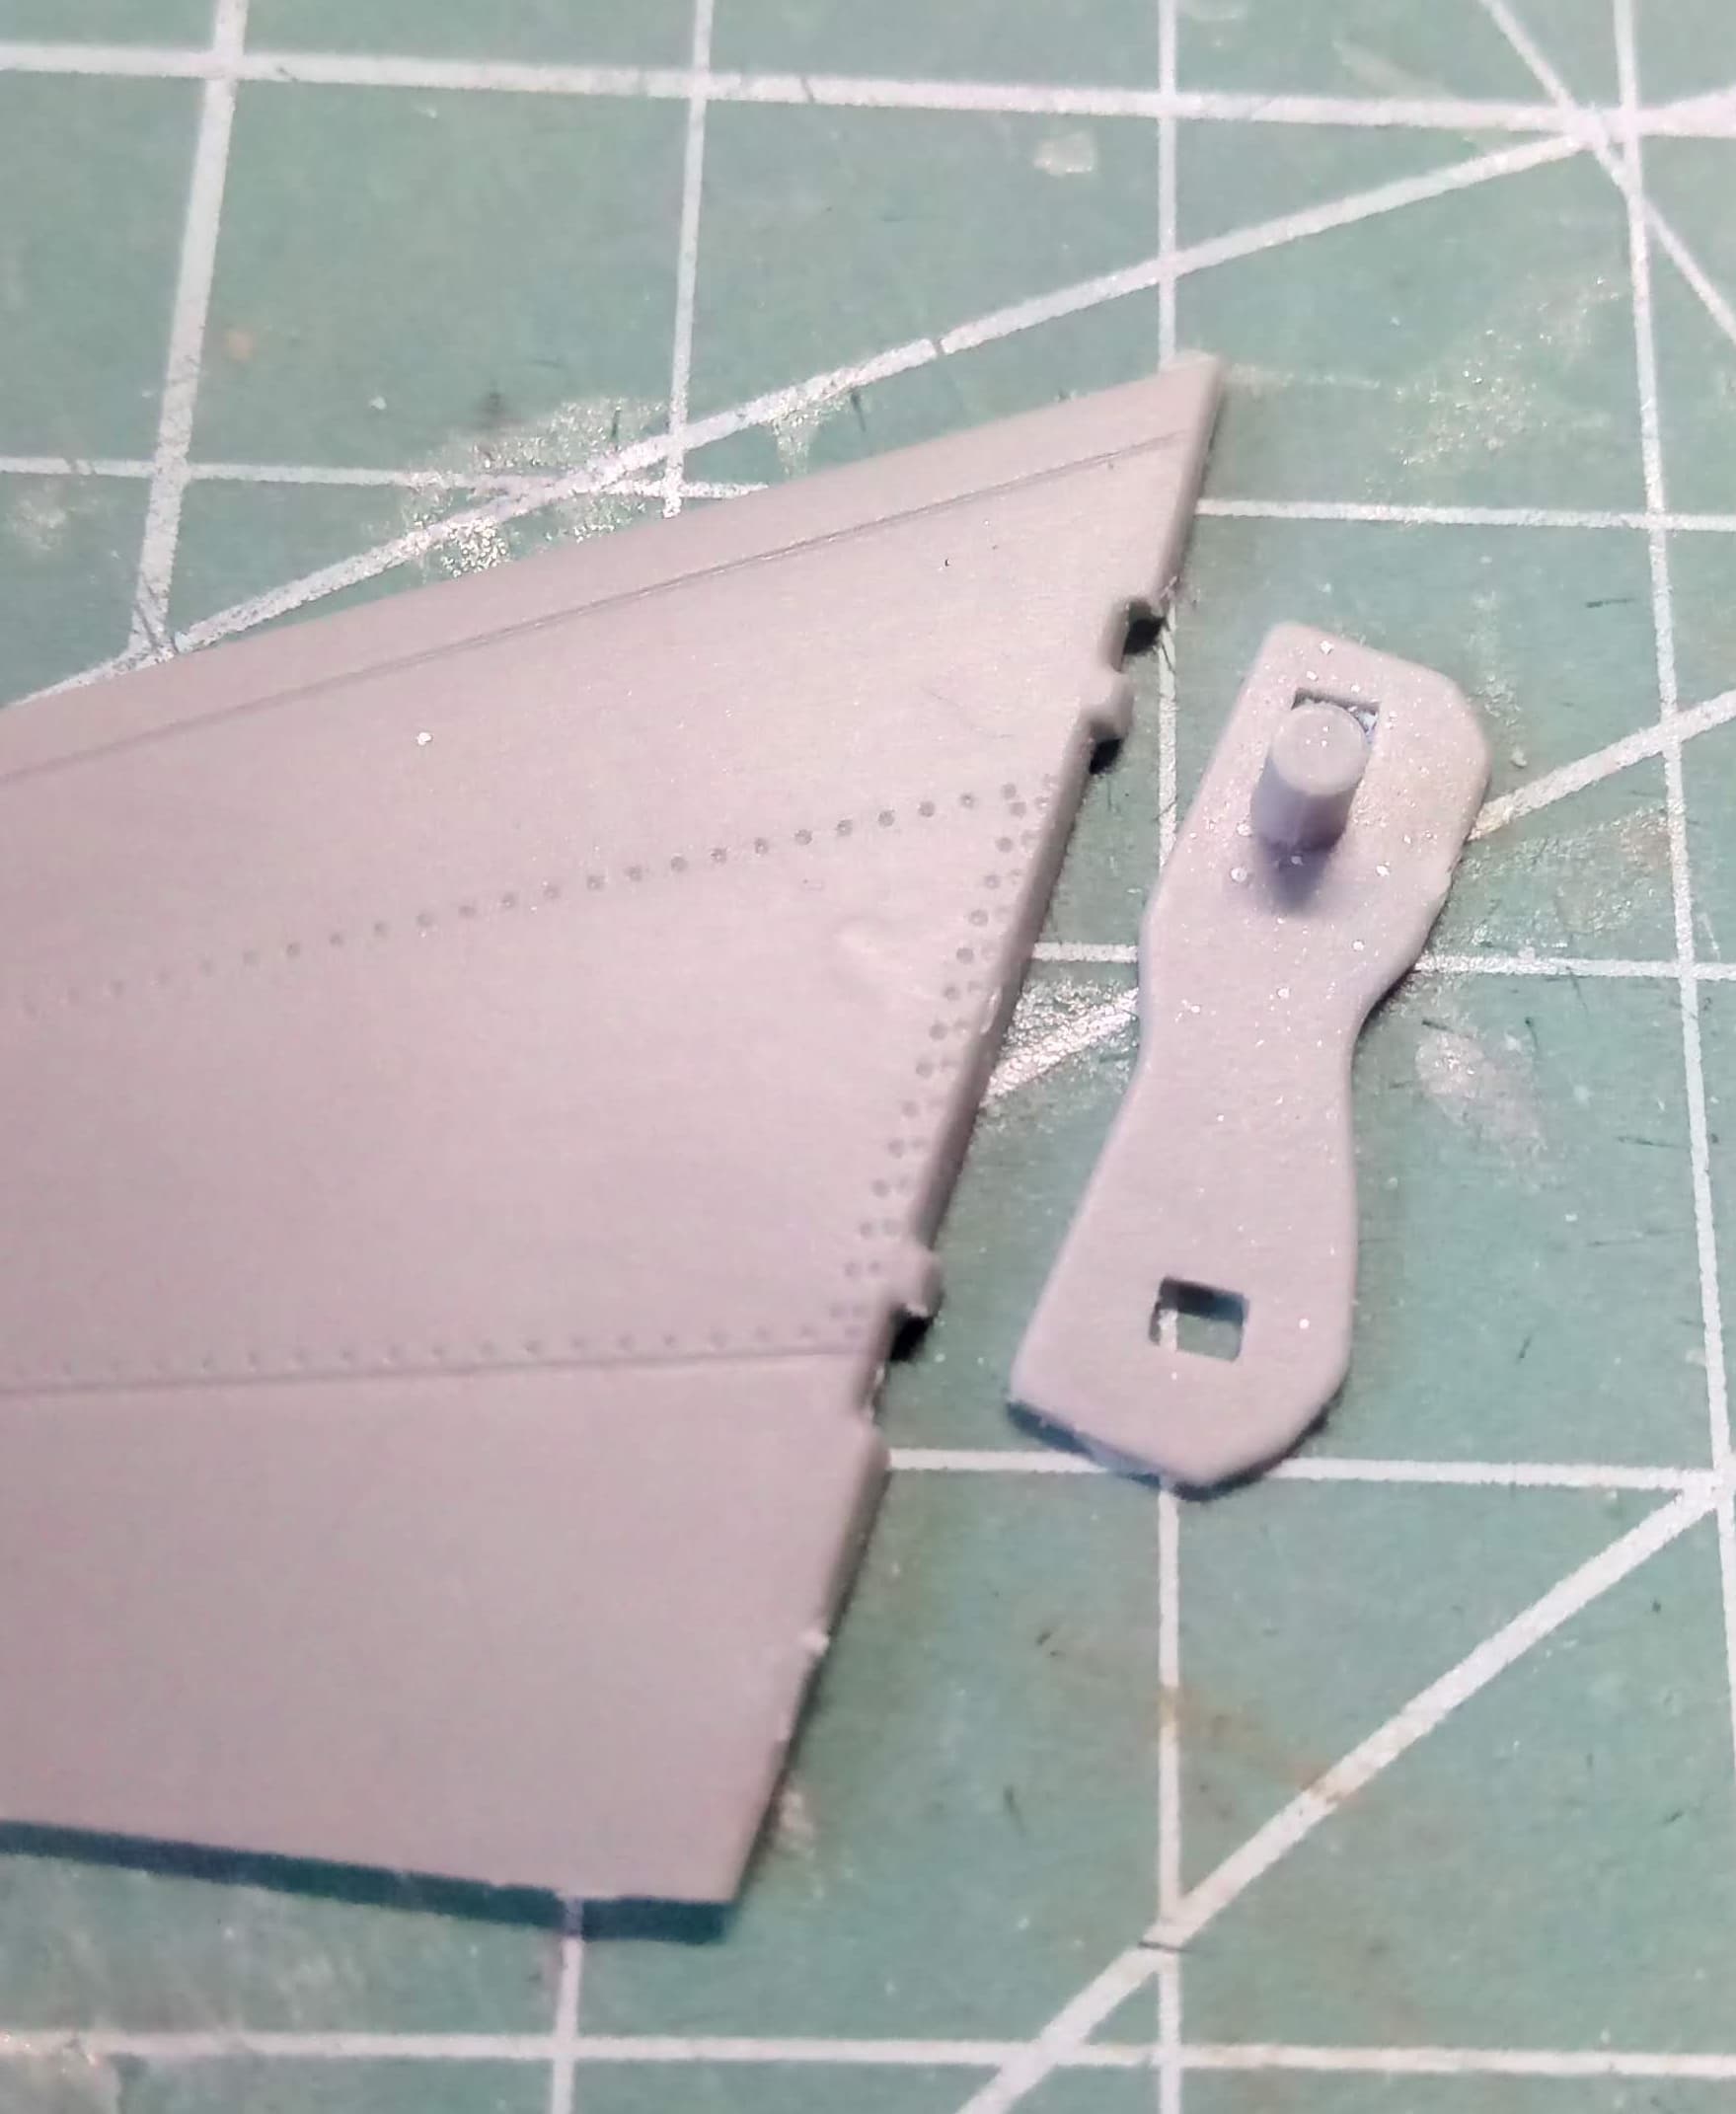
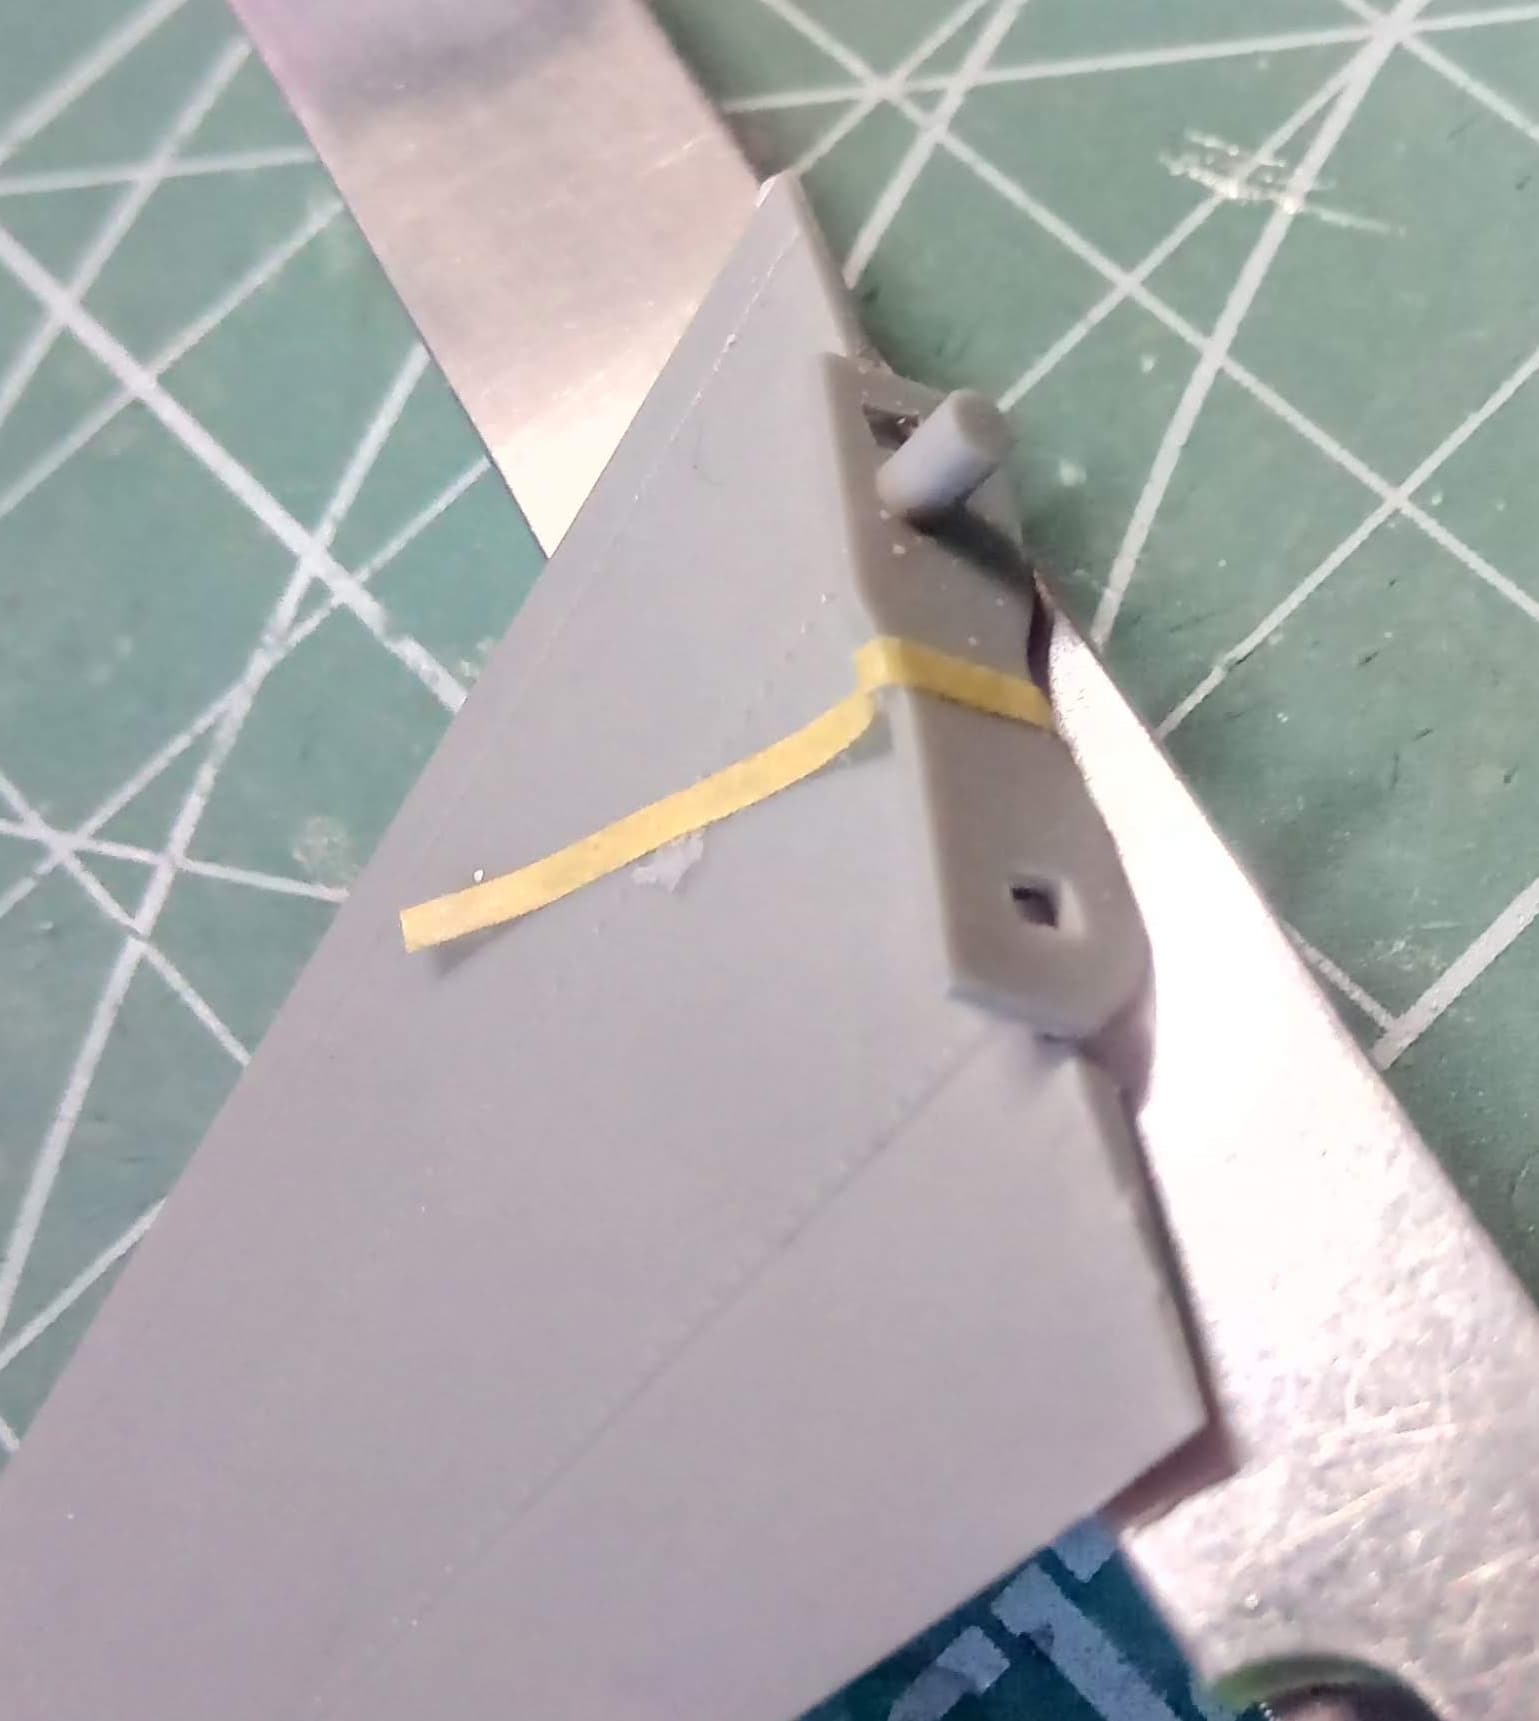
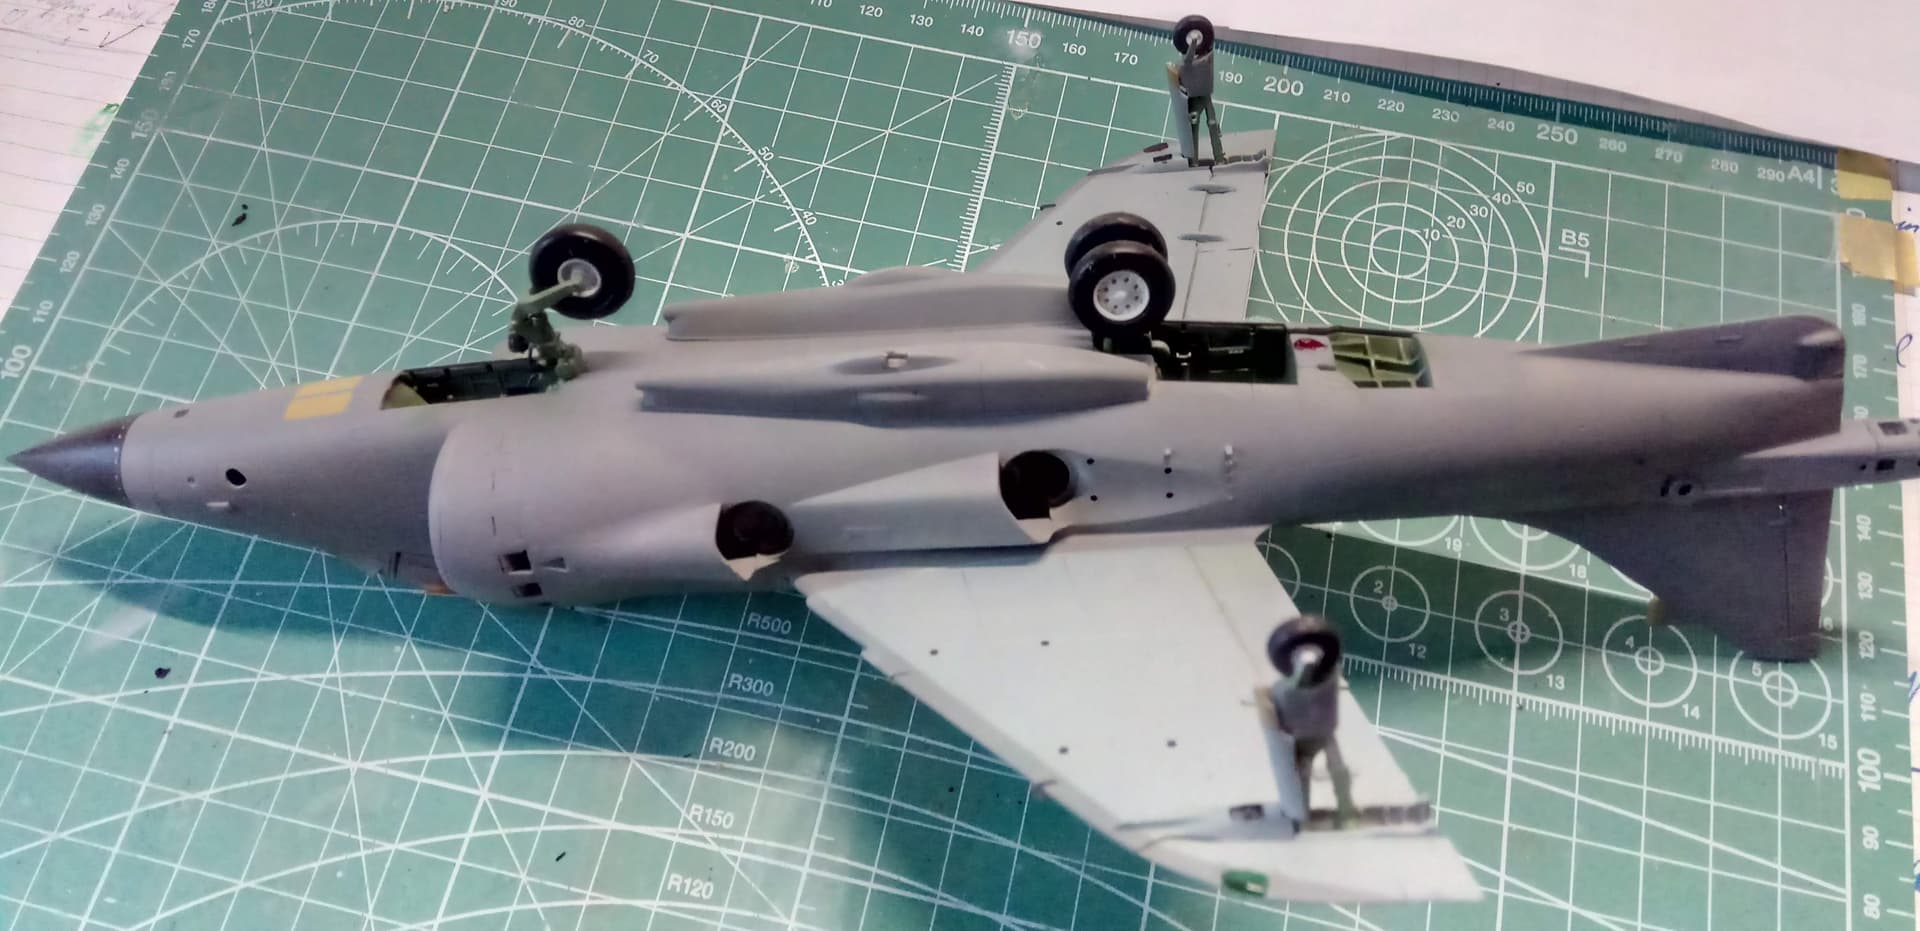
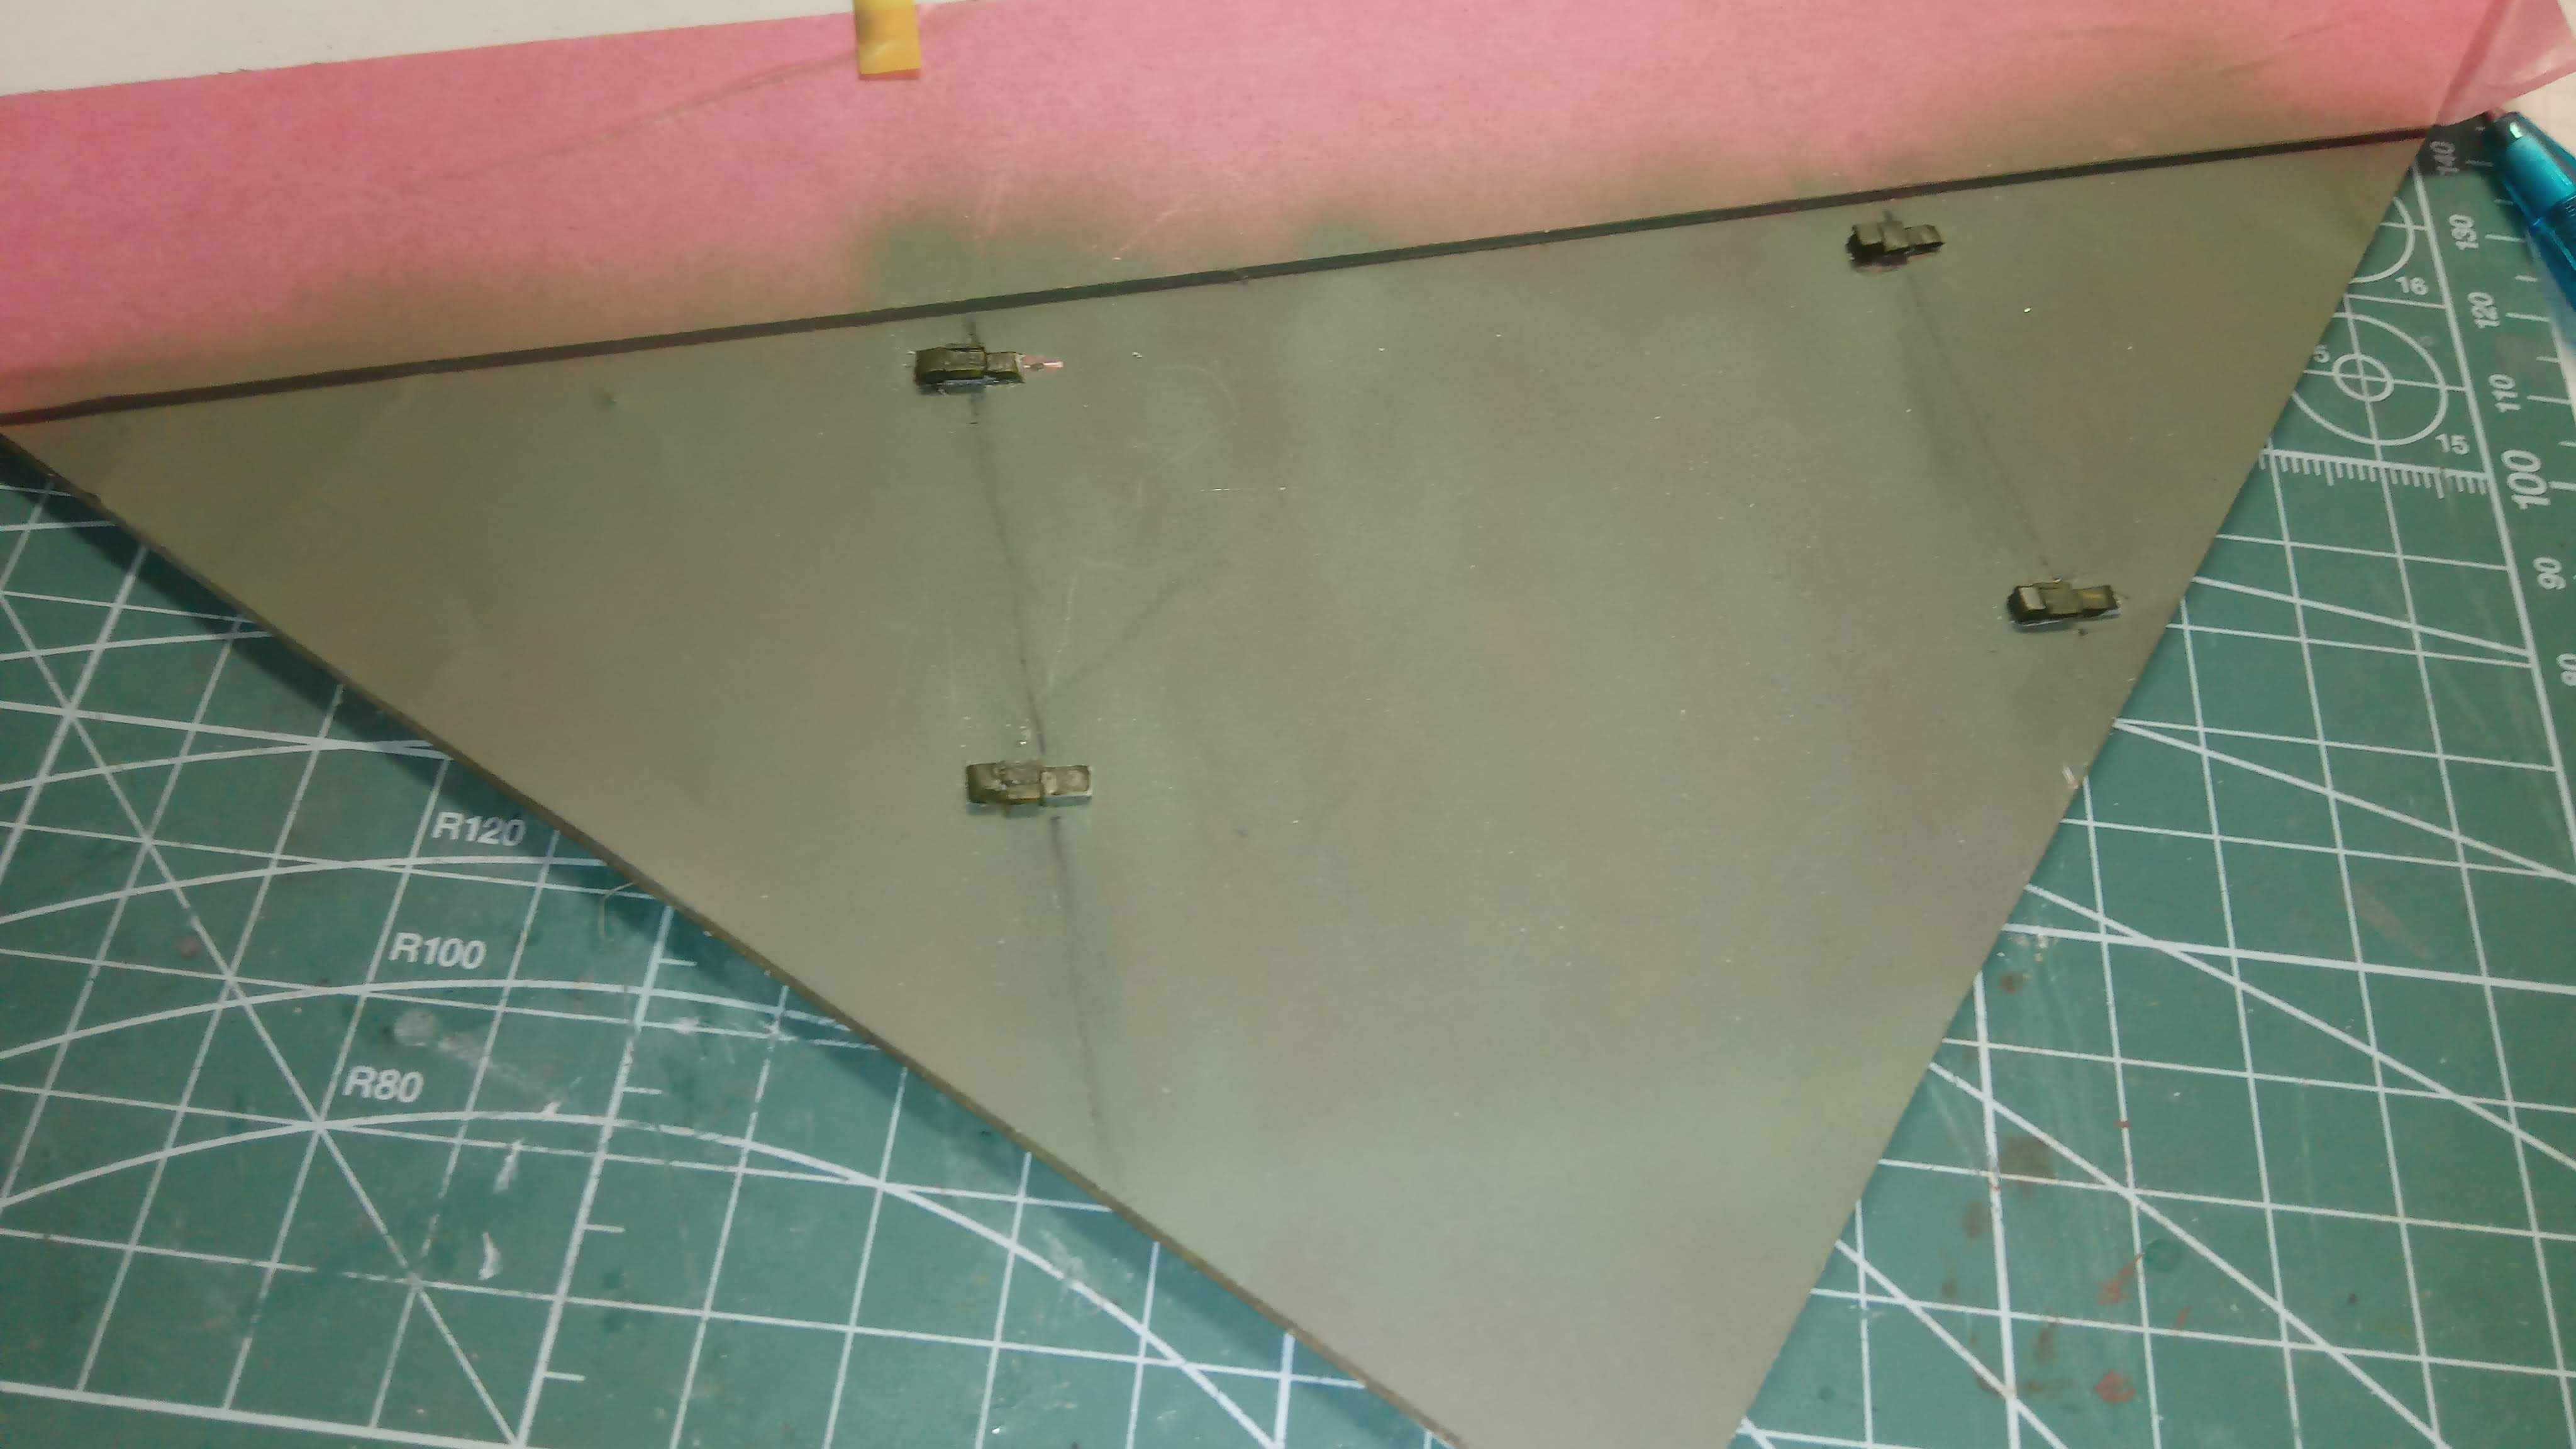
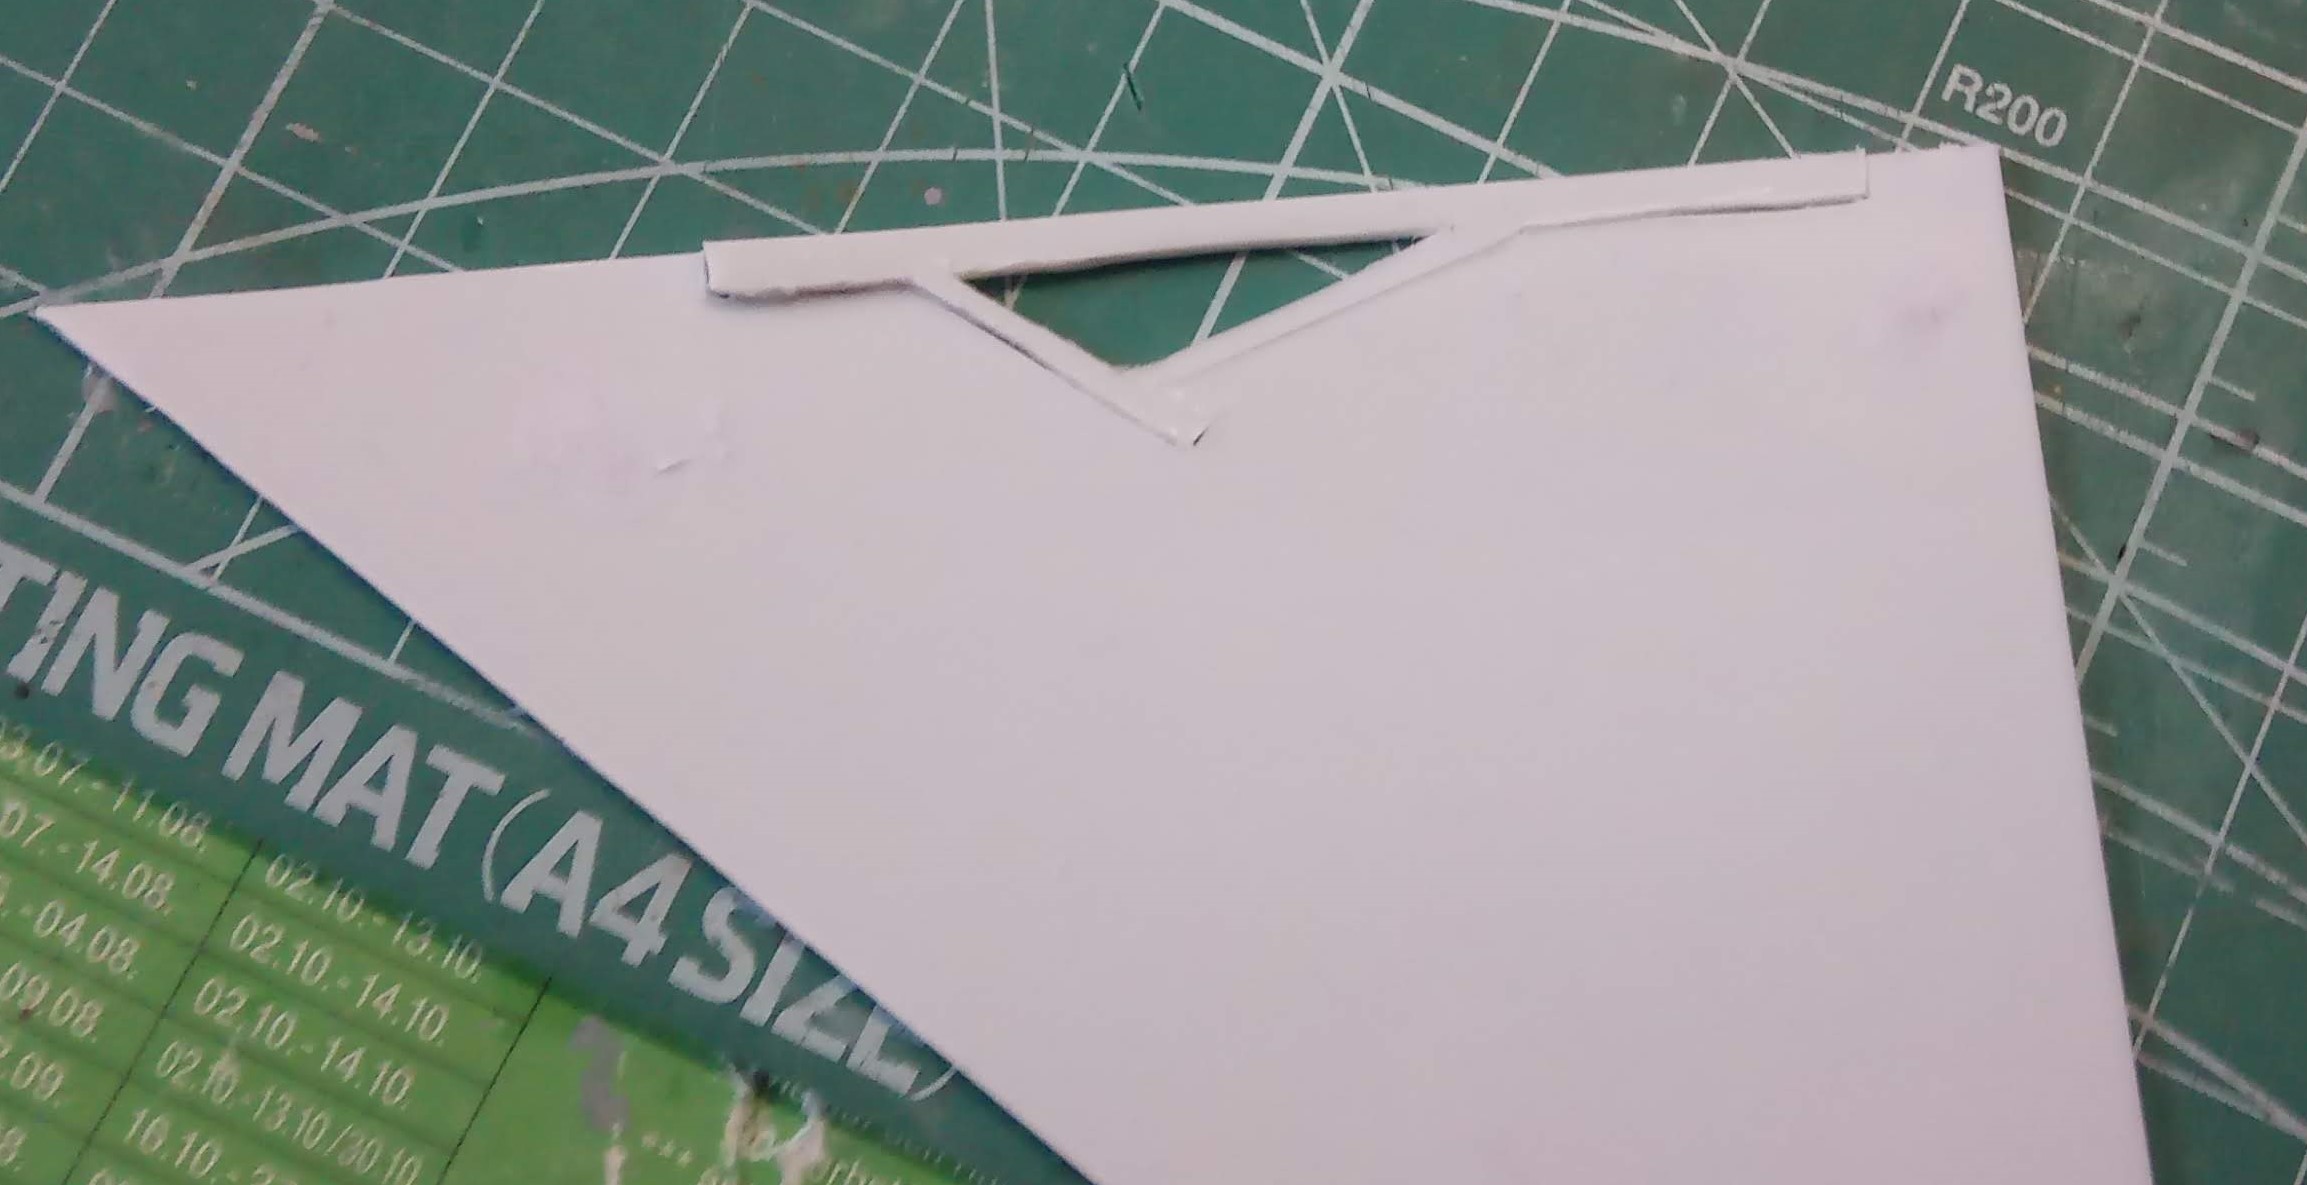
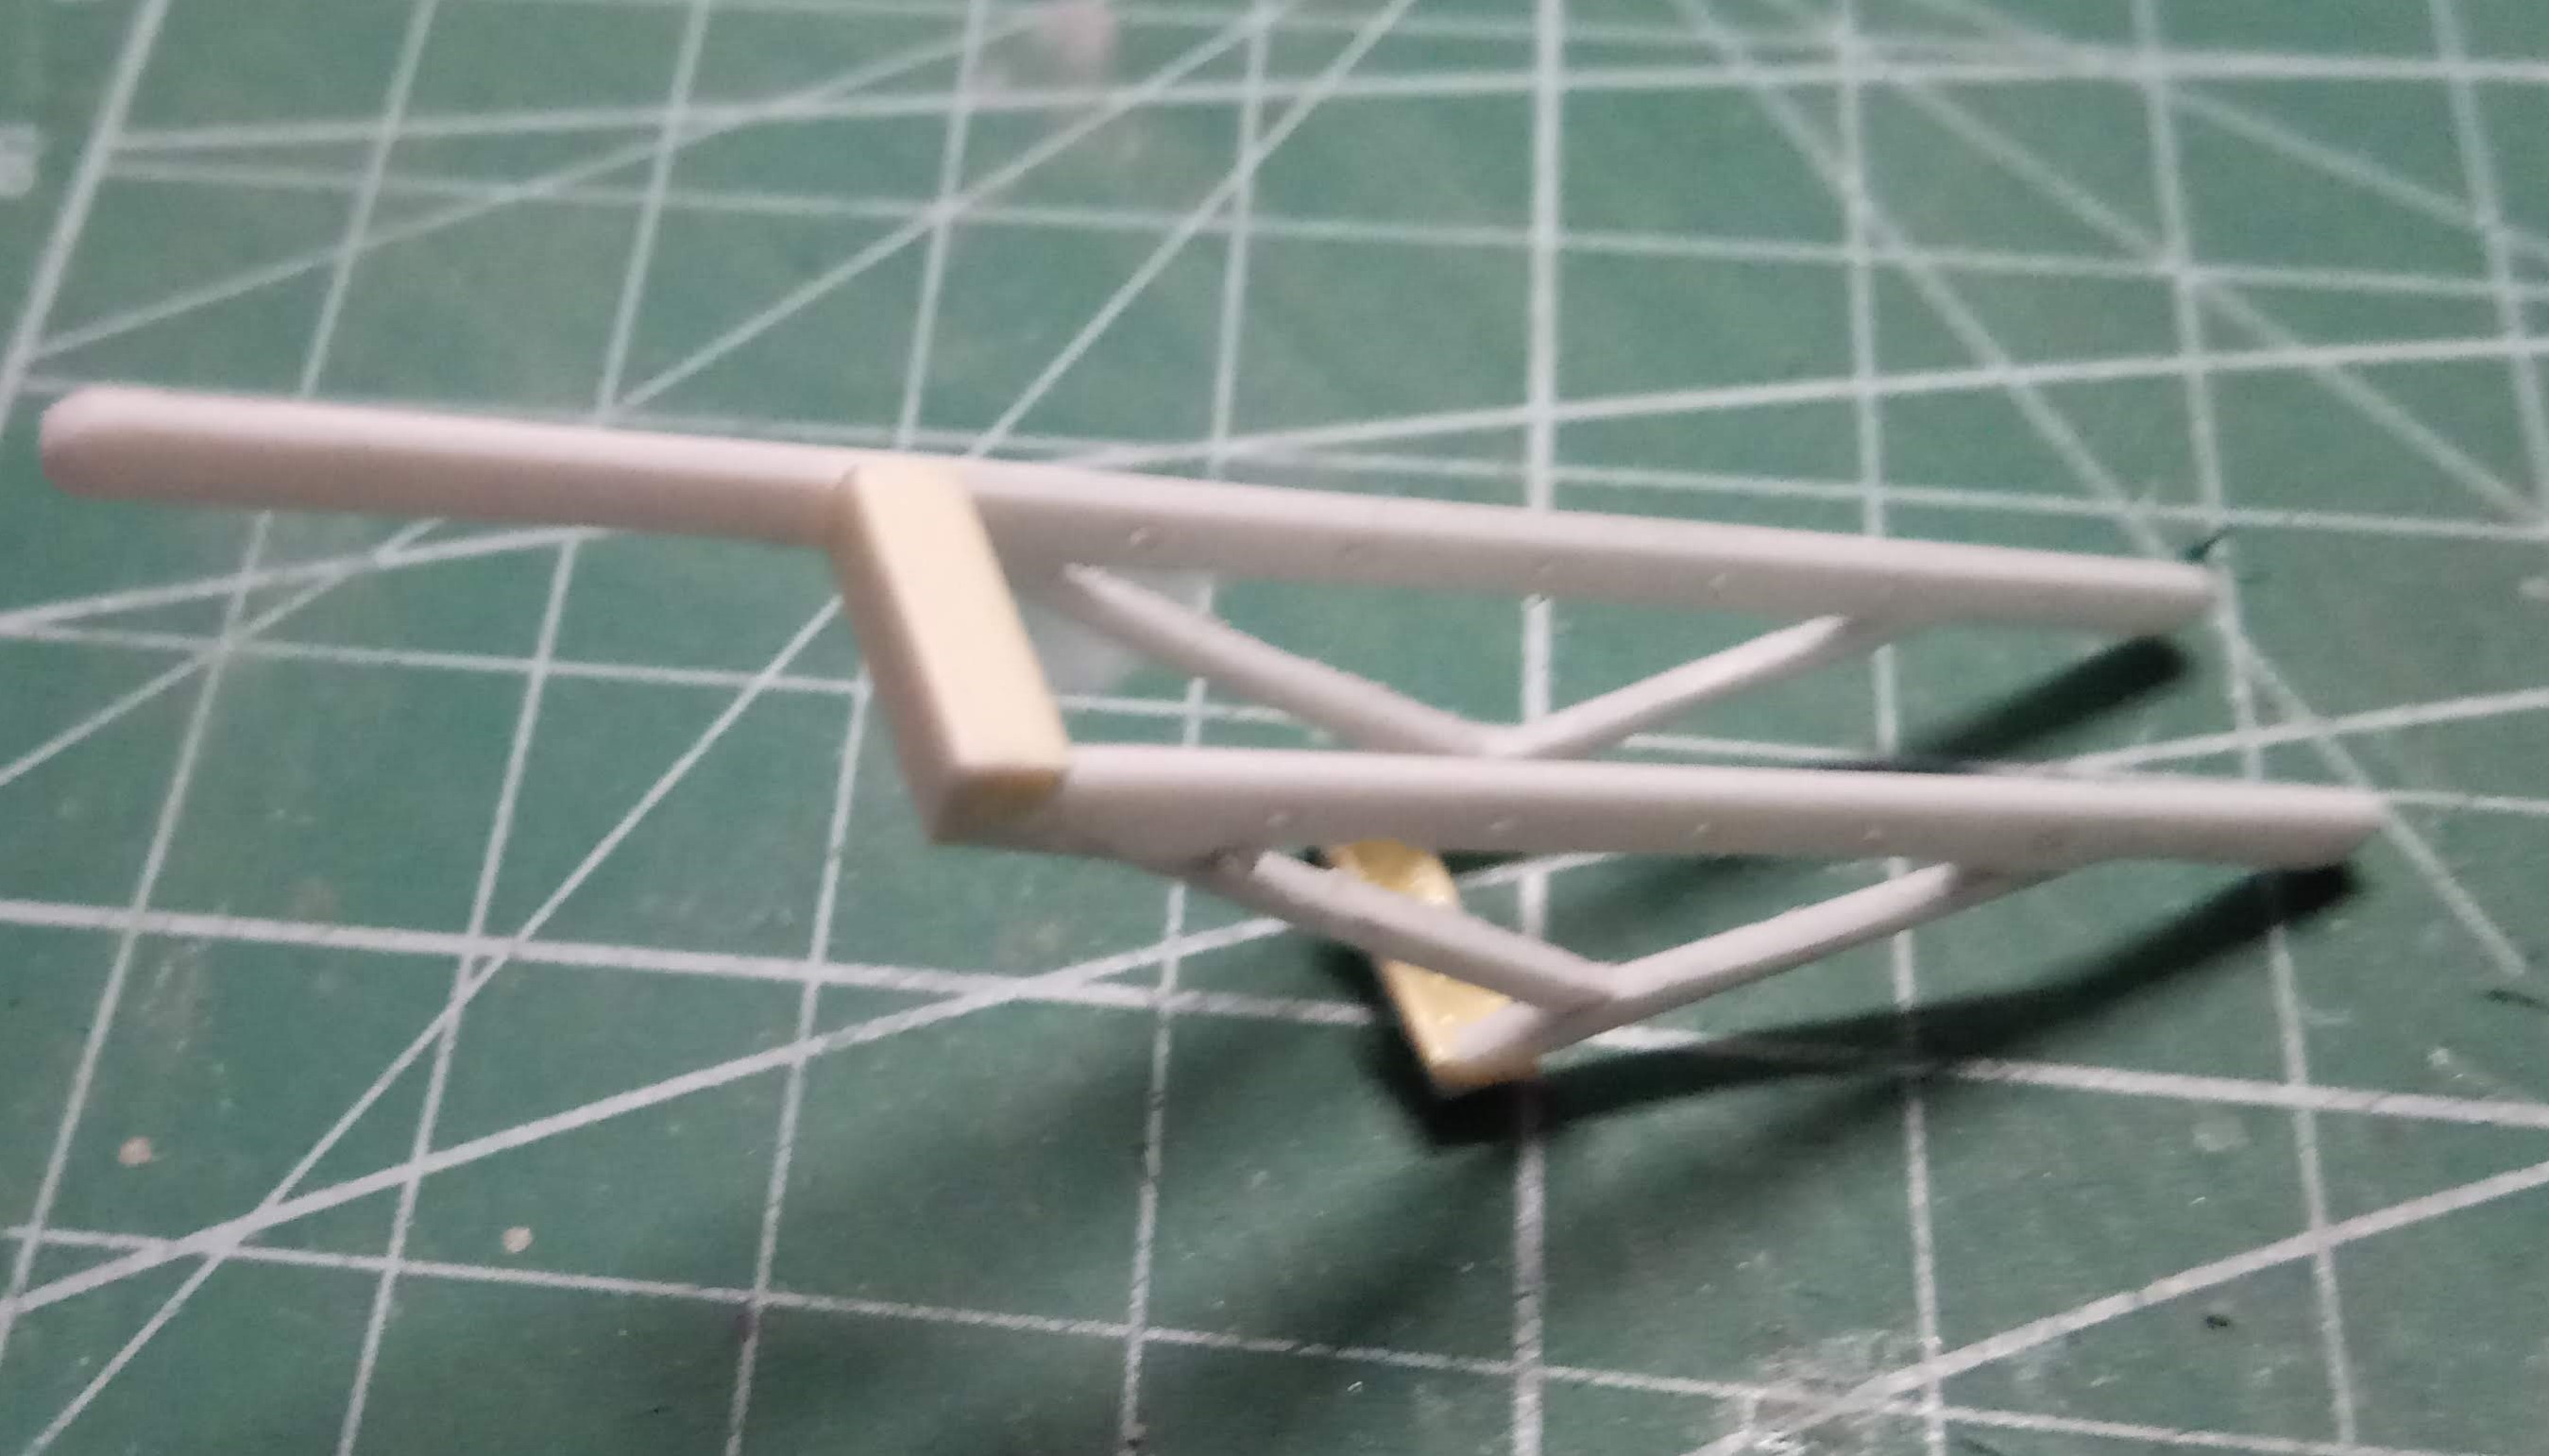
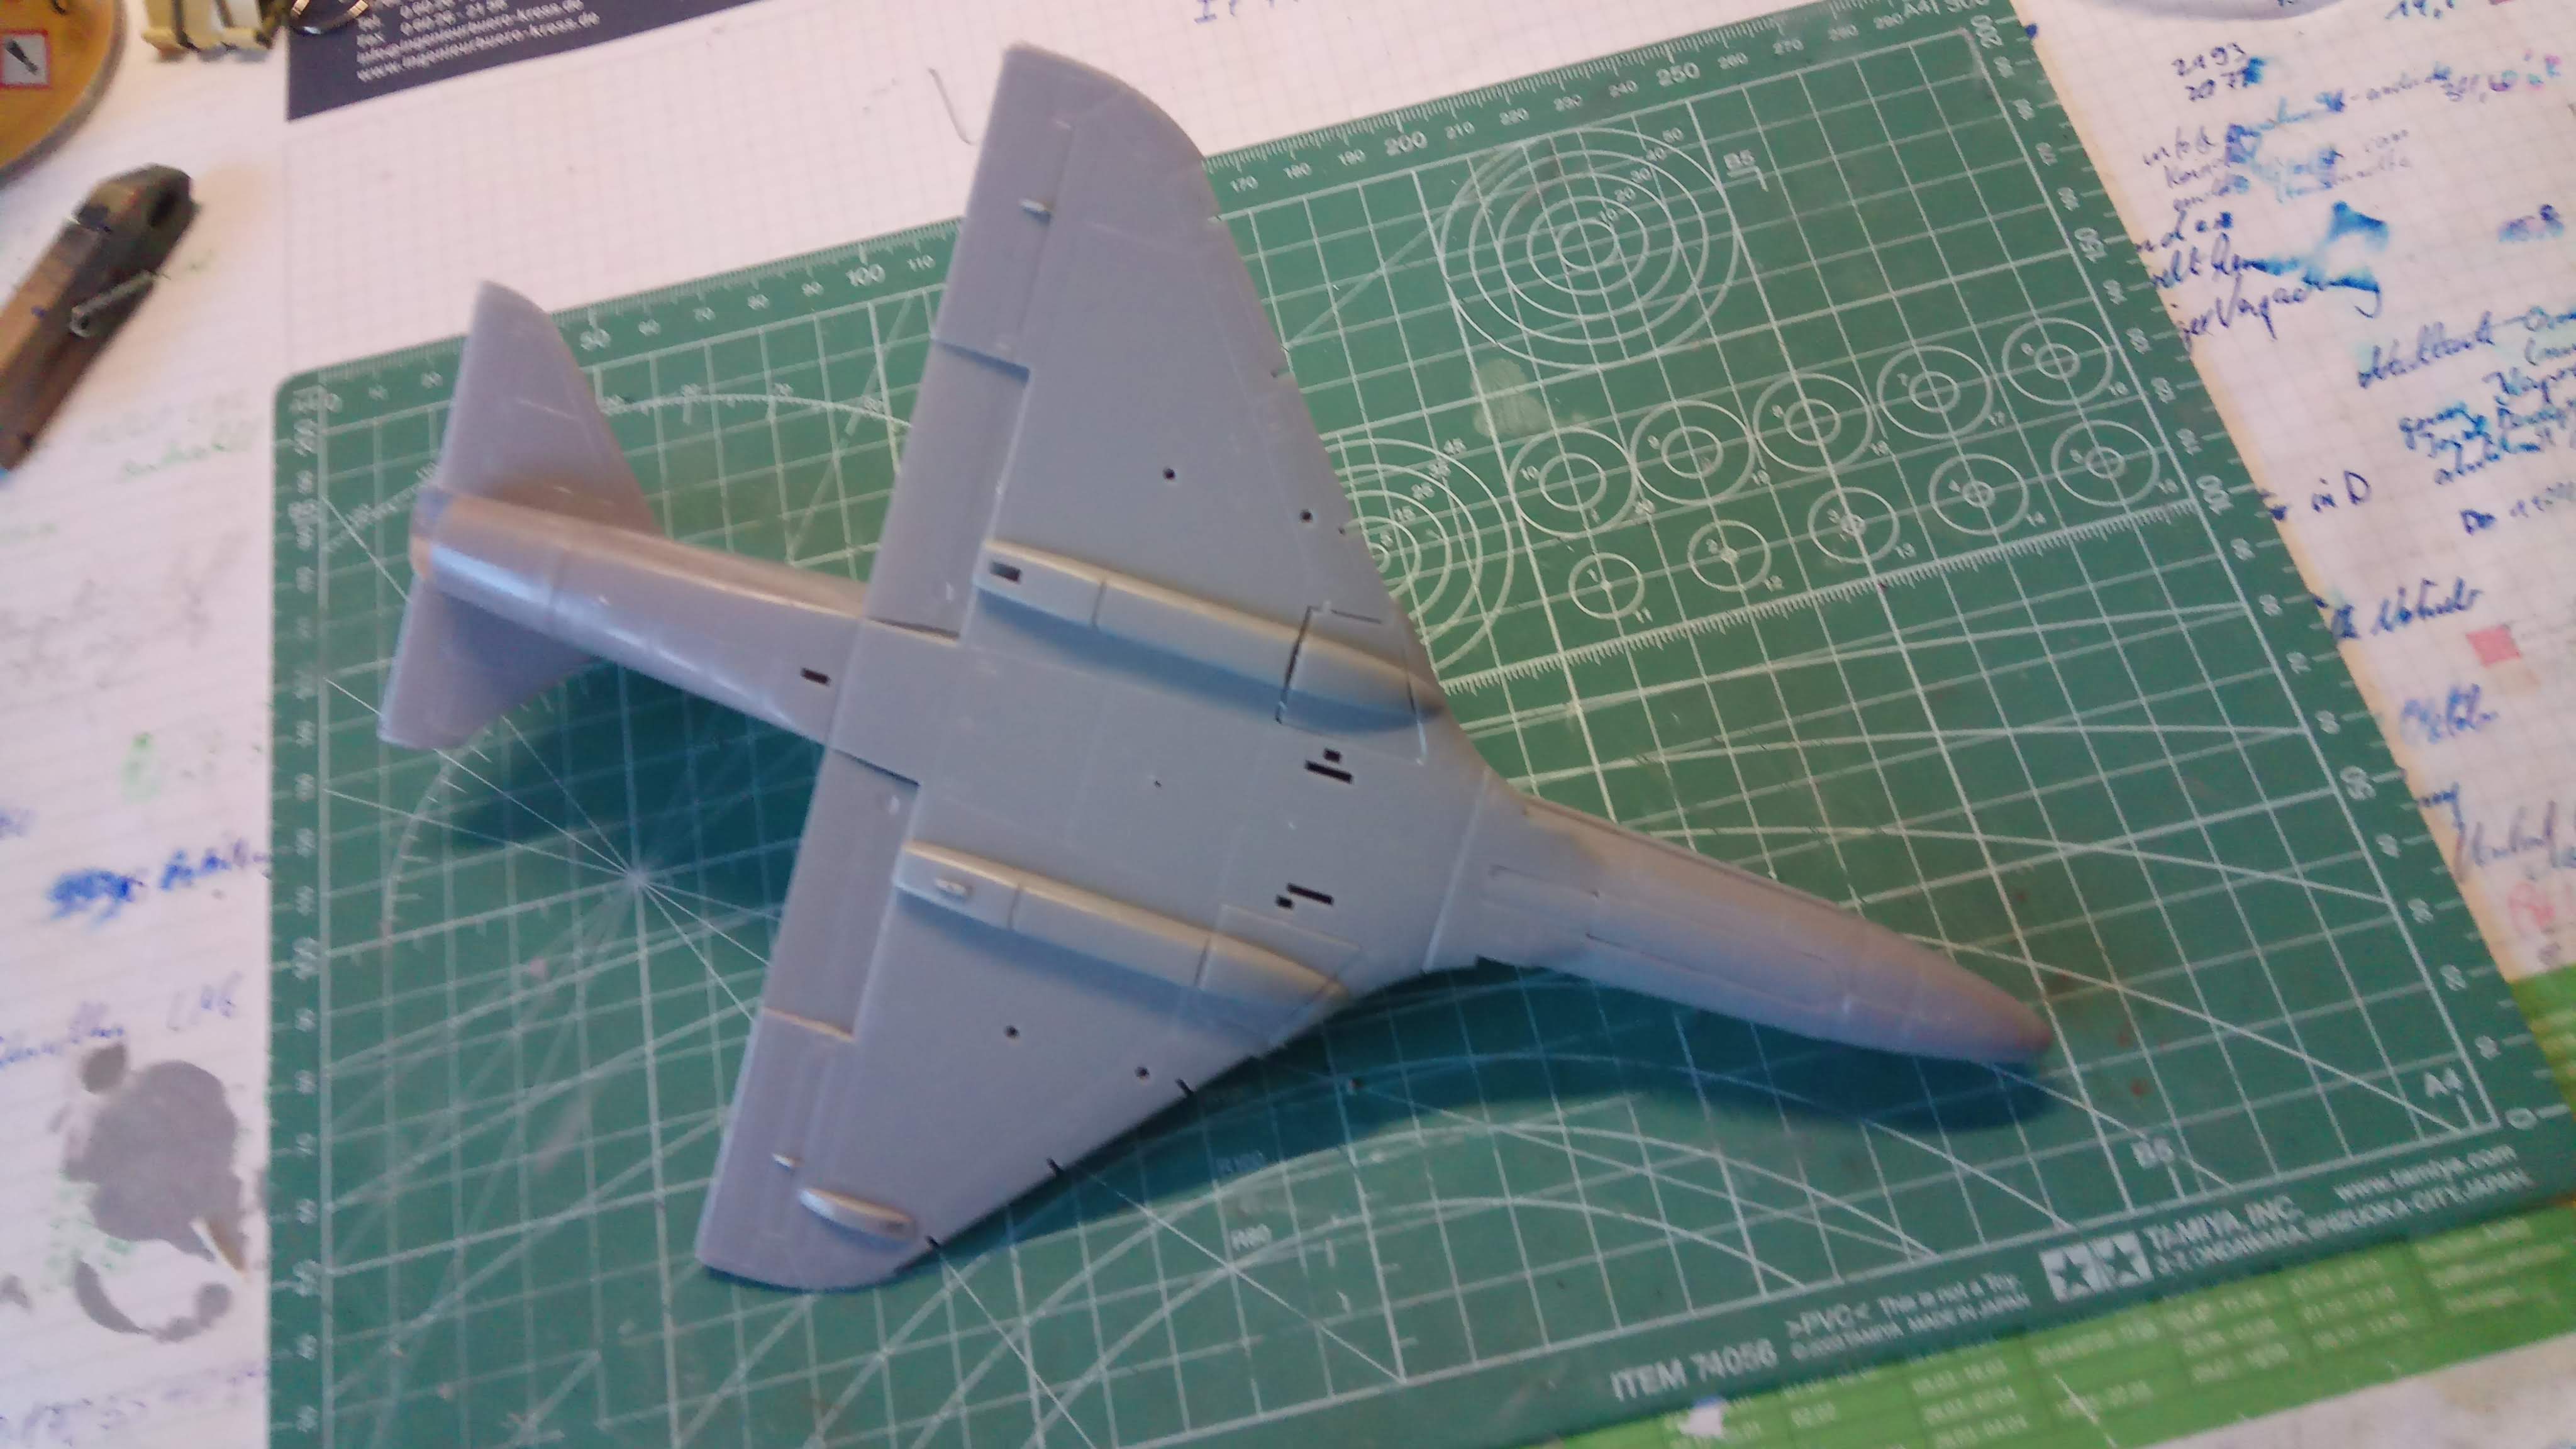
Tailplanes have more anhedral than main wings. This is how they should be installed: The 2mm thin tailwings should be glued to a kind of backing plate wiht neither positive fixation in any direction.


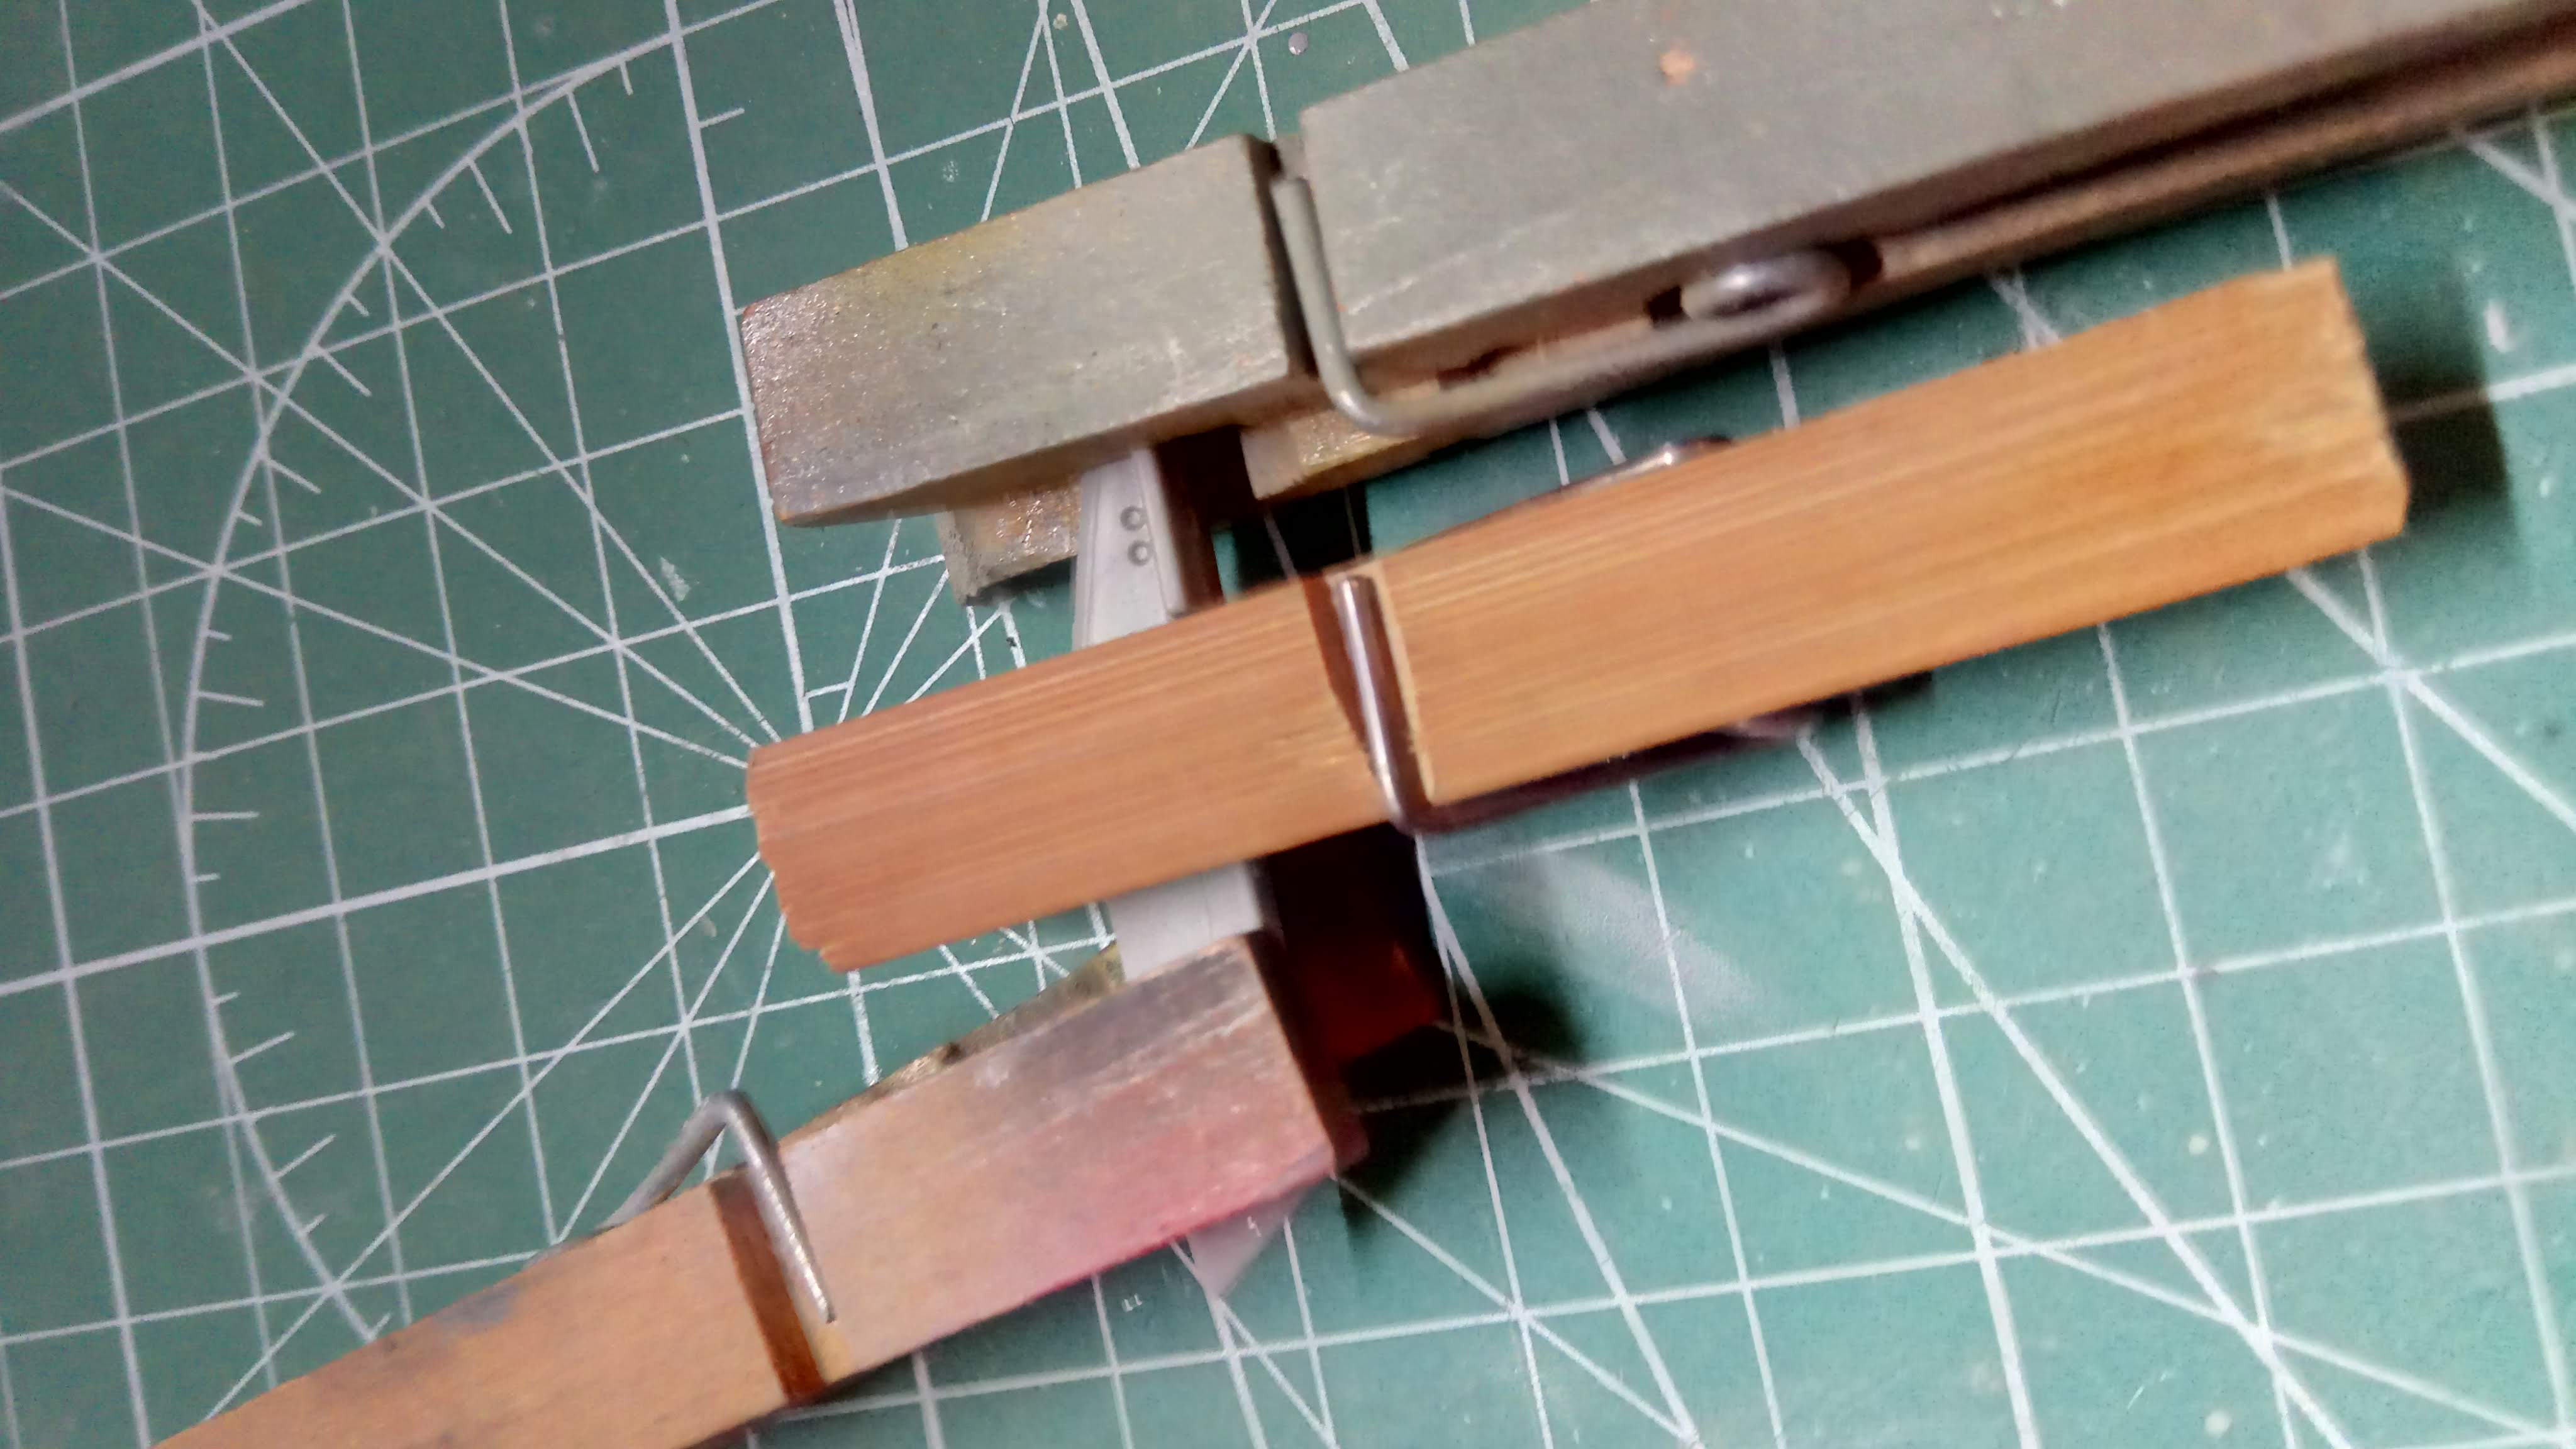
I finally fixed them temporarily on the model, put the model in a horizontal position and supported the tailplanes when the position looked right until the glue dried.

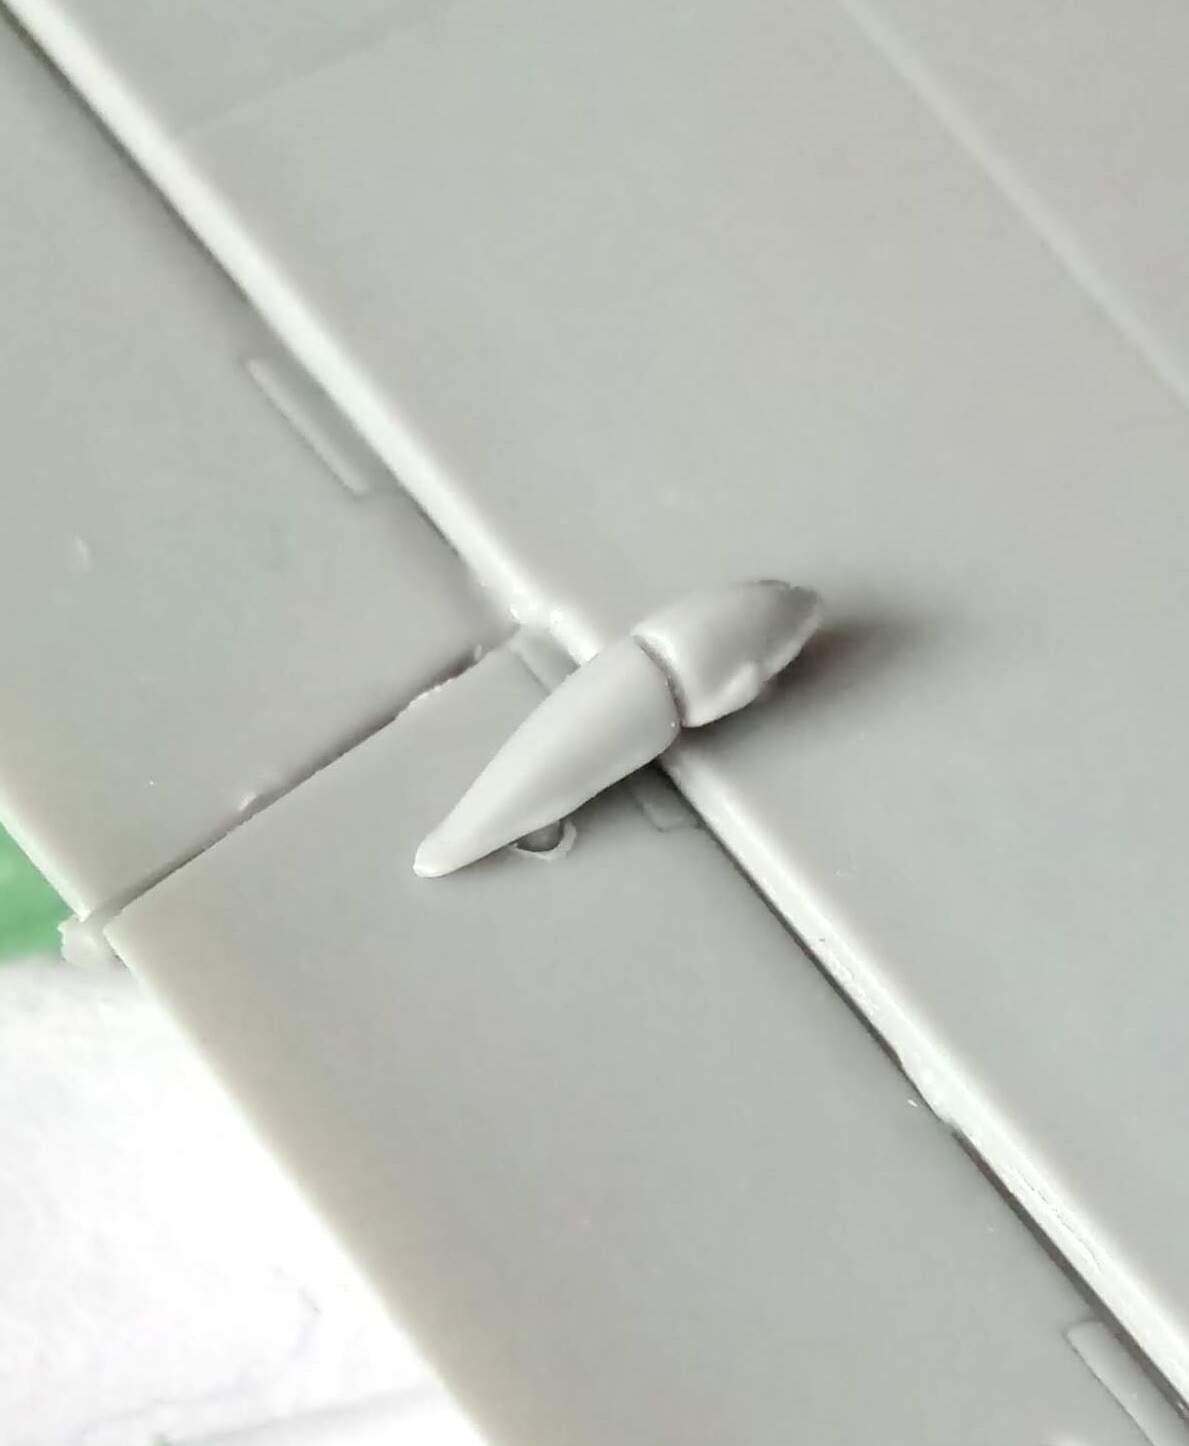
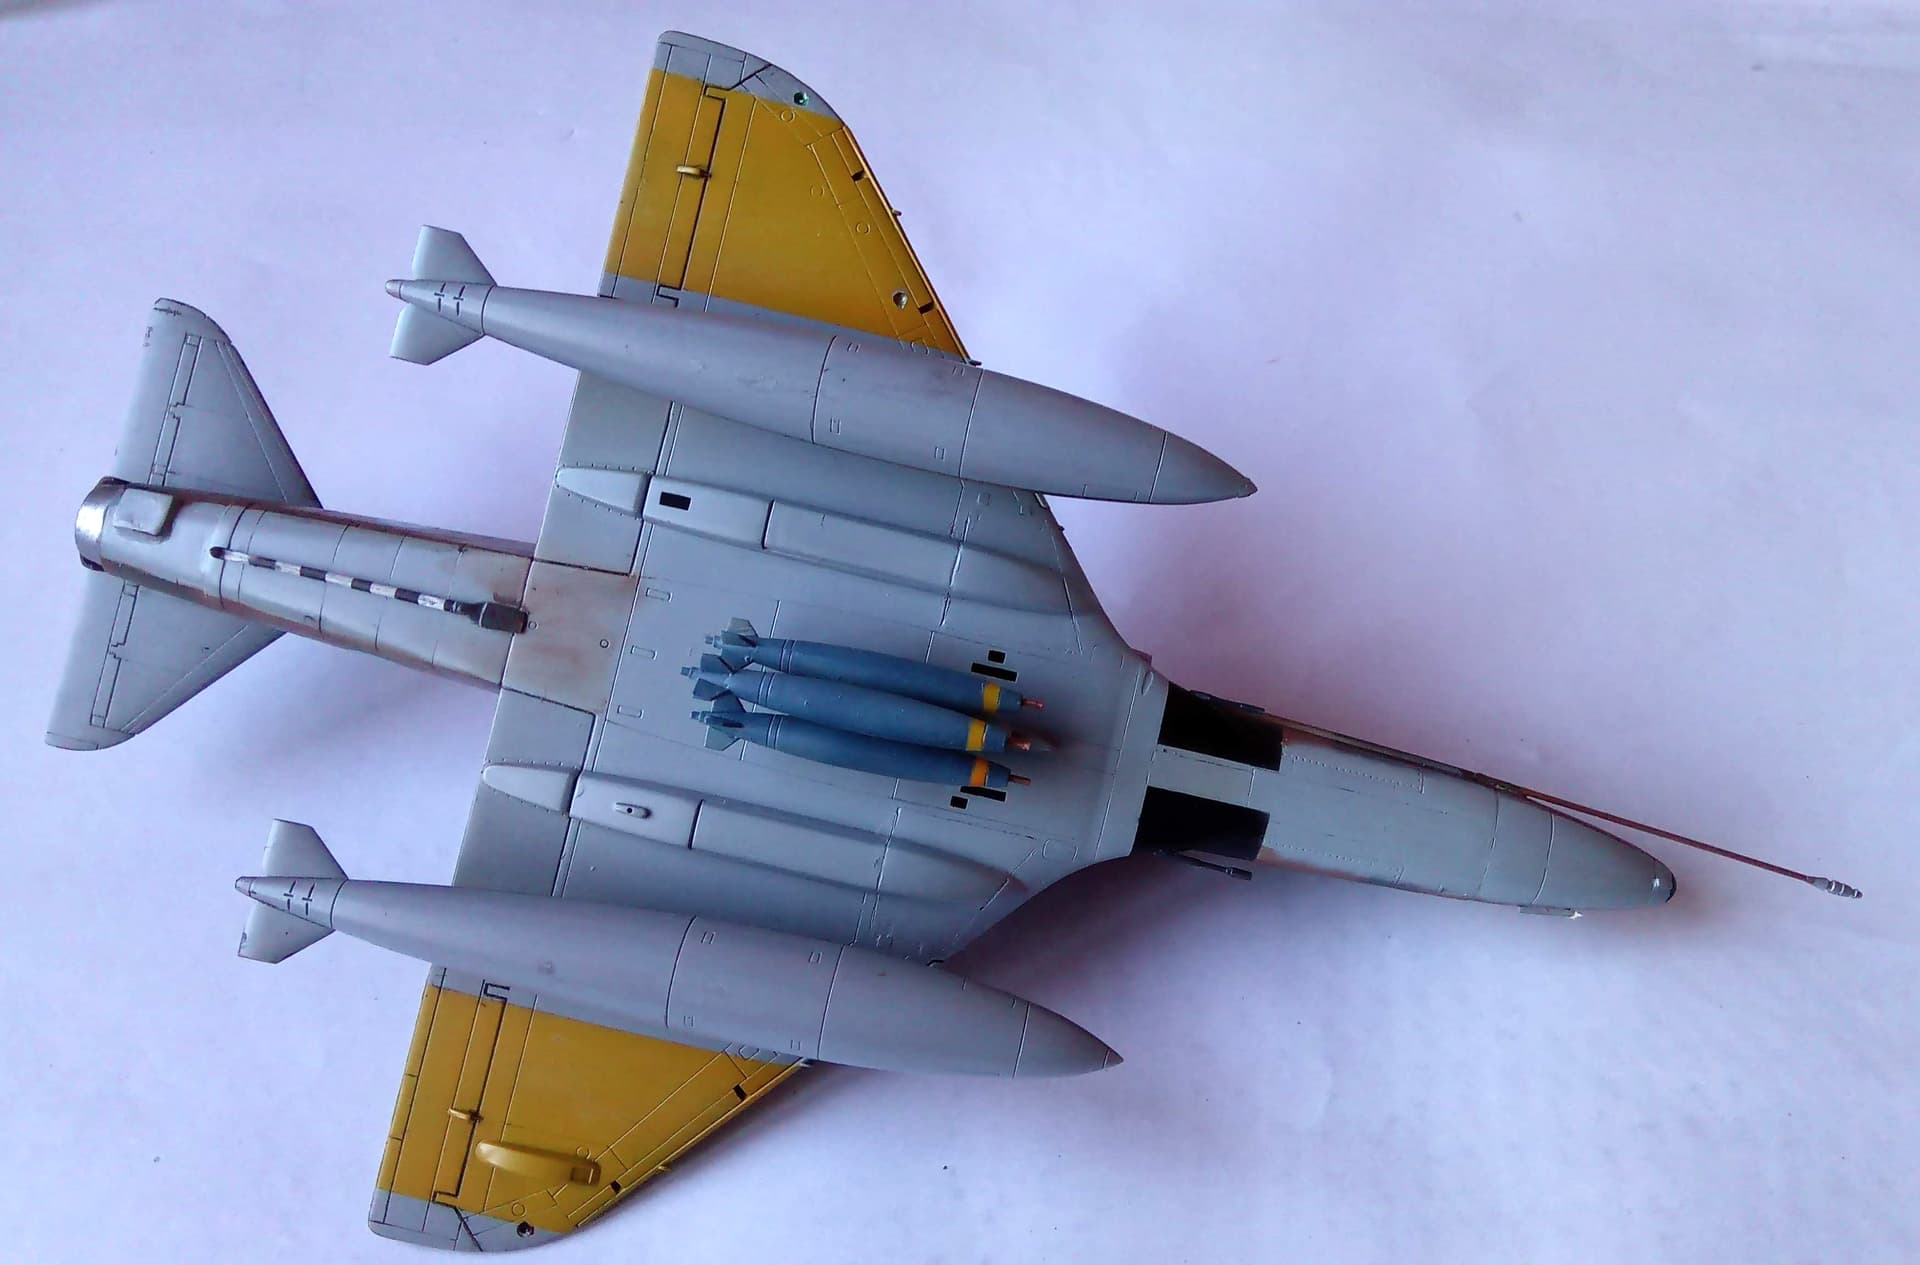
Even weapon pylons fought back with completely uneven surfaces and too shallow location holes
Even after a lot of sanding they were only fitting using brute force.


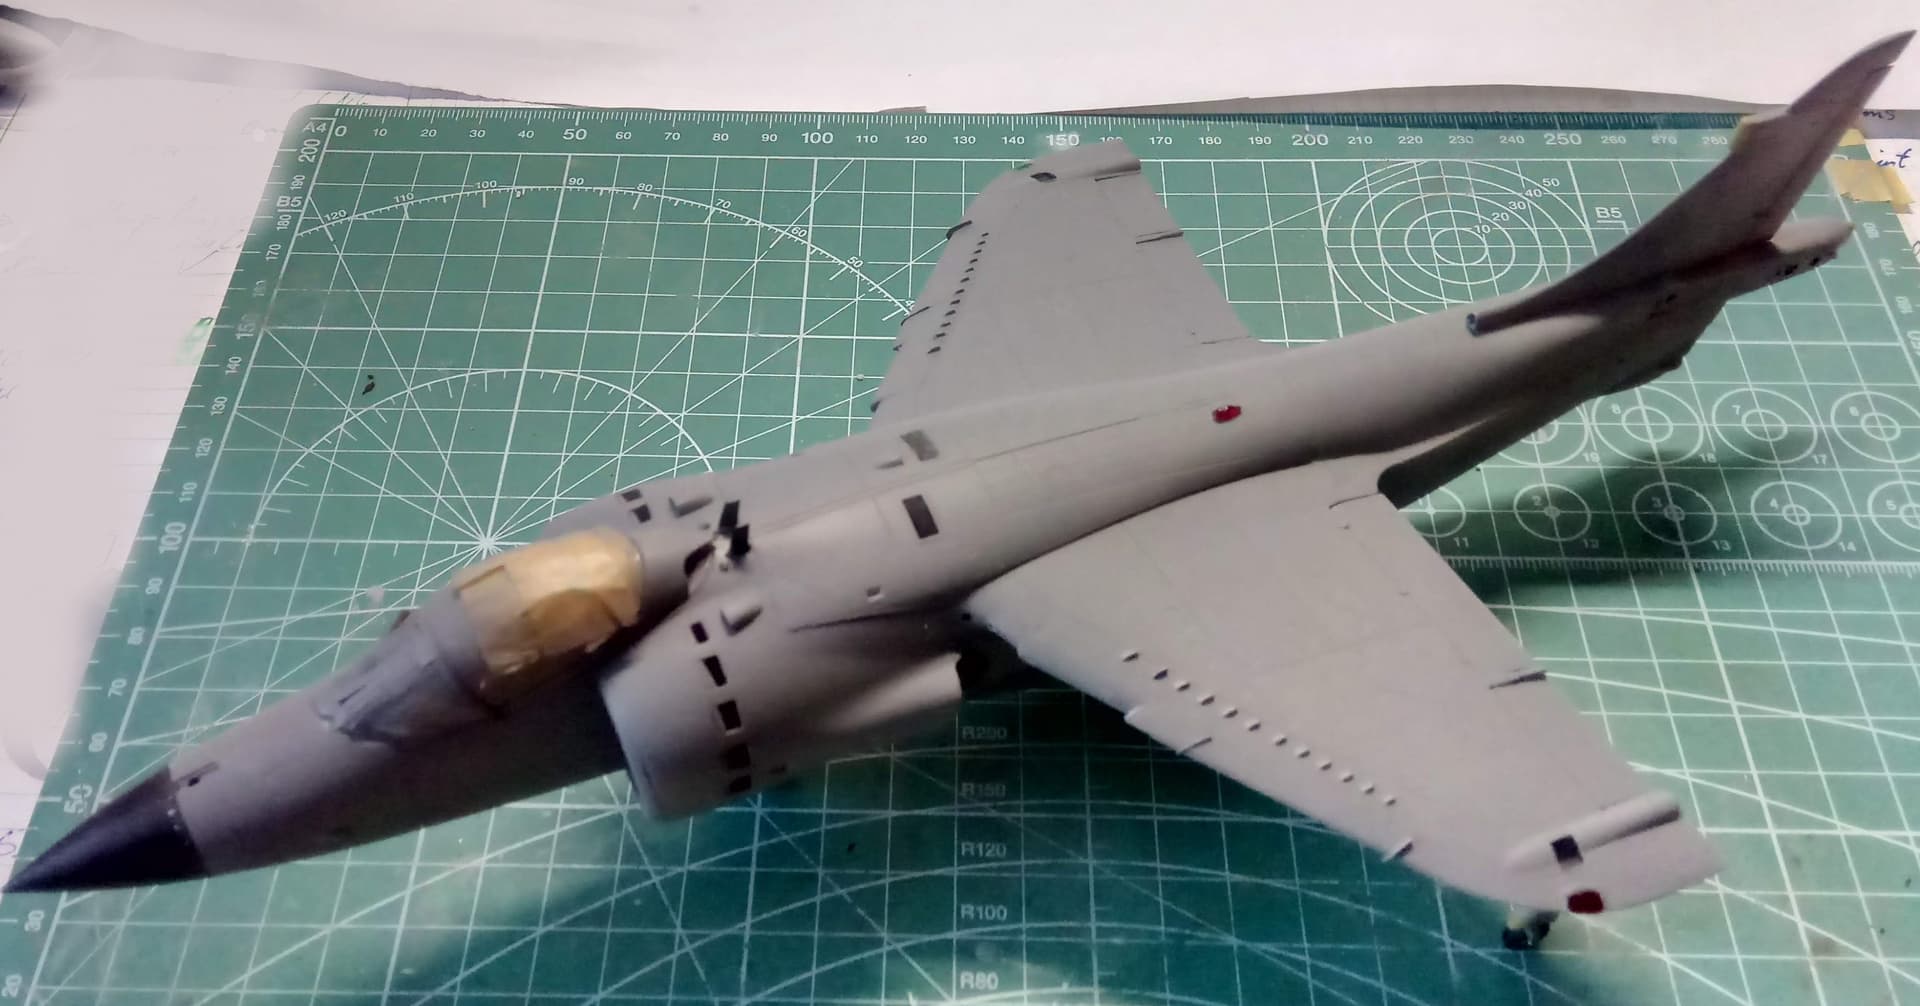
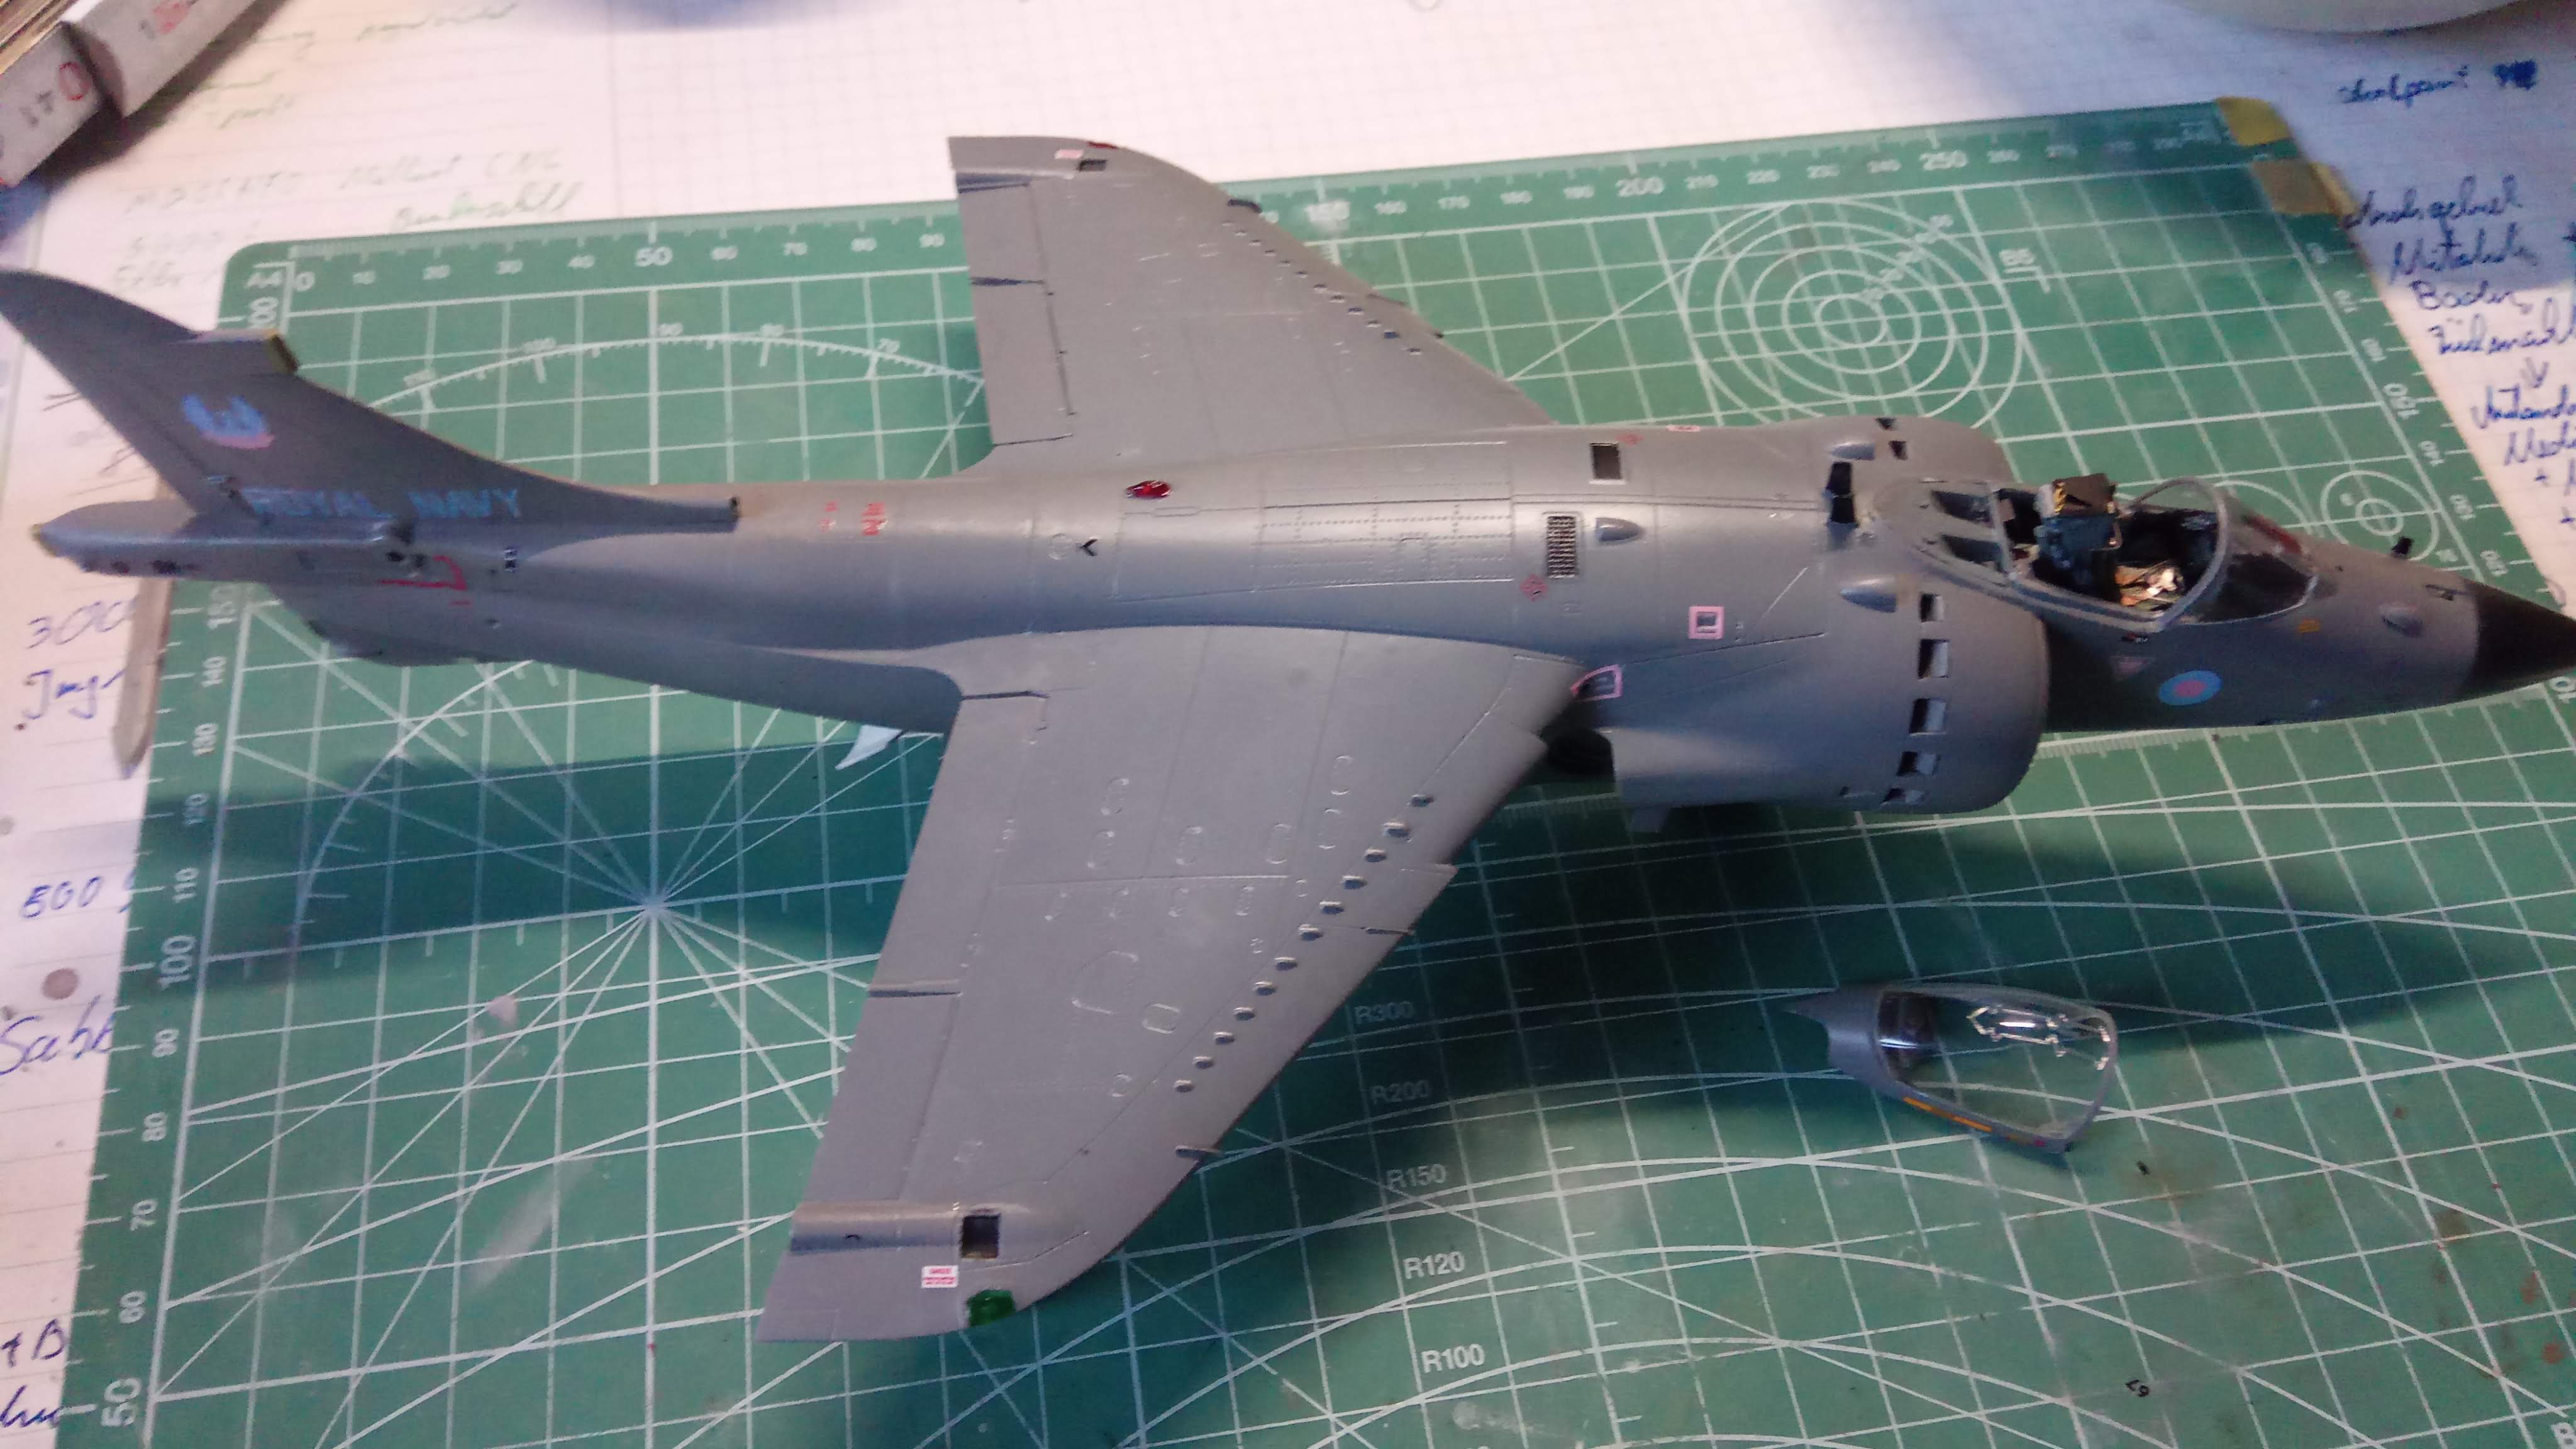
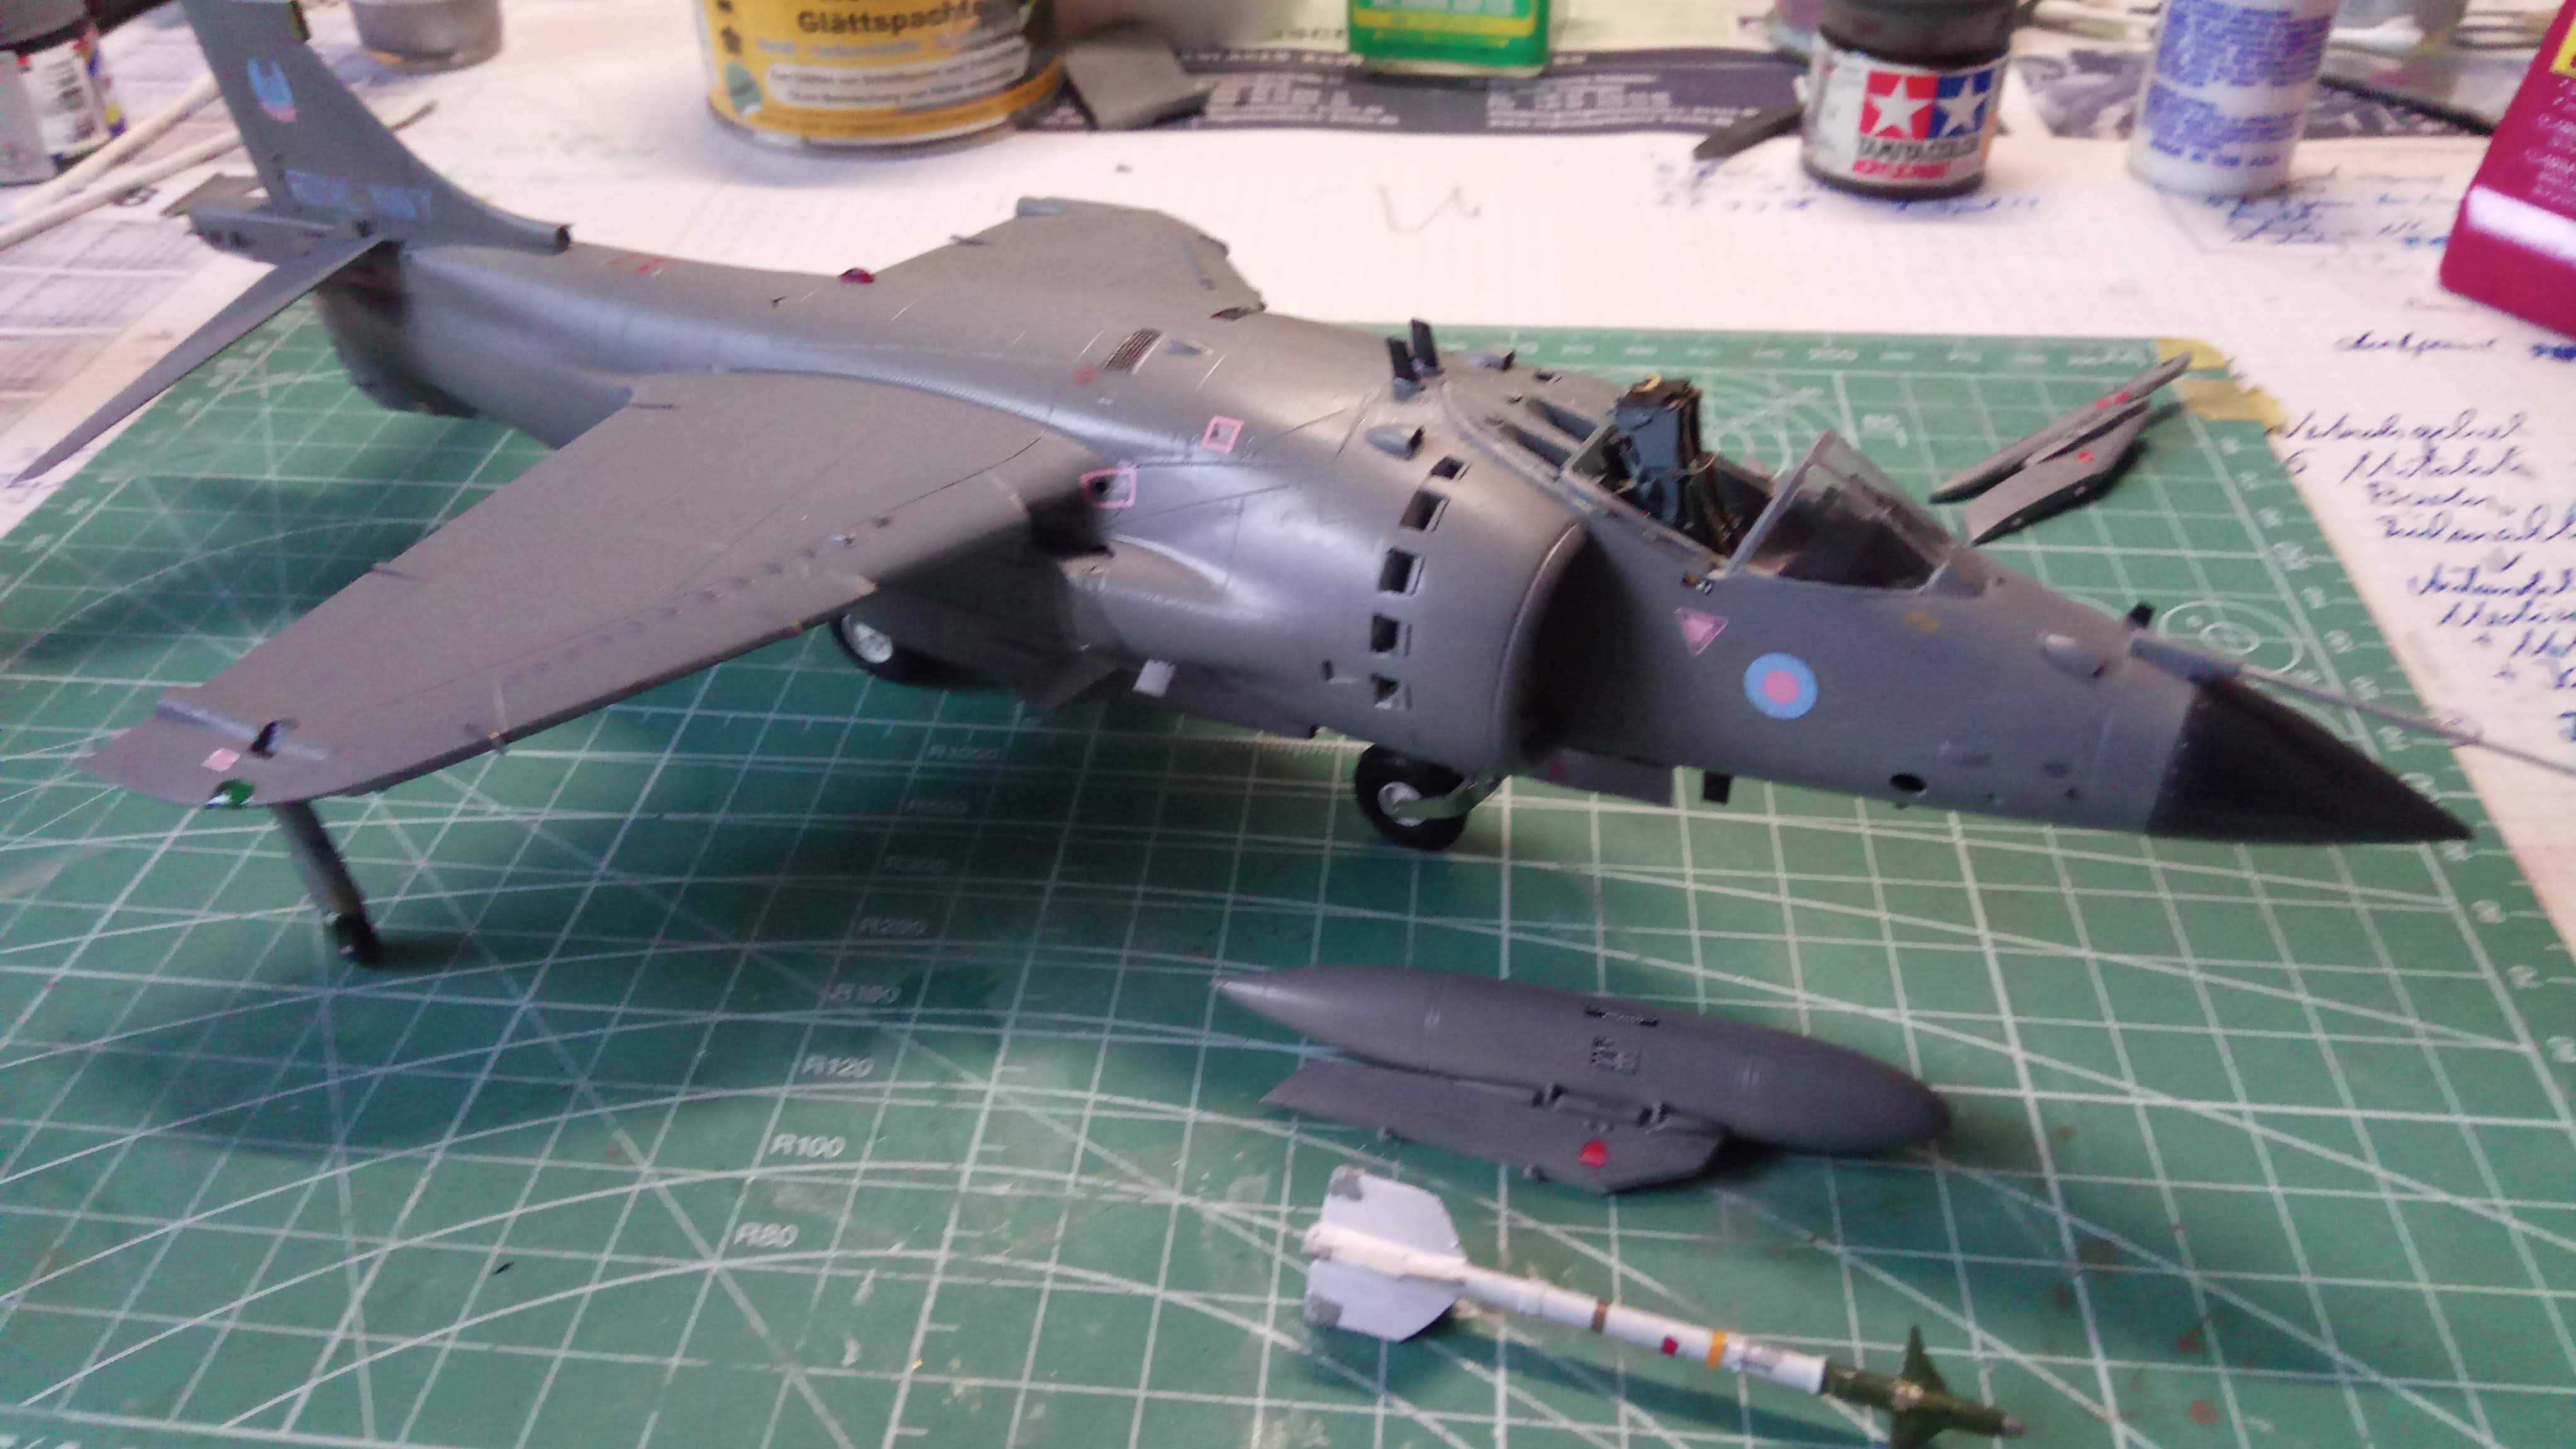
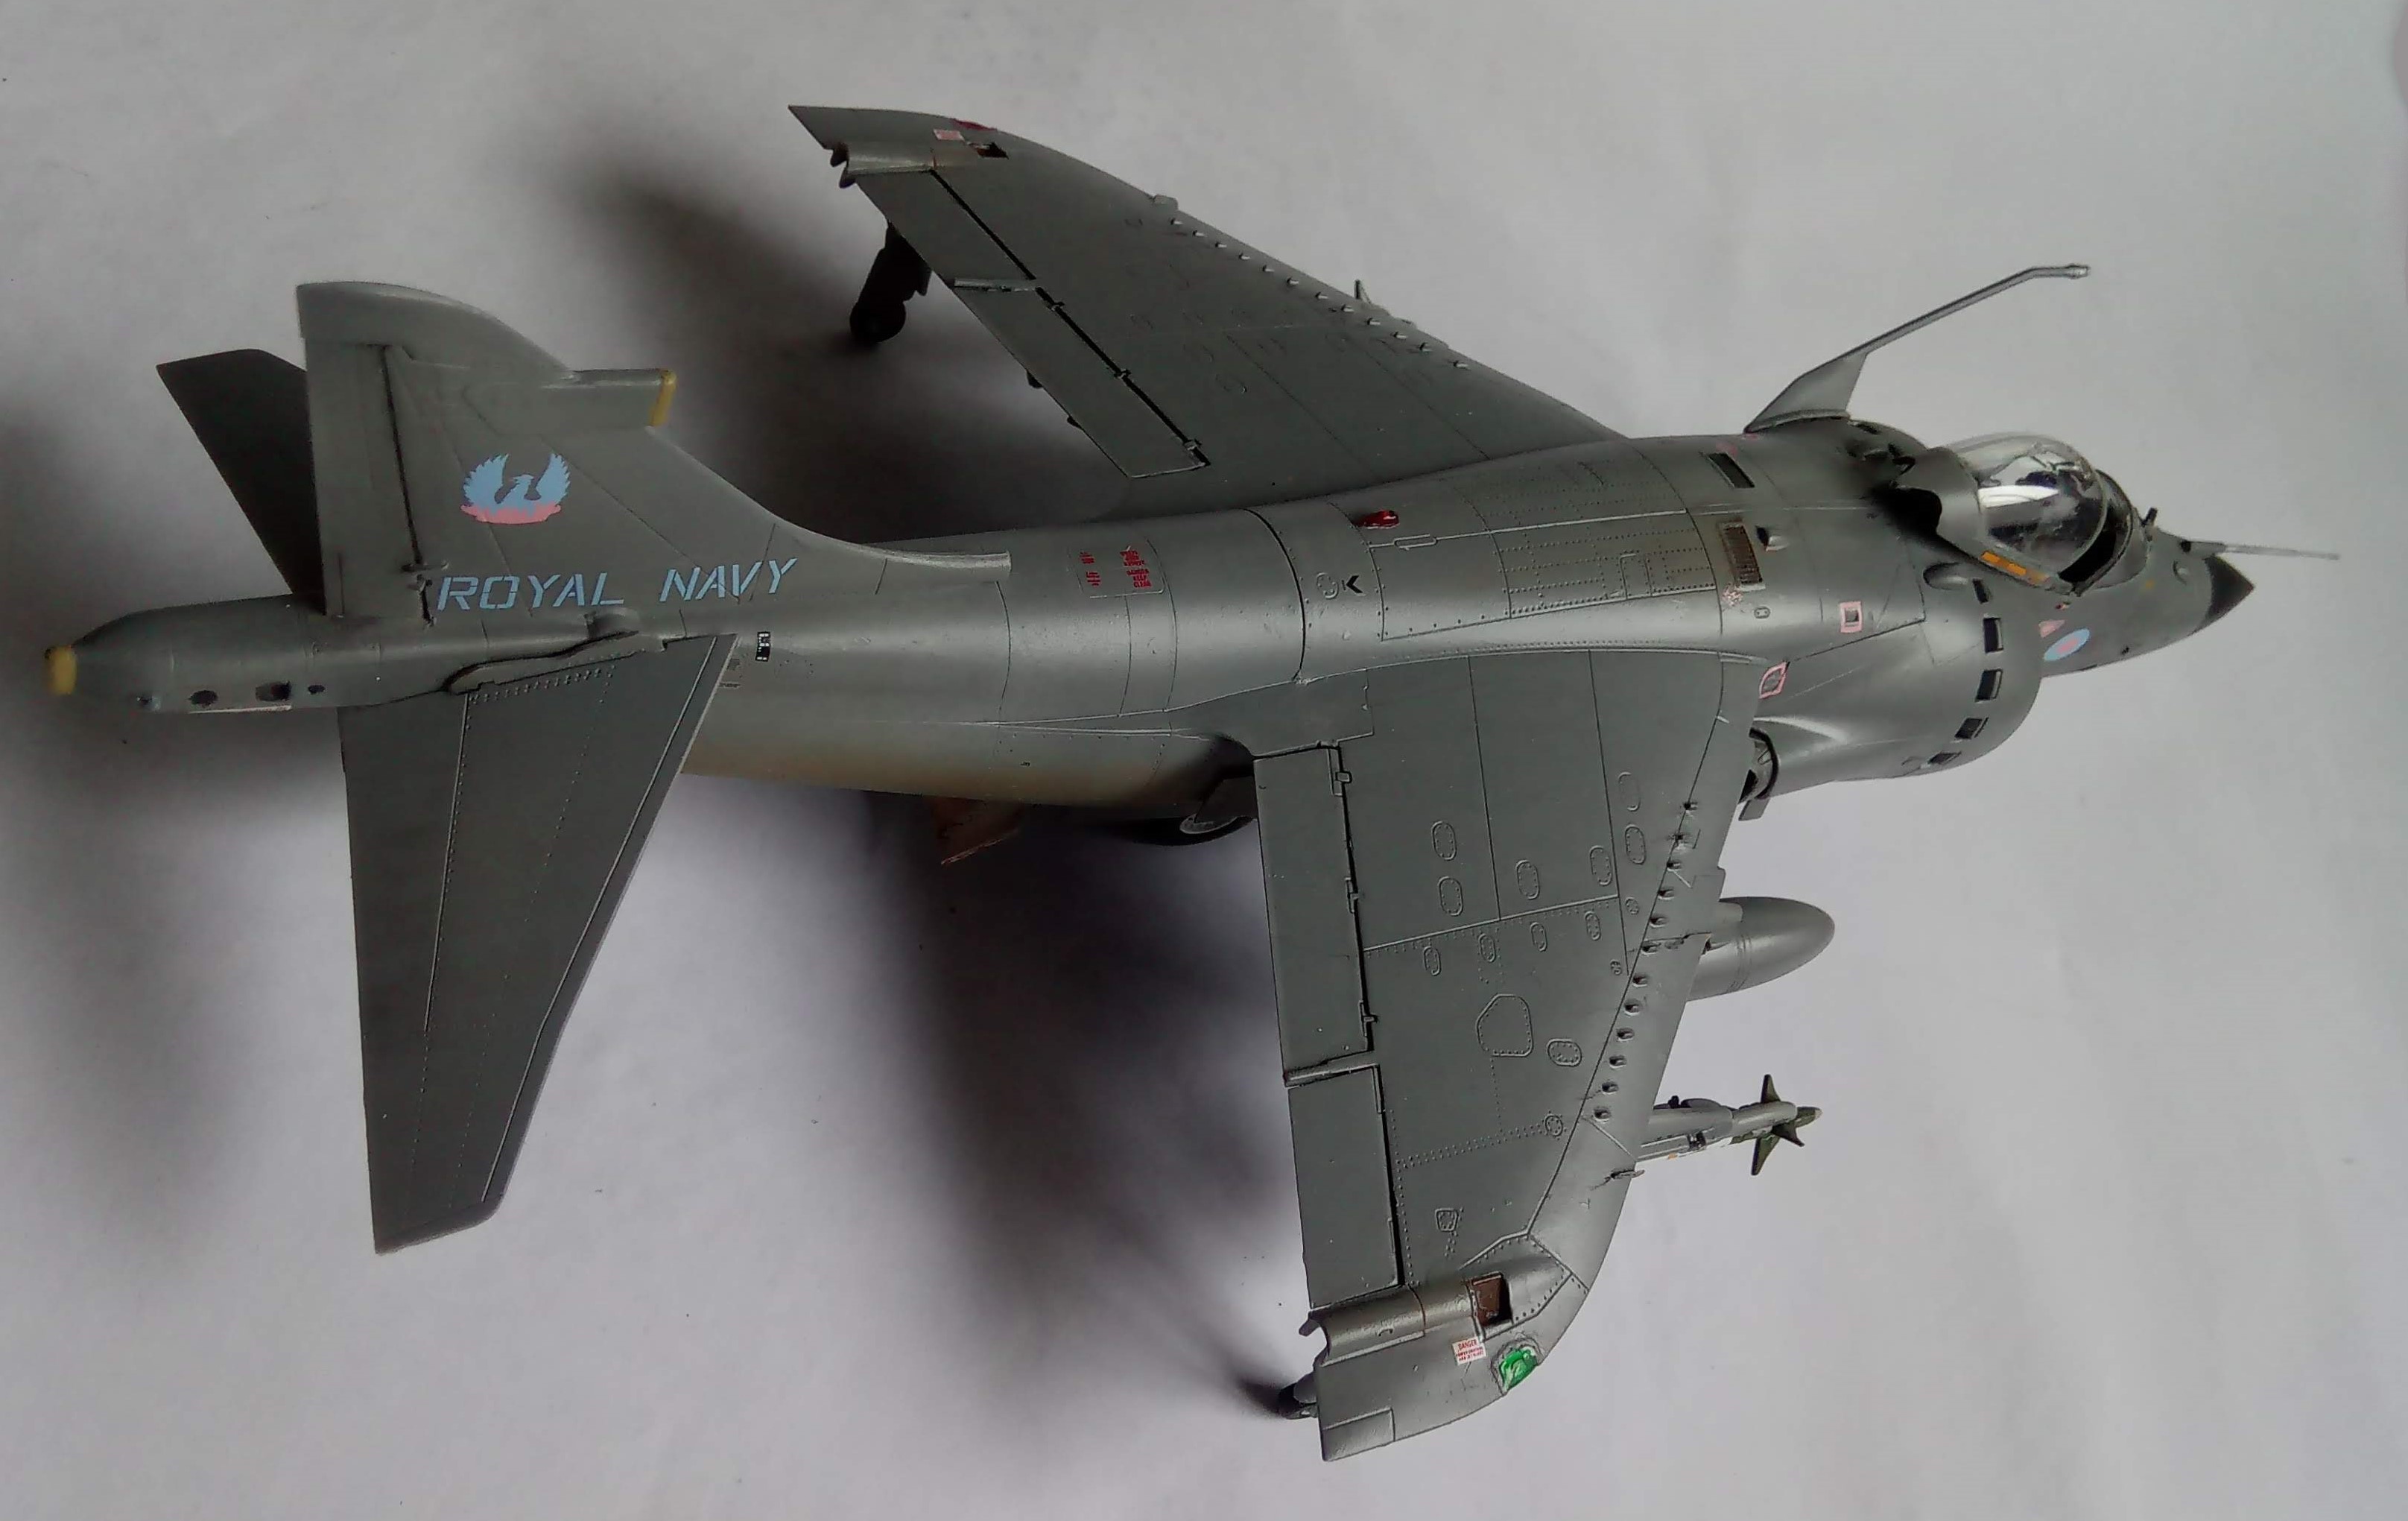
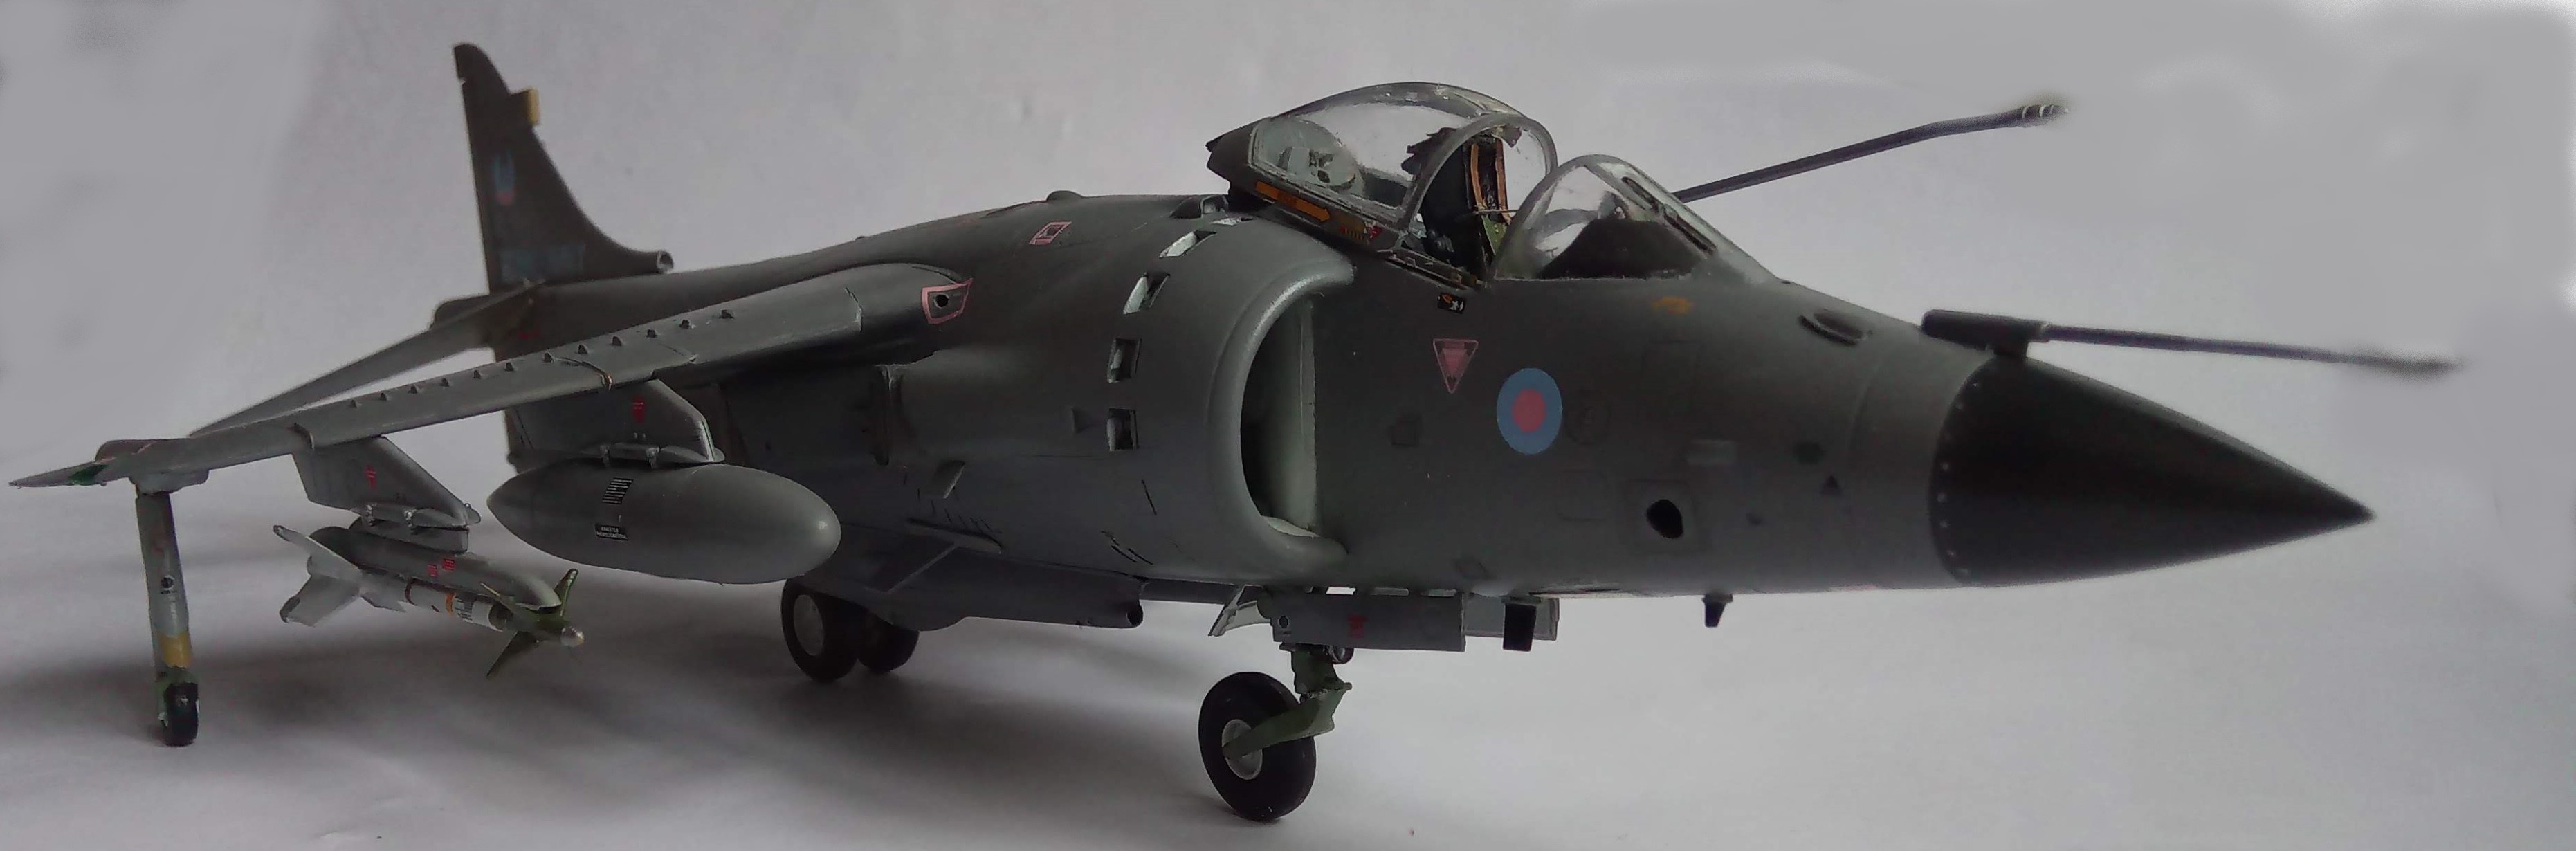
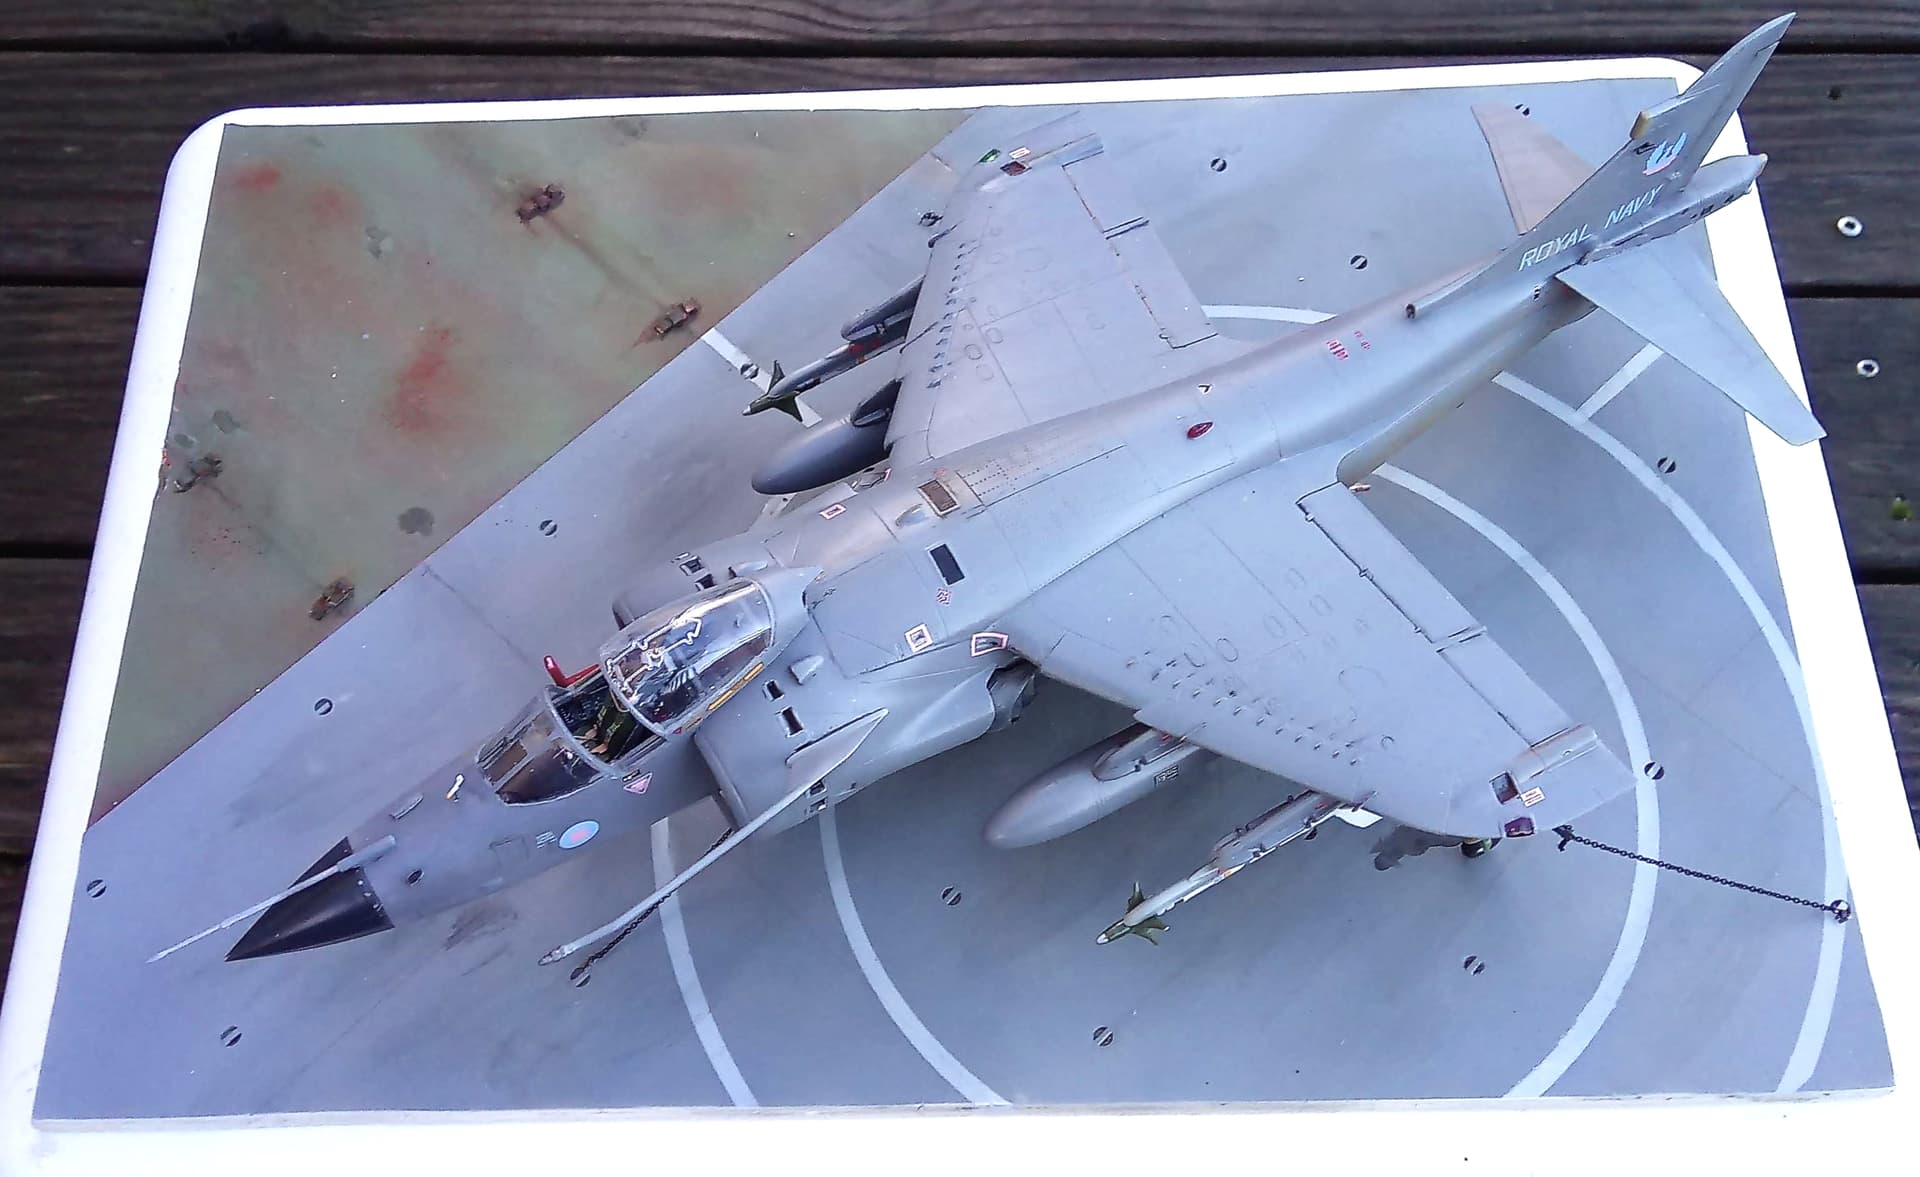
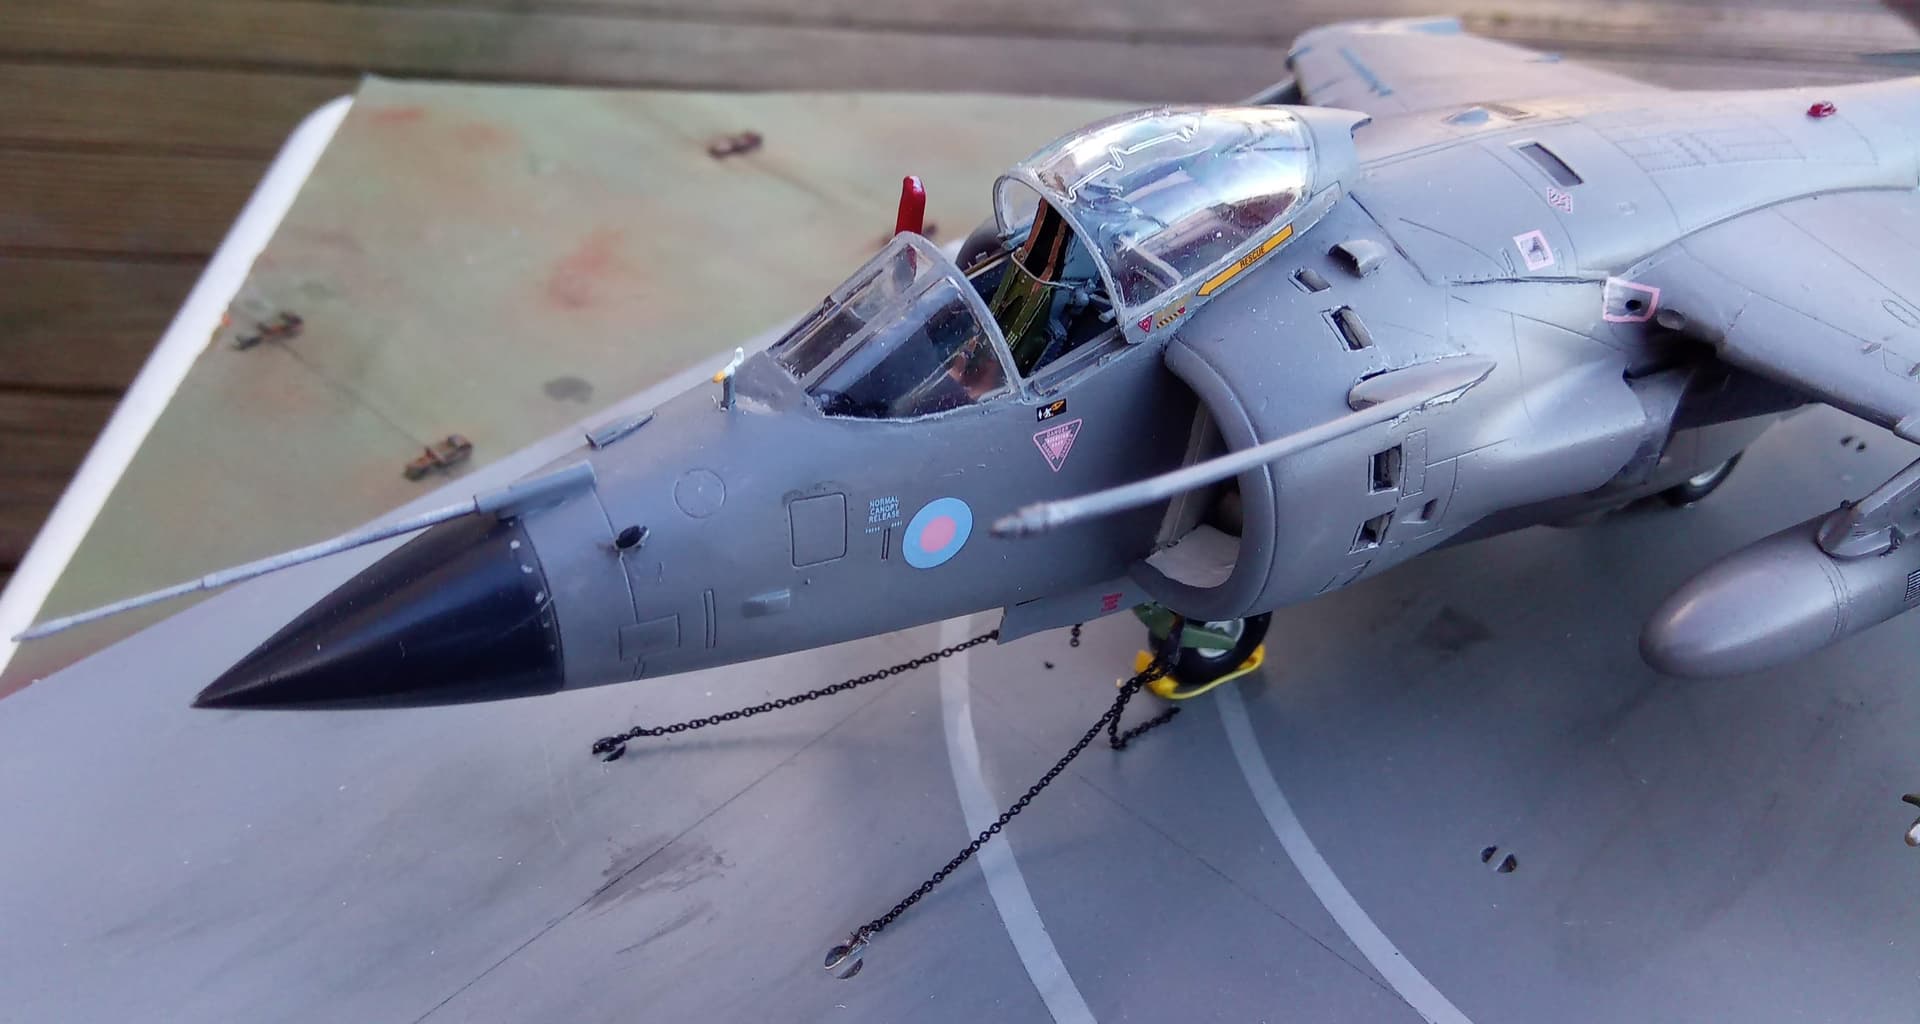
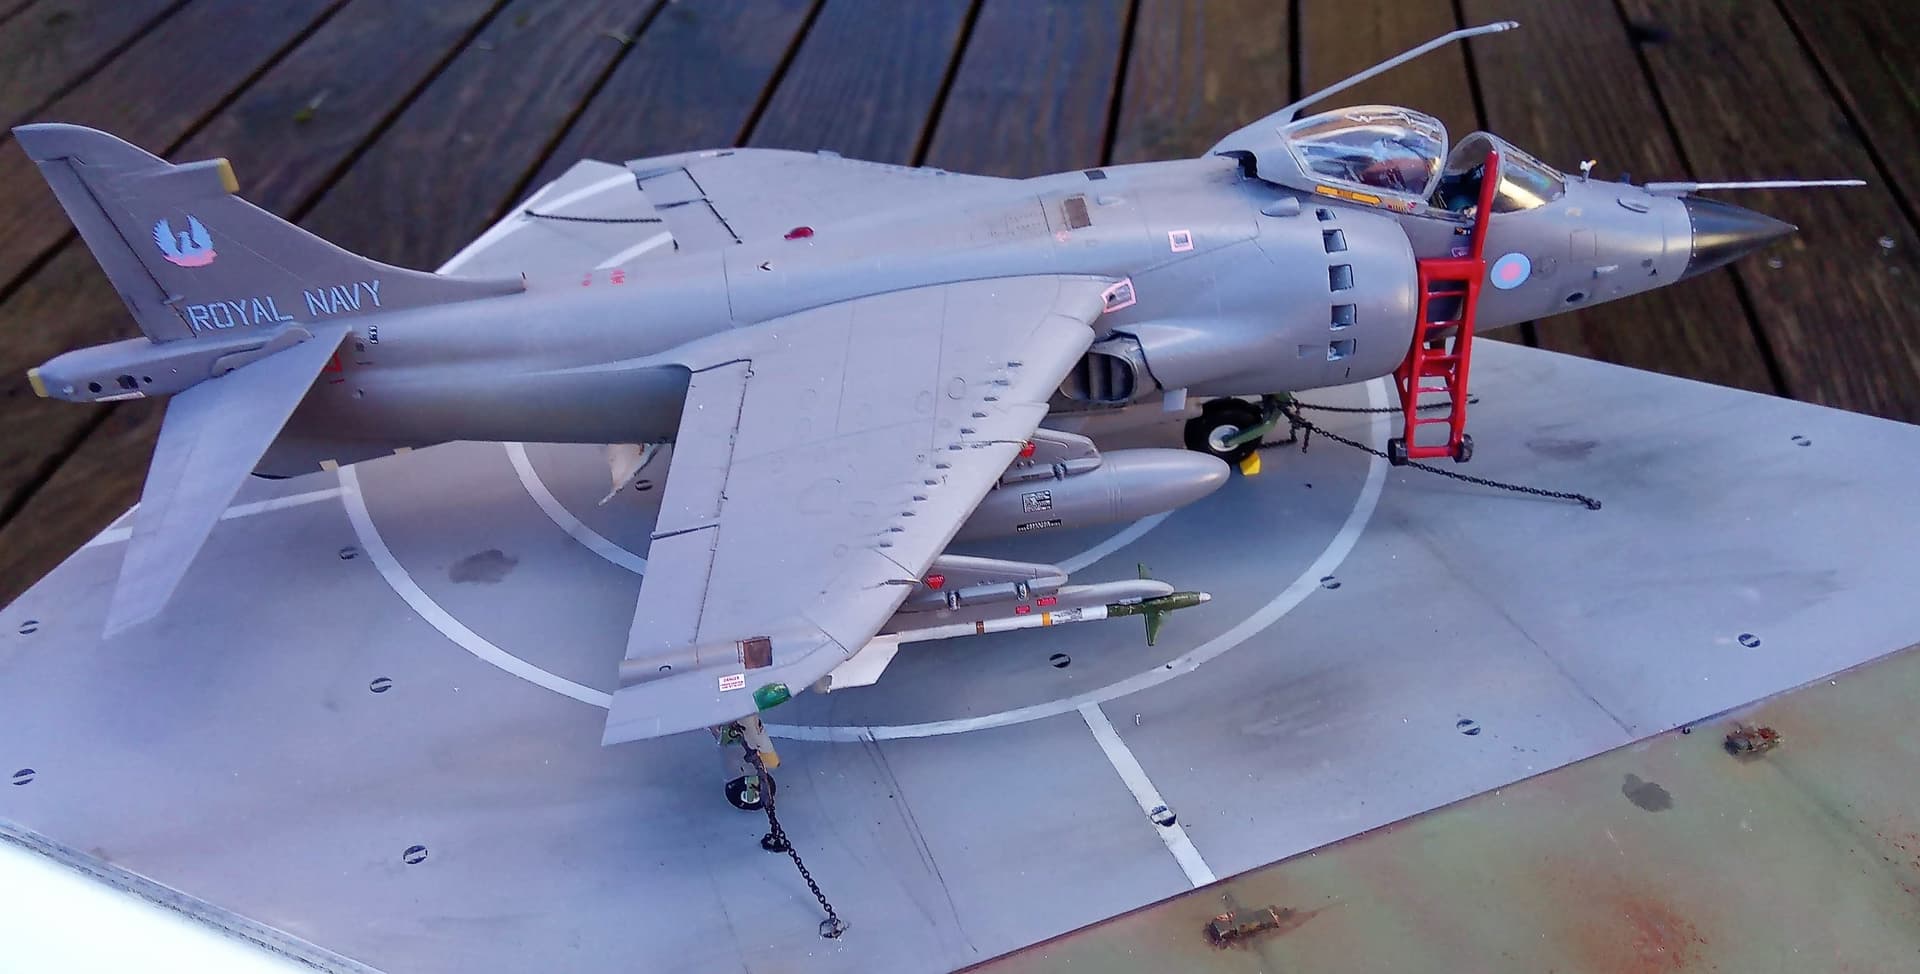
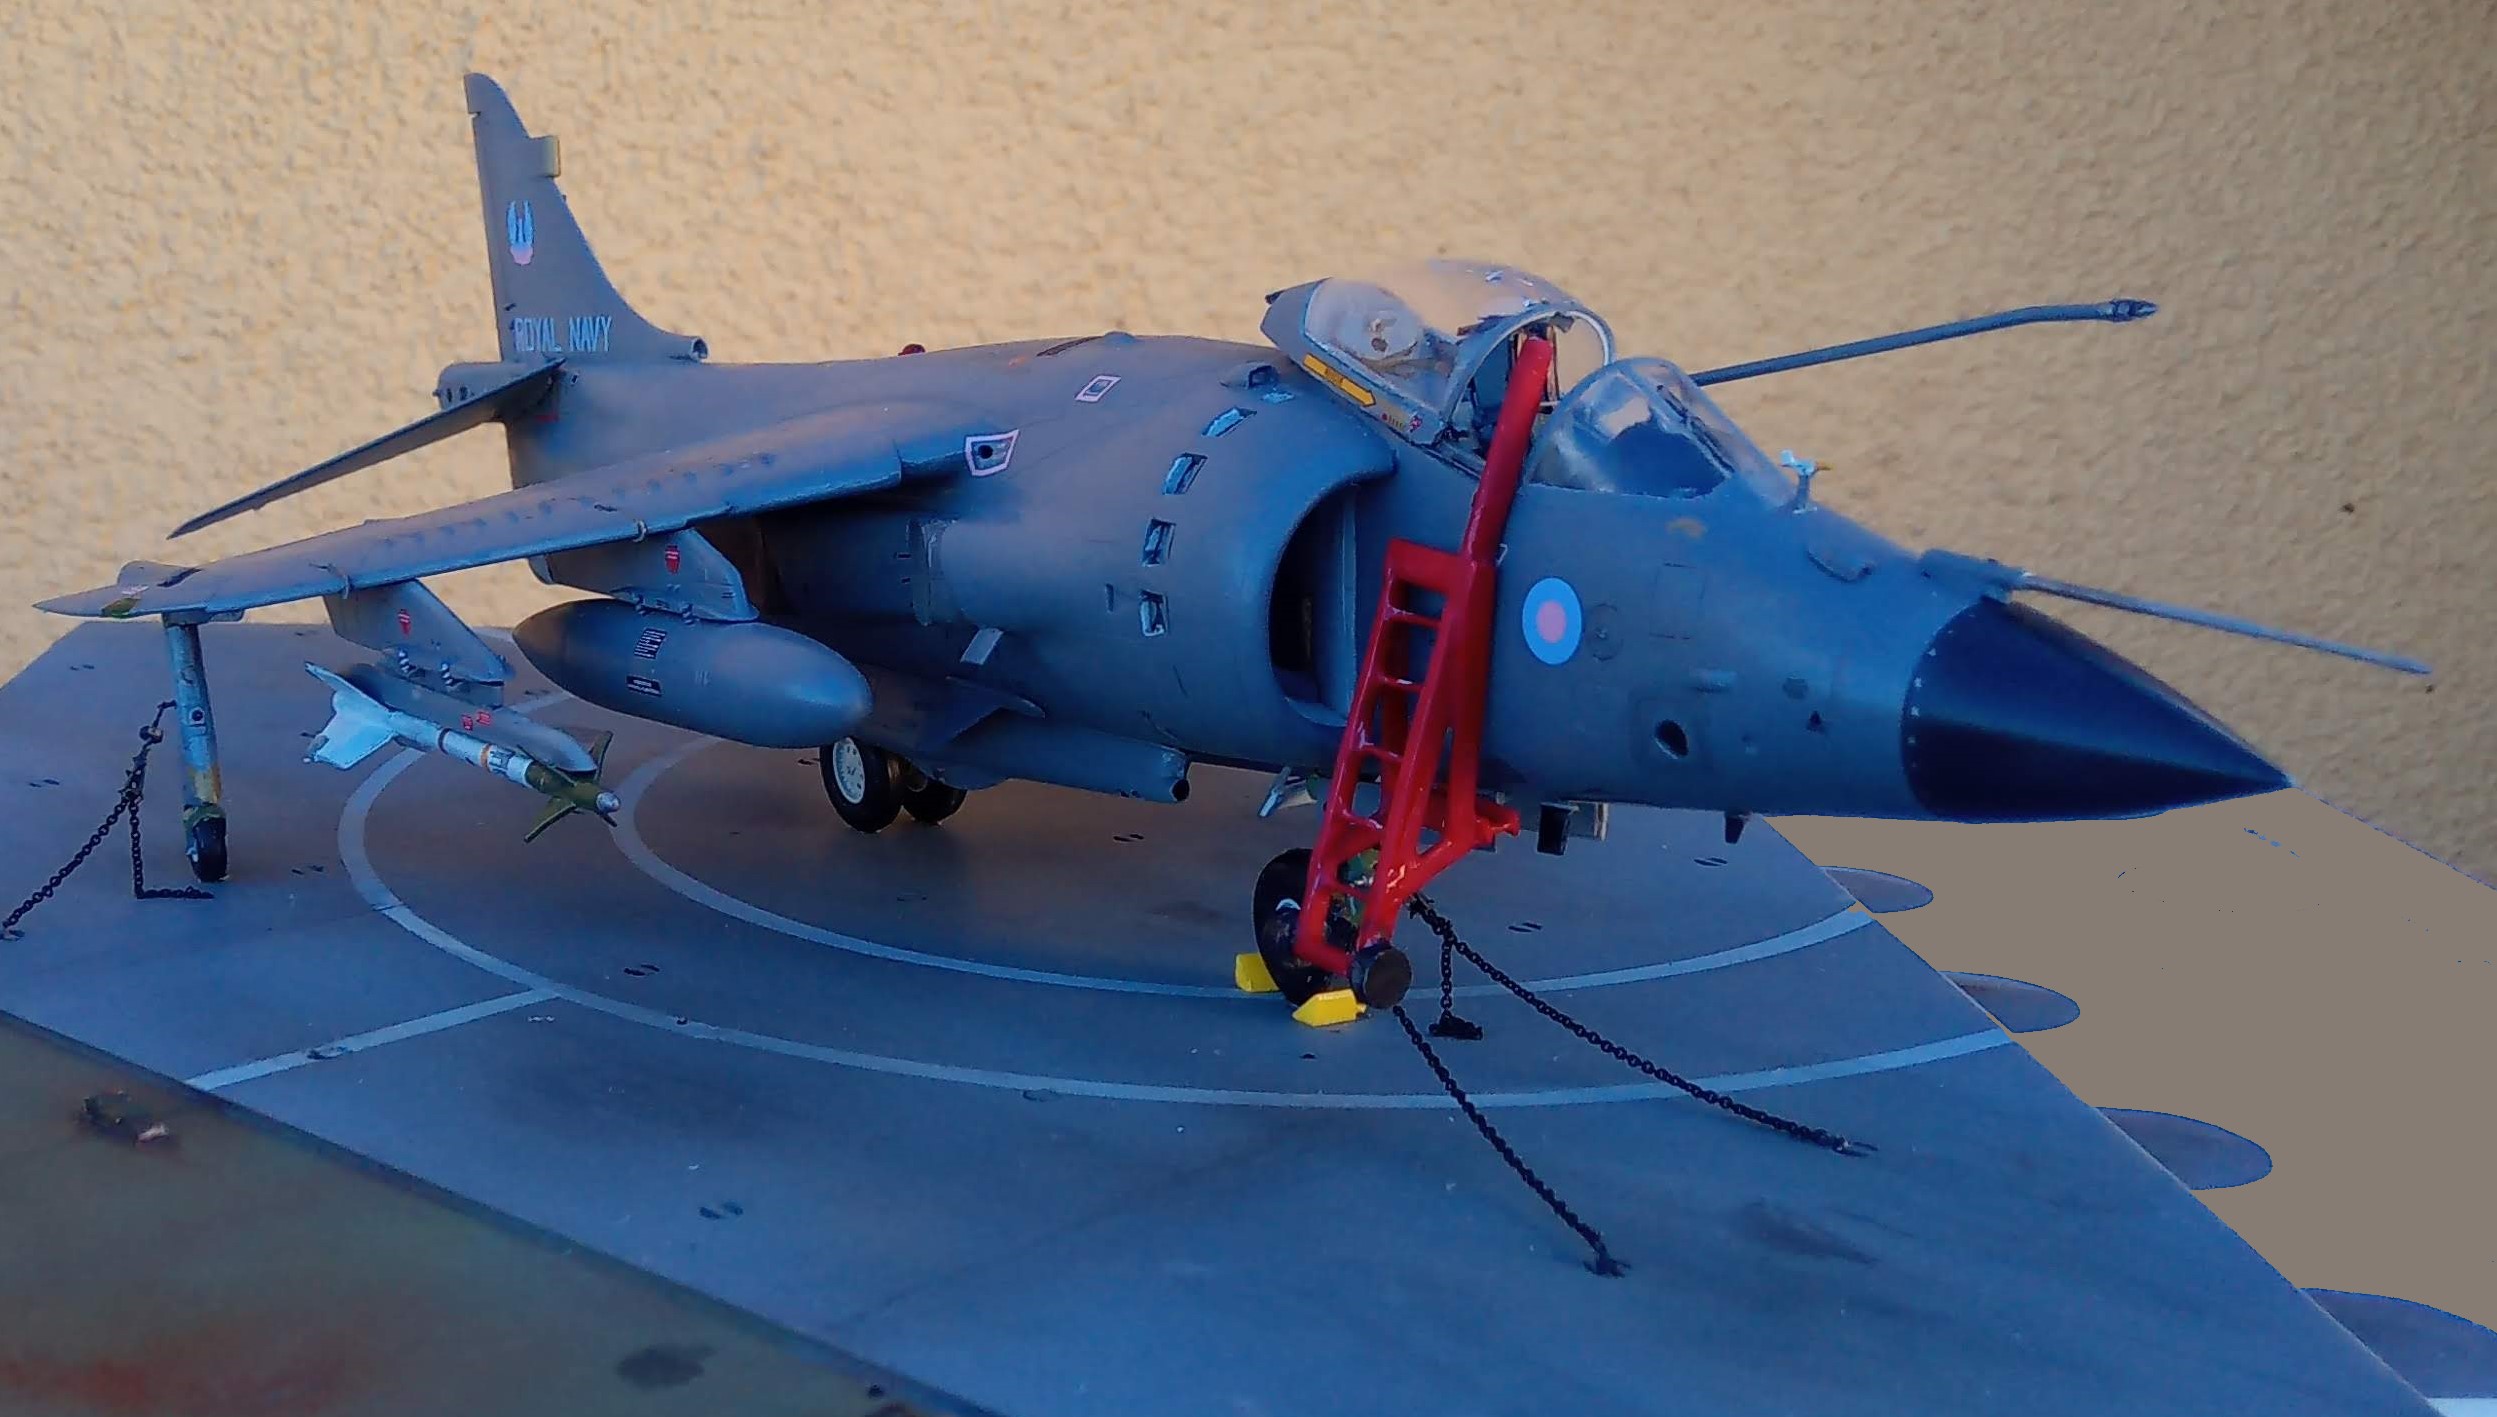
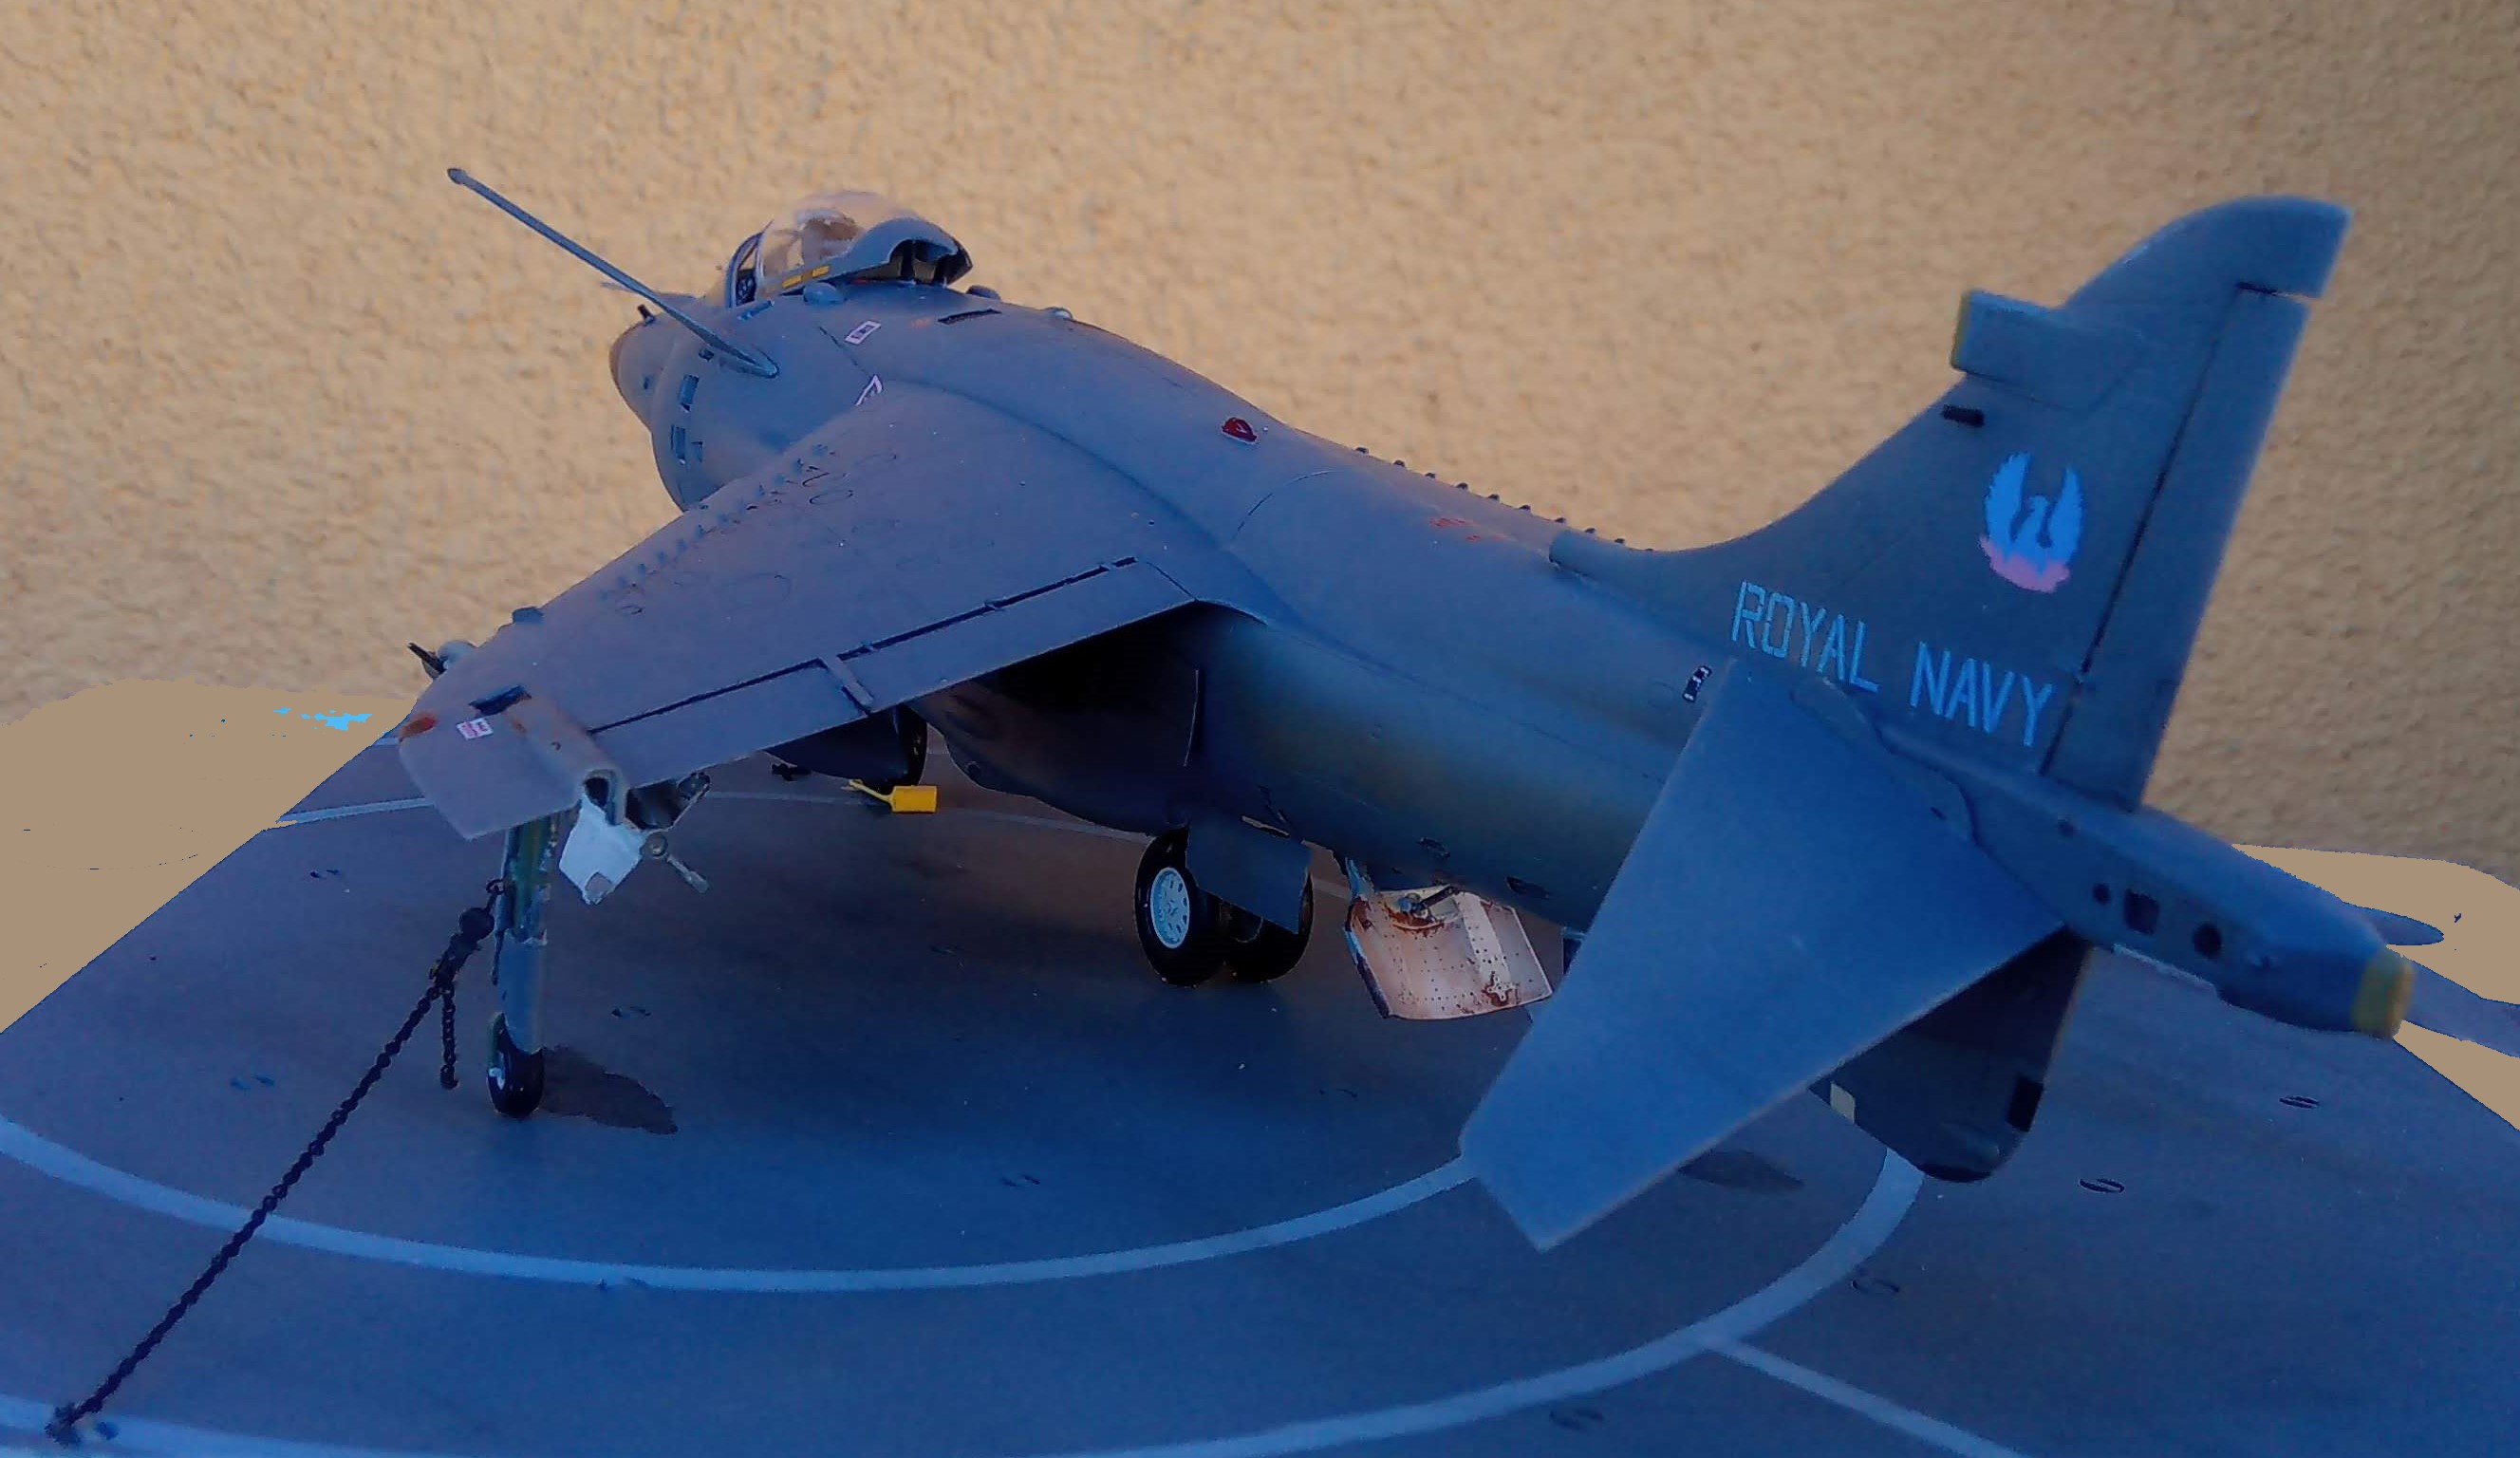
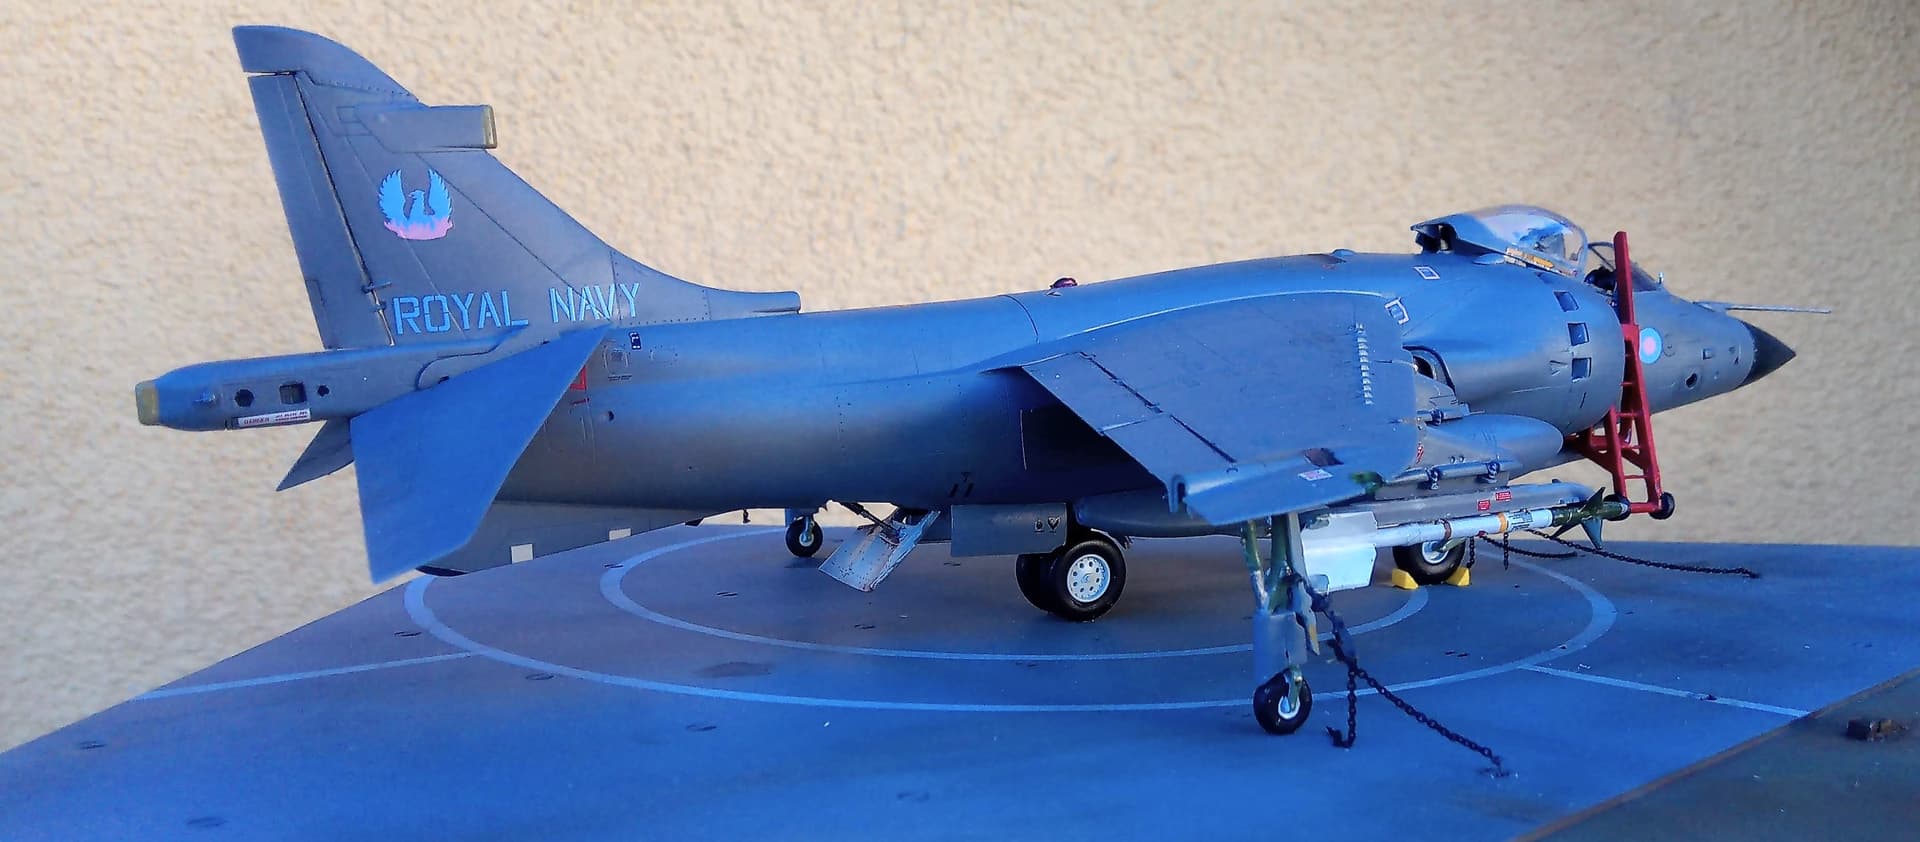
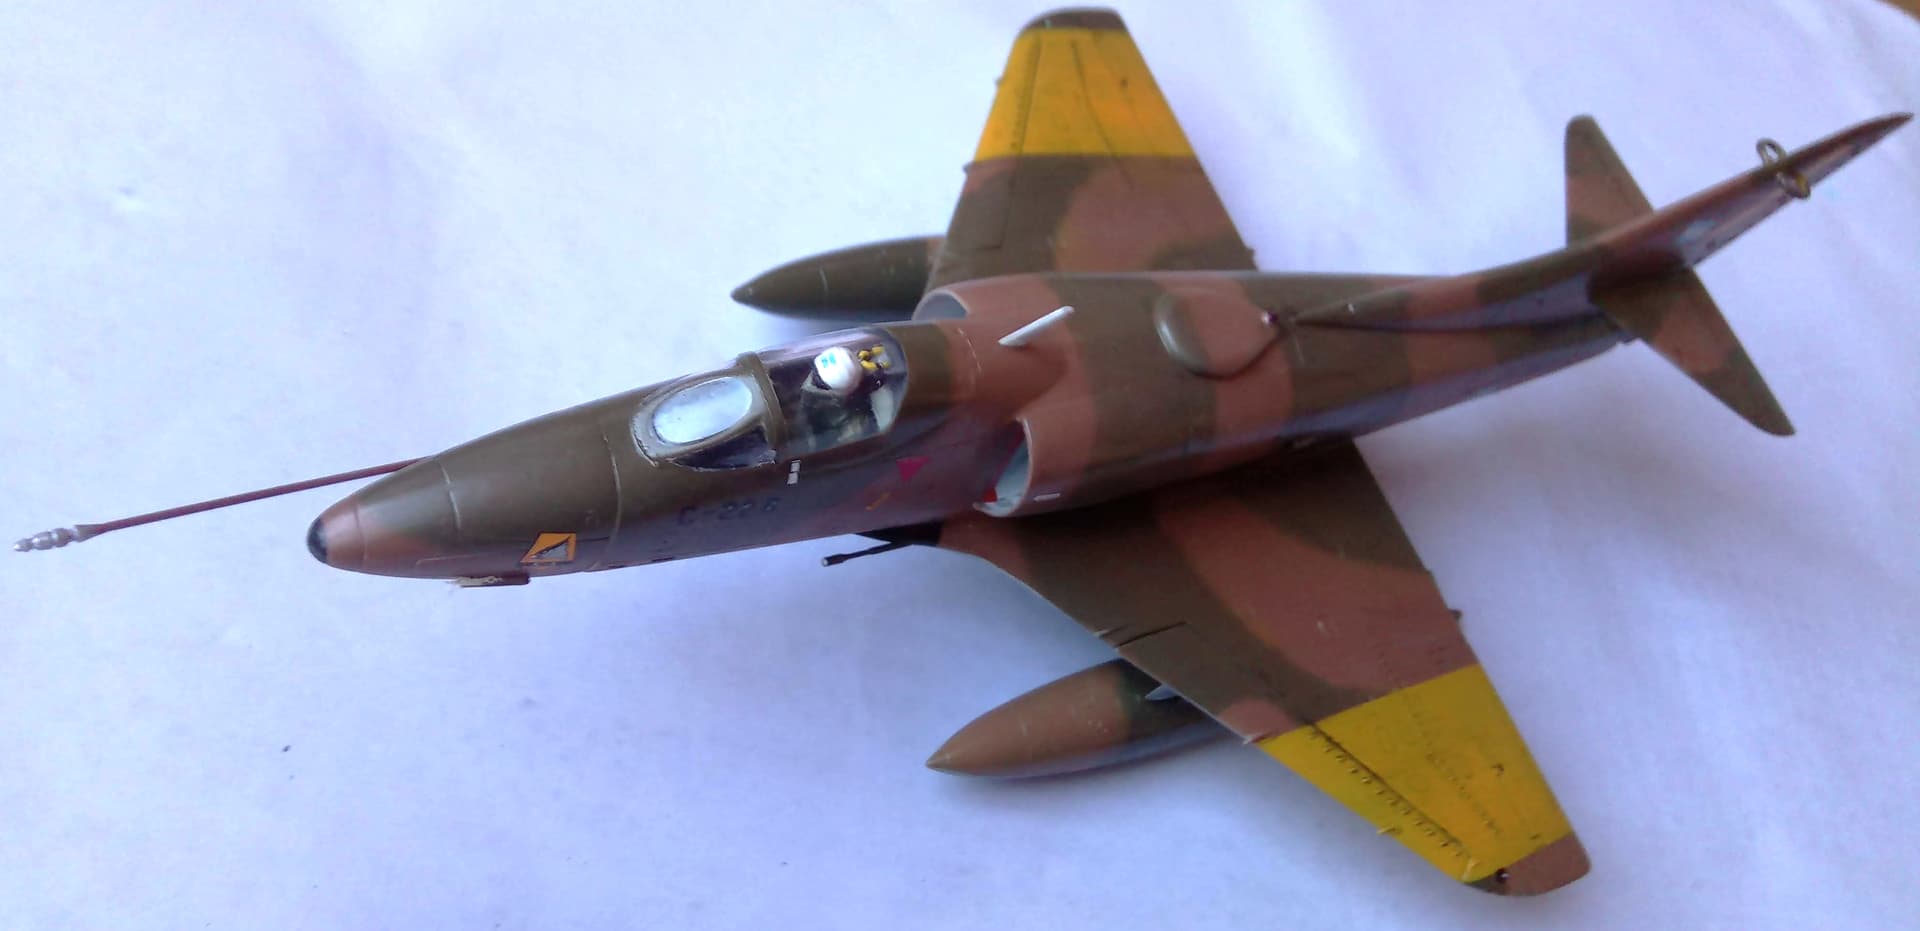
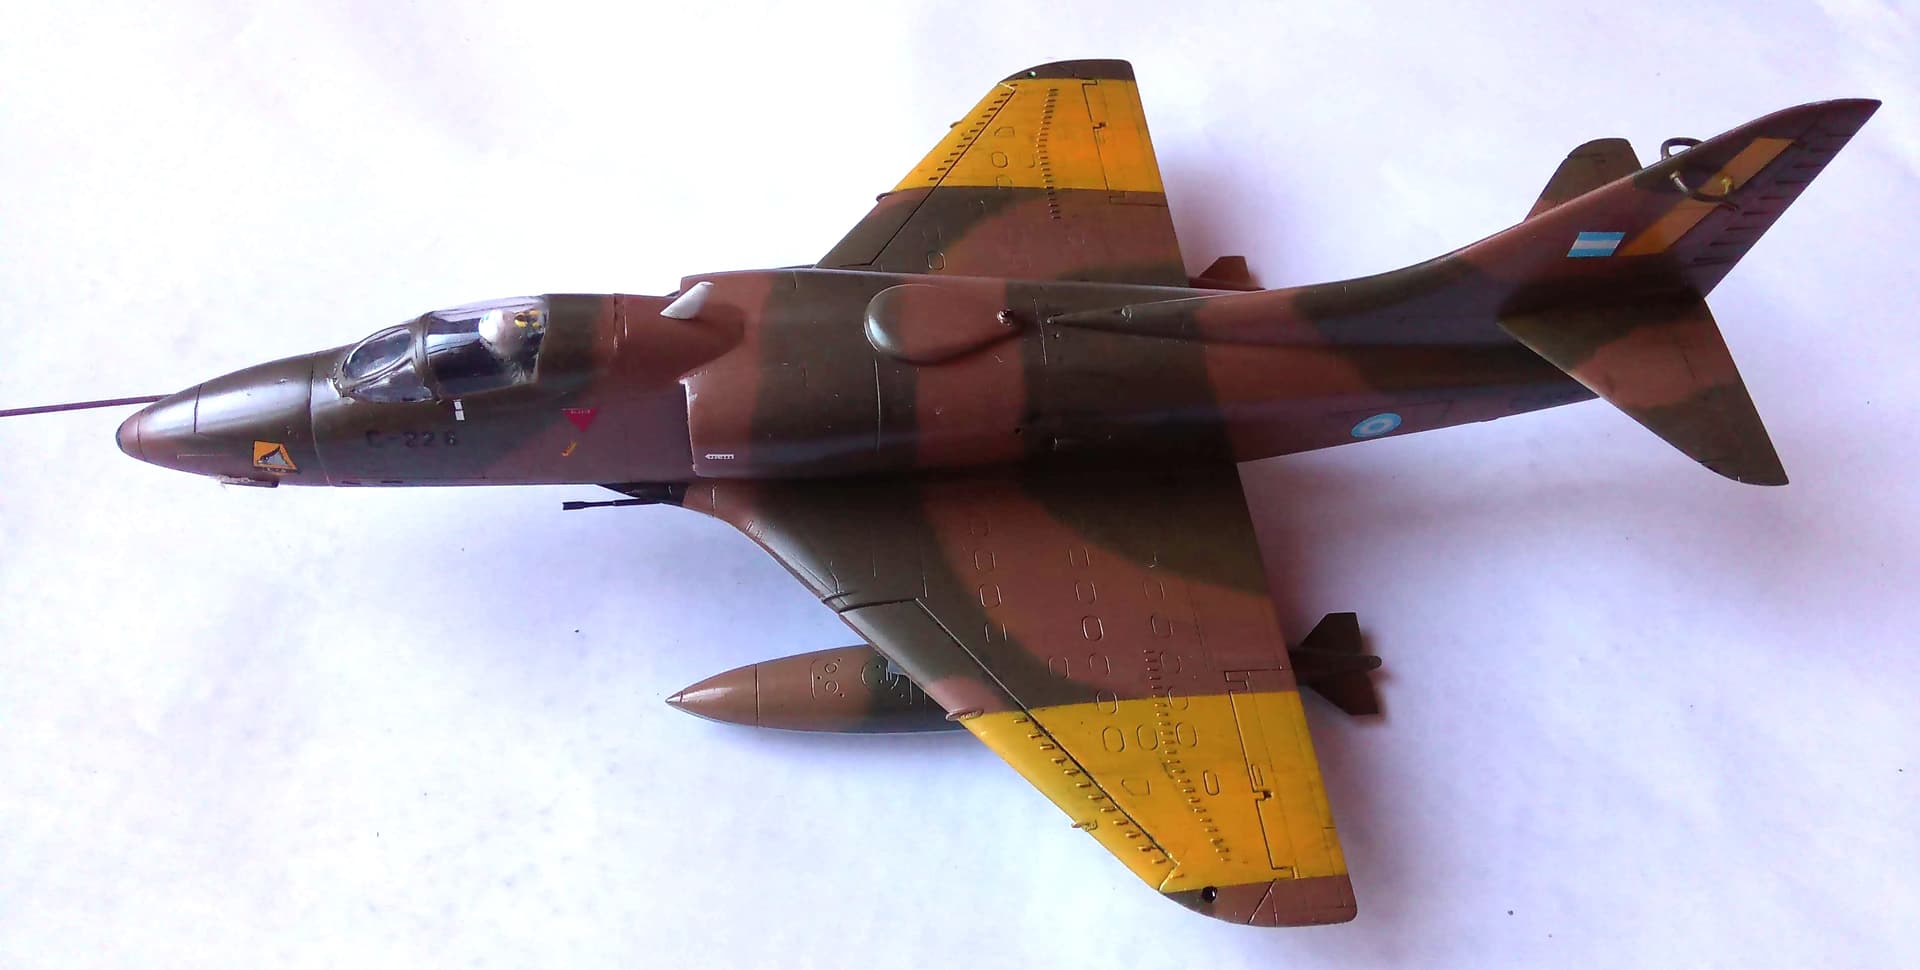
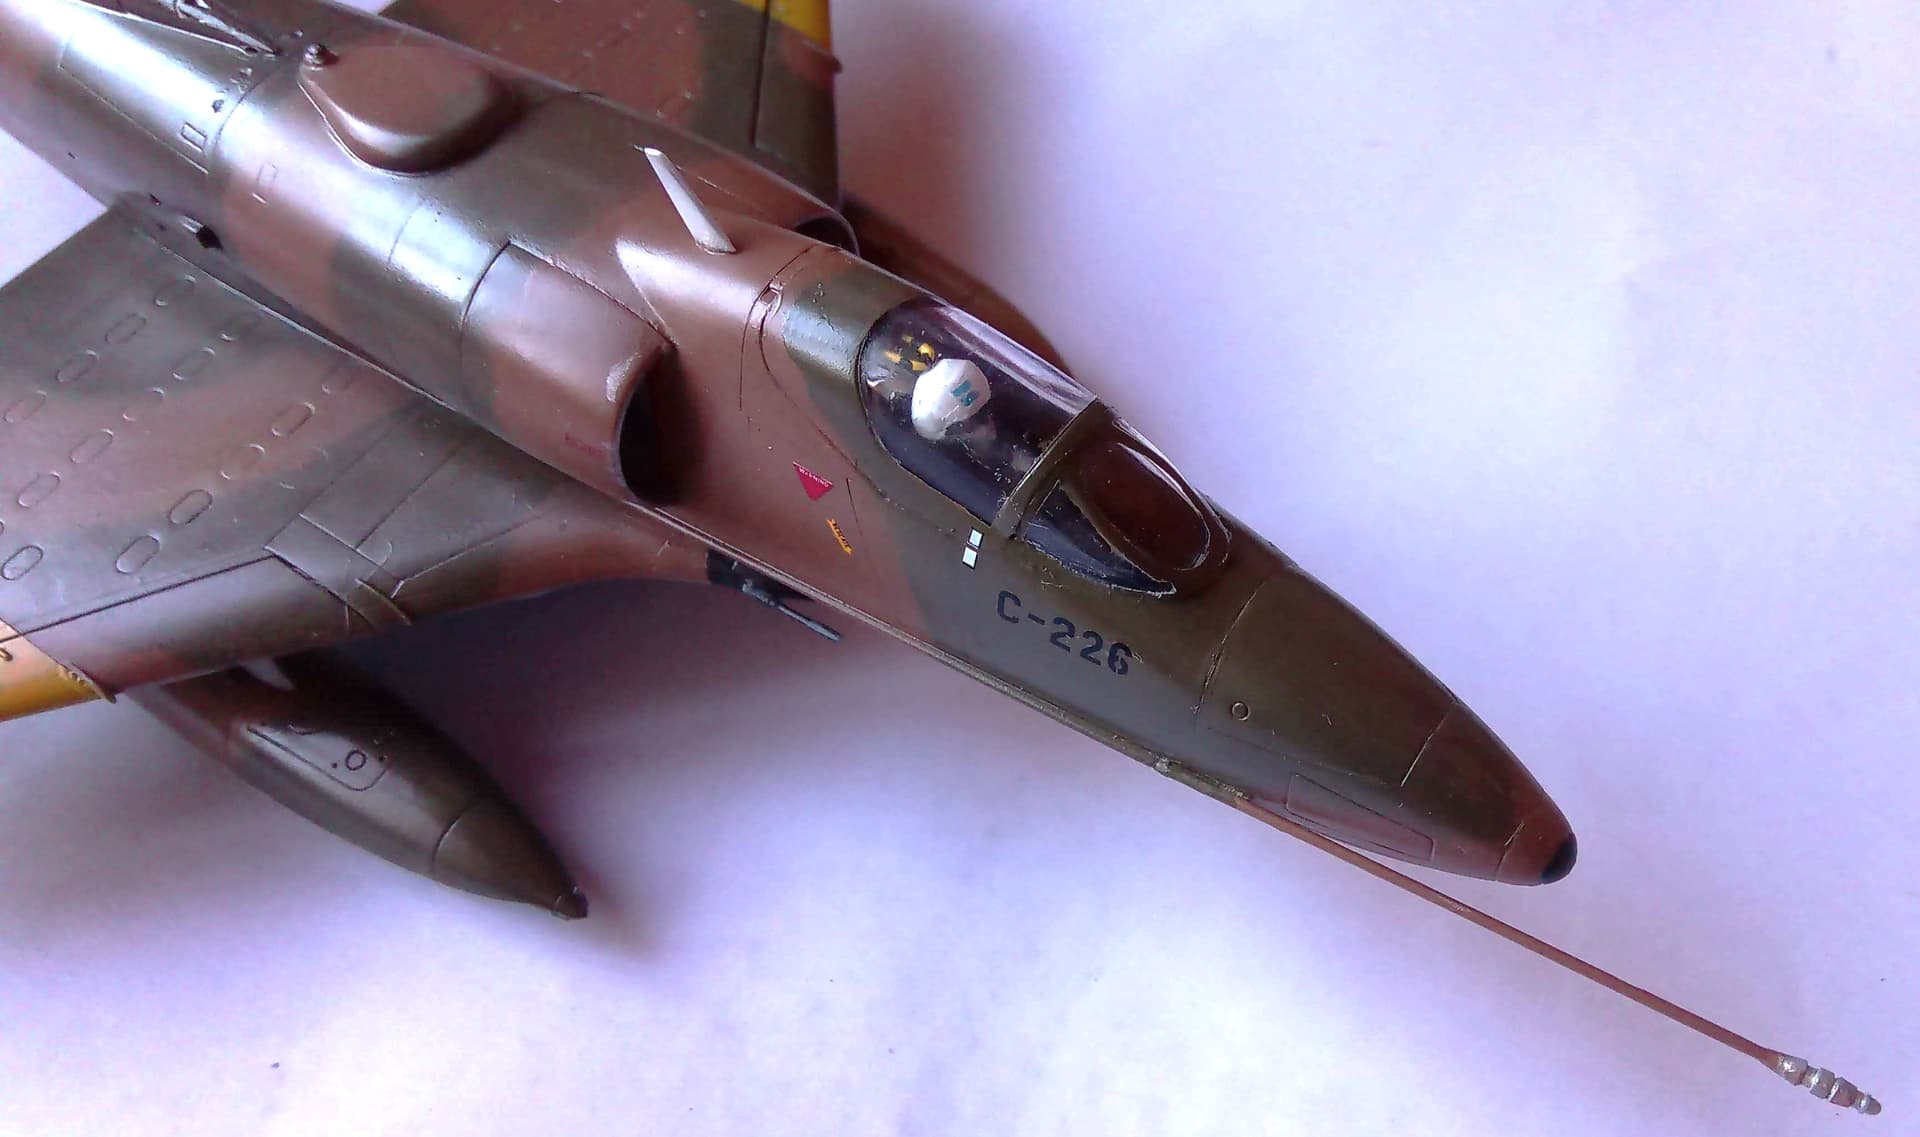
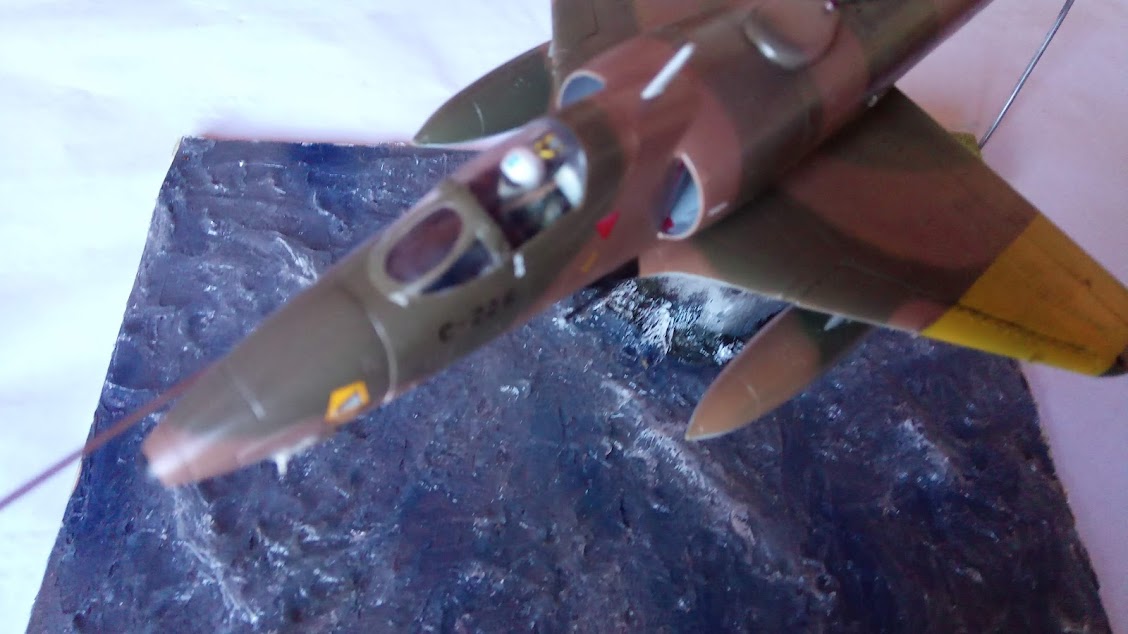
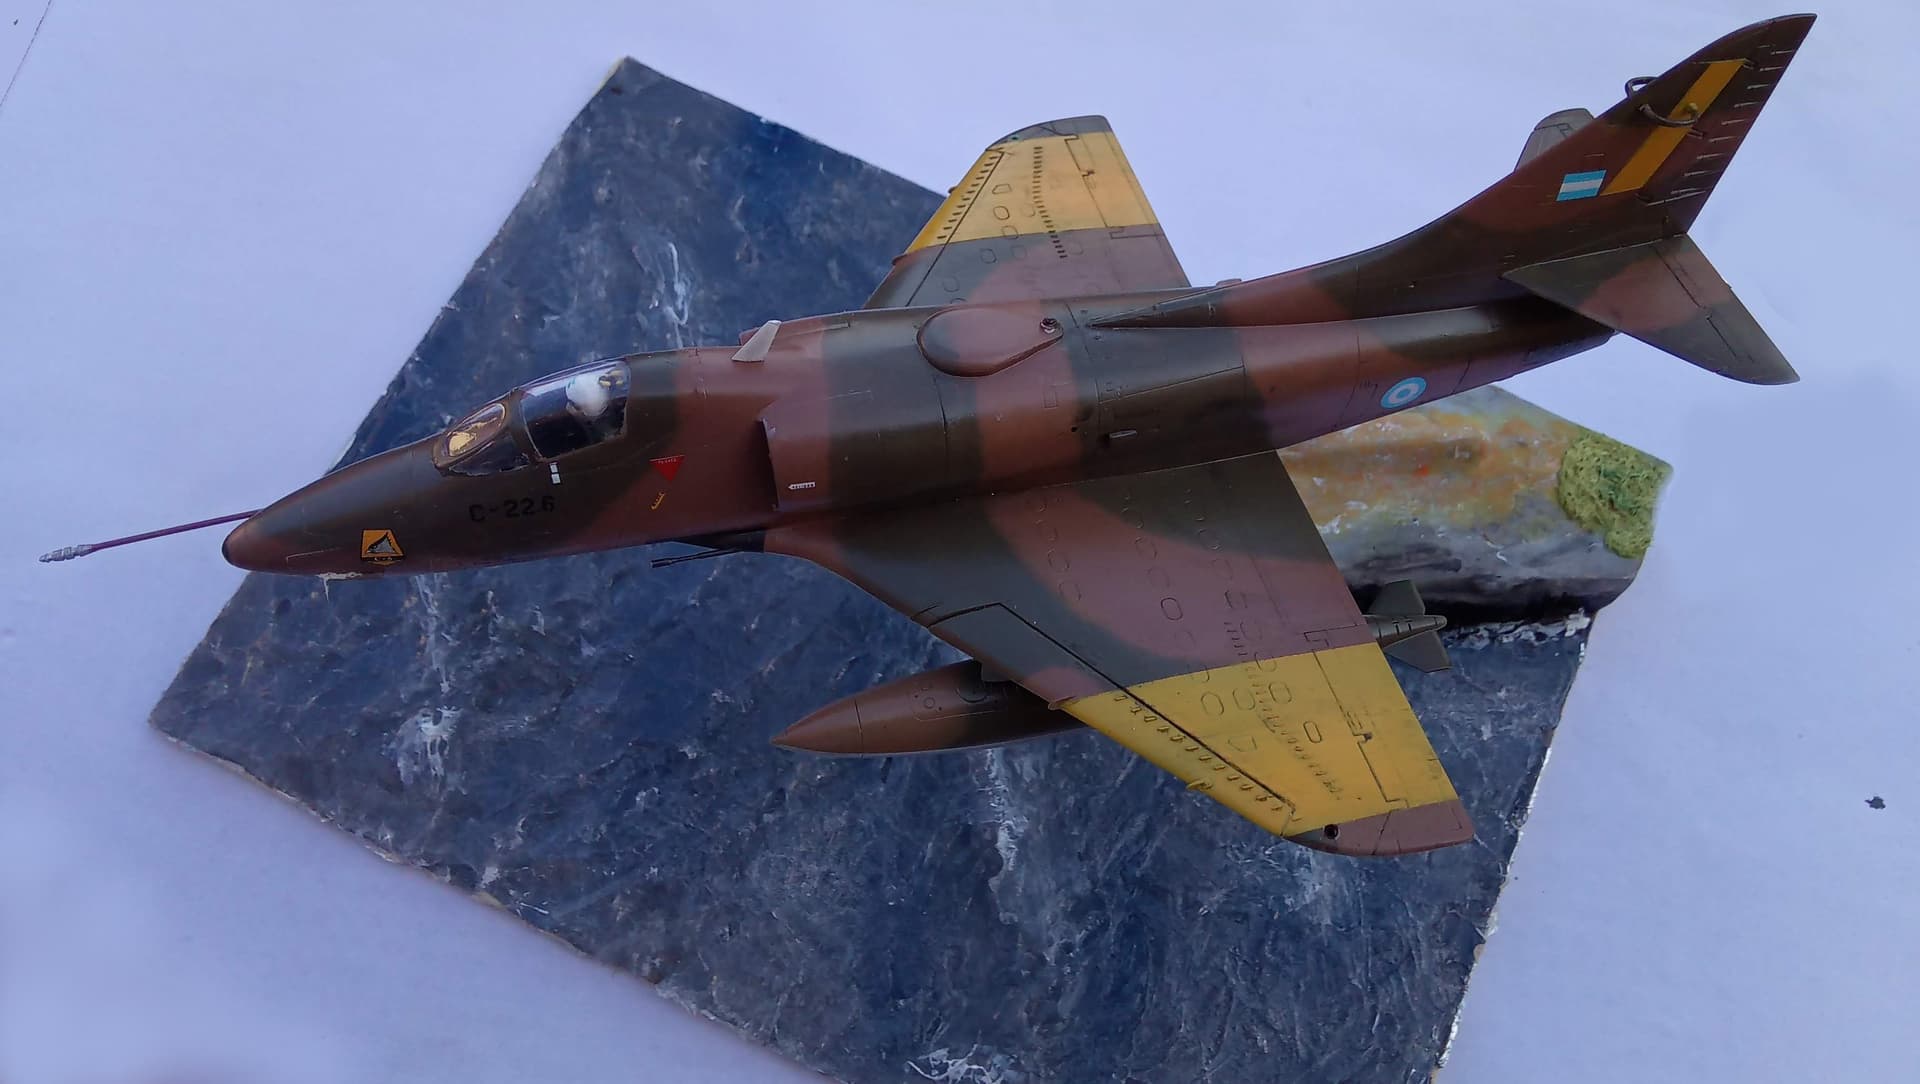
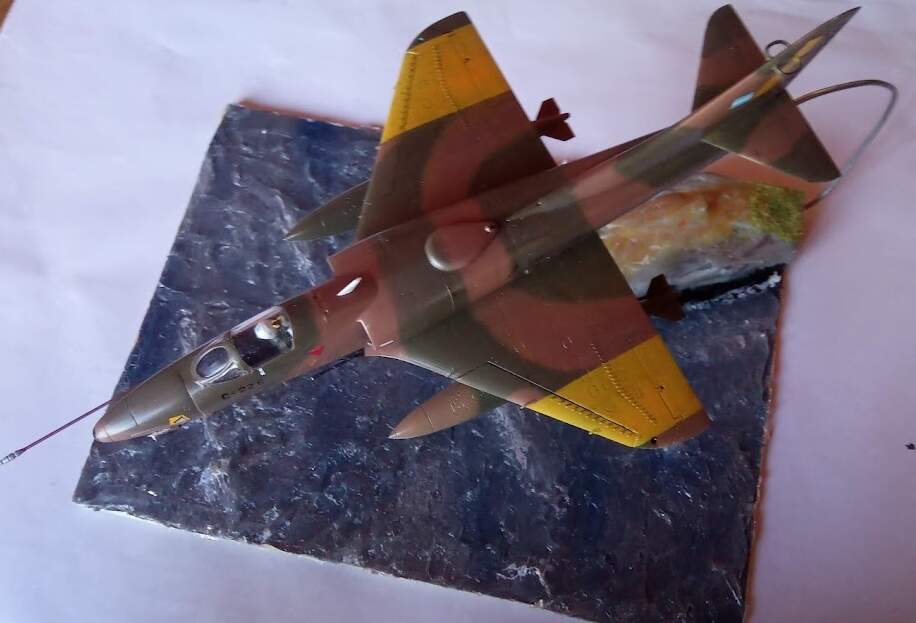
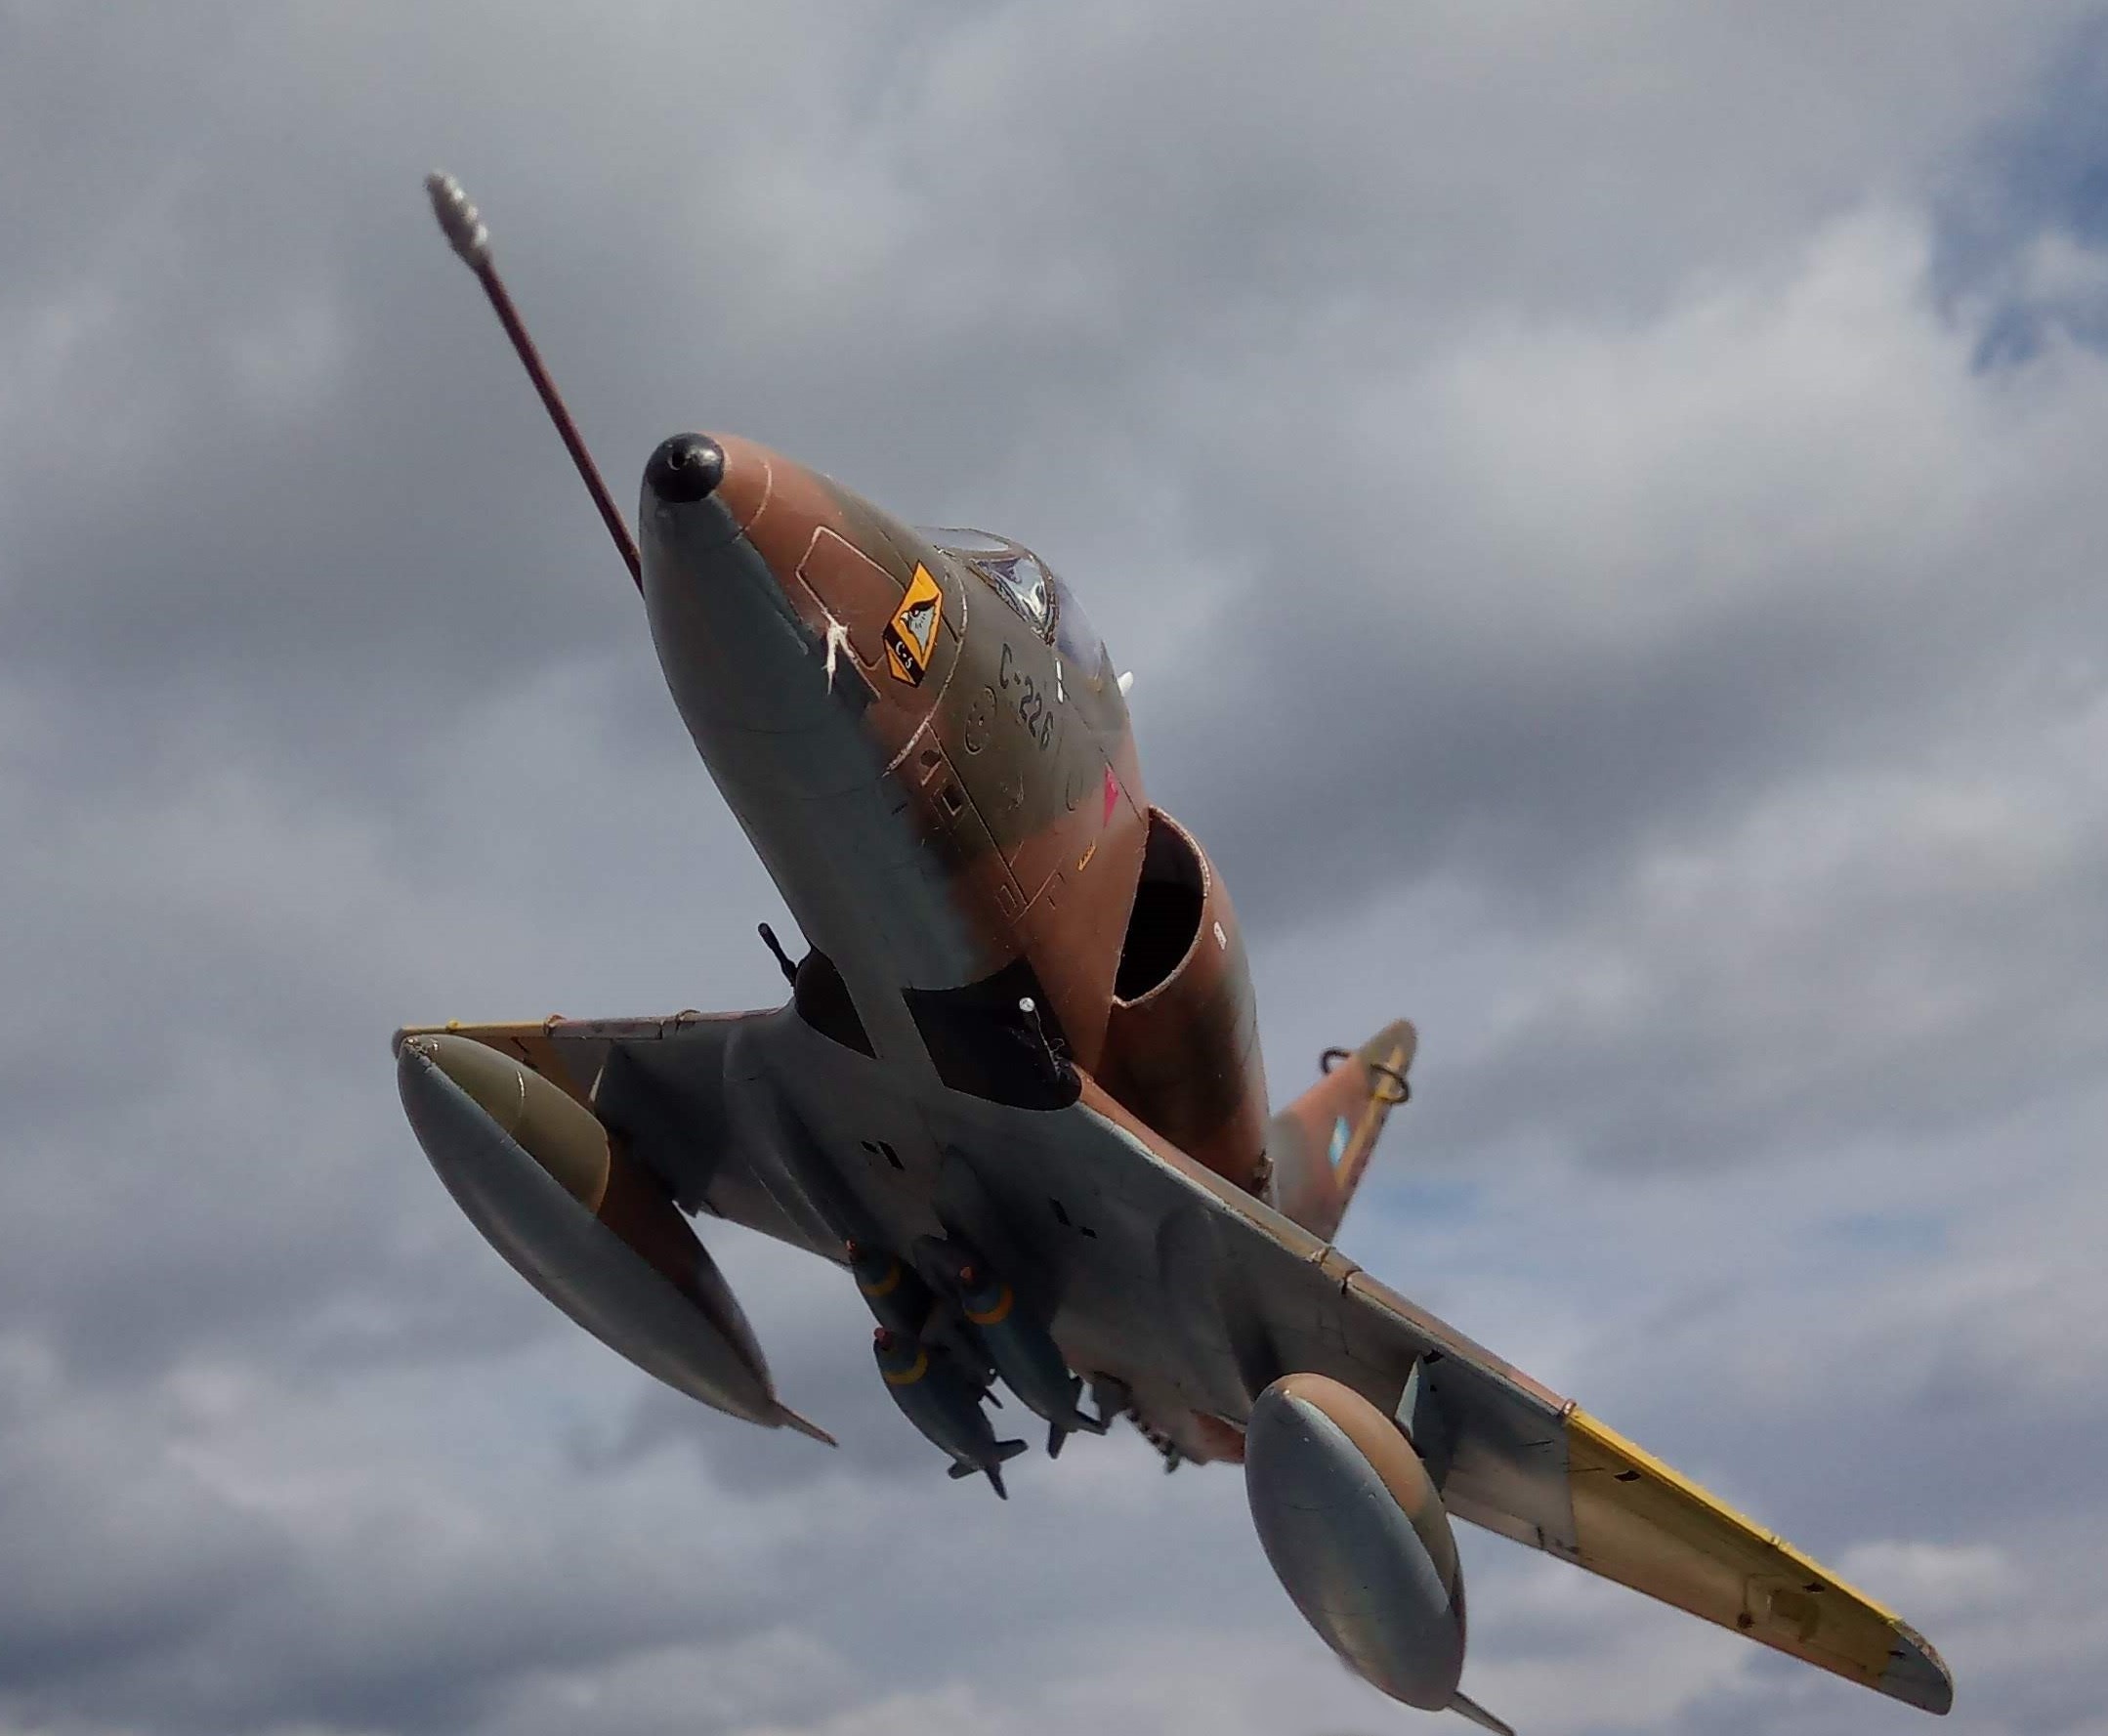
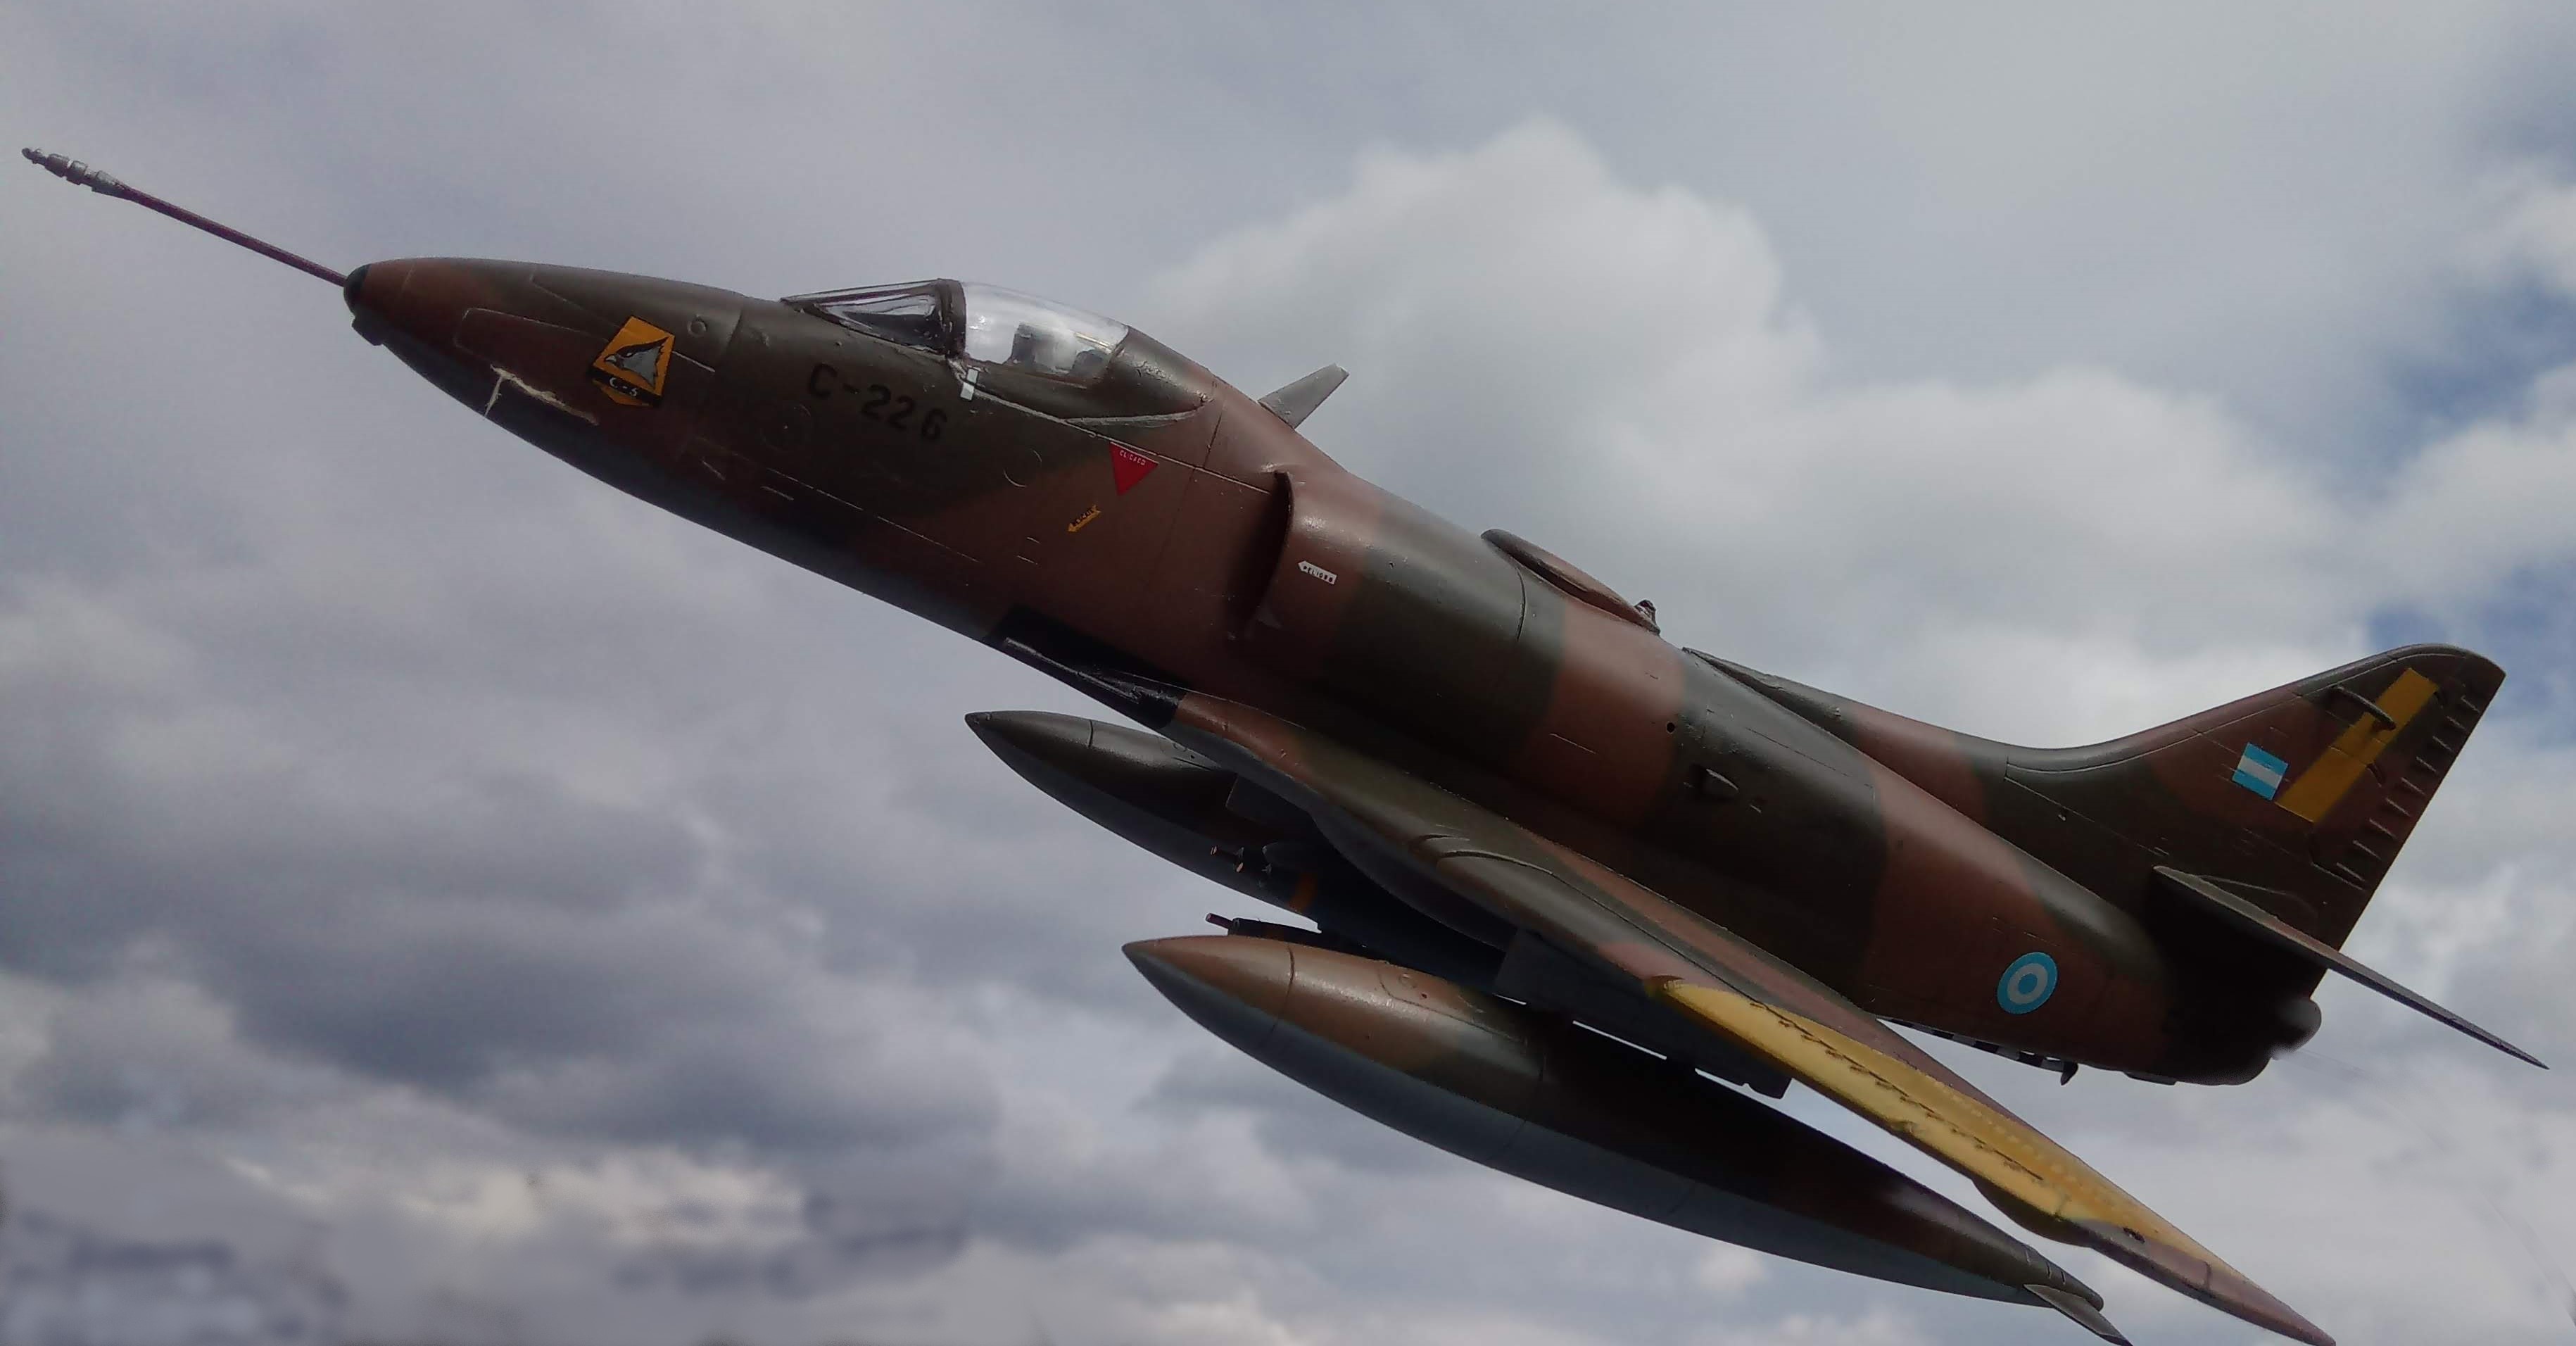
However, the result of all this fight is this:

Btw the nosecone is too large in diameter, too.

I will finish it in the middle seagray/barley gray colors of 809 squadron. Looks just most attractive to me.

To sum up the challenges I encountered:

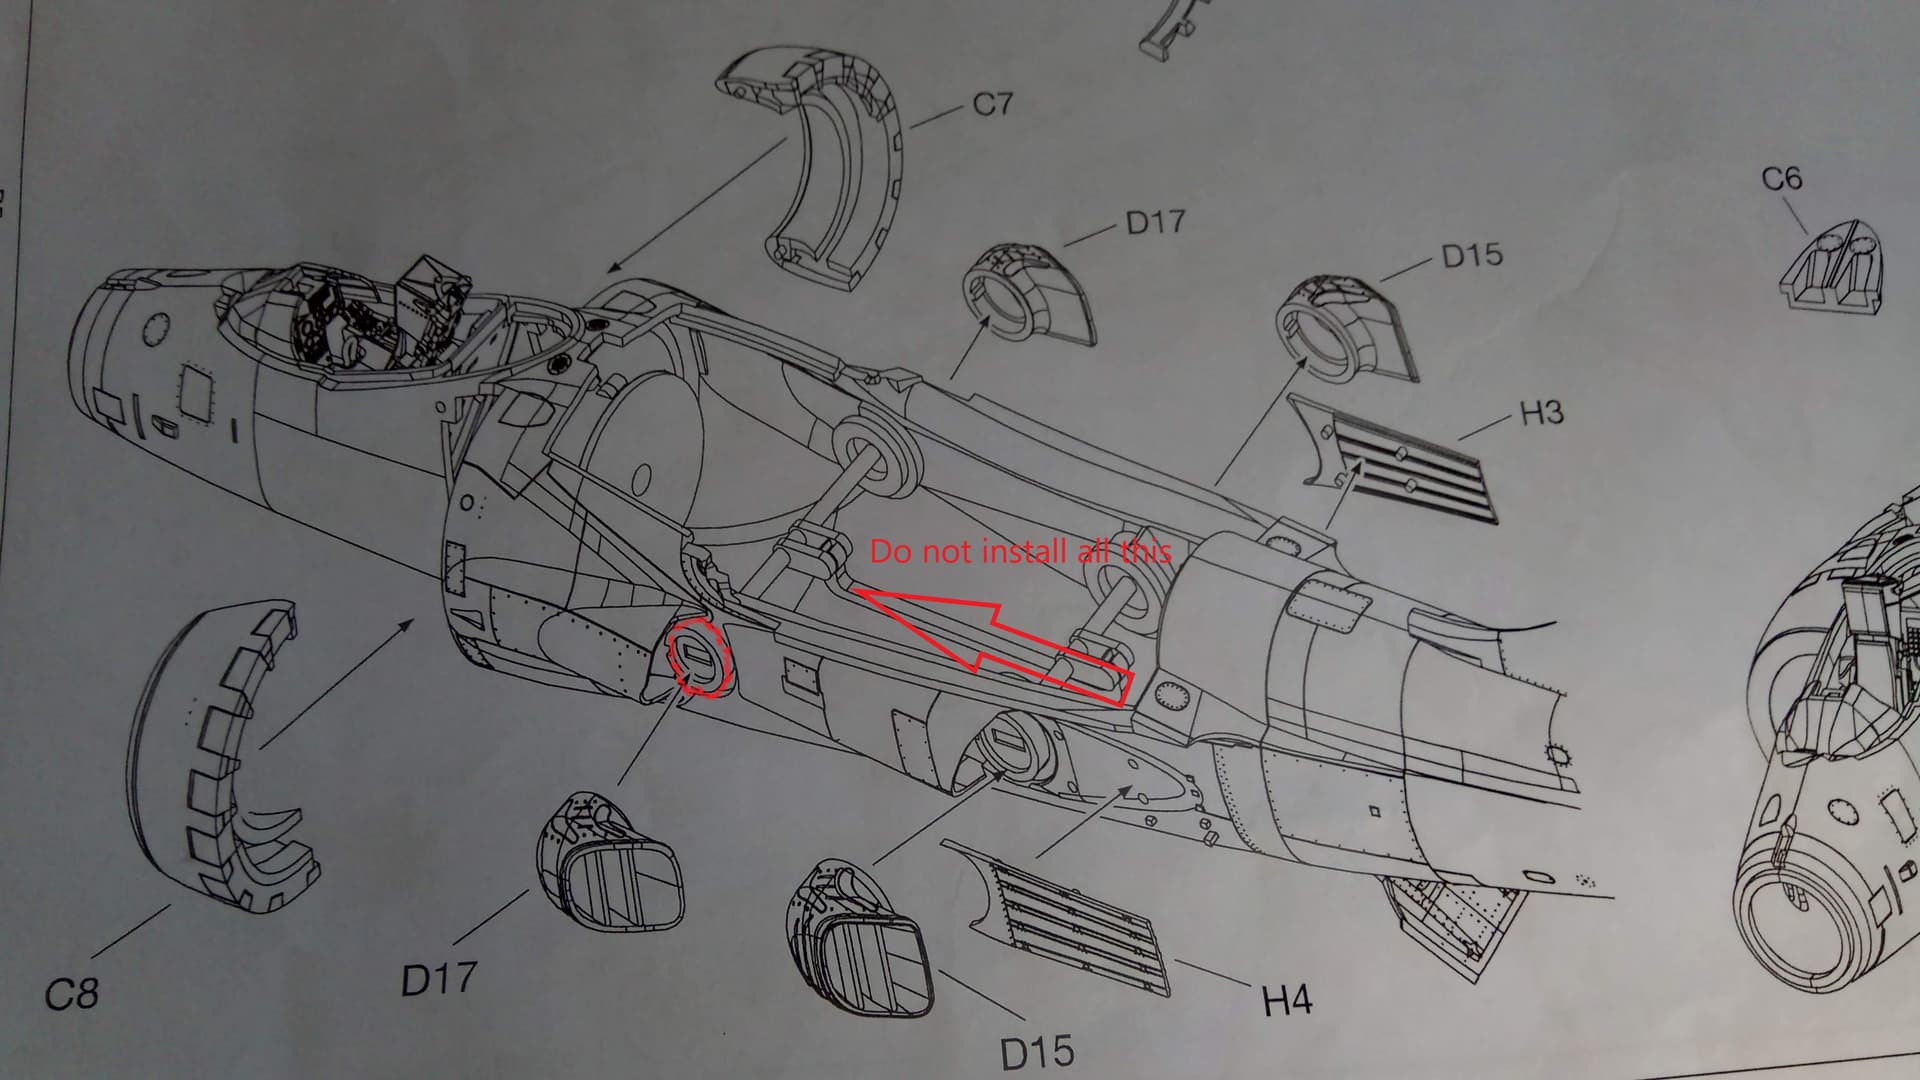
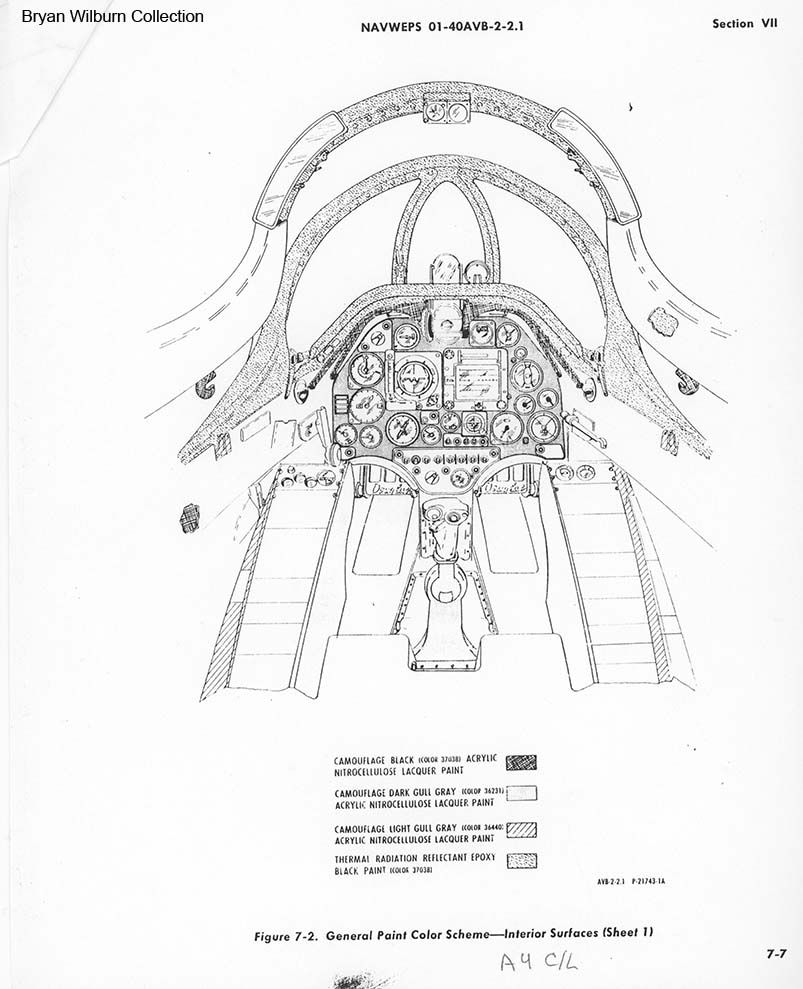
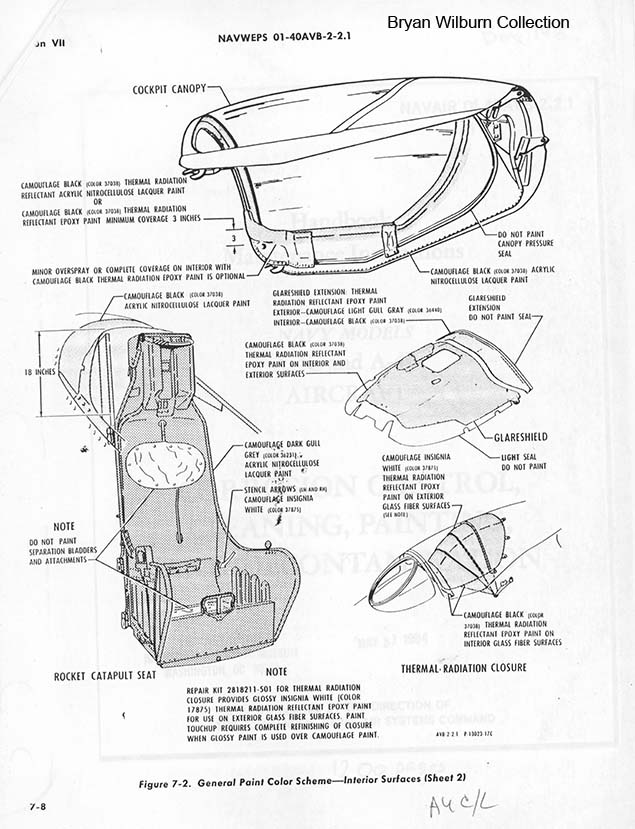
  • Instructions have nice clear pictures but nearly no colors for interior parts. Some parts are numbered wrong, some not shown where they go
  • location holes missing in many places, holes to shallow
  • part fitting is really bad. Sometimes mould misalignment, sometimes like the seat “round edges”, sometimes I think the material needed some strengthening to prevent warping. Sometimes, like the tailplanes the design is simply bad.
  • I do not need nice fine engravings when I have to sand away so much material that I have to rescribe them in highly visible parts

I had build short run kits which gave much less trouble…

Positive up to now is the extensive decal sheet and the outside paint and decaling instruction.

As mentioned before I had do download the GR 3 instructions to understand where some parts go. They are so much better. Hope the fit is better too. Looks like the kit design changed a bit too.
Hope the Pucara is better.
I still like the SHAR and will build the very old Tamiya just for comparison.

Cheers

Tom

2 Likes

After all the sanding and fitting now finally some visible progress:

Top with Medium seagray

Underside of wings and tail planes barley grey

The main landing gear unfortunately has a very loose fit, so I started with the front whell and fixed it as straight as I could, then followed by the wing supports. By this way I have a stable three-point stand. After all dried the aft main gear was installed with styrene glue and the model put on the wheels. By this way the aft gear adjusts itself.
As you maybe can see the openings for the tiltable engine nozzles are empty. I installed the mechanism for synchroneous movement of all nozzles (which is btw same as in the 45 year old Tamiya kit) and testfitted the nozzles. No way they are fitting due to the movable baseplates too far outside. Its easily 2 mm here. Instead of dremeling on the baseplates with a lot of dirt and danger of damaging something i just pushed the things with a little force forward out of sight. They are anyway very flexible and do not work. The nozzles fit now perfectly, are just not movable anymore. I just recomment not to install this contraption at all

Next step will be painting a lot of details and clearcoating for decaling. And then I have to decide which Harrier it finally will be. The base will depend on this, too

Cheers and Merry Christmas to all

Tom

2 Likes

When you get to the Pucara…

They have retired the Pucara, but here’s one with a kill marking. DoD image

While many birds use the MB seat, the Pucara is a one of a kind. I’ll post the rest in

Other posting in the research section are for the Harrier.

For the A-4B AC, some color info for the cockpit.


Cockpit

Seat and canopy

Other info on the ESCAPAC 1A-1 seat in the reference section.

Enjoy

@ Bryan: Thank you very much.! Every reference is welcome. I bought already a book about the Pucara, which I find interesting since I saw one in Cosford.

I will go a bit more in detail with the Pucara and have already some aftermarket parts. Hop that one fits better.

Cheers

Tom

Over Christmas I managed to make some progress on the SHAR:

Looks not like much but i covered everything in future and put abt 100 decals on, several of them microscopic. The decals require quite hot water and tend to stick where they are placed the first time.

Tailplanes and a lot of small bits, antenna, pitot etc installed and covered everything with satin future.
She is clean now, but will not remain so. In a lot of pictures you can see heavy exhaust staining on the underside of the fuselage. I will try to replicate this before installing the underwing loads.

The plane will be ZA177 of 809 Squadron and not weathered heavily as it had just been repainted in the lighter colors. My guesstimate is that all the stencils were reapplied after the repaining in the workshop. The markings on the tailfin are still there, the plane has just been flown over to ATLANTIC CONVEYOR.

Time to start with the base:
I glued 2 styrene sheets of different thickness on a small piece of plywood. The steel deck was painted in a kind of olive green over the original red-brown. The landing pad was welded onto this deck and painted in a light grey with white markings. For some reason the original deck suffered very much from wear and corrosion

.

The small pieces are the locks for the hatchcovers whcih appear very prominent on the photos.

More to come soon.

Cheers

Tom

3 Likes

Happy New Year to all ! :fireworks:

Last action in 2022 was finishing the SHAR:

I am quite sure I find something I have forgotten :slight_smile:
Weathering is kept very light, just tried to replicate the visible exhaust stains.
It looks actually quite dark, but the color becomes very light in the sun.
The air to air refueling probe was installed for the delivery to Ascension Island and is visible on pictures of the SHAR’s on ATLANTIC CONVEYOR.

Continued with the base after drilling 28 holes for the tie downs. Pictures convinced me that these were very simple things, just a hole with a round bar, like a scupper, not so called cowpads or the version used on the RN carriers.
The most difficult thing was painting the deck markings or better produce the masks. I have a circle cutter, but did not want to cut on the plastic deck. The transfer from my cutting mat to the base was a bit difficult and the result is not perfect but convincing enough for me.
I stained the deck quite a bit, but not so much as the vessel deck in green which was very dirty and corroded quckly

IMG_20230101_132525_3|690x388

Now I have to install next the lashing chains, and make some chocks and perhaps a ladder. Should not pose a major problem. I think I can finish everything this week.

But what plane do I next? Pucara, A-4 or Super Etendard? Input from all of you would be highly appreciated.

Cheers

Tom

3 Likes

Started with the assembly of the hooks and spanners for the lashing chains. Some parts are so microscopic… You should fiddle PE bolts about 2 mm long and 0.1 mm thick through the chain and 2 holes in the spanners. Drove me really mad and at the end had to use a very fine wire instead which was more easy to handle. Unfortunately all too small to make a photo. I will show the resultwhen installed on the baseplate.

Last part was the ladder. I could not get one from PE so I built one myself. I made a template from a picture of the PE in the internet, and then copied it on a 1mm sheet styrene.

Then I out cut it out with a knife, drilled holes for the steps made of wire and assembled the ladder with some angle profiles.


Everything worked well until I tested it against the SHAR. About 25% too big. I made a mistake when scaling my print. So another try. This time I not cut out the side parts, but assembled them from small plastic beams. Works as well, is just a little bit fiddly. It looks actally a bit like do-it-yourself from the crew on board which is quite believable.
Everything is assembled now and I wait for better weather to make some nice photos of the completed deck with Harrier outside. In my workshop the light is too bad.

So one more update on the SHAR and then on to the A-4 Skyhawk.

Cheers

Tom

3 Likes

Finally finished:

Shar ZA177 landed on board ATLANTIC CONVEYOR, still with the IFR probe installed and the Royal Navy markings on the tail not painted out. She therefore has only a very light weathering, only the usual visible exhaust staining. The originally red deck was overpainted in a kind of olive green which corroded quickly. The flight deck consisted of welded on steelplates in light grey with tie downs. Ladder has been made on board by the crew after information provided by the RN crew.

I used USN chains for lashings, slightly simplified. It could be that they used ratchet straps as for the helicopters and planes stowed further aft but I could not find proof for that so I staid with the chains.

I find the color change under different light conditions quite interesting.

Hope you like it! :slight_smile:

Cheers

Tom

3 Likes

Very Nice! :star_struck::+1:

—mike

Now to the second part of my private campaign: The argentinian A-4 B. I managed to get an old Hobbycraft kit in the Falkland version.

The nose is specific for the Bravo version. I like the plastic very much. Its hard and shiny, like Hasegawa, nothing warped and thick enough to prevent flexing.

Cockpit and seat are very simple, but the canopy is quite thick, so I did not spend too much time in detailing. I want to display the plane in-flight so I added a pilot. The twist is: Its a Harrier pilot (from my Tamiya kit ):wink: .

Assembly of fuselage and wings was surprisingly simple and well fitting.I did not use any putty at all, just a little Mr Surfacer 500. I am very impressed.

.

Only the land gear doors are not fitting well, but they never do because they are not desiged to be installed closed.
More to come soon.

Cheers

Tom

3 Likes

Nothing exciting to report about finishning. The bombs and tanks seem to be from a different material and did not fit as well as the fusealge, but no real problem.
Here a few pictures of the complete model. Colors are my interpretation of a faded camouflage. I decided for the markings of C-226 which ended her career being shot down by Harrier ZA 177 as modelled above

I plan to put the A-4 over a sea base in low level flight. I started with a plywood board on which I mounted some small pices of wood which hold the wire stand for the plane.

With some putty I sculpted some rock out of it to gie the water diorama some more interest. I made a mistake here in using finishing putty which is drying very slowly due to the thick layers I used. It will probably take another week before I can continue painting and creating a water effect.

So far for today

Cheers

Tom

3 Likes

After the putty finally dried I painted some rock with moss and a bit of grass on top. Sides are black, overgrown wit mussels.

Aluminum foil glued on as base for the sea.

Painted over in different shades of blue and grey for the South Atlantic.

And finally covered everything with clear construction glue (you can use acrylic gel, too).

I left it deliberately a bit uneven and created some small waves with white painted crests for the turbulent water between the rocks close to the coast.

Hope you like it.

Cheers

Tom

3 Likes

That came out very nicely! :sunglasses:

—mike