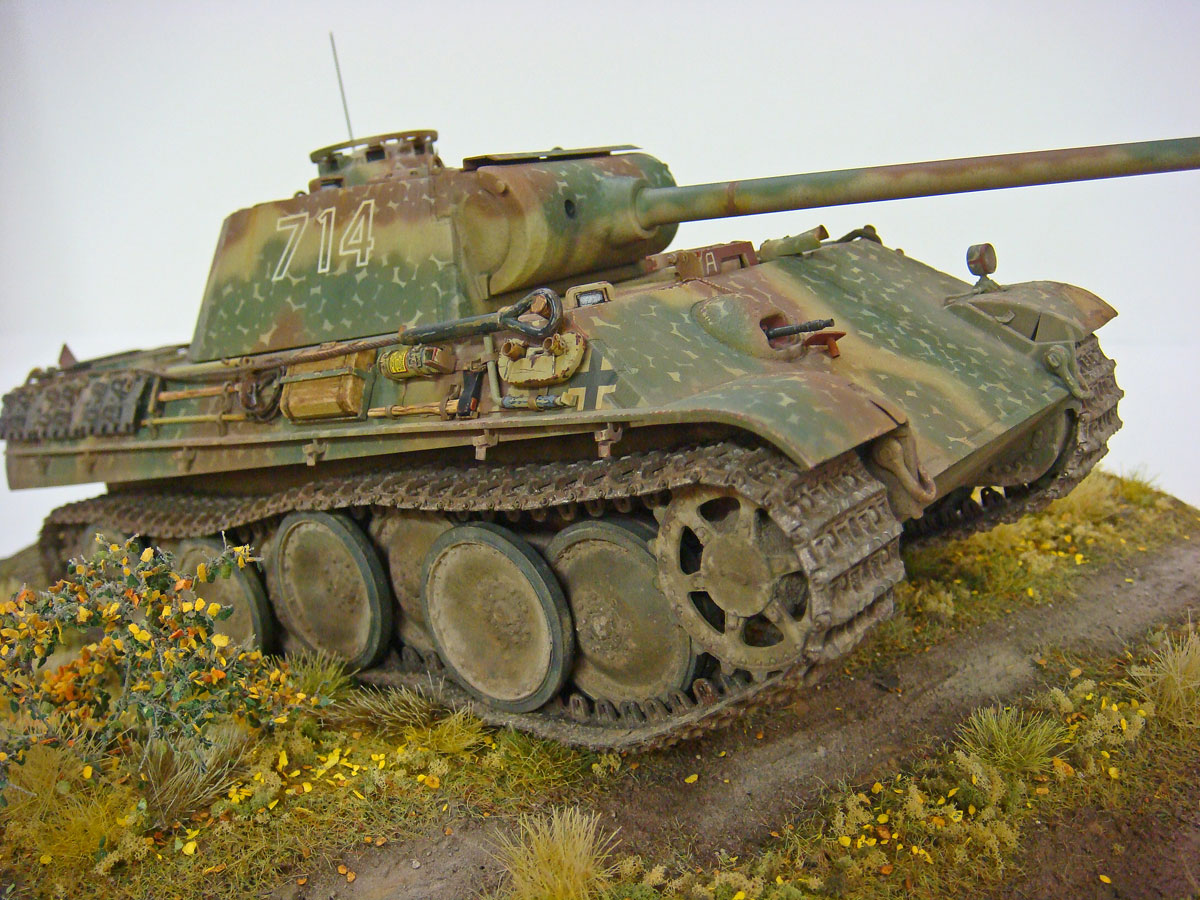
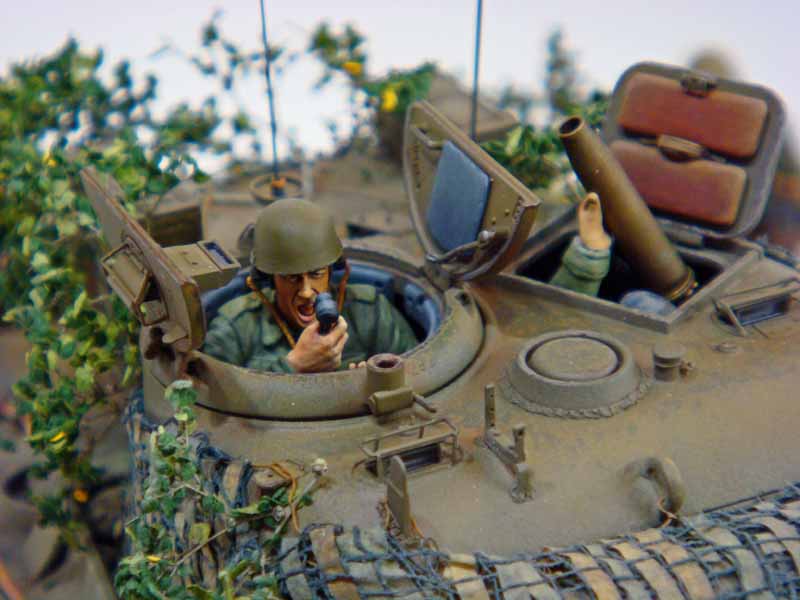
Many newer kits have clear plastic lenses depicting periscopes in afvs. Could anyone offer the best way to utilise these so that I get favourable results. Do you darken the surrounding area then paint the body colour leaving the lens clear? I just want to avoid having the body colour seen through the lens. Any assistance would be most appreciated. The kits I have on the bench requiring this are the meng leopard 1a4 and the tiger models amx 10rc. Many thanks blainey
I usually paint either the back of the clear part or the place it should be inserted in in a dark grey or any other appropriate color before I install the clear parts. You’ll have to mask them prior to painting the hull or turret.
Olivier
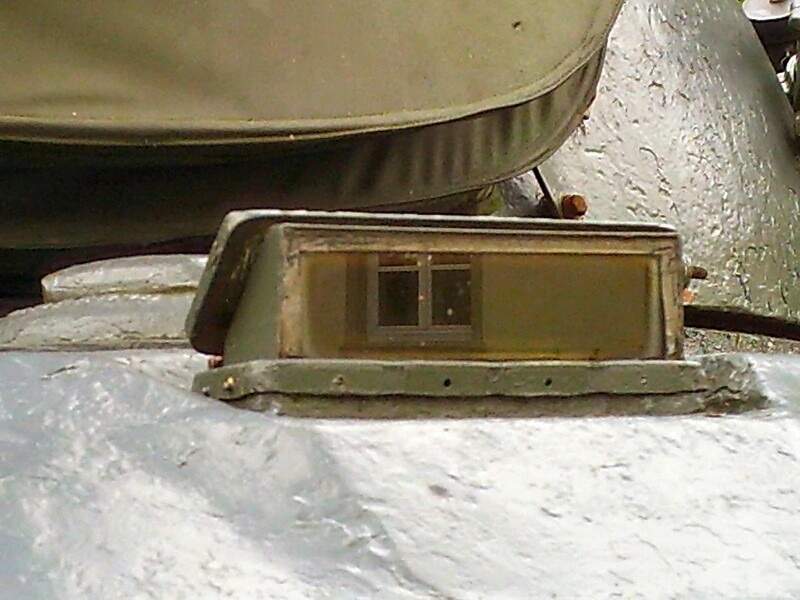
Clear periscopes are a gimmick. On real vehicles, you can not see through the optics at a distance, they do not look clear. Clear on models doesn’t look right to me. I paint the clear optic flat black first, then depending on if it is an older (clear) optic or a more modern (anti-laser coated) optic paint it accordingly.
For older optics, I start with the black, then a couple coats of clear green, and lastly, a couple coats of clear gloss. This represents the thick glass, which tends to look green, well.
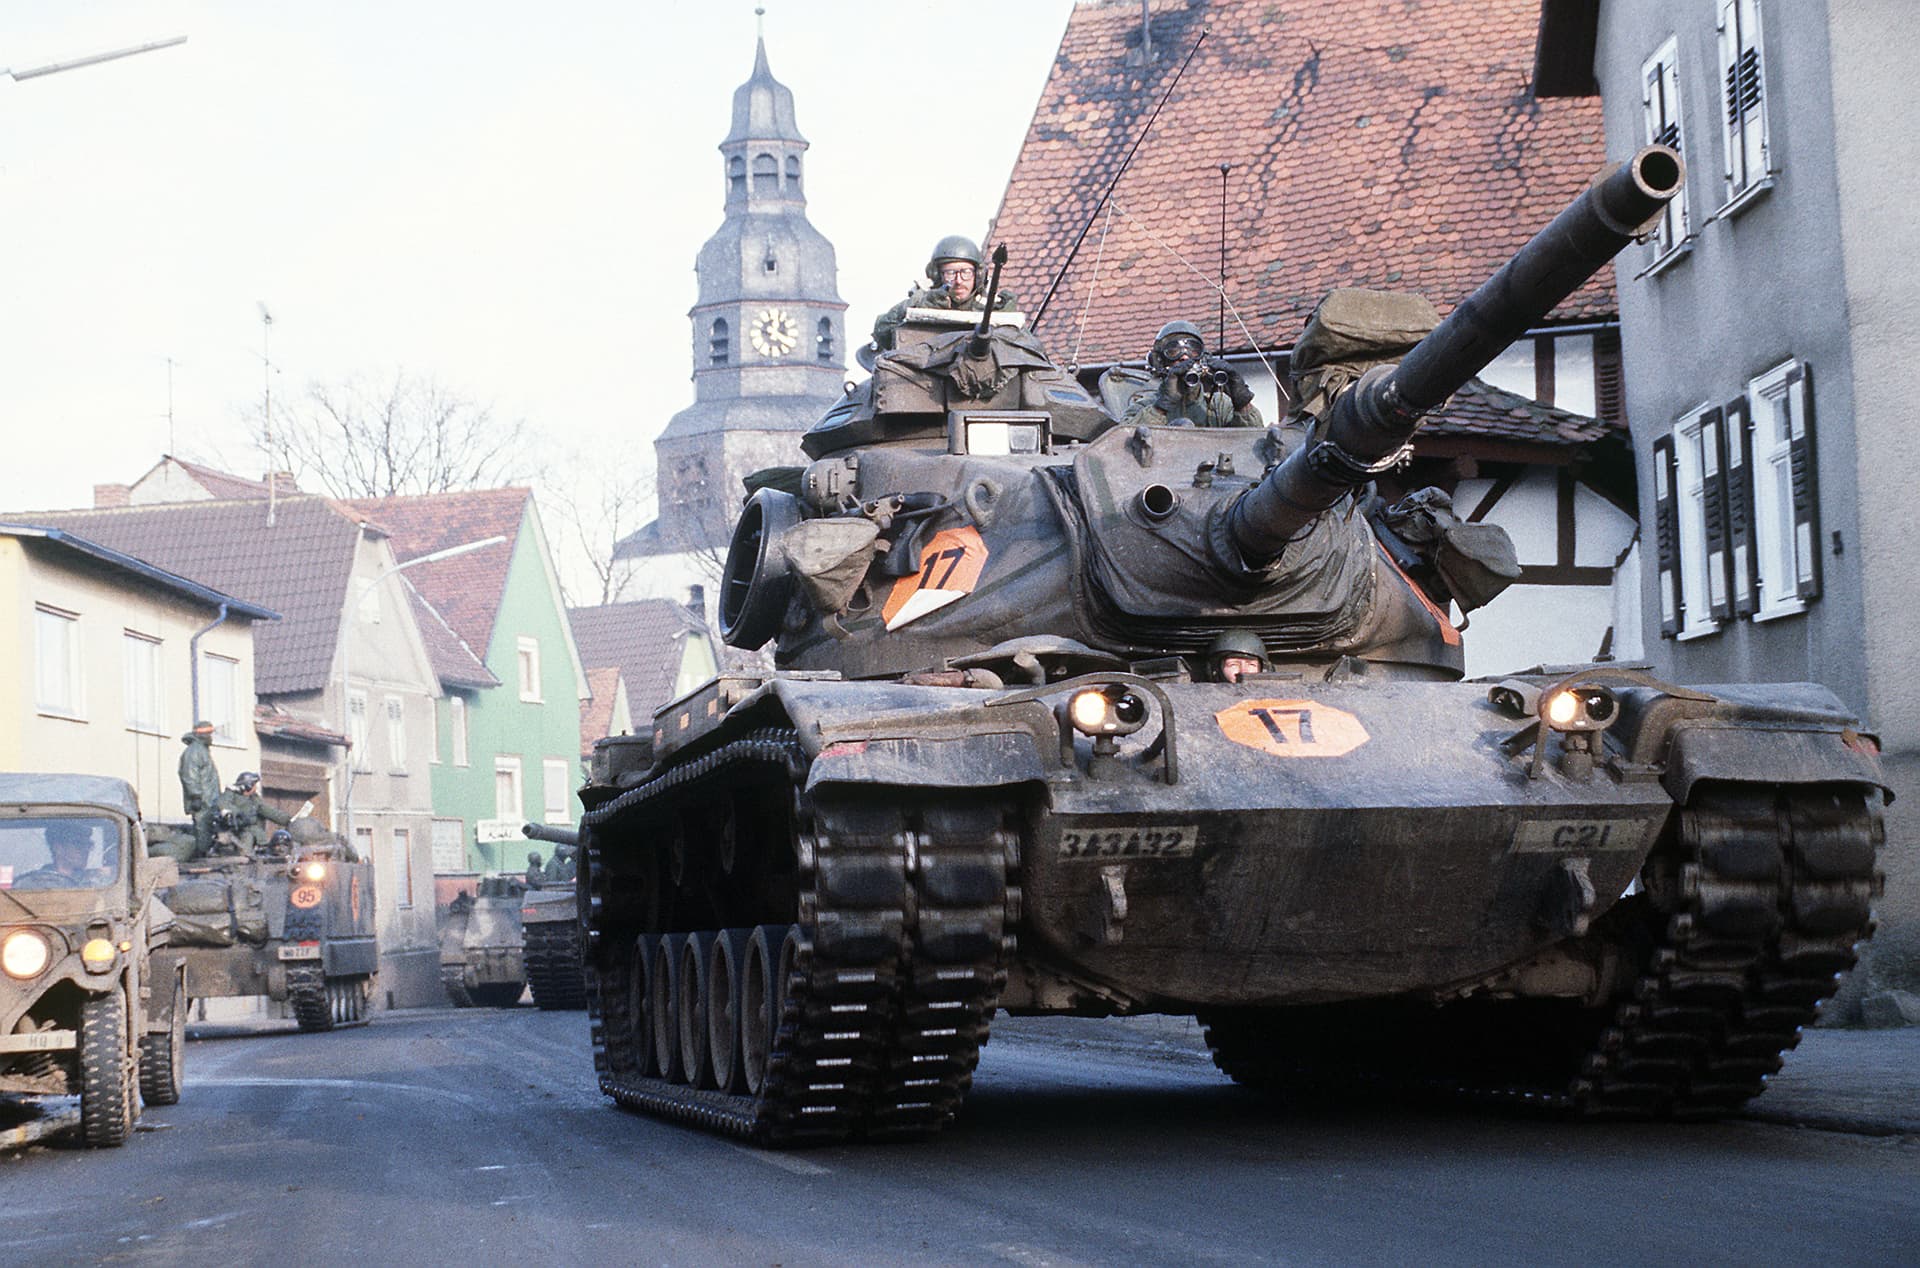
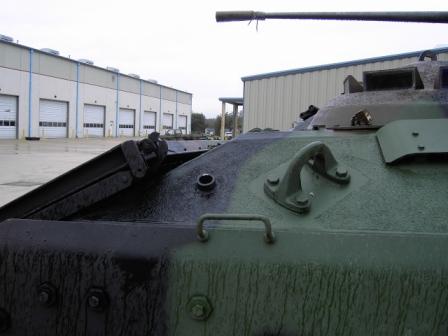
M60A3 tank optics, older style. At a distance, they look like dark, shiny spots.
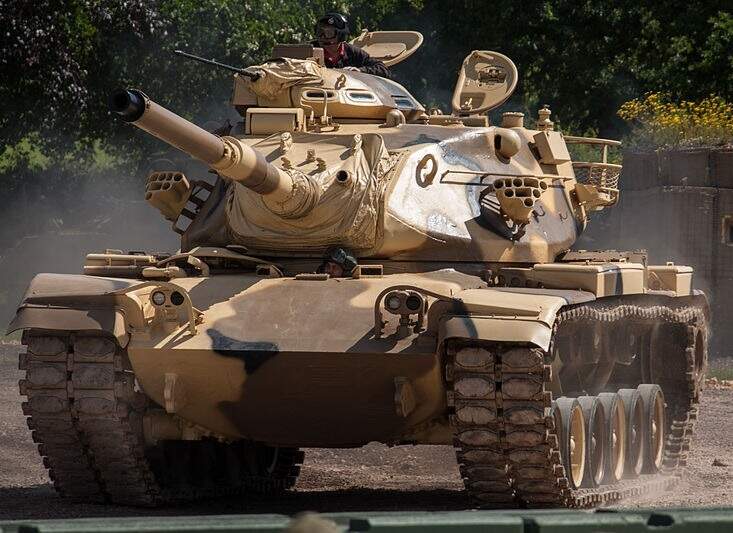
Even up close, they are dark and reflect the surrounding area.
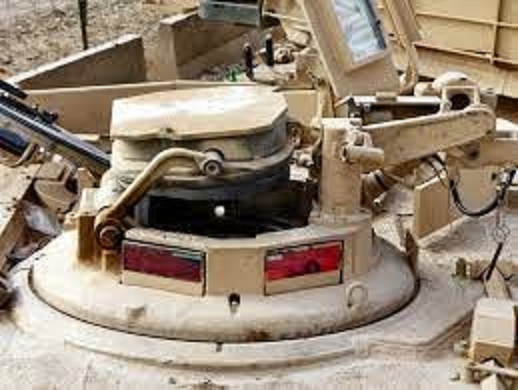
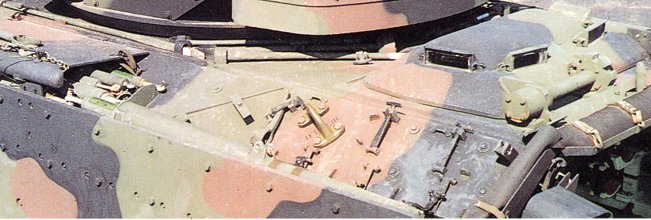
For newer optics which are anti-laser coated and appear red/violet/blue/gold depending on the angle, I use a couple coats of clear red over the black, then a couple coats of clear gloss. This gives a suitable effect of the laser coating and changes color from different angles, just like the real thing.
Modern, anti-laser coated “red” optics on an M1A1 Abrams.
2 Likes
Paint the base color then use some gloss acrylic medium. It is gel like substance that will dry clear and give it a glass like appearance. You can also use any products that are used in making water in dioramas. This works really good on dash gauges and makes them look like real glass covered instruments. Be careful because most of it is self leveling which is how it works but becareful it’s level as you let it dry.
1 Like
FWIW, these clear parts can be painted to give a nice simulation of the real thing. I use a pretty tedious process, but I like the final results.
-
Clean up the parts like all other regular plastic parts.
-
Over coat the entire part with a clear, gloss acrylic. (I use Future floor wax.)
-
Mask the objective and ocular lens areas. (I cut blue painter’s tape for this, either small rectangles cut on a piece of glass with a sharp, new blade or punch disks using a punch and die set. For the disks, I put the tape on a piece of waxed paper, then punch out the circles, peal the waxed paper off, and place the tape disks on the parts.)
-
Over paint the entire - MASKED - part with silver.
-
Over paint the part with the exterior base and detail colors. Weather, chip, etc. at this time, too.
-
Install the painted - but still masked - parts on the kit.
-
Complete the kit to include finish and weathering.
-
Remove the masks.
If they’re done this way, light will travel and reflect through the part creating depth and simulating the optical qualities fairly convincingly.
On the other hand, the parts can always be finished and painted just like they were molded from opaque plastic. The clear parts are no detriment to the kit, but they do offer an option for those who want to take a more involved finishing route.
Here are a couple of examples (the effect is difficult to photograph).

2 Likes
I discovered this while painting gems, etc. on figures: Paint the reflective surface gold, then add a coat, or two, of whichever clear color you want over the gold. I tried this with silver paint, and Molotow chrome, but gold gives a much better result.


For older optics, black is best, most realistic.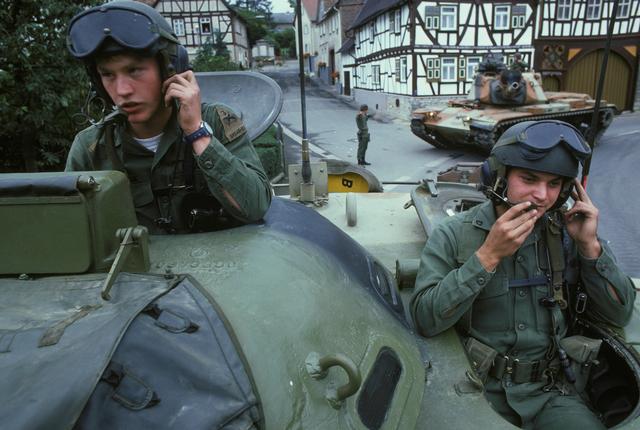
For clear parts, I paint the backside, and everything that is NOT the face of the optic, black, to give it some depth.
Ken
2 Likes
Many thanks everyone. Much to digest here. Your generosity of spirit to share is fantastic. Thanks again blainey.
1 Like
Just this week I did similarly, that being painting all surfaces (except the lens) chrome silver. Then painted over that first layer in the actual colour required for the framing. Lastly adding a coat of translucent green on the lens itself. This gave a great 3D effect.
However……… when I installed it, the glue dissolved a lot of the paint and the effect was lost…….(I did all this painting before removing the part from the spruce).
Not to hijack this thread but a couple of queries related…….
- What sort of glue could be used that wouldn’t damage the paint? I already ruled out superglue as that may frost the clear parts.
- I’m building Mengs Jagdpanther and instructions indicate these viewing blocks should be painted black? is that correct?!?!
- I used Ammo silver paint, and after 48 hours or so, it was still super soft? is that usual? I hand brushed straight out of the pottle, no thinning, nothing….
I think the techniques is good… just need to find a glue that doesn’t undo all the hard work!!!
Thanks,
Dave.
I use an acrylic clear gel medium, such as Grumbacher, or Golden, etc., as an adhesive for small pre-finished parts like these. This is the same type of product as Gator’s Grip Glue. Any squeeze out can be cleaned up with ordinary water and a moist brush (my preference) or cotton swab.
If the parts fit really well, I often substitute the clear gel medium with clear matt medium, which is another very good, light duty adhesive.
If the shine around the dried gloss gel is objectionable, I’ll overcoat it with the artist matt medium (which comes as a liquid in bottles). It dries clear and flat.
Being true, water soluble acrylic products, neither of these will have any detrimental effect on previously painted surfaces. These products do have to dry out completely overnight to reach full strength.
Testors clear parts cement, Ammo by Mig ultra glue, or any similar glue will work. Basically, any PVA or “white” glue will work.
Some people even use “future” as a glue.
Ken
Humbrol Clearfix should also work David and should be available across the ditch. It is slightly thick and can be used to fill gaps.
Some people use it to fill ship portholes, airliner windows, etc. by dipping a toothpick into it then wiping it across the opening and creating a film to fill the frame.

Then there is Deluxe Glue ‘n’ Glaze. This is the company that makes Perfect Plastic Putty.

I often do this for headlight lenses and other parts which are inserted in their location. I use PVA for parts like a windshield or windows which overlap the frame for a better bondage.
Olivier