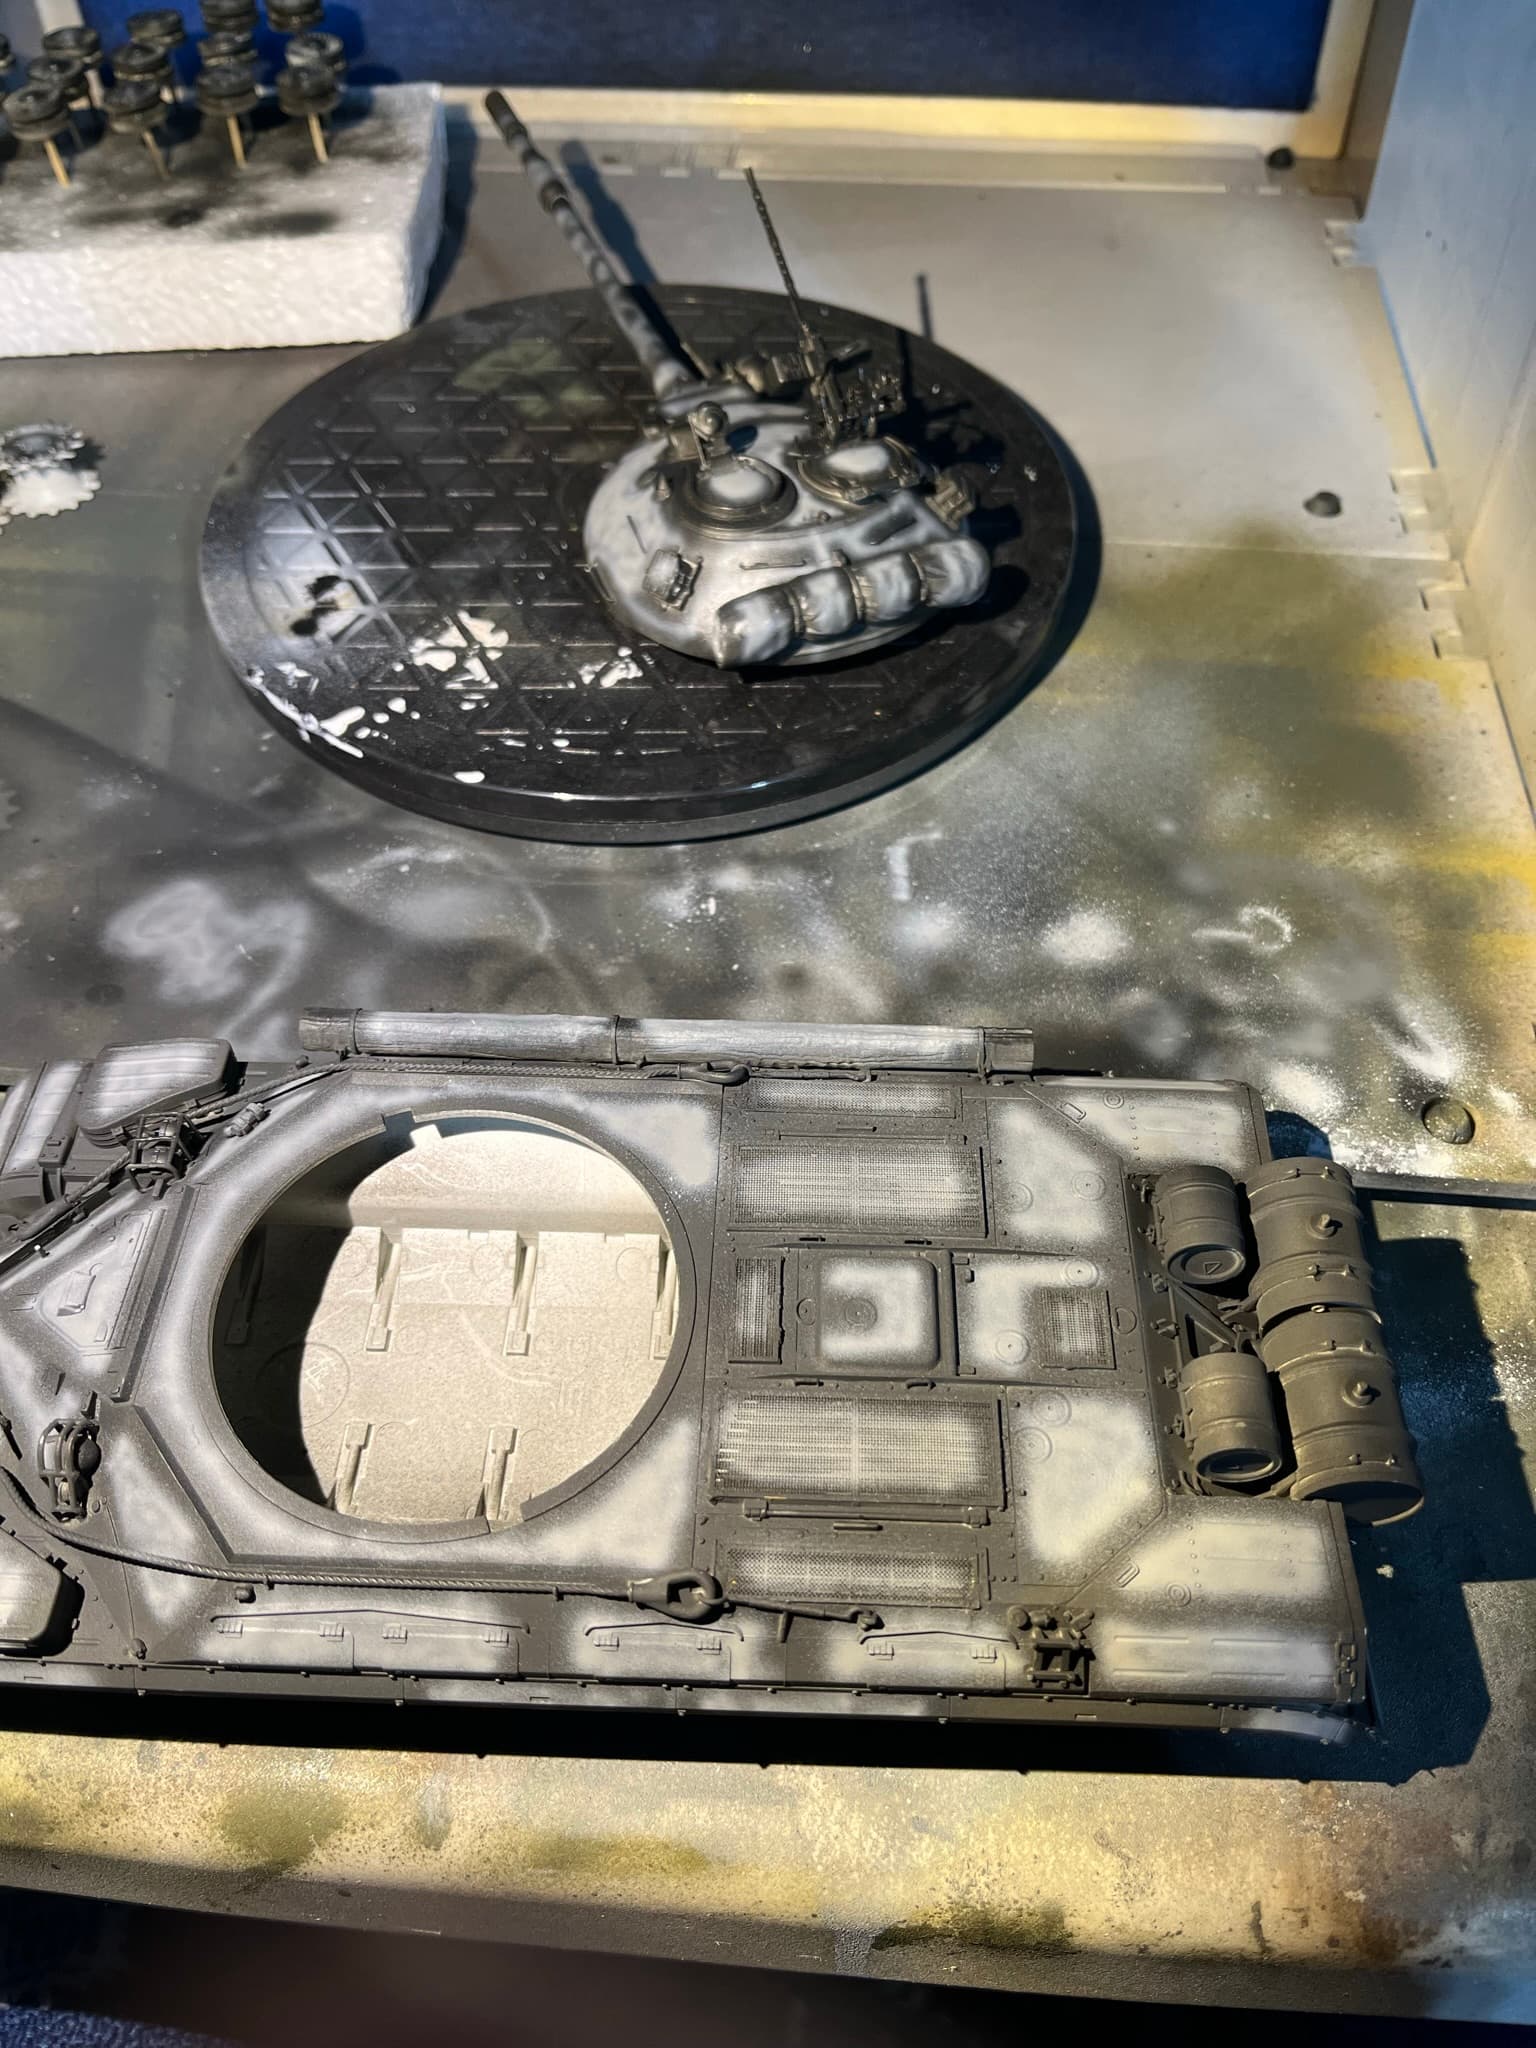
I worked for a couple of hours on painting this T-10M last night. The images I currently have aren’t the best/not the completed painting. I will update later today with some good photos.
This is my first real good attempt at preshading, so I think I did well, but I am open to feedback. (The lighting is terrible, I know. There is only so much you can do while freezing in your garage lol)
This was meant to be something like a postshade, and I was unhappy with how it was at the time I took the picture, so I went over a couple more times till the little “squiggles” weren’t noticeable at all. Anyways, it’ll make for an interesting challenge if I messed it up, and an interesting result if I didn’t.
One thing to remember when you use this technique is that while it may loo stark at this point once a wash is applied things will be toned down quite a bit. The wash also helps tie the effect together. I thin you are on the right track. Good luck.
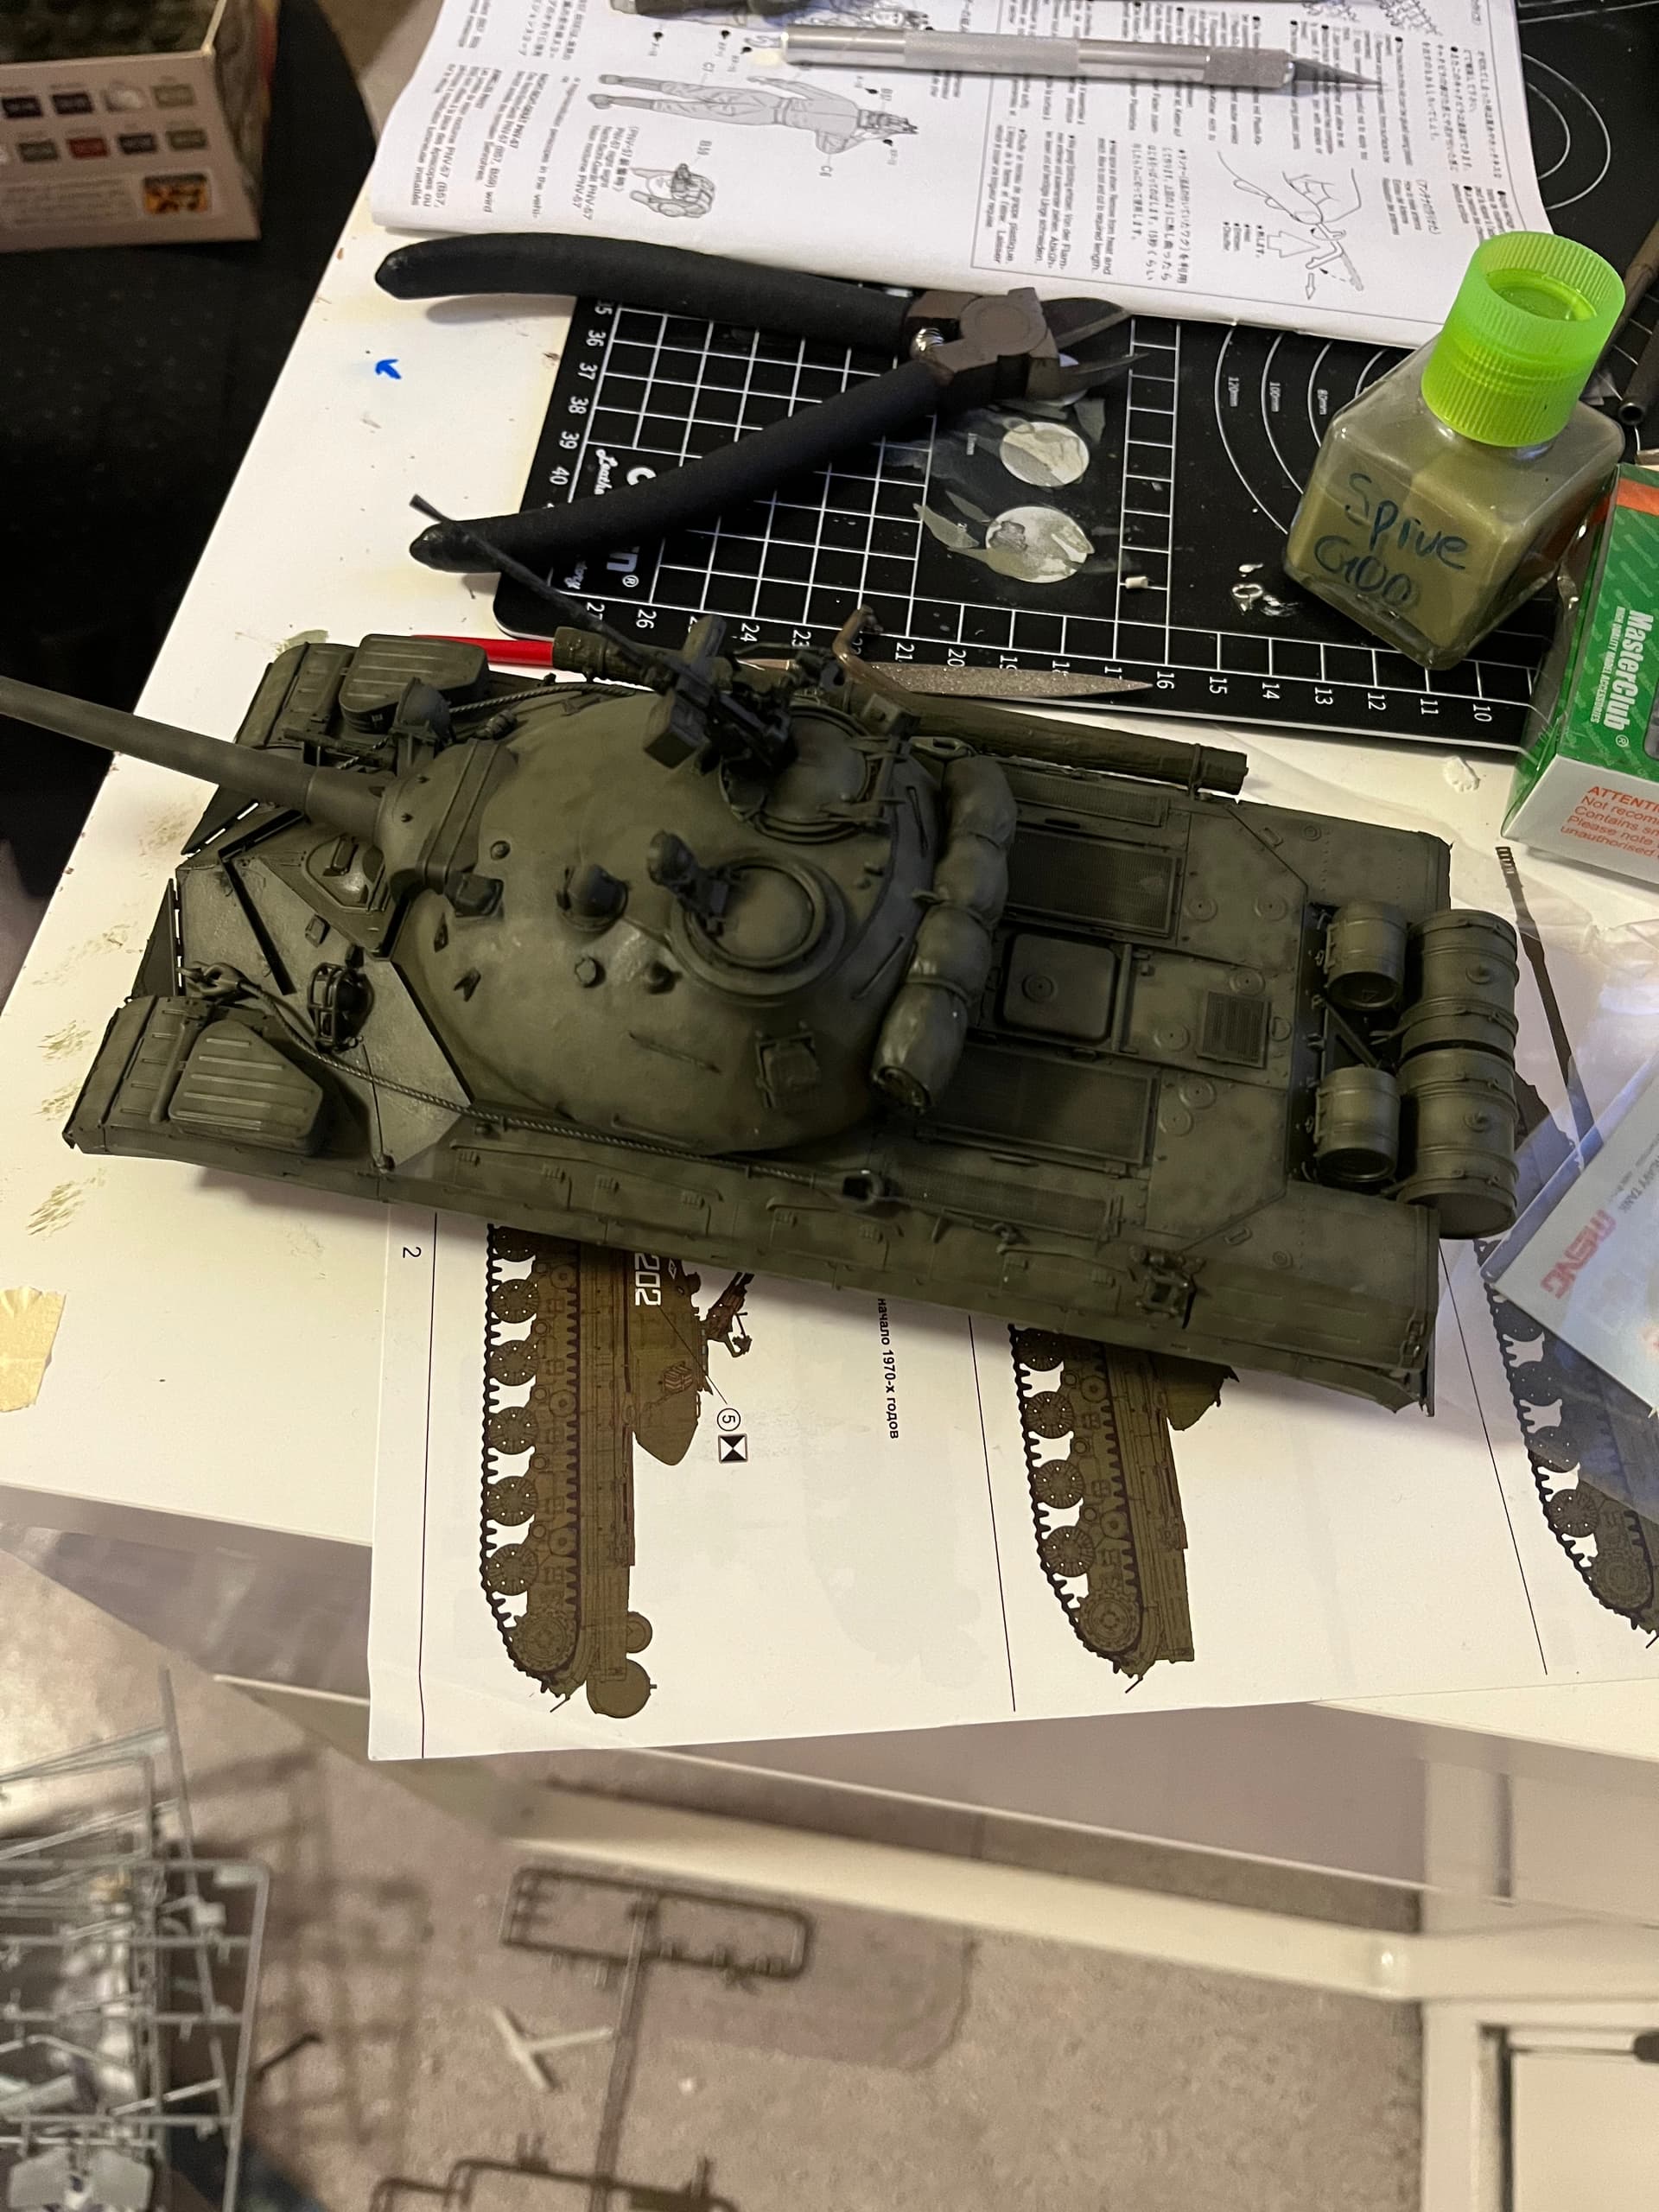
Ignoring my criminally messy desk and poor yellowish lighting, this is how it looks now. I’m yet to do decals or anything else, so forgive the disordered monotony.
I feel you in the sentiment of being a T-10 fan, though I only found out about it while searching for a 1/35th IS-3. Oh well, a pikenose is a pikenose, and I’d argue that the lack of info on the T-10 makes it much more interesting.
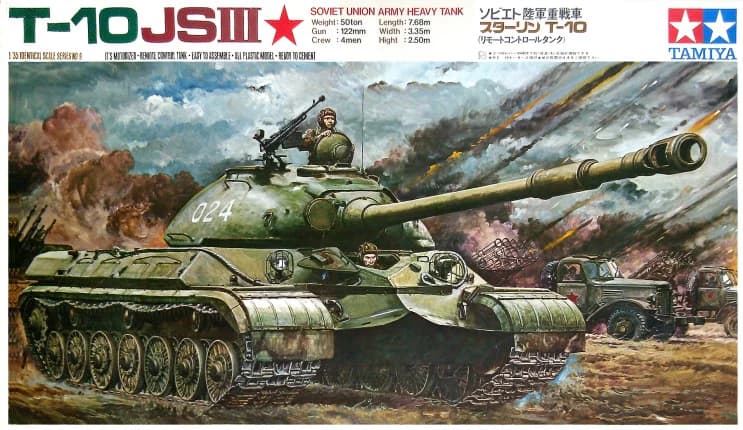
I was a fan from the early Tamiya days and their box art was inspiring; unfortunately the contents were abysmal and looked nothing like a T-10, but as I say the art was impressive:
I then acquired a Navigator resin version but had no real idea as to how to assemble it or even approach a resin/metal kit back then. Fast forward and both Meng and Trumpeter gave us their best efforts - and I am hugely grateful. However, my build stalled and I can’t really remember why - this thread might just get me going again!
I acquired the excellent book “Soviet T-10 Heavy Tank and Variants”, which was very informative, but a more interesting view, in my opinion, (and equally comprehensive) is contained here:
Far from the lumbering heavy giants as it’s often portrayed, it was a heavily armed, agile and potentailly lethal nightmare (to NATO) and as with all military equipments, whilst it may well have had shortcomings - not least to western eyes - troops will train on the equipment they are given, and will make it work, or at least get the best from it.
I recall it was still within the GSFG order of battle (Soviet forces stationed in the then East Germany) when I turned up at HQ 1st (British) Corps in 1971.
Well worth a read, as I say, in my opinion. Enjoy(!) Now where exactly did I stash that abandoned model…?
So, as I was doing the decals, I noticed that the paint was extremely weak everywhere. Almost as though I sprayed down chipping fluid before even basecoating it. I tried to see if when I applied some flat clear, it would make a difference, but alas, it did not.
You can actually see one of the places that it scratched on the log. As you can see, it is all the way down to the plastic. How I missed that is beyond me.
The only difference between this model and any of the others I have airbrushed is the temperature of the garage I paint in. It usually gets cold in there regardless of the season, but with painting at night/evening and living in the mountains, it got particularly cold that evening.
If anyone has any solution at all, I’d love to hear it, but for now, I’ll just be extremely gentle with it.