Panzer III madness

So, I haven’t made as much progress as previously due to prepping for end-of-year testing, and I have actually been out of town every day going back and forth to the test site.

But…I have the Ausf B roughly in the same state as all the others (fenders/tracks off; small bits to attach) and since the weather is garbage today and I can’t paint yet, I am going to start on the Ausf D. I have learned a few MiniArt lessons from the B and hopefully this one will go a bit smoother. I have found this kit more annoying than most of the Dragon kits. Still looking for an Ausf A and C and will add them to the pile as they arrive if found at a good price; may as well get them all done at one time.


4 Likes

And the Ausf D pulls ahead of the pack being the first with track assembled and most every component ready to go.

I cheated a bit by altering some parts. First, I took the small pin that fits inside the roadwheel housing by cutting off the flanged end and gluing the remainder to the housing, thus elongating the pin on the housing itself. This gave better purchase later when I attached the roadwheel housings to the swing arms and less sag like on the Ausf B I built first.

And as PE defeats me when it goes below a certain size, I used the cable mounts from a Dragon Pz III that looked close enough to fool 99.9% of the people that ever see my kits in the flesh.


Updates will be sporadic as I finish out the last few weeks of the school term and try to stay awake during post-planning meetings. Last week of May I’ll be able to kick it up a few gears and finish these off. I might even add the Ausf K that came bundled with railway flatcar.

3 Likes

A bit of an update, though not really that much to report. Haven’t had a lot of work time as I am enjoying my first summer off with family in three years, so have been taking advantage. Oldest daughter’s first boyfriend has been visiting as he lives an hour away–which resulted in me having something to post in the ‘new stuff’ thread. Baby shower for sister-in-law down in Florida that was a 6-day adventure which also resulted in a book and kit grab in Jacksonville.

Anyway, I have several vehicles basically complete and ready for primer. I am in the process of doing the Magic Track kits and then I have a couple with OG indy links that will take time to clean. Family is going back to Florida in a couple of weeks so I will have lots of ME time.

Here are the Ausfs B and D:

6 to still track:

And the three DS kits:

3 Likes

Okay. Everyone is assembled and ready to paint except for the Tauchpanzer. I have met a slight dilemma with the DS hose included in the kit; it is heavy and inflexible and looks as if it intends to fight me placing it in the support brackets on the tank. I am considering looking in Hobby Lobby for something to forge an alternative piece, like Sculpey or something. I hate the DS on this kit. Wonder if it is why we don’t see many builds of this kit?

Good to see your progress, really amazing project :slight_smile:

1 Like

So, no progress to report but that’s because I took a detour to build the 1/350 K’Tinga Klingon battlecruiser as a palate cleanser after assembling all those tank tracks. Once the starship is done, I can prime all the panzers and then camo everything.

On a related note, I was able to acquire a conversion set to make a Bergepanzer III and just ordered a Tamiya base for it so I might get that done pretty quick to add to the batch.

Could you cut a slice in the “tube” and insert a wire to hold it in the shape needed?

I think that might be a bit of work though a possibility. The ‘tube’ is over 16 inches long.

I bought some florists clay for making decorative flowers that supposedly stays flexible even after drying so I am going to try and make a new tube out of that and bend it into shape. Hopefully it won’t sag over time. I can understand why they made it out of DS rather than injected plastic but the DS is not very cooperative.

Okay! Some more progress squeezed in among having Covid week before last and having to run a review and quiz my students before interim exams next week. I also have several meetings upcoming to discuss education plans for kids on my caseload (I am a Special Education teacher) but I hope to at least start painting my gray IIIs. It helps having three batches of base coats (gray, DAK, dunkelgelb) so I can focus on a few at a time. Plus I don’t have enough open space in my paint area to hold all at once.

I applied a primer of flat (until I ran out and switched to satin, and then gloss) black to each to attempt a speed run on them. Bear in mind my display is basically set up as a museum of German armor so I build them to be about as accurate physically and visually as the best museums might possess, but I am not taking these to a show so expect no wizardry here! In order to complete a 3D version of Chamberlain and Doyle’s Encyclopedia of German Tanks of WWII before I die or the world implodes–and bear in mind I conceivably have another 24-34 years–I have to work quickly to get these things out on the floor. I have tried the ‘paint it black’ technique a couple of times before and it worked out pretty good. And I’ve gotten much better with my airbrush since then, so I’m hoping for good things.
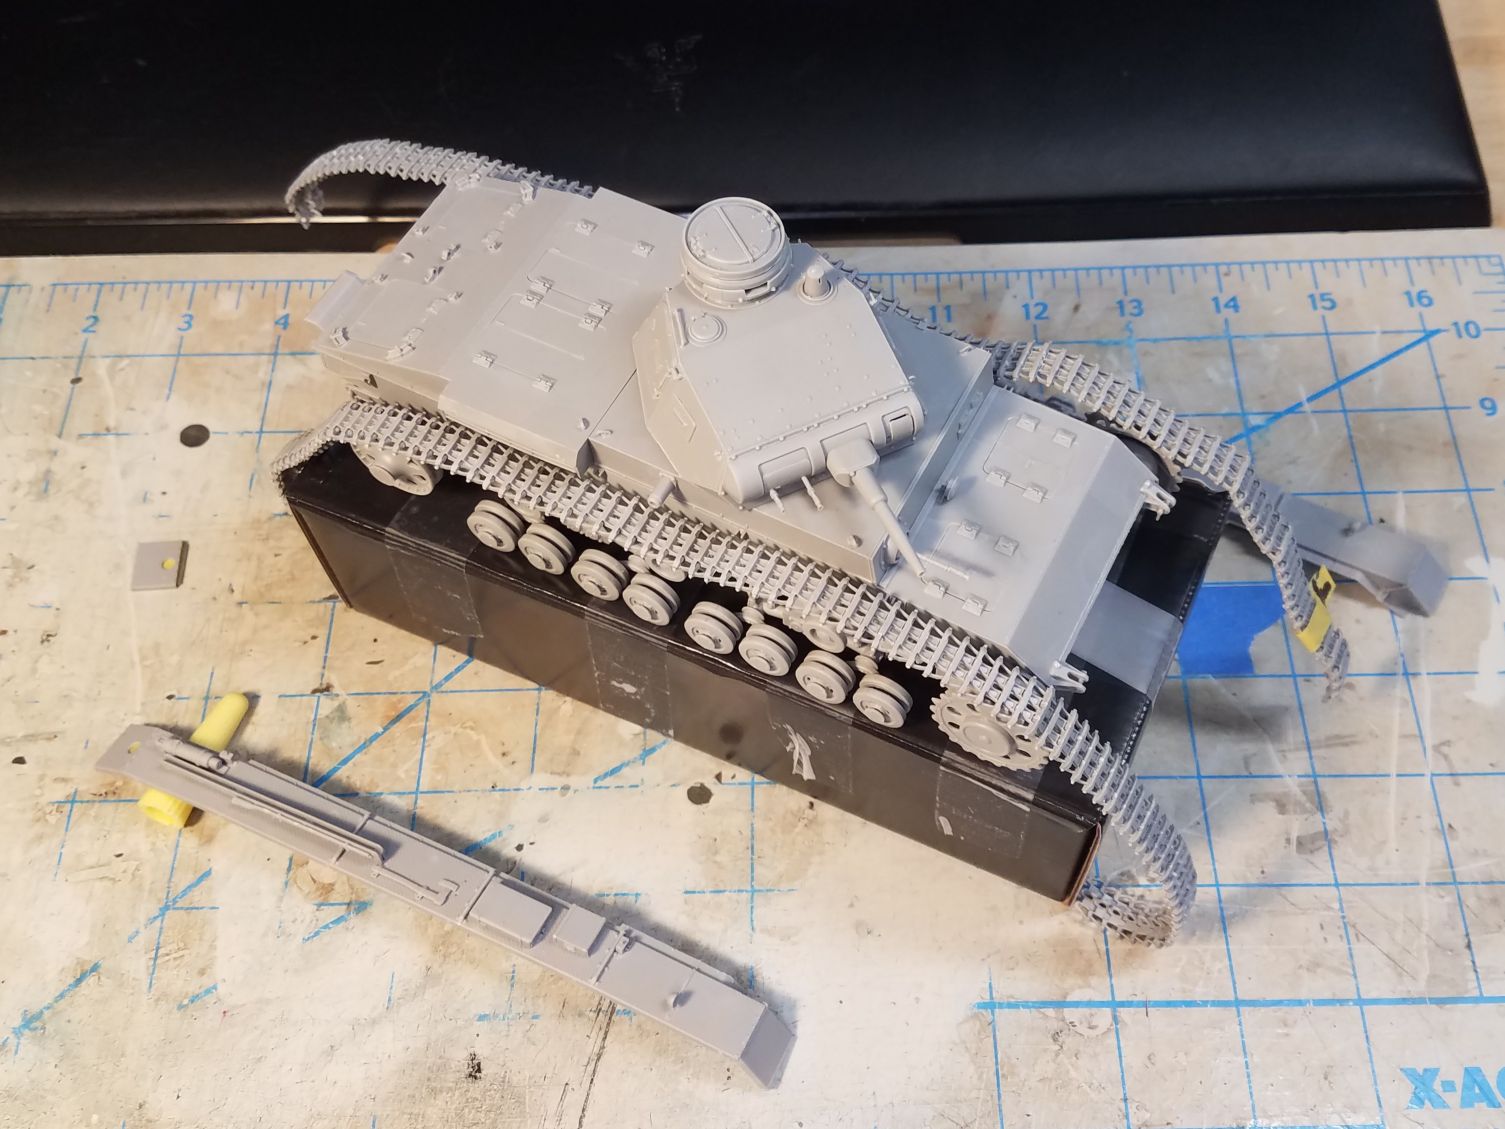
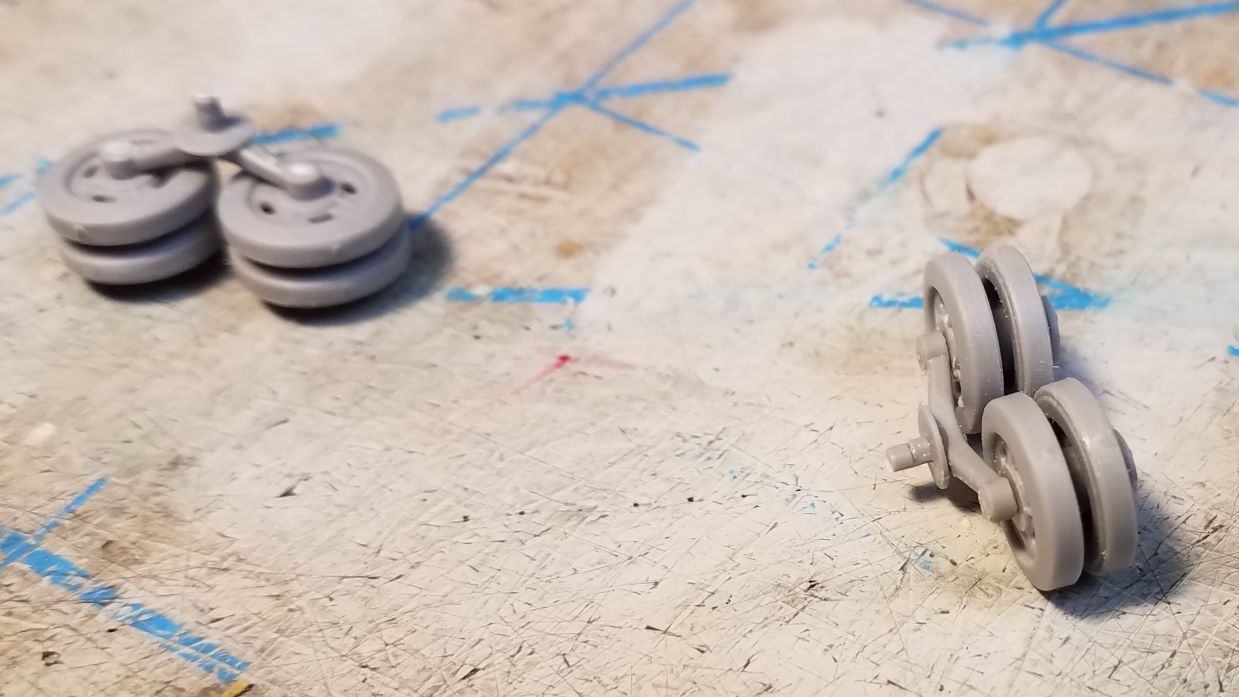
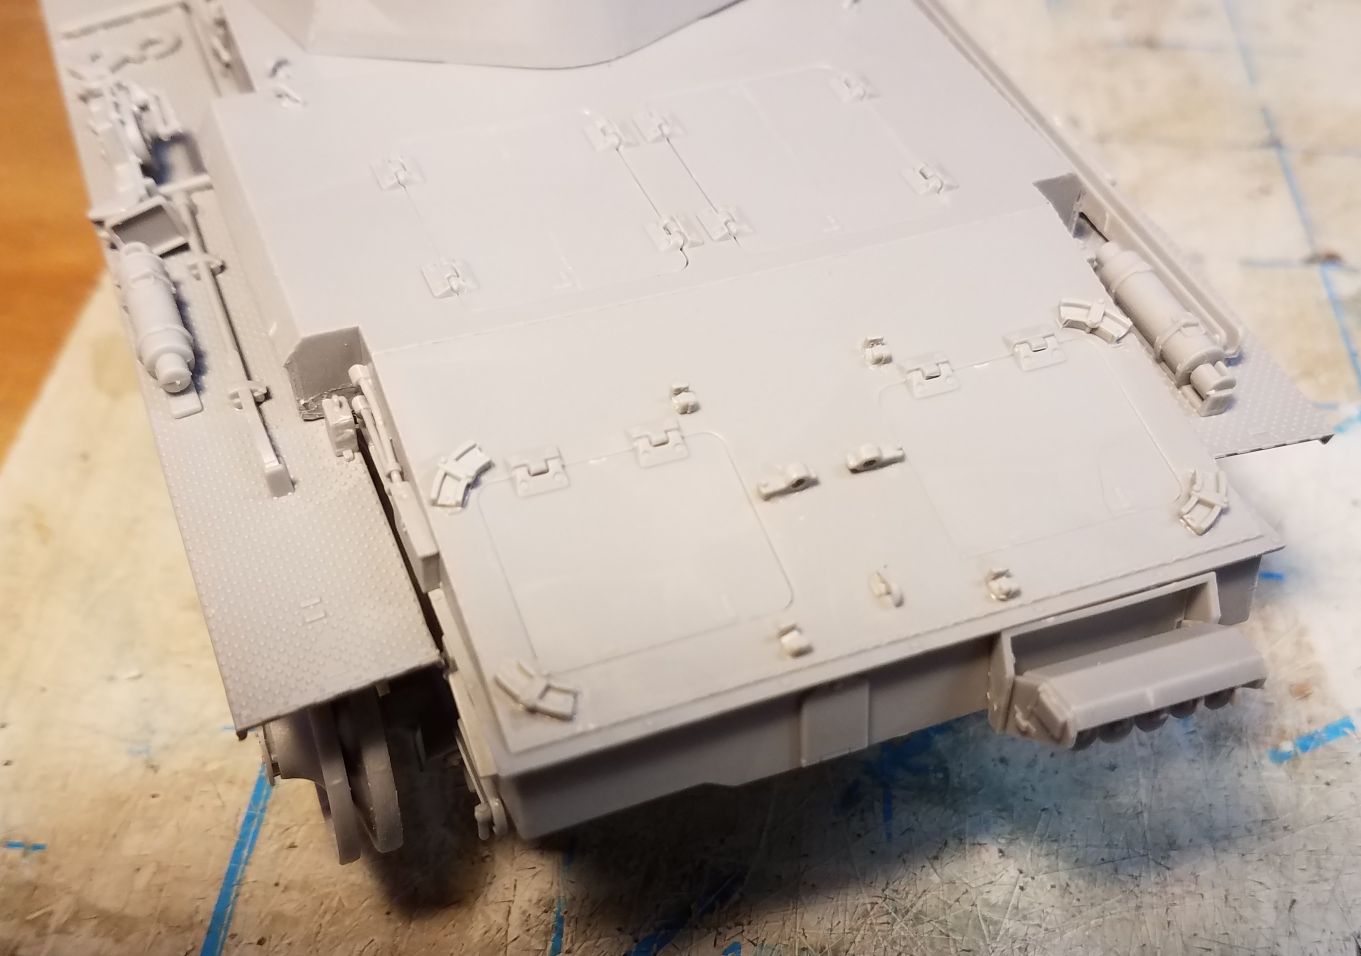
Anyway, some pics:


And here I am with the Bergepanzer:

I have not primed the Tauchpanzer yet as I am still working on the stupid DS hose.

Also, the DS tracks on the Befehlswagen decided to contract and split while sitting on the shelf; hadn’t even been painted yet. So I need a replacement set of late 40cm Pz II/IV tracks, I’m pretty sure. So that one will be delayed until I get those replaced. Always something.

Oh, and here’s a shot of the detour I took from the IIIs:

Little Falcon thrown in for scale.

Oh, and in memory of the occasion, here is a picture of where I used to work 20 years ago;

My store was the first two floors, with Merrill Lynch holding offices in the remaining five. They were gutted by fires started when the debris came punching through the ceiling, but the suppressors stopped it before it got to my place of work. Our café was used as a base of operations by the emergency crews as it was an open area with lots of large tables, and our exit to the underground mall was used to locate people trapped in the mall when the collapse began. In the lower left-hand corner of the building on the first floor was a Krispy Kreme donut shop (I still have one of their t-shirts) that somehow managed to avoid any dust penetration because they had recently had their windows replaced and all the seals were brand new. The donuts were given to the emergency workers, since they were now day-olds and the store was a bit closed anyway. Our children’s department was located right overhead of the donut shop. I used to buy 3 jelly-filled there and then a large soda in our café every morning for three years (I was there for five but KK came later) but not that Tuesday. Didn’t have any donuts that day. Went on a couple of runs, waited in some lines to use a pay phone, avoided a wall of debris, went on a pleasant stroll from Church and Vesey all the way up the east side to 74th Street with a coworker who arrived just in time to turn around and run back the way she came, while the skyline rewrote itself behind me. Anyway. Remember this day for those who didn’t get the chance I got. My wife was nine days from delivering our first child that day, and she went from almost being a widow with a fatherless child to a mother of two extraordinary girls and I got to be a father. I have a lot to be thankful for. Don’t mean to bum anyone out; just wanted to make sure today got noted somewhere and since I was already in this thread…

Anyway. That’s the Federal Post Office behind my building (#5 in the WTC complex btw) in the managerial light gray stone. I once spent 15 minutes in line talking to Lee Renaldo, guitarist for the New York band Sonic Youth at that post office. We talked about death metal and what it was like touring back in the 80s in a crappy van stuffed with gear. Sonic Youth broke up a few years ago. I outlasted another NYC icon.

6 Likes

Woah! How do you keep them all straight? That’s nuts. Plus your teaching load. My wife just retired from SPED. That’s nuts too. You must manage your time with a stopwatch. But congratulations for all of your accomplishments thus far. You are a dedicated and multi-talented man! Those Panzer III’s are looking excellent and it’s hard to comprehend that you’ve got 11 of them going at one time! Your level of detail is really outstanding. Keep up the great work!
I’m a Fire Police officer and traveled down to work on the recovery effort after 9/11. You’re right, today should be remembered. The memories are almost surreal now.

3 Likes

Wow!

Looks like eleven little black kittens and one big black momma cat. Amazing with the Pz III builds. I would probably be crisscrossing and sorting turrets and hulls for a week if I tried that.

Definitely 9/11 should be remembered, the daytime, the people and the recovery efforts.

1 Like

Got most of the base coats down. Tauchpanzer is off to side until I make a new hose and I need some PE screens for the Bergepanzer. Also have to make a new set of tracks for the Befehl since the DS tracks crapped out.

I realized almost too late I did not have any DAK colors but found a hole-in-the-wall hobby shop that actually had some AK Real Colors, so I got both sets of camos used in Africa and I think I like them, assuming I can fine-tune the thinning ratio. The gray and yellow panzers are all Tamiya paints. Next step is to apply filters and paint the OVM gear. Getting close.


7 Likes

A good looking bunch. Do I see Tamiya’s back catalogue in the rows behind them?! Strangely, I have found myself drawn to the Panzer III lately, although my usual output is late war vehicles. I have discovered over the years that even after production finished and the Panzer III as a gun tank was withdrawn from the front line, special versions e.g. Befehlspanzer and Beobachtungpanzer were much in evidence almost to the end. Even the gun tanks crop up frequently in training photos.

Not everything back there is Tamiya, but yes there are a few. They are mostly the ones I did when I started building models again. A couple have their more modern replacements in the stash.

Almost there!
Main paint is all down, tools are painted, markings applied.
Just need to do touch-ups here and there, the mufflers, attach a few antenna, and prepare for a pin wash and some other weather effects, some ‘under the fender’ dirt action, and add on spare track and other small bobs that came with a couple of kits. Four day weekend with the wife and kids gone during Saturday and Sunday so going to bust a move and take advantage.

Once these are in the can, I can focus on the Tauchpanzer and the Bergepanzer.

3 Likes

Very nice collection! Somehow I missed there was a Bergepanzer III as well, is it the old Verlinden conversion?

No. The CMK set.

Is it worth? Walls look a bit thick to me…

Well, not having seen the Verlinden or the one other set I saw online unassembled, I can’t say it’s any better or worse. It basically ends up looking close to what I see in pictures of the real thing but yes the walls look a bit thick even though scaled up they would be about 1 1/2 inches (38mm) which doesn’t sound too thick considering the abuse they would get from tools and stuff being banged around in that compartment. The problem I found is one of the pieces that represent the mounting points for the legs of the crane on the upright pole does not fit in a wat that you can attach one of the support arms. I will have to scratch a piece that will fit properly. I also chose to toss many of the included tools and fuel drums for those from a few Tamiya/Miniart tool sets that were newer toolings and had crisper detail.

Also, it was the only version available for sale at the time I was looking.

1 Like

Hello again. I am just about done with this. All are basically completed except the Operation Seelowe panzer and I have just about got it to the painting stage now. The Bergepanzer will be moving along soon as well; I have to scratch a piece as the resin part seems to be mis-cast. I will follow this post up with some commentary on the various kits.

Ausf B

Ausf D

Ausf E

Ausf G

Ausf J initial

Ausf J

Ausf L with winterketten

Ausf N

Flammpanzer

Panzerbefehlswagen Ausf H

Panzerbeobachtungswagen Ausf F

9 Likes