Same way my figures look like. LOL.
2 Likes
5 Likes
3 Likes
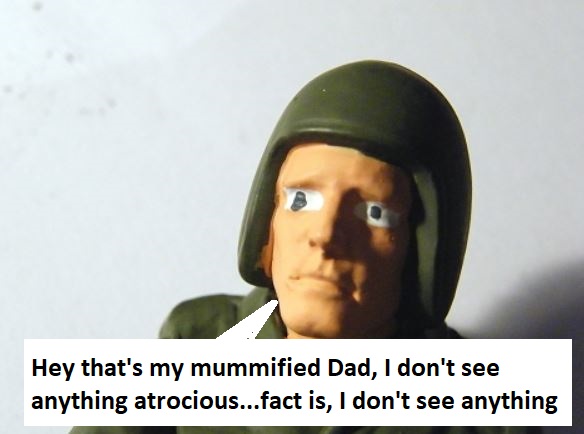
What do you mean I’ve had too much caffeine?!
3 Likes
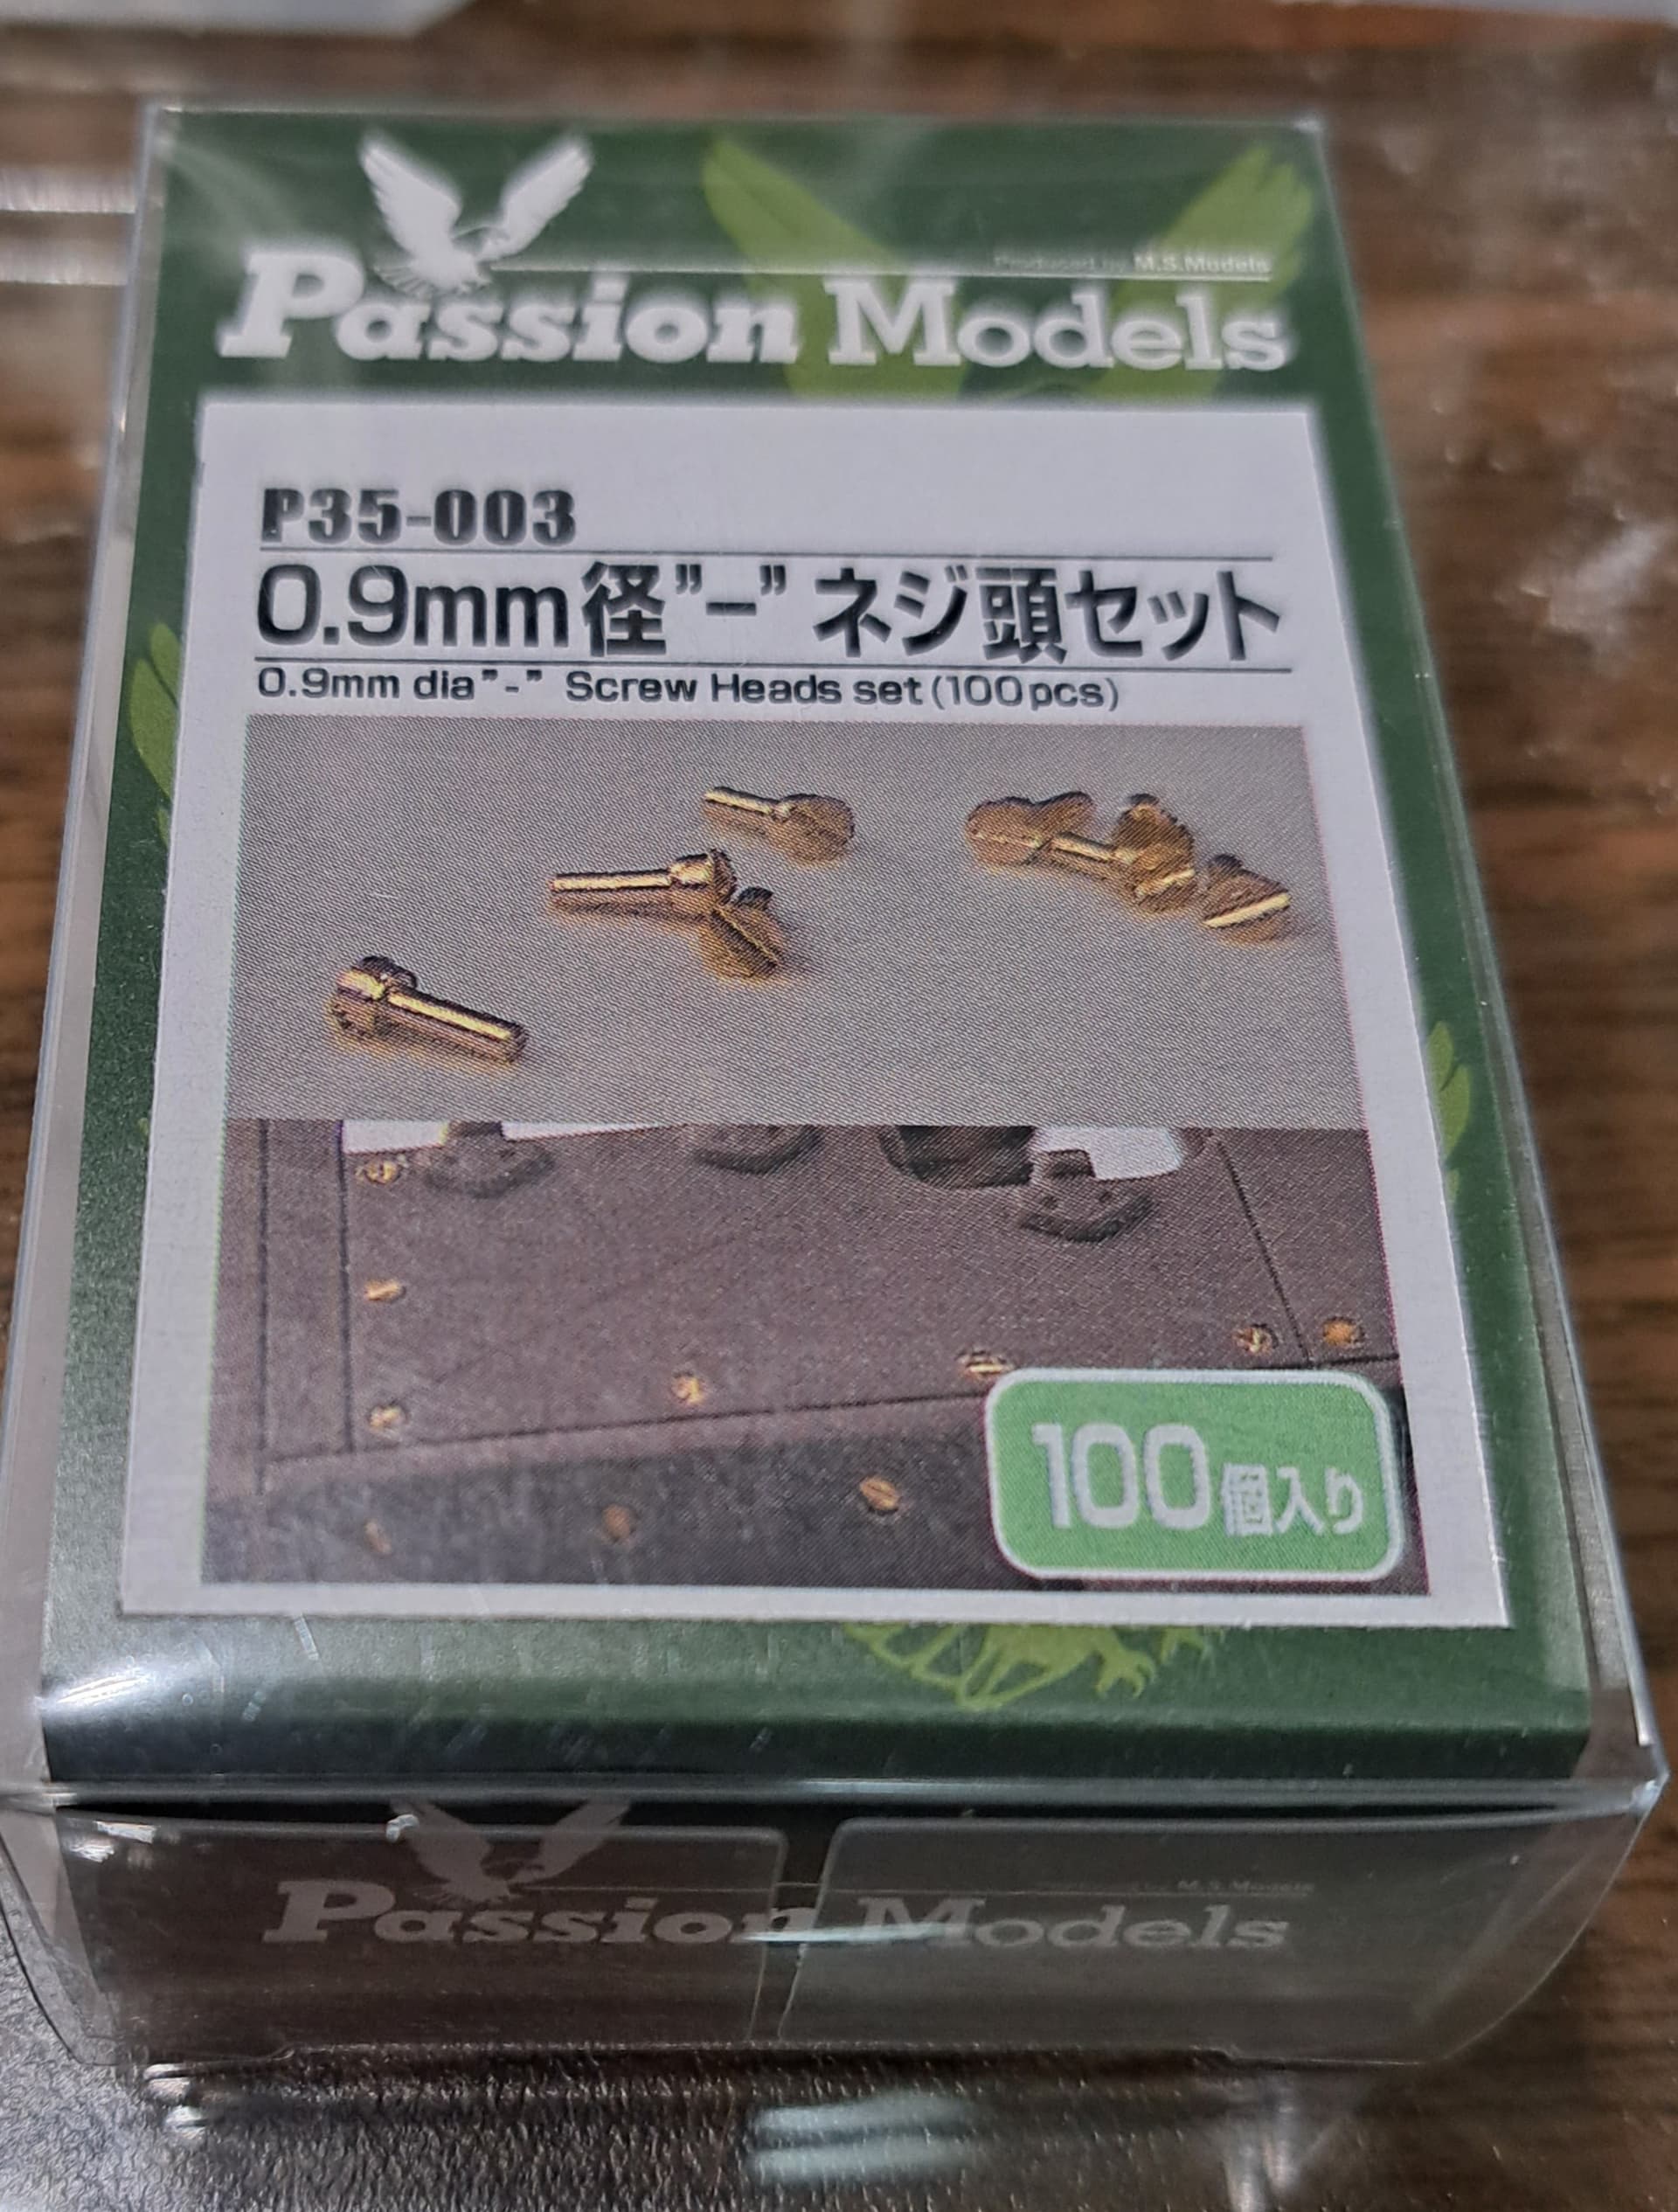
@Damraska Doug, Passion Models should still be available for screw heads. They are just like Lionxxxx’s previously mentioned.

4 Likes
Thank you. Those are amazing.
With regards the figure painting, Micro Mark now sells a brush camera. It works a lot like a microscope for electronics work that transmits the microscope image to some kind of display. However, given the current quality of iPhone cameras, one of those would probably work just as well. I may give that a try some evening.
3 Likes
Tim, if that guy had even the slightest smile, it would be in a sanitarium diorama! ![]()
![]()
![]()
Seriously enjoying your very comprehensive build and I’ll be following along as well. Thanks ArmorBuff!
Cheers ![]()
Dave ![]()
4 Likes
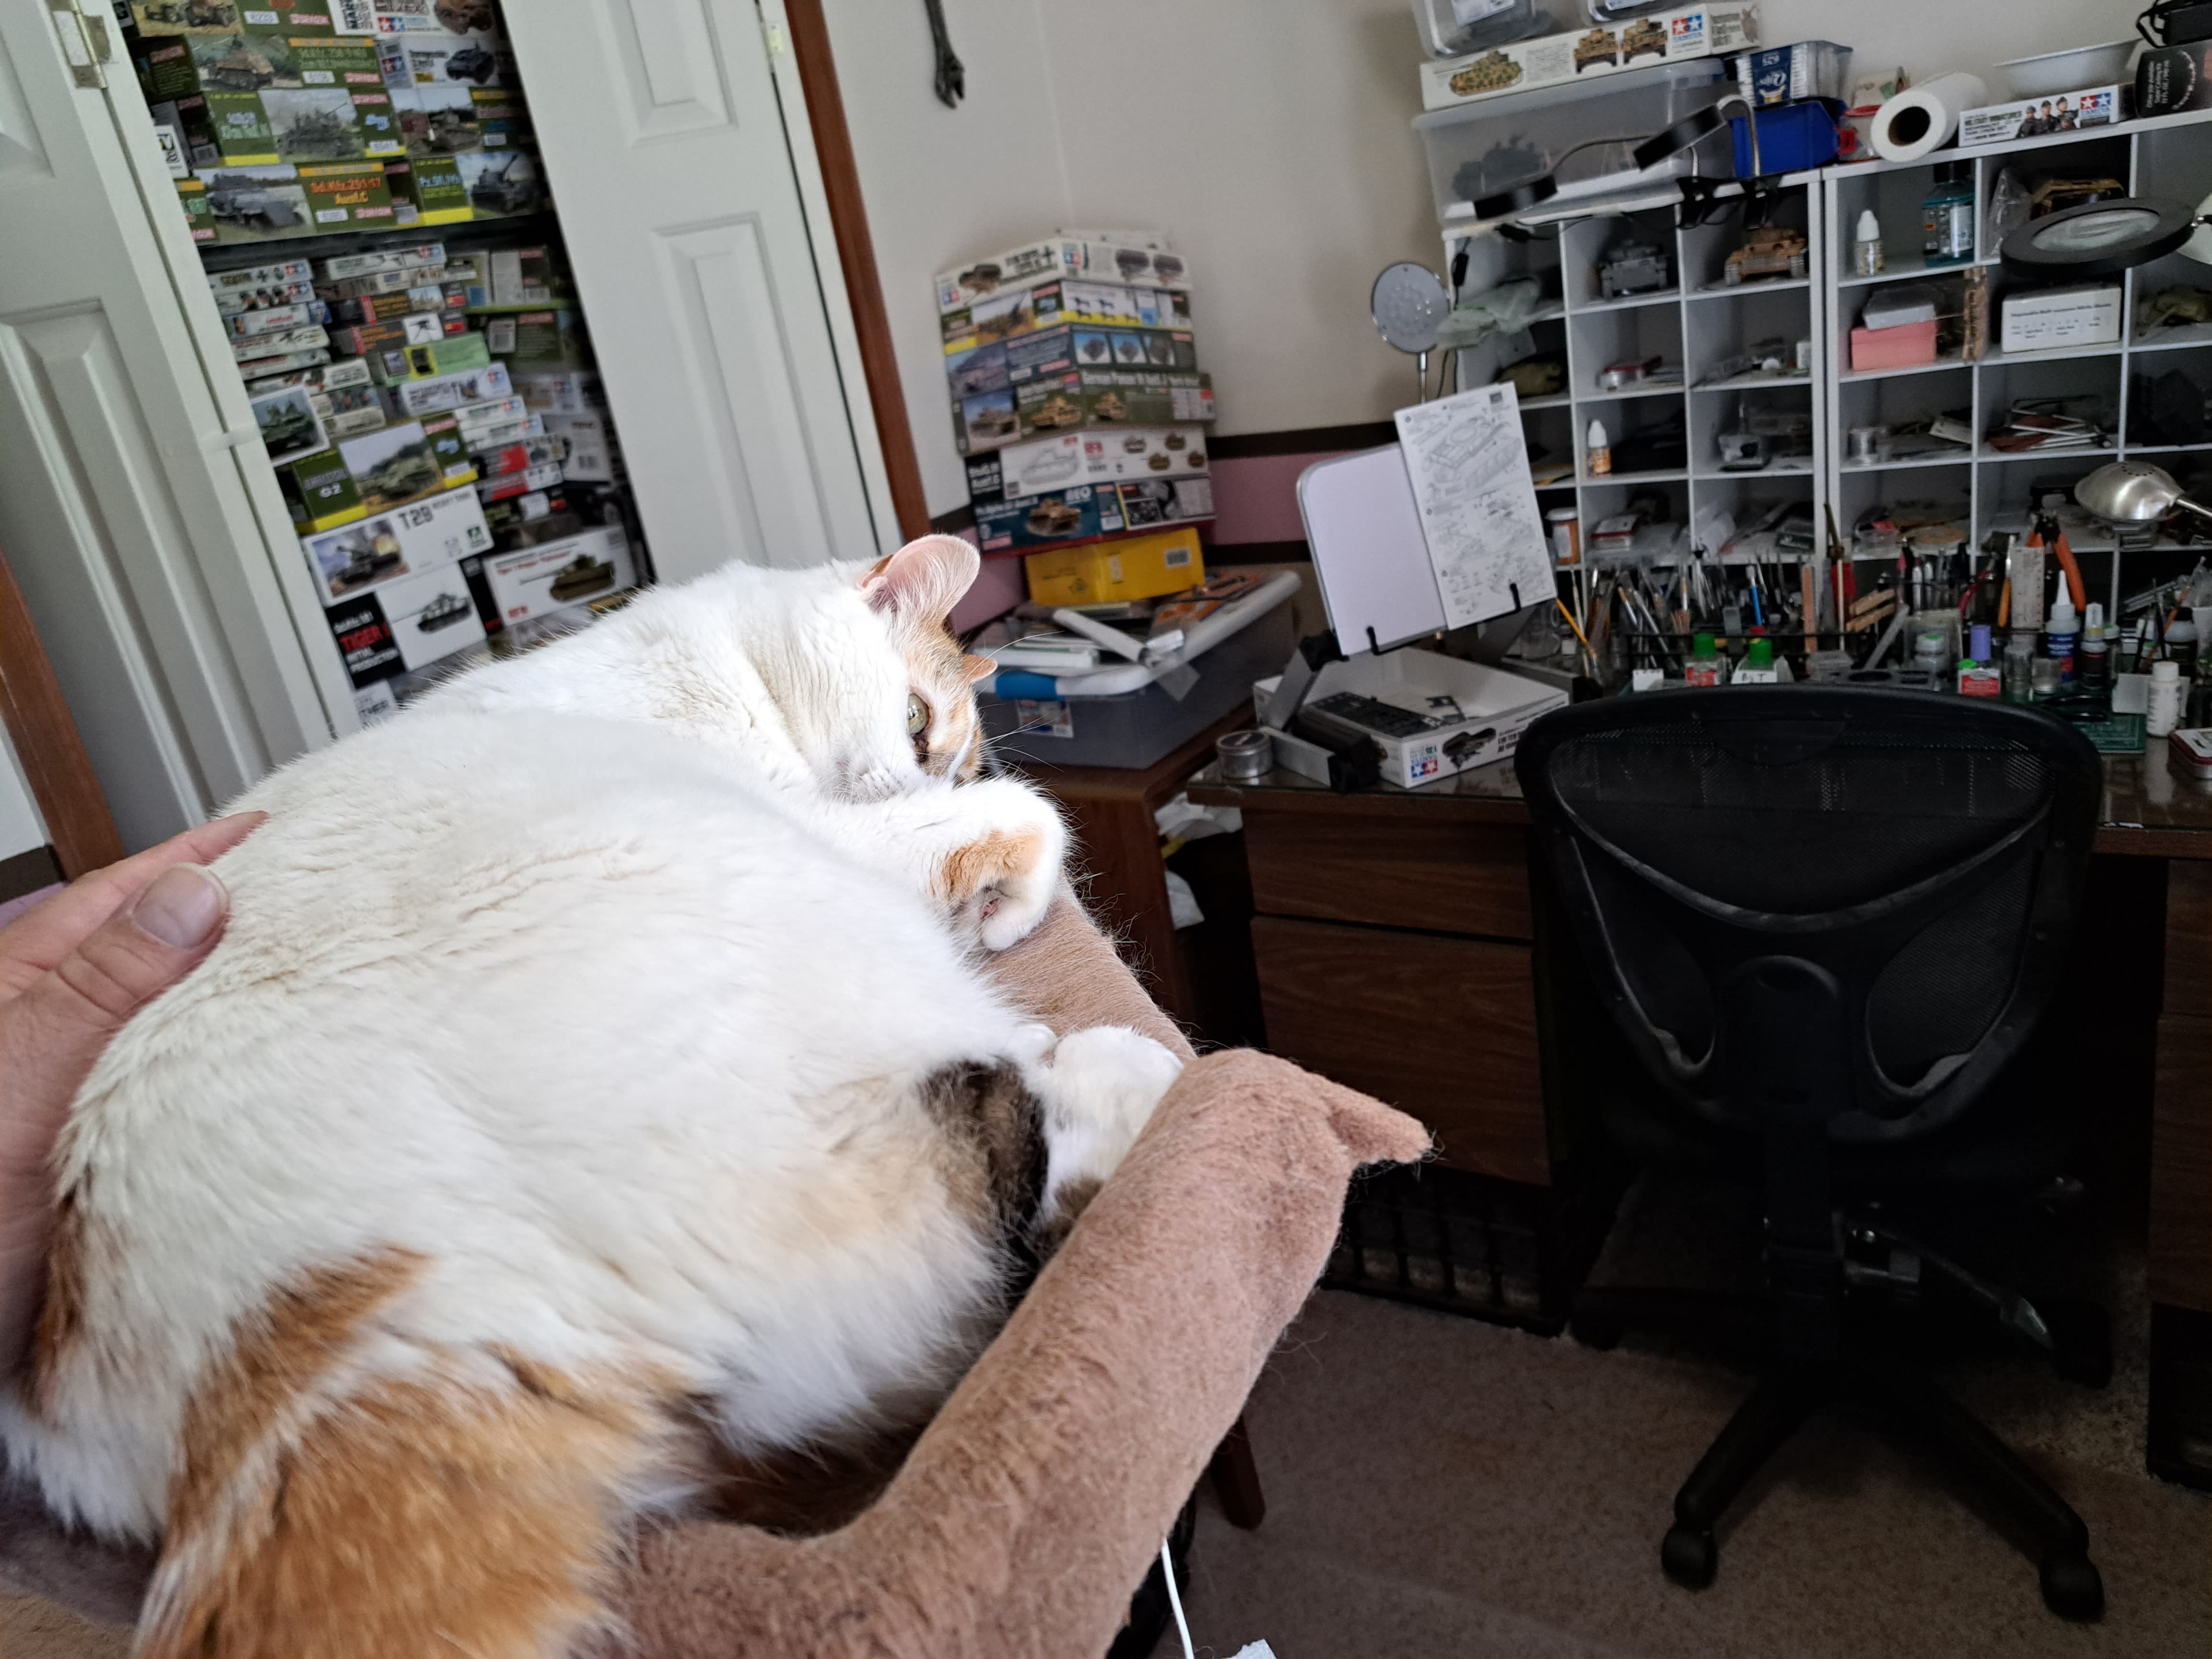
Home again!
Kali kept the other kitties out of the hobby room for the last month or so. She’s a top notch Guard cat…lol
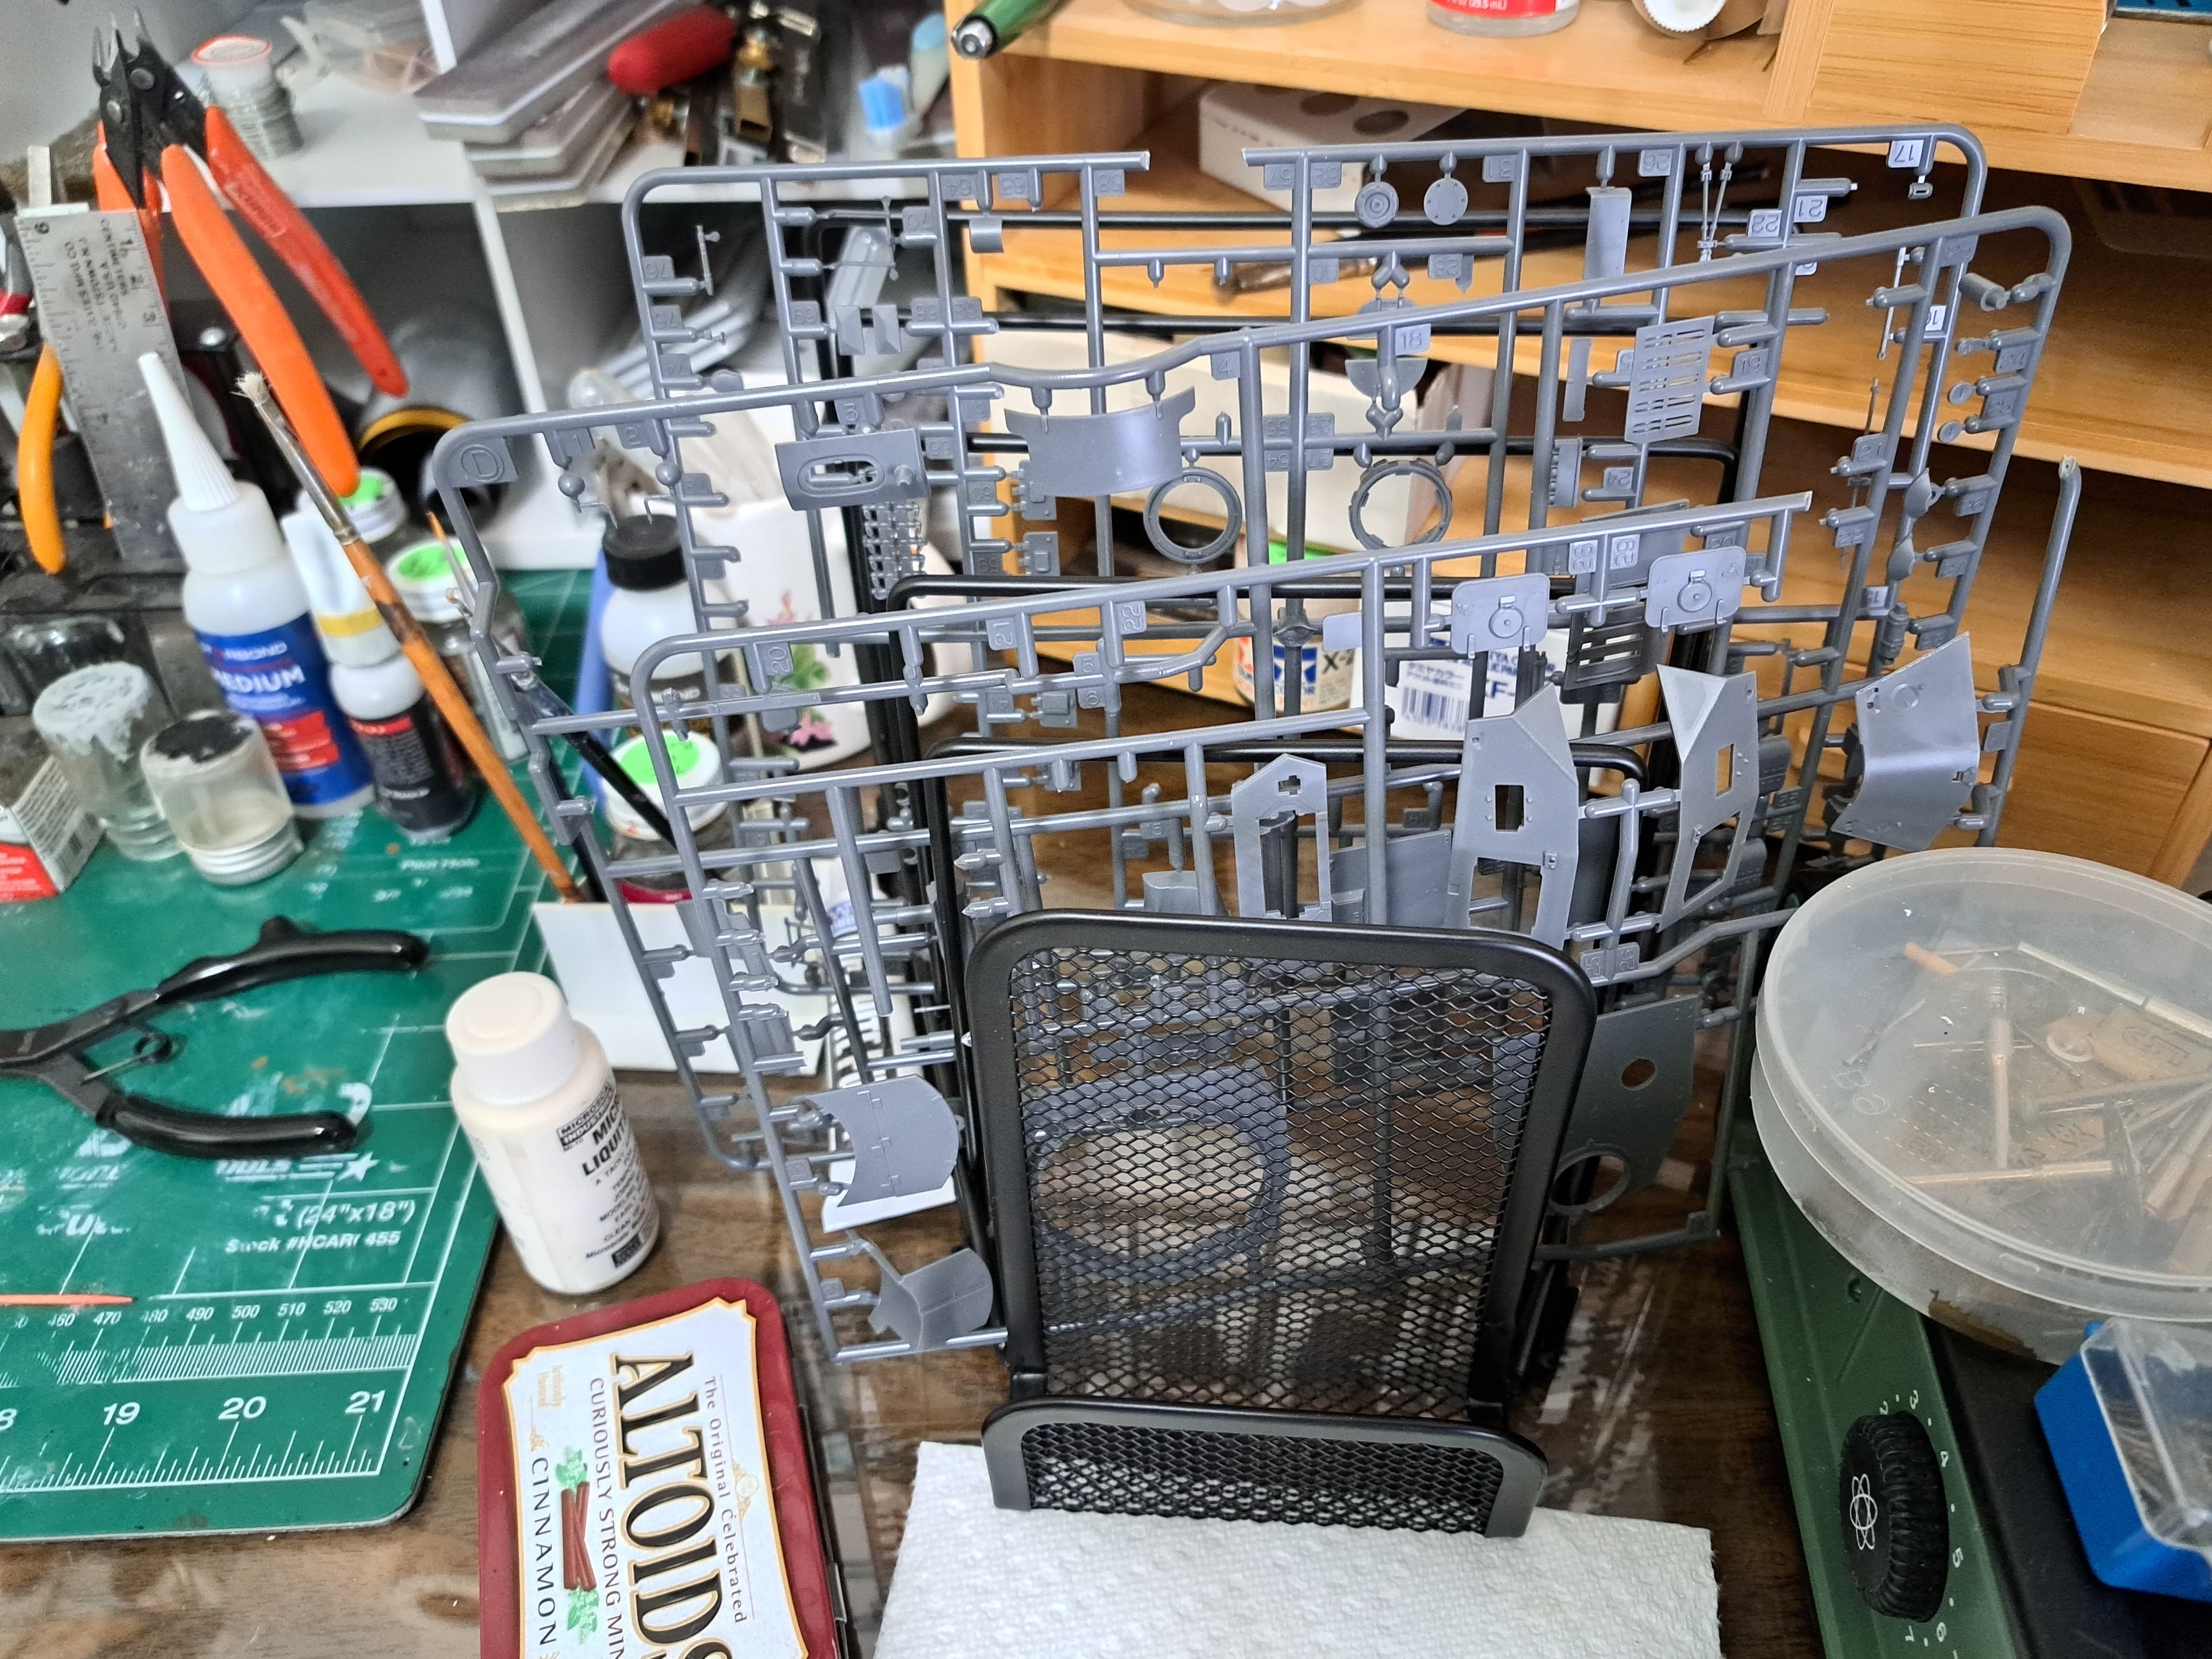
Picked up a file folder holder for $12 for parts trees to help organize.
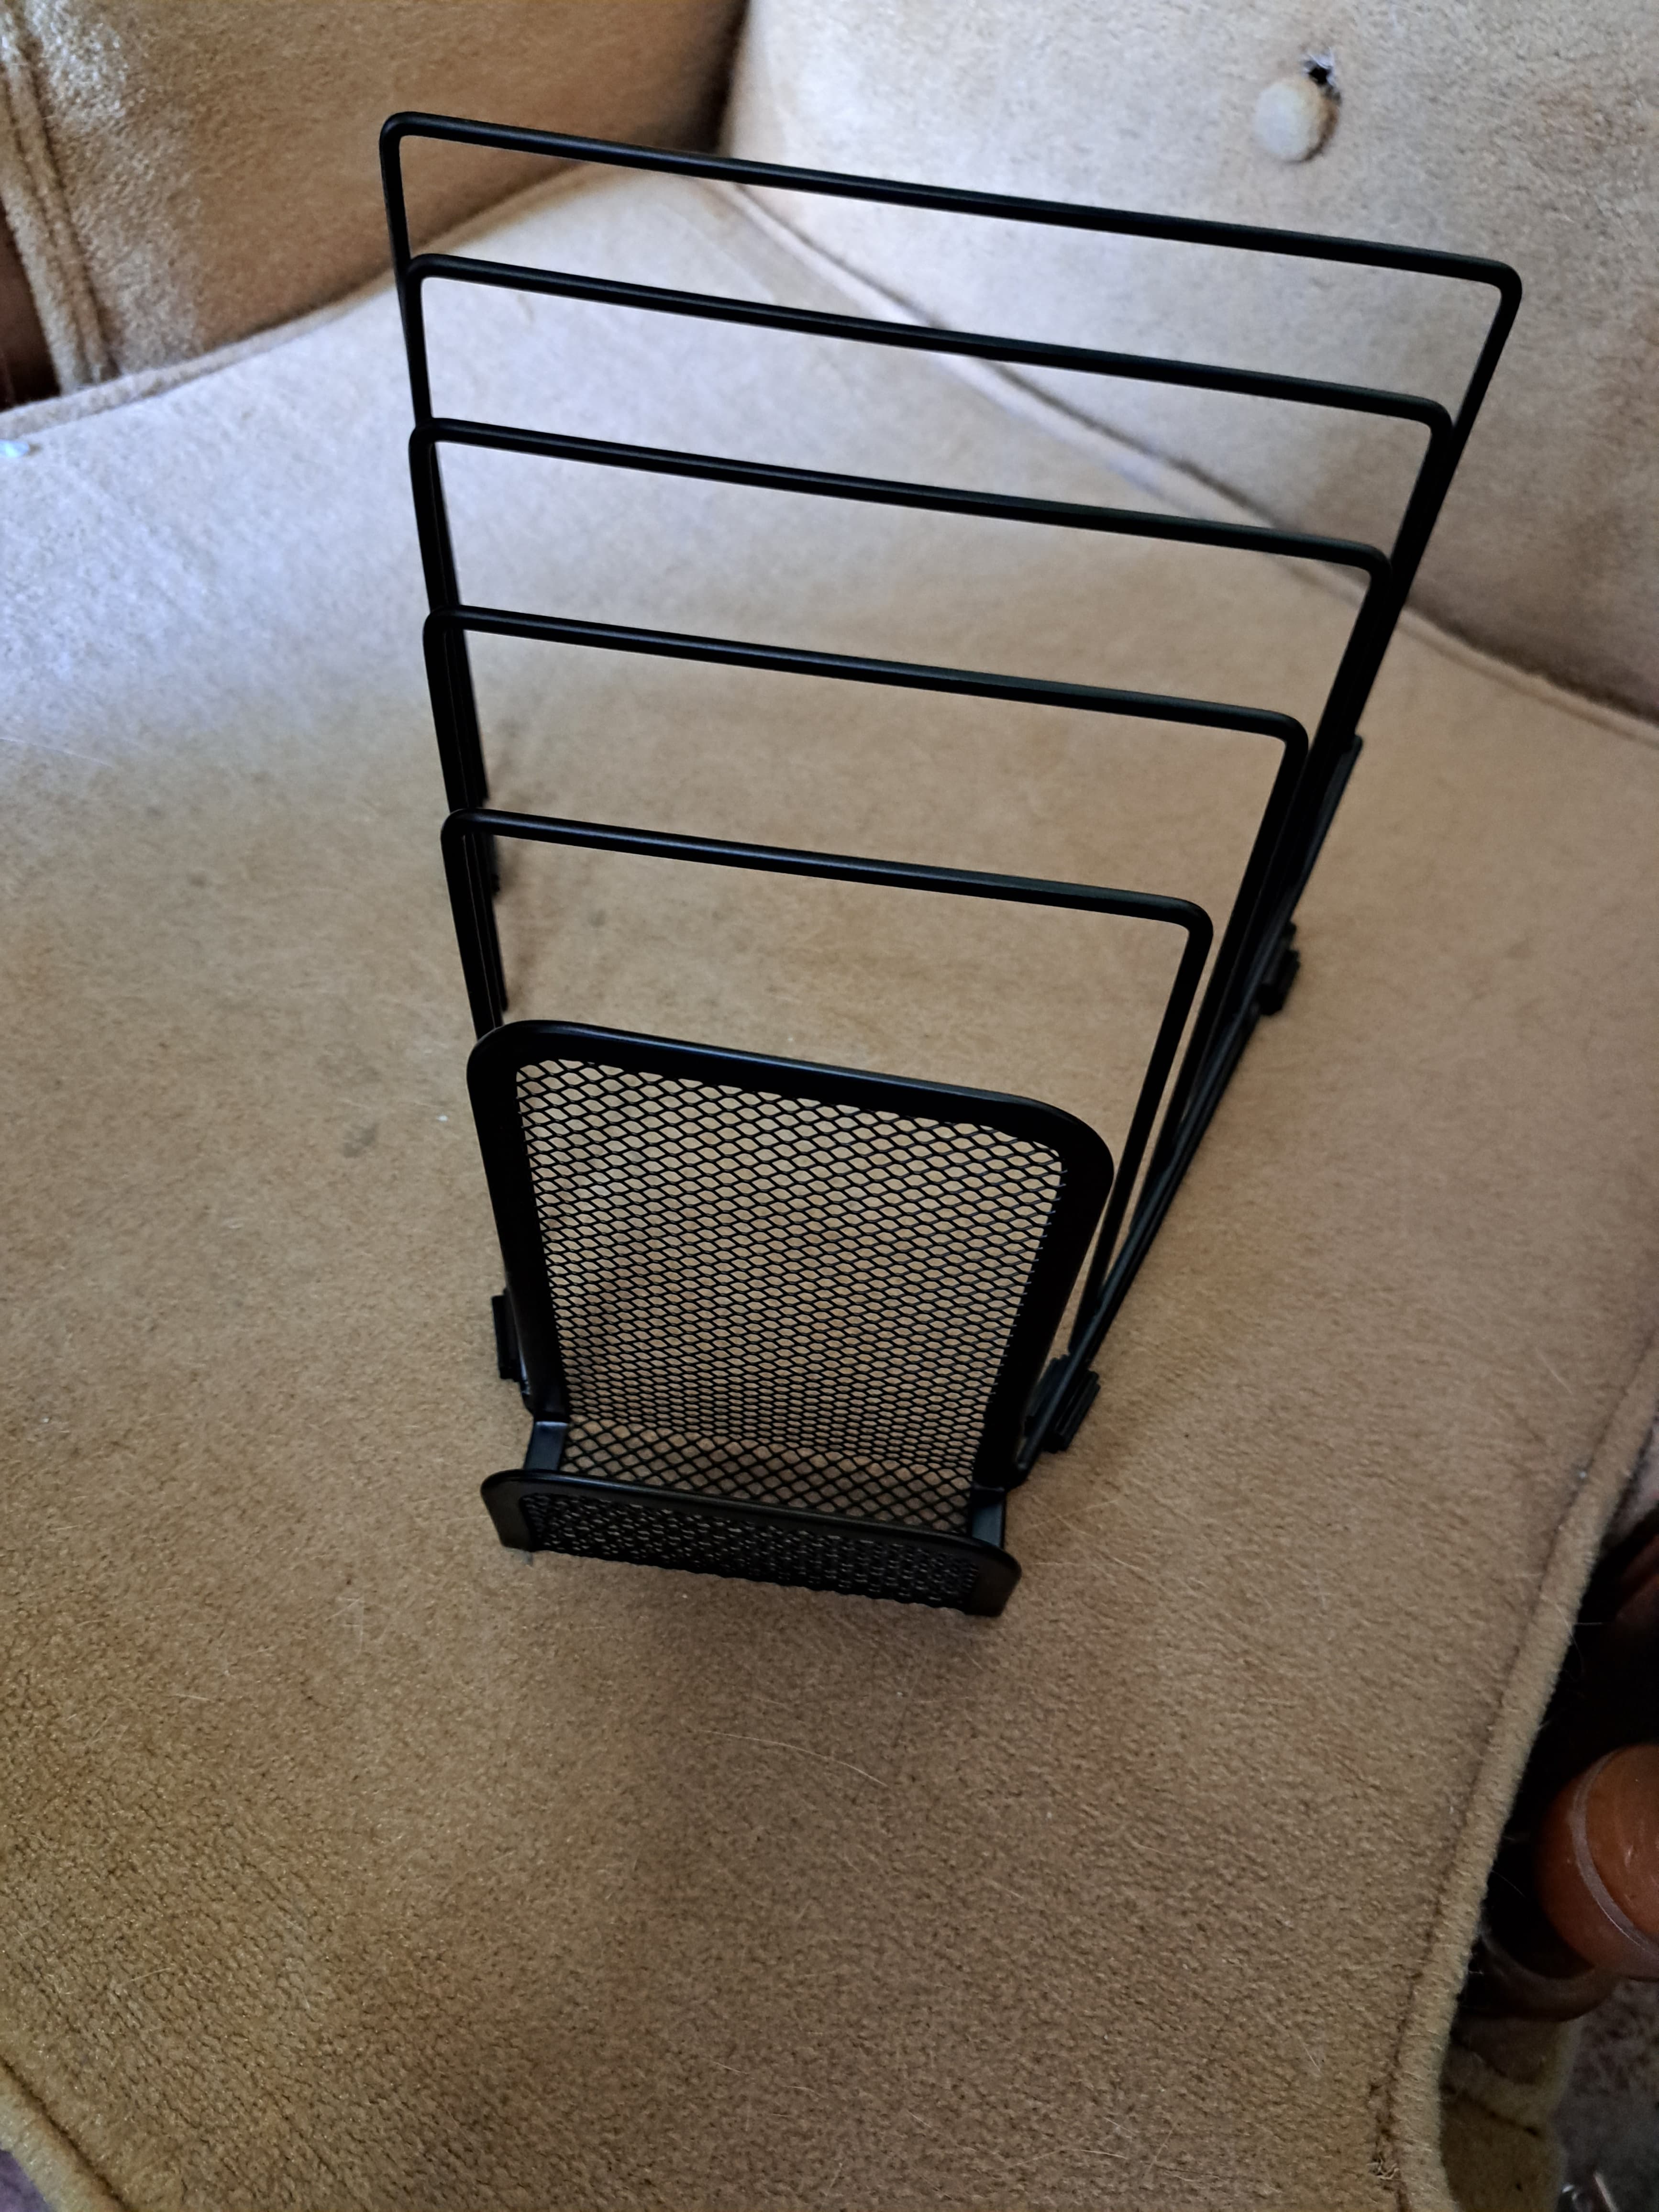
I like idea and think this will be a good change.

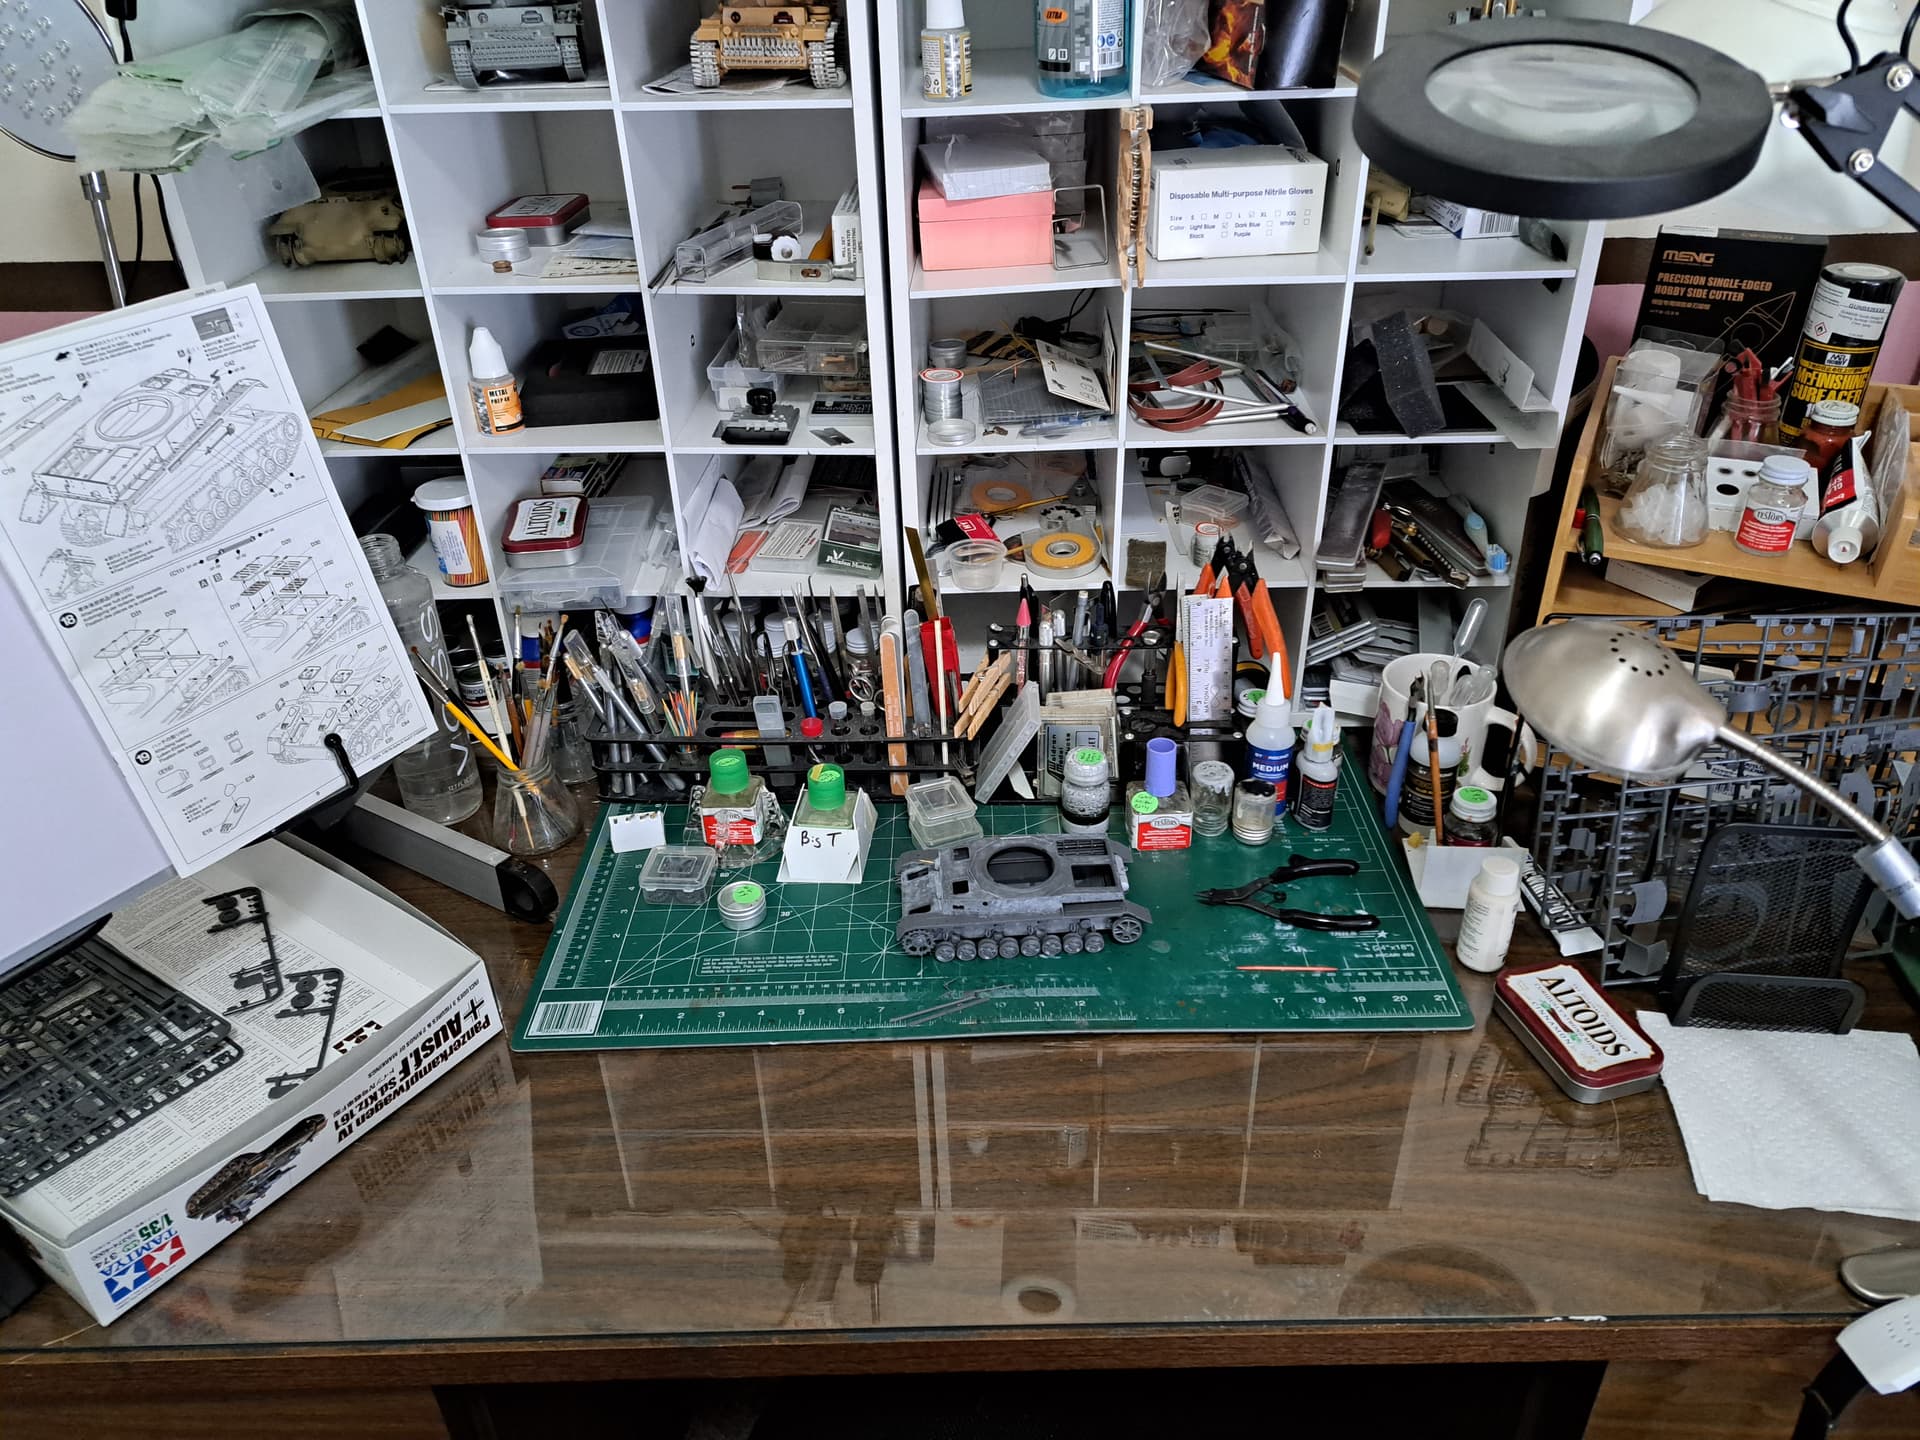
On the desk
Cleaned and re-organized desk.
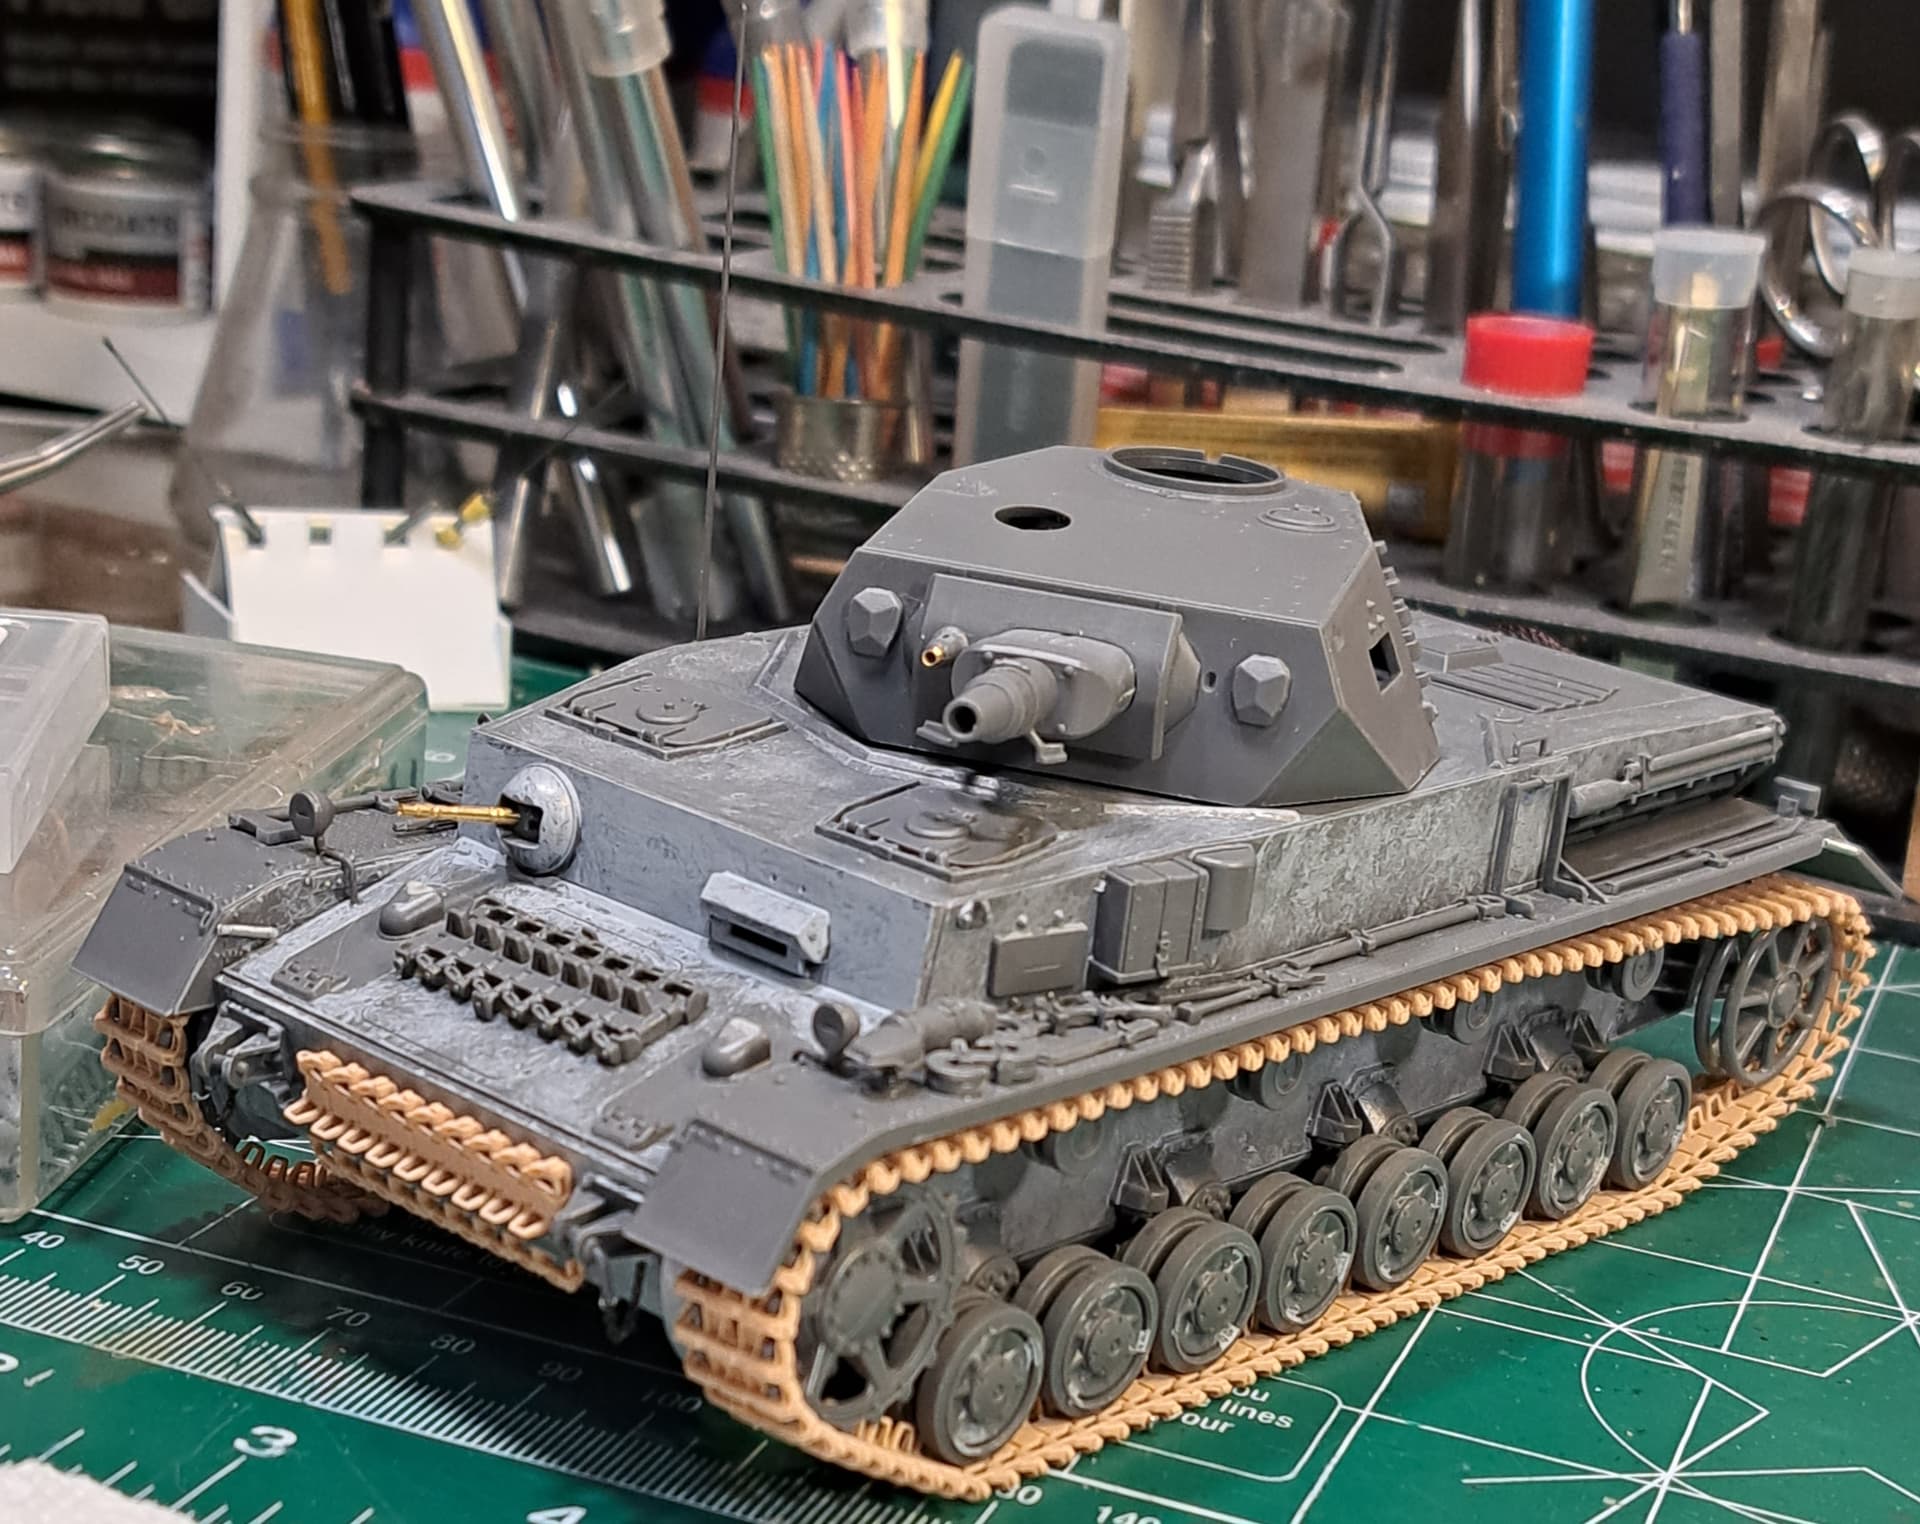
Checked the stash for a set of Sector35 tracks for this Tamiya Pz IV F and got a rude surprise. All three sets were 36cm early, likewise all the Fruilmodel’s were for early or late Pz IV’s - no middle’s. I don’t have aftermarket tracks on hand so will have to reevaluate the track issue…
…now to stick parts together…
3 Likes
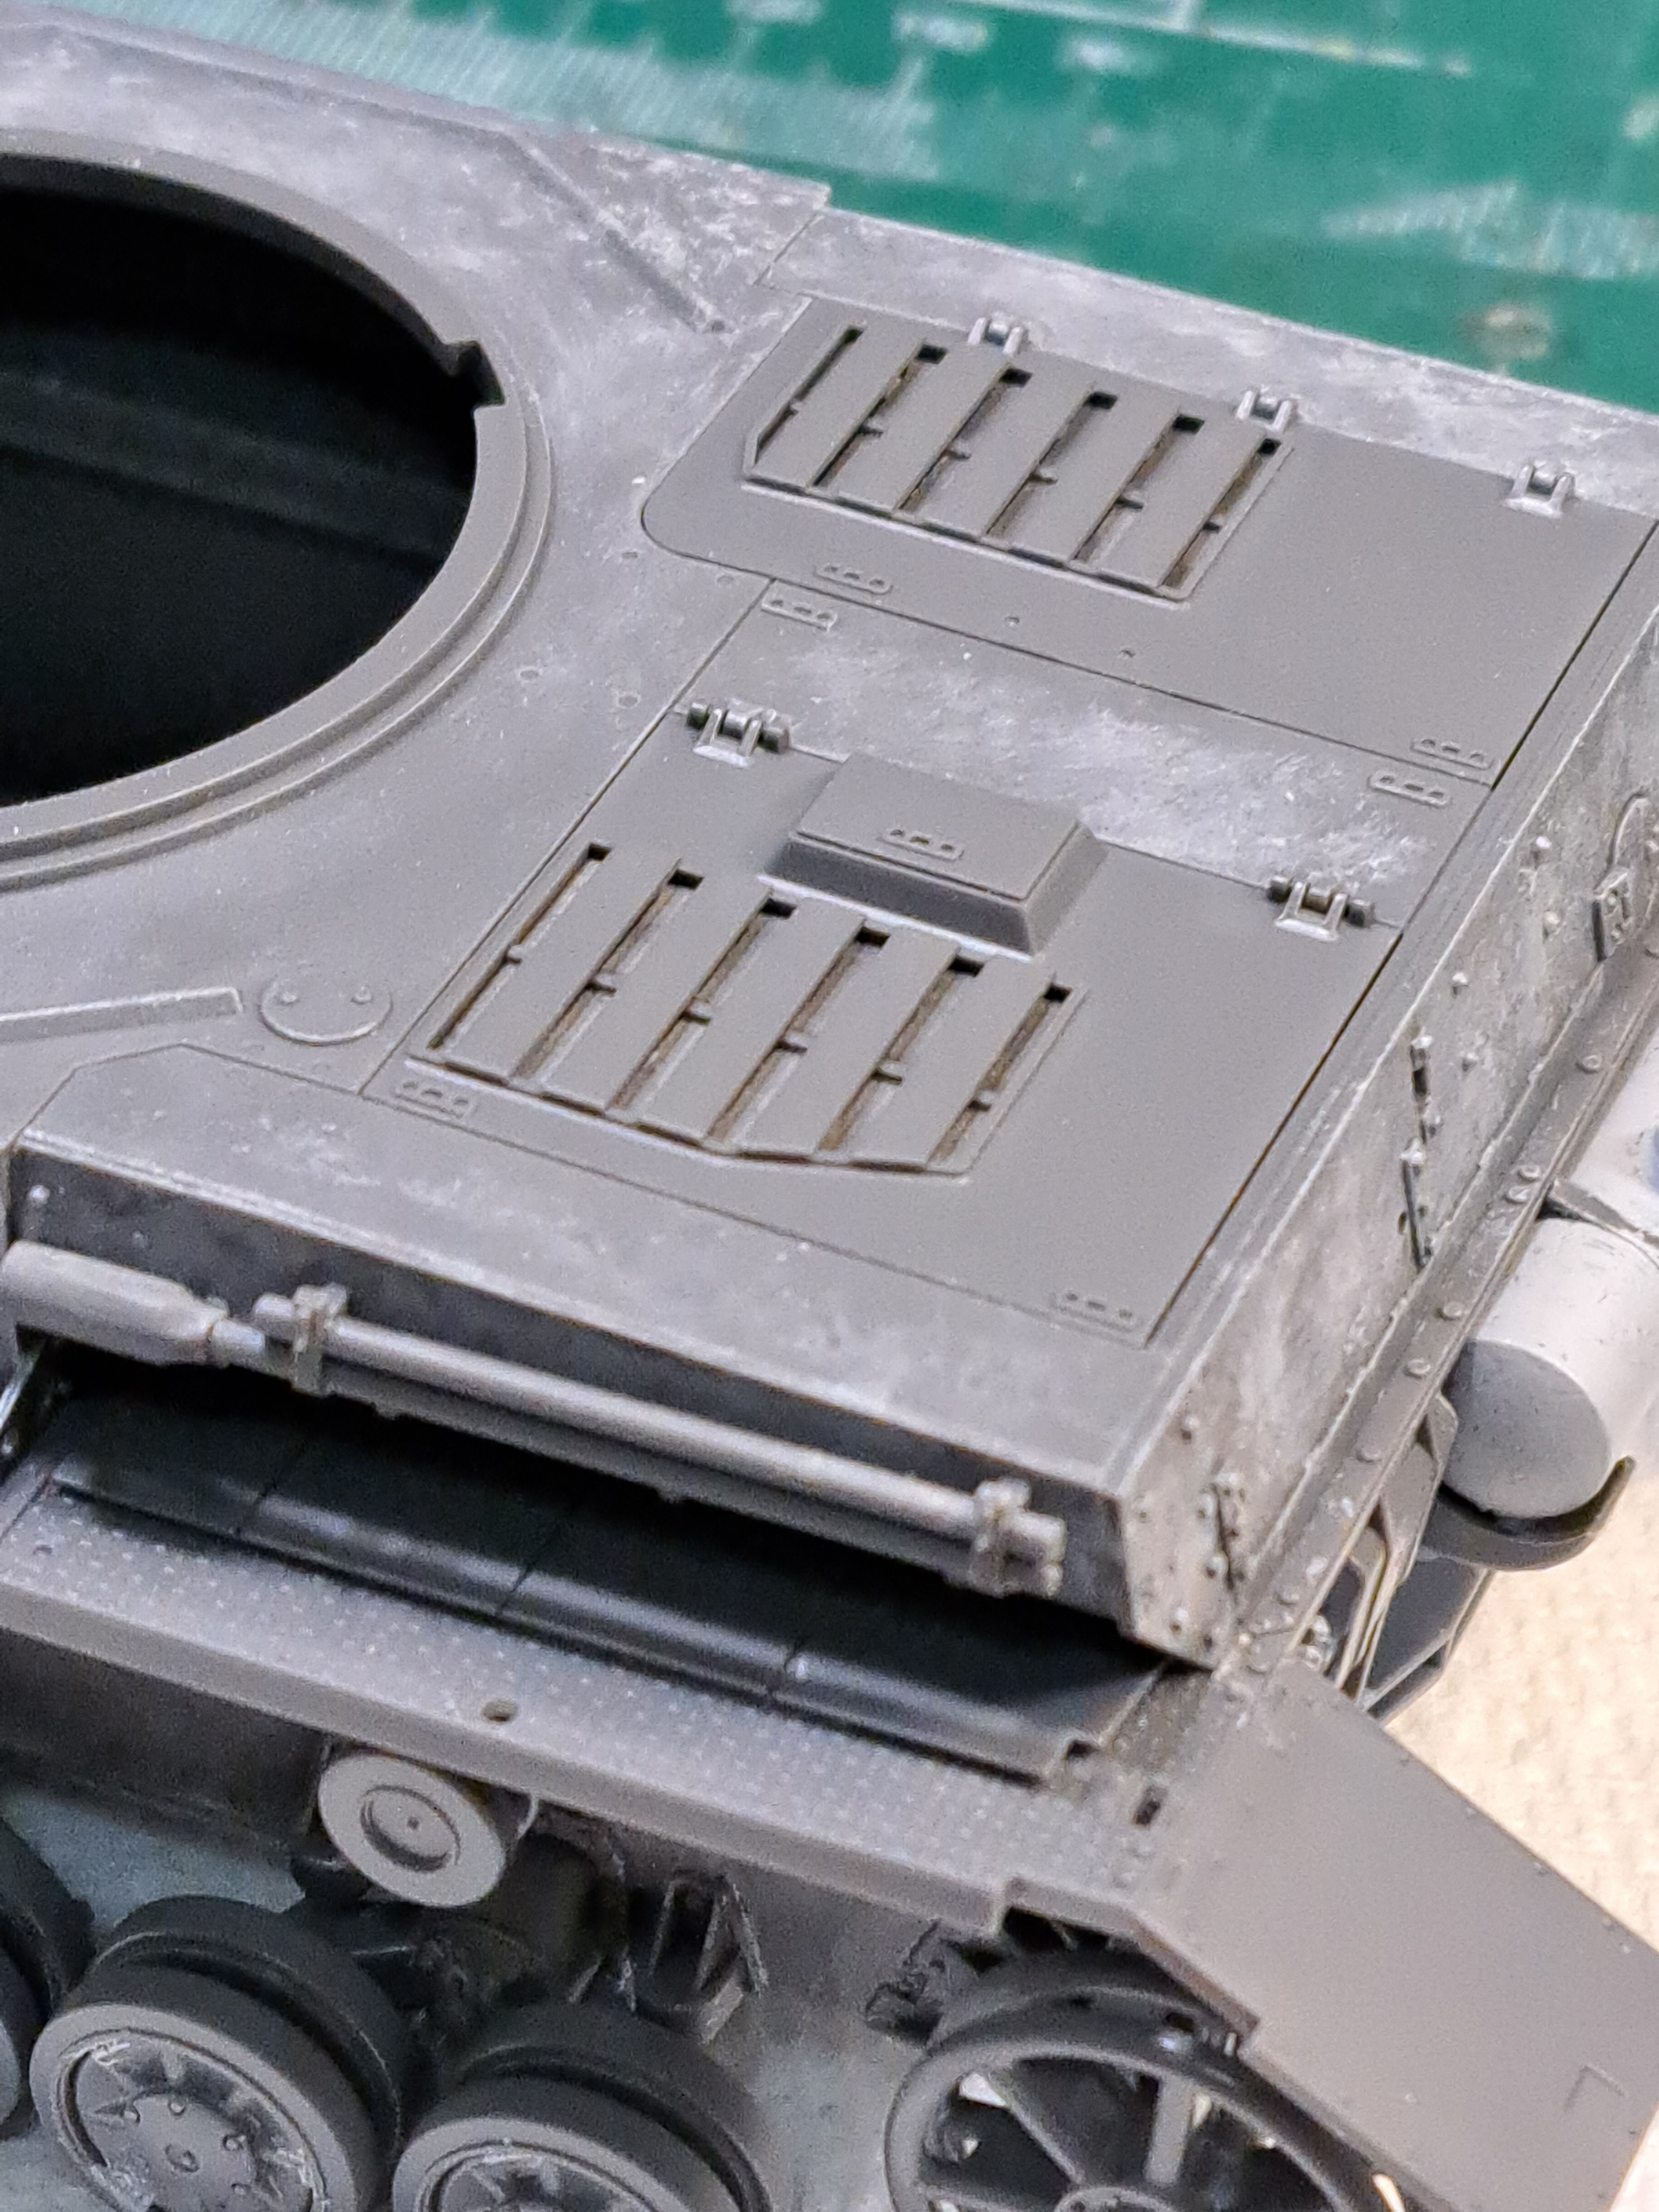
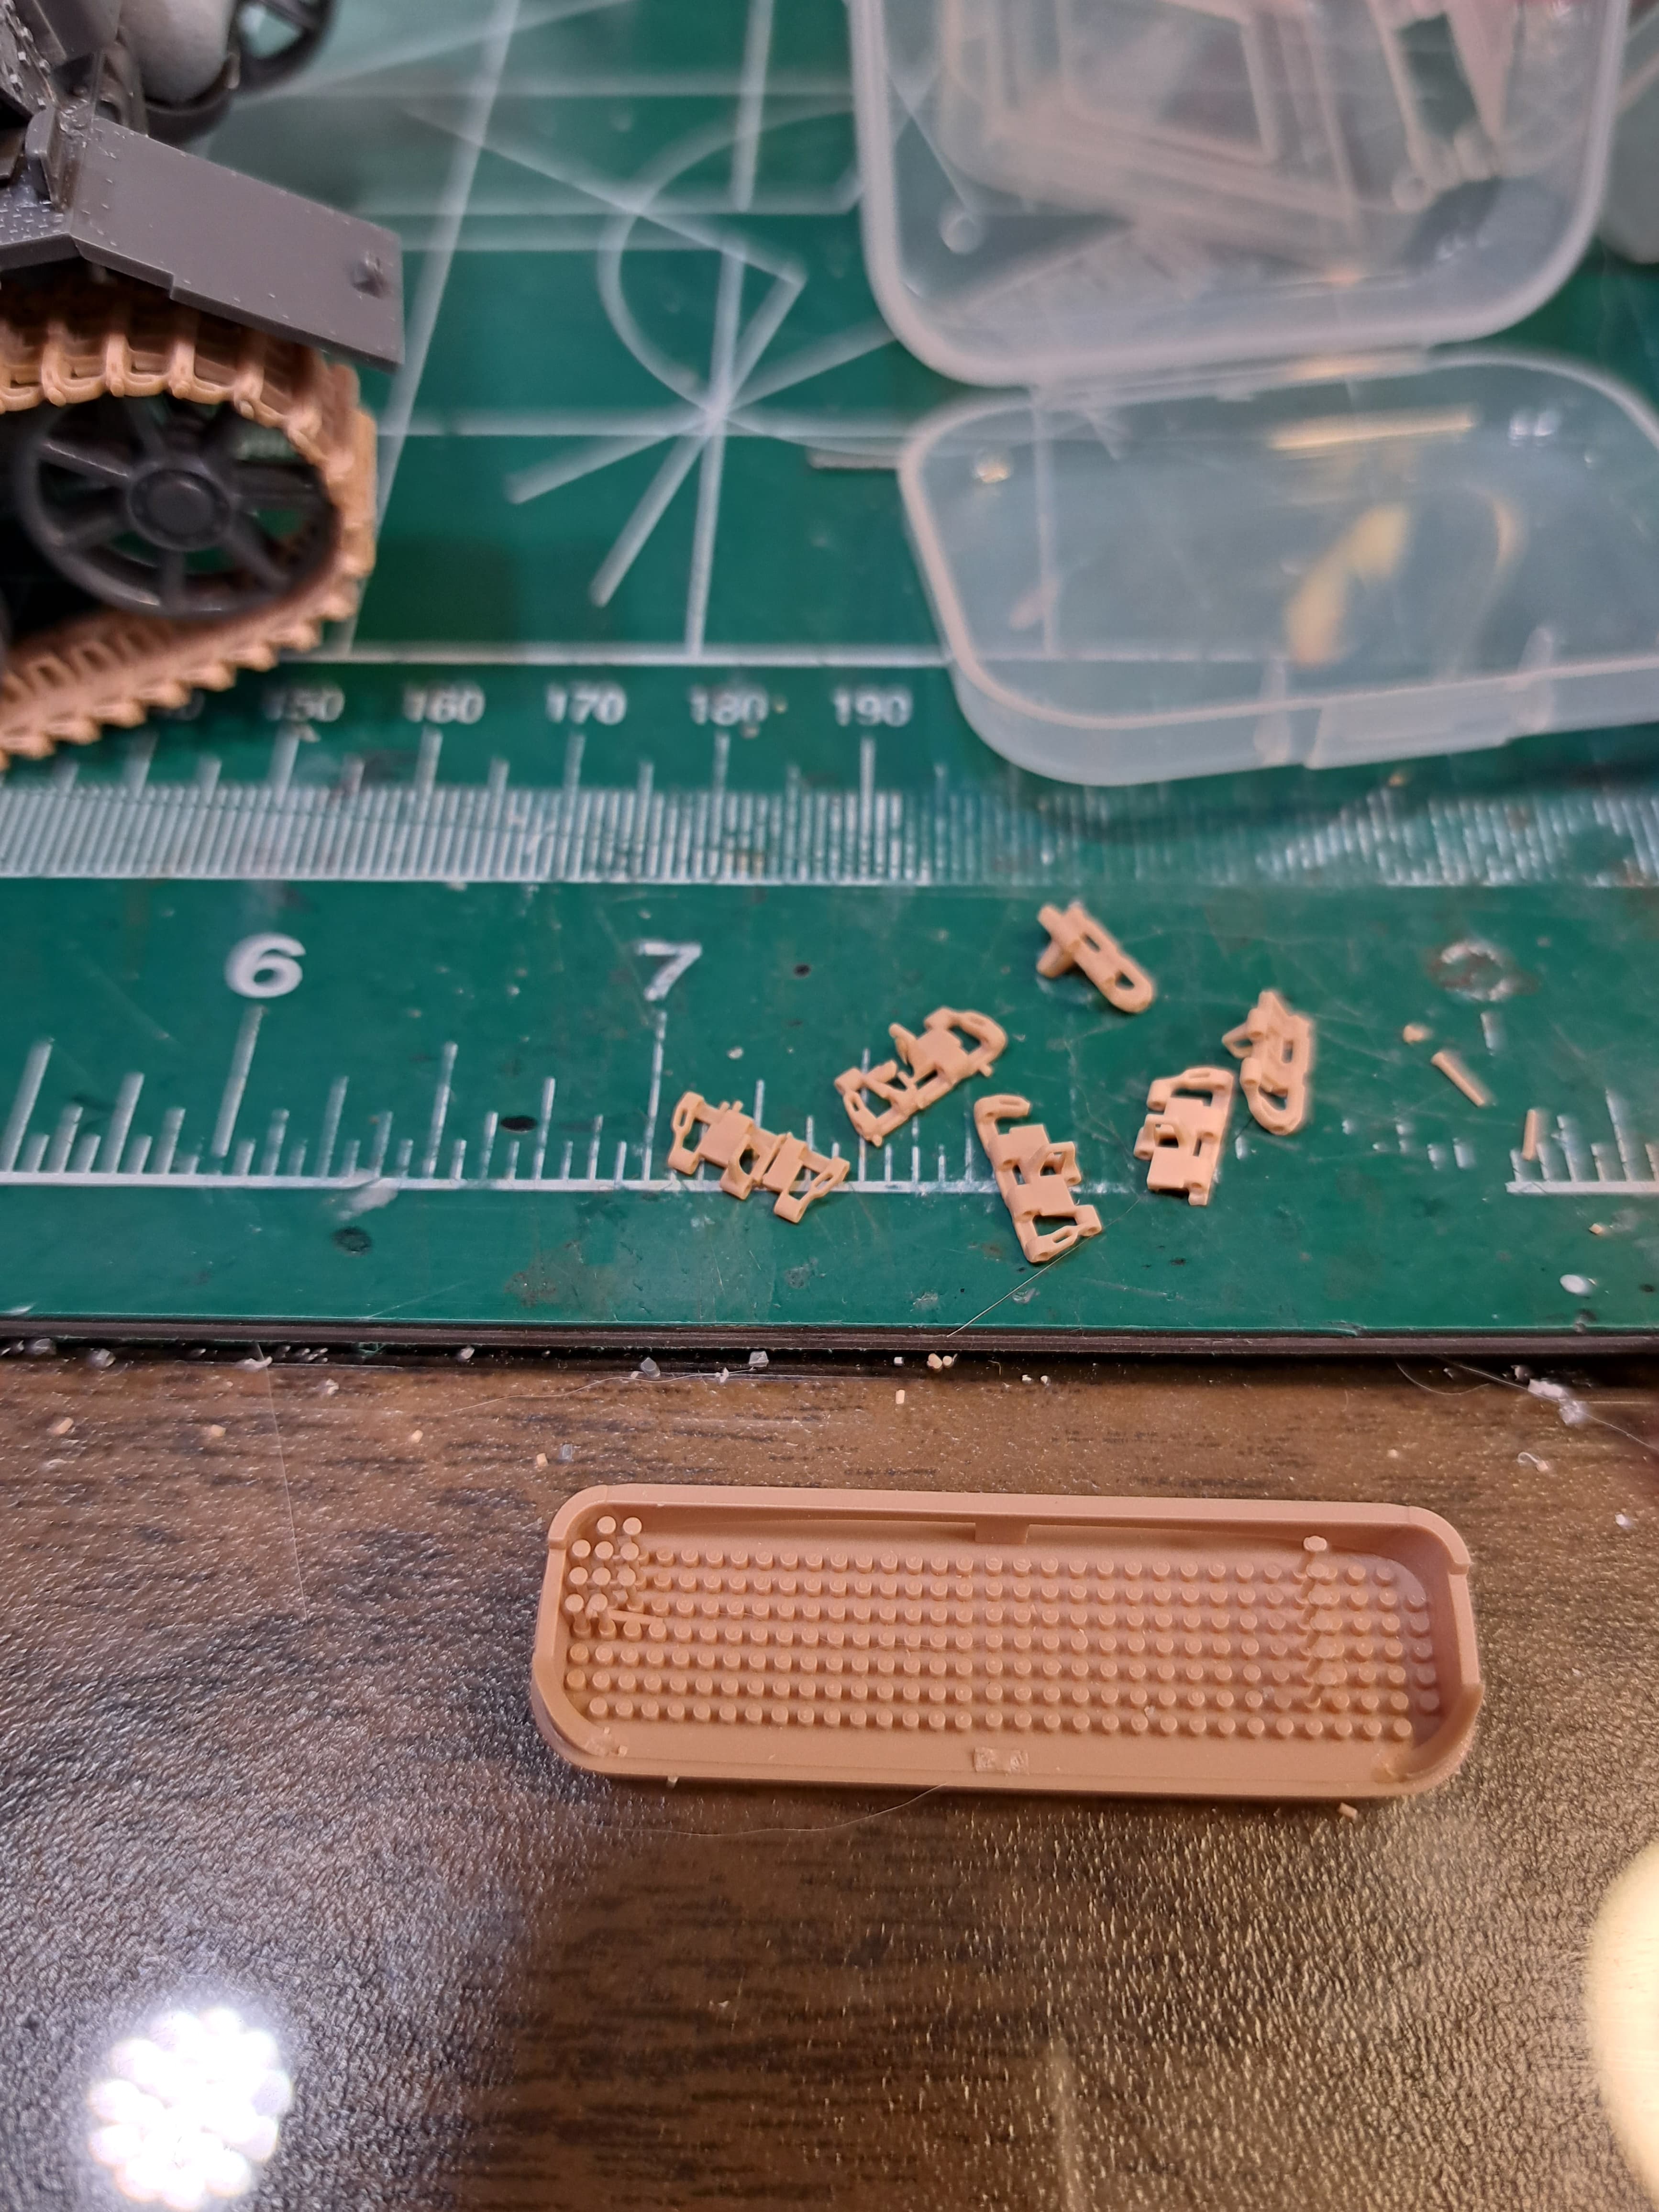
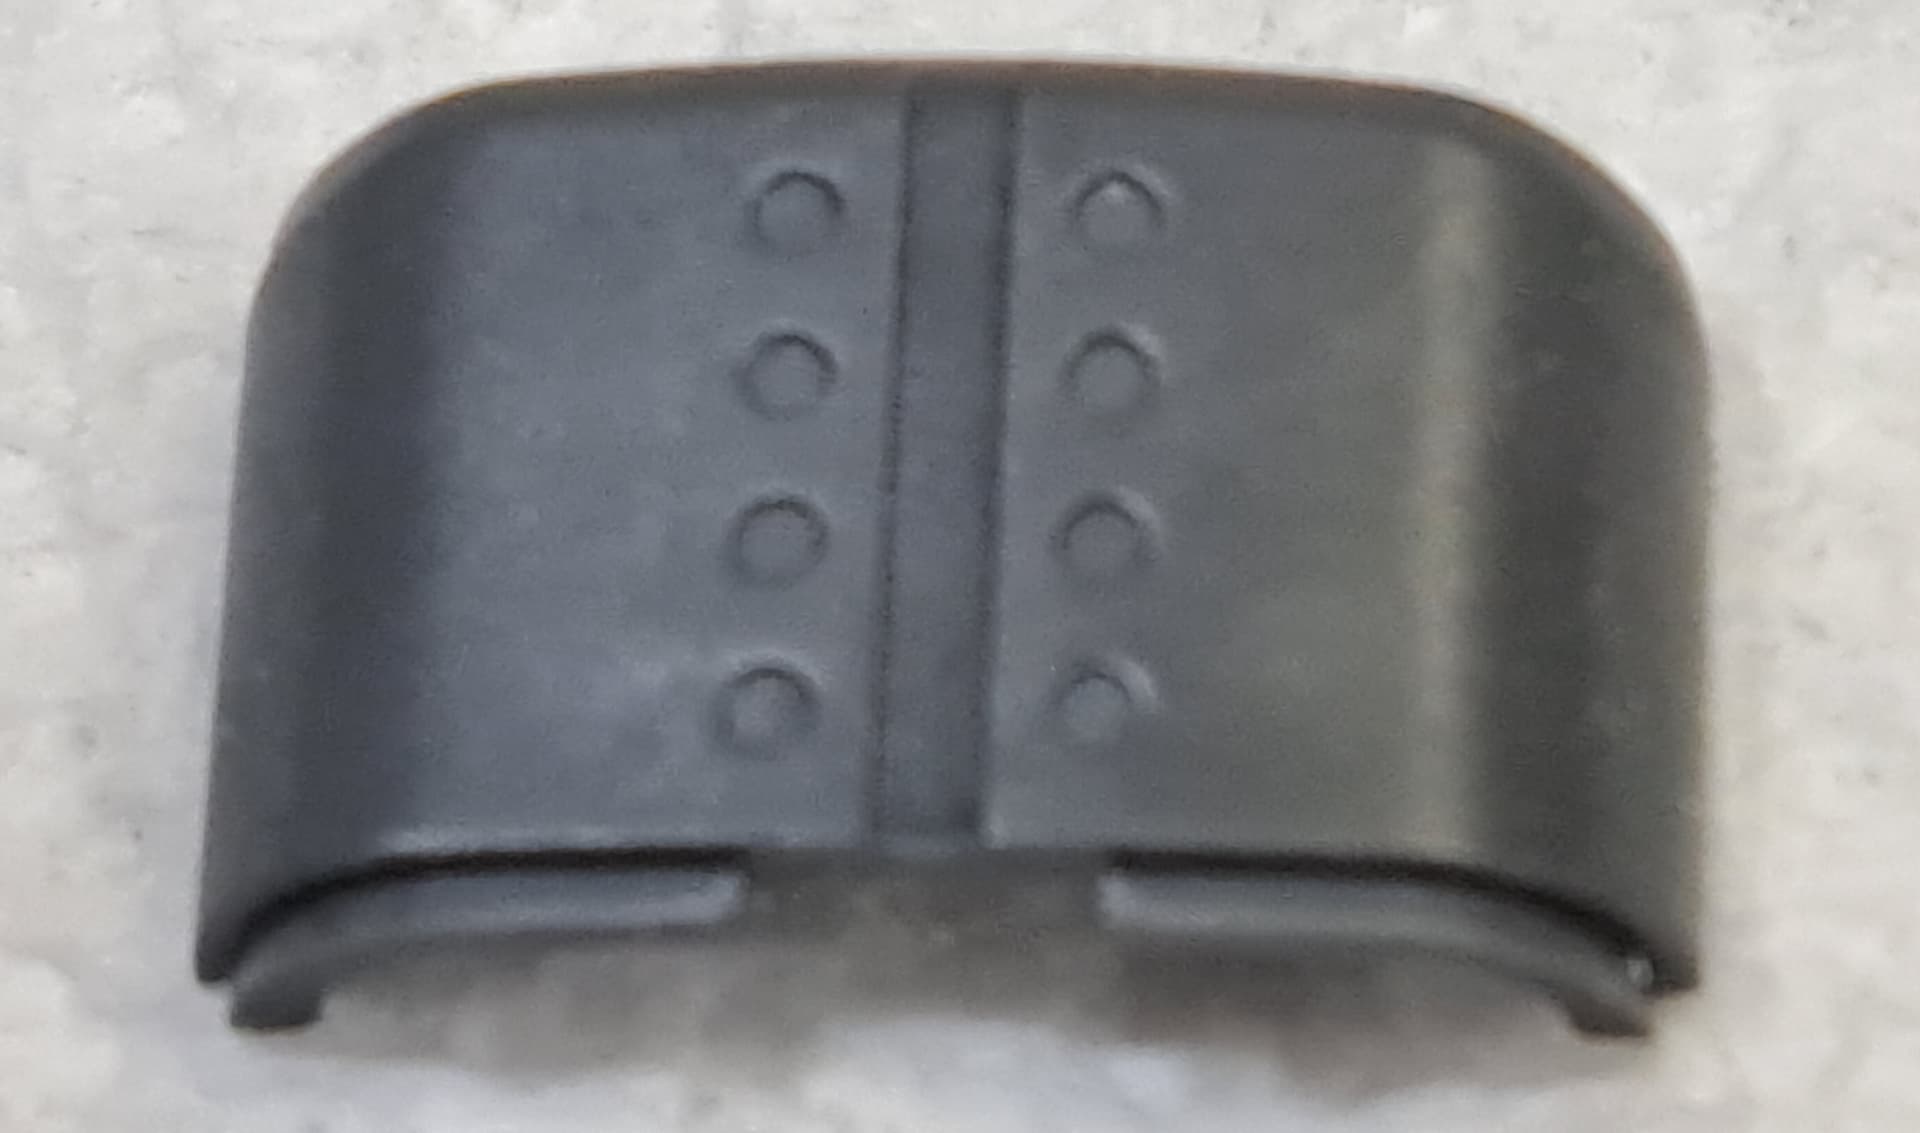
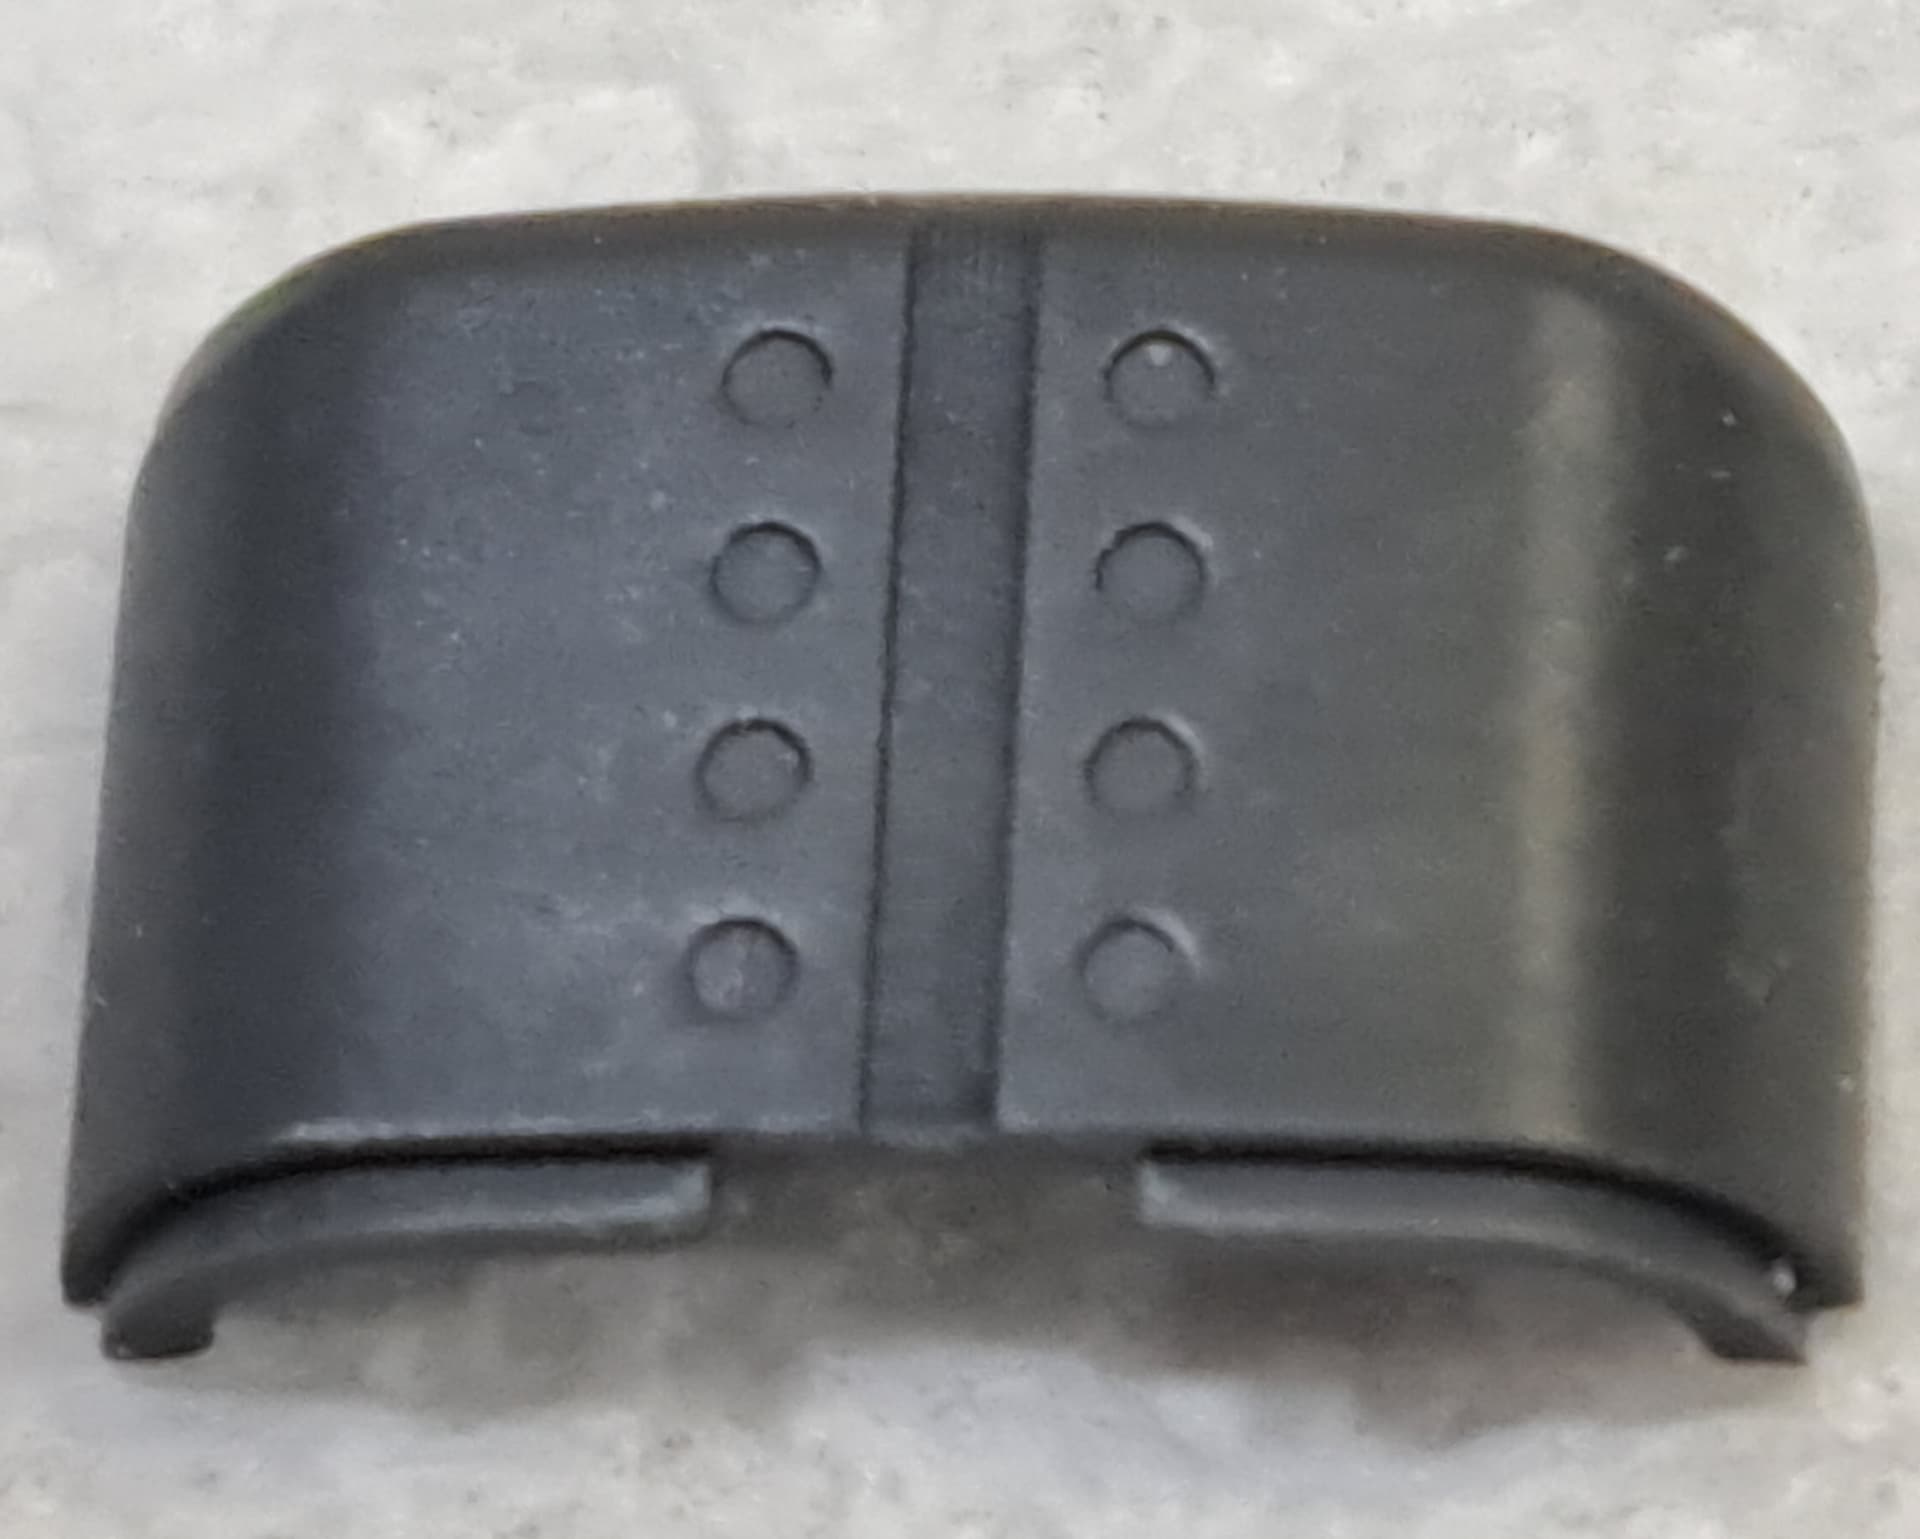
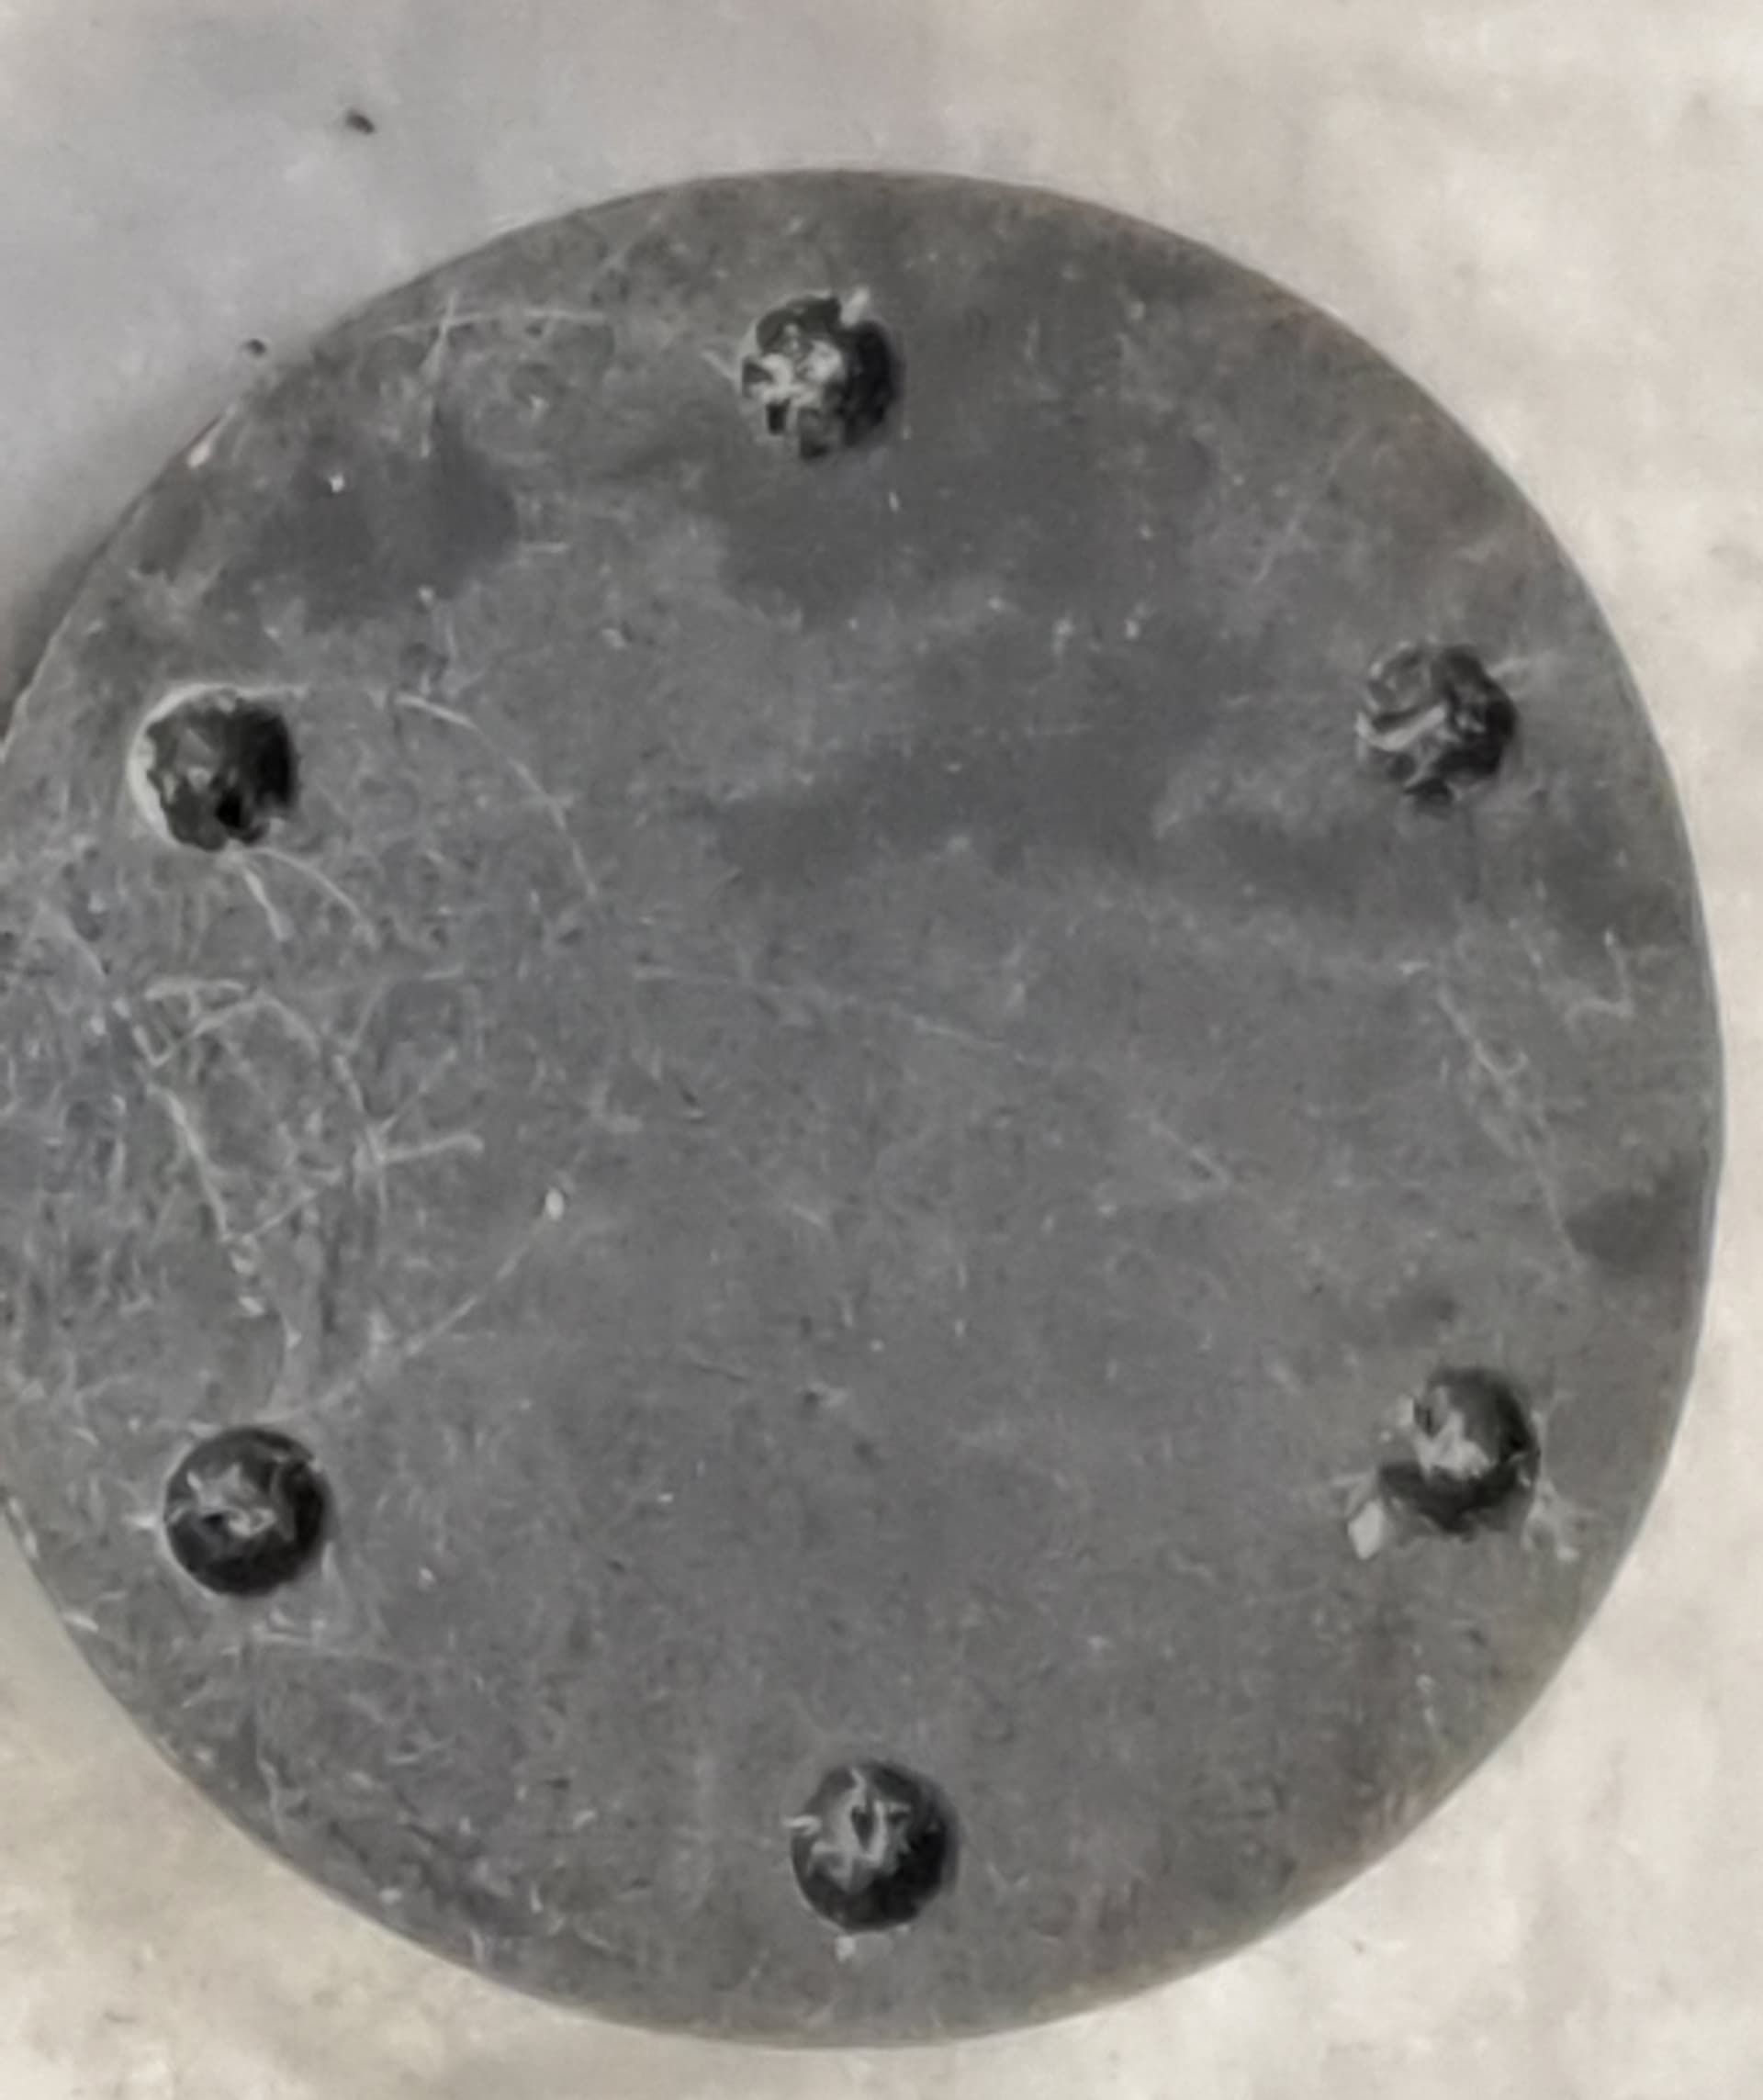
Step 18 - Engine Hatches aka 16 Exposed Punch Marks
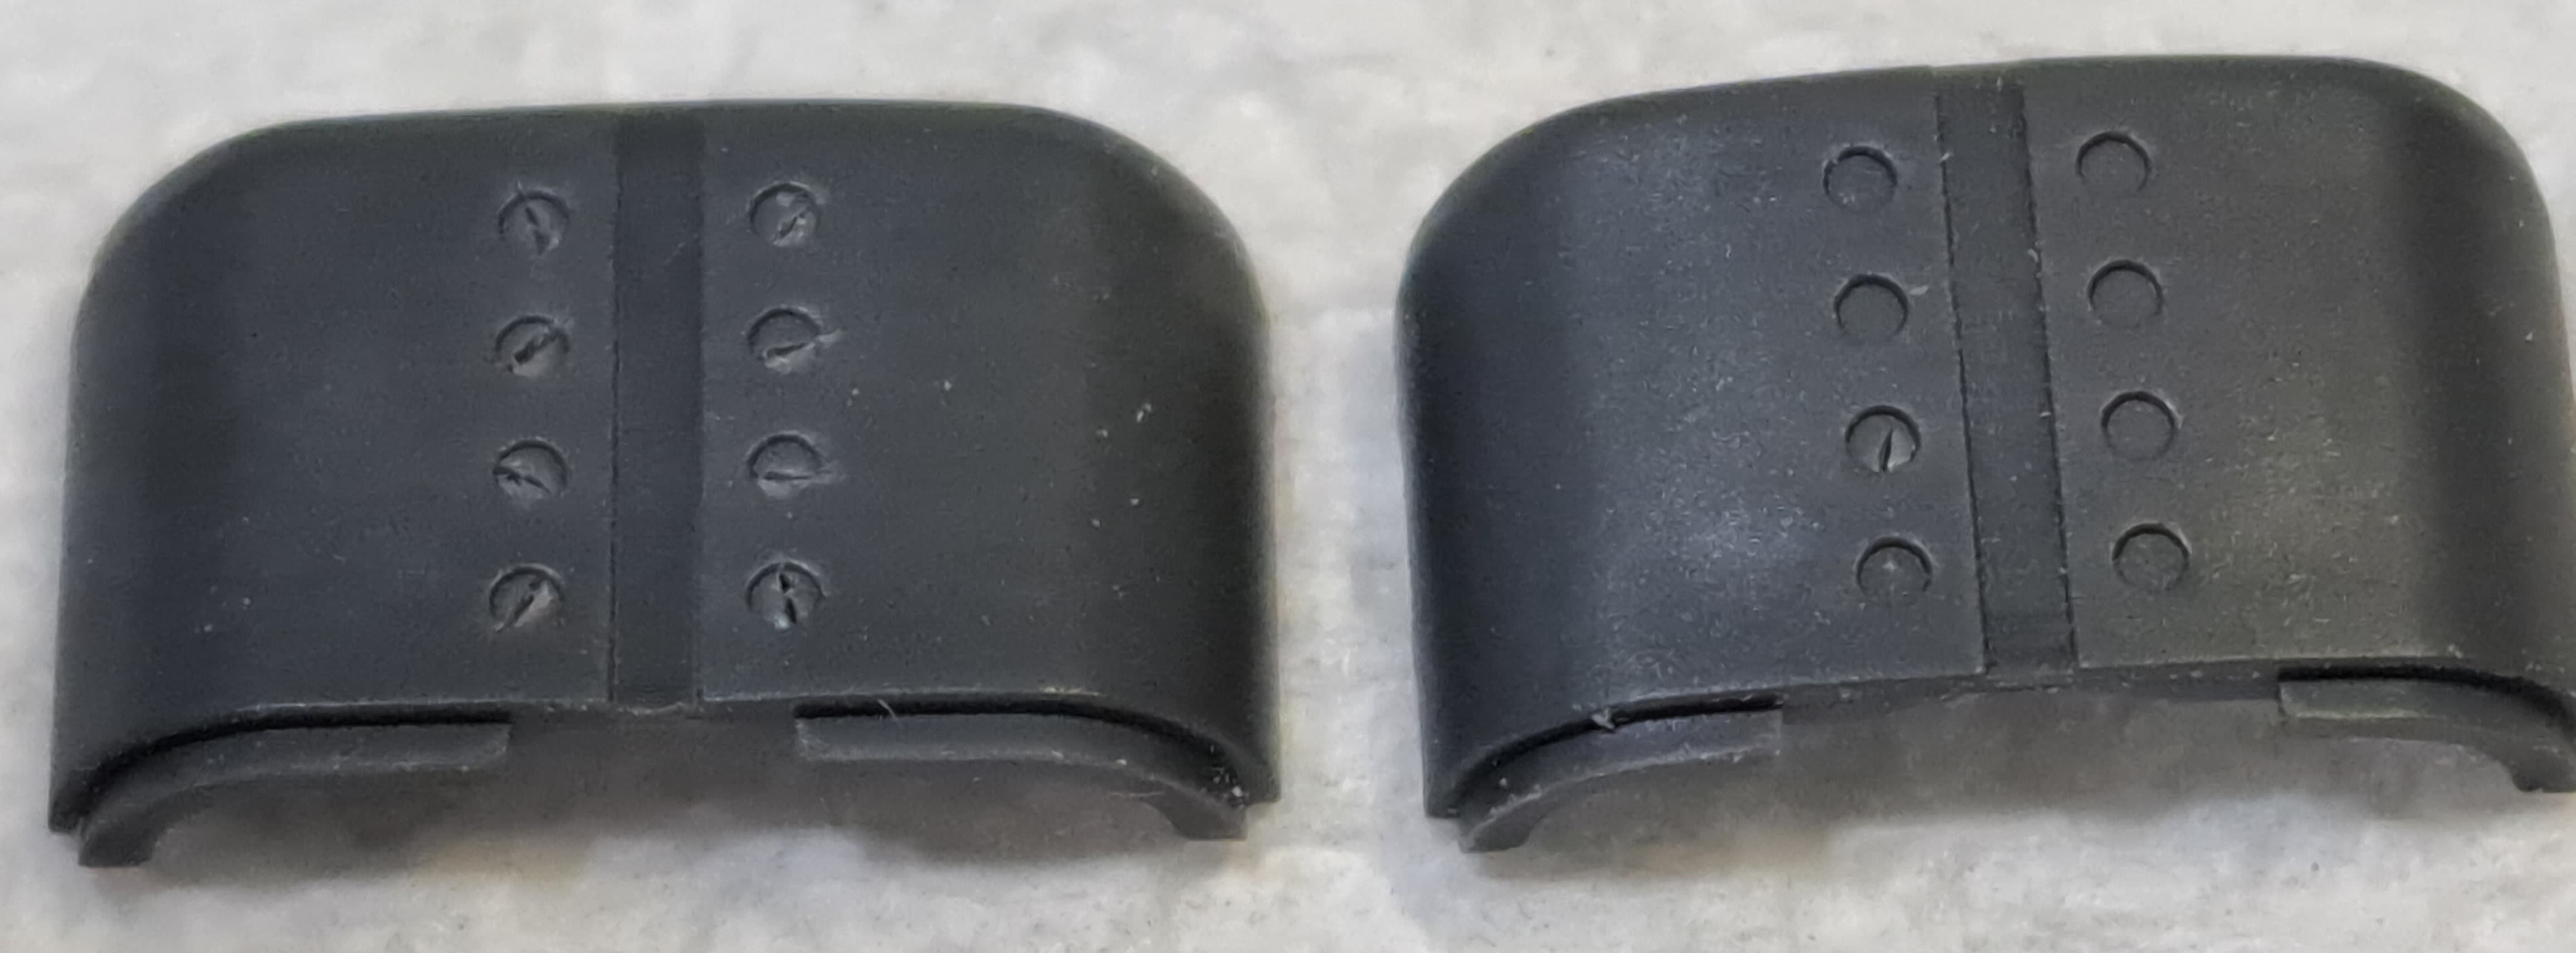
The model has the opion of solid engine hatch covers or vented. I went with vented and discovered each insert had 8 punch marks.

They are visible from almost every above angle.
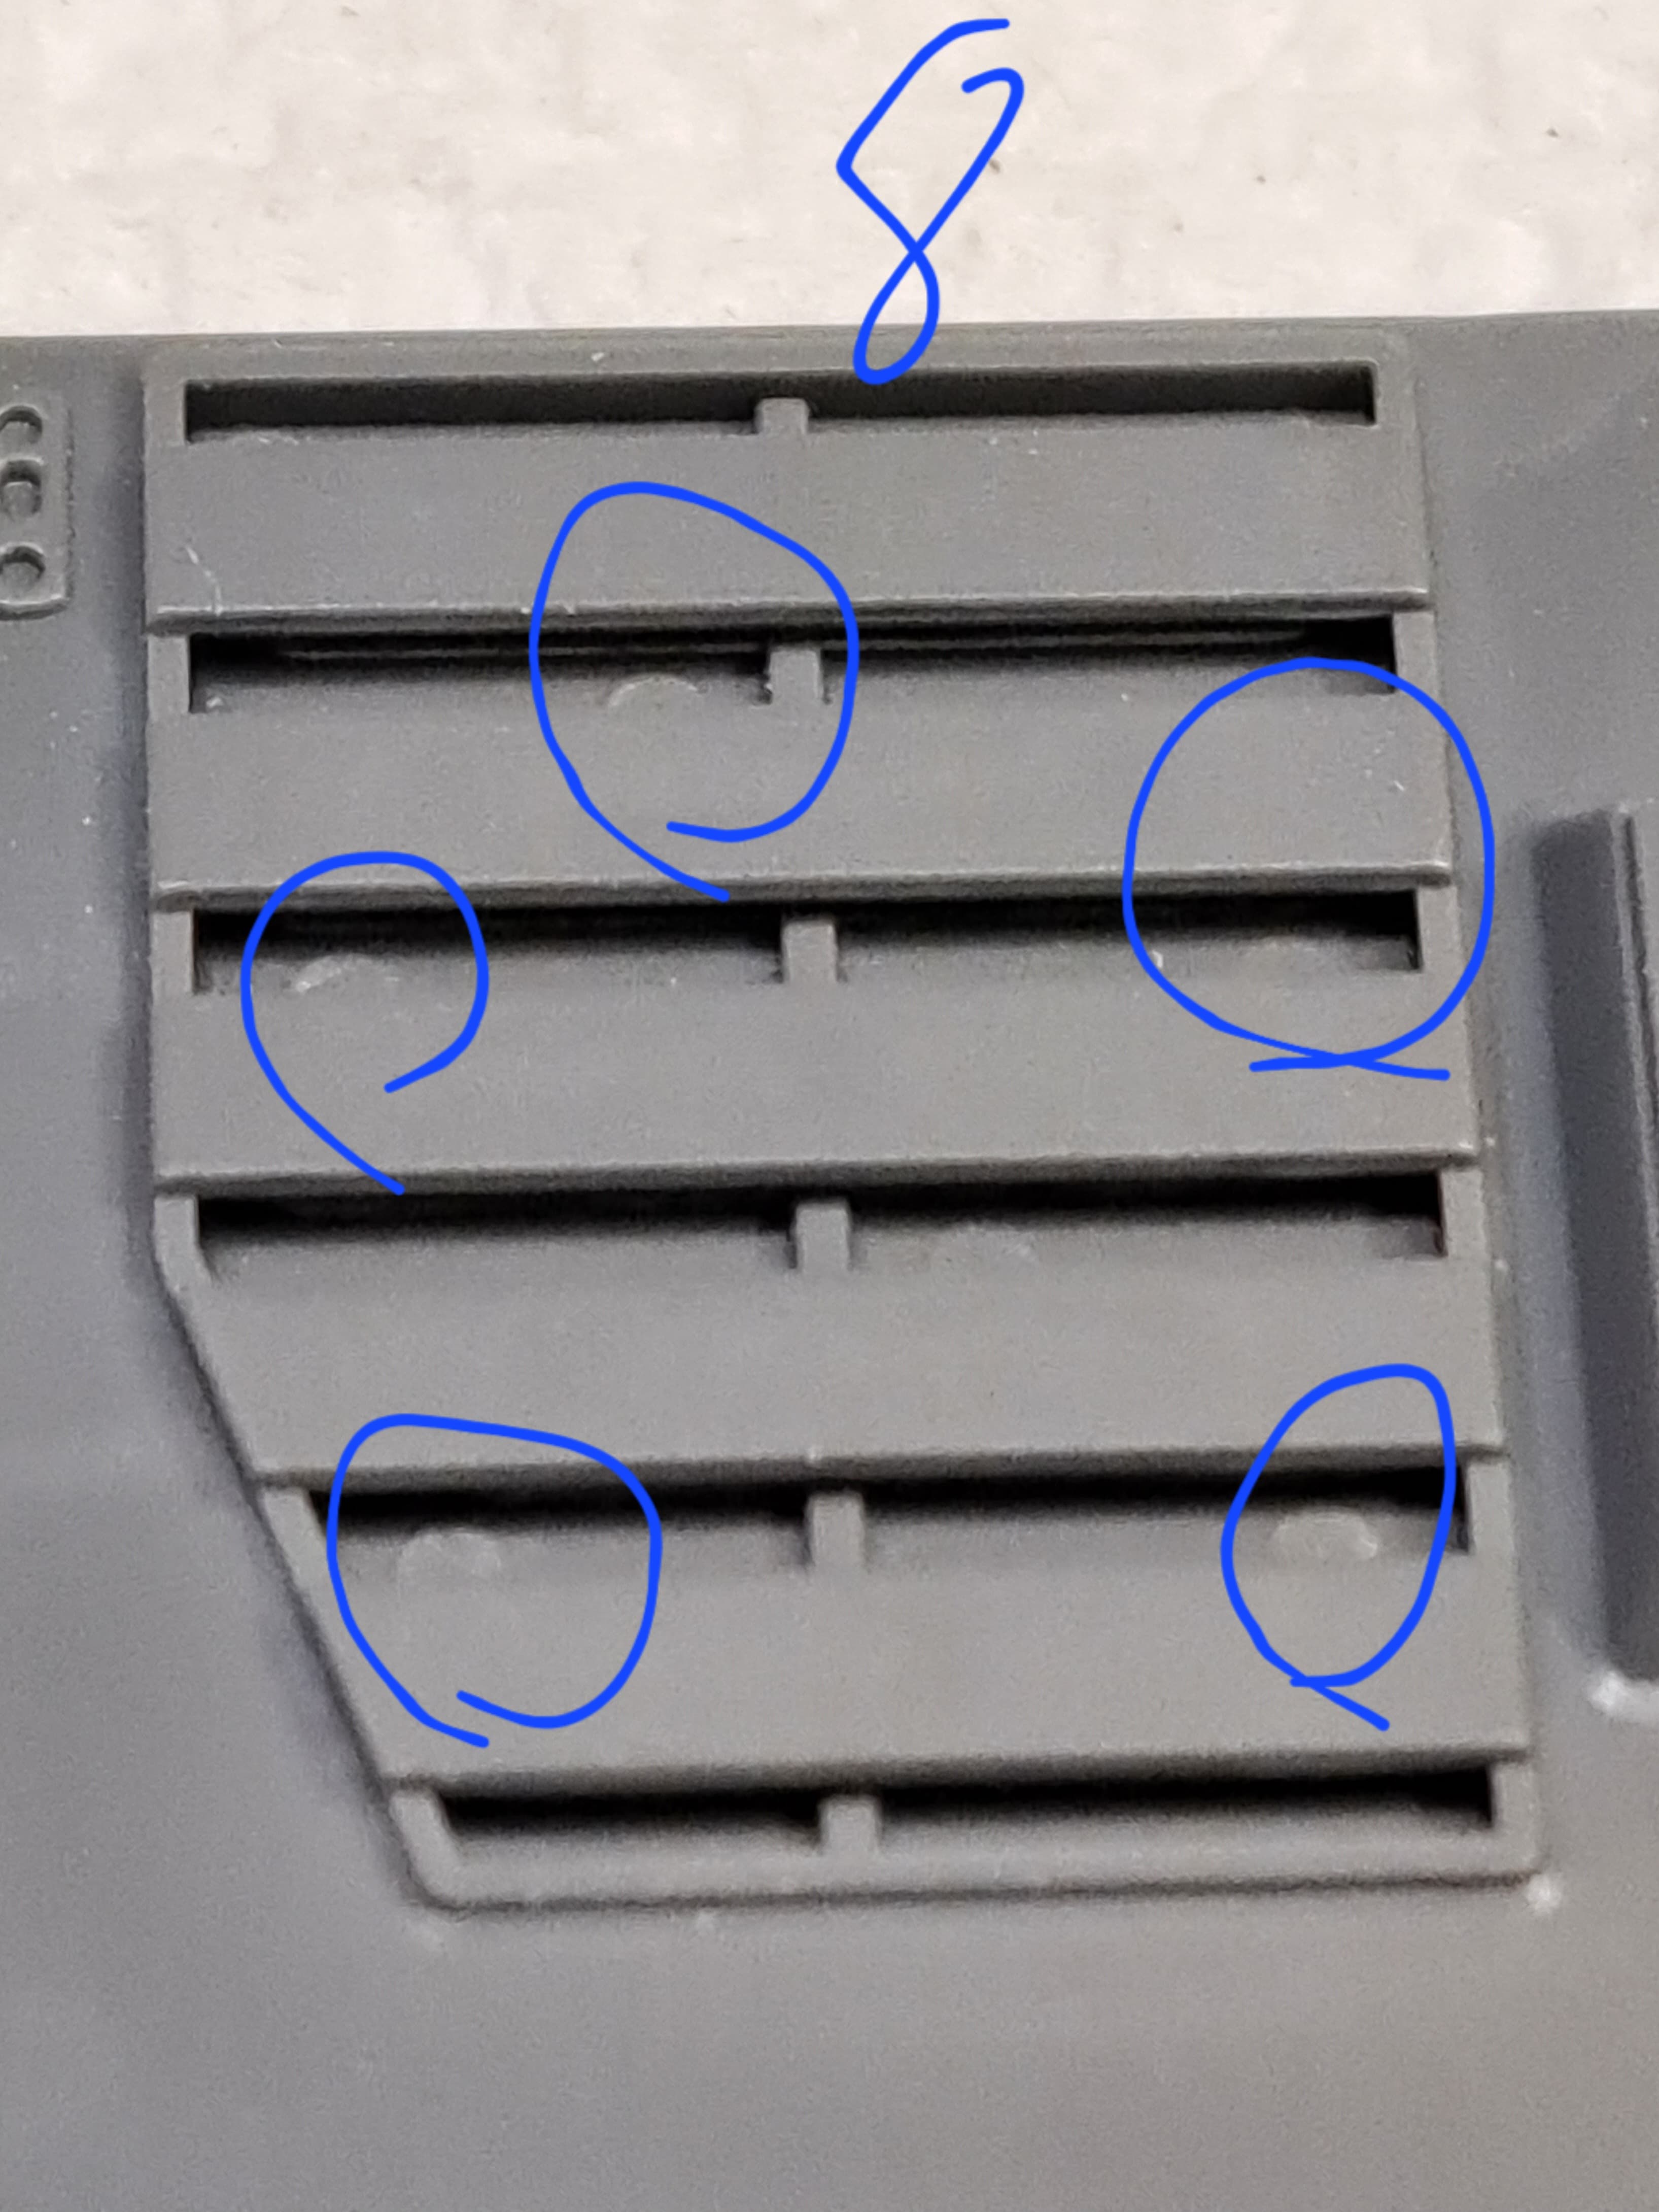
Basic scraped punch mark and sanded clean up.
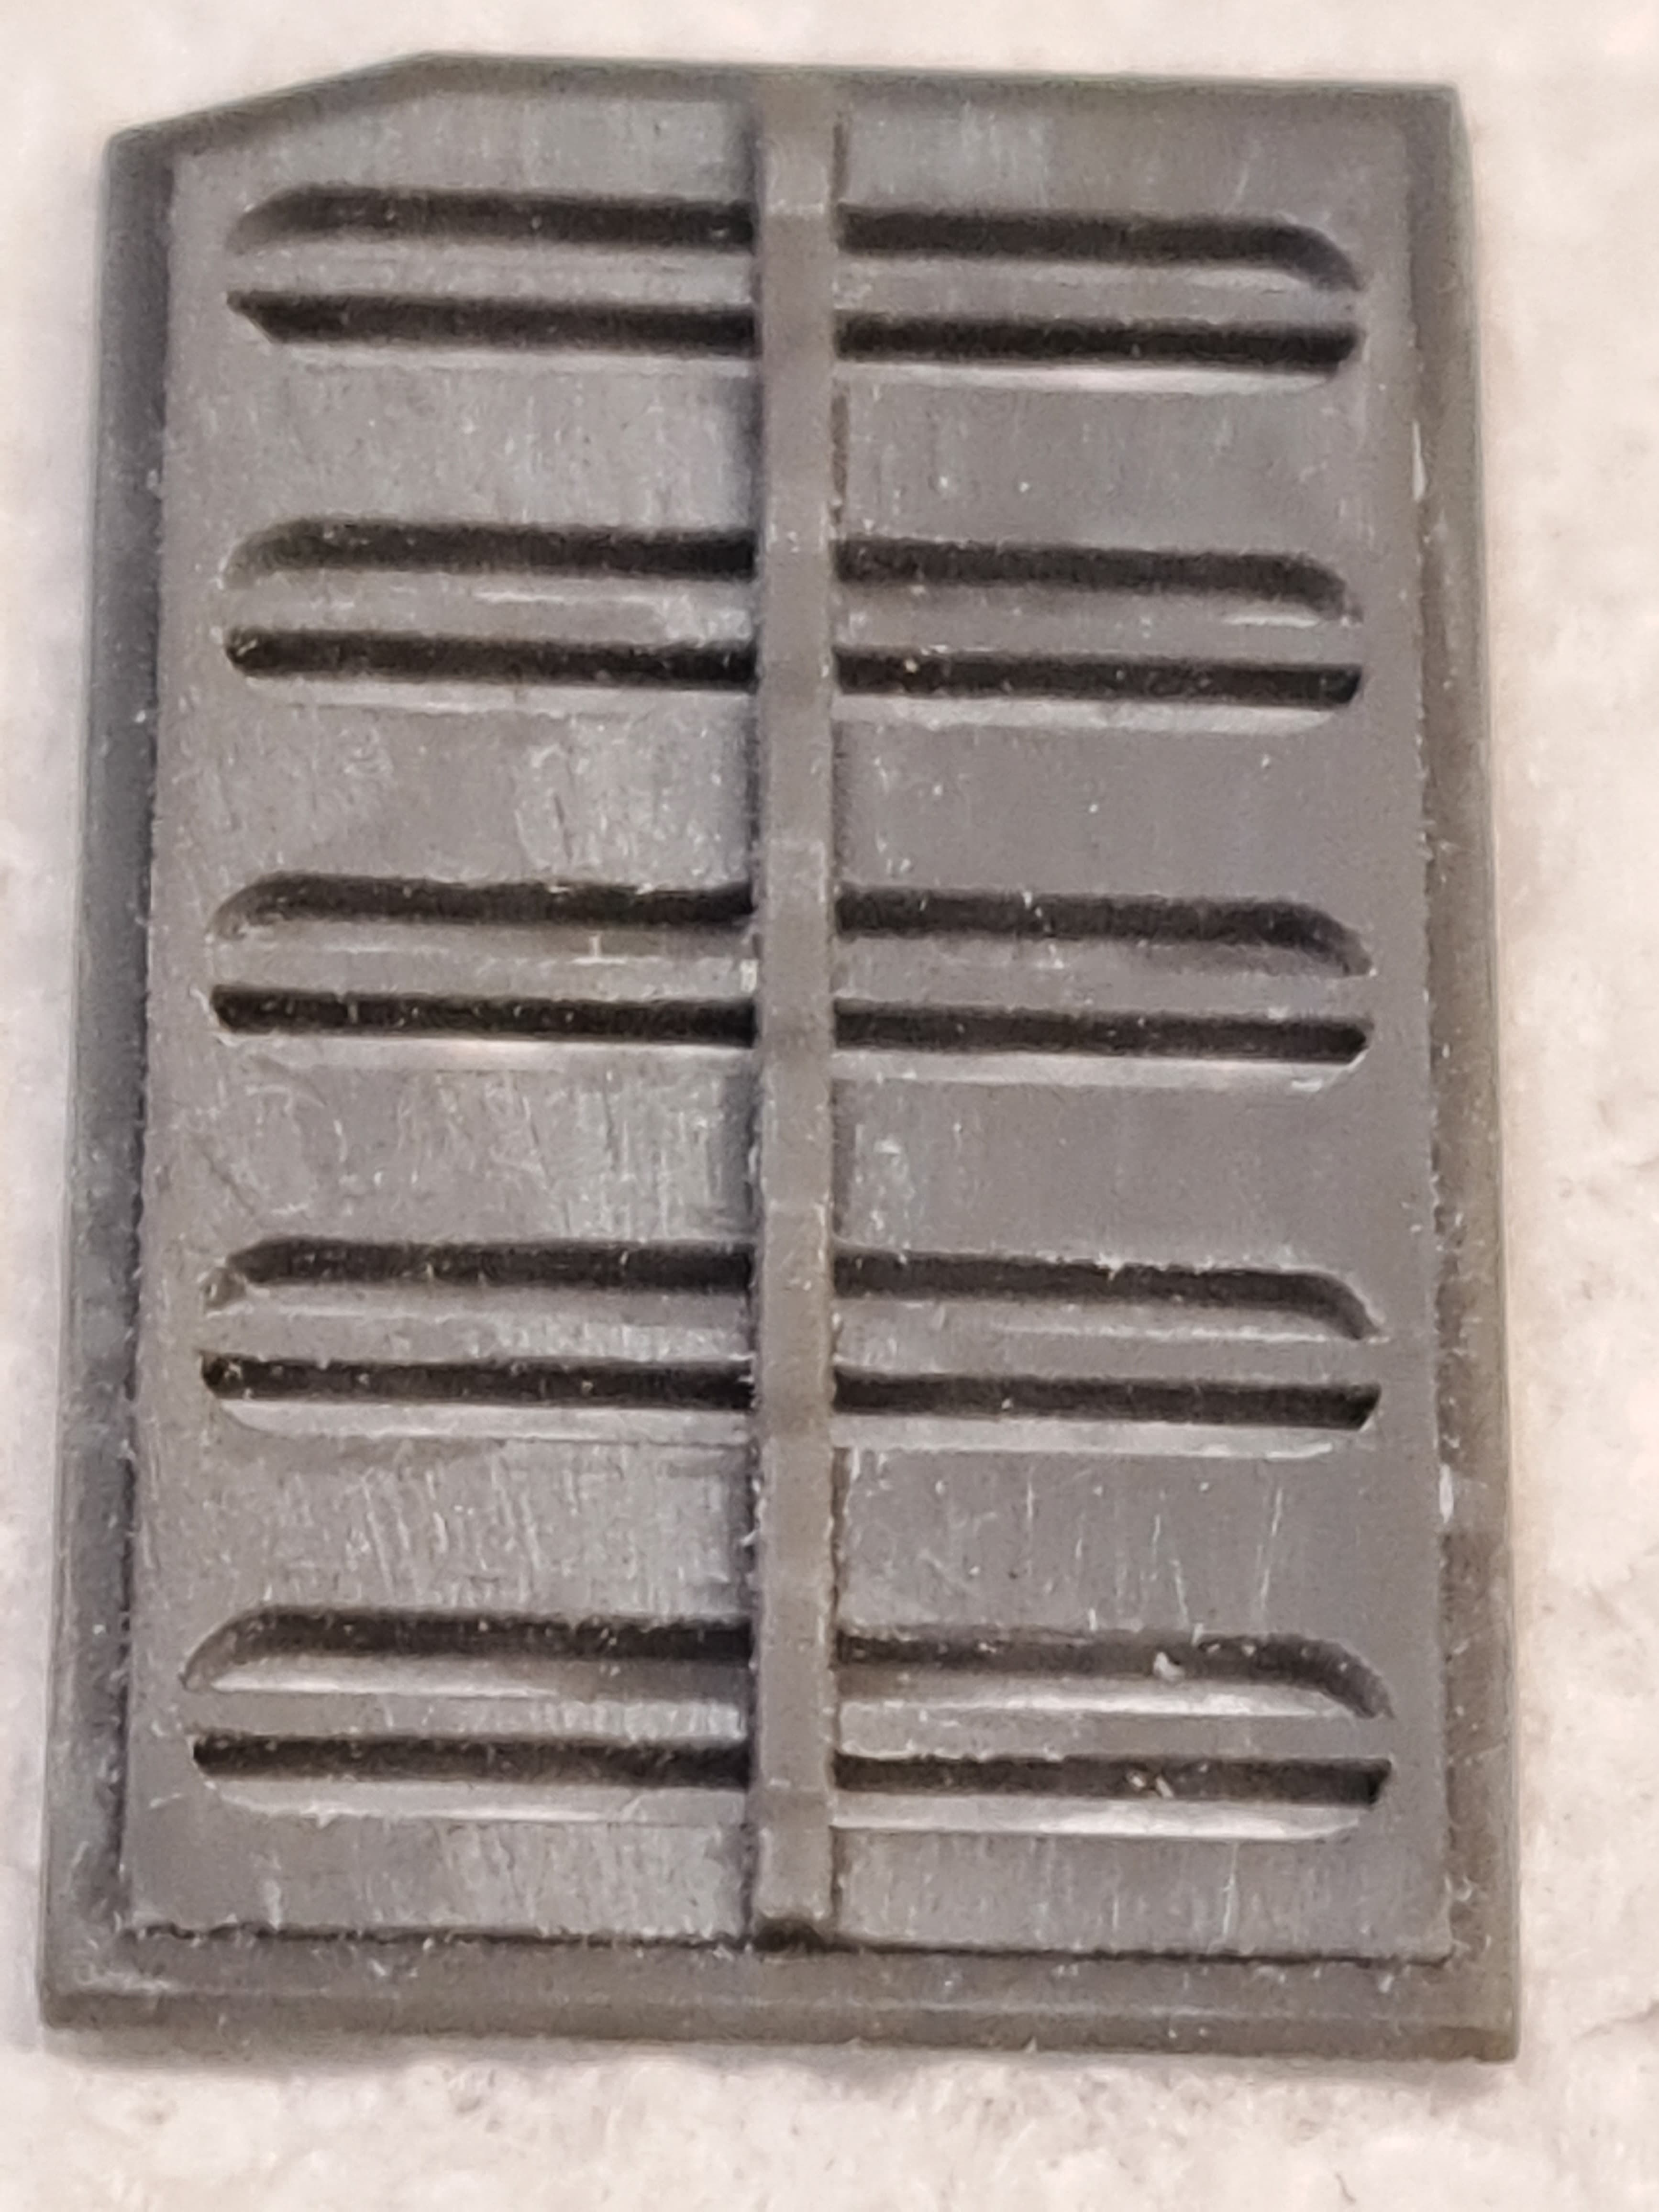
Love that Tamiya fit.
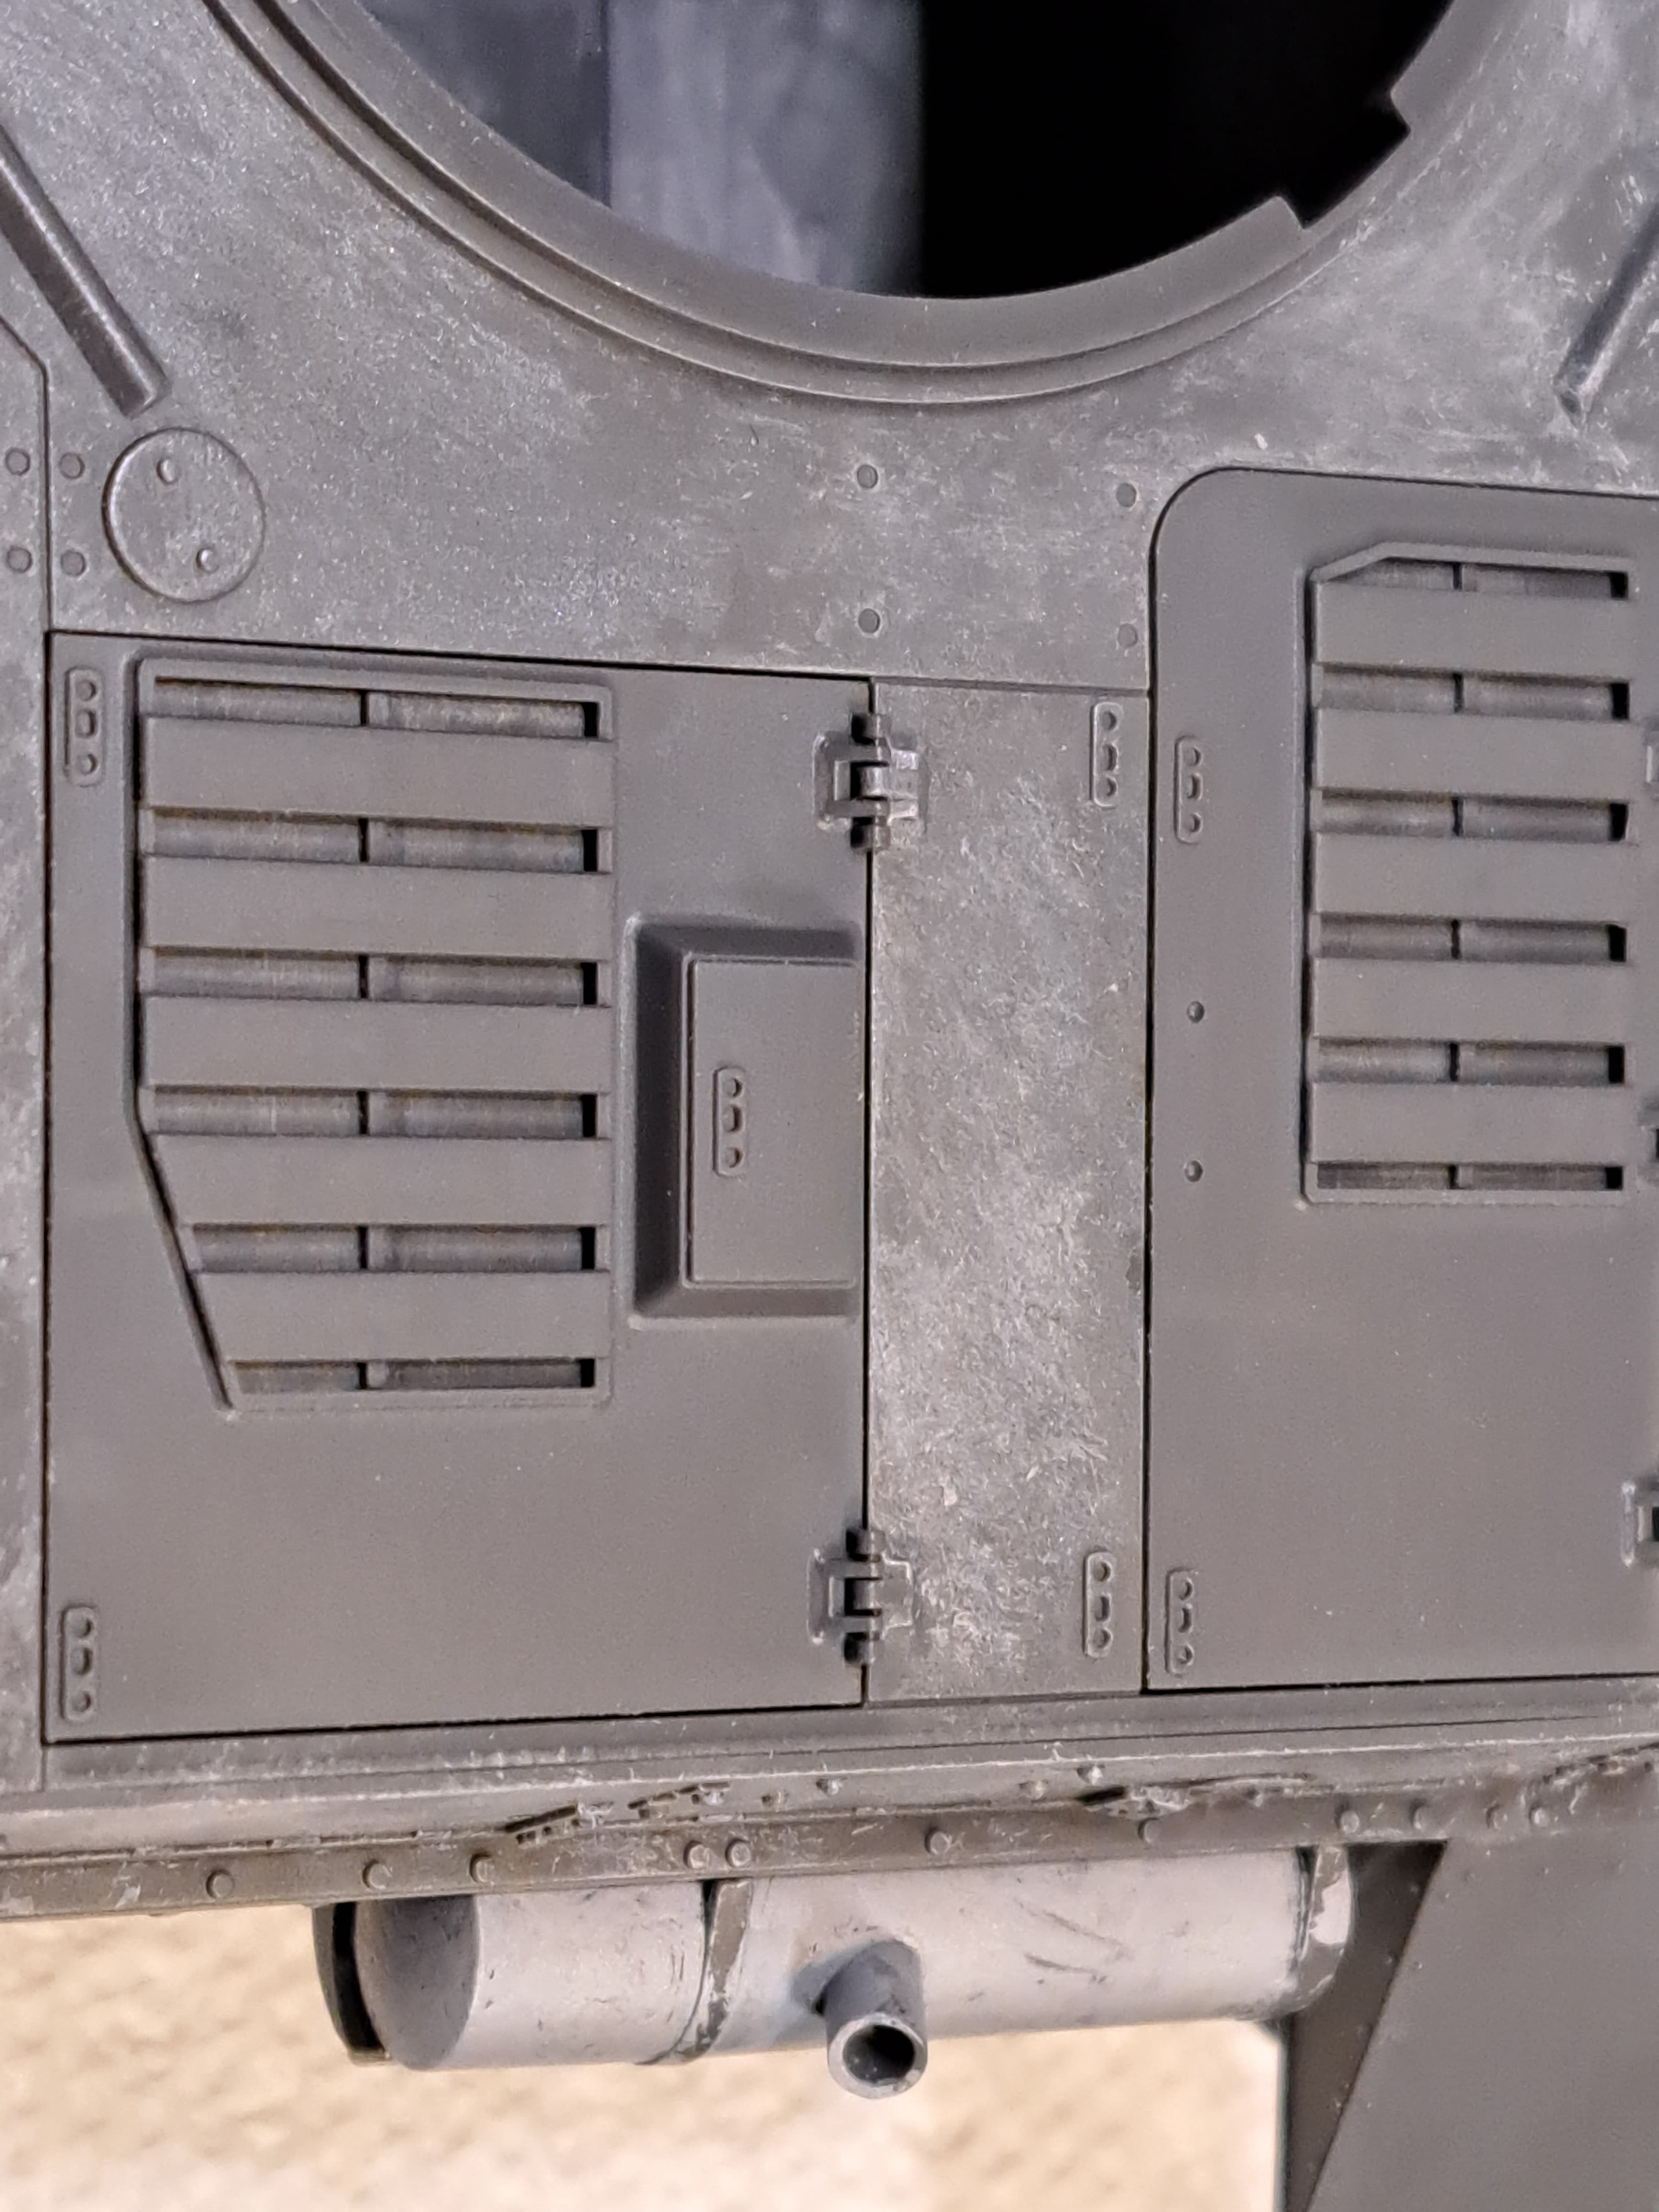
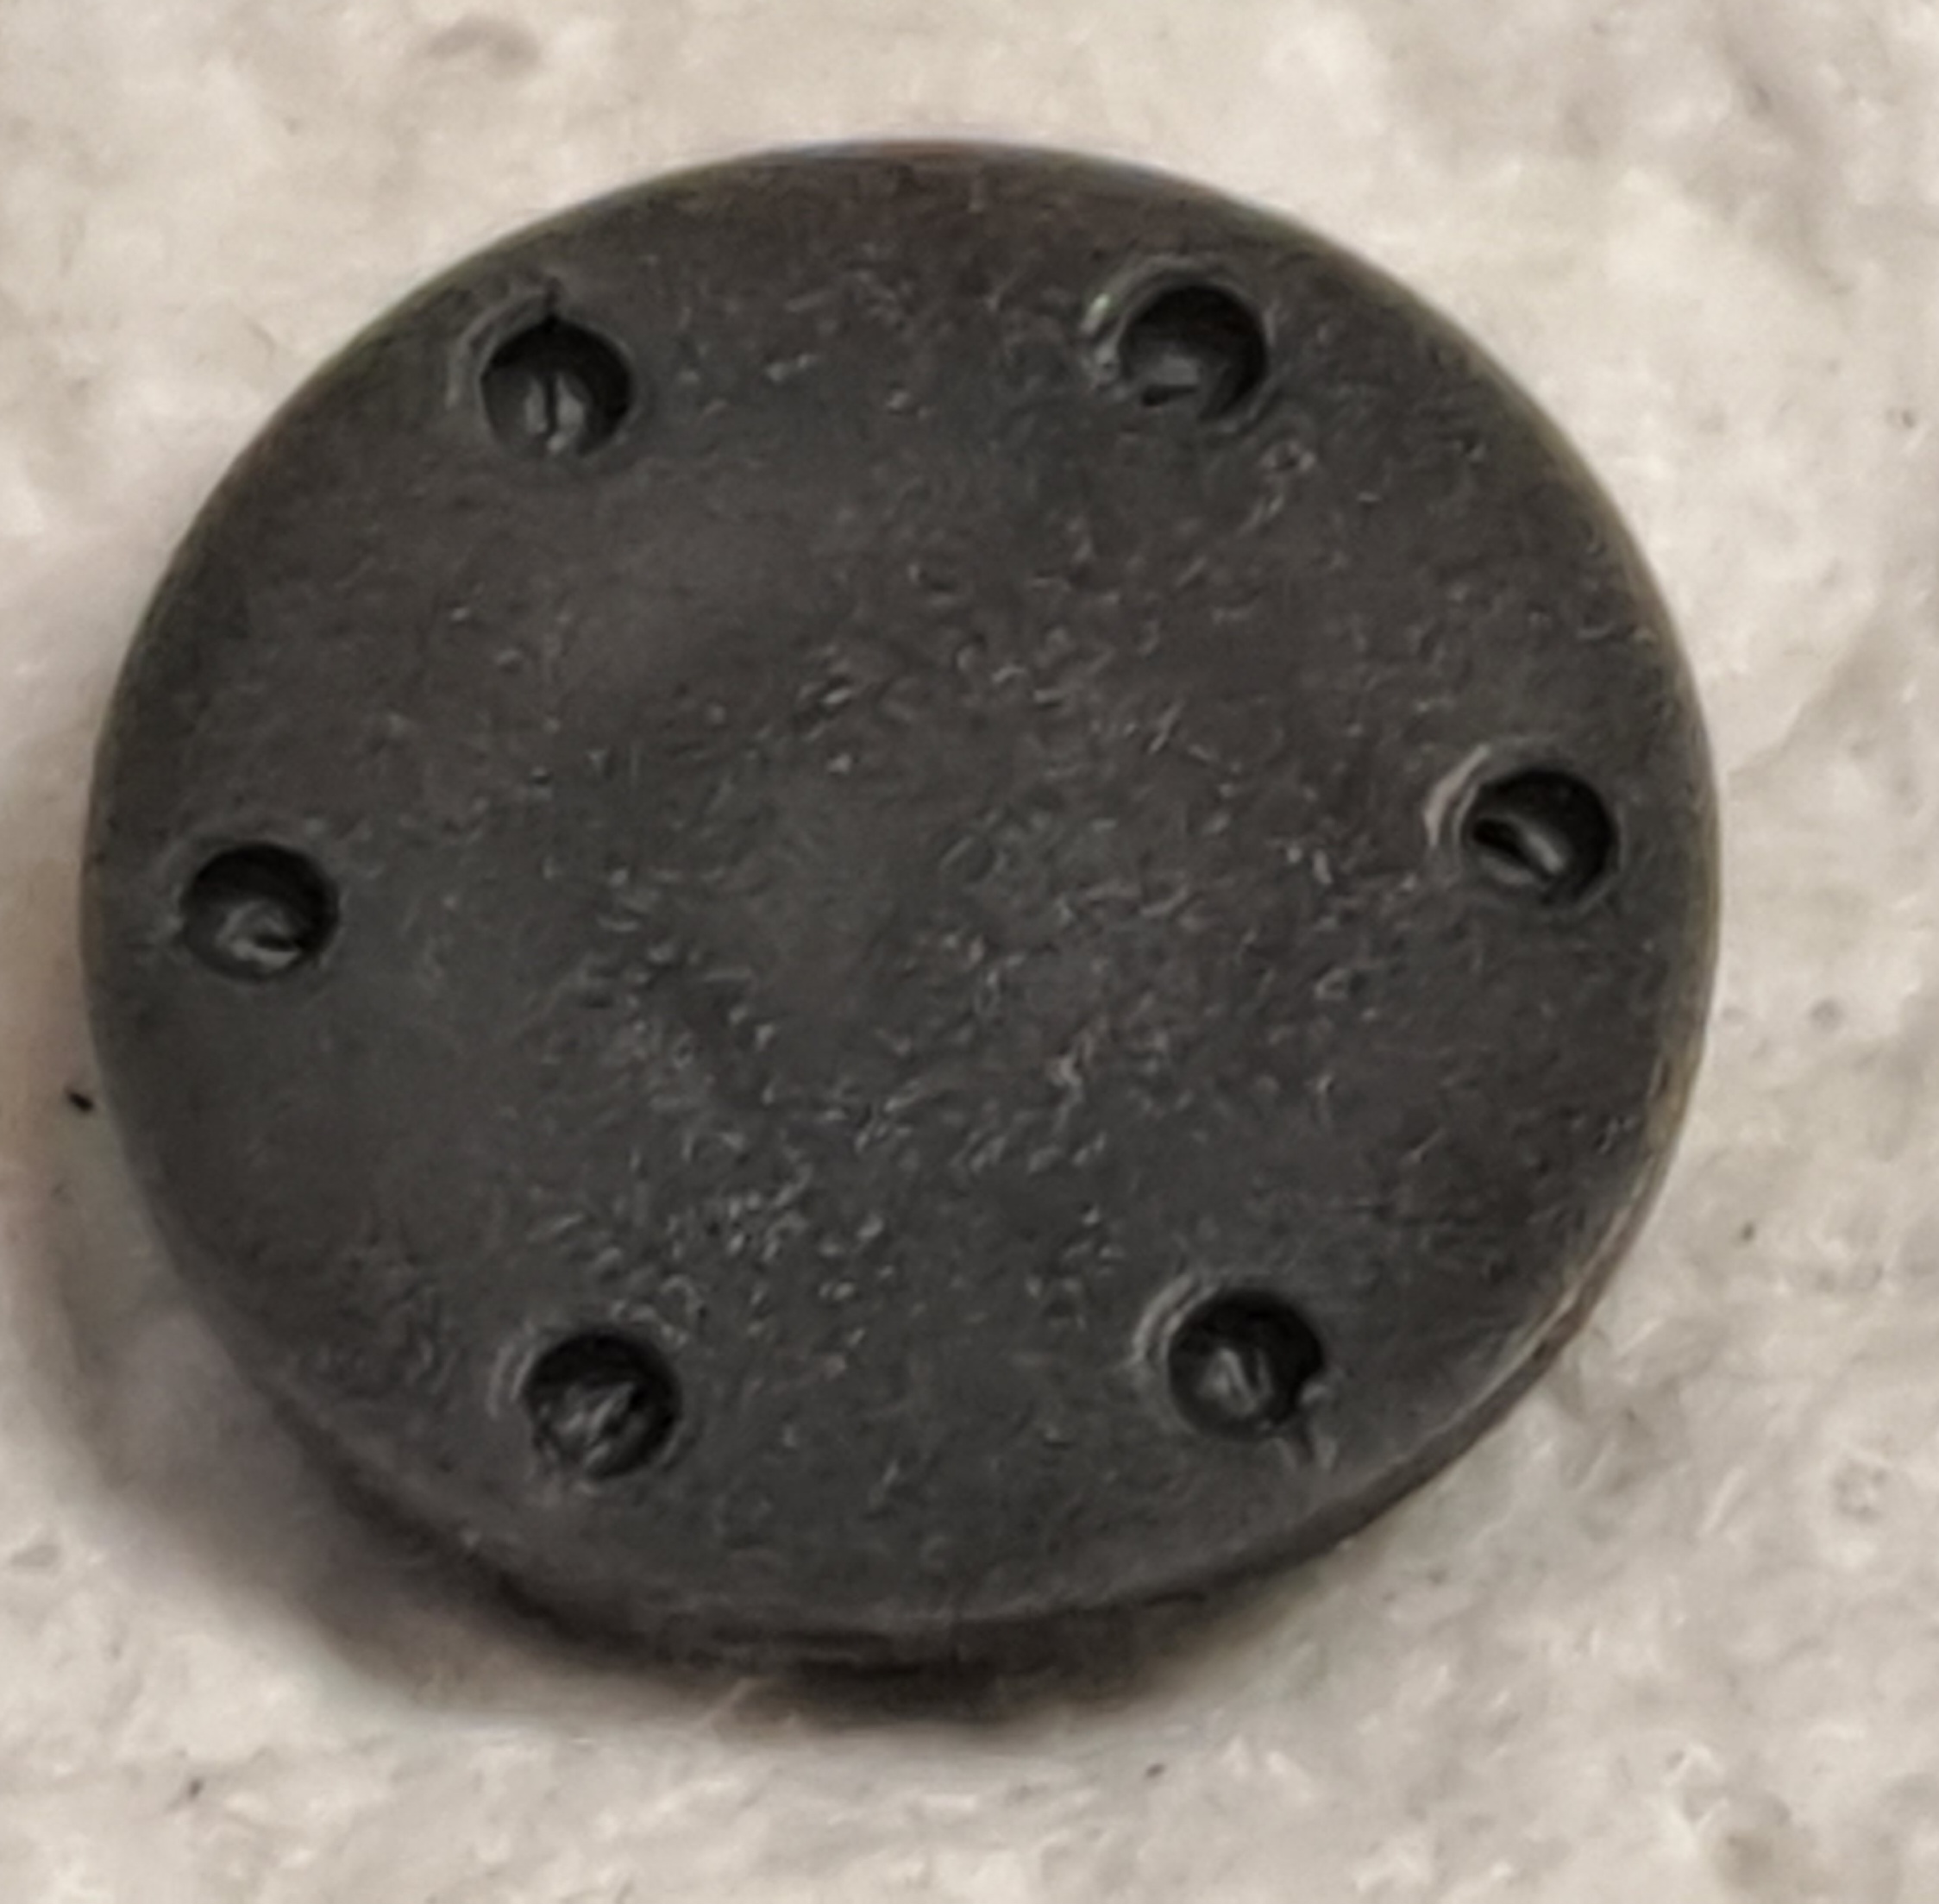
Step 19 Hull Hatches & Brake Hatches
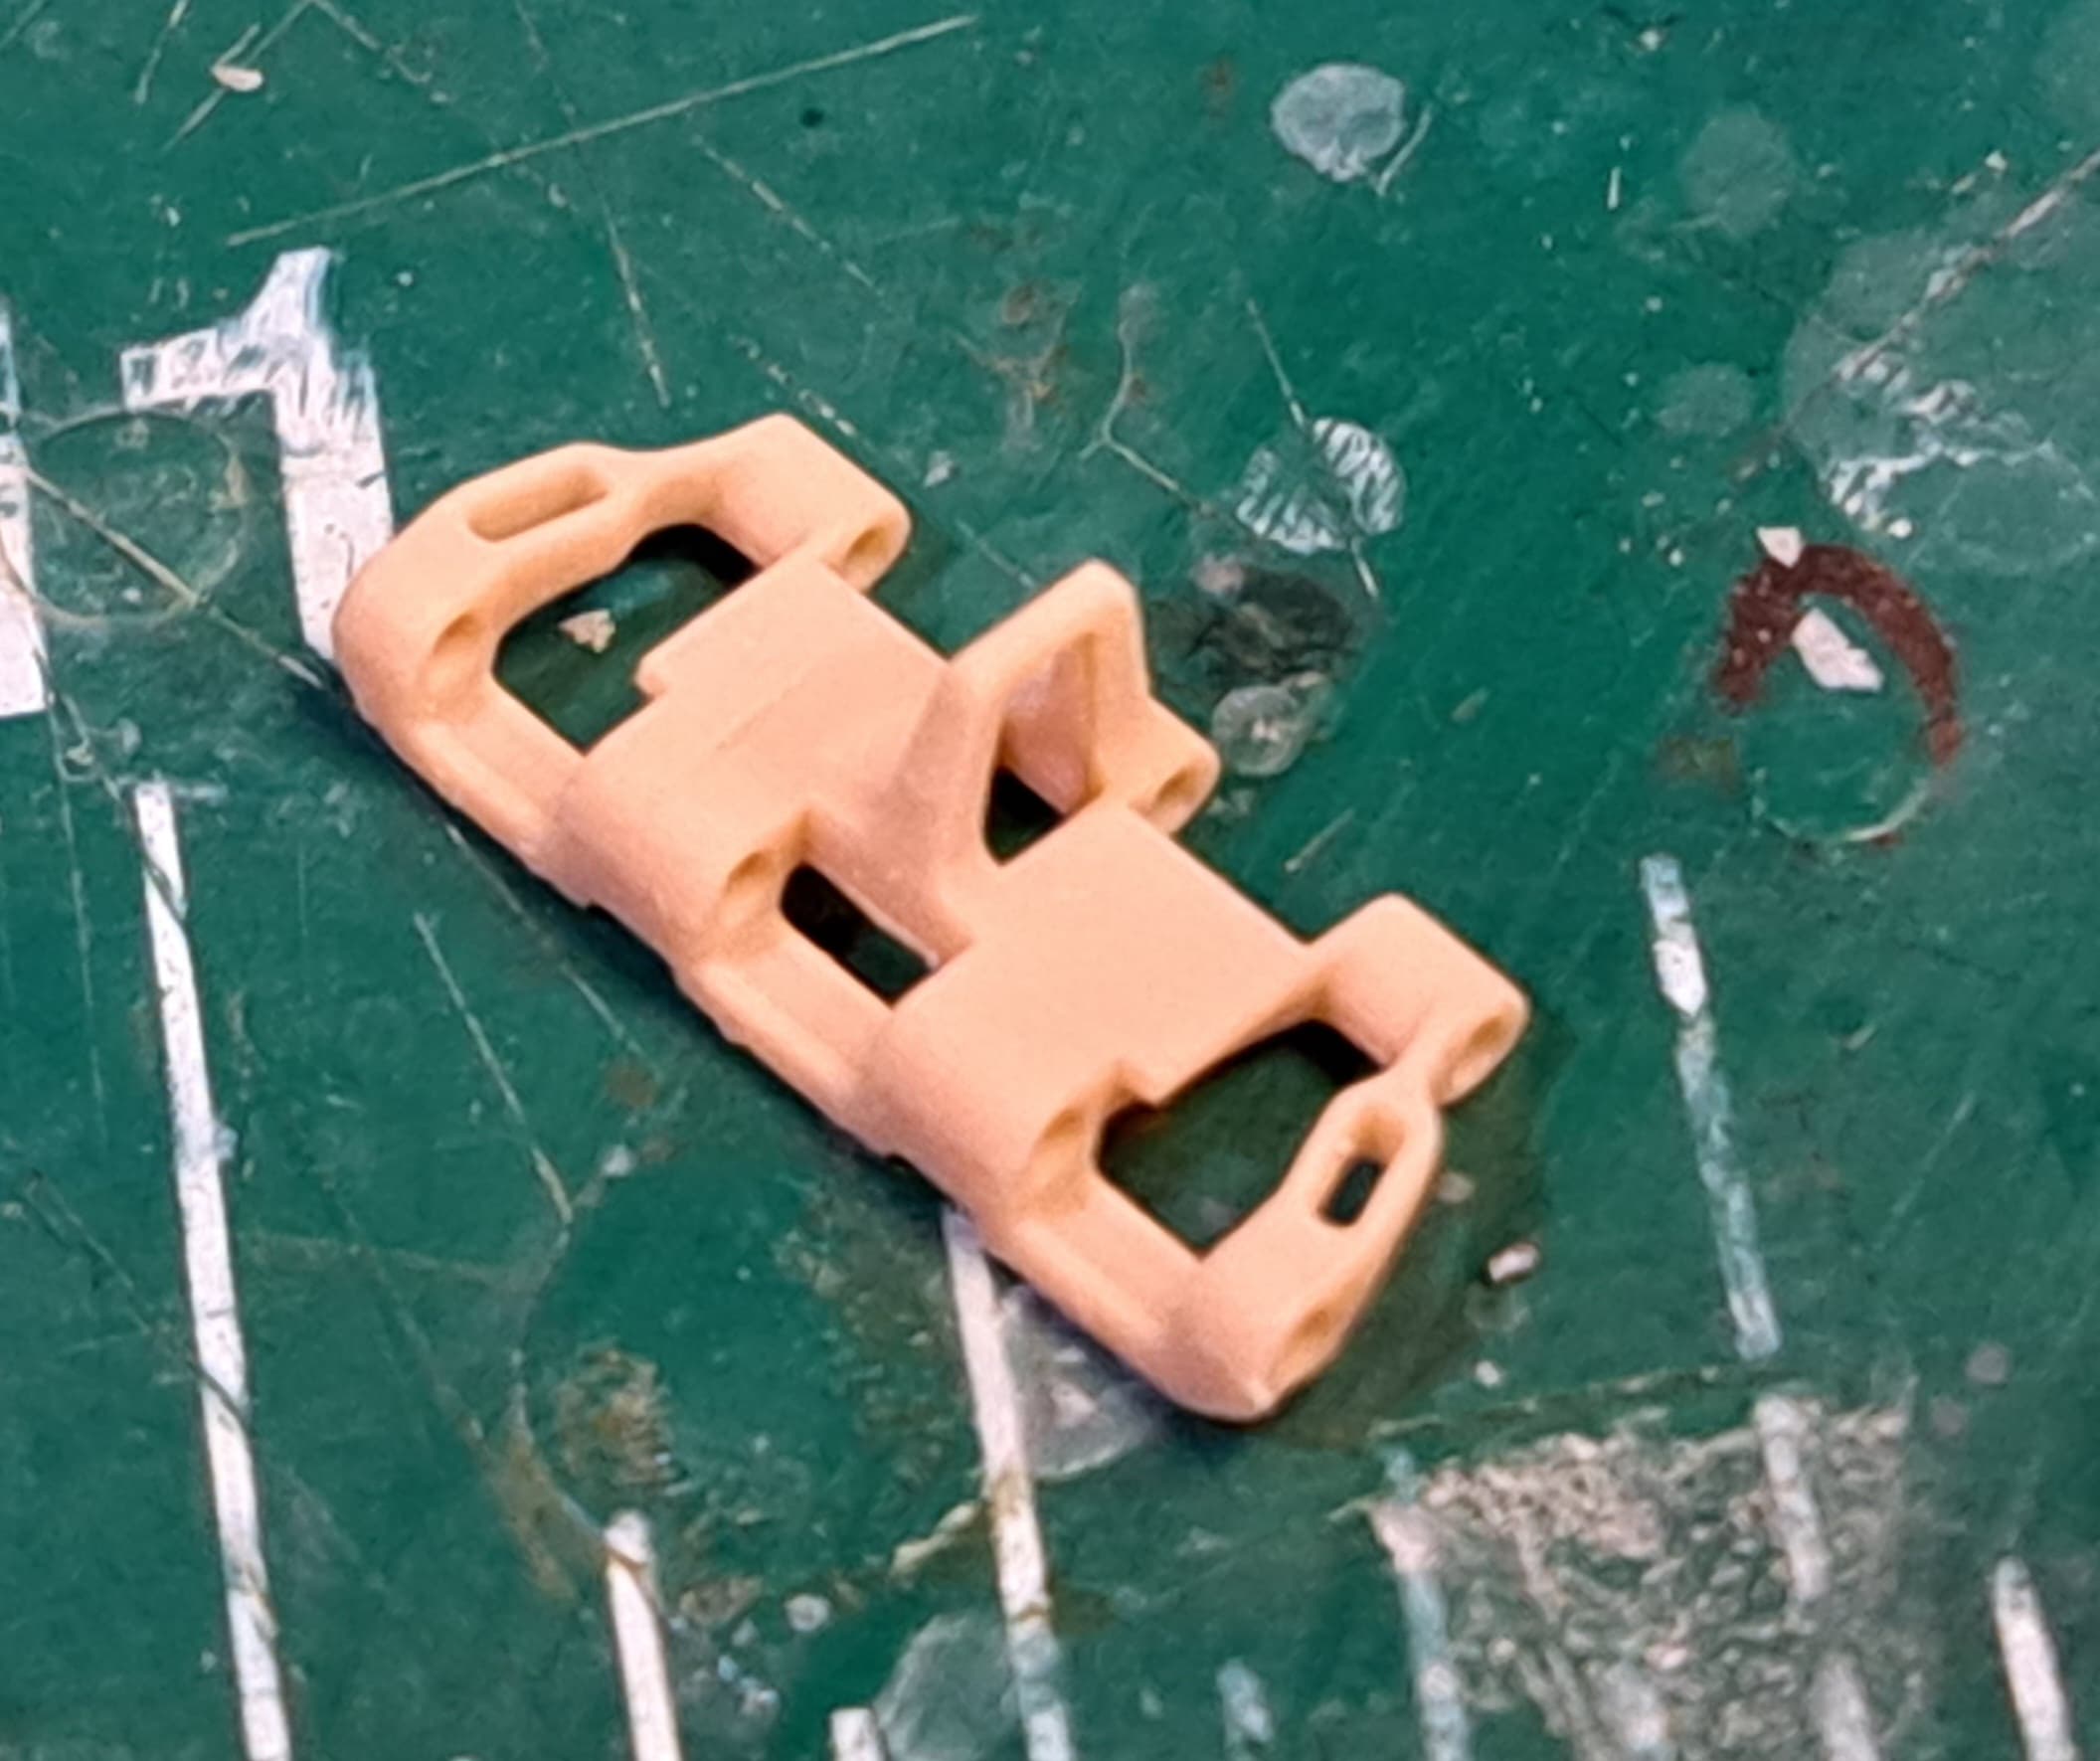
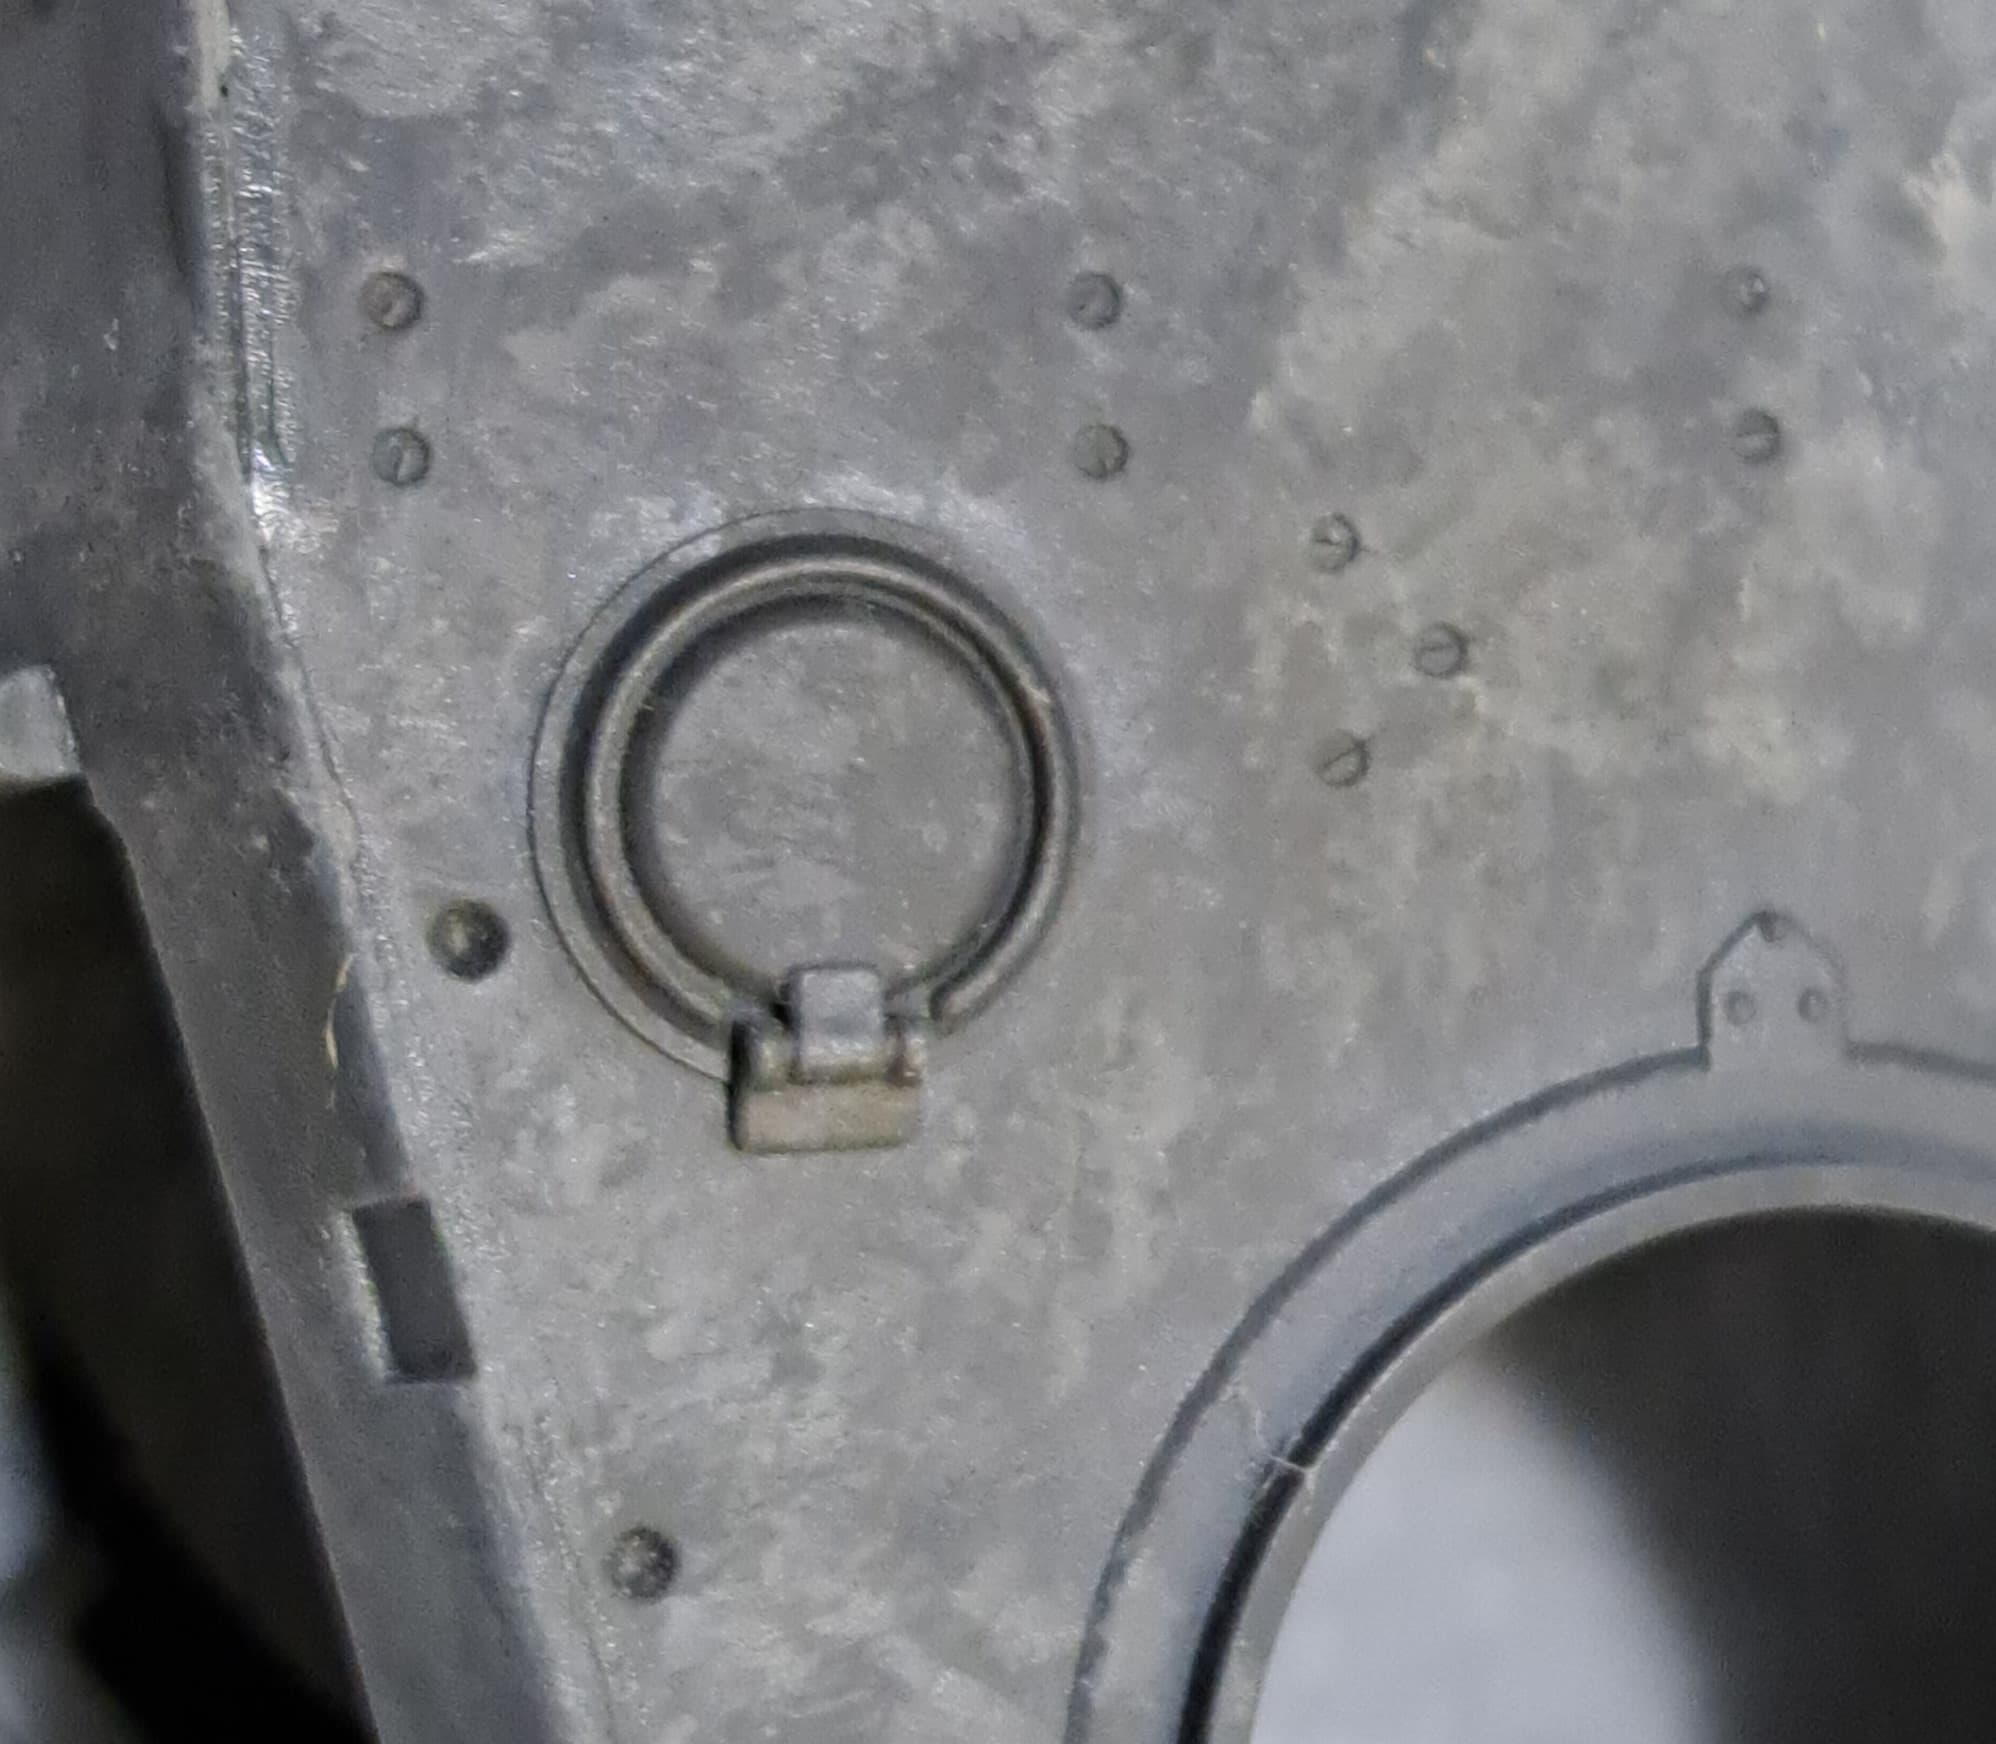
Noticed the recesses for the flat head screws didn’t have the slot for the screw head. Add w/#11 blade.
There’s also several spots in the rear where the slot detail was added as well.
6 Likes
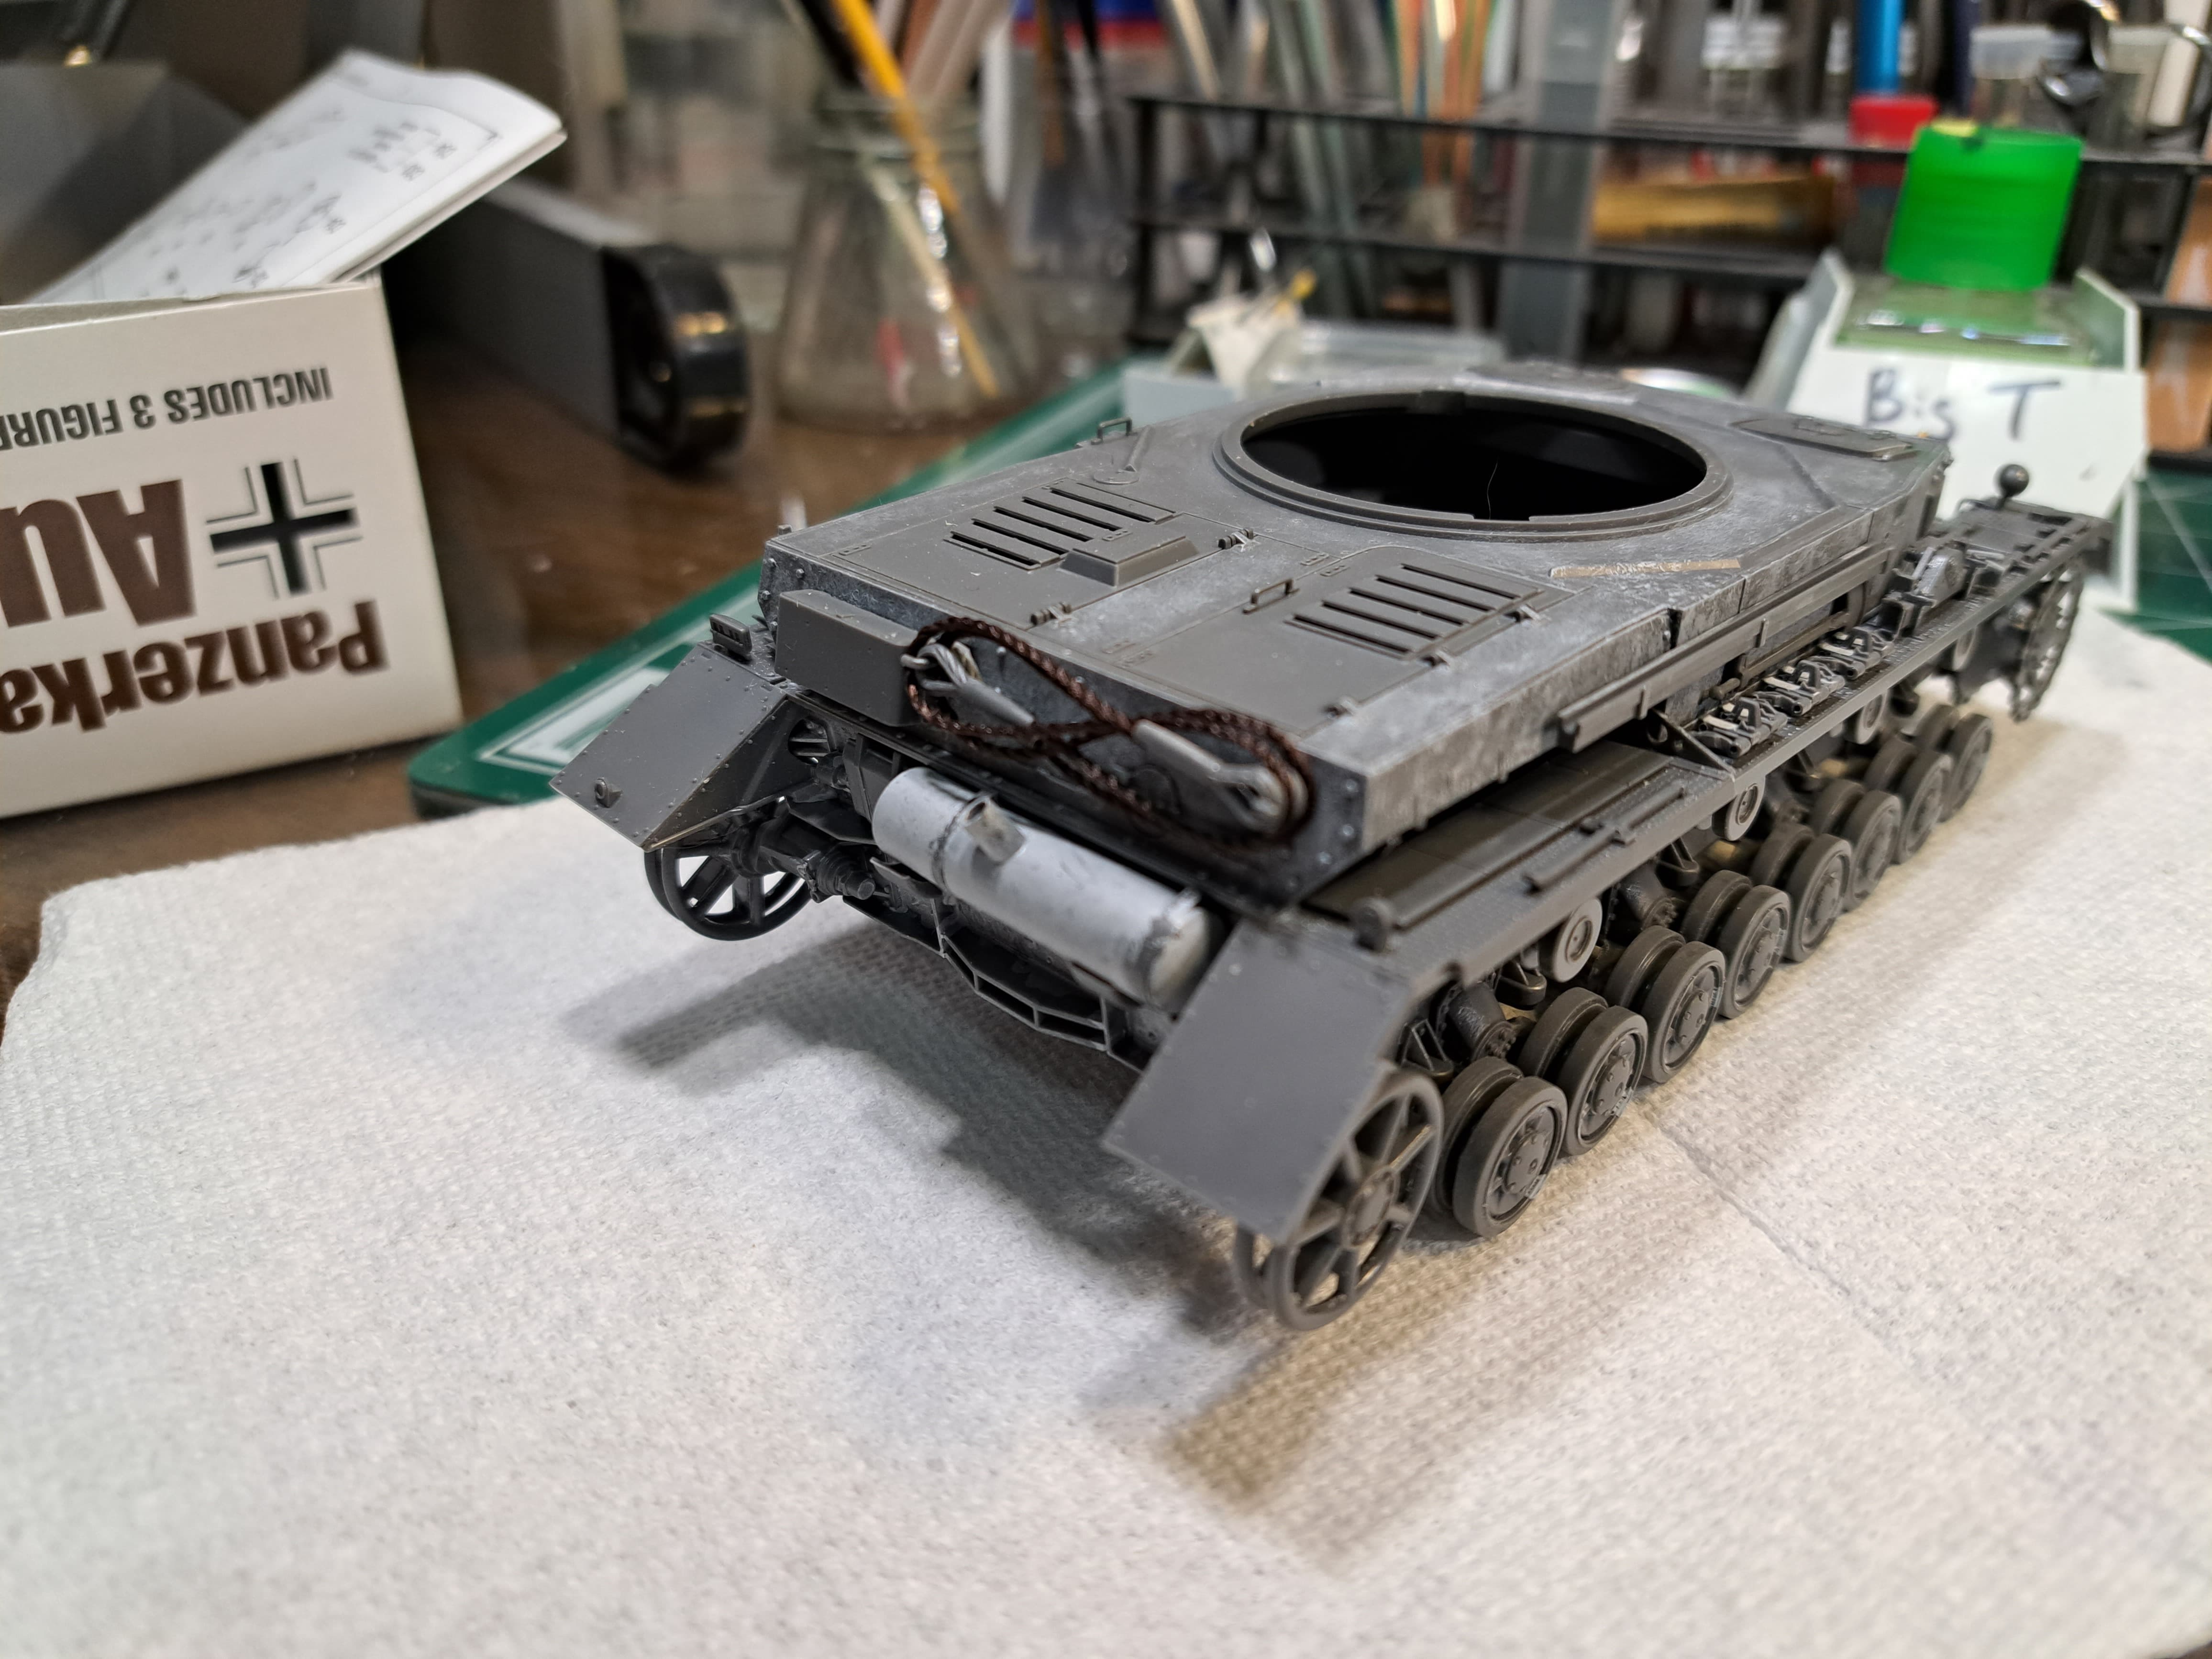
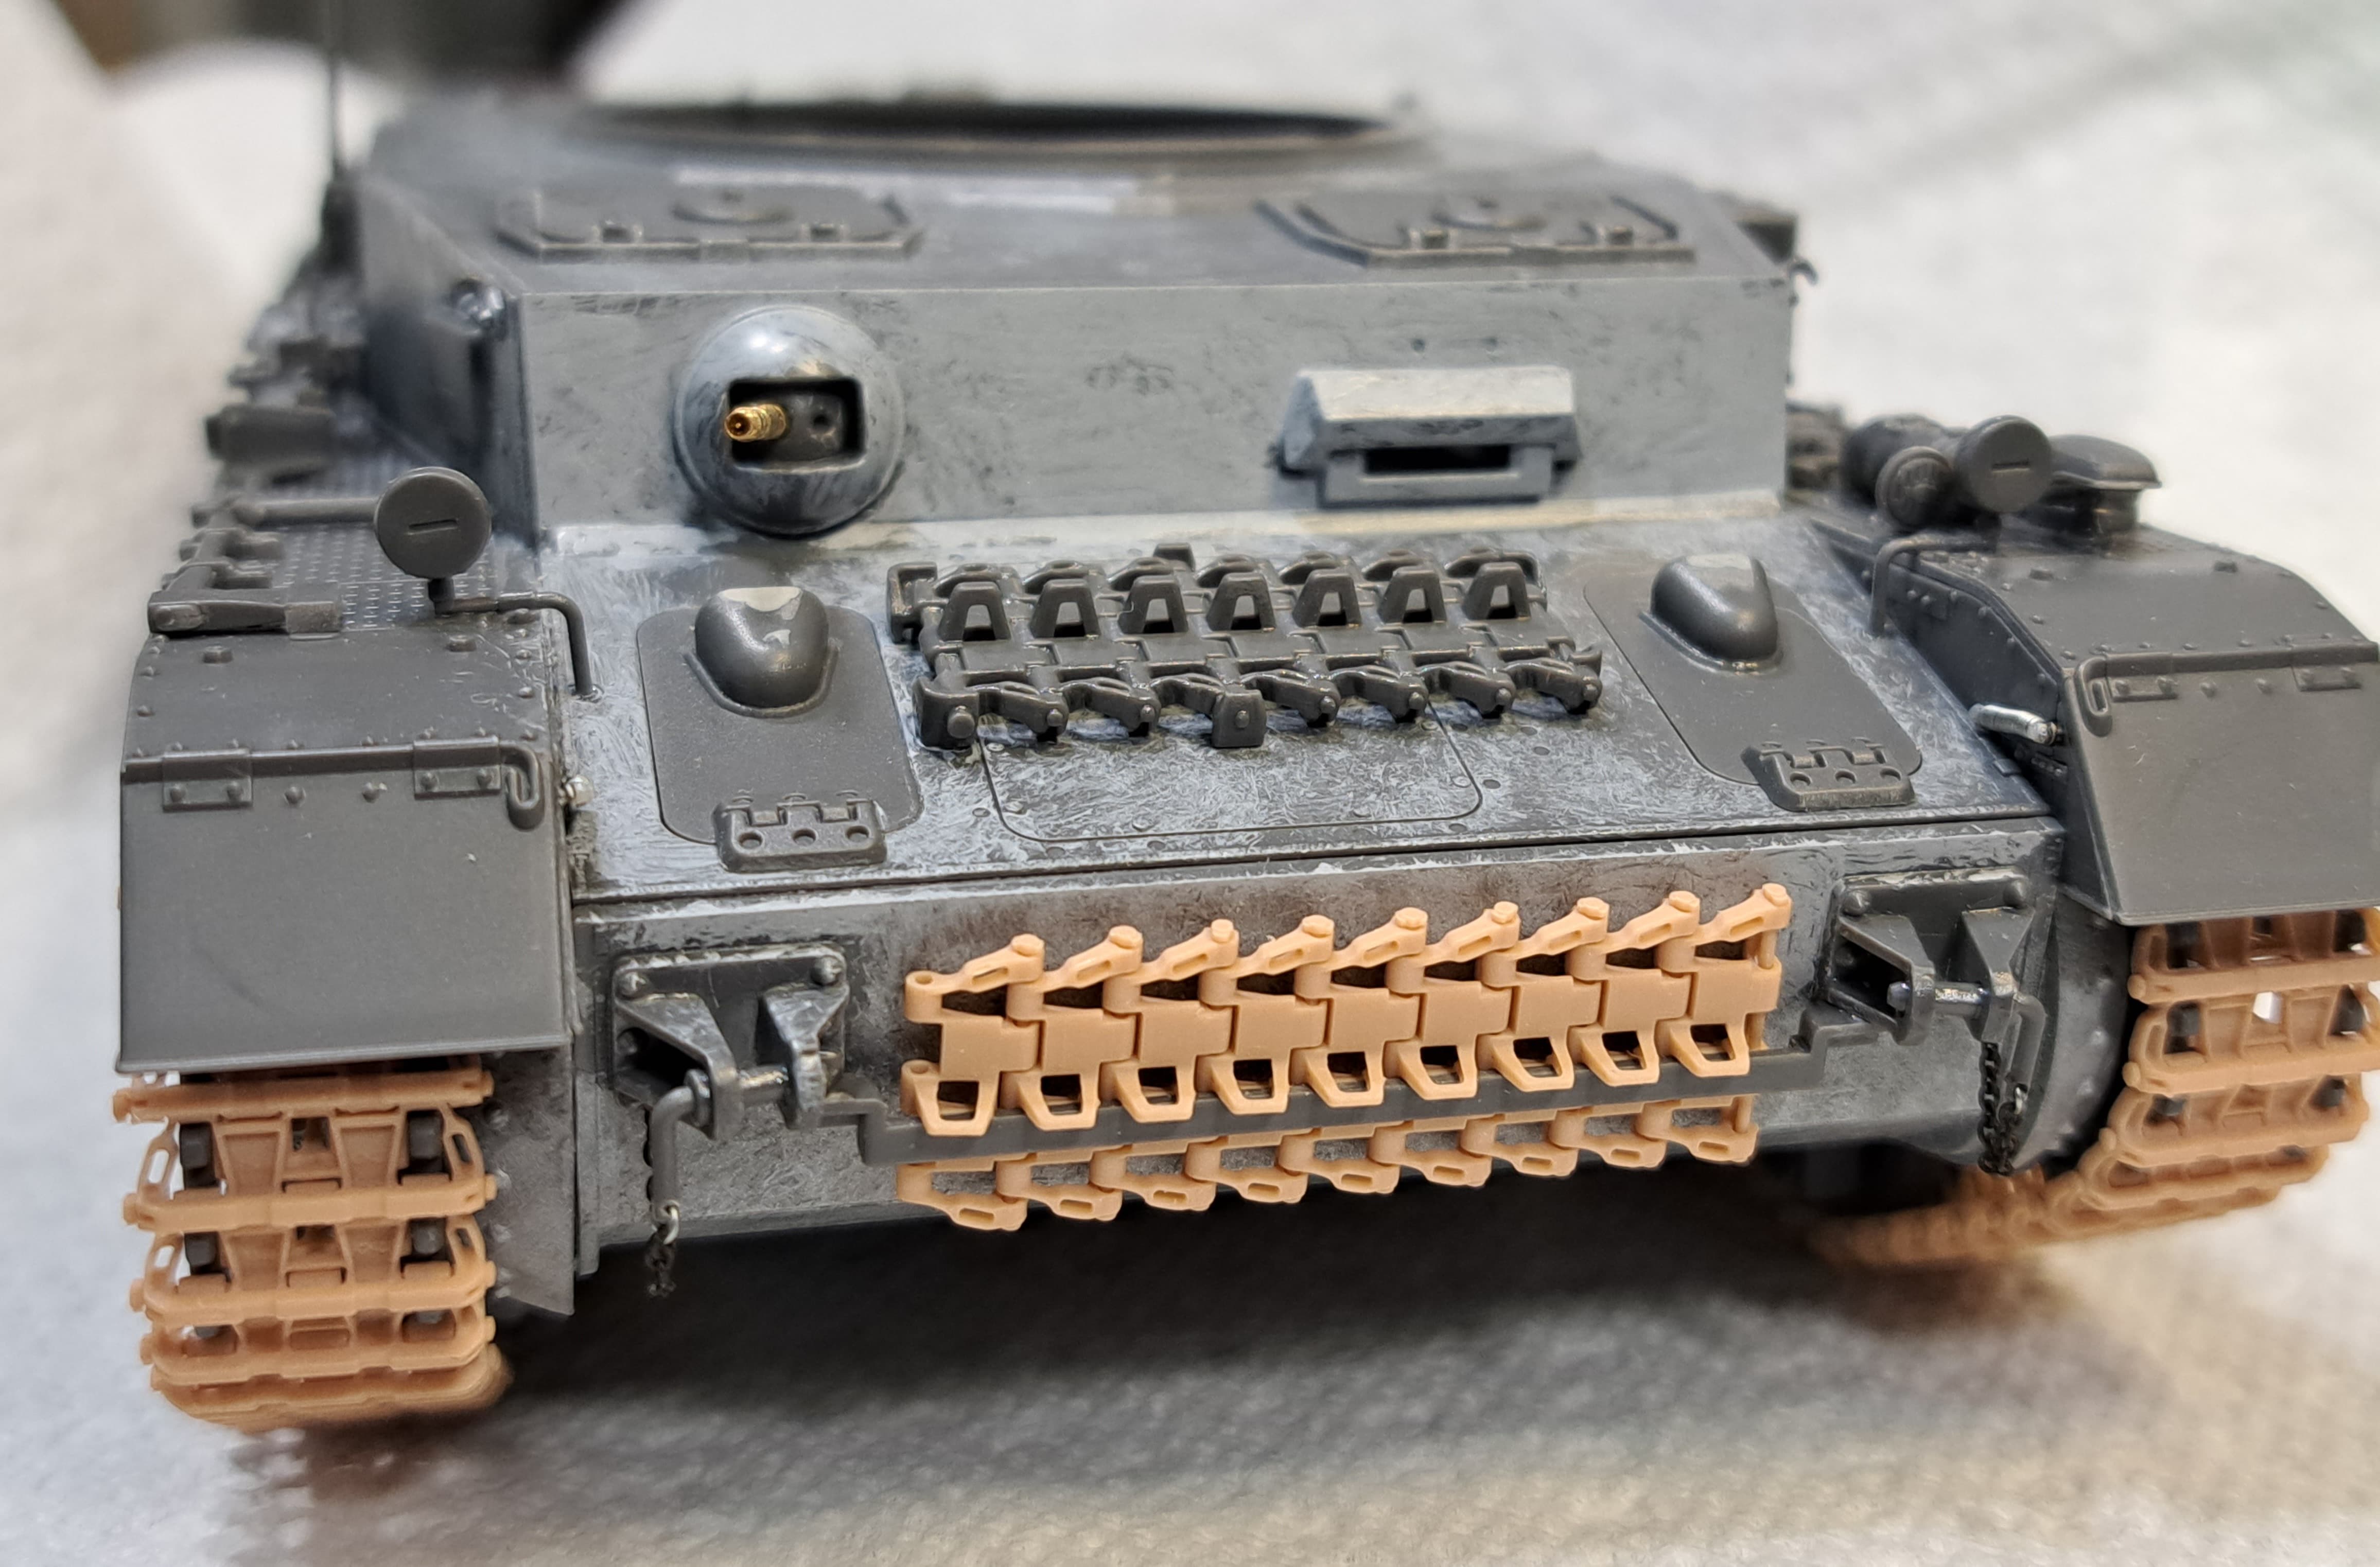
Step 20 to 23 - Tools, Spare Track links, Tow cables
Very straight forward with minimum clean up and excellent fit. The jack is very nice. However, the jack holders E33 both have an ugly punch mark to remove. C5 the distance indicator for night driving also has an ugly punch mark to remove. The tow cable holders E23 are very nice wirh perfect fit.
Spare track links E37 are pretty sweet but each one has two nasty punch marks on top.
The links also need to be drilled out for track pins in my opinion. Broke a Meng .5mm drill bit but completed the task with another drill bit.
Spare track links drilled for track pins.
Hull with tools, spare track links & tow cables.
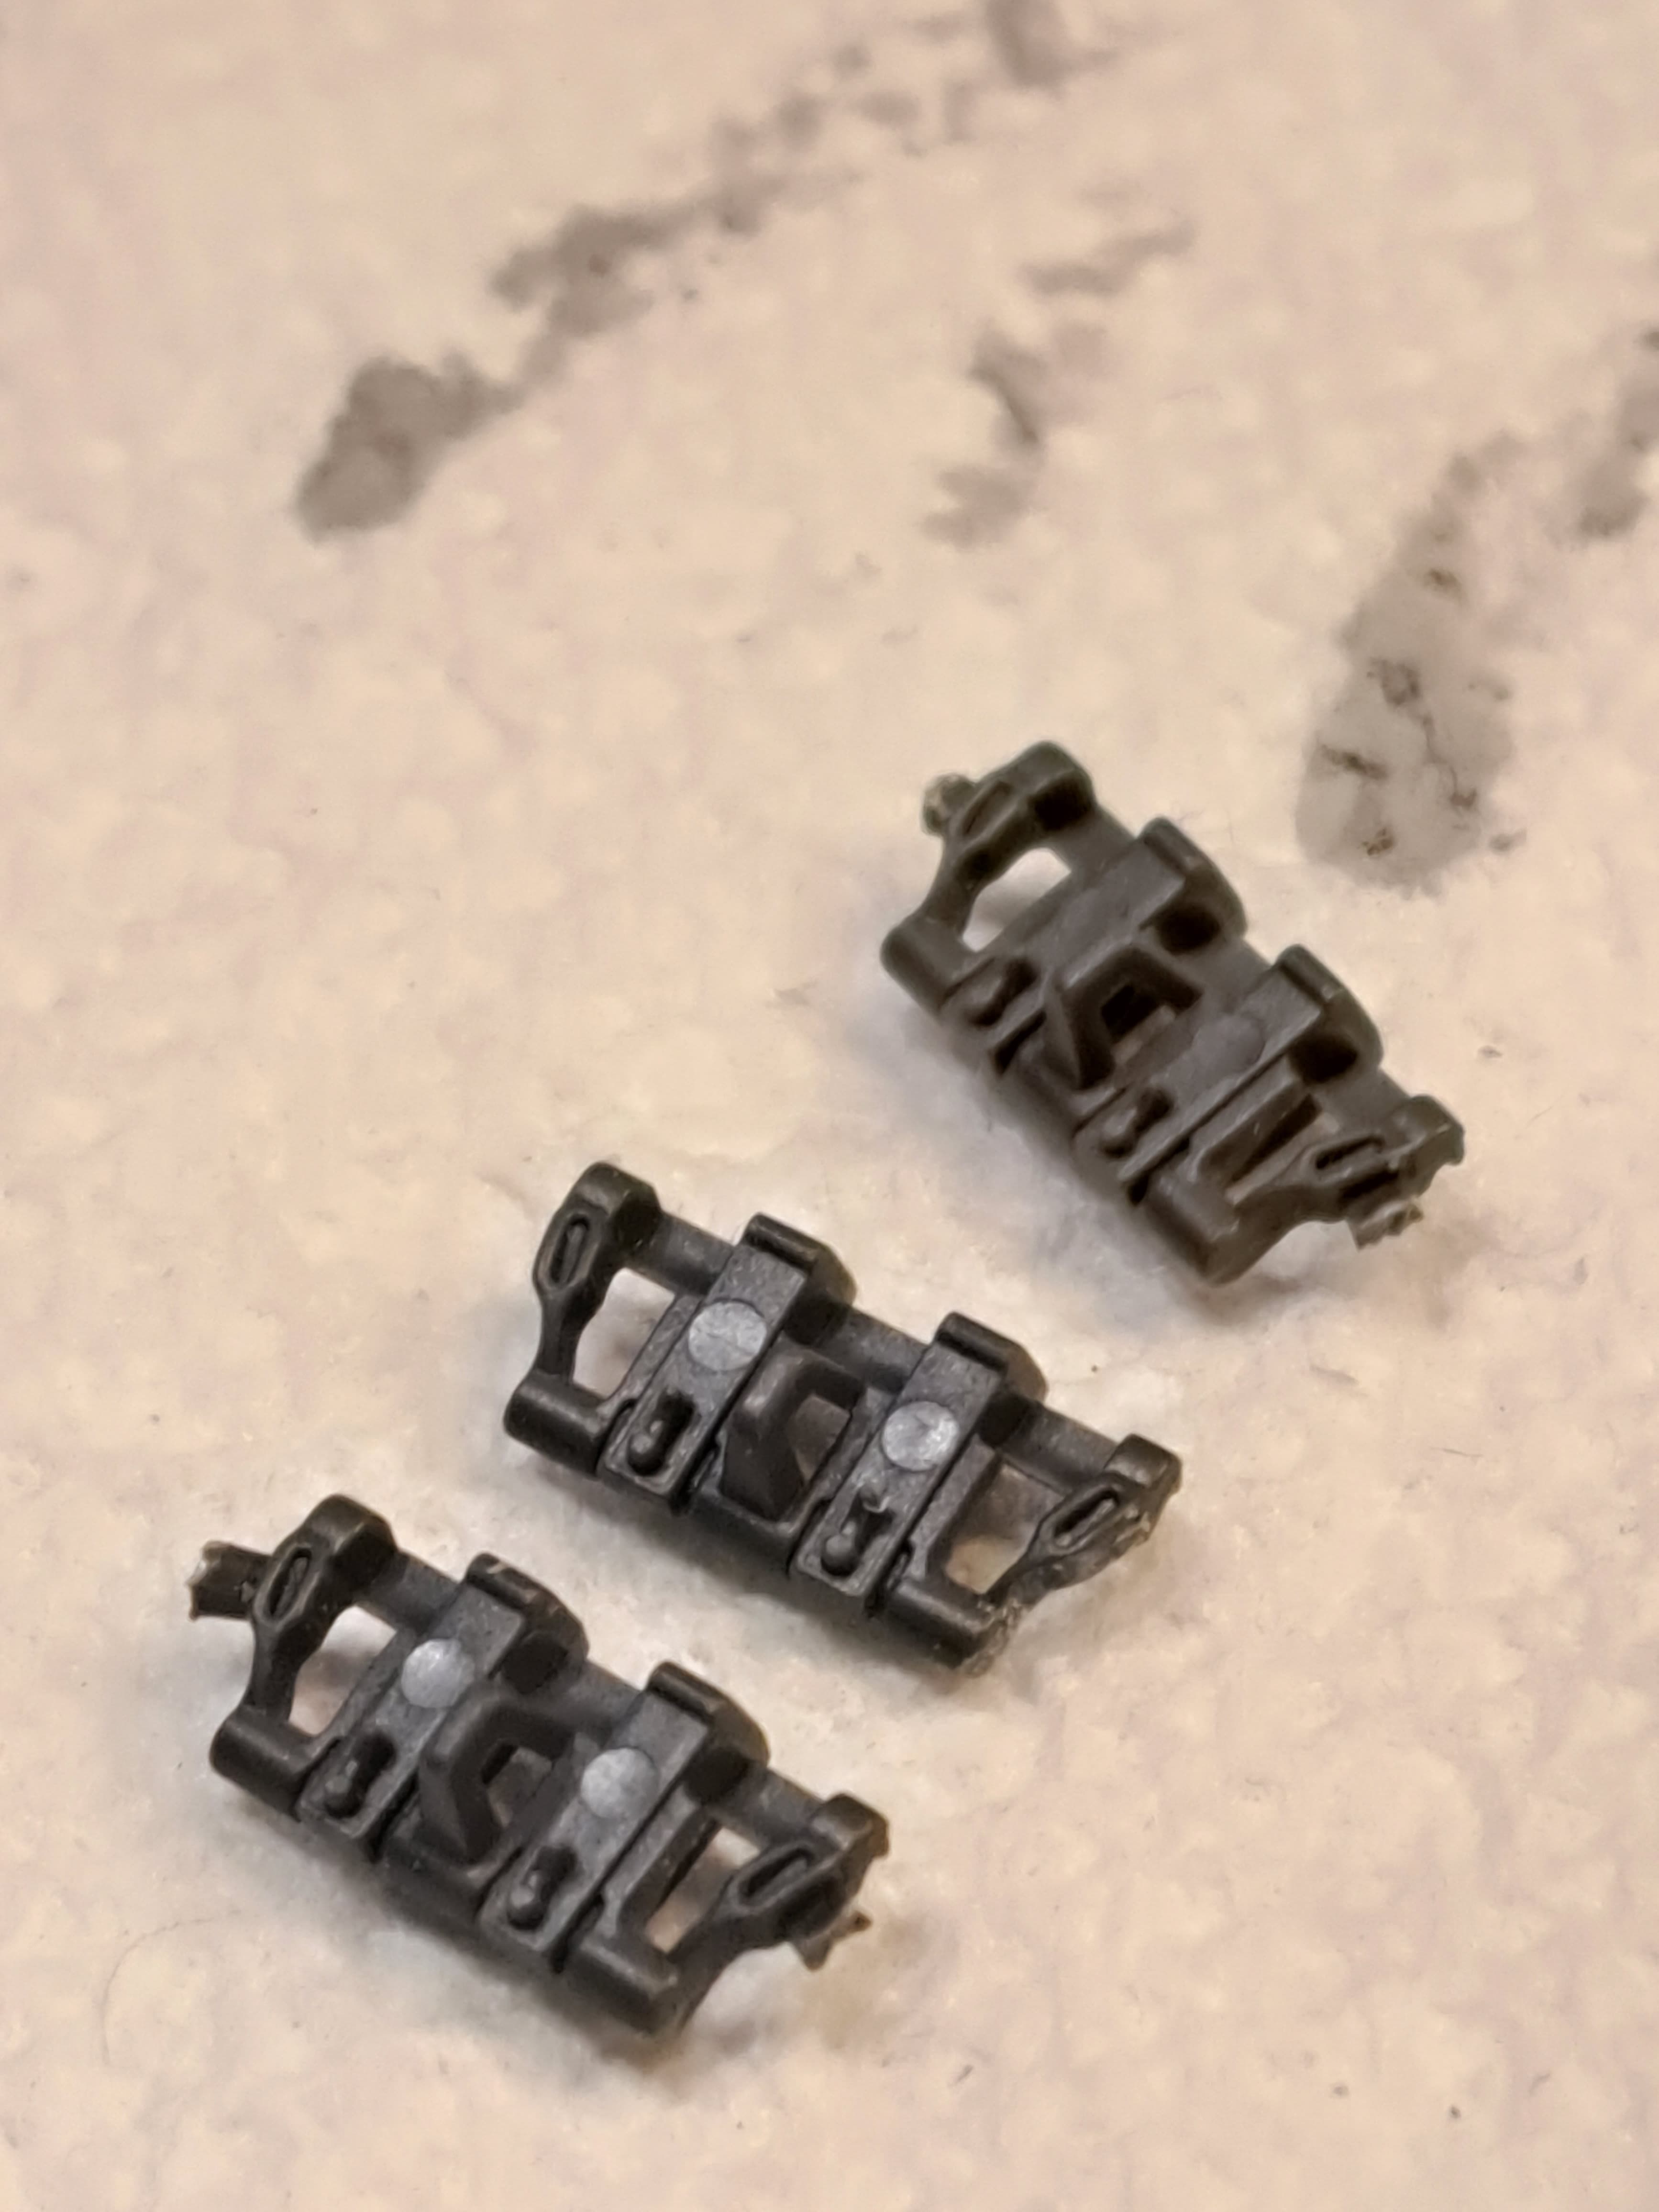
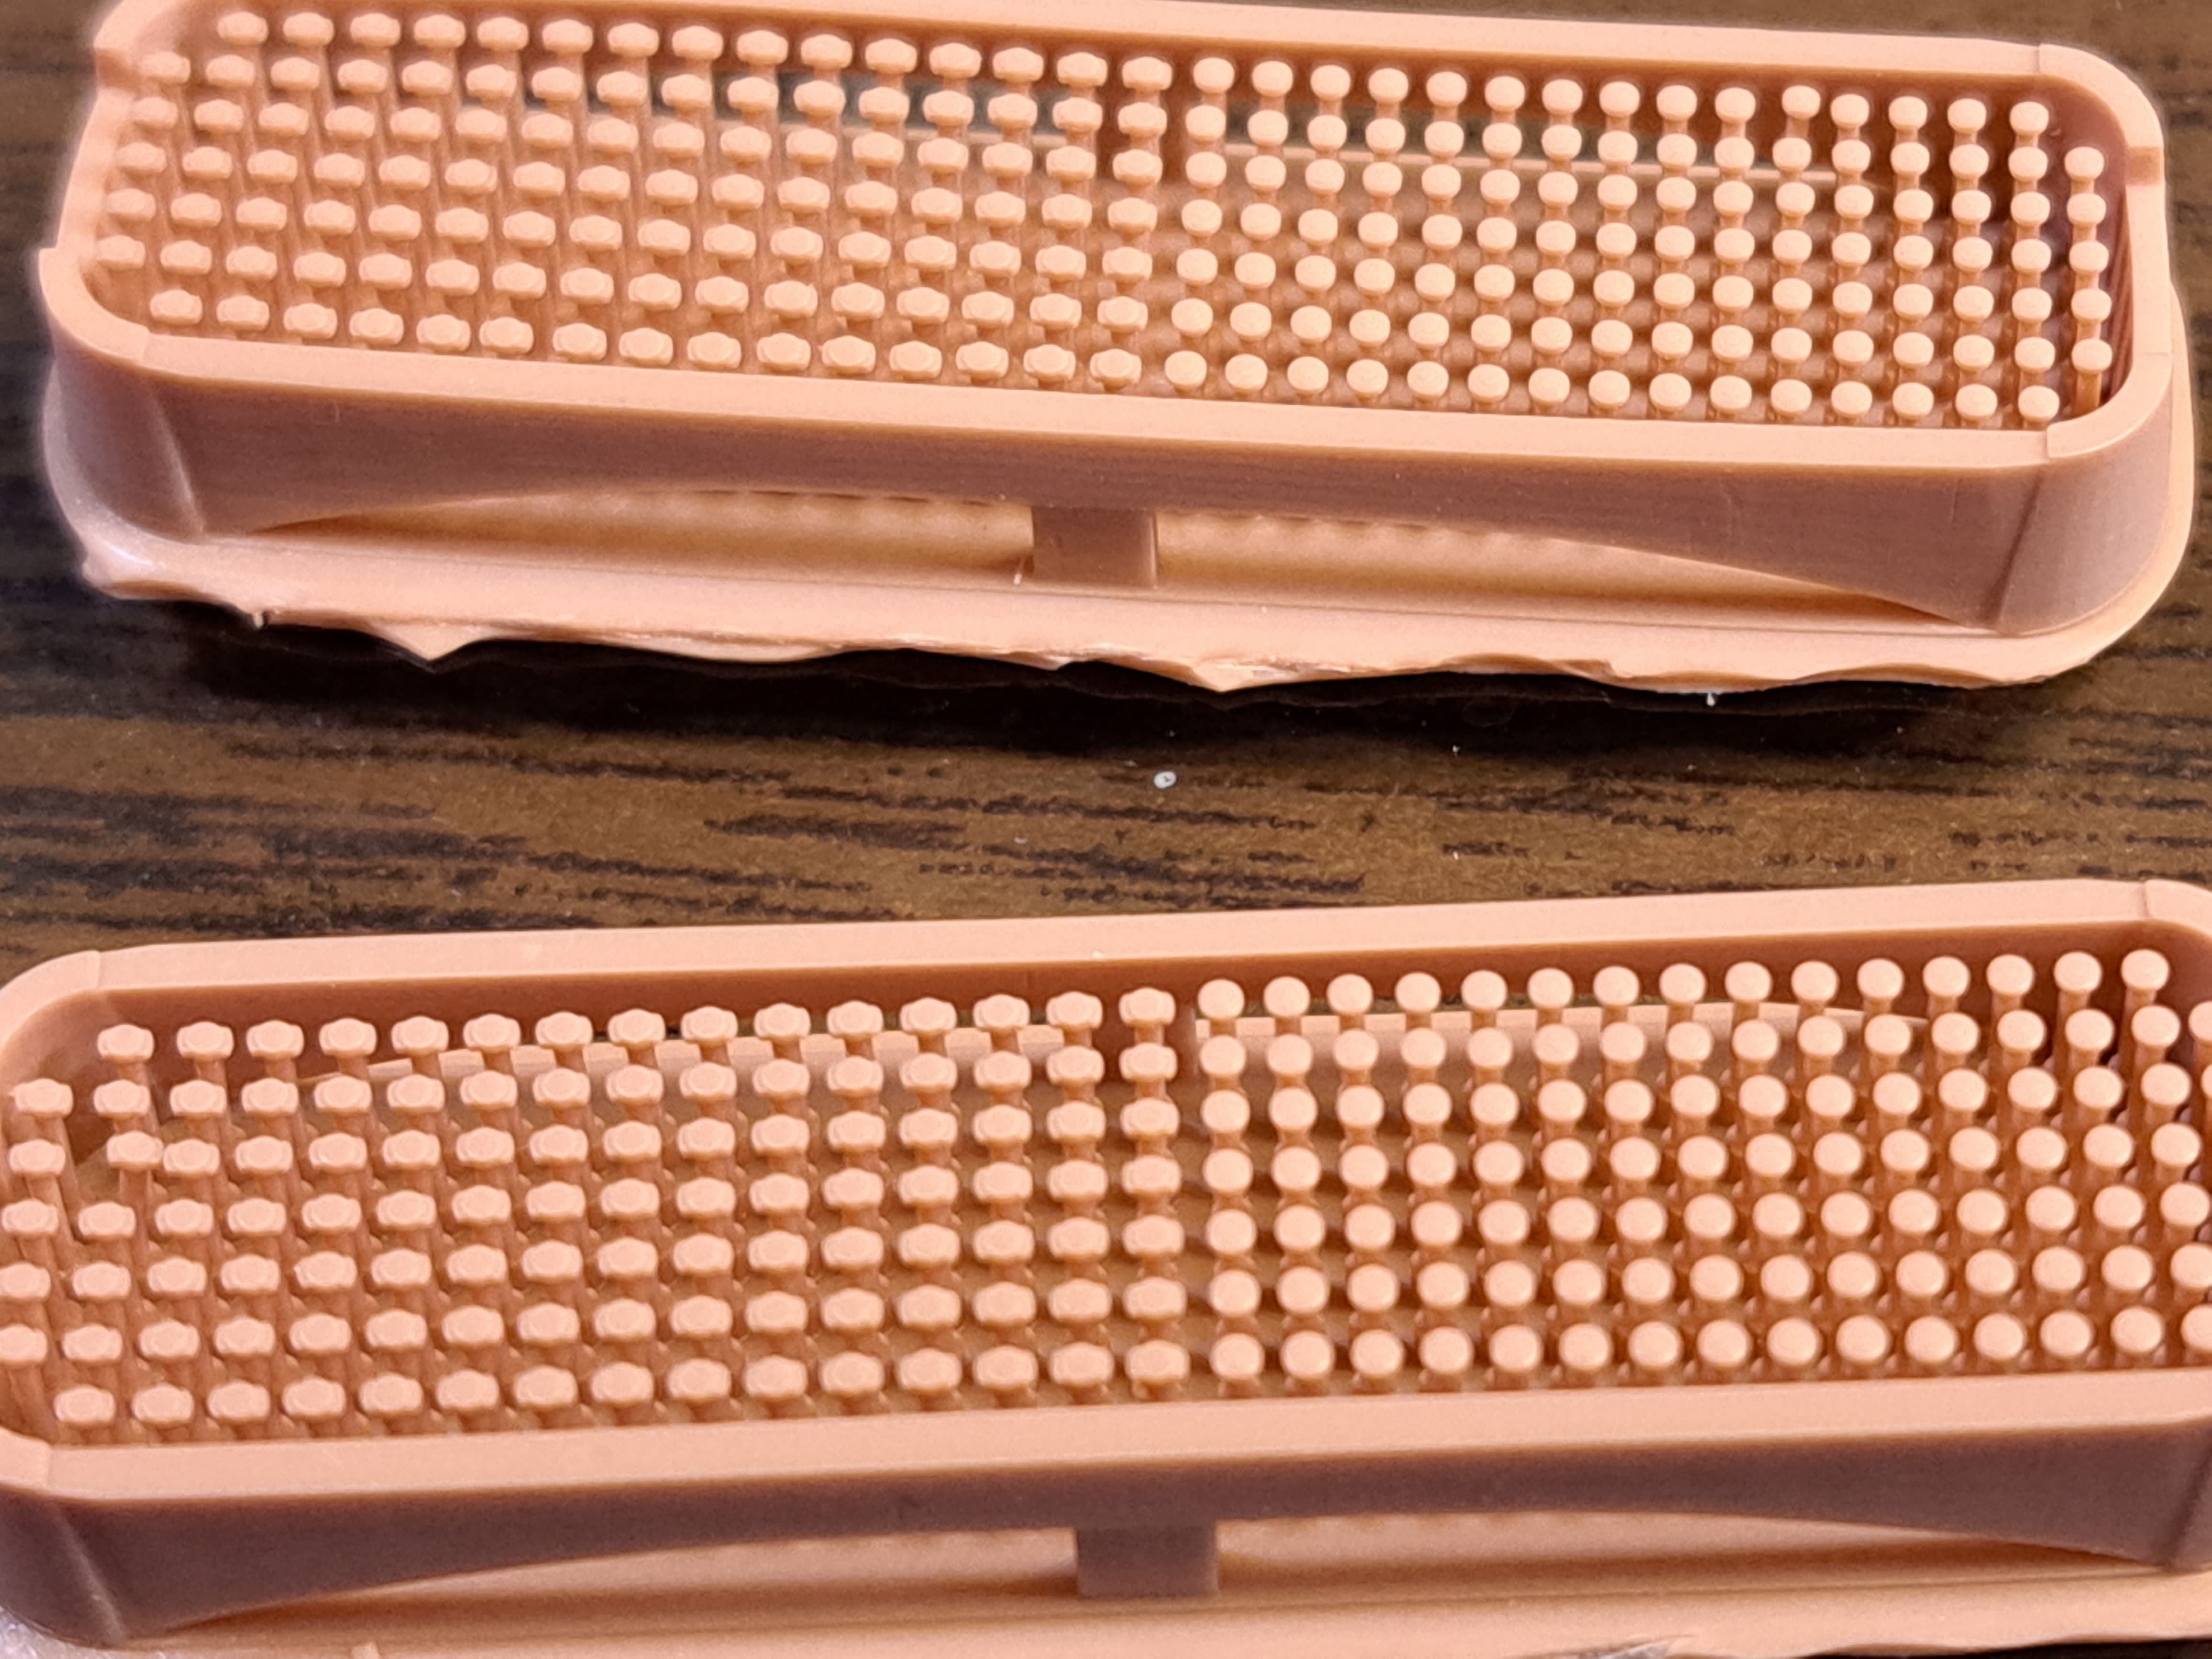
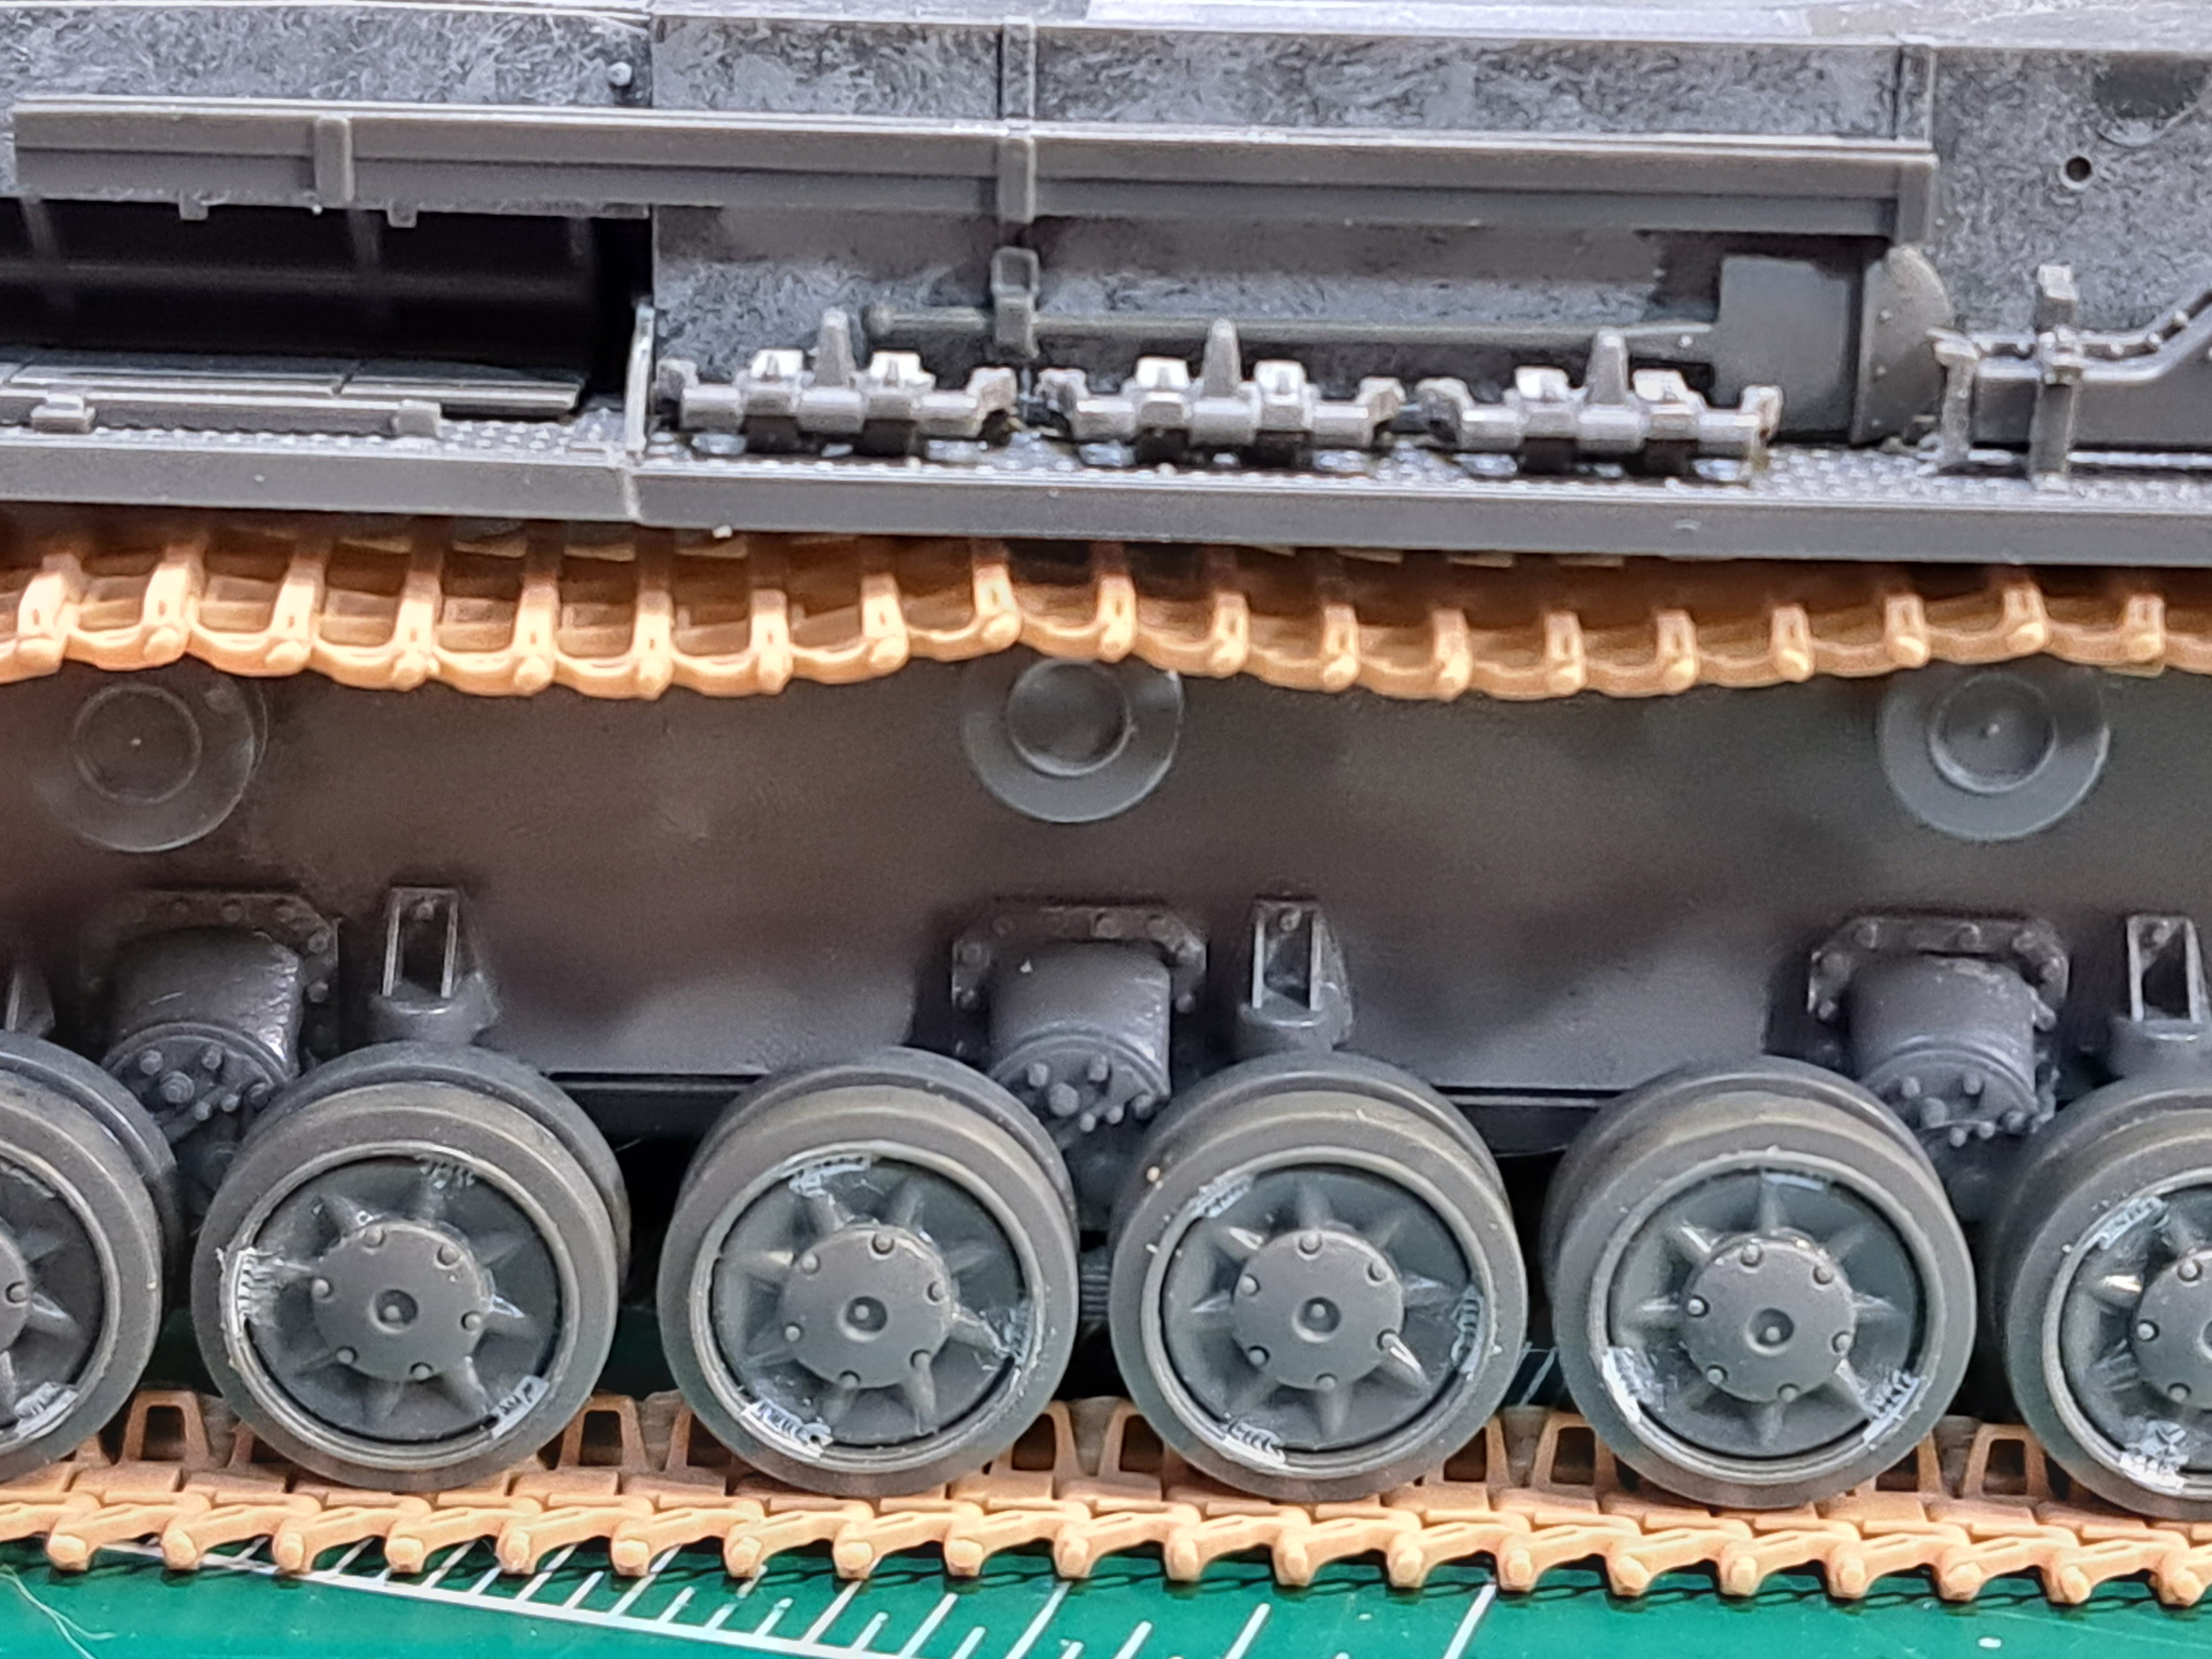
Aftermarket track links arrived! My first adventure with 3D printed track links. These were over stock/surplus at Sprue Brother’s and seemed like a decent deal at ~$33
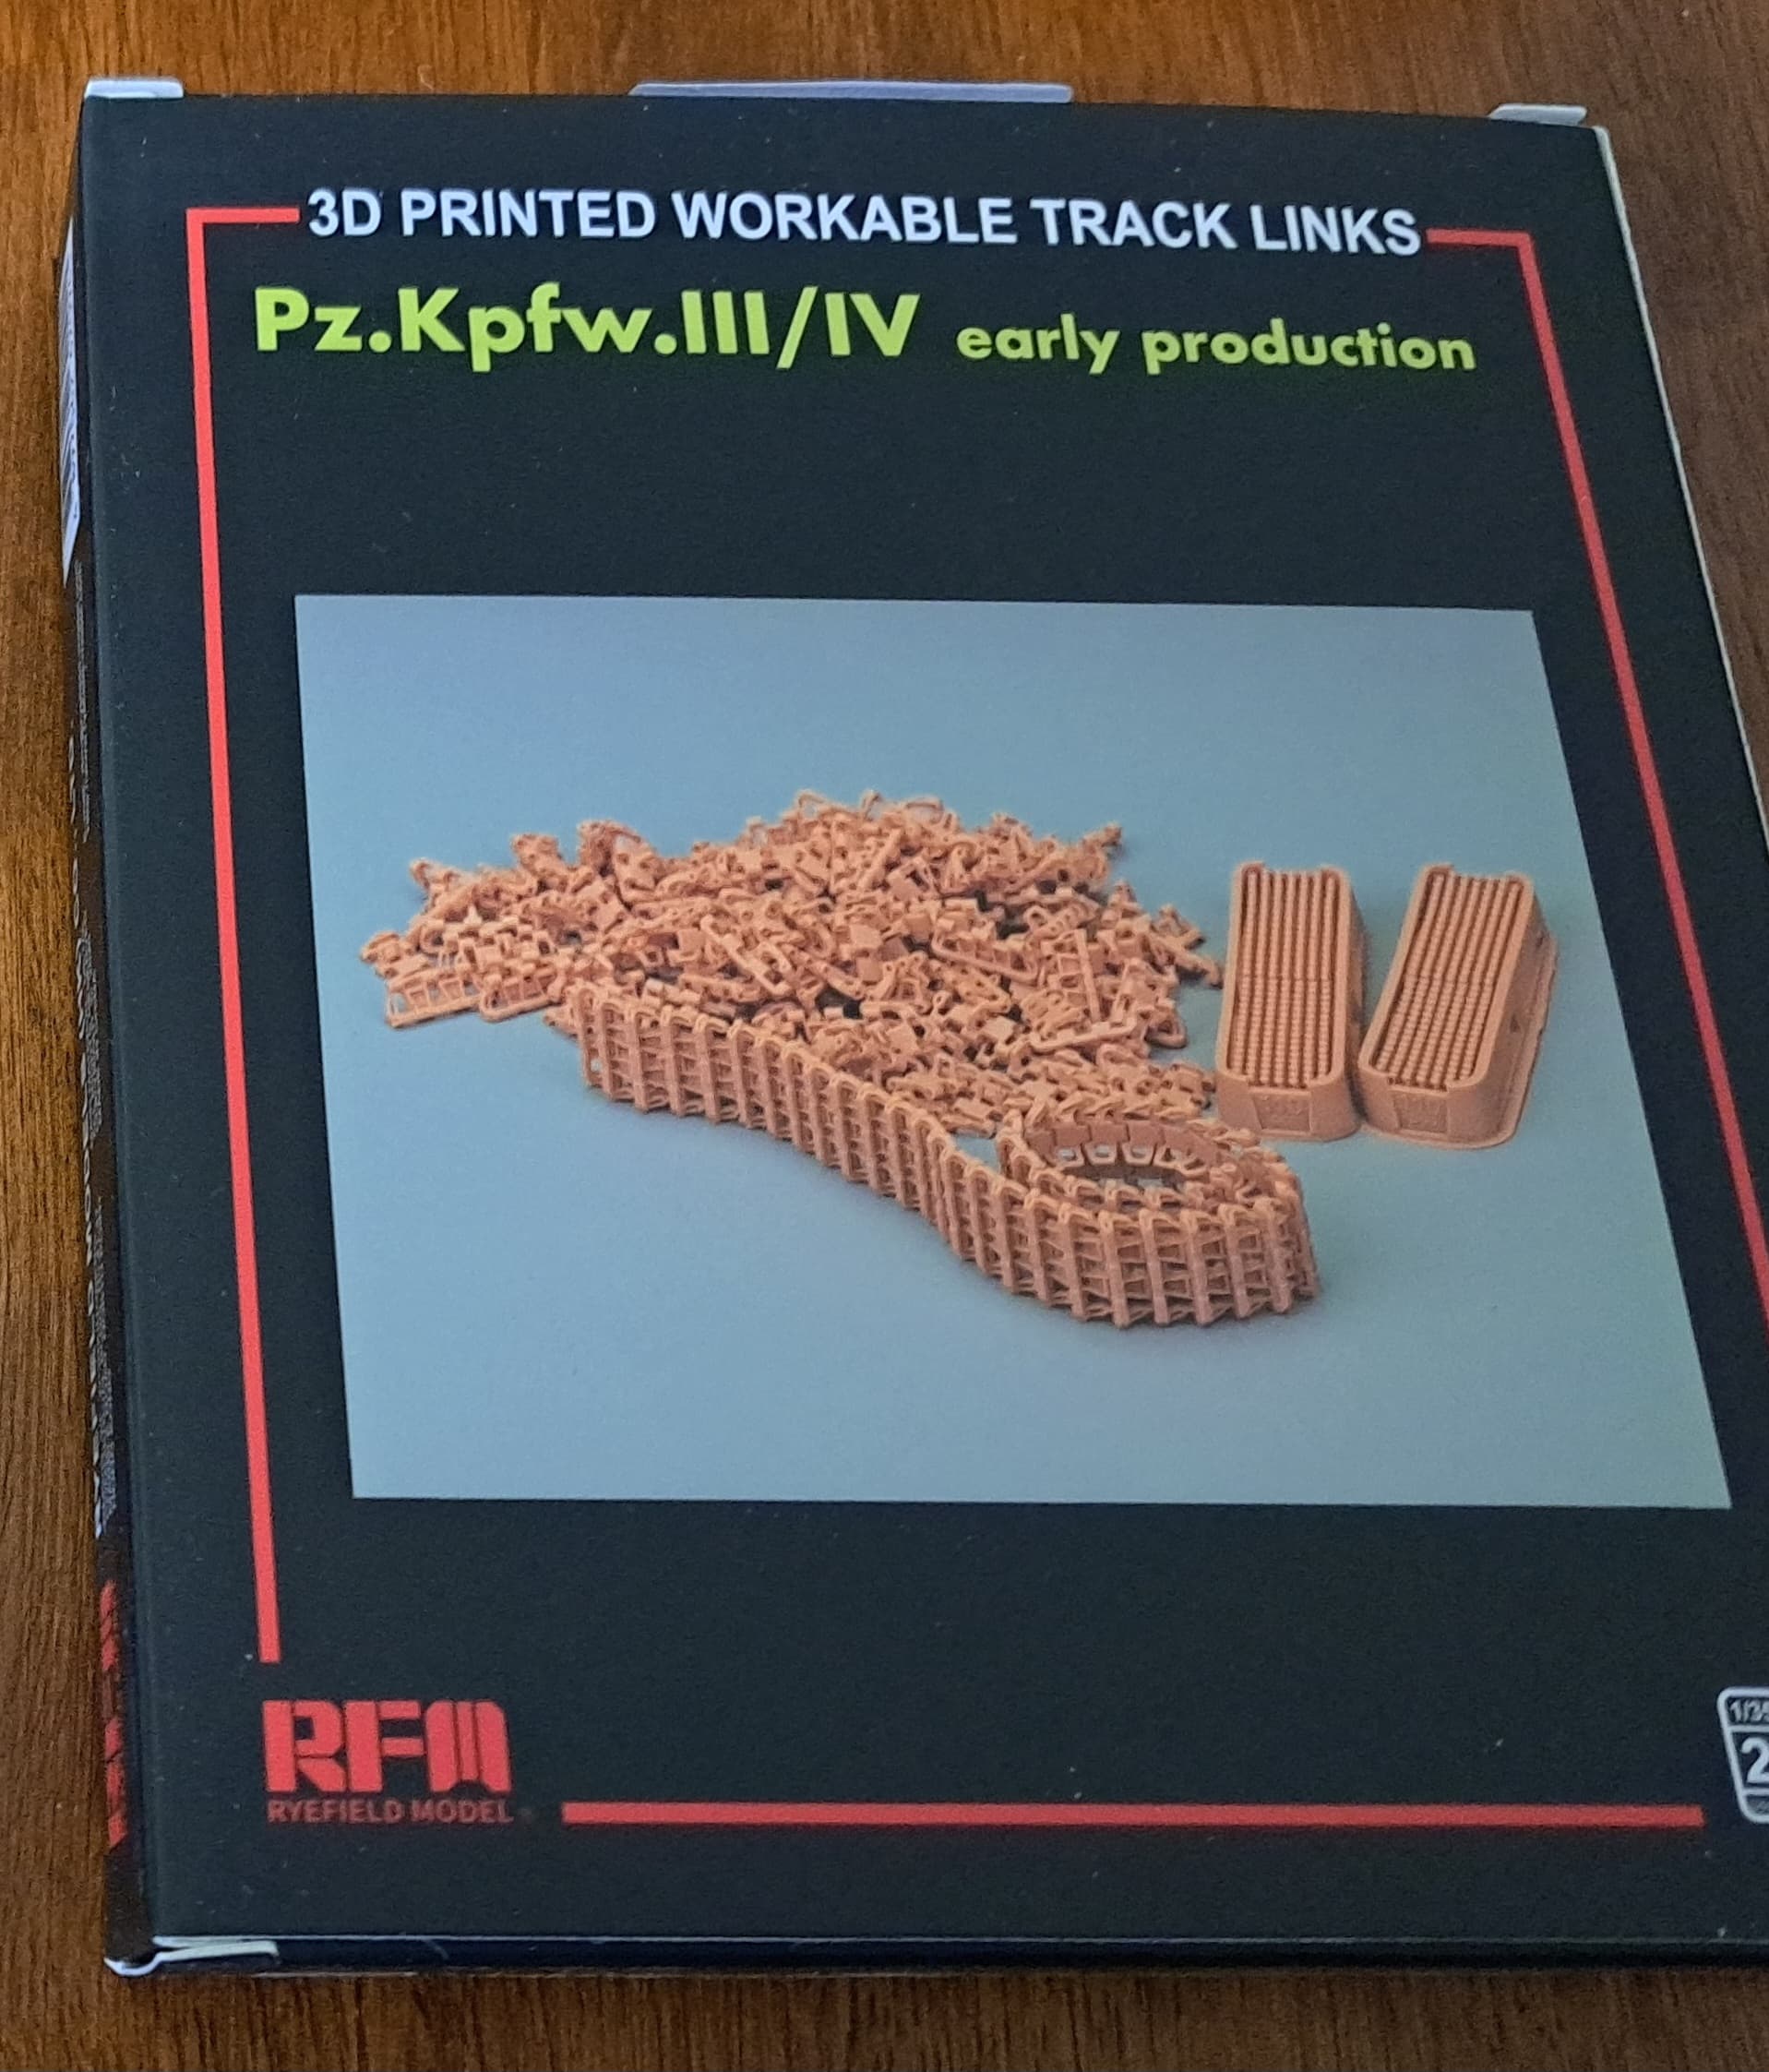
Sample of what’s in the box.
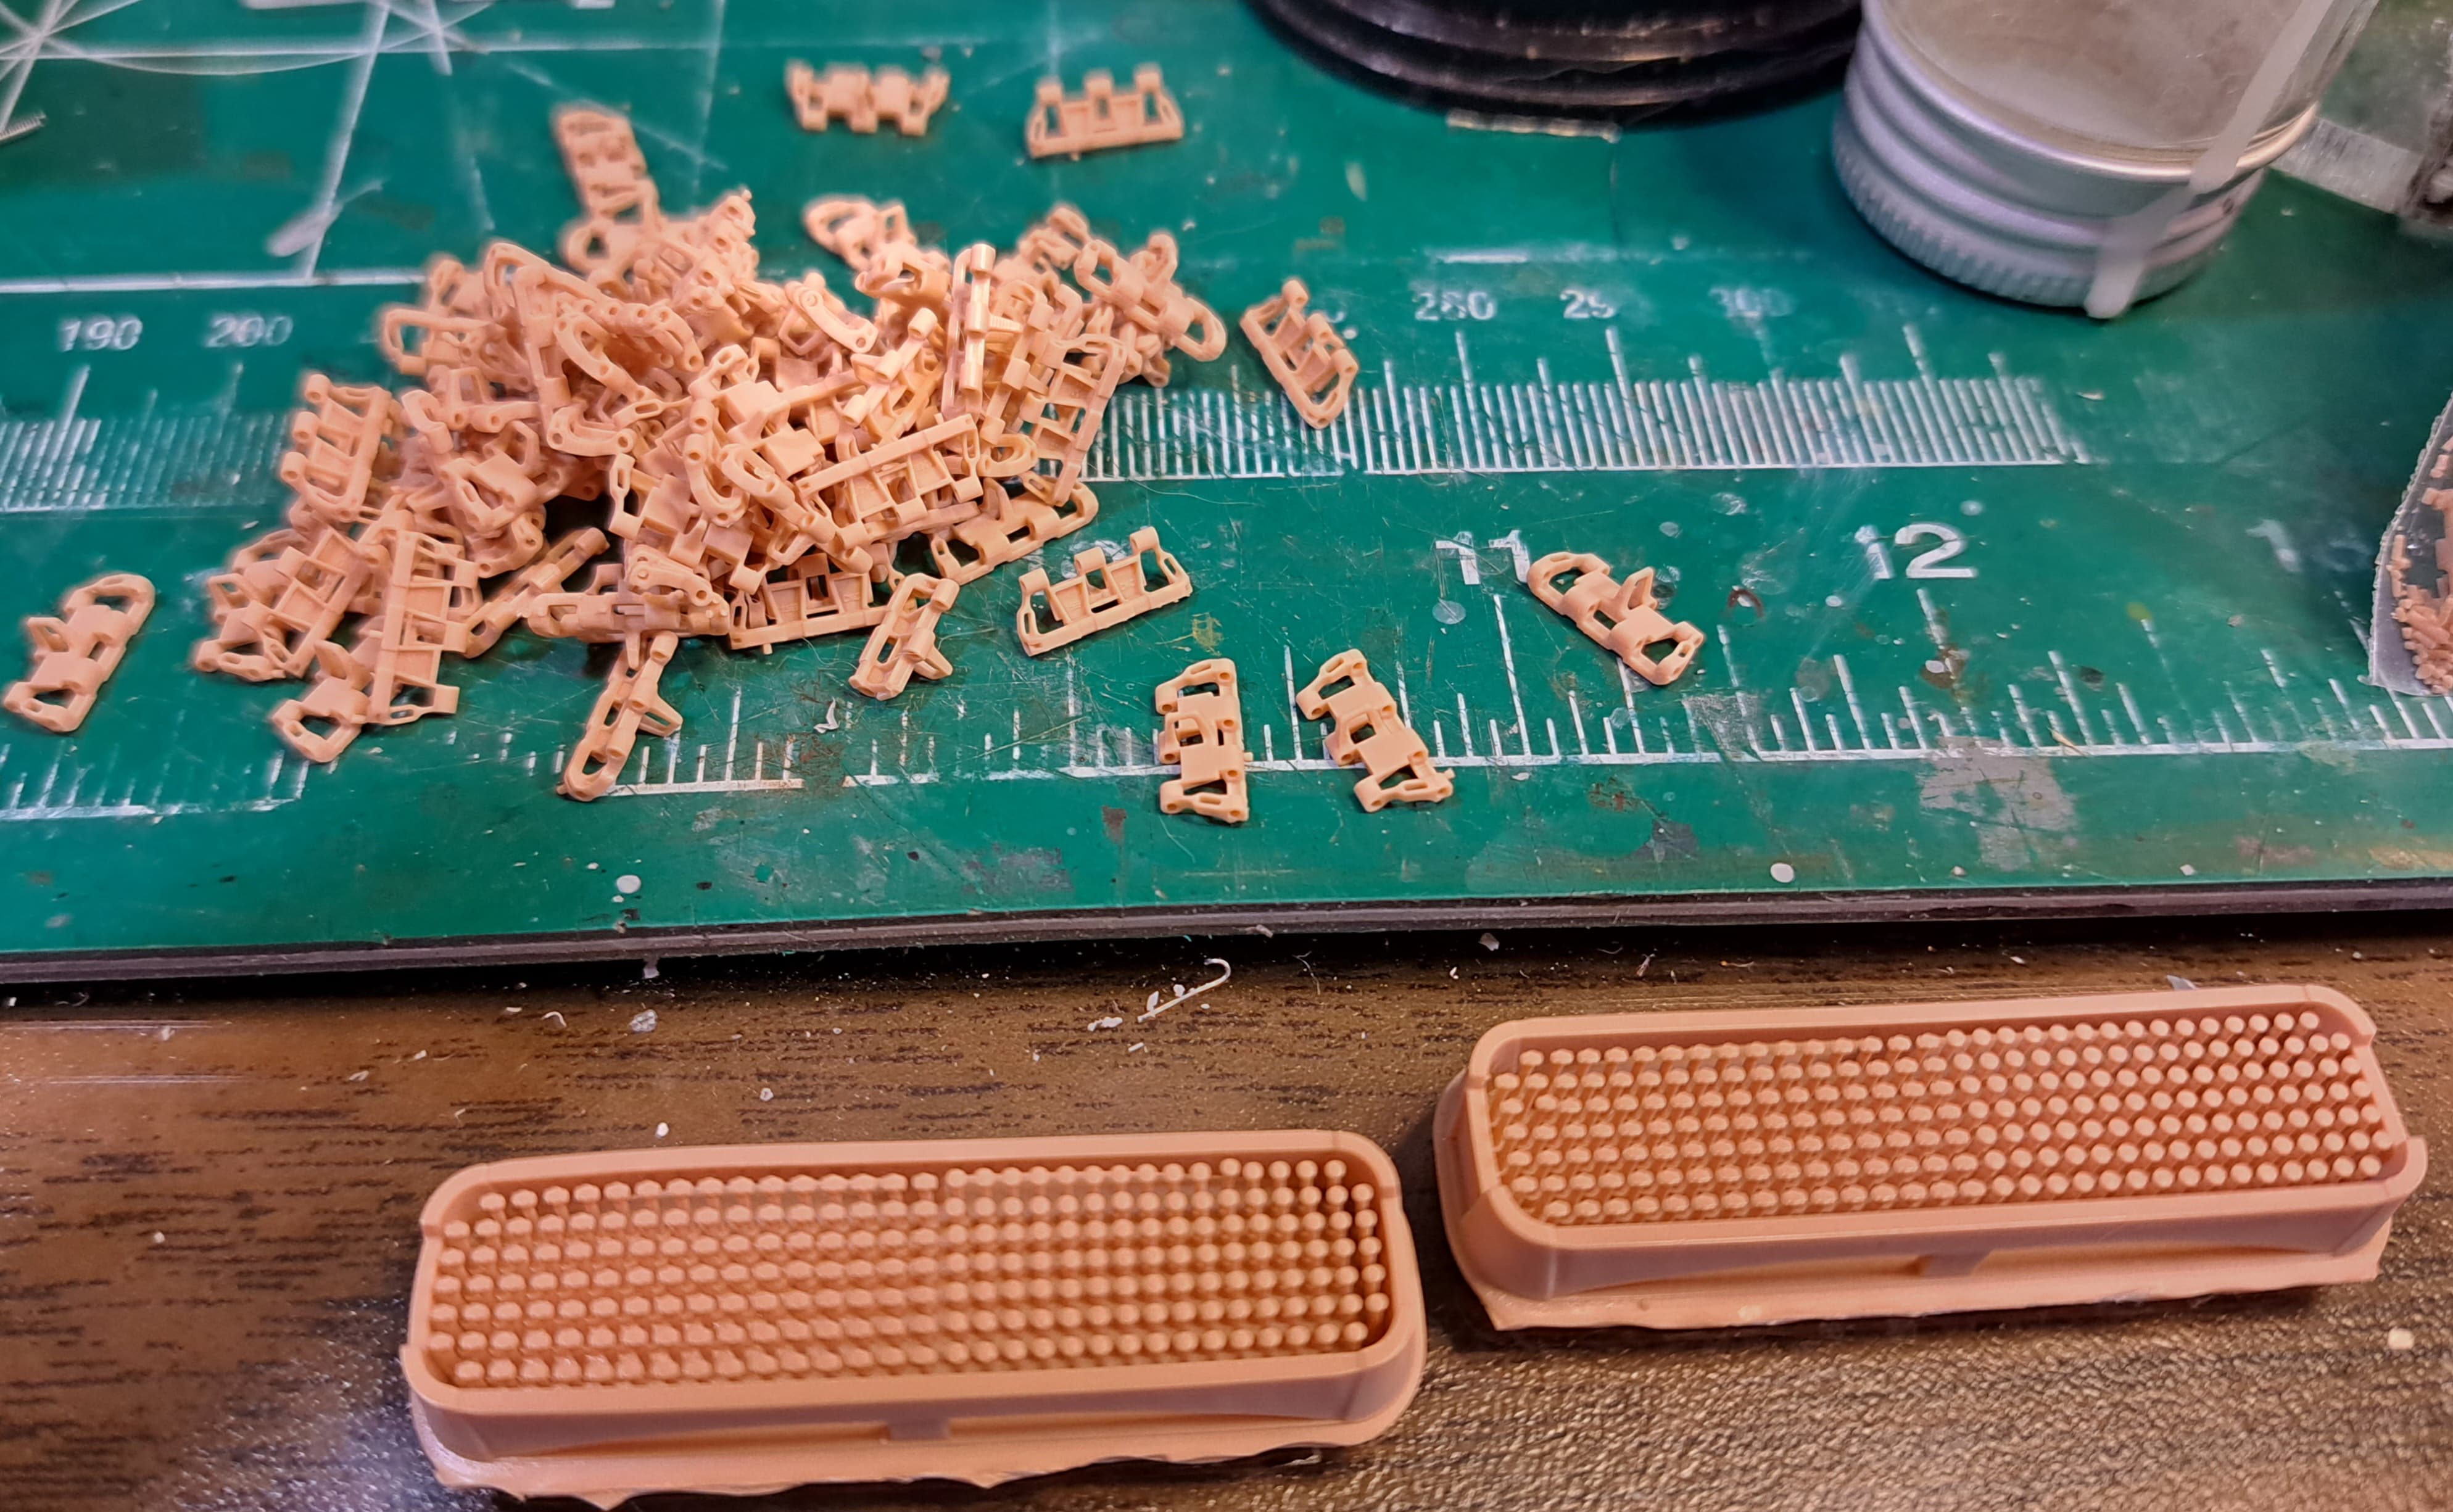
Many links need minor clean up. The artifacts are easily removed.
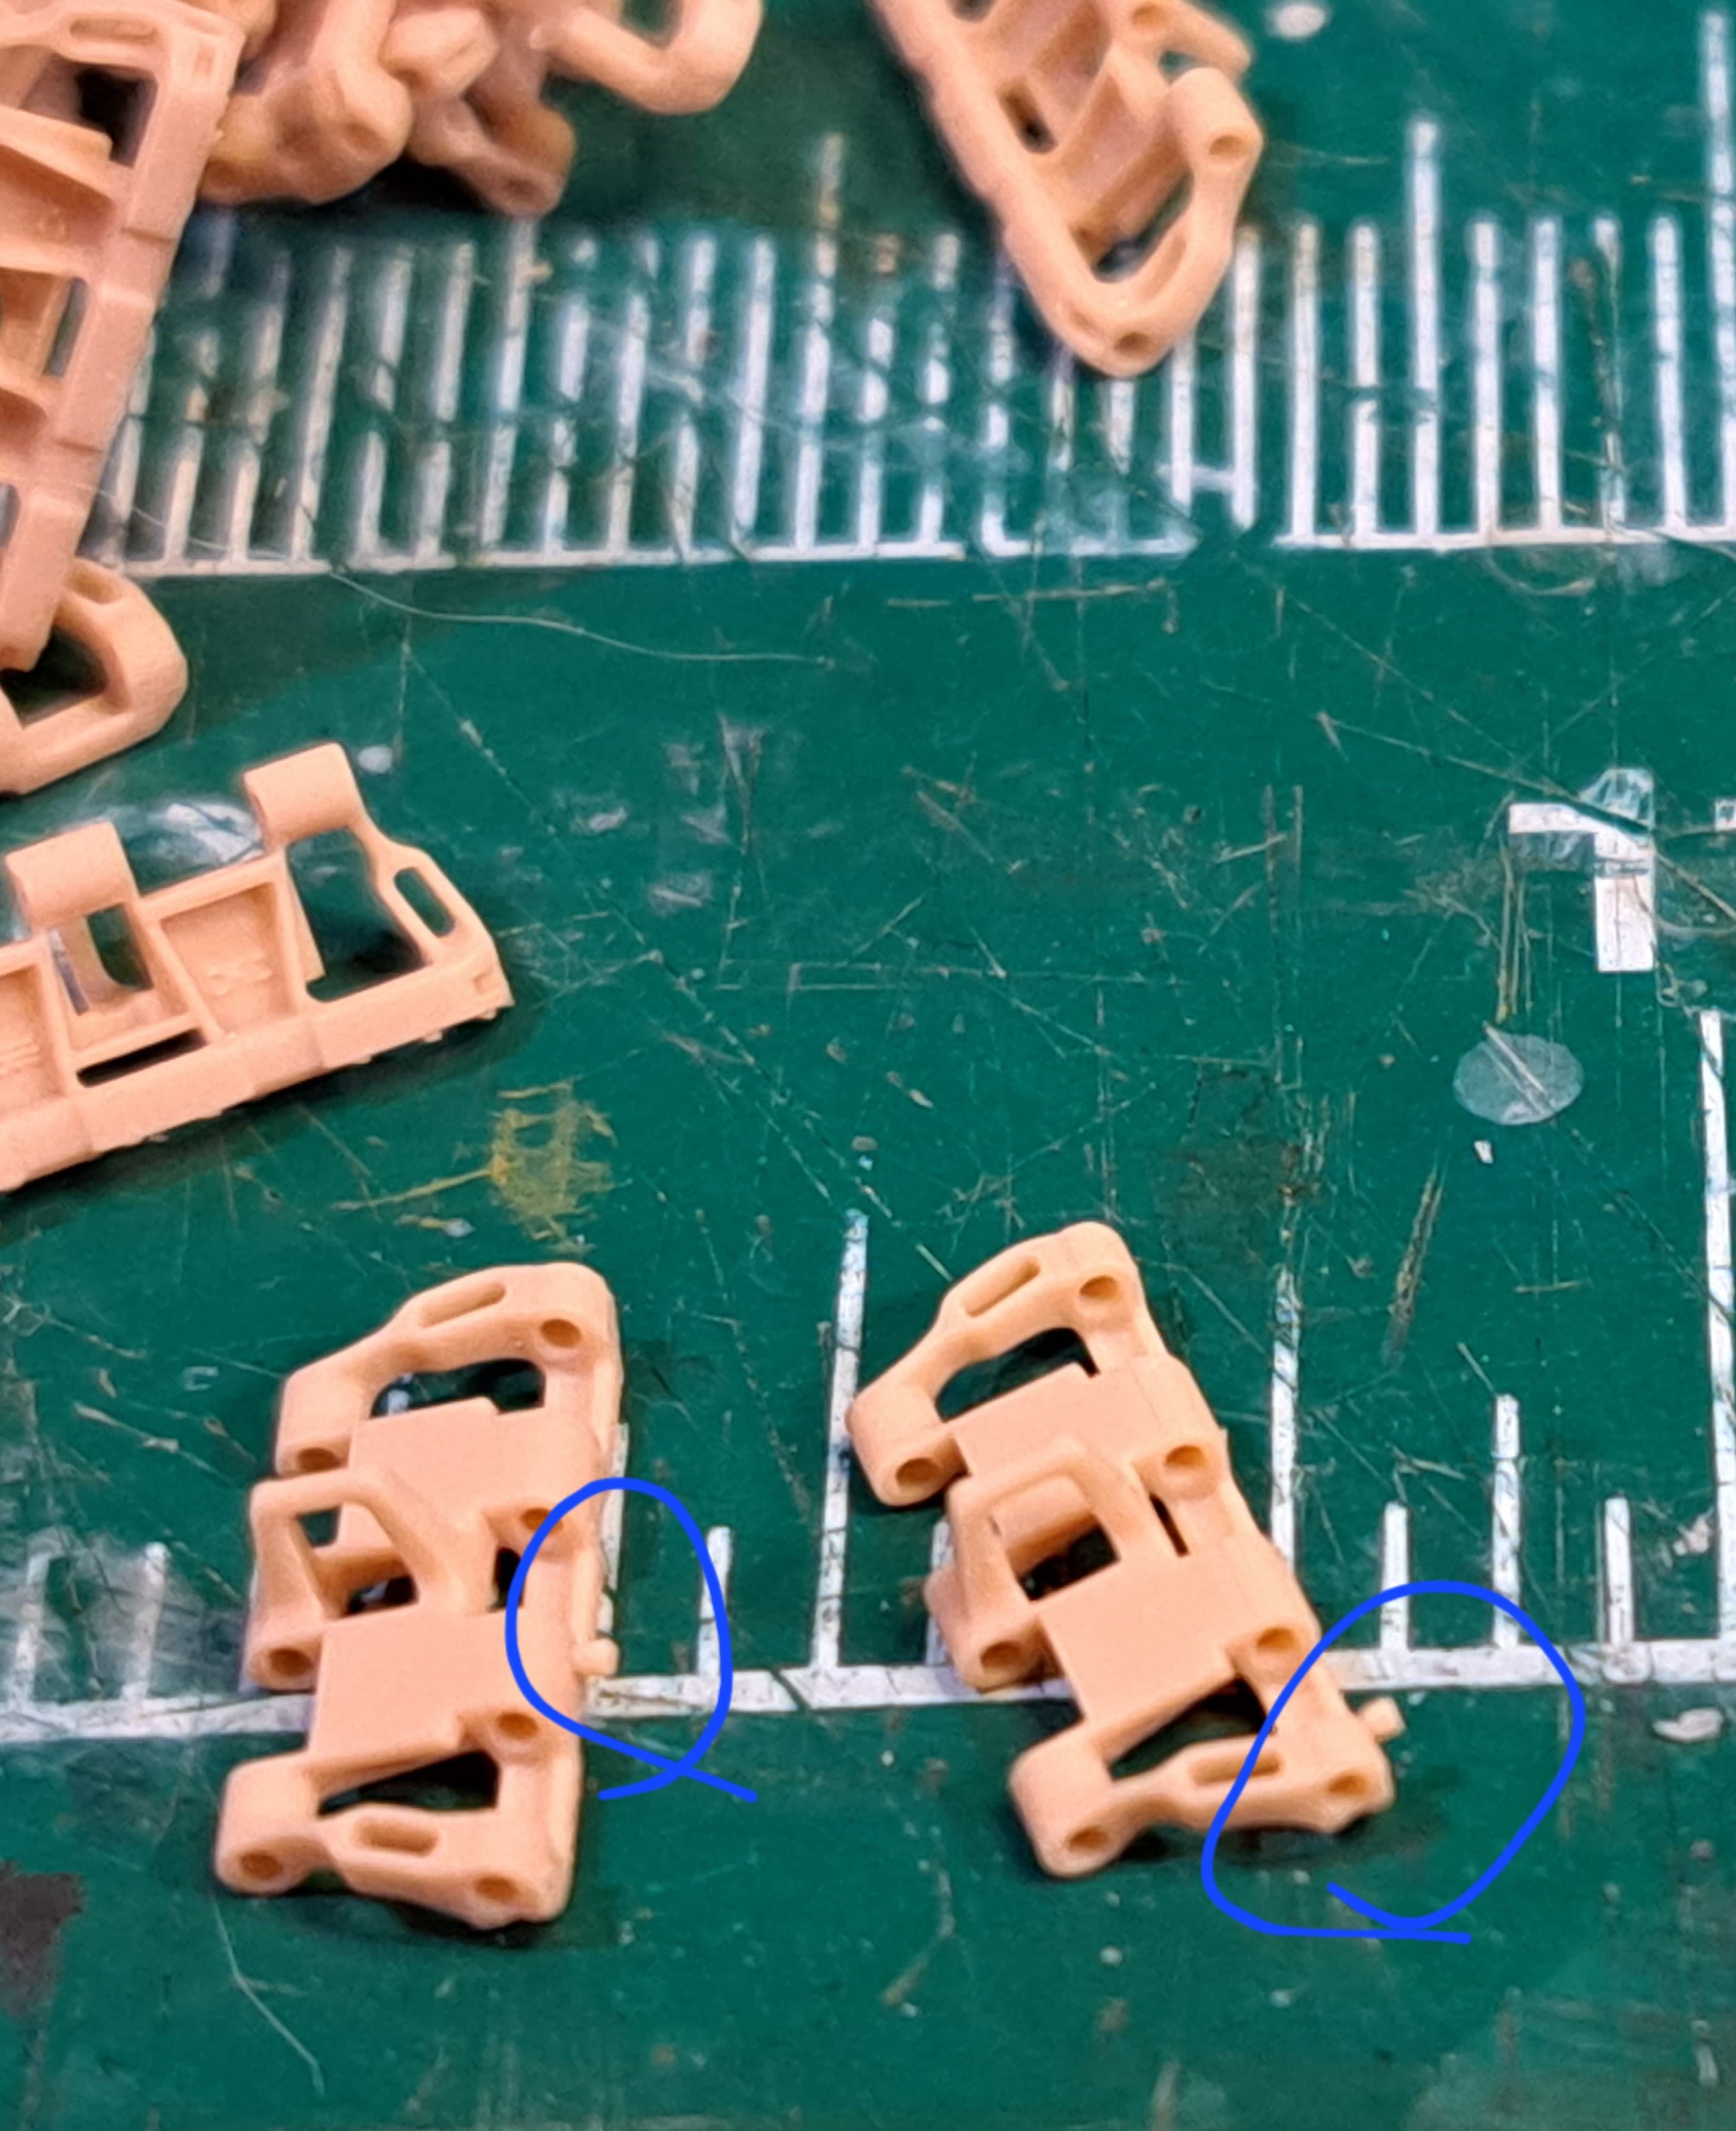
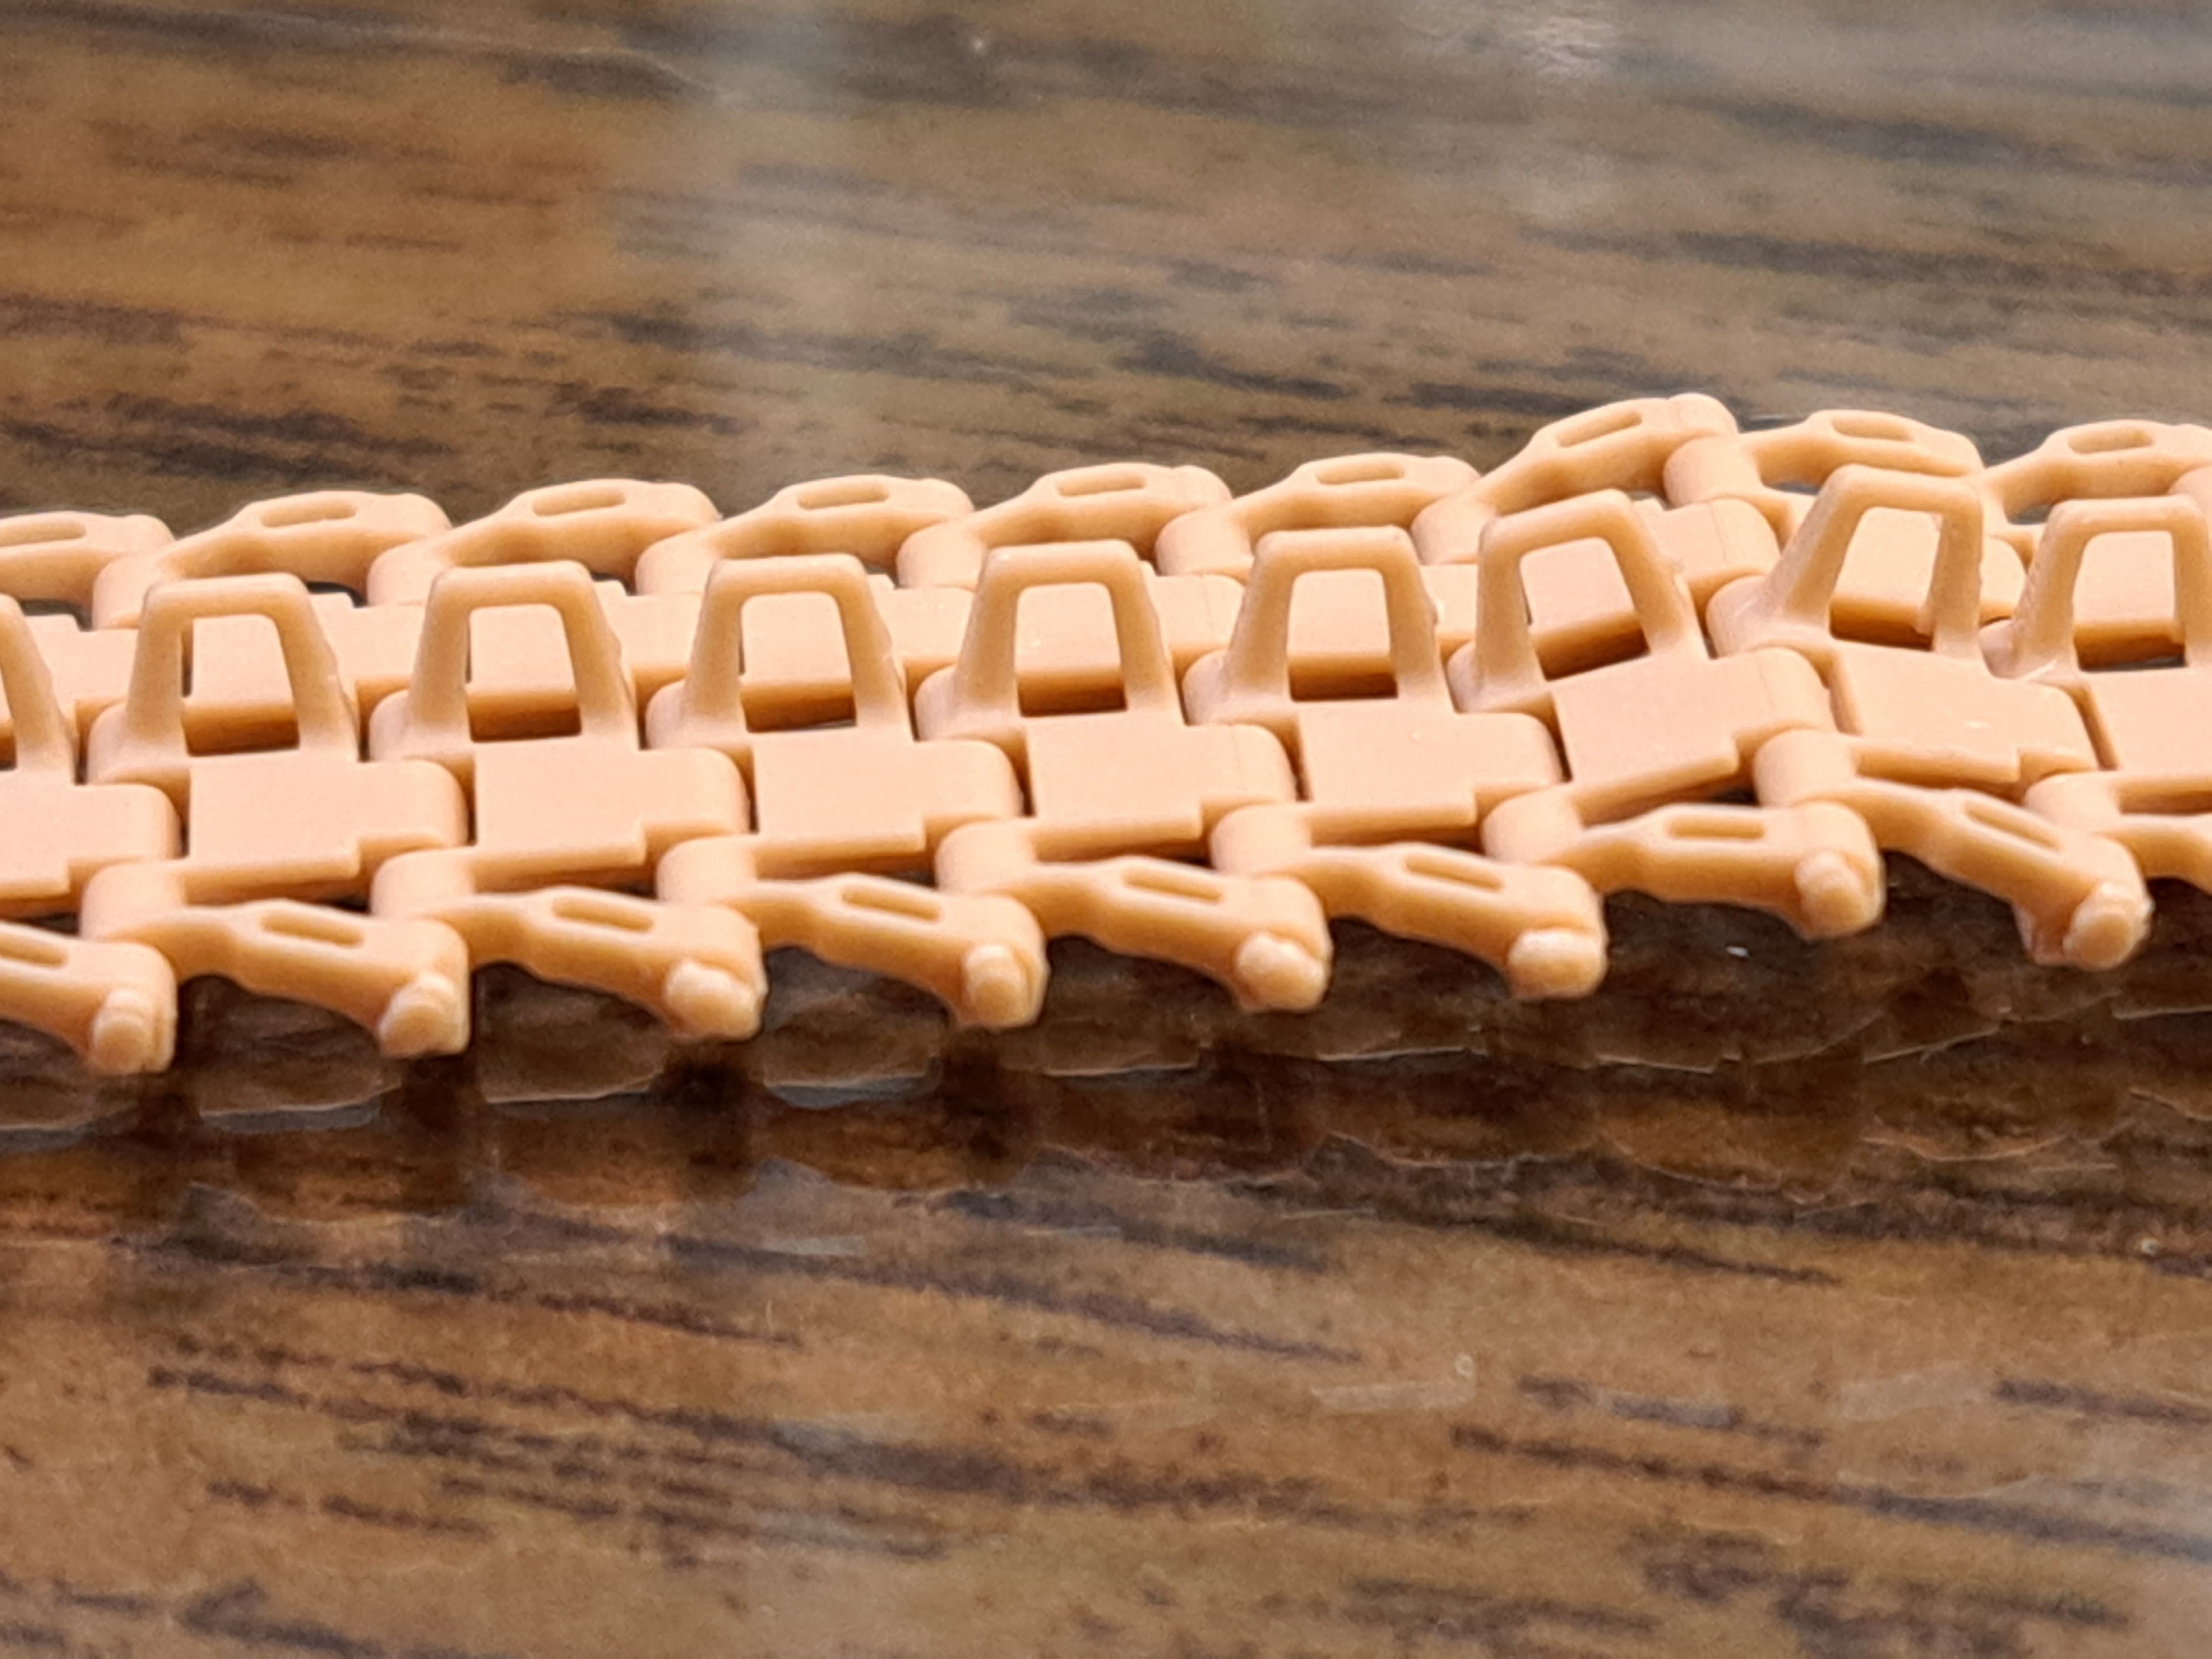
Crisply printed with sharp definition.
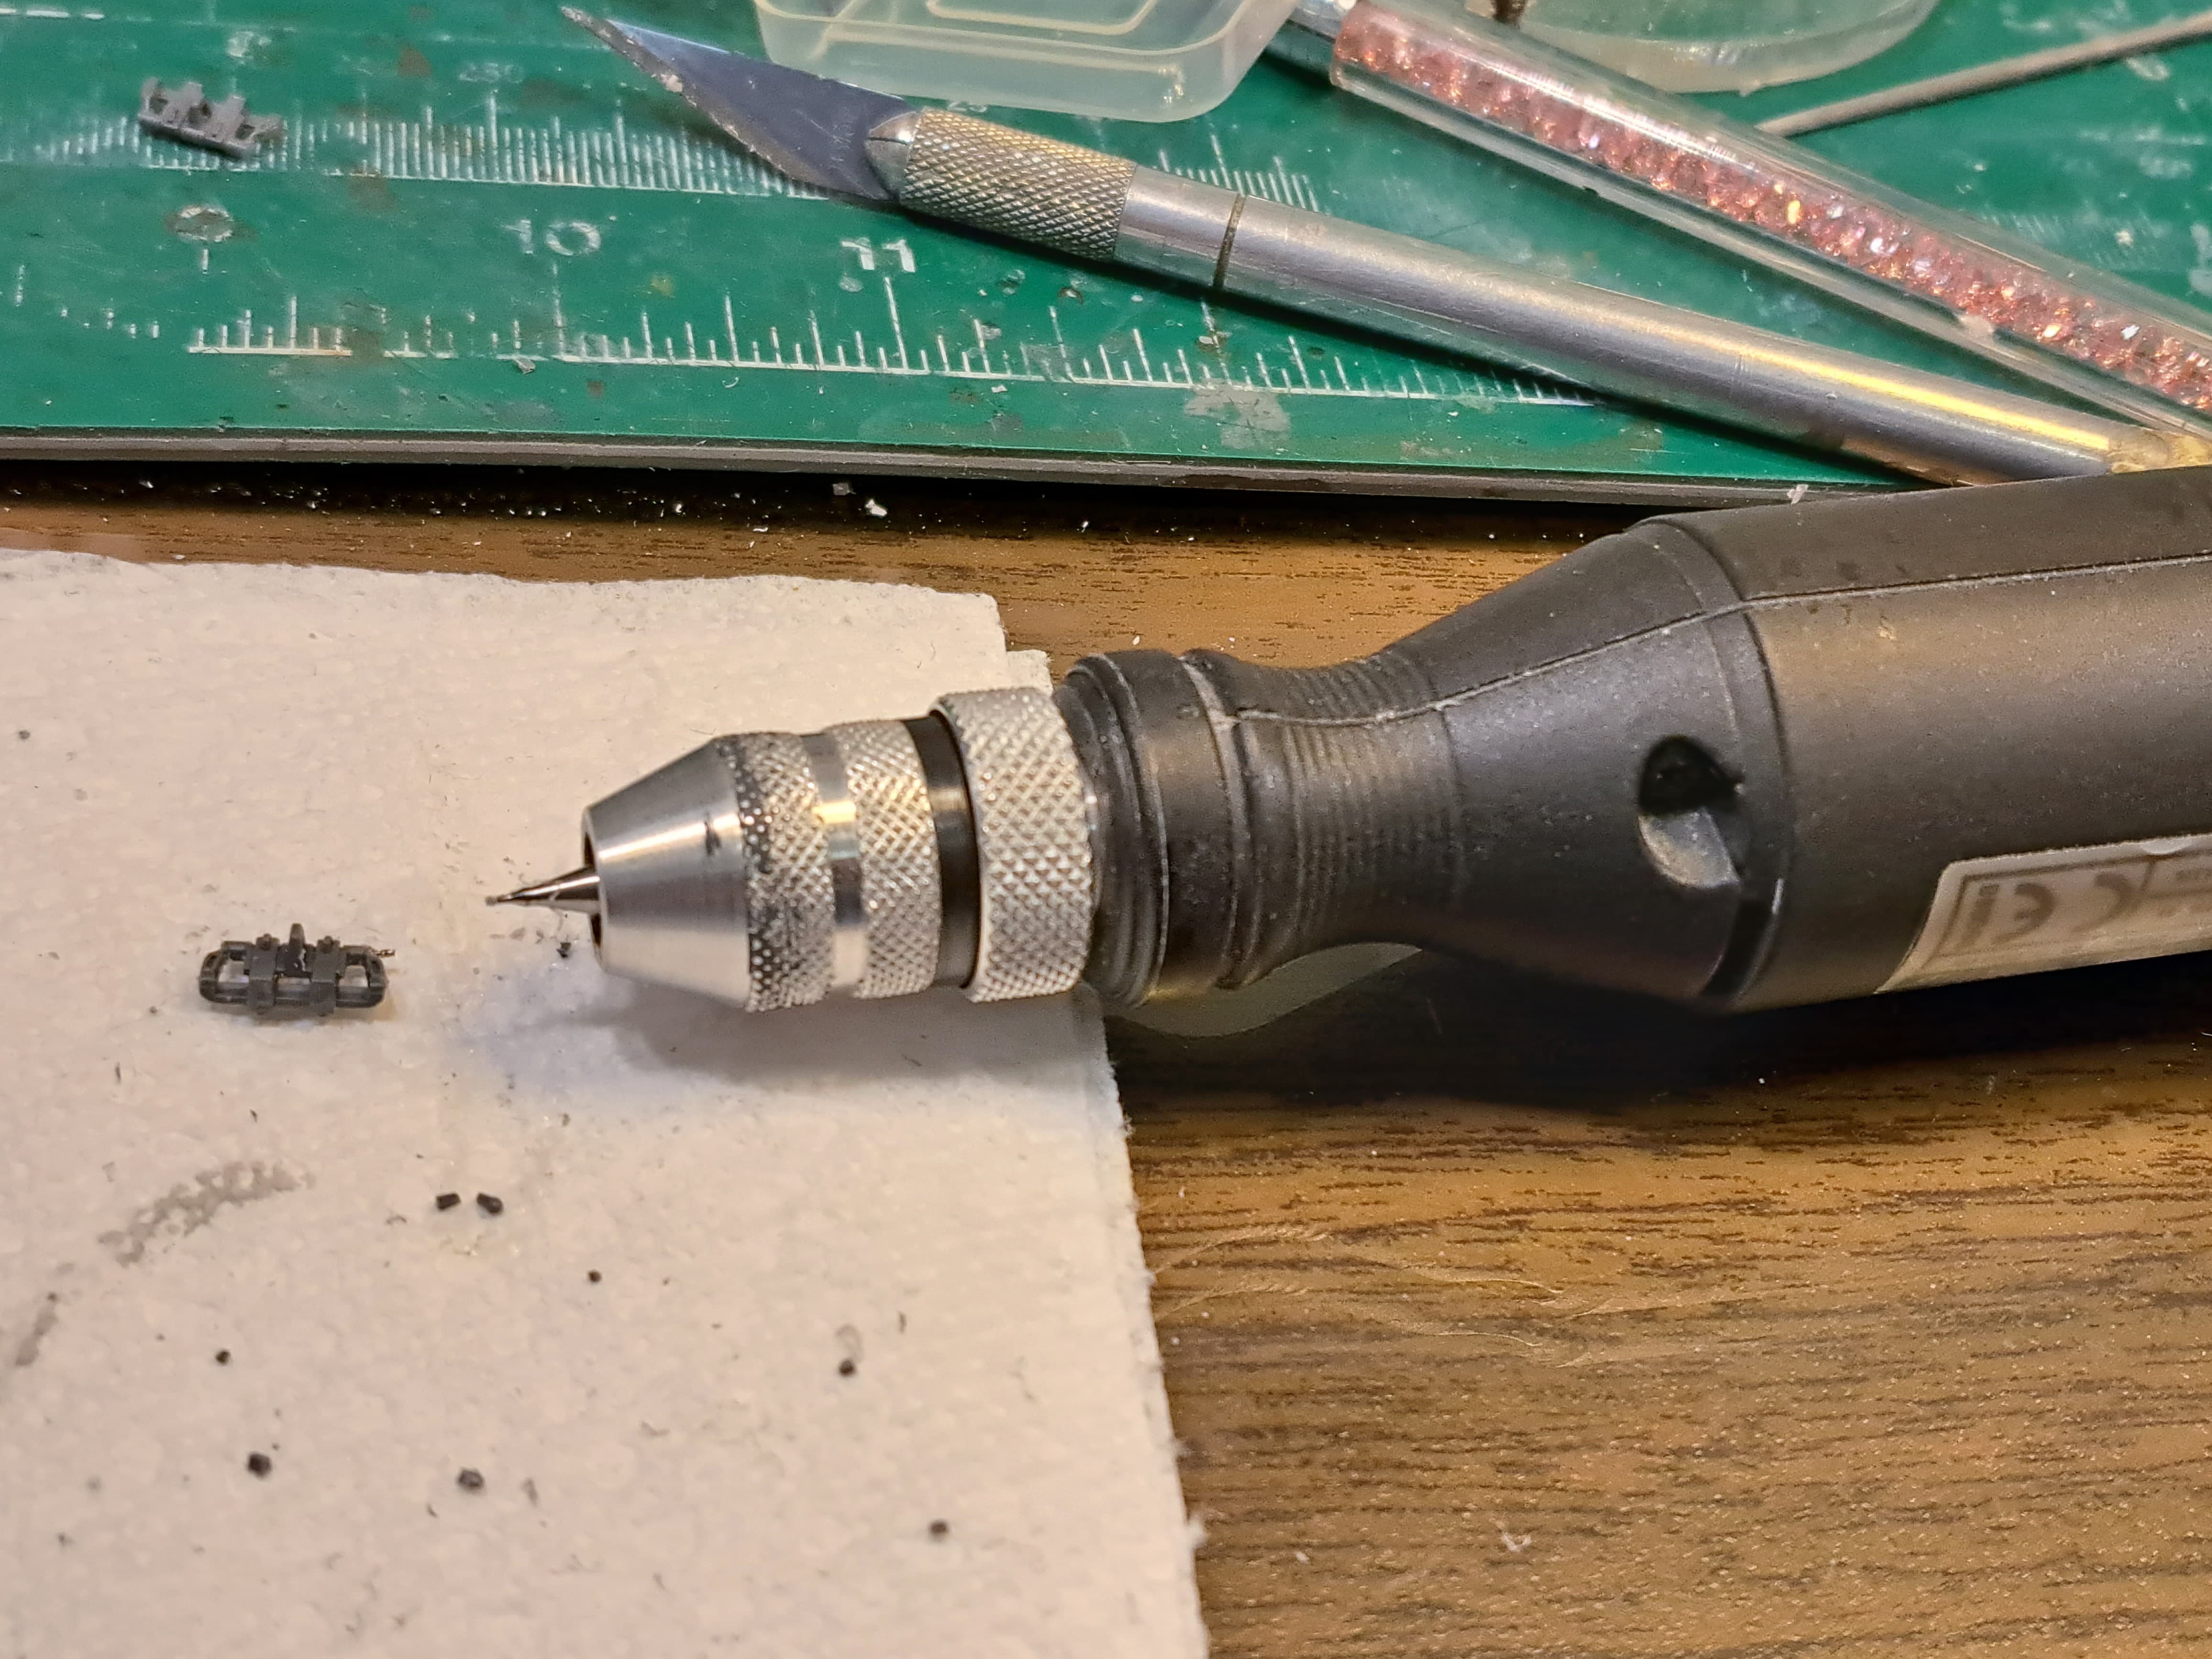
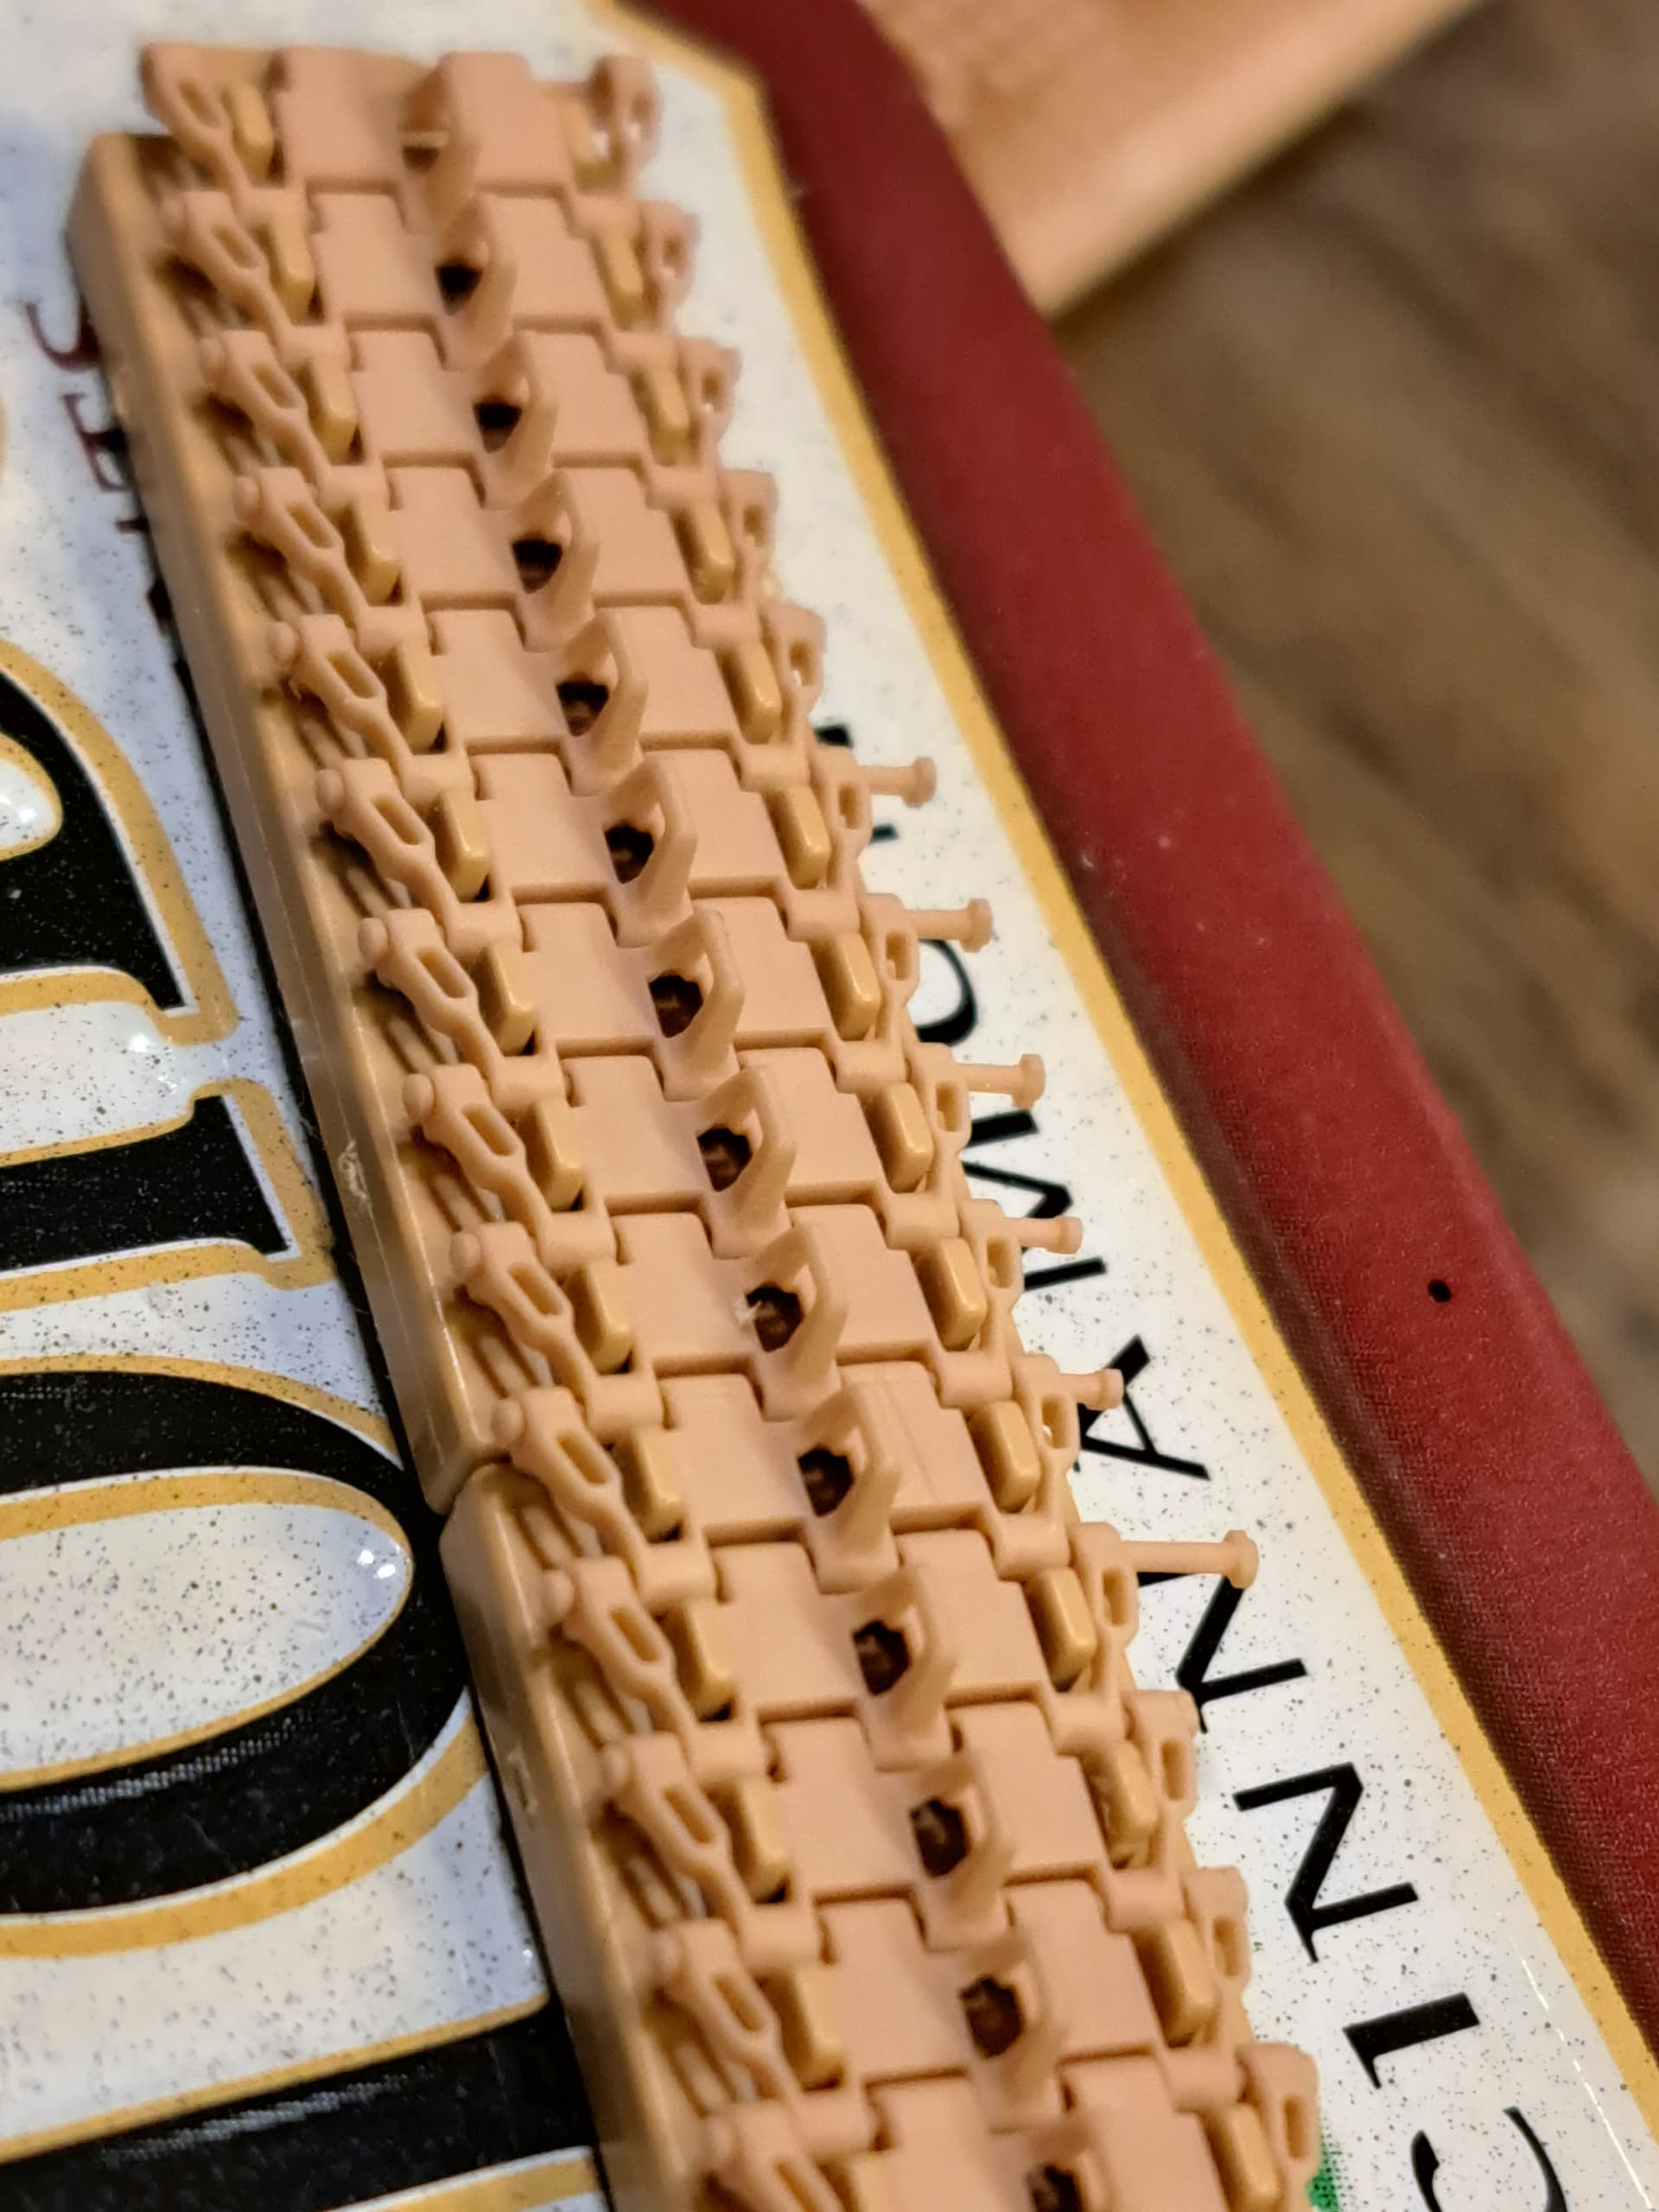
~392 pins to install. Both a track pin head is provided and the cotter pin end.
Used the RFM Pz III/Pz IV plastic track jig from other projects to help facilitate assembly of the 3D links. Quickly discovered the pin fit is very loose and sloppy. These aren’t even remotely close to a friction fit or click fit.
Definitely understandable why they were on clearance
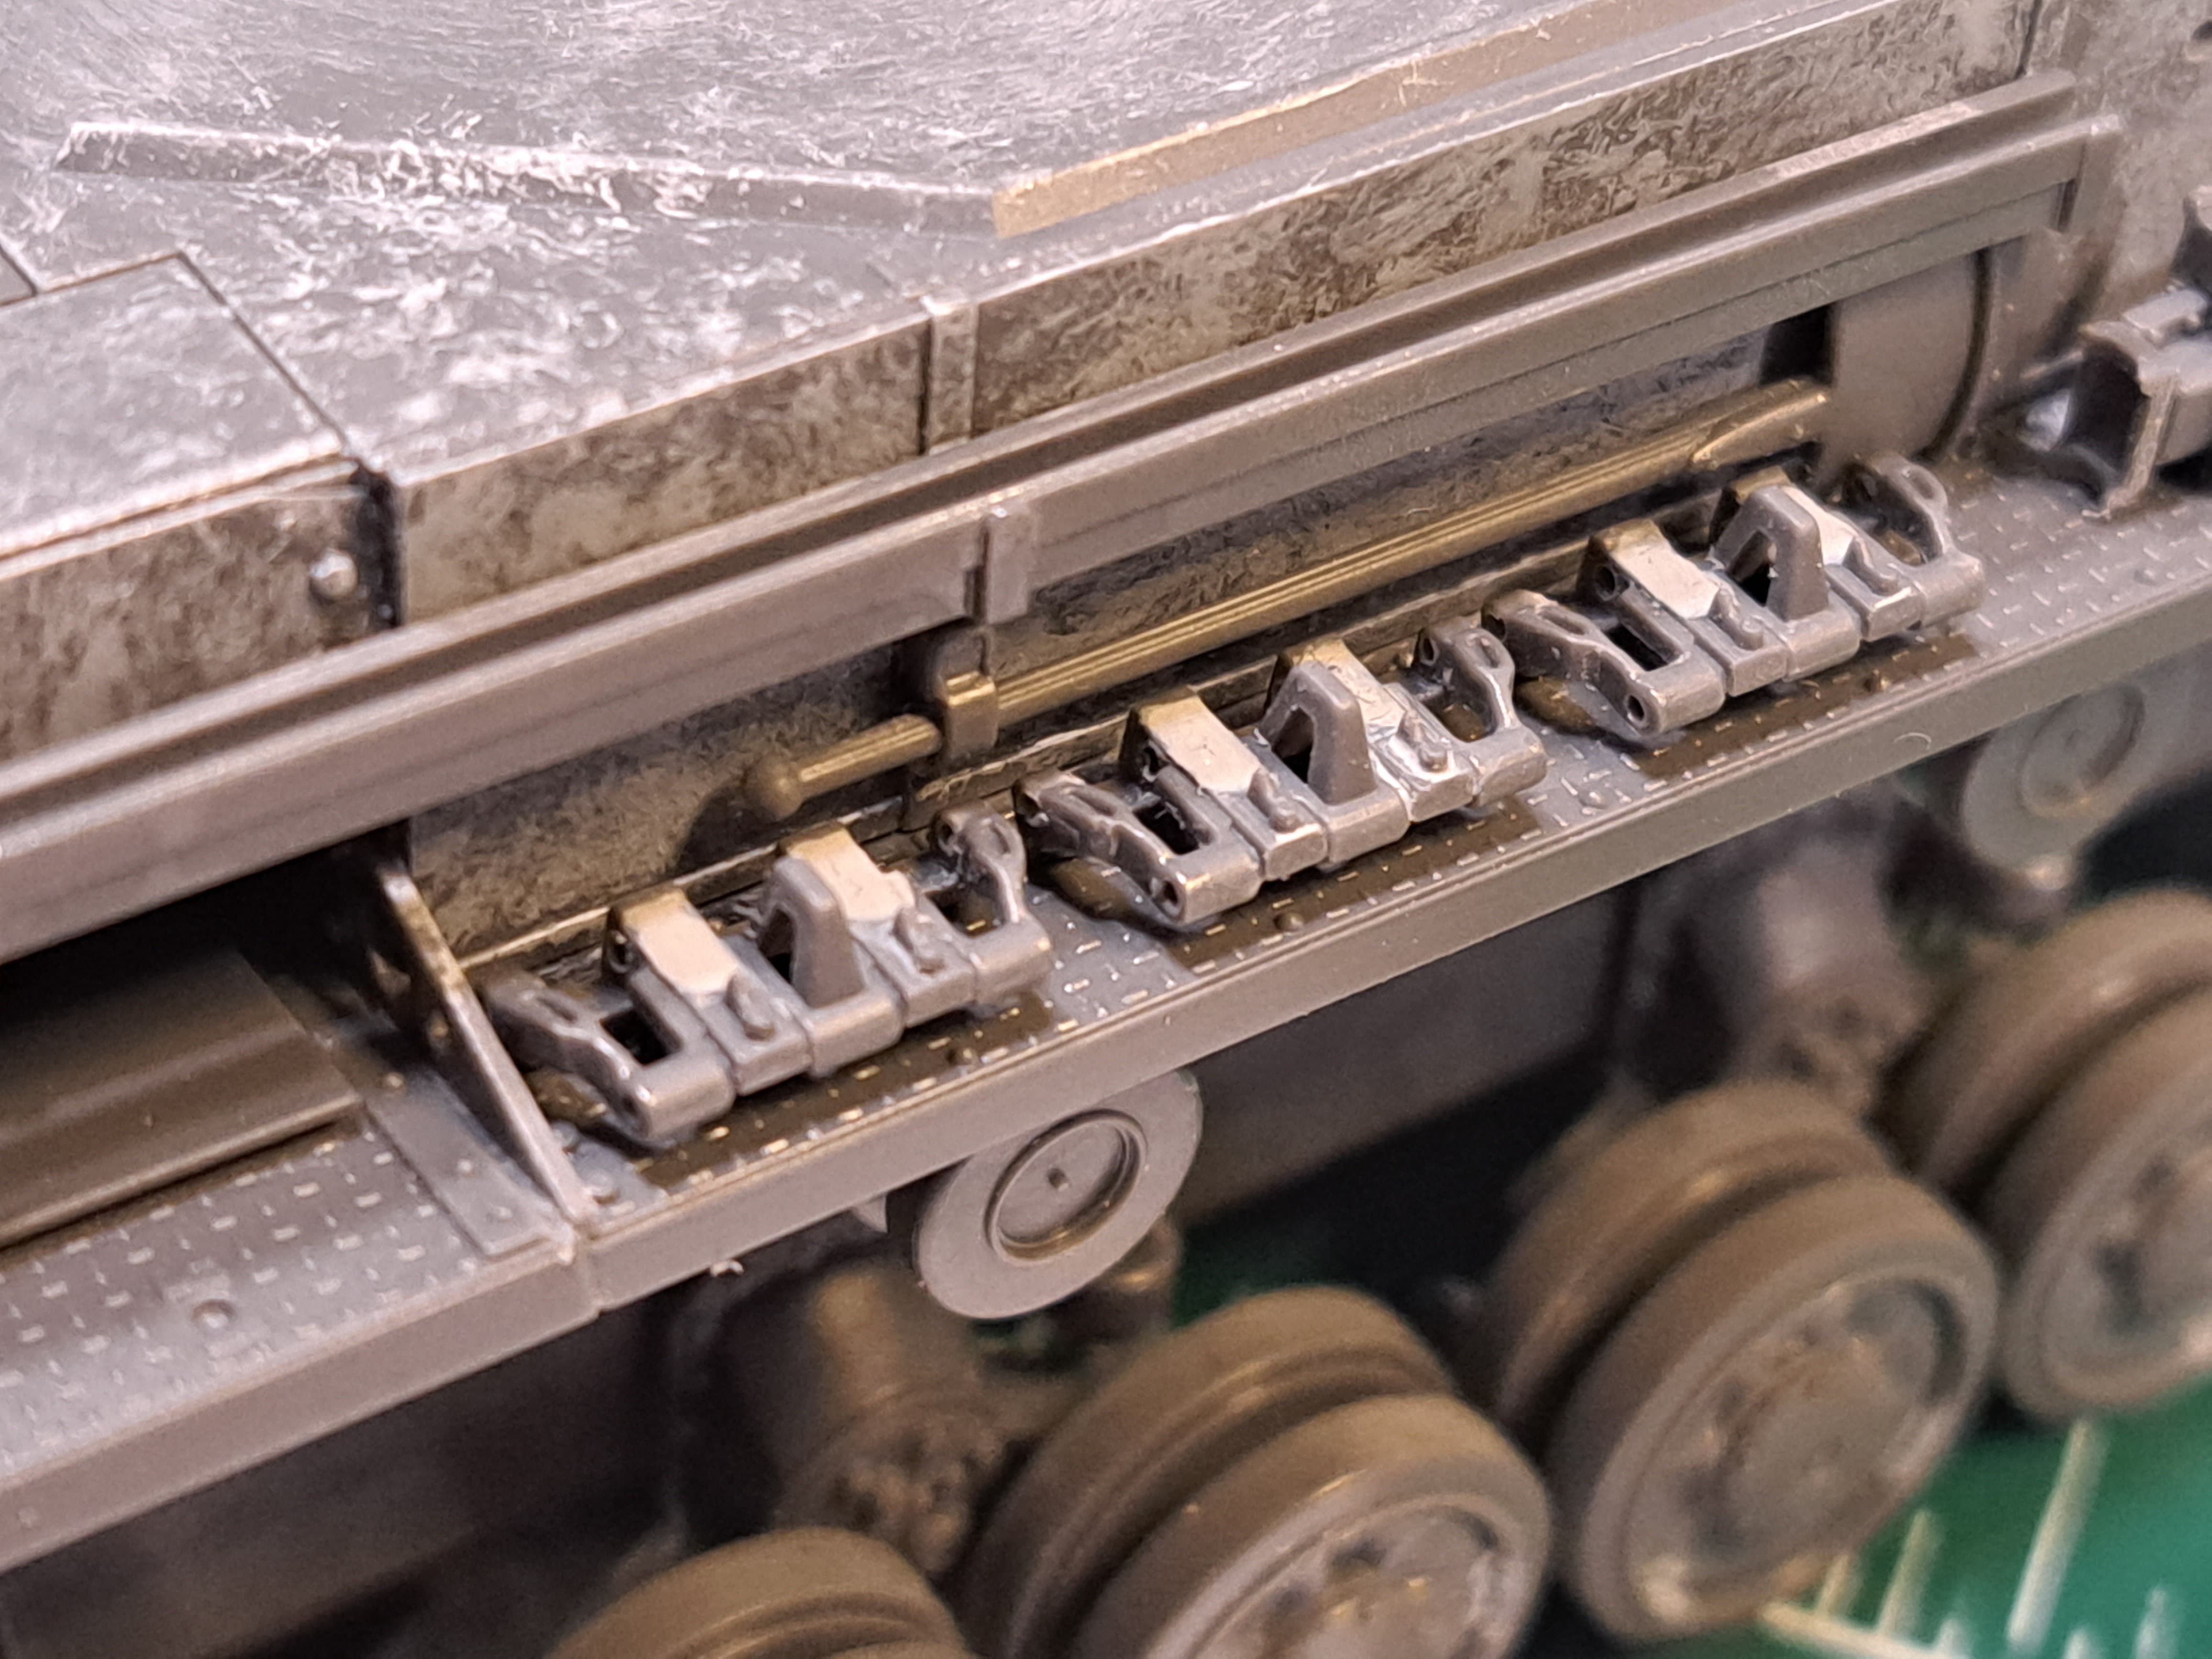
Water + white glue = retained track pins
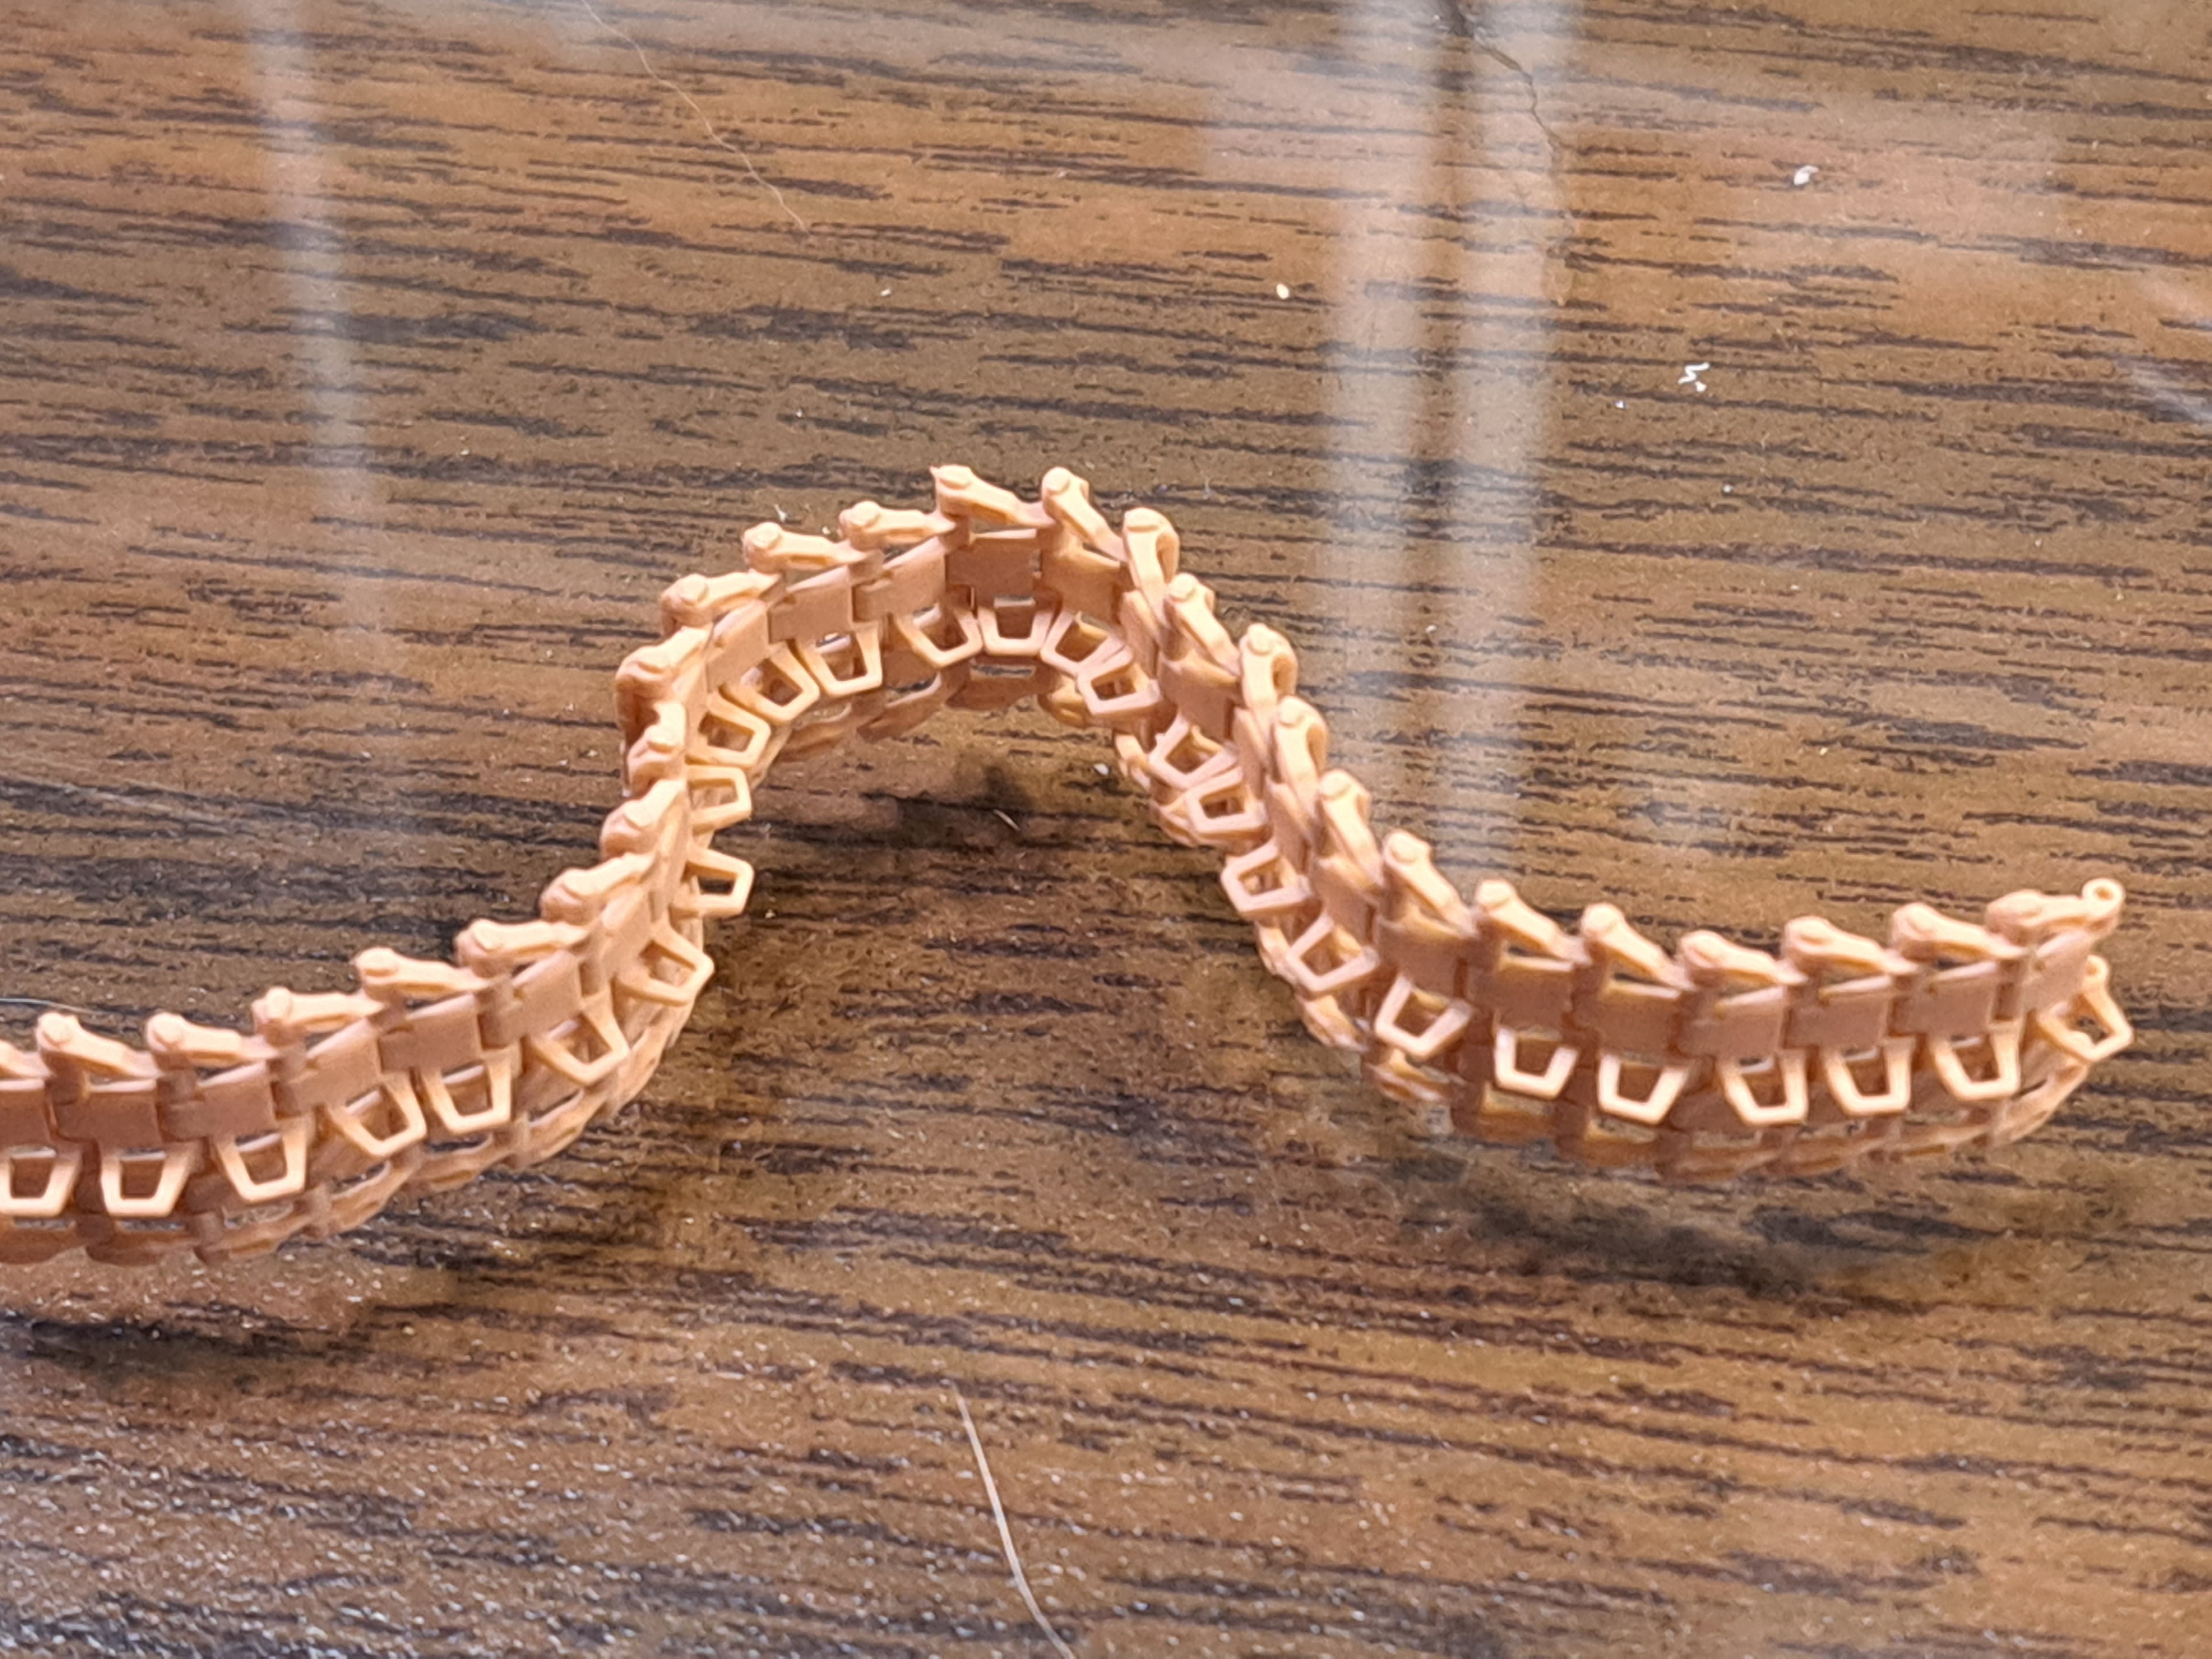
It’s amazing how flexible and eeasy to articulate the assembled links proved.
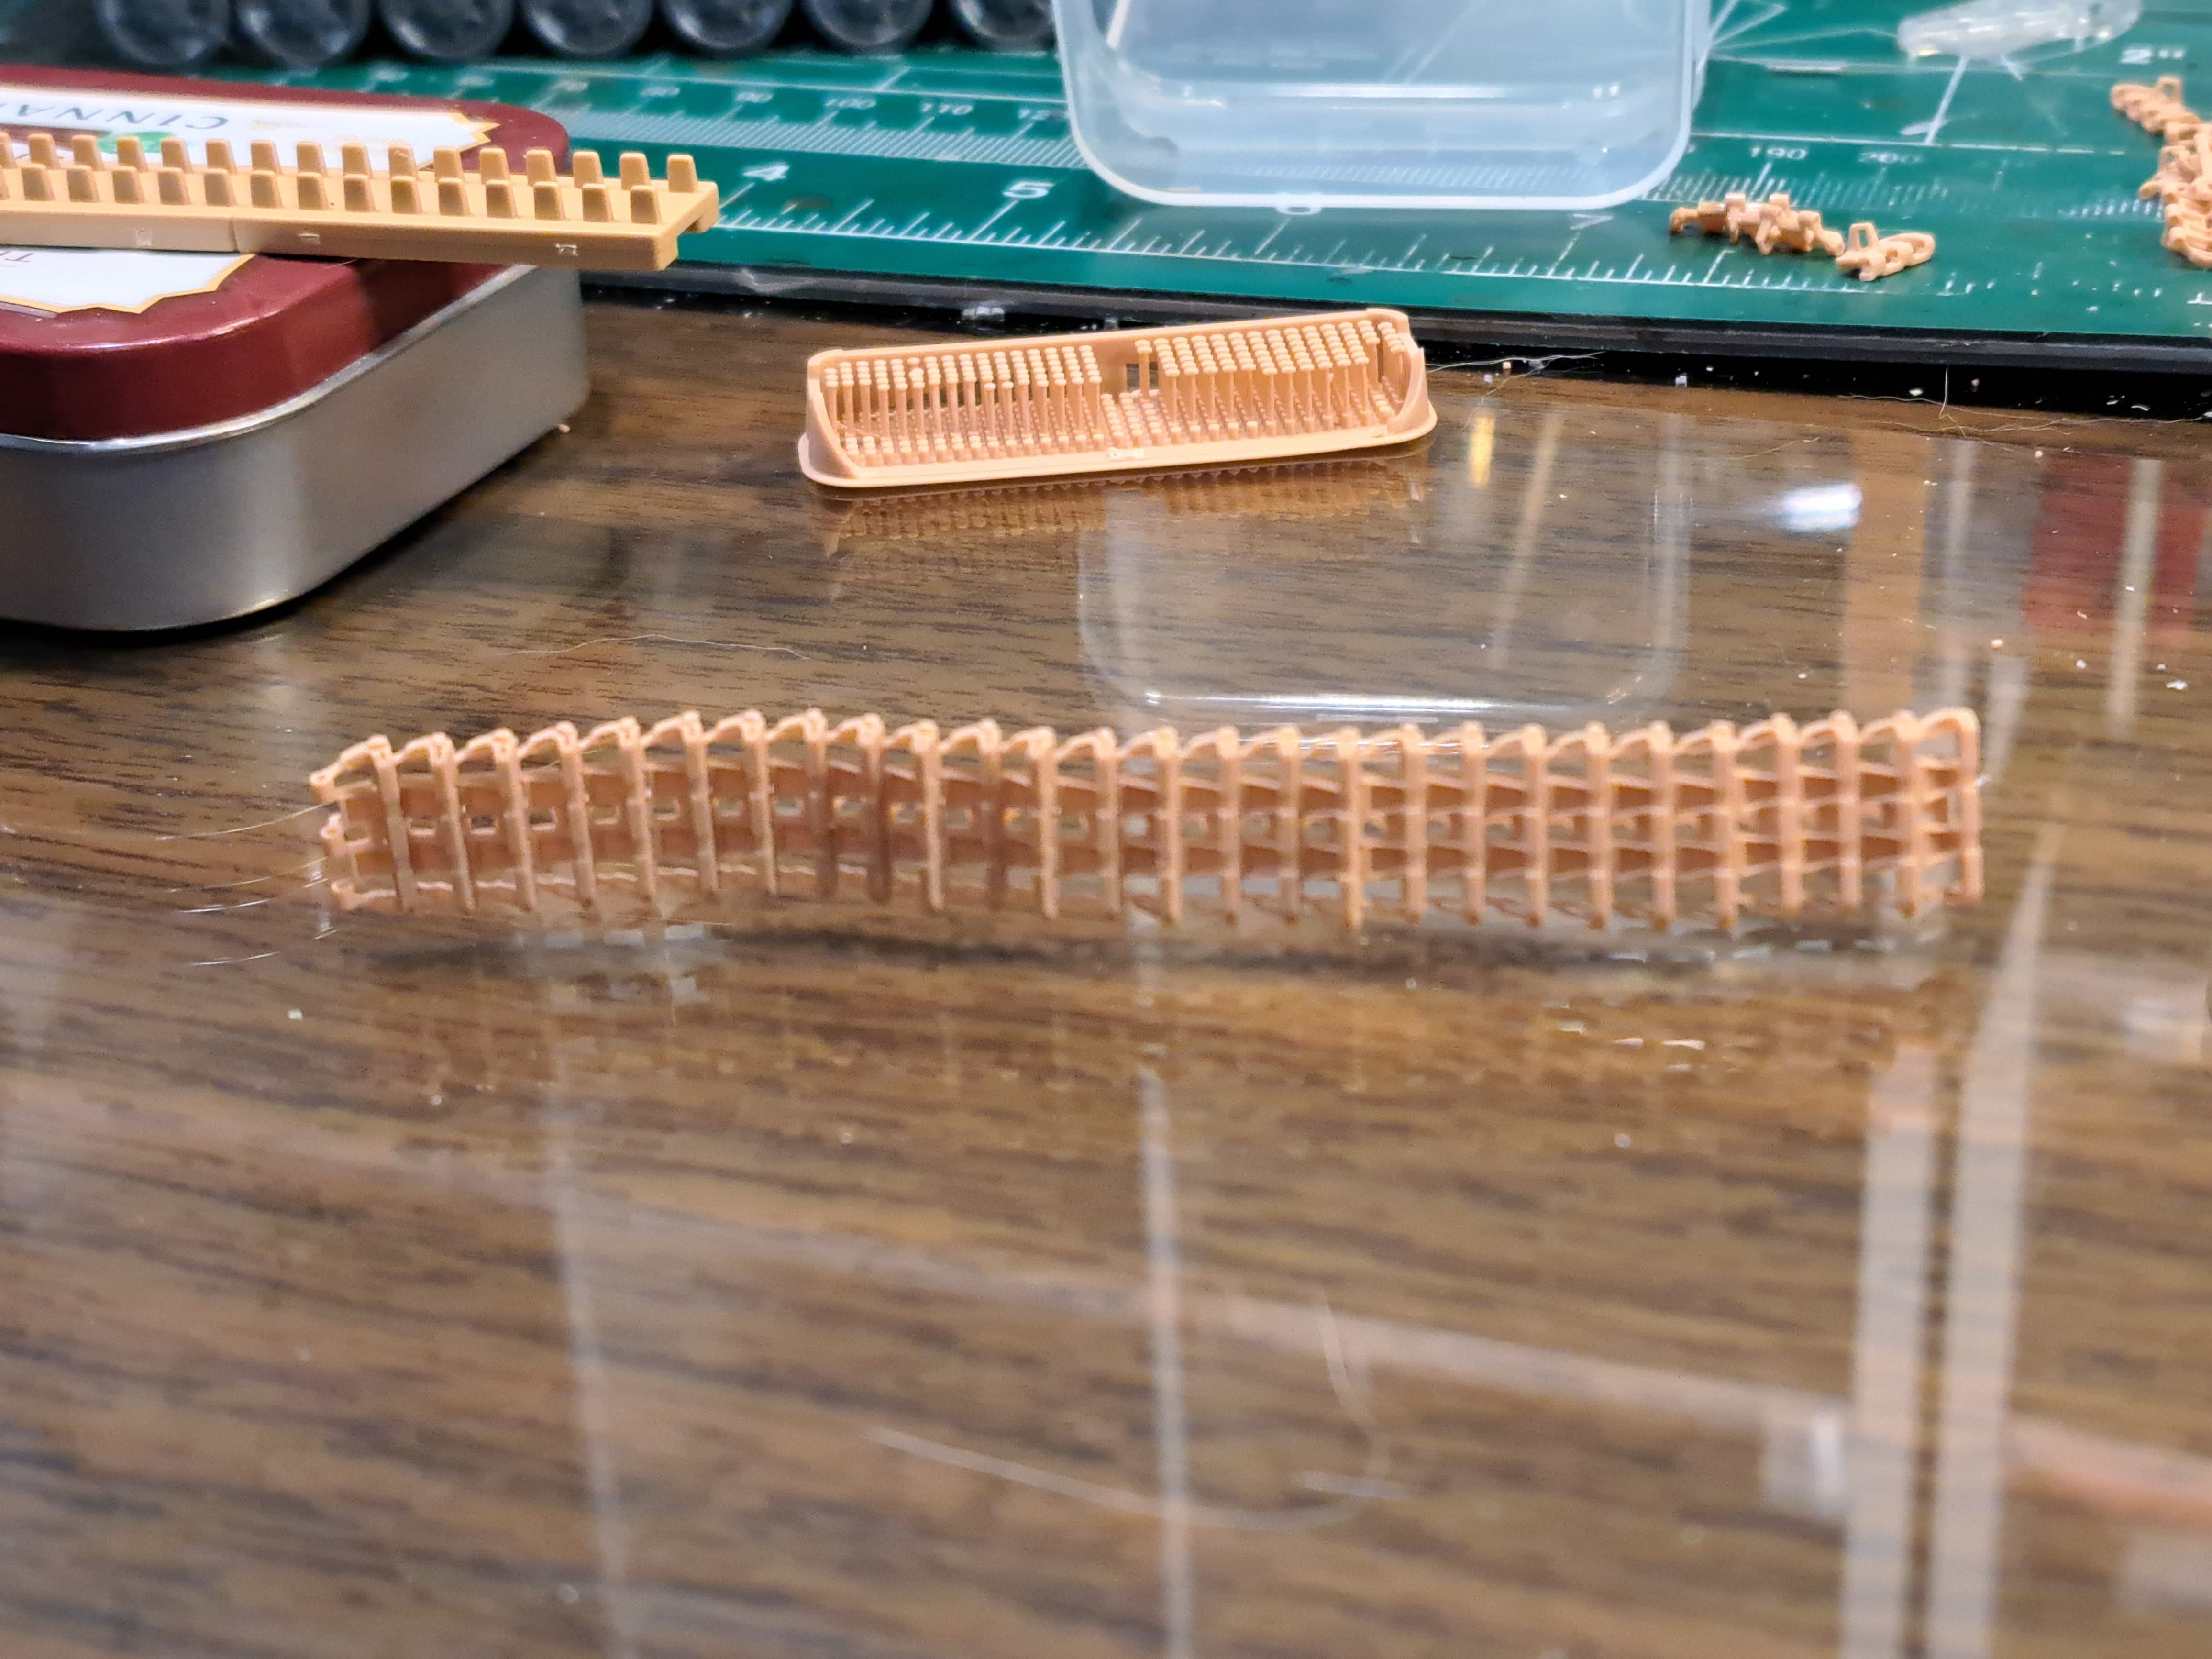
Despite the annoying loose pins they look very nice.
10 Likes
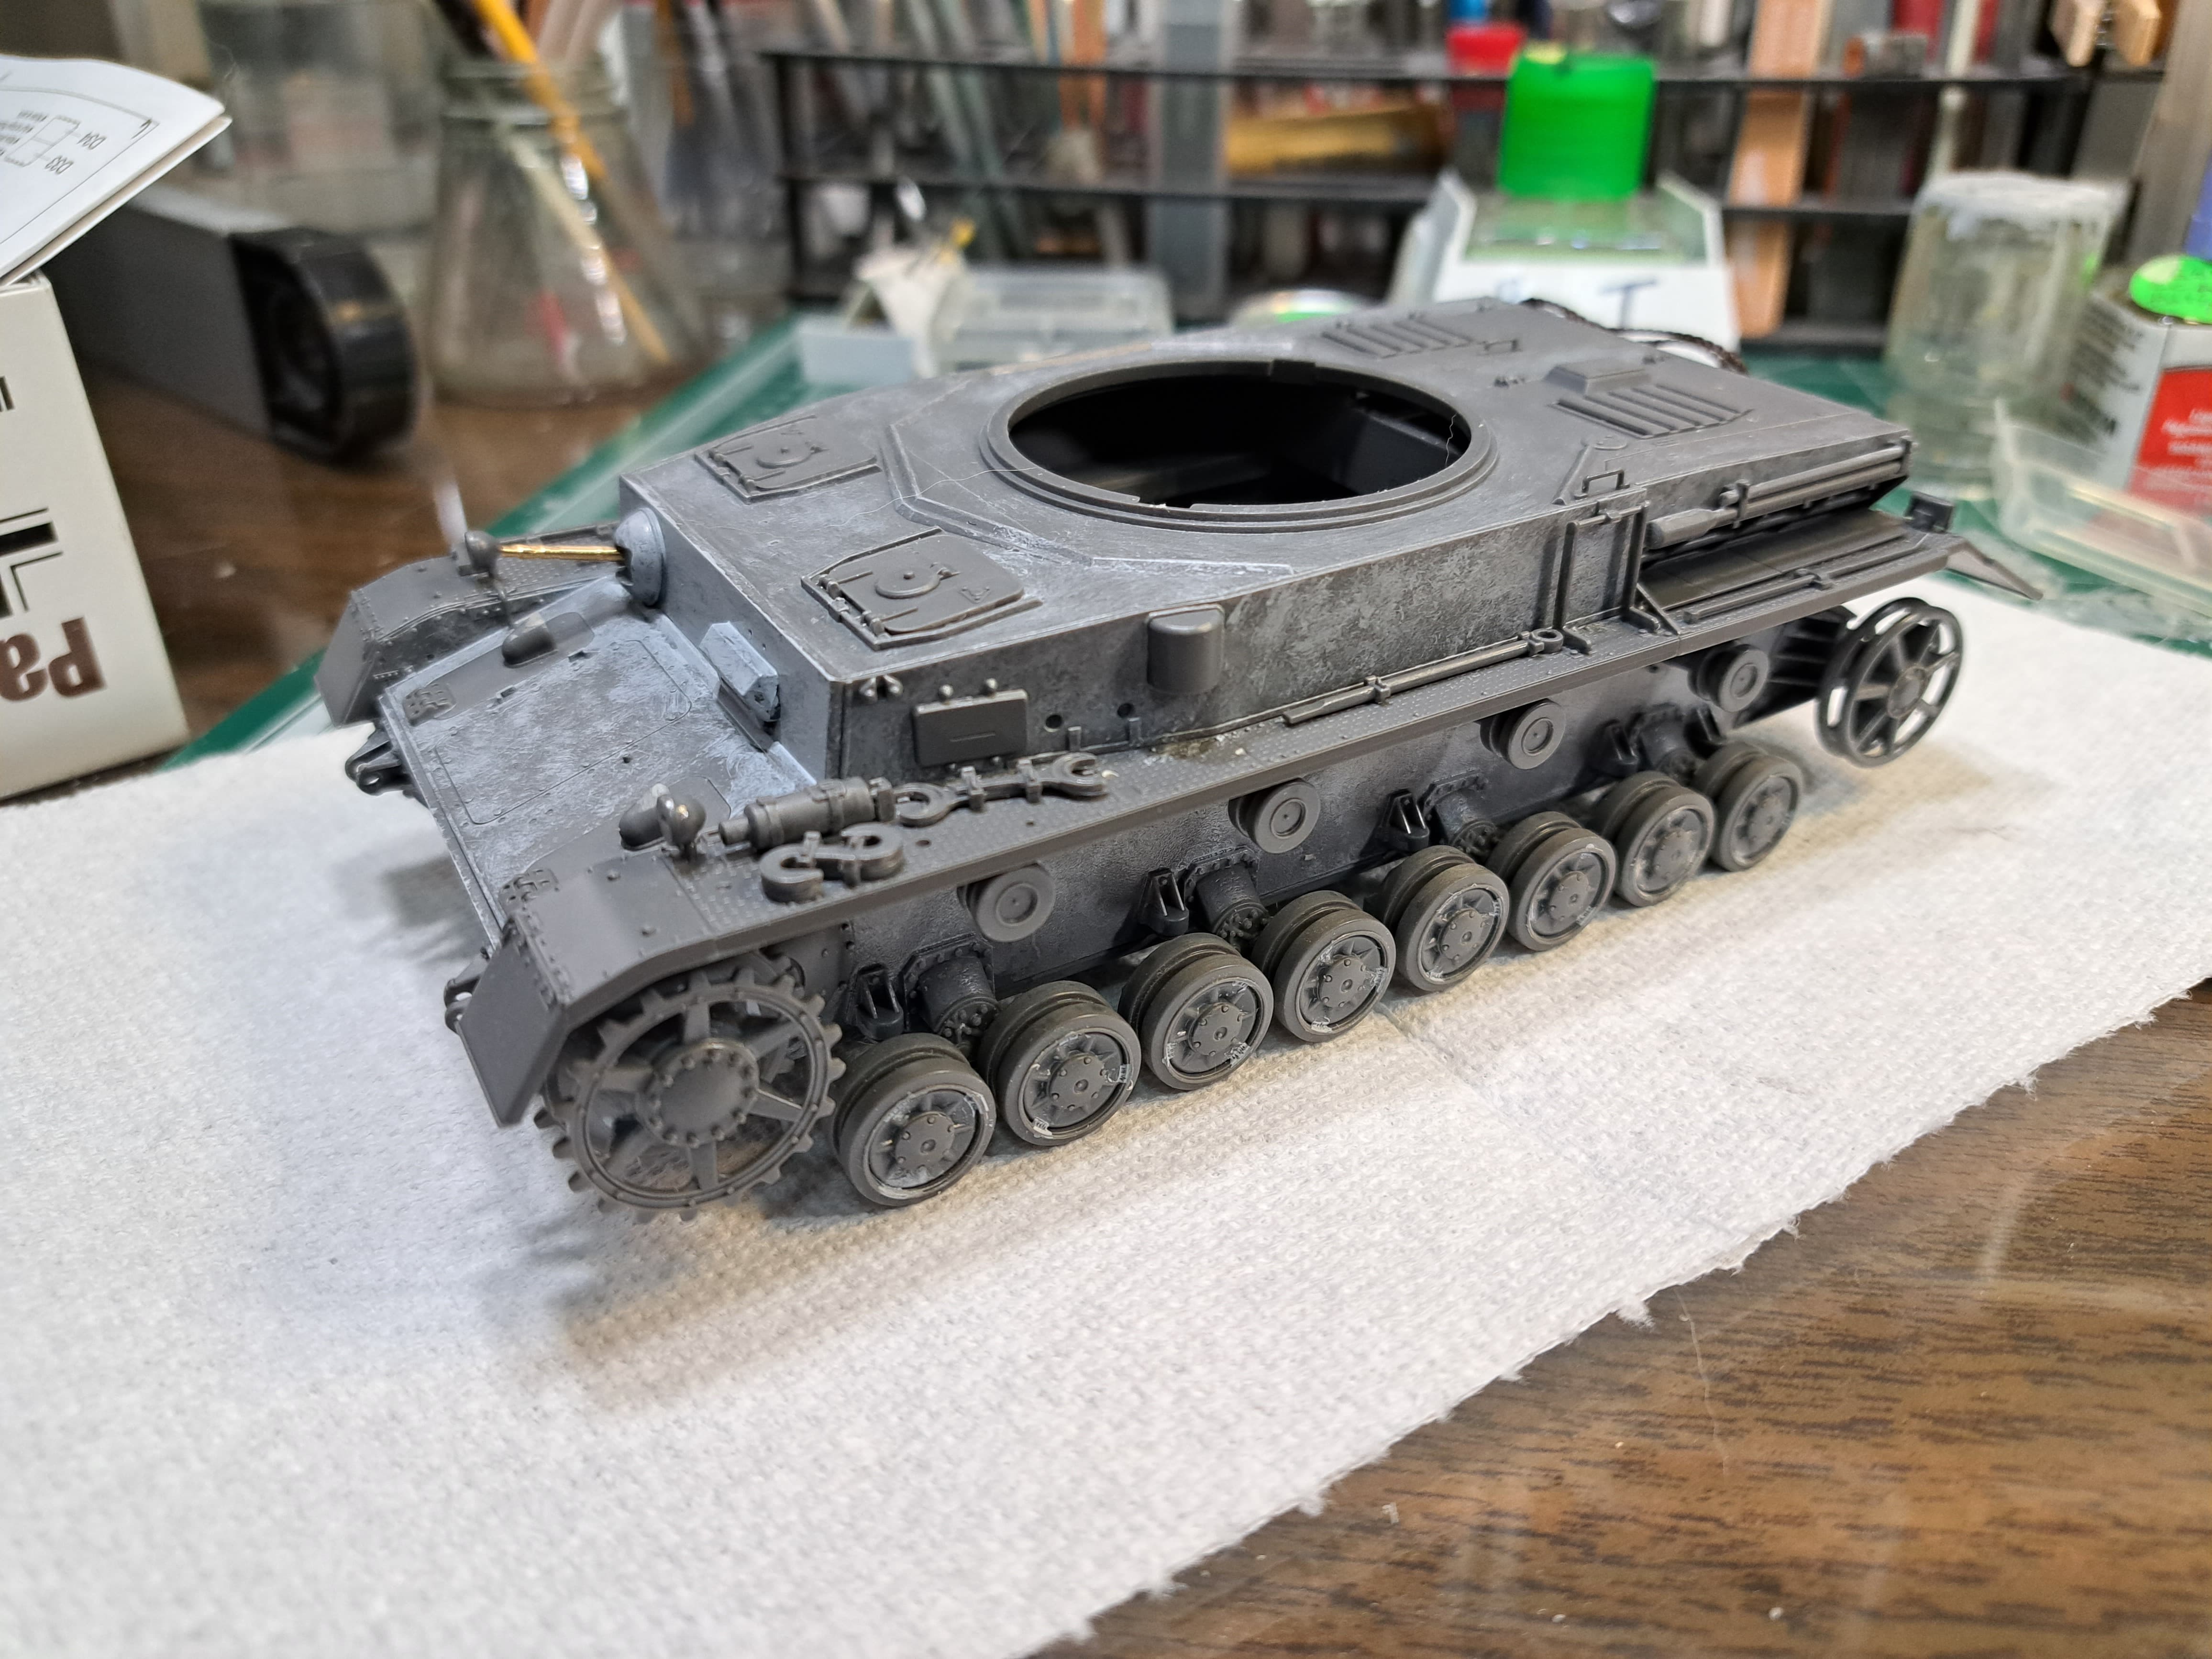
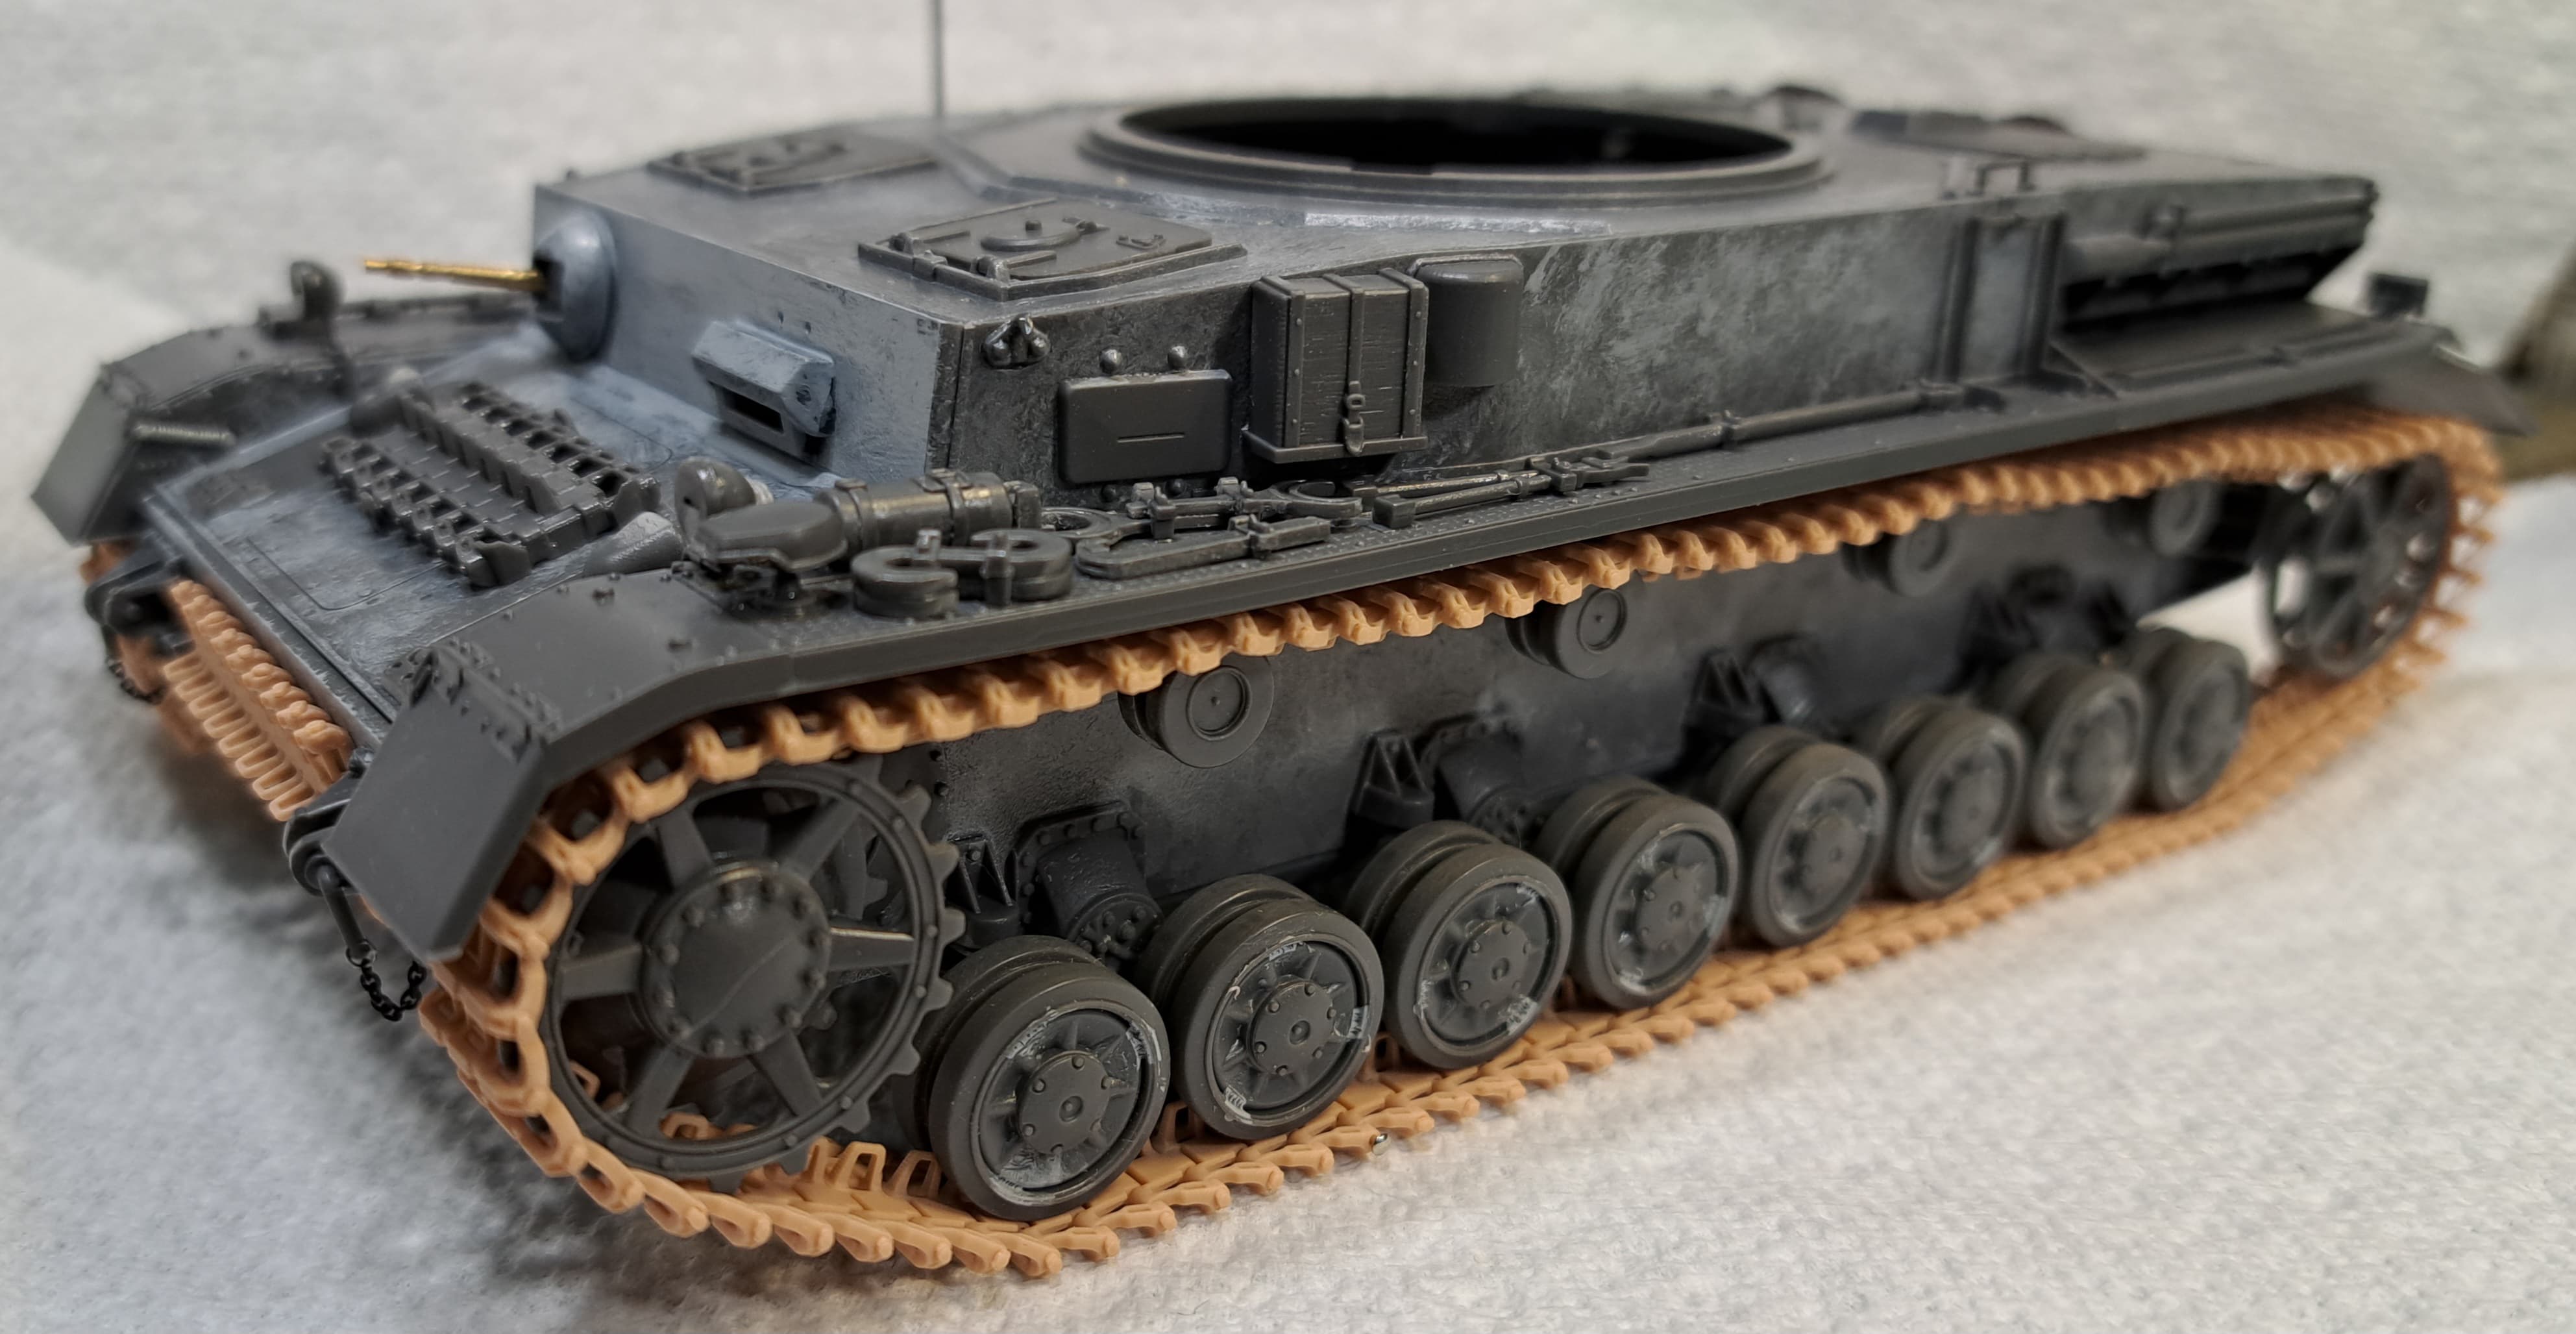
One track completed.
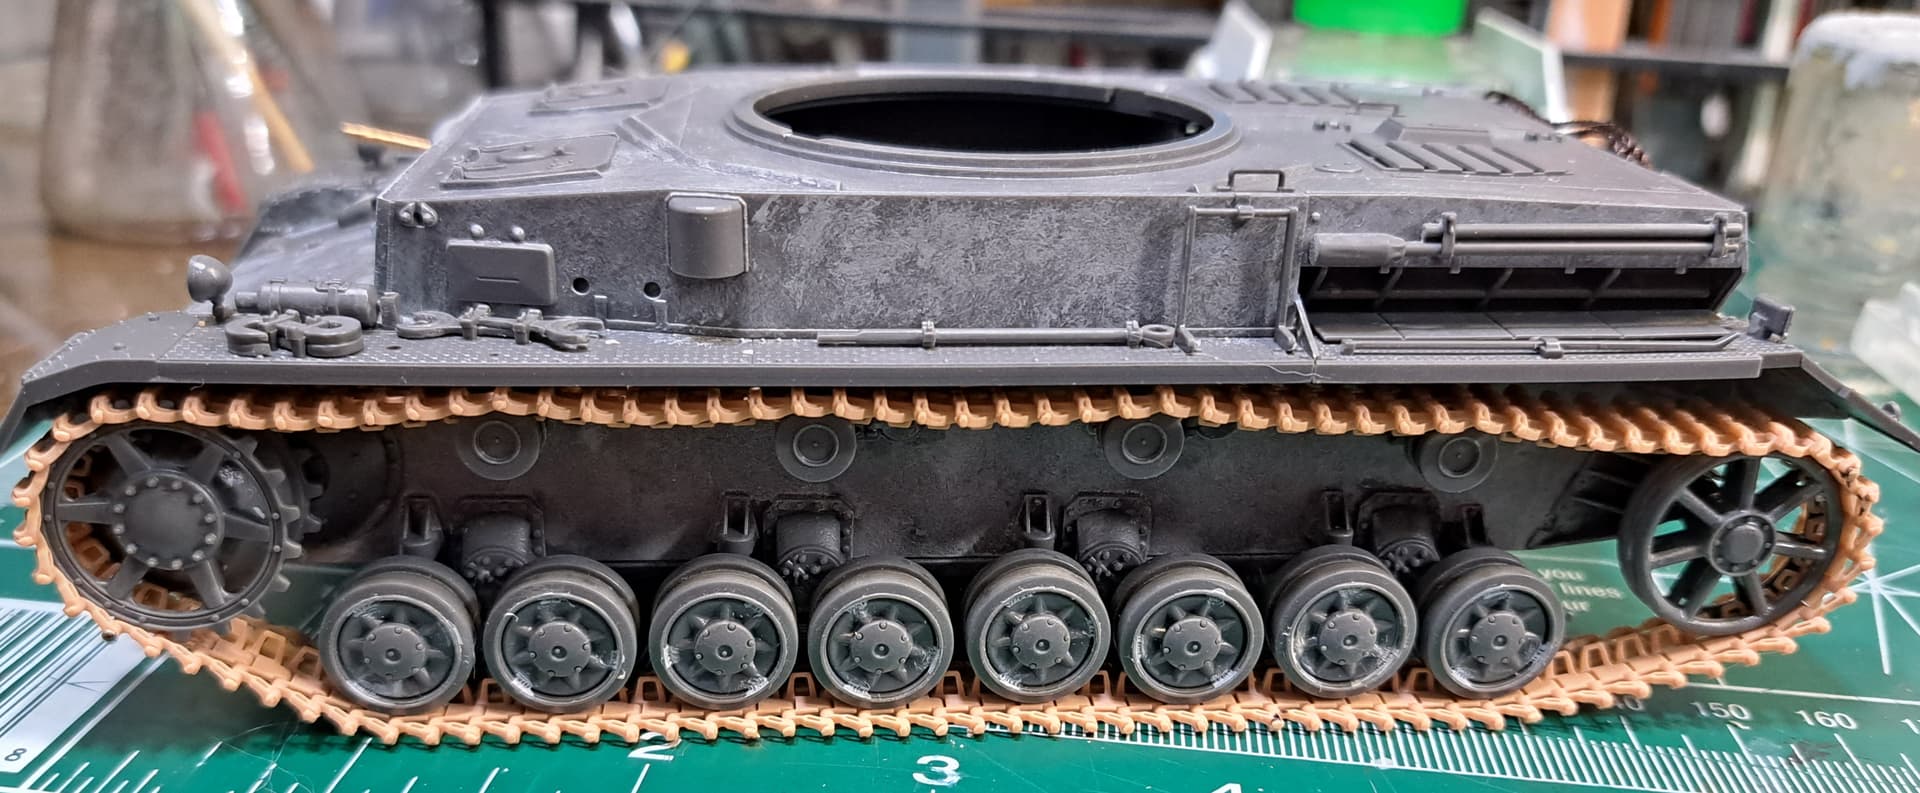
White metal individual link articulation.

Six misprint links out of 106 links.
Reaming with a .6 mm drill bit was needed with about a dozen links.
6 Likes
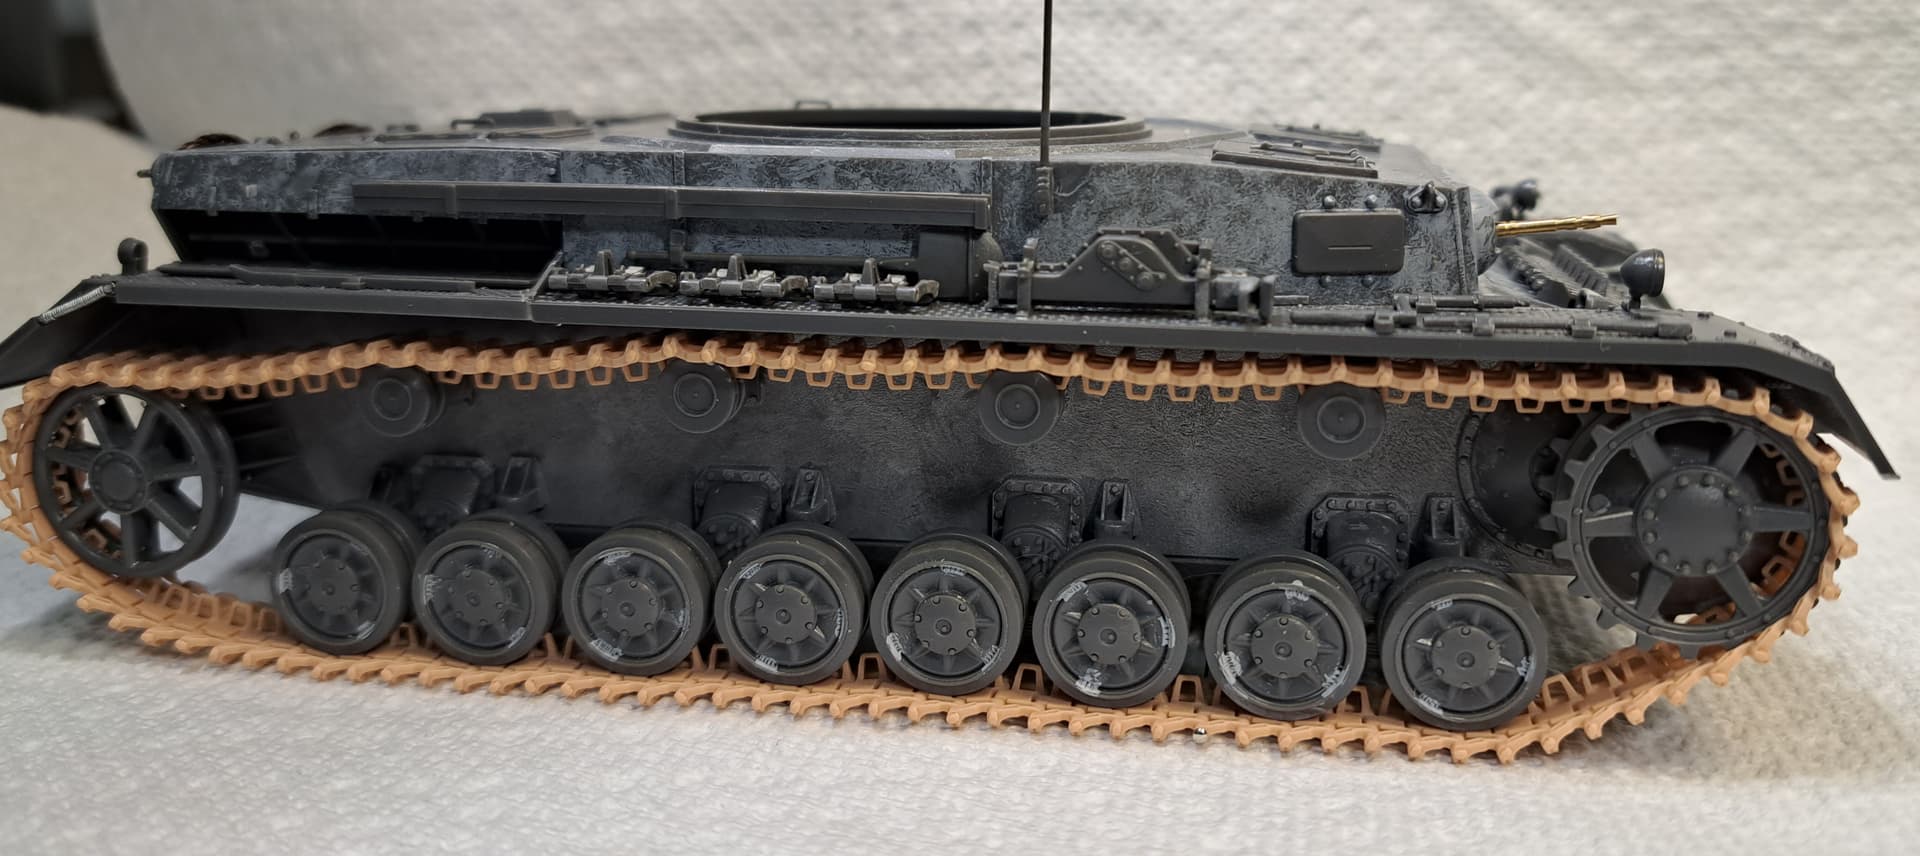
…and the other one…

Small dress pins for temporary test fit of tracks.

Had ~20 links and enough spare pins for ~10 more links. The jig for the plastic tracks was helpful.
8 Likes
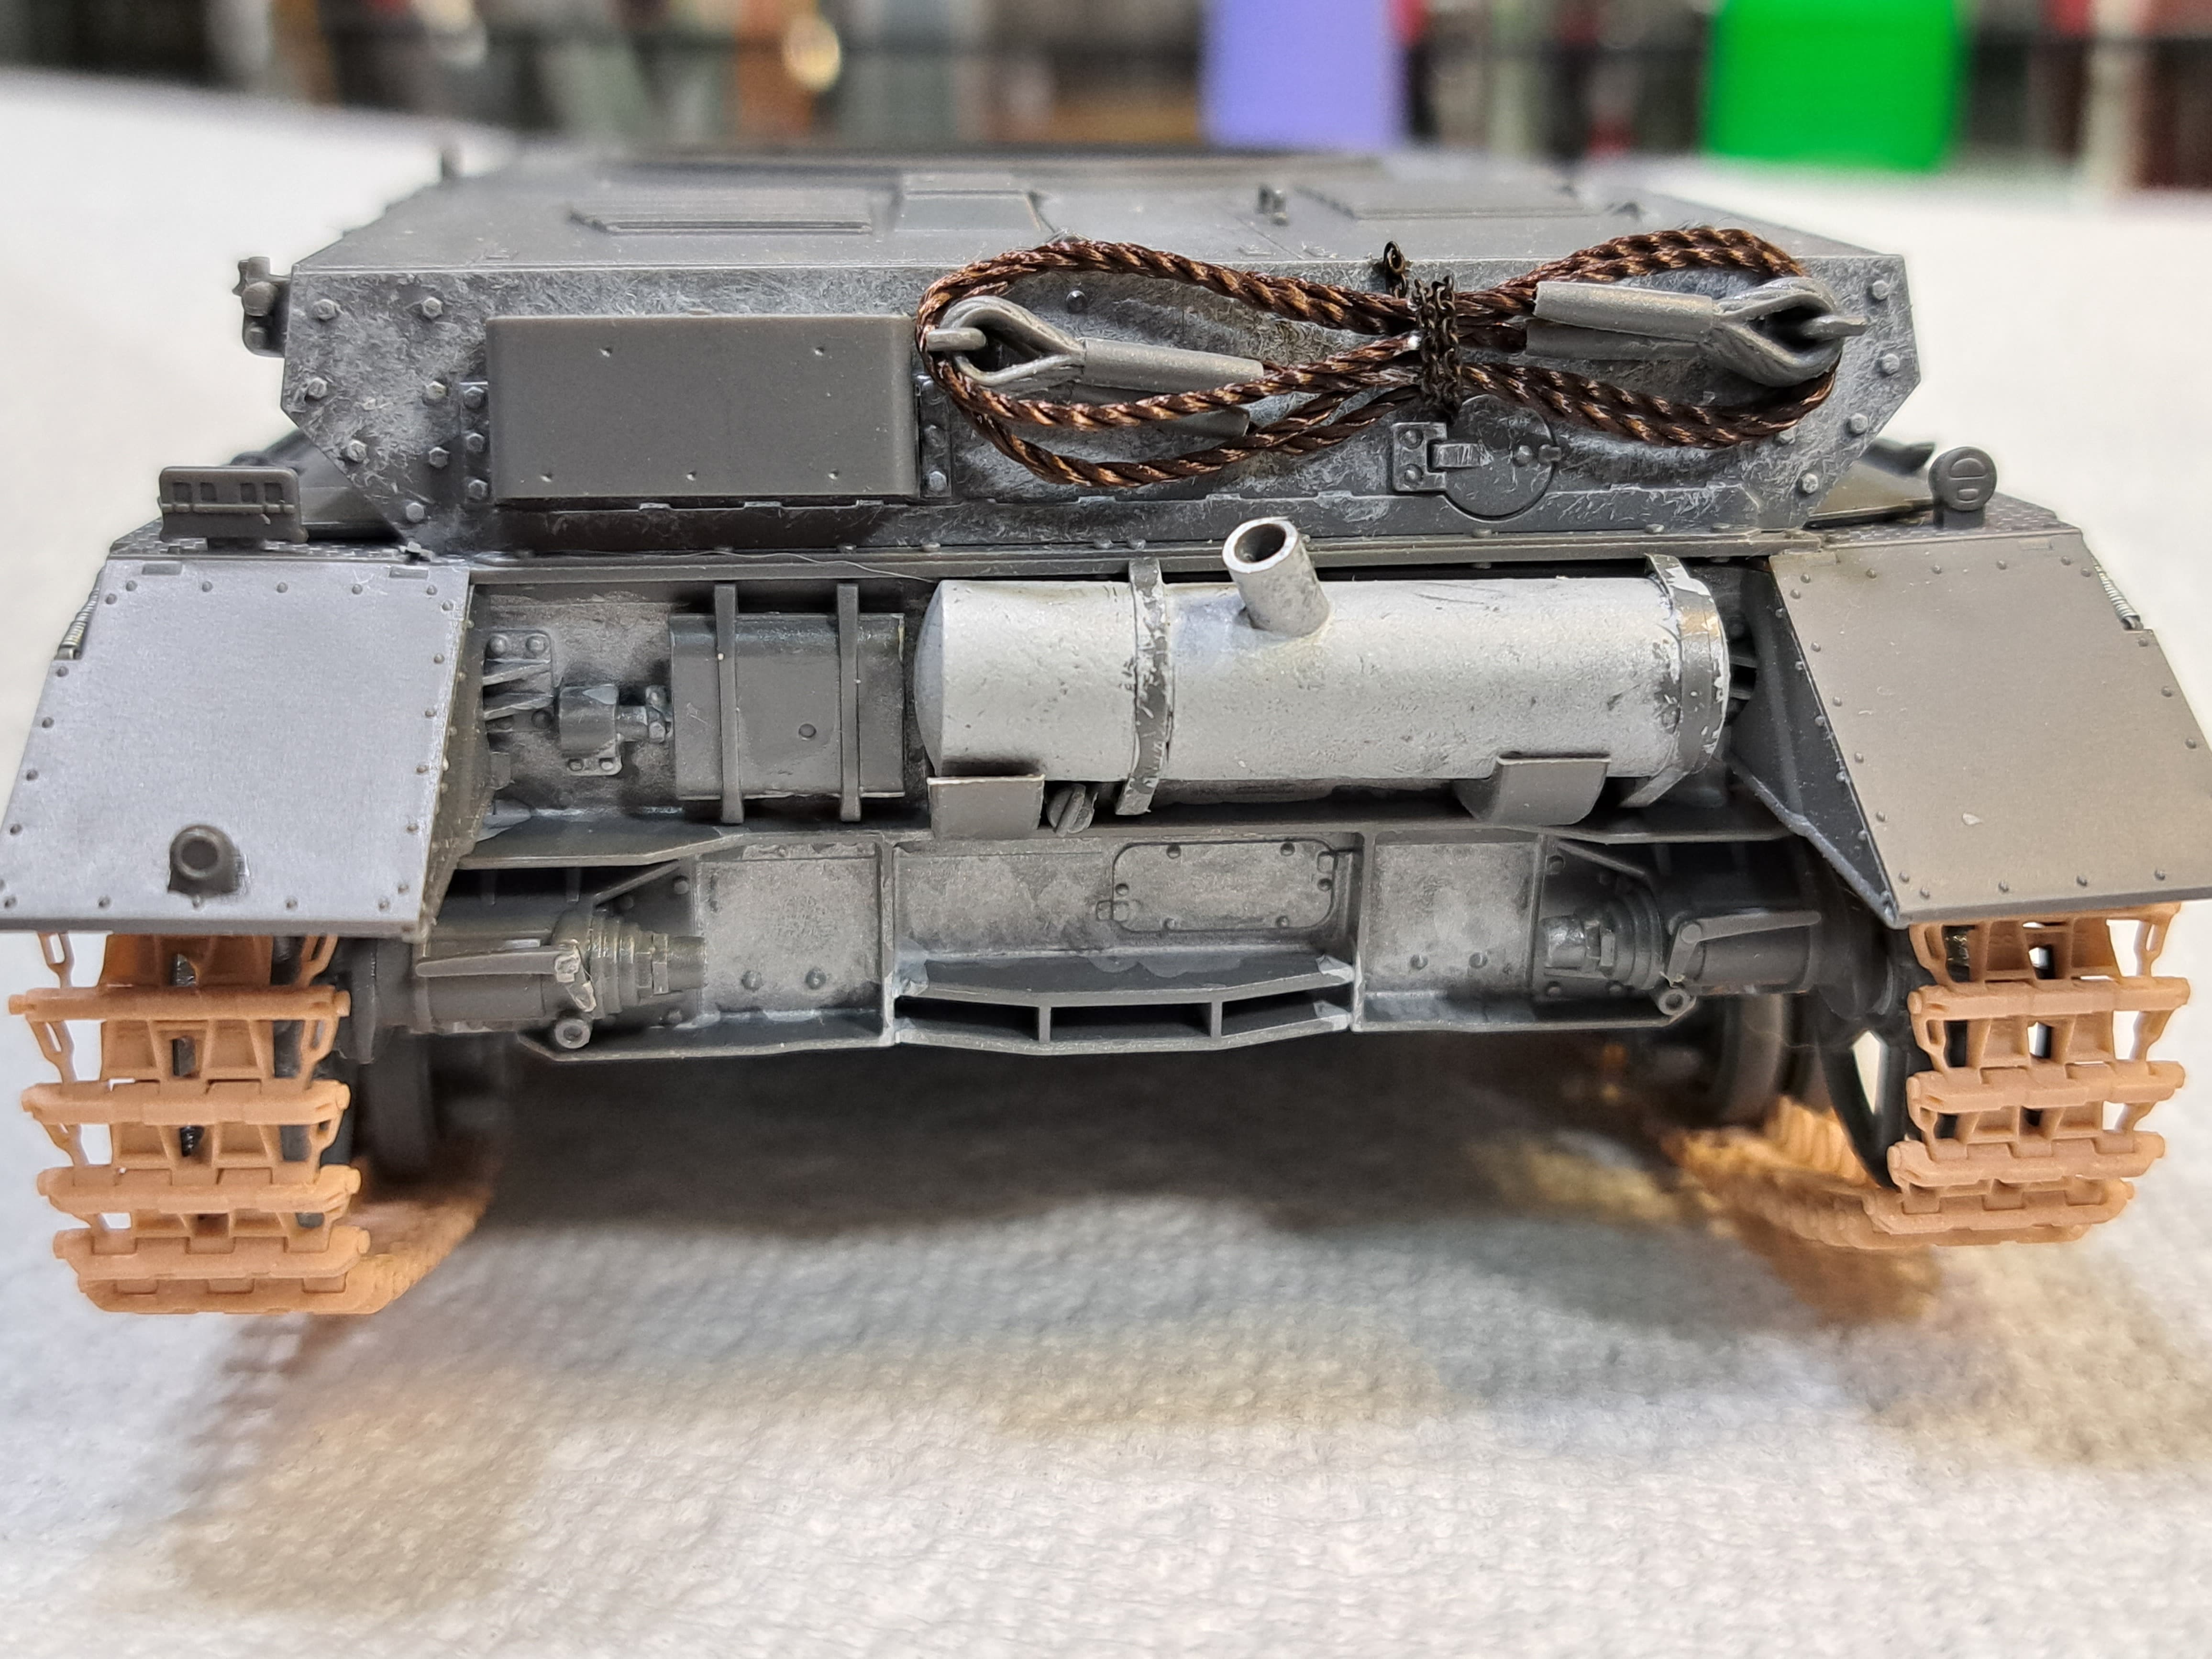
Added chain to tow pinnacles.
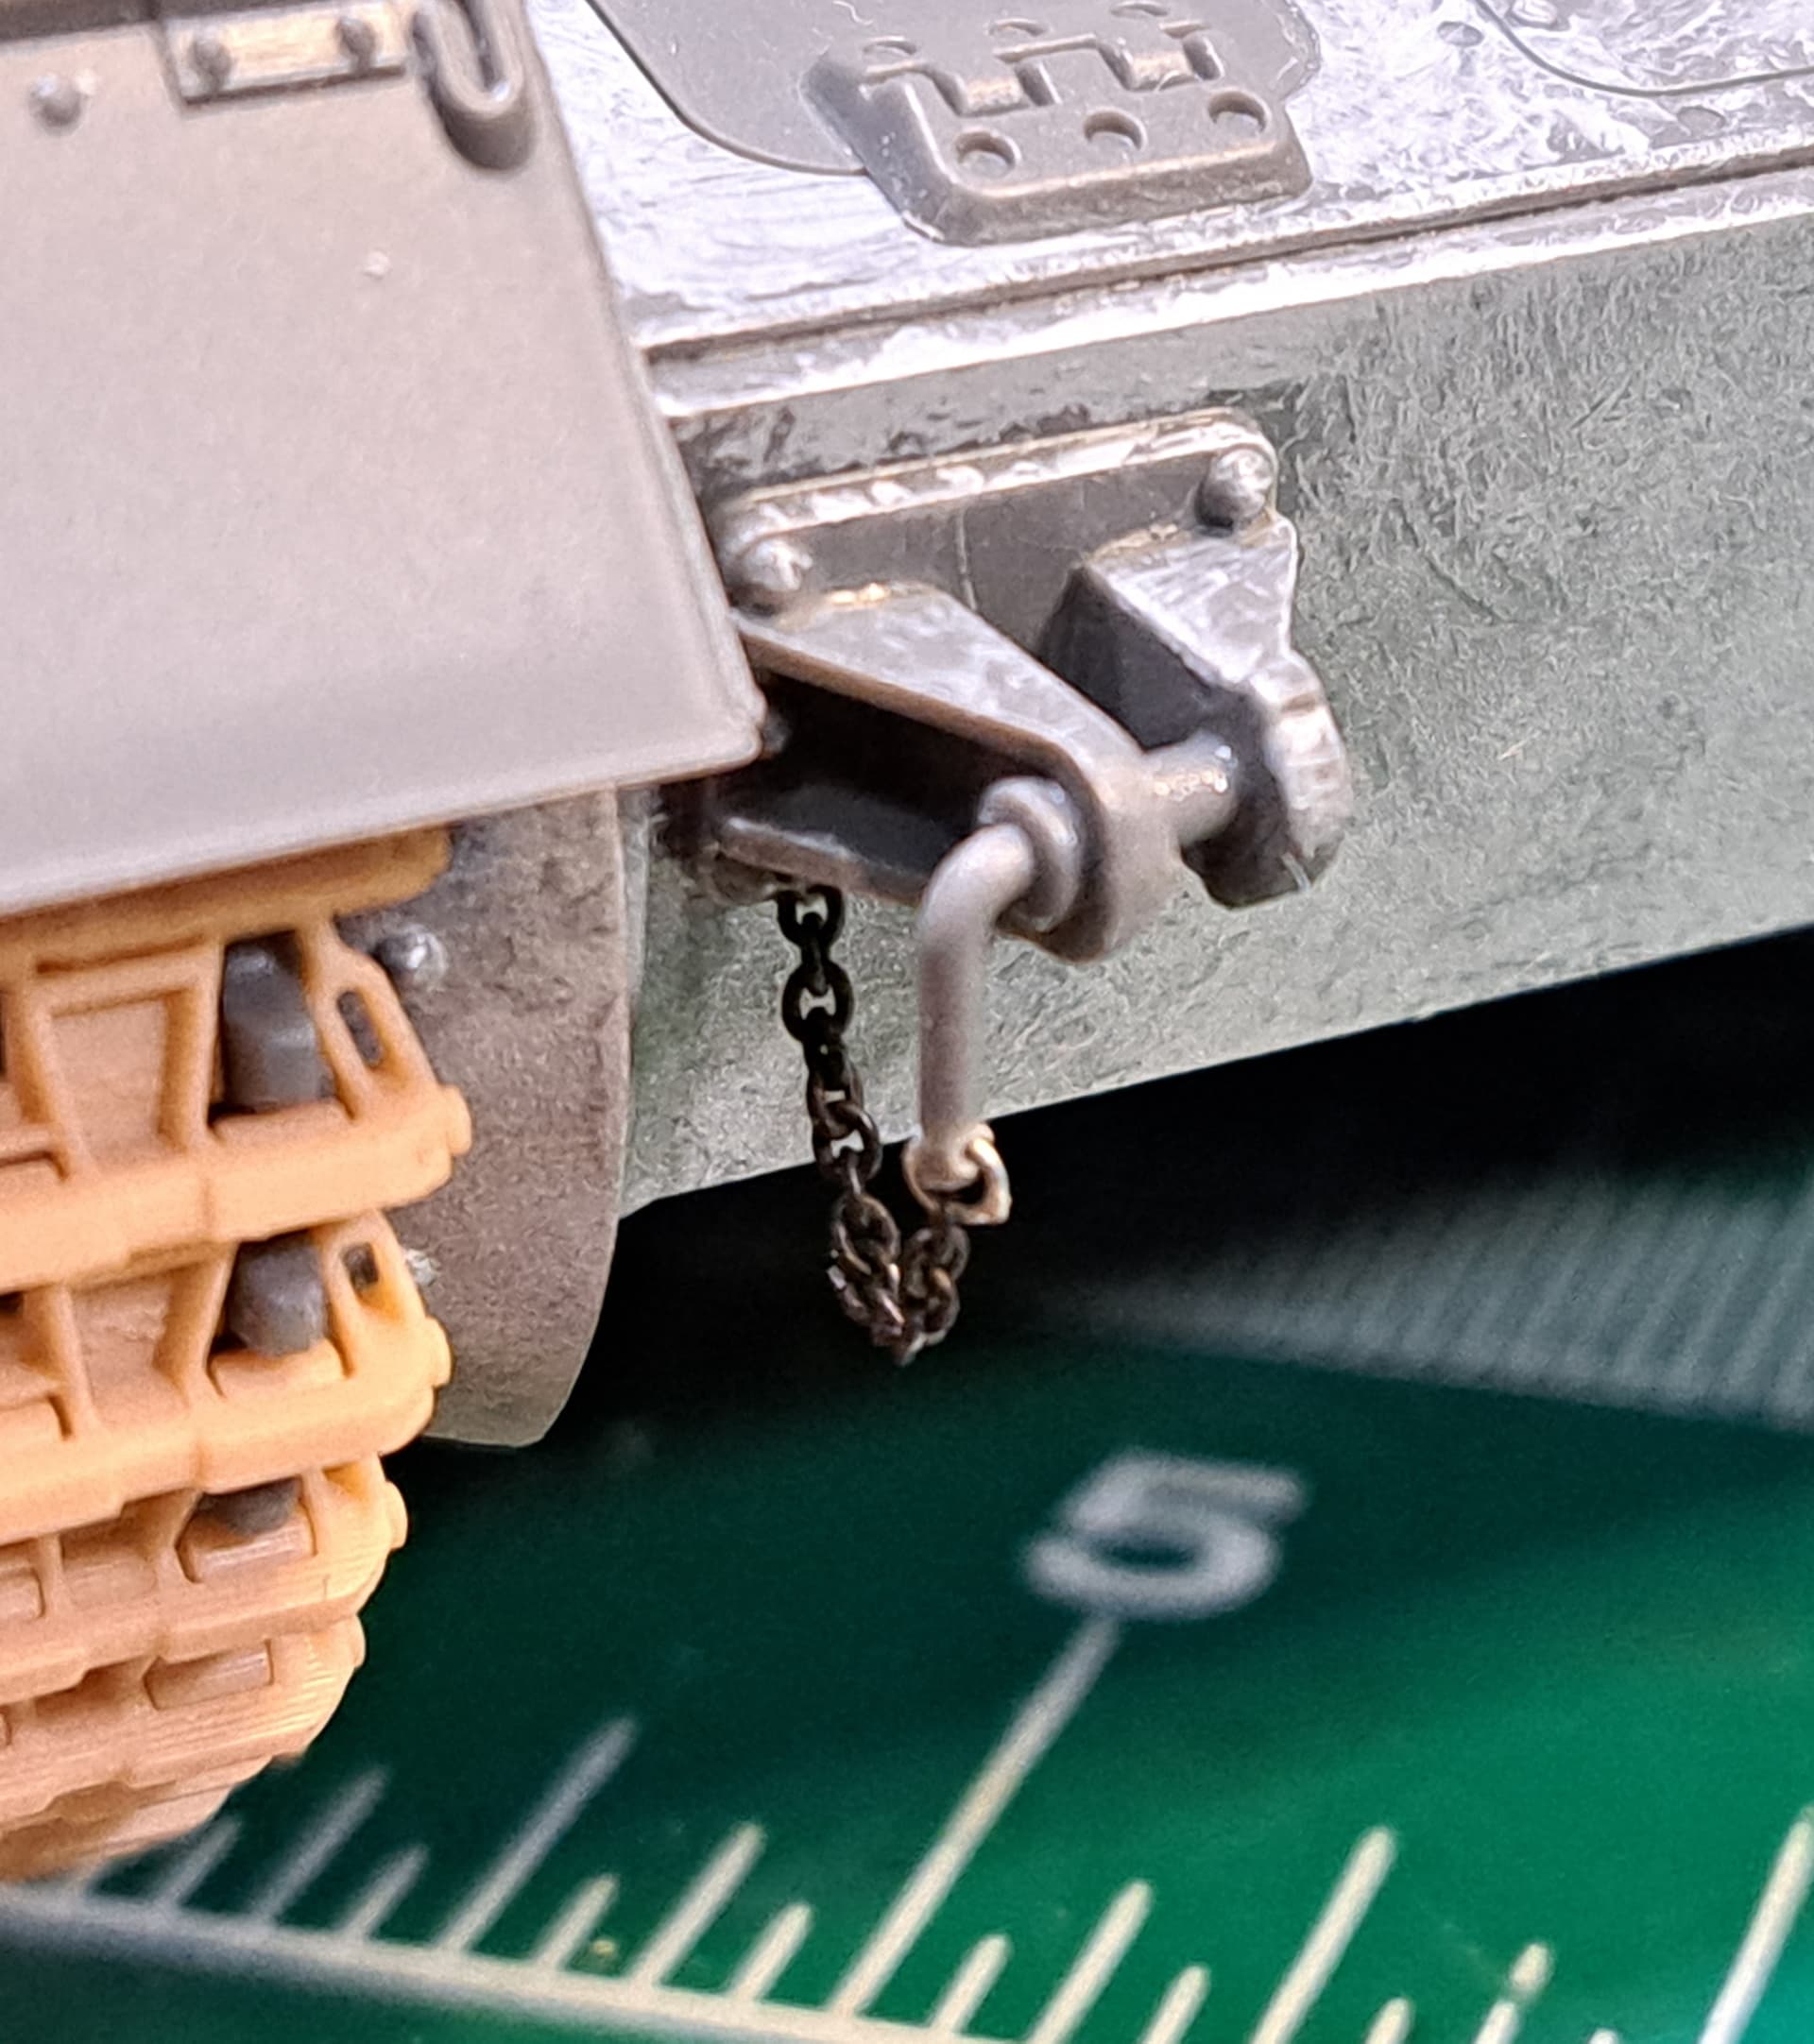
Added chain that secures tow cables.

Additional fiddle ![]() bit…spare tracks with open track pin holes on one side and a pieced together “track pin” on the other.
bit…spare tracks with open track pin holes on one side and a pieced together “track pin” on the other.

Checked reference, the track holding pair of J-hooks starts with G models, so will pass on adding them to this model.
8 Likes
More fiddle ![]() bits…
bits…
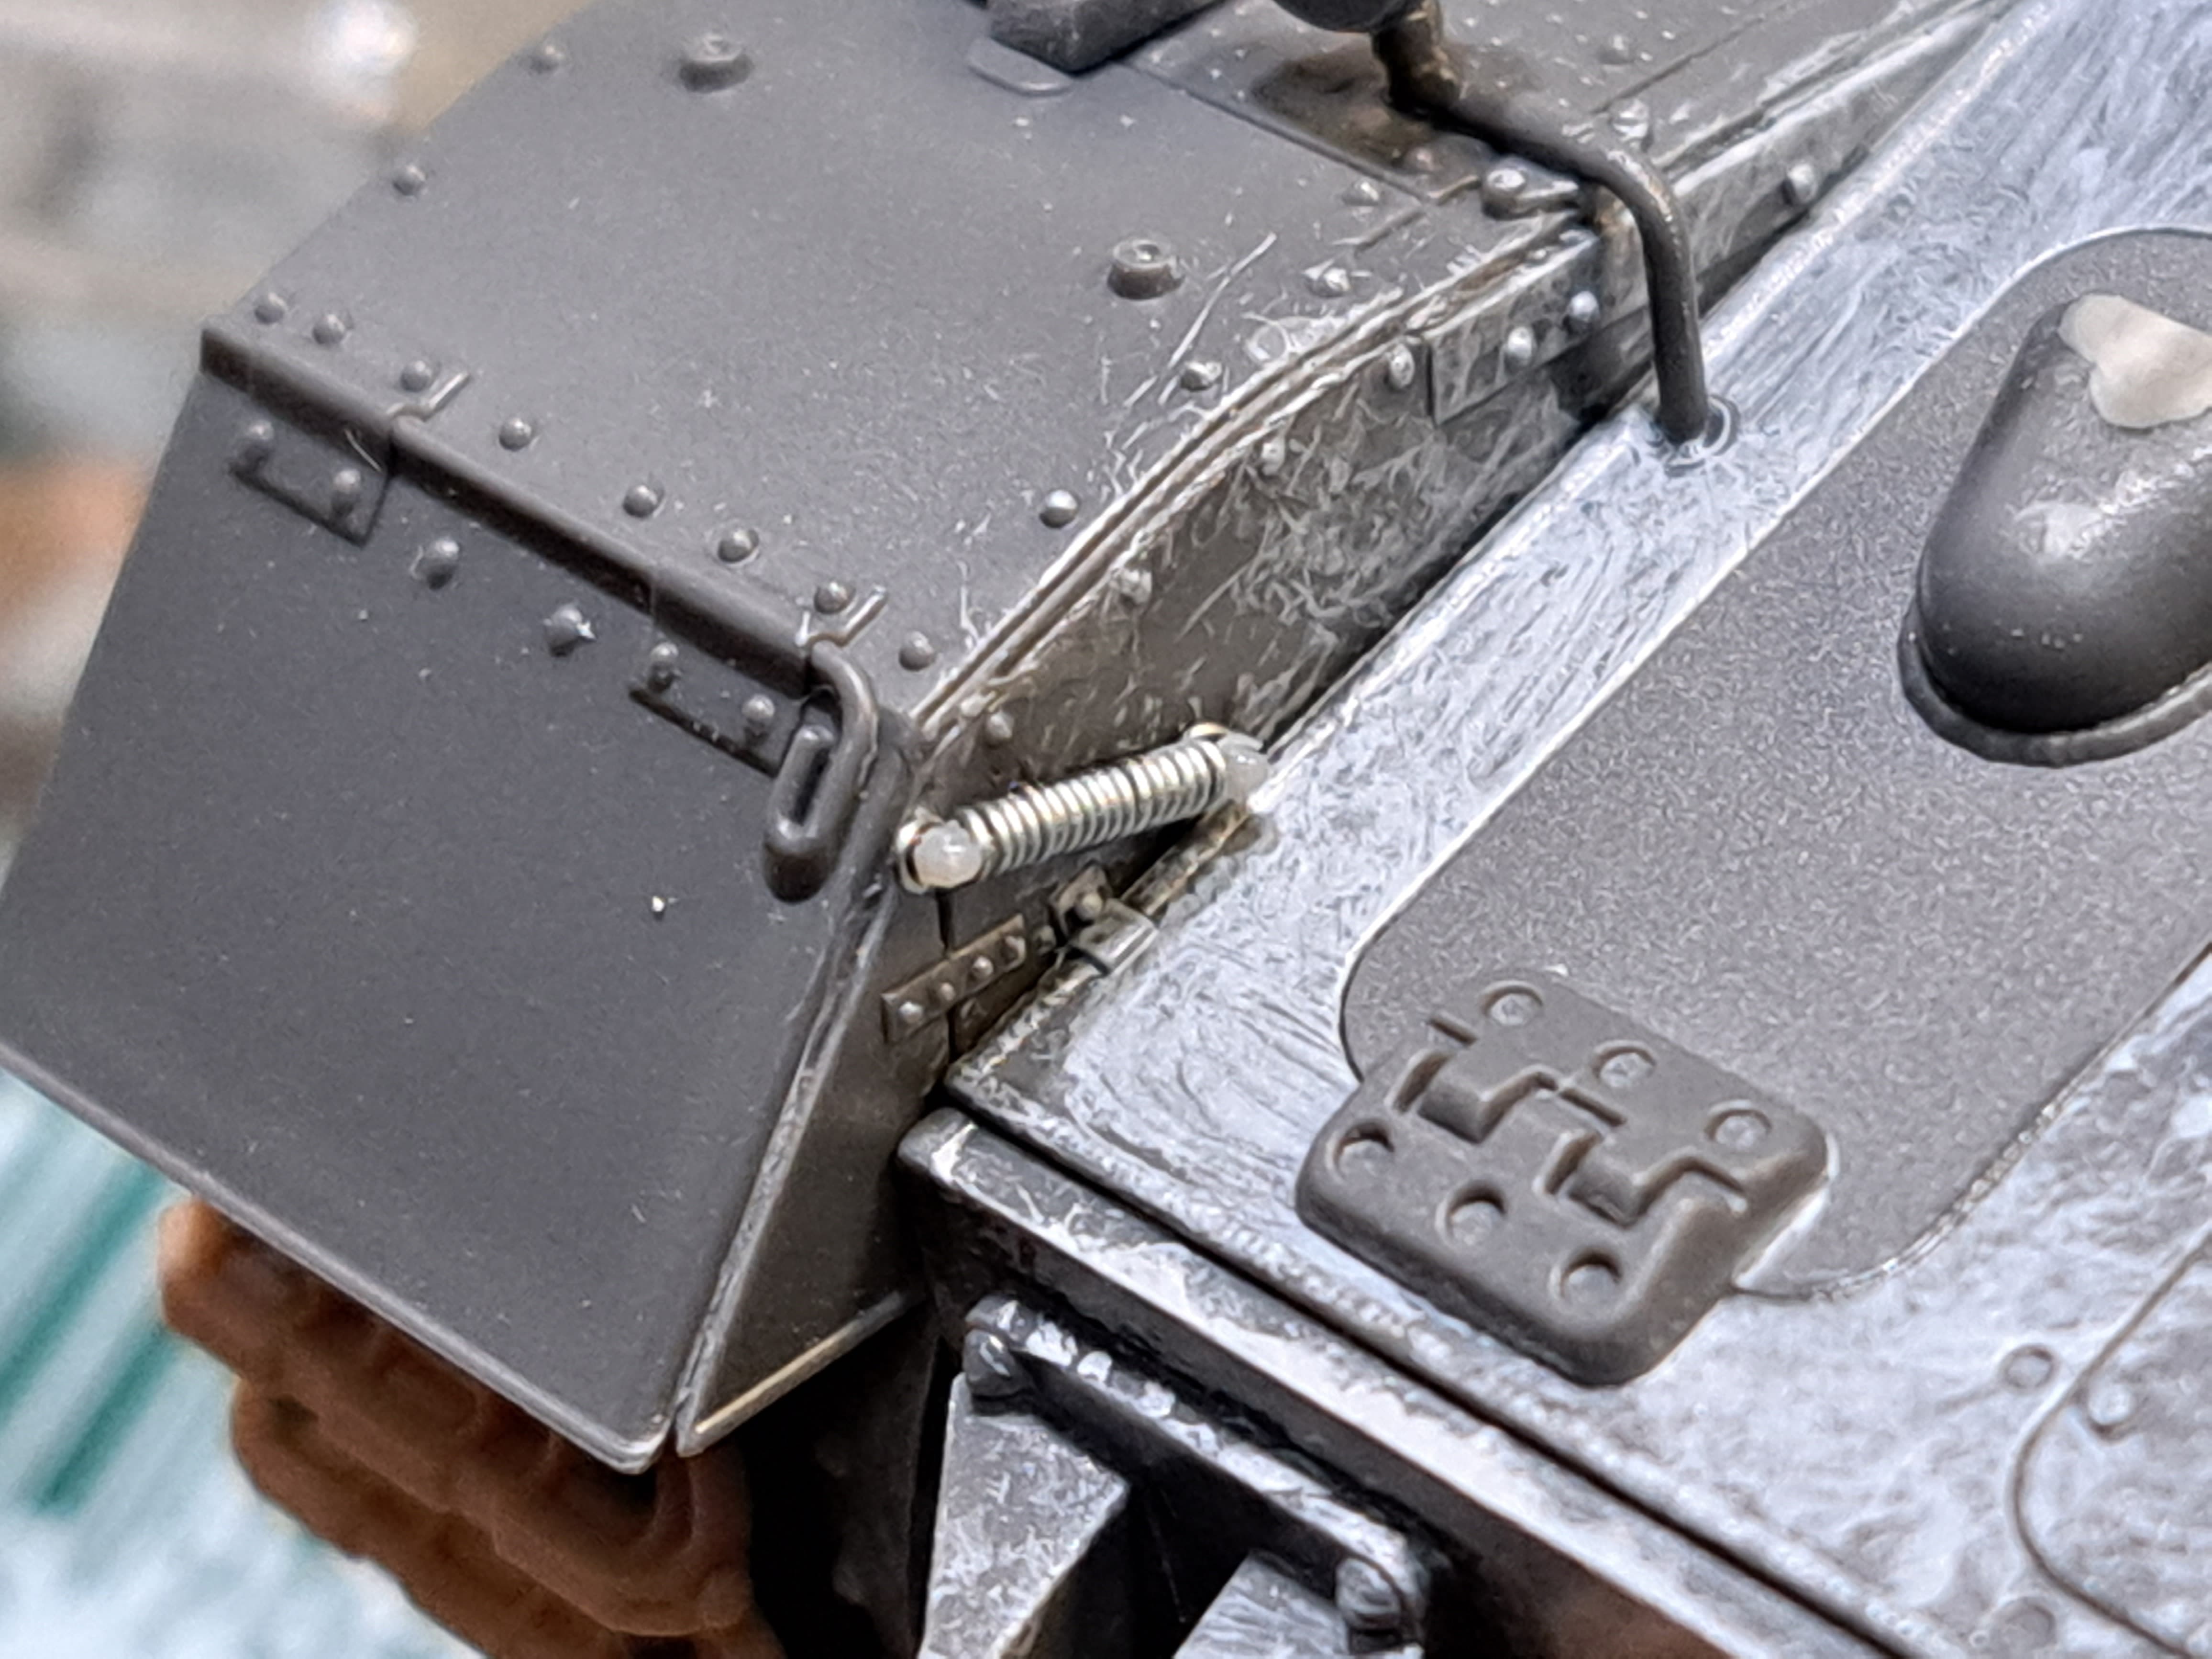
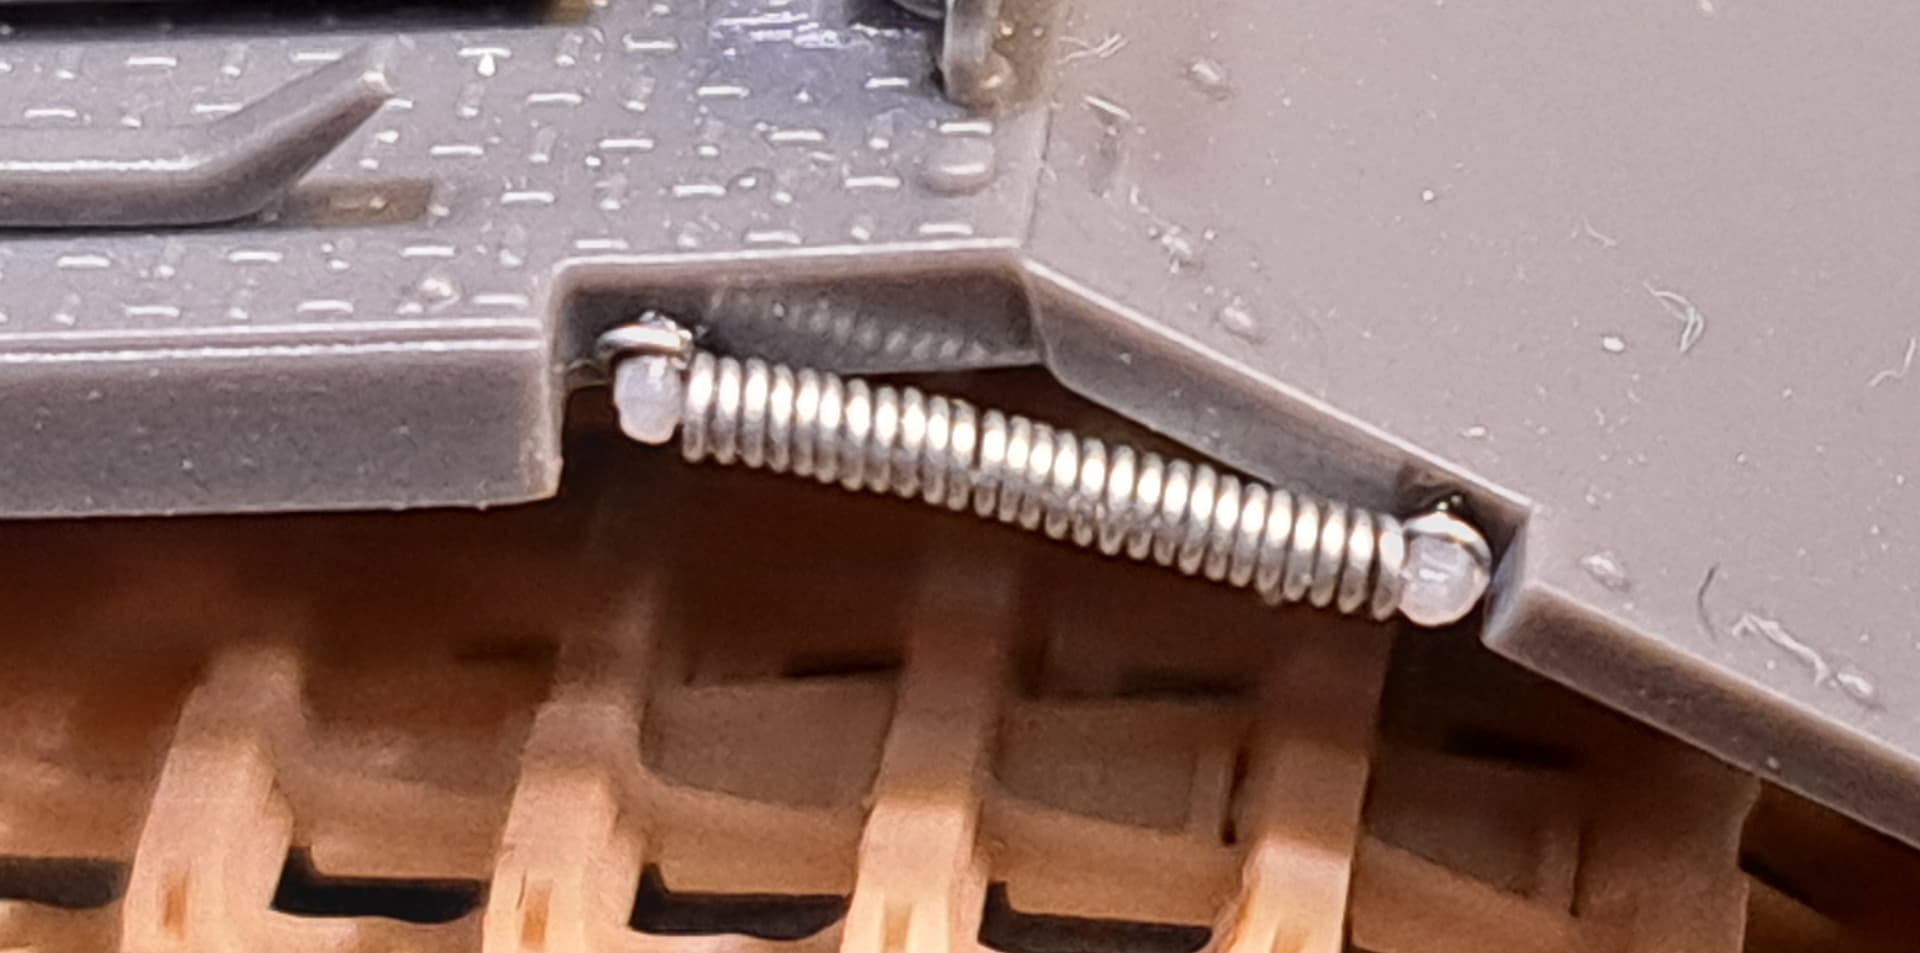
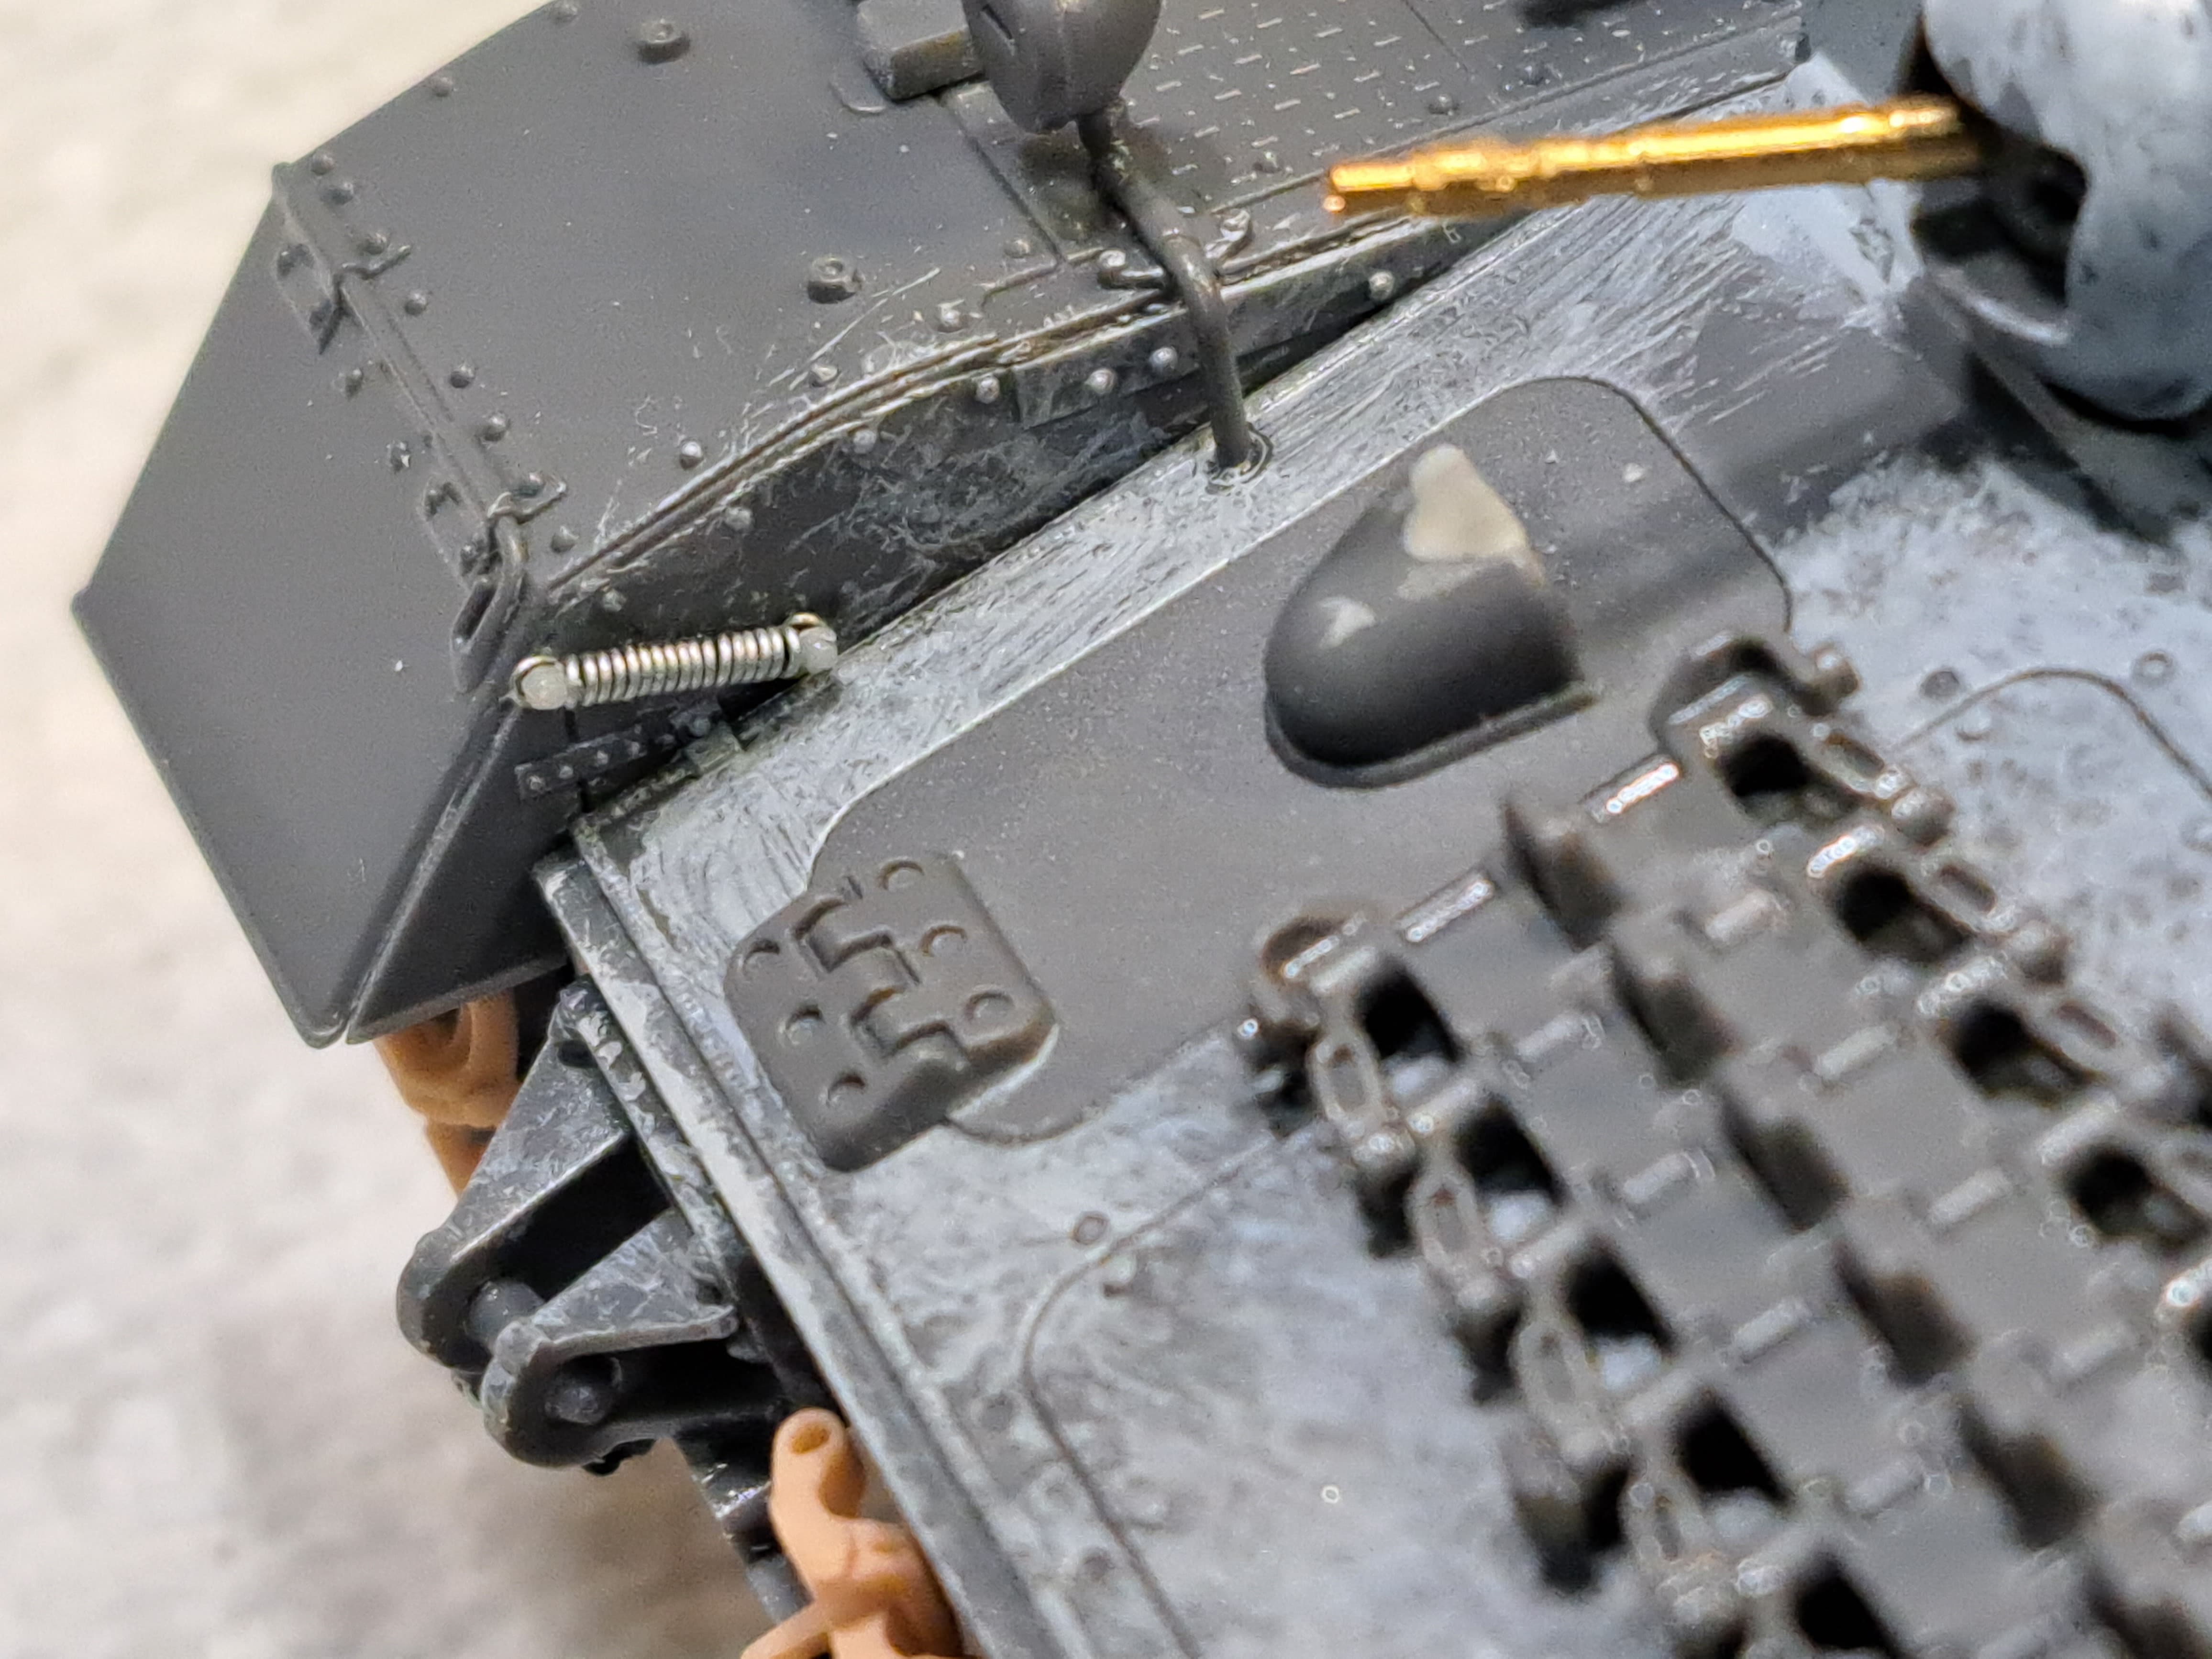
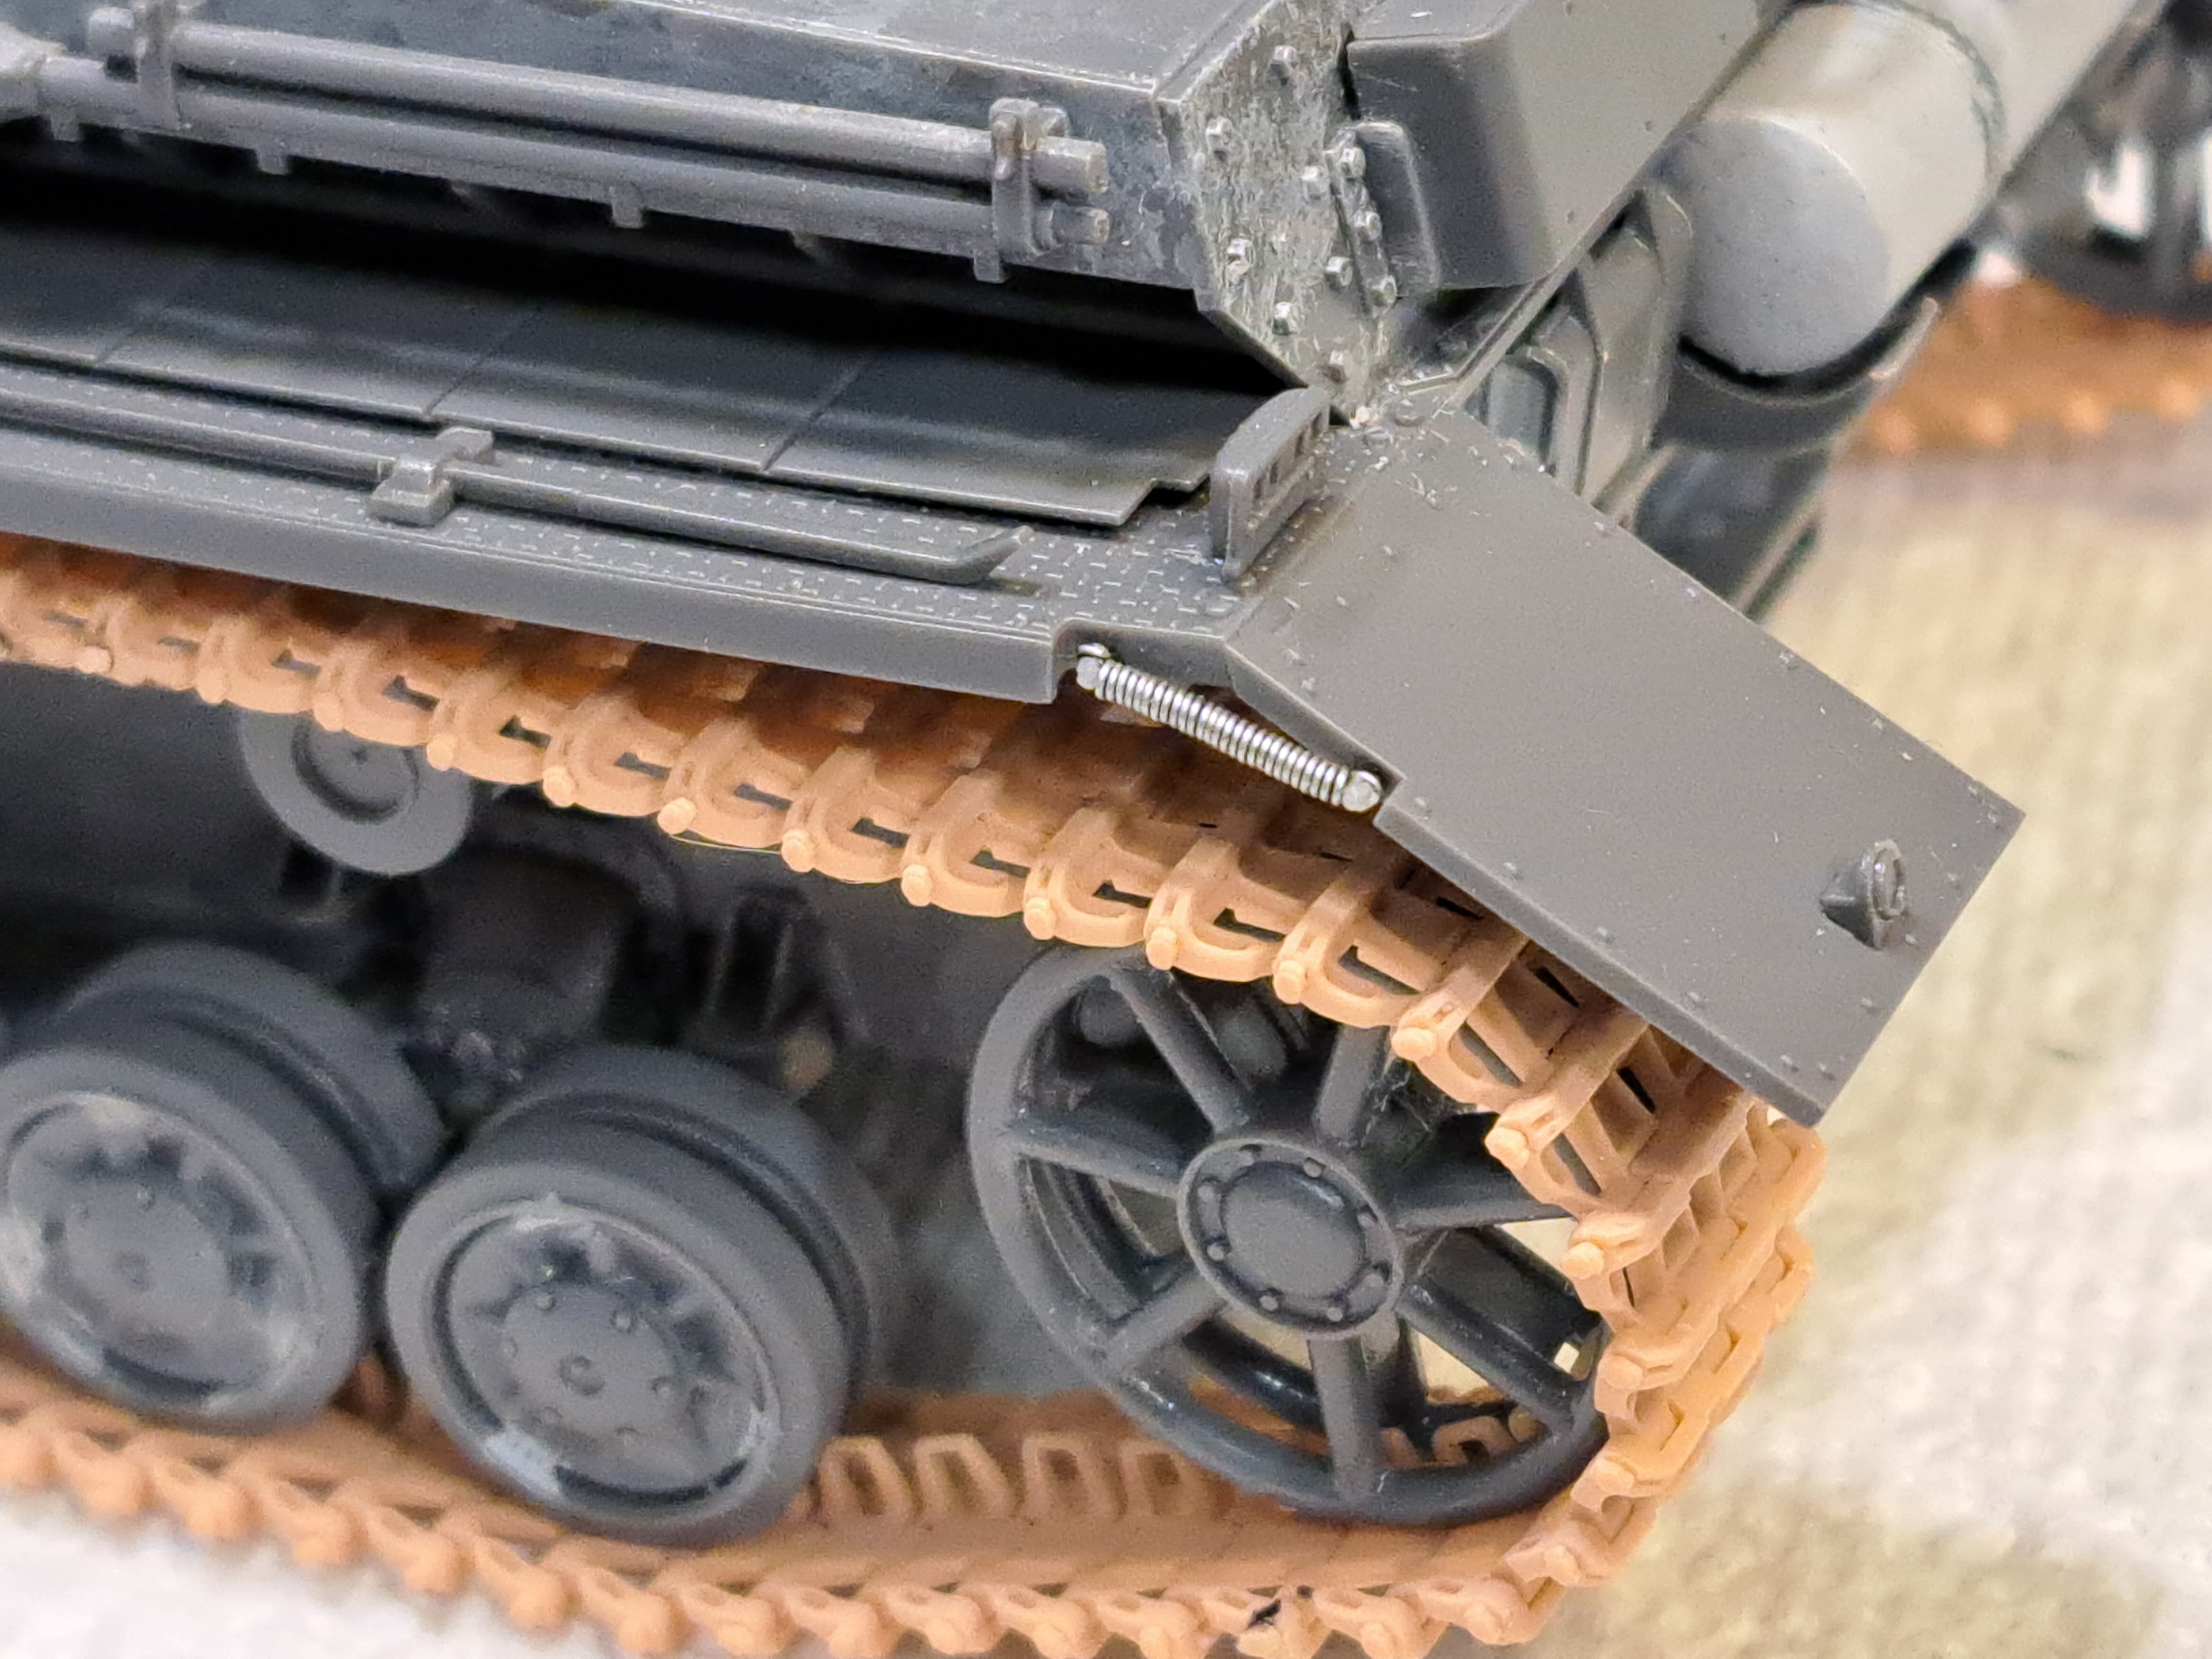
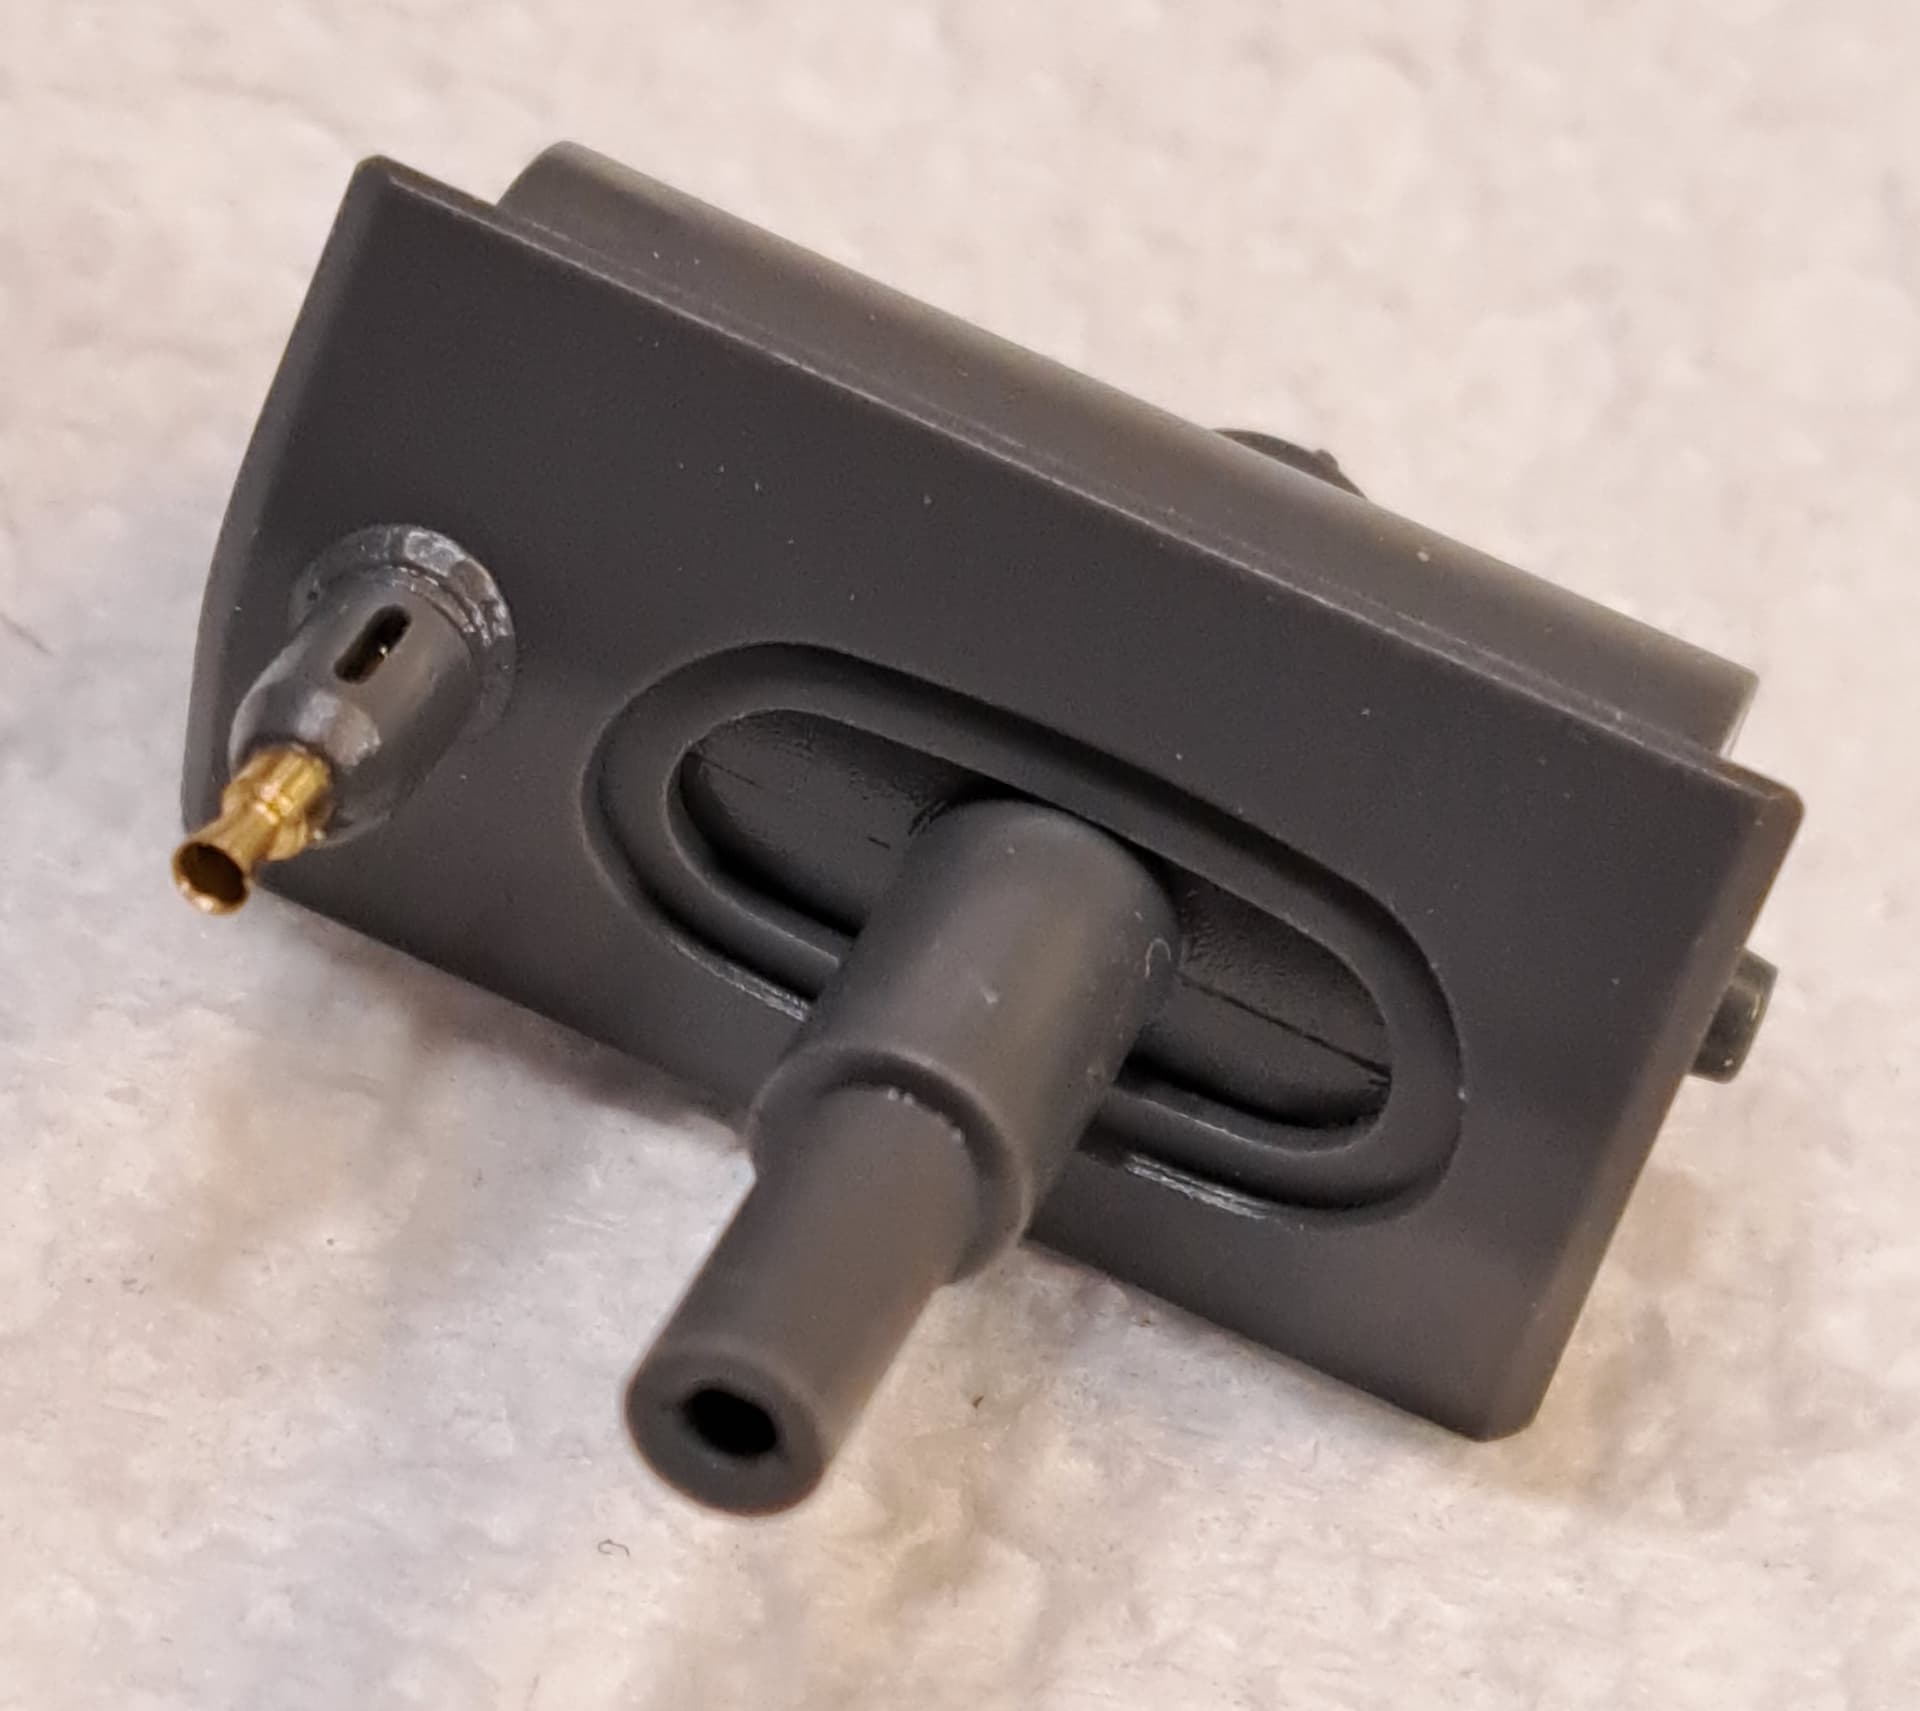
The kit front fender spring E1 just doesn’t have much appeal. Wound 32 gage beading wire over .0225 drill bit plus Grantline nuts.
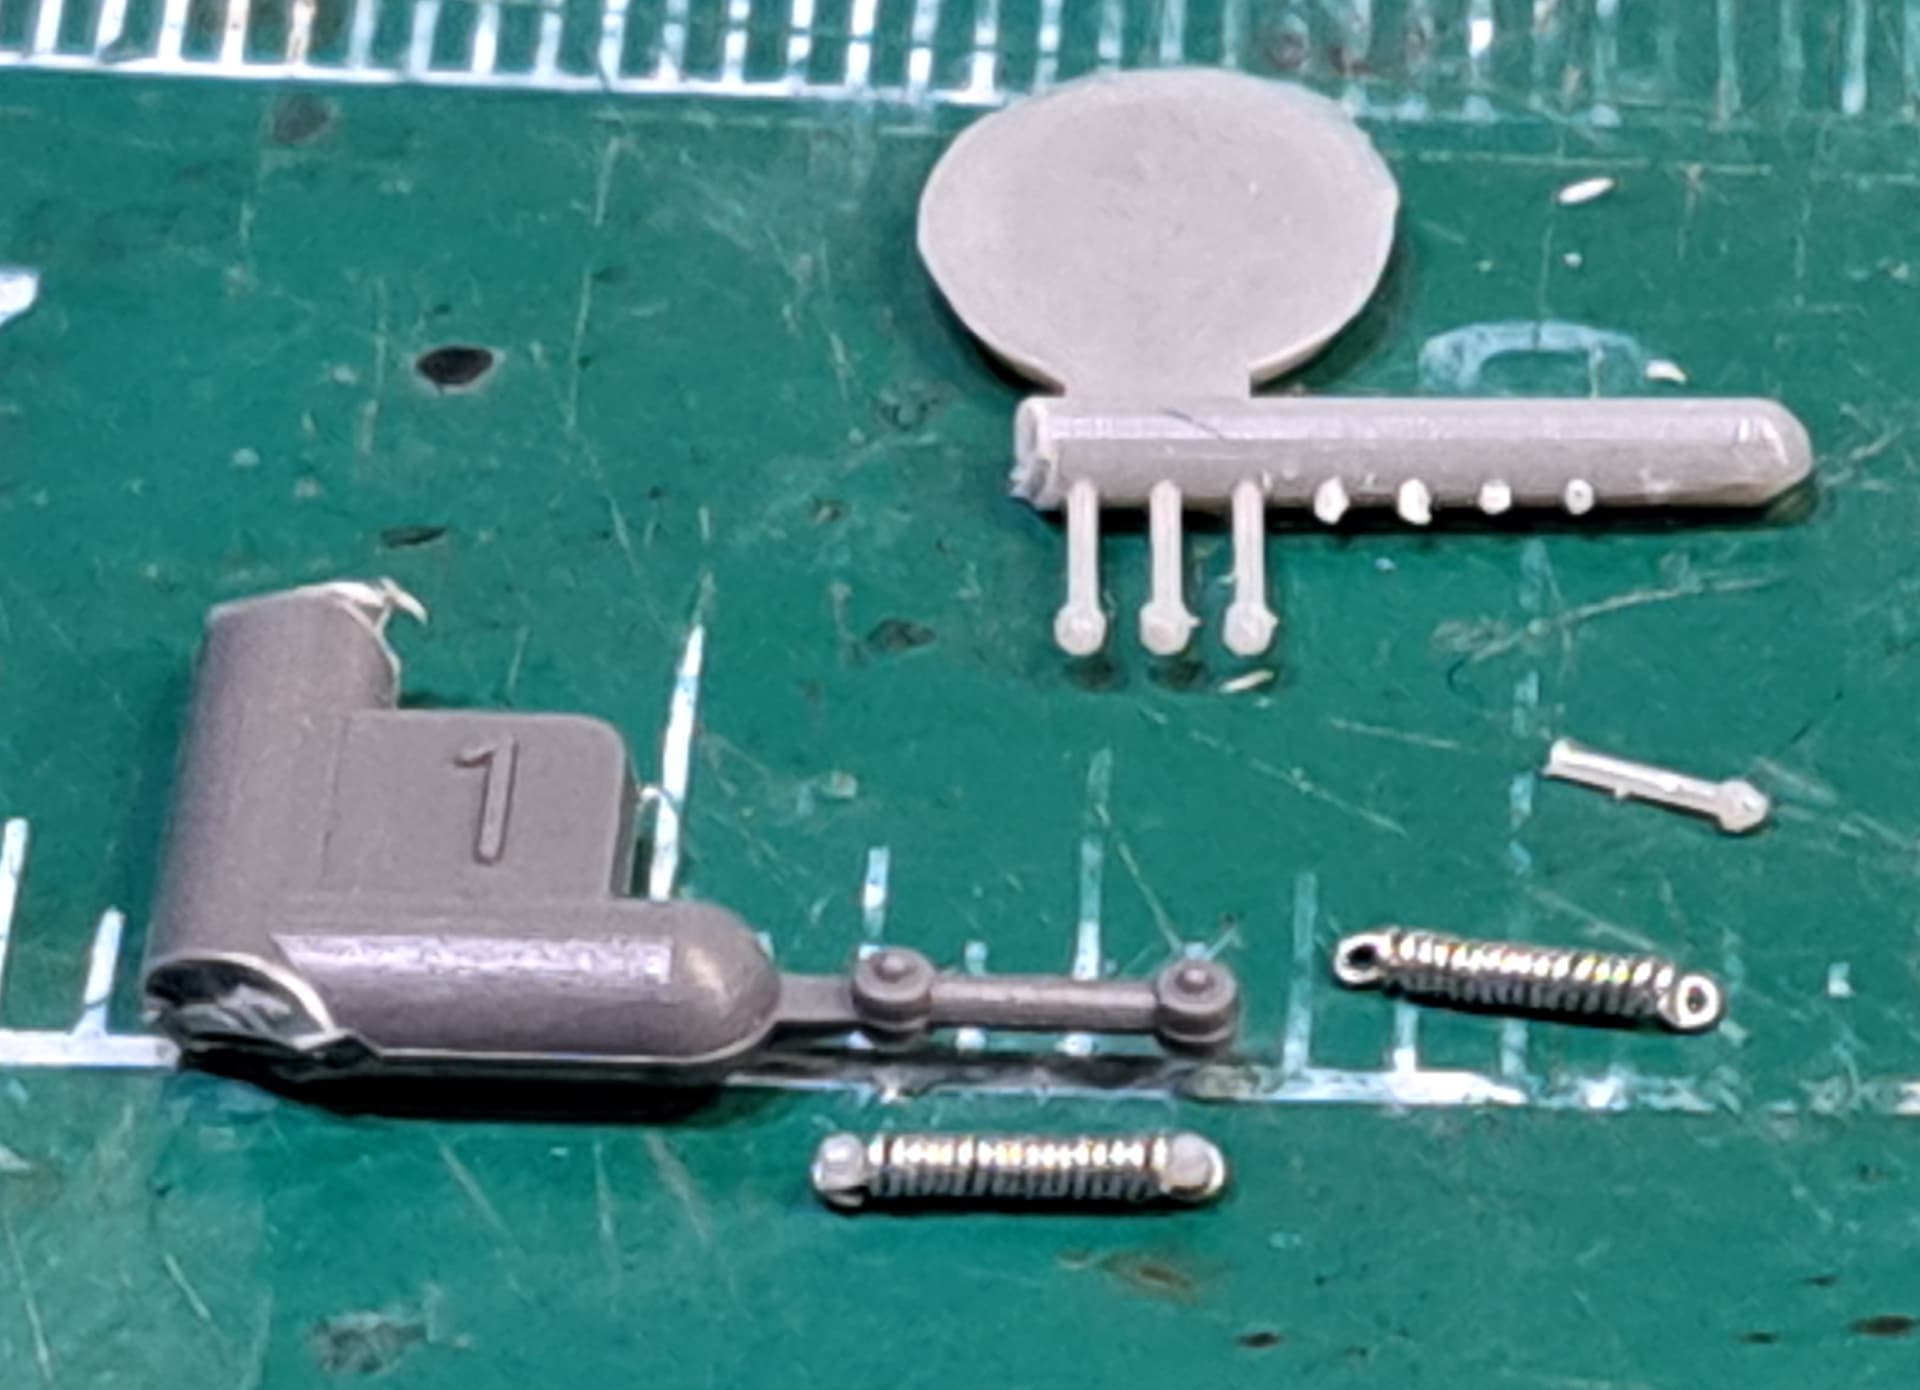
Tried scratching a replacement.
Likewise the rear spring is ugly. It looks like the love child of a tinker toy and a dog’s bone.
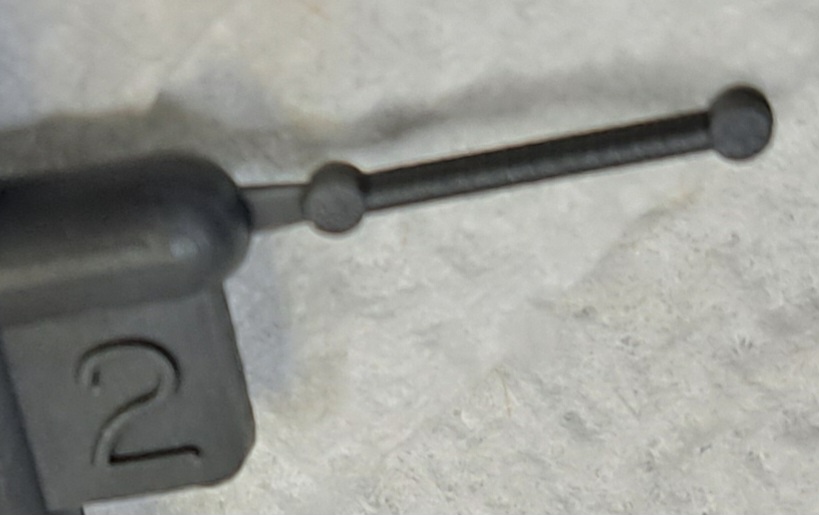
Tried scratching a replacement.
7 Likes
Basically decided to complete the hull assembly before moving on to turret. This requires skipping from step 23 to step 33 & 35.
Steps 33 & 35 involve adding small parts like horns, hooks & remaining tools to the hull. E24 the hook for the upper hull sides is a major improvement of the prior 1990’s era Tamiya Pz IV’s. Tools are nicely molded.
C1 the kit antenna is actually usable and looks decent. I’m pretty amazing this was done well Aber brass antenna are my go to solution. The jack block C23 is very nicely done.

While the suspension is annoying due to its 1994 heritage overall, I found building the hull an excellent experience.
8 Likes
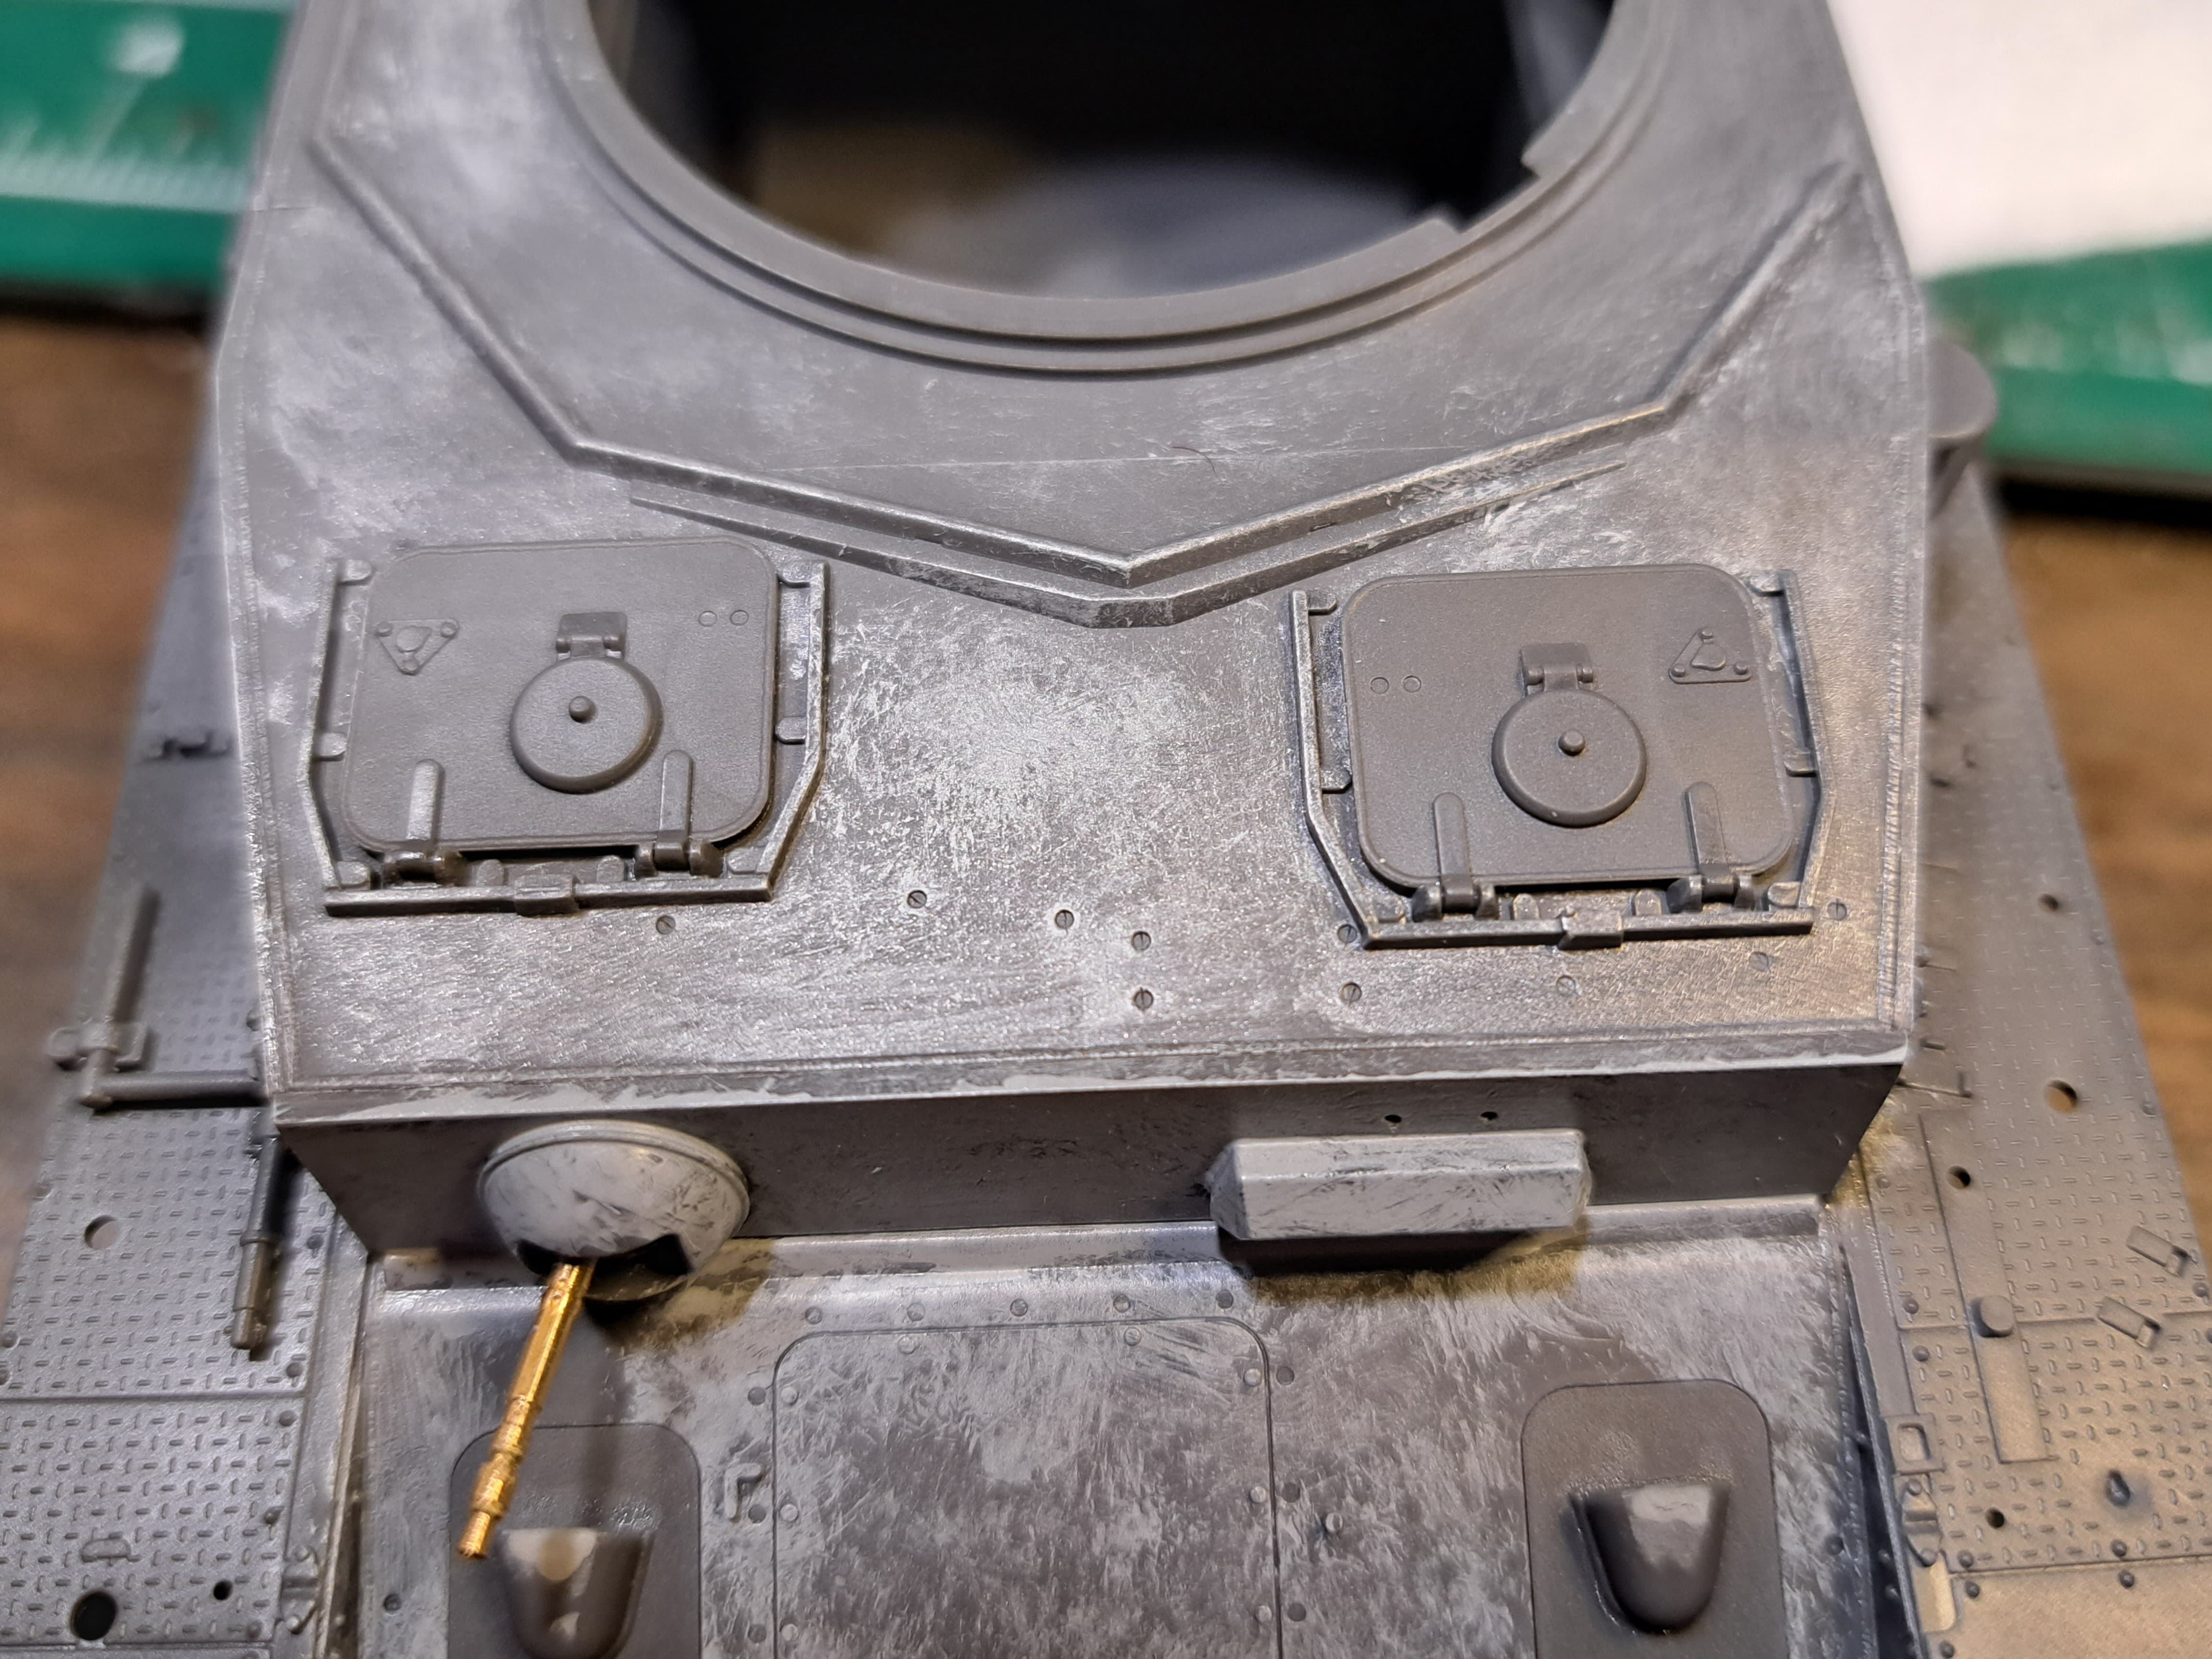
Step 24 - Main Gun part 1
Replaced the kit MG34 w/Aber brass MG34 barrel. Interesting take on the main gun housing by Tamiya it’s pretty unique.
Step 24 - Main Gun part 1
Tamiya = Fumble
Where’s that flat head screw slot detail?
TriStar & Dragon had it 15+ years ago. Simple to mold in.
Dice ![]()
![]() roll…w/#11 blade
roll…w/#11 blade
Subassembly from step 24 added.
Step 26 - Breech
Skipped model is buttoned up and none of this will be visible.
Step 27 - Main Gun Mantlet
Tamiya Click!
28 - Turret
E4 the hinges for the hatches are precision perfect fit. This is like 10x better than Dragon’s goof ball engineering.
Tamiya has a really sweet alignment tab for the turret sides show below. This design is like 100x better than Dragon’s screw ball engineering.

Turret w/main gun assembly
Had to play with the model of course ![]()
![]()
7 Likes
Hi Wade, i’m keeping a close eye on this thread as i’m currently tinkering with Tamiyas Late Brummbar kit…. which looks like it shares a lot of common parts with yours. Lots of useful tips in this thread. I’m particularly liking your mud flap springs and tow pintle chain! Very nice, keep up the good work ![]()
2 Likes
@barleeni David, thank you! ![]() Very happy the blog is of interest and provide a useful tip or two! Yes, there’s definitely some parts in common with the Brummbar. Look forward to seeing your Grizzly Bear soon, please share pictures!
Very happy the blog is of interest and provide a useful tip or two! Yes, there’s definitely some parts in common with the Brummbar. Look forward to seeing your Grizzly Bear soon, please share pictures!
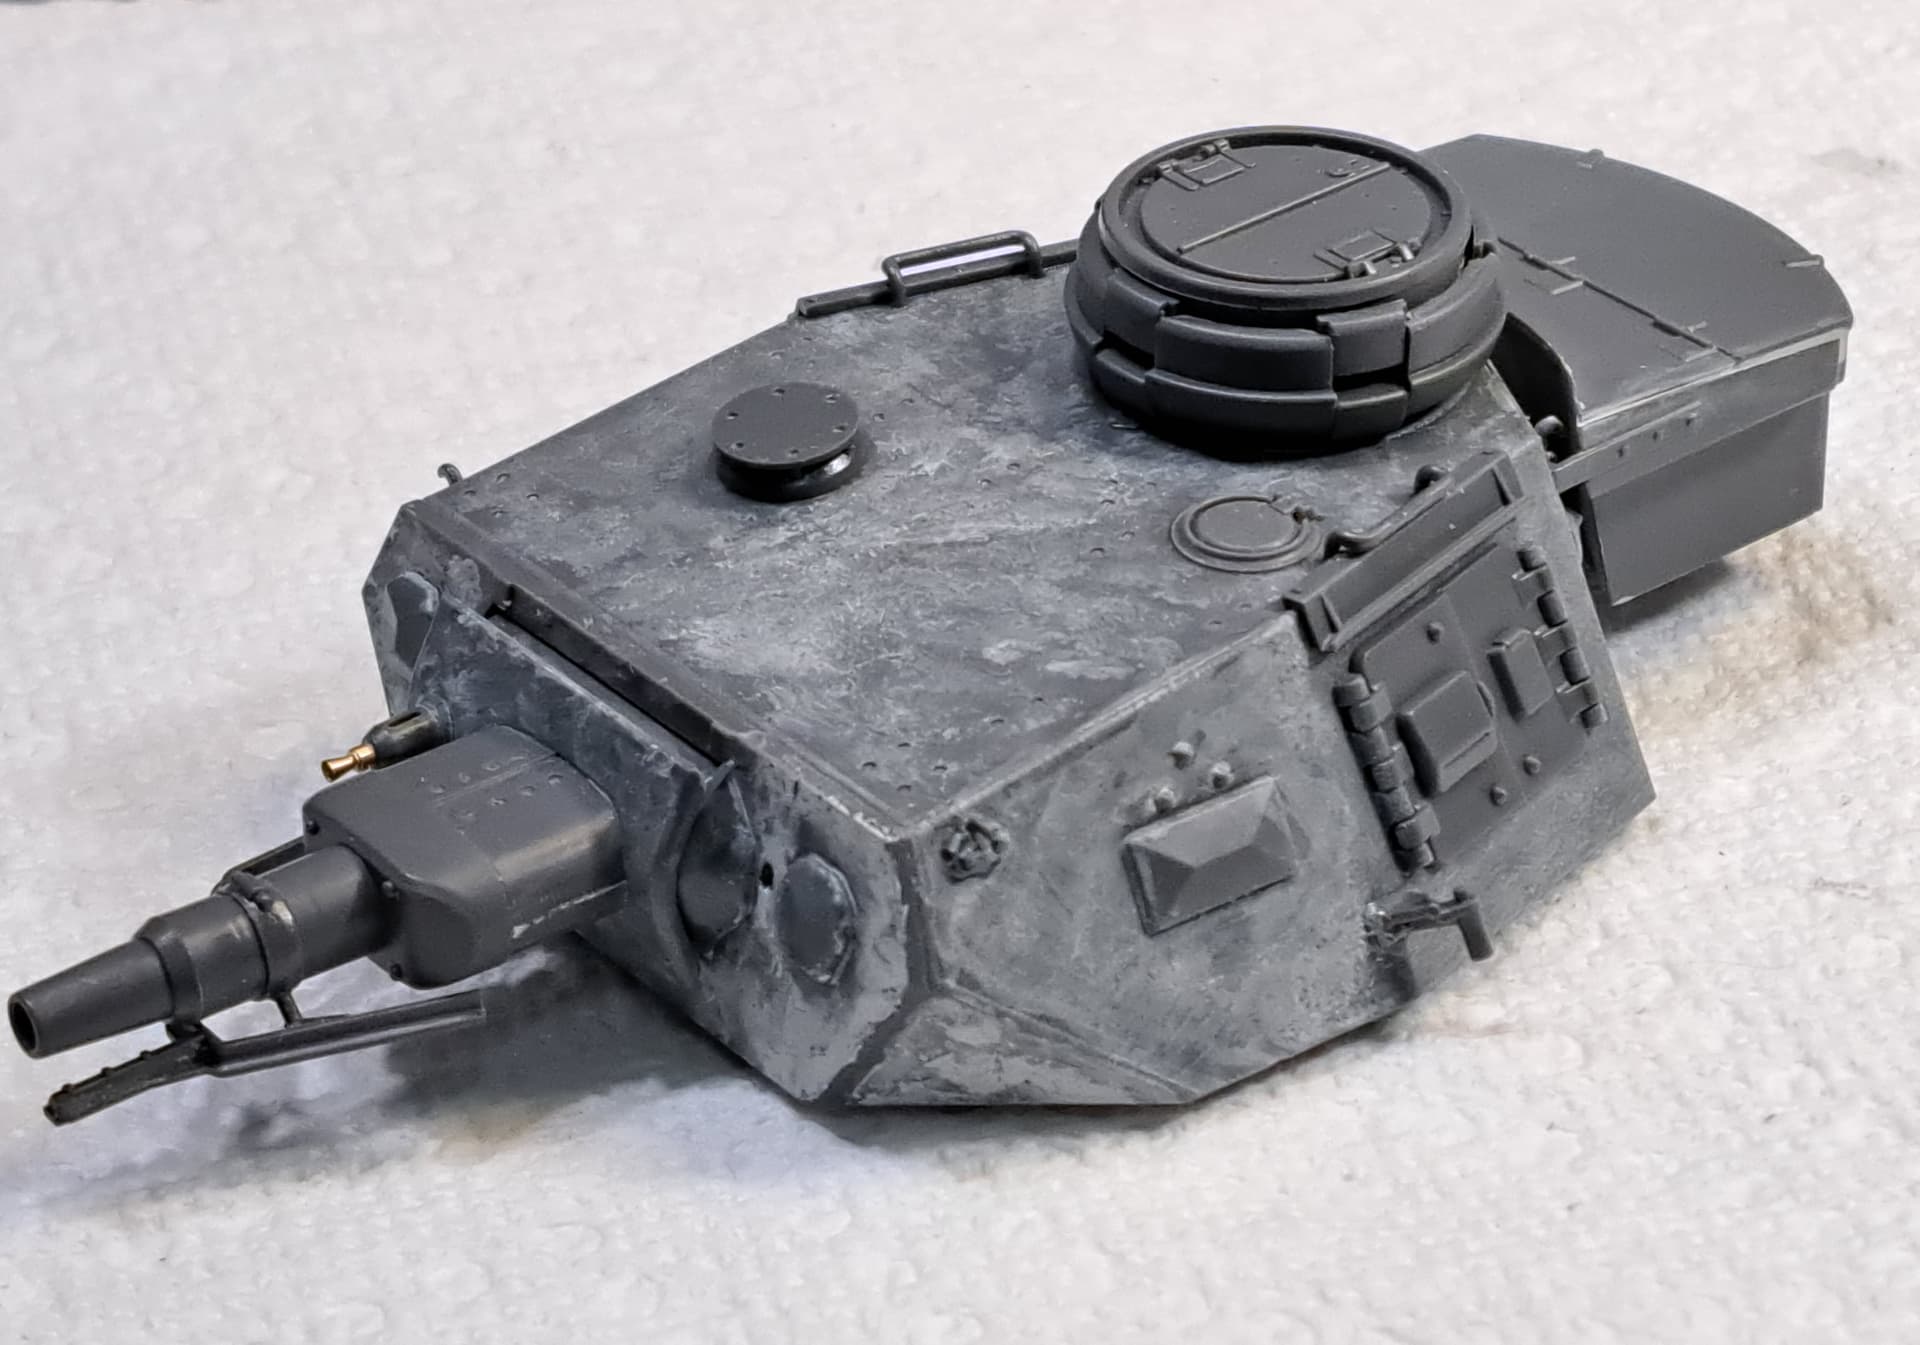
Step 29 - Antenna Deflector & Fittings
D20 the antenna deflector is pretty sweet in design and fit. Be sure to remove the punch mark toward the end on the underside if your into contest model building to be safe.
The small hooks (E18 & E19) are A++ excellent compared to prior Tamiya versions. Likewise the pistol port alignment is easy since Tamiya keyed E17.
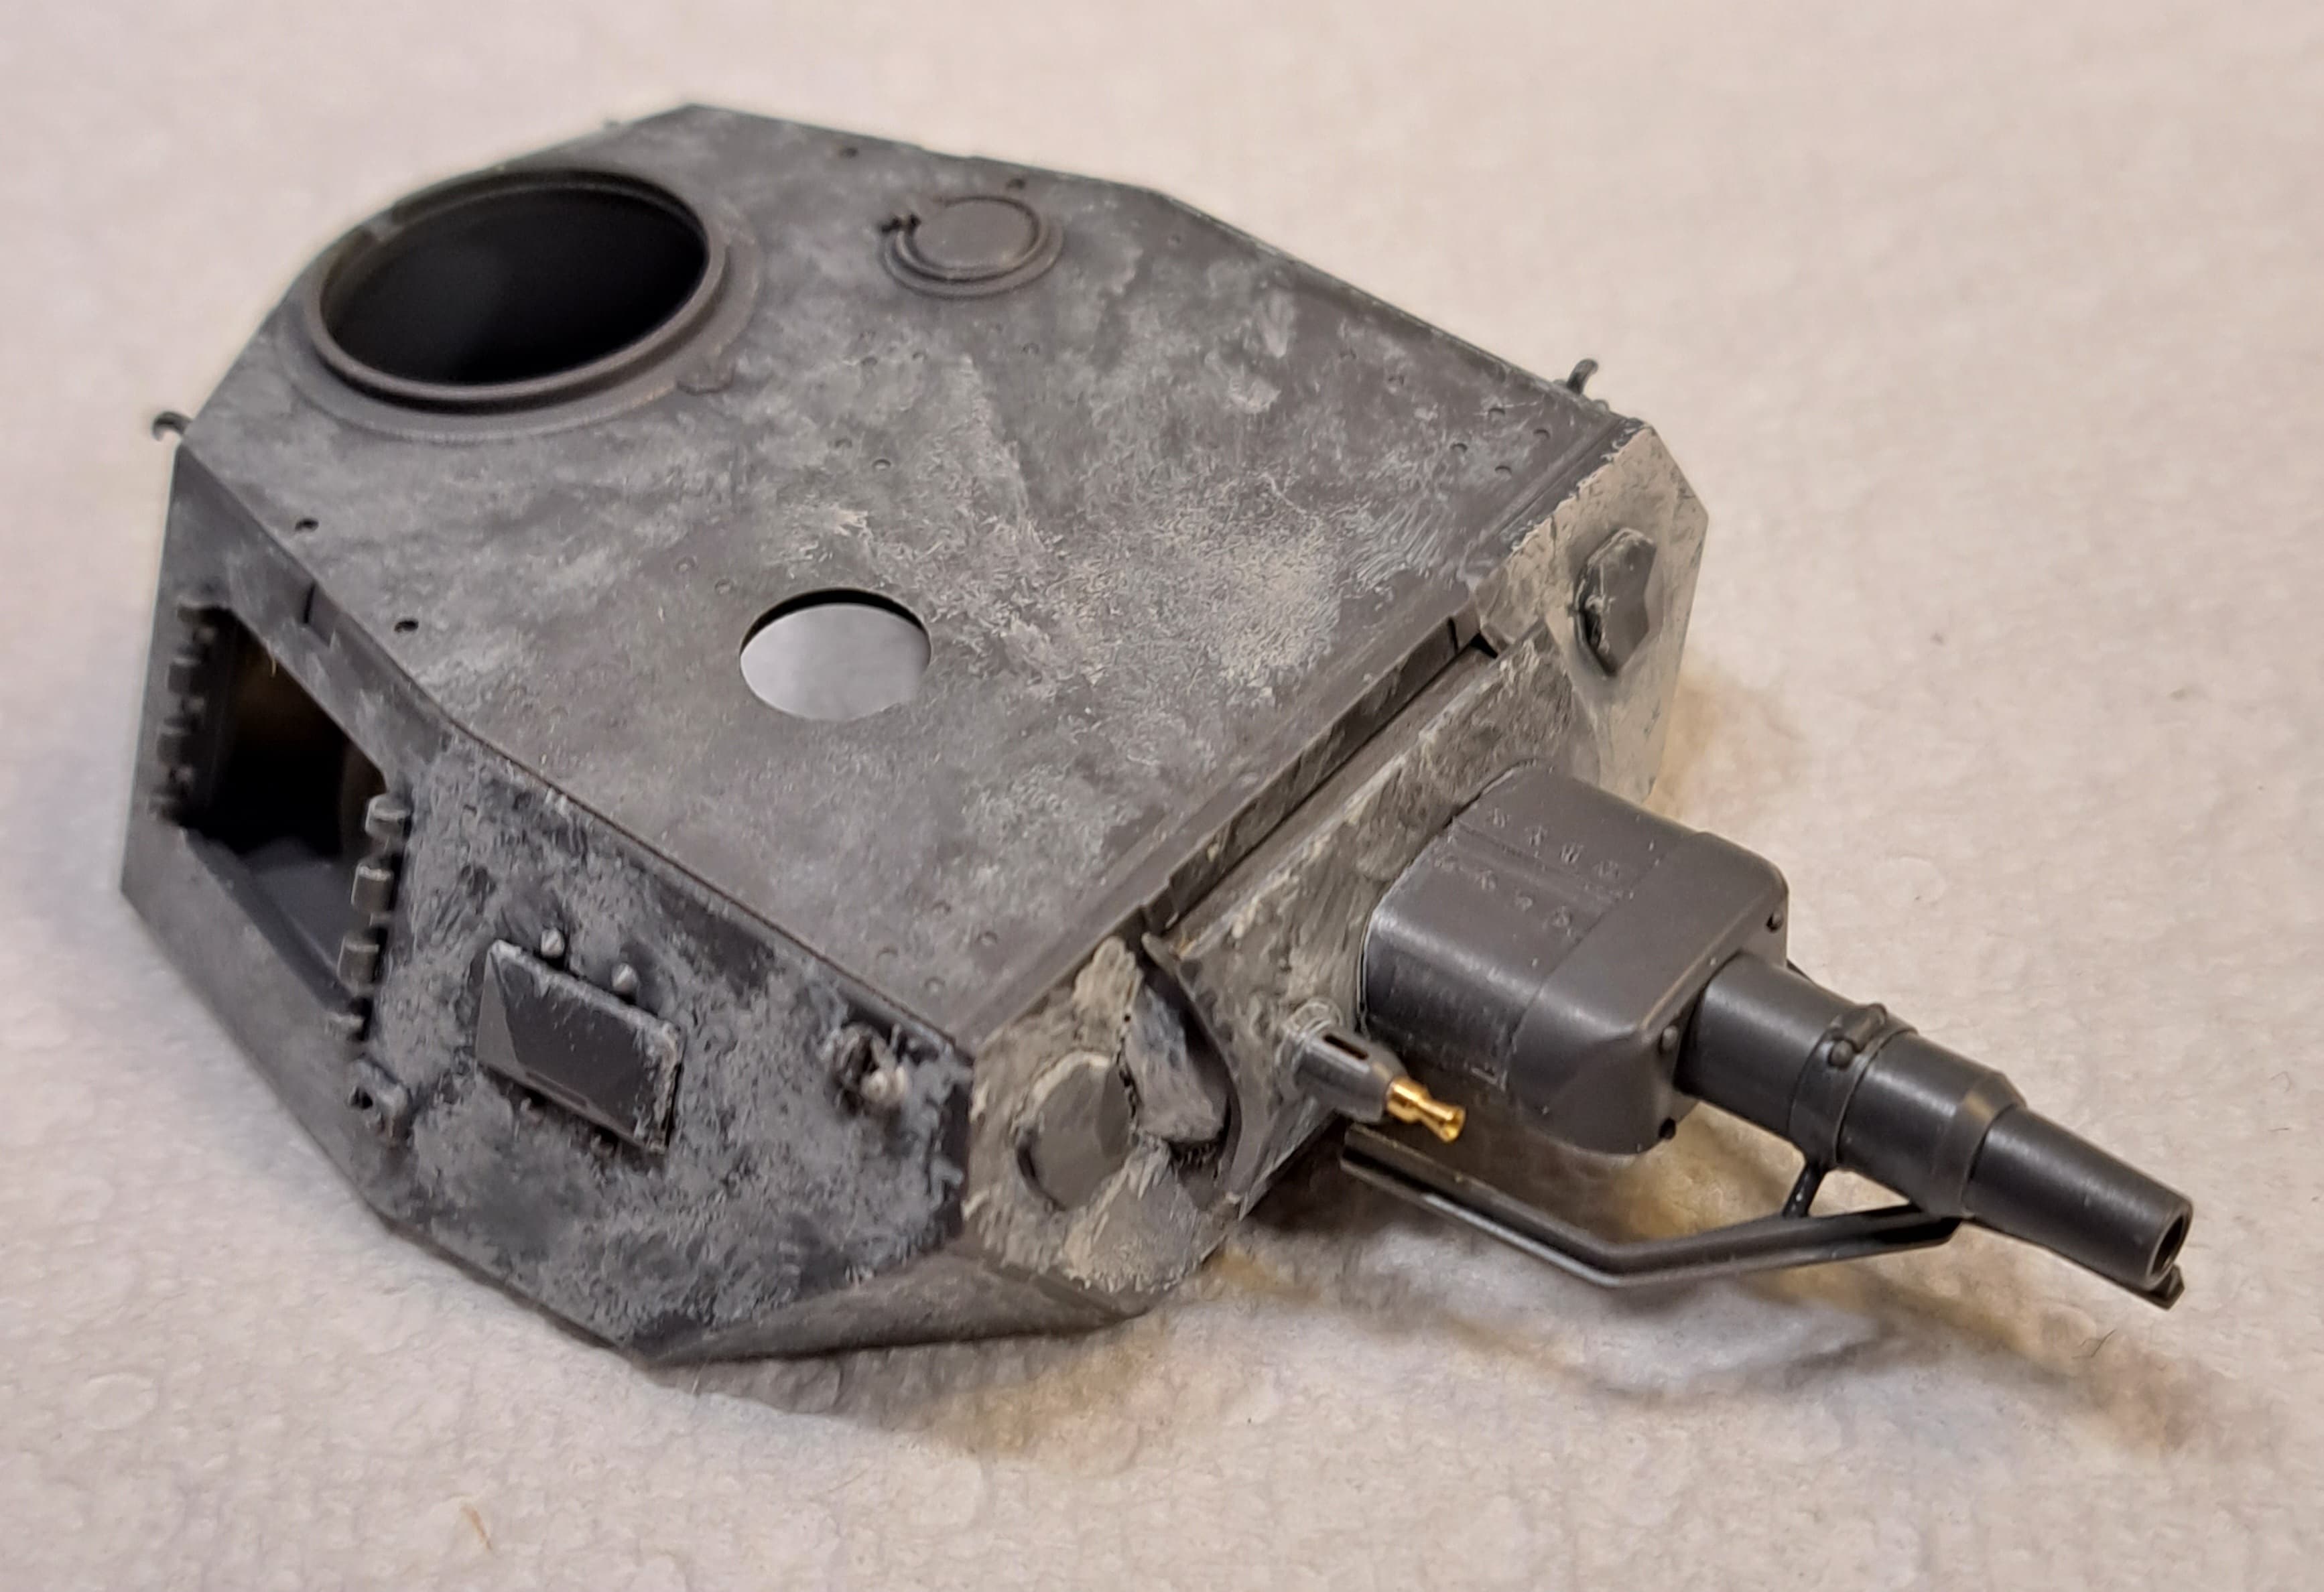
Added screw slots to turret roof.

Added texture.
Results
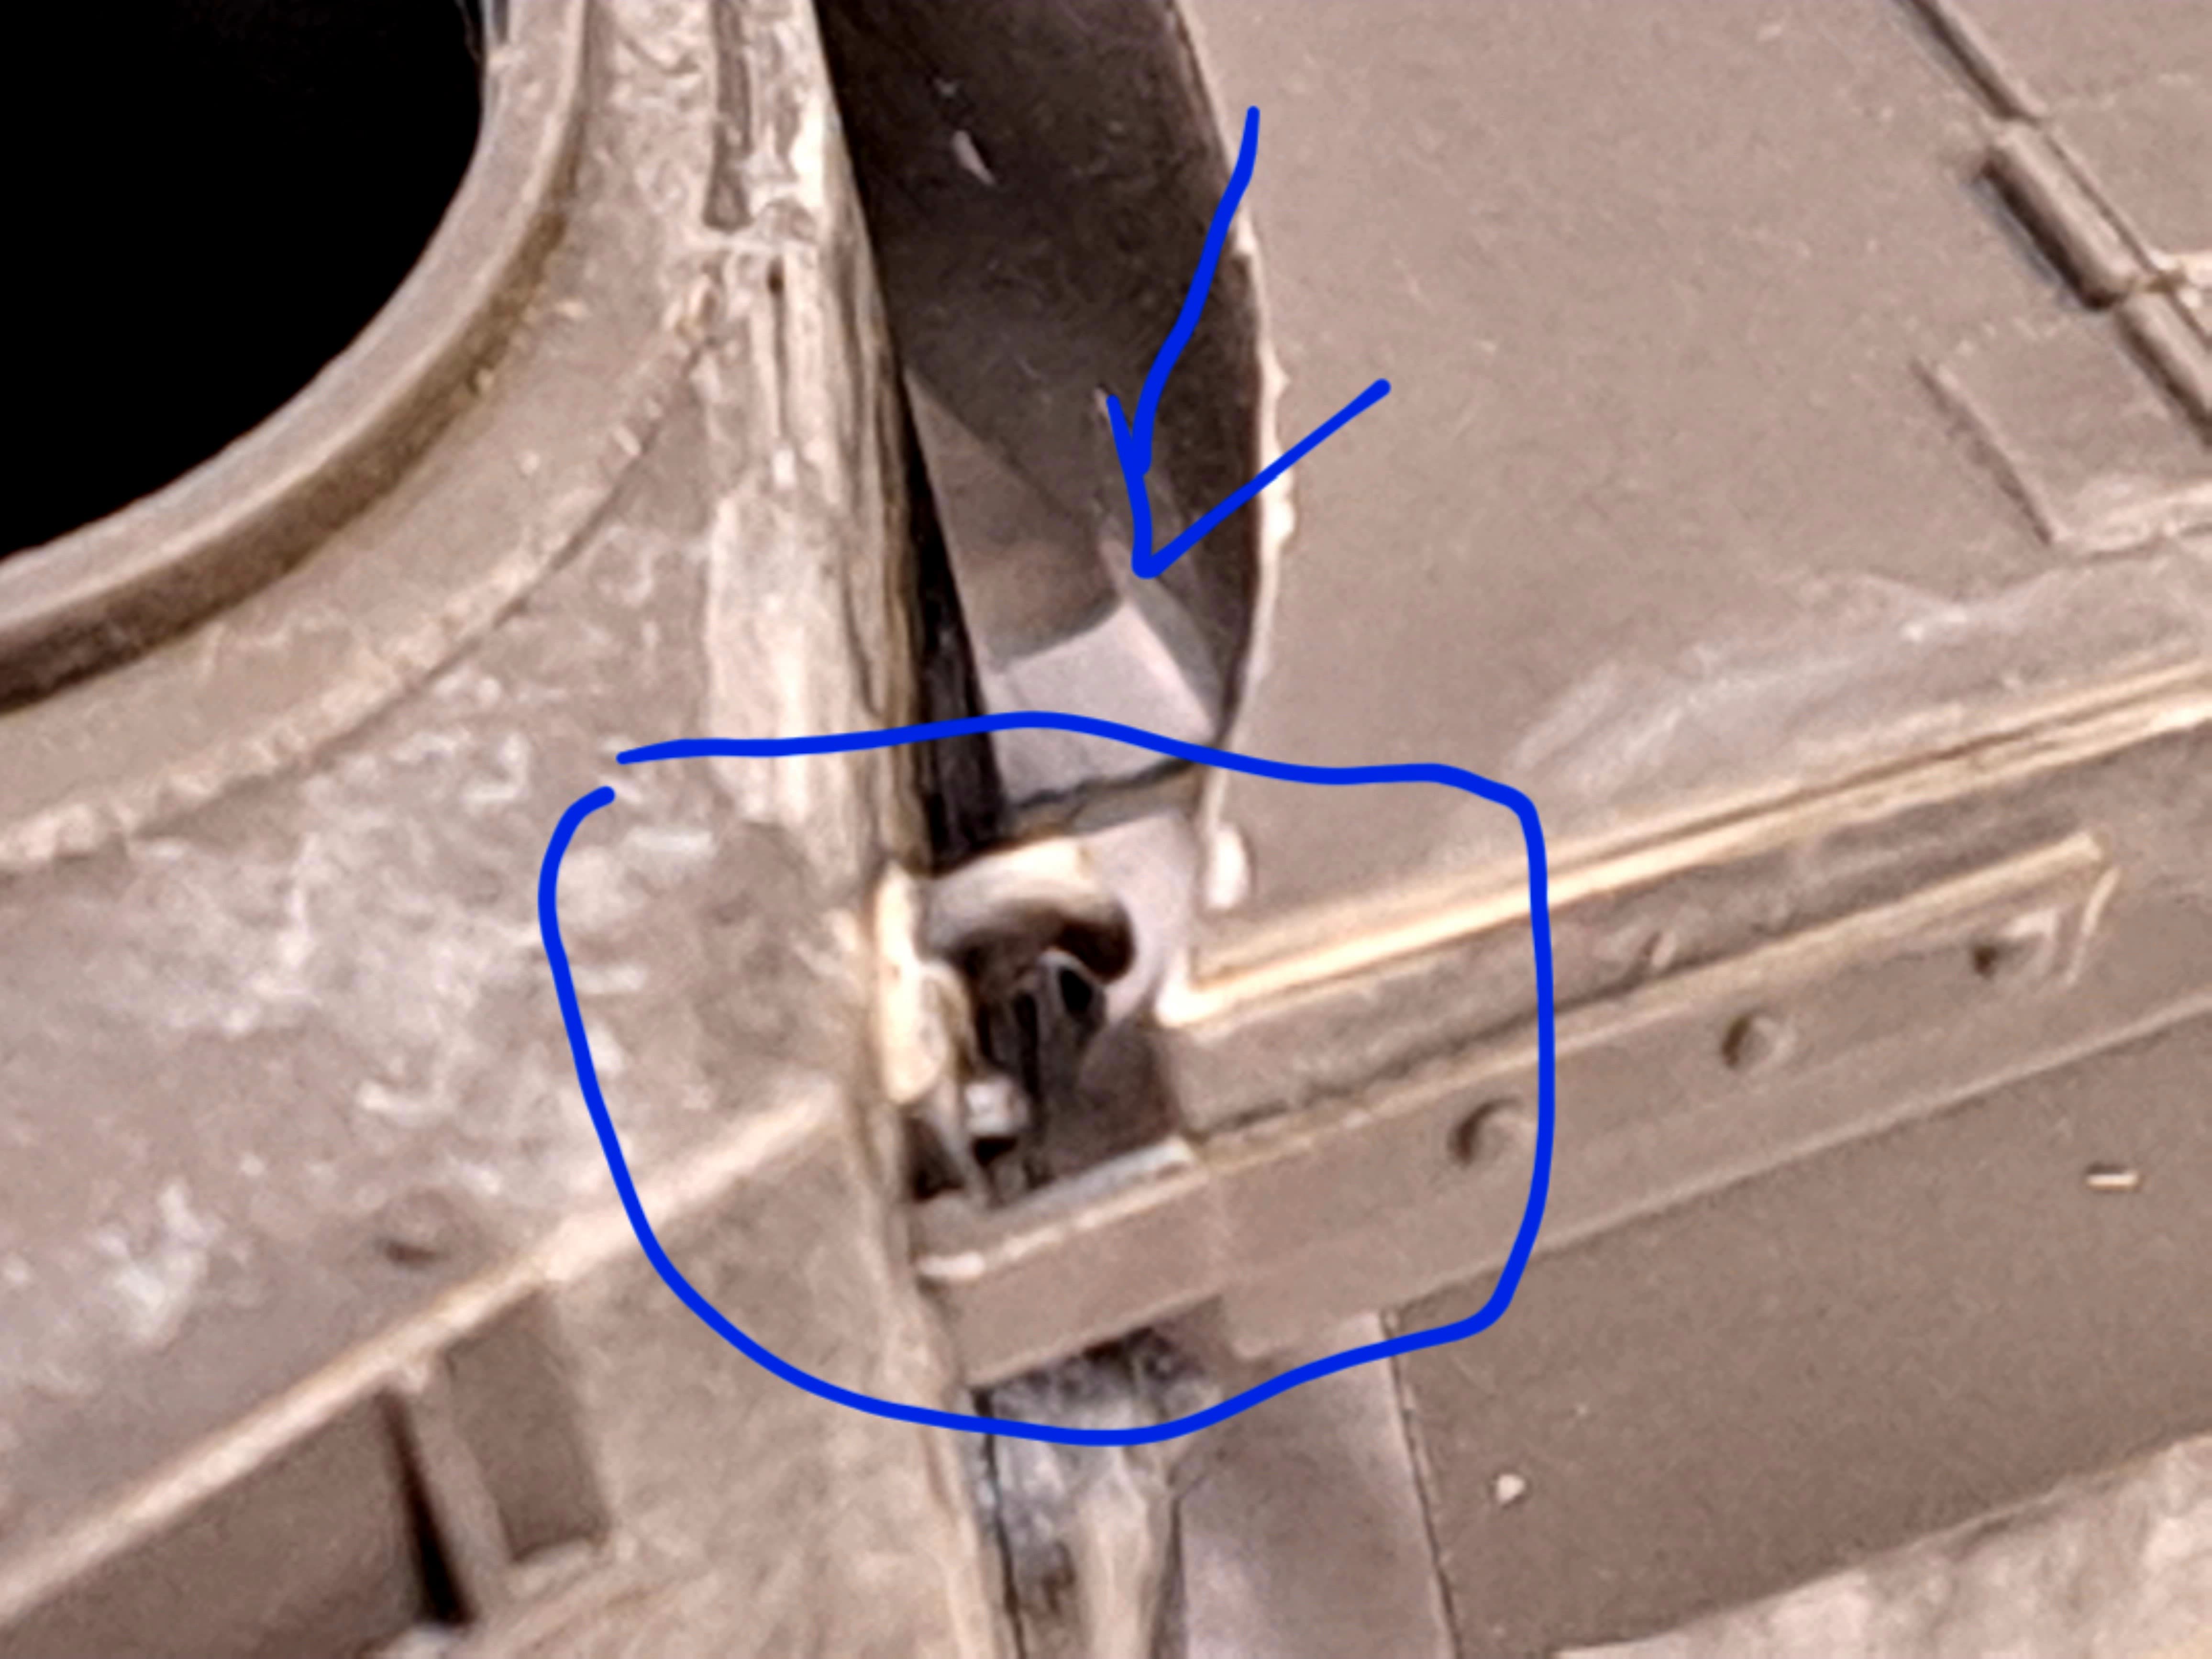
Step 30 Stowage Bin & Rain Gutters
The real test of Tamiya’s spiffy new design is will the stowage box fit properly without touching the small hooks. This can be annoyingly fiddly ![]() with some models.
with some models.
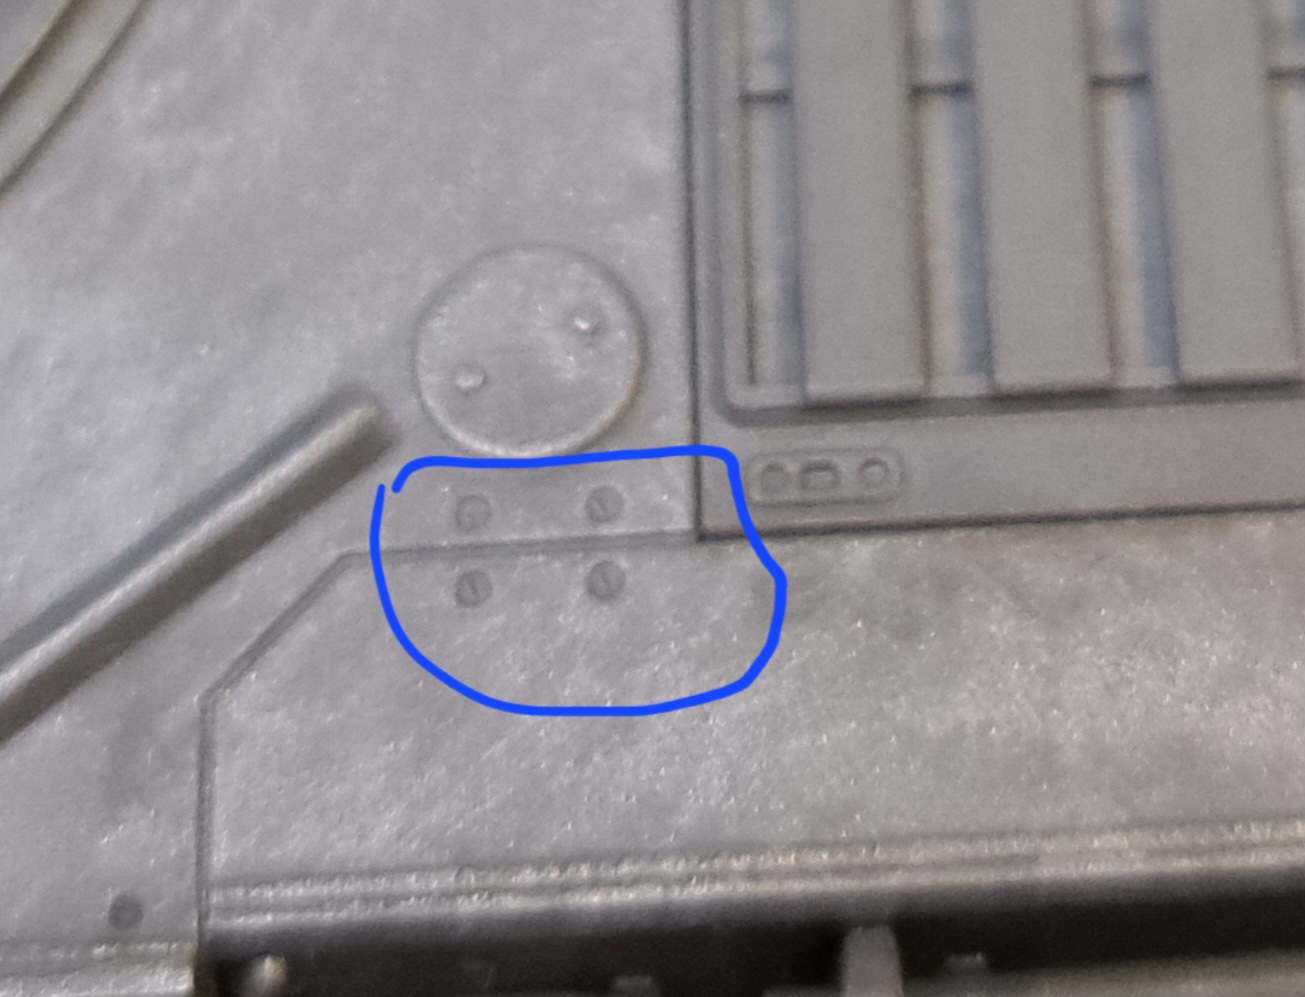
Trouble in Paradise, B20 has a nasty punch mark on top and it will show if not fixed.
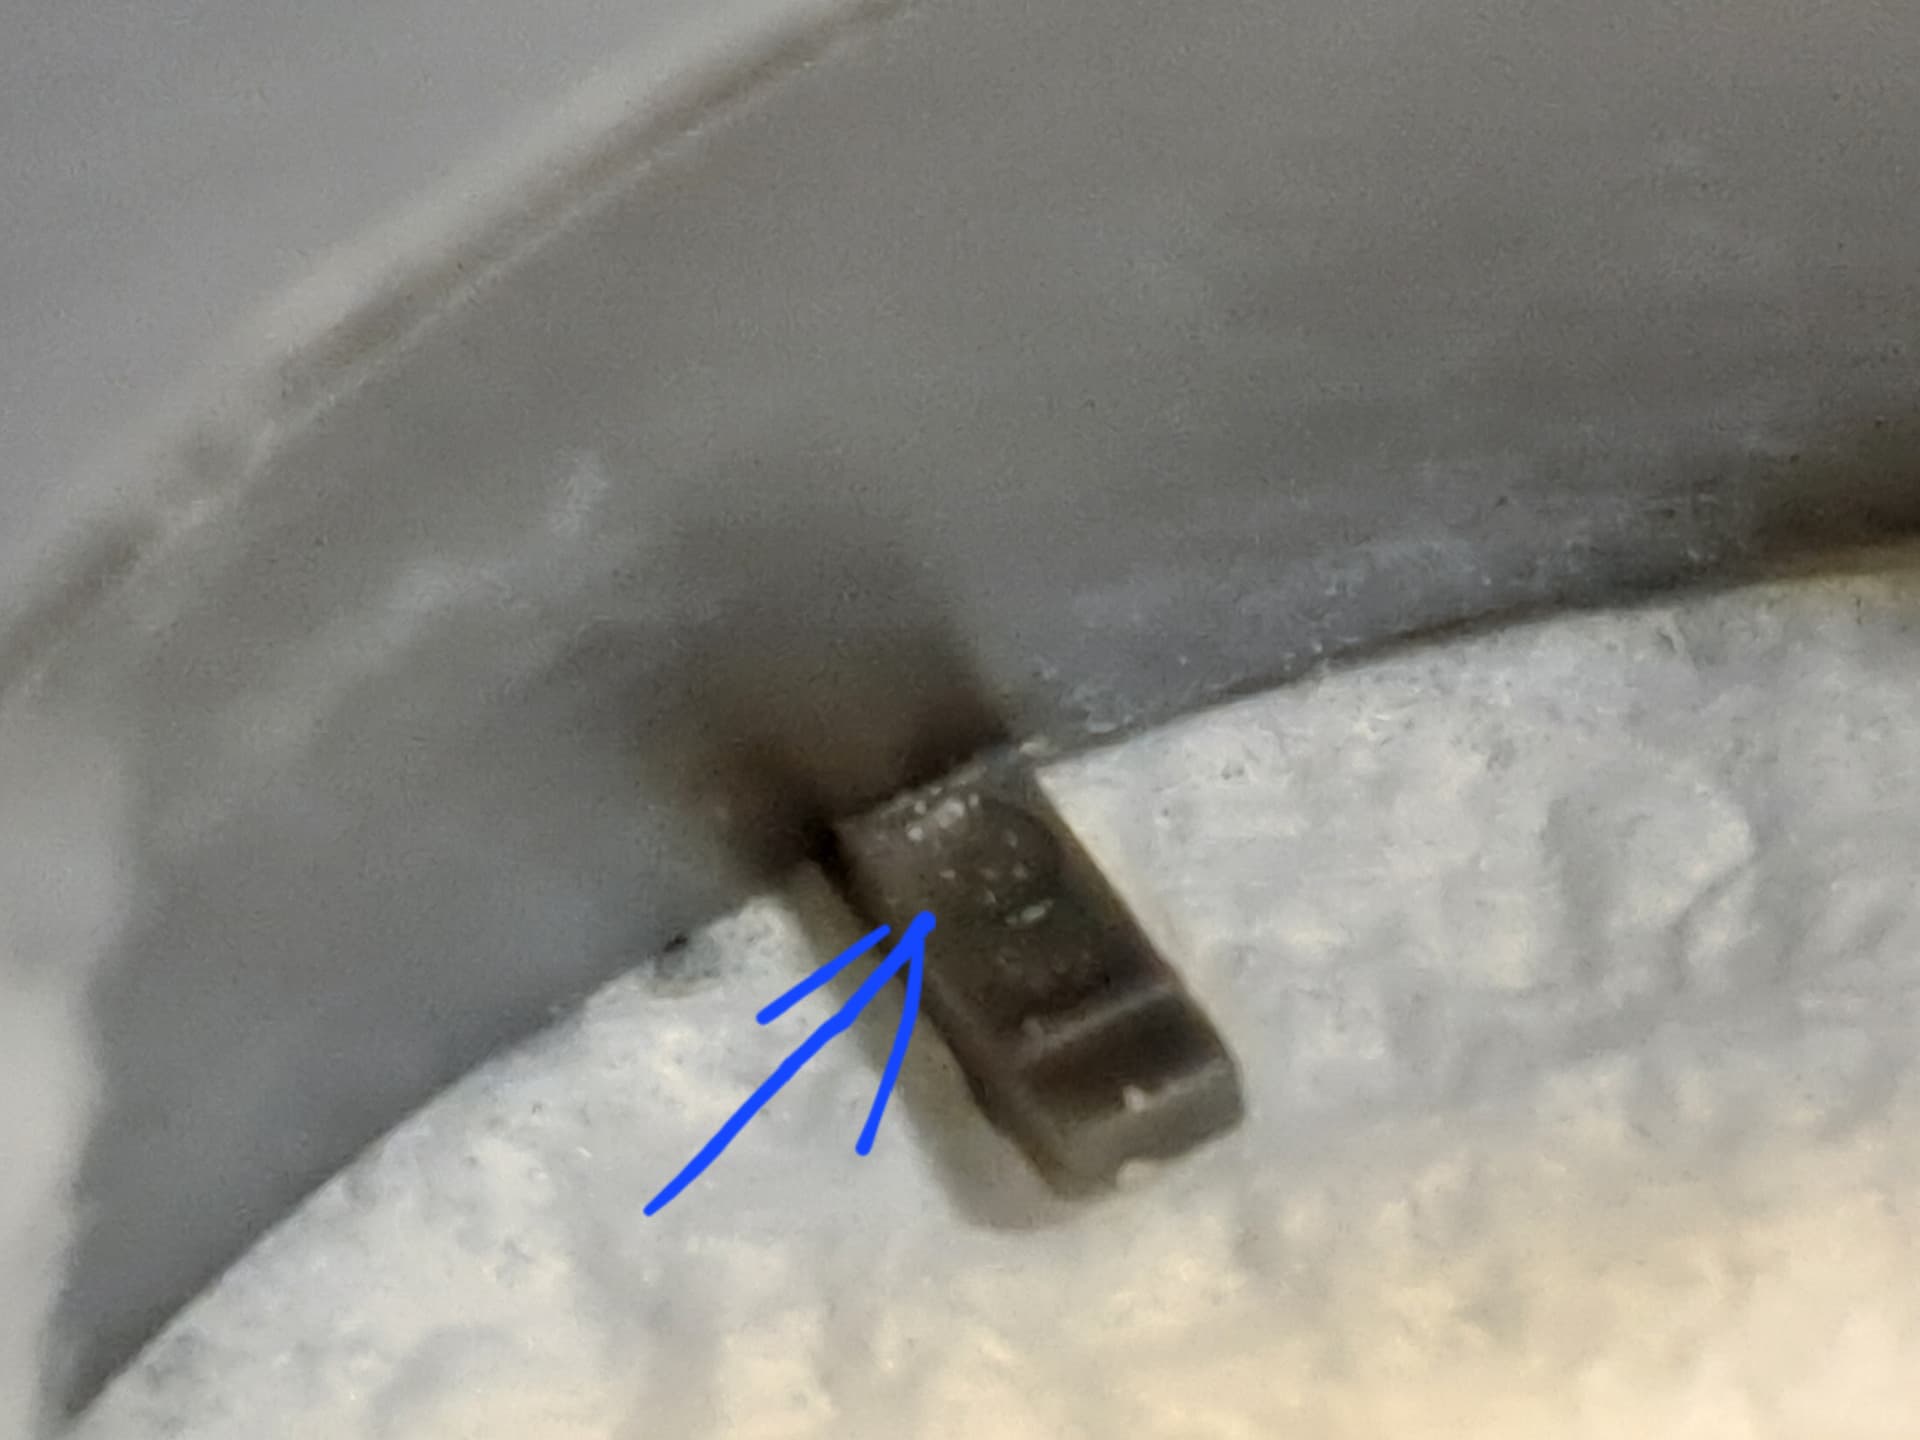
Definitely a land mine to remove. See arrow. Perfect fit and alignment, clicked into place and clears small hooks. Very impressive!
Play Time! Two steps to go…
7 Likes
Flawless! Fabulous build Wade.
2 Likes
Thank you Matt for the kind words!
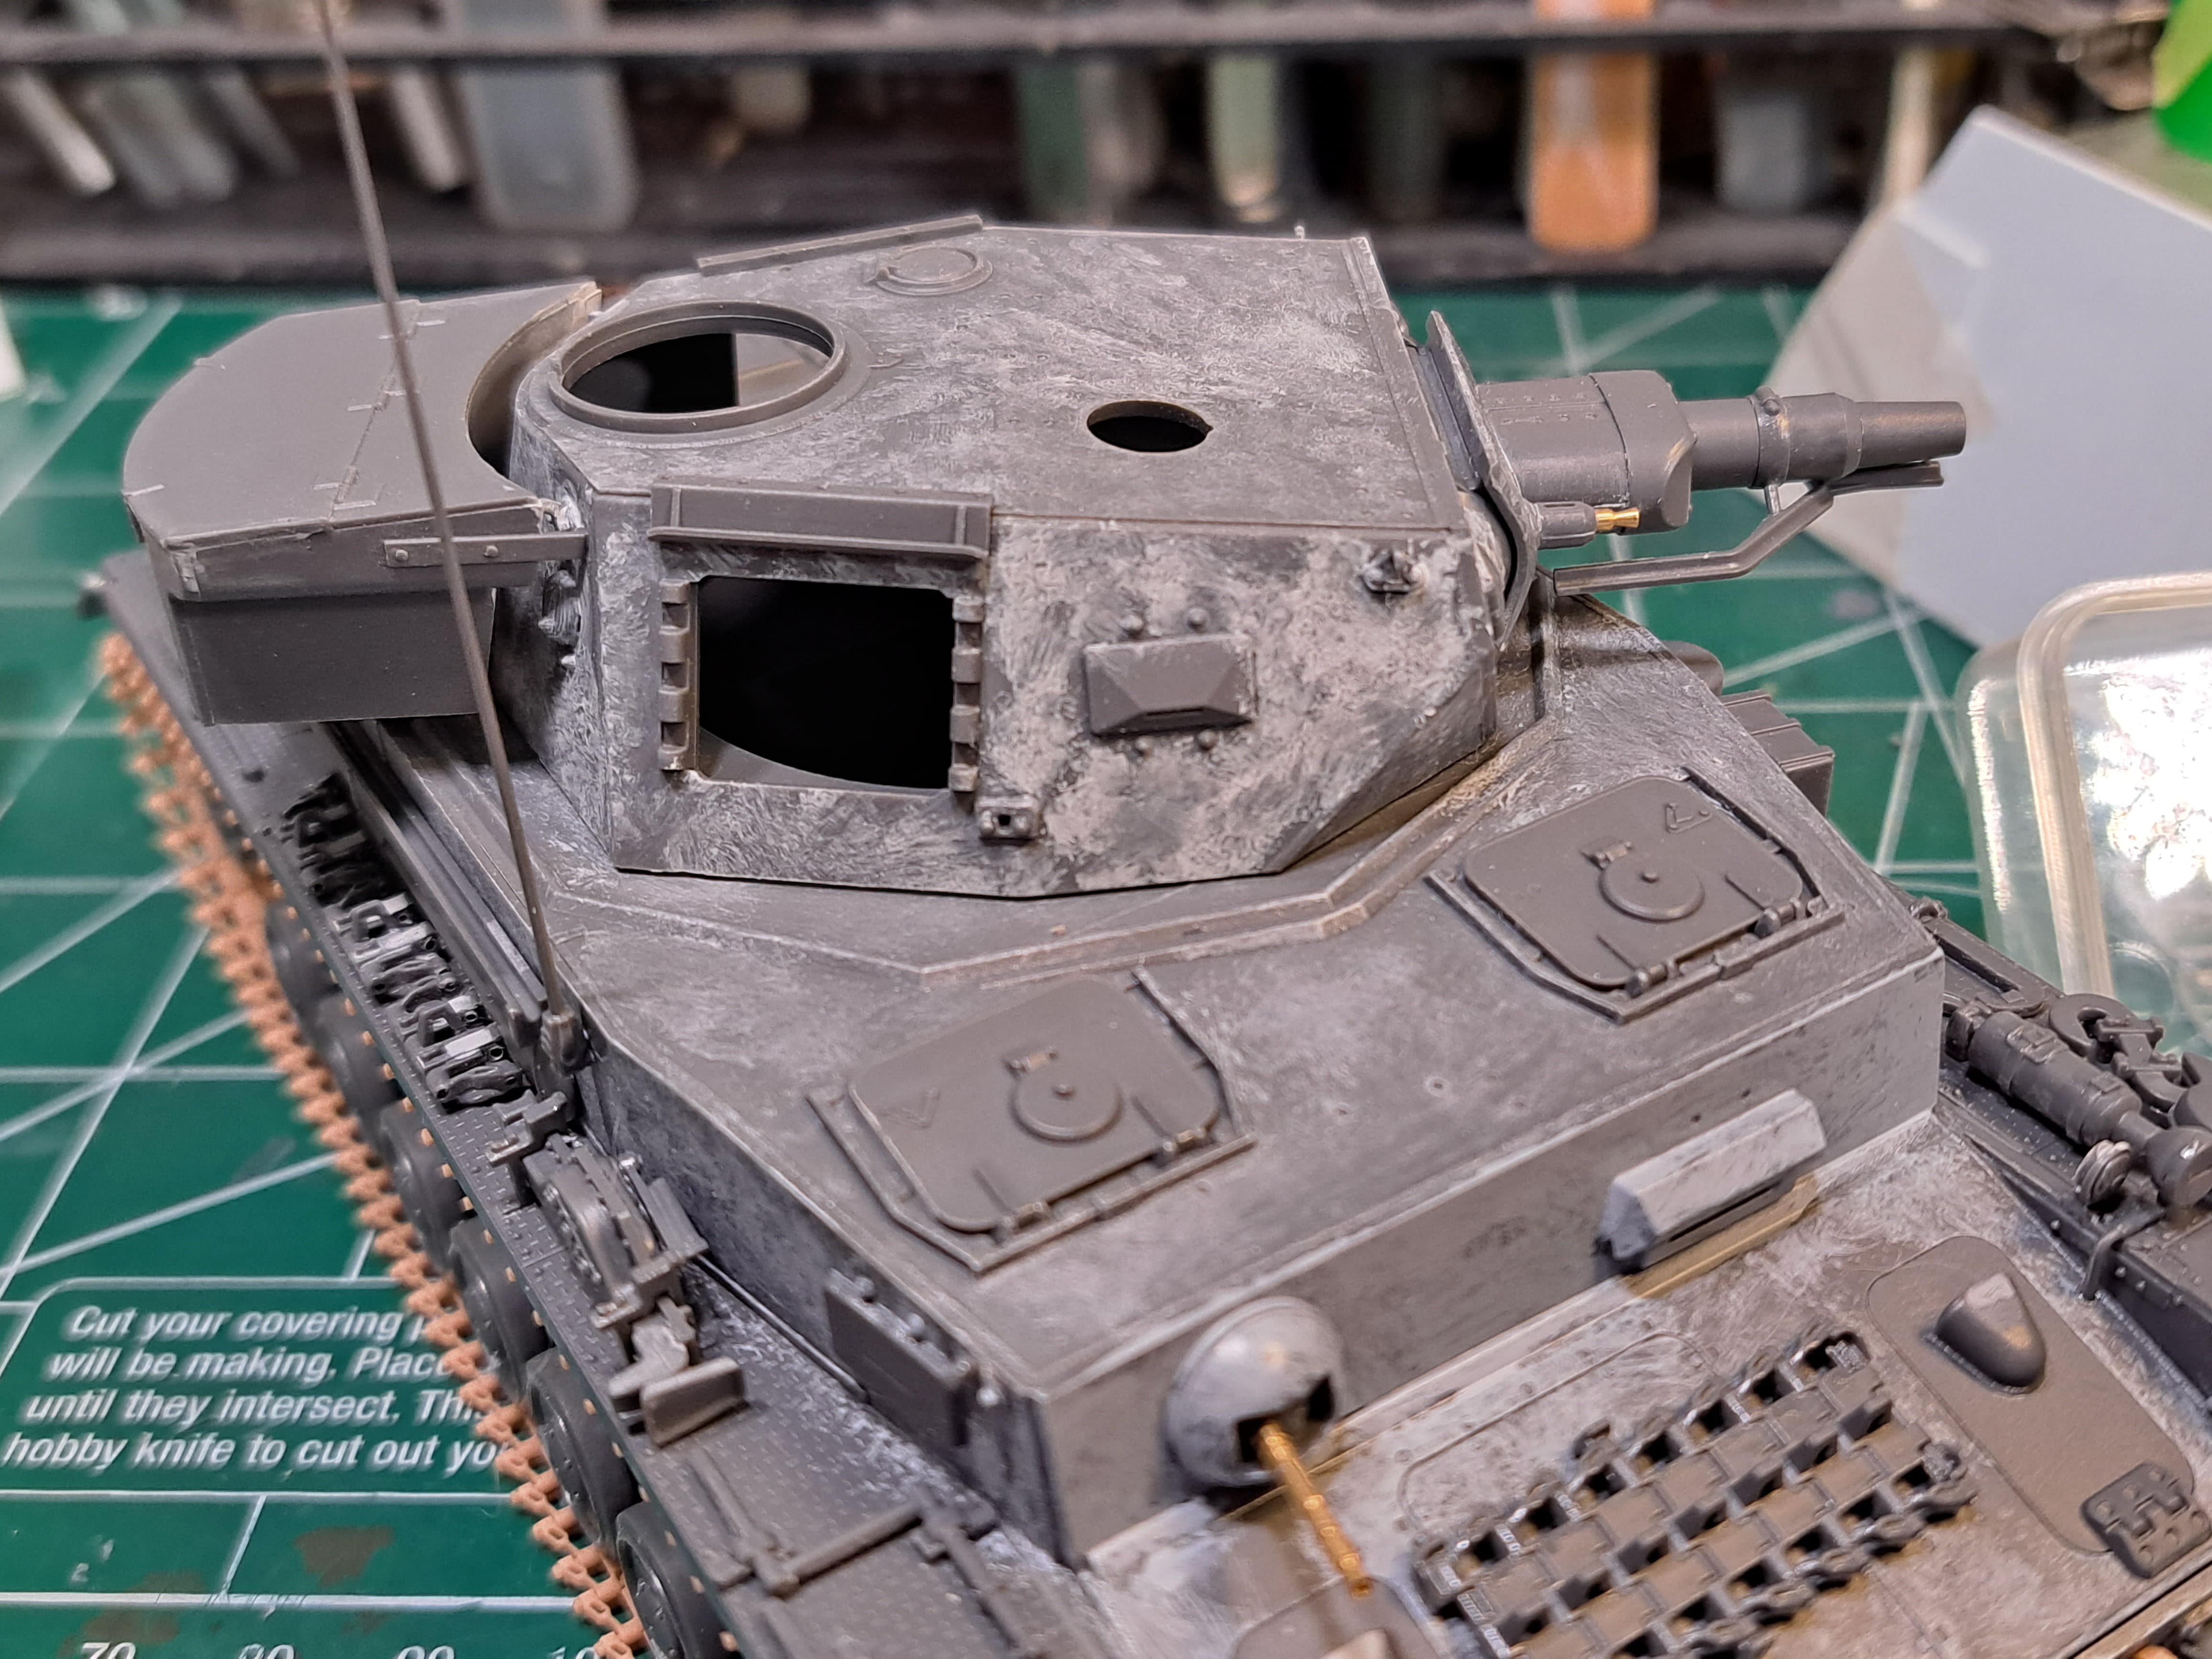
Step 31 - Cupola
Tamiya’s engineering really shines with one of the best cupola assembly designs. Buttoned up is the plan so the interior vision blocks were skipped.

Very happy with the result.
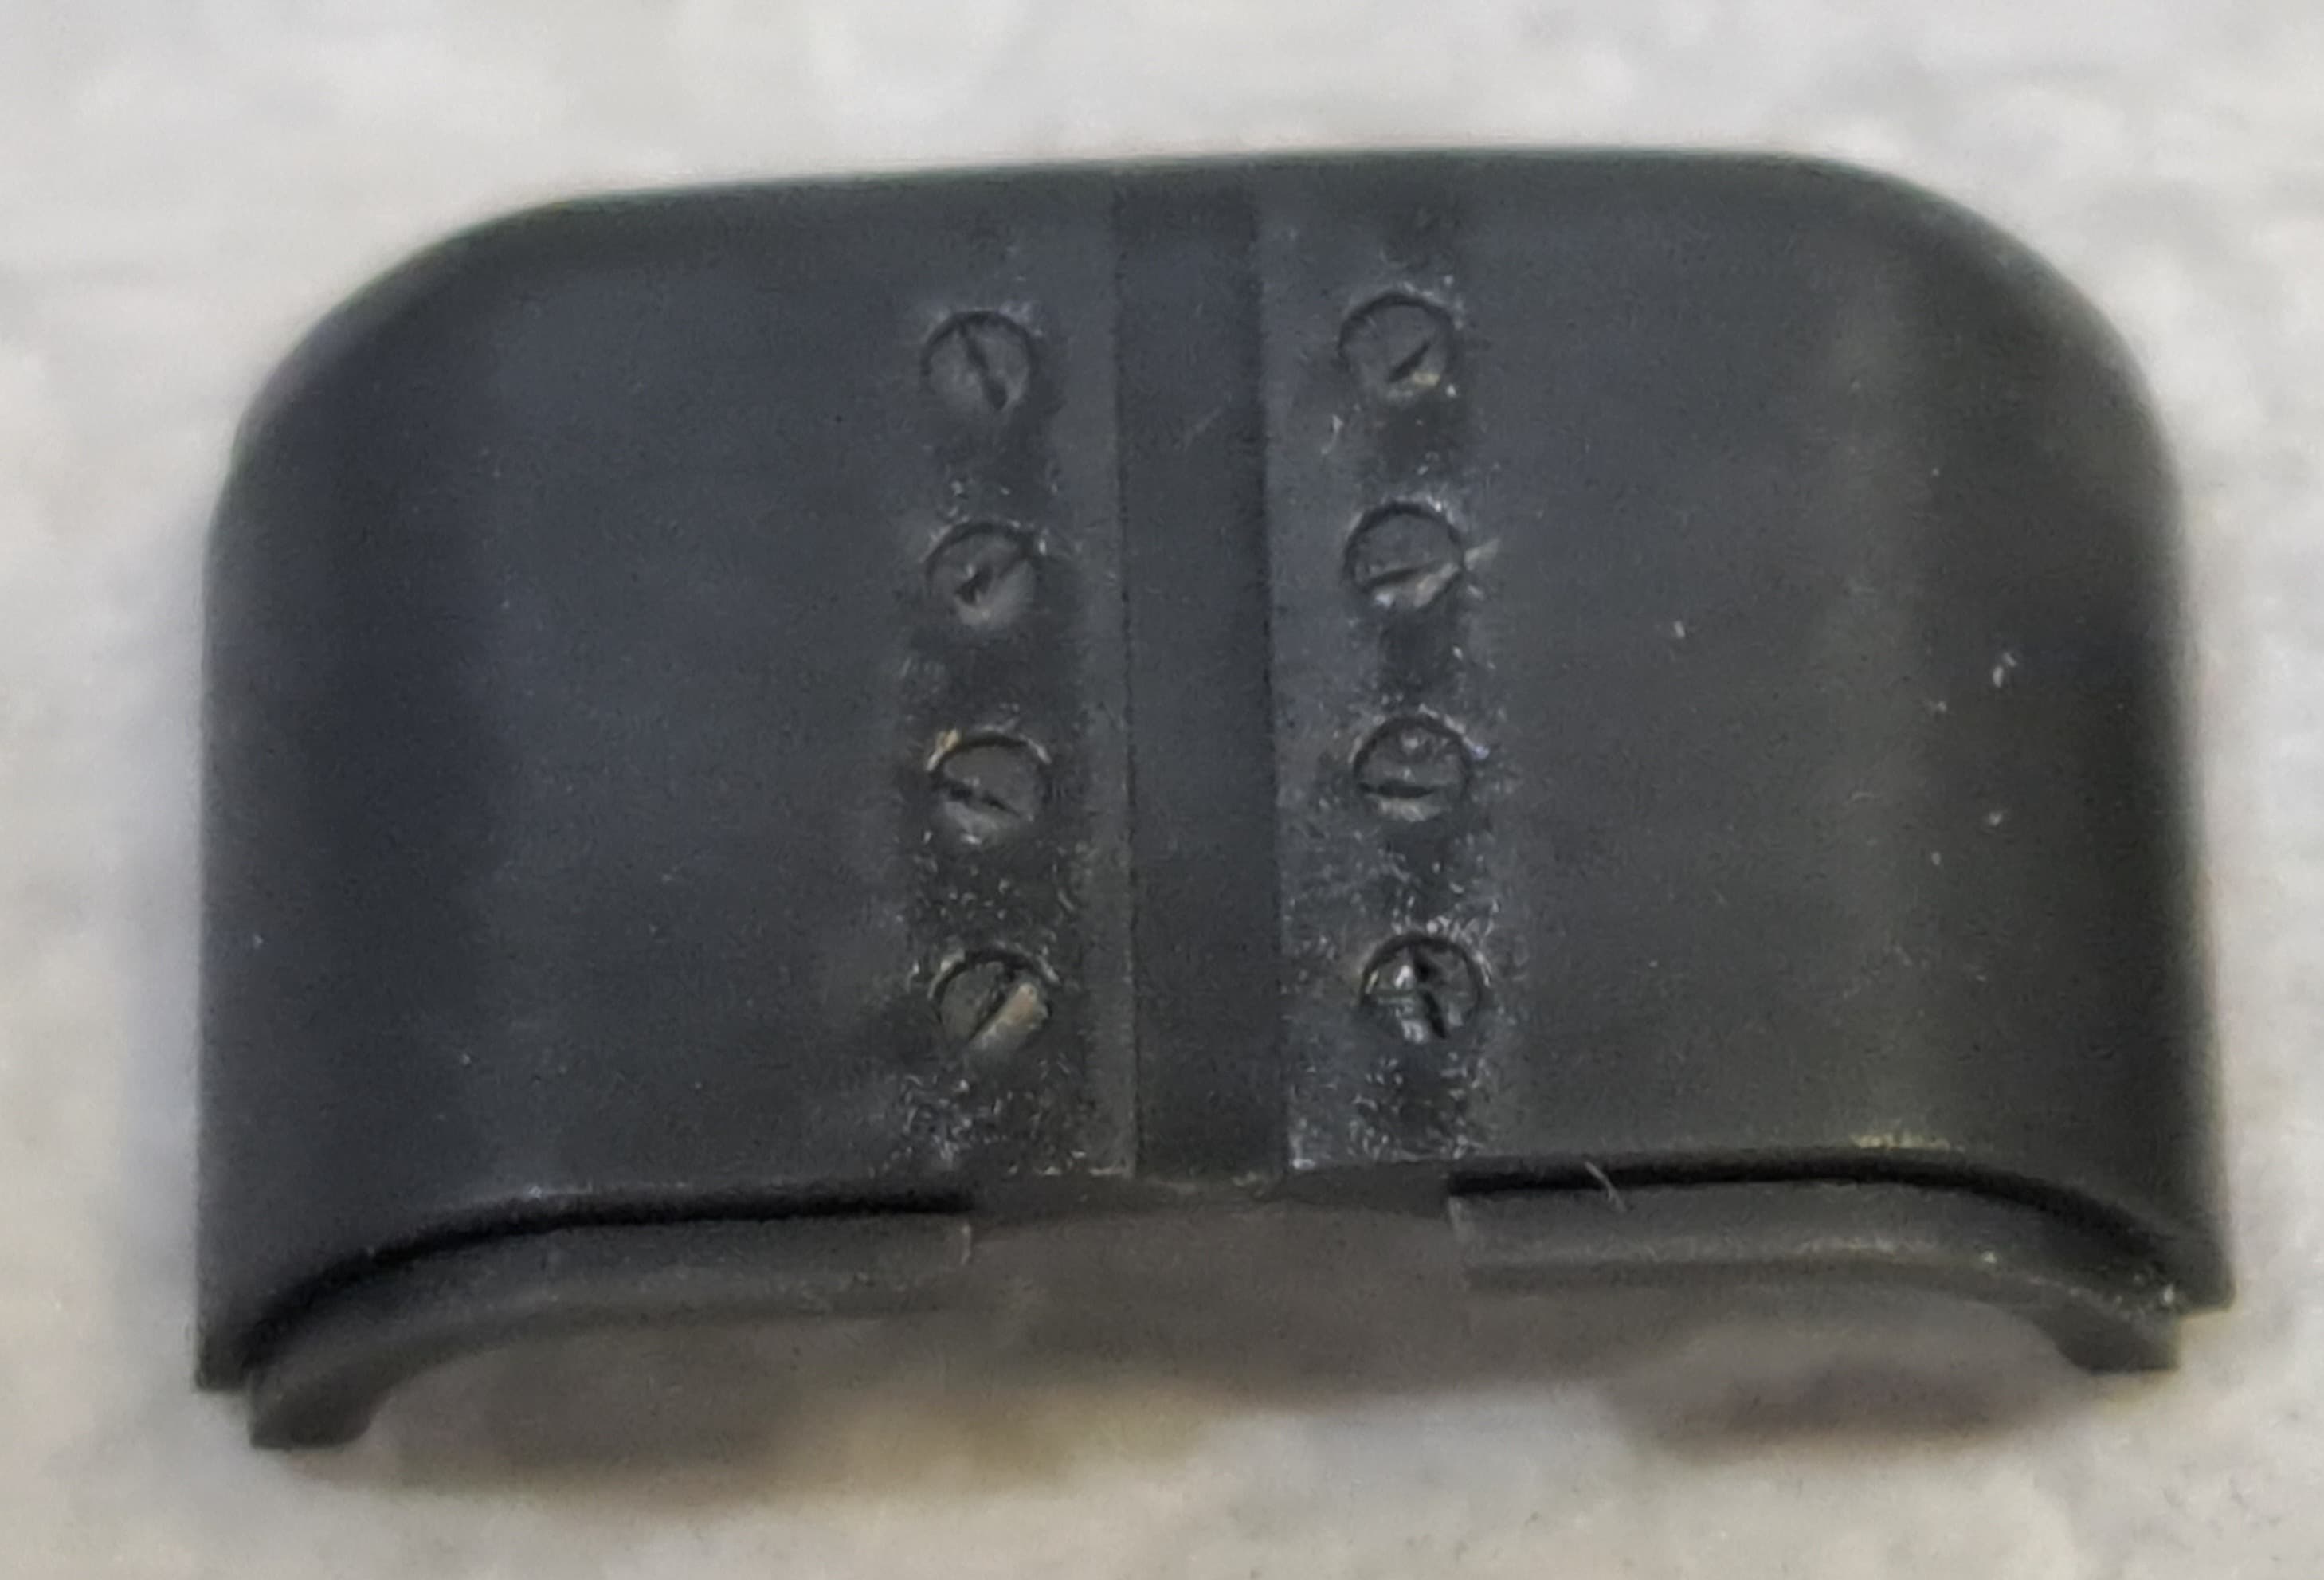
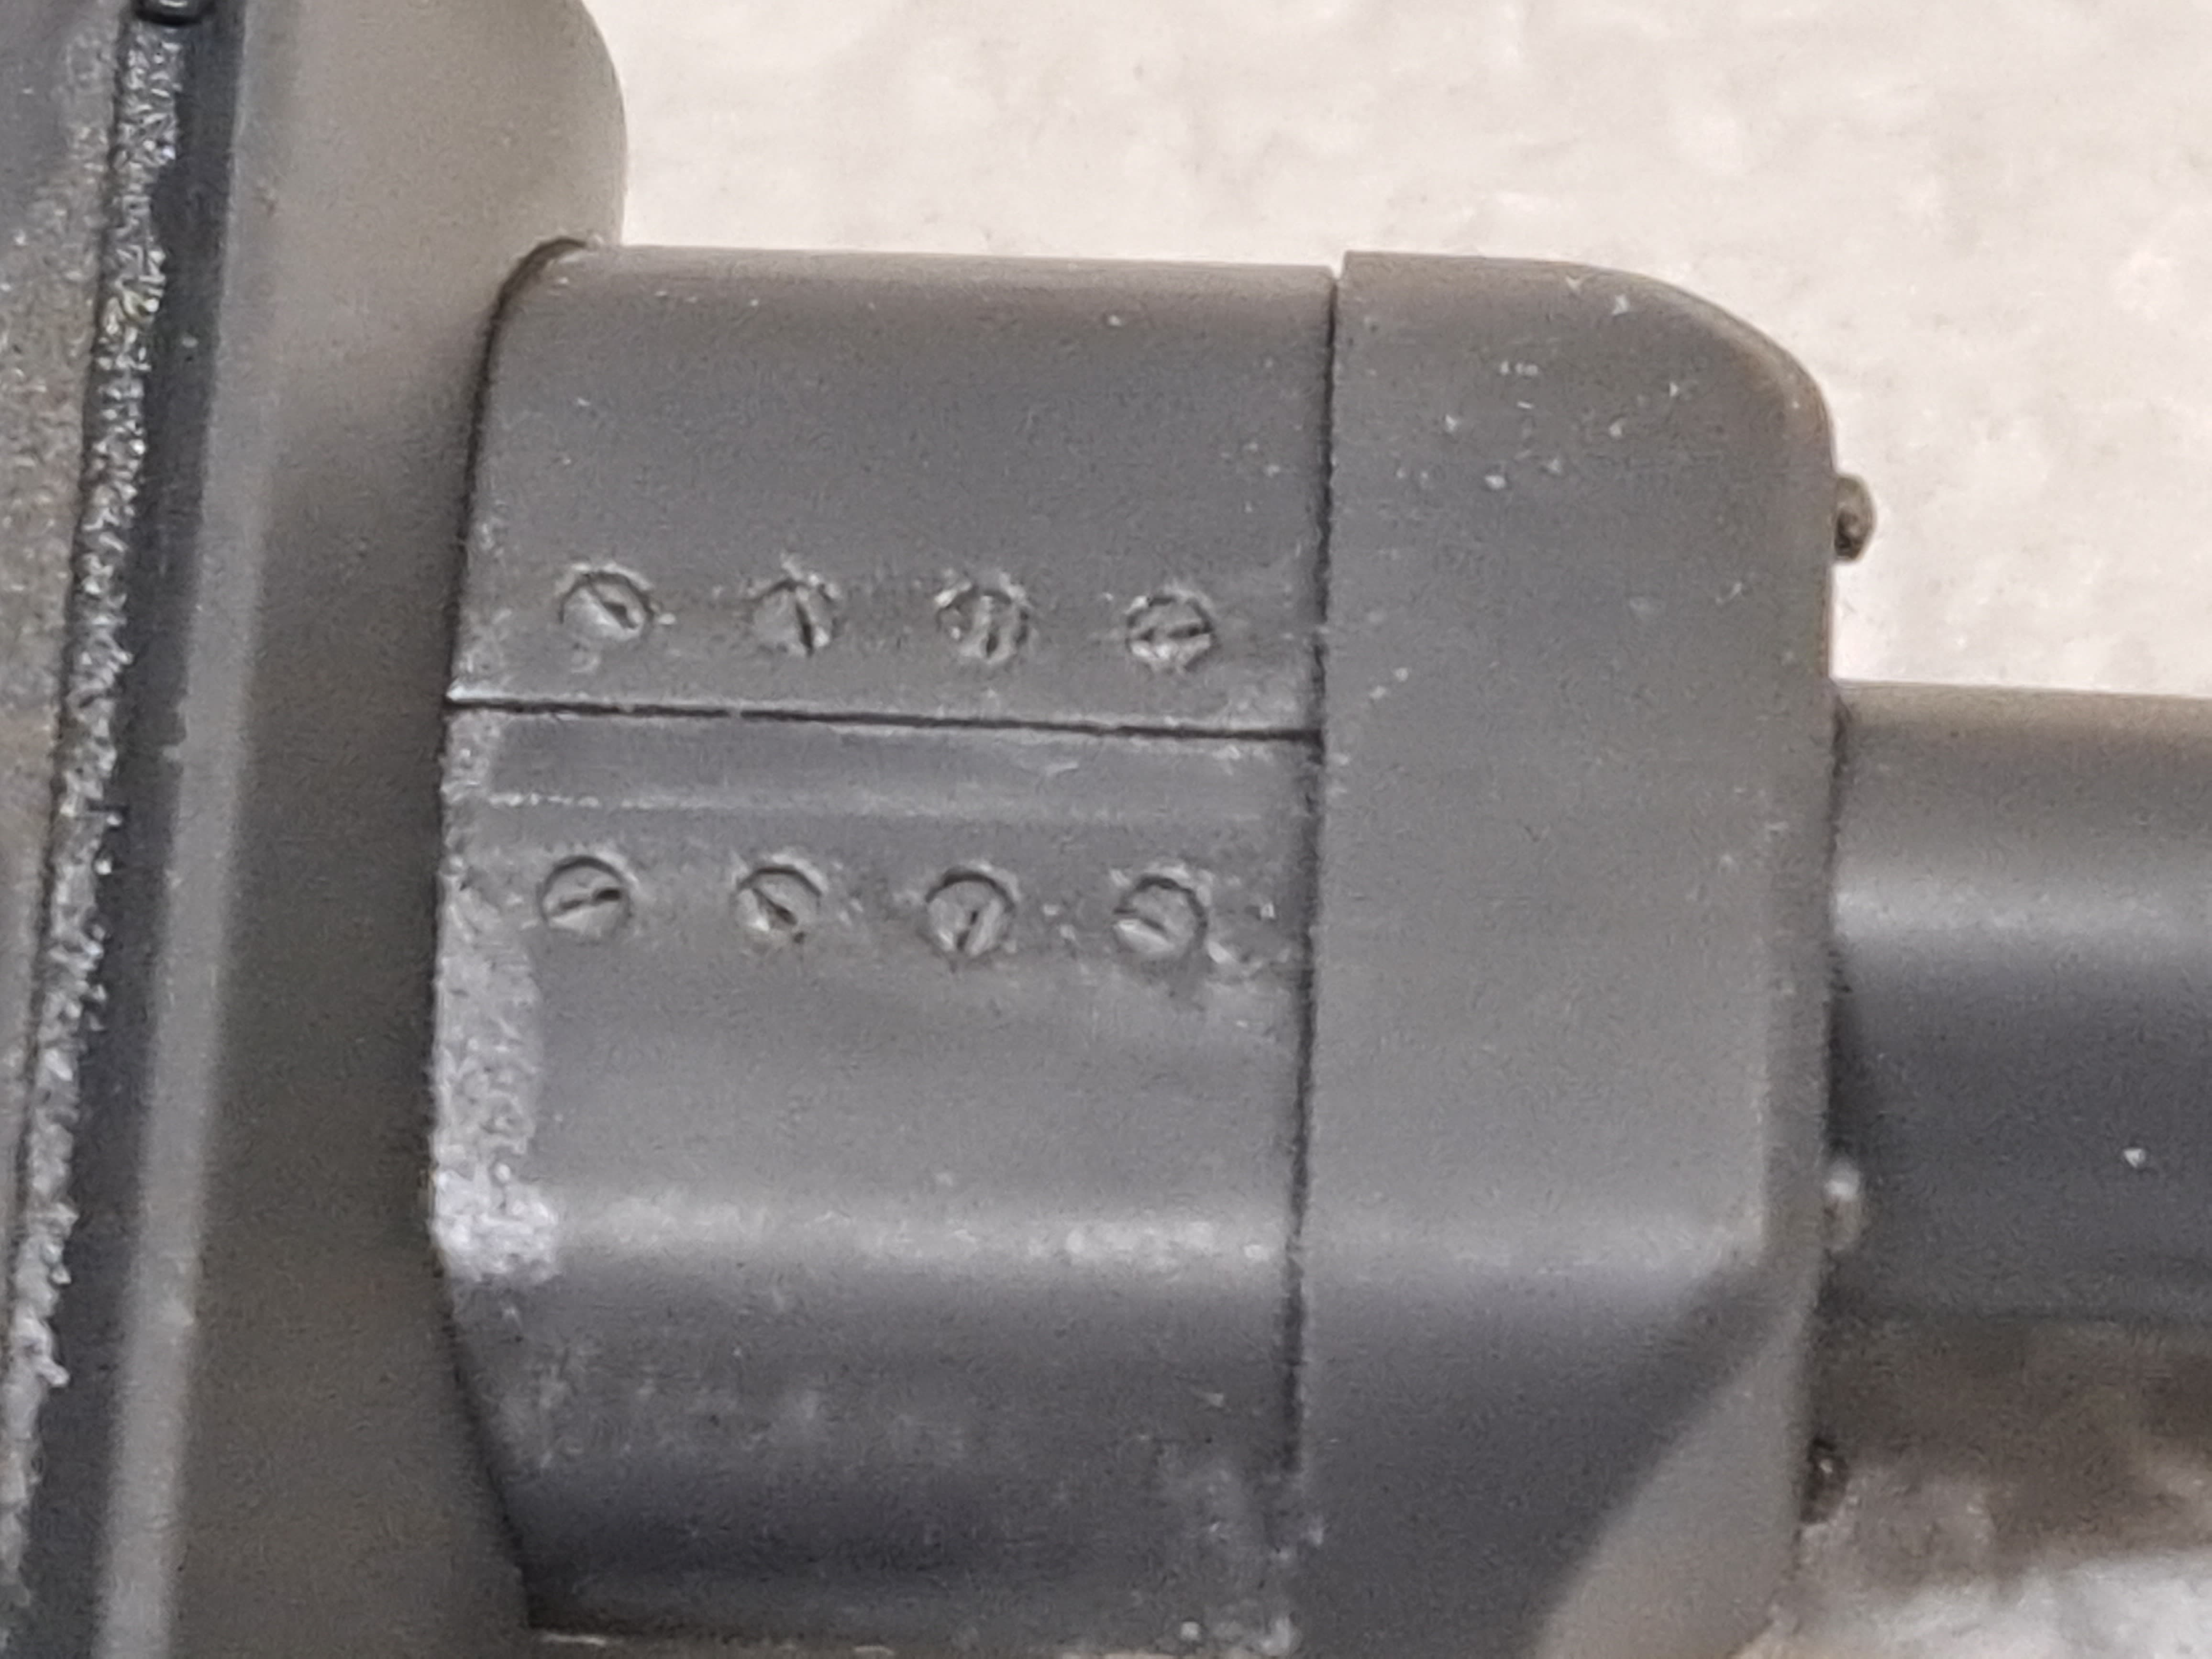
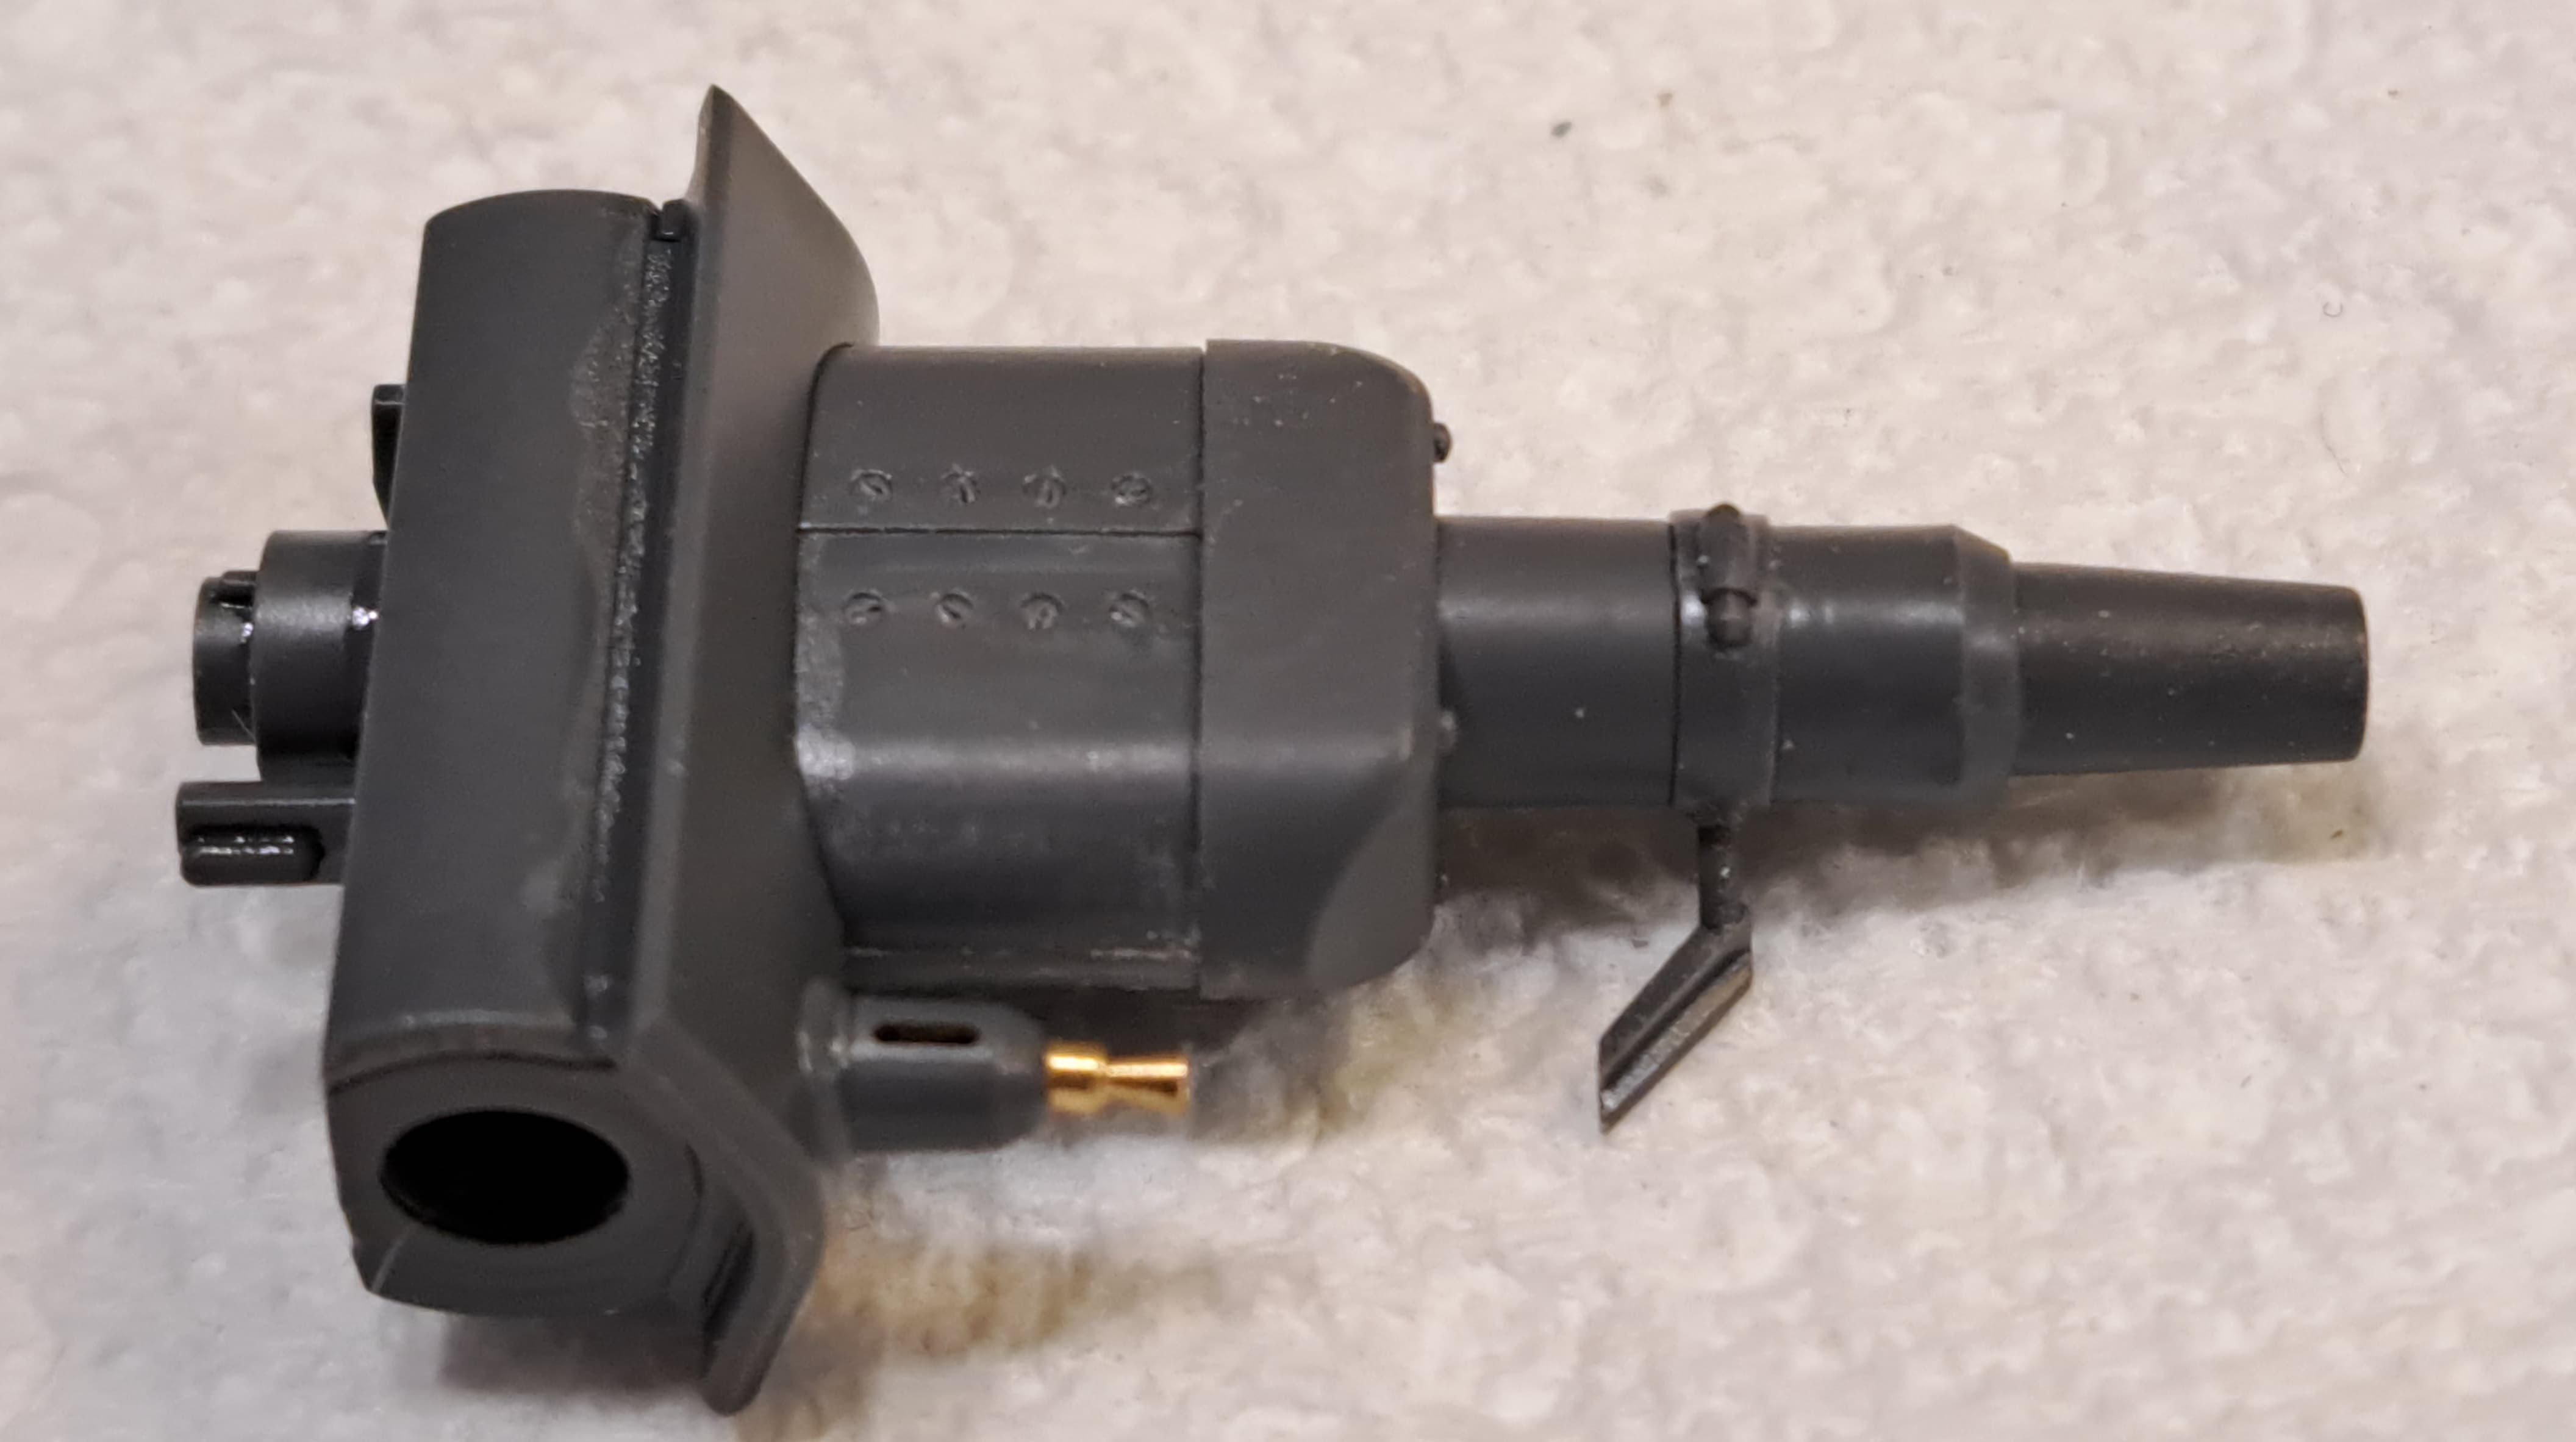
Step 32 - Turret Hatches & Fittings
The extraction fan housing is missing the flat head screw details. Fixed with #11 blade. Wow, we have a sink mark profile, that has to be fixed.
Sanded flush. Needs washed.
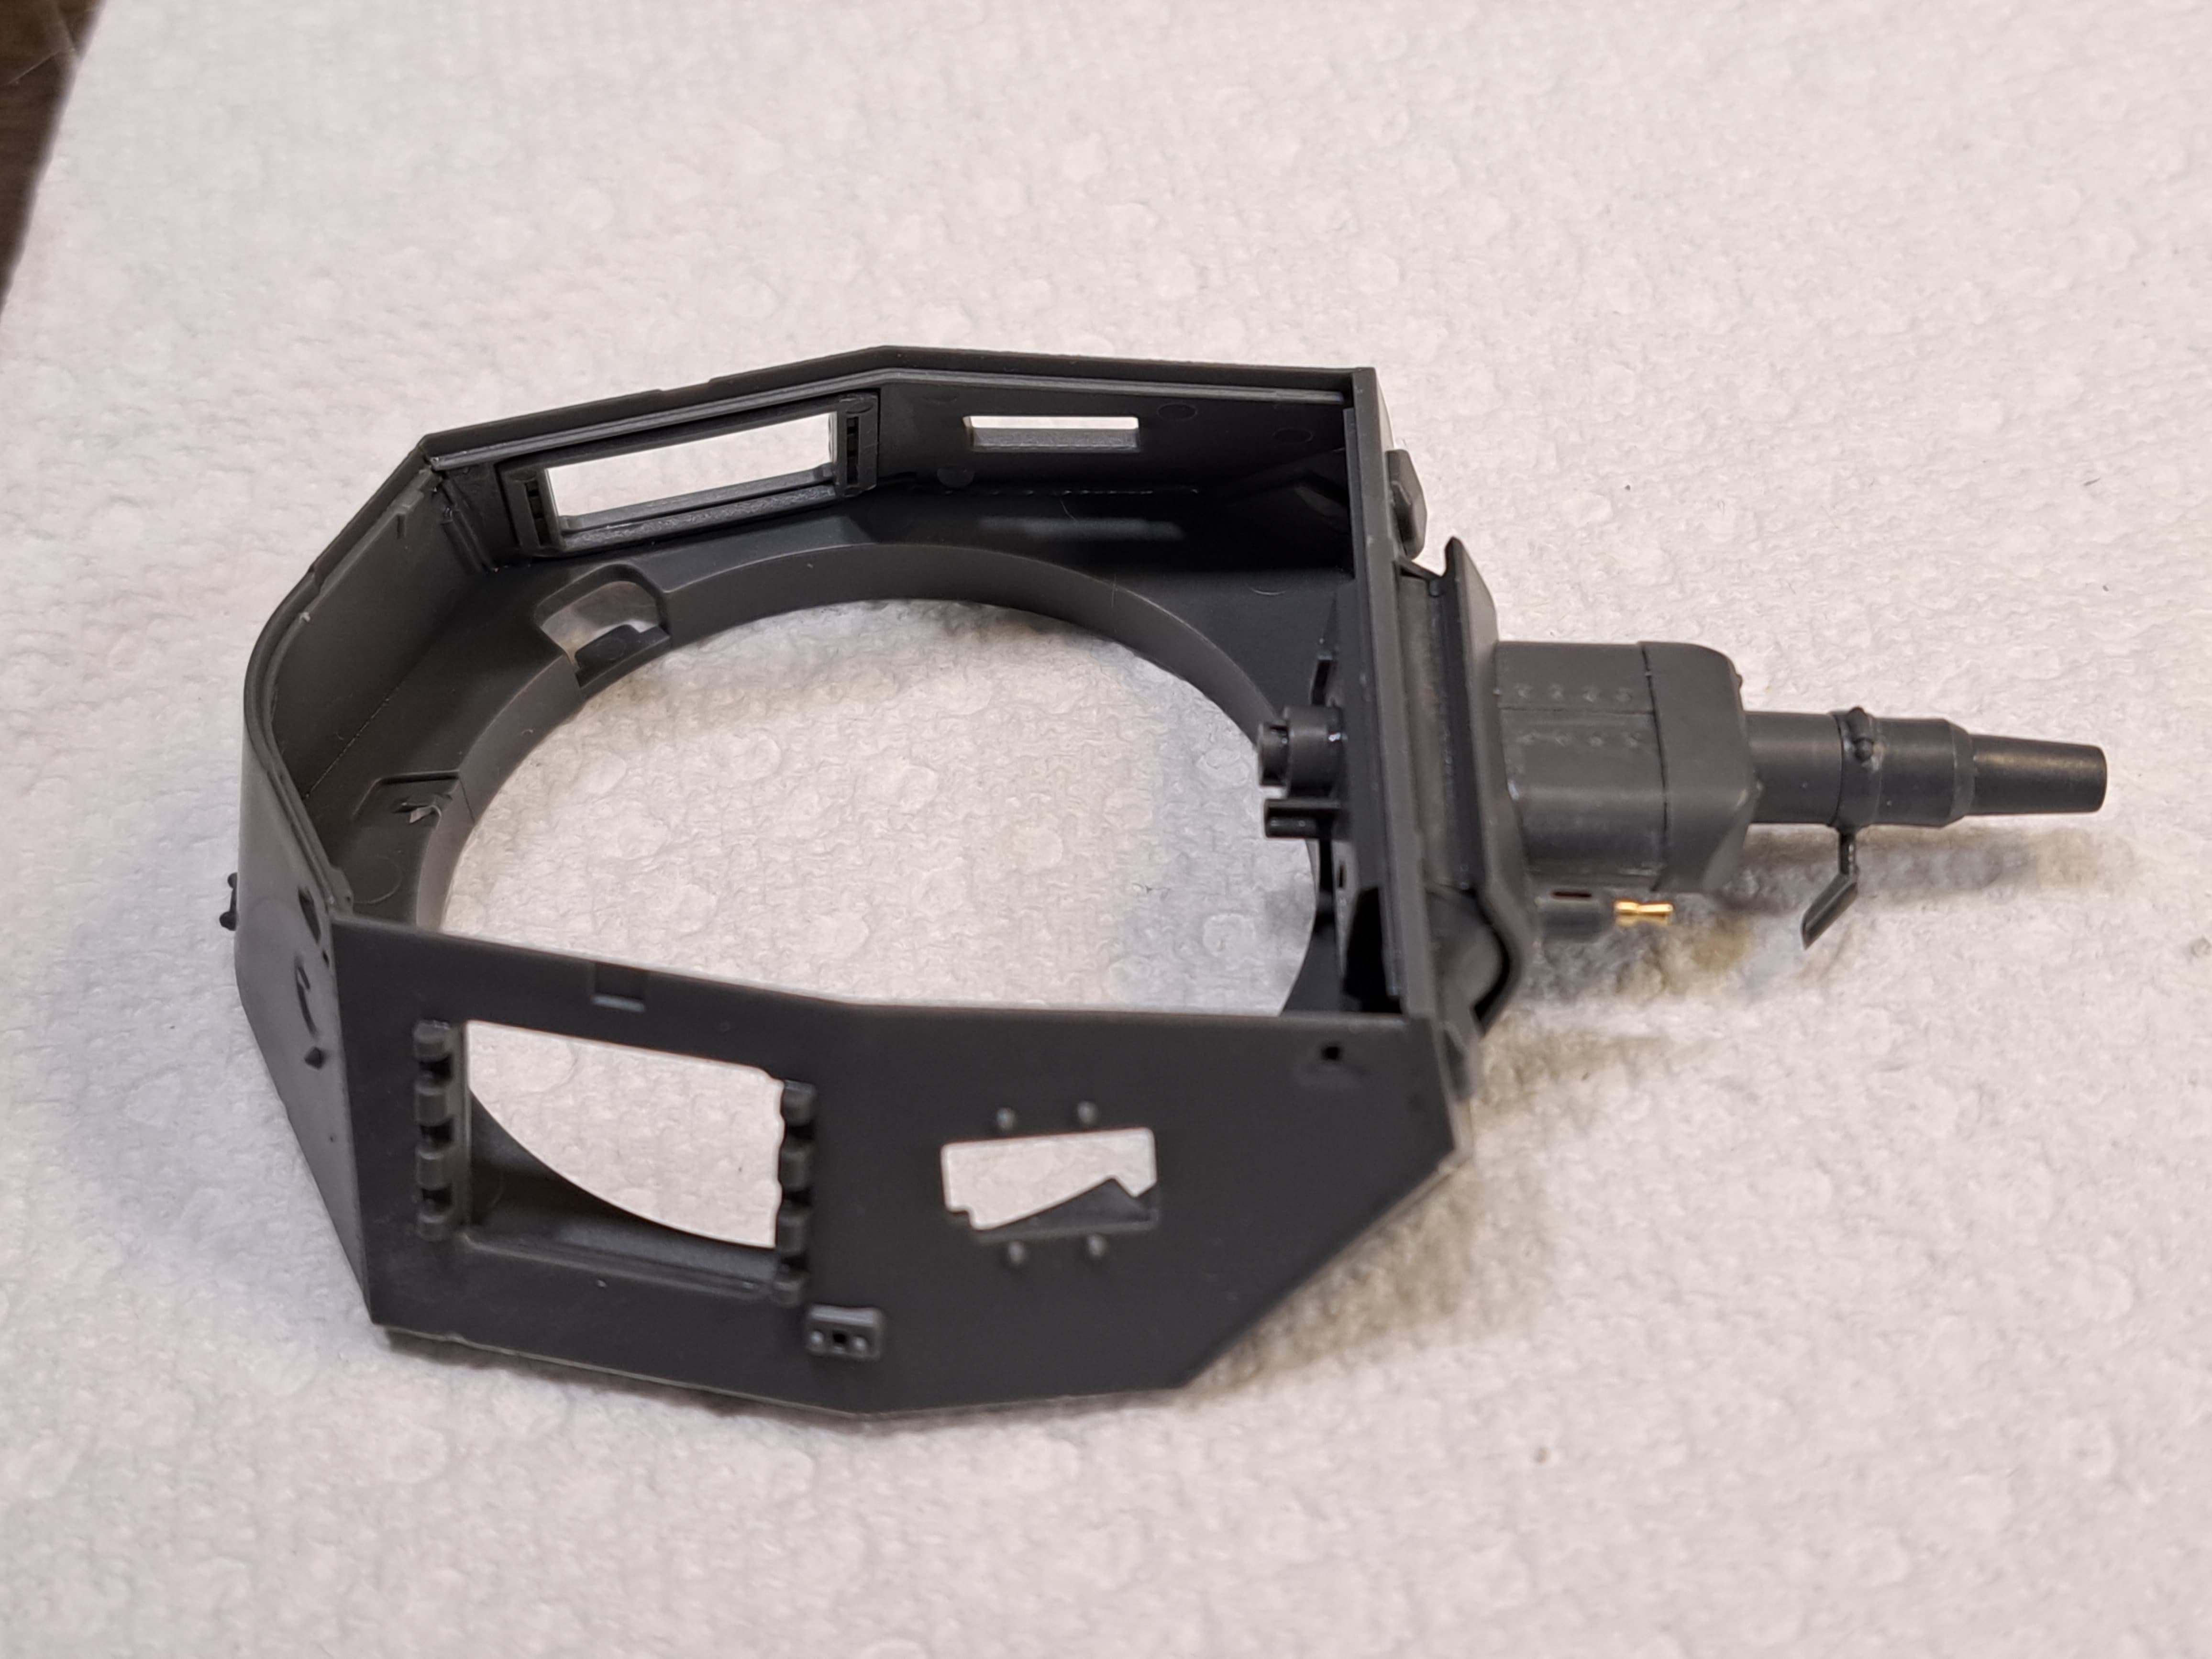
The turret.
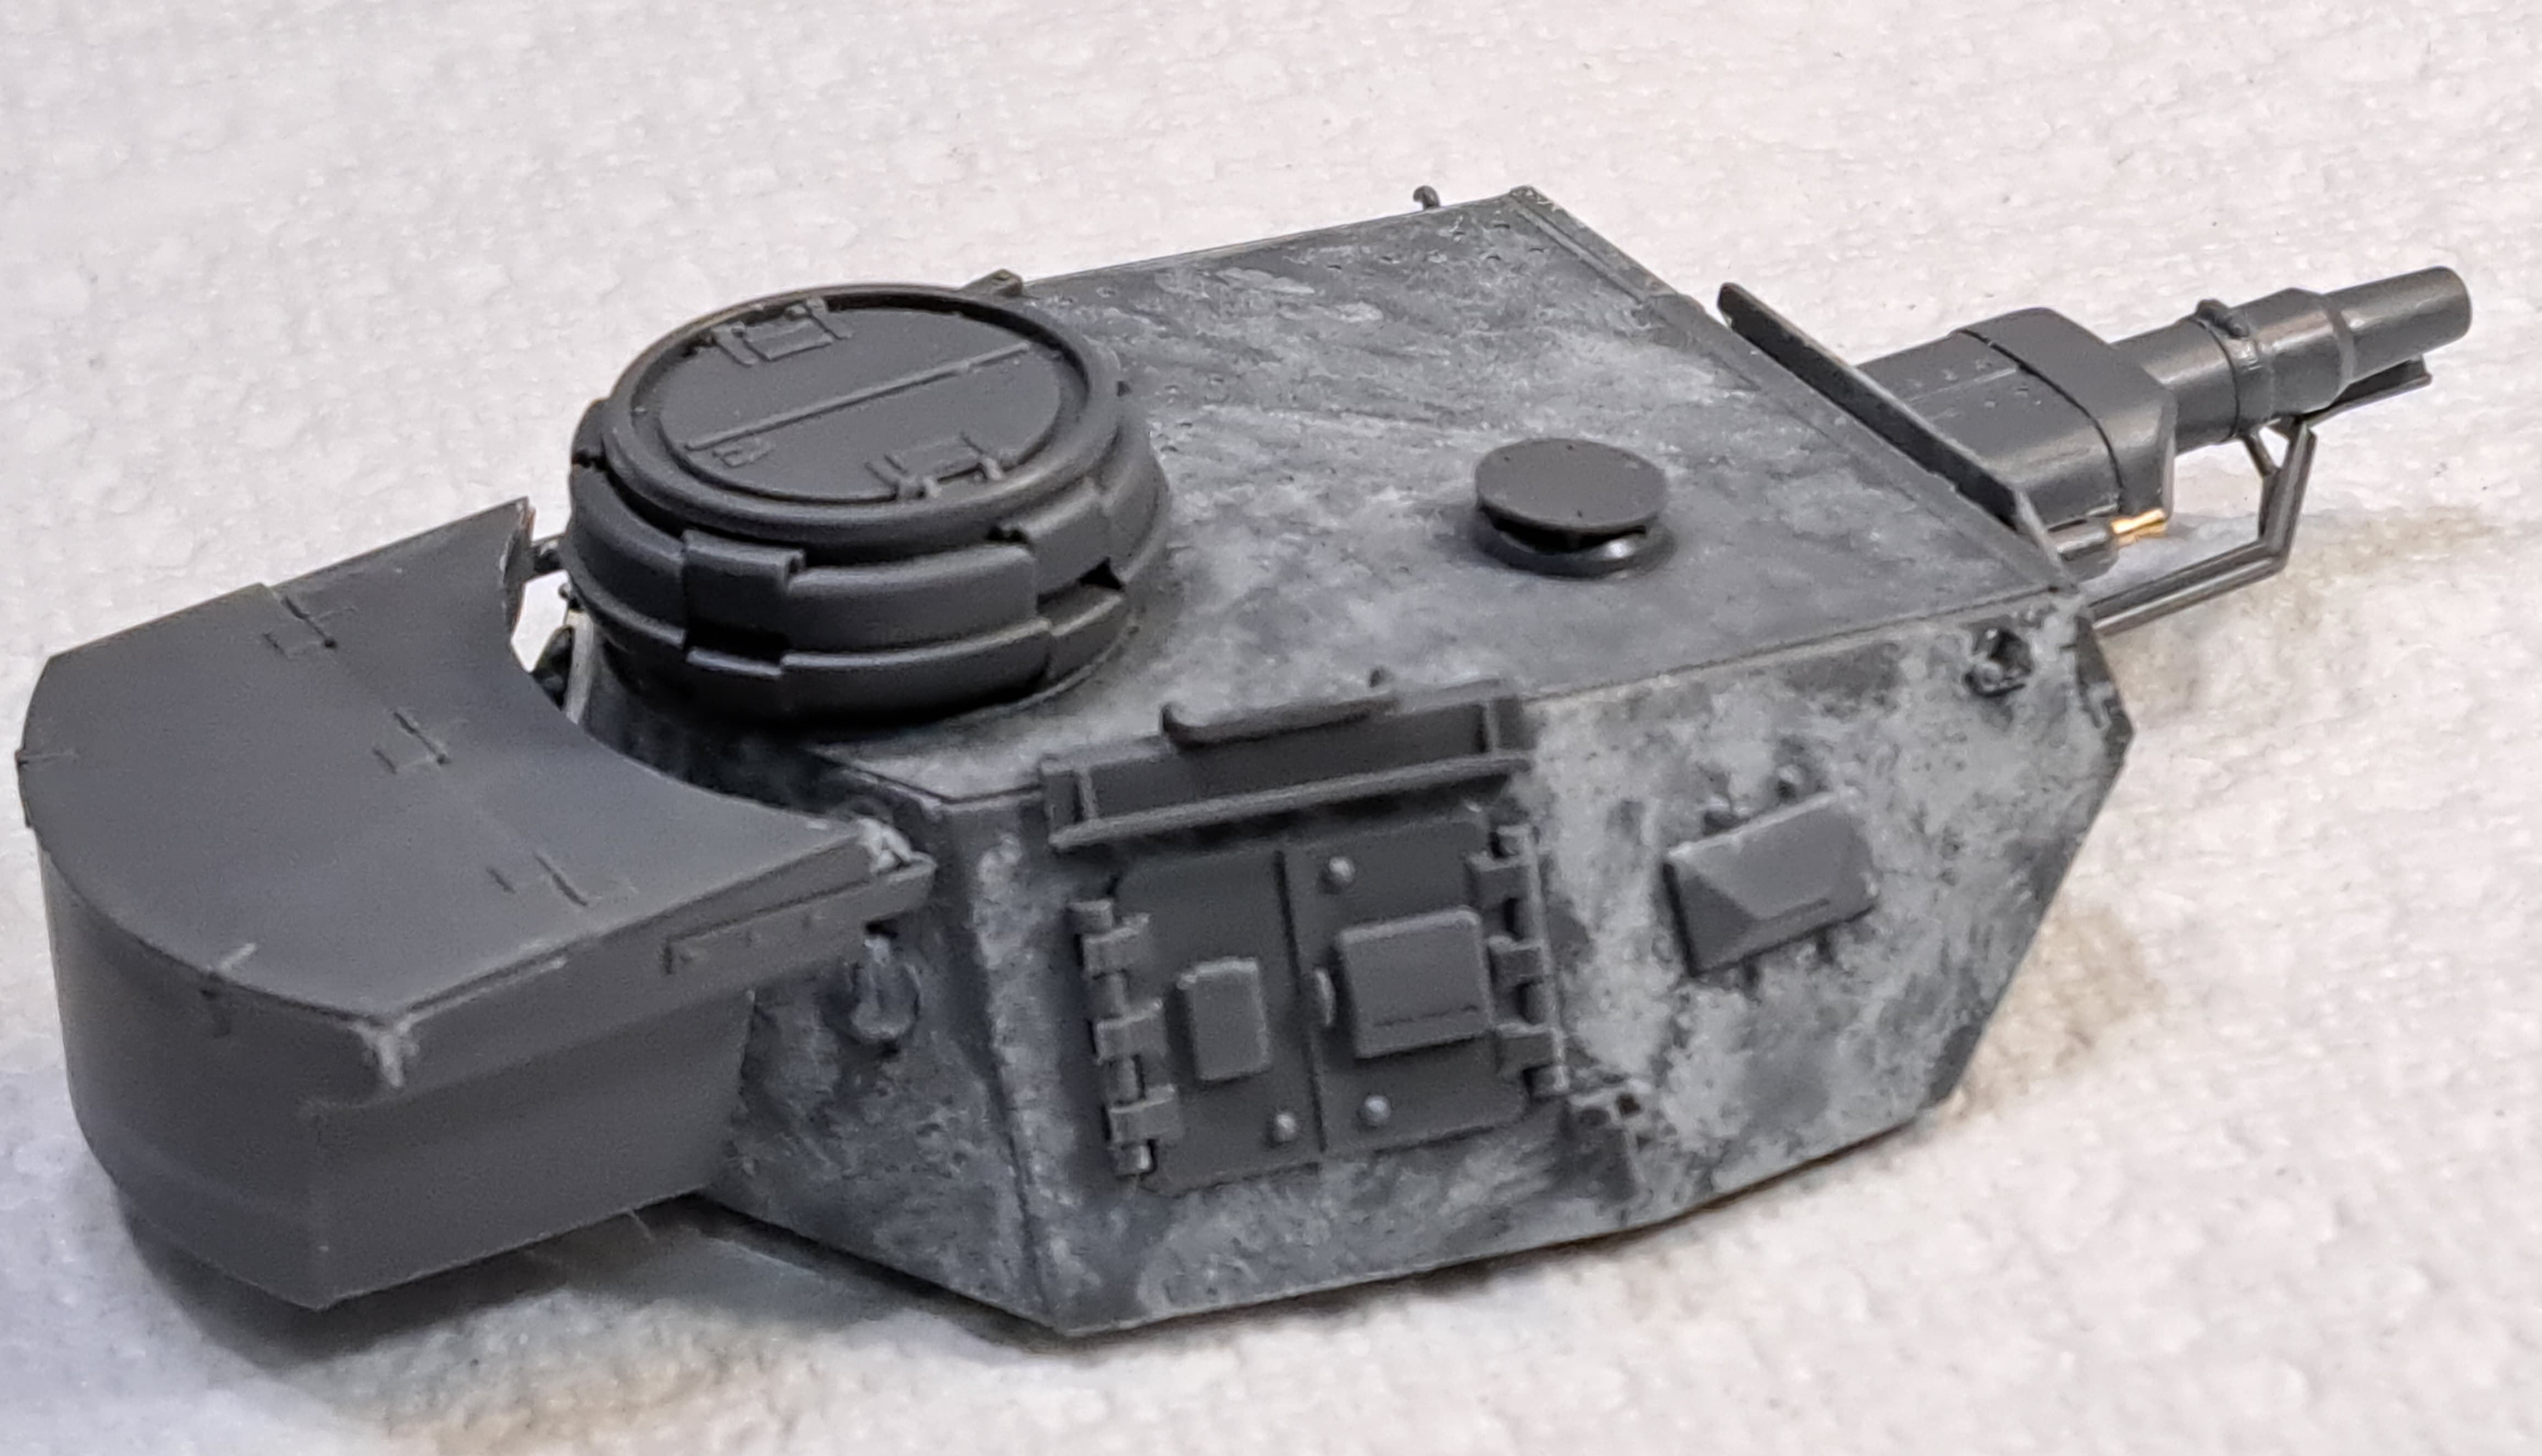
One step left…
4 Likes