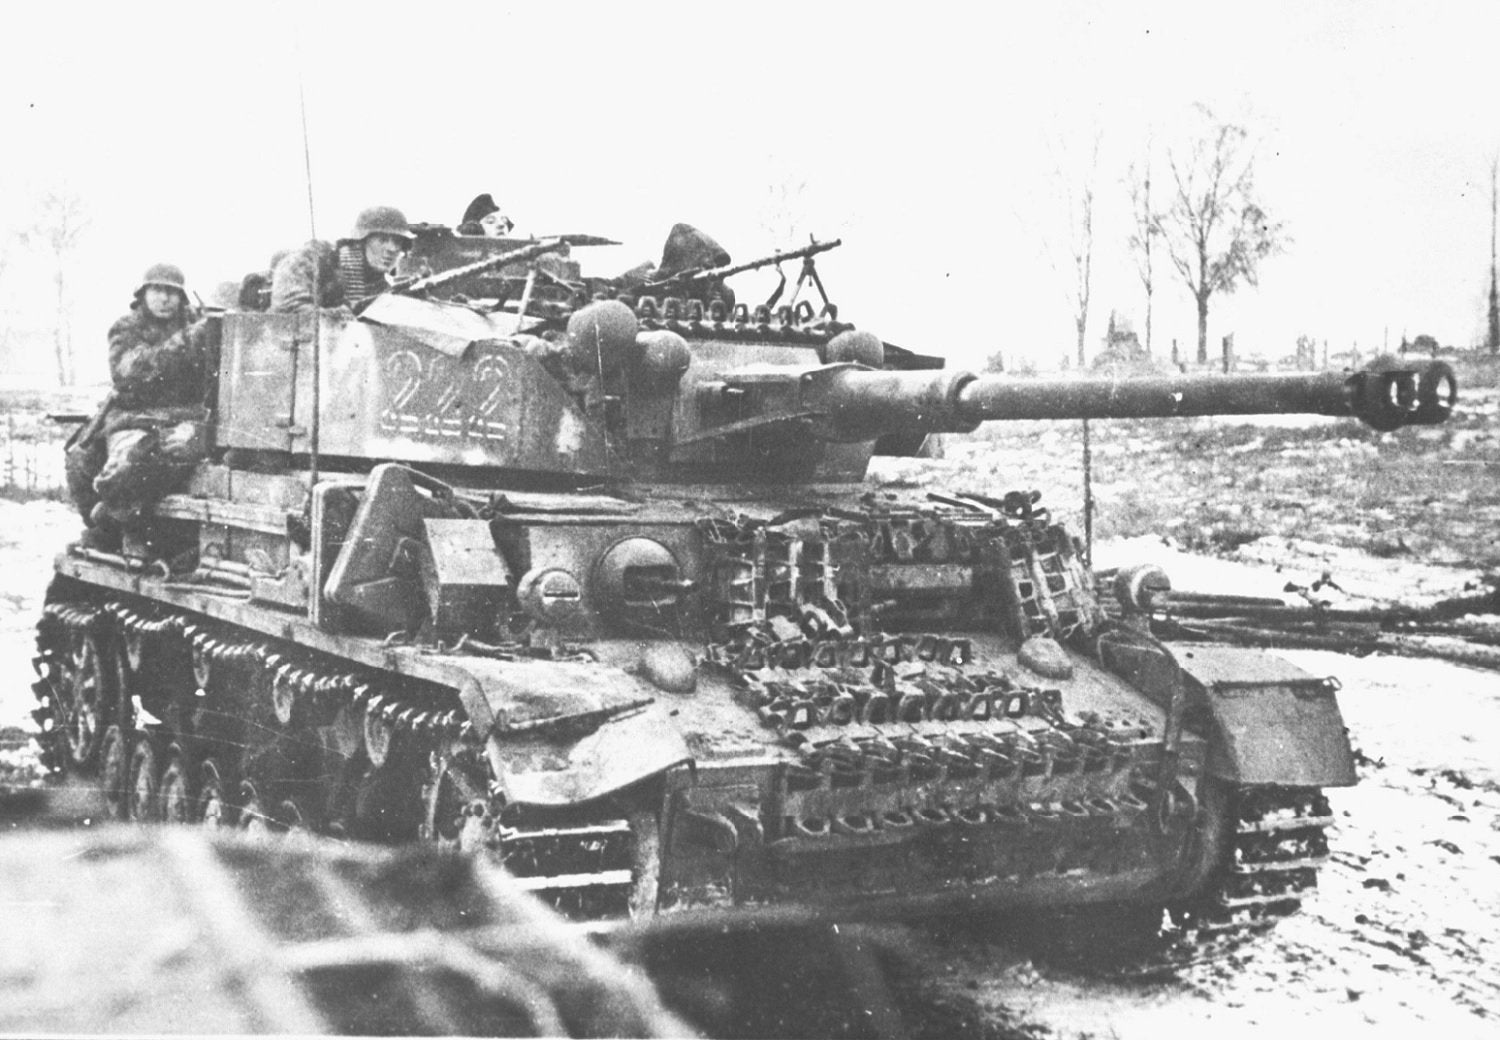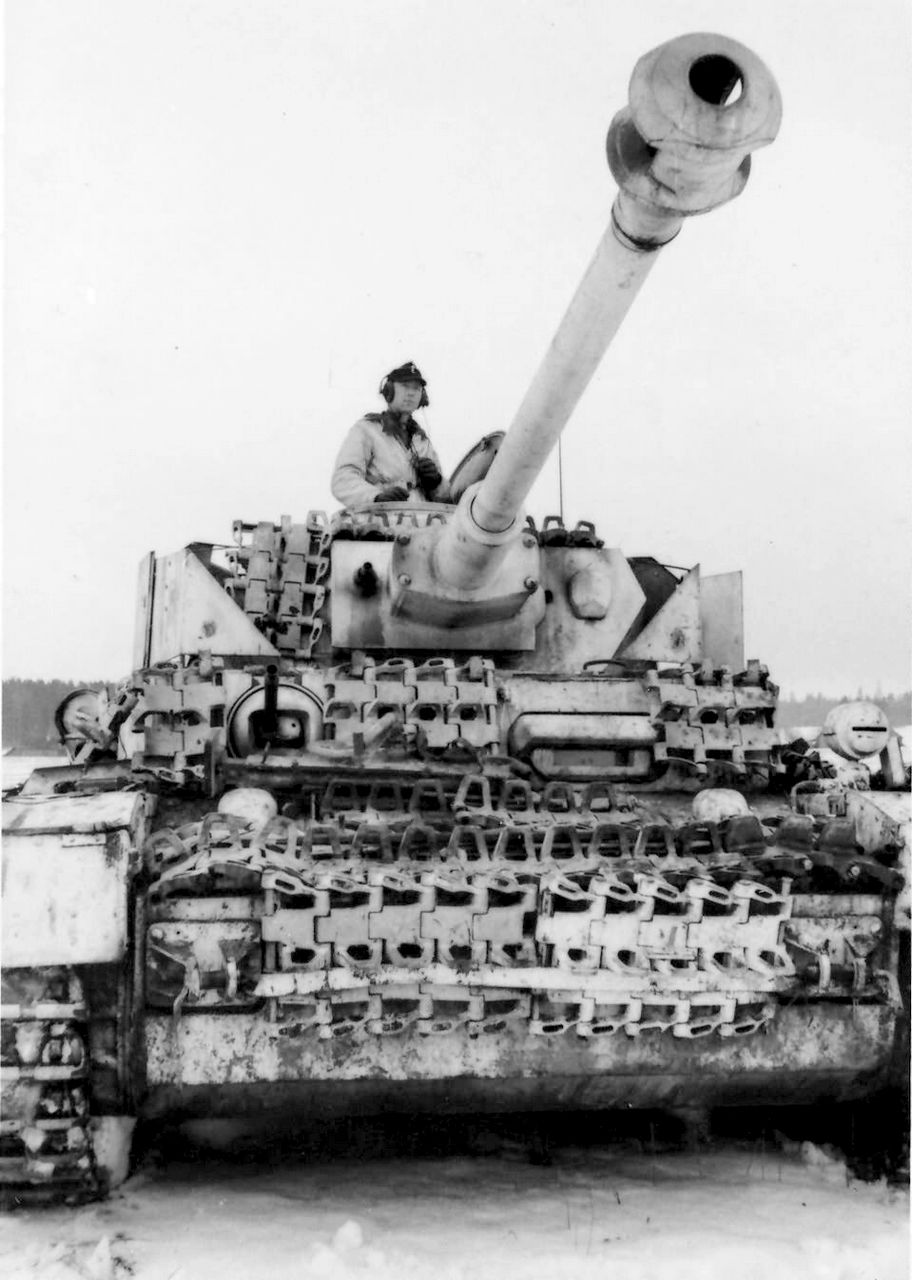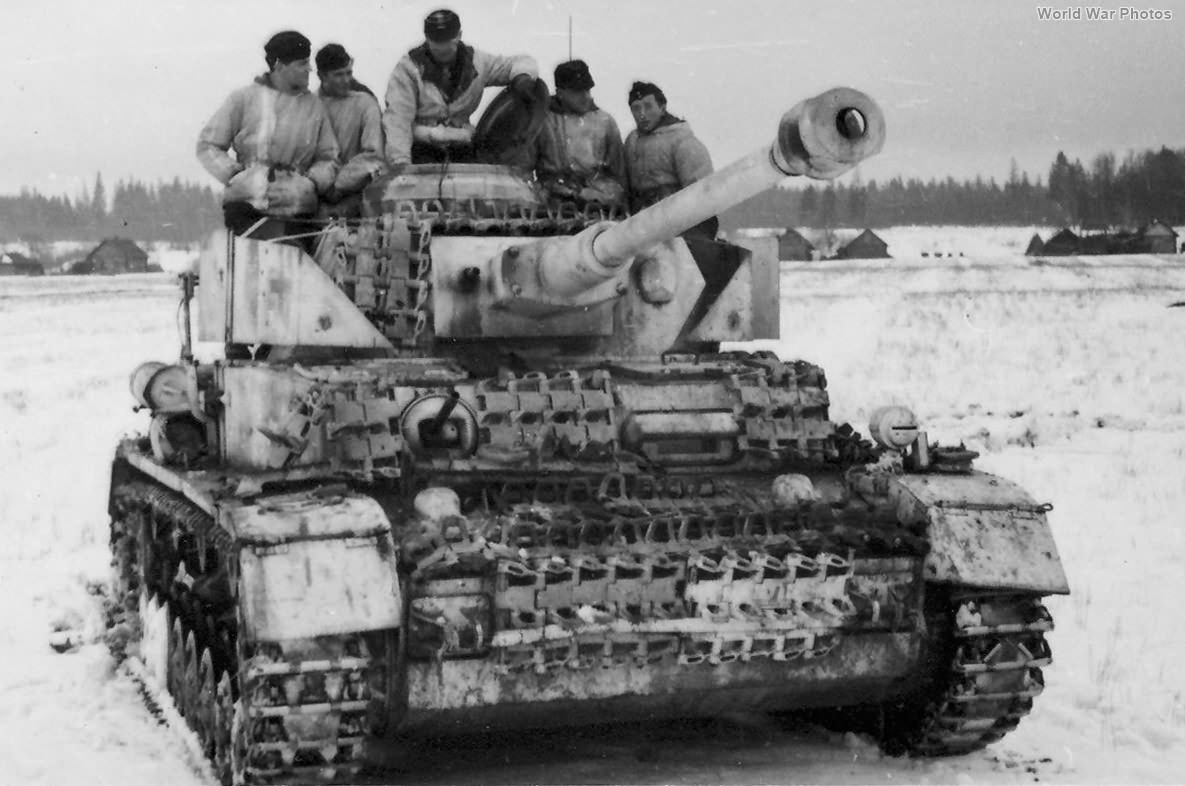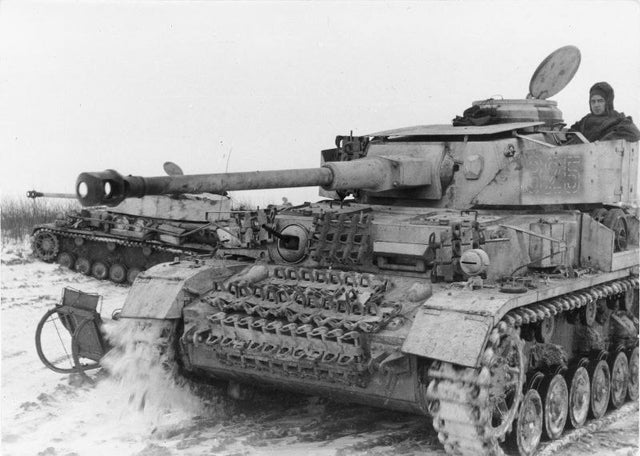
The Panzer IV is my favorite tank to model mostly due to photos like the ones above. Similar pictures inspired an accumulation of ~40 unbuilt “workhorses” over the last ~30+ years. I hope to share build experiences with various kits.
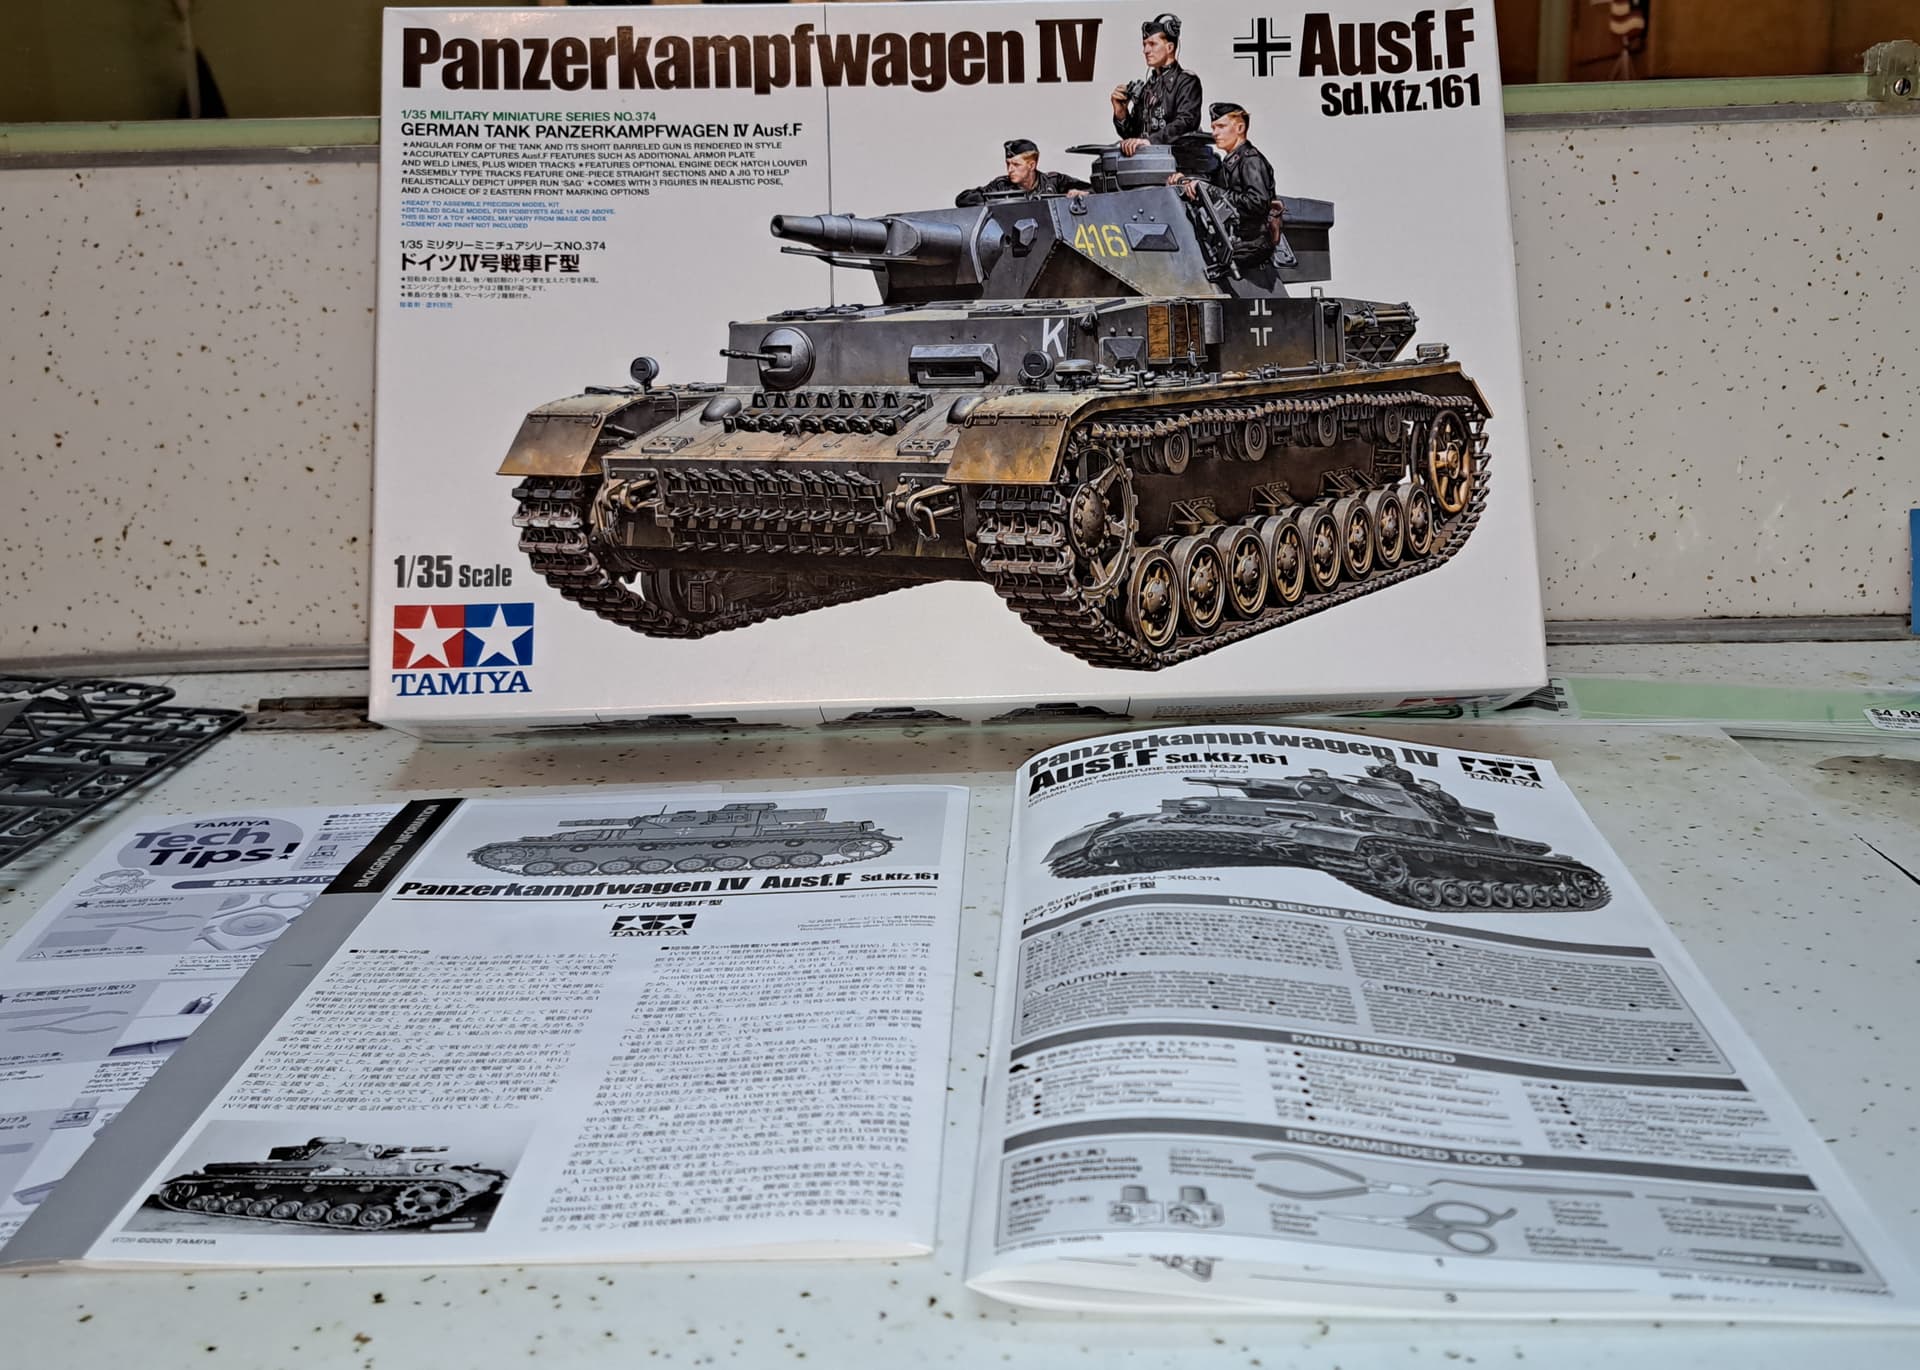
Lets get the panzer party started with Tamiya’s fairly recent Tamiya #35374 Panzerkampfwagen IV ausf F from 2020.
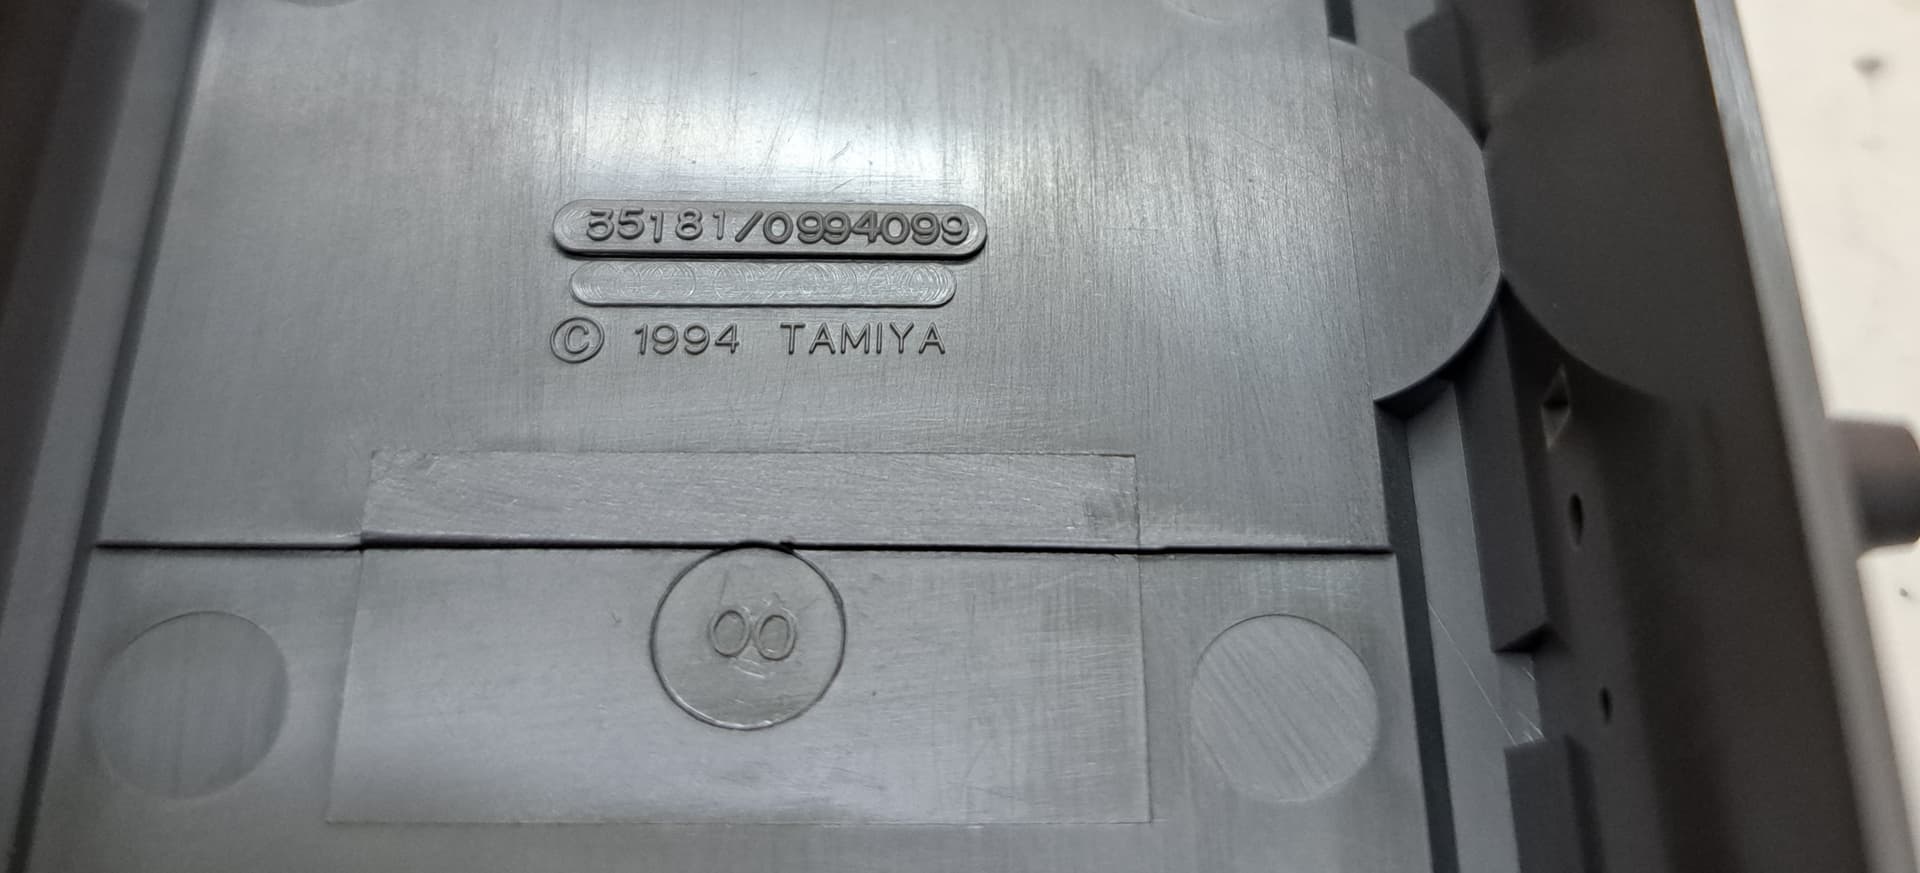
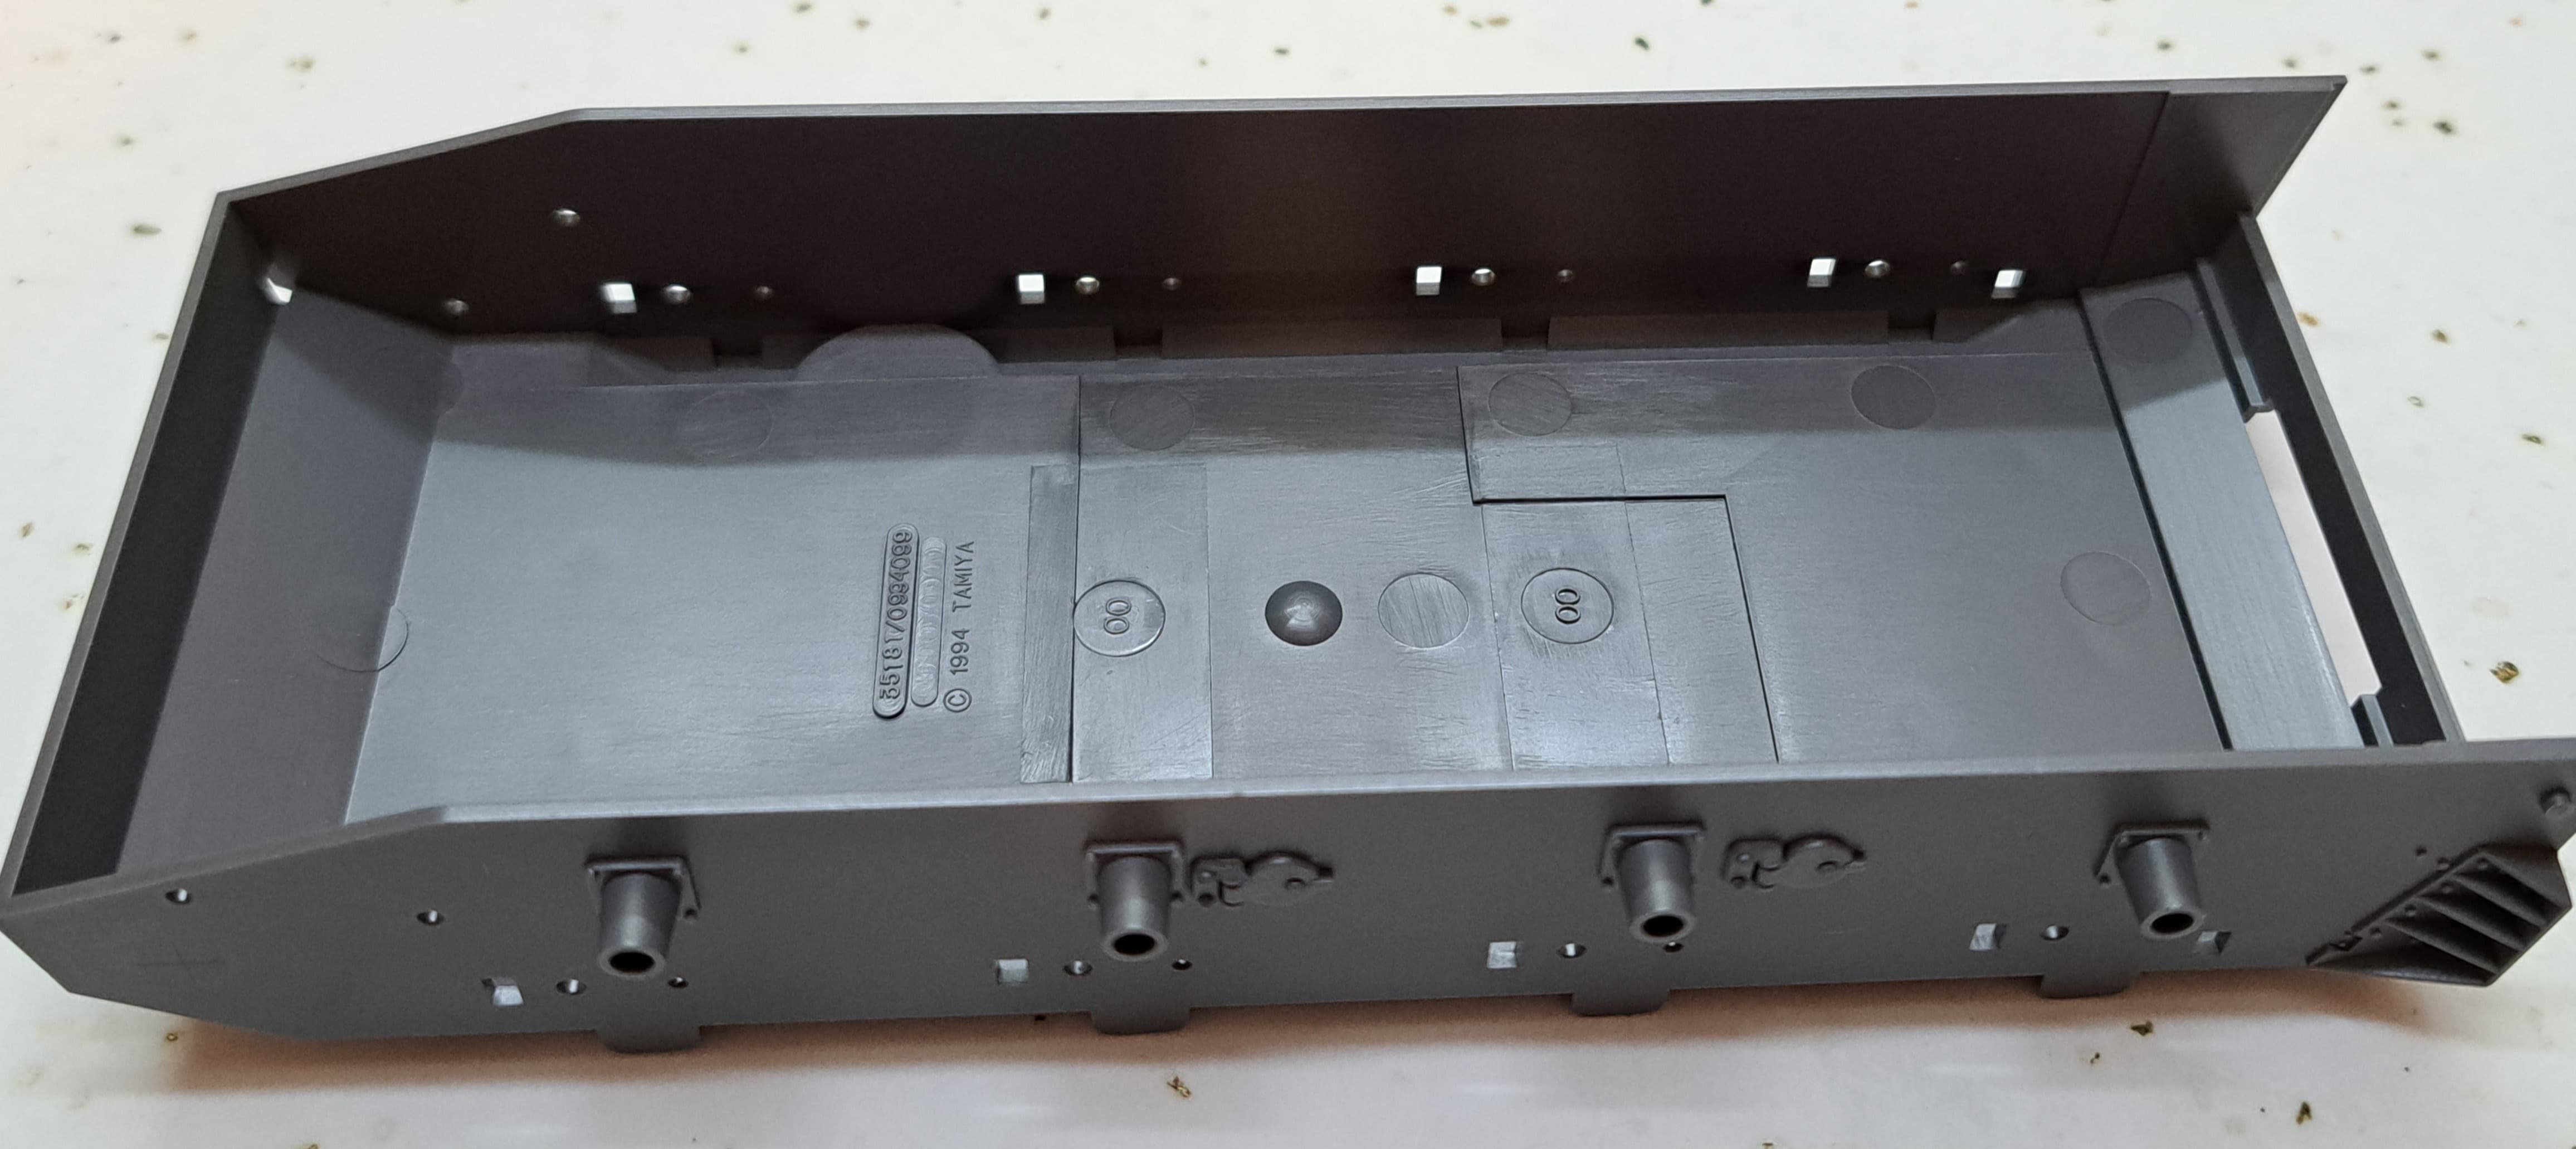
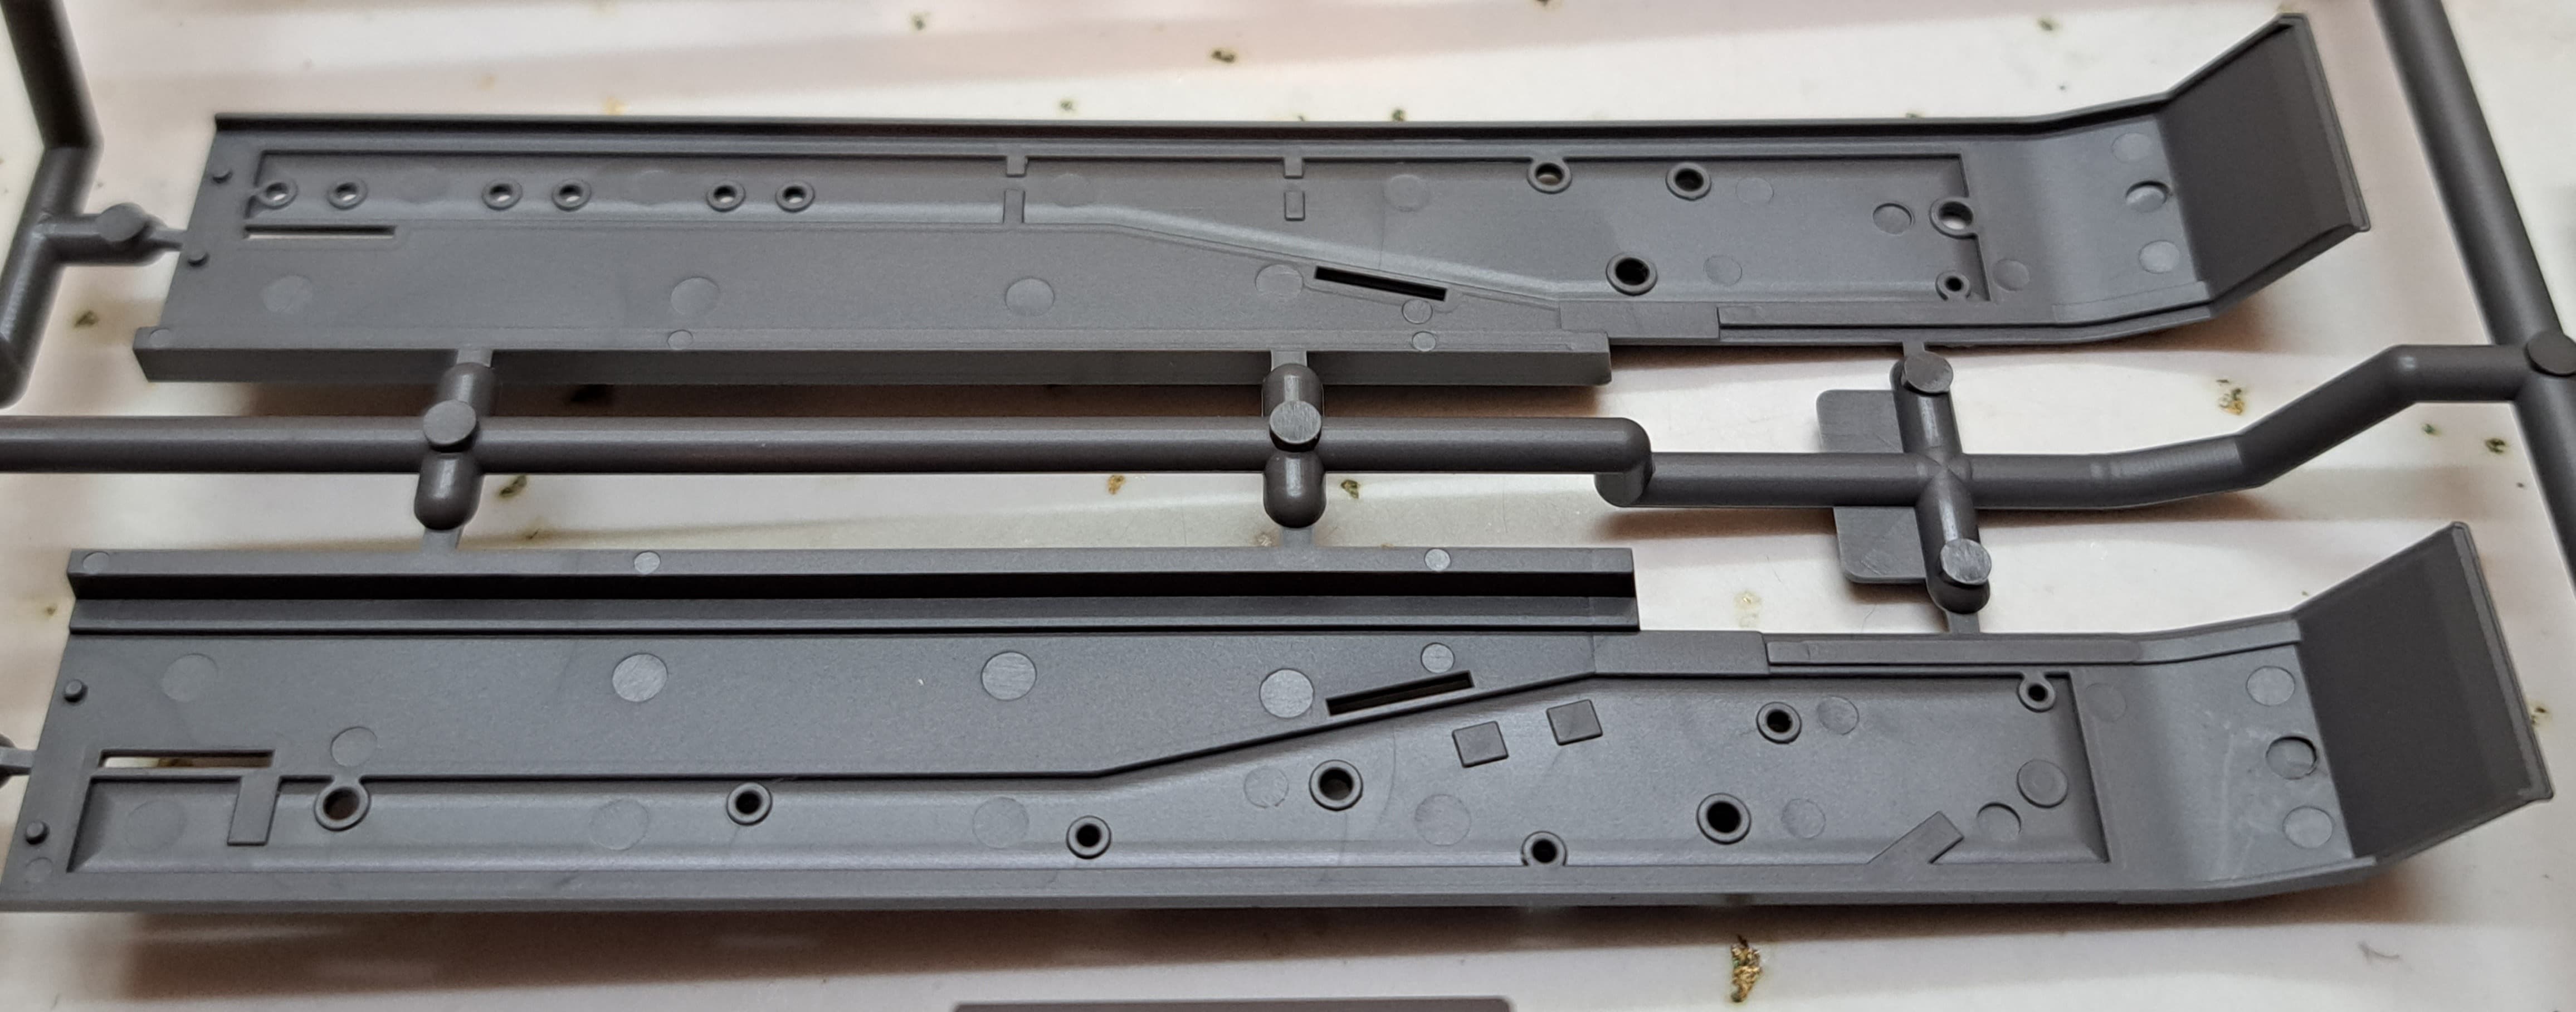
As many have mentioned some of the parts date to 1994 like the lower hull tub.
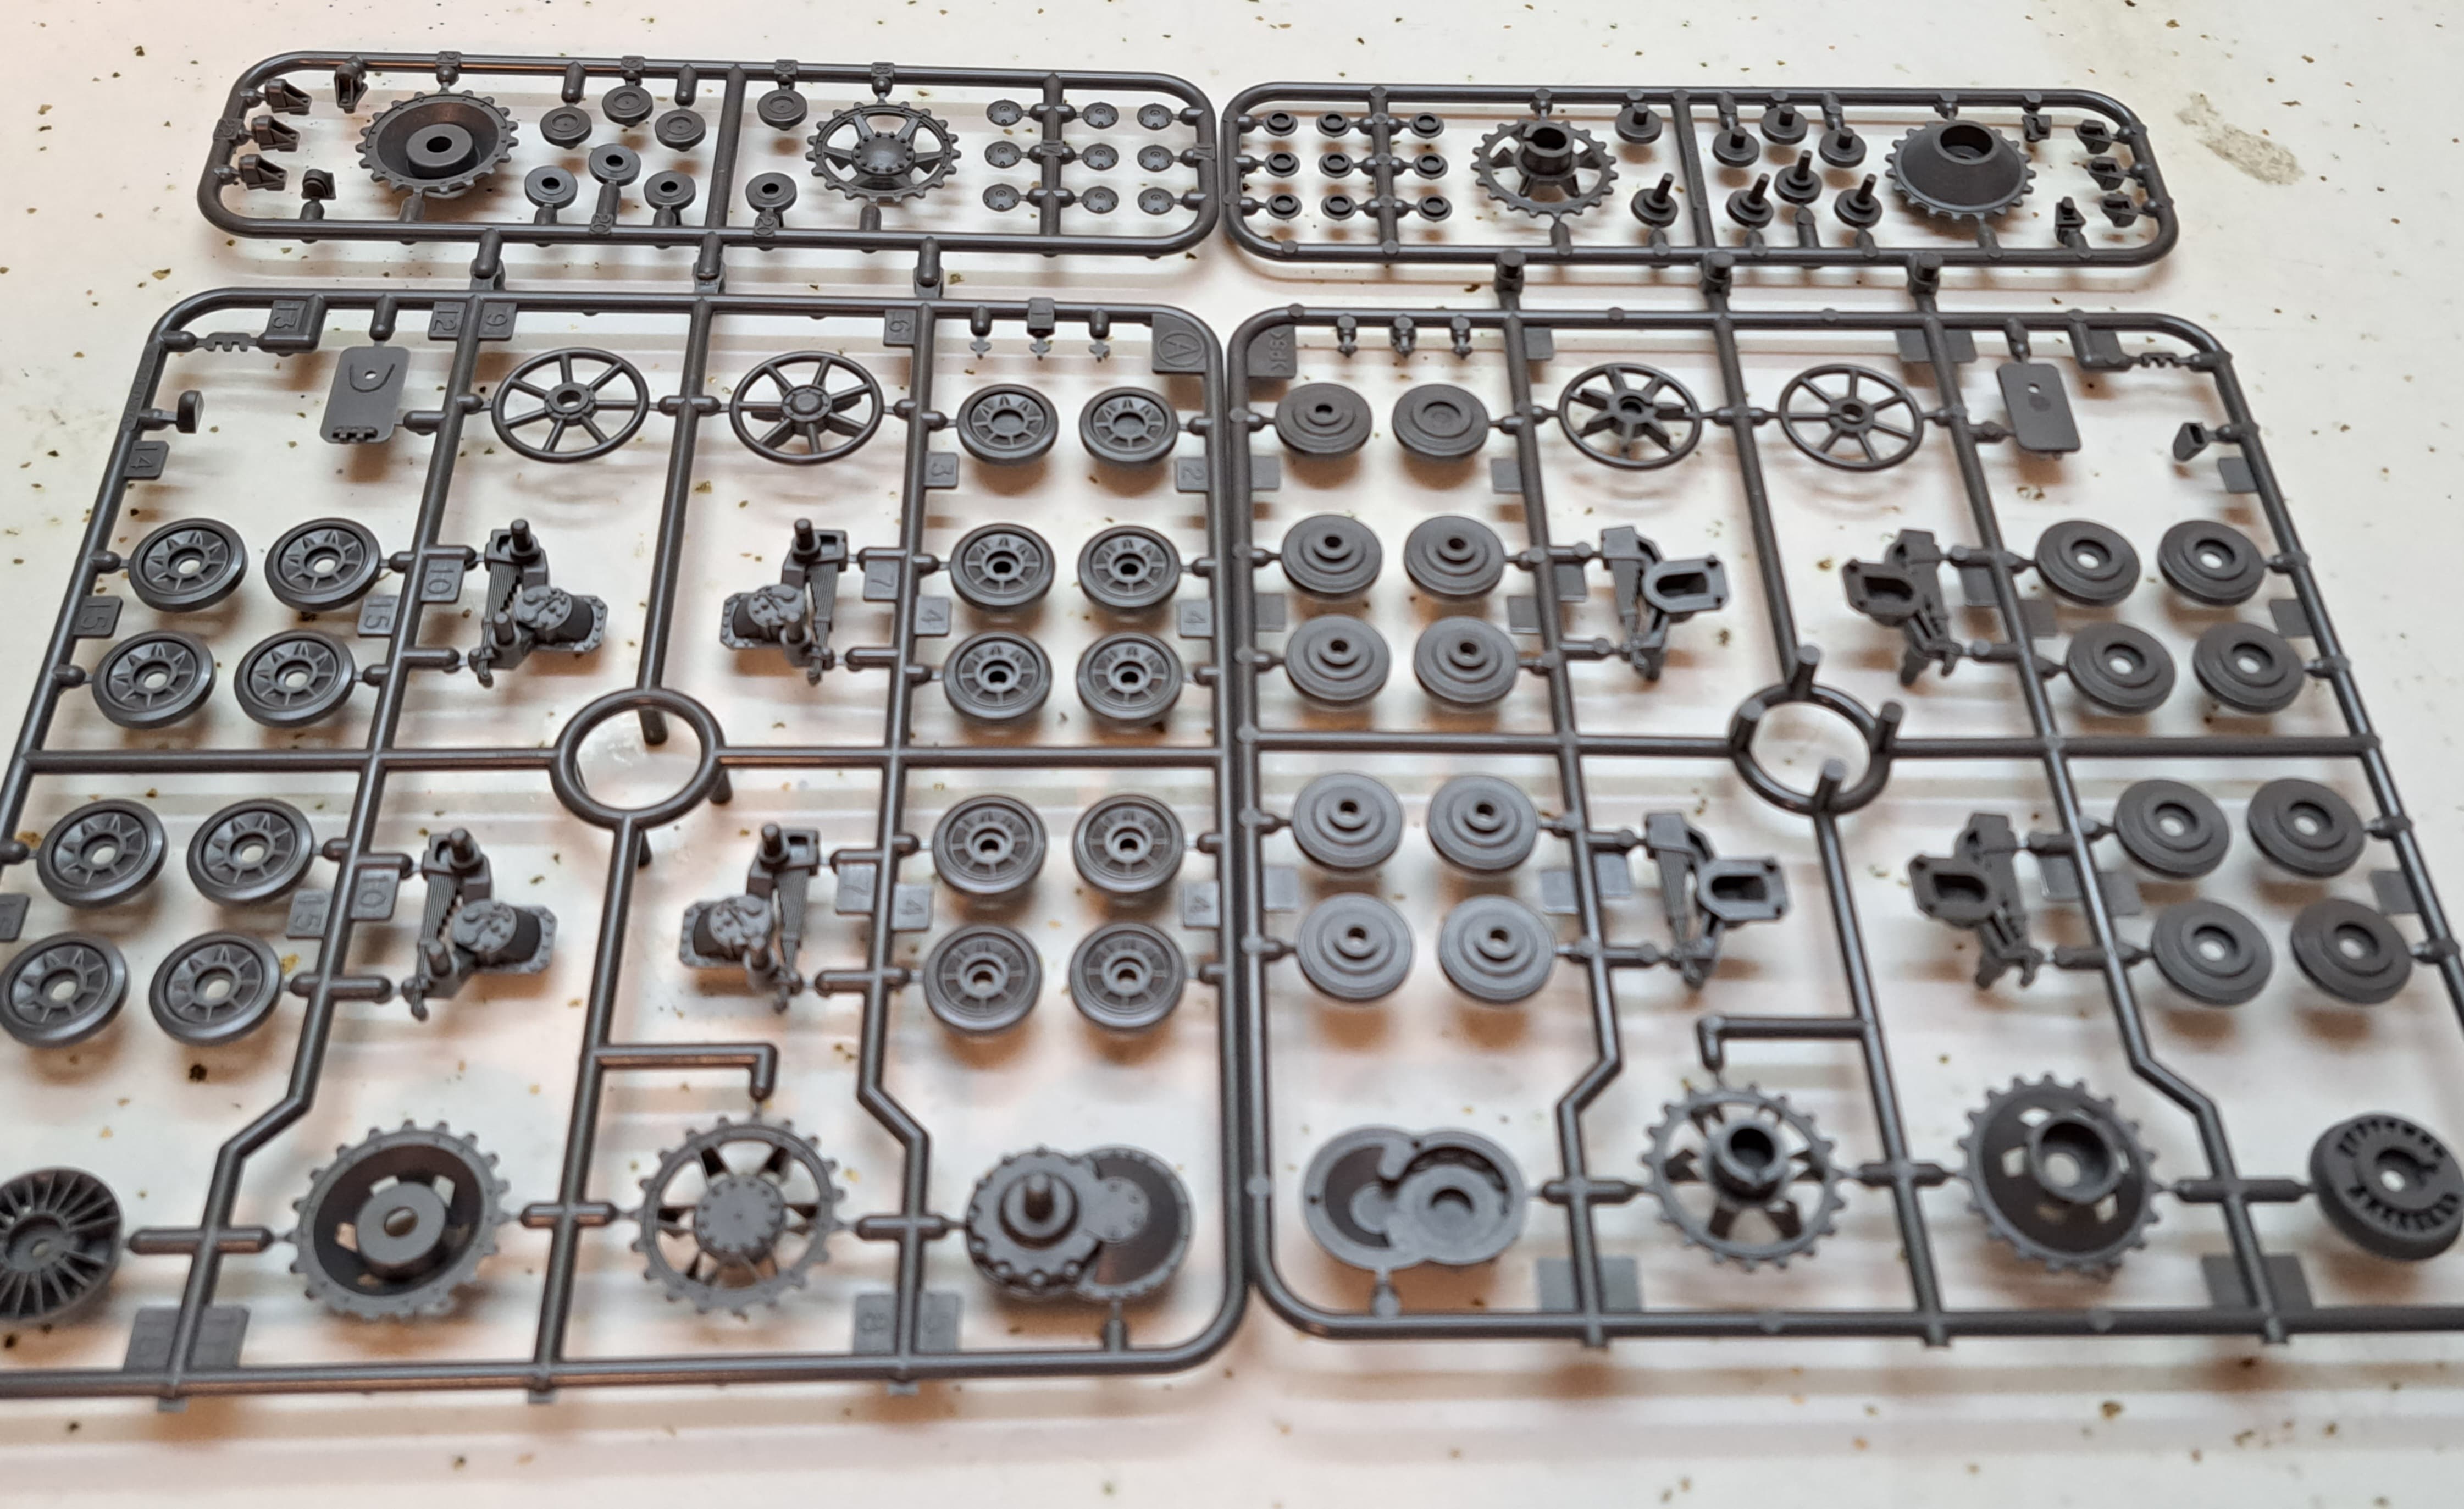
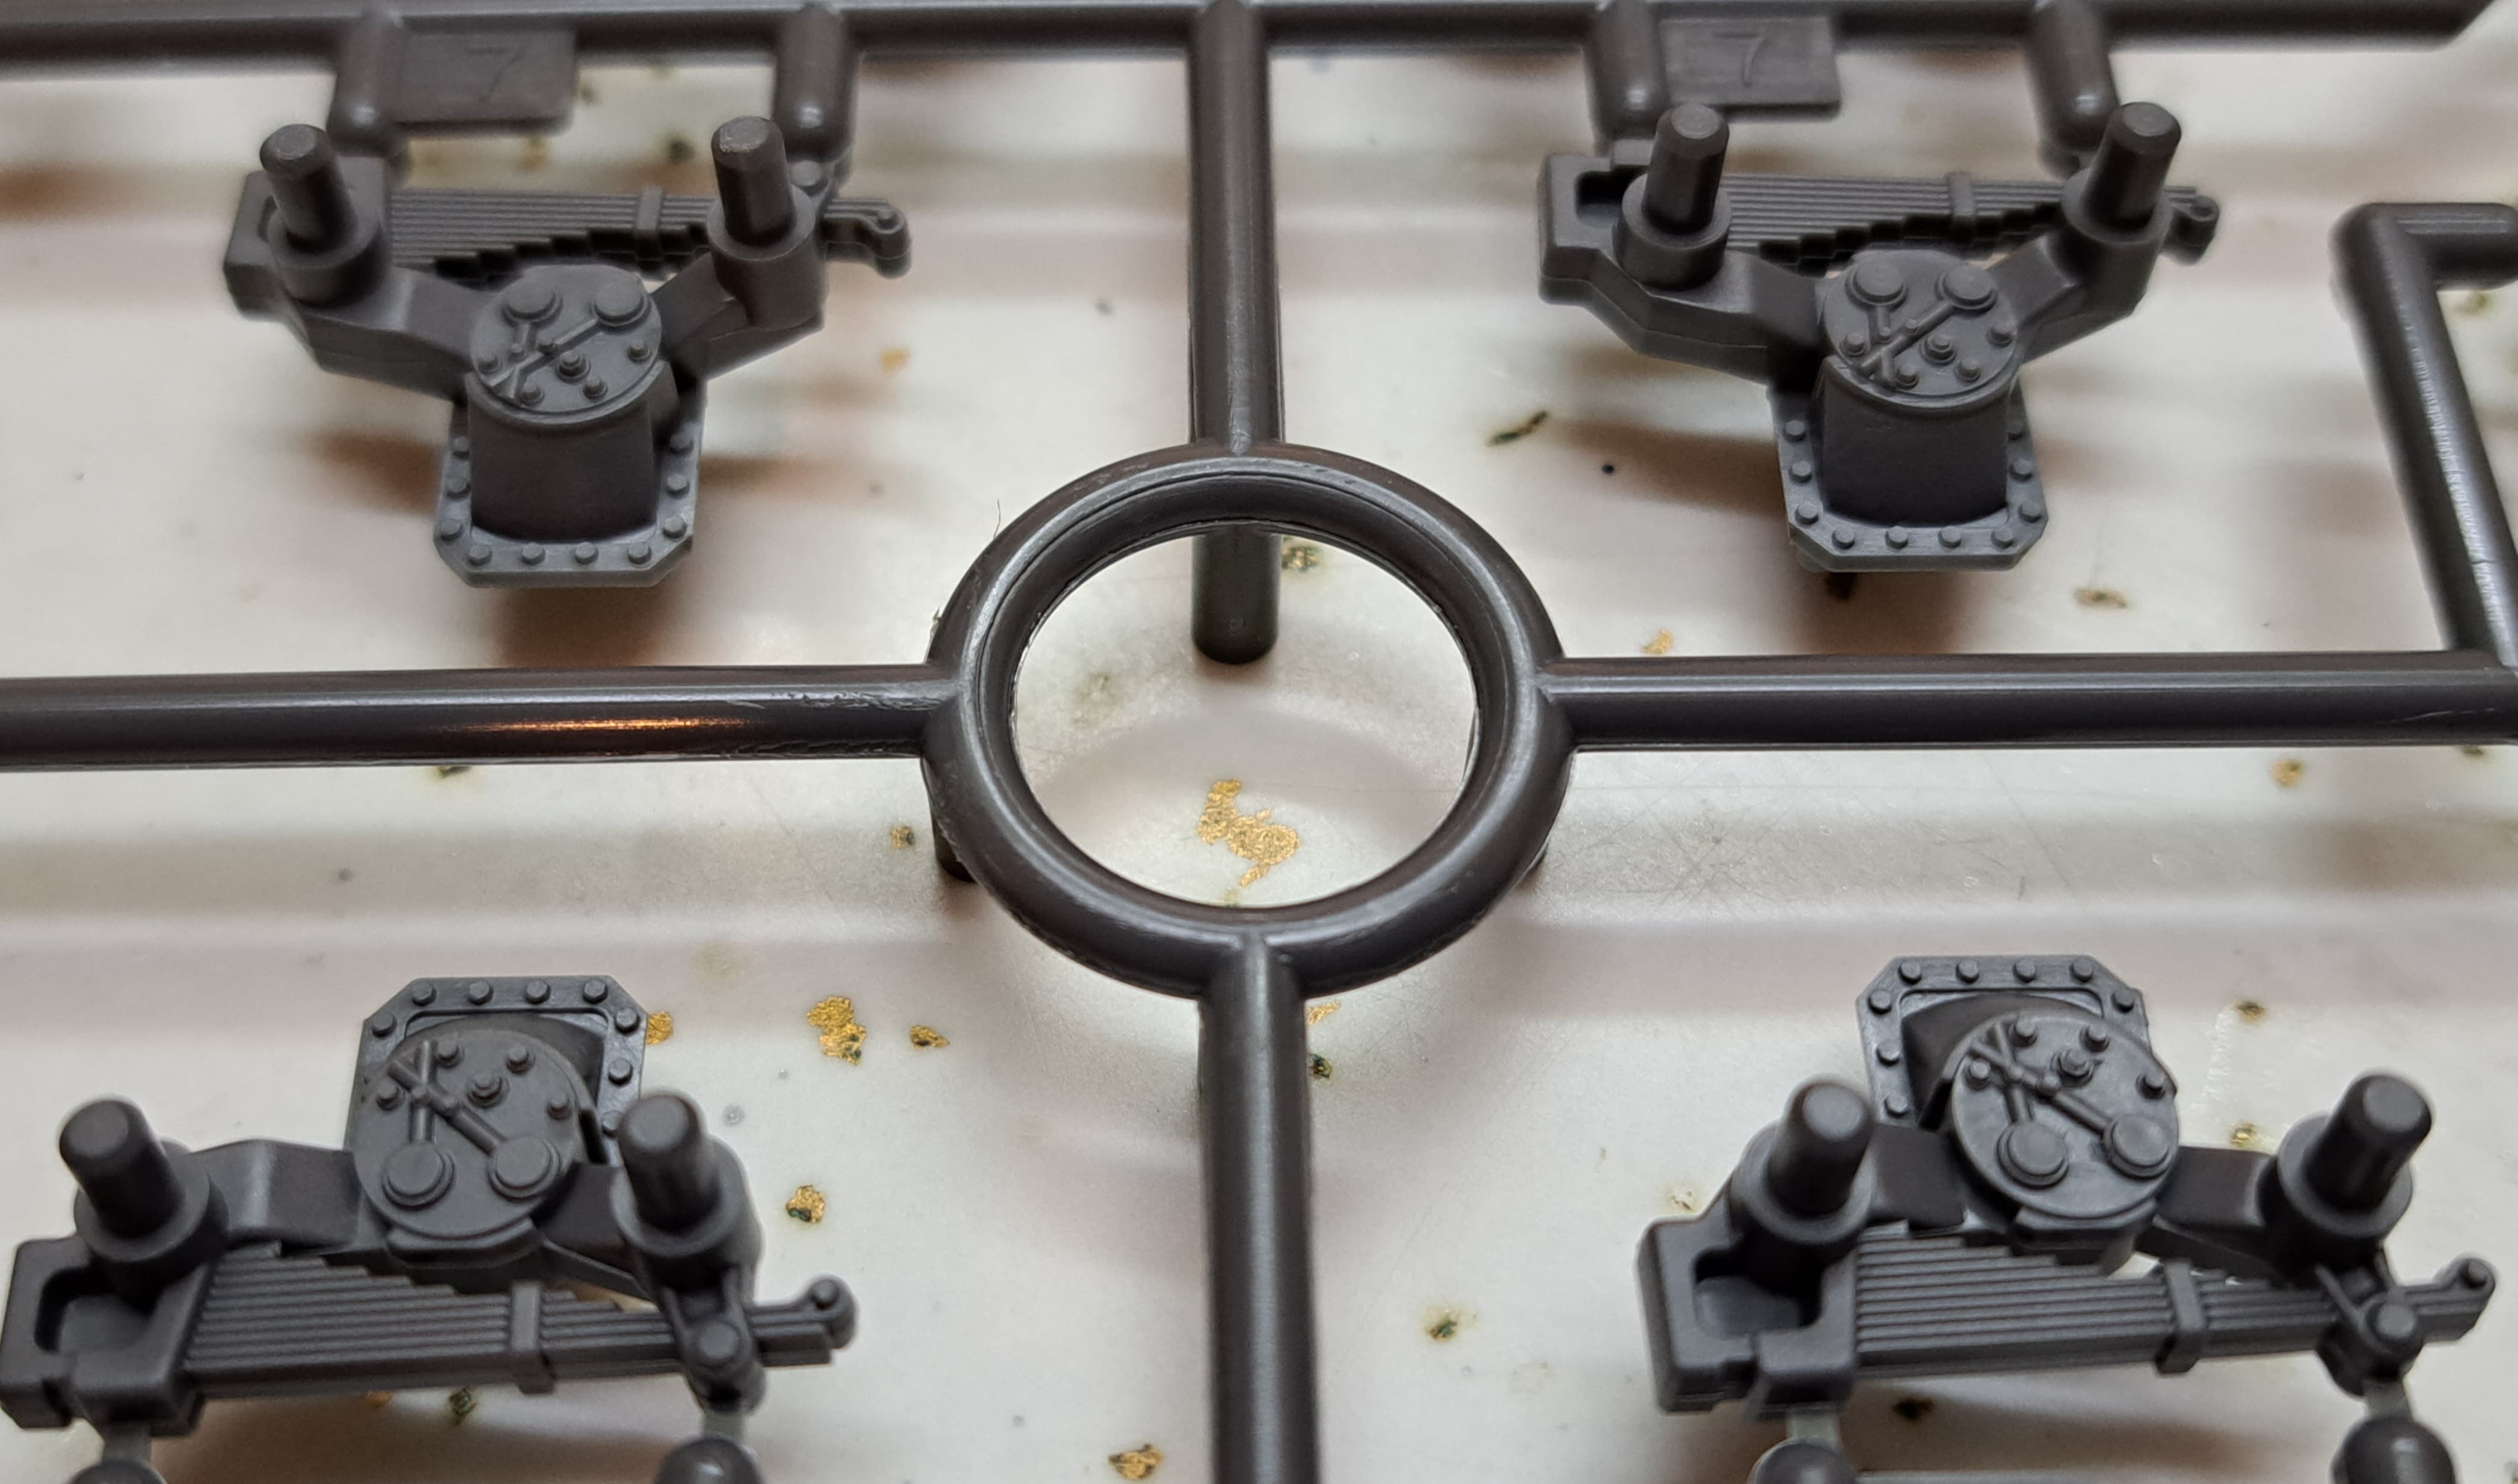
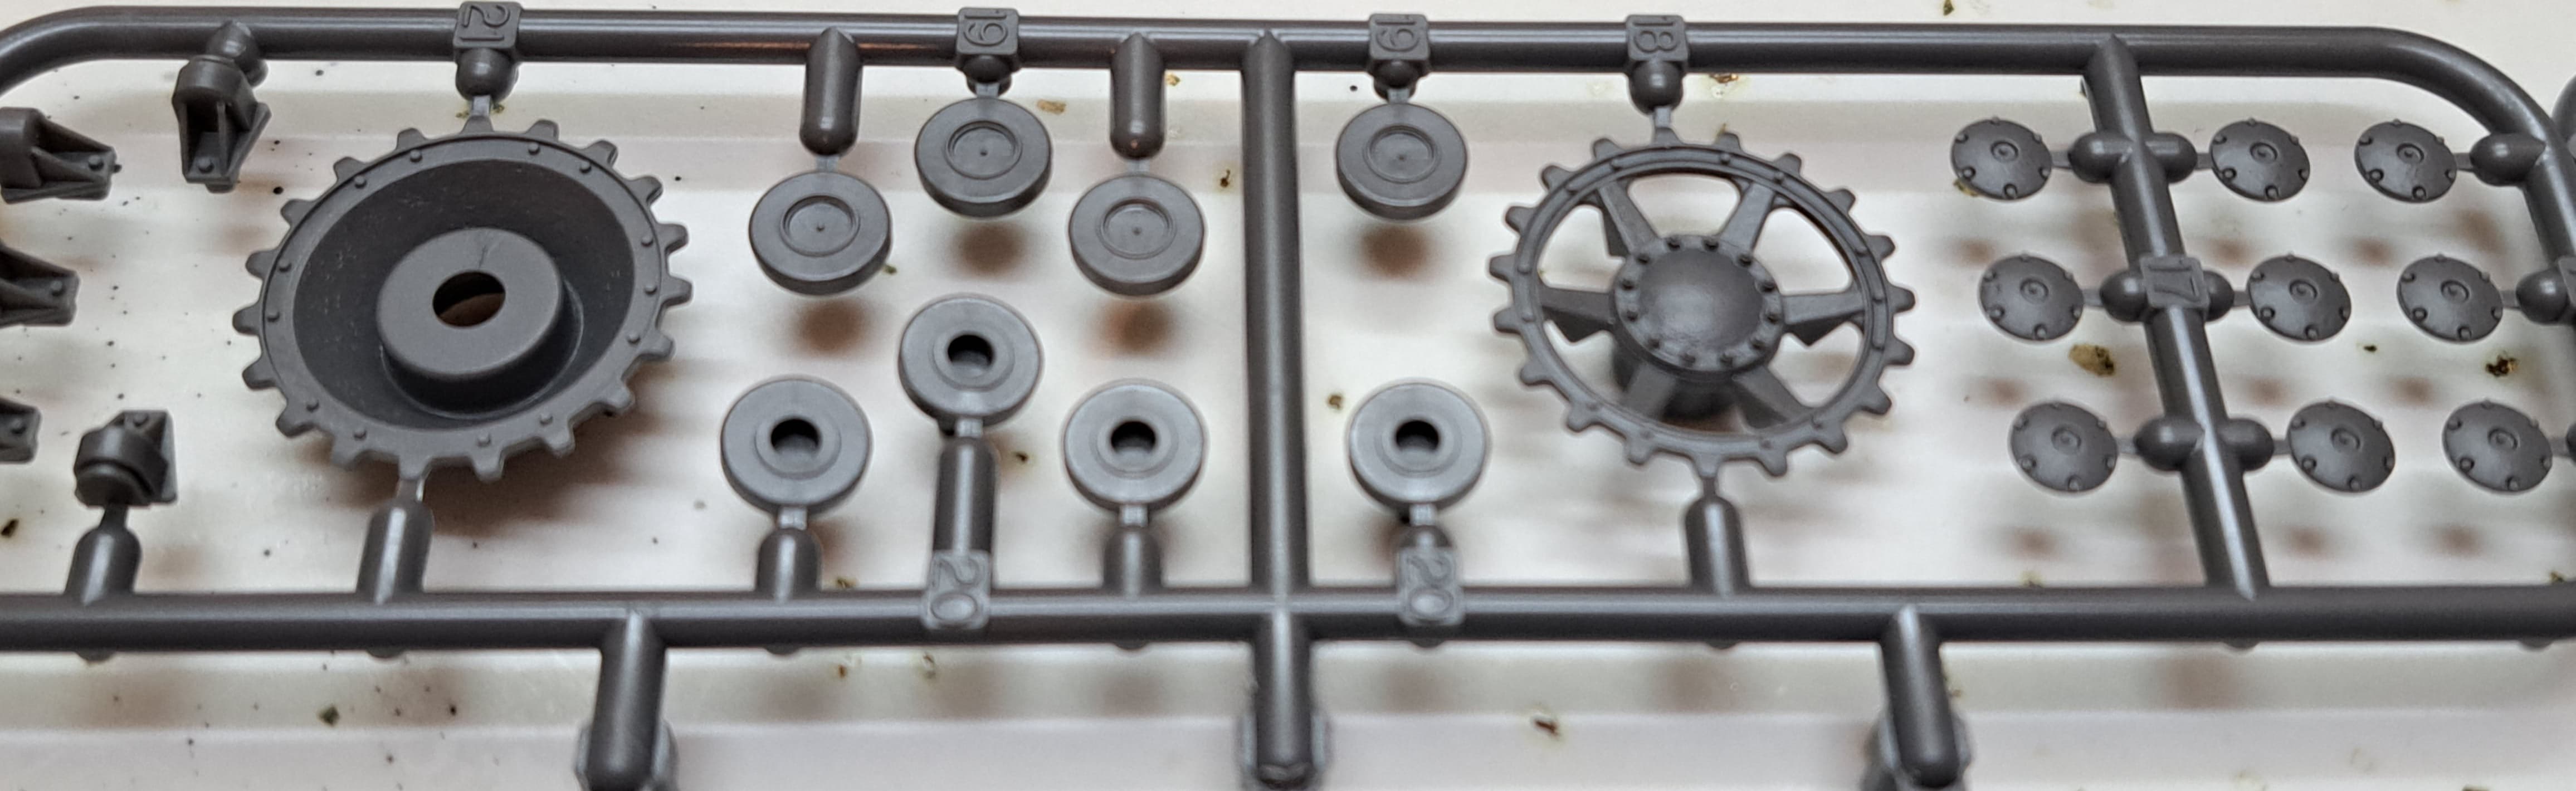
Since only like ~15% of my interest in an armor kit is in the lower hull, I’m OK with Tamiya’s choices. Two sprues with the wheels look pretty familiar.
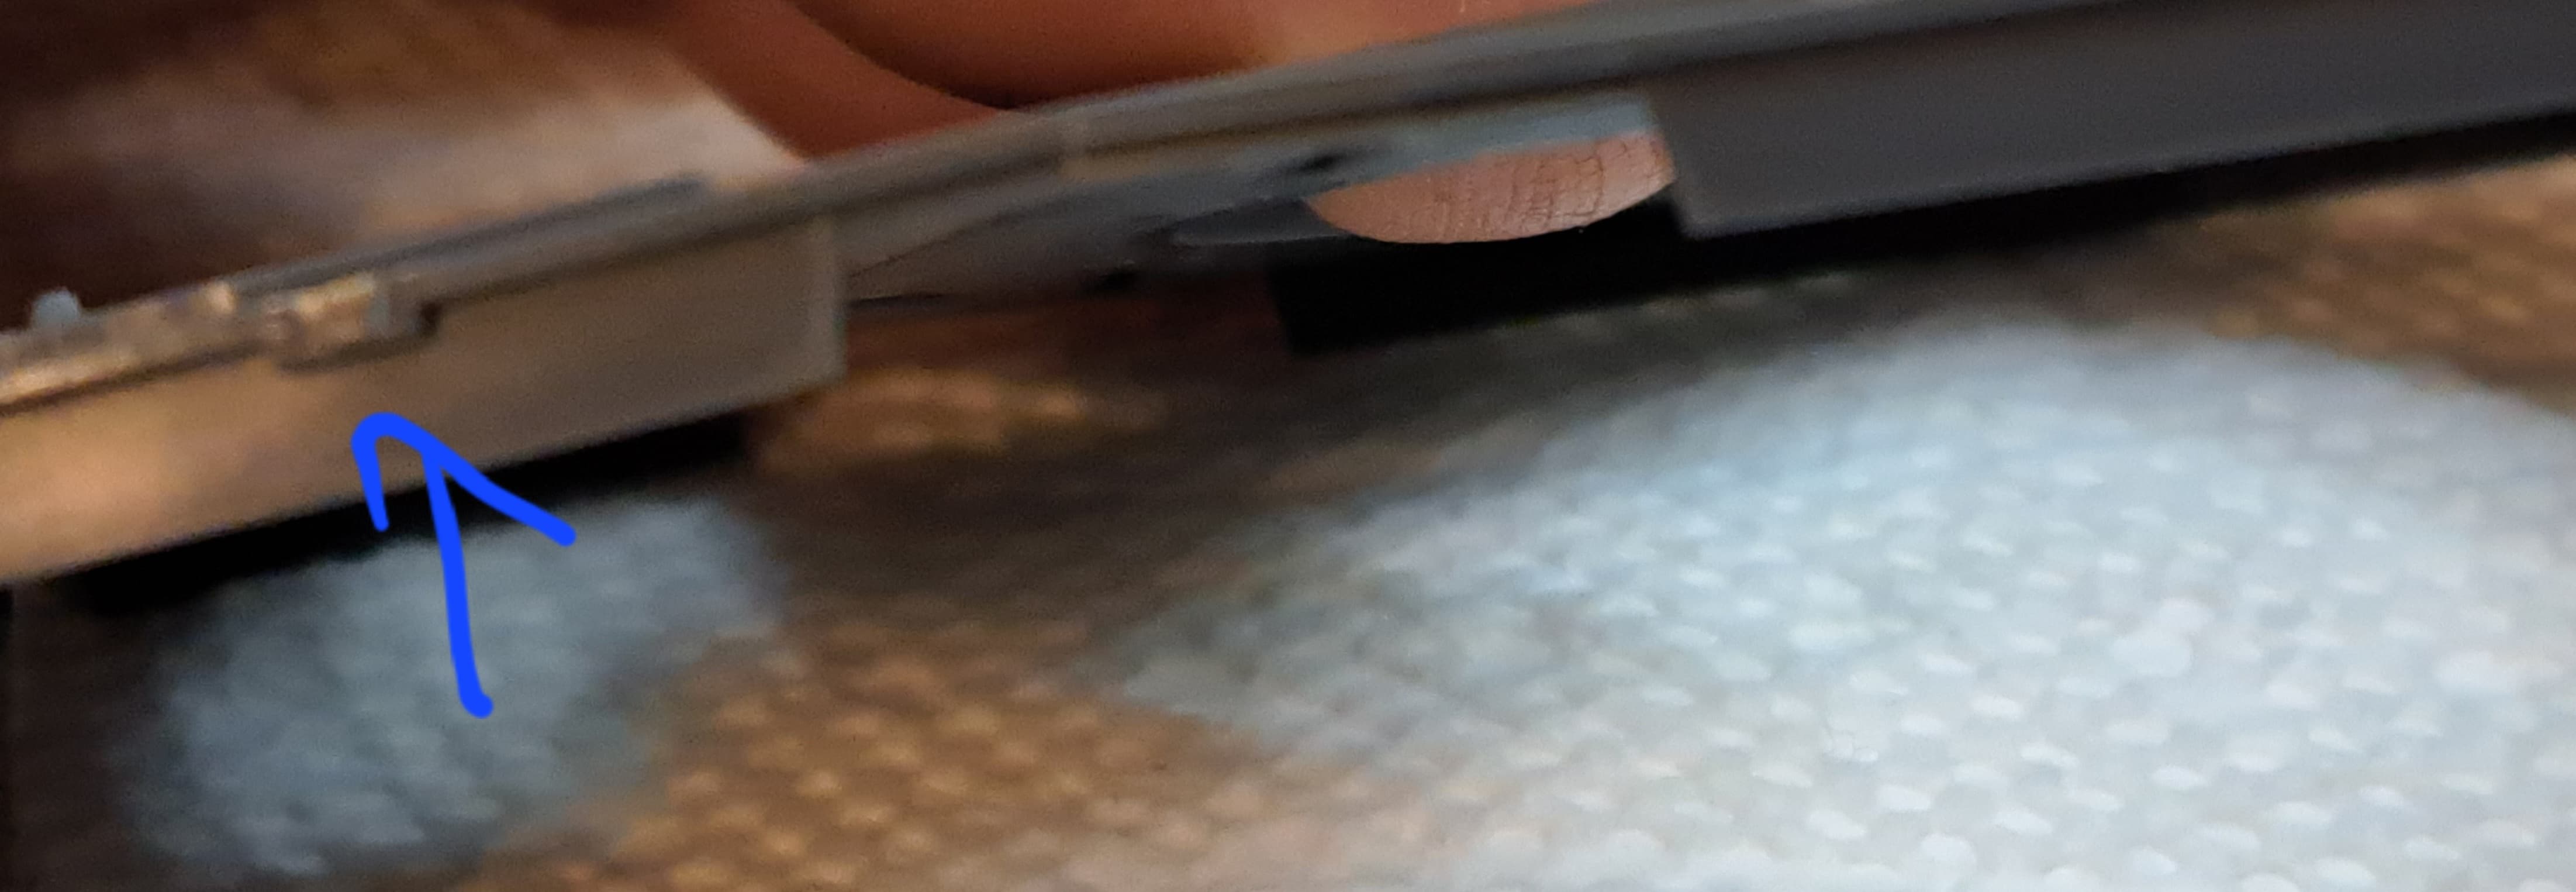
My only real annoyance with the “1994” style vintage suspension is the open hole on the bogie. It needs filled in my opinion etc. Plus the lack of leaf spring details on the end. Both are fixable of course.
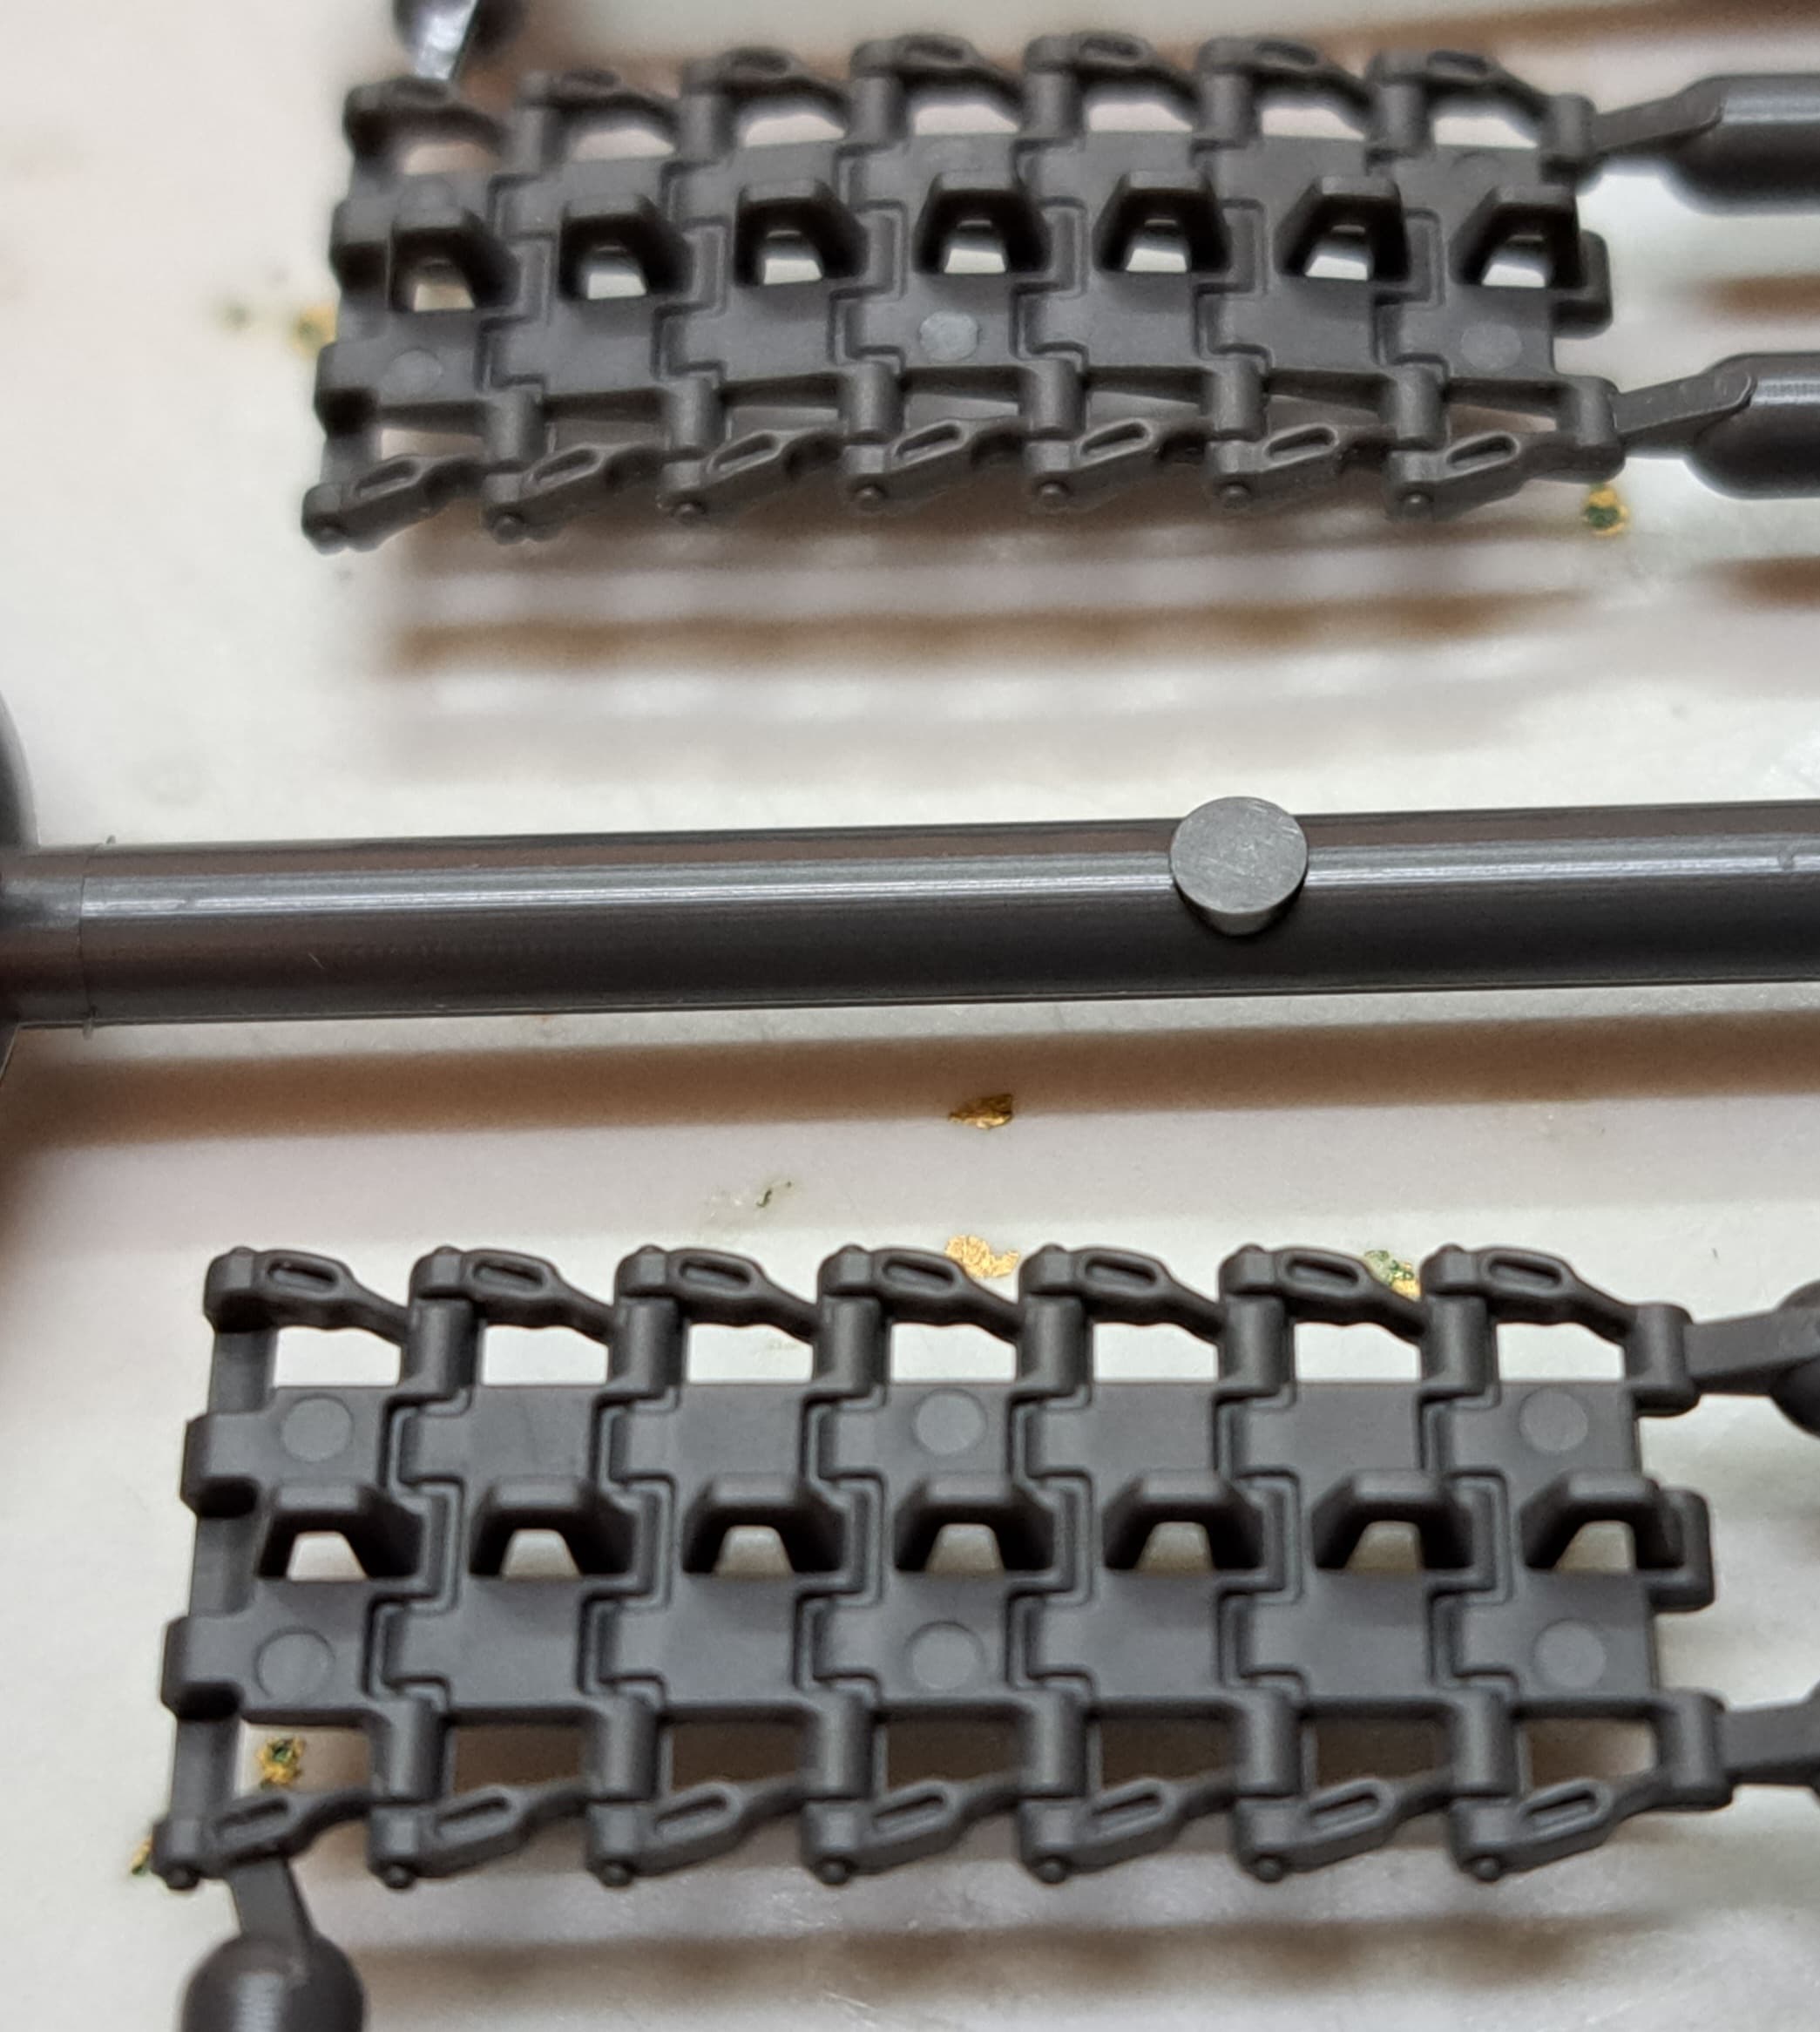
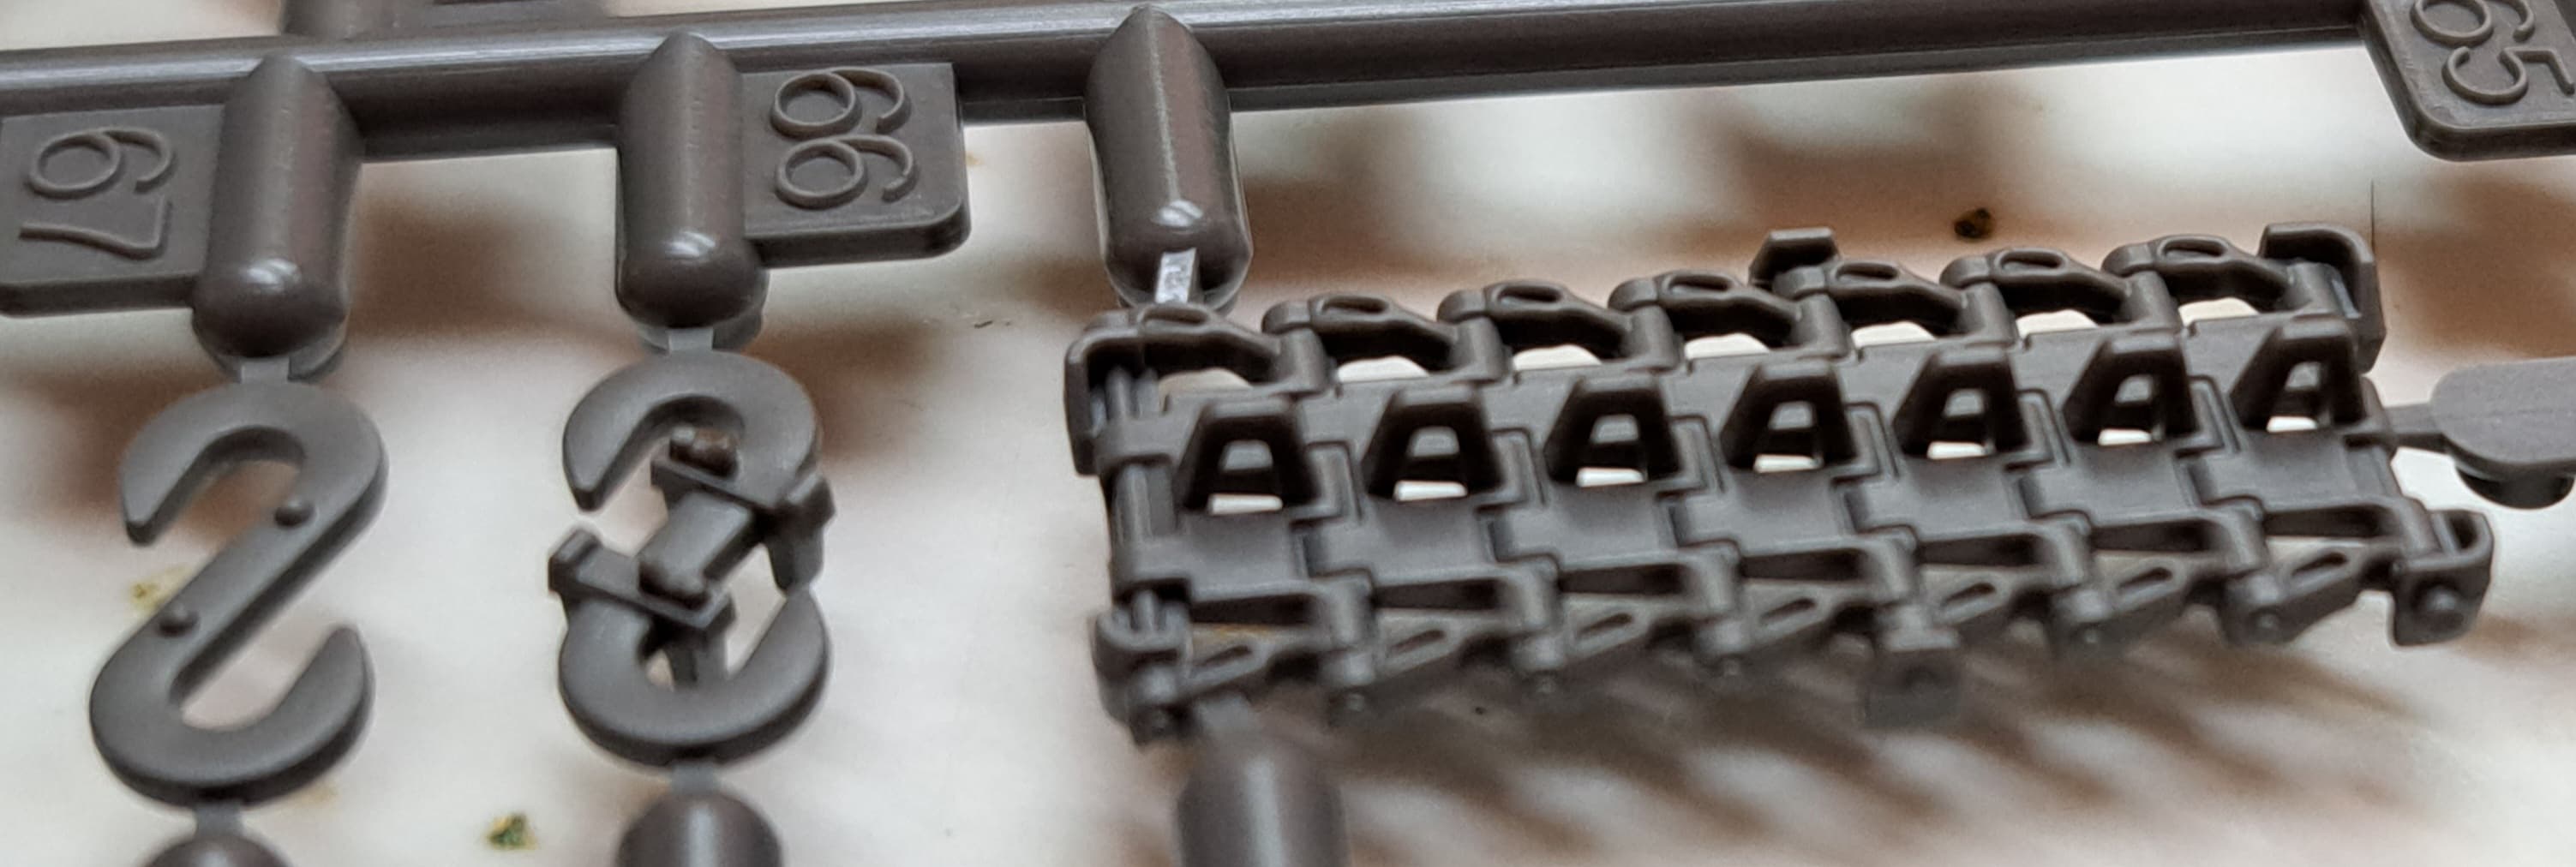
Tracks, for link & length these look nice with hollow guide teeth. There’s even a nice jig to ensure correct sag profile and ease difficulty. However, I hate link & length tracks so these will likely be replaced.
Lot’s of little punch marks to clean up if one uses the link & length.
Honestly, disappointed with the link & length and would much prefer a working individual link track set up like Ryefield Model provides in their Pz III/IV kits.
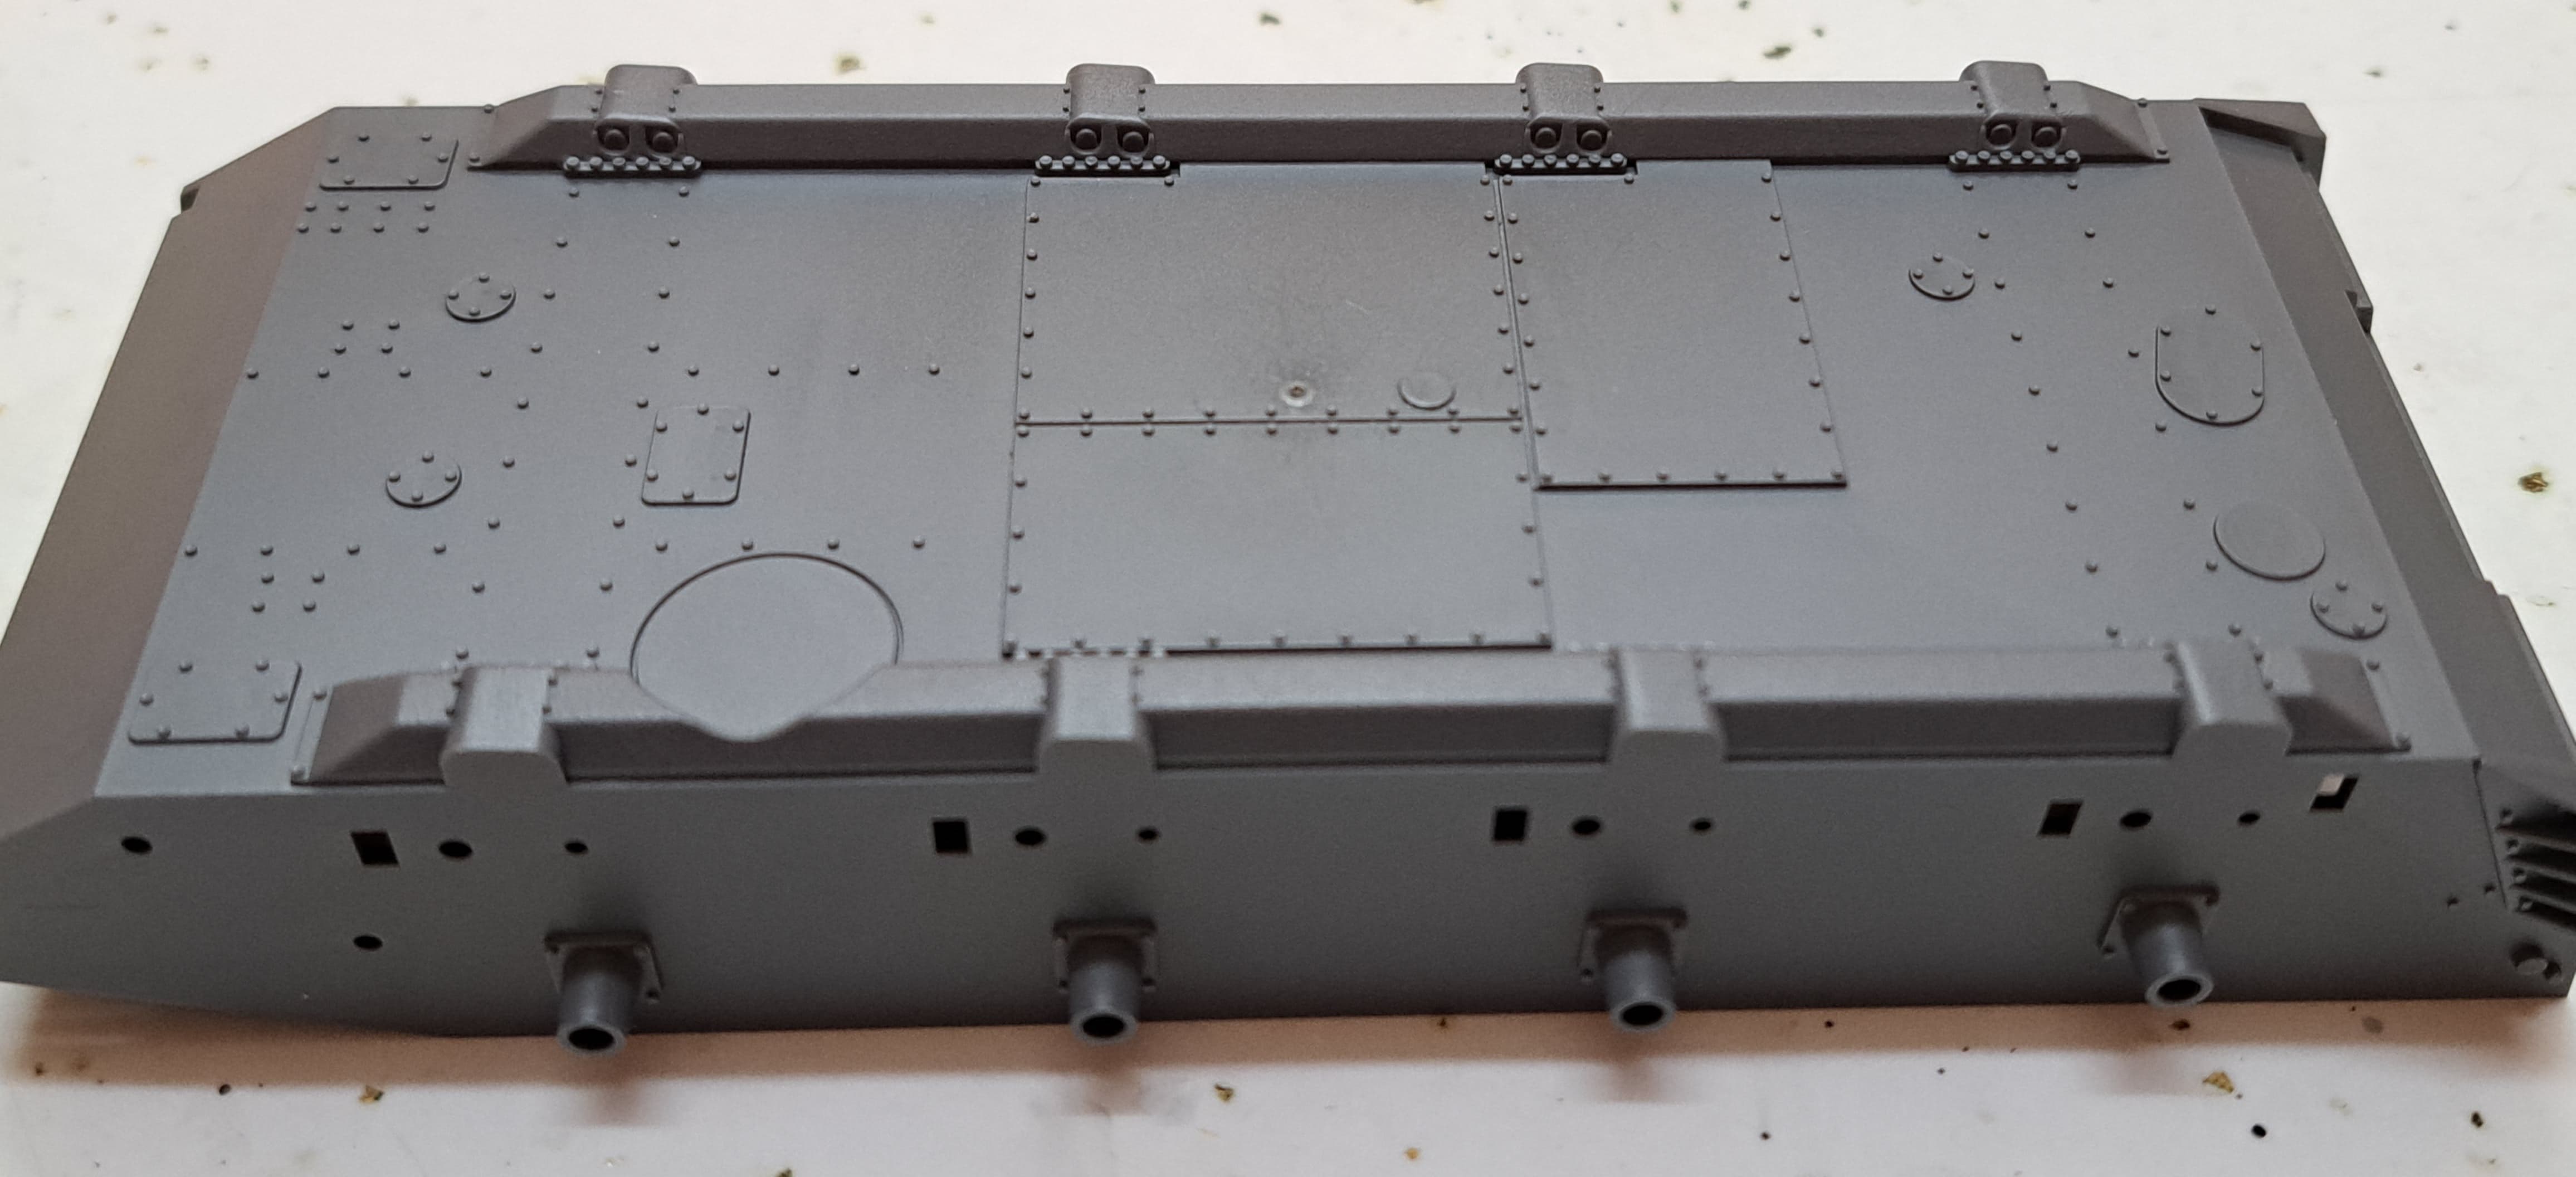
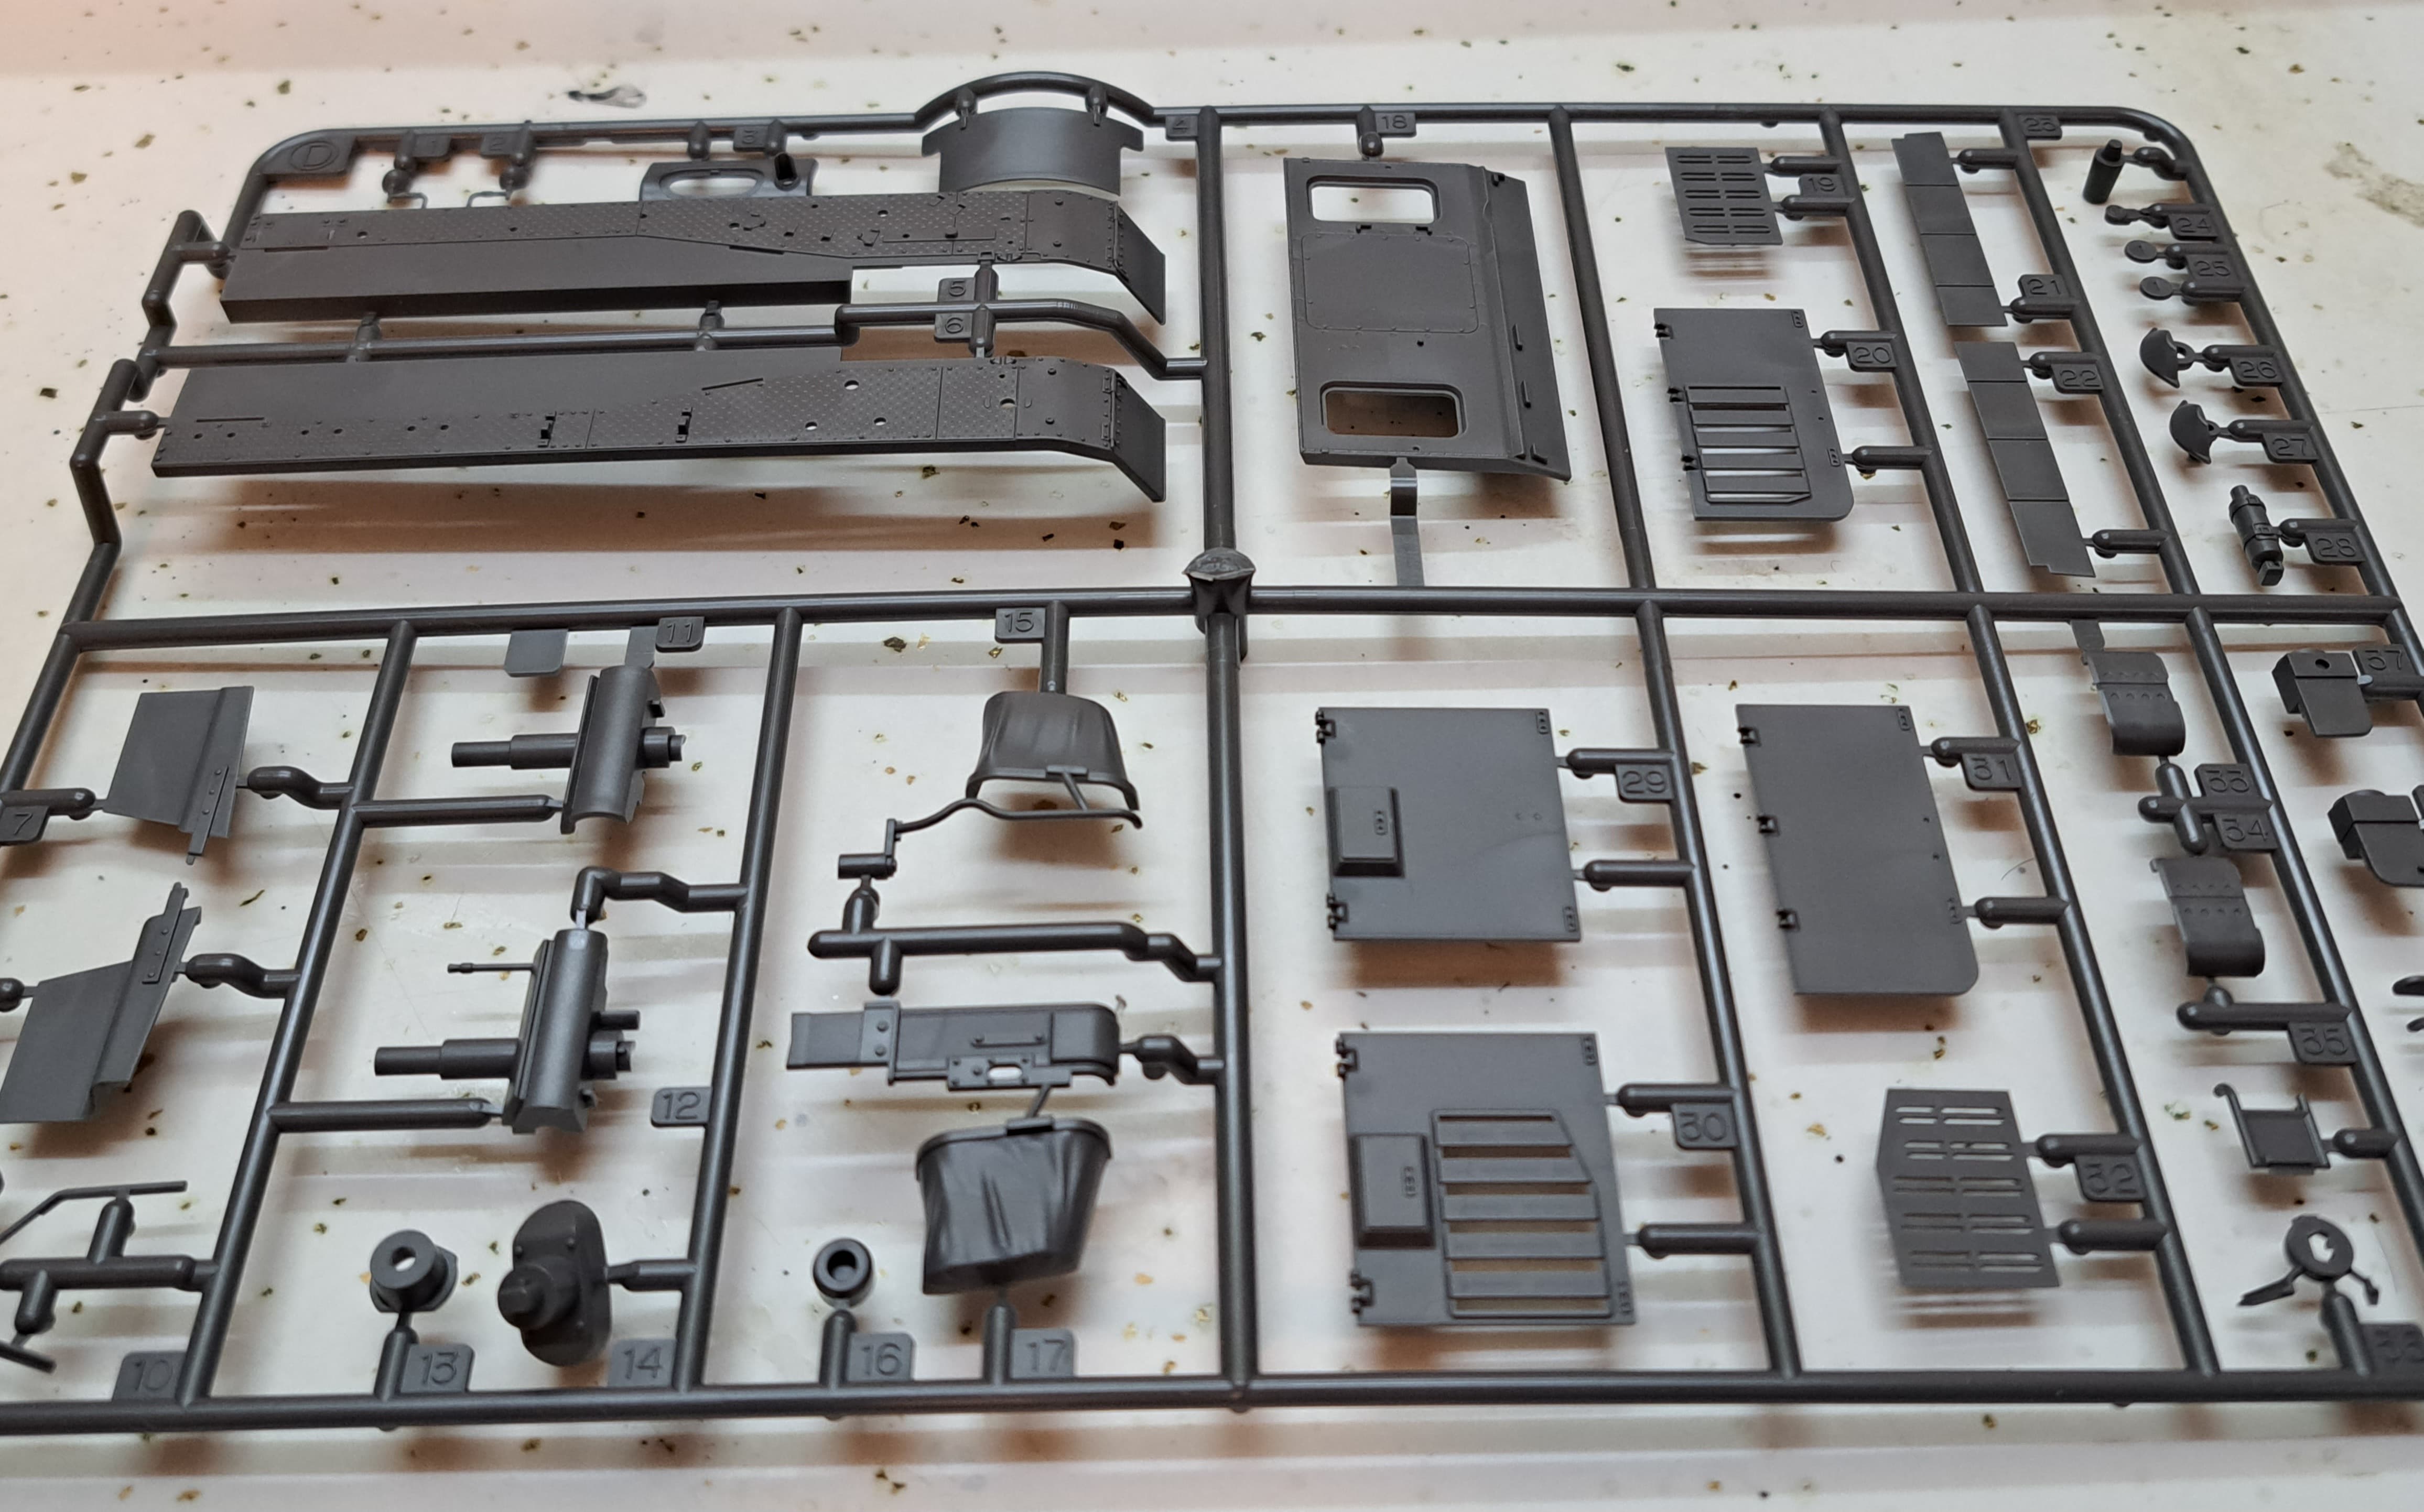
Hull, we finally start getting to some nice looking plastic!
Love the S hooks with wing nuts molded in & spare track with nicely done track holder brackets included!
Big T is looking good with jack box details plus a nice smoke candle holder!
Hull top looks promising! The recesses should allow adding the slot for screw head details. A little annoyed at this especially around the hatches as TriStar nailed these details over a decade ago.
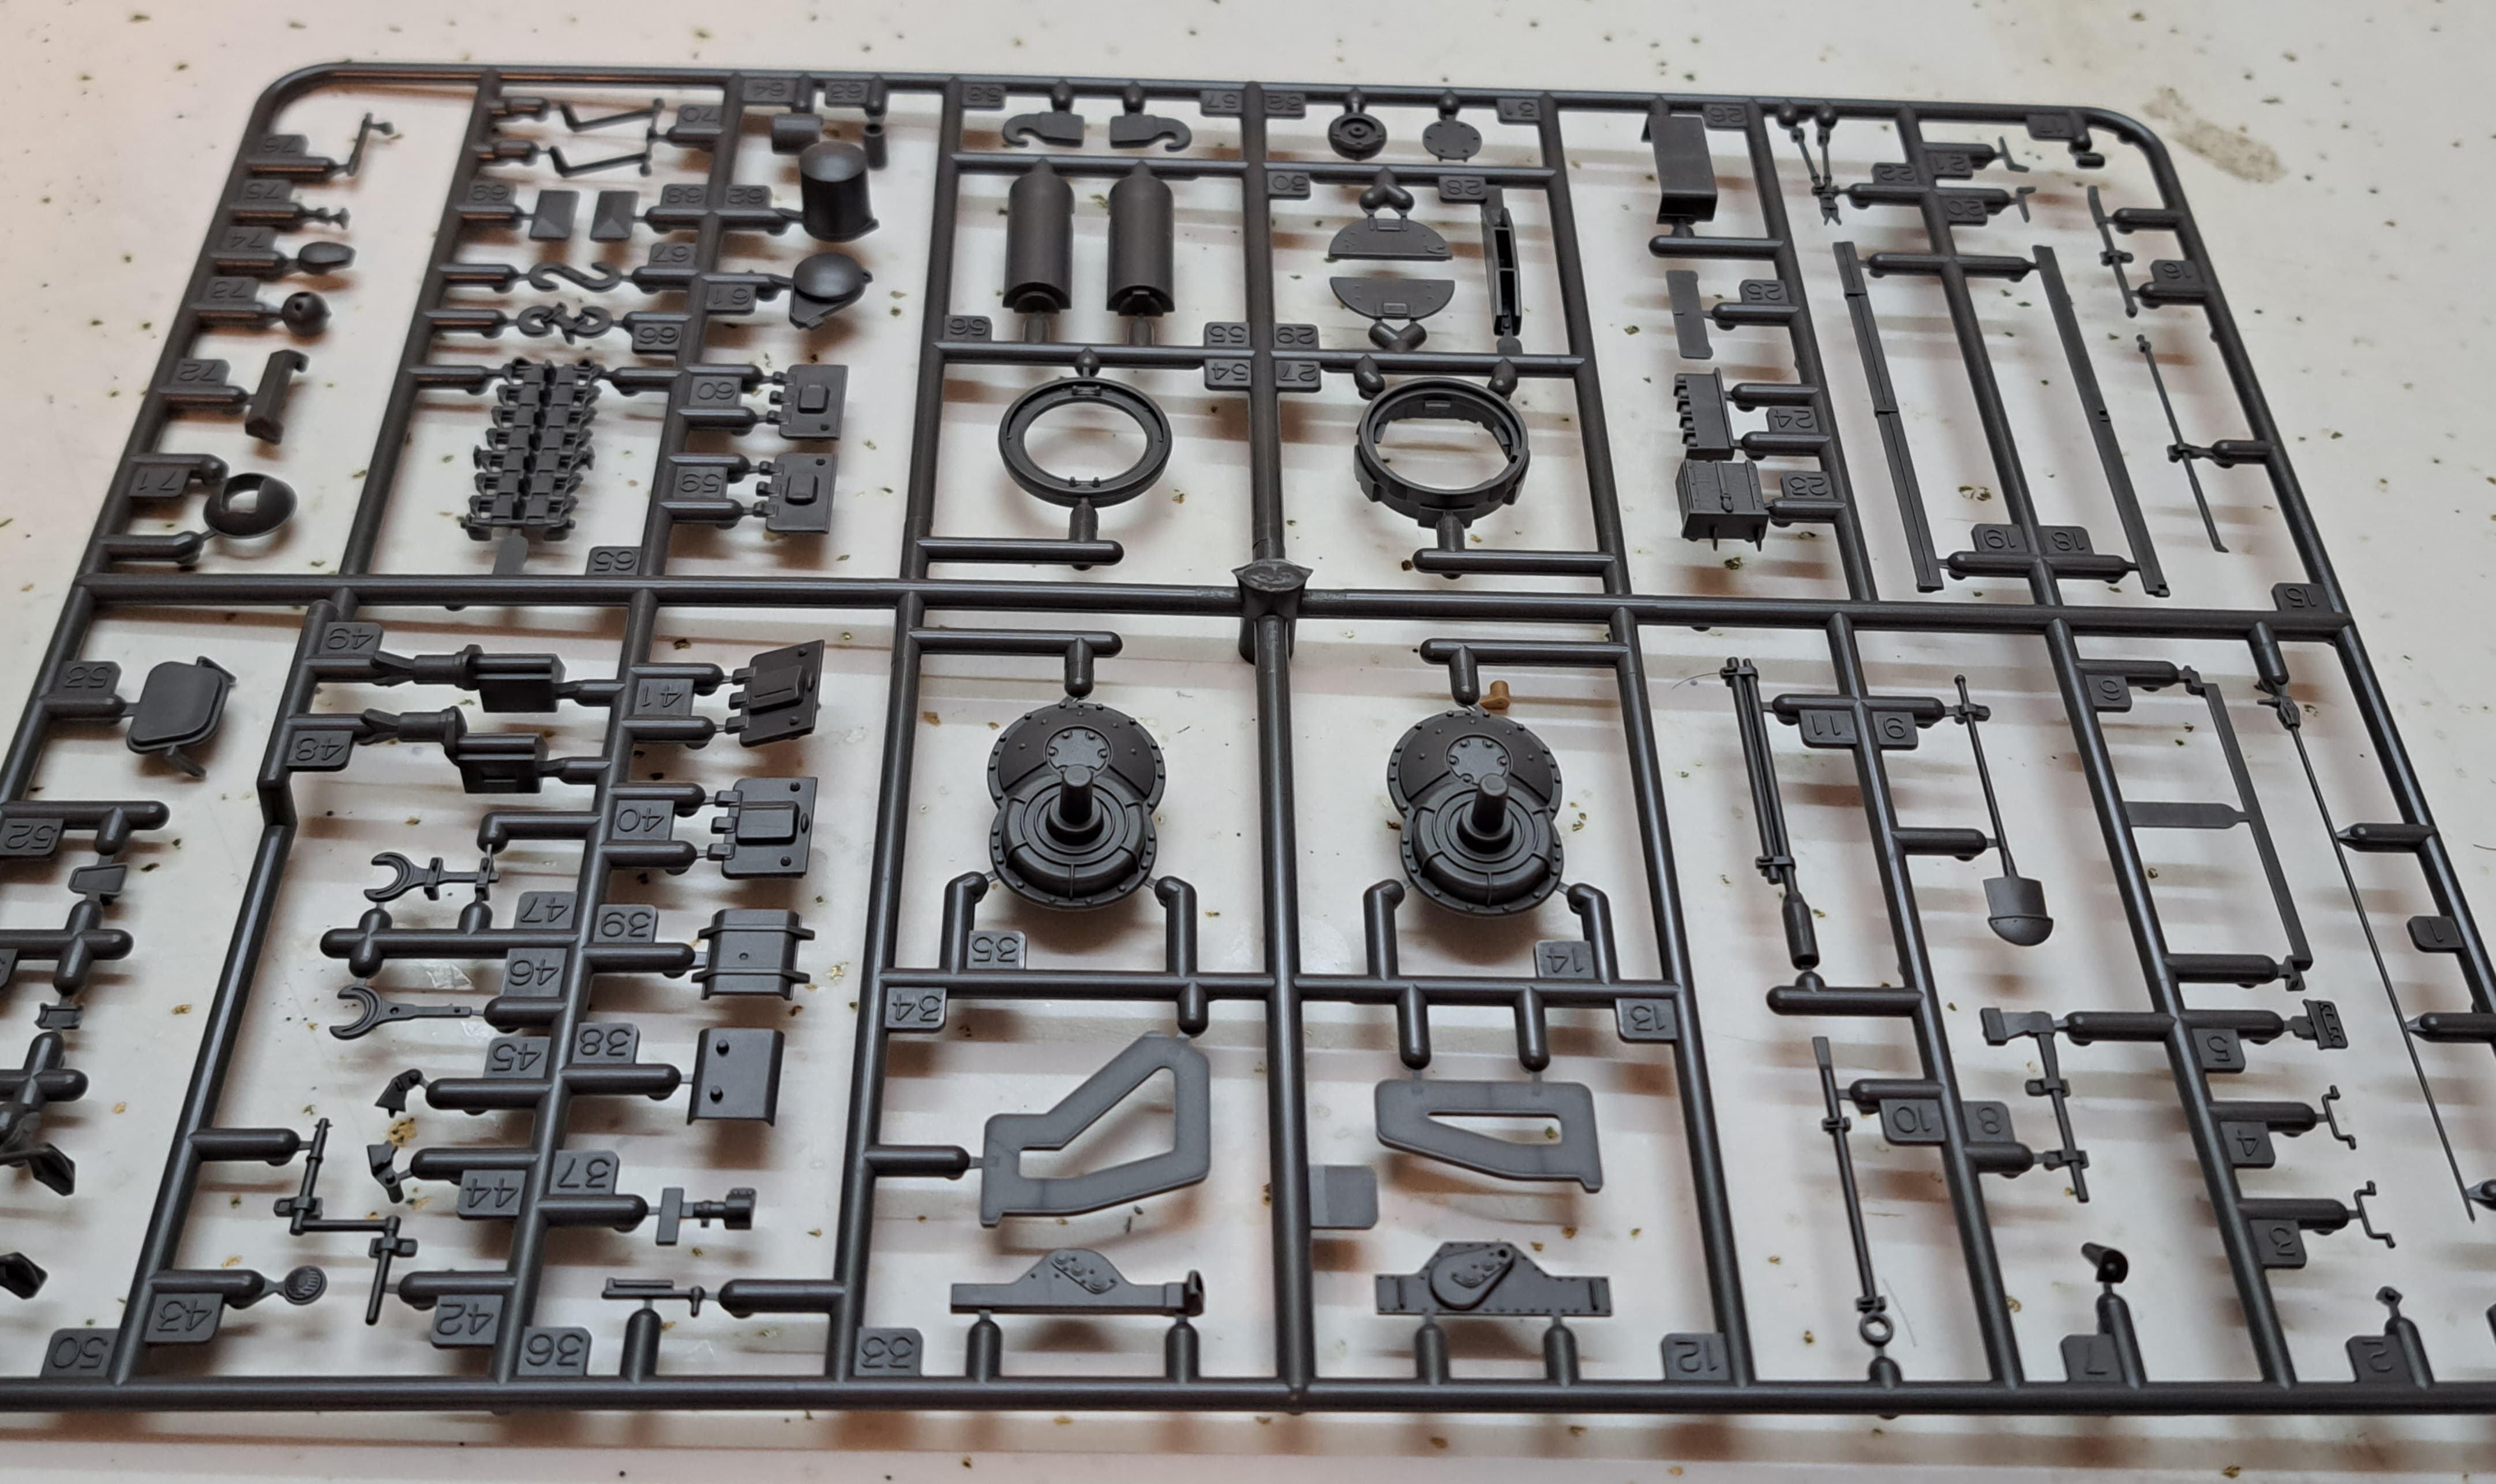
Most of the remaining parts for the hull look good on first impressions. I like the fender tops.
The fender undersides aren’t Dragon perfect but they’ll clean up easily.
Turret top looks promising! The recesses should allow adding the slot for screw head details. A little annoyed at this especially as TriStar nailed these details over a decade ago.
Overall, to me the kit looks very nice. Of course the magic with Tamiya’s kits isn’t in the individual part trees or fancy details so much but in how nicely the parts integrate into a superb model and superior building experience.
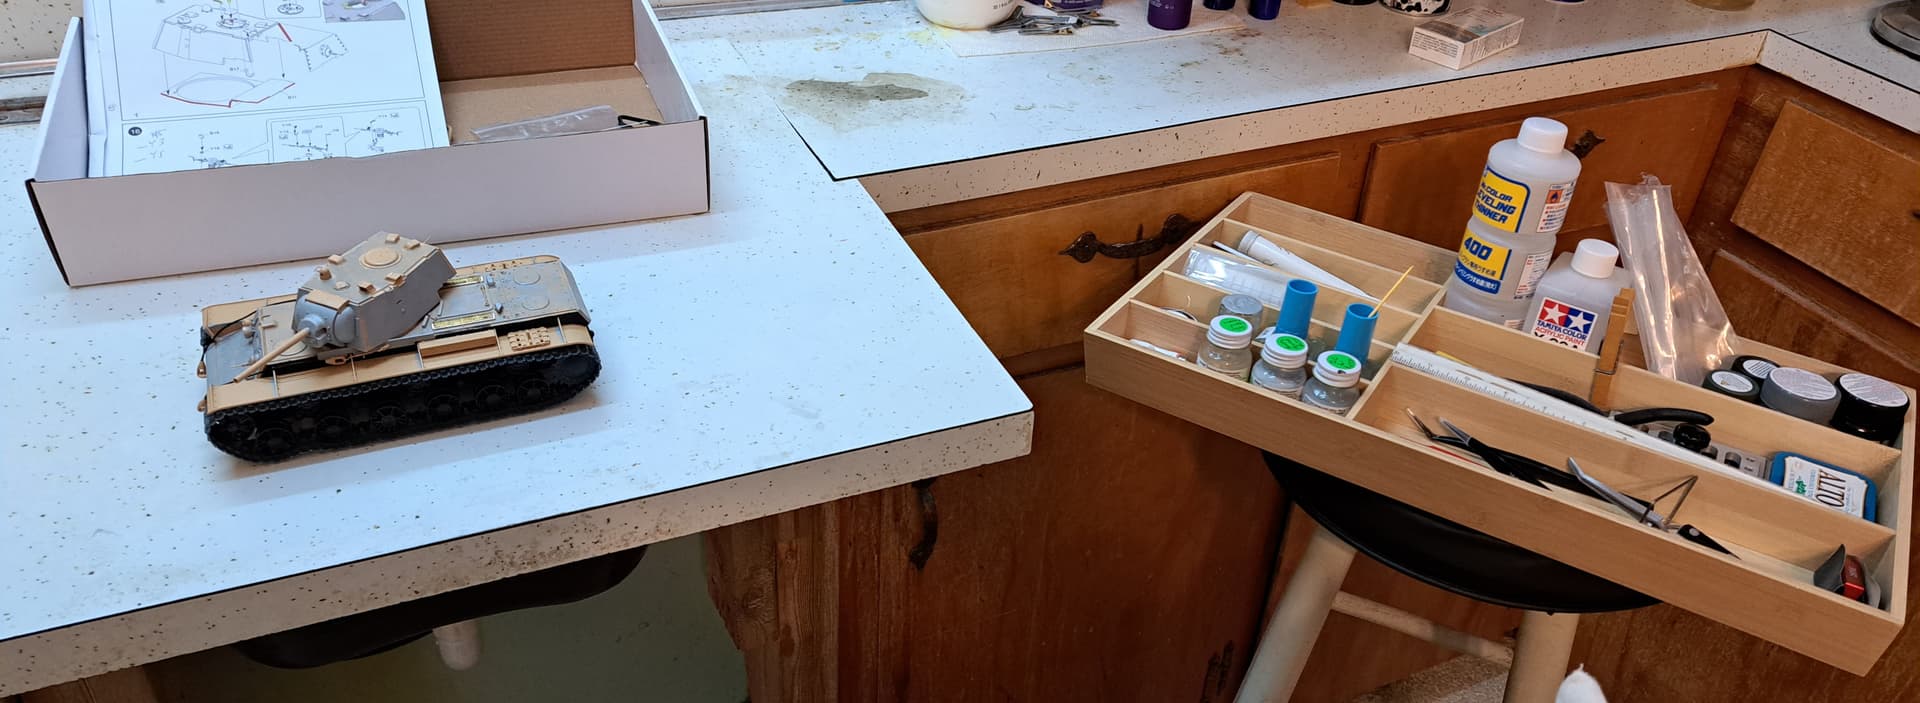
Tamiya’s reputation for shake & bake builds will be tested to some degree. This build starts in the field while I’m traveling, not in my well equipped hobby lair.
Tools available to work with and current work space.
13 Likes
Really a trustable tank served though out WW2. PZ4 F version can be converted to F2/G early. But you may need quit a lot of parts like gun/ sheild/one-piece hatch commad tower left from other kits.
4 Likes
@Shu.prevnetnameUBCS yes definitely appears the Pz IV was more reliable than the big cats. Conversion from F to (F2)/G would definitely be do able. However, Tamiya already did that for us by following up the F very quickly with an early G with even more all new parts!
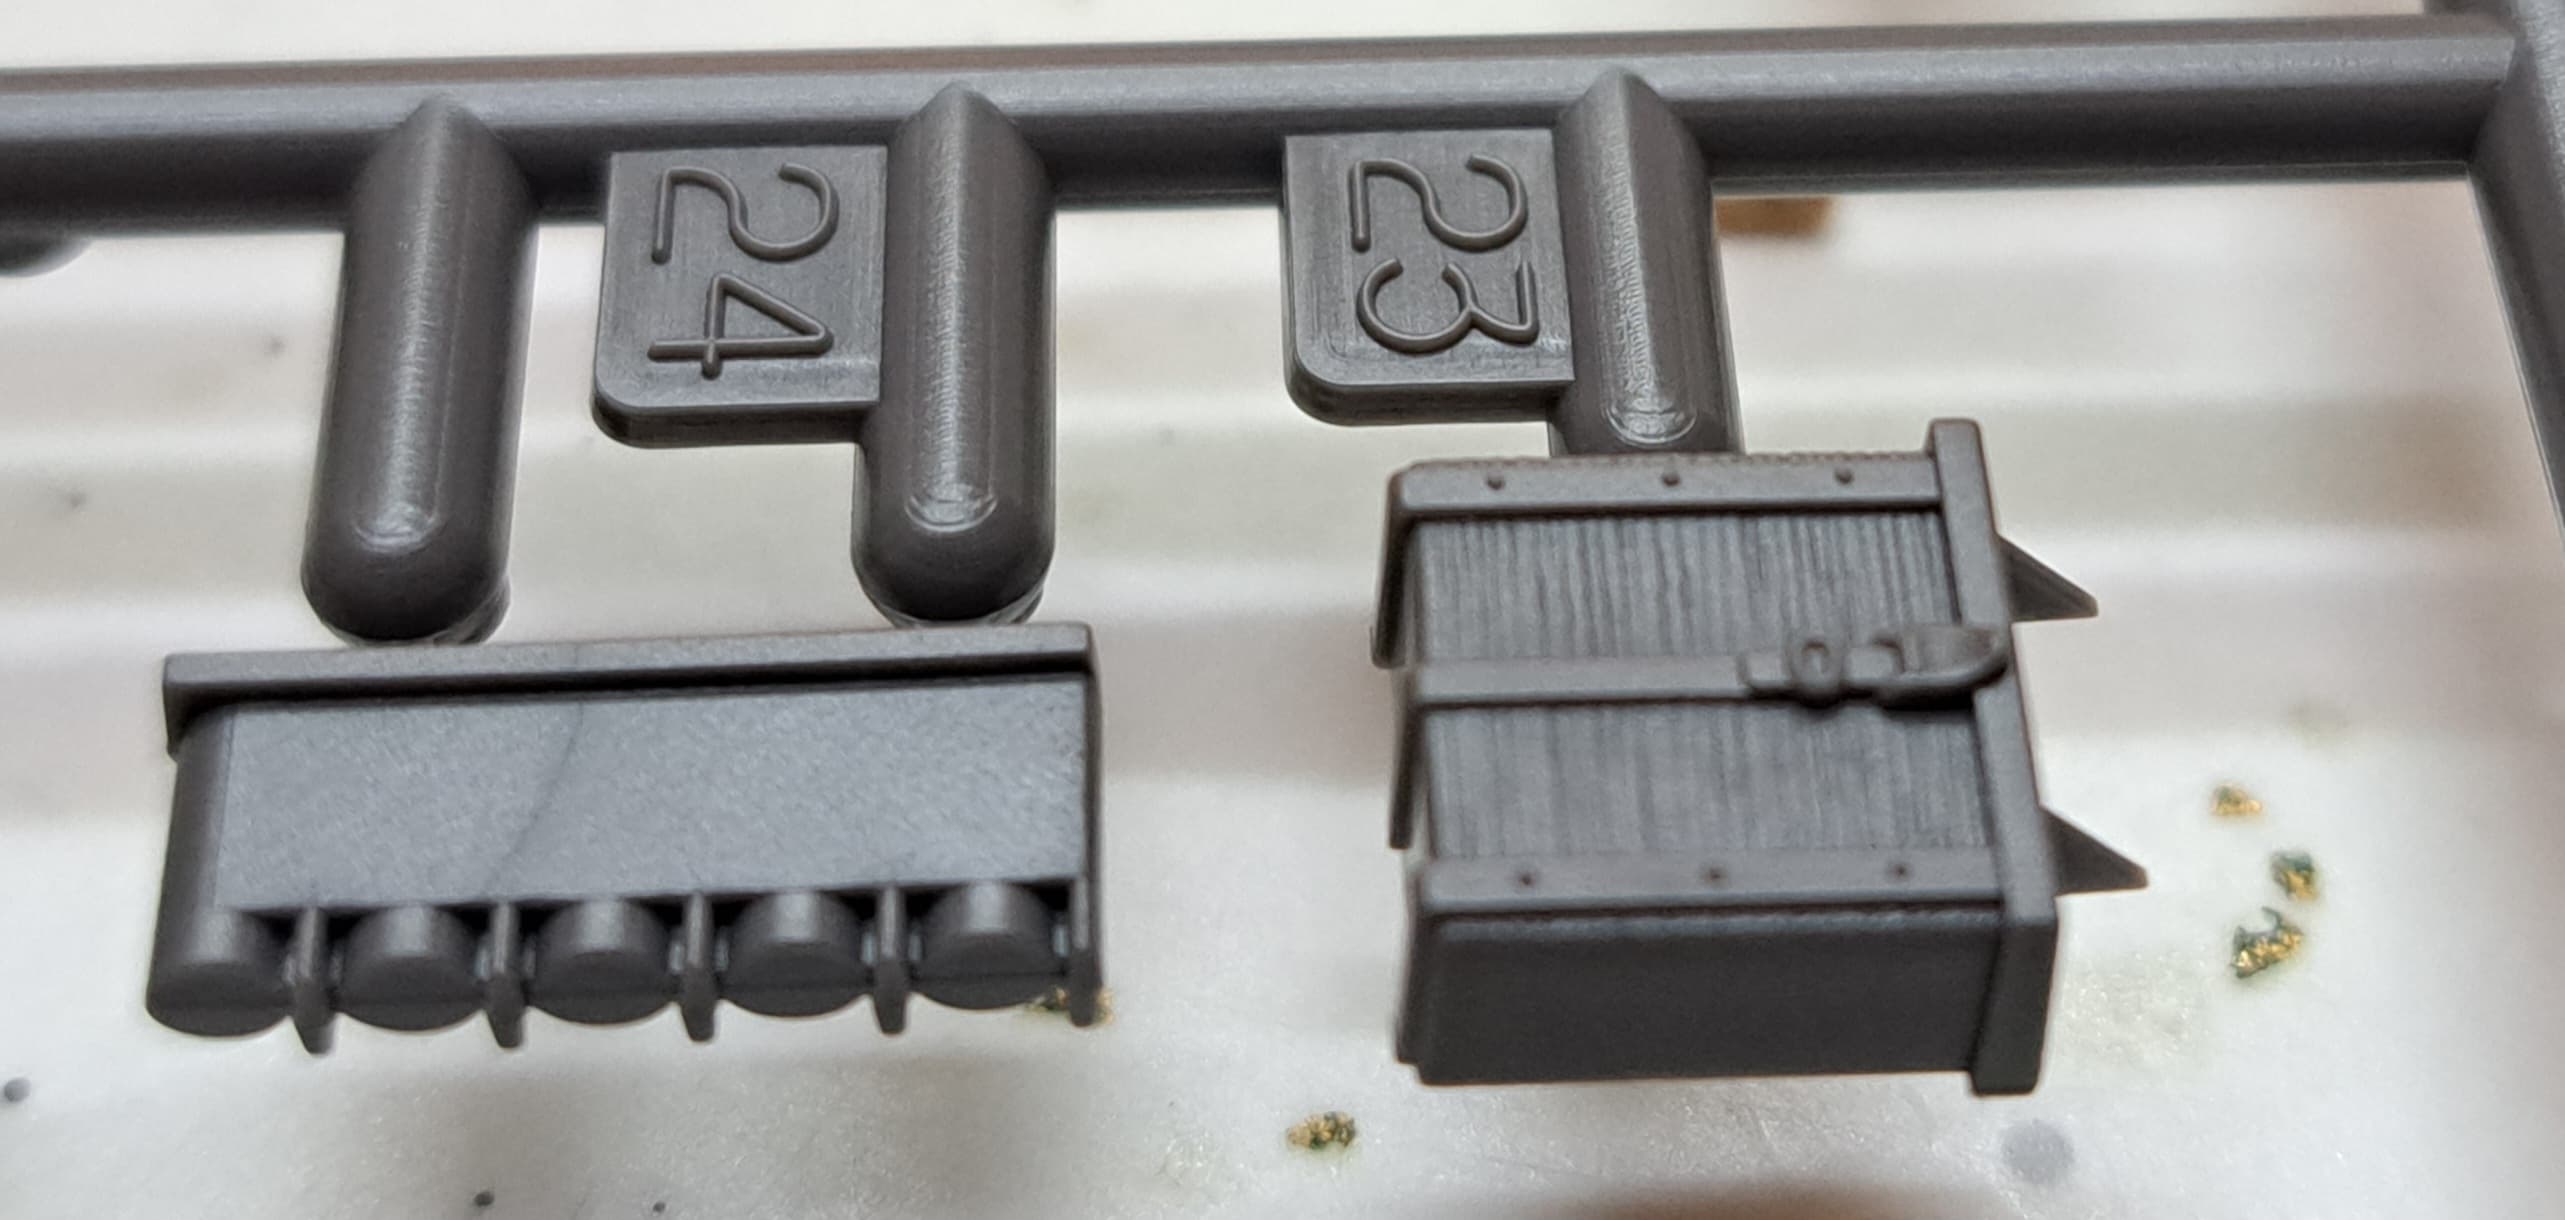
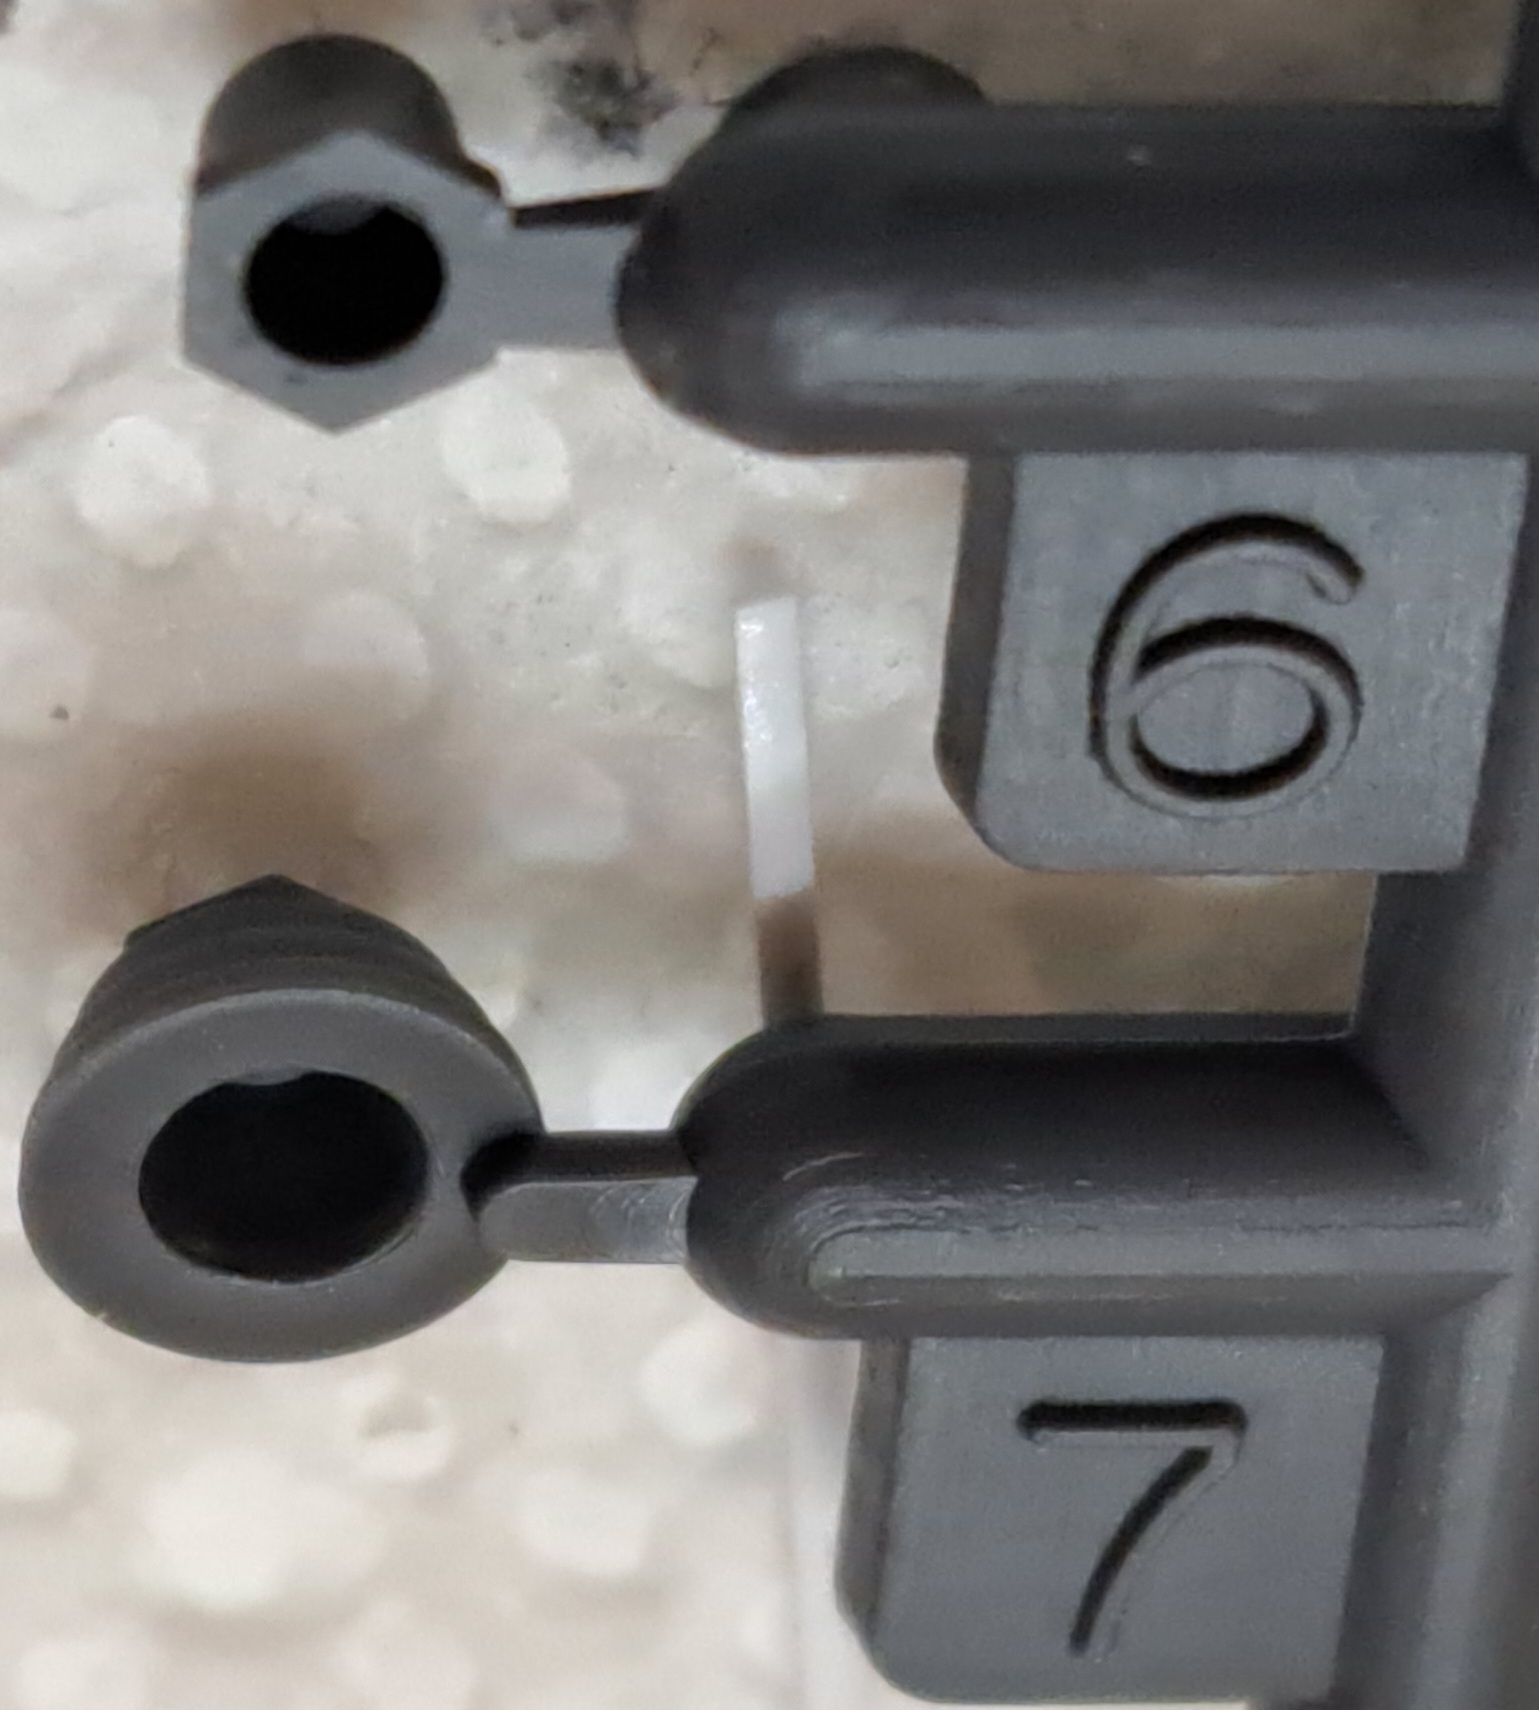
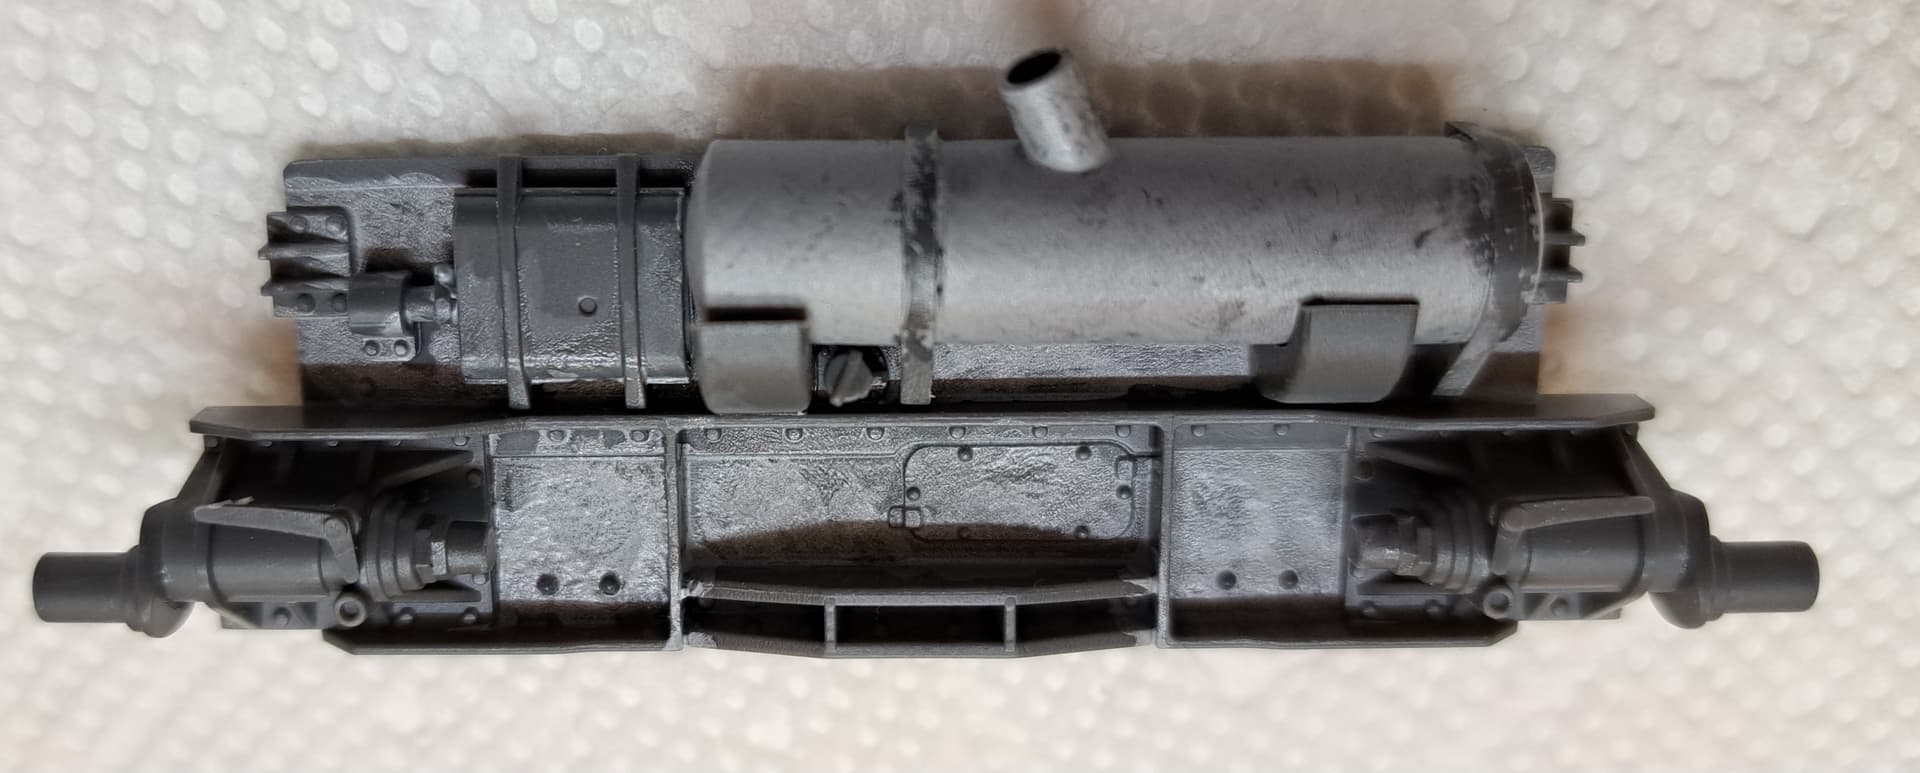
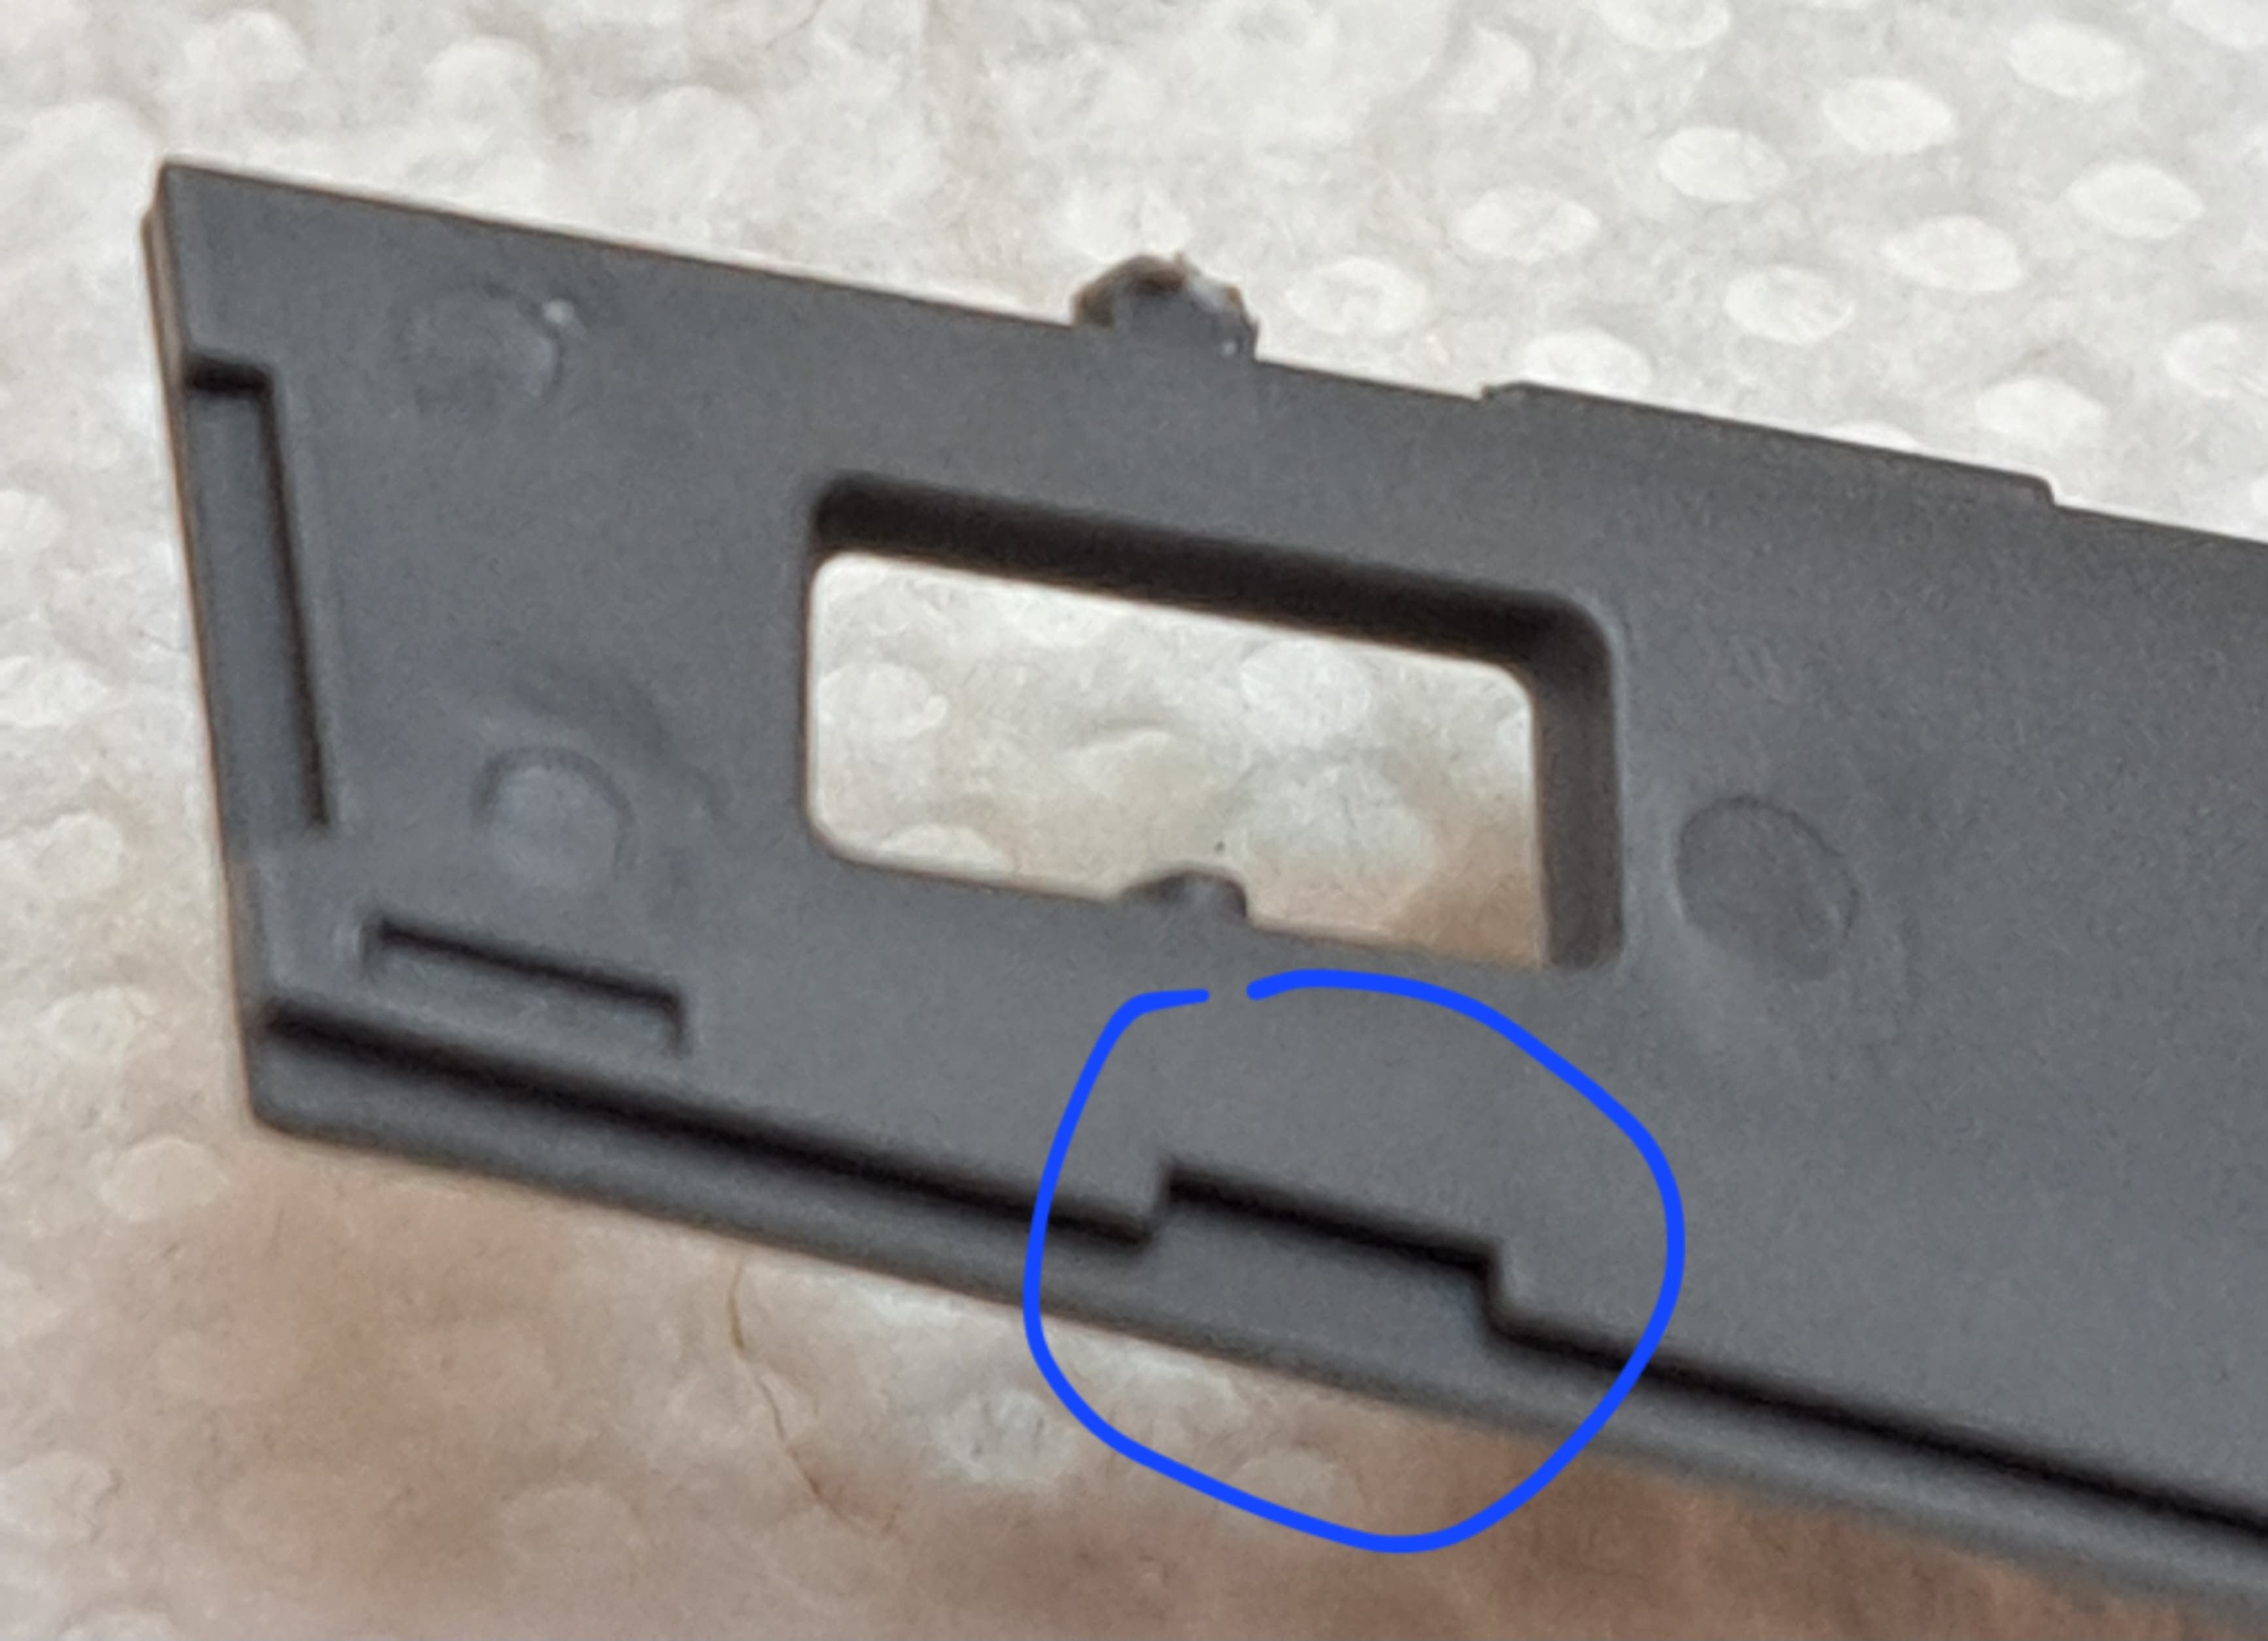
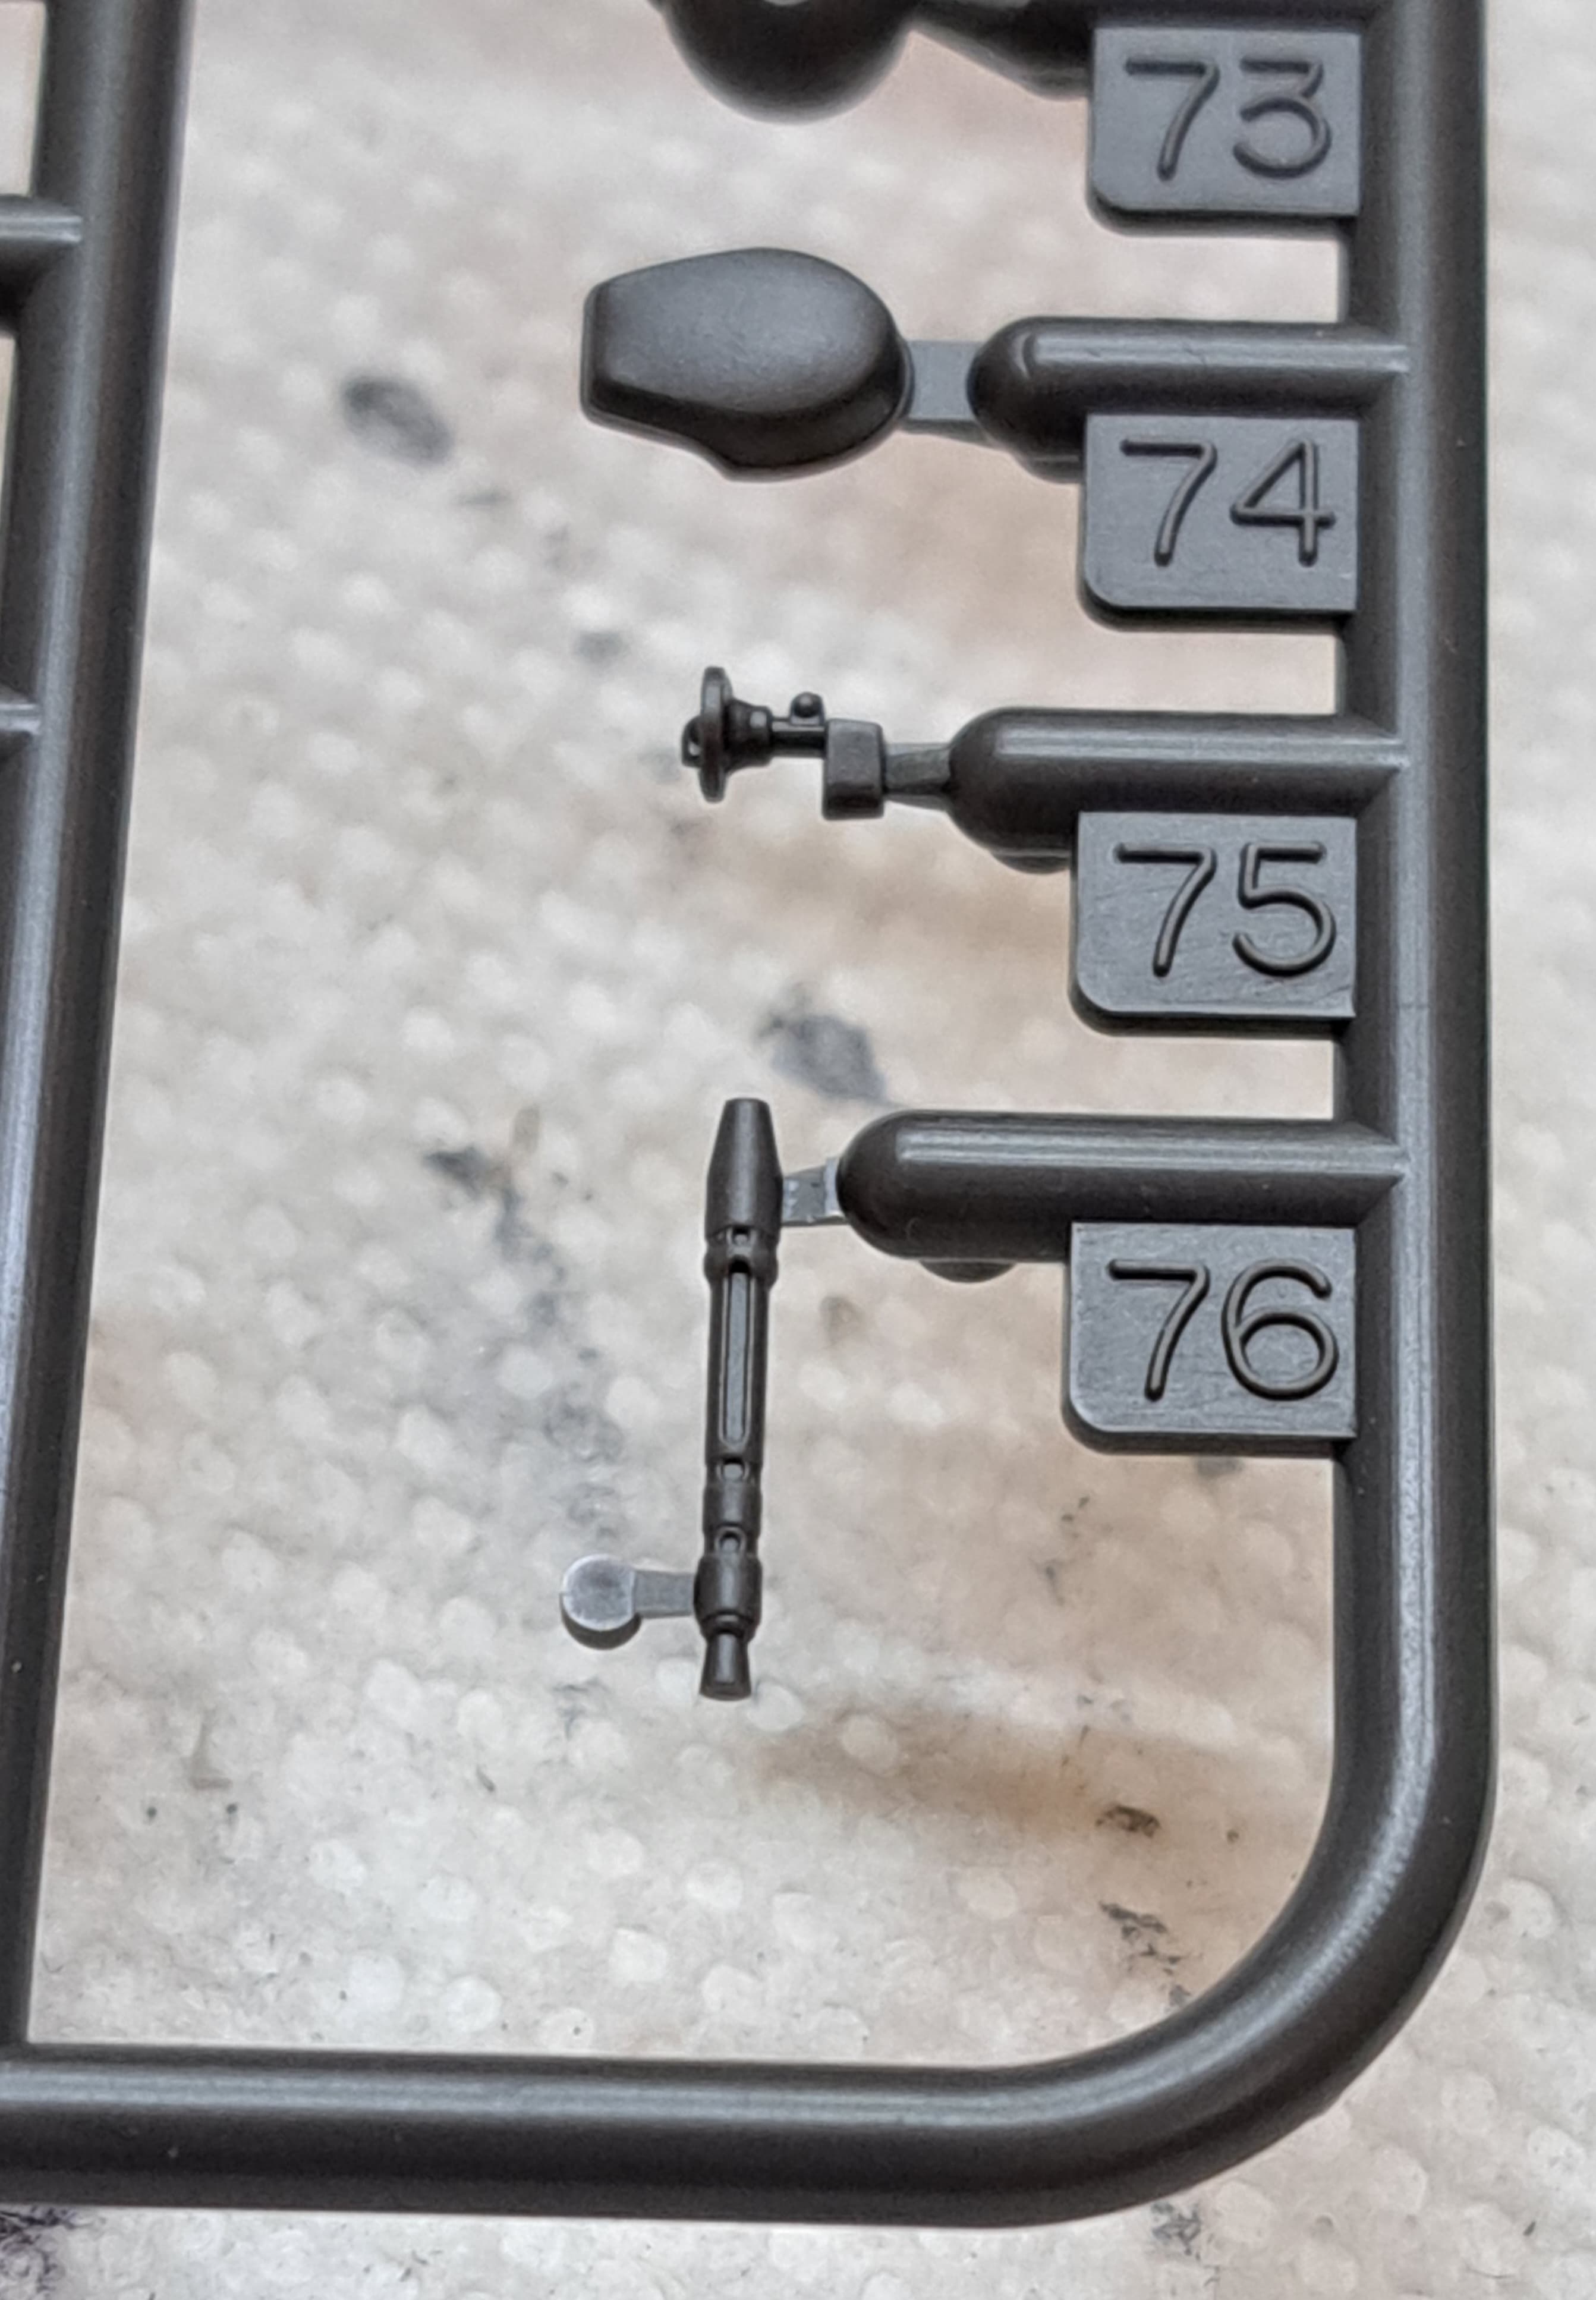
Step 1 Small Muffler & Rear Plate
Zero issues, the small muffler C38/C39 had a hairline seam. Fixed with Liquid Cement & bit of Tamiya Basic Gray Putty (LC & TB). The E31 parts have a small punch mark facing up. The big muffler should cover but I scraped it away just in case.
Step 2 Muffler
Hello 1977! 
C55 & C56 are the center two halves of the muffler. Filled hairline seam with LC & TB and added texture with the more LC & TB. Really Tamiya could have molded the center as one part as some other companies do instead of keeping it old school.
Step 3 Attach Muffler & Front Plate
Tamiya uses both conventional sprue gates that go into the exposed side of the part like on E6 & hidden side sprue gates like on E7. I much prefer the E7 style gate.
Added light plate armor texture to both rear & front plates with Liquid Cement & bit of Tamiya Basic Gray Putty.
7 Likes
Nice build log you got going on there Armor Buff. Do you plan on using the Tamiya tracks?
2 Likes
The Pz.Kpfw IV has definitely grown on me as well.
Ausf. D
Stug IV.
Still pending; Ausf. H Mid Version.
7 Likes
Forty of one tank is a lot!  I probably have 20 Panzerkampfwagen IV tanks and variants in the closet with 5 more–Sturmgeschutz IV early, J early, J late, E with vorpanzer, Brummbar early–painting or awaiting paint. While I do like the vehicle, that mostly happened because of too much money than sense, ‘collector em all’ fever, and sales.
I have mixed feelings about link and length tracks, always preferring individual link, styrene tracks. However, I will take link and length over vinyl any day. Some model builders prefer vinyl so, when possible, I trade away vinyl tracks for pretty much anything else.
Link and length tracks often look bad because the kit designer did not include enough individual links around the drive sprocket and idler wheel, resulting in one or more kinks. I understand that link and length tracks are a compromise between individual link and vinyl. However, I would council kit designers that including just a few more individual links eliminates kinks and makes them look far better.
I also would very much like kit designers to stop putting knock out pins into the faces of styrene tracks of any kind. Add some side pips and direct the knock out pins into those.
I need to find a water based acrylic product for making cast texture. On the last few models I skipped that step because Mr. Surfacer is just too toxic.
Does a tool exist for making accurate, scale screw heads? If I attempted to add screw head slots inside those little holes, things would definitely go horribly wrong. laughs
Your work so far looks really nice and I wish you much luck with your project!
5 Likes
@Damraska Doug, that sounds like an excellent start on a Pz IV company! I too have purchased Pz IV based on “government logic” → why buy one, when you can have two for twice the cost? Part of the hobby fun is collecting too. Plus with so many kit manufacturers I can’t show favoritism until after trying their products!
Indy, L&L and the V-word tracks, what a topic. Vinyl is better for making LP’s than model tank tracks. Actually, I’m OK if it’s the 90’s later Tamiya vinyl on certain vehicles like a T-72 with side skirts. I like properly engineered individual link best. Great point about the KO pin placement. The old Tamiya, Dragon & Italeri vinyl tracks are trash.
Please share info details on Mr Surfacer, what’s so toxic about it? MEK, Xylene or something really nasty?  Other than Floquil its one of the very few products I actually like!


Regarding flat head screws, Lion Roar or Lion Mark made an excellent .9mm one perfect for 1/35 scale. It disappeared but another manufacturer makes them now bought a few packs on Hobby Easy before the pandemic. Aber makes a PE version but that’s not as trick as the actual screw heads are because the PE needs deburred usually etc.
Homemade is also an option Vintage Italeri Pz IV G - build kit bash has my attempt at scratch flat screw heads.
Drill hole for screw head, Cut slot in styene rod & Plug hole. Using a chopper to keep the end of the rod flush really helps. Cut slot with fresh blade etc.
Thank you for checkout the thread and kind words! When I’m back home will try to remember to find and share the aftermarket company’s name that makes the .9mm screw heads.
9 Likes
@KGvonJaxx Jaxx, thank you for taking a look and checking it out. Hope to add an update later this afternoon
As to the kit L&L’s, I’d already have tossed them in the trash  if I was at home with access to the stash instead of on the road. Might have to use them if I’m stuck in North Carolina for a few more weeks.
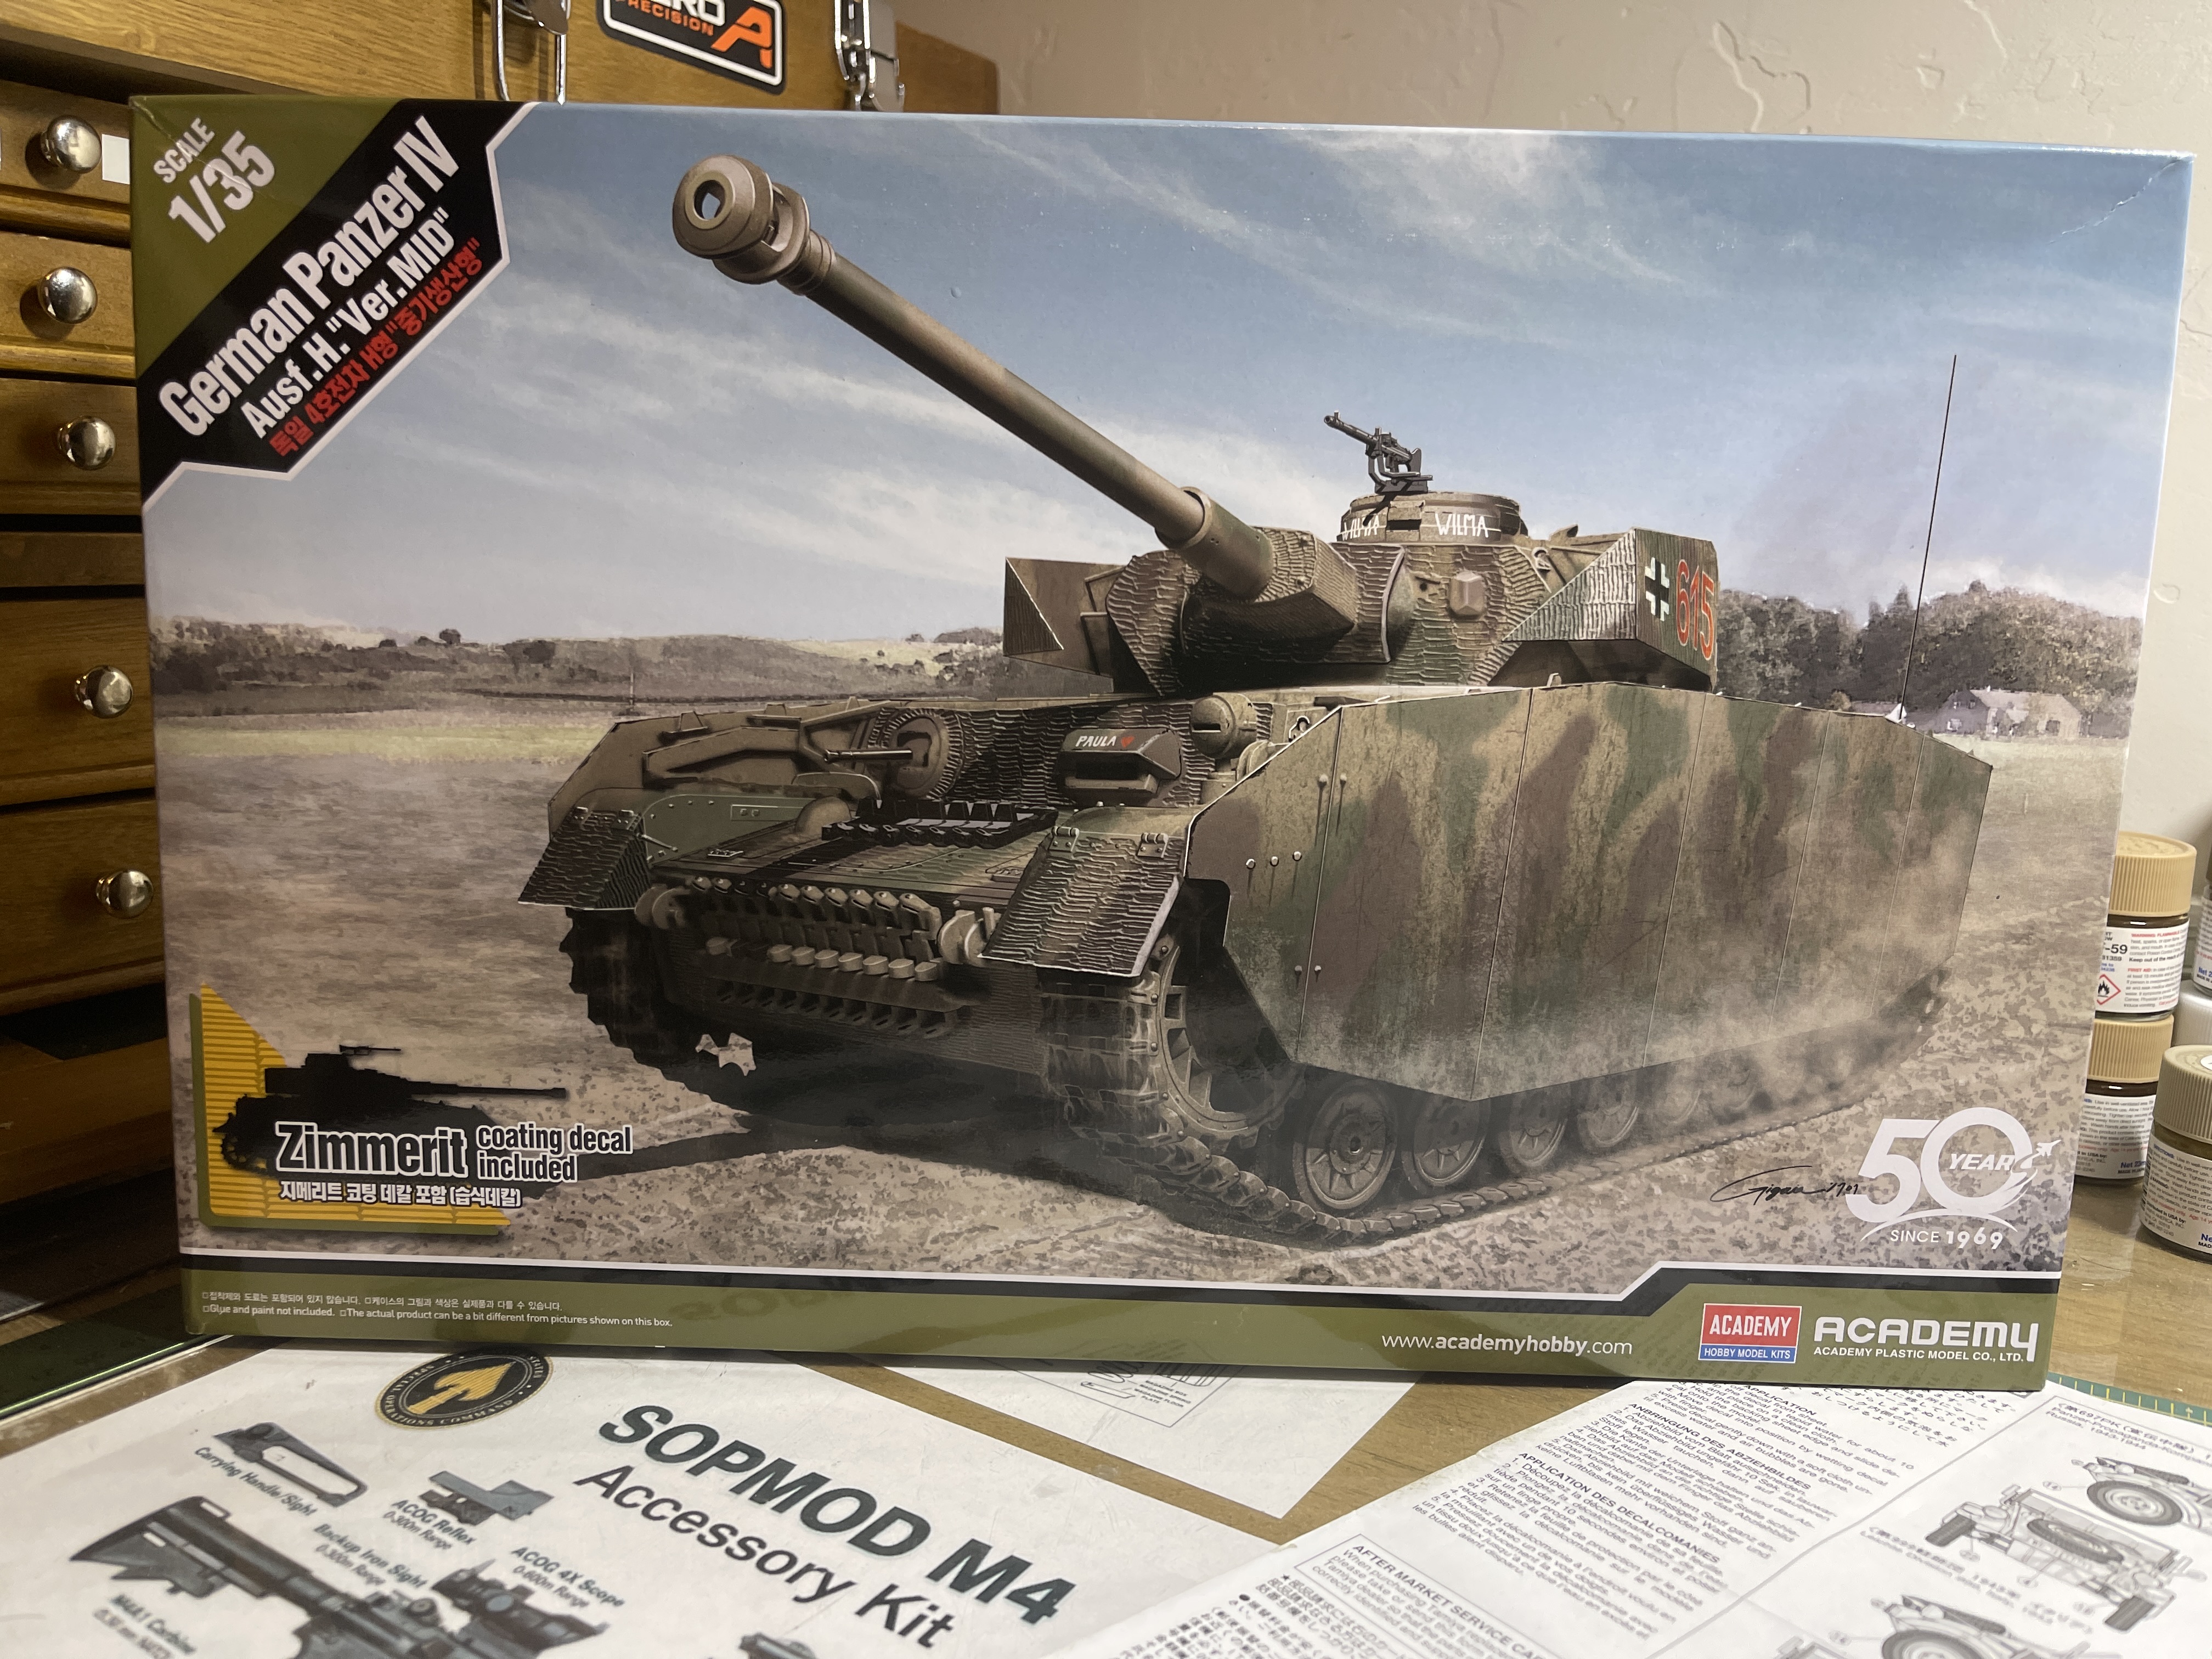
@SableLiger Reynier, those are sharp looking models! Very nicely done! Really looking forward to seeing more of your work. Especially the Academy Pz IV. Is that a new tooled kit?
3 Likes
Hey, Wade. Your model is progressing quite nicely and I look forward to seeing more of your work.
Mr. Surfacer and other lacquer based products give me severe headaches and cause my skin to break out in a rash. When this happens, it always starts on my left index finger, moves to the back of my right hand, progresses to the top of my wrists, and so on. If I do not wear a good gas mask, it also impacts my breathing for weeks at a time. Age and/or prolonged exposure have caused these symptoms to become more acute. Last year, I made the decision to switch to acrylic based products because they do not cause the same problems.
The model project you linked was very well done and informative. I now understand how you make uniform screw heads and will give it a try using the miter box I received for Christmas. If that does not work, maybe I can cobble together some kind of jig.
2 Likes
Yea; it is their newest tooled offering with Zimmerit decals provided by DEF Models.
2 Likes
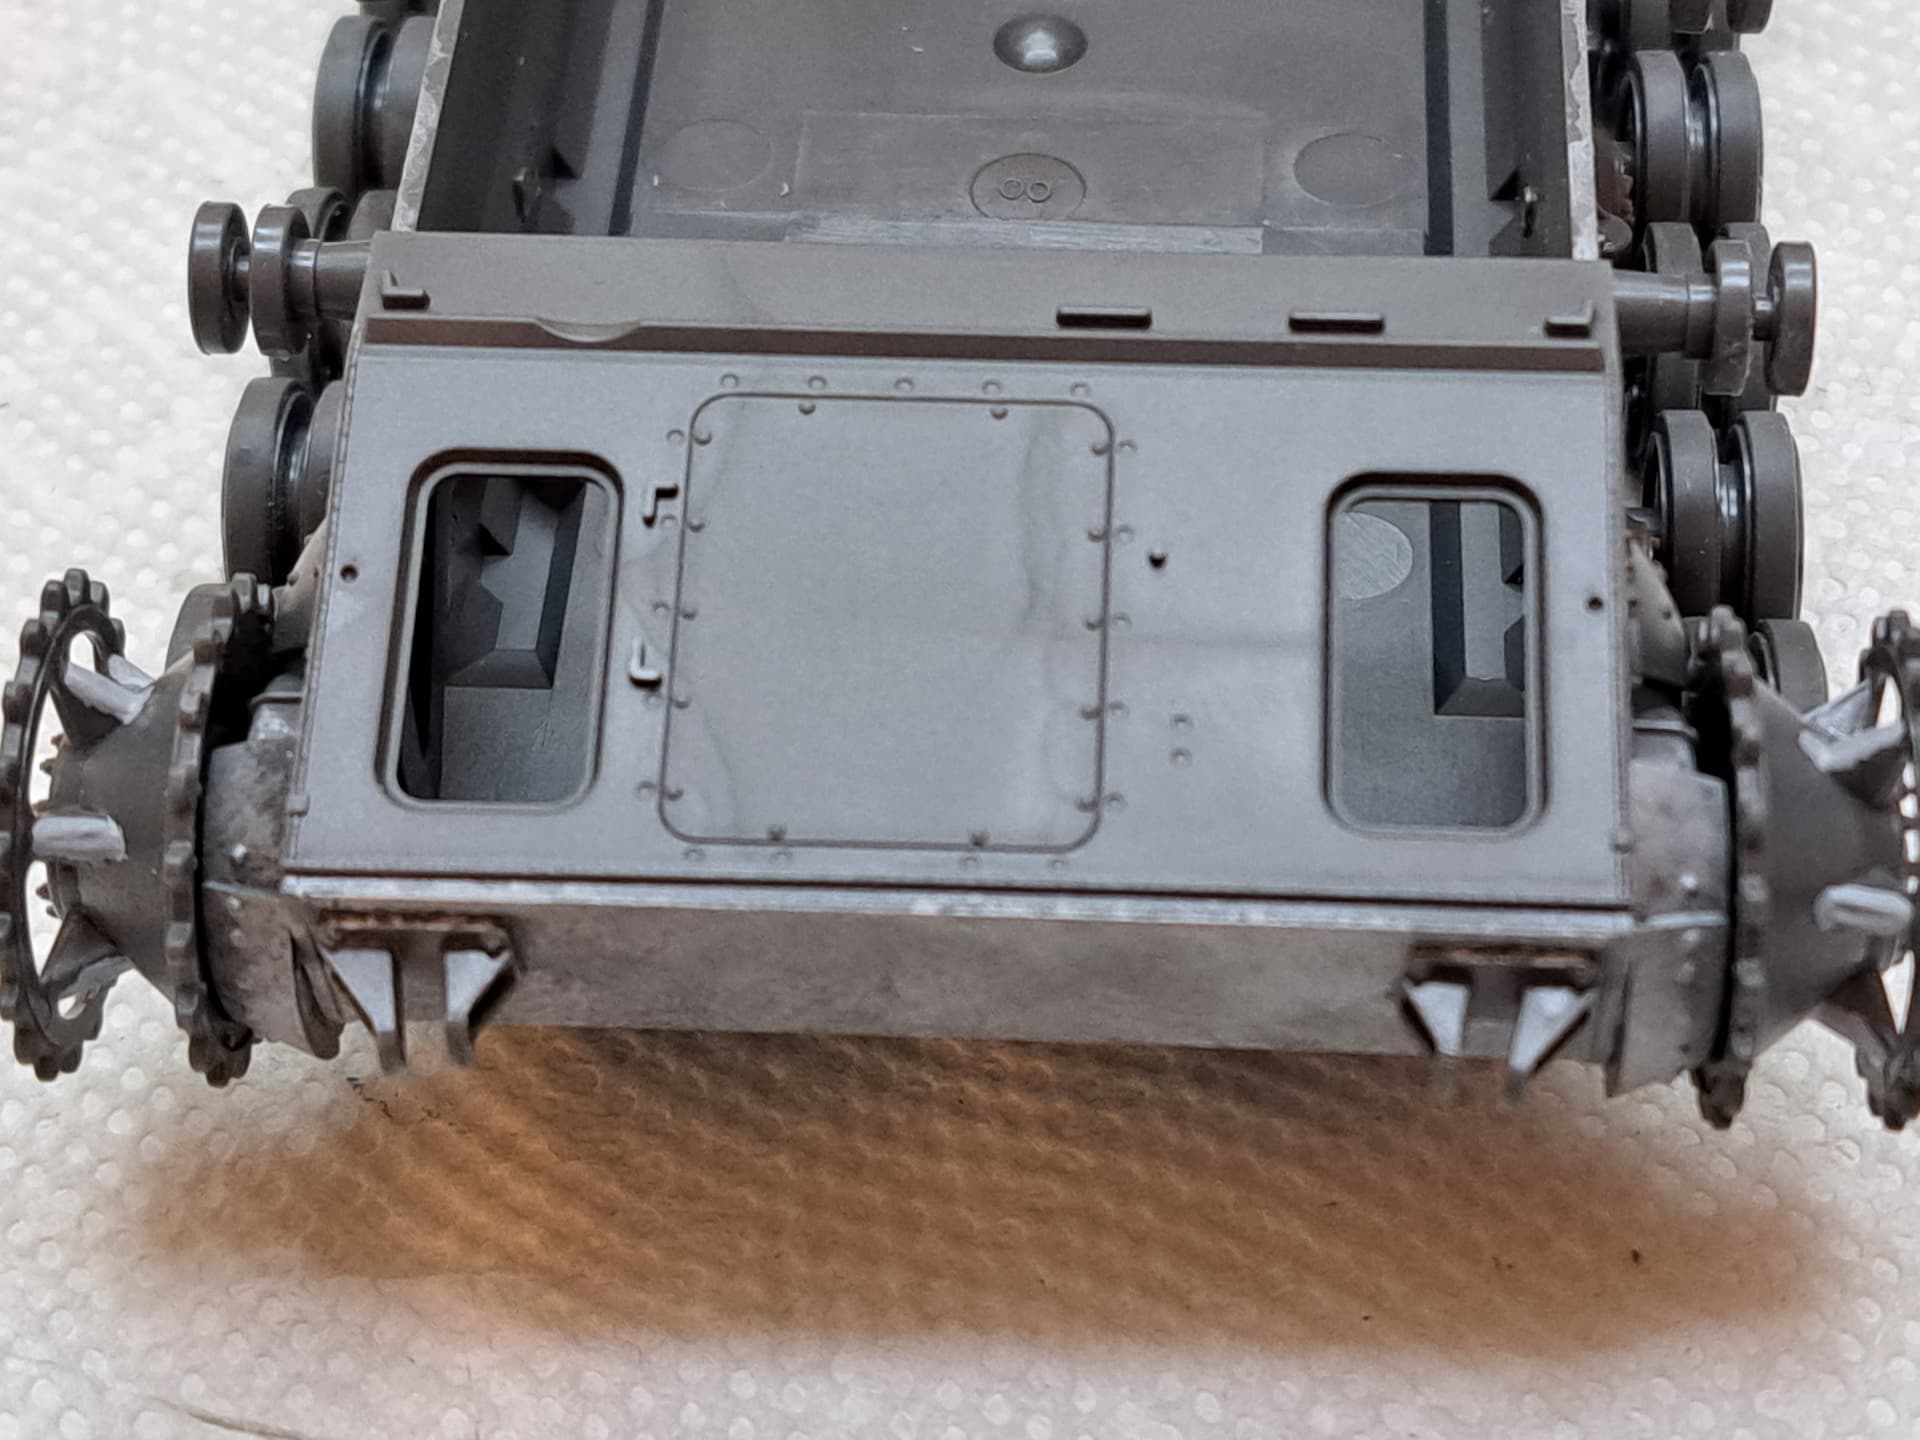
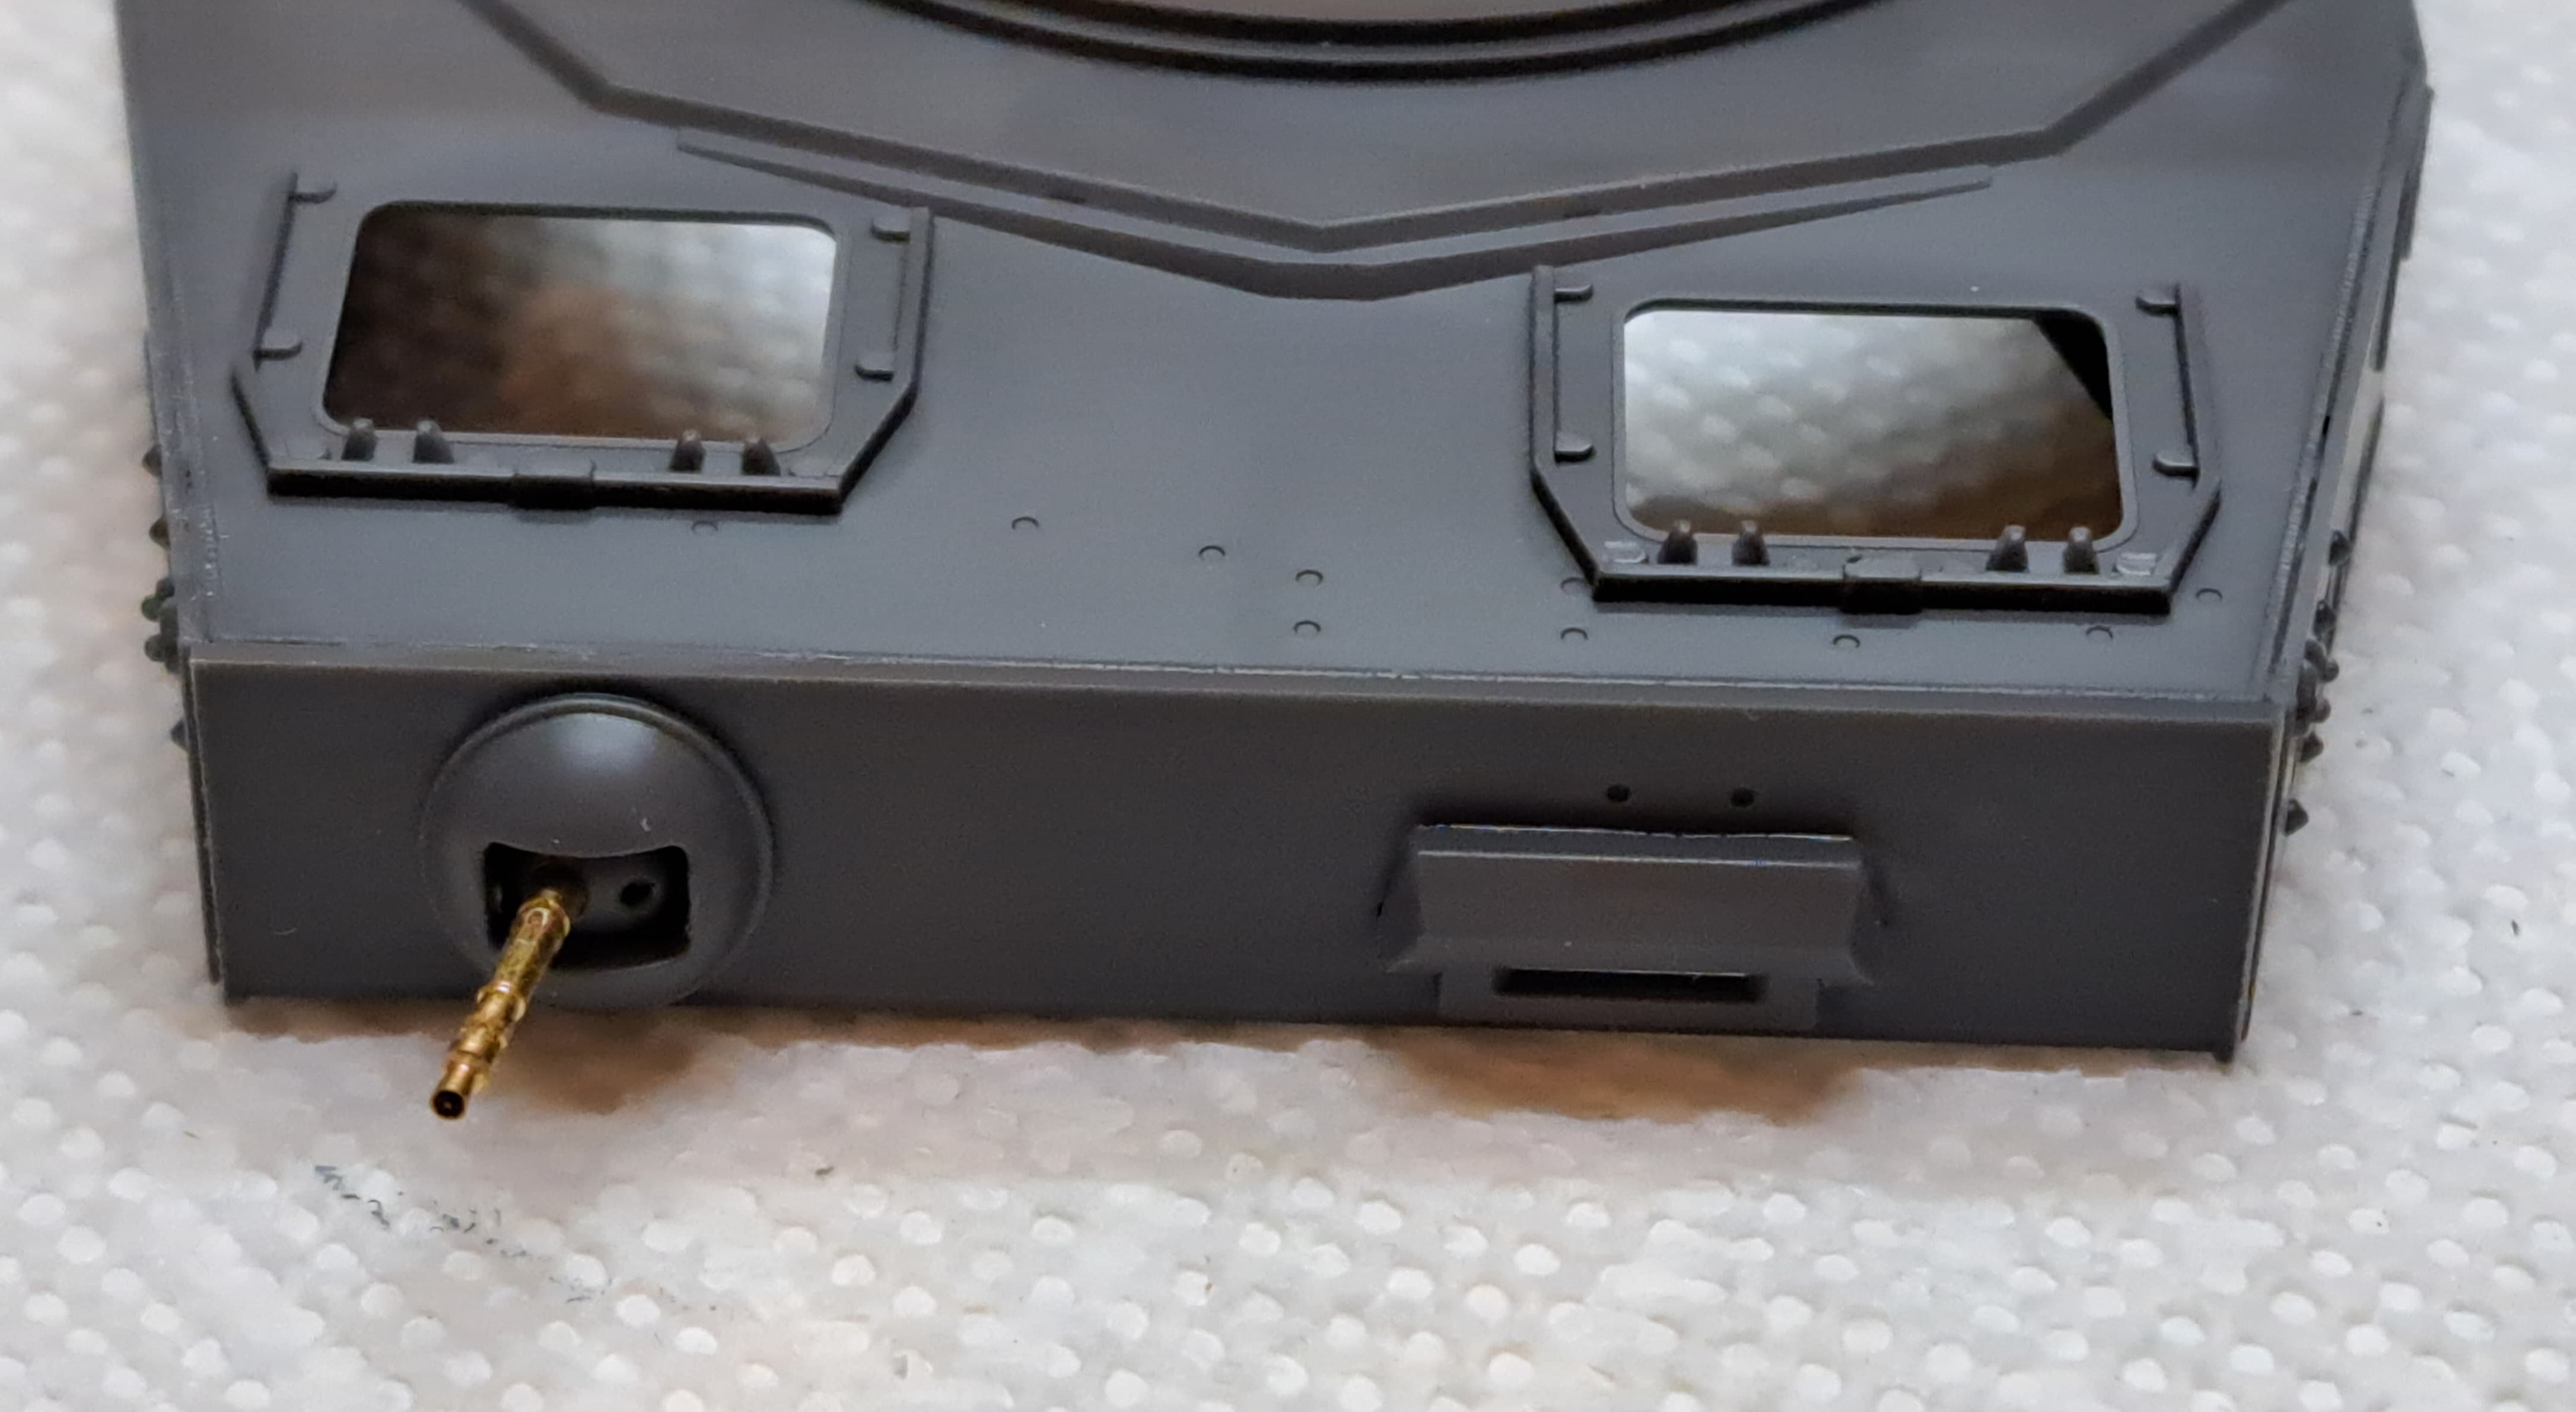
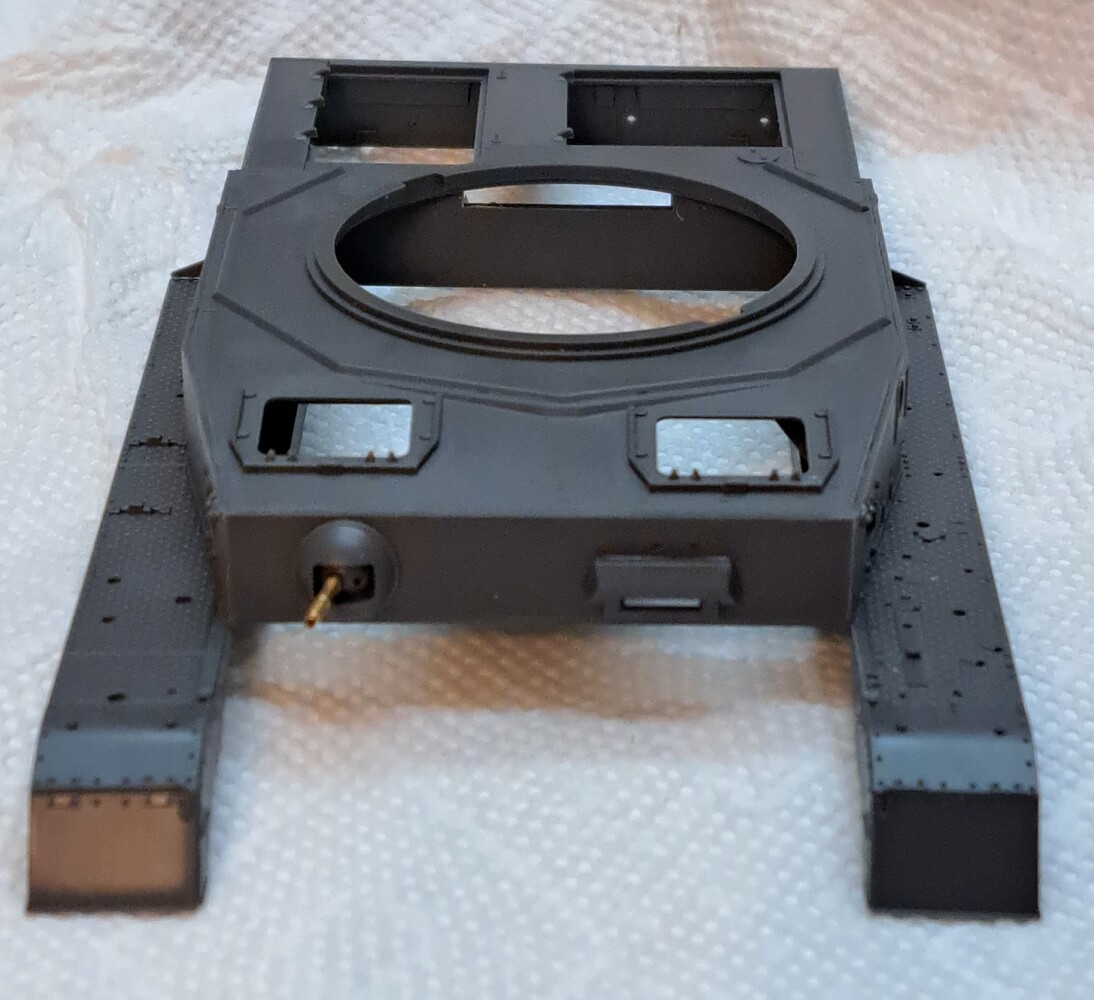
Step 4 - Final Drive
Tamiya very kindly marked the final drive as left & right so one won’t confuse them after they are removed from the sprue. Outstanding touch Tamiya 
It could be easy to confuse the parts…
Near perfect fit.
Installed final drives & nose plate.
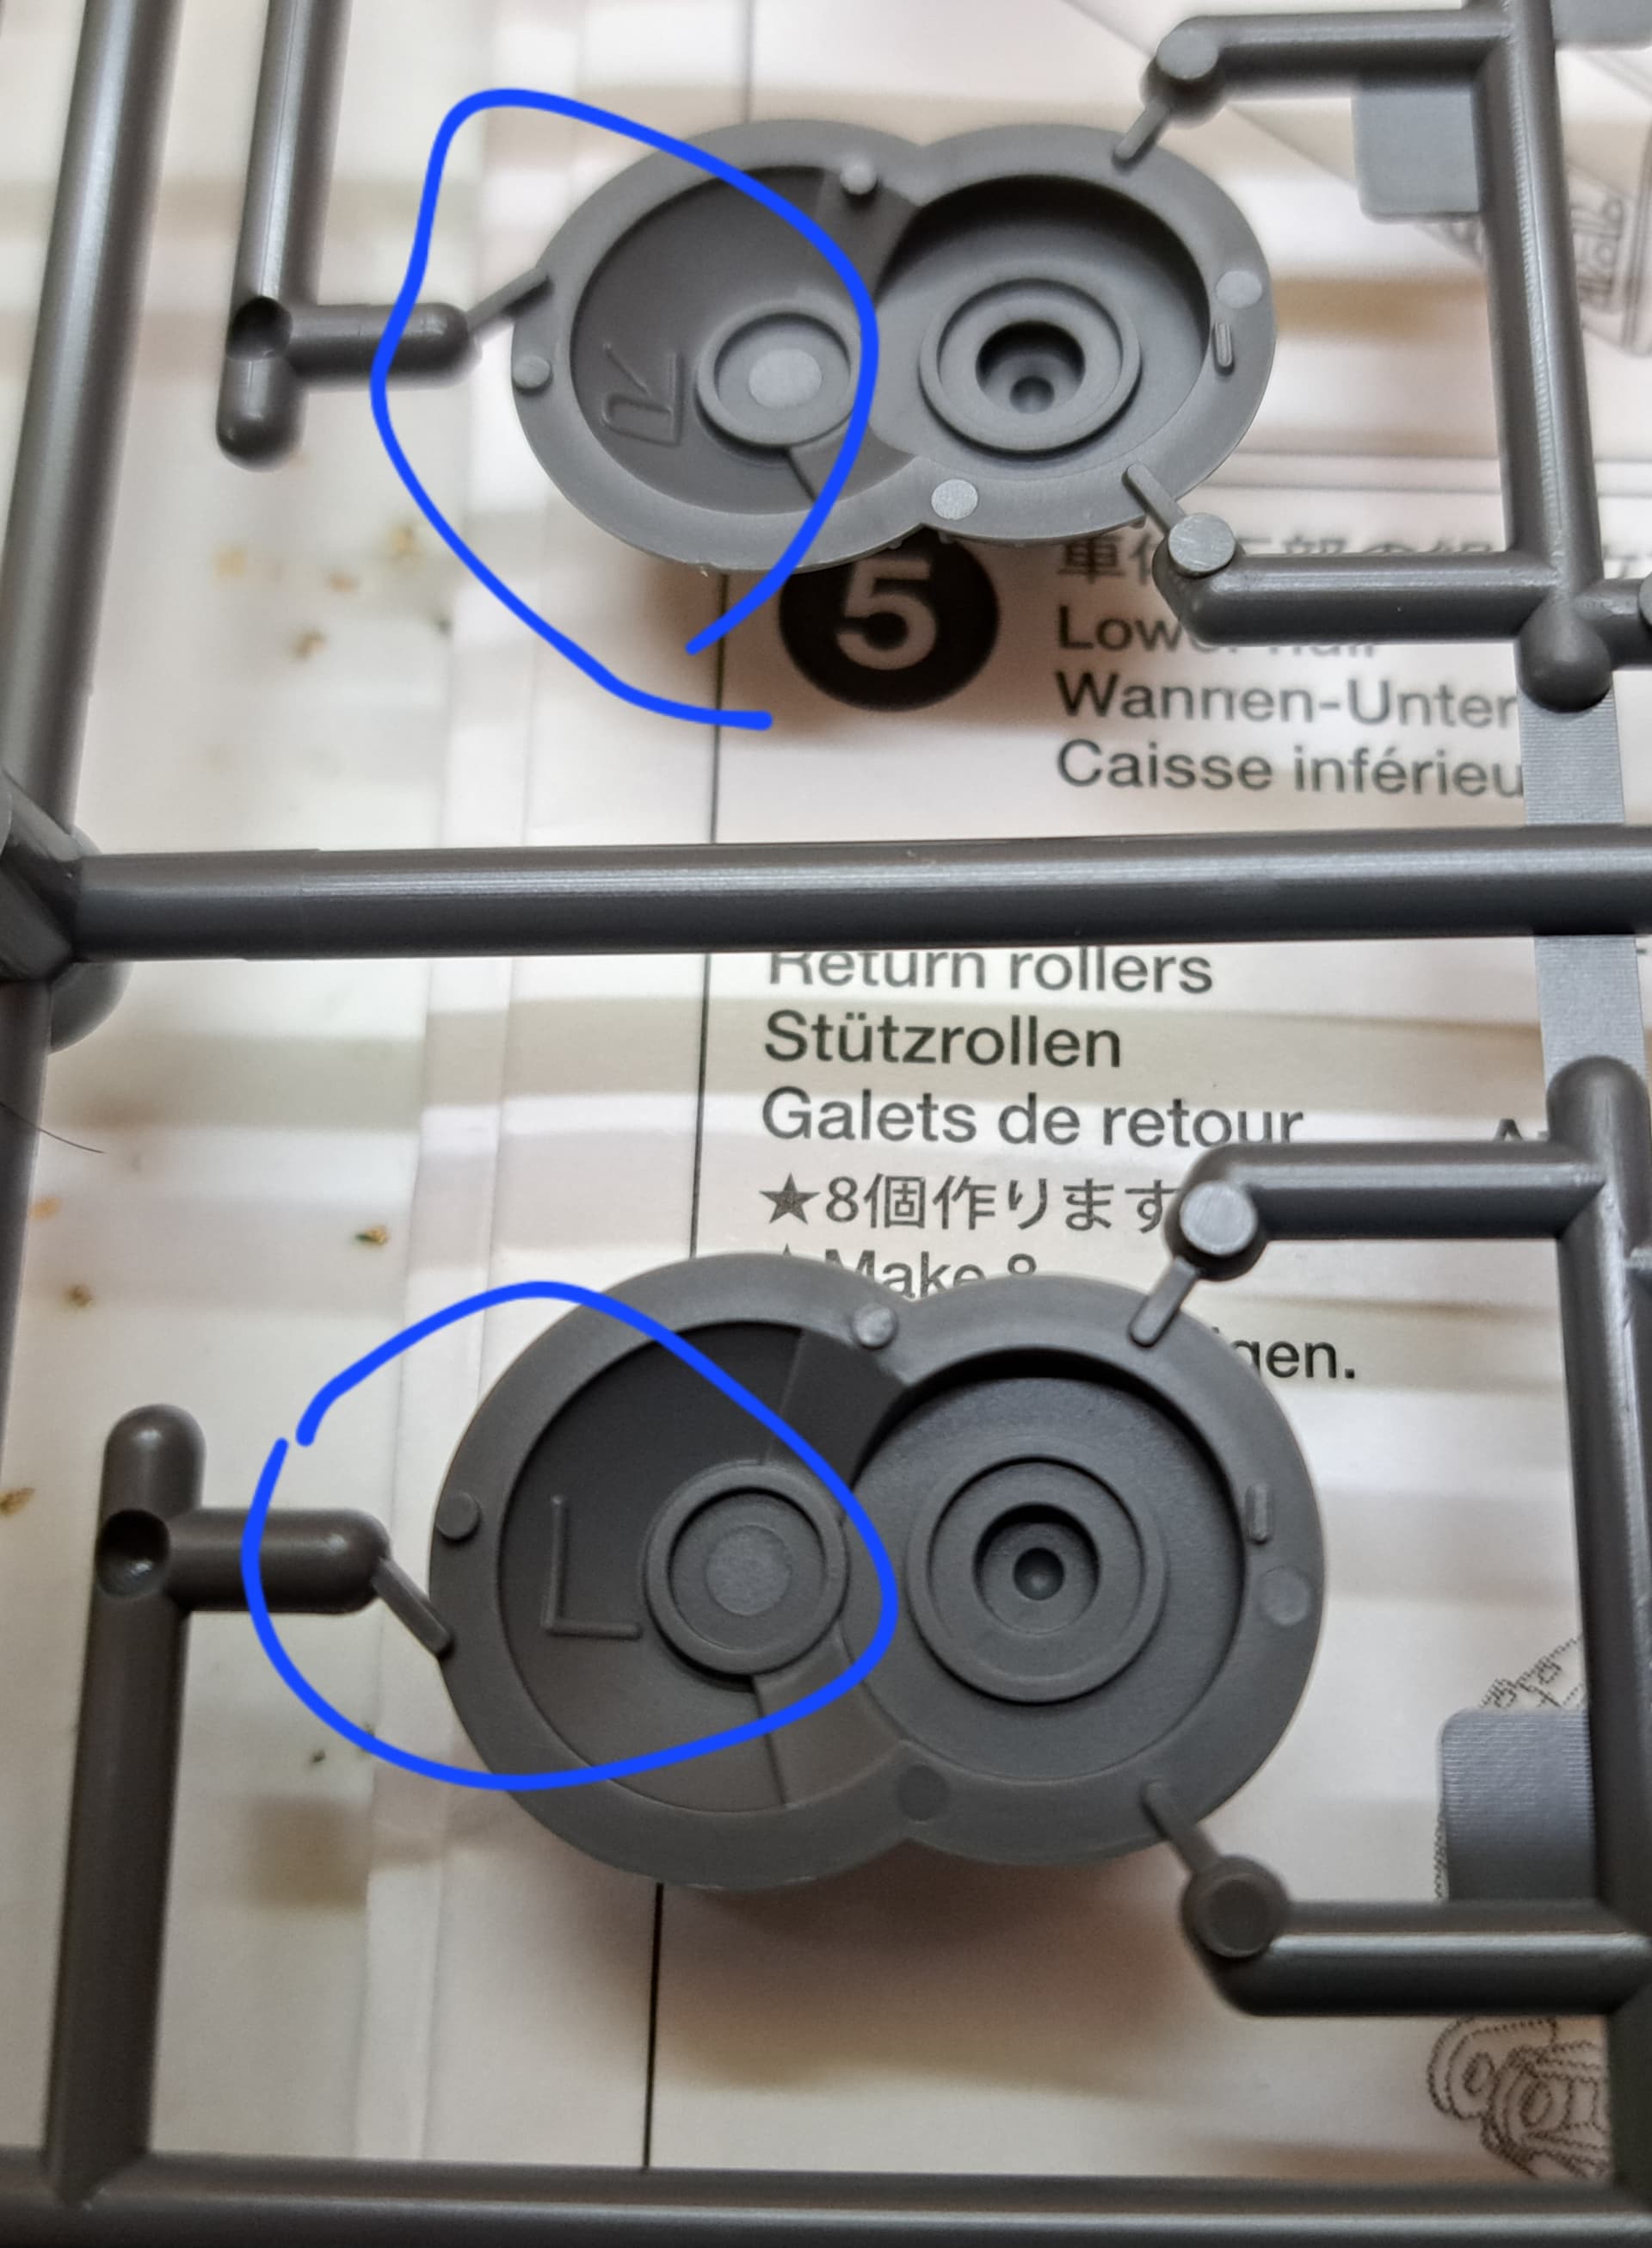
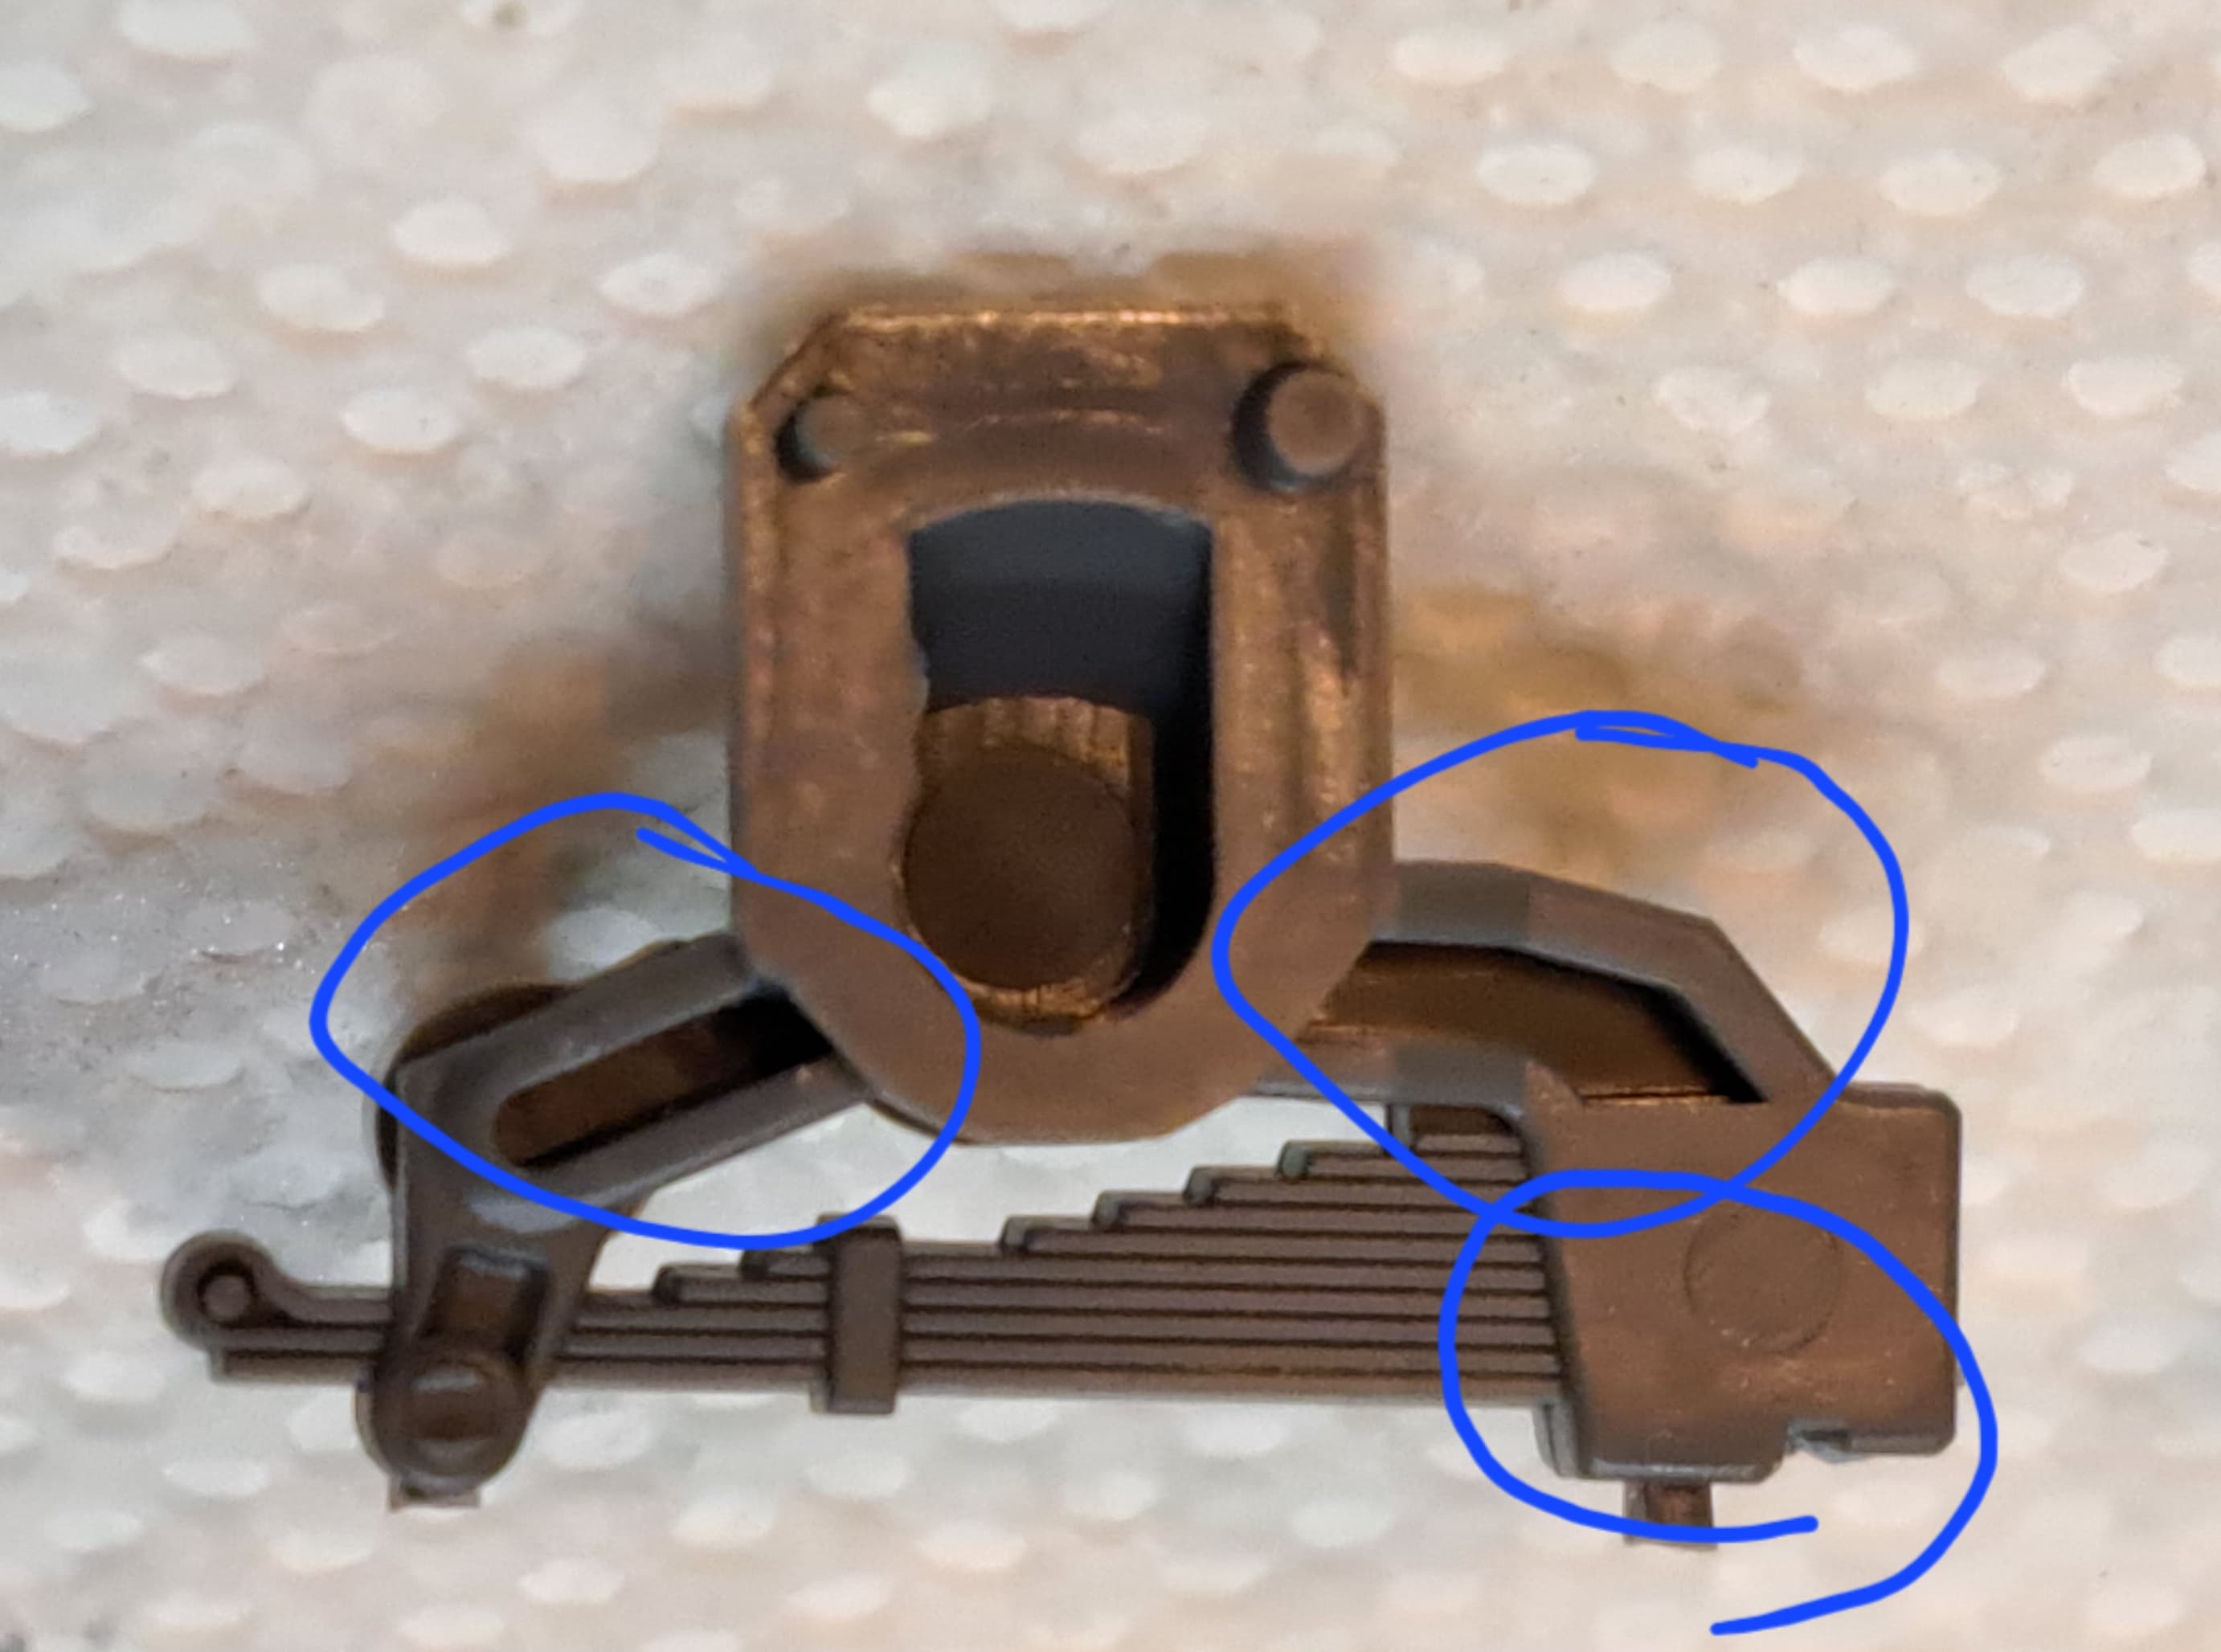
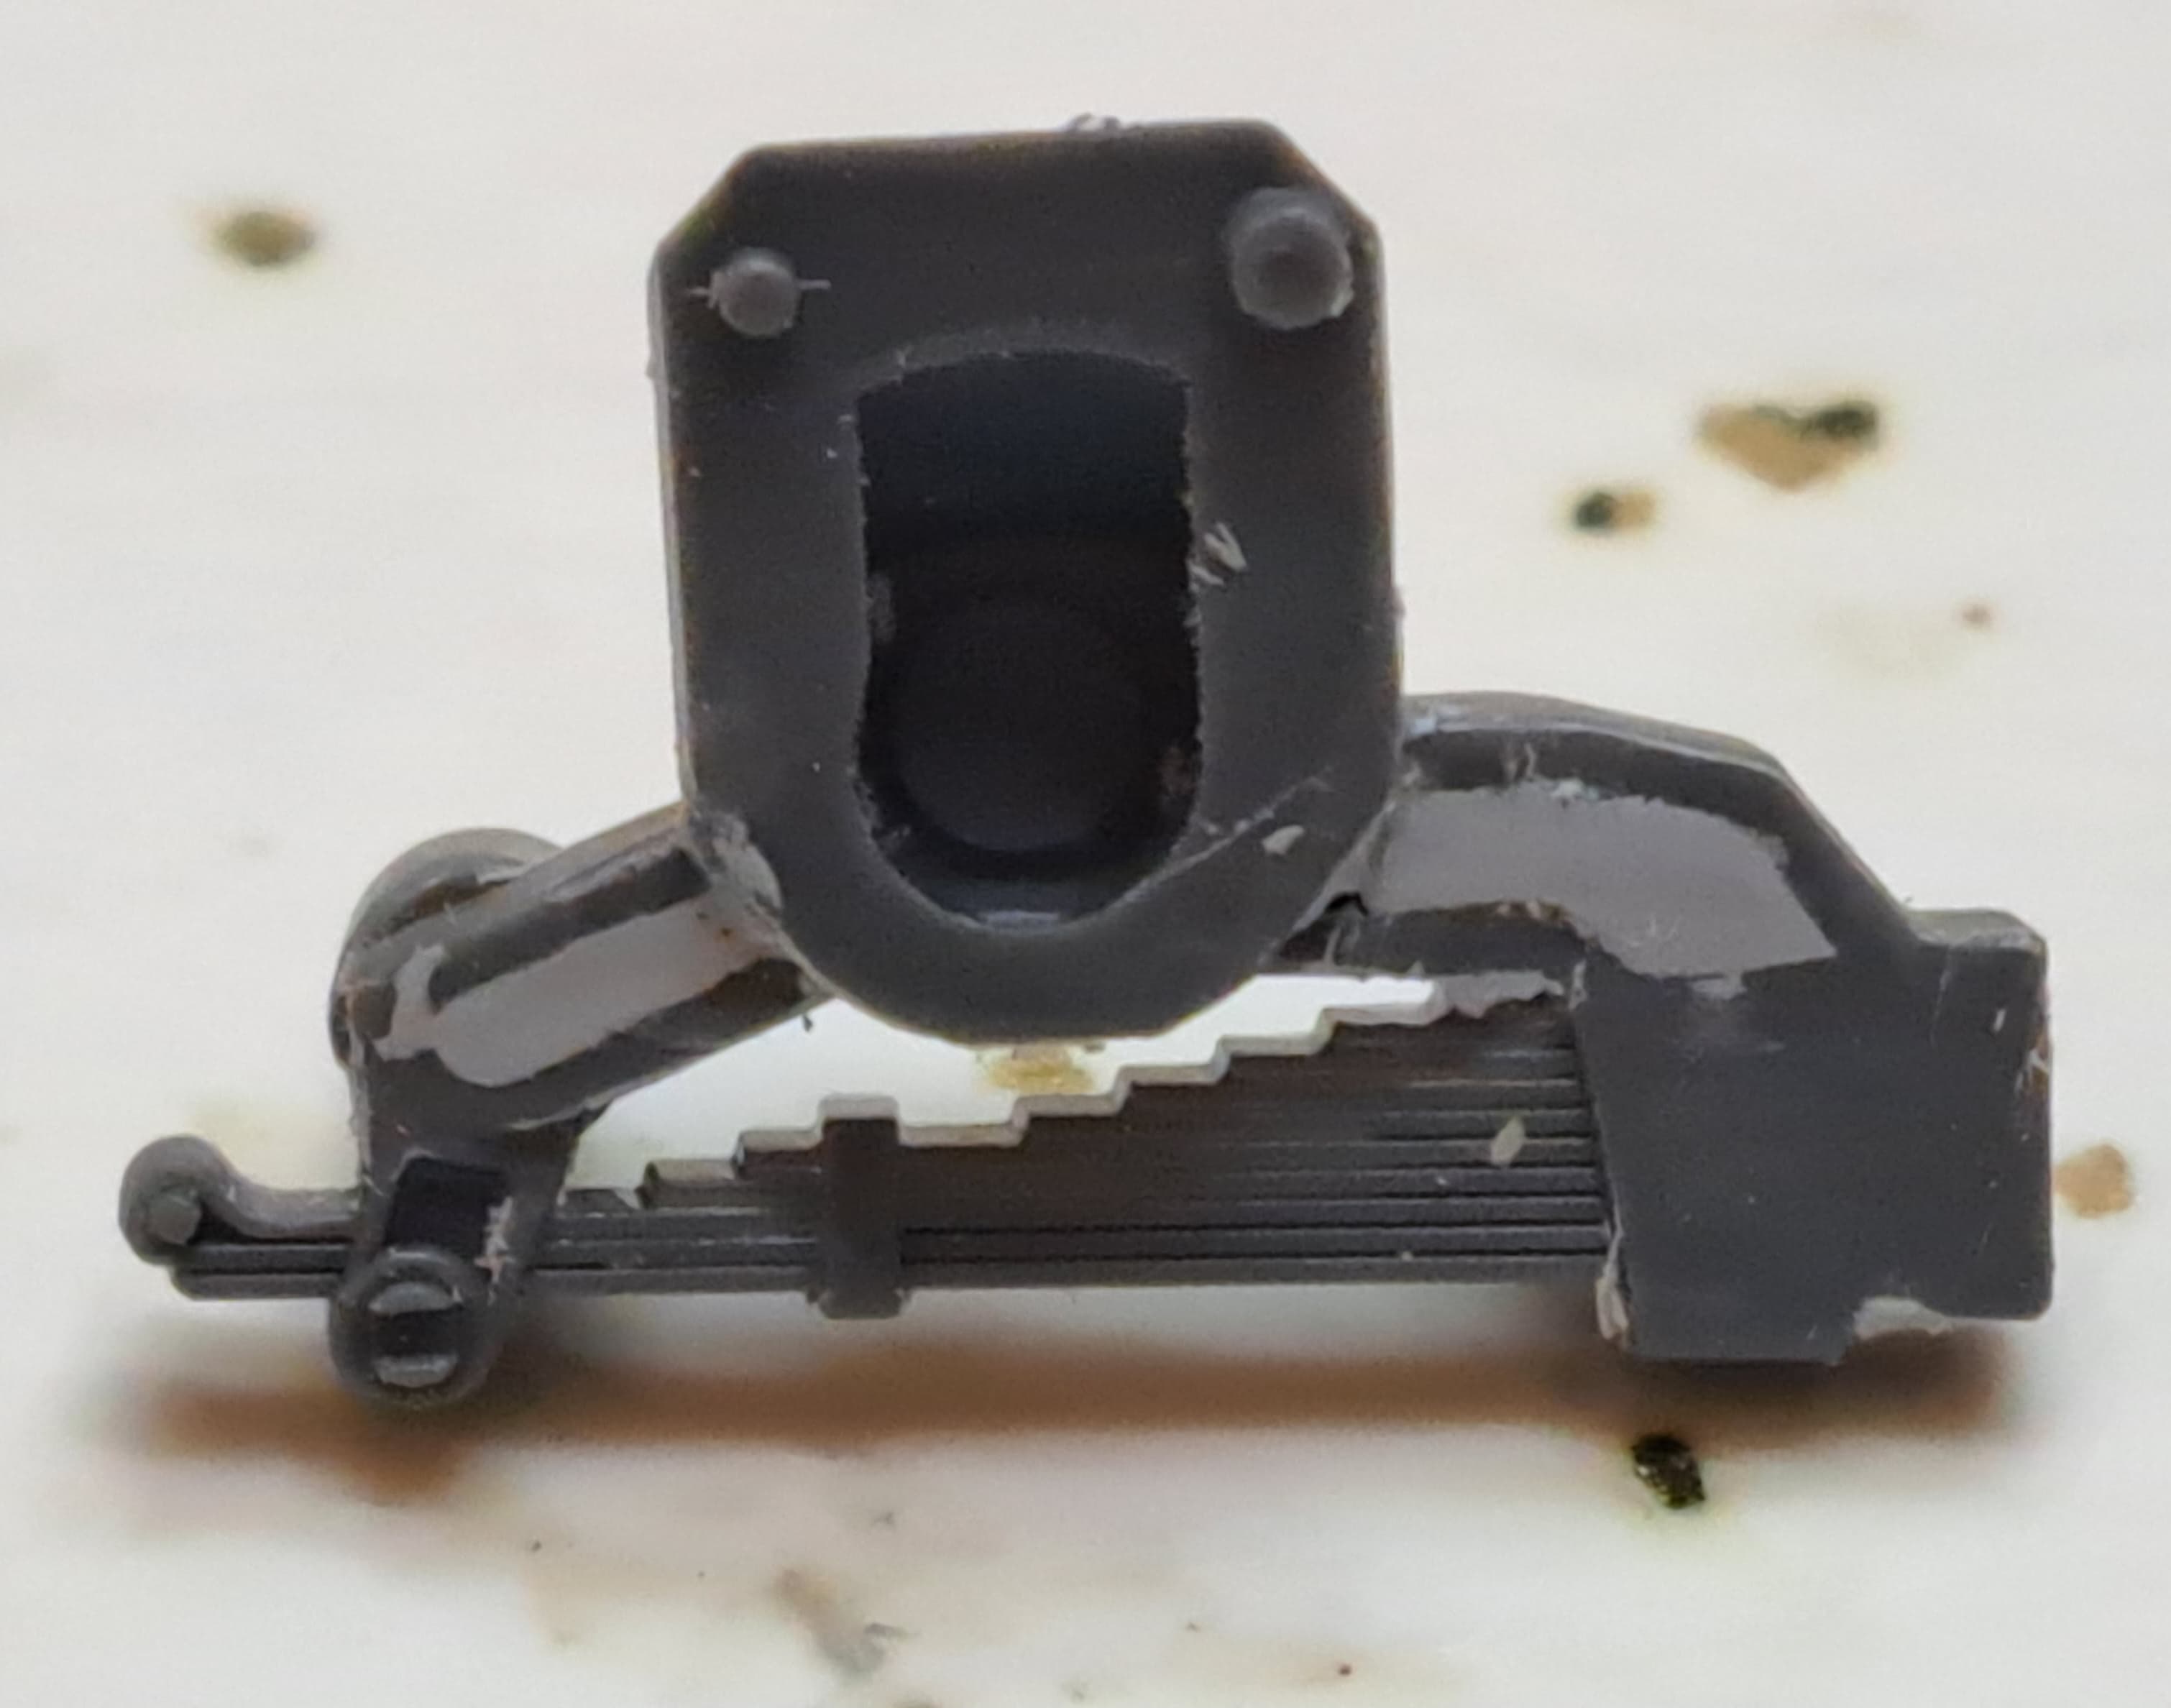
Step 5 Rear Plate & Return Rollers
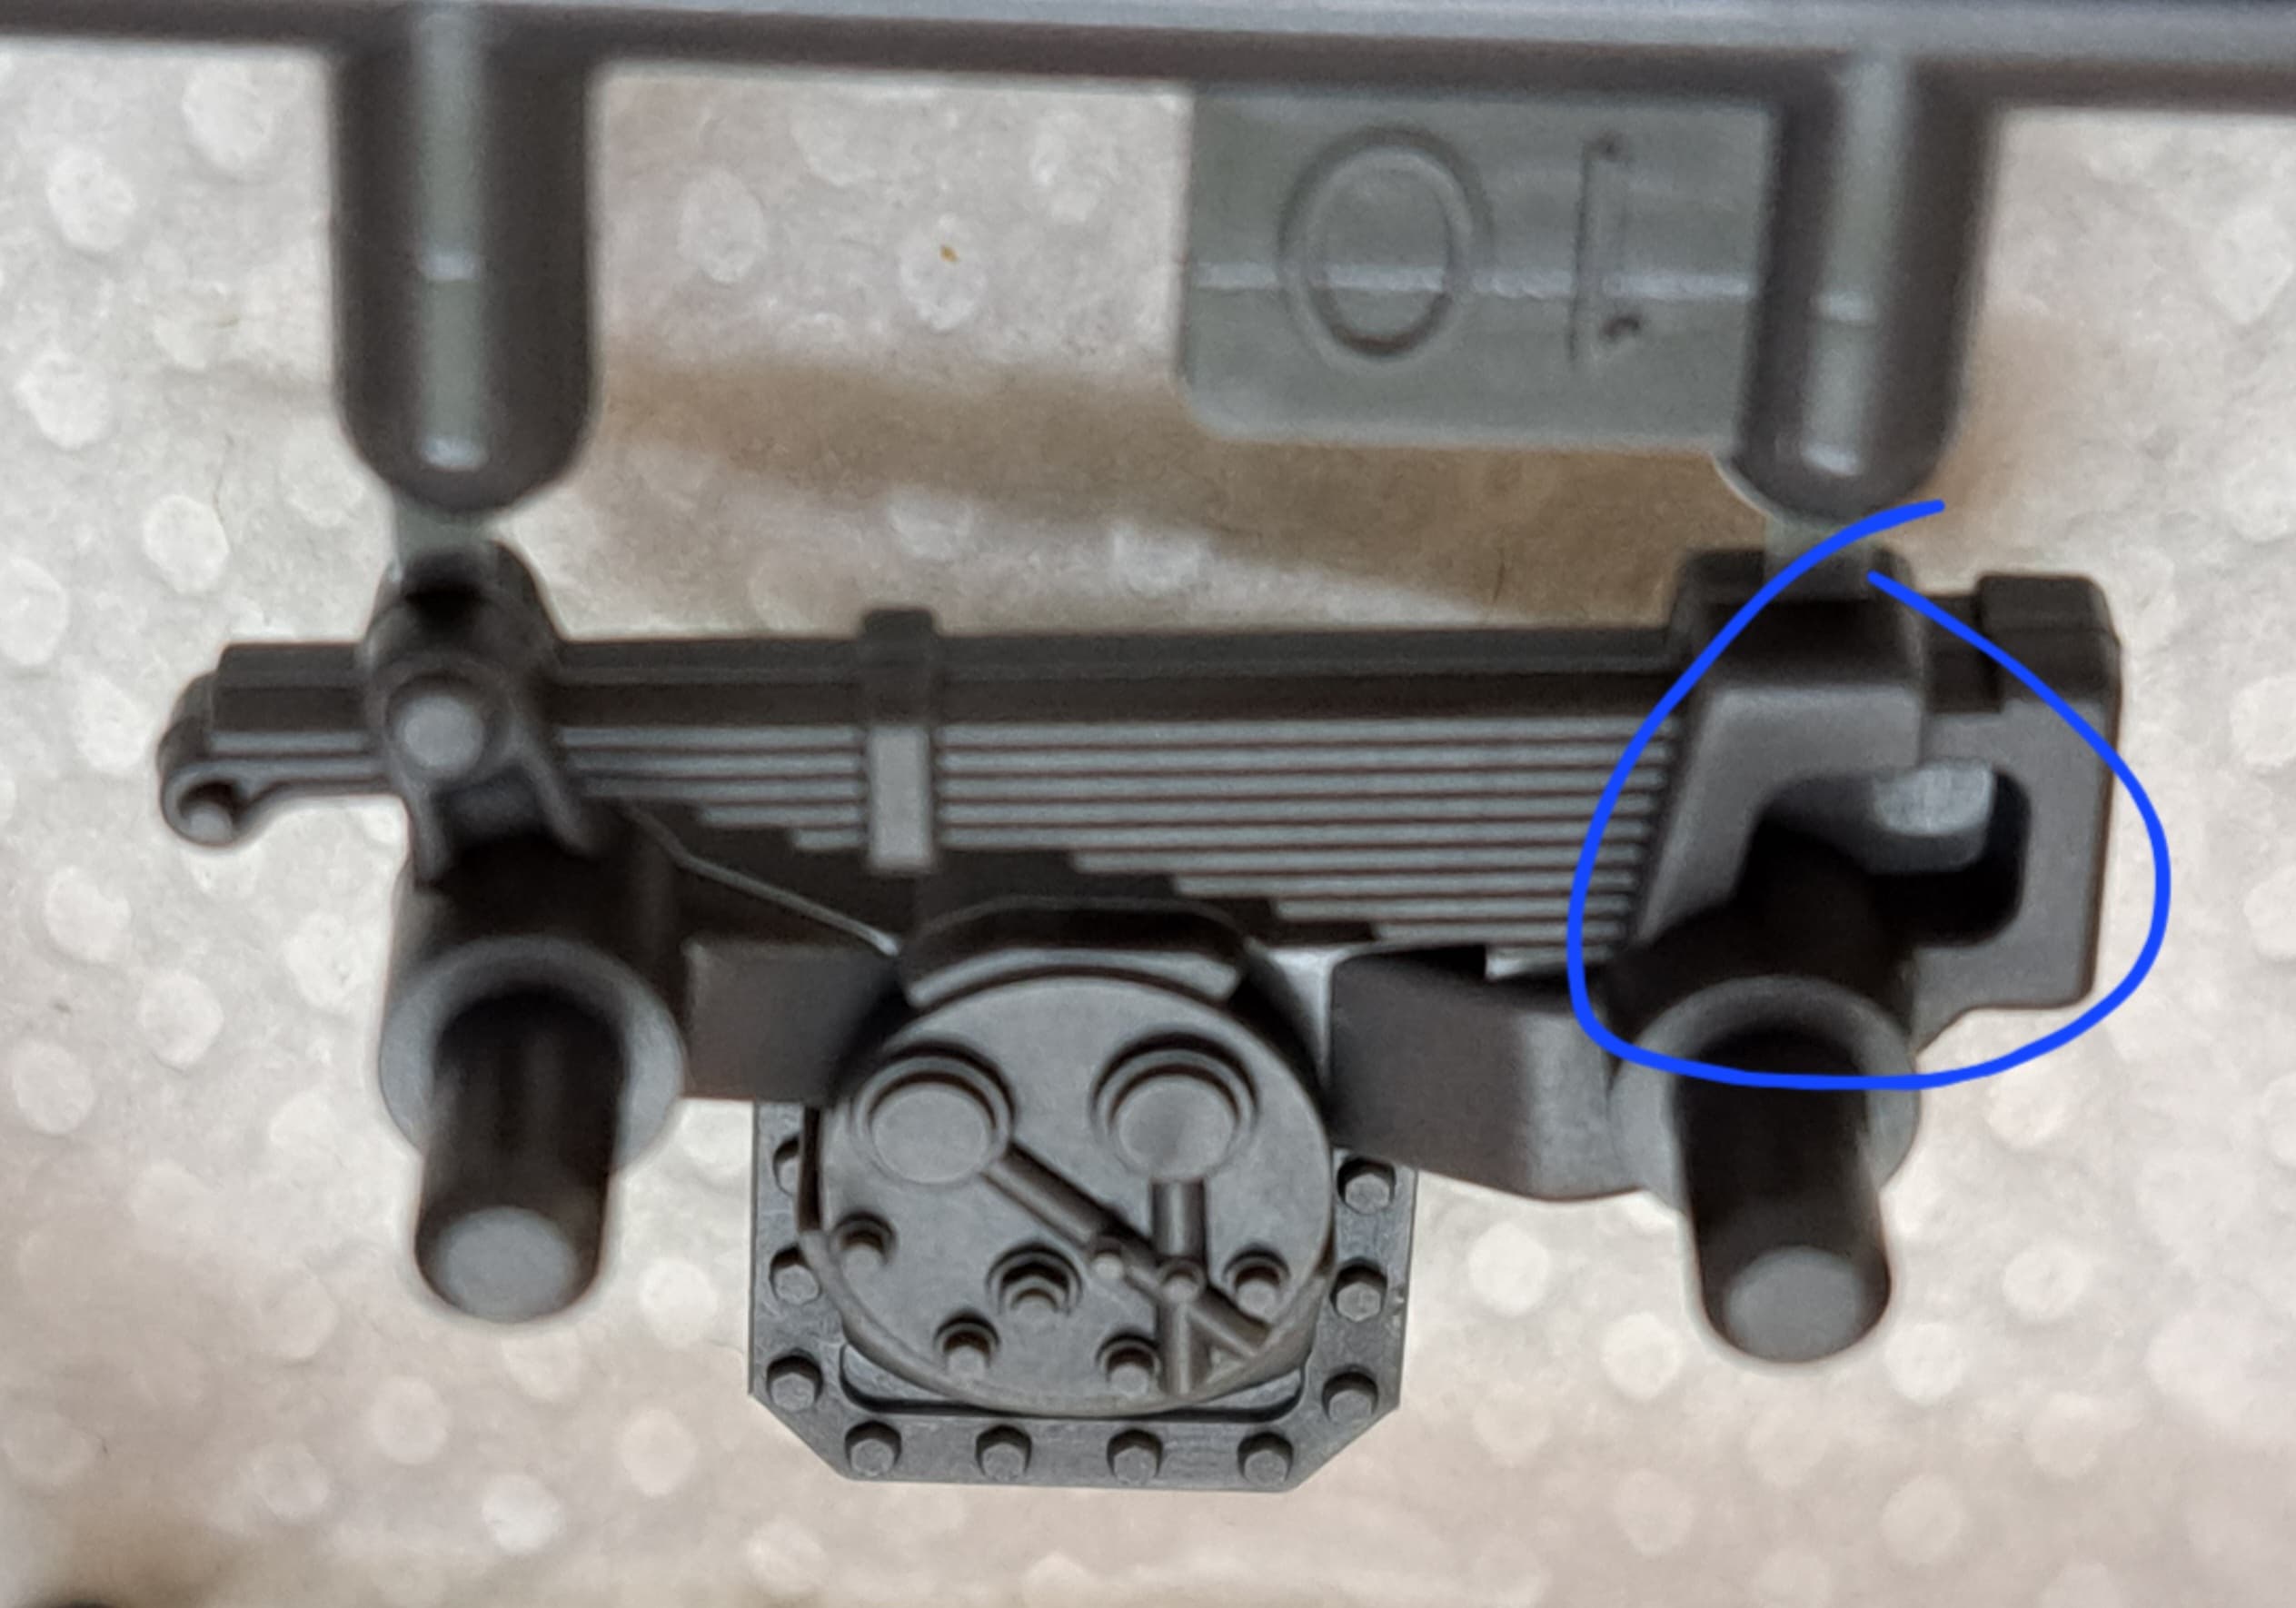
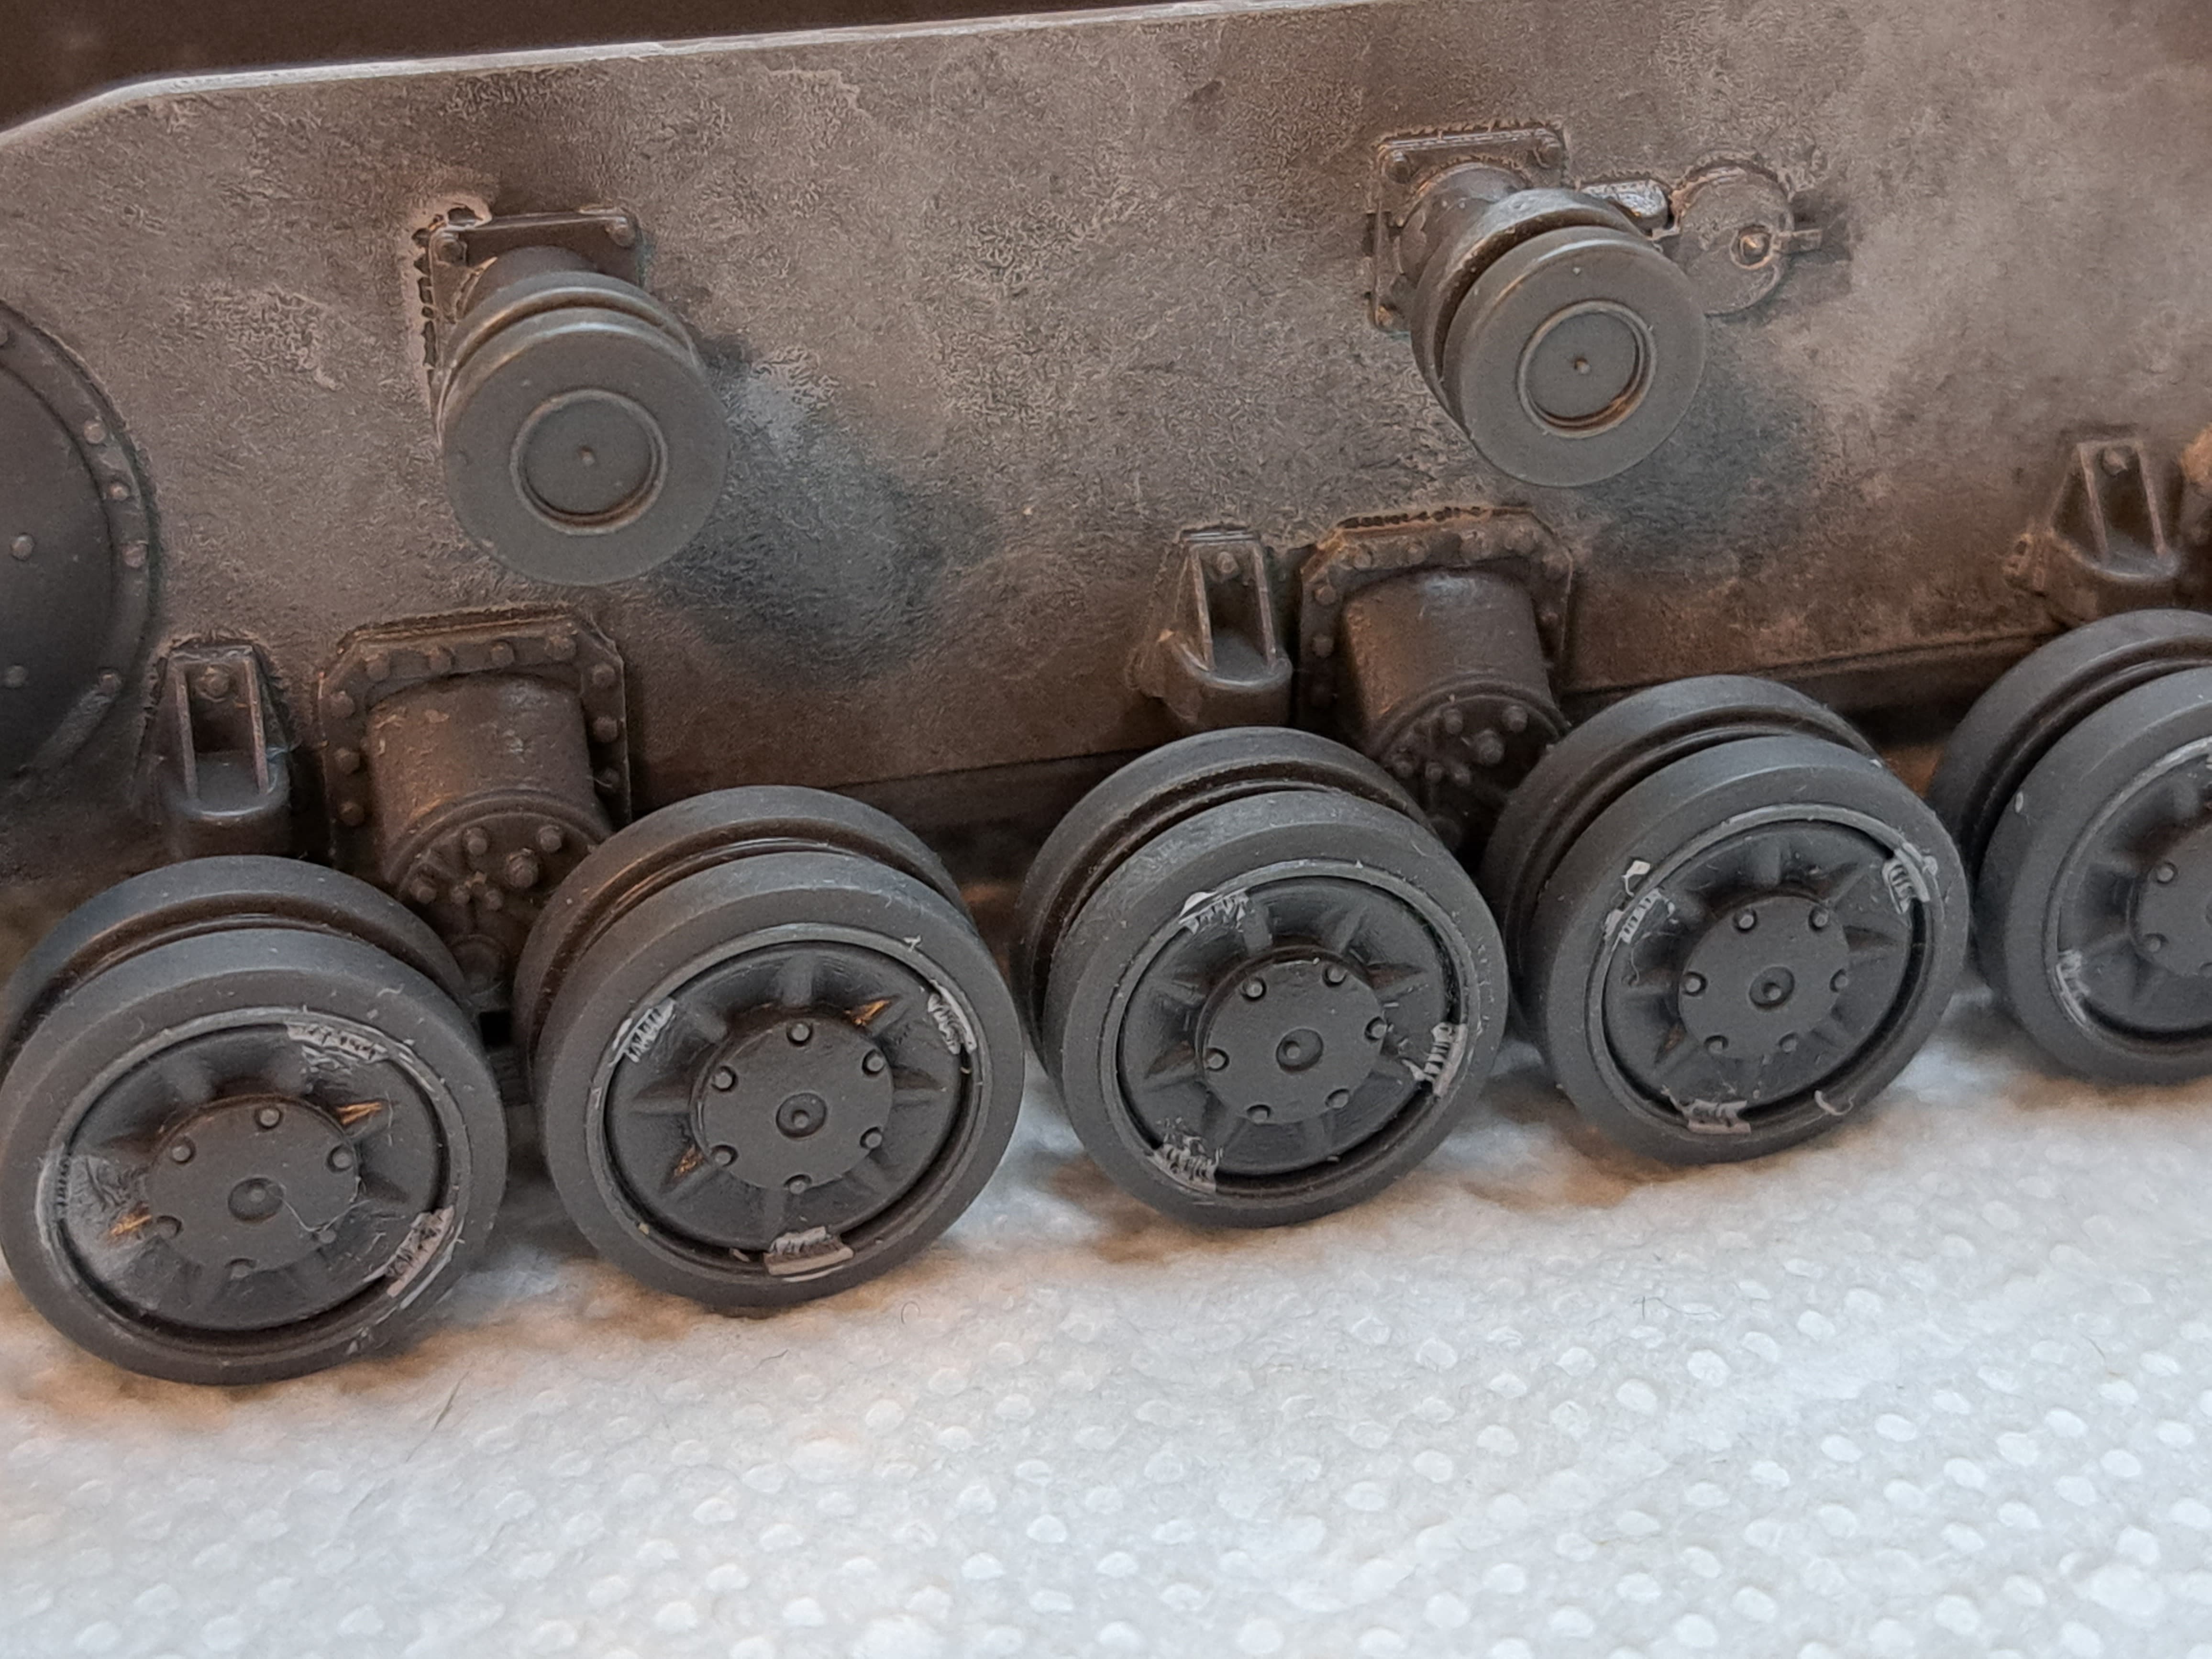
Step 6 Rear Plate & Bogies

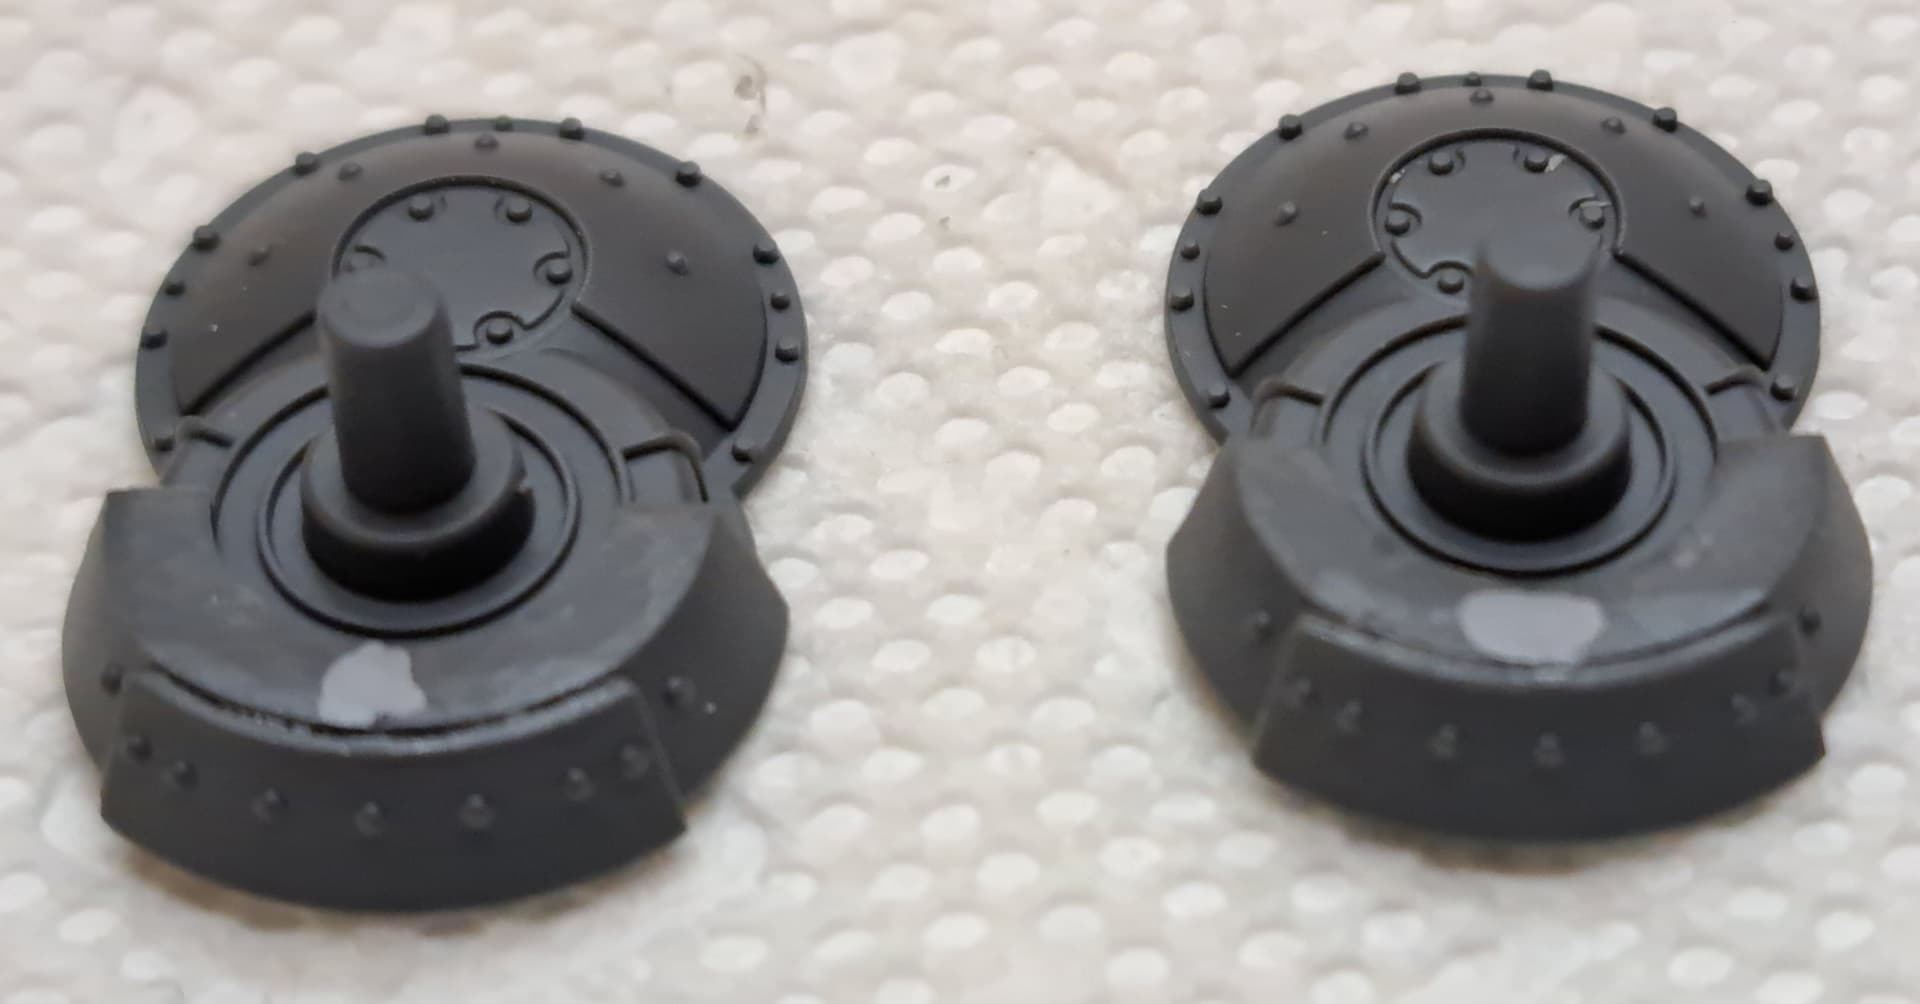
When these bogies were designed in 1993-1994, Janet Jackson was top of the charts…so please keep that in mind.
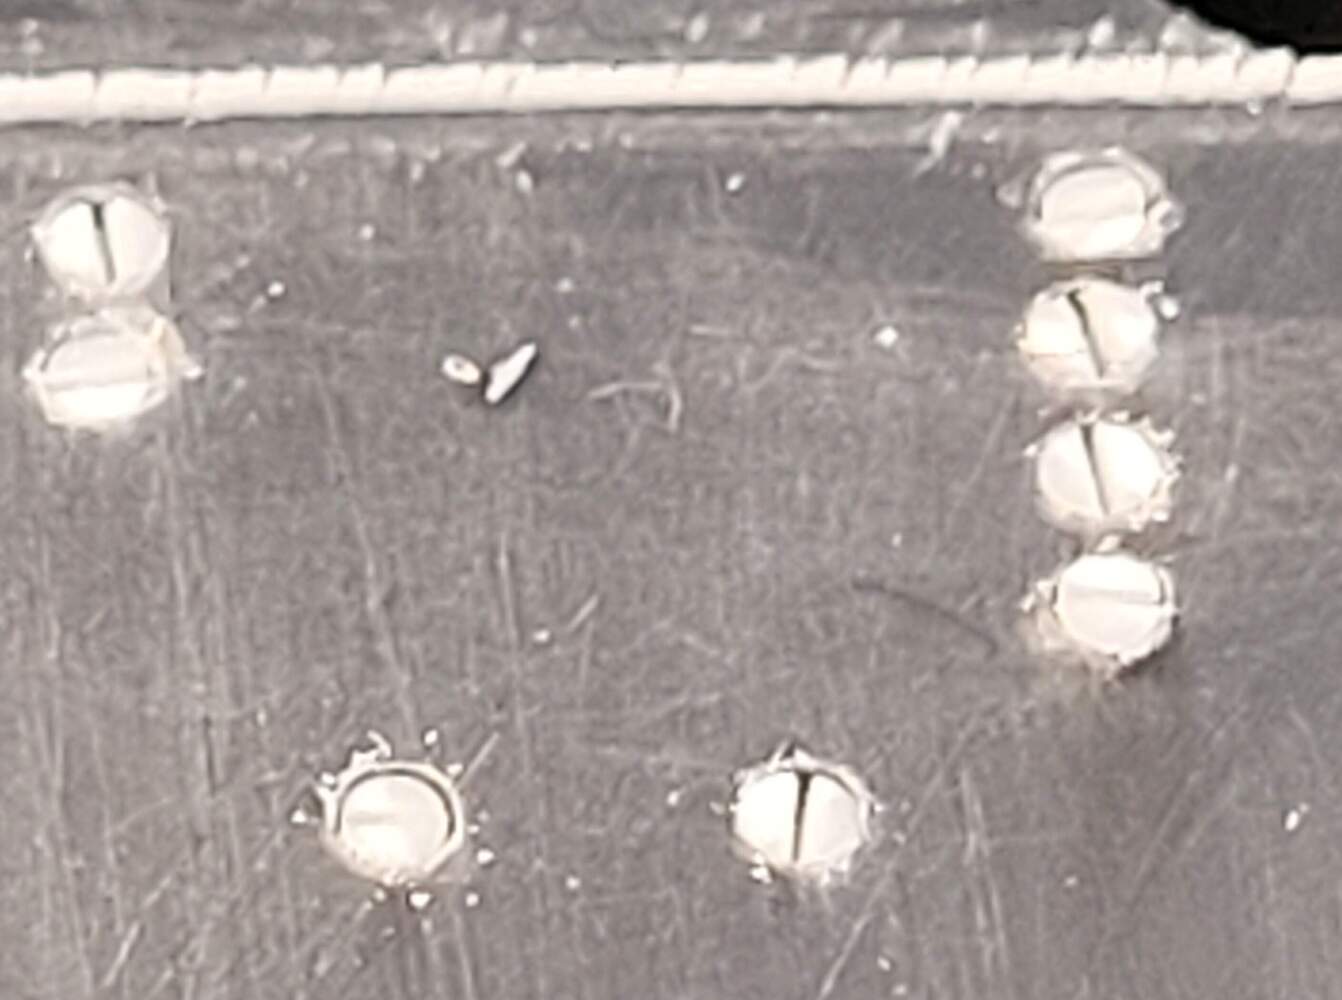
The punch mark needs removed and voids on the back side filled.
Super glue & accelerator makes an ideal filler. Used what I had, Tamiya Basic Gray Putty.
The front has a void to fill too!
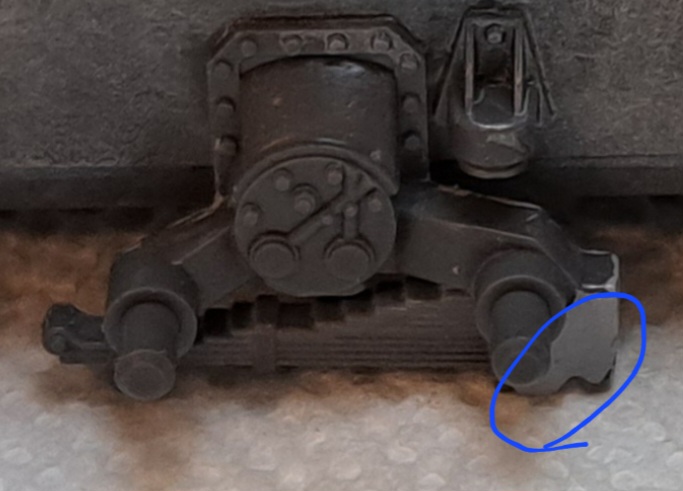
Finally with the bogeyman wrapped, its install time. Everything fit and lined up as it should.
Step 7 Tracks - skipped for now
I’ll be able to return home this weekend. So the link & length tracks will get trashed . Probably going Sector35 white metal track links.
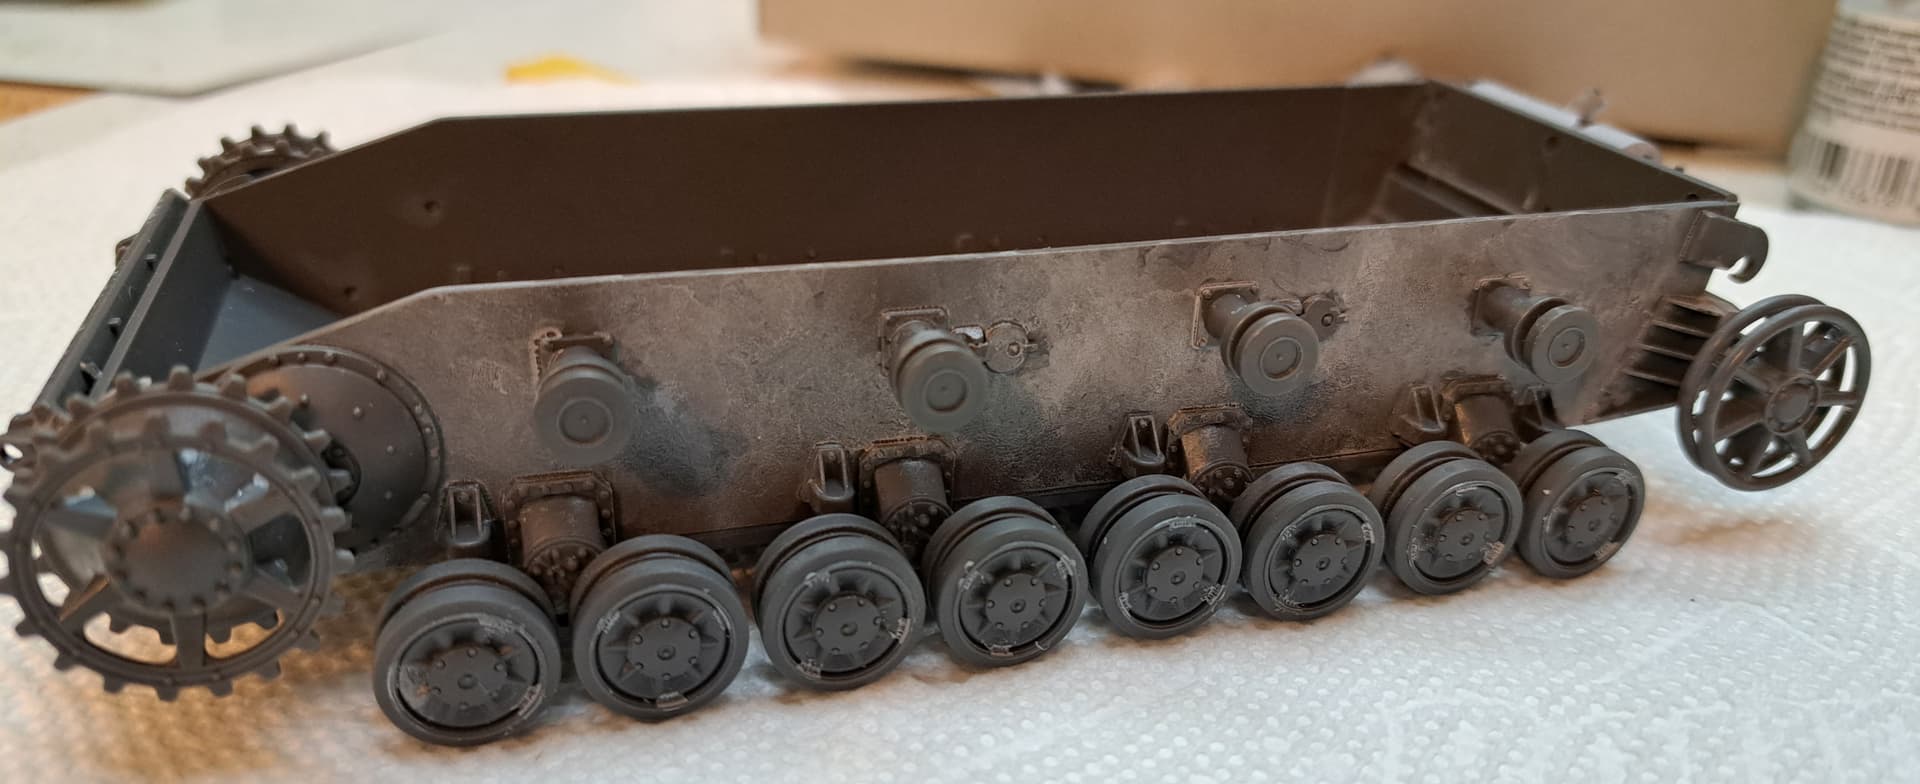
Step 8 Sprockets, Wheels & Idlers
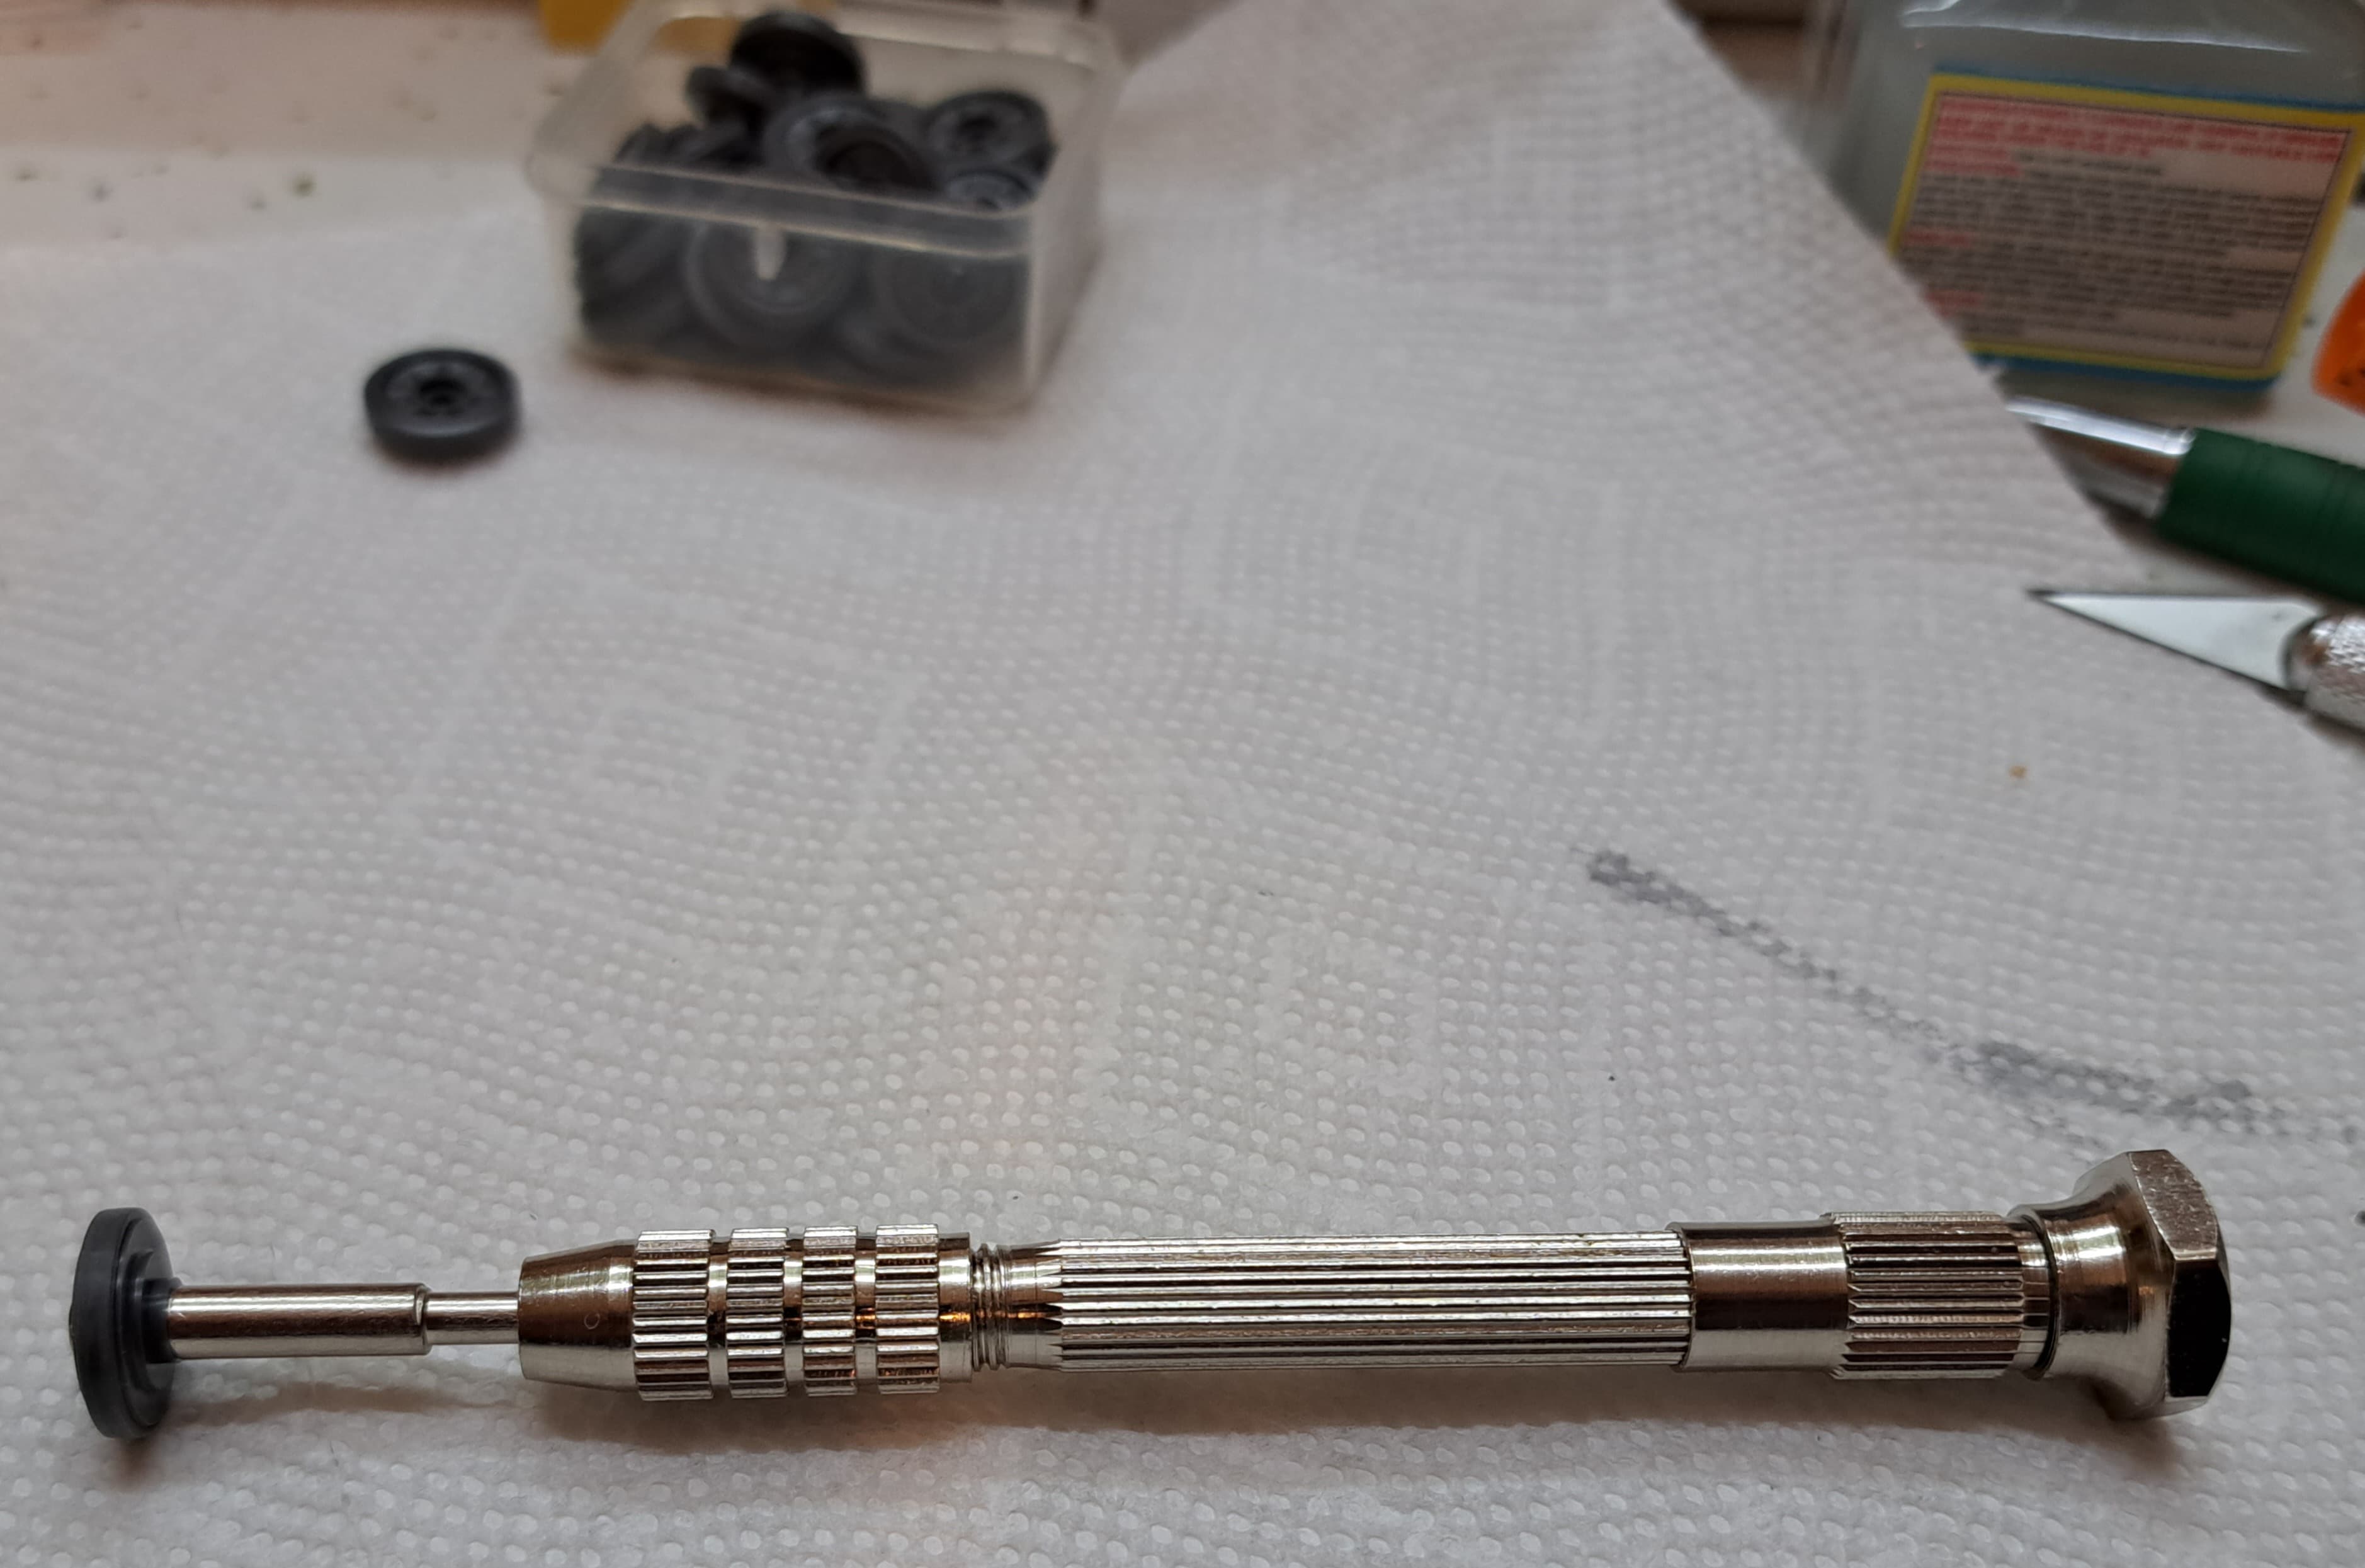
Started cleaning off mold seams…manually. The old pinvise made an appearance…
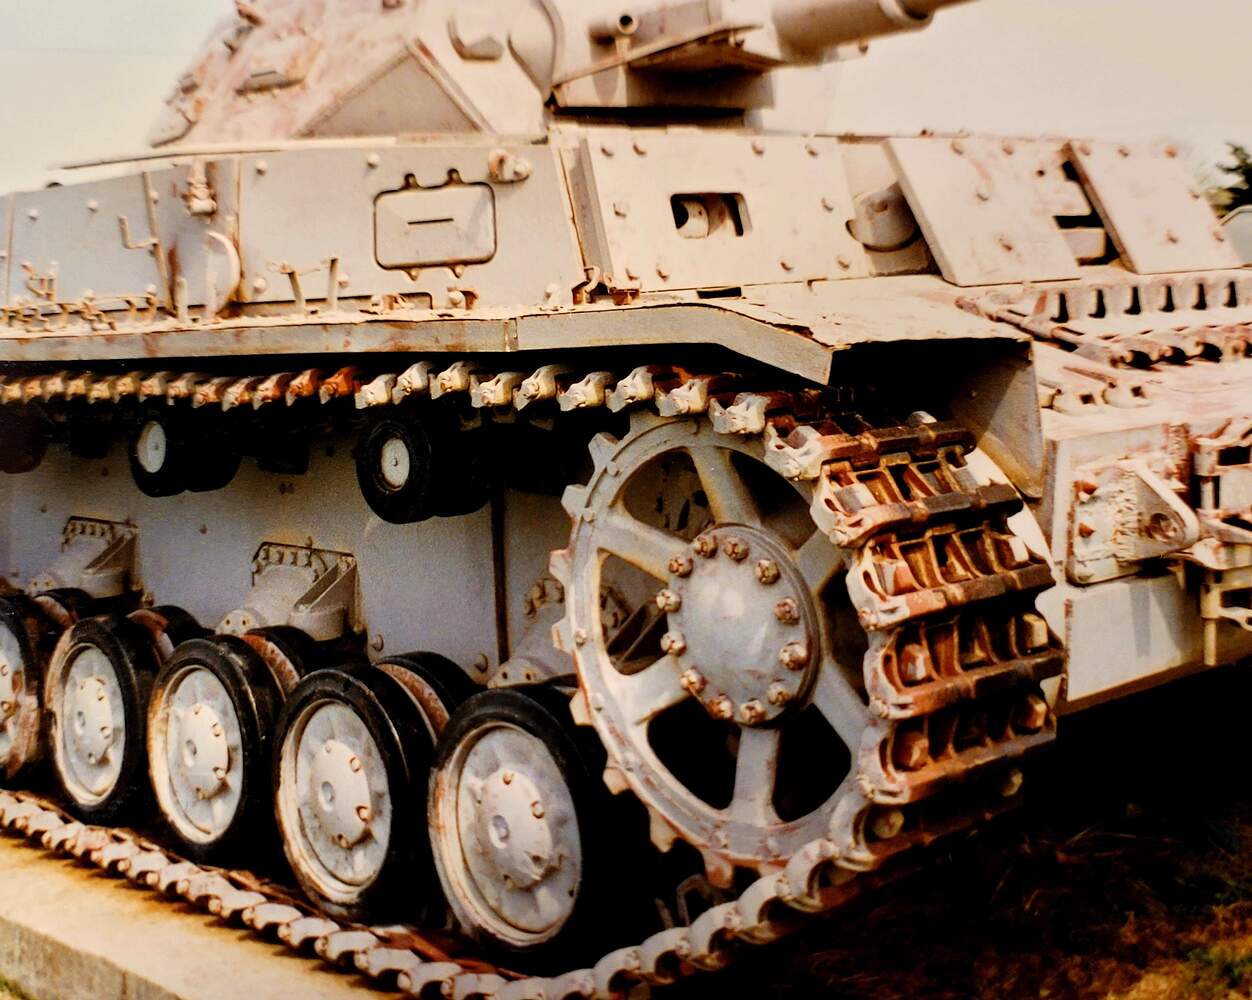
FWIW - The fine Tamiya mold seams have to go. I’ve stood beside a Panzer IV, ~6 feet away and tire mold seams weren’t visible to any real degree. Standing close to Pz IV the tires looked like this:
From a normal viewing distance of say 1 foot (actual the equivalent of 35 scale feet in 35th scale) - mold seams on rubber wheels are basically invisible at that viewing distance.
3 Likes
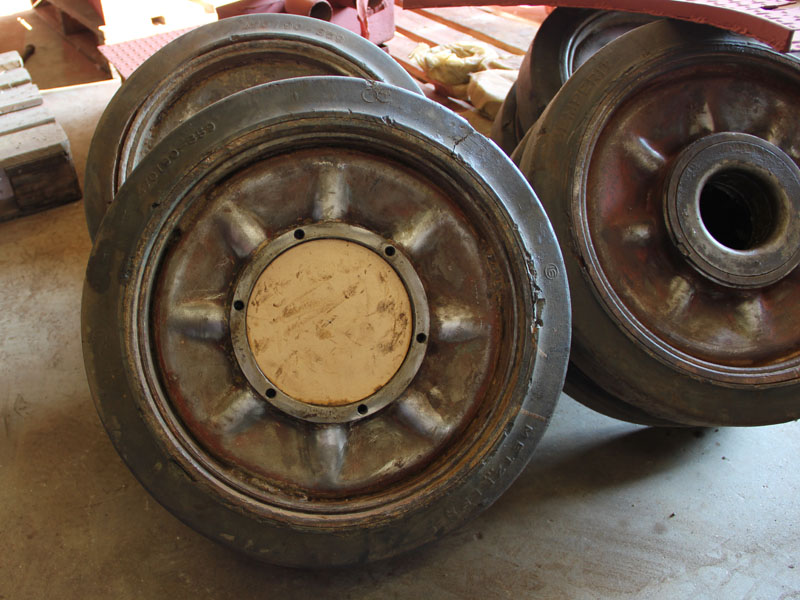
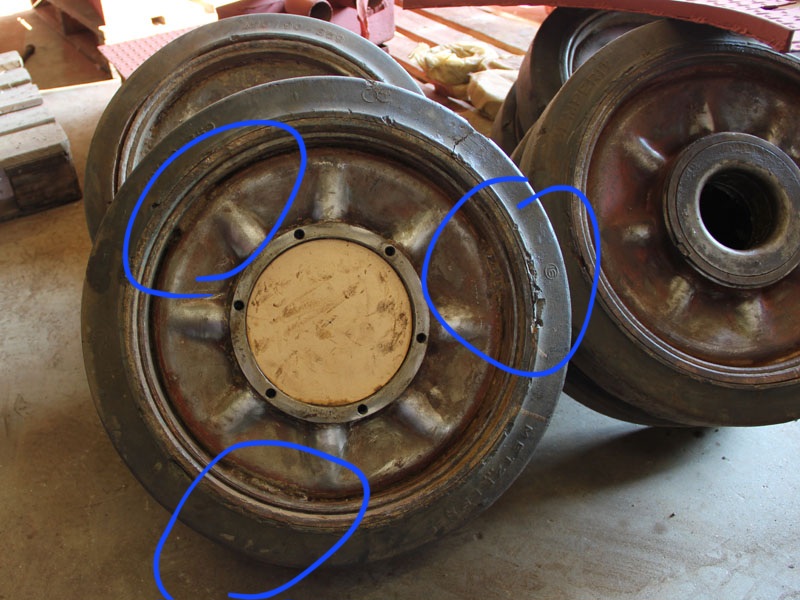
Saumur Panzer IV
Great link of a Pz IV restoration. The following picture is from the Saumur link above.
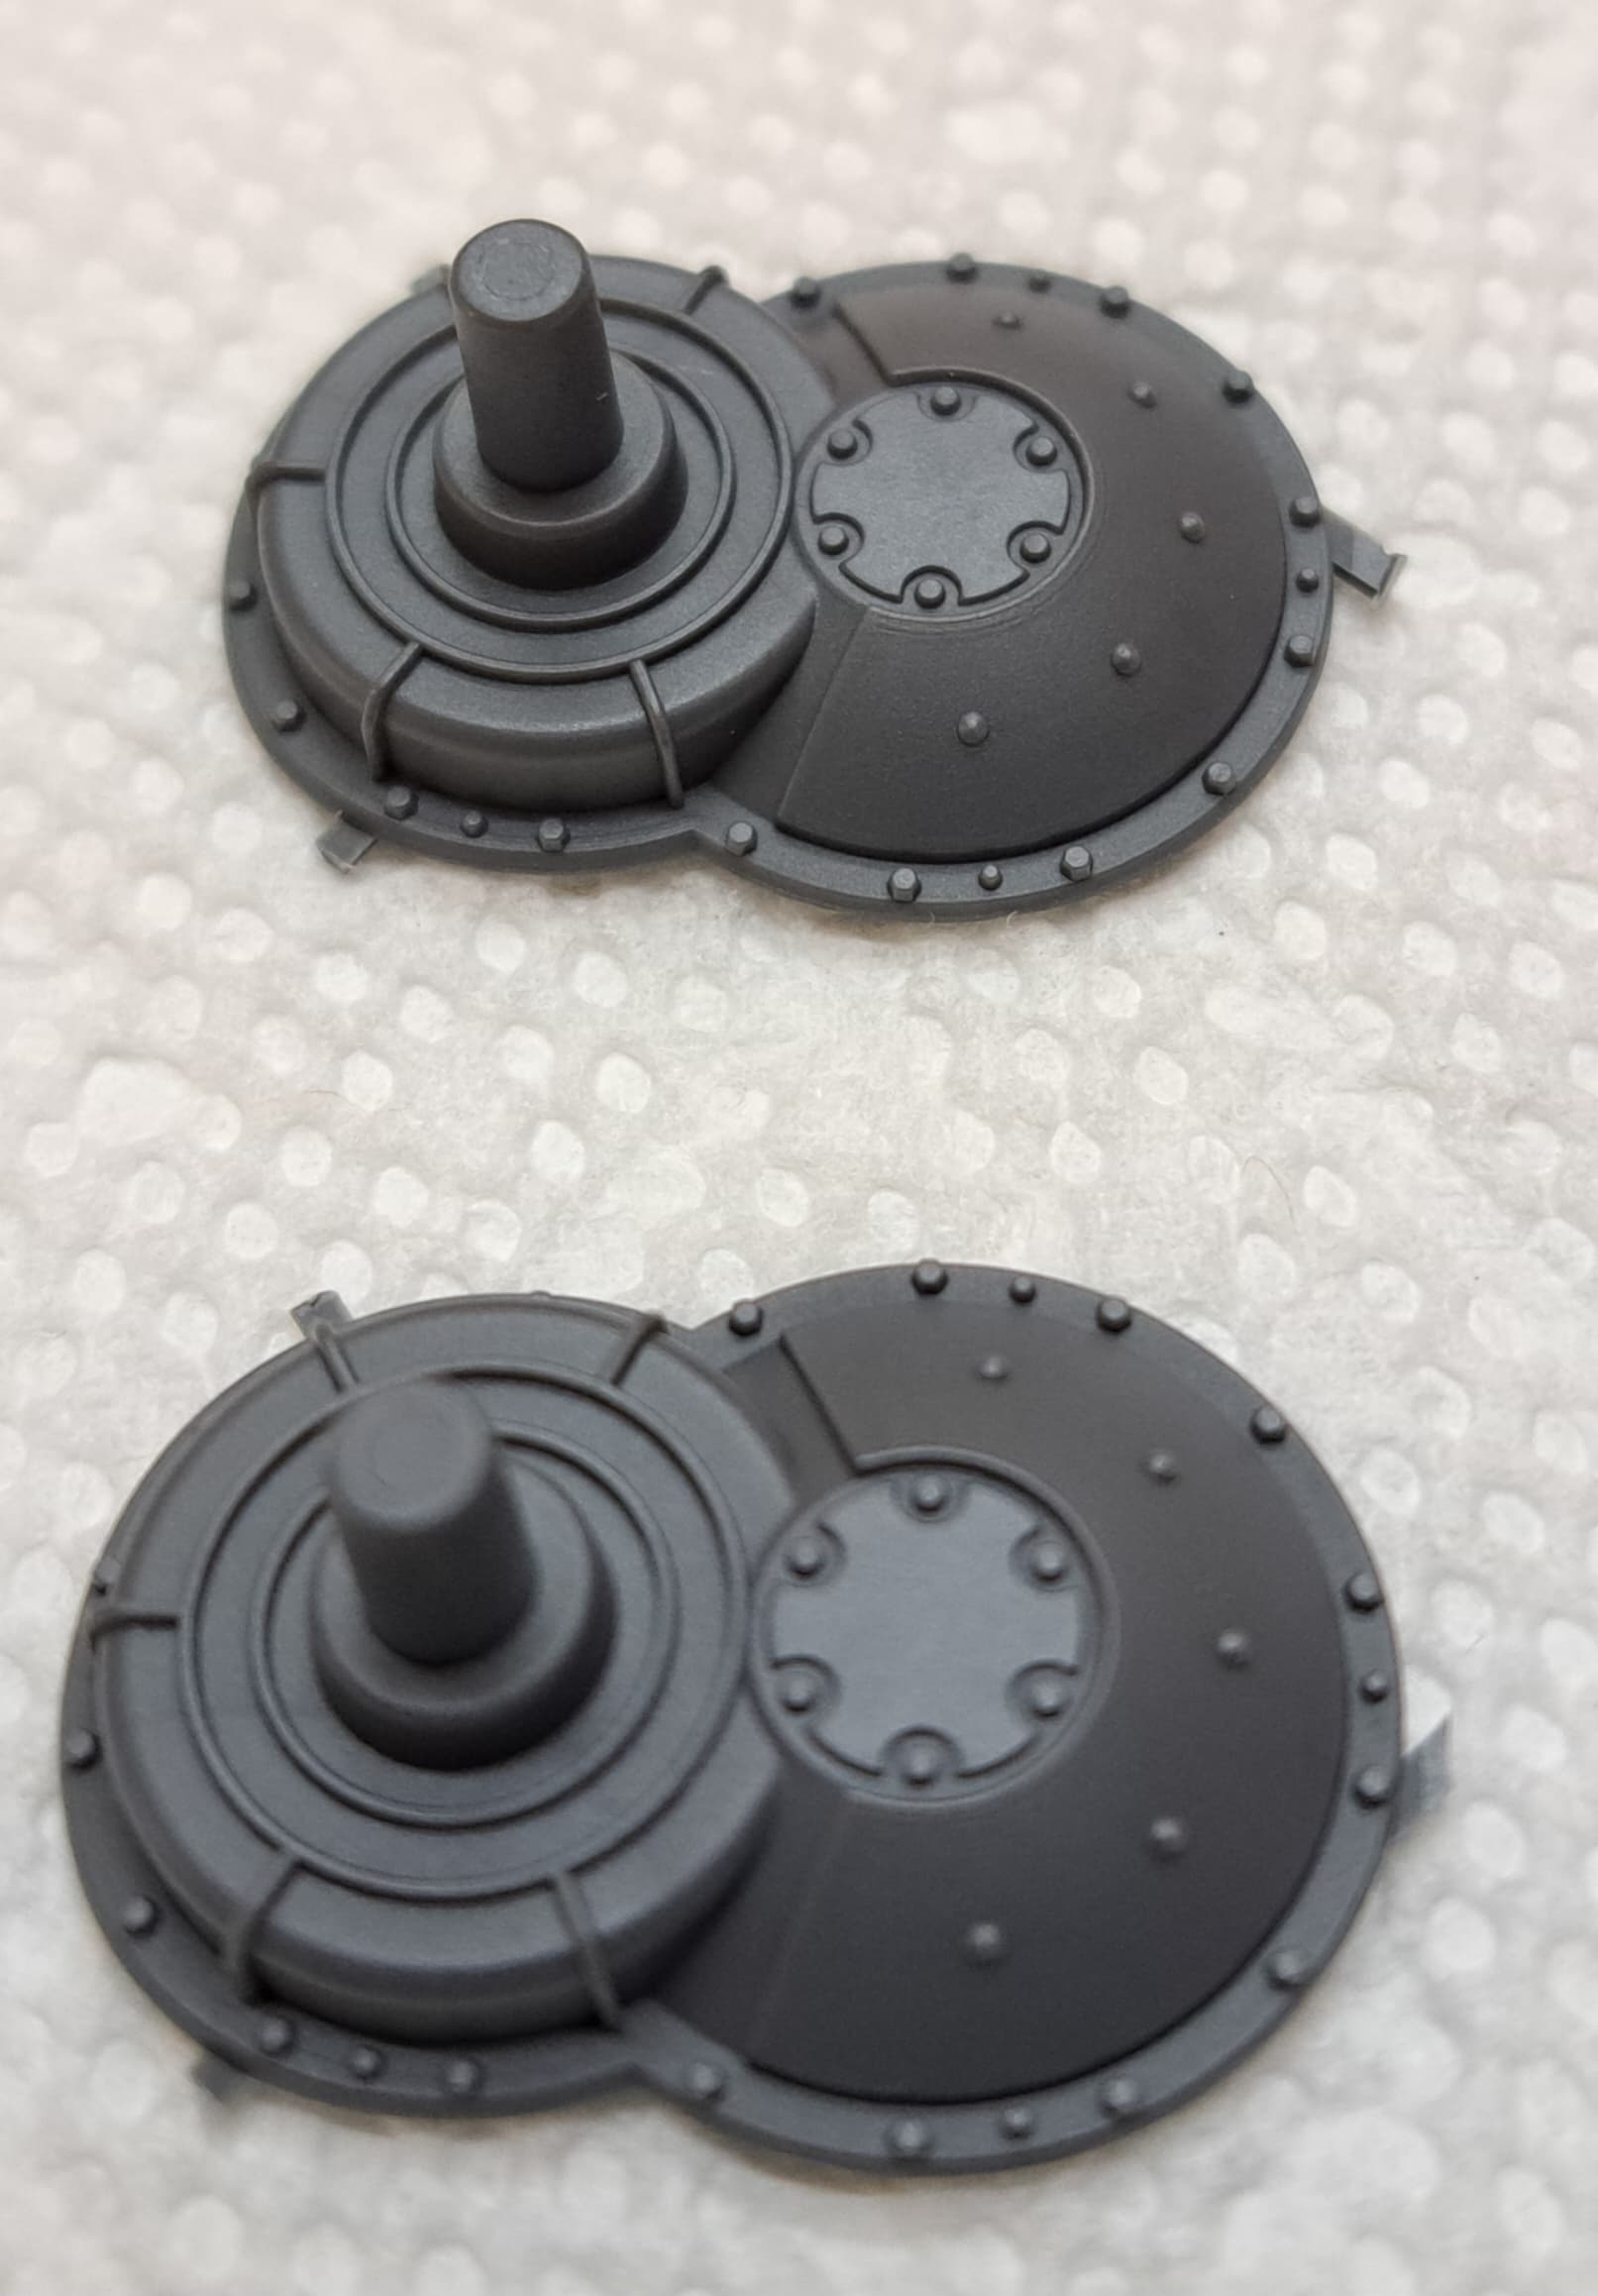
We have a couple of welds on the wheel hub.
I really wish Tamiya had retooled the wheels on this 2020 Pz IV kit to be honest. It’s a nice wheel but missing some welds. Plus these 1994 wheels have a sloppy fit on the 1994 leaf spring bogies.
How sloppy you say? Well bad enough I feel the spindles should be built up with thinned putty or white glue etc so the wheels don’t fall off.
That’s right no Tamiya trademark polycaps for the wheels. I guess one could hit Harbor Freight and slap in an o-ring etc. Being lazy, my band aid will be Redneck/Ghetto engineered grey putty.
7 Likes
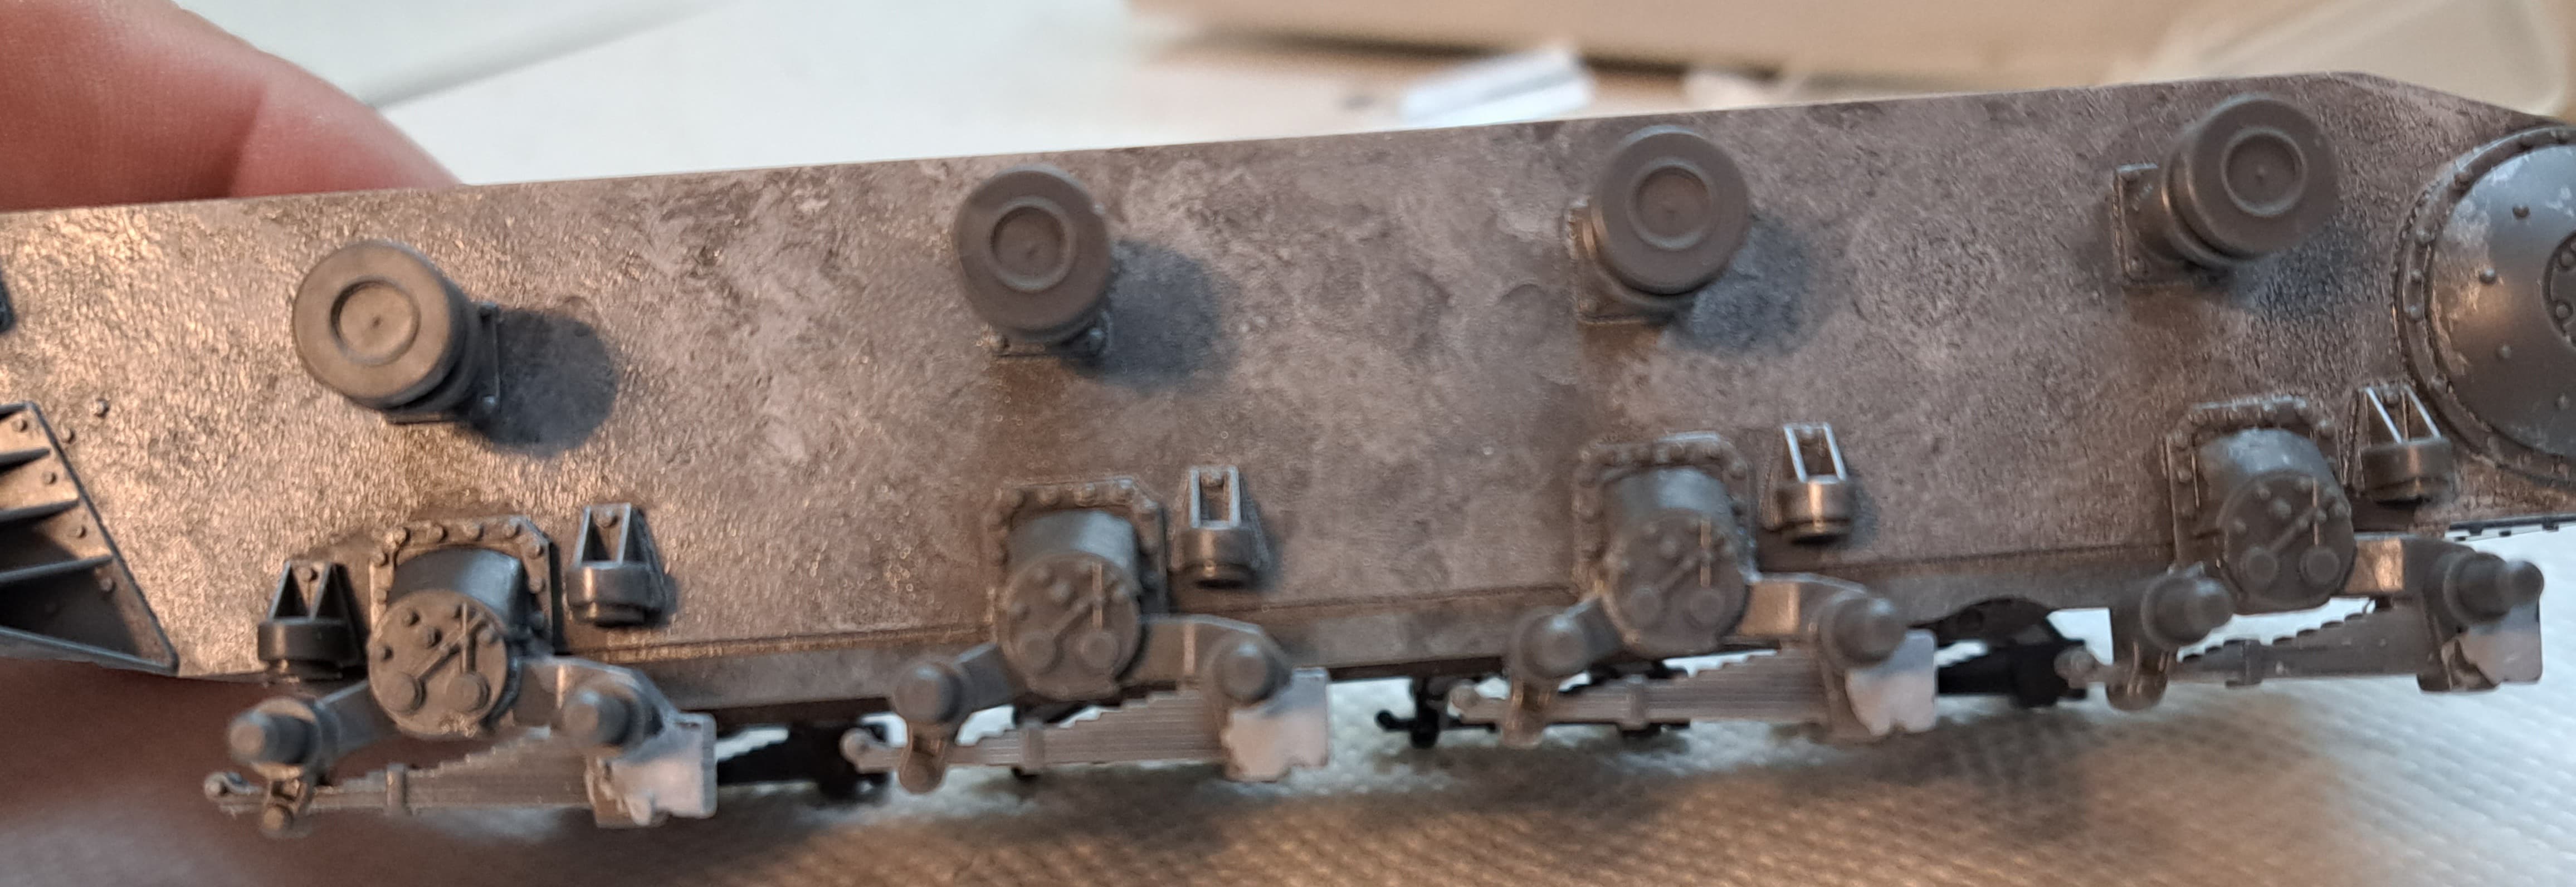
Step 8 Wheels, Idlers & Sprockets
As mentioned above not happy with the Tamiya wheels.
Added gray putty welds to each wheel.
Step 9 Install Running Gear
6 Likes
Step 10 - More Tracks - skipped as aftermarket will be used.
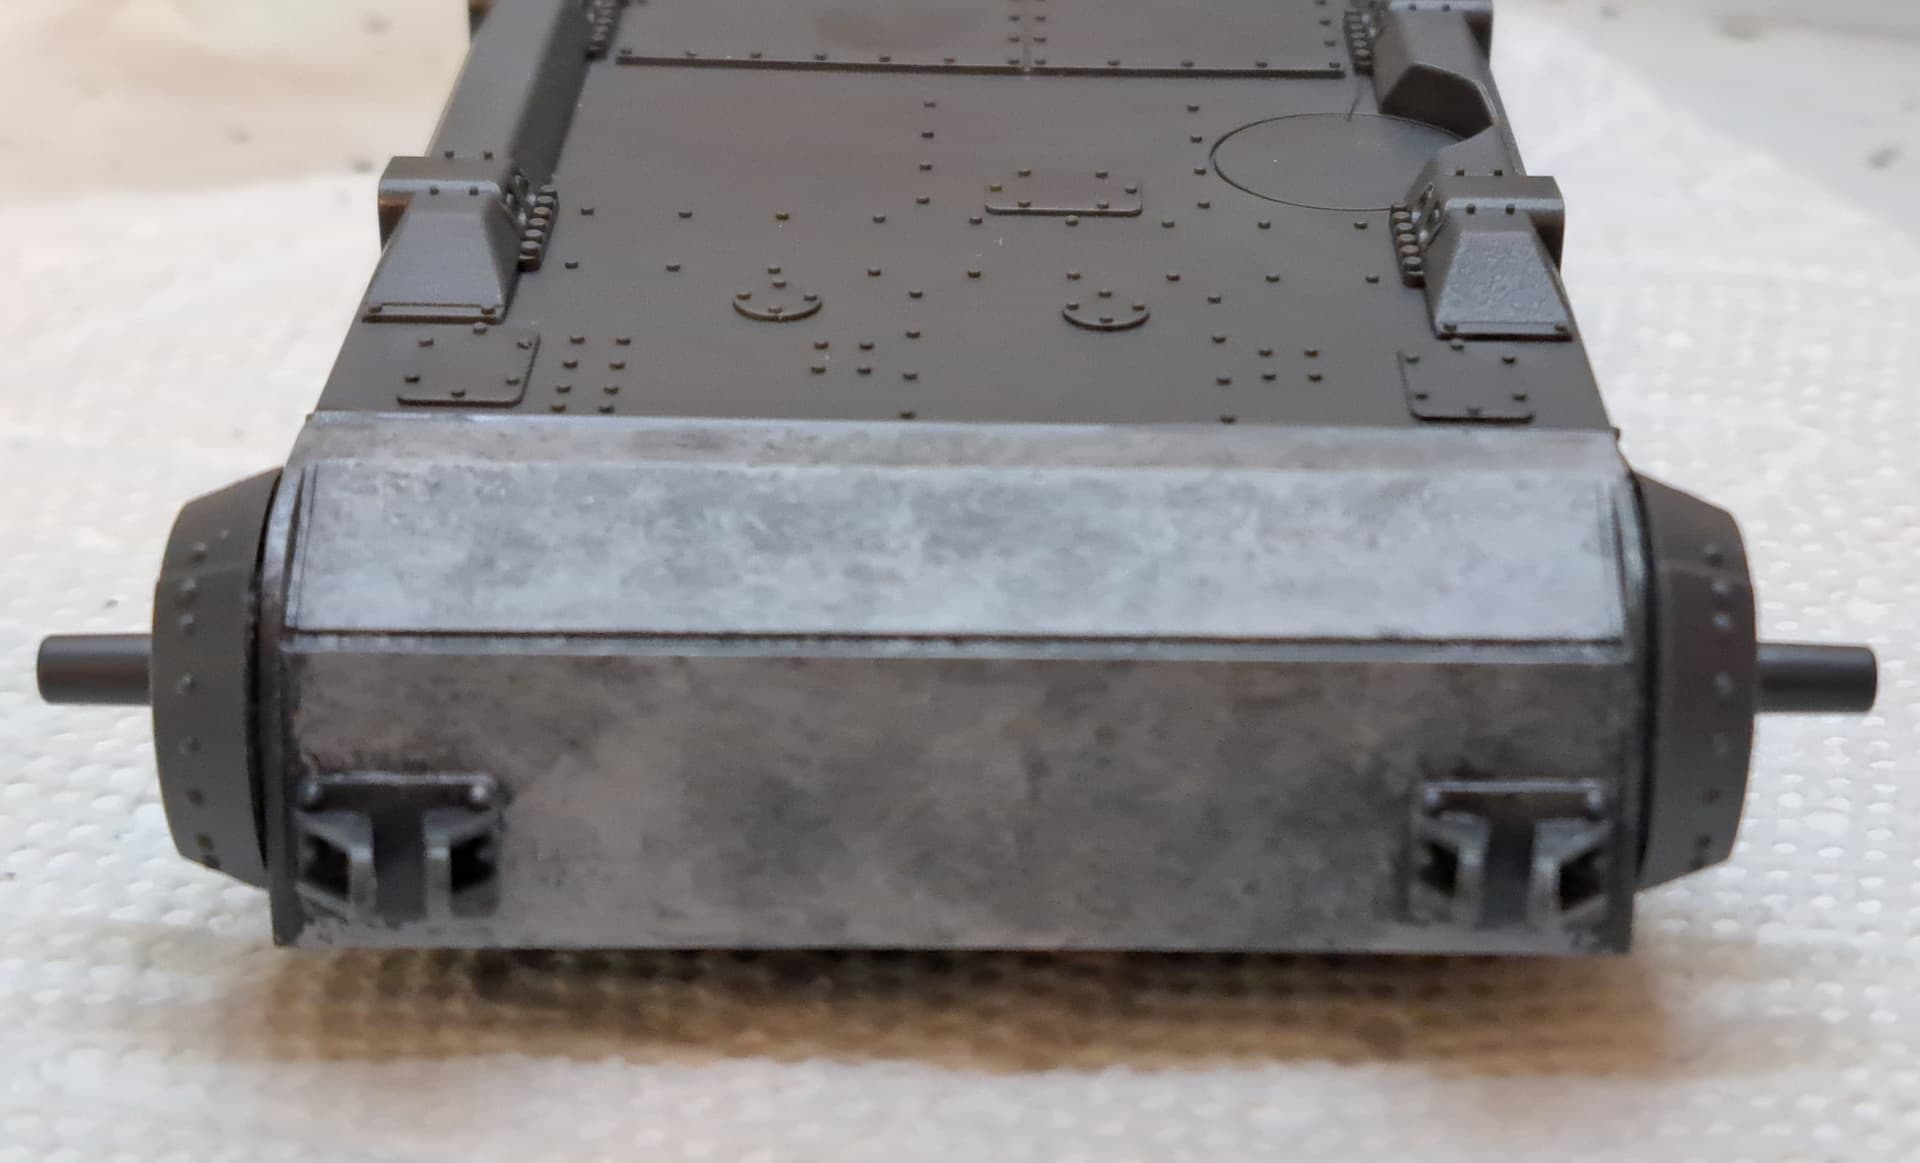
Step 11 - Bow Plate
Click - perfect fit. Finally something in this kit that looks and models like it’s from the 2020’s instead of the 1990’s.
When I first saw this reivew it seemed overly harsh. Tamiya #35374 Pz IV F - Best of the 1990’s by Bruce the Modeling Noob After eleven steps into the model kit, it seems about right.
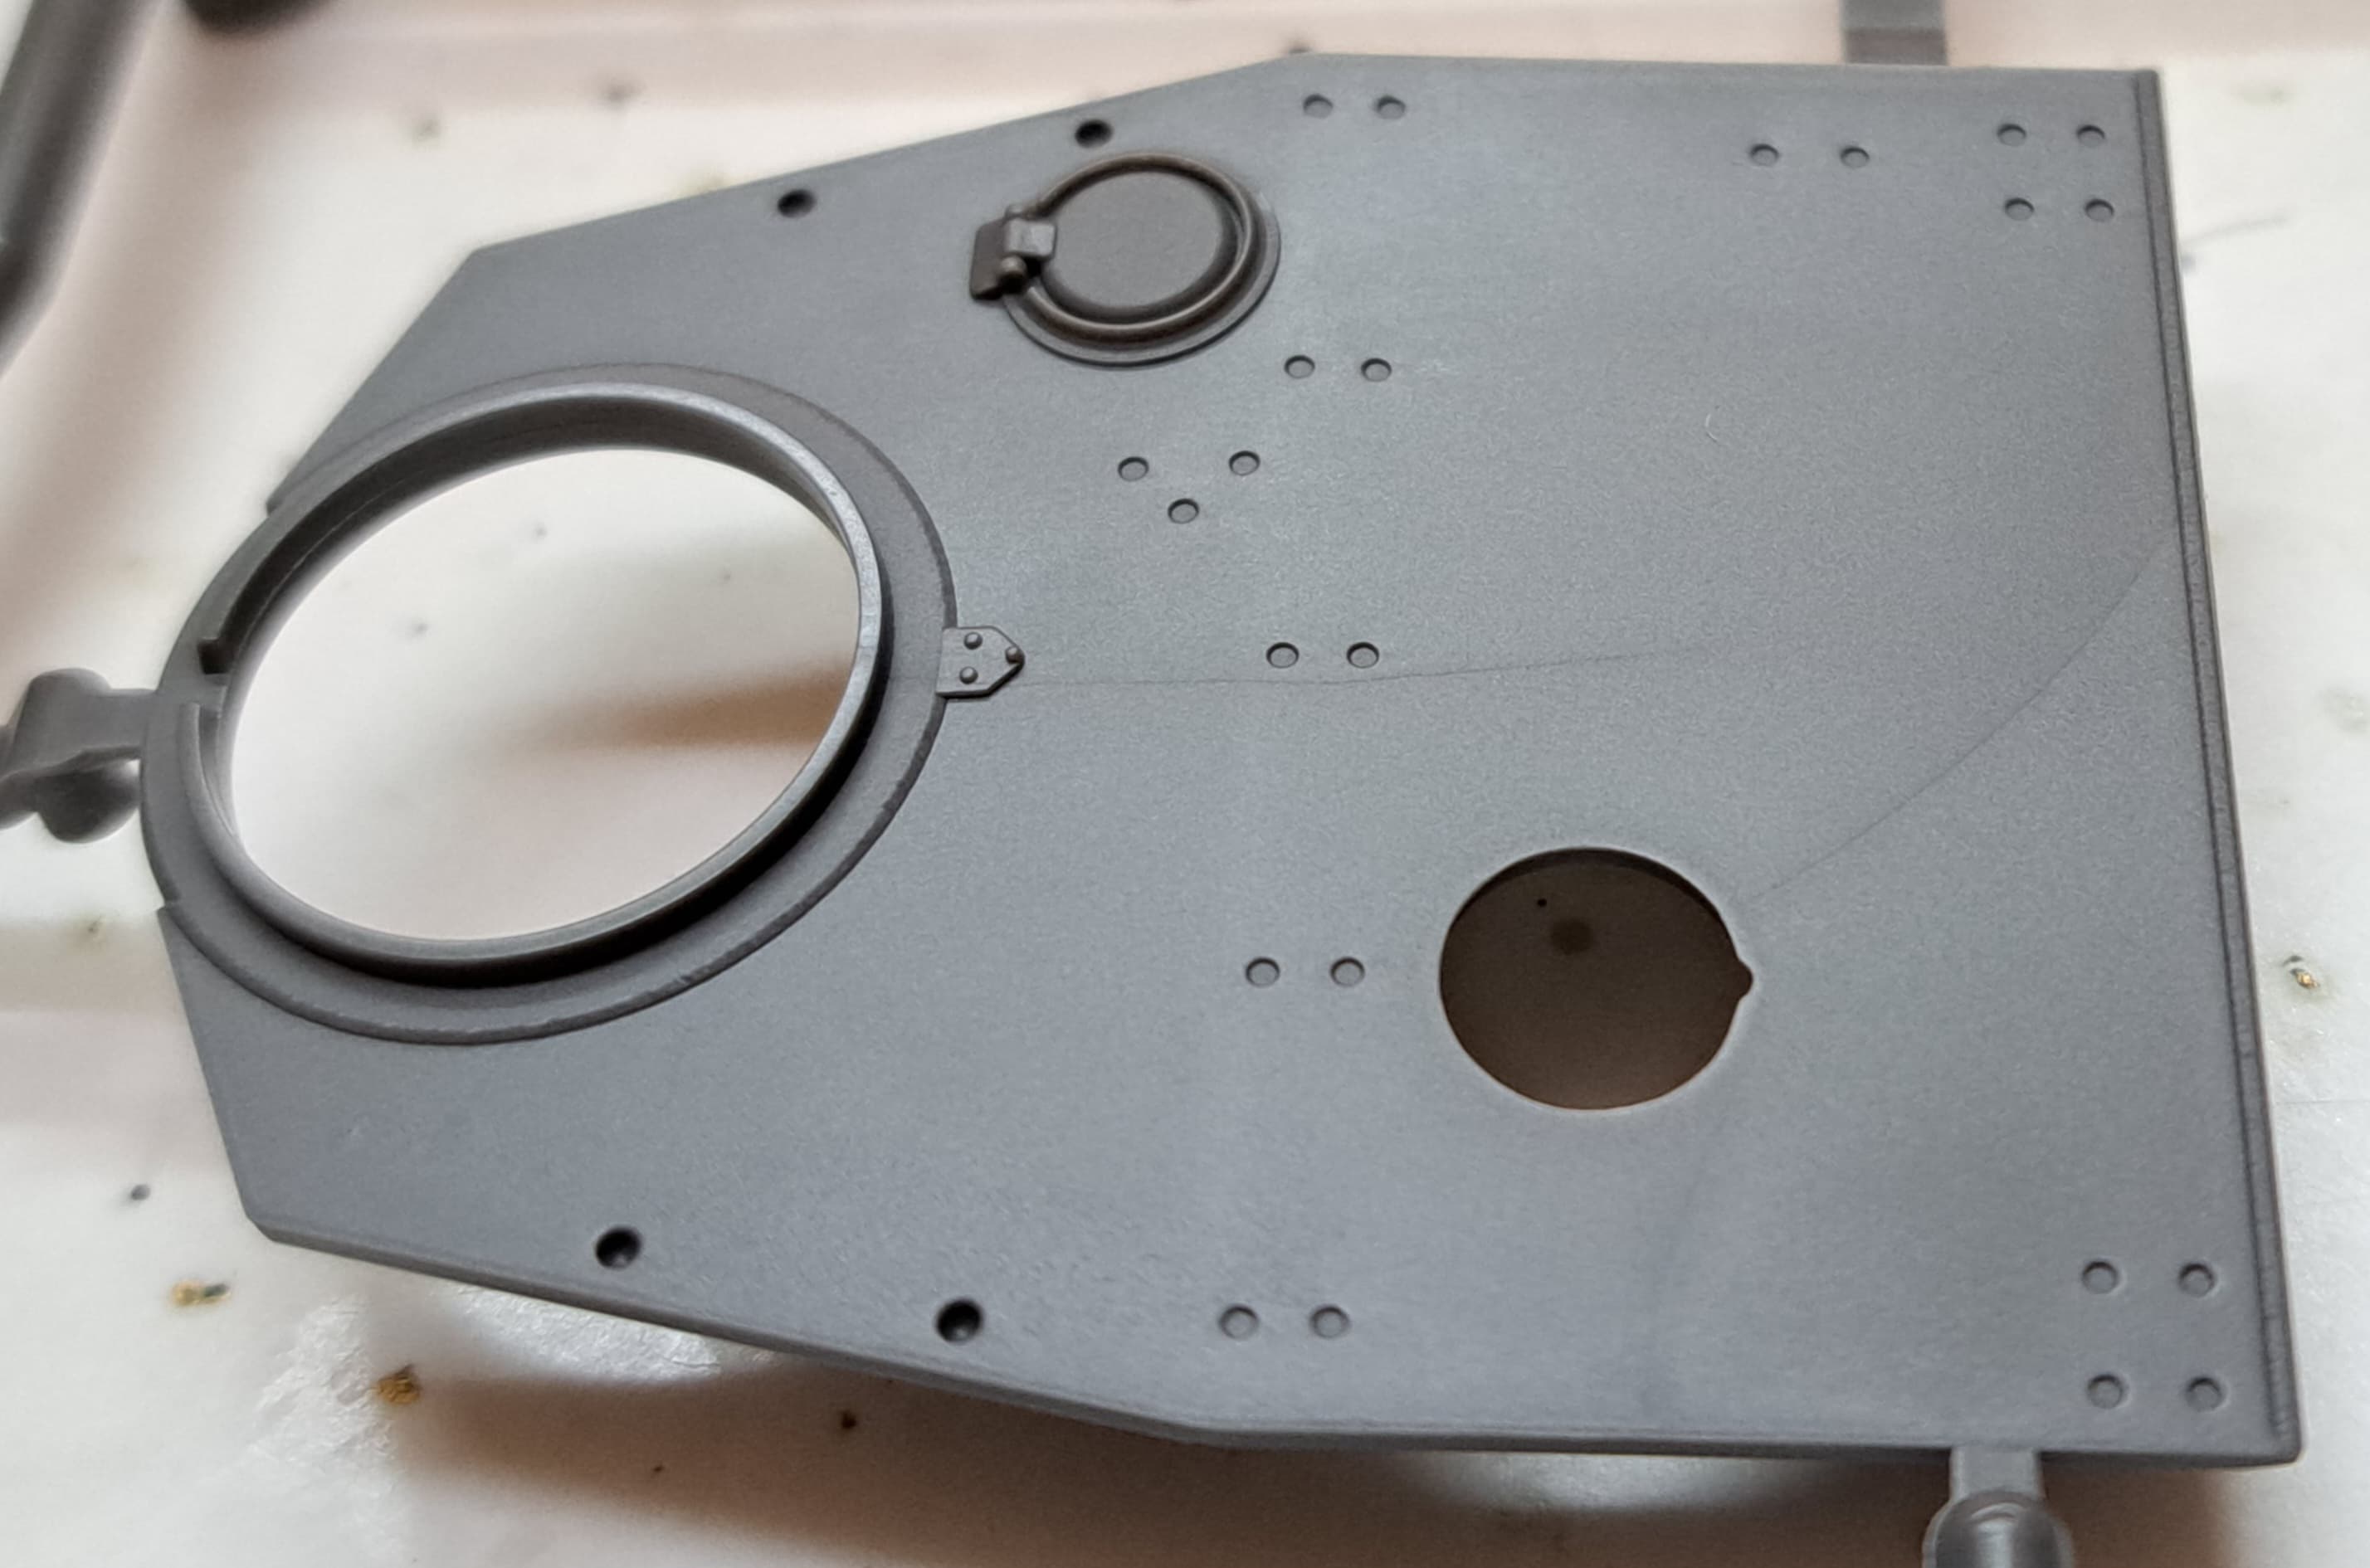
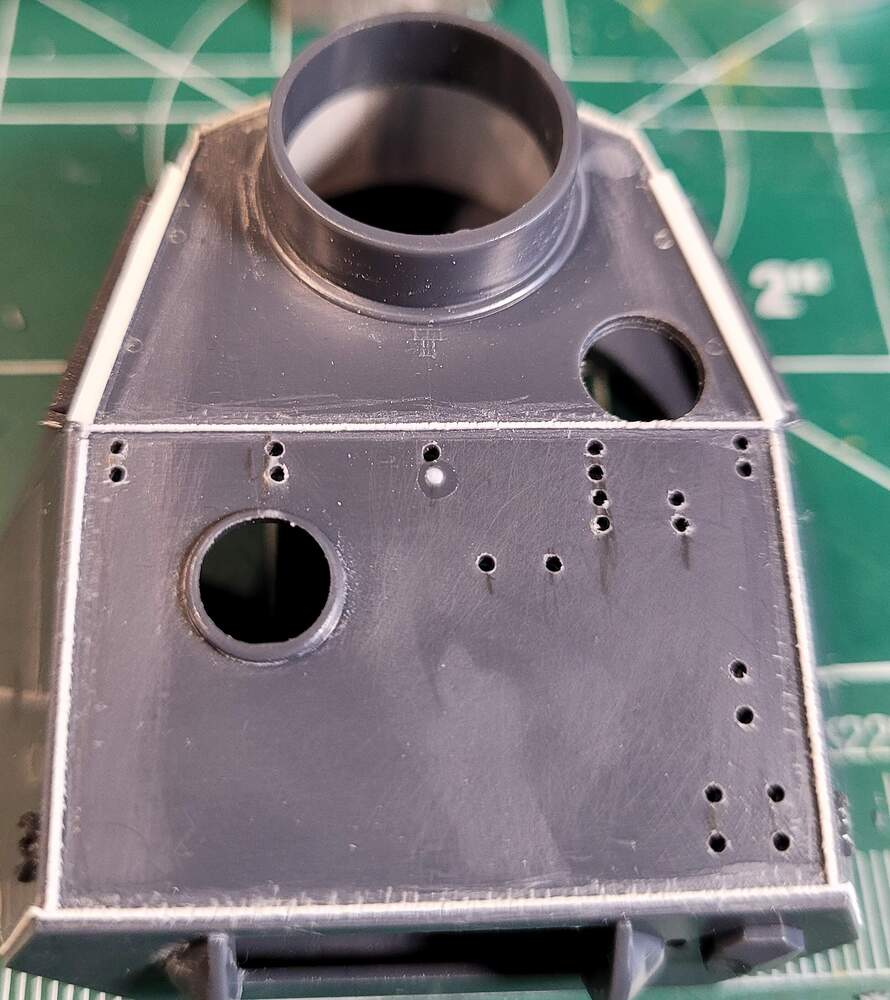
Step 12 - Upper Hull
To be perfectly blunt, this was the make or break step for this kit as I’m pretty annoyed with it. There already a Dragon Pz IV F on my display shelf and this model started to feel like a waste of time. There’s always a space on the shelf of shame for unfun kits in Wade’s World.
However, that wasn’t to be as in step 12 we finally get to that Tamiya magic I paid $50+ for in 2020. The upper hull isn’t a rehash its a fresh take by Tamiya. Check out the triangle fender support on the part on the top right (B6). That’s impressive as those parts are normally separate and usually in PE. They usually look too thin for my tastes.
Parts are well engineered and need minimal clean up. However they do need to be cleaned up for precise fit.
The tabs line up with precision accuracy. This isn’t an excise in dealing with a stressful Dragon kit hoping to avoid a land mine, it’s an enjoyable step.
Outstandingly fit. Finally some Tamiya Magic with this kit!
Step 13 - Bow MG
WTF?! - the bow MG 34 isn’t slide molded. Someone tell Tamiya it’s the 2020’s, the not 1990’s. It’s a new molded part but really C76 should have been slide molded with an opened barrel end.
Aber to the rescue…again!
The ball mount is very nice and also moveable.
9 Likes
Your frustrations are also my frustrations and I rarely buy tamiya anymore.
3 Likes
I hear you Dan, the good news is once the lower hull is wrapped one “time-travels” ~30 years forward into the present!
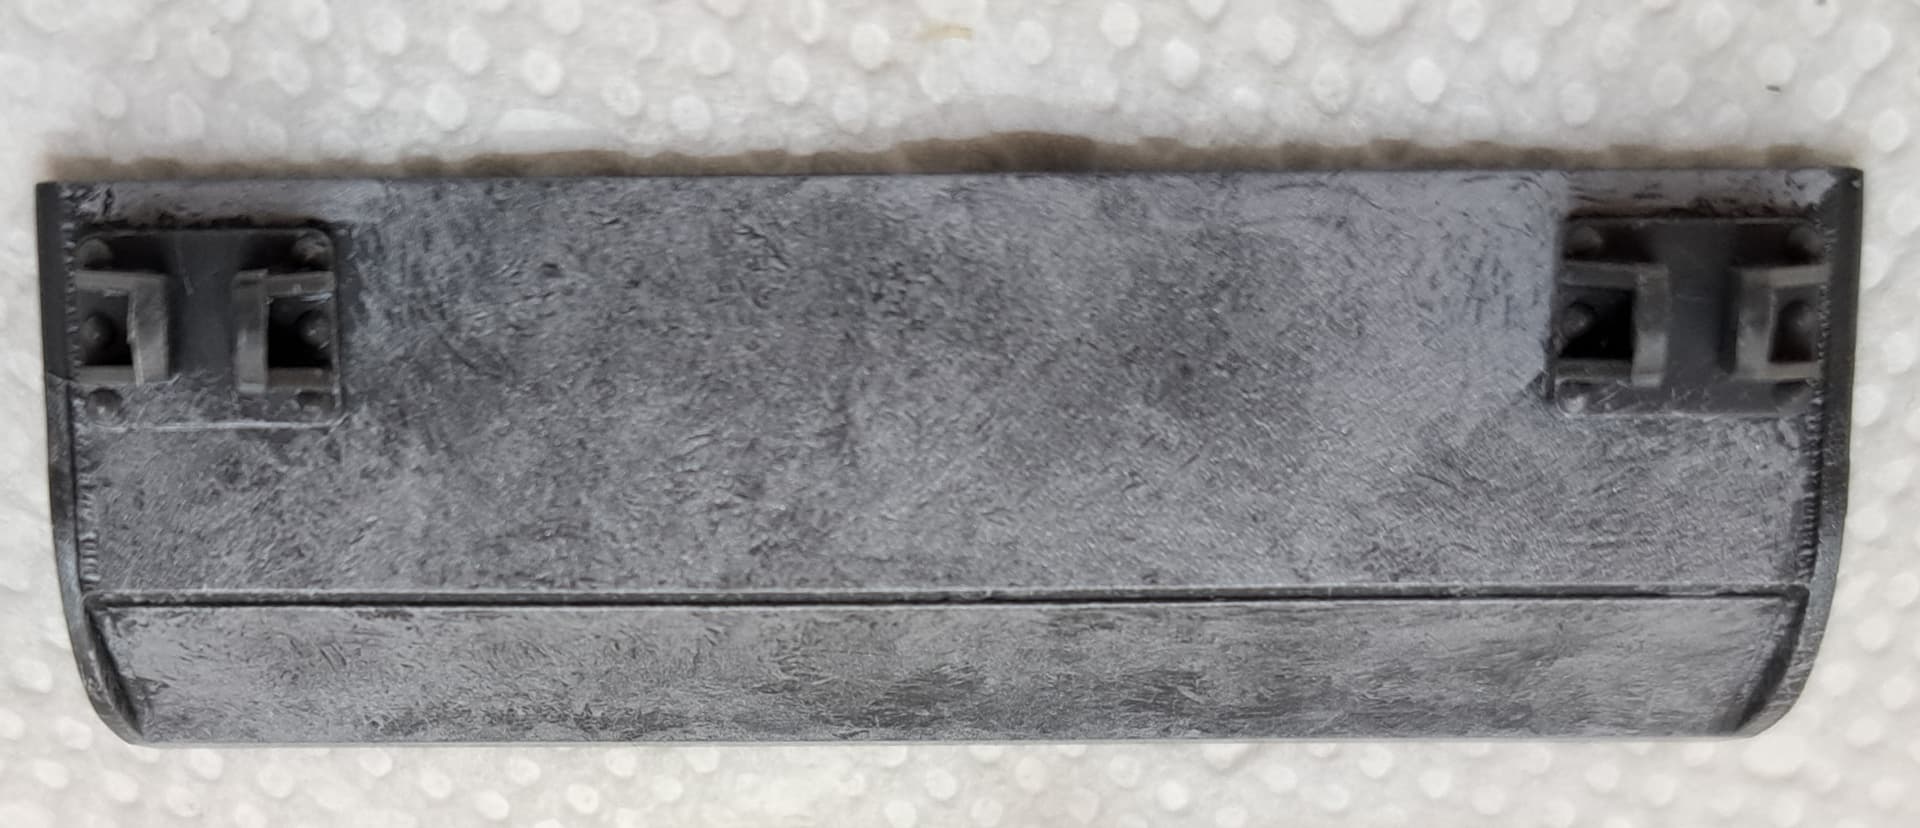
Step 14 - Front Fenders
Fenders clean up and fit perfect. The location tabs are exactly on the mark. The rear sides and end plate also fit perfectly. The only fit issue that might occur would be if the parts aren’t deburred and cleaned up.
These steps were a joy to build.
Step 15 - Air Ducts
I got carried away having fun building the upper hull so missed taking pictures of several steps. It’s light years better than the lower hull. Typically parts like B15 & B16 can be “challenging” to install in some Pz IV kits. These literally clicked into place on test fit.
Step 16 - Rear Fenders
Rinse repeat! Click!
Step 17 - part 1
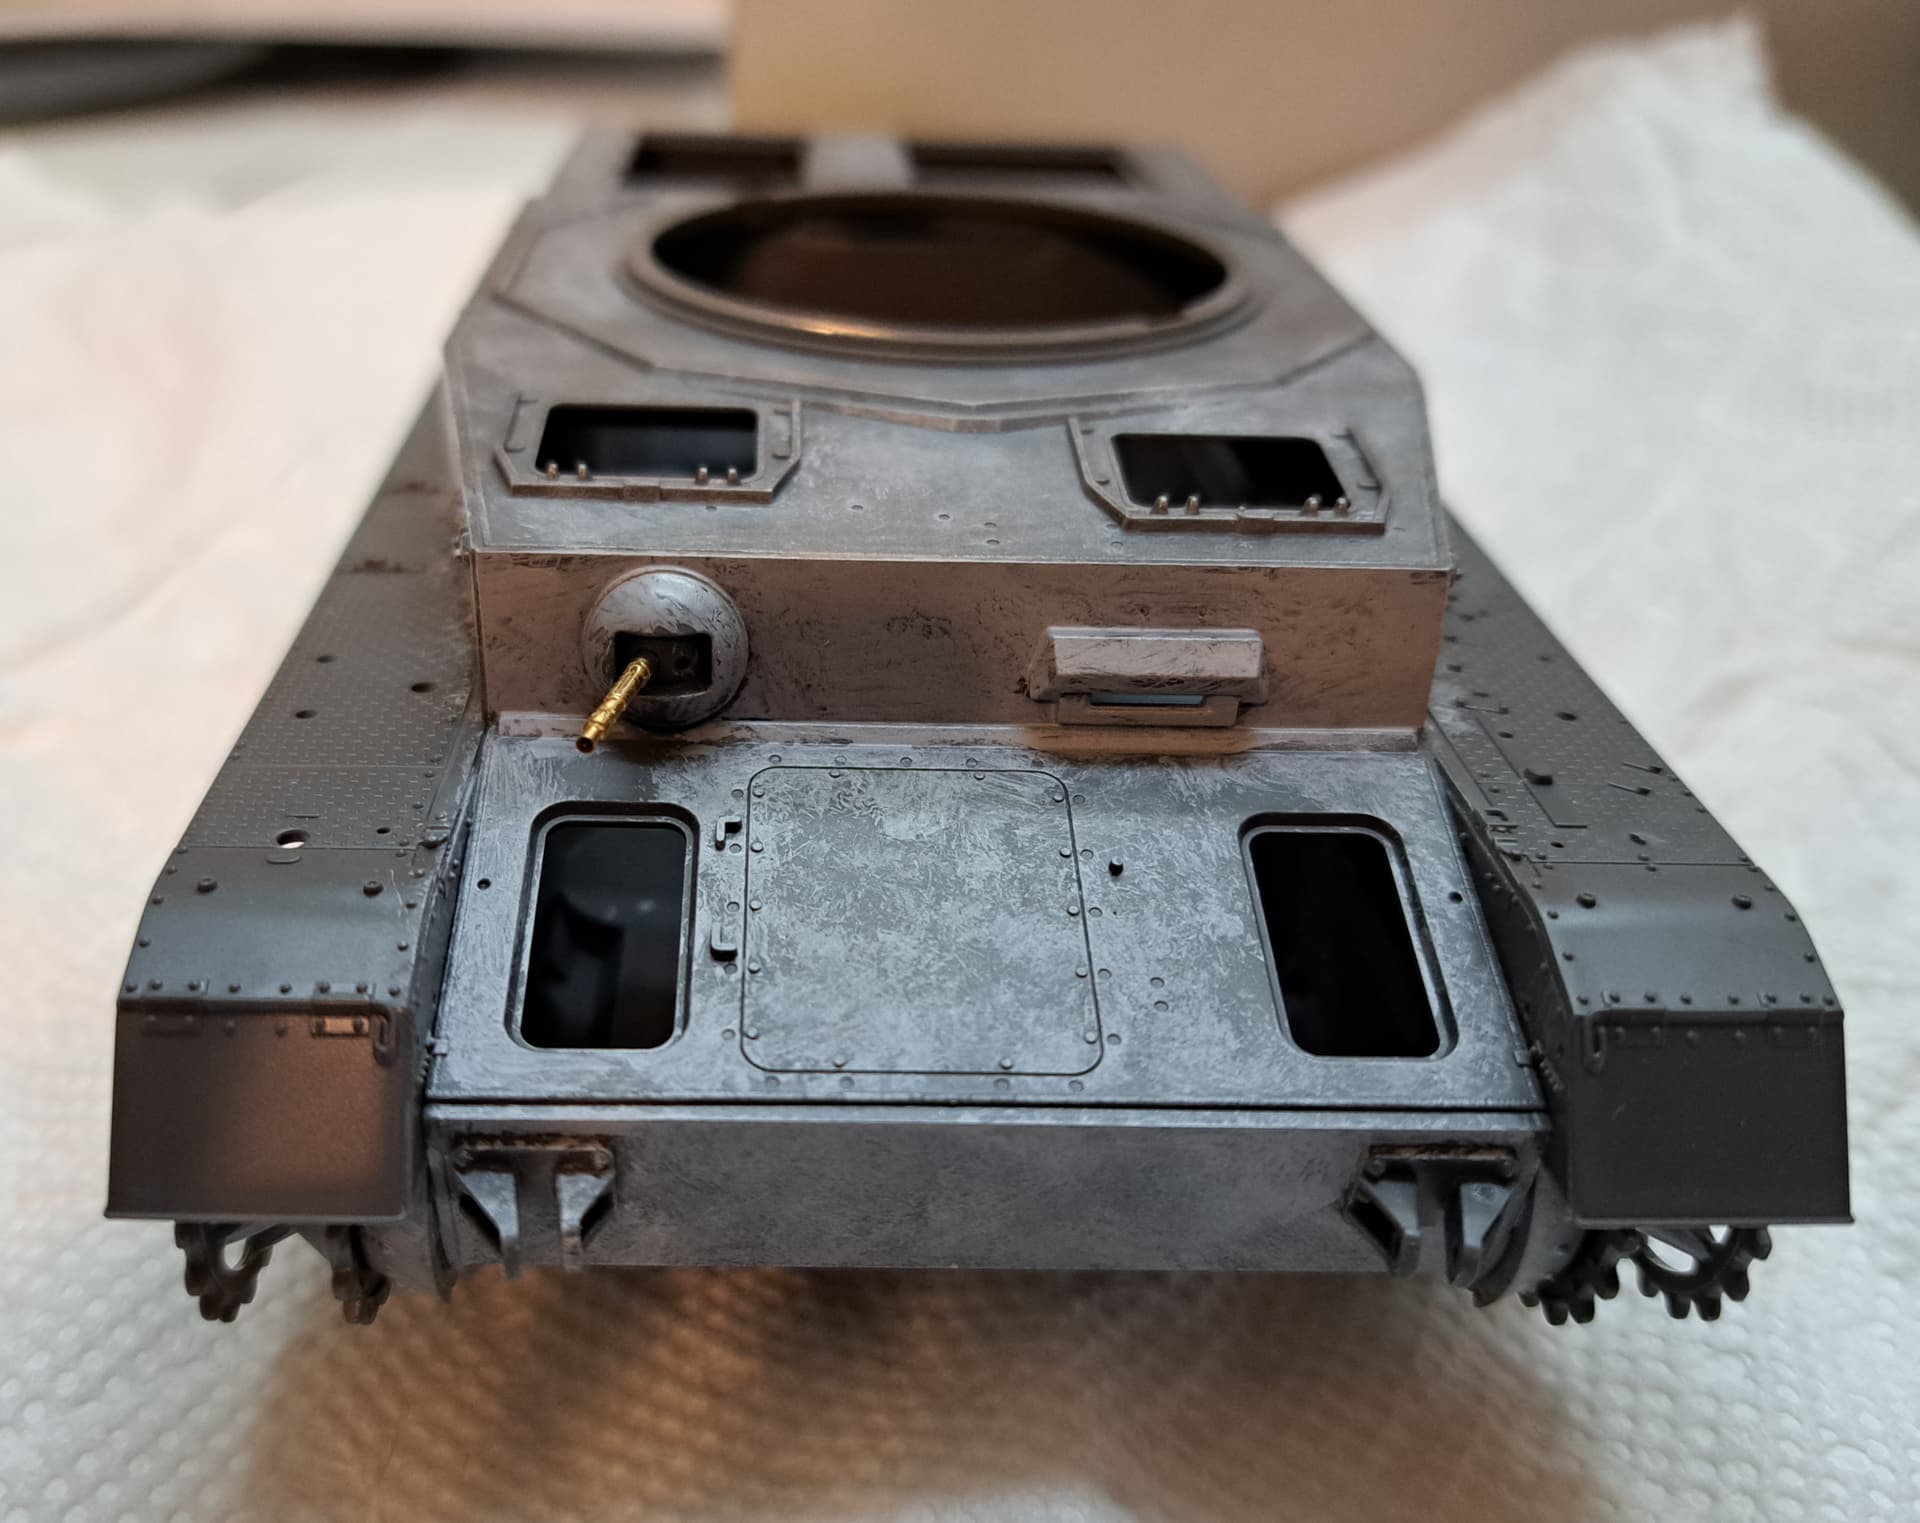
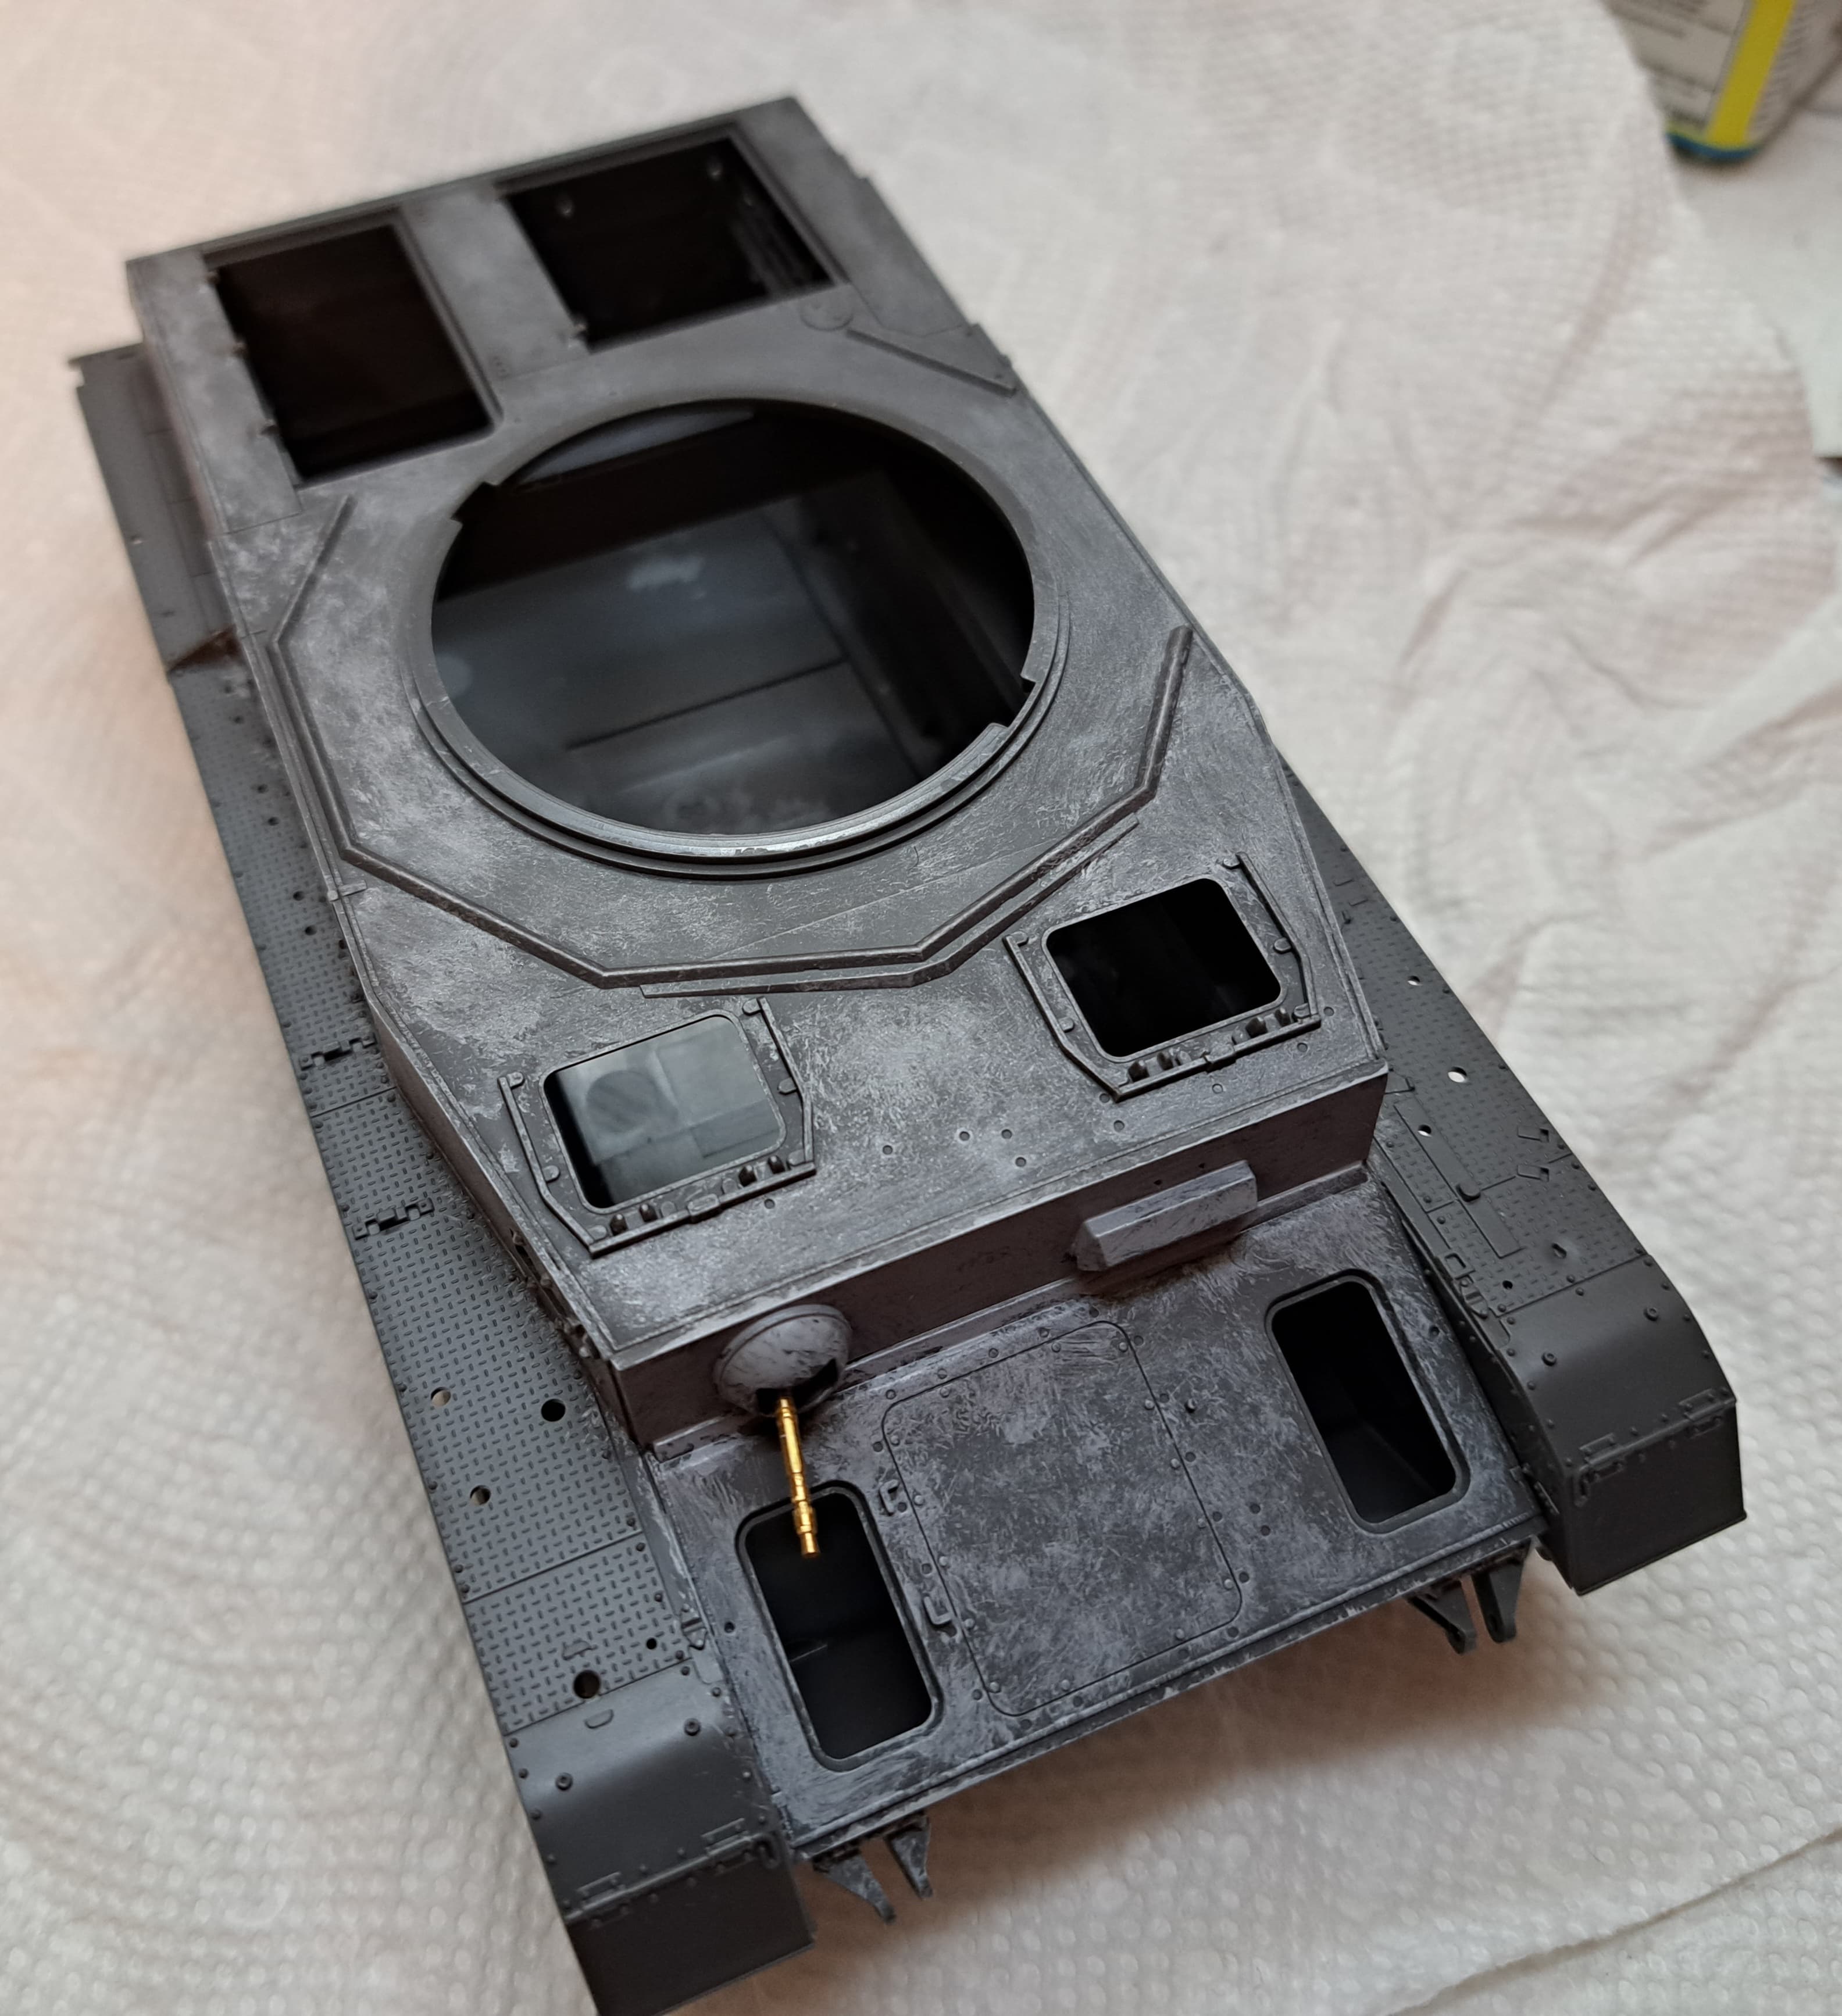
With the on the road model build drawing to a close, decided to test fit the upper and lower hulls.
Once again, CLICK!
Amazing perfect fit. Decided to glue halves together. Added light armor texture.
8 Likes
That link failed for me with a ‘server not found’ error; a bit of reconstruction and this one worked.
2 Likes
Looking really good with the hull. You going full “Button Up” or you leaving hatches open?
2 Likes
Thank you! Definitely buttoned up.
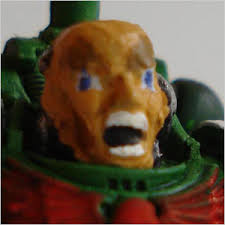
Sadly my figure painting is atrocious and the crew would look like this…or worse.
7 Likes