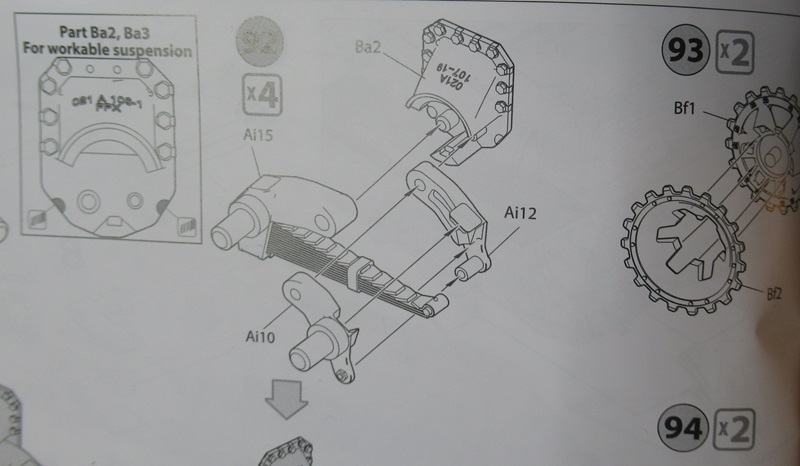
the final drives are made up from 26 components a side, I had to remove the ammo bin 1 mm across to get the side to fit, the seat back detached and the gunners seat fell out.
7 Likes
26 pieces for each final drive?? That’s insane. I thought 13-14 pieces for my Dragon DAK Panzer IV E bogie assemblies was crazy.
2 Likes
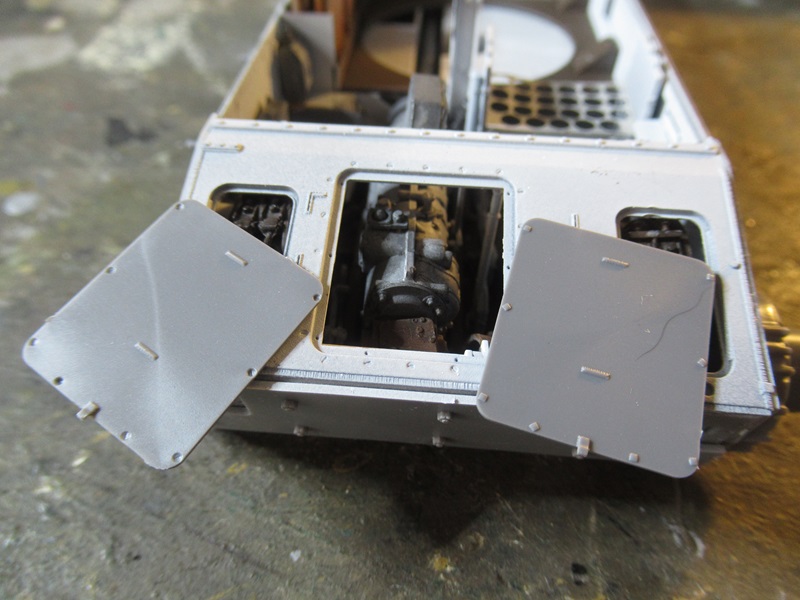
The front plates added.
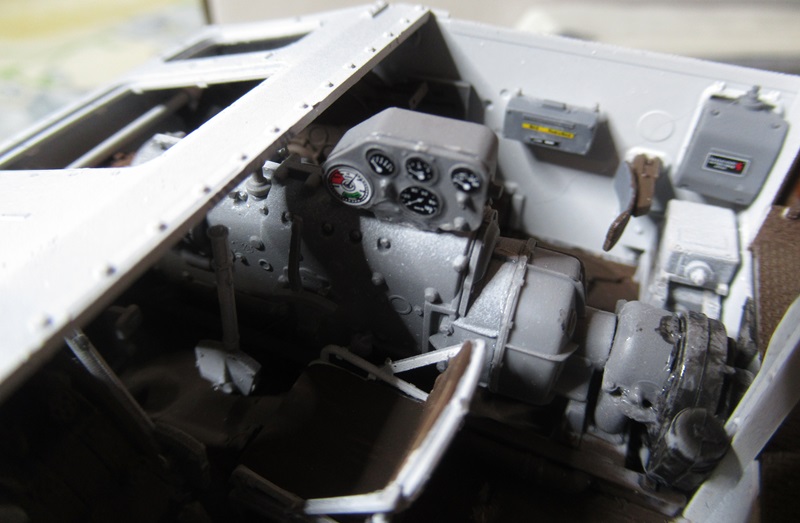
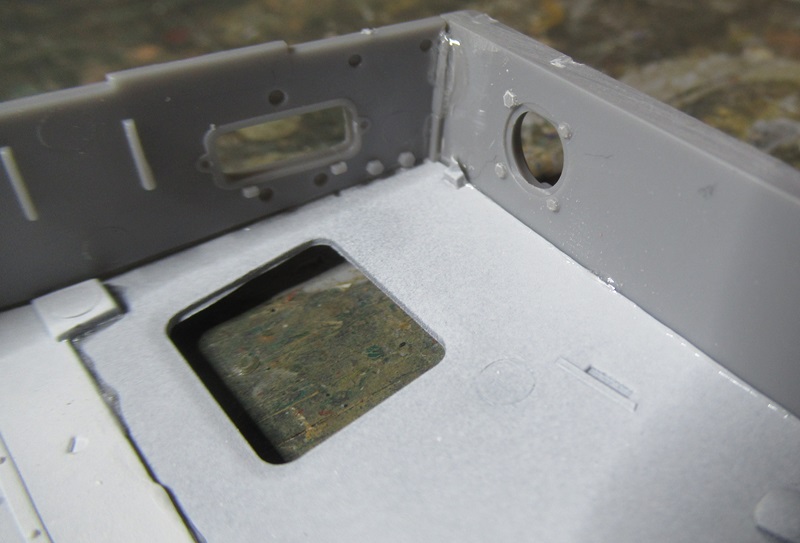
noted this disparity with the fit, need to edge that rearward or it will come back to bite me.

the instructions show the mount position for the instrument panel to far forward so it fouls the front top plate trailing edge, leading to the disparity, if you build this learn from my mistakes.
I’ve moved the instrument back dislodging that decal, fixed now, now to edge that top plate back 1MM.
7 Likes
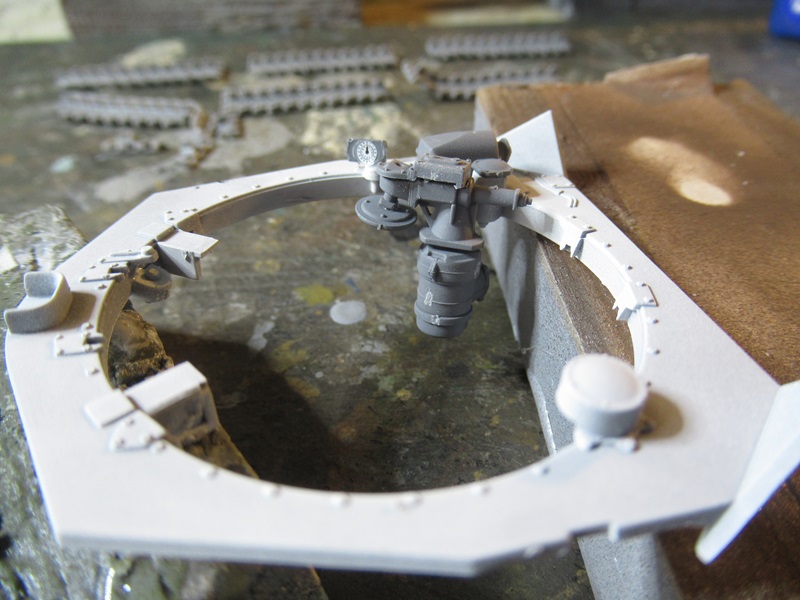
going far ahead of the assembly sequence, fitted up the five pieces of the forward upper hull.
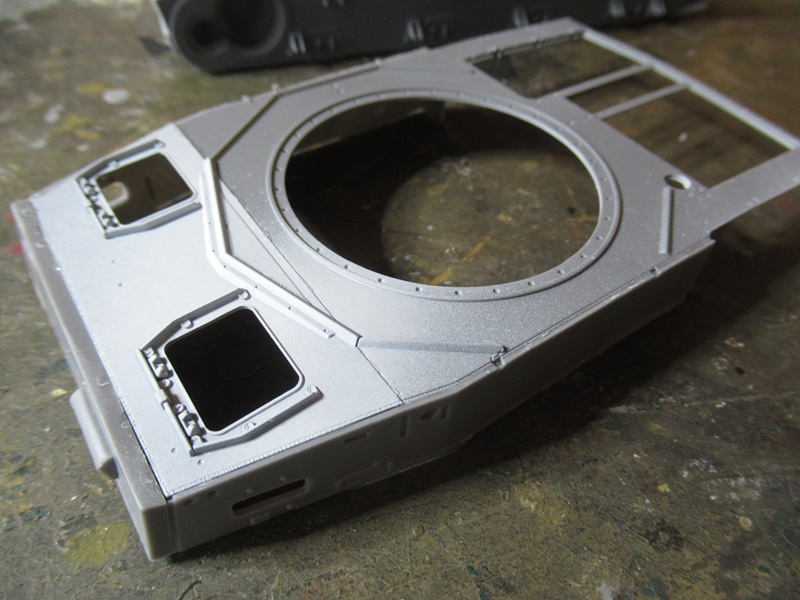
there is a mysterious gap at the front left corner that shouldn’t be there, it’s fitted flush inside.
with the hull dry, time for a test fit, the glacis plate lies forward of that rivet line.
5 Likes
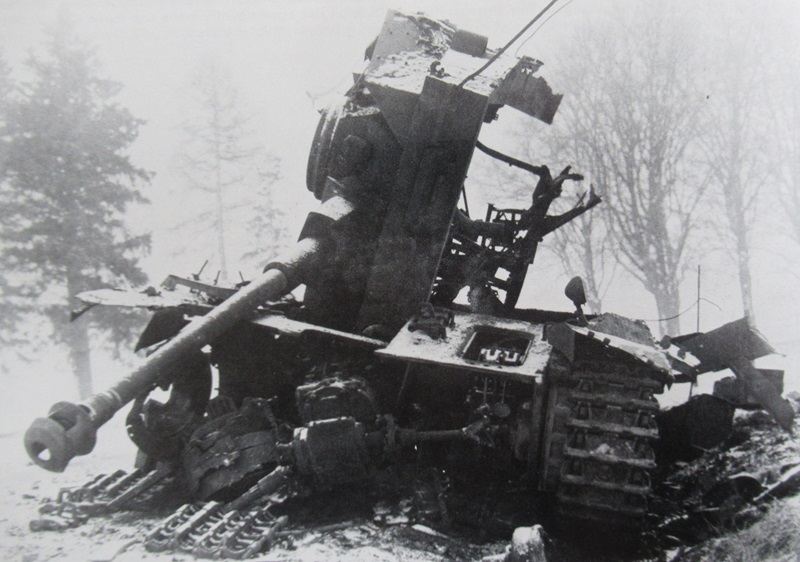
looking at a real one, this is a Kampgruppe Peiper Pz4 knocked out in the Bulge, flush fitted glacis plate.
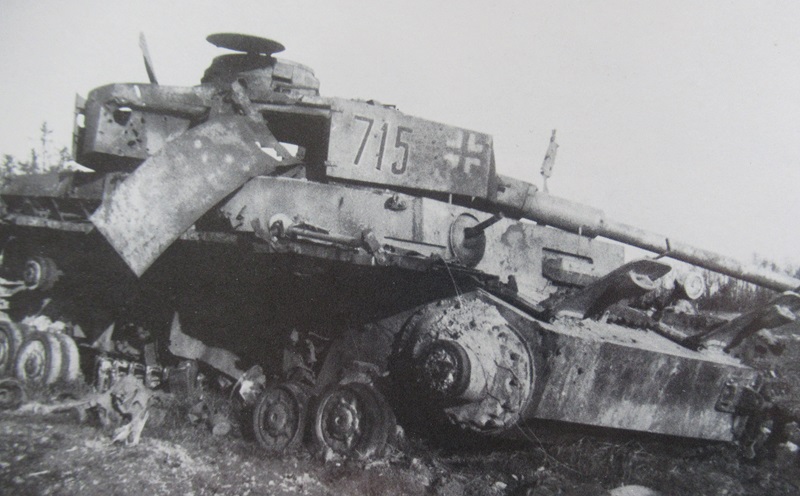
this Pz4 destroyed in the Bulge, the original caption suggested it was destroyed by Paratroops, but a little honesty and less propaganda to buy war Bonds, and the truth would show that it has blown out, not in, and not by a hand held Bazooka, more than likely blown up by it’s crew after being damaged or running out of Petrol. Even so, a nice flush join at the glacis to side armour.
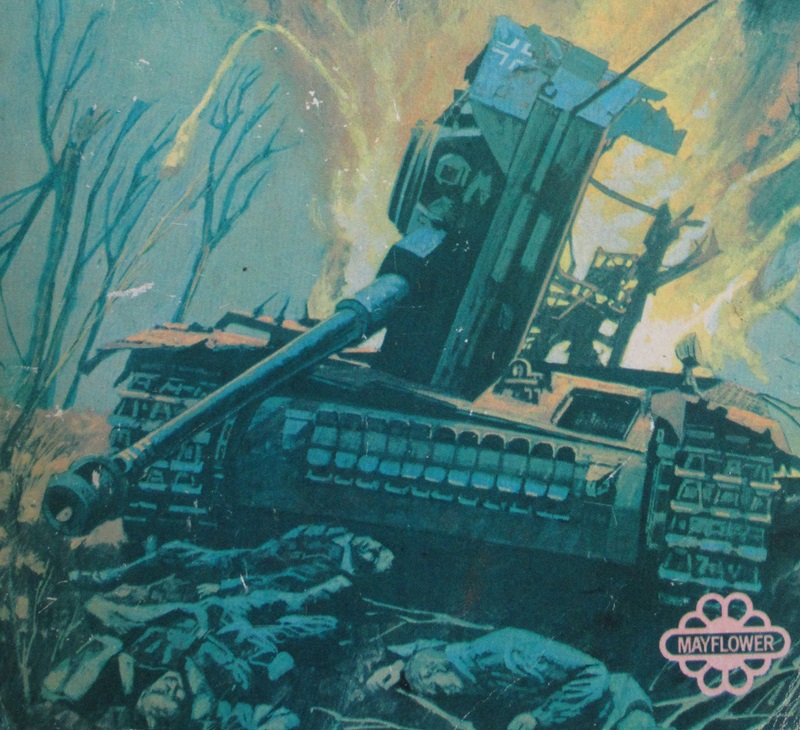
As an interesting aside, this artists impression of the above photo, used on the front cover of John Tolands book, the last 100 days 1968, the artist has painted in the front plate and added dead crew.
5 Likes

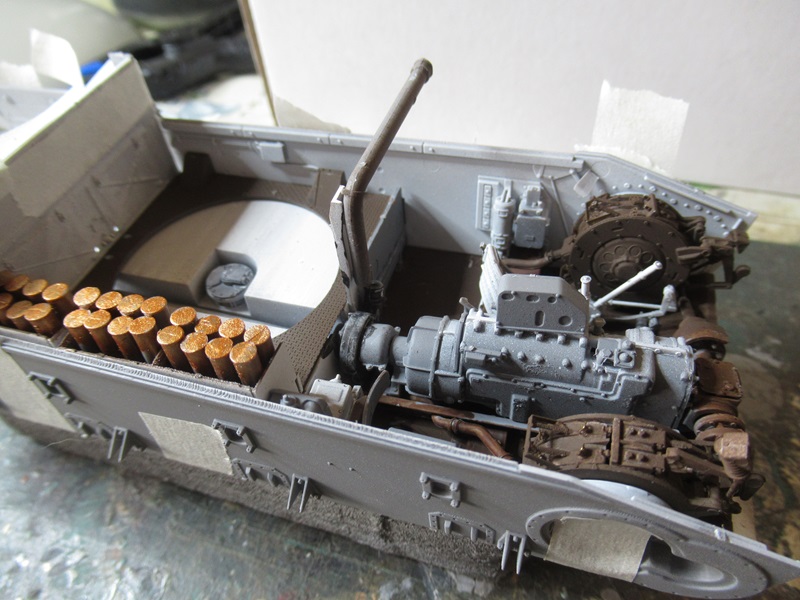
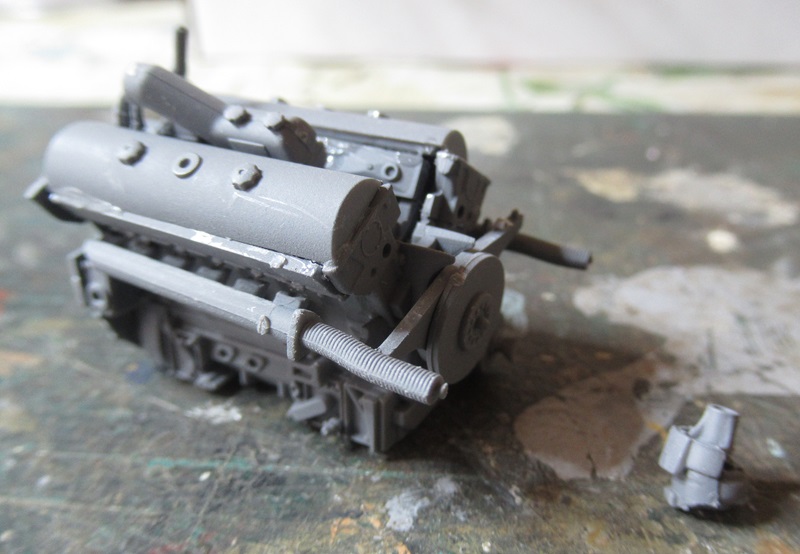
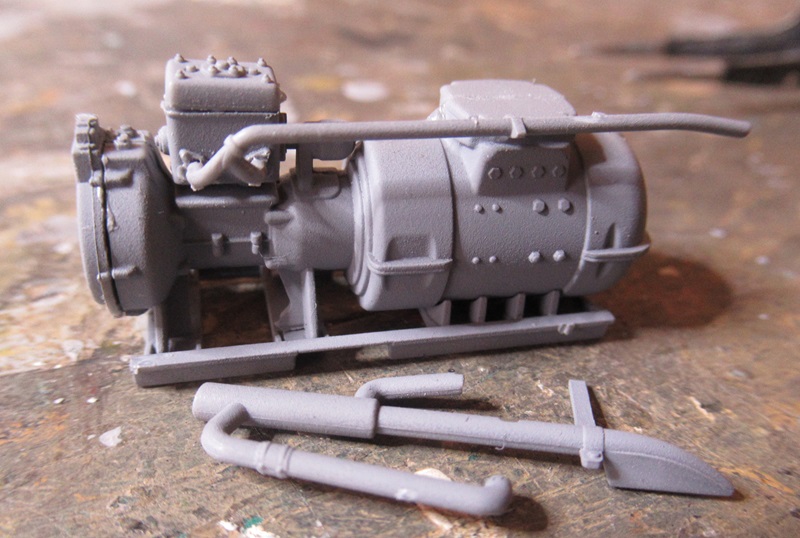
Here is the engine part way through assembly, they are 52 parts for it, not including decals and the engine bay components that don’t attach directly to the engine block, like cooling fan shrouds, fuel pump and some electrical boxs. the engine bay is tightly packed.
7 Likes
The more I watch of this one, the more I feel I should get a Pzr IV … Only one I have ever had was an Academy one which was terrible and that’s being very nice … Looks like miniart do a few nice versions …
4 Likes
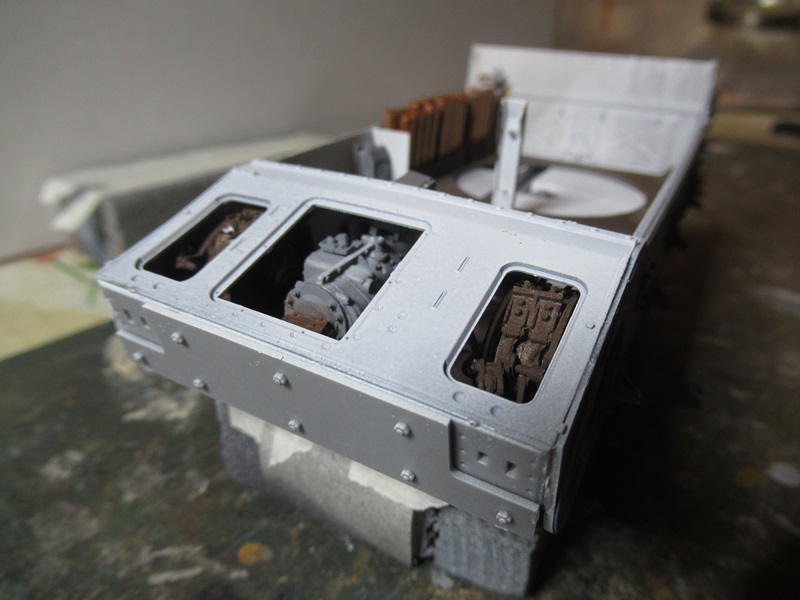
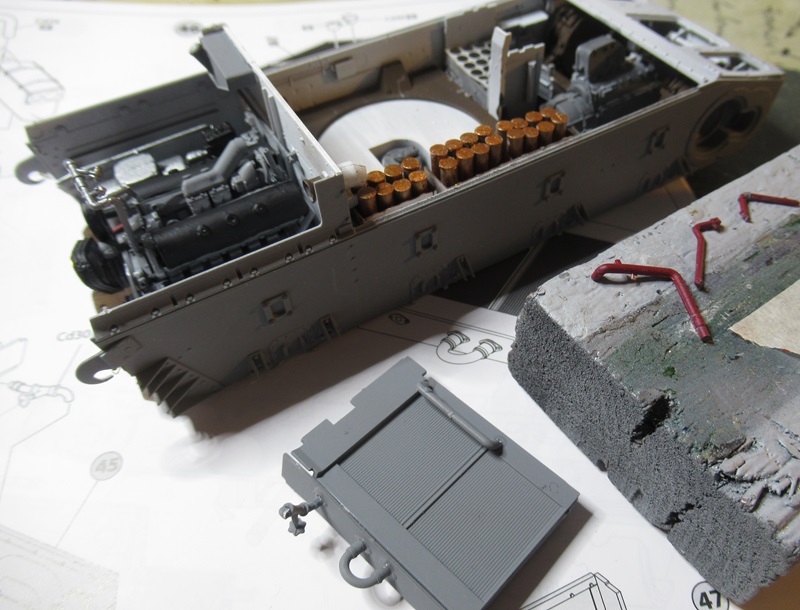
the engine fitted inside the bay.
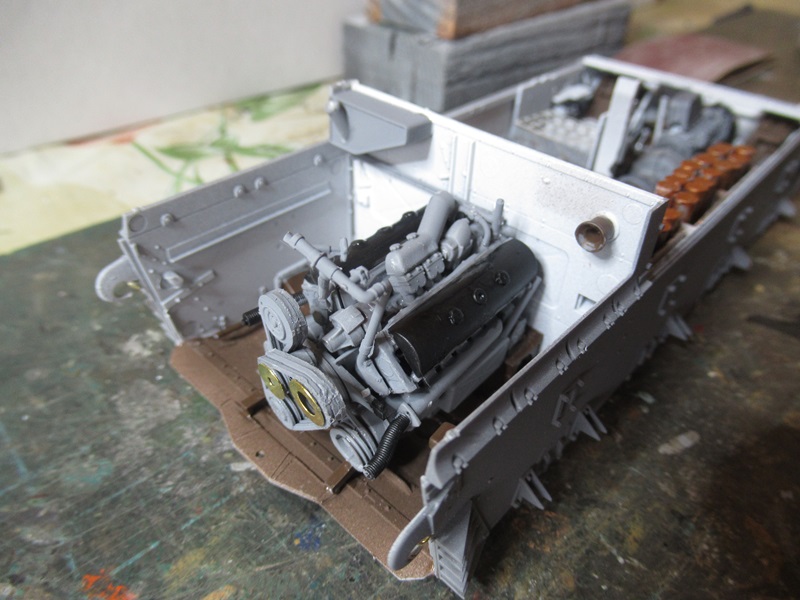
next to the engine is this neat little compressor that sits to it’s left, need to airbrush that metal and matt black.
with those in, the radiator fan housing and some red pipework to go in there.
7 Likes
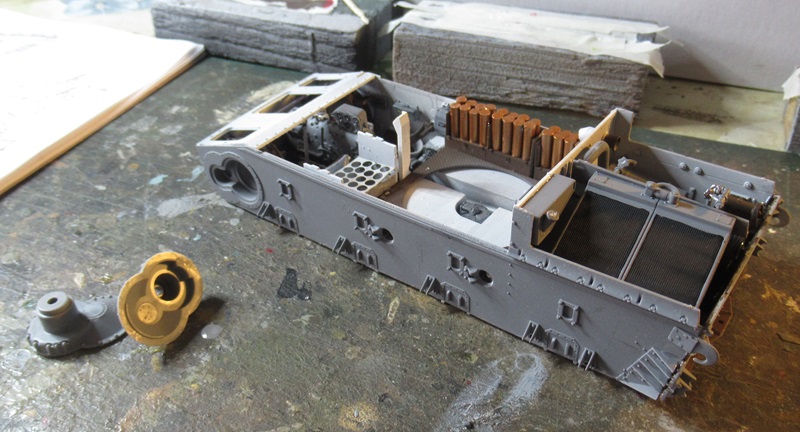
The radiator is in, that odd angle looks ungainly, but I guess that I’m used to radiators and fan housings being level.

the rear plate needed fettling to get it to line up correctly, even so, the flanges on the rear idler mounts need filler to get them to look solid. I would have prefered to see them cast in one piece like the real, instead of this two piece lark. The armour is scale thickness, unlike a Tamiya kit, the precision fit you get there is due to unrealistic plastic thickness.

next up the final drives external sprocket mounts and some suspension parts.
7 Likes
Hull inverted for some underside parts fit.
these look like some sort of protection for the suspension bogie mounts.
up the right way now, and a choice of gearbox access hatch.
bogies, not that complex actually, compared to some kit of this standard.
now those are on, Sprockets up next.

9 Likes
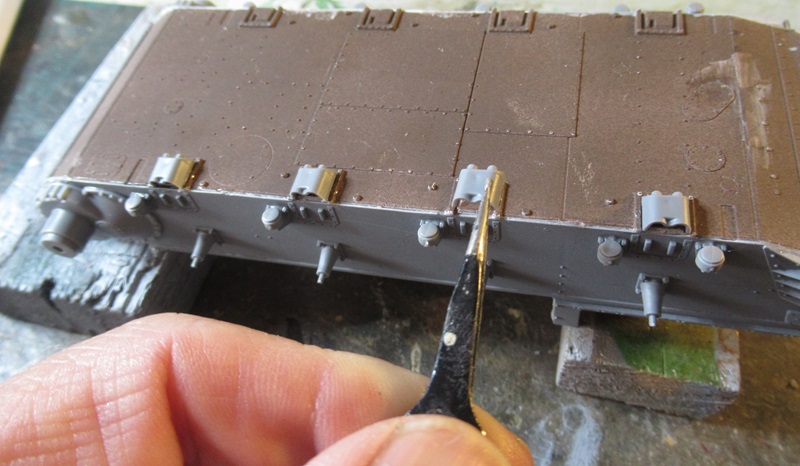
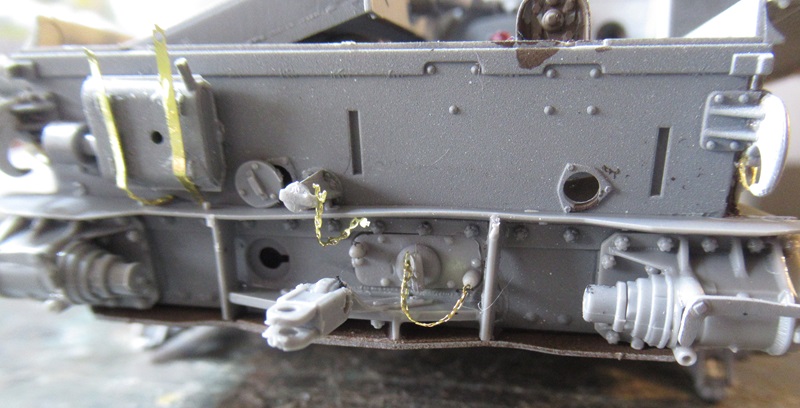
turning my attention to detailing the rear plate, the kit is so detailed that the builder is on a learning trip about the Panzer4, all these hull plugs aren’t just mouldings in a one piece hull plate, they actually plug an opening, it’s like a D&M course on the Panzer Four in miniature. The picture shows a cocktail stick with a small dot of bluetac and the hull plug going in.
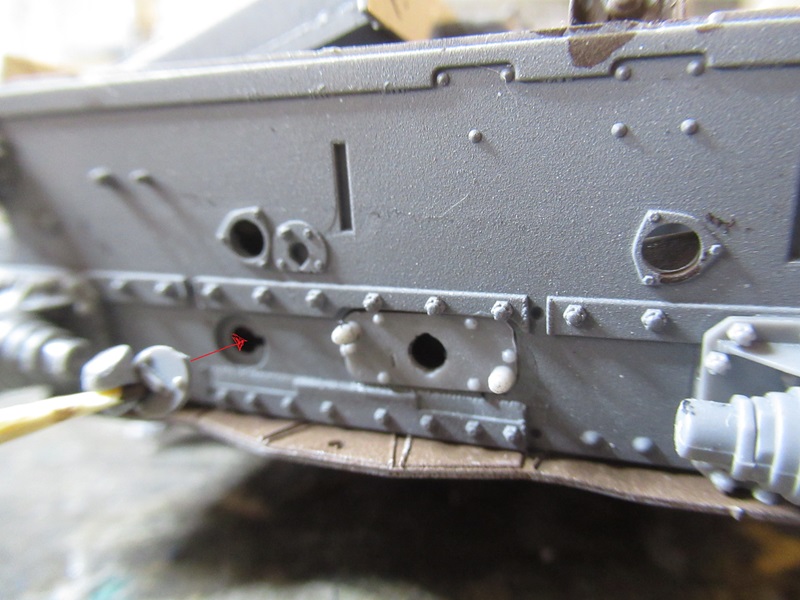
The flange fitted here is scale thickness, and has become bent slightly, so I bonded it one end first anchoring it in position, then when that was dry, repositioned the other end gluing it in as straight as I could get it. the same for the PE chains on the plugs, anchor one end, then bend into position. Same for the pe strips on the box on the left of the rear hull.
7 Likes
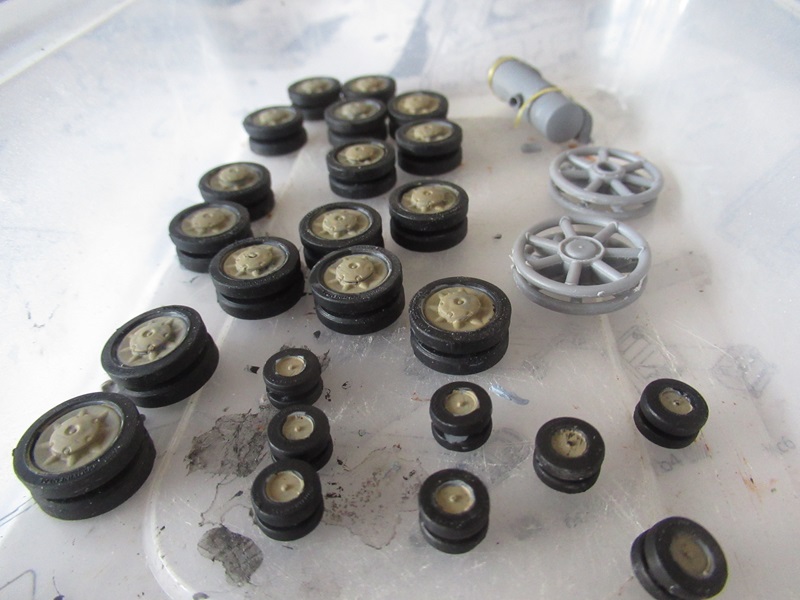
wheels and rollers take ages to paint in base colours, they’ll get a covering of Norman summer dust
Upper hull details next
6 Likes
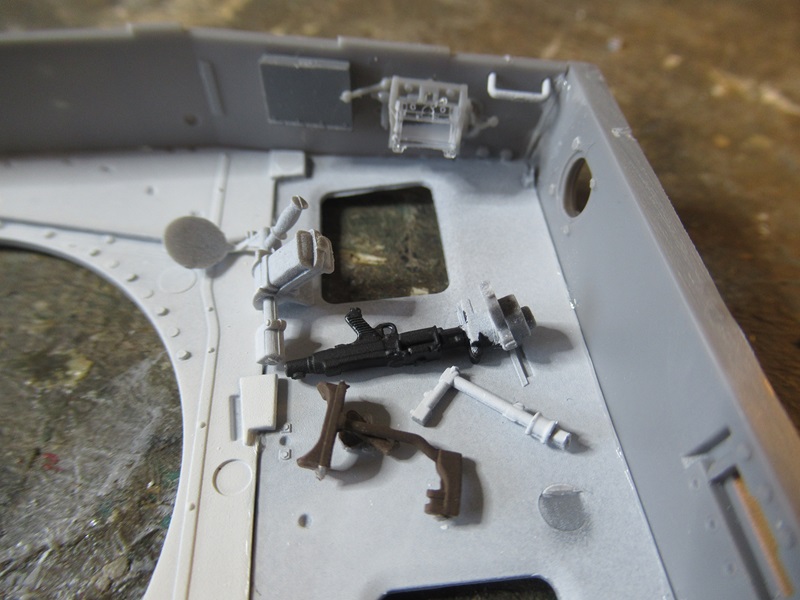
The hull gun is made up from these 7 parts, laid out ready for de seaming, that can’t go in till I’ve made the ball mount and re-sprayed the interior here white, after masking that vision block glass piece.
7 Likes

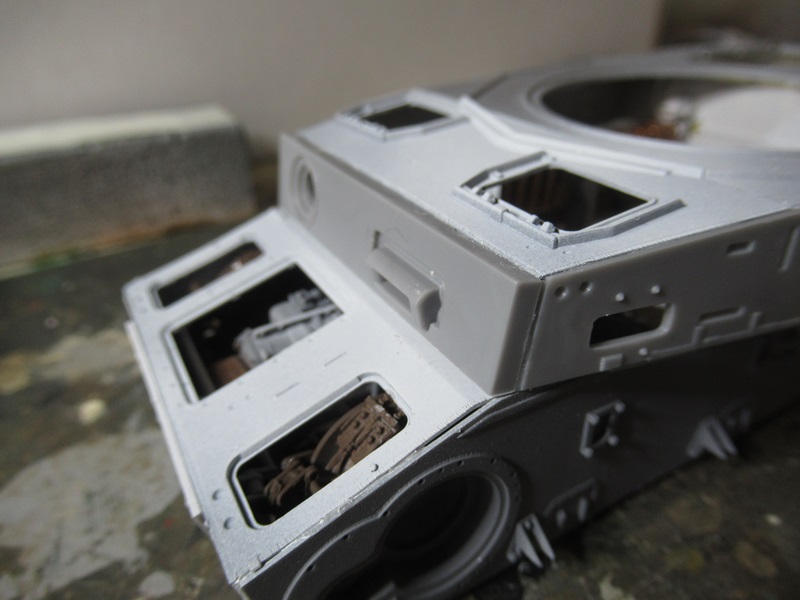
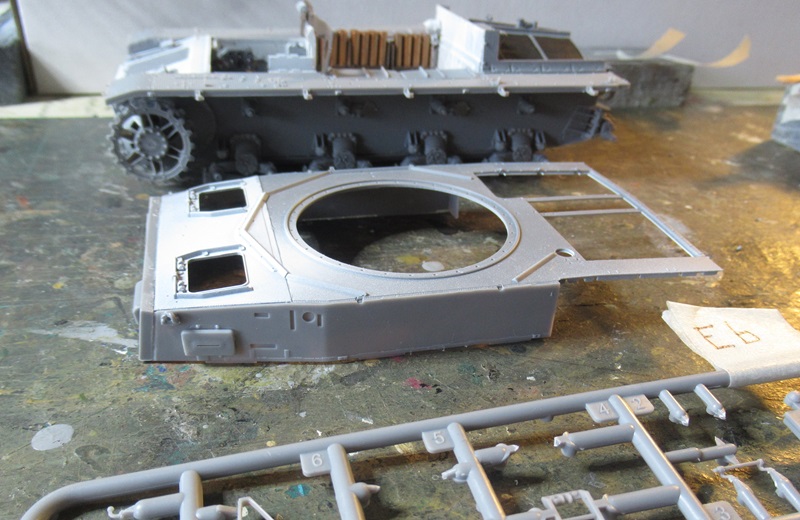
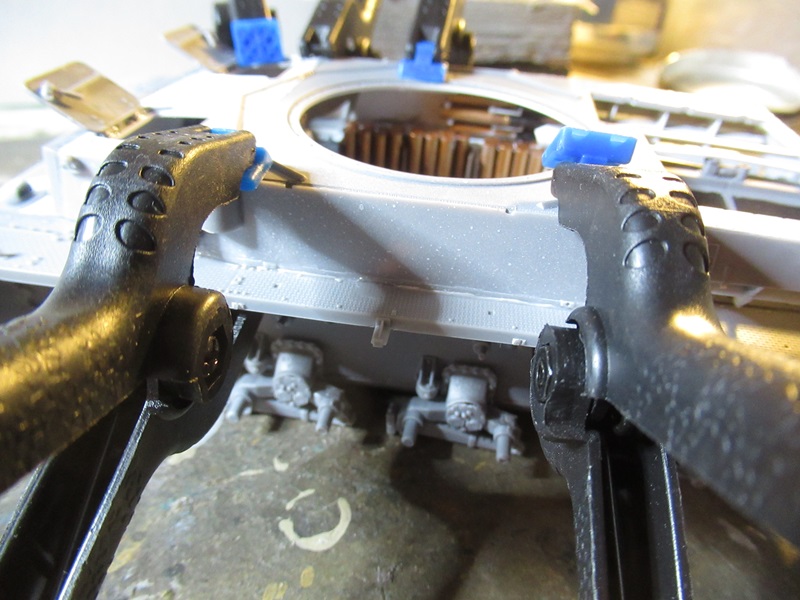
placing the upper hull is like hearding cats, so many gaps and misalignments to chase…

got to be quick and get some clamps on there to force the joins flush before the glue solidifies.

clamping is never straight forward, not possible on the tail as it will bend the rear plate.
both sides…
6 Likes
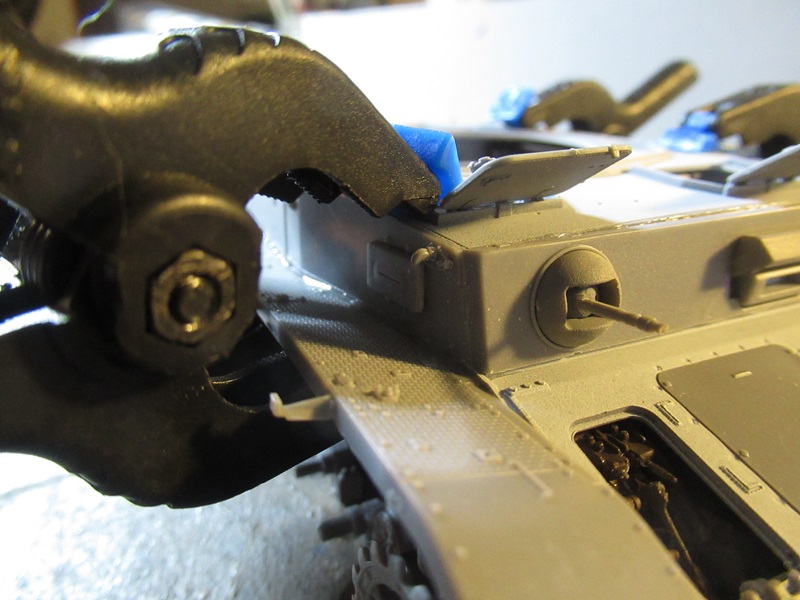
the front gunners hatch fitted, just two parts, the handle lock was very flashy, the only flash I’ve found on the whole kit in fact. Careful parring away on such a tiny component takes time and care, but I got it cleaned up ok. Surprised it wasn’t a PE part.

the exhaust assembly was a fair fit to the rear exhaust ports in the rear plate, but it needed support from a block of wood to hold it in place till it dried off.
still pondering over leaving the engine hatch open with it’s fan shroud
6 Likes
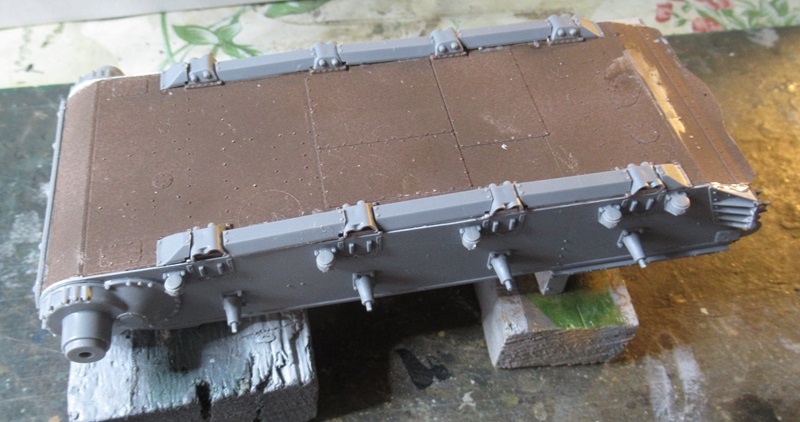
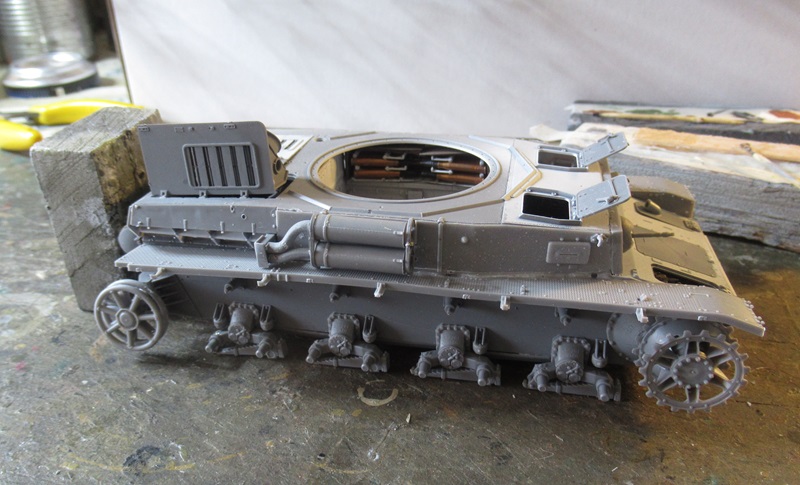
first patchy coat of Dunkelgelb with a sprinkling of table salt over brushed on water. I’m off to check out an old boat from WW1 this morning, so it should be dry when I get back, ready for the next tone.
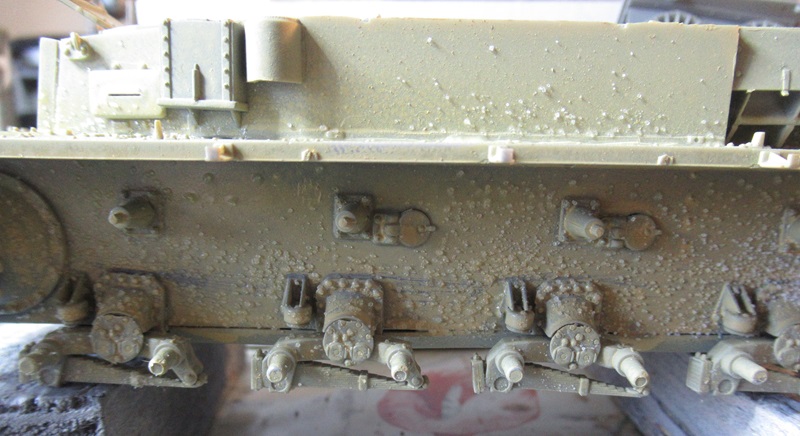
7 Likes
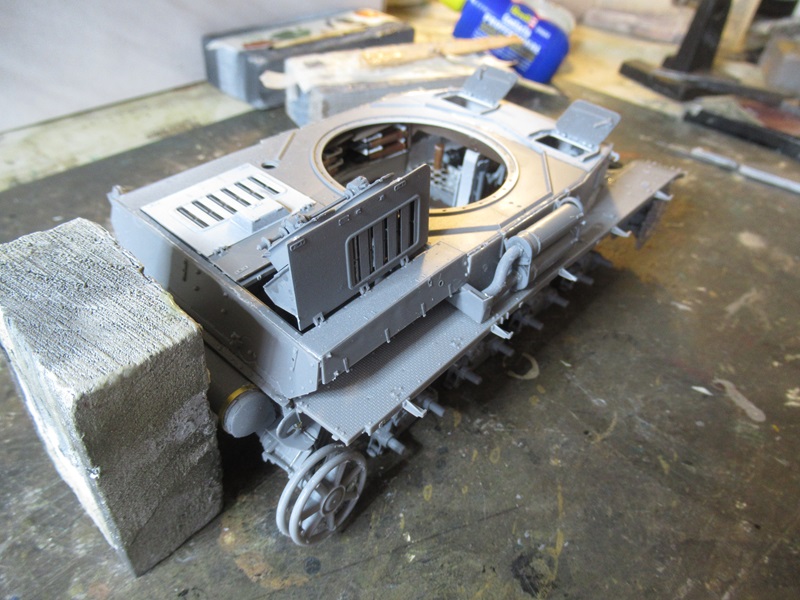
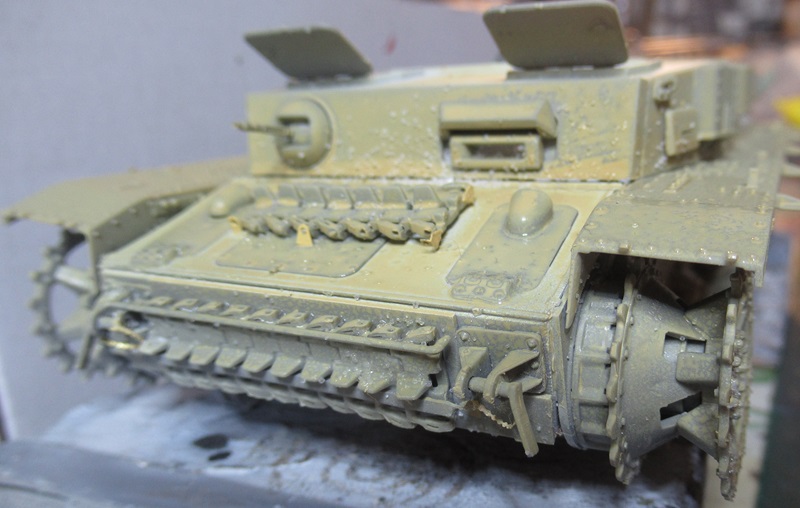
second light coat.

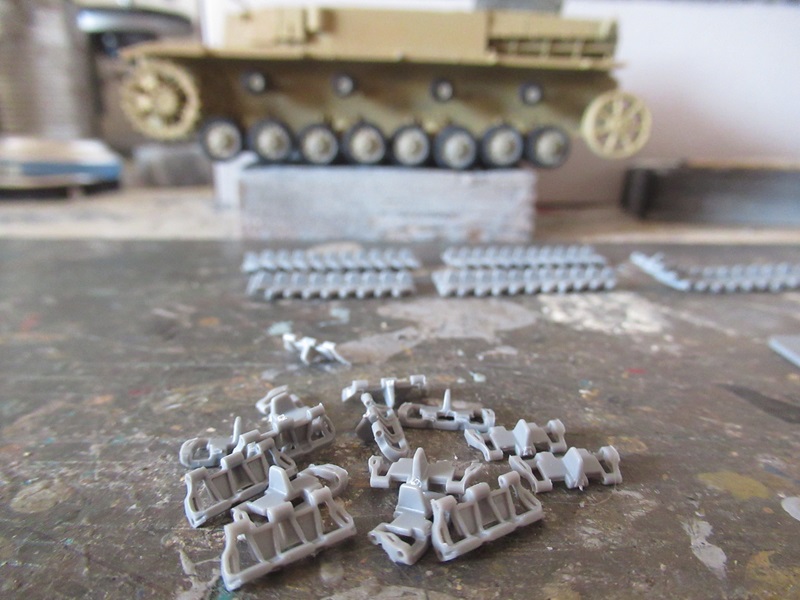
the long job of assembling track from links and tiny short pins, I’ll be building up the turret at the same time as that.
6 Likes