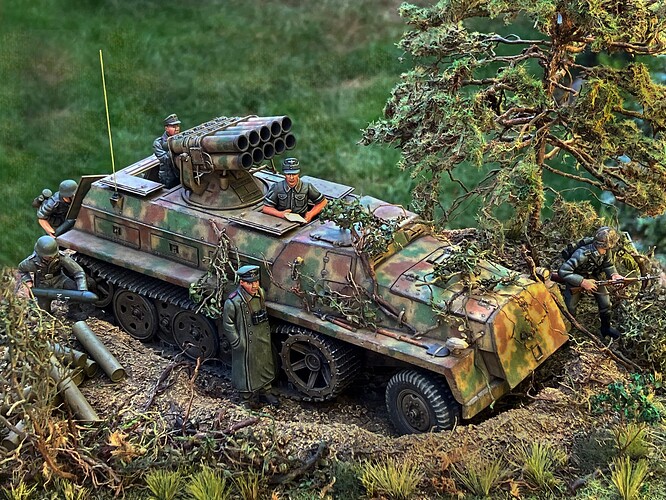
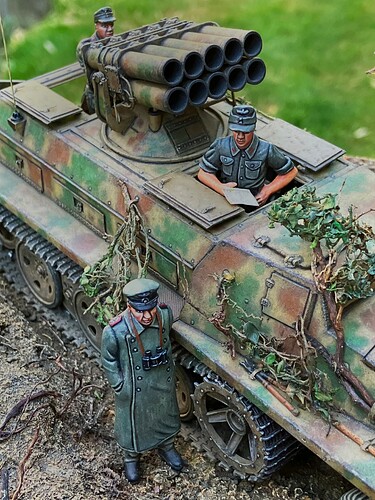
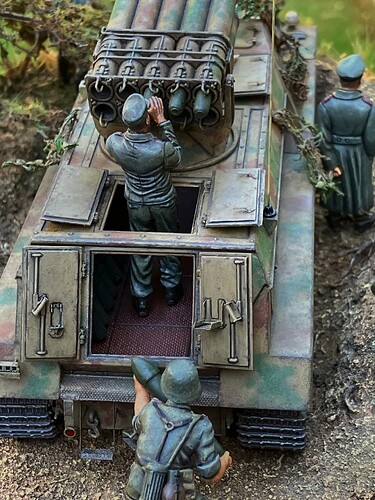
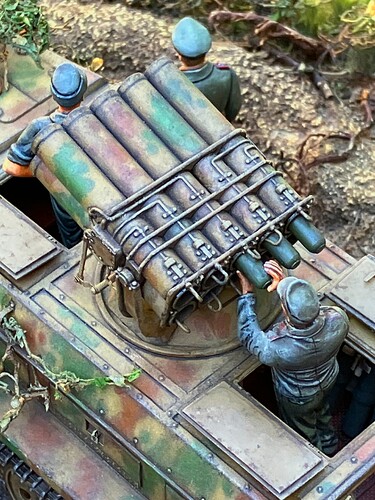
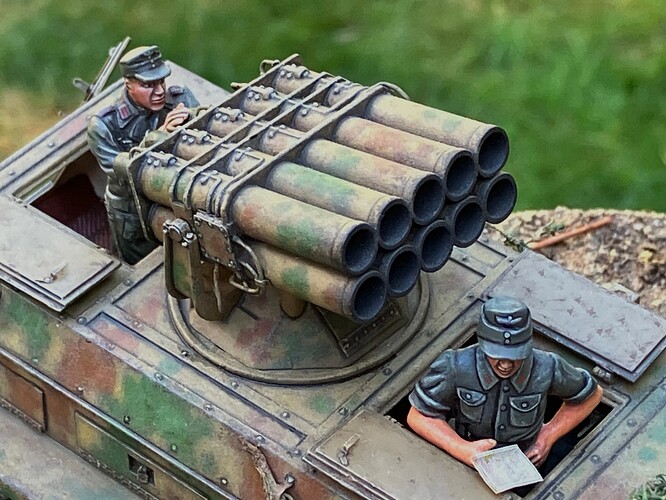
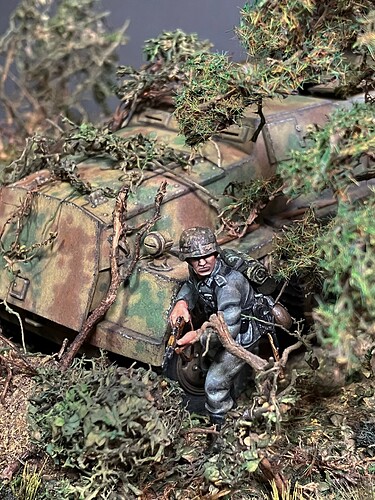
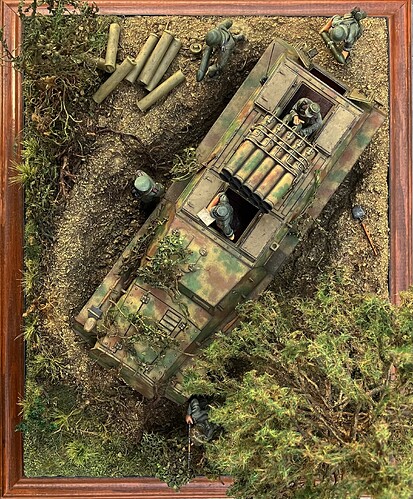
Italeri kit with Eduard PE set. I deleted one of the hatches over the driver’s compartment since several line drawings depict this logical production simplification as well as photos of sWS Flak 43 vehicles so equipped, and scratch-built its single replacement. All hatches are functional. I partially rewired the launcher, but laziness overtook that effort. Figures are a mixed bag of repositioned stragglers and purpose-built new ones. The Disk Scheme paint job was made using home-made stencils cut from adhesive masking paper and a hole punch. The Pine tree is a large root with smaller roots added as branches, sprayed with 3M Super 77 spray glue and flocked with multi-colored static grass. Groundwork is Celluclay over a foam block. Brush on vehicle is dried Parsley leaves on tree roots. Still looking for the decals for the rocket canisters.
I wish someone would do a 3d Printed Zehnling turret, it would save us so much time… Great job on the kit, and the diorama setup!
Very nice scene!
Brilliant, stunning work.
Outstanding looking dio Paska, the groundwork really brings it alive, ![]()
![]() .
.
G, ![]()
Very nicely done! Thanks for posting it up and sharing!
Superb work. Your figures are absolutely amazing in particular.
Fantastic work! From the vehicle to the figures and ground work- fantastic!
That is a wonderful scene. Using fantasy style figure painting on the soldiers worked very well. Even though the base model is very old, it looks top tier.
I really like the contrast between the black and steel tracks and everything else. That style is not seen much these days. Will try that on one of my current projects and see what happens.
Congratulations on the work @Paska.
Well balanced. I liked the solution for the tree. The only point I found out was the soldier with the rifle, his position and state of readiness were out of step with the other figures, but that doesn’t take away from the beauty and quality of the work.
Wow! Thank you everyone for the likes and comments! This is a rather haphazard work compared to some of my other, better planned projects, a shake and bake diorama built from odds and ends cobbled together on a re-purposed base, with really only two purpose-built figures. One of the benefits of posting these images is the large display size, which helps me to spot errors and correct them, (like the odd shadow on the back of the hand of the loader, and the bright yellow antenna.), plus the feedback I receive from everyone.
Yeah…that guy… He was an afterthought. Maybe I should have left him in the Great Big Pigeon-hole Box of Pre-finished Figures. I wanted to add an element of tension and “edginess” to a rather mundane scene. Maybe he heard something, saw something, or he’s just paranoid…Maybe he should be relieved of duty and replaced. A lot of my figures materialize in this manner. They are pre-built, waiting in the box, hoping to be recruited for diorama duty. They don’t always fit in. ![]()
My figure painting technique is admittedly, intentionally, high contrast. Back in the '90’s, I worked for two commercial model-making firms, making architectural models and museum displays . One of the owners liked my high-contrast figures and encouraged me to continue with this technique, insisting that it made the figures “pop” and increasing visual interest, thus I continue to follow this painting style. One of his often-mocked catch phrases in the shop, regardless of the project, was “Needs more yellow.”, which I now realize was true, even though we secretly ridiculed his statement because he was color-blind. ![]()
I use a LOT of Naples Yellow for highlighting, after all, everything is lit by the sun and the primary color of sunlight is yellow. The old man was right.
I paint my figures in several stages. First, I paint the basic colors in acrylic, including rough outlines of shadows and highlights. I generally use five flesh tones and at least three colors for all other features. I seal this base coat with satin varnish and then start blending with oil paints over this base. I seal this again after the oils have dried completely. Then comes the “road mapping”, I outline everything with extra-fine, .15mm tipped Sakura Micron Drafting Pens, in both black or dark brown. Recently, I have started using Tamiya Panel Line Accent Colors and Figure Accent Color (pink-brown) as washes to soften the demarcation lines a bit. I’m not sure if I like the pink-brown tone or not.
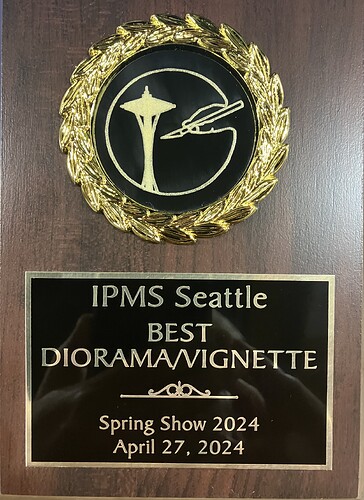
I recently added a new Best Diorama trophy (I have acquired several of these over the years, but not for this model) from our local IPMS show, so I must be doing something right!
Question about figure faces. They are excellent. How did you do the browny shadow areas? You wrote something but can you offer more detail? It has nice depth. Thanks.
Thanks for the compliments, but I’m not sure that you want to use my techniques, it’s really tedious and time consuming. I’m sure there are easier methods to use. That said, the first thing you need is a brush that is ridiculously small.
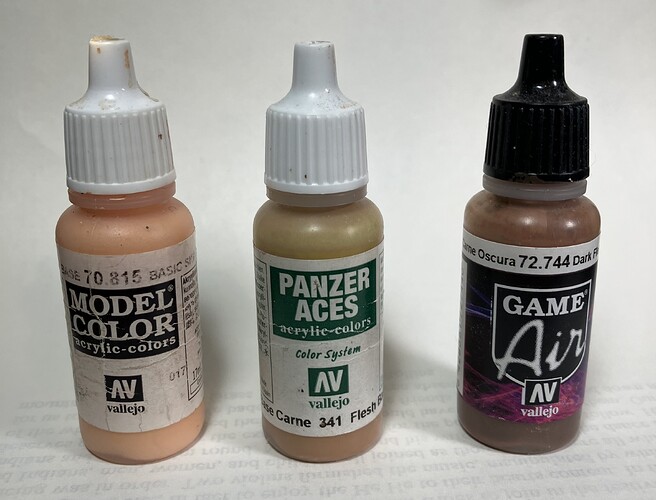
This is a 20/0 brush that is missing half of its bristles. I also have 30/0 ones too. The wire next to it is a piece of.015 piano wire for scale. Unless you have excellent vision, (I don’t) I would recommend at least a 4 power Optivisor or equivalent. For really small things, like faces, I use a 10 power jewelers loop. I use Vallejo acrylics flesh tones as a base.
I mix intermediate shades between the three colors, with a little red added for cheeks and lips. A small amount of retarder is also needed. I use a number 0 brush to block in the base coat, then switch to the ridiculous brush to make the eyes, lips, cheeks, highlights, shadows and dark shadows. I make sure that my base coat is hardened off and sealed with clear coat, so that any mistakes can be corrected with a sharpened toothpick to scrape away any small mistakes, or use acrylic thinner and a brush to wash it away and start the detail over. Once I get the basic details in place, I seal the acrylics with clear coat, then outline dark shadows with either dark brown or black drafting pens with a.015 mm nib. I then switch to oil paints to blend the features together. Then another thin coat of dull coat. It’s a very tedious process and I don’t claim that it’s the best, but it works for me.
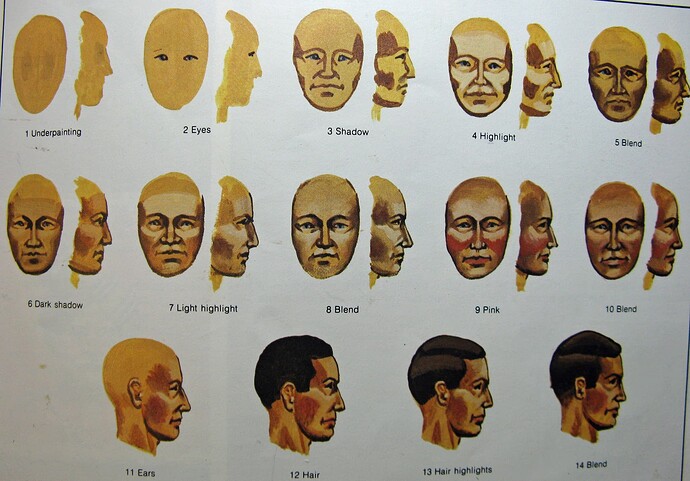
I basically still use the now ancient face painting guide championed by Shep Paine;
That’s great and interesting to read. Thanks for posting that! I’ll try the oils part, in particular, as I usually do just acrylics basically following the same process as you. I will also see how the Tamiya Pink-brown goes.
