On their website AOA has PDFs with the various loadouts for the different squadrons on that sheet. Racks full of Mk82s always look good. LAU-10 or LAU-3 rocket pods are cool too.
Hobby Boss has an F-105D in 1/48. It gets good reviews.
On their website AOA has PDFs with the various loadouts for the different squadrons on that sheet. Racks full of Mk82s always look good. LAU-10 or LAU-3 rocket pods are cool too.
Hobby Boss has an F-105D in 1/48. It gets good reviews.
Thanks, I’ll look into the Hobby Boss kit.
I’m going with 2 LAU-3s on each inner pylon and 2 Mk 83s on each outboard TER with a centerline fuel tank, based on the planes in the video at the start of the thread.
How are you getting on with the 1/48 over the 1/72 Phil ? I am having the same issue you had with my Phantom for the Phan campaign… Issues with me, the kit, etc etc etc, also, really not loving the Navy version I chose, far to many strict panel lines for the various greys/metallic grey/metal finishes/white and aluminium which have to be kept rigidly straight to make it look good.
Is the 1/48 a lot more user friendly ? I think if I did another I would go for an AirForce version with Cam instead of one colour grey.
Enjoying watching yours come together here.
So far, so good. Upsides so far is that the kit instructions are a lot clearer. Construction so far has been a breeze, but I will have a much better idea when I put the fuselage together in the next week or so. I still have spent around 100USD with the extra weapons and decals added in with the kit cost. Of course, the weapons and decal sets will allow me to do another one or two marine phantoms.
Building a second kit of the same model, even in a different scale, seems to be easier just from the experience of doing the first one and knowing some of what to look out for.
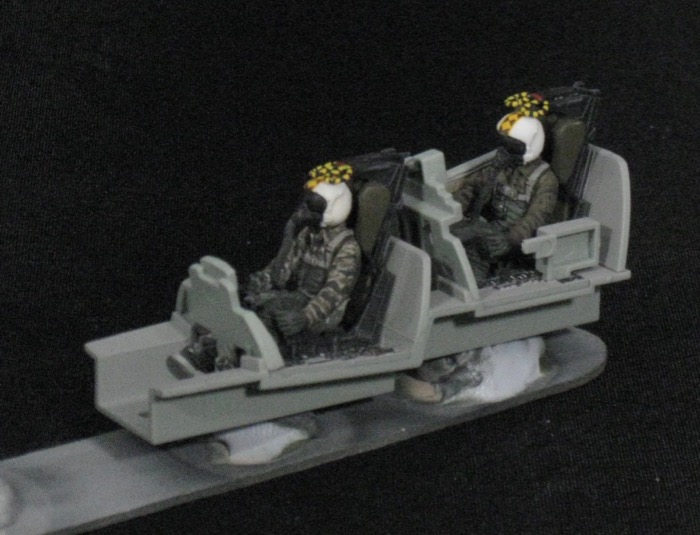
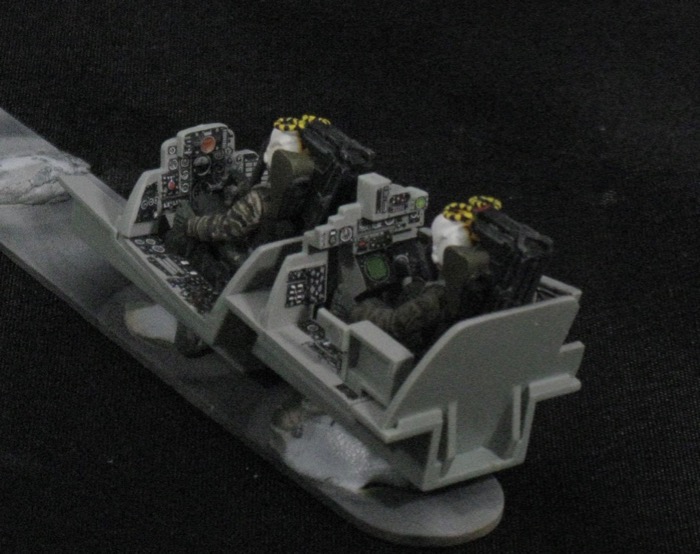
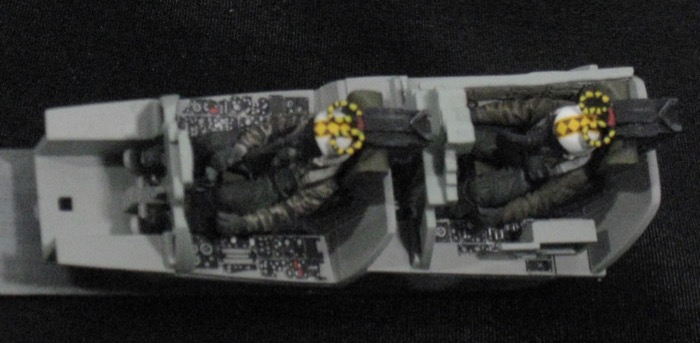
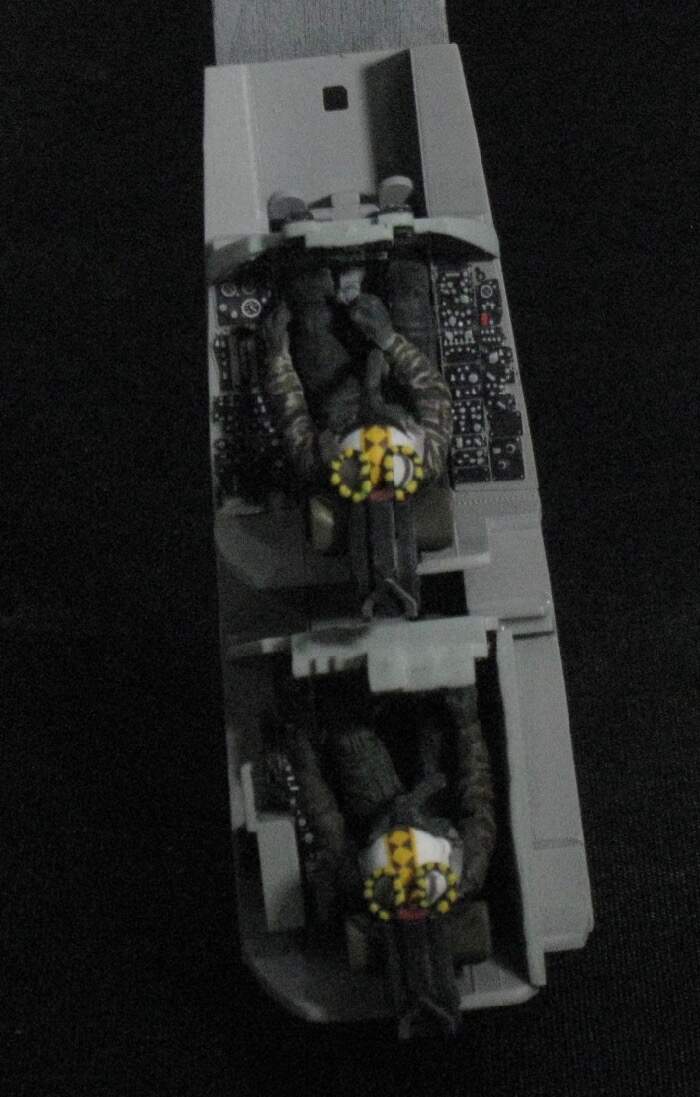
The Furball cockpit decals are really sweet. Last night I went to bed thinking I’d have to paint all the panels. I had put on three or four decals and two of them were sitting pretty high on their panels with all the raised detail. But this morning they had settled in very nicely. So I’ve put a lot more on and should be finished with them today or tomorrow. A couple of them have to be cut so they will be on their respective parts.
So the cockpit is done.
The instructions call for adding the seats after the cockpit is assembled inside the fuselage. I would liked to have done that but I wasn’t convinced it could be done. There were two issues - whether I could get the pilots legs to go under his dashboard. I added him after his front control panel was in place but it took a little fiddling and I thought when it’s inside the fuselage I might not have that much ability to fiddle. For the guy in back I was worried about placing him after glueing on the side panel as it was not obvious exactly where the side panel went, so I put him in place and then added the side panel. That side panel is the first piece I’ve encountered in this kit where the fit isn’t great. There are gaps in front and it does actually sit down on the panel below. That won’t be visible when it’s closed up so no big deal.
I think things will move along quickly with this kit now.
So I git a snag…
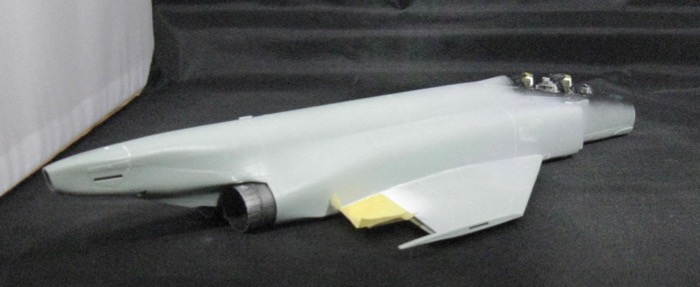
The fuselage is a single piece, which is kinda nice. But, it’s bowed in at the bottom so it doesn’t meet up with the wings very well. There’s no way to brace it open from the inside while the glue dries. I’m wondering if I can brace it open and give it a hot bath to give it a new shape? If it were too wide at the bottom, it would snap into place I think?
Anyone else had this issue? Any suggestions?
You might be able to use a length of spruce as a “spreader”.
I’ve been thinking along those lines…
I’ve been studying it and there might be a way to get something inside from one end, but I’d have to build something and twist it once it’s inside. So if I could create a spreader that was the right width I wouldn’t have to hassle with that.
The other thing I’ve thought about is building some tabs on the top of the inside of the wings to slot the fuselage into. There are a couple already but they are short enough they are hard to fit with the fuselage already bowed.
To be tagged “don’t do it like this…”
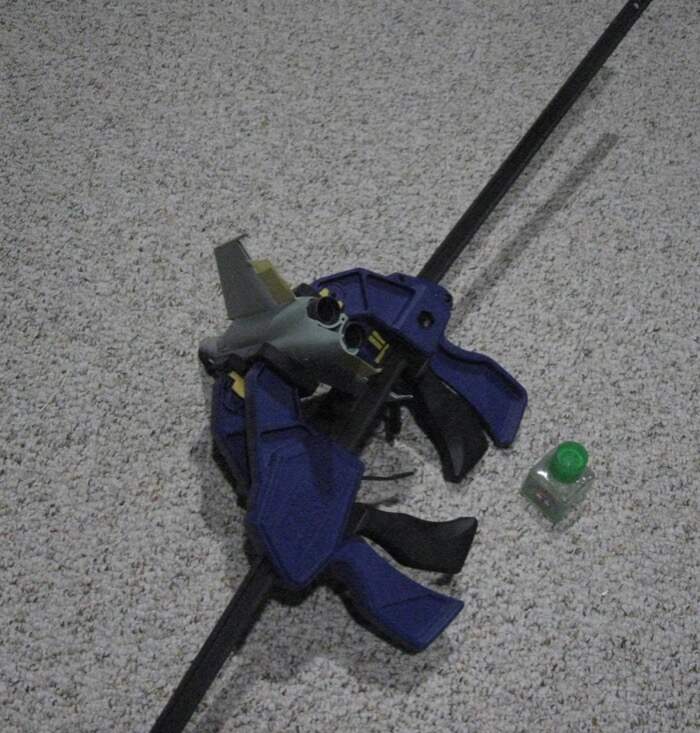
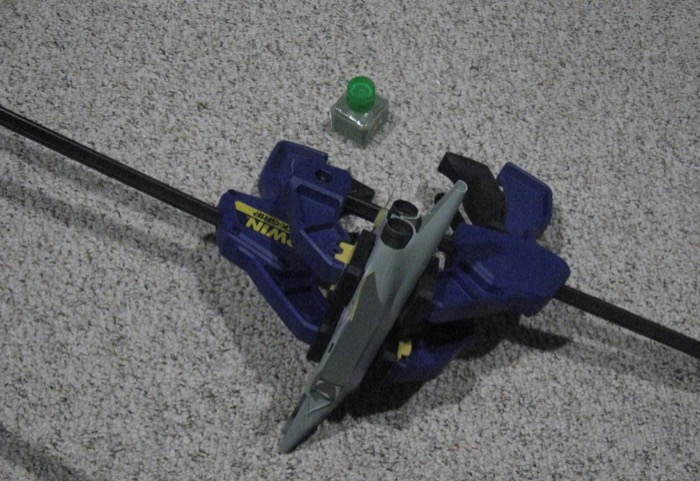
I settled in to figure out how to attach the fuselage to the wings tonight. I had started measuring and I decided to pop it on to see what it might look like, and it popped into place, with the wings and fuselage nearly perfectly aligned! Not sure how that happened this time. But, in the interest of getting it done while it was correct I reached for my clamps and found out my hobby clamps are too small for this beast. So, casting about, I found some carpentry clamps I was using to hold tables together. Now that I’ve clamped it and glued it, I really don’t have any clamps smaller than this other than the ones that are too small, so I guess I need to expand my hobby tool box.
But anyway, got the clamps on and some glue. I had to do it on the floor as the clamps are way too big for my hobby table. So here are a couple of pics - don’t do it like this!
Great idea. That’s being a modeller, not just an assembler.
No pics, but some serious frustrations today.
I posted about the extra thin spill on the fuselage already. I think I’ve mostly cleaned that up - will have to add back a couple of panel lines and a lot of rivets. No sweat really.
The fit of the lower fuselage and air intakes isn’t great which is kind of disappointing.
Two big problems tonight:
I must have done something wrong. I see people who have made the C and J version of this kit with the canopies closed and it looks like they didn’t have to do anything to the seats…
Hi Phil - you can take mold lines off clear parts by careful gentle scraping and the polish them out with progressively finer grades of micro abrasive pads . Micro Mark among others offer sets with sponge backing .
As a final step use Blue Magic polishing cream . Cut clean white cotton tee shirt rag into 2” squares . Squeeze a little Blue Magic on them and blot it around the square and then let it dry for a bit- this will get rid of the solvent and leave just the fine polishing compound. You can also polish out paint & clear coats with Blue Magic .
Hope this helps .
Richard
That’s the ticket. I know it sounds crazy, but I used to use Pearl Drops tooth polish to get a shine on canopies.
Wow, really sorry you’re having so many issues with this F4, read your other post, “Bad day…” and I feel ya man, that’s (one reason) why I hate CA and the fit issues are why I shy away from aircraft kits and why I admire a nice looking model plane. There’s a HB F4U-4 partially built, boxed up and hideing in the closet 'cause I just couldn’t get it right and eventually lost intrest. This can be a frustrating hobby, those that don’t build don’t get why we get bent when our kits just don’t co-operate, they don’t understand the model we’ve envisioned vs. the catastrophy on the table. I’ve got to hand it to you and anyone that’s brave enough to record an in progress build, I don’t have the grapes to do it. I’m catching up with your progress this morning after wasting two hours trying to route cables through an M113 only to get po’d because the wire I’m useing is just too darn stiff. I tip my hat to ya buddy, it seems you’re taking all the set backs in stride though, says a lot about you’re character.
Best wishes getting the gremlins back in their cage, don’t know how you feel about a vacuform canopy but it might be your best bet if you can find one and it’s feasible for your project.
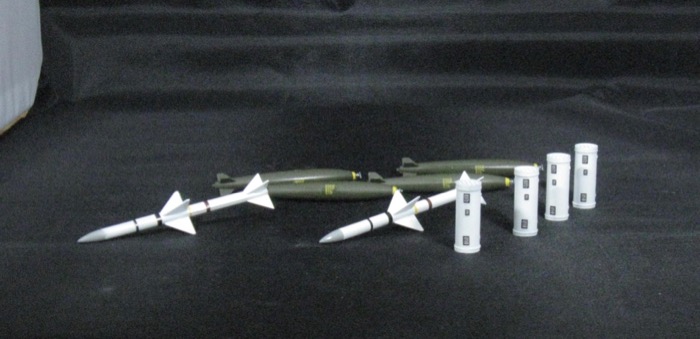
Moving along. The centerline tank, ordnance, the pylons, the mers and ters are done. Here is the ordnance. The decals disappeared on them - nice. The decals on the mers and ters still are screaming “I’m a decal,” so hopefully some more mark fit strong will get them to disappear. You might be able to tell that the stripe decals on the sparrows don’t go all the way around. That’s ok, as I’ll hide the gap in the bottom of the plane.
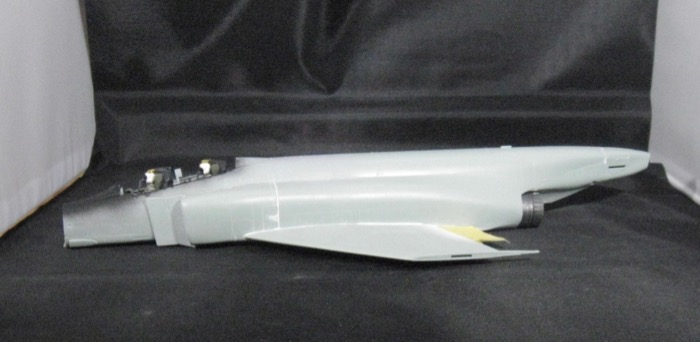
I’m not very impressed with the fit on this kit. The gaps are not really a problem, but there are a lot of places where the panels aren’t flat. A couple of them I think I could do better on if I made the kit again, but some of them just don’t seem to be made to line up. Not sure any of that is visible with these photos. And, to be honest, I’m not sure any of them will be visible when I don’t have my magnifiers on.
You can kind of see where I marred the fuselage in the bottom pic. I think that will be easy to clean up and I know have my rivet maker tool so hopefully I can get that done this weekend and start getting some paint on it.