I recently bought Tamiyas fine and finish polishing compounds after having zero luck with the Novus series of Polish.
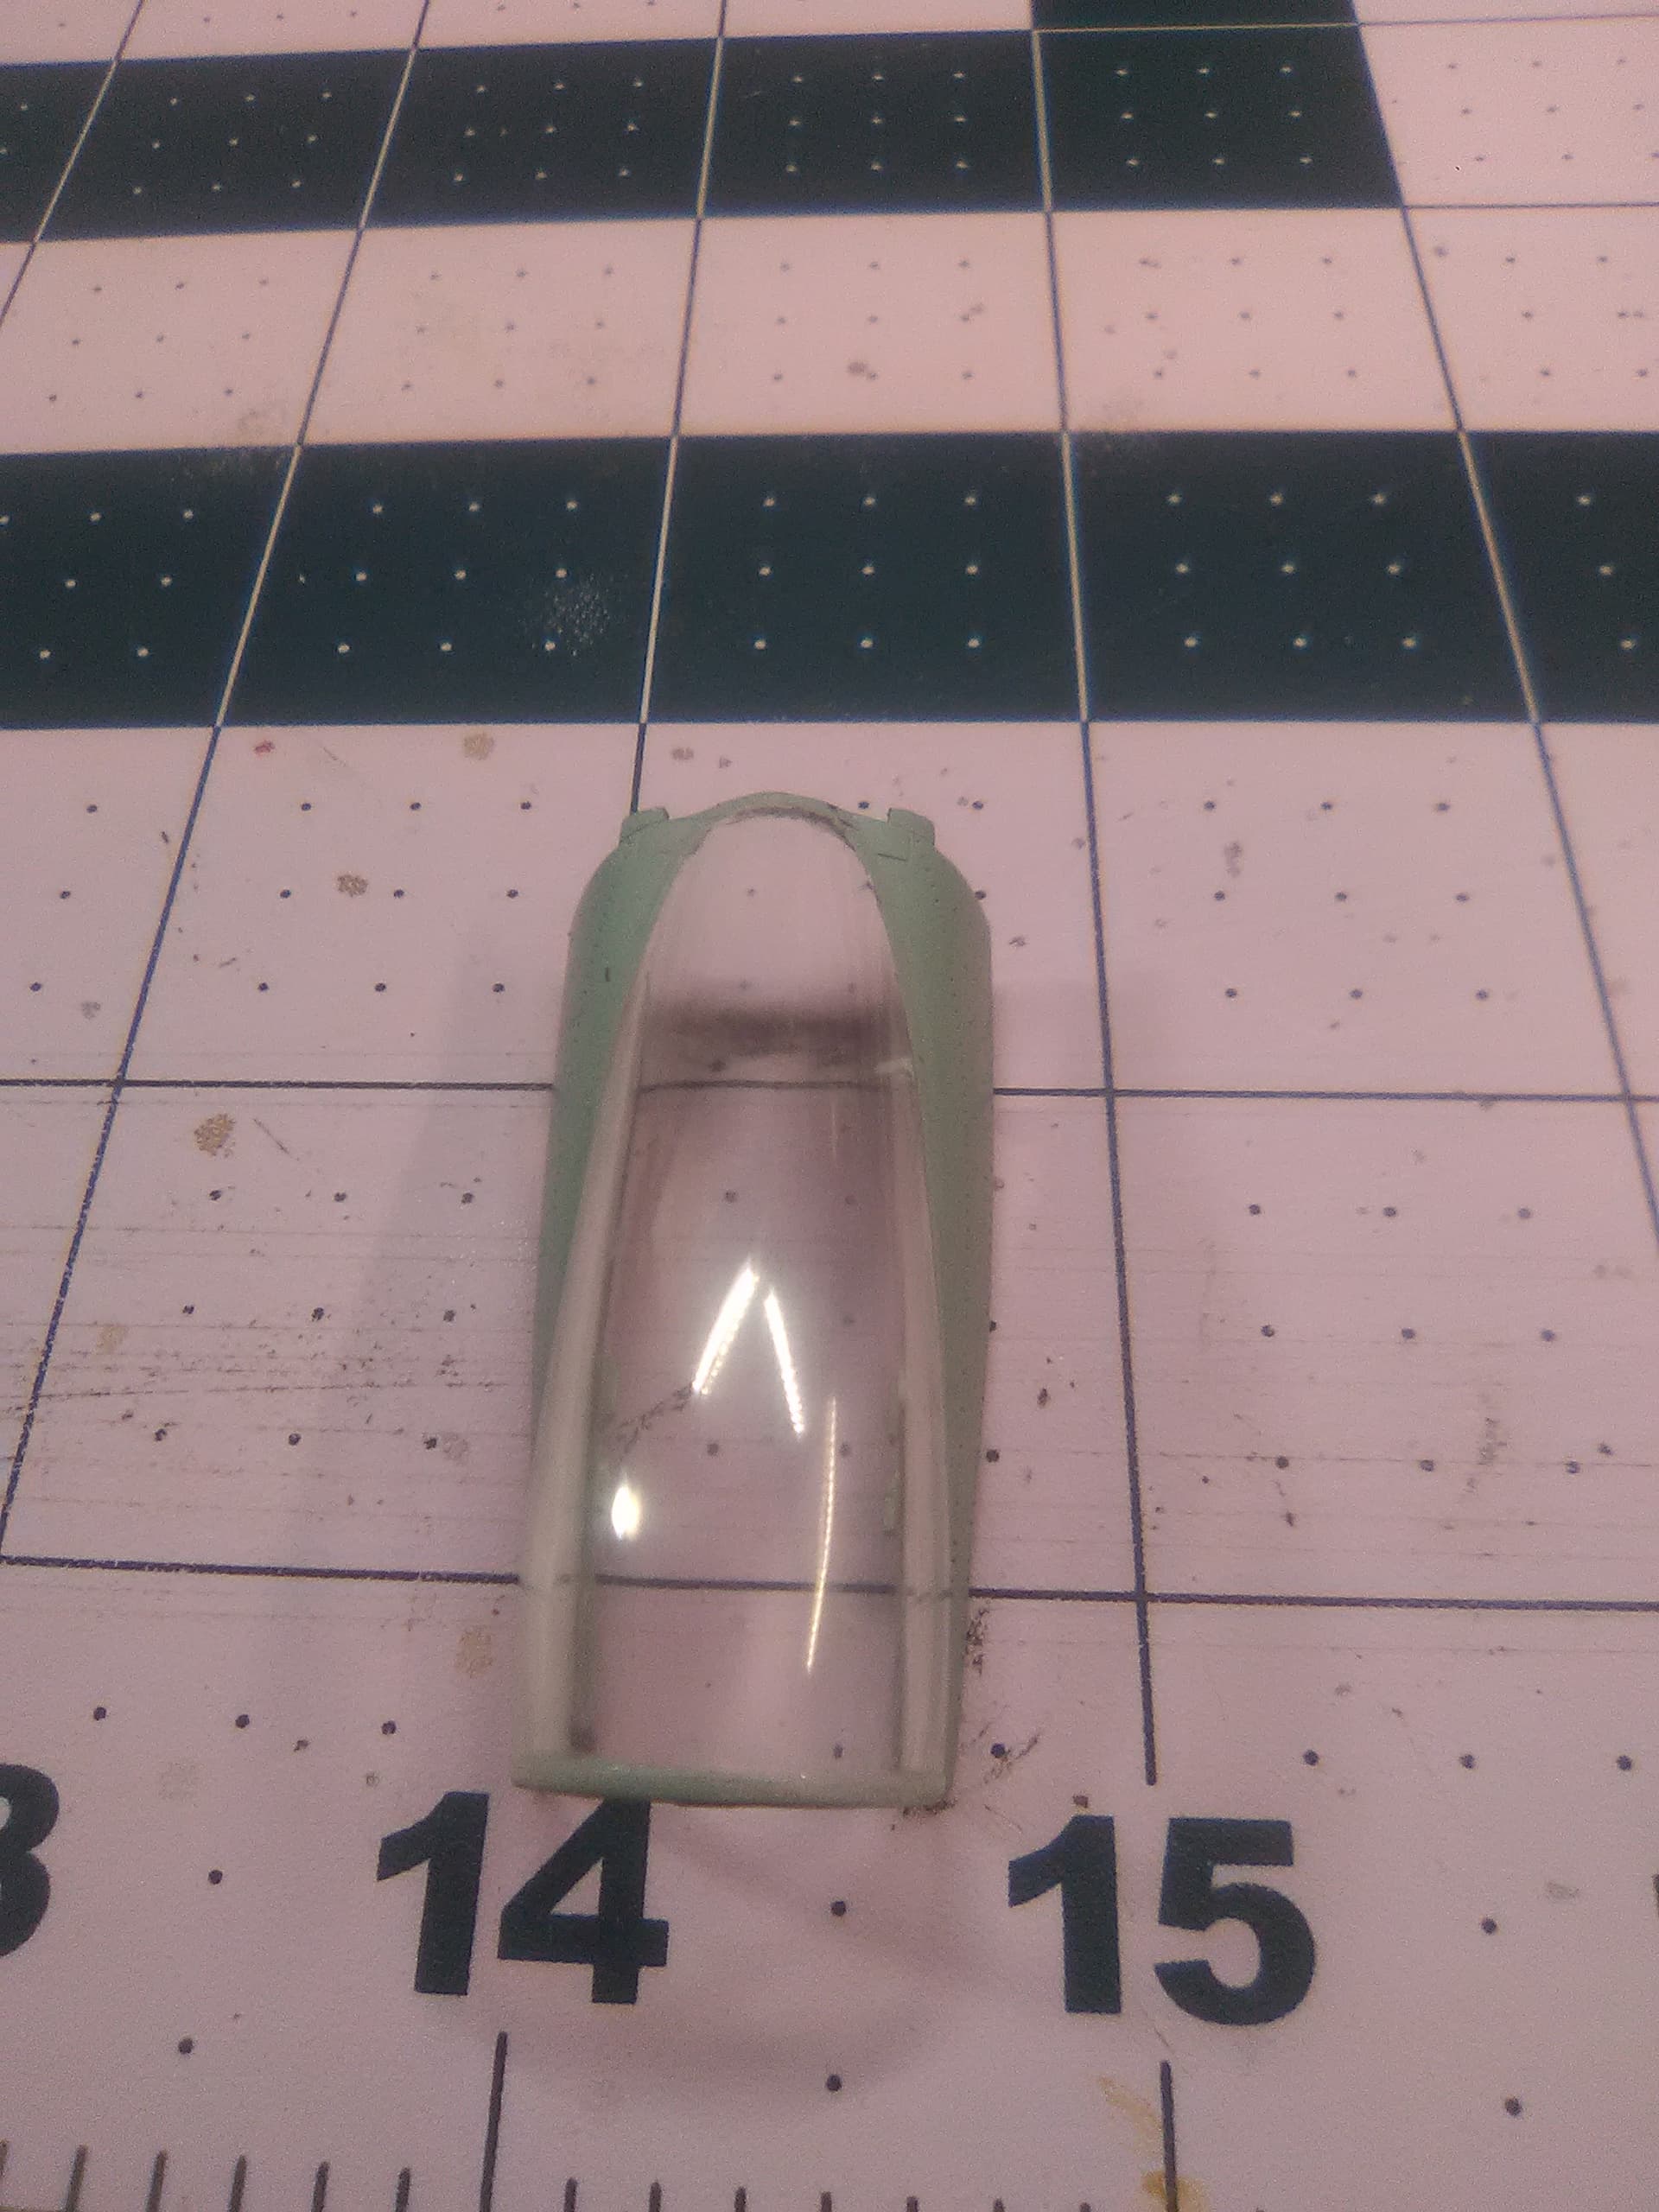
I have had much better luck with these and my most recent canopy looks quite good to my eye with no future!! Which is something else I was trying to avoid… dipping canopies. The only remaining issue I have is the odd hazy streak. I can’t figure out what is causing it. It almost looks like left over polish residue but it won’t come off easy.
Here is what I did to help diagnose the issue! I used 4 separate eye glass microfiber cloths. Two for each of the fine and finish compounds. I took a small dab of the fine compound on the cloth and buffed the canopy in small circles until I couldn’t see polish anymore, then proceed to take a dry cleaning cloth and buff in a circular motion till happy. I then repeated this a couple times with each. The canopy looks brilliant in spots but has a hazy residue in others
One possibility would be the canopy was not perfectly symmetrical so there are high and low areas.
Could be some areas get a different amount of pressure applied during the polishing process.
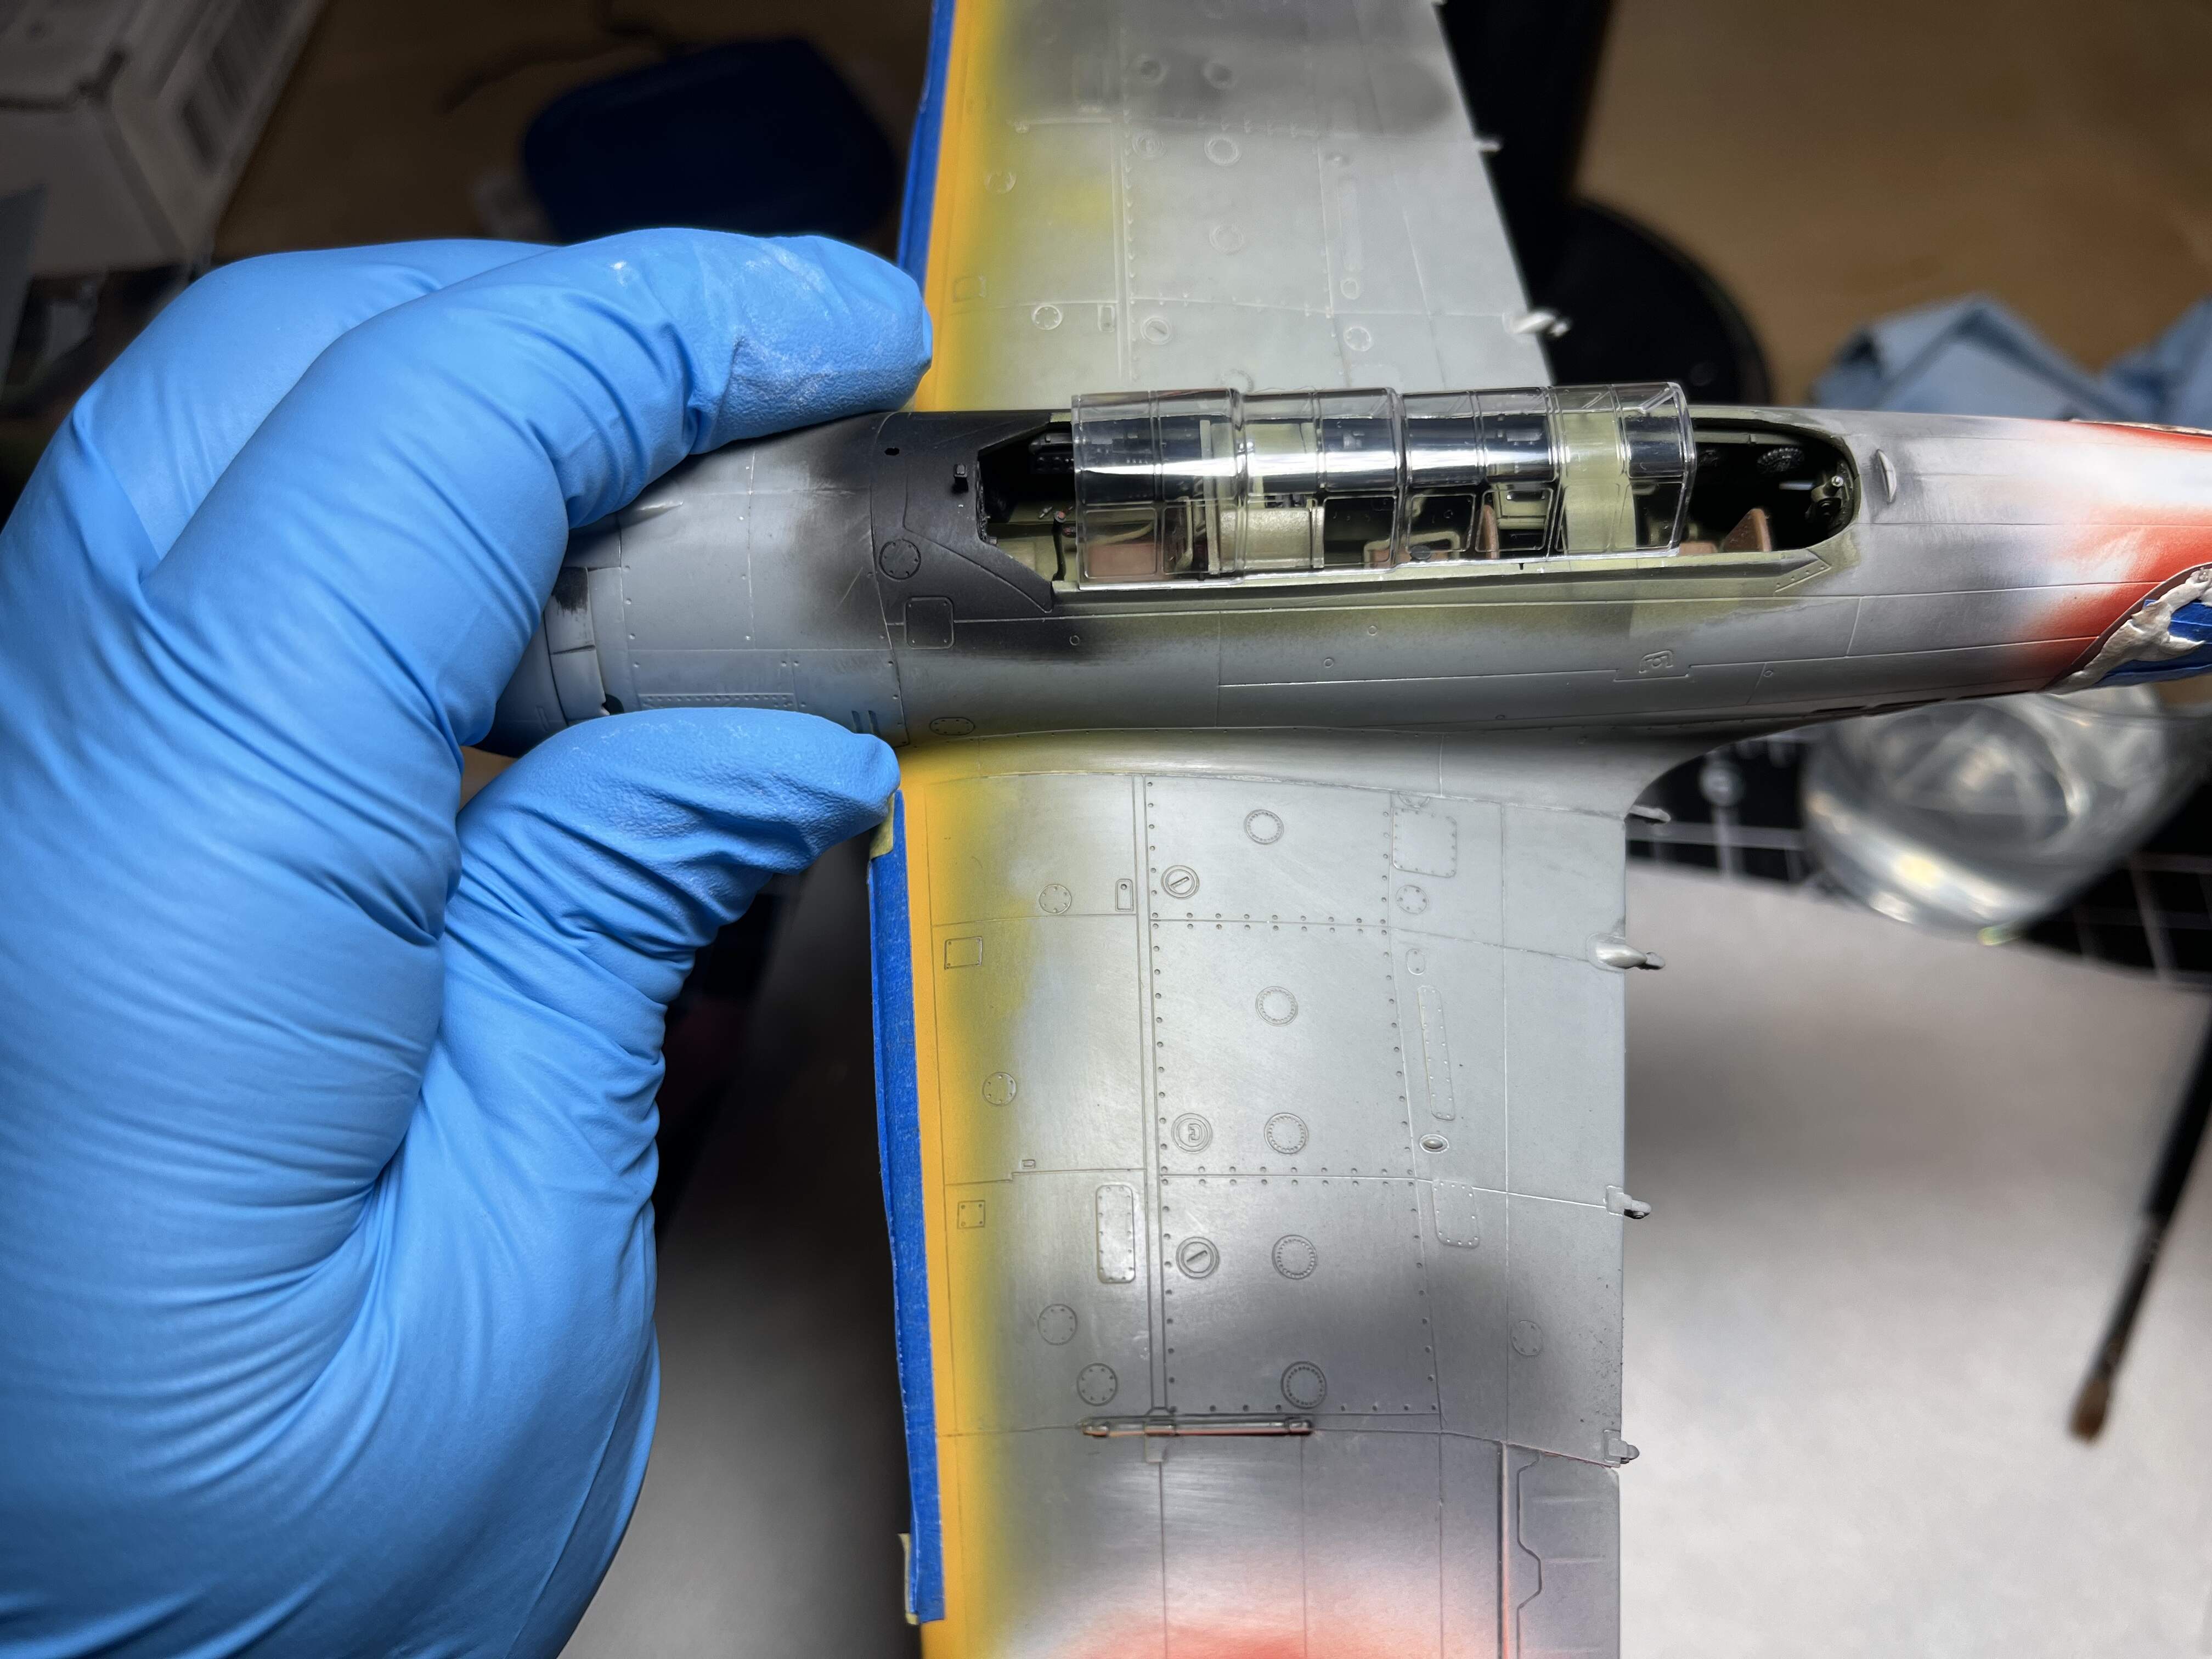
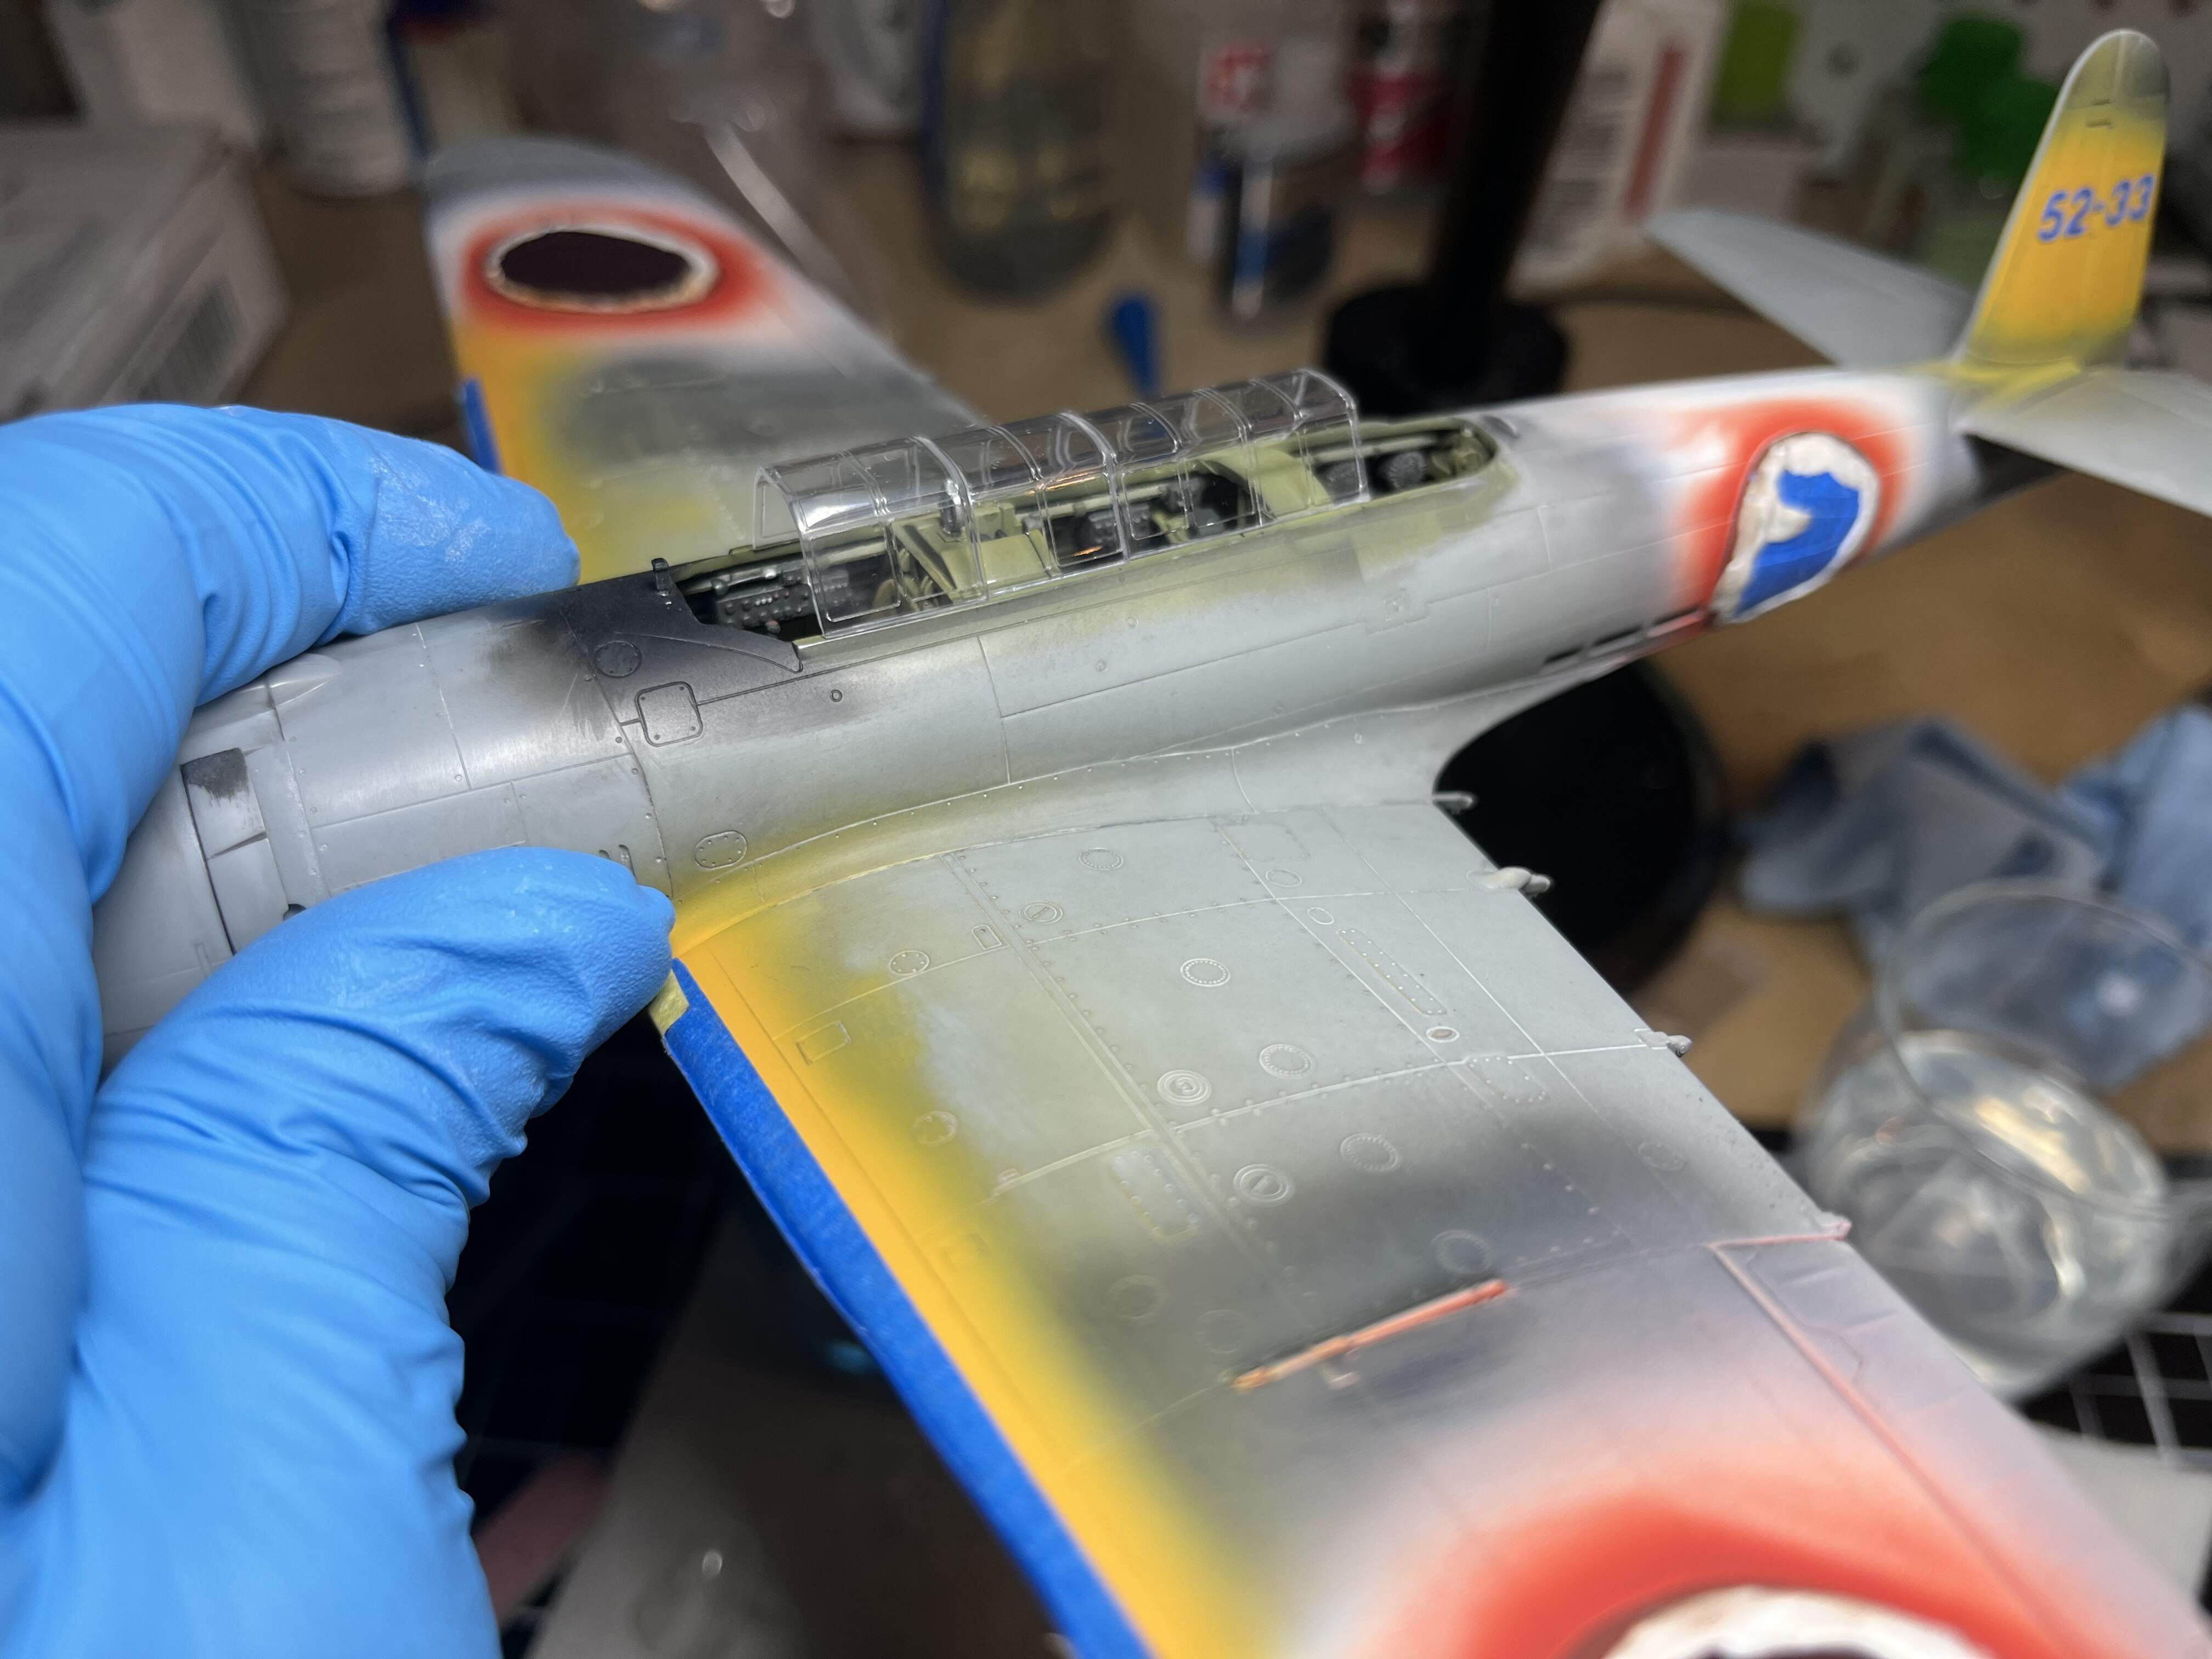
My two current builds have been stalled for a couple weeks as I cannot get happy results with the canopies
I tried dipping like I used to do but I’ve always had mixed results. Tried polishing with Novus and it didn’t work well. This tamiya compound seems like it’s gotten me on the right track! Just need to keep trucking
I’ve had good results on windscreens from model trucks that have misted due to careless use of glue (mea culpa!), using straight Solvol Autosol. I happened to have some lying around as I run old British motorcycles, but it’s probably cheaper than specialised products and a tube should last a lifetime used on canopies! A soft cloth and a gentle circular motion, polish “through” the paste.
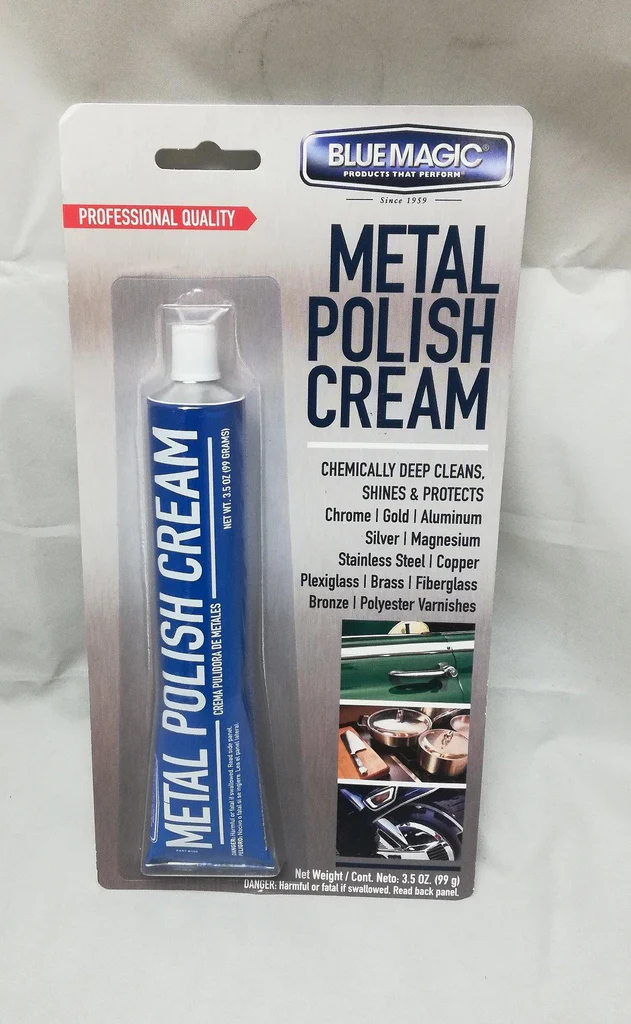
I have excellent results with Blue Magic Polishing Cream . Smear some on clean white cotton t shirt squares and let it dry so the solvents evaporate - then rub and buff . Also works well on paint.
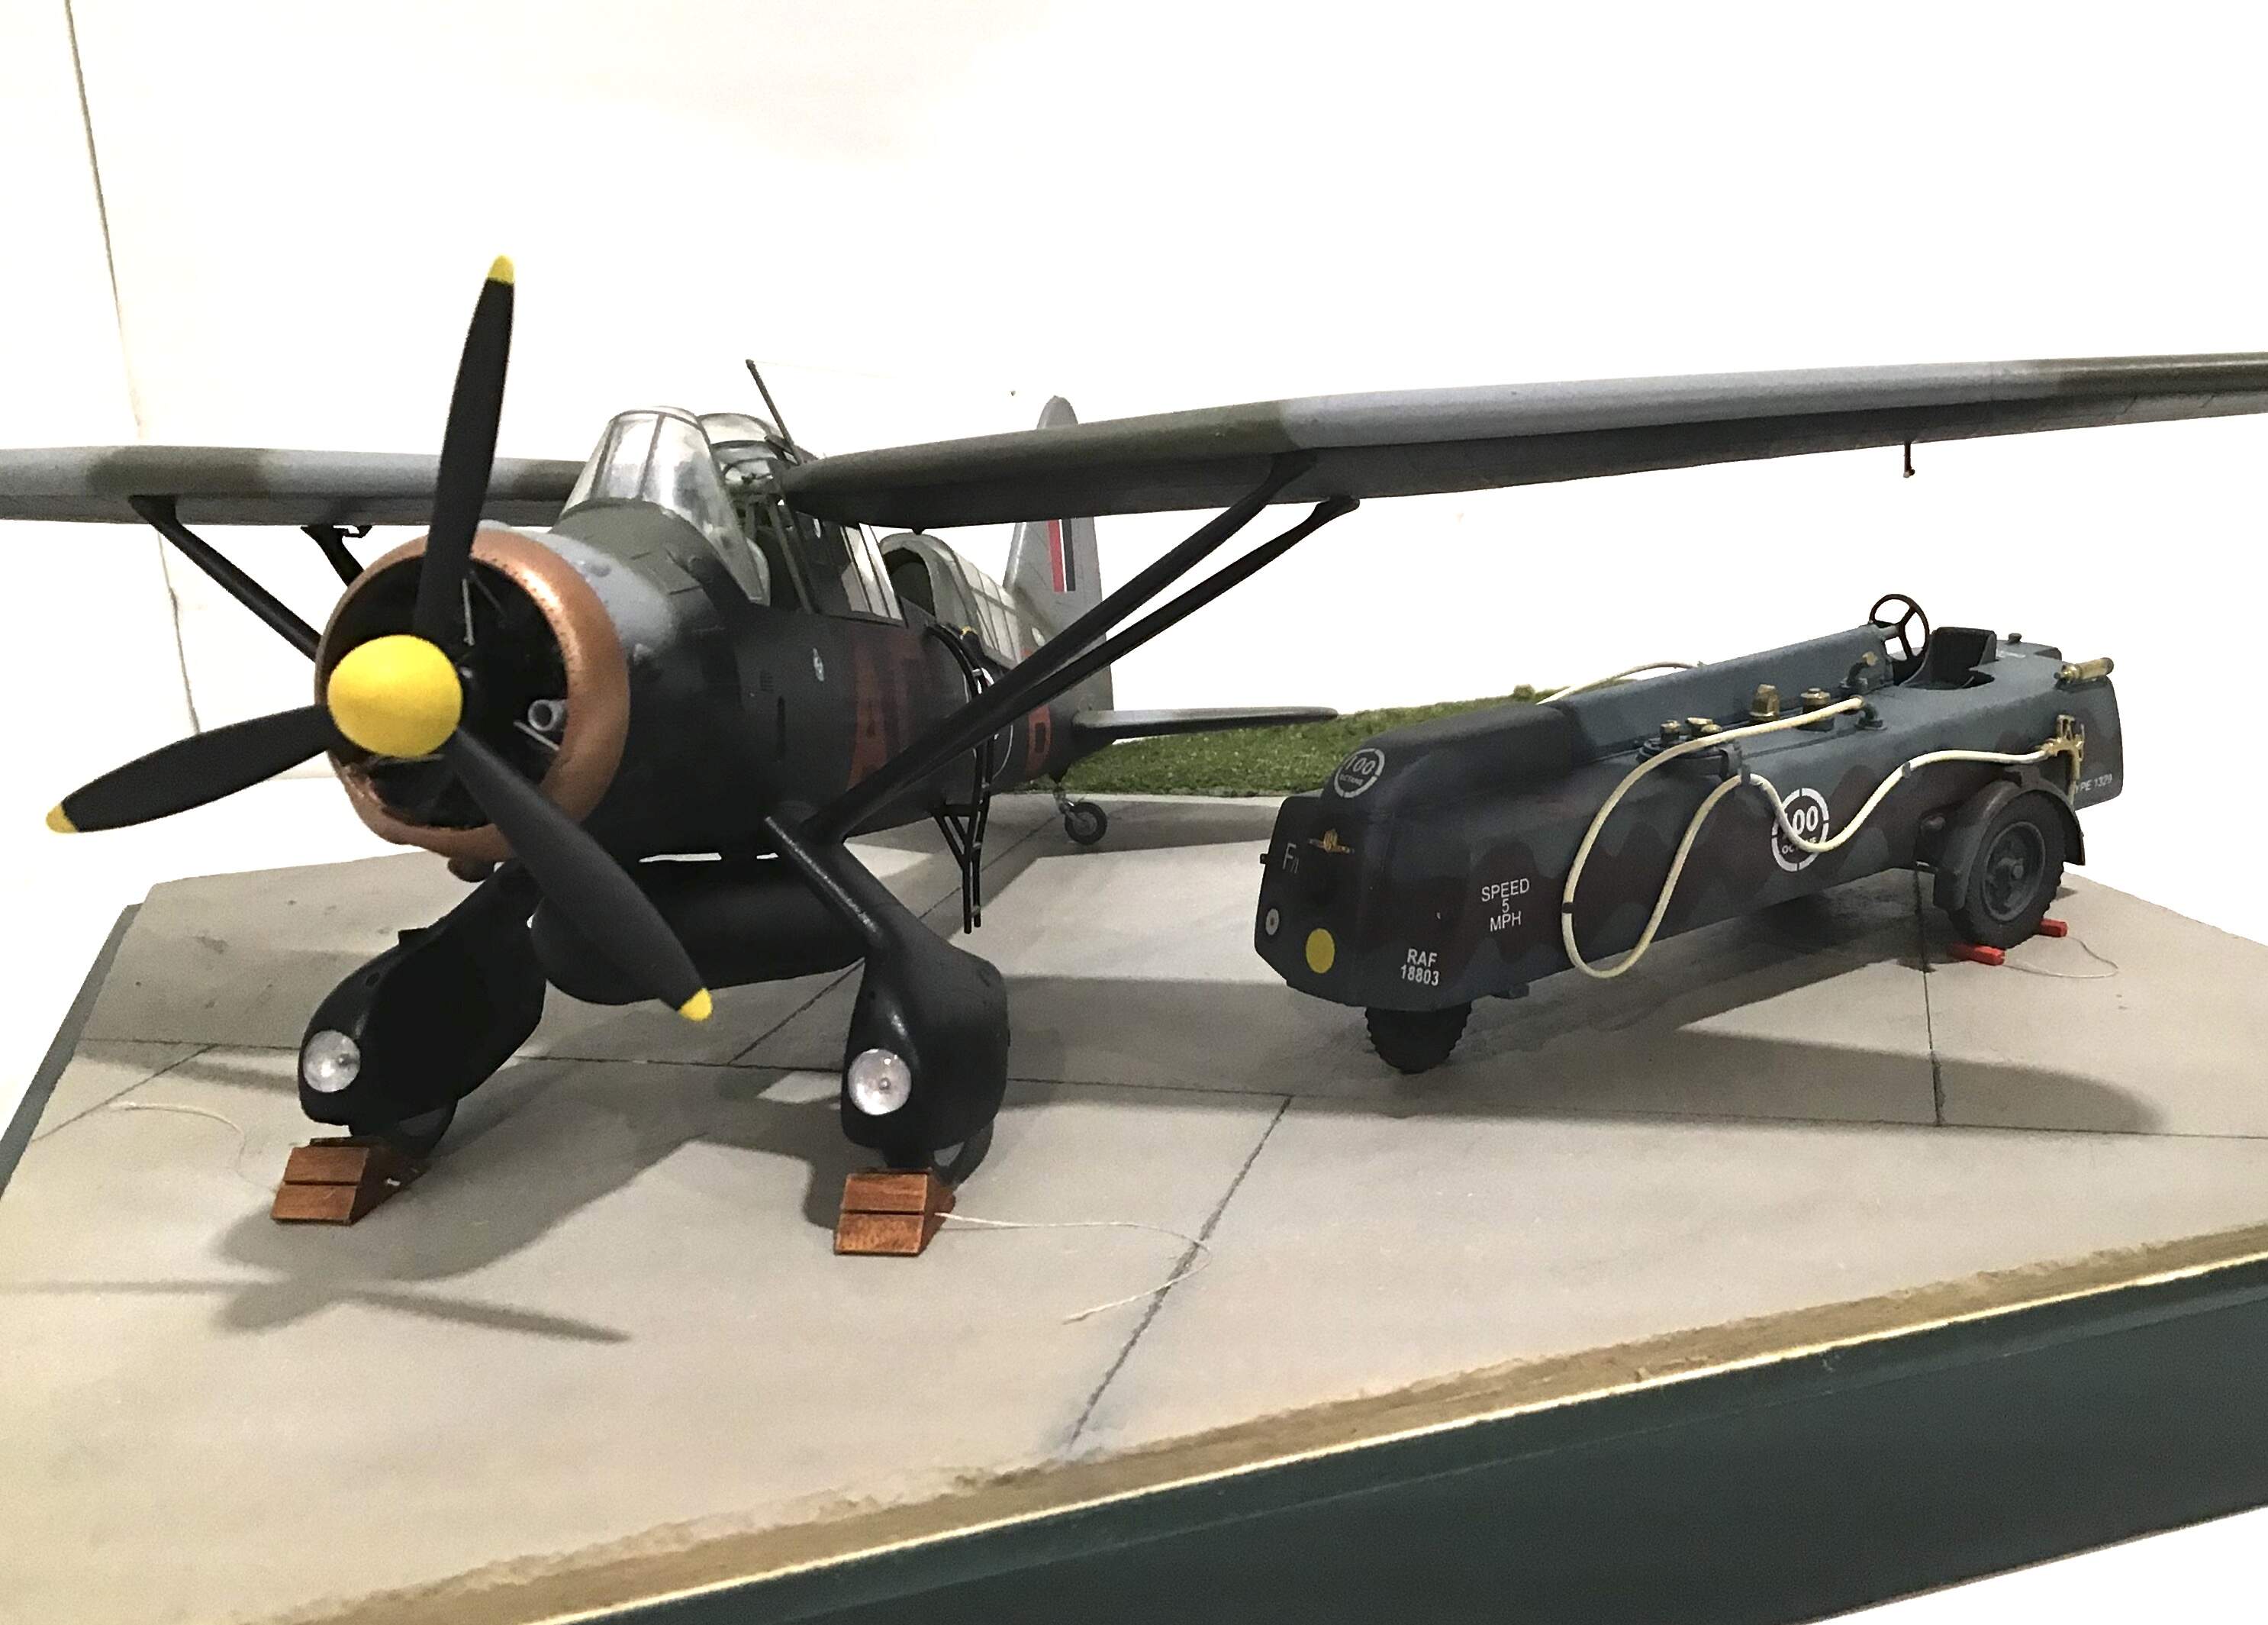
All of the clear canopy parts on this Lizzie were thinned down by sanding down the interior surfaces with increasingly finer grades of sandpaper and then polishing with Blue Magic .
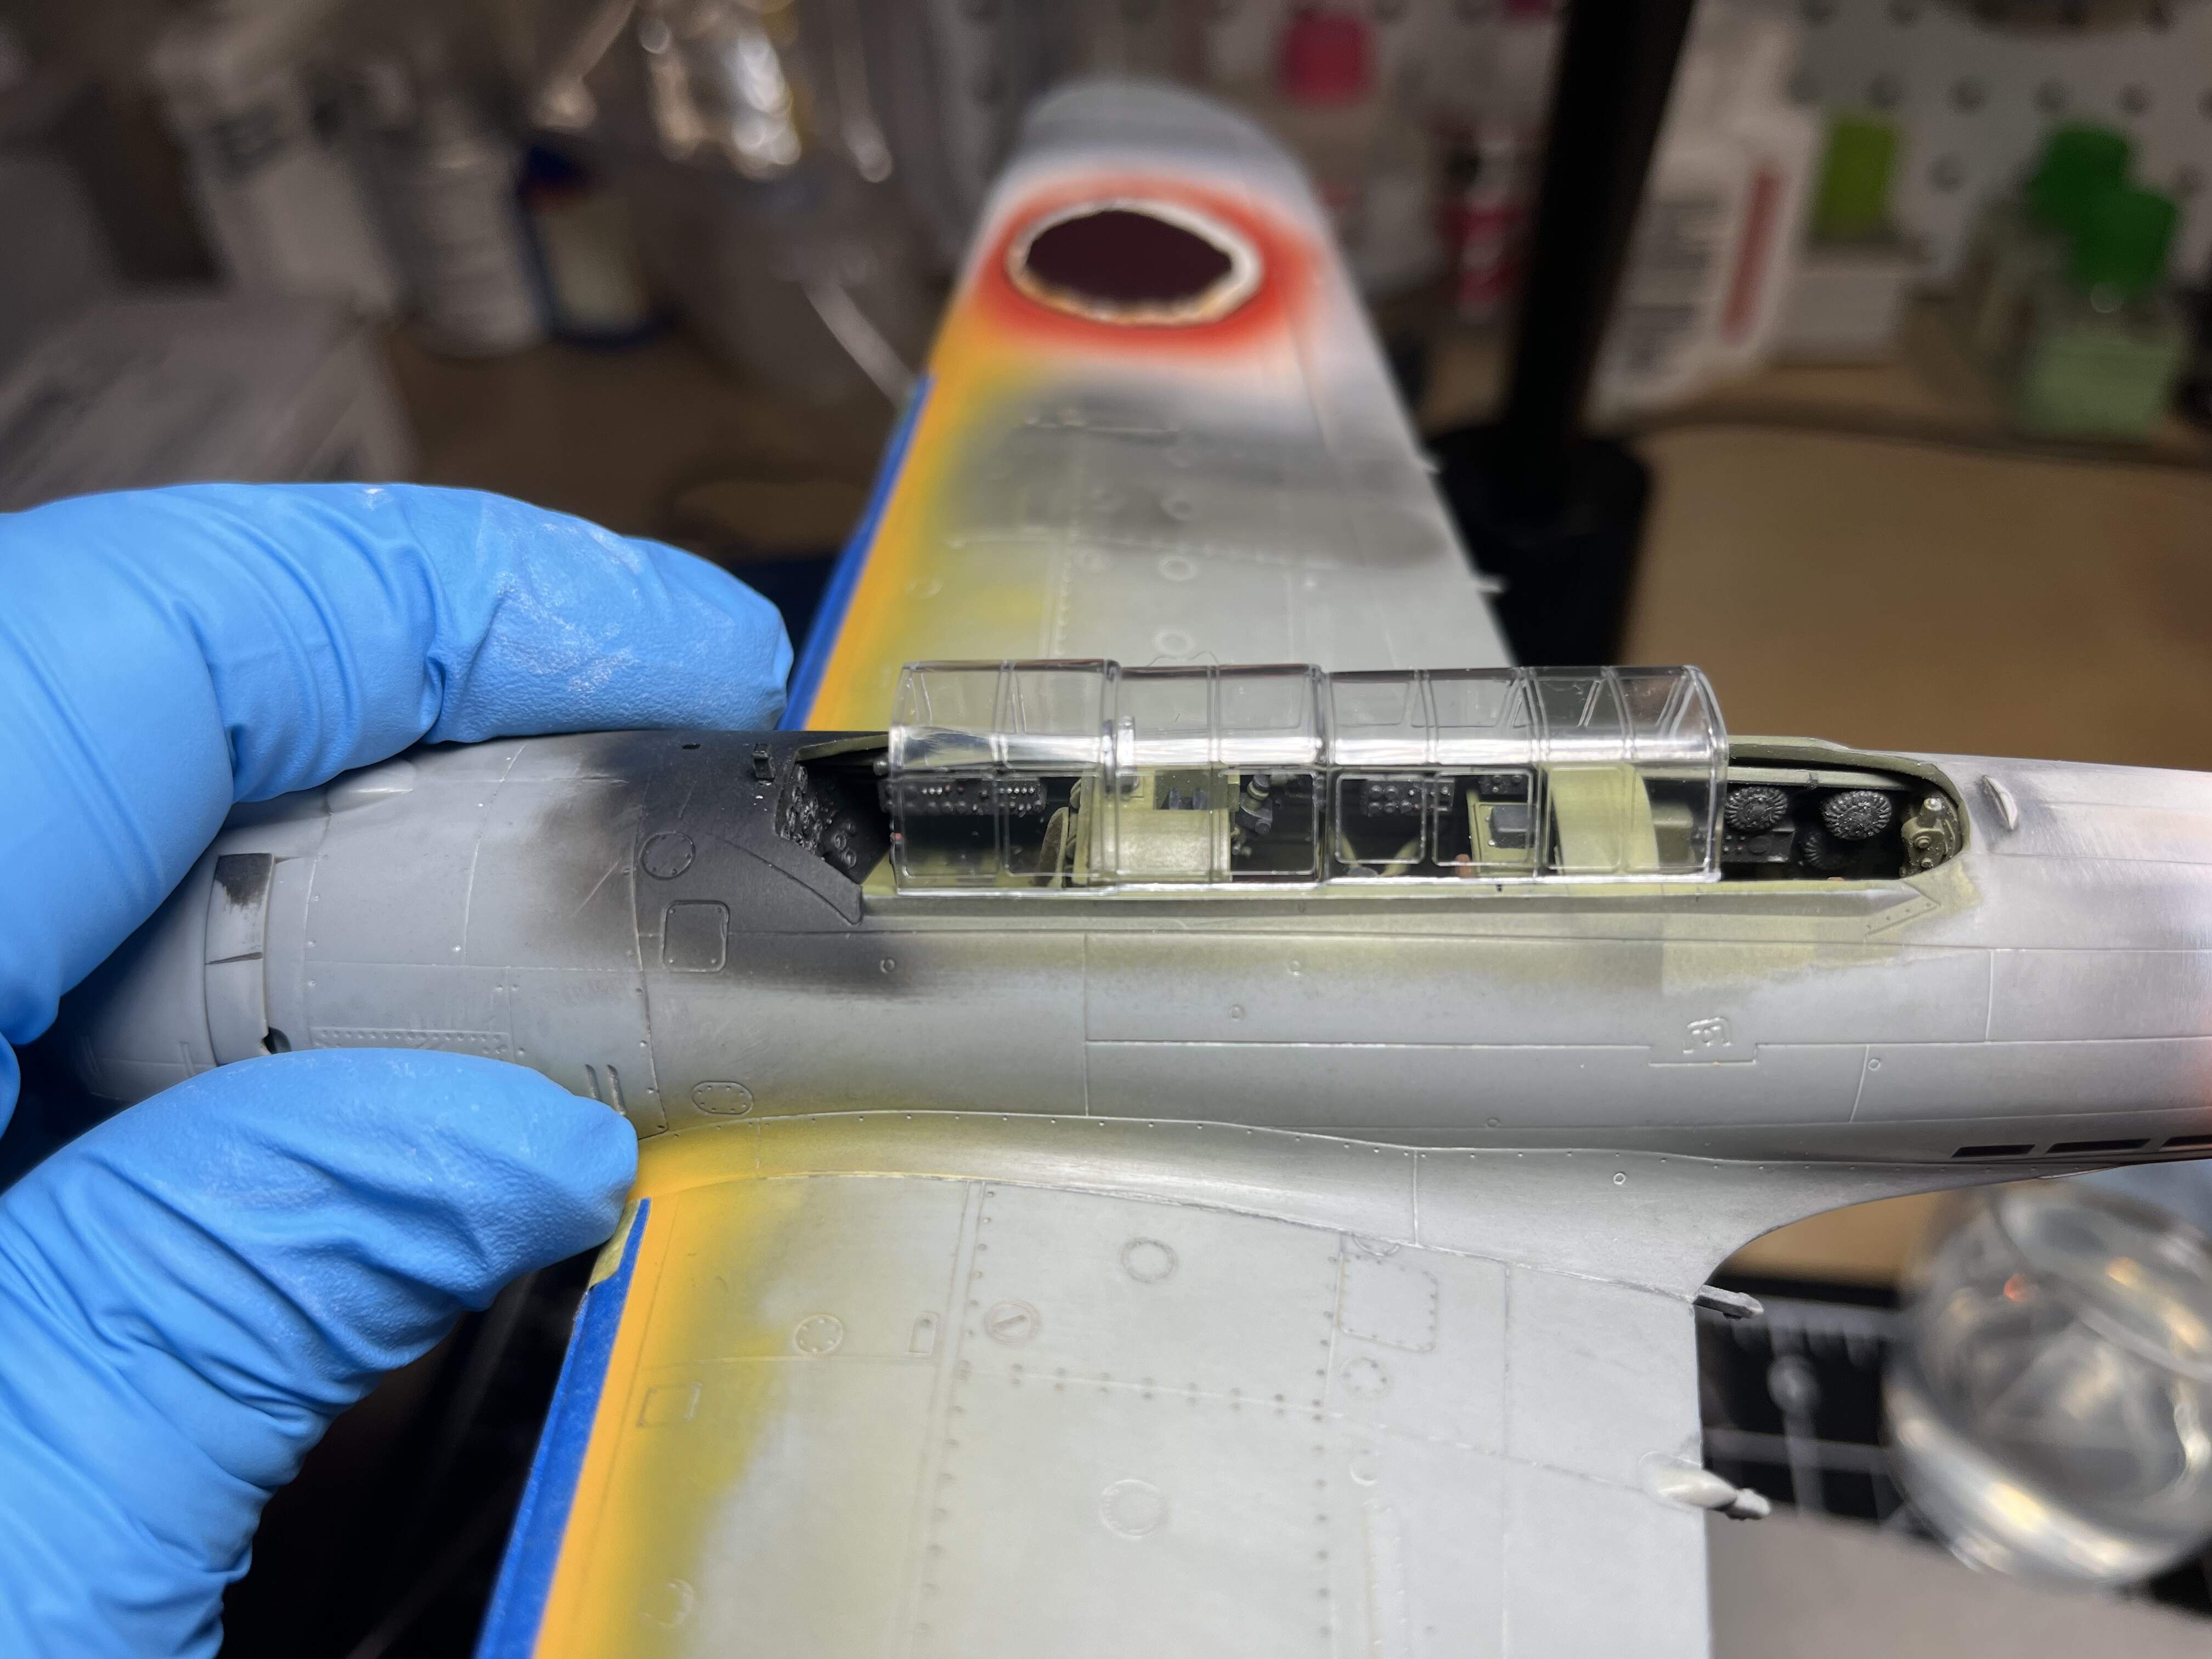
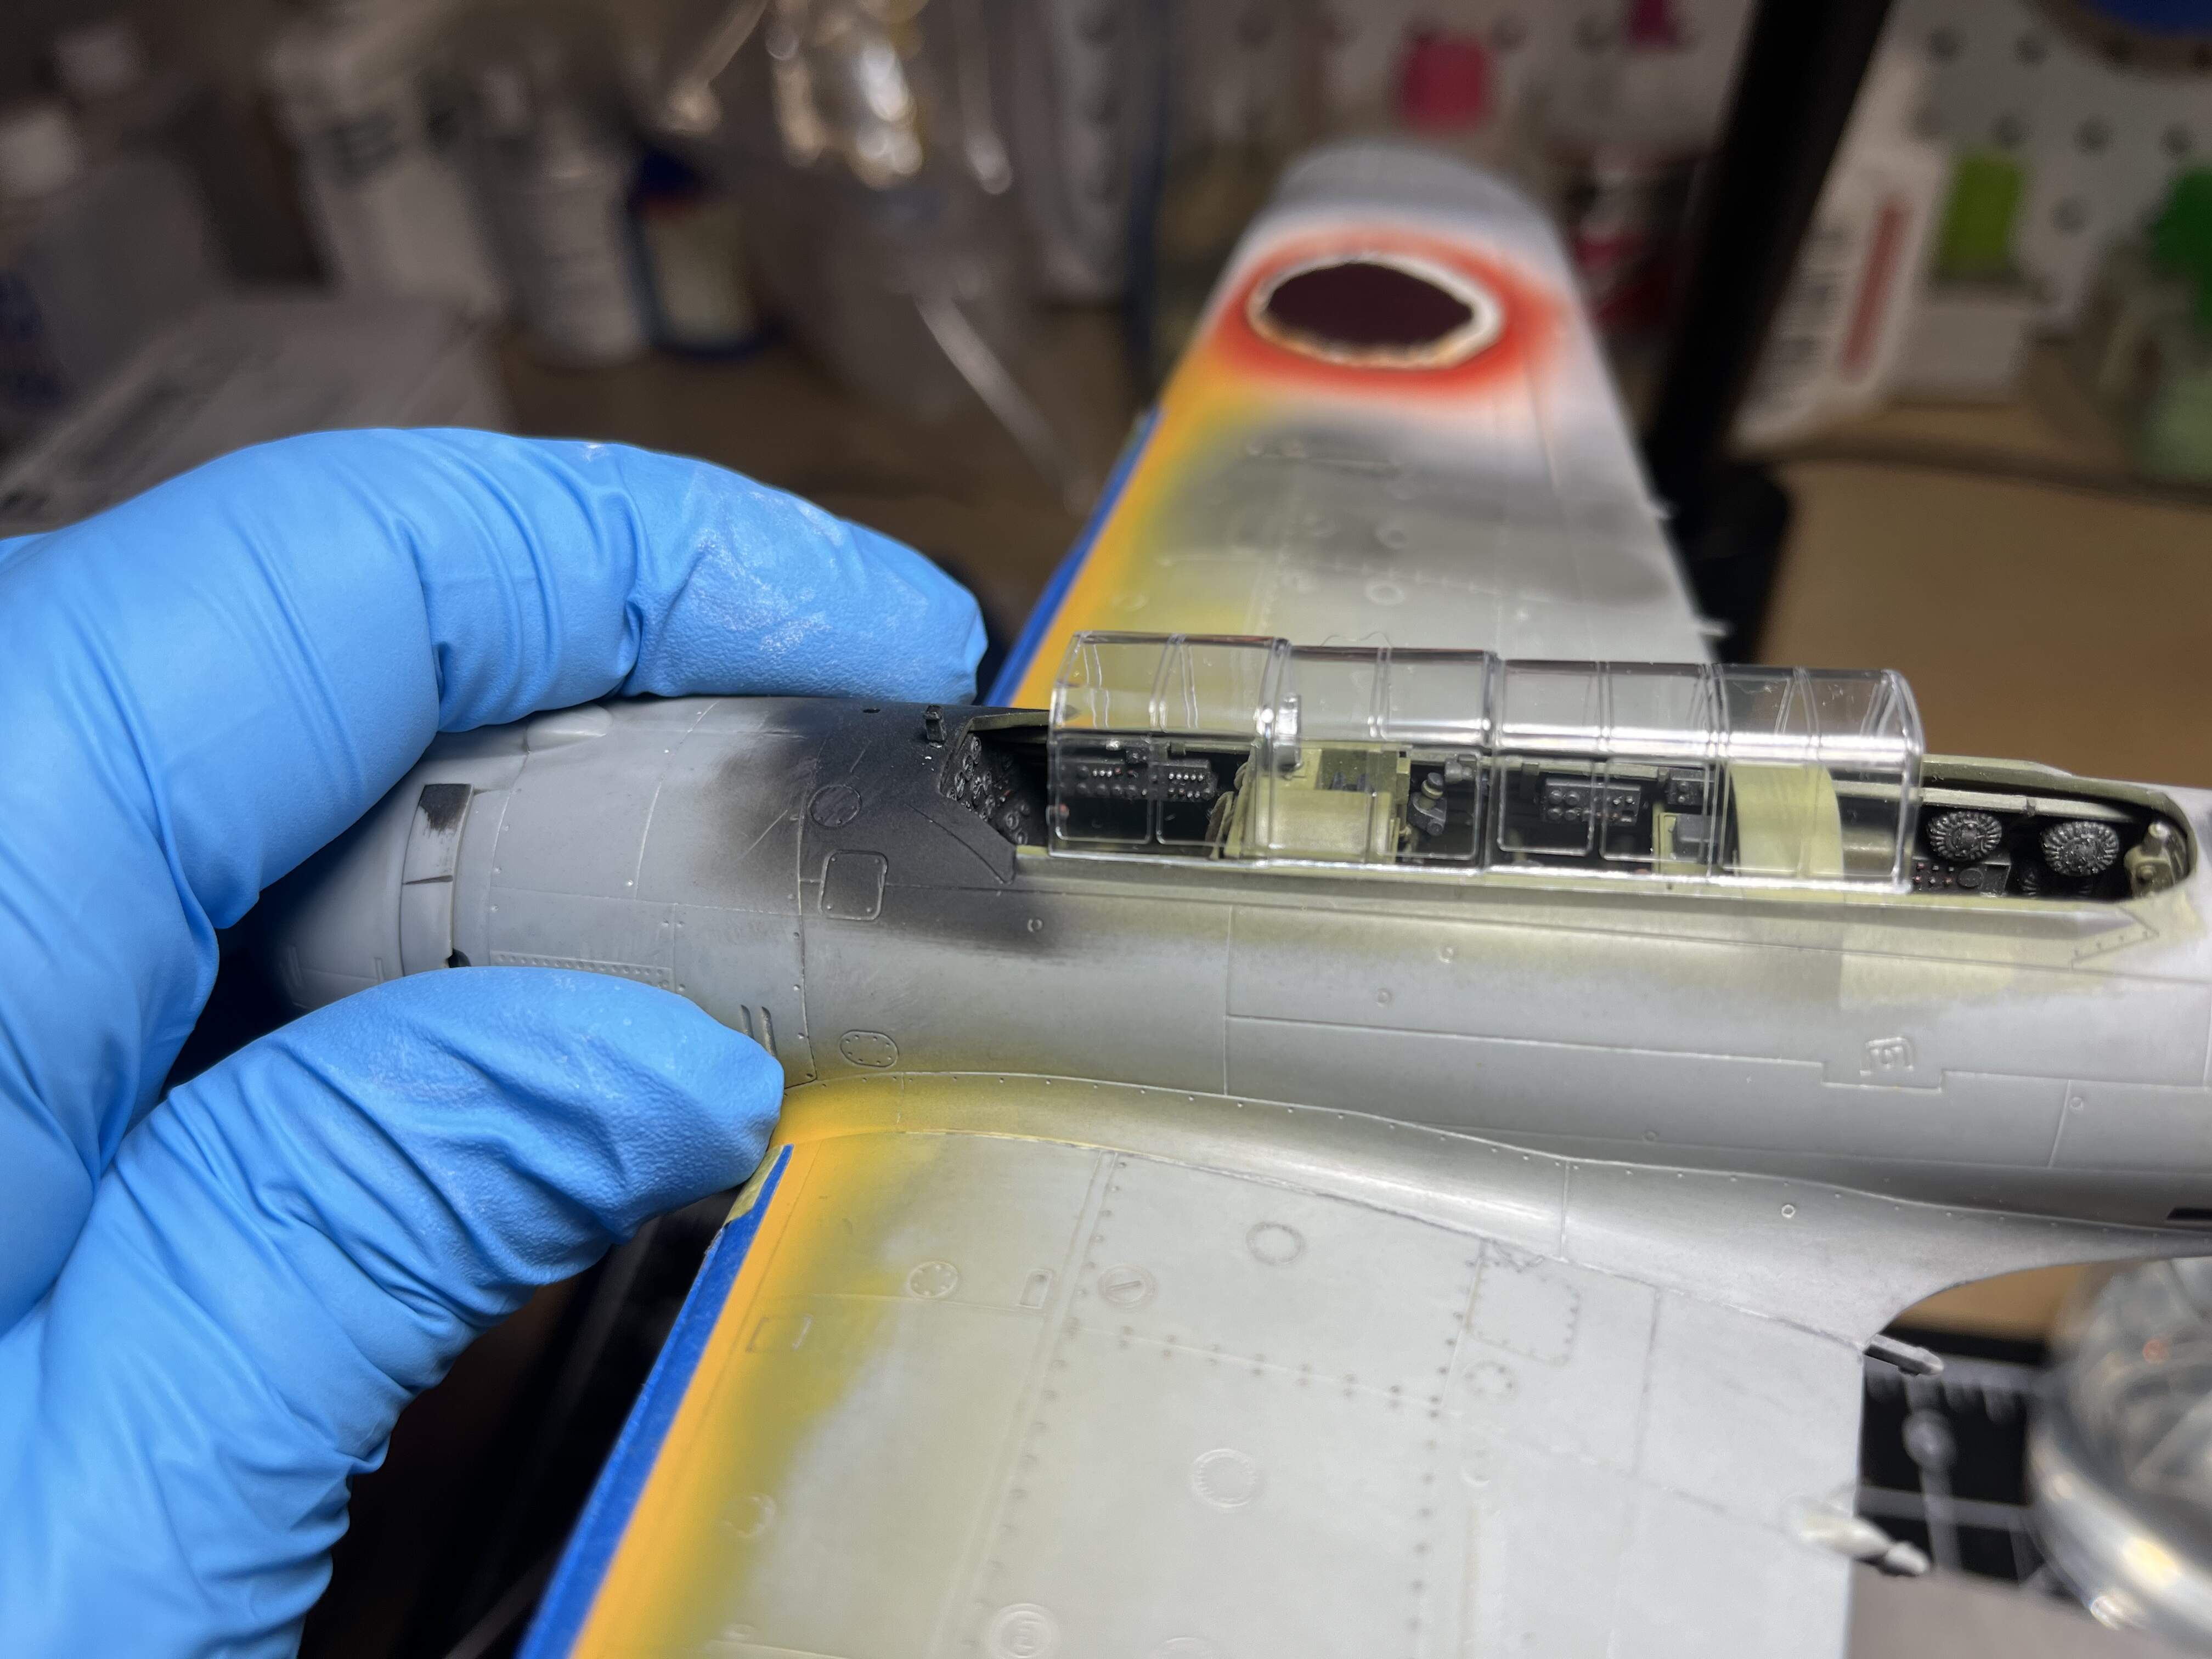
Alright, thanks everyone for pushing to persevere. I went back and did another round with the tamiya finishing compound and rubbed till it was gone.
I then got a brand new micro fiber cloth to buff out the compound. What I think was happening is the other cloth I was using has a little residue from the finishing compound that gets smeared while I buff. With the new cloth, the smearing is gone. There are still a few small scratches that can be seen at certain angles , but I am pretty pleased with where I am. Debating to do a little more polishing or let a sleeping dog lie.
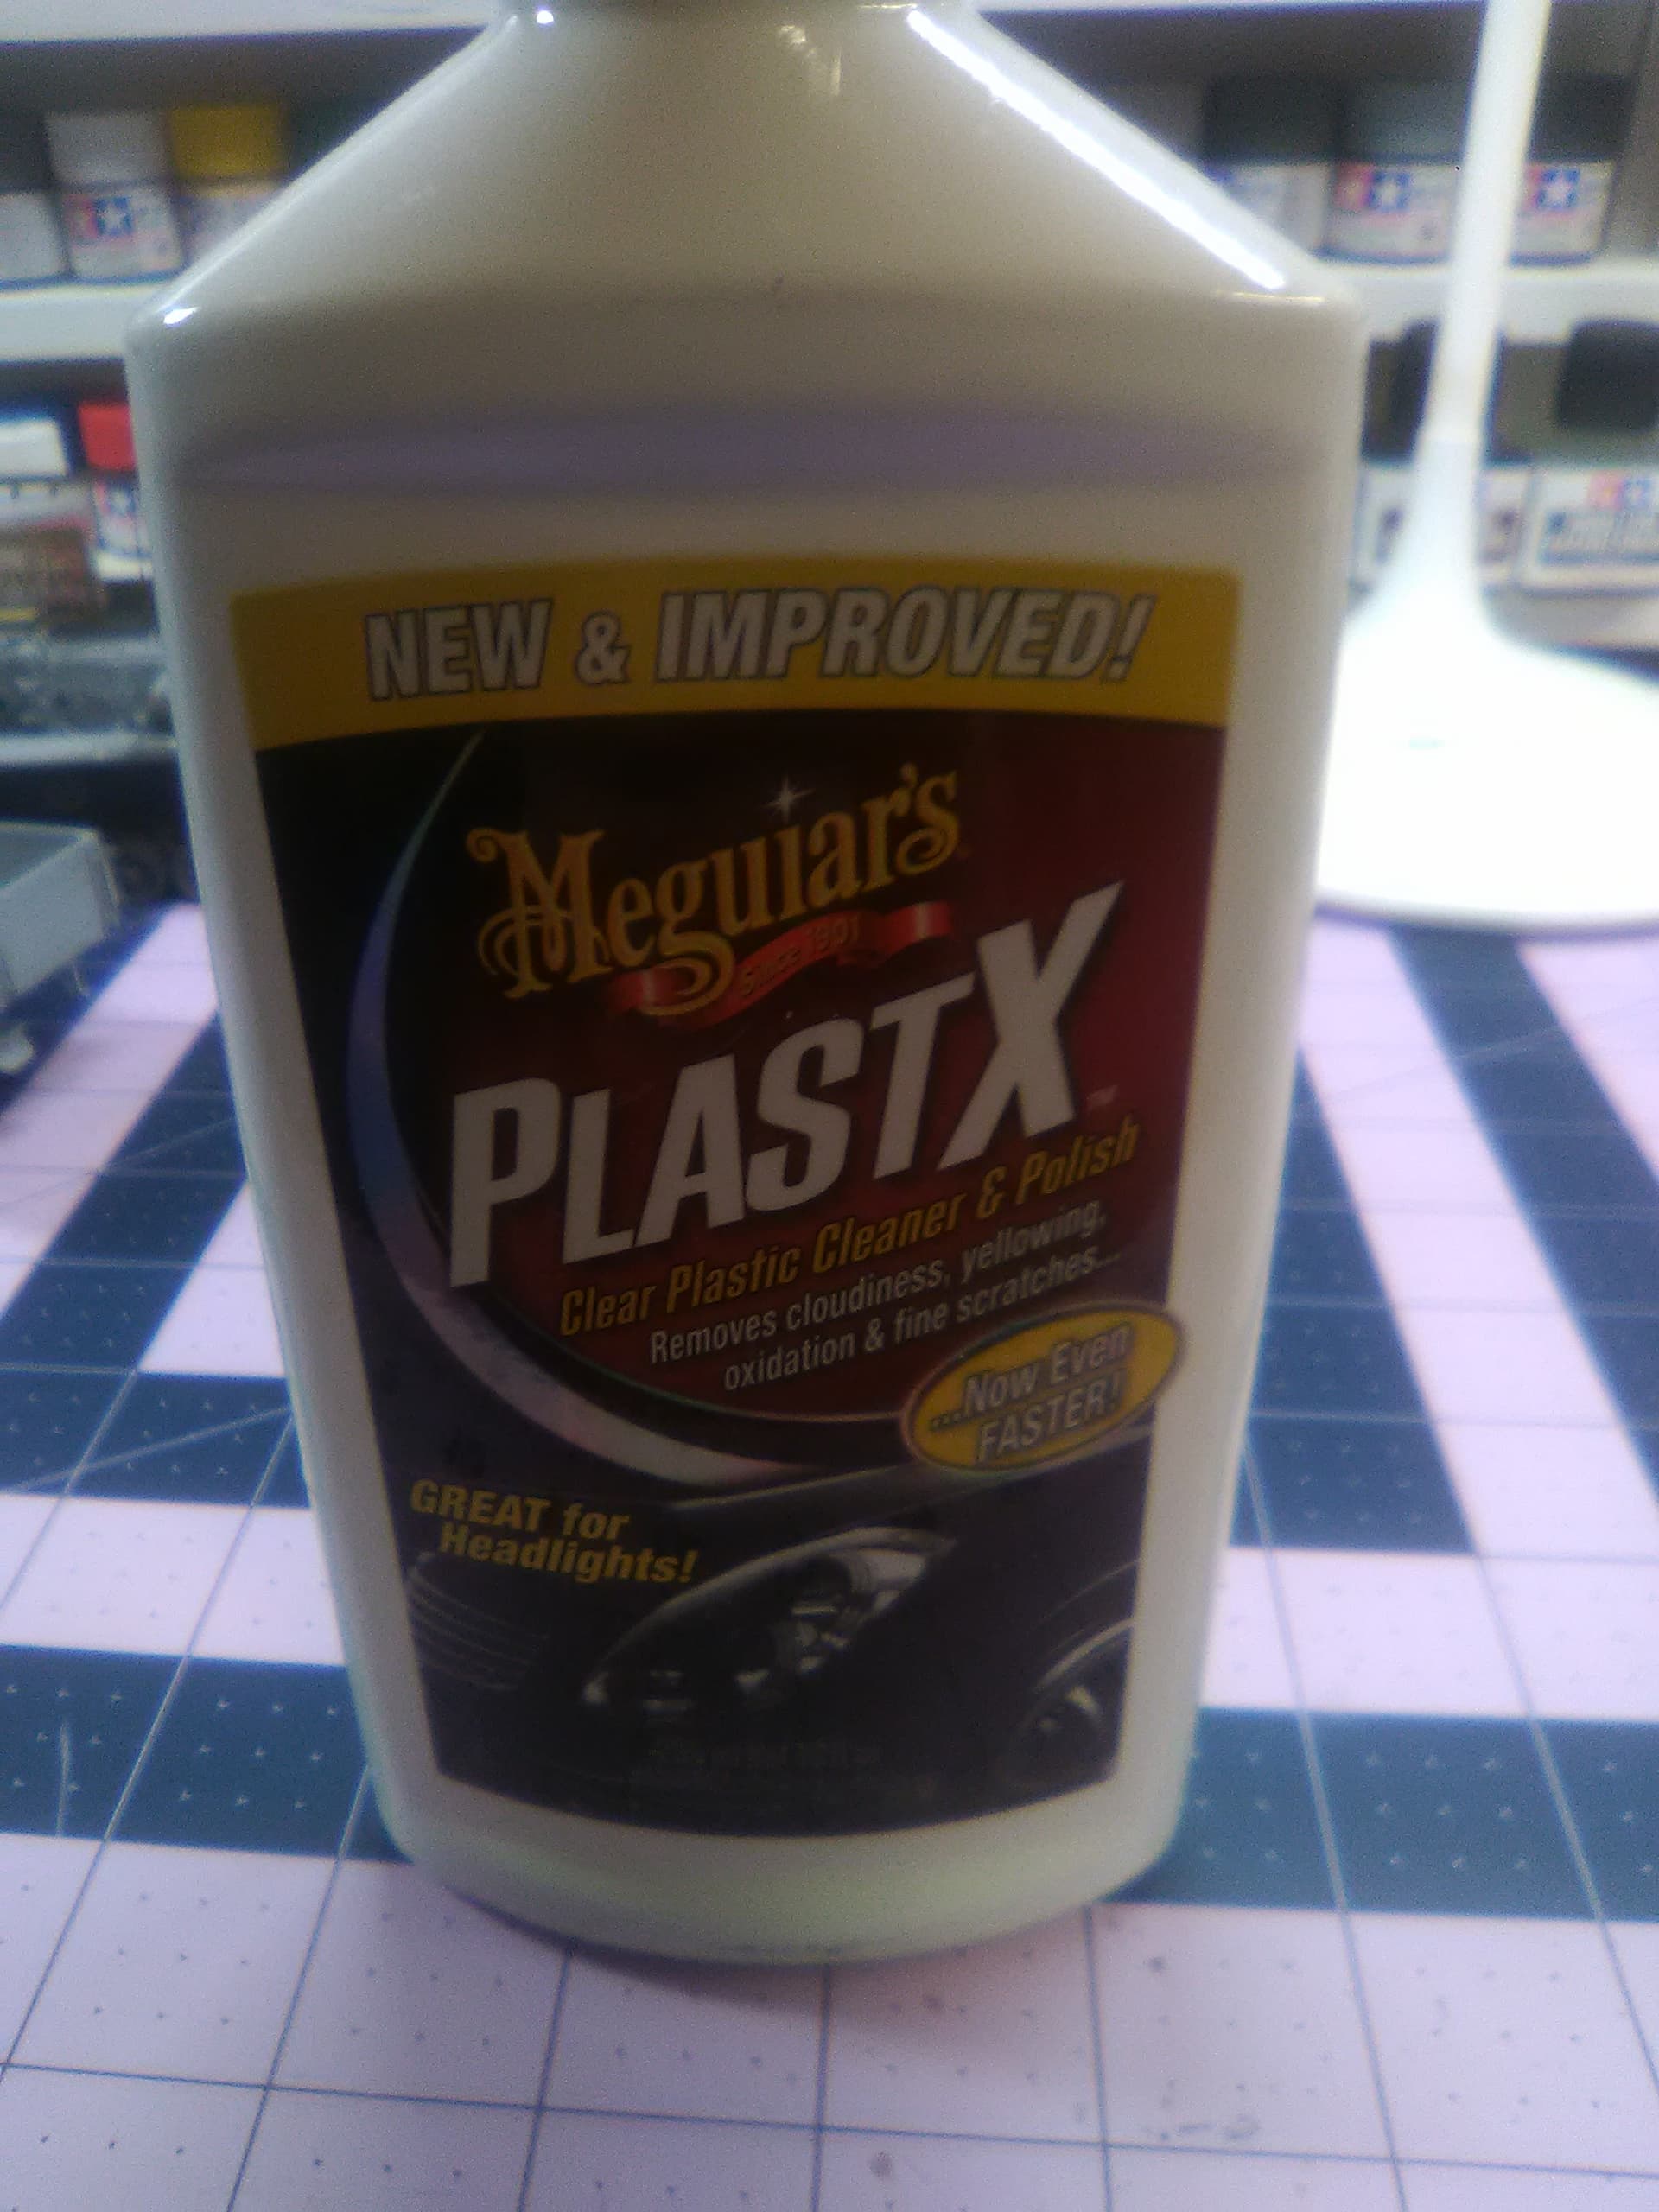
I used to clean up a seam that ran dead center of this Superhornet 1/48 canopy (I boned the kit up cause things happen), but this was the result sanding down and polishing using the Macquires above.
Good to know!! There is an auto zone close by. I got the tamiya stuff to work, but it’s expensive, so I’ll likely get the auto zone stuff when the tamiya runs out
Headlight restorer, I picked that hint up either here or in Fine Scale Modeler. When I first started sanding w progressively finer grit I was like ok, I blew this up big time. But by the time I started using this on it I was like “it’s magic”. I ended up mucking it up glueing the inside rails on and got a bad scar from extra thin. Id suggest doing that type of stuff first then working the canopy over, mask, paint and then you ought to be good to go.