Pre dreadnought battleship Mikasa of the Imperial Japanese Navy (IJN) 1:200

Hi Tommy, I missed your post yesterday.
So I think they are correct. Here’s a picture of the sets I have.

The left sentence is supposed to be for Mikasa, the right one for my Yamato.
Do you see the different headgear?!

Here’s a pretty good picture of a sailor on the deck of the Mikasa. I think that fits.

3 Likes

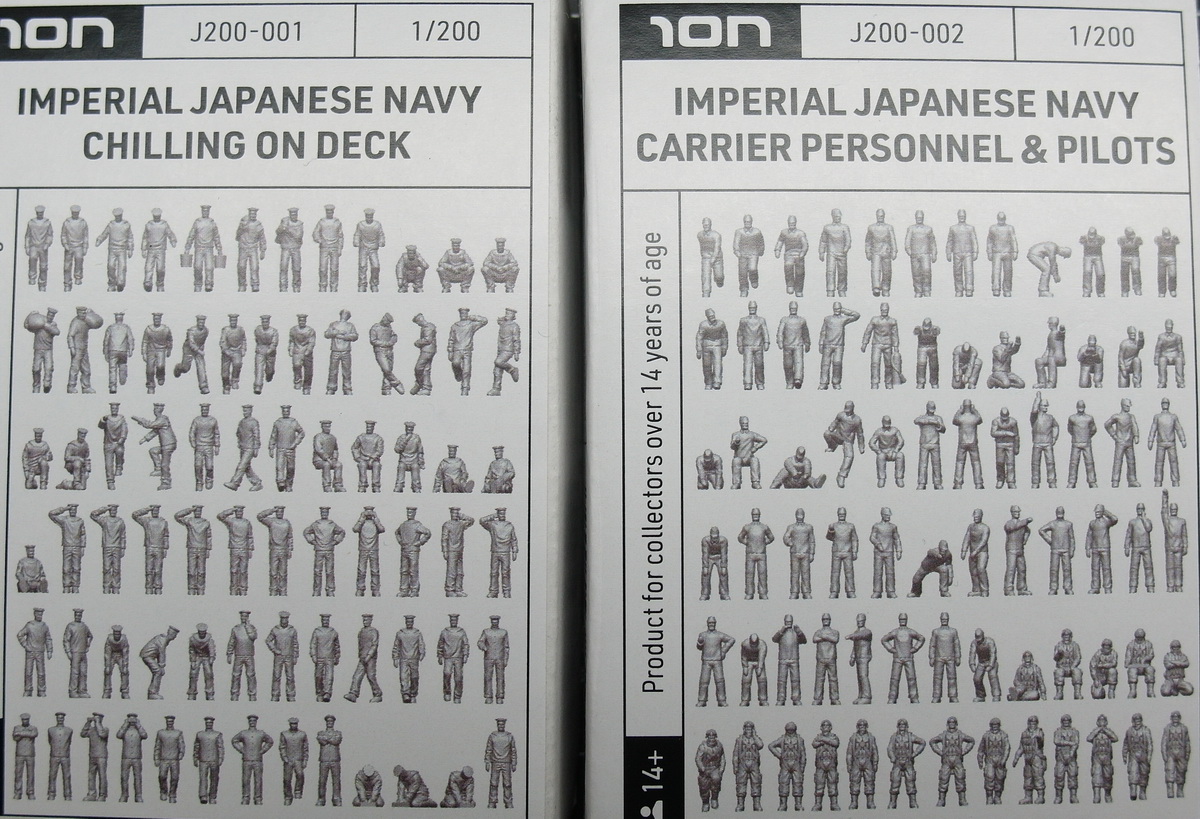
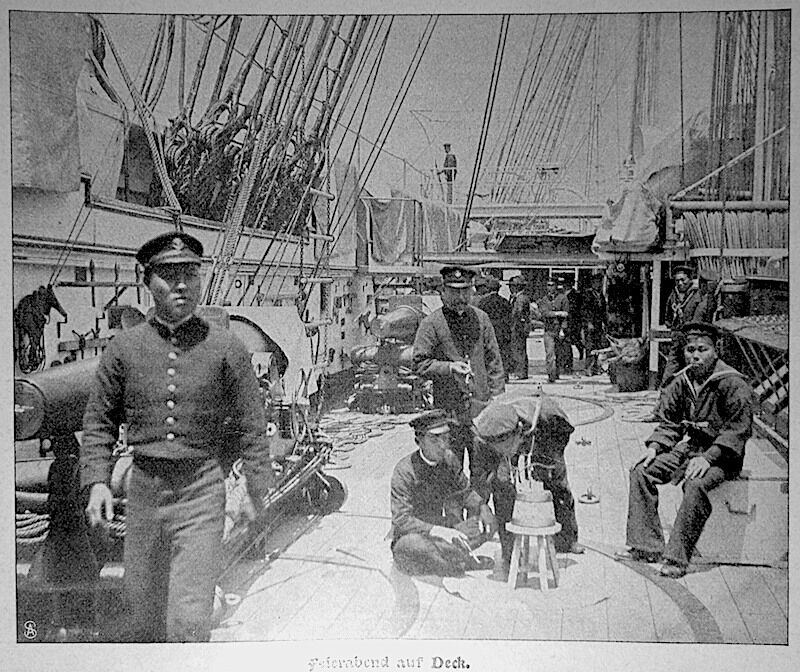
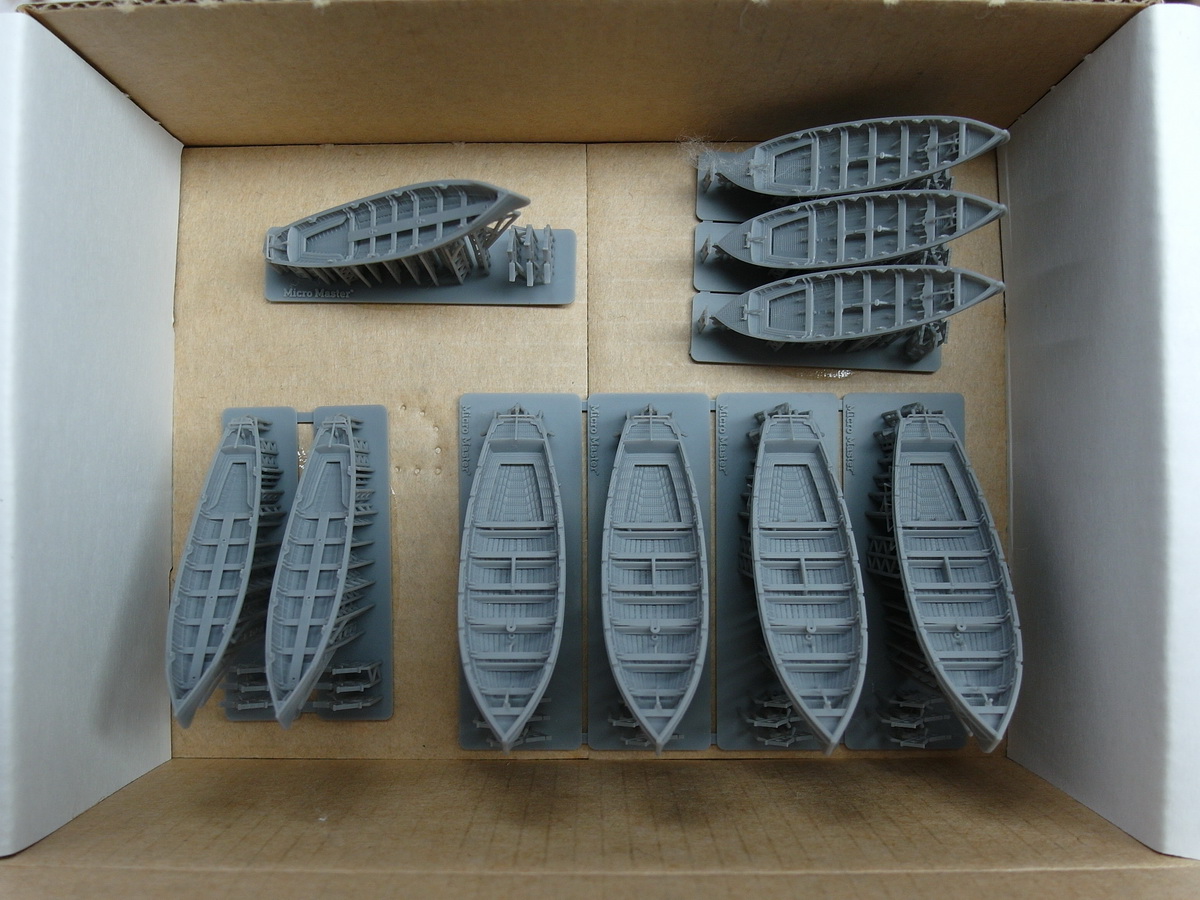
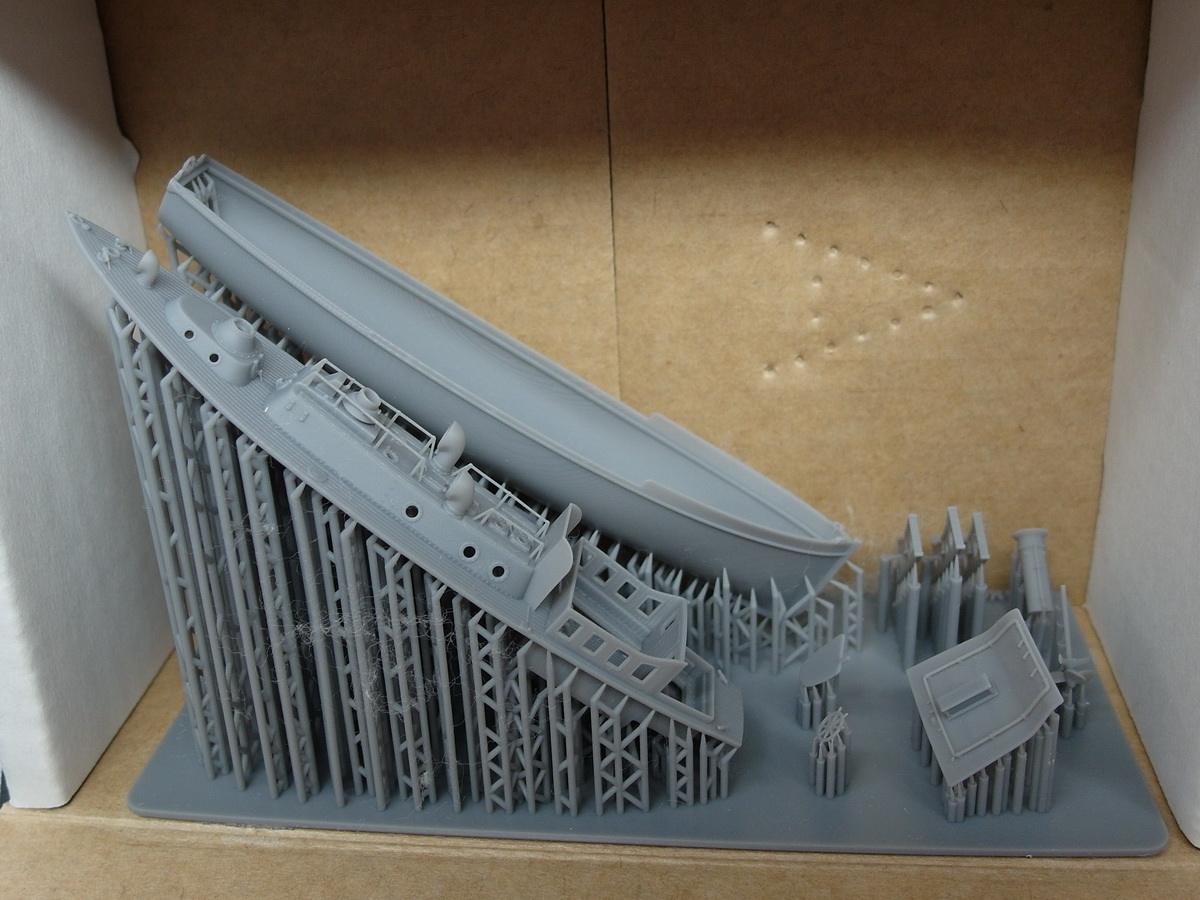
Thank you Jörg for the picture. Yes indeed it seems to fit for that era, too. You :index_pointing_at_the_viewer: are guilty when my wallet will bleed again with your ideas of figures and these Microscale 3d printed boats; must have these, too :thinking:! How many of these small open cutter without persenning are you planning to display?

1 Like

Guilty as charged Thomas. :innocent:

All. :grin:
But I don’t know yet whether I’ll cover the boats in the davits with a homemade tarpaulin. I’ll see about that then.

But there is still a long way to go until then.
First the basics.
Let’s glue the fuselage together.

Next, drilled holes for the stand nuts.

Neatly glued in with two components resin. Just like the internal structures to stiffen the torso.

This time I treated myself to the elegant stands from Pontos. Look really great.

Then the first lower deck comes into the hull. Now it is really very stable.

Next, the holes for the crampons. Nice straight through the drilling templates from Pontos.

And the usual drilling out of the portholes.

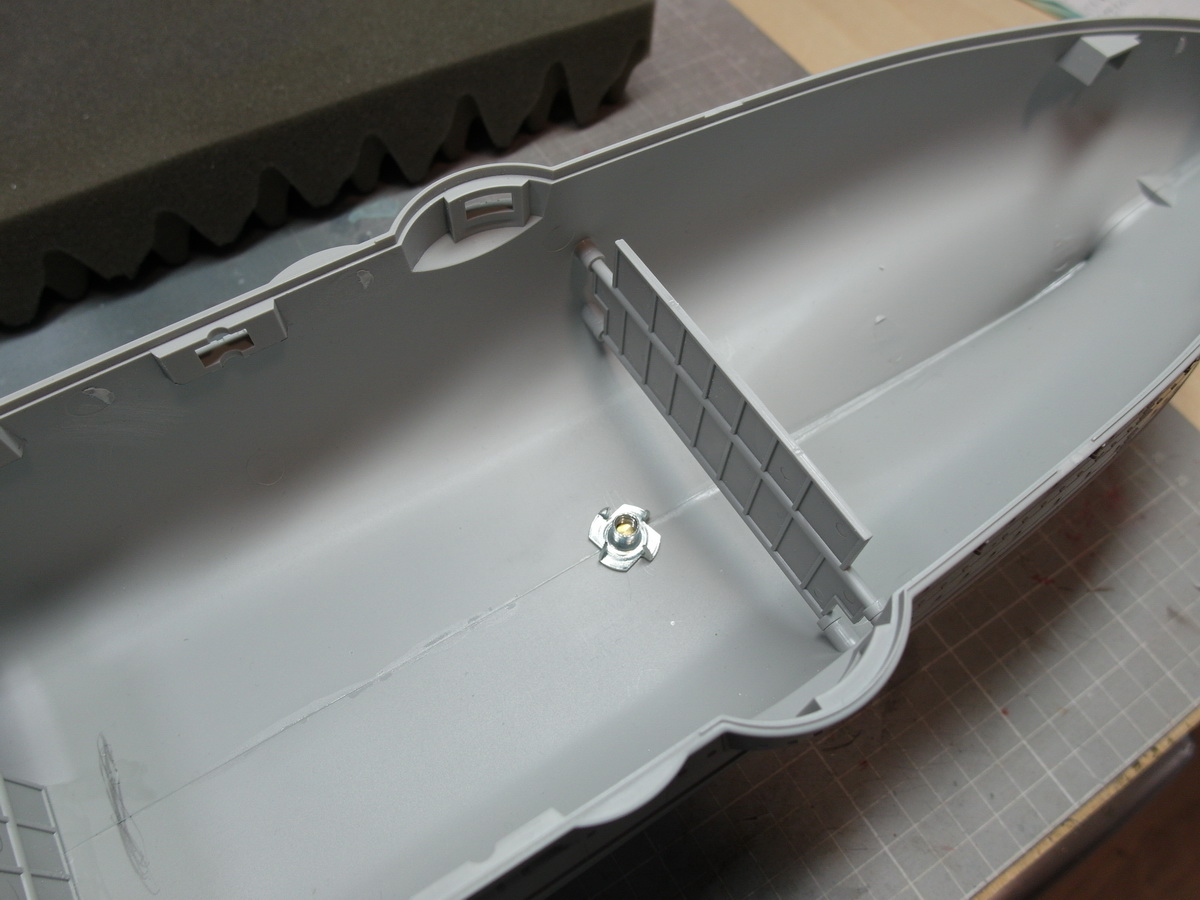
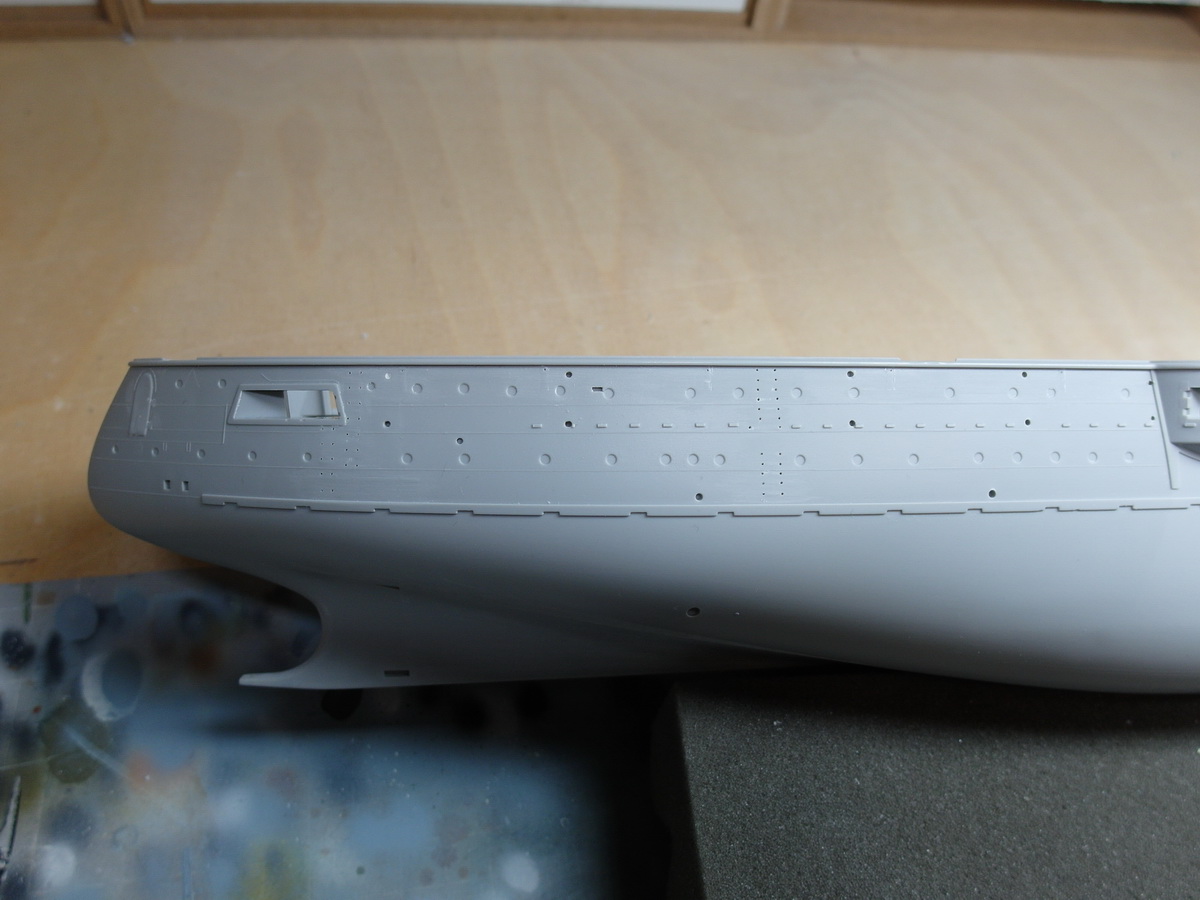
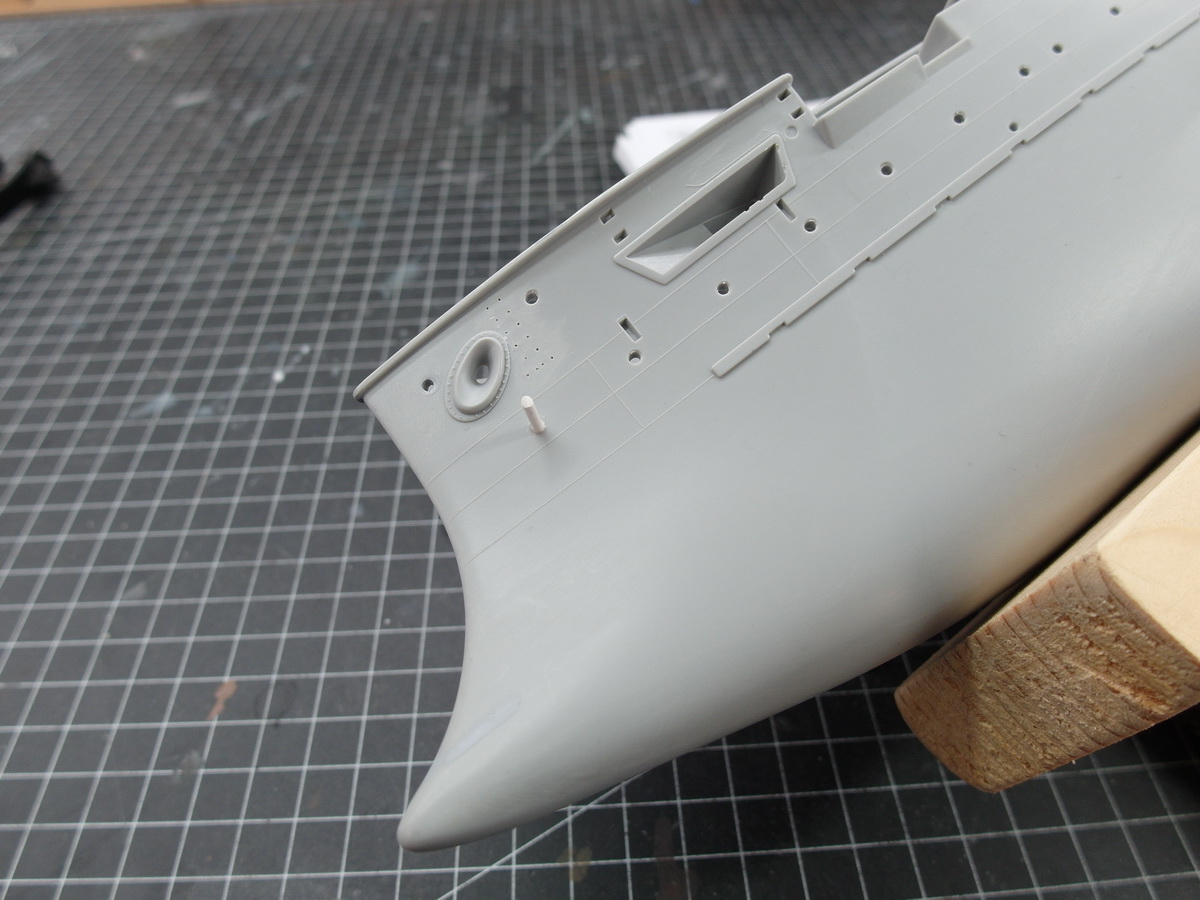
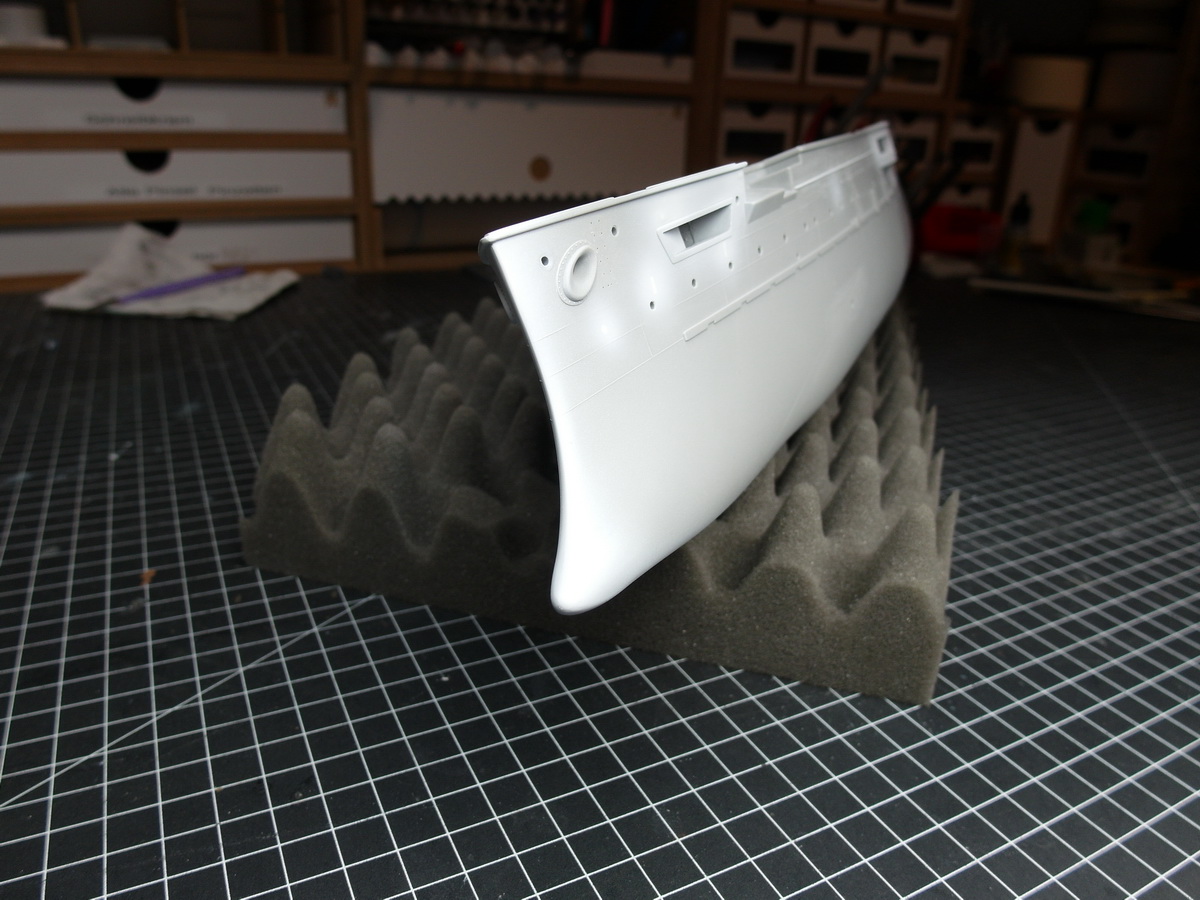
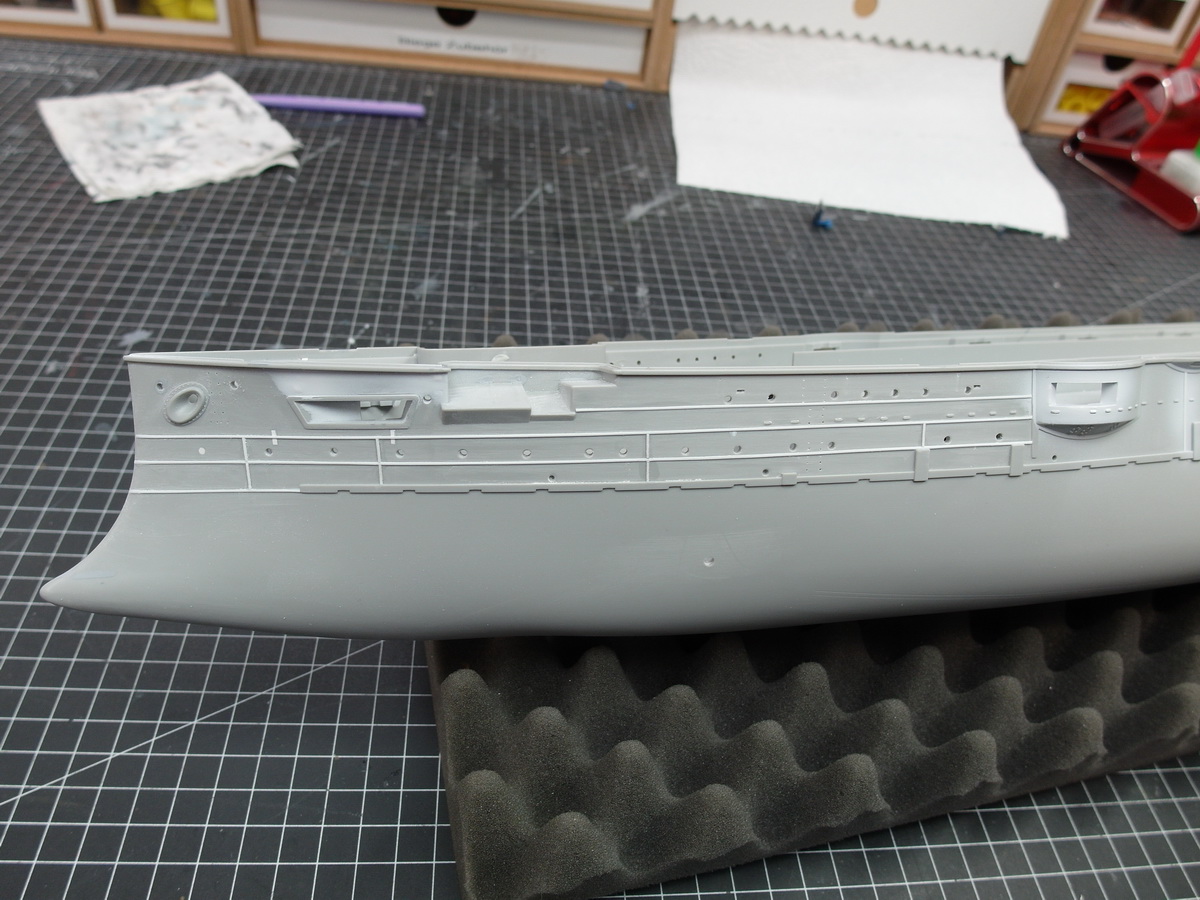
After researching the few images available, I noticed that the porthole that sits on the model below the anchor hawse did not exist.
This was then closed with a round styrene profile.

Filled and sanded.

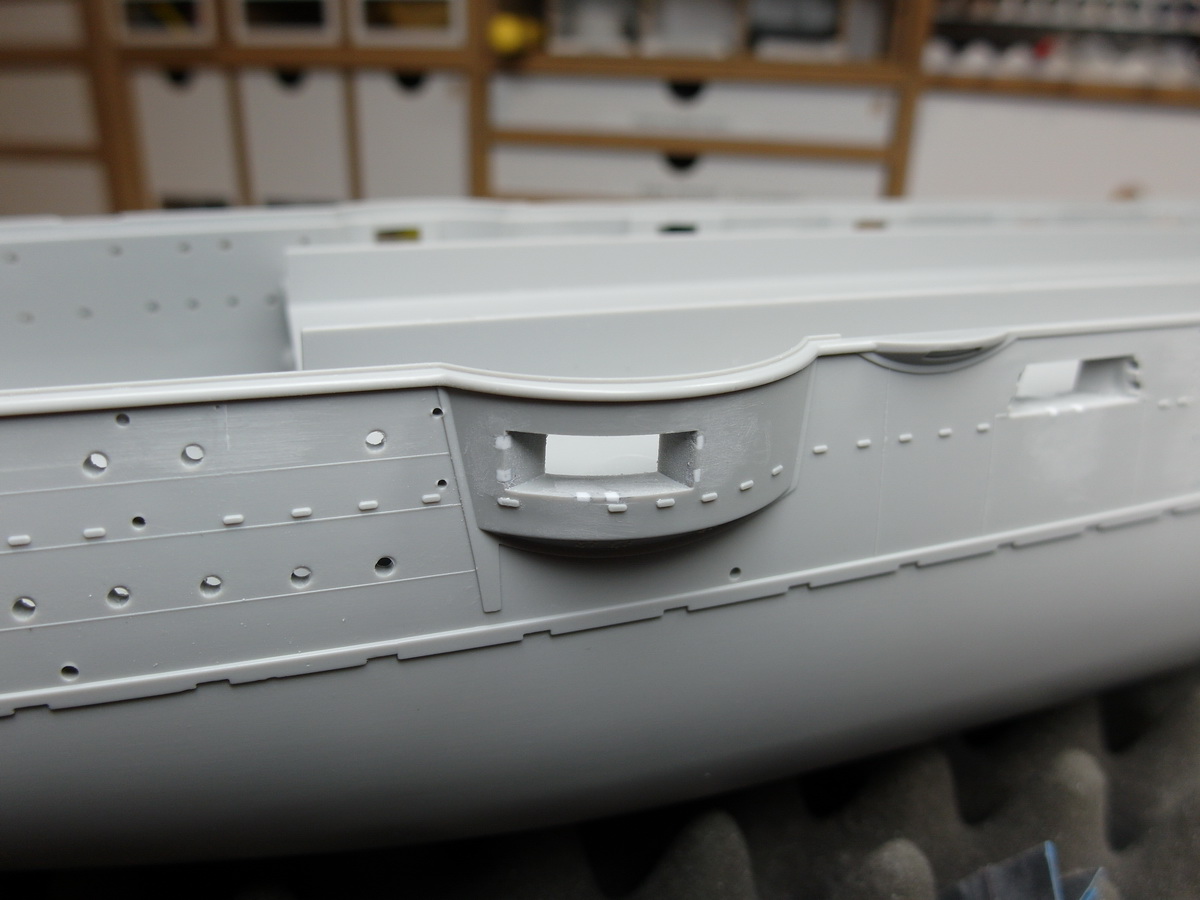
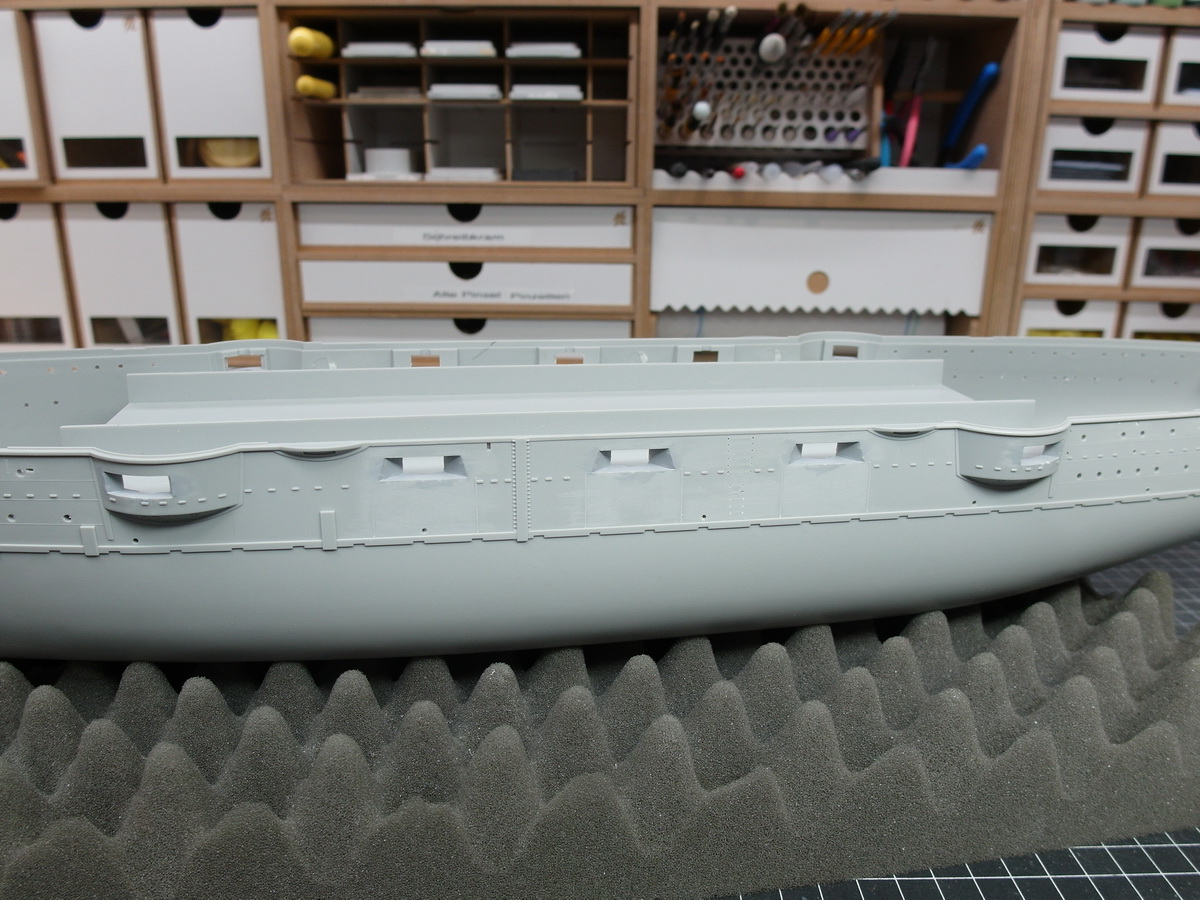
Another mistake that needs to be corrected. Merit made recesses in the fuselage to accommodate the etched piece gunports from the model in the correct location.
Since I’m using the pontos set here and the hinges of the gunport on the original ship were riveted onto the hull from the outside, I close them with styrene.

I’ll be busy with that for a while.

11 Likes

Lots of amazing detail work already … and you’ve only glued the hull together !!

1 Like

That’s probably true Johnny. I’ll definitely start to sweat if it gets more complicated.
I think my Bismarck, on the other hand, was a child’s birthday party. :partying_face: :sweat_smile:

1 Like

…and he’s out of the gate! Great start, that hull is already looking sweet. I’ll be watching with great interest. :blush:

1 Like

With that speed you will be finished in about two month :grin:

1 Like

It’s fine that you’re there too, Tim.

That would be nice, Thomas. But it’s actually a good thing that the ships always take so long. Otherwise I won’t be able to get into my apartment again for two years because of all the models.

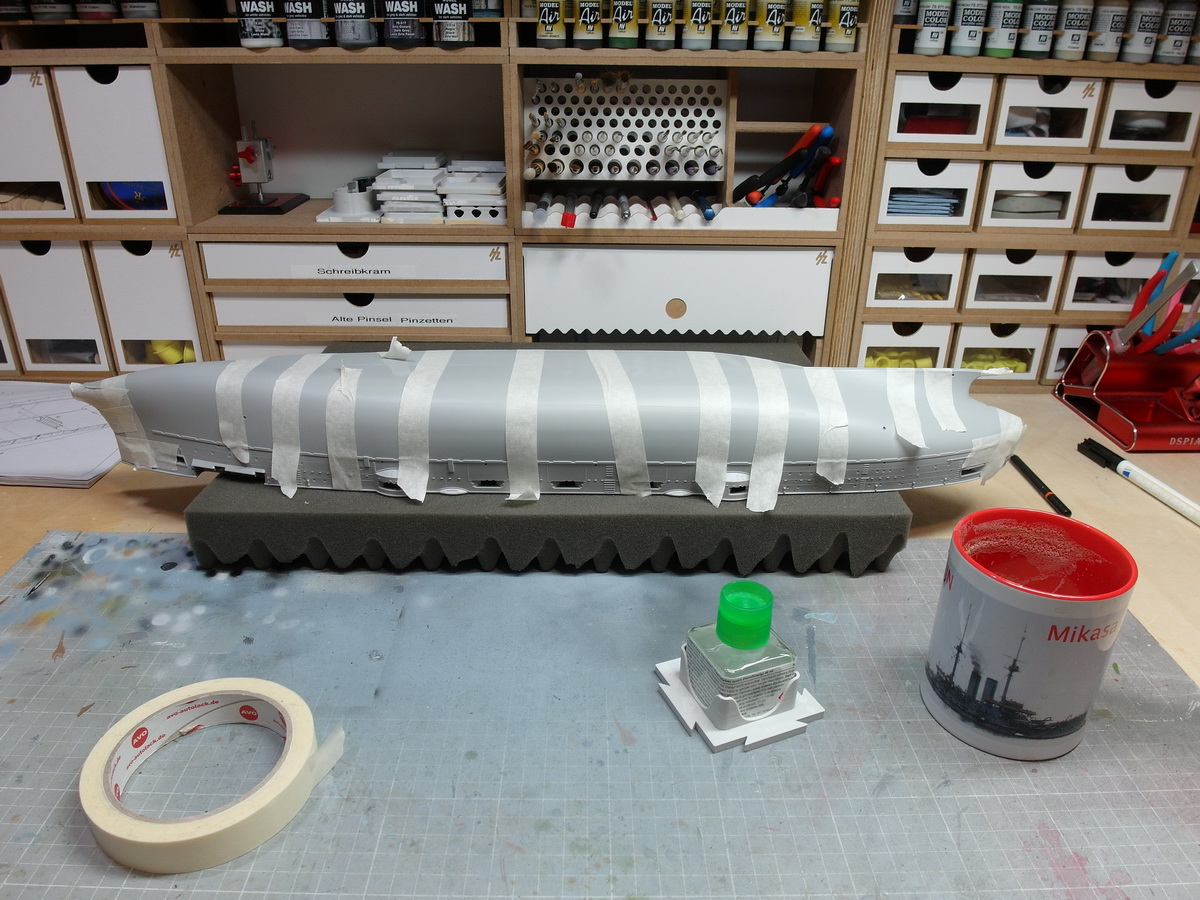
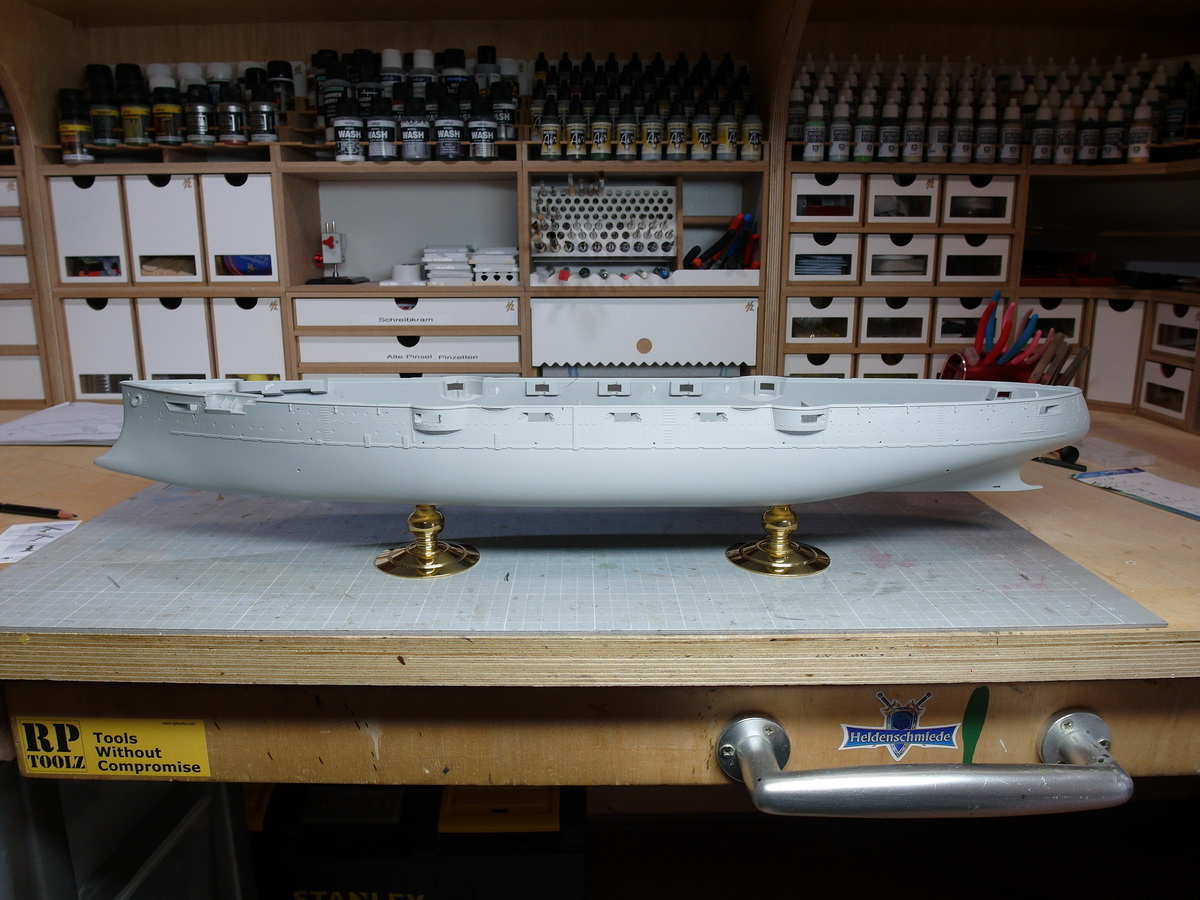
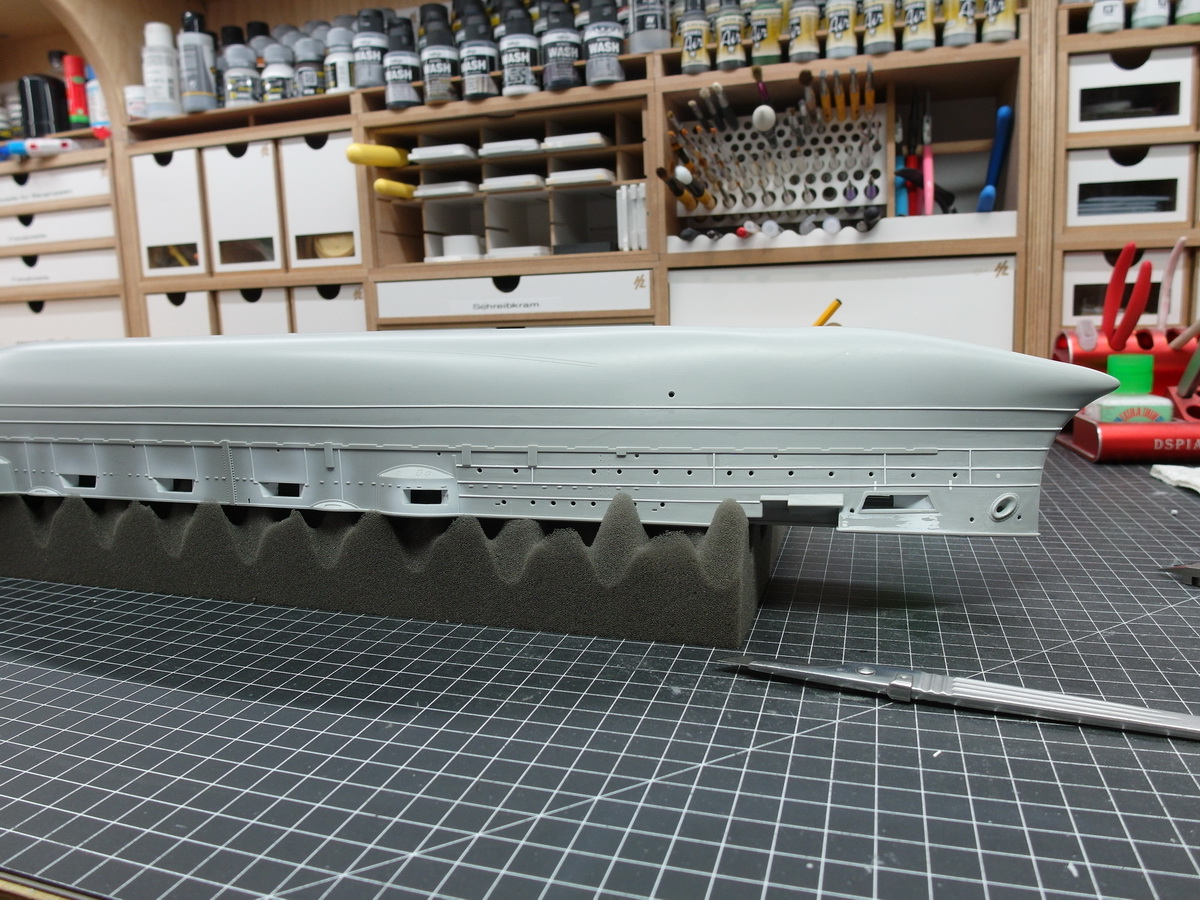
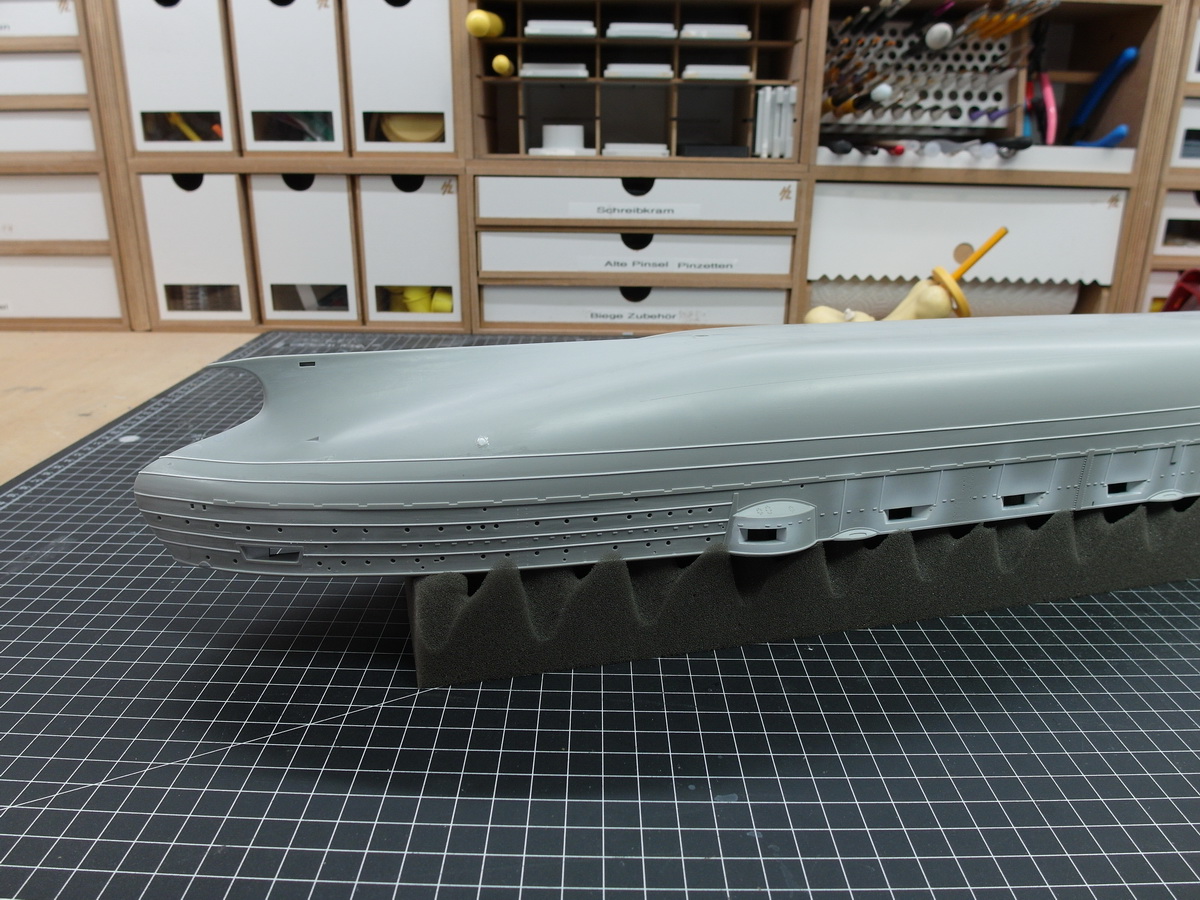
Continue working on the hull, which will probably take quite some time.
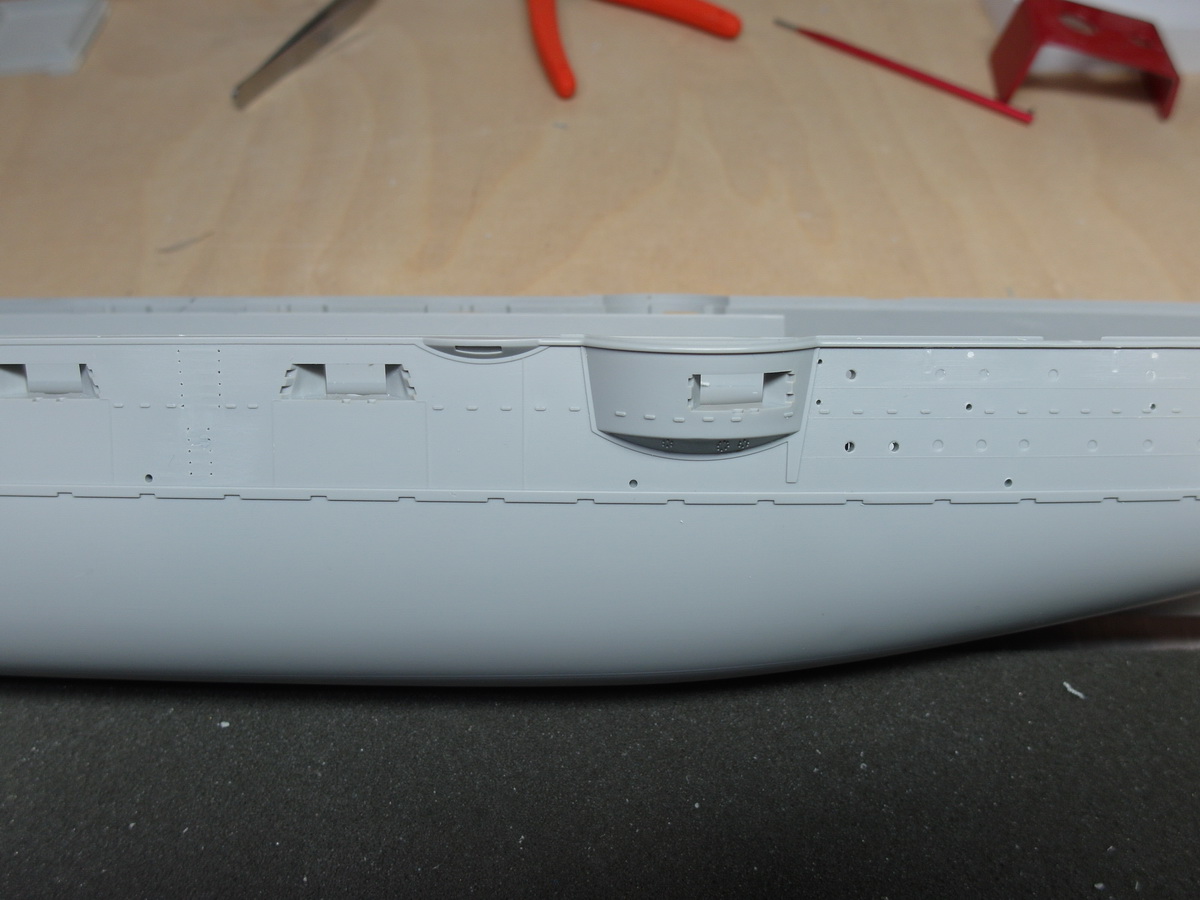
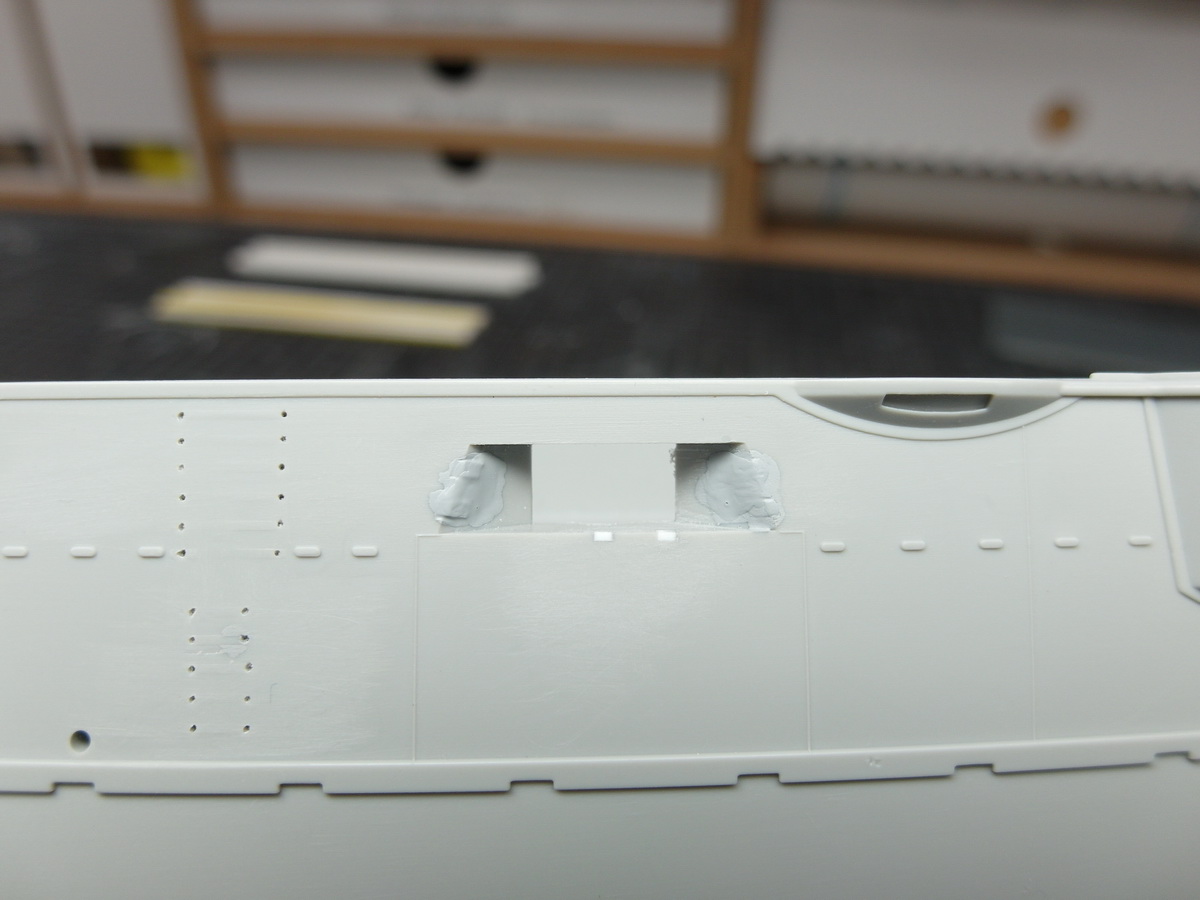
Because after I filled the recesses with styrene profiles, I noticed significant sinkholes that unfortunately had to be thickly filled.
On the right side, I think you can still clearly see the small dent of the sink under the filler.

Since I had to do a lot of filing and sanding here, I could no longer take the surface structure of the hull into account and removed it. Which isn’t a big deal since I’ll be making them again with styrene.

After the first sanding process, the worked areas were primed as a check and I am quite happy with the result.

To the next round…

10 Likes

These little corrections are indeed tedious, but they will all add up to a great model!

1 Like

What is the hull length in 1/200th scale? I have the 1/350th scale kit?


What is the hull length in 1/200th scale? I have the 1/350th scale kit?

At 432 feet the battleship Mikasa should be about 14.81 inches in 1/350 and 25.92 inches in 1/200 ‒ less than the length of a WWII Akizuki class destroyer! :hushed:

2 Likes

I am discovering 1/200 is a useful scale.

1 Like

That’s true Tim.
The sum of the interventions ultimately results in the accuracy of the model.

And yes Greg, it’s a really fantastic benchmark. You can work out incredible details and still have a size that fits into the apartment.

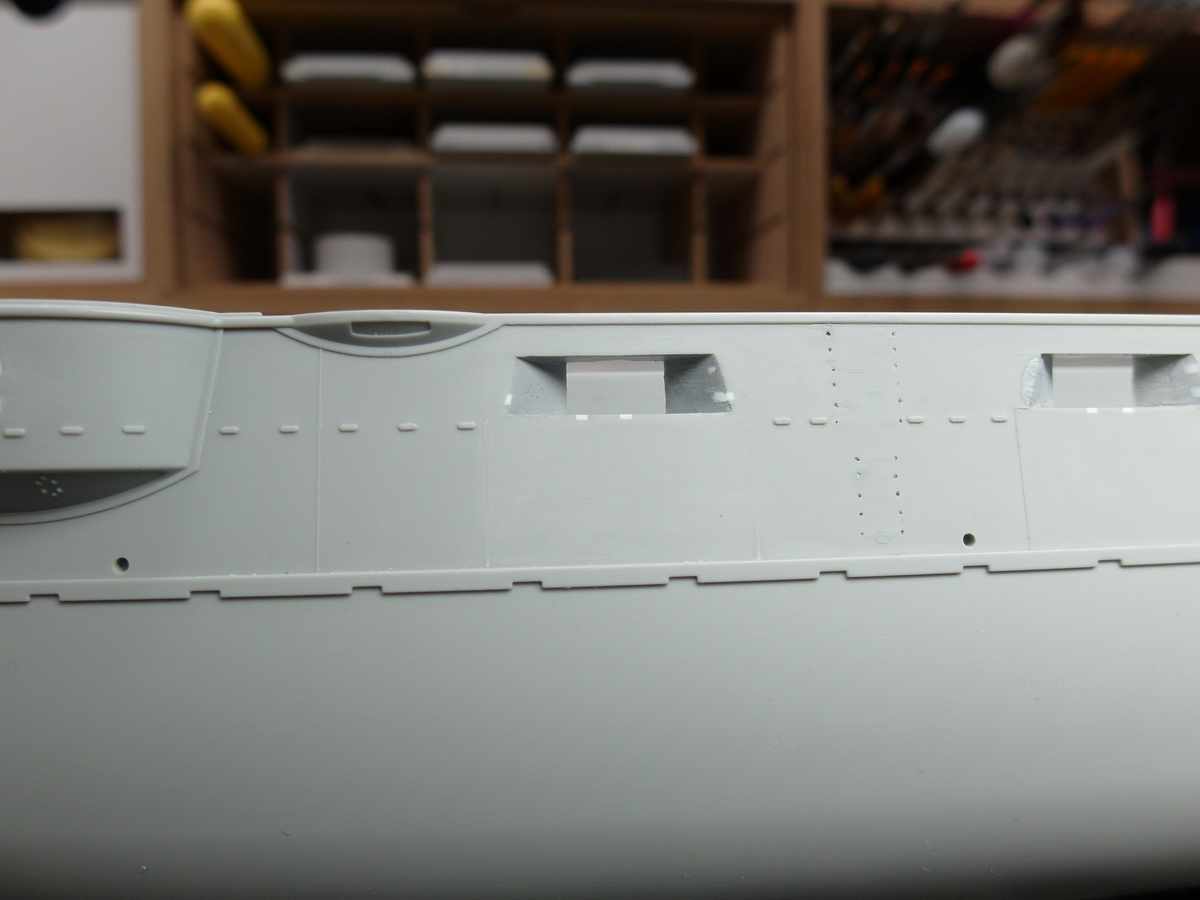
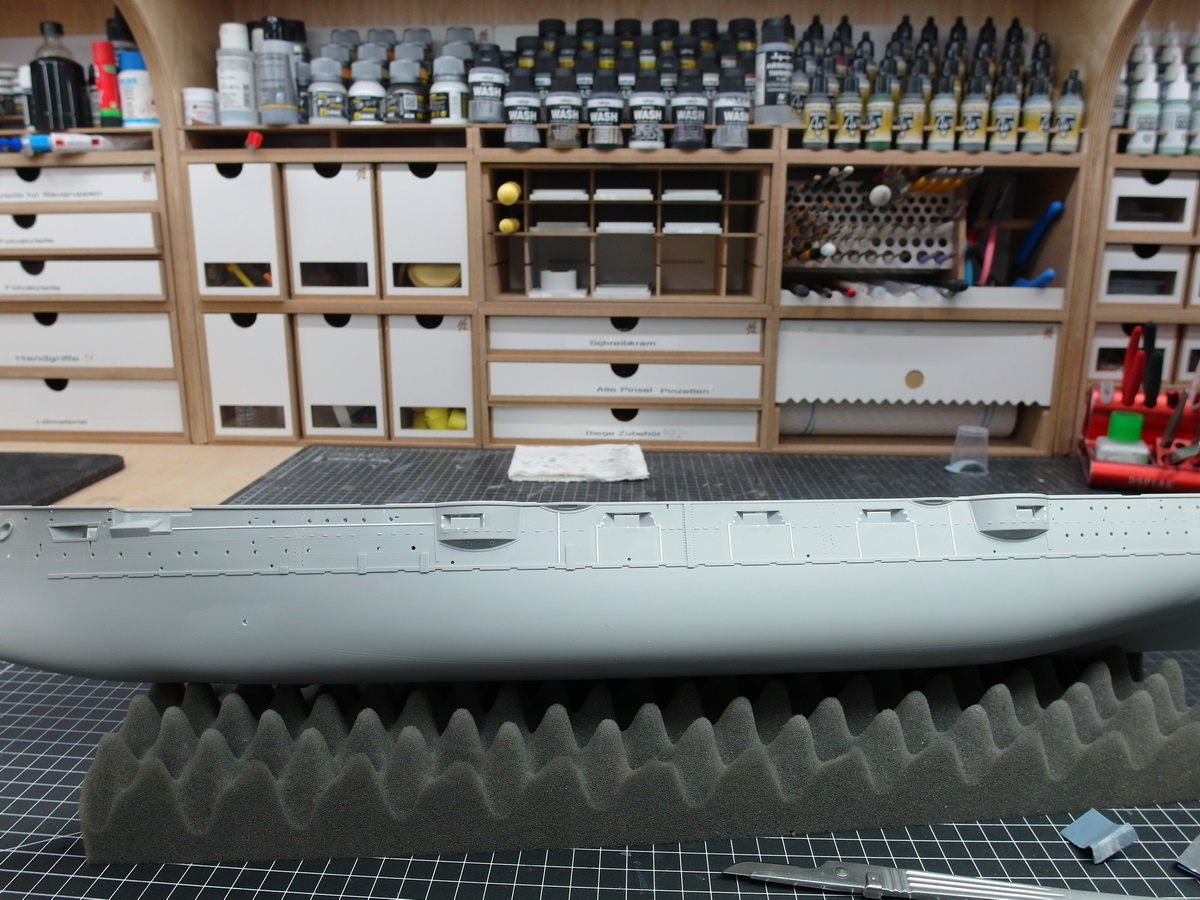
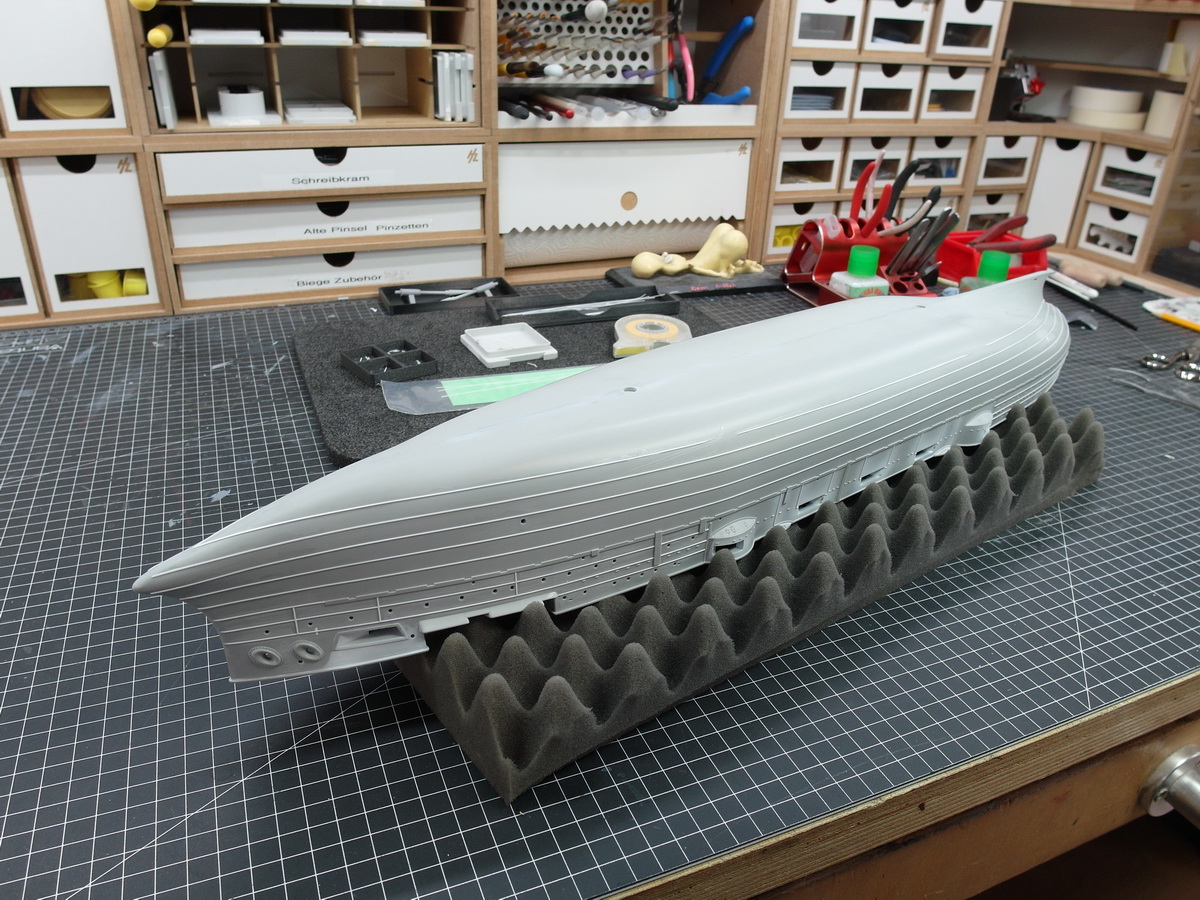
So, I have created the removed surface structure with my styrene profiles.
It’s a little bit wider than the original line, but if it’s painted afterwards it should fit.

10 Likes

And so I continued on the port side and completed the areas around the casemates.
Consequently, all structures of this type on the fuselage are now being replaced by styrene profiles. As can be seen above.
Otherwise it would no longer look consistent.

But that’s over for now, I still have to fill and sand the holes first.

7 Likes

Ok, let’s fill the holes that I don’t need due to the etched parts sets.

Then check with a white primer to make sure everything is sanded smoothly.

Of course the fuselage seams were also checked.

Then we come to my beloved Styren profiles.

I use this to imitate the seams of the armor plates. At that time, riveting was still taking place, not welding. However, you can hardly see the rivets under the paint on the original. So that’s enough for me.

The storage areas for the anchors were sanded smooth, as Pontos also fills everything here with brass.

Now for a special feast for the eyes. The dinghies from New Zealand have arrived.

Absolute detail madness. I’m blown away. :star_struck:

11 Likes

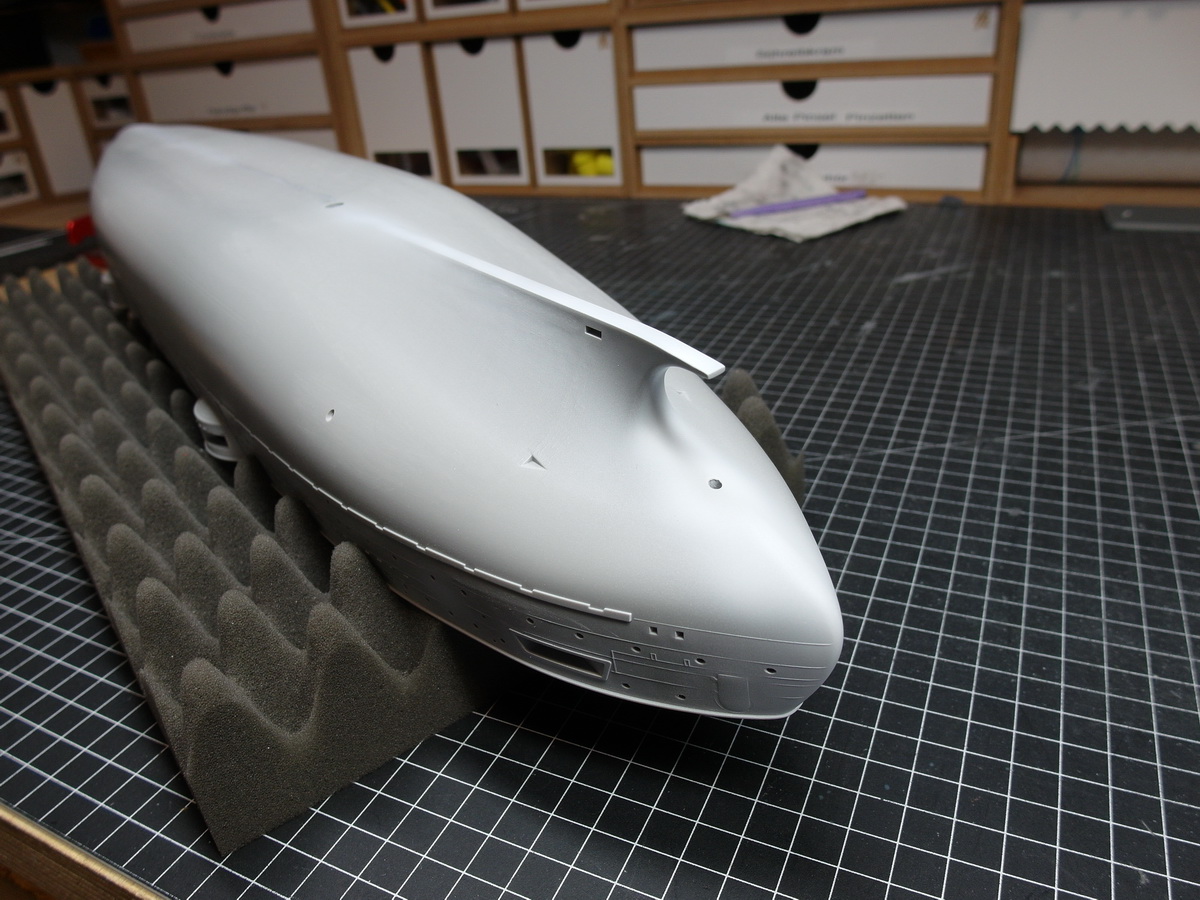
Continue with the seams for the armor plates.
This time on the underwater ship.
It takes a bit of effort and nerves. They have to be attached very precisely and parallel.
But it seems to work:

However, I have to move the torpedo tube opening a little at the stern, so I first closed it with styrene.

8 Likes

Some really nice detailing… Lots of effort going into this :+1:

1 Like

Fantastic work here, Jörg!
The amount of detail, and especially your dedication, already on the hull, are outstanding! The seems/plating look perfect!

Cheers
Jan

1 Like

Thank you both. :smiling_face:

Continue with the profiles. It’s slowly going faster now.

But there are still a lot.

Now, however, I also have to take add-on parts into account, such as roll keels and propulsion.
They will only be attached to the fuselage after all the profiles have been done so that I can sand them properly beforehand.

9 Likes