That is a lot of work !!
4 Likes
Above and beyond and looks oh so satisfying! ![]()
—mike
3 Likes
Thank you both, you’re really right.
I hope it’s worth it.
4 Likes
From what you are showing, I’d say it’s certainly worth it!
Great work!
Cheers
Jan
1 Like
Thanks Jan.
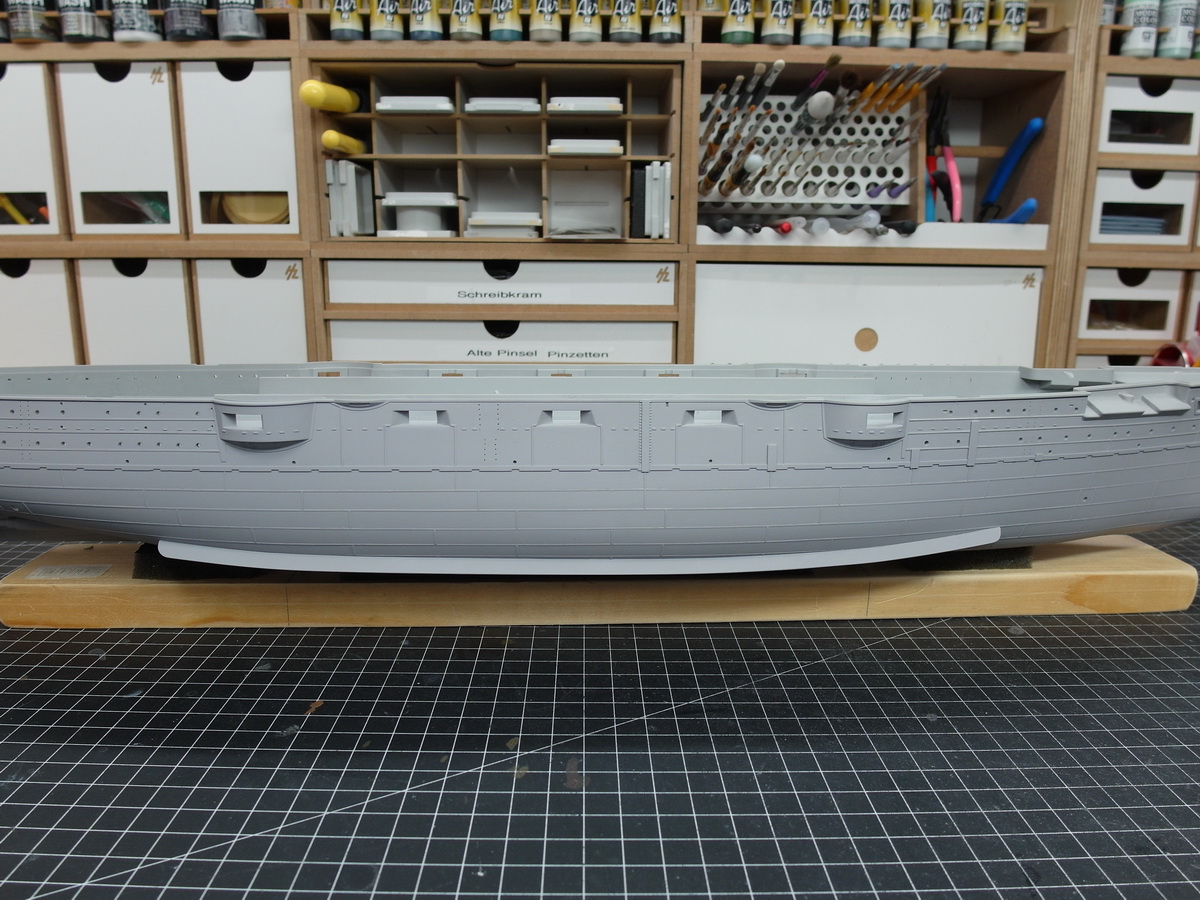
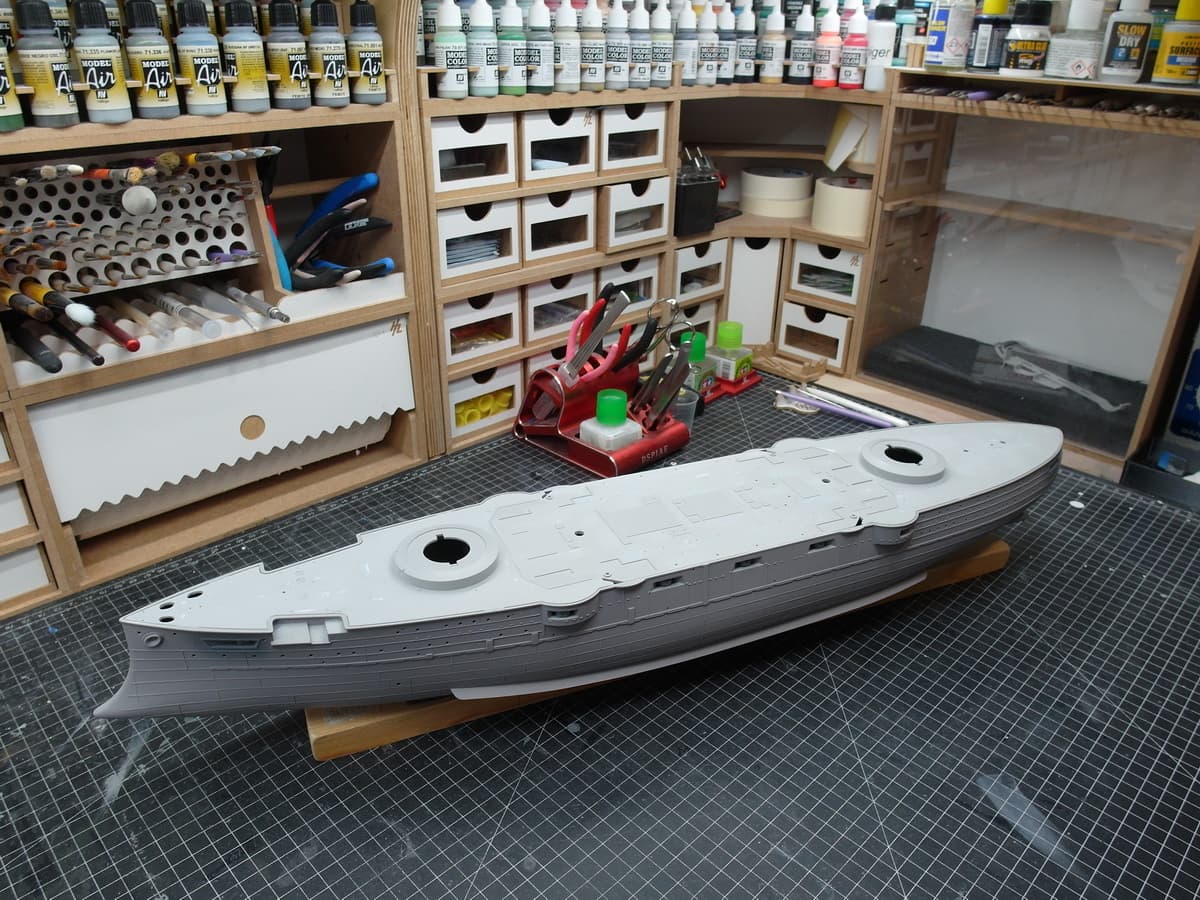
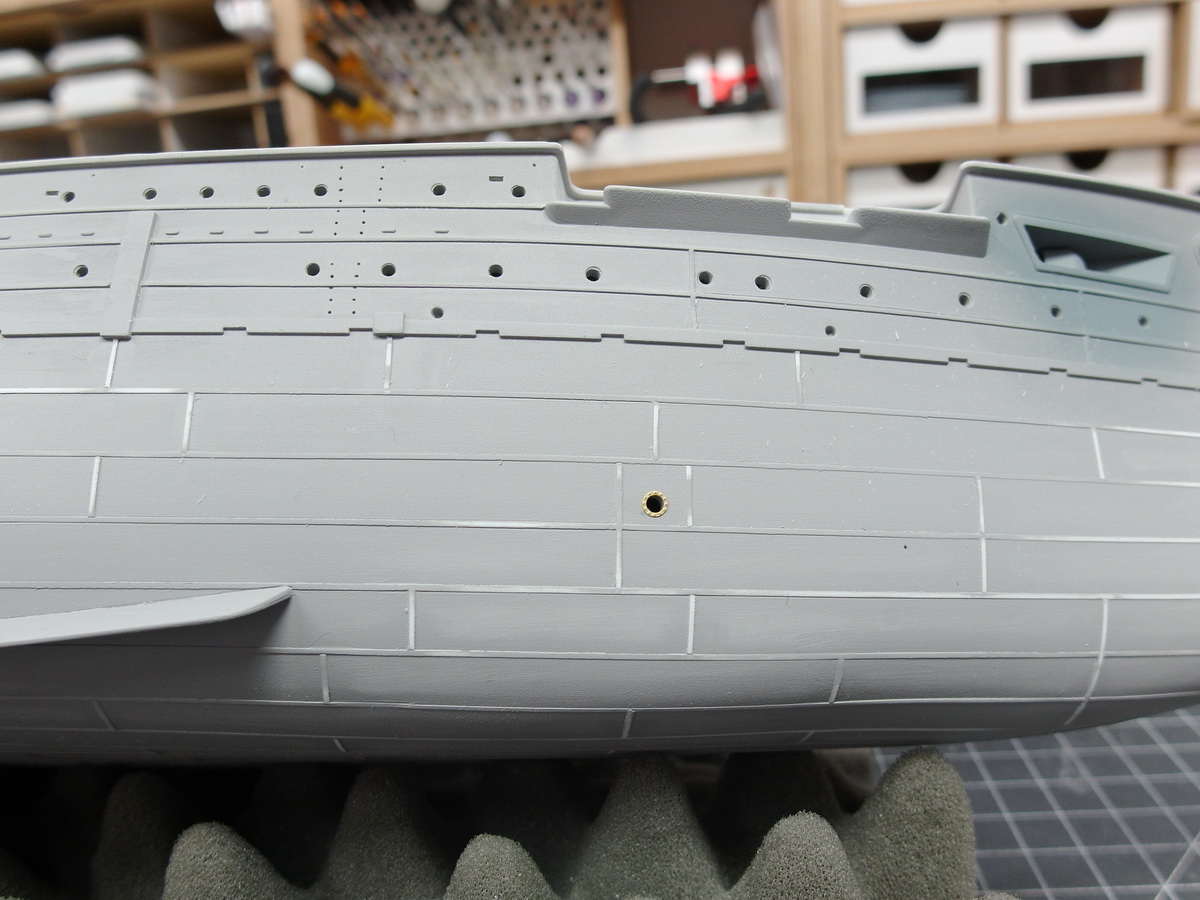
I created the vertical joints on the bow and sanded everything well.
Now I had to paint part of the fuselage to see if I didn’t make a mistake with the profiles.
I think you can take it.
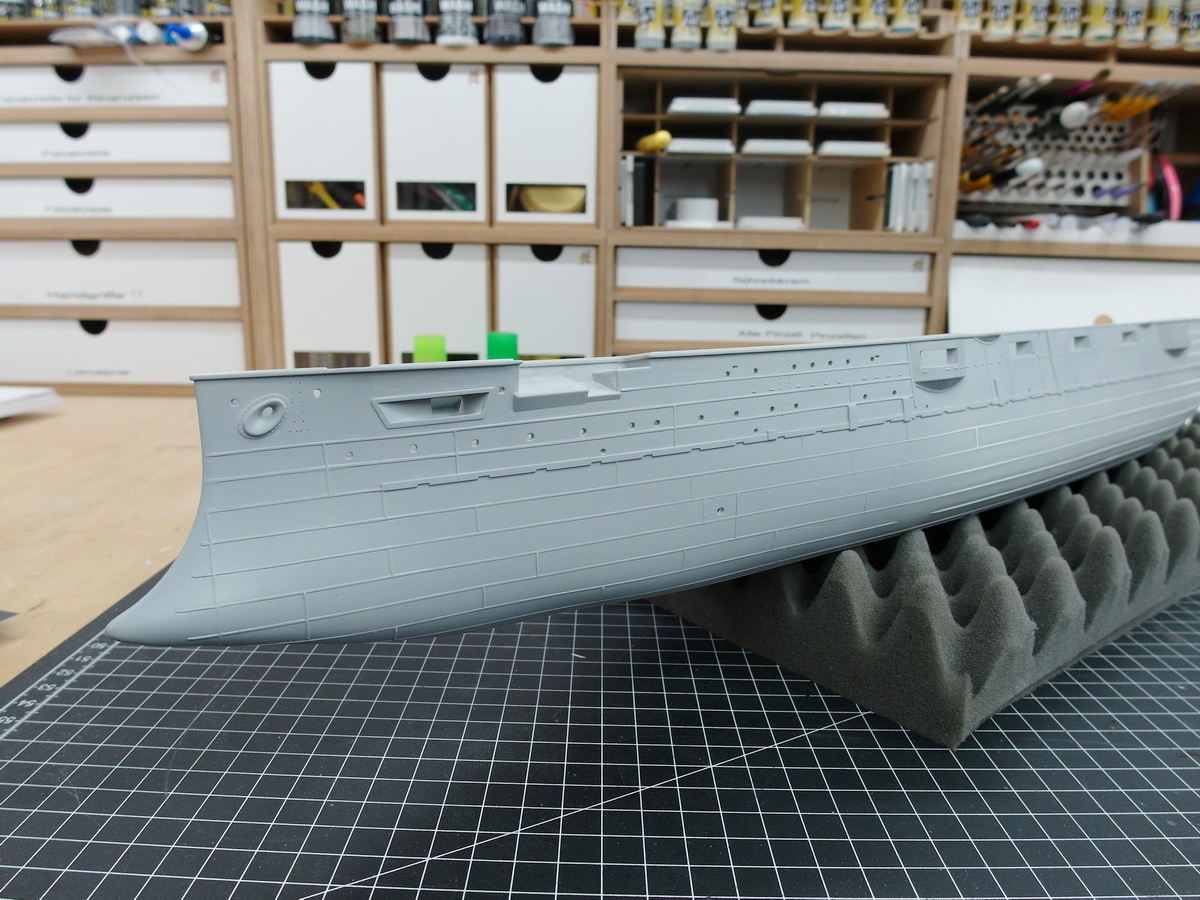
The casemates were also checked again.
Can stay like that.
11 Likes
Stunning detail work … looks like its always been there ![]()
4 Likes
I second what Johnny says, I wouldn’t be able to tell that you changed anything! Keep up the great work! ![]()
1 Like
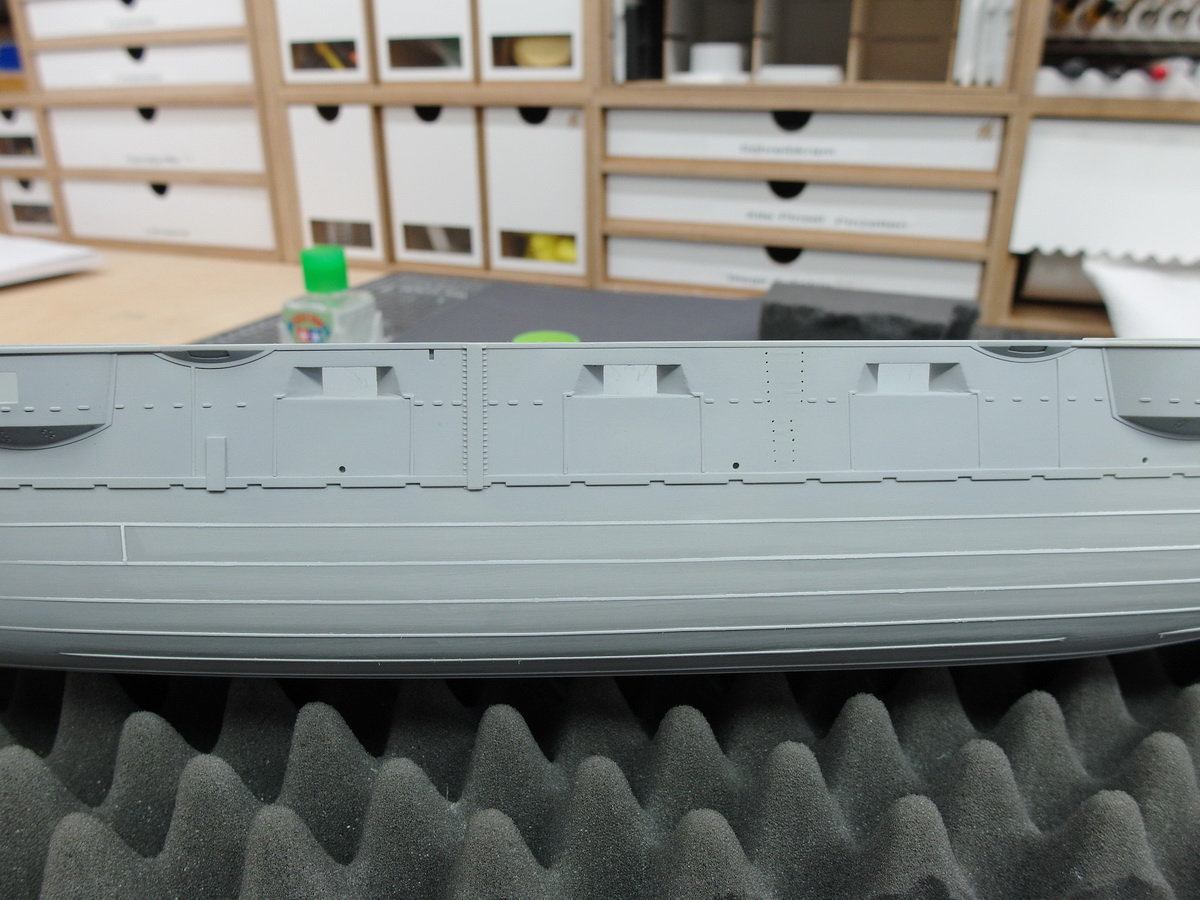
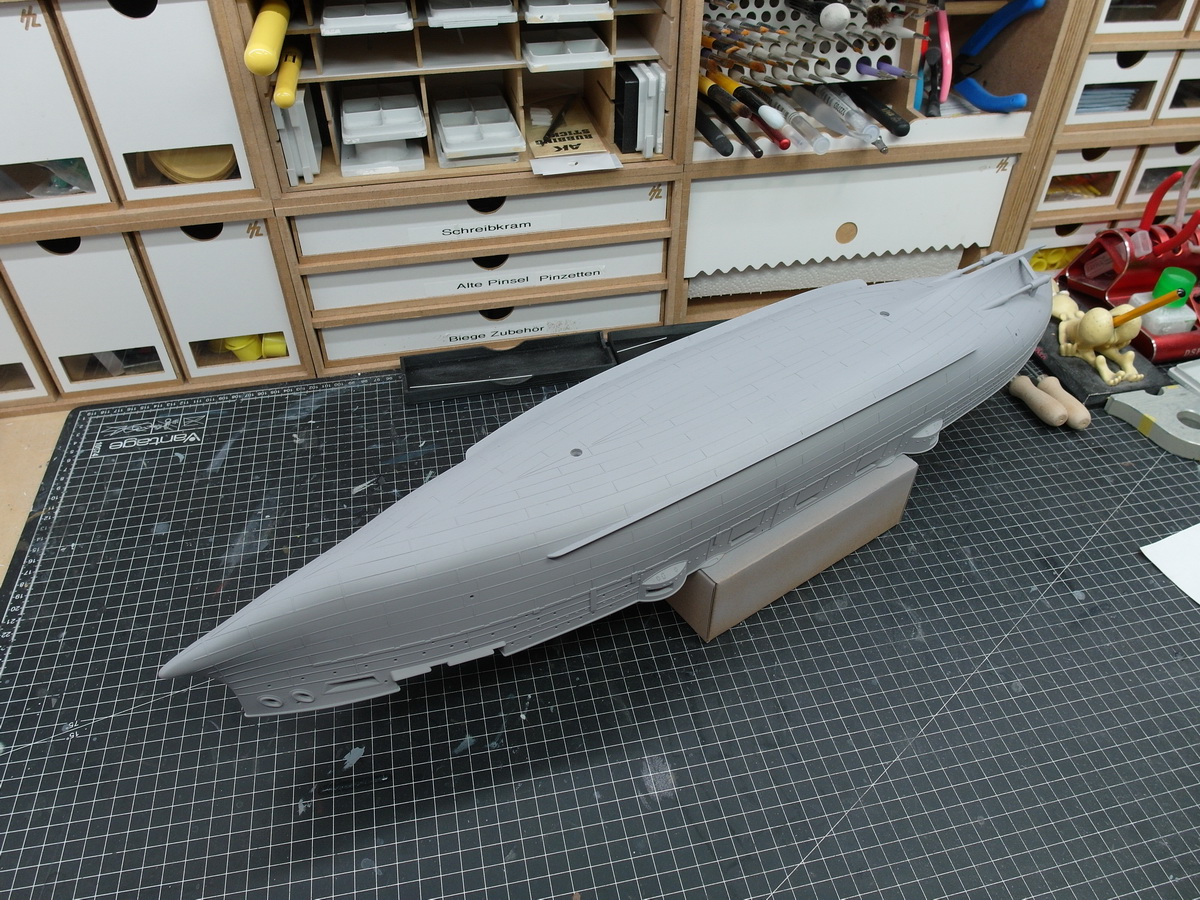
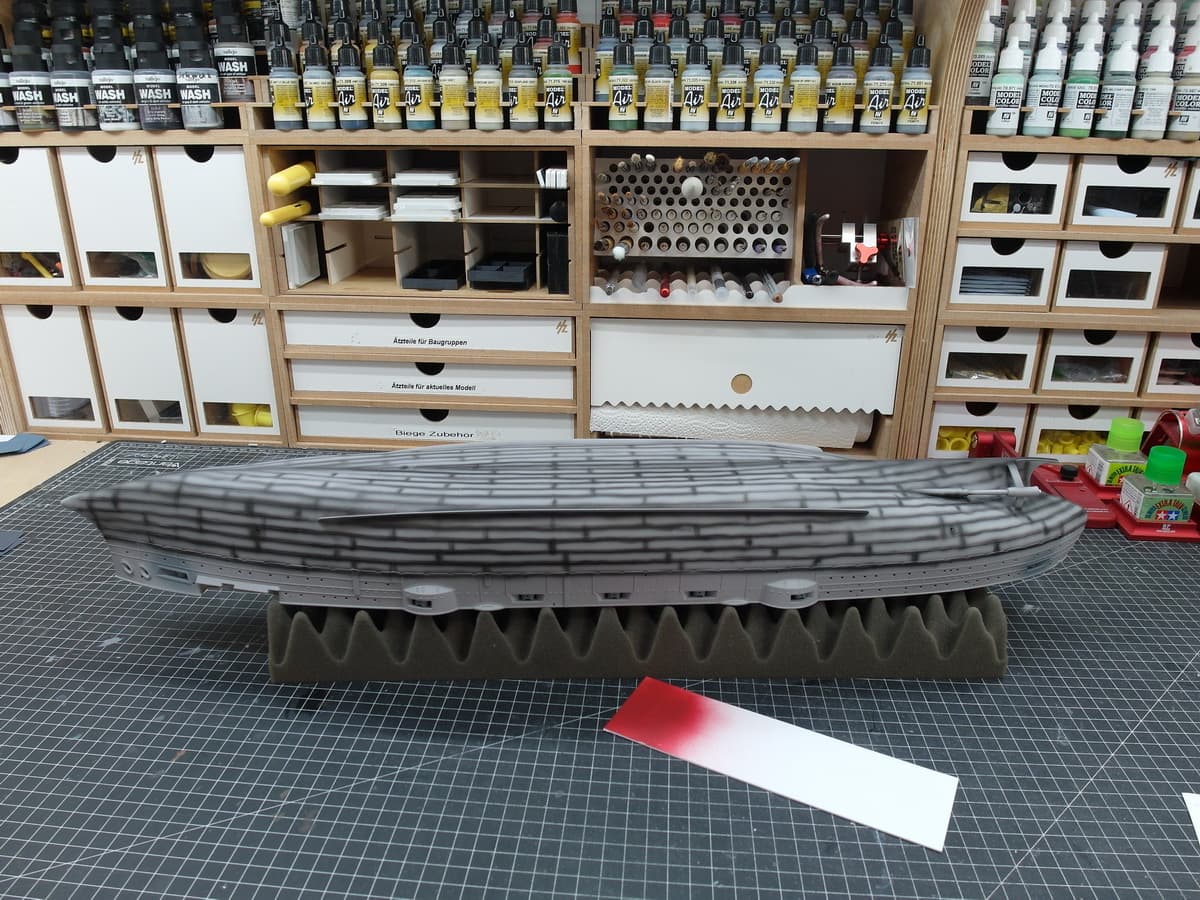
I’ll do it…
And this is the result.
At first I wasn’t sure if I liked it because it’s actually shown the wrong way around.
Because the plates would have to create a gap and not an elevation.
I also sanded down the profiles on the underwater hull a lot
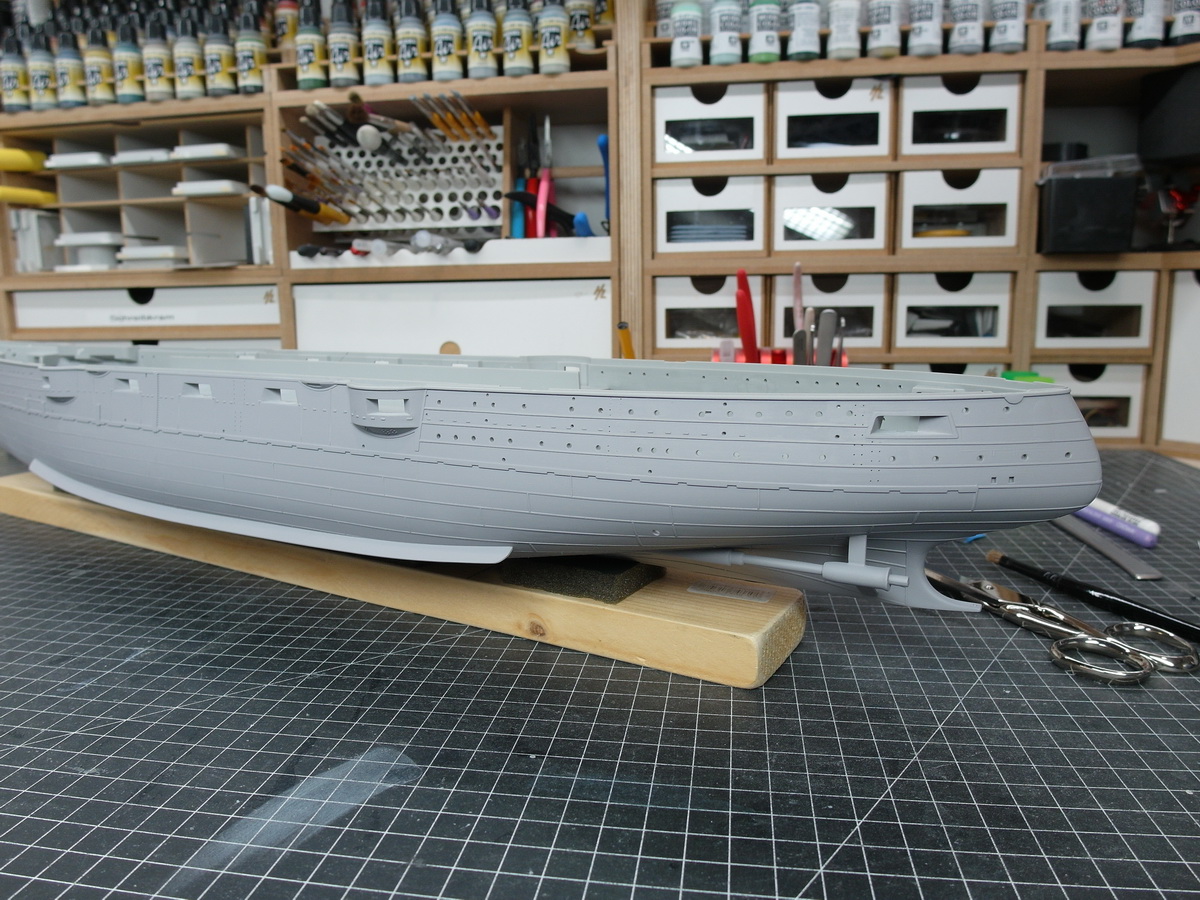
Of course also in the places that you can hardly see afterwards.
And so I think it’s going to look really good at the end.
11 Likes
Lovely build so far… Top notch attention to detail…
1 Like
Beauty!!!
1 Like
That looks fantastic, great work! I can only second the other comments.
But one question - why would you think the plates should create gaps? I don’t think riveting would create gaps, as the plates would need to overlap (a little like tiles on a roof), so, well neither a gap nor an elevation, but definitely it’s not that far off. And it simply looks outstanding!
Cheers
Jan
2 Likes
Thank you guys.
I actually don’t know for sure, Jan.
But I imagine it like the following picture.
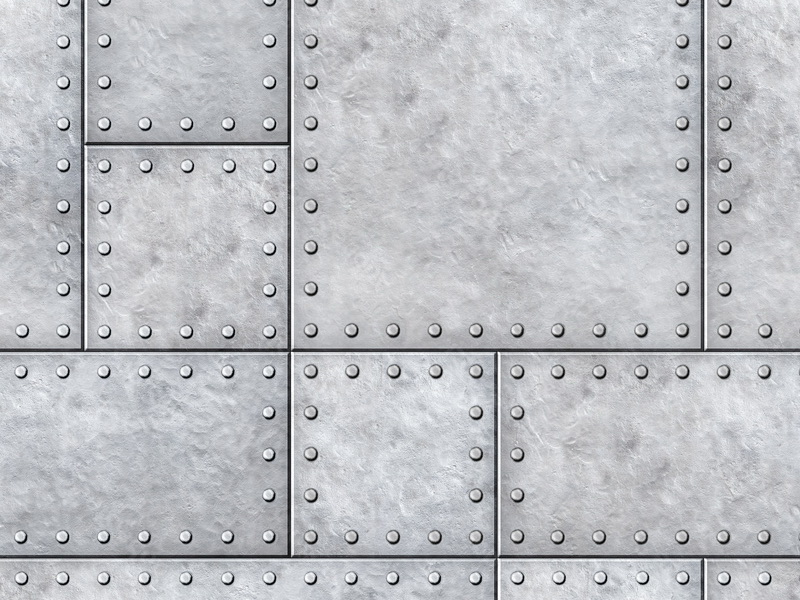
Of course it may be that it’s not true, but be that as it may, I really like my solution now.
But let’s continue with the basics.
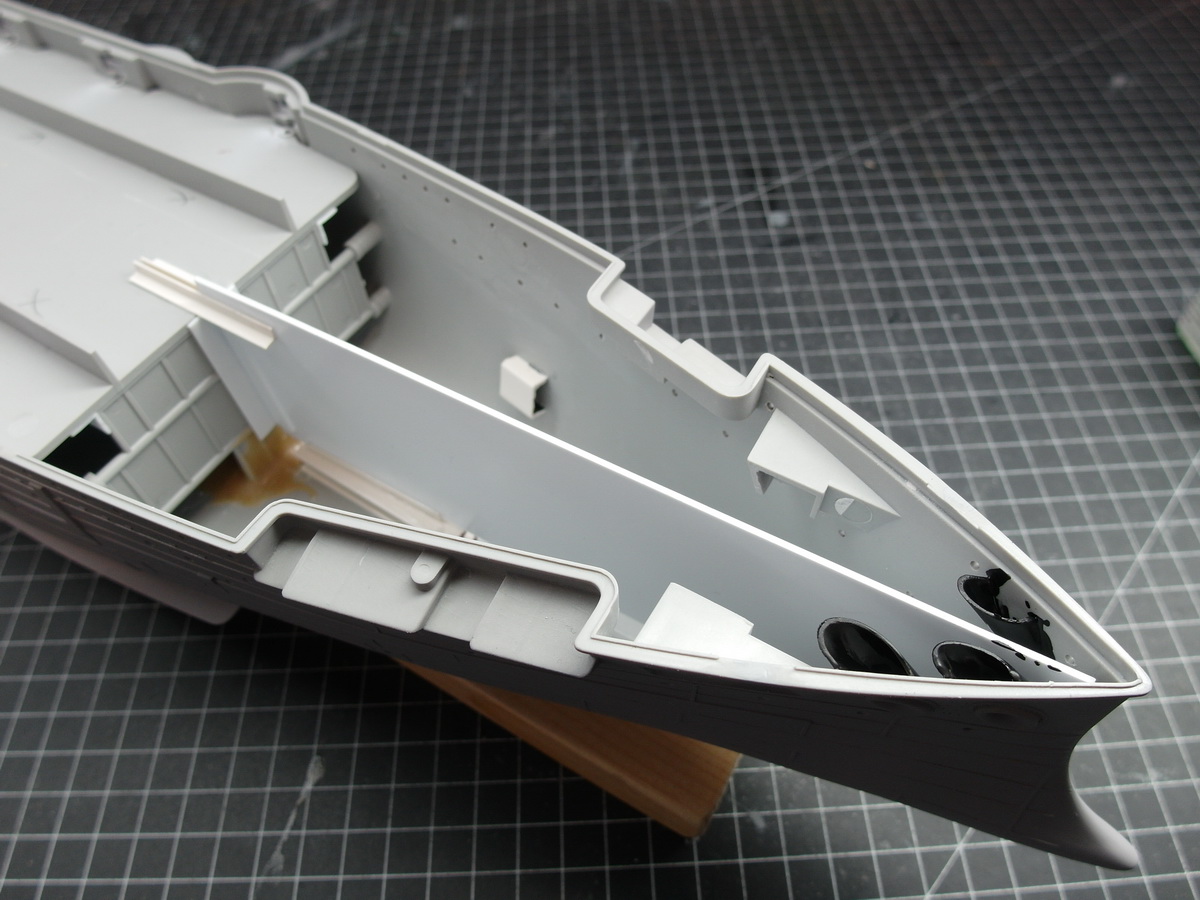
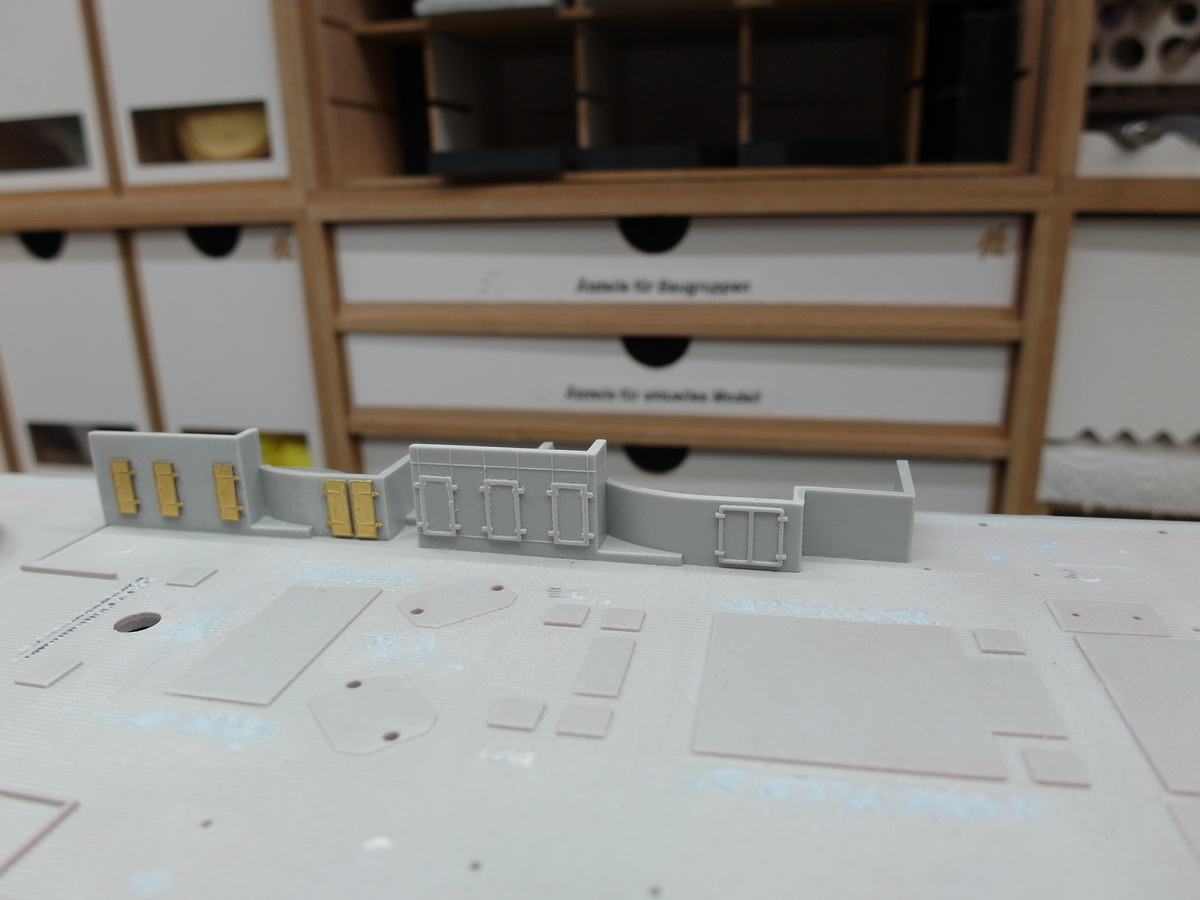
A privacy screen must be created so that you cannot see the portholes from one side and the other side.
That’s why styrene plates were placed in the middle.
At the bow.
And at the rear.
The whole thing is flexible so I can move the plate back and forth a little. This is how I get the front 3 inch cannons to fit into their openings.

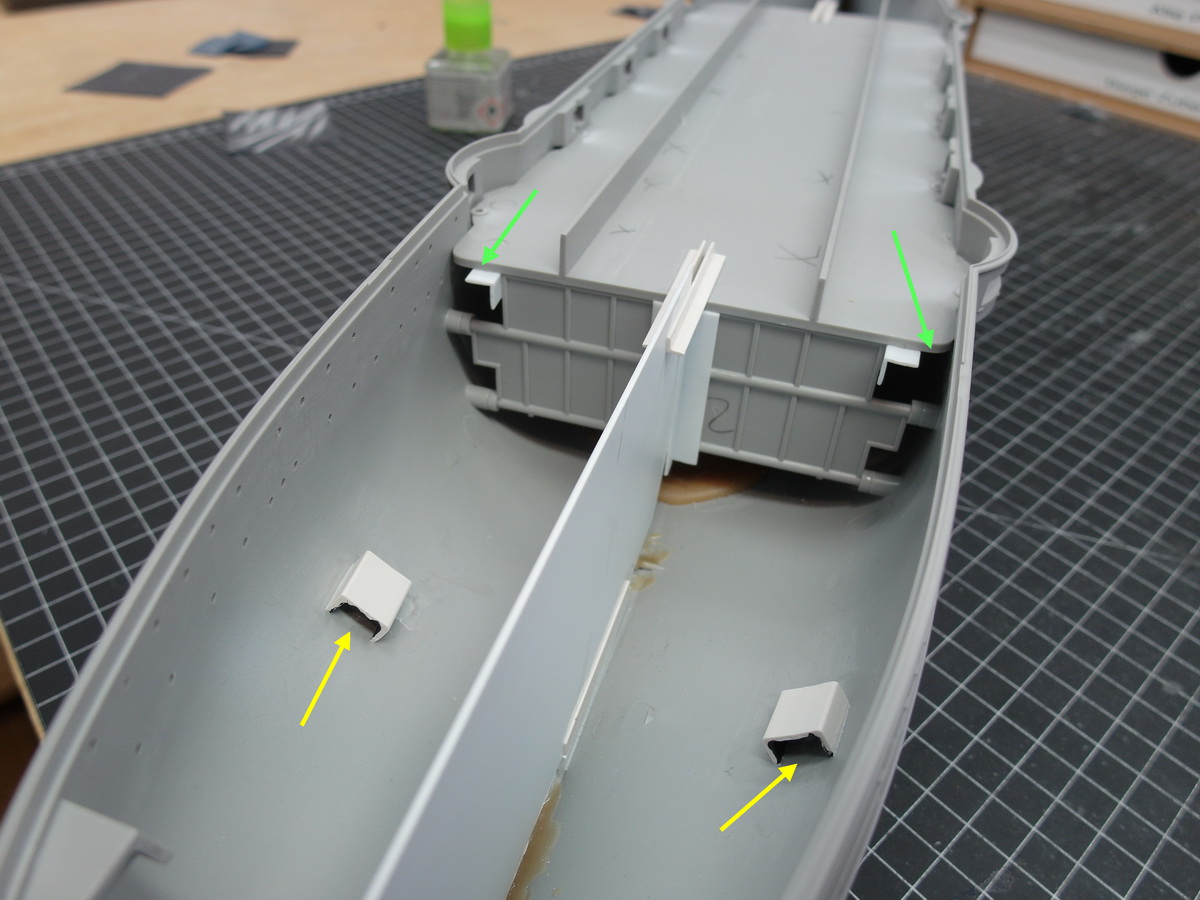
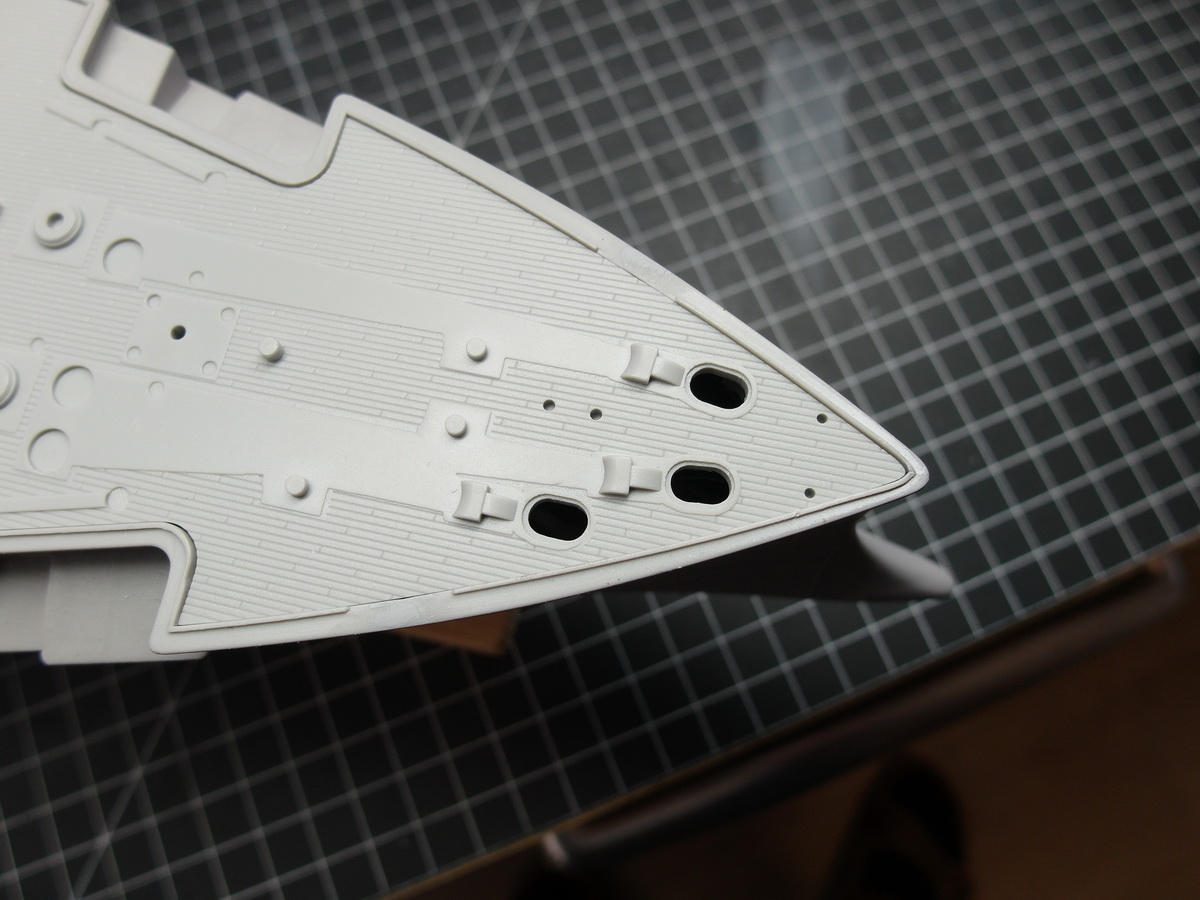
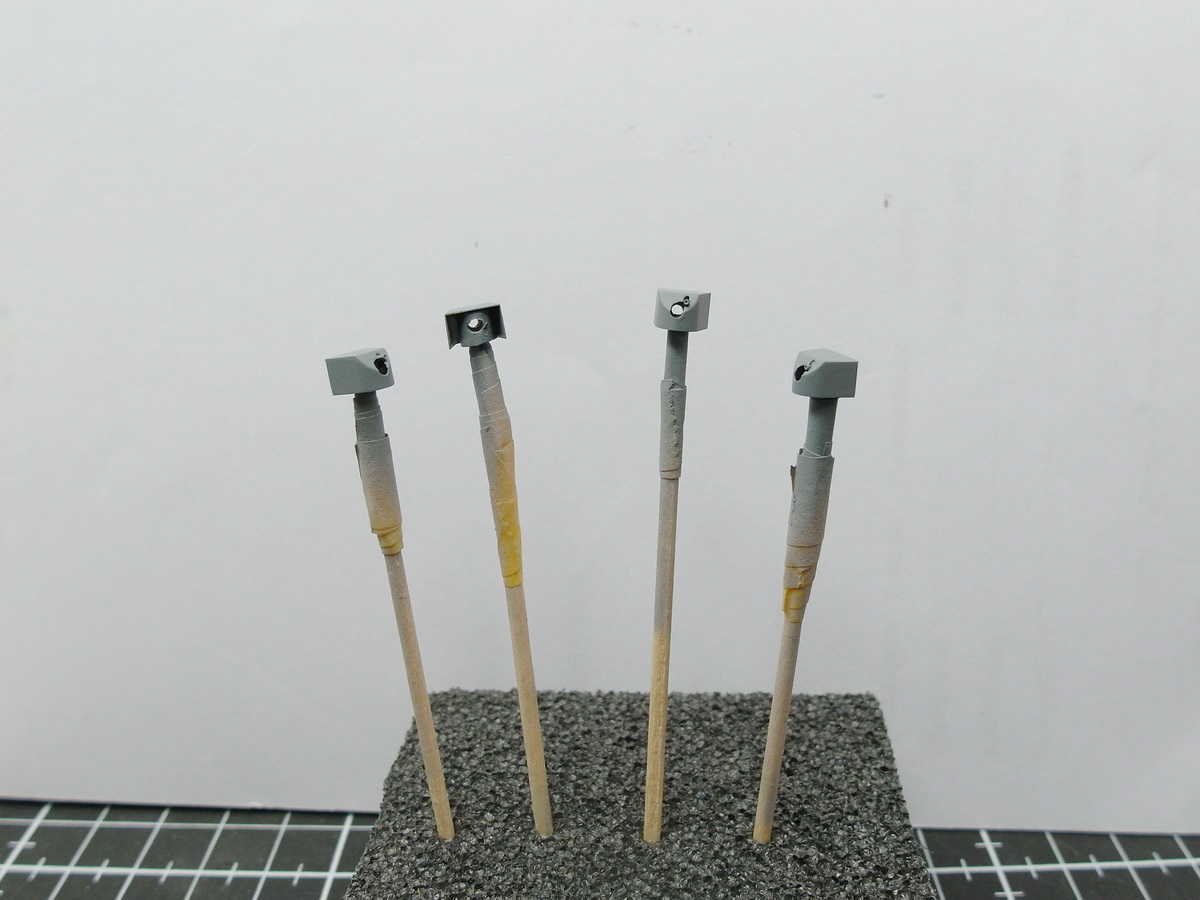
After that I need a little individual privacy protection.
One for the muzzle openings of the torpedo launchers, yellow arrows. And for four small portholes that are located under the first deck near the green arrows. It’s hard for me to get the plates right here, hence the angles.
Good thing I put the Pontos wooden deck on. (Which wasn’t lasered properly and I had to help with my scalpel.)
Doesn’t fit at all. ![]() I’ll have to work a little with the milling head.
I’ll have to work a little with the milling head.
But it was actually about creating tubes for the anchor hawse.
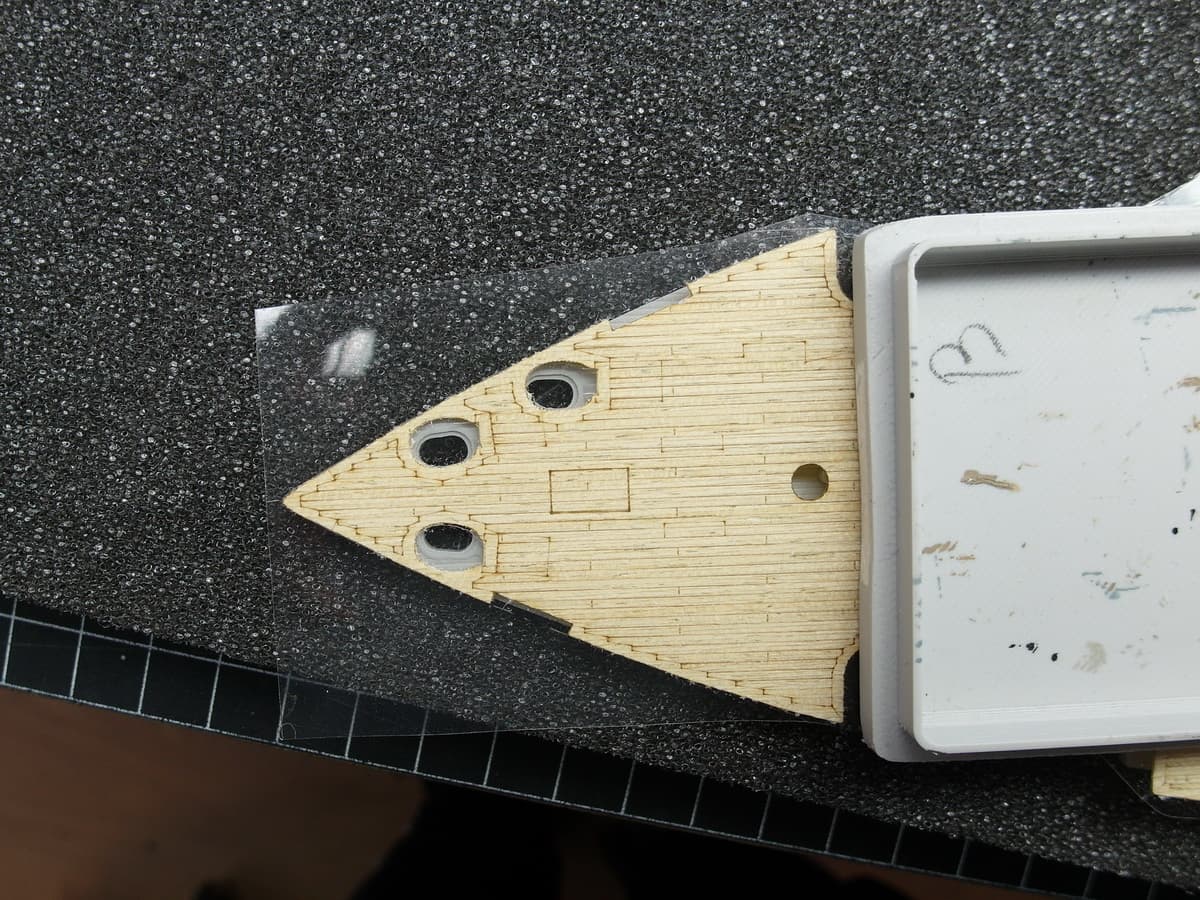
Now that I knew that, I created half tubes. But they are larger in diameter.
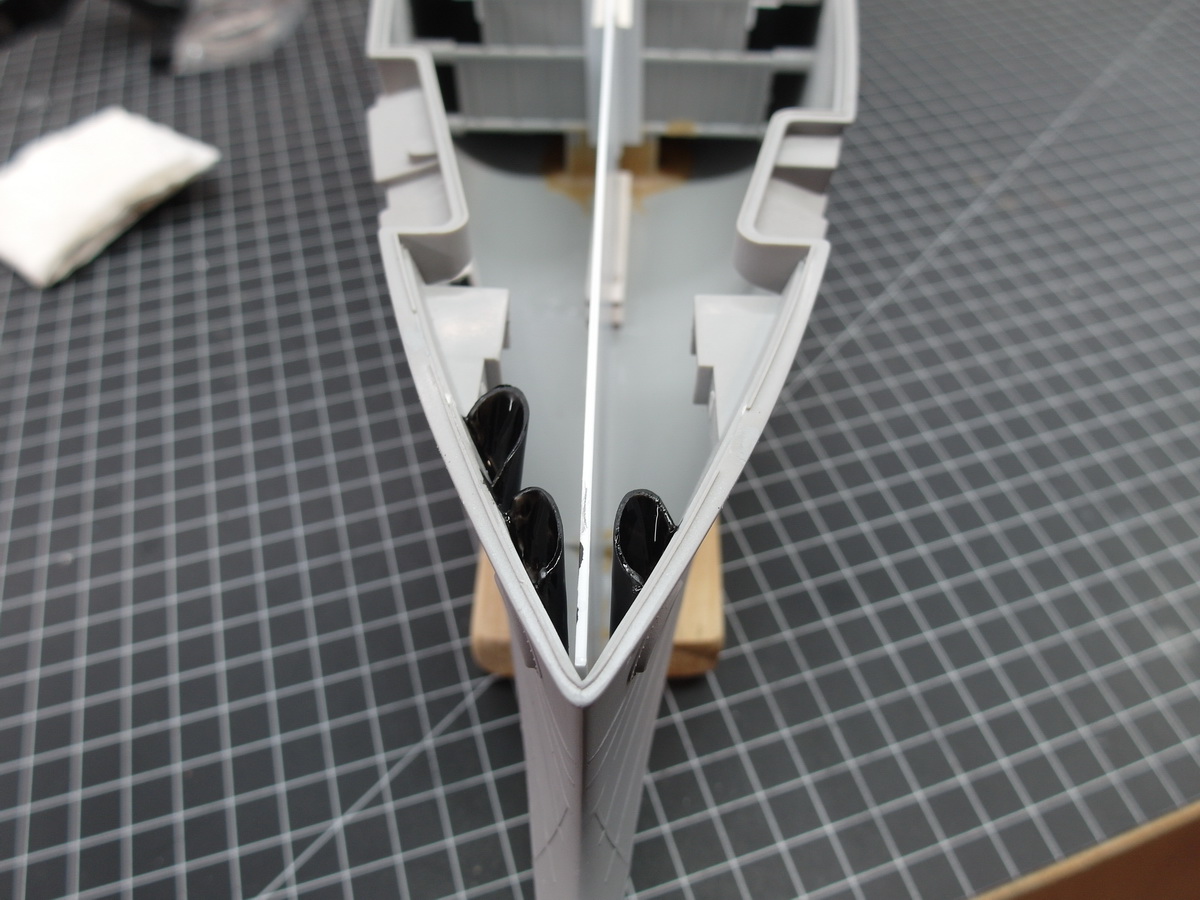
Which should be completely sufficient. It’s just a matter of ensuring that no light shines through on the chain.
Nice and dark. That’s the way it has to be. ![]()
8 Likes
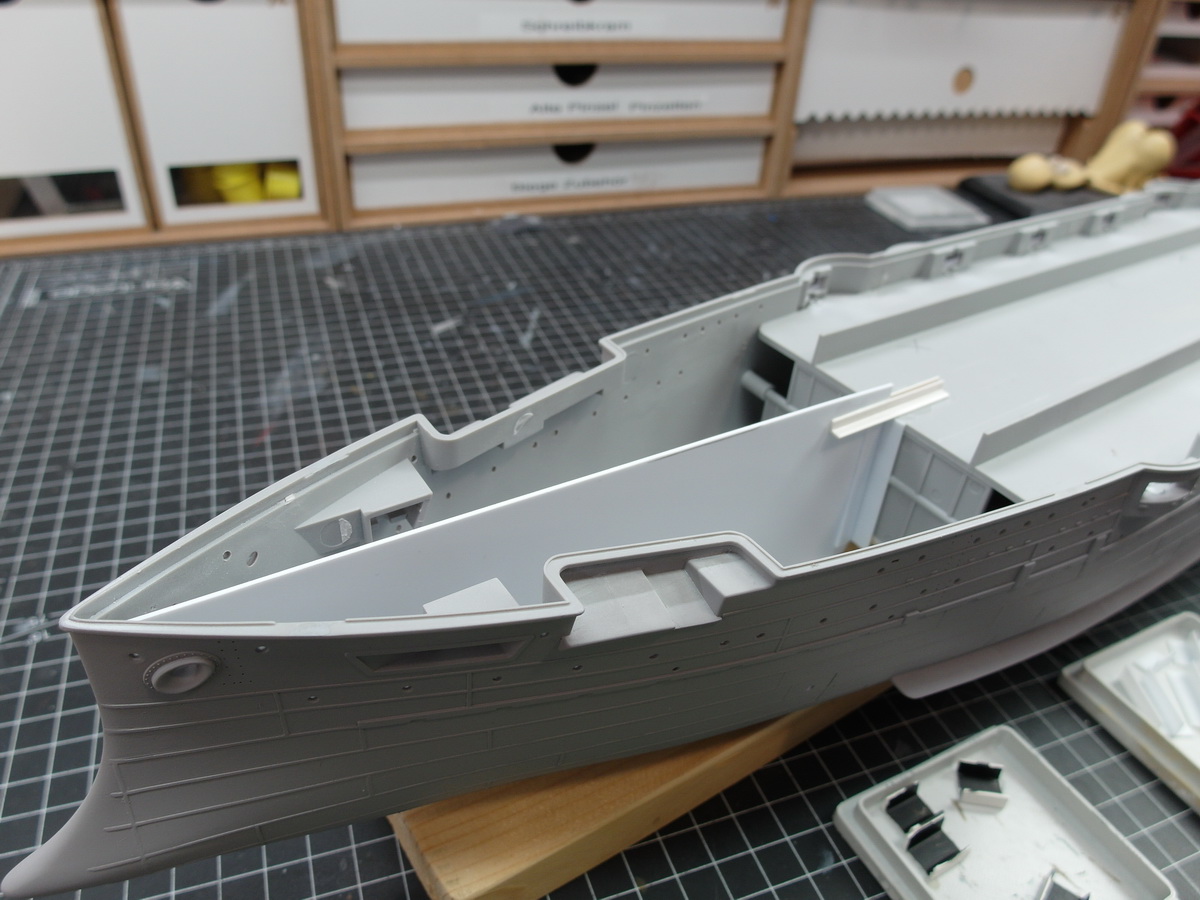
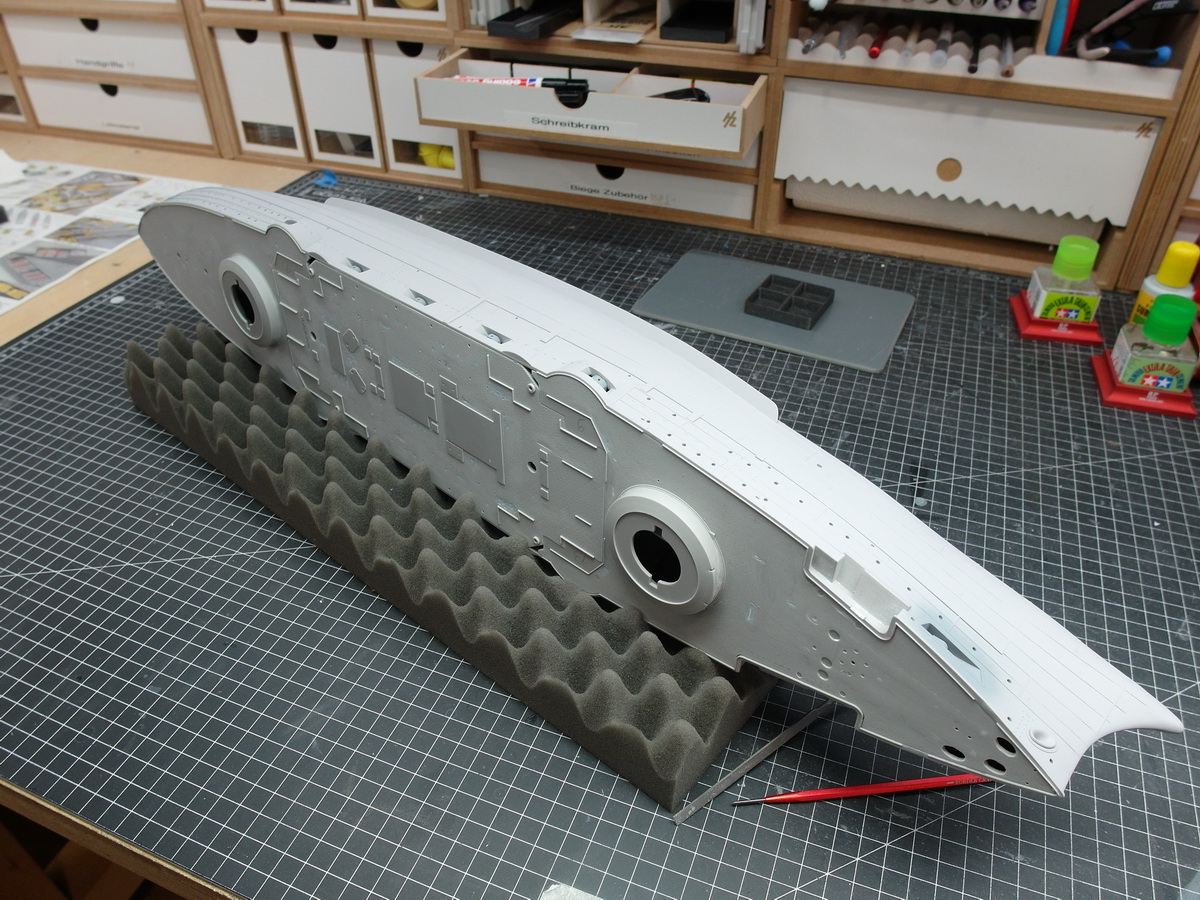
Let’s get to the inner values of the ship.
I’m going about this a little differently than usual.
For me, the cannon barrels are attached to the model much later and the deck has to be closed early.
There are two reasons for this.
The special feature of the Mikasa is its casemates with the protruding gun barrels. They get in the way and you quickly get stuck with them as you continue building.
In general, I always attach large pieces very late.
I will also raise the hull to the next level earlier than usual. It’s about the upper row of casemates.
If you glue this fuselage part later, which is actually logical and intended, you can get to the internal structures much better.
But you also end up with a very unsightly slot that can no longer be removed.
More on that in a moment.
First I soldered the shields of the cannons on the bow and stern.
Then, since you can’t see anything behind the shields anyway, I simply replaced the cannon body with a small piece of styrene pipe.
This was then glued in…
…and I’ll simply put the barrel of the cannon through the hole later.
The same with the middle casemates, only here it is much less complicated.

Now that all the cannons in the hull are installed, I can prepare the deck.
First say goodbye to unnecessary details. I got a small electric chisel, it simplifies things a lot.

After the grinding orgy, the deck was glued to the bow.
And the other two parts.
Great, deck ready.
Let’s come to the slot mentioned at the beginning.
Here you see the culprit. I might still put up with the gap at the yellow arrows. But the one with the green arrow, no, doesn’t work at all.
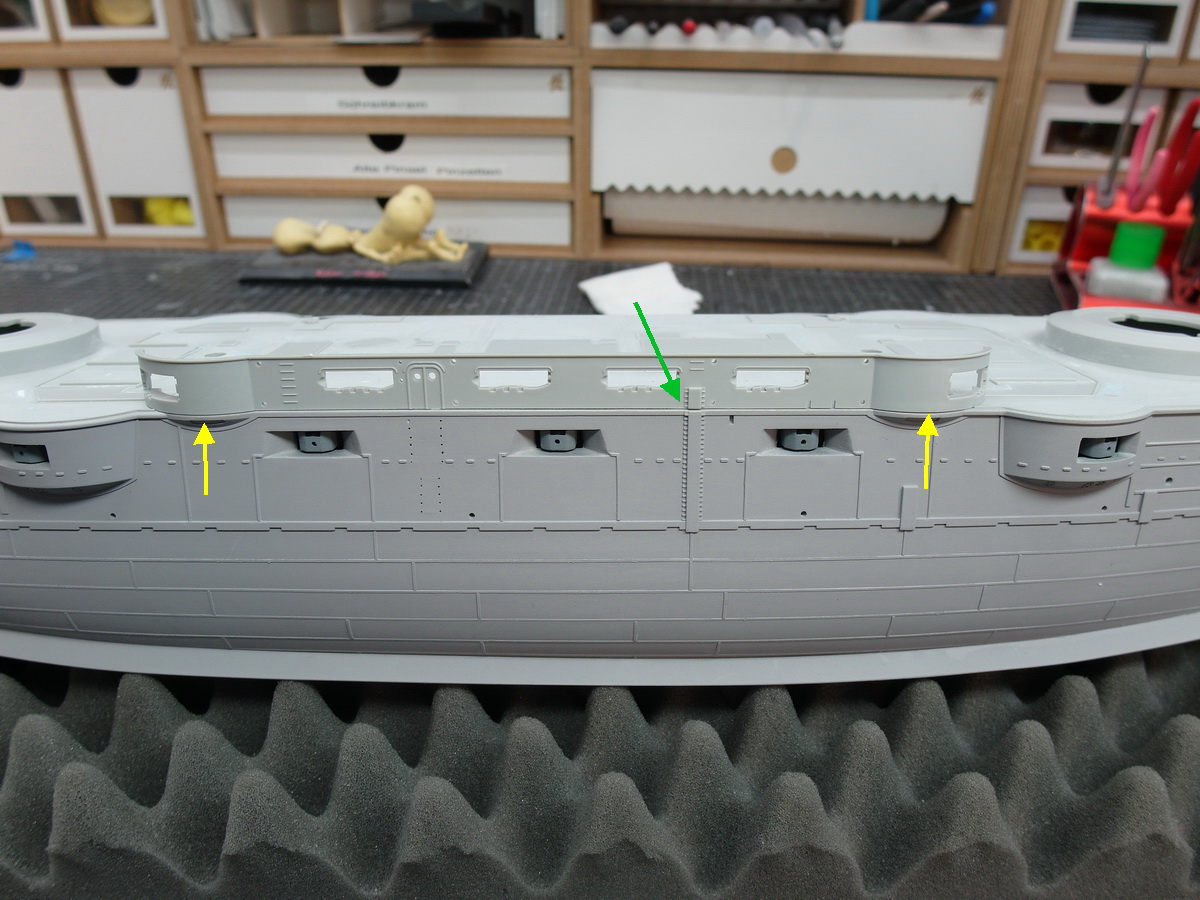
And that’s exactly the problem.
What I would then have to mask off on the wooden deck, superstructure and other details if I wanted to fill and paint the gap late was almost impossible.
That’s why I’m going to say it in advance.
Anyone can do it.
9 Likes
Continue with additional small details.
The next picture shows why I add large parts like gun barrels as late as possible.
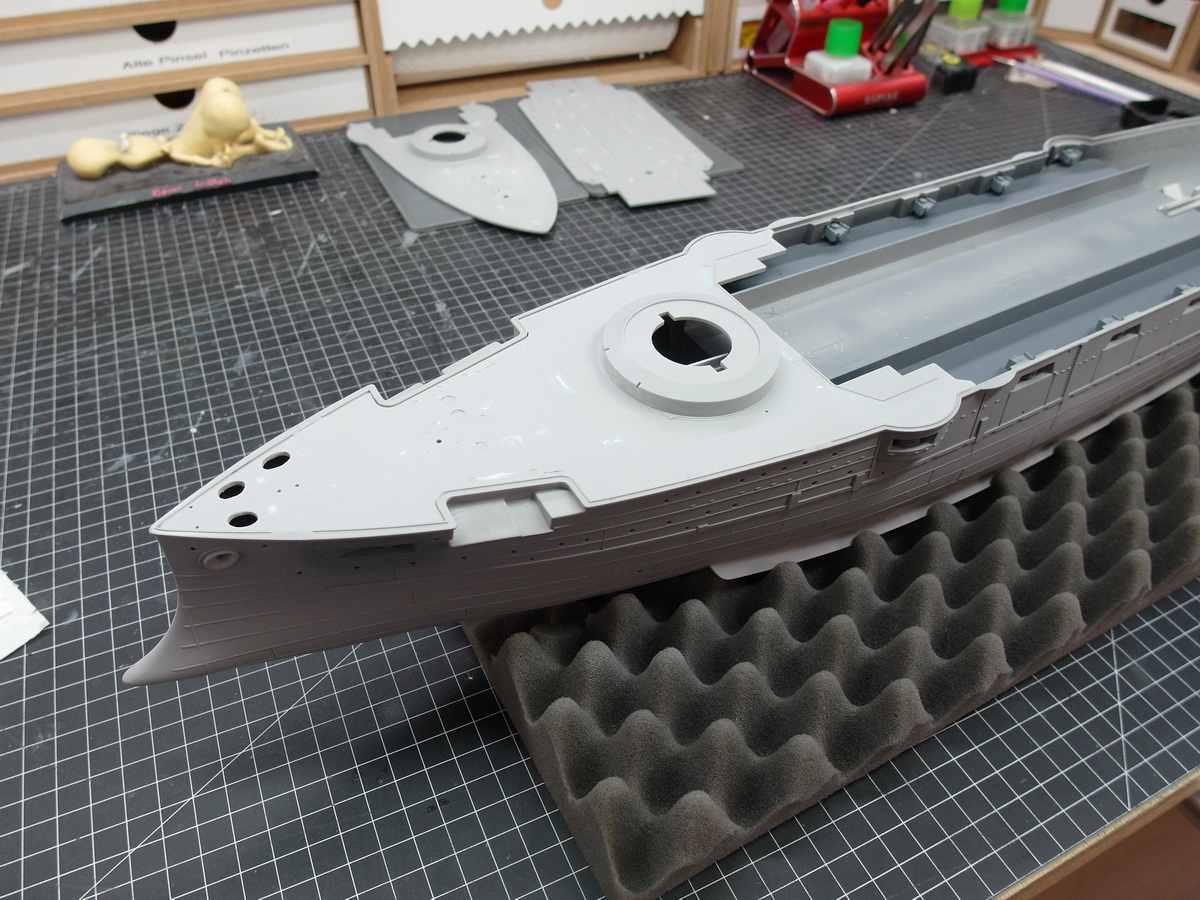
I would like to implement this device with which the anchor was lowered into the water.
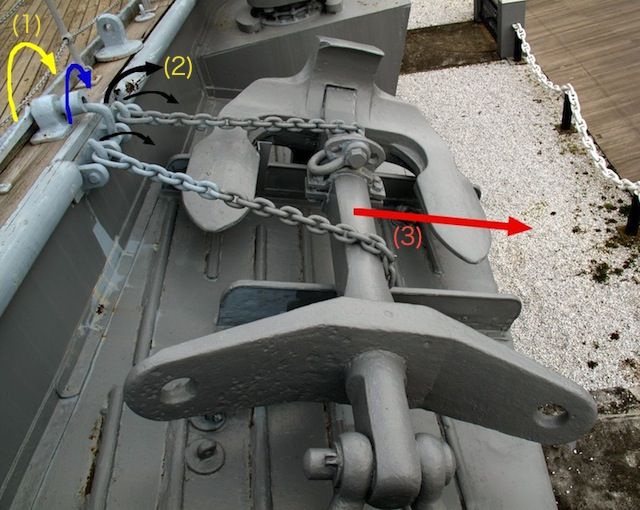
To do this I first have to remove material from the fuselage.
Then all profiles are checked again and some are sanded down a little further
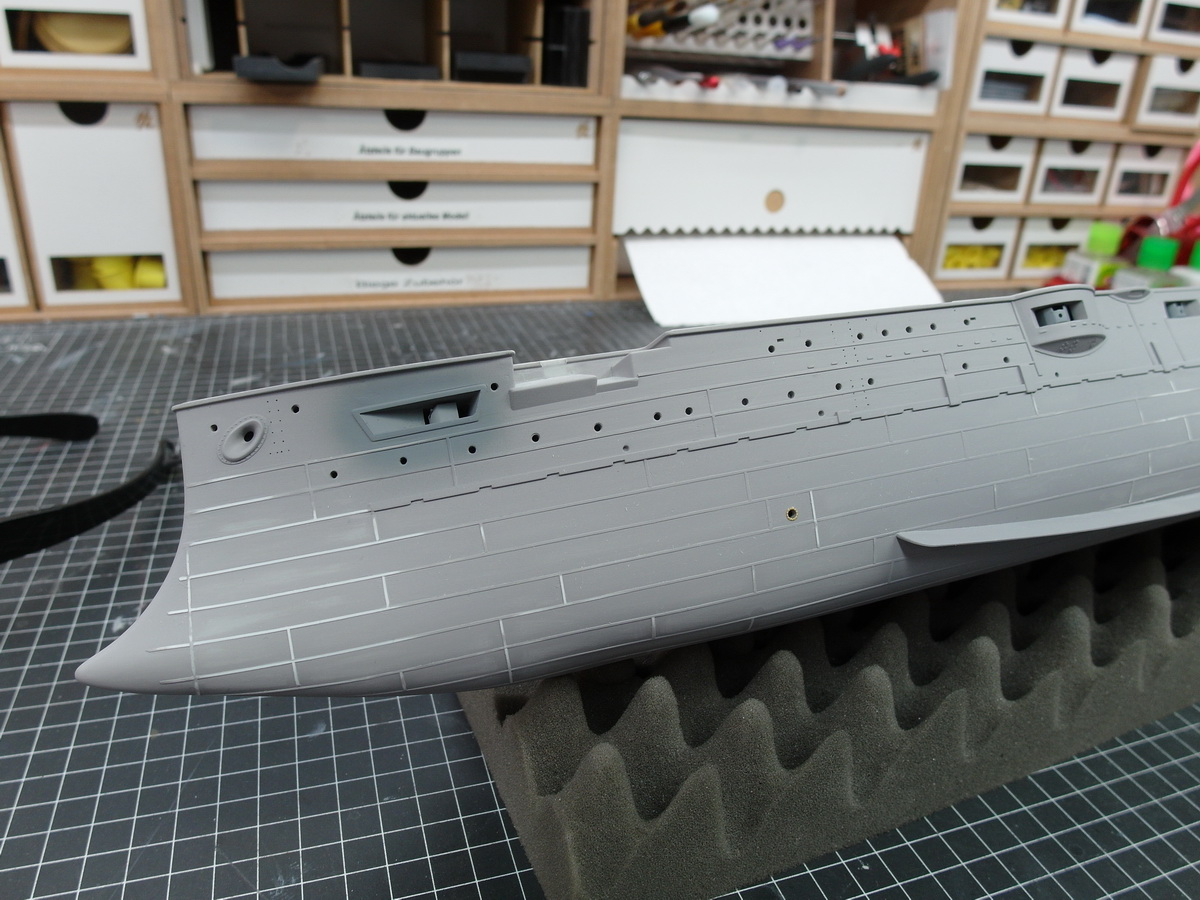
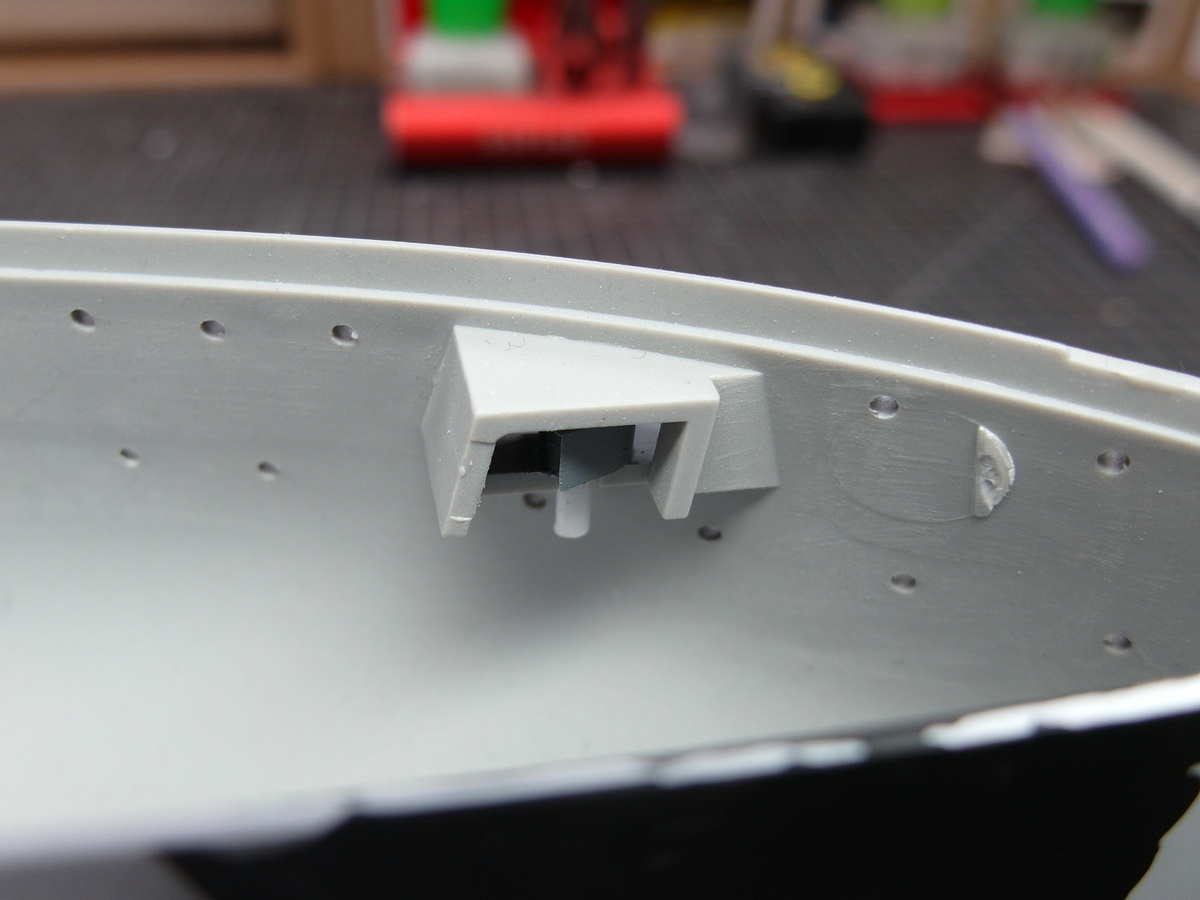
The torpedo tube opening also has a riveted ring.
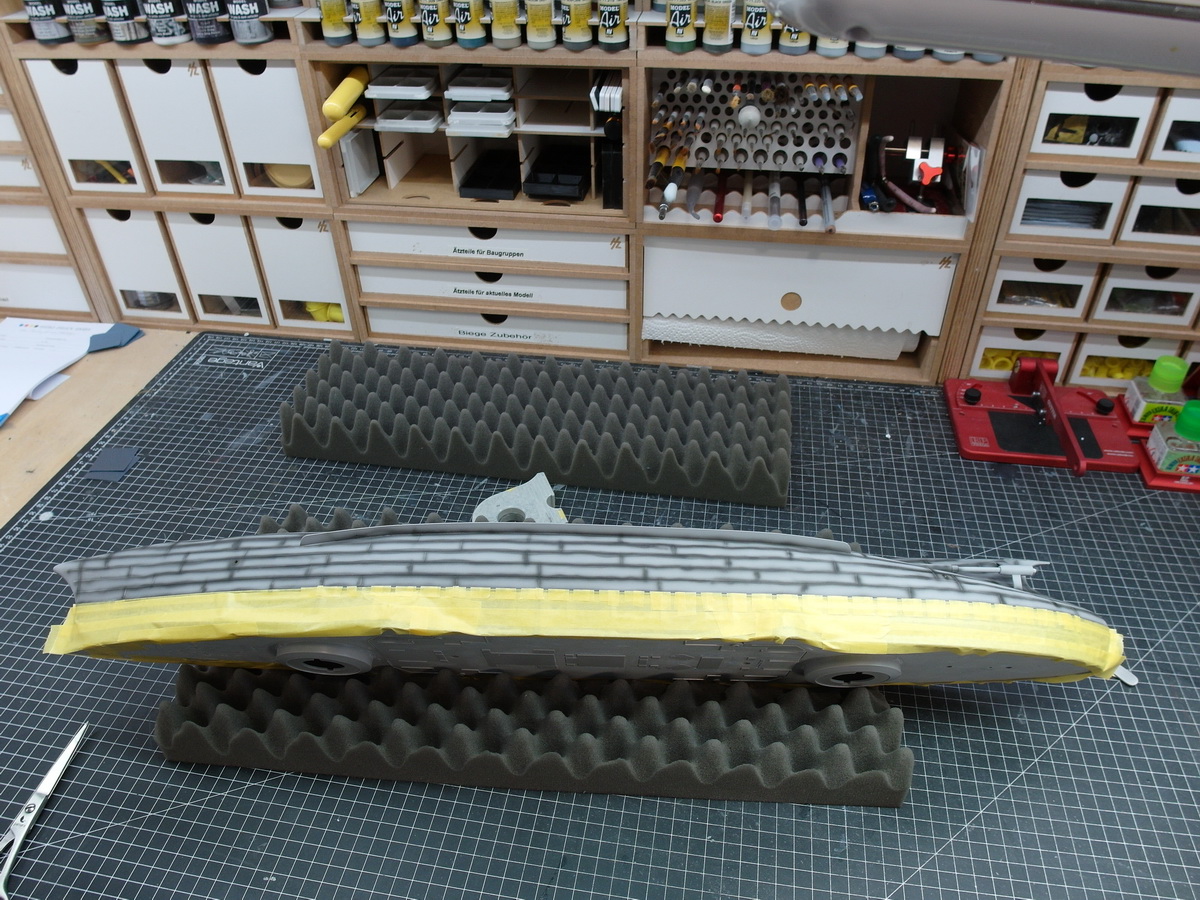
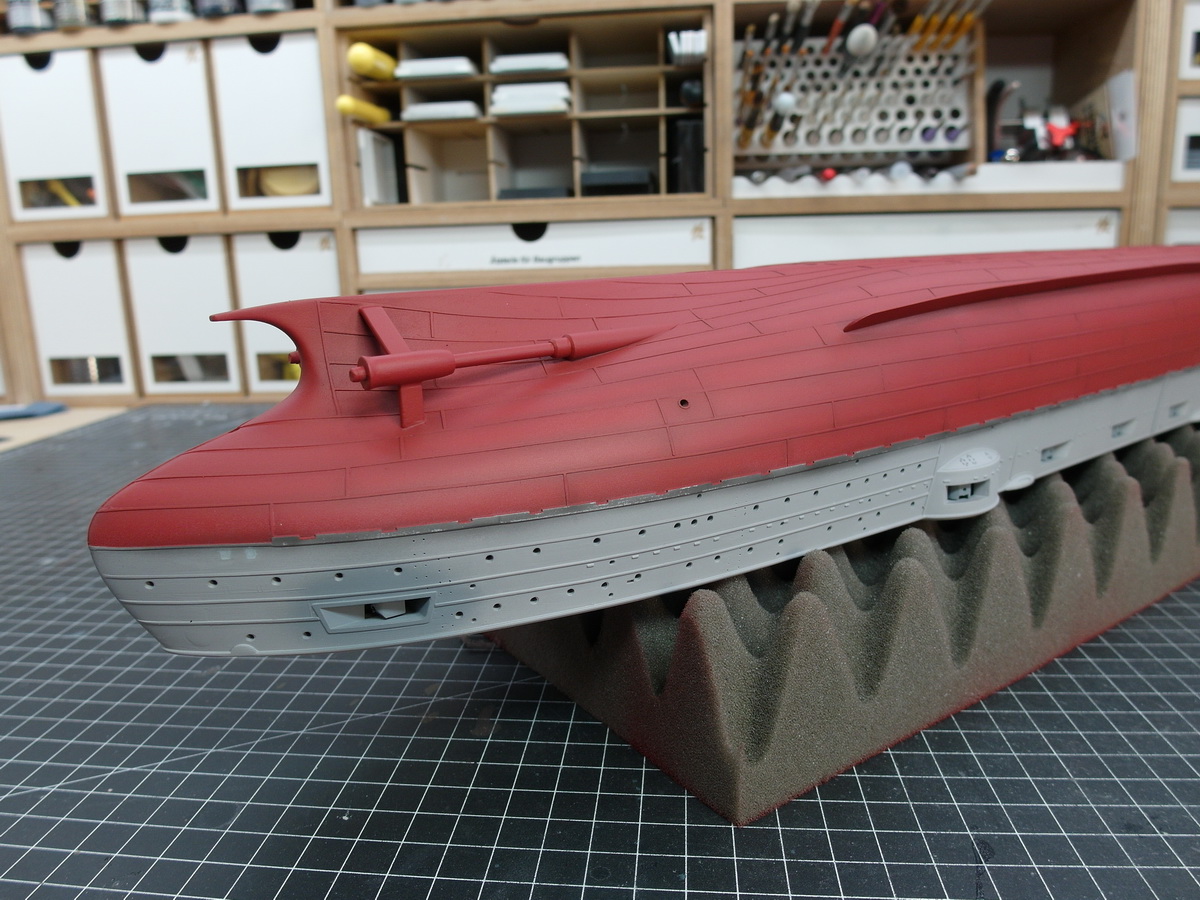
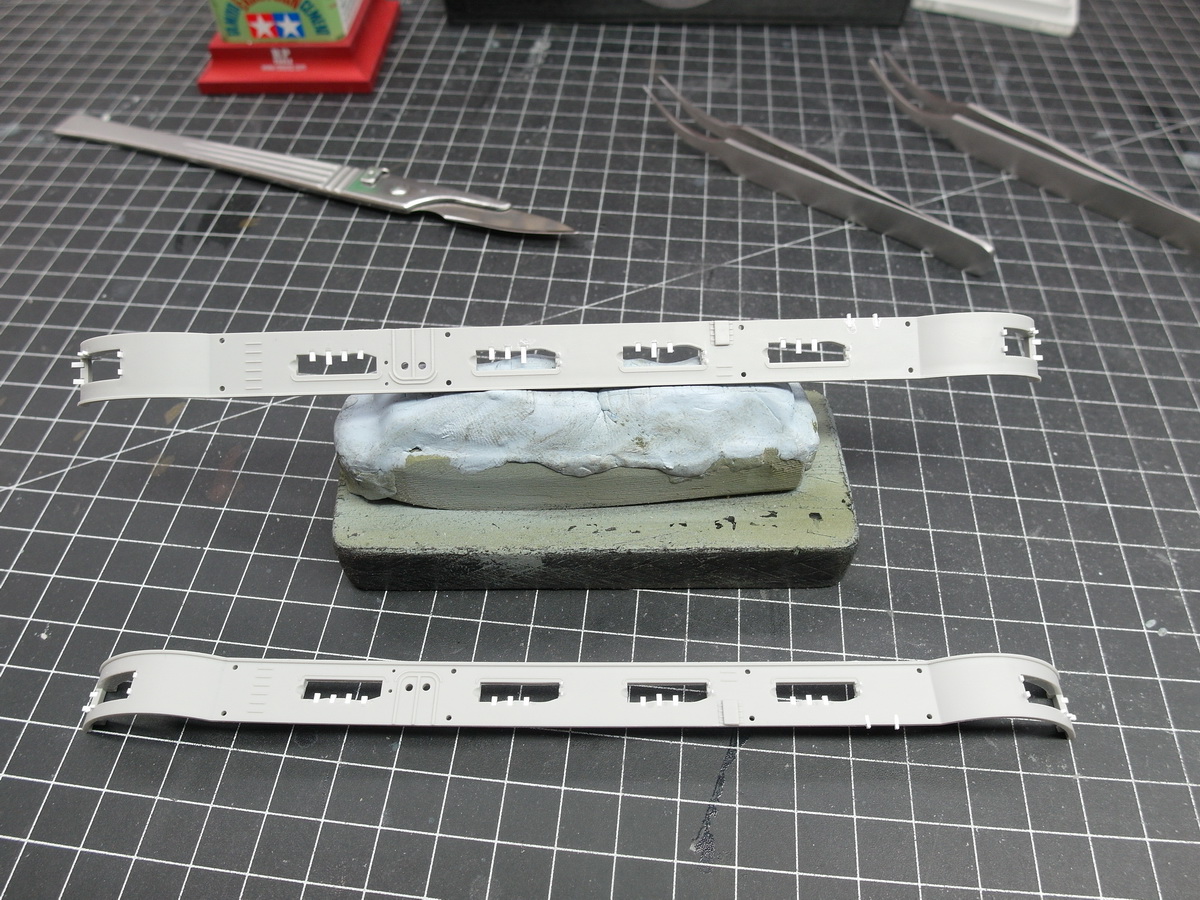
On to preshading.
And then tape it off. I’m doing this relatively precisely, even though I’m only in the basic color.
Of course I could spray the red without masking it off, but then too many layers would overlap afterwards and the whole thing would be too thick for me.
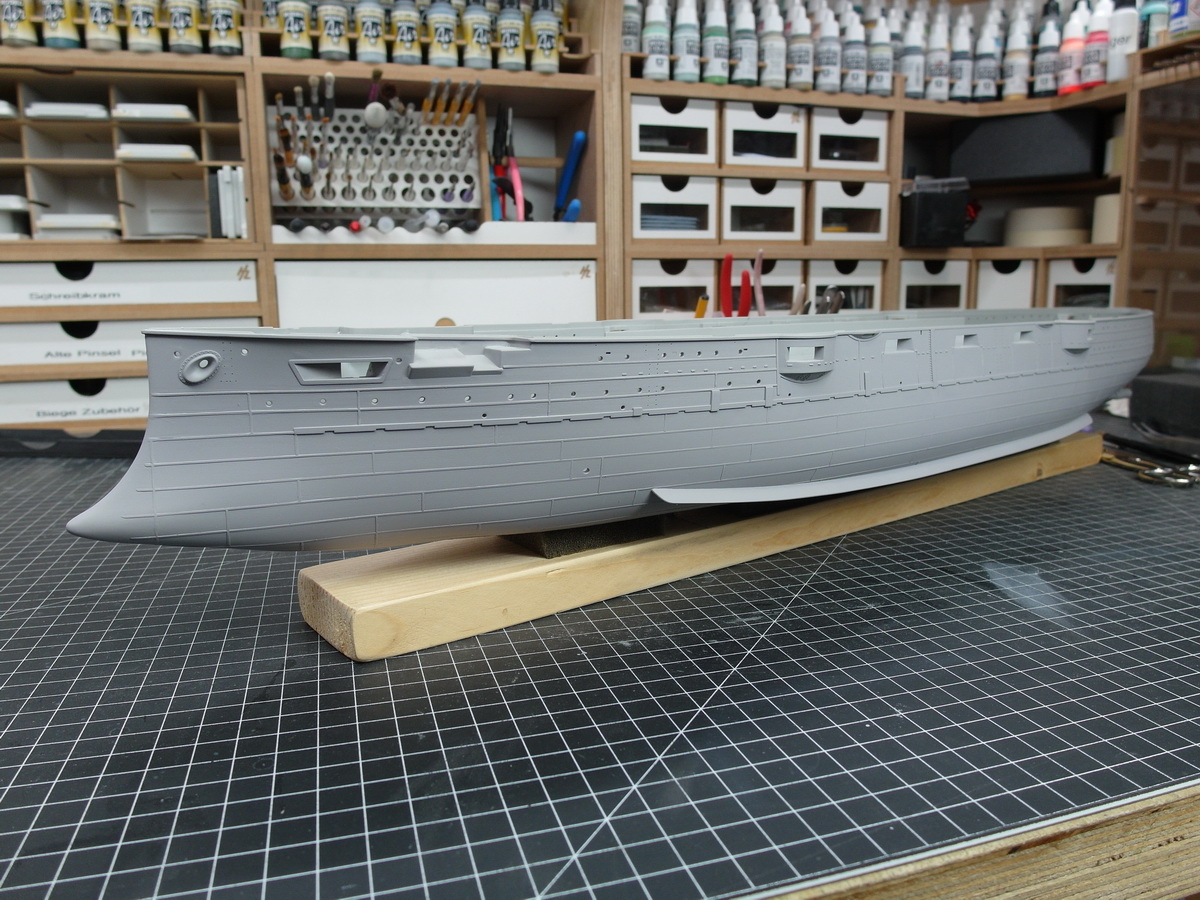
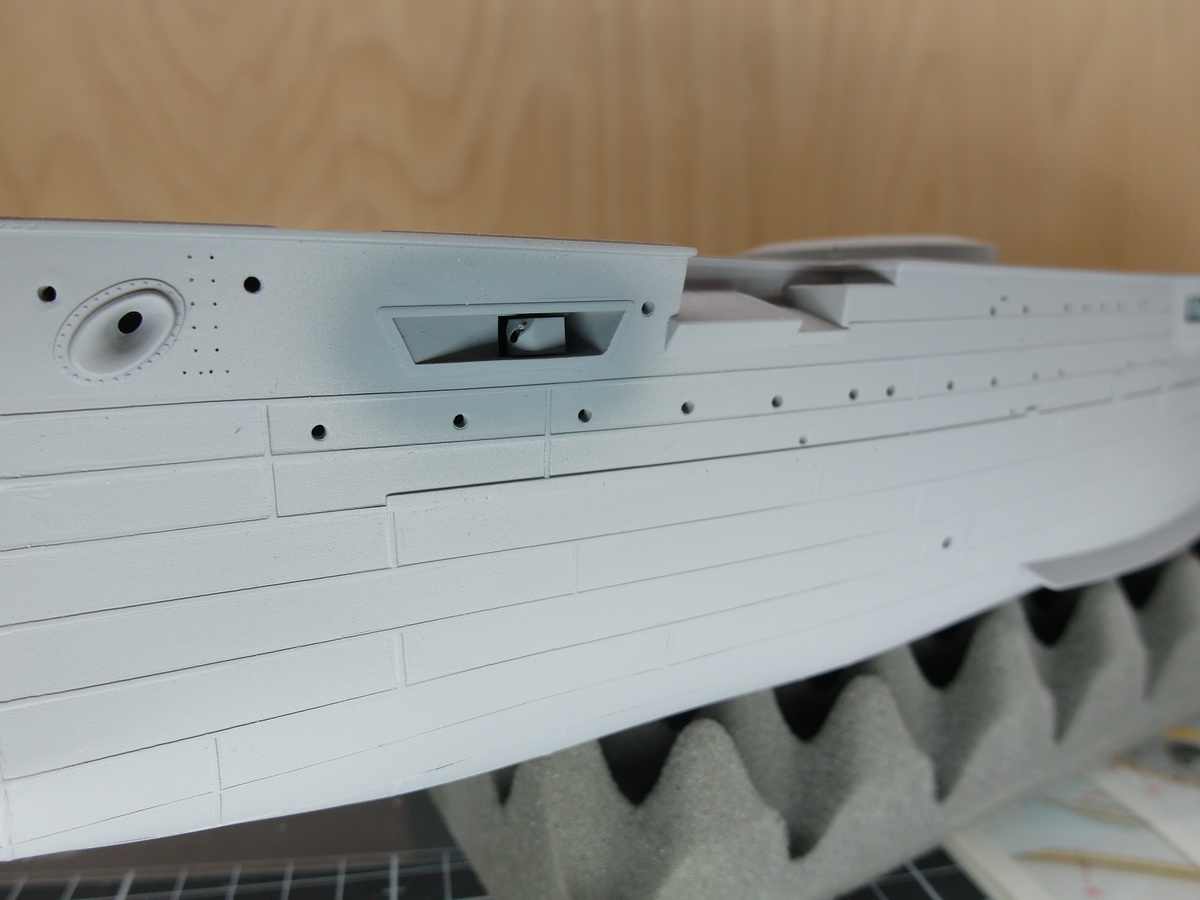
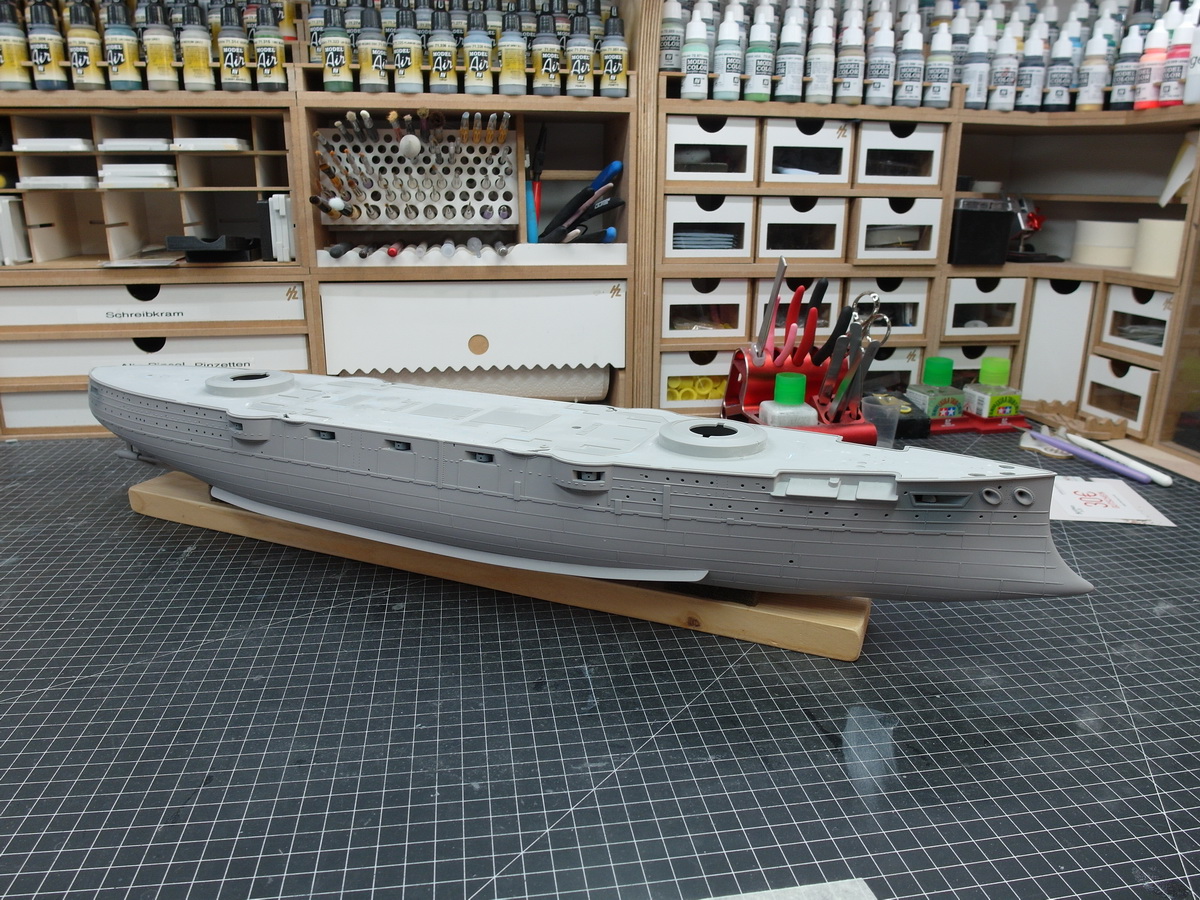
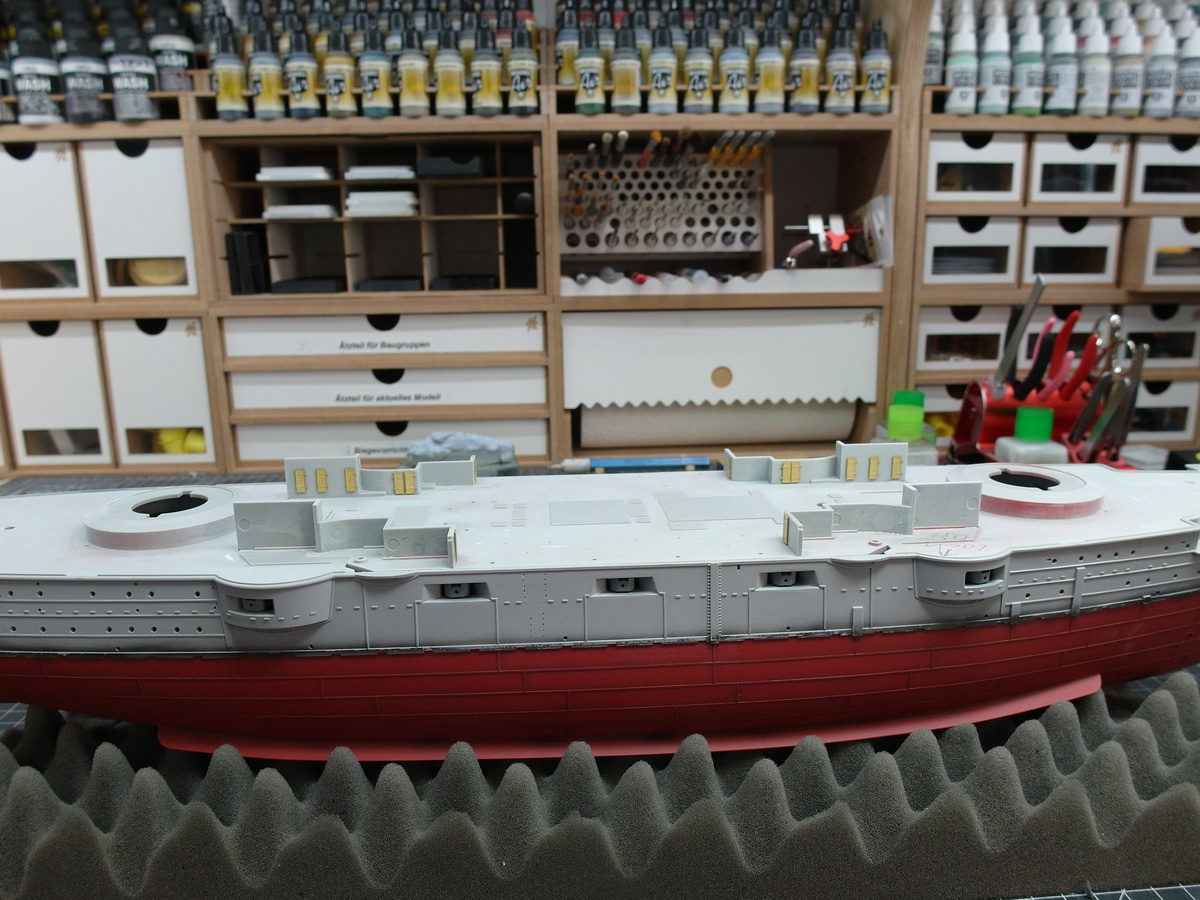
And now the antifouling paint is on the underwater hull.
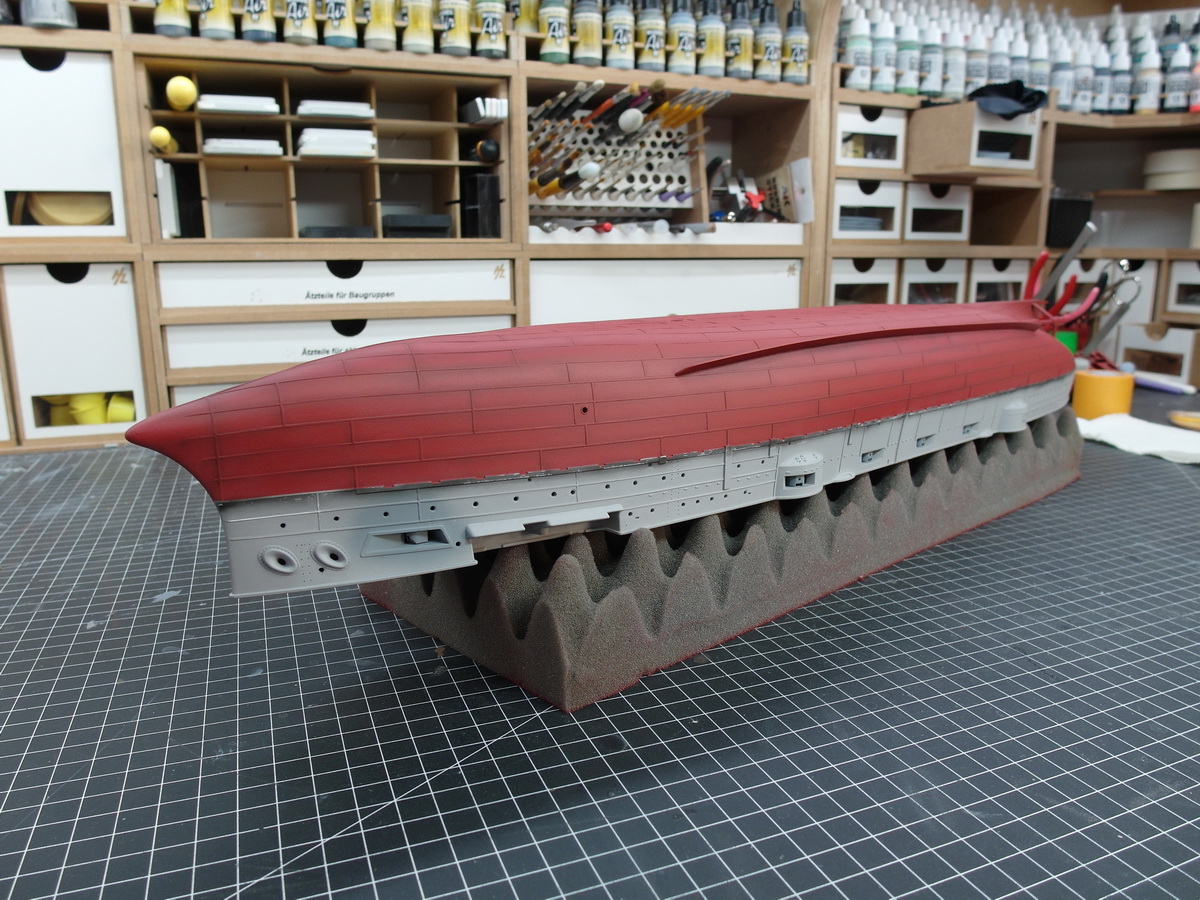
The waterline is running great. Profiles attached at the correct height.
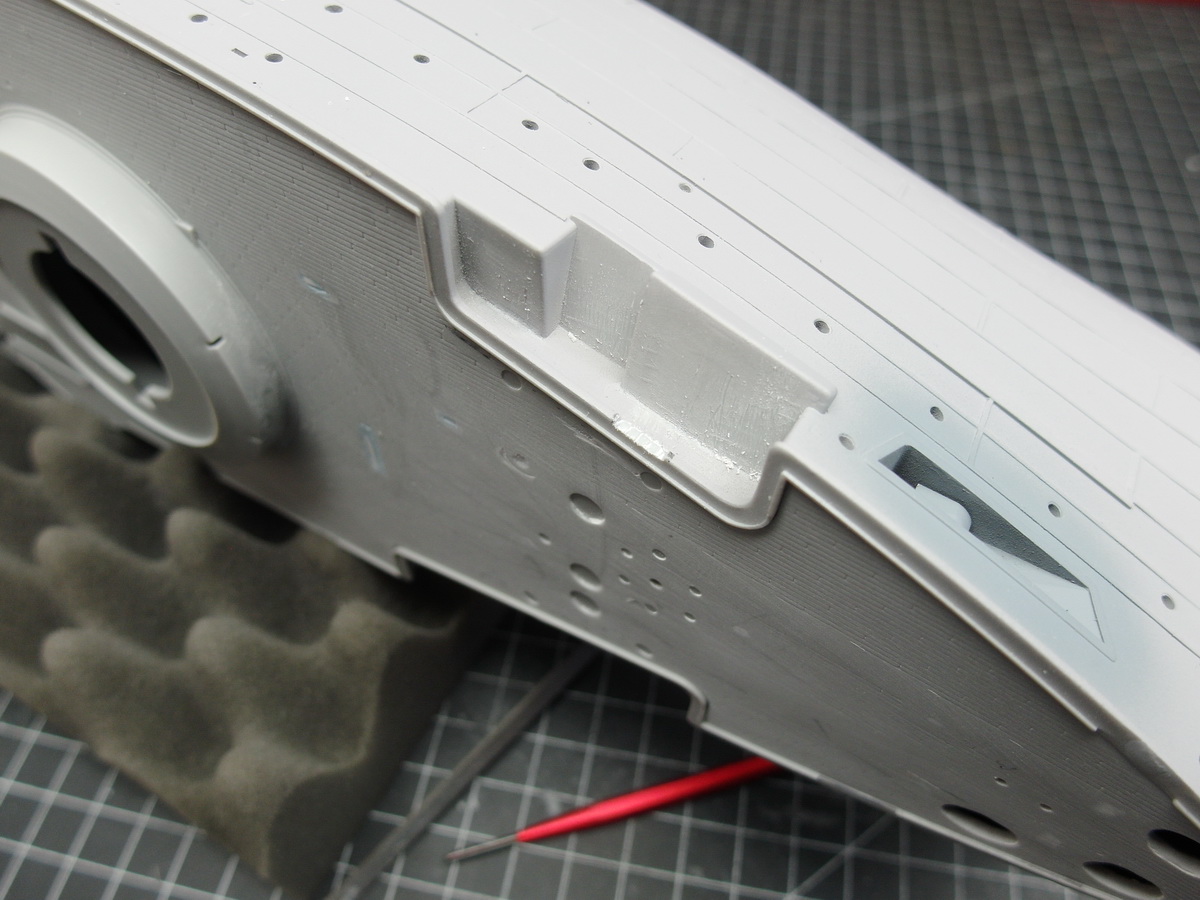
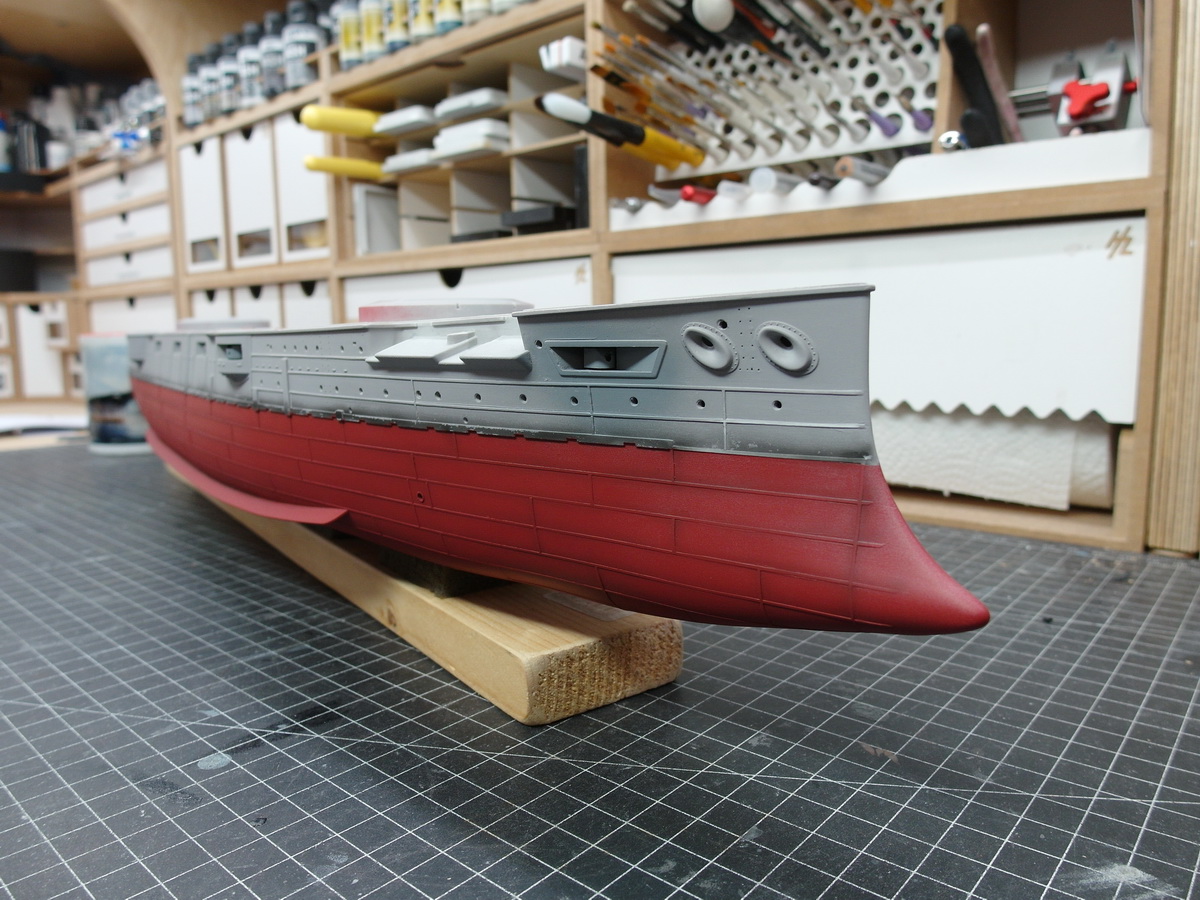
Here are the two recesses for the side with the double anchor.
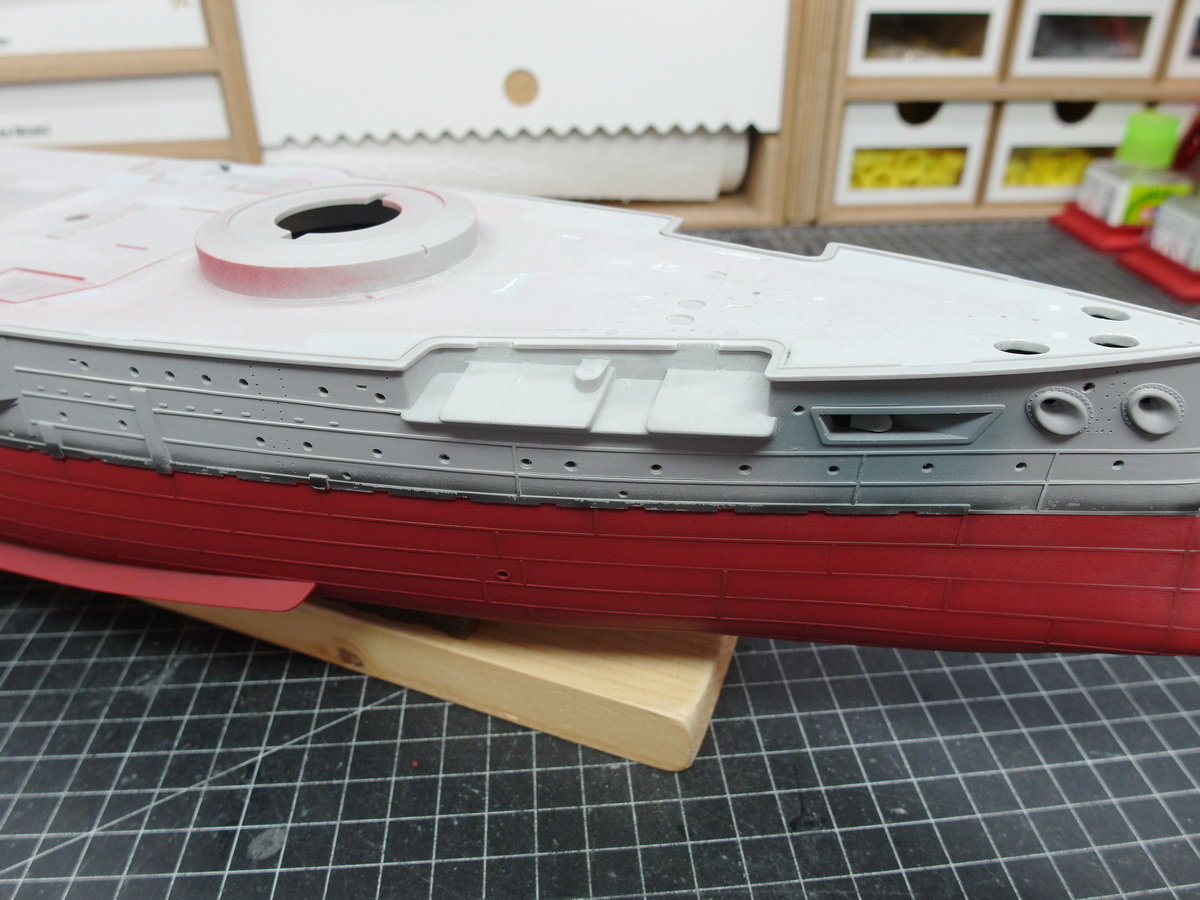
I really like the structure I made from the styrene profiles.
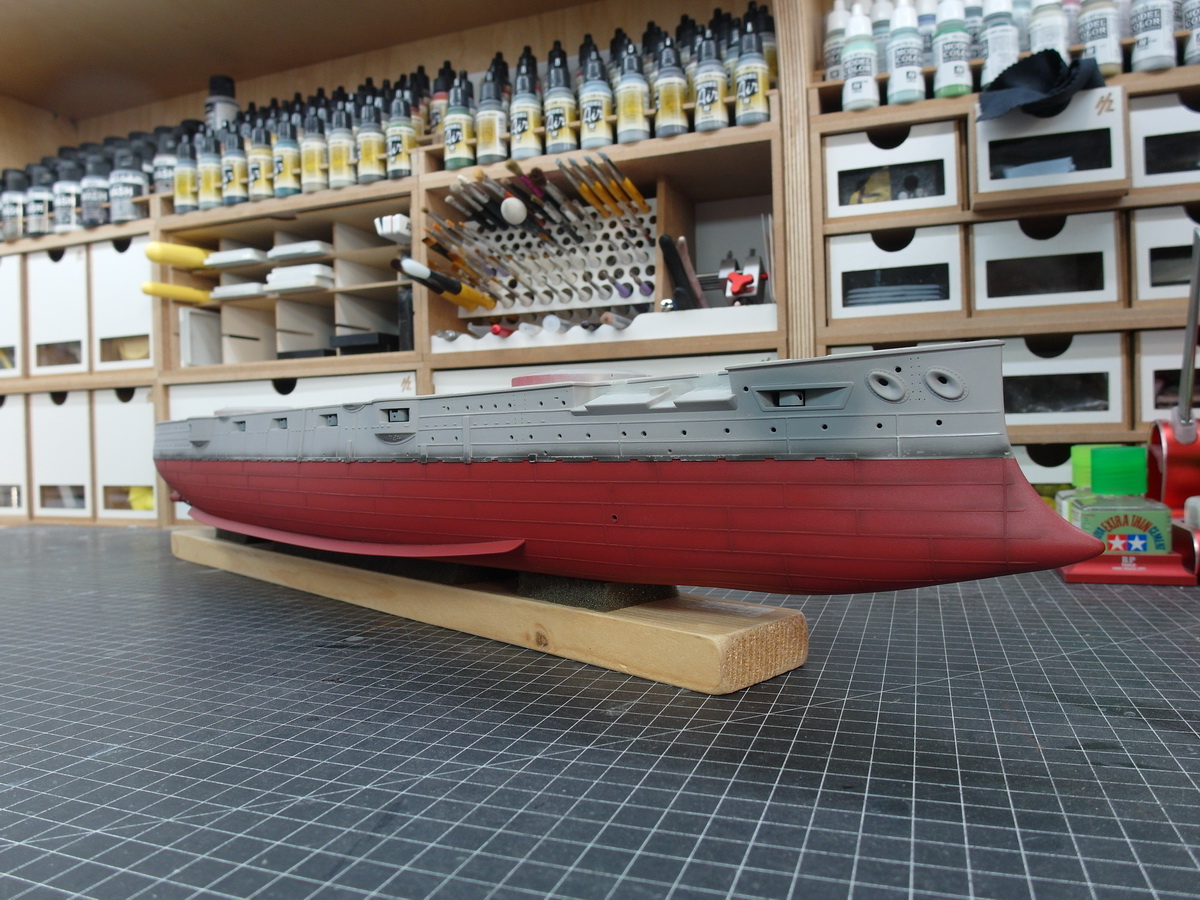
And the preshading also comes into its own.
Now we continue with the details on the upper ship.
15 Likes
Those profiles look even better now that they’re painted! Nice job! ![]()
2 Likes
The anti foul looks great… Pre shade worked really well. Super work.
3 Likes
Thank you, Gentlemen.
Yes Johnny, I’m always amazed at how well it shines through the base coat.
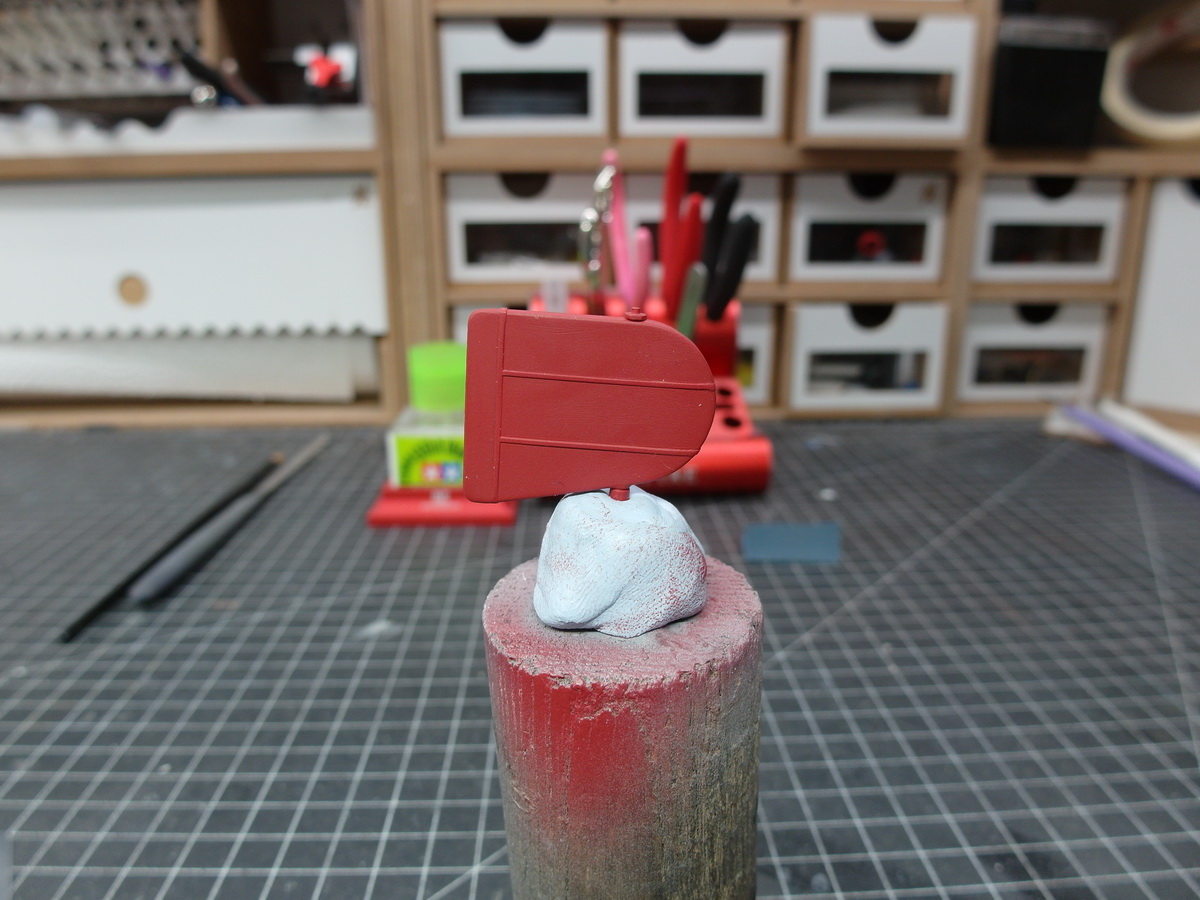
Next I went to the ship’s rudder. I had actually lost sight of that a bit.
Never mind, styrene attached and painted red.
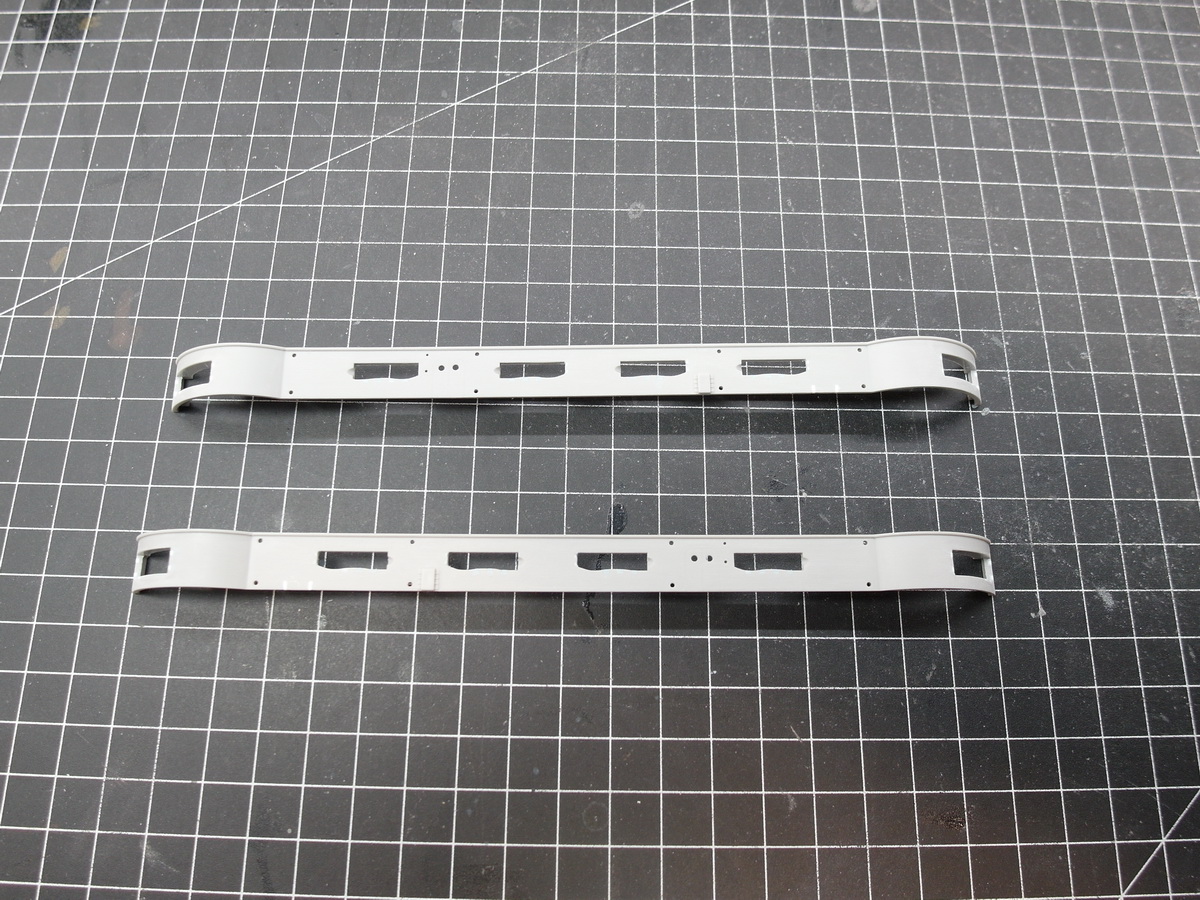
Then to the upper casemates. Unnecessary holes closed again.
Sanded and found to be good.
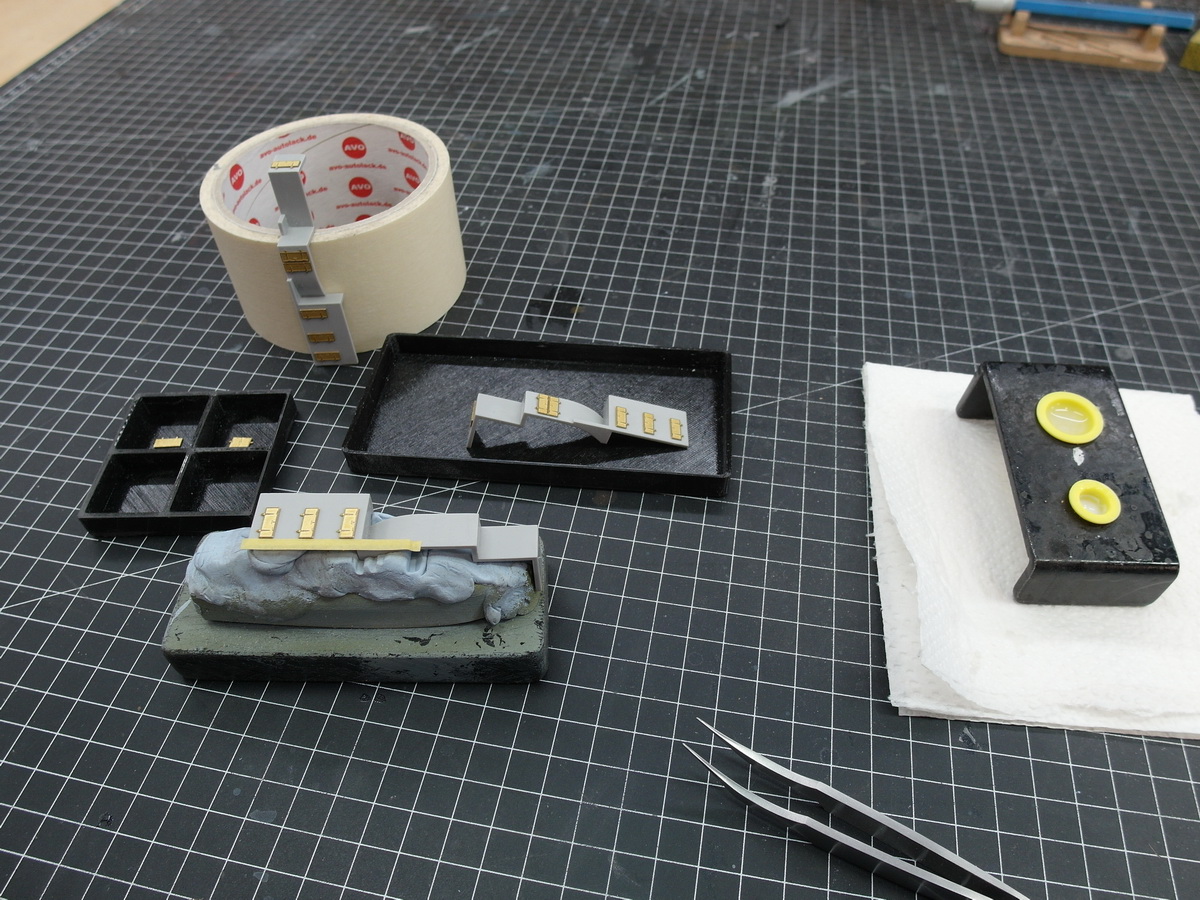
So the etched parts battle could finally begin.
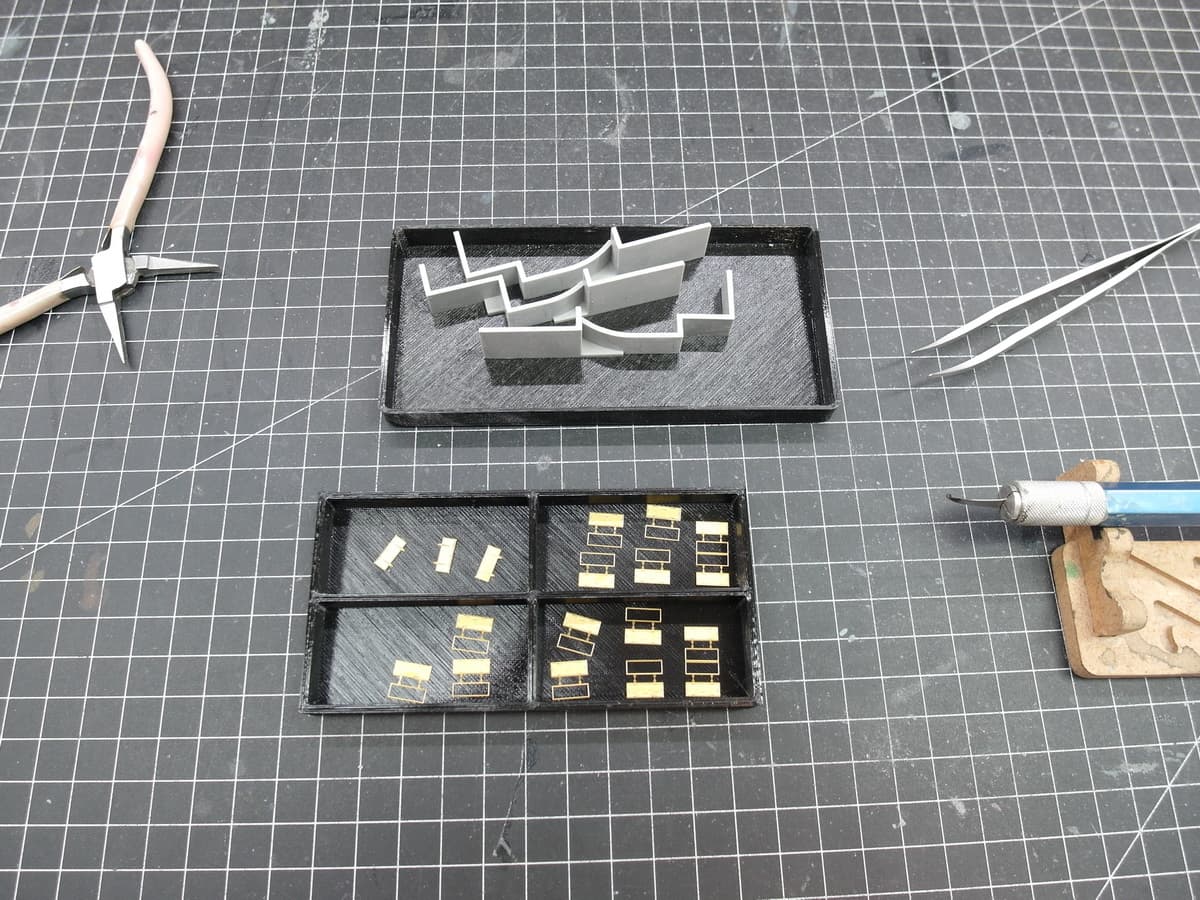
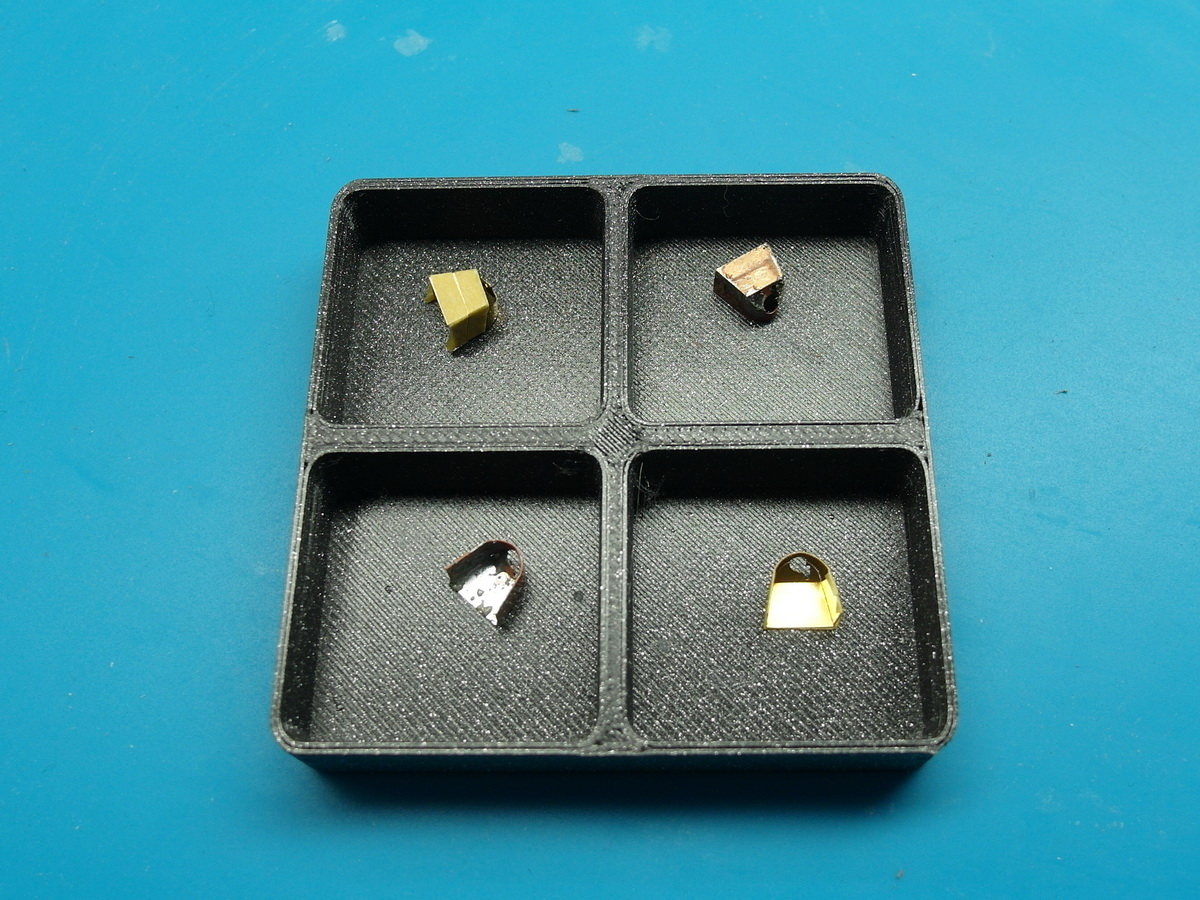
The MK1 set has already scored its first points.
Shortly before I had sanded away the rather rough details, I thought about taking a quick photo of them. Pontus had not planned anything here. Incomprehensible, even if you can hardly see it on the finished model.
So, one to zero for KA Models.
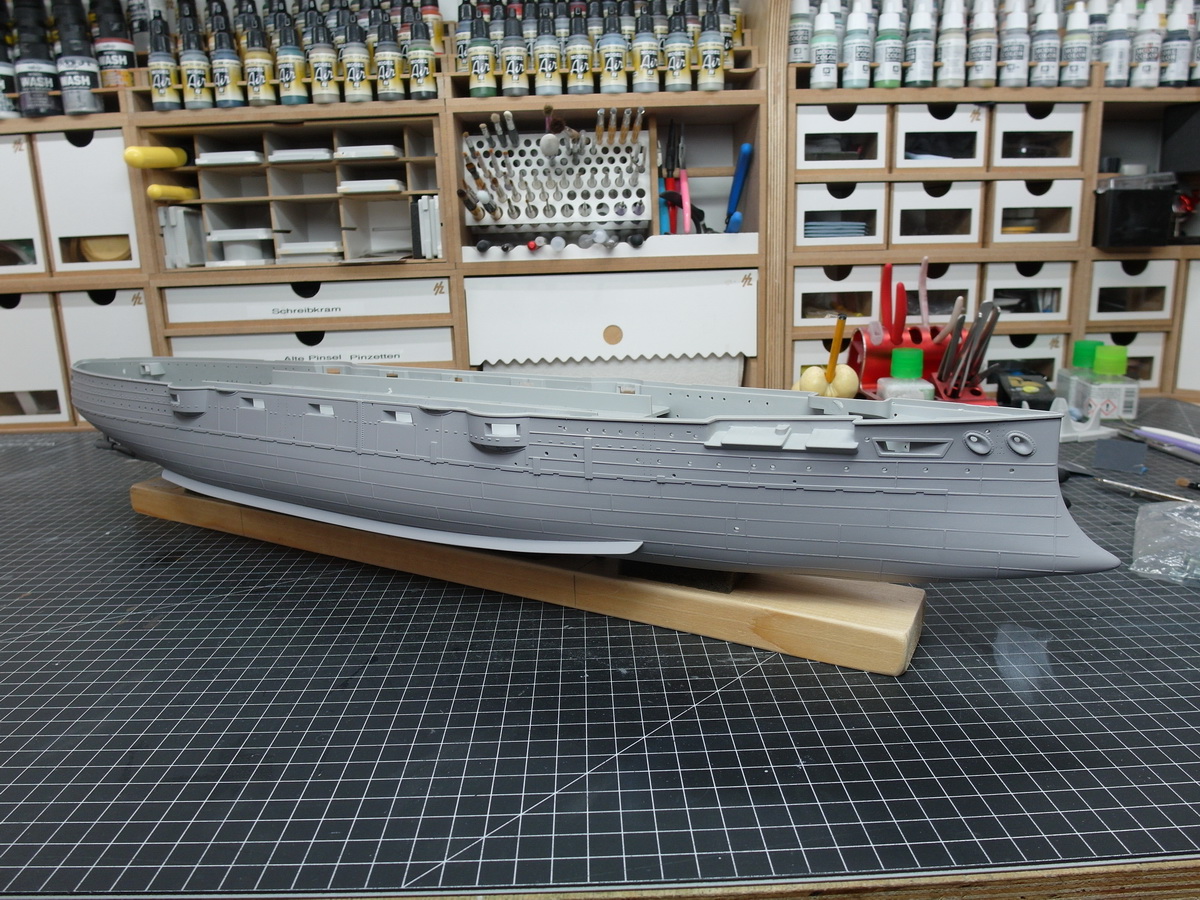
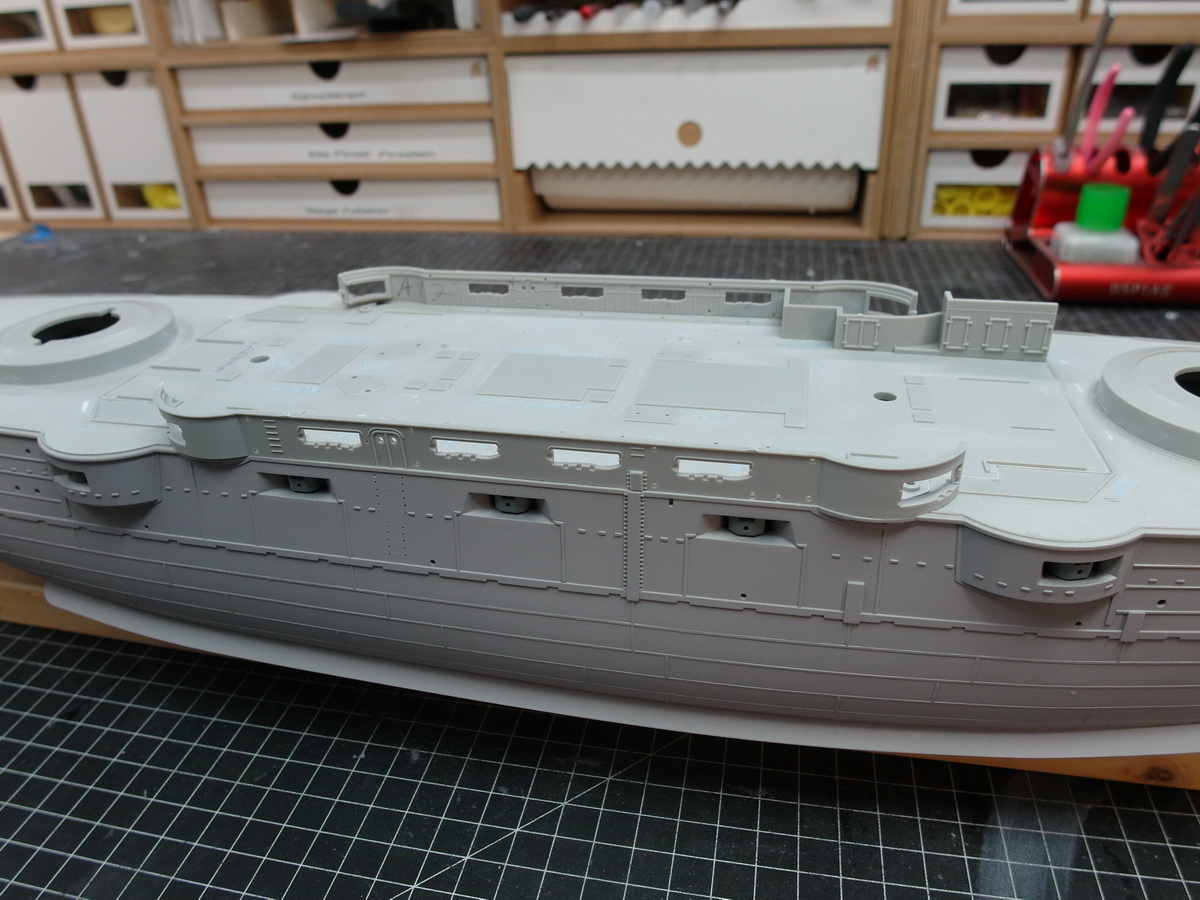
Still processing the remaining doors…
Then the first superstructures can go on the deck.
I will probably lay more electrical cables when my 0.1mm wire arrives.
11 Likes
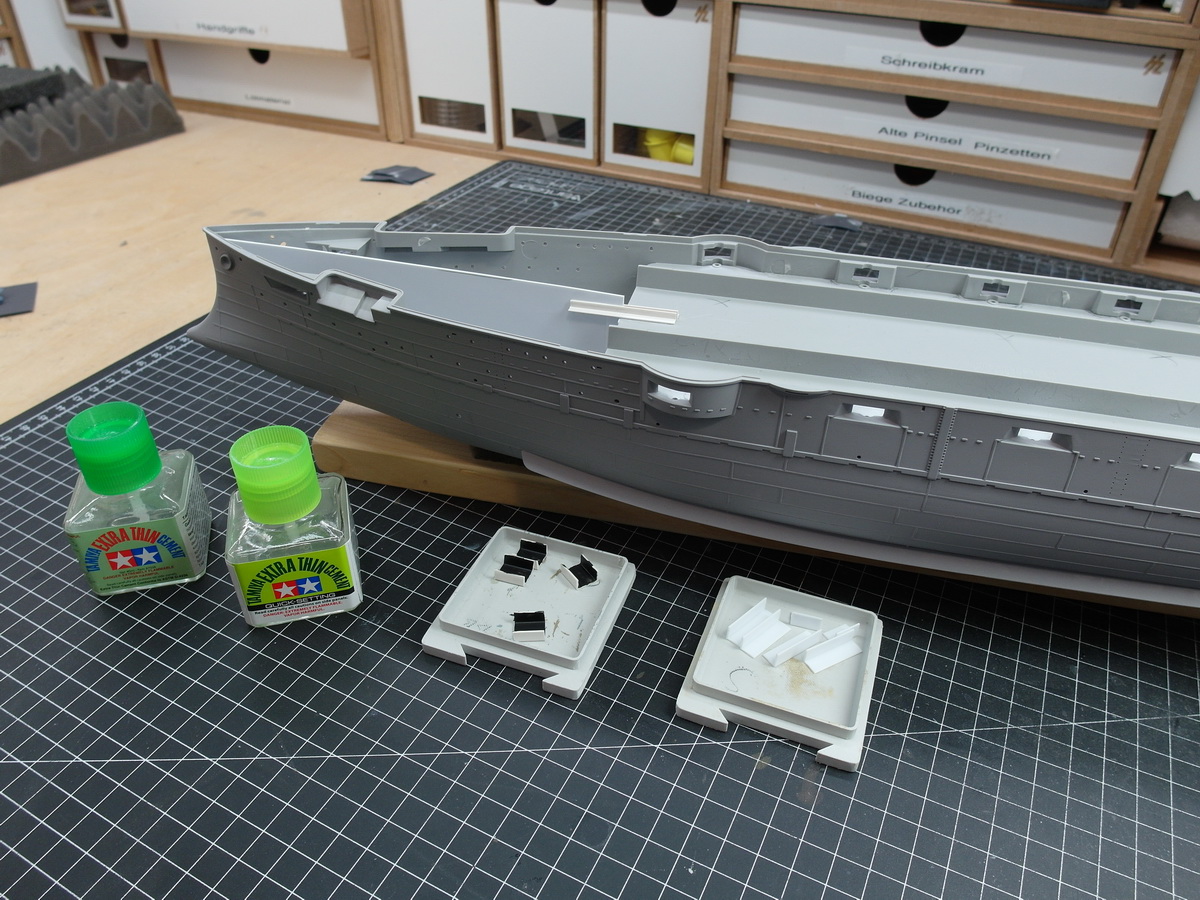
OK, lets review the final photograph. Just how many bottles of paint do you have?
5 Likes
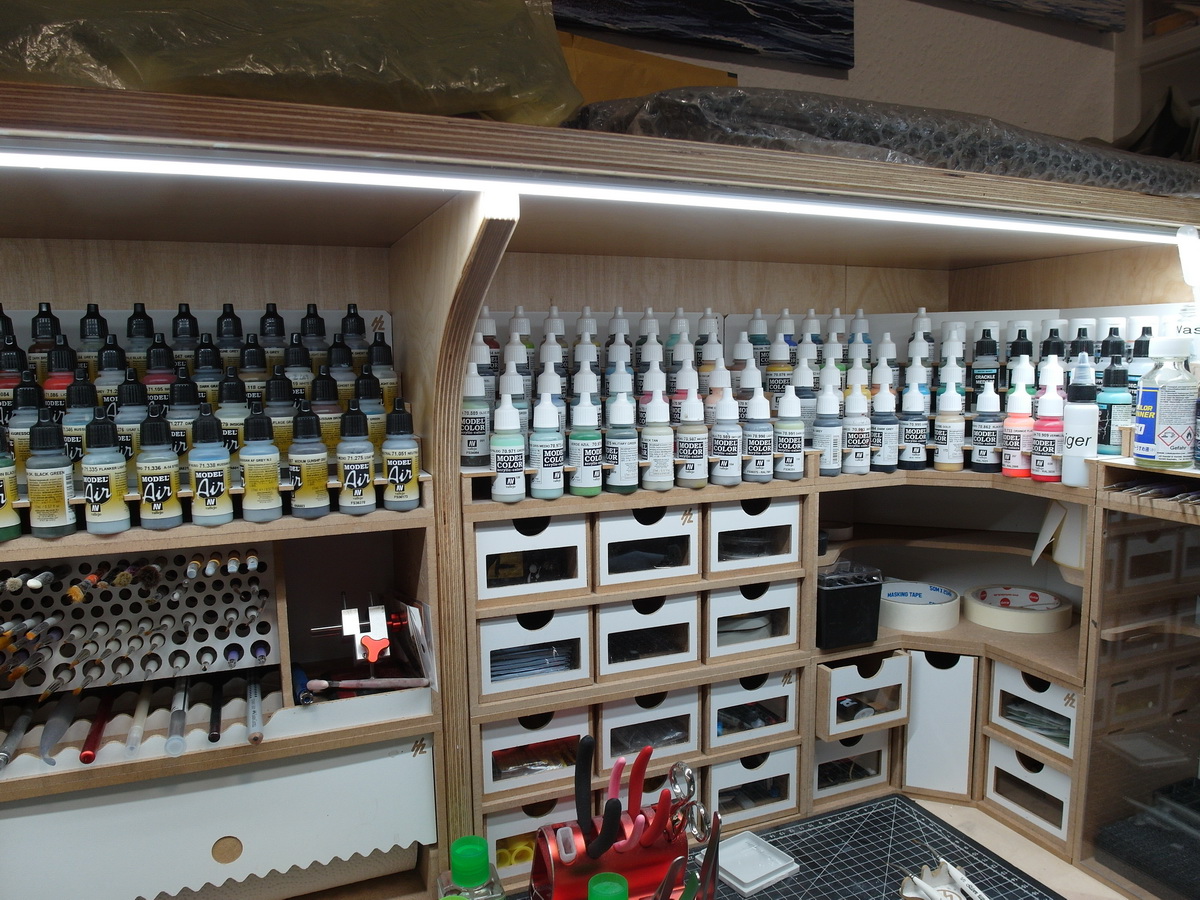
![]() that’s a lot of bottles lol…
that’s a lot of bottles lol…
4 Likes