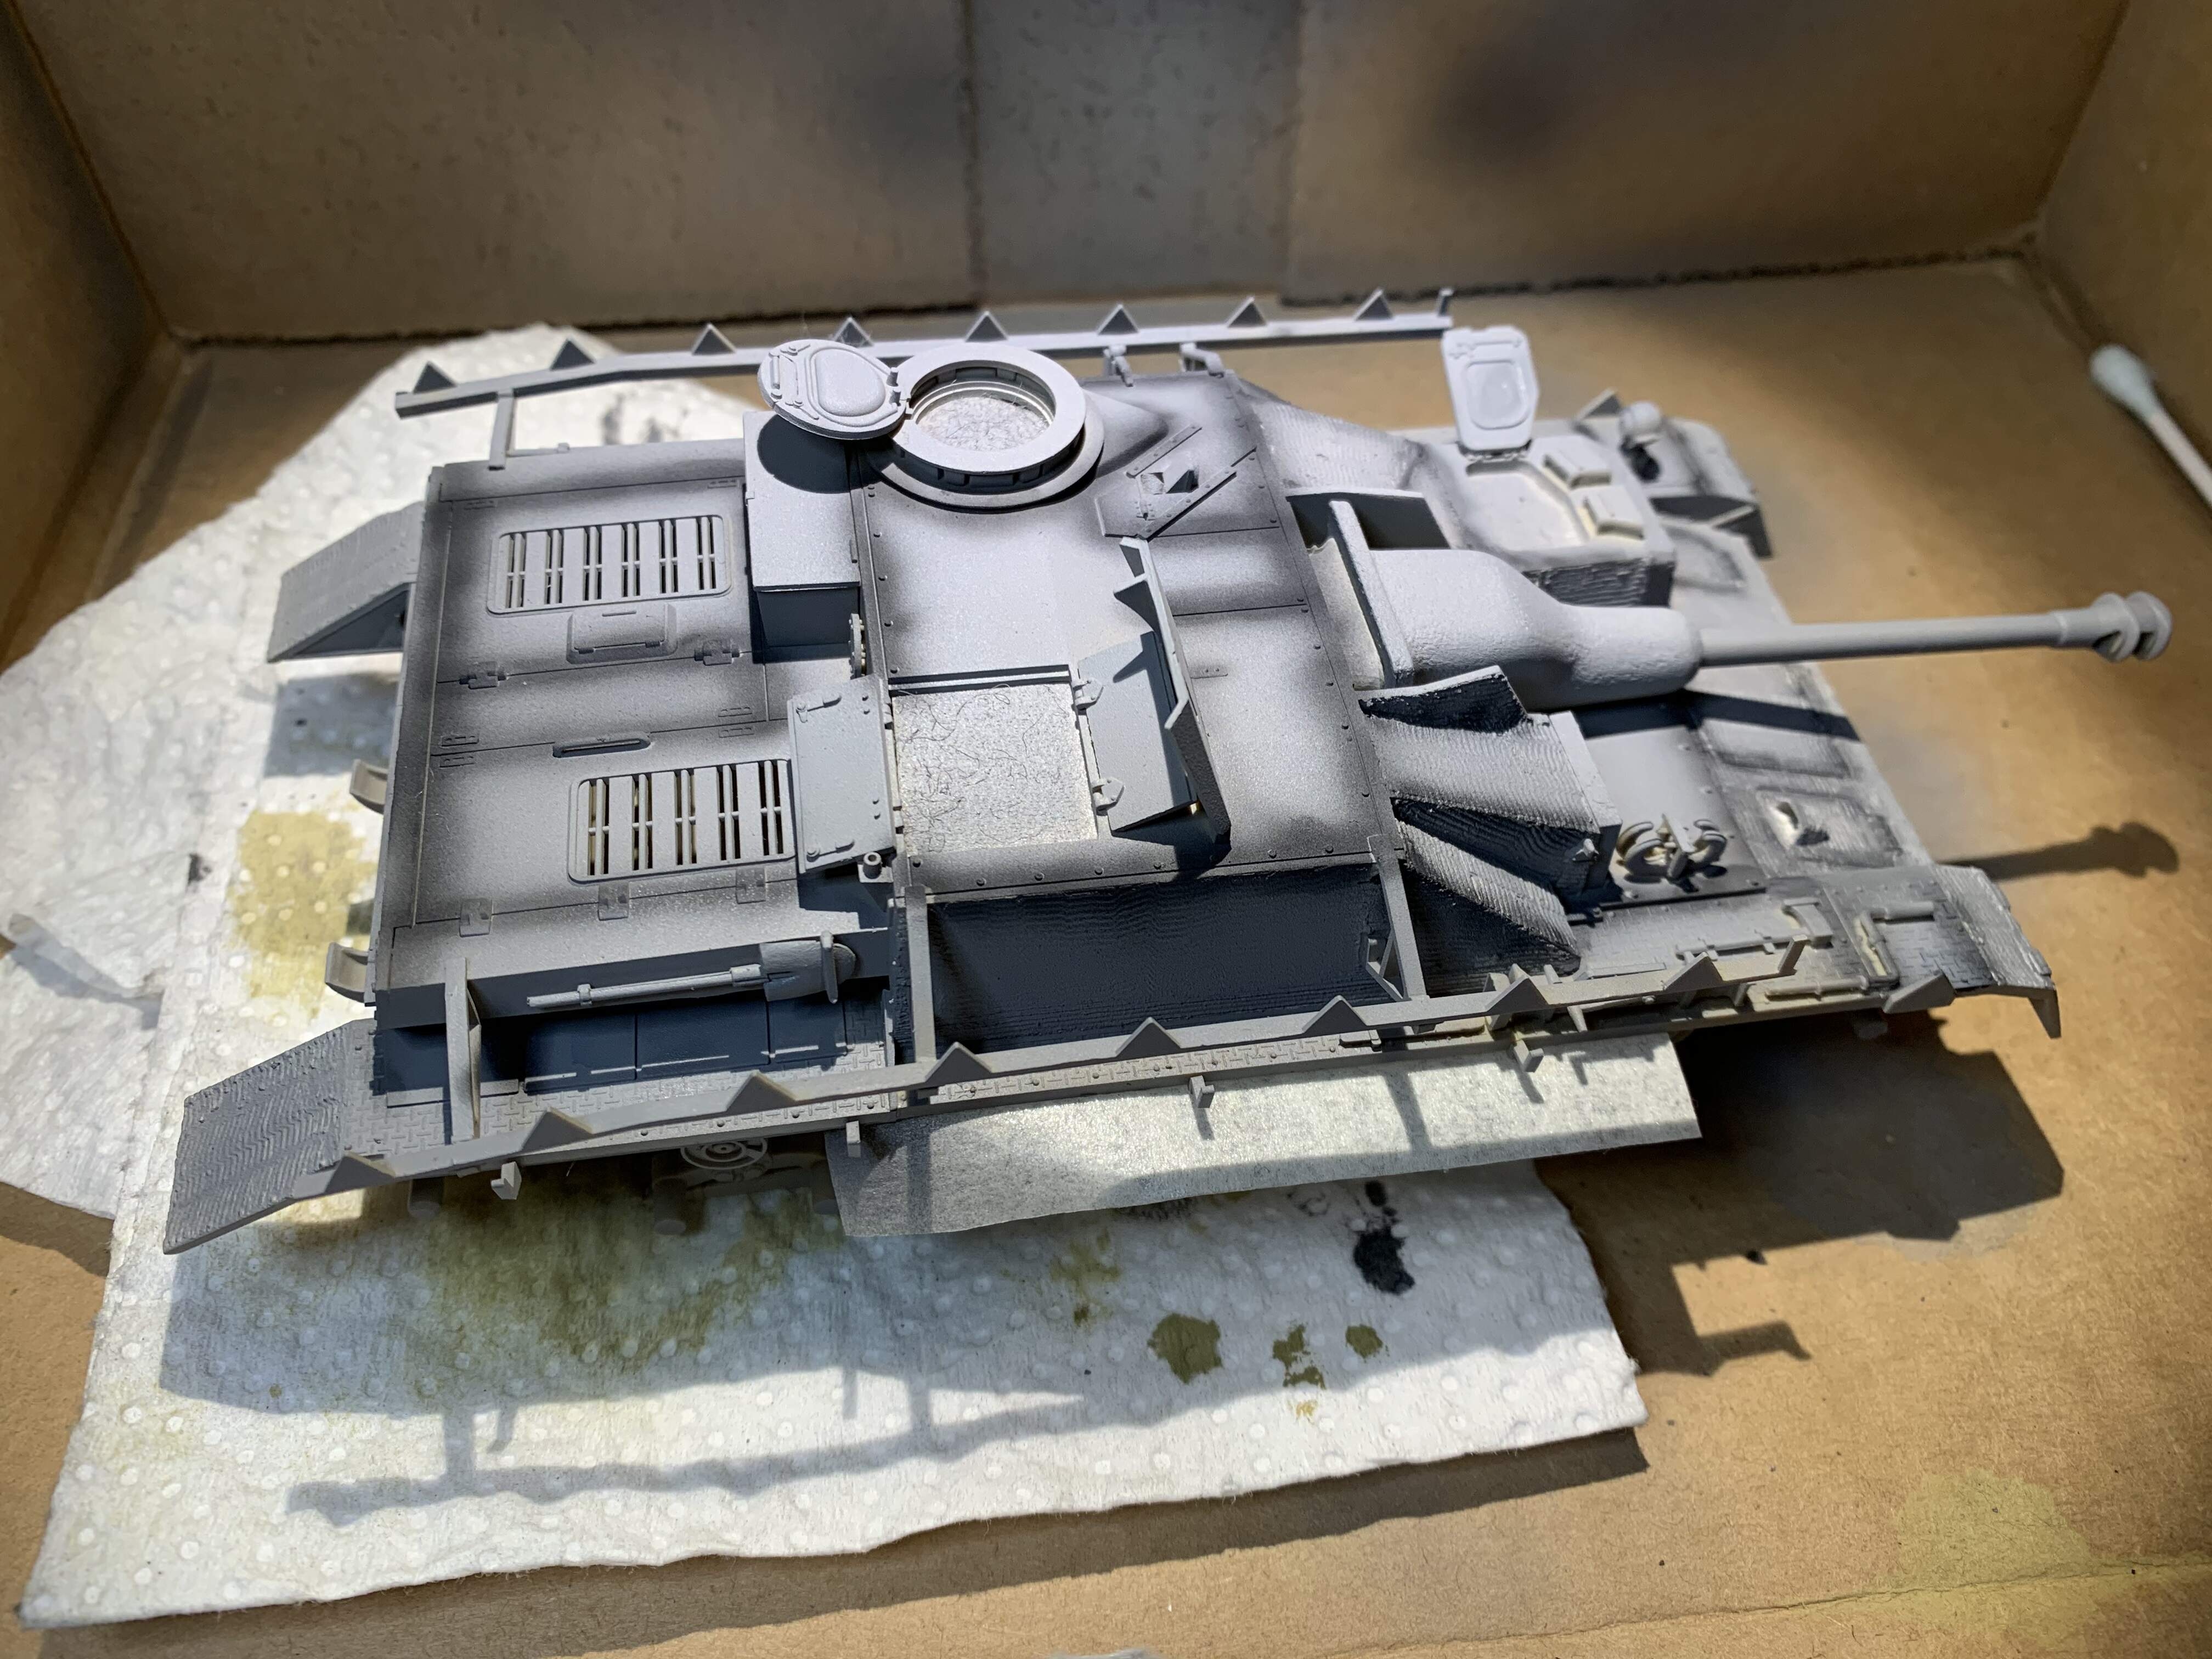
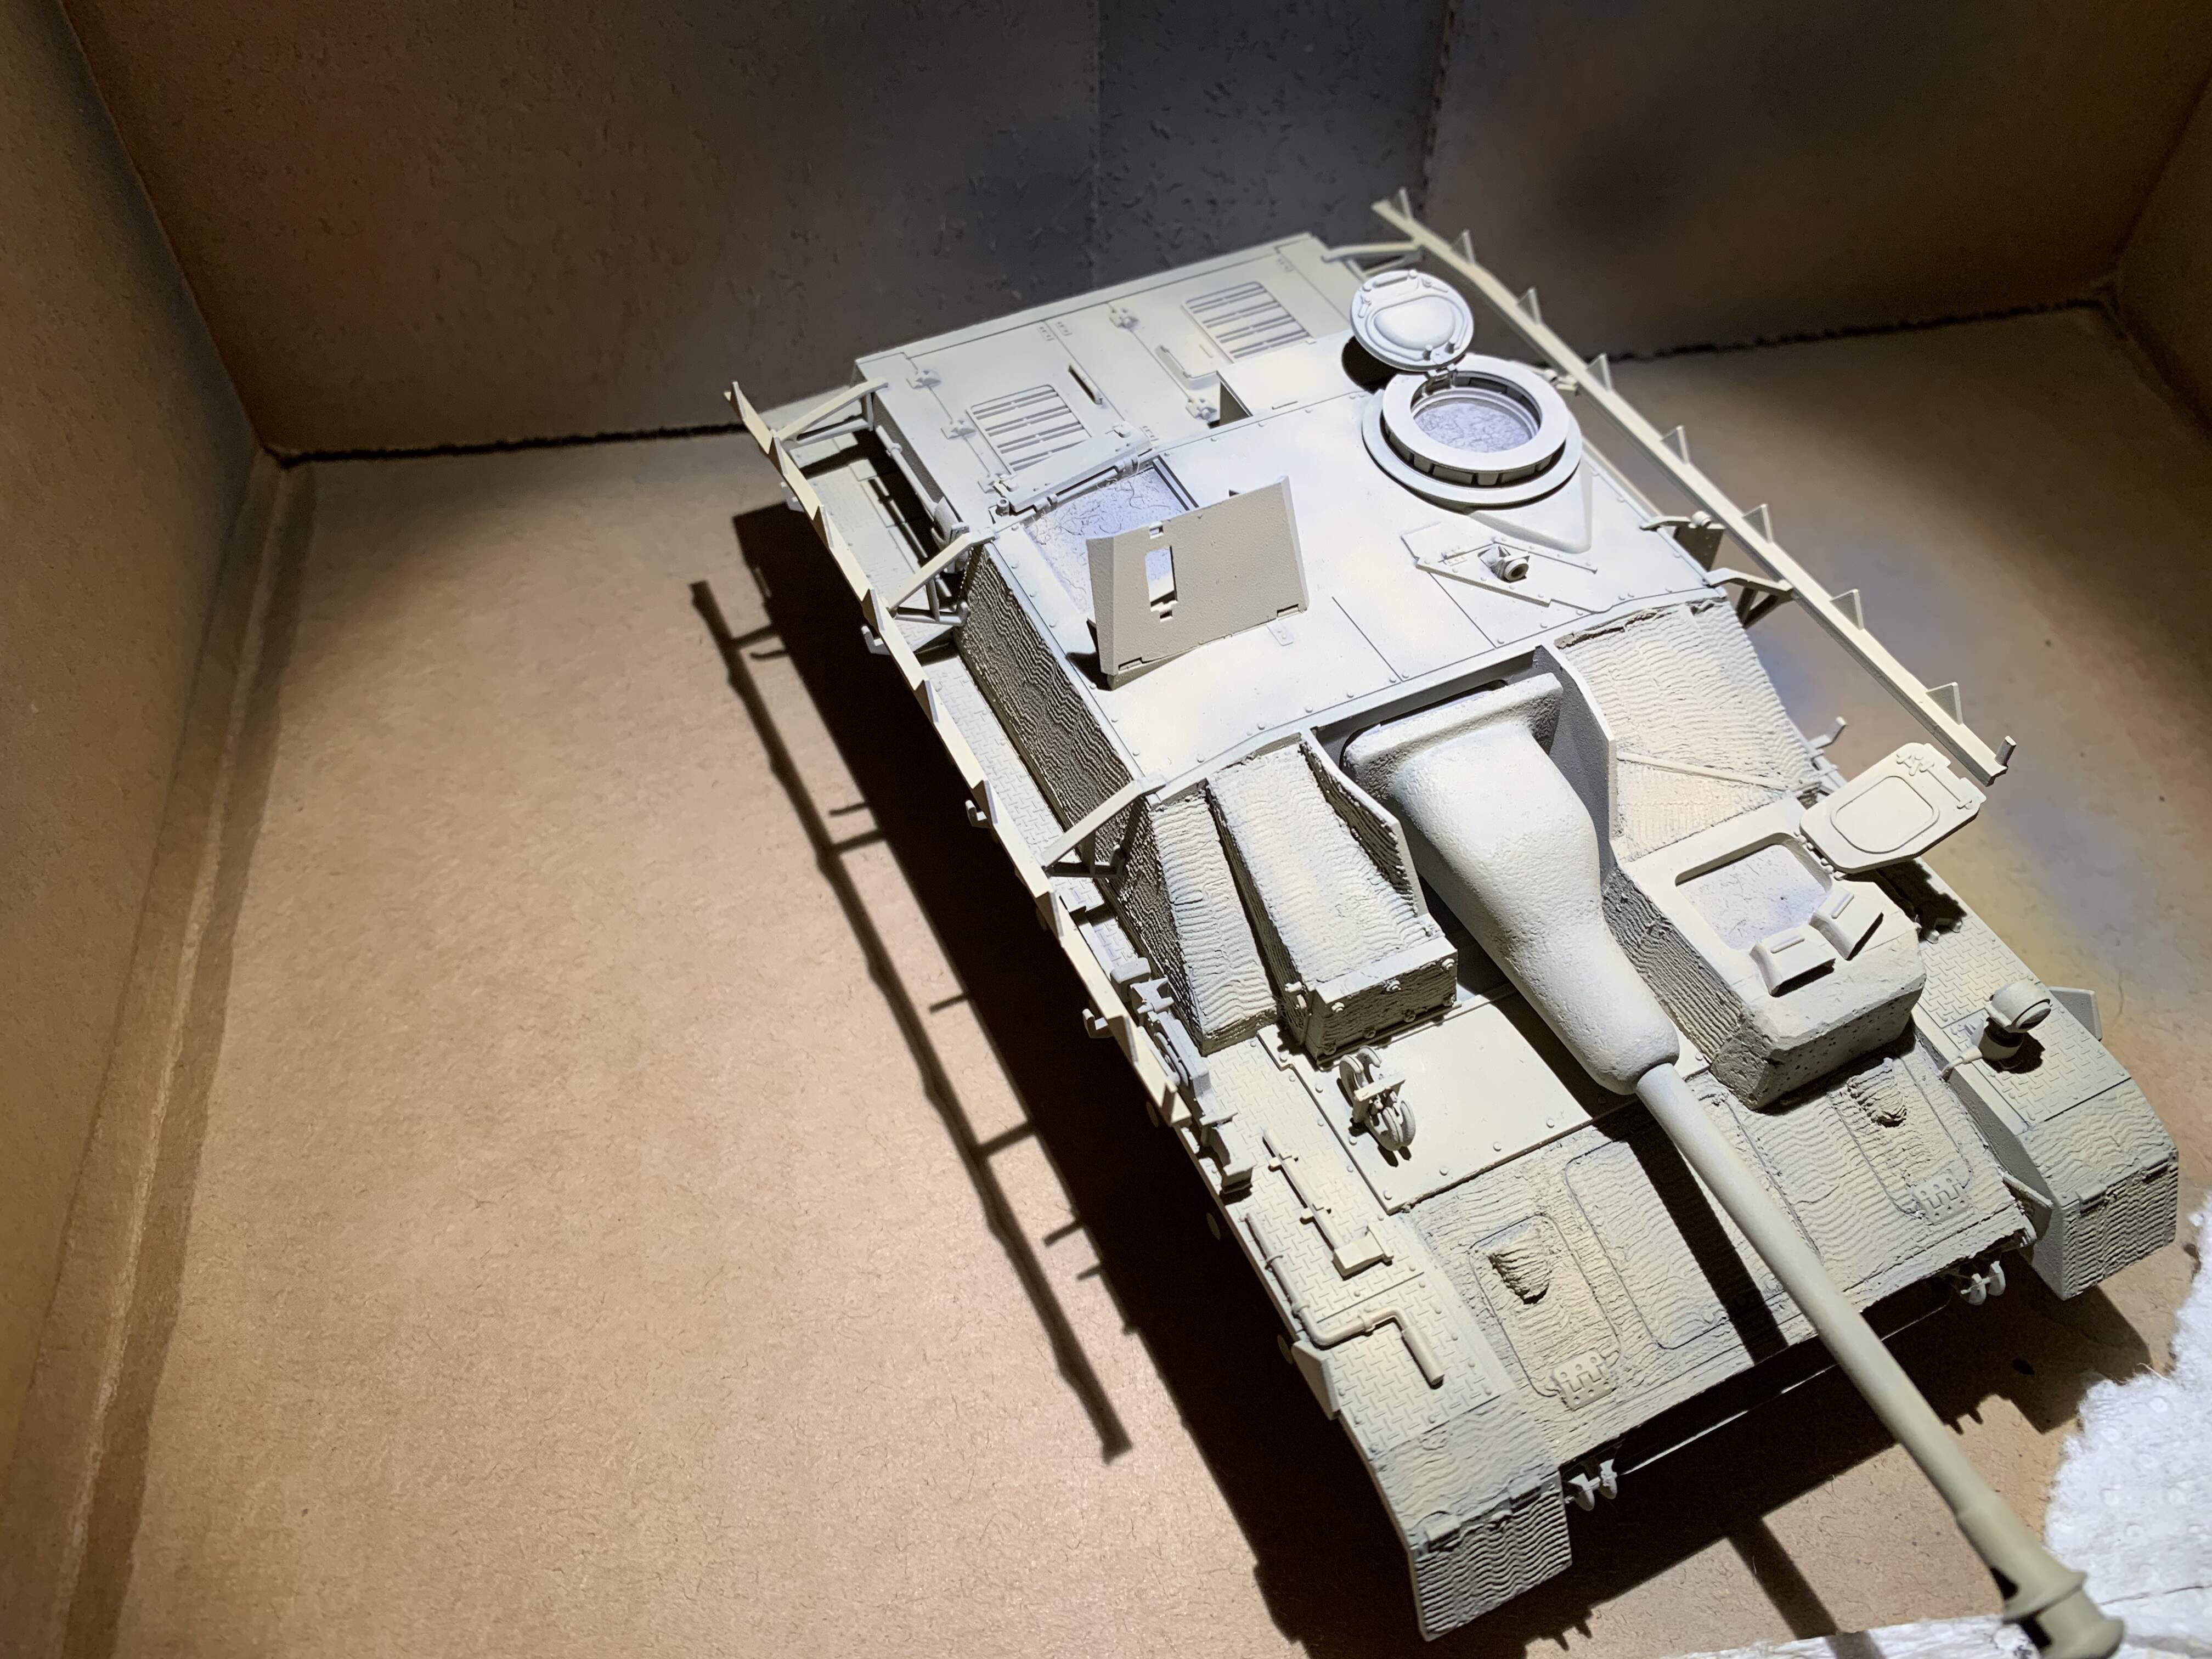
I have some nicer kits in my stash I want to build but I wanted to pick up some new skills before doing so. To do this I bought the old Tamiya Stug IV since it is an interesting subject to me and could be had for cheap.
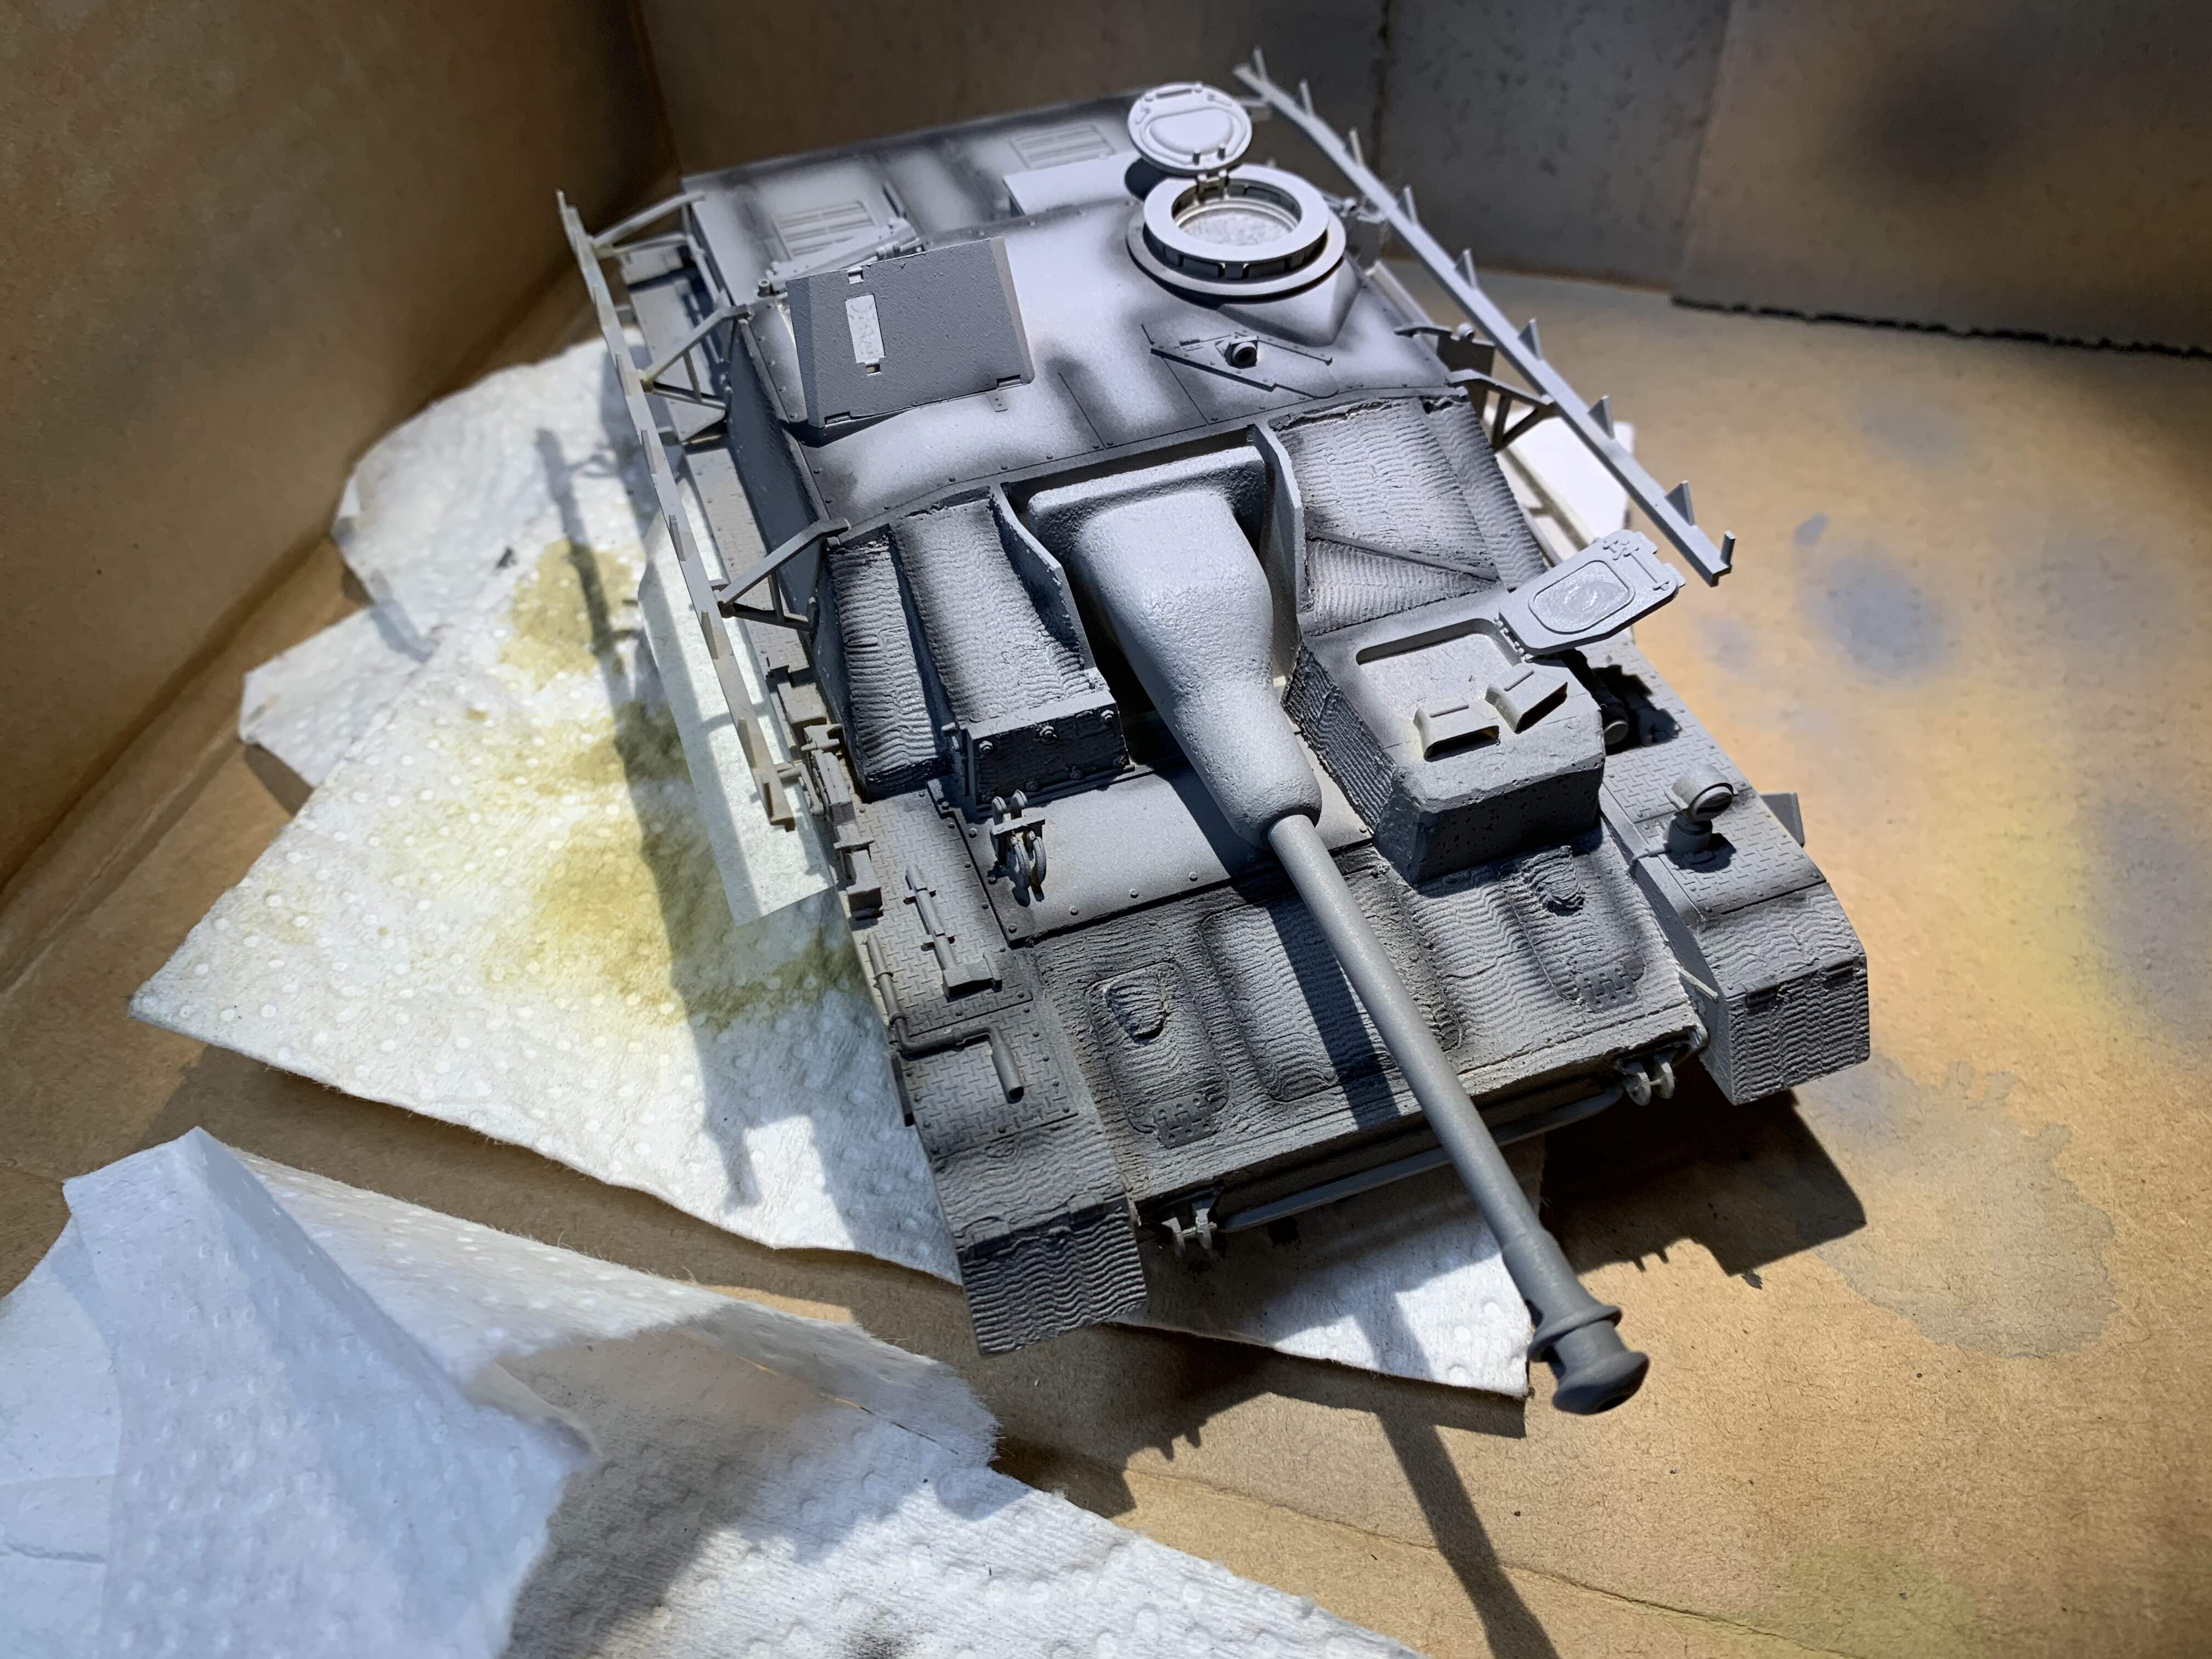
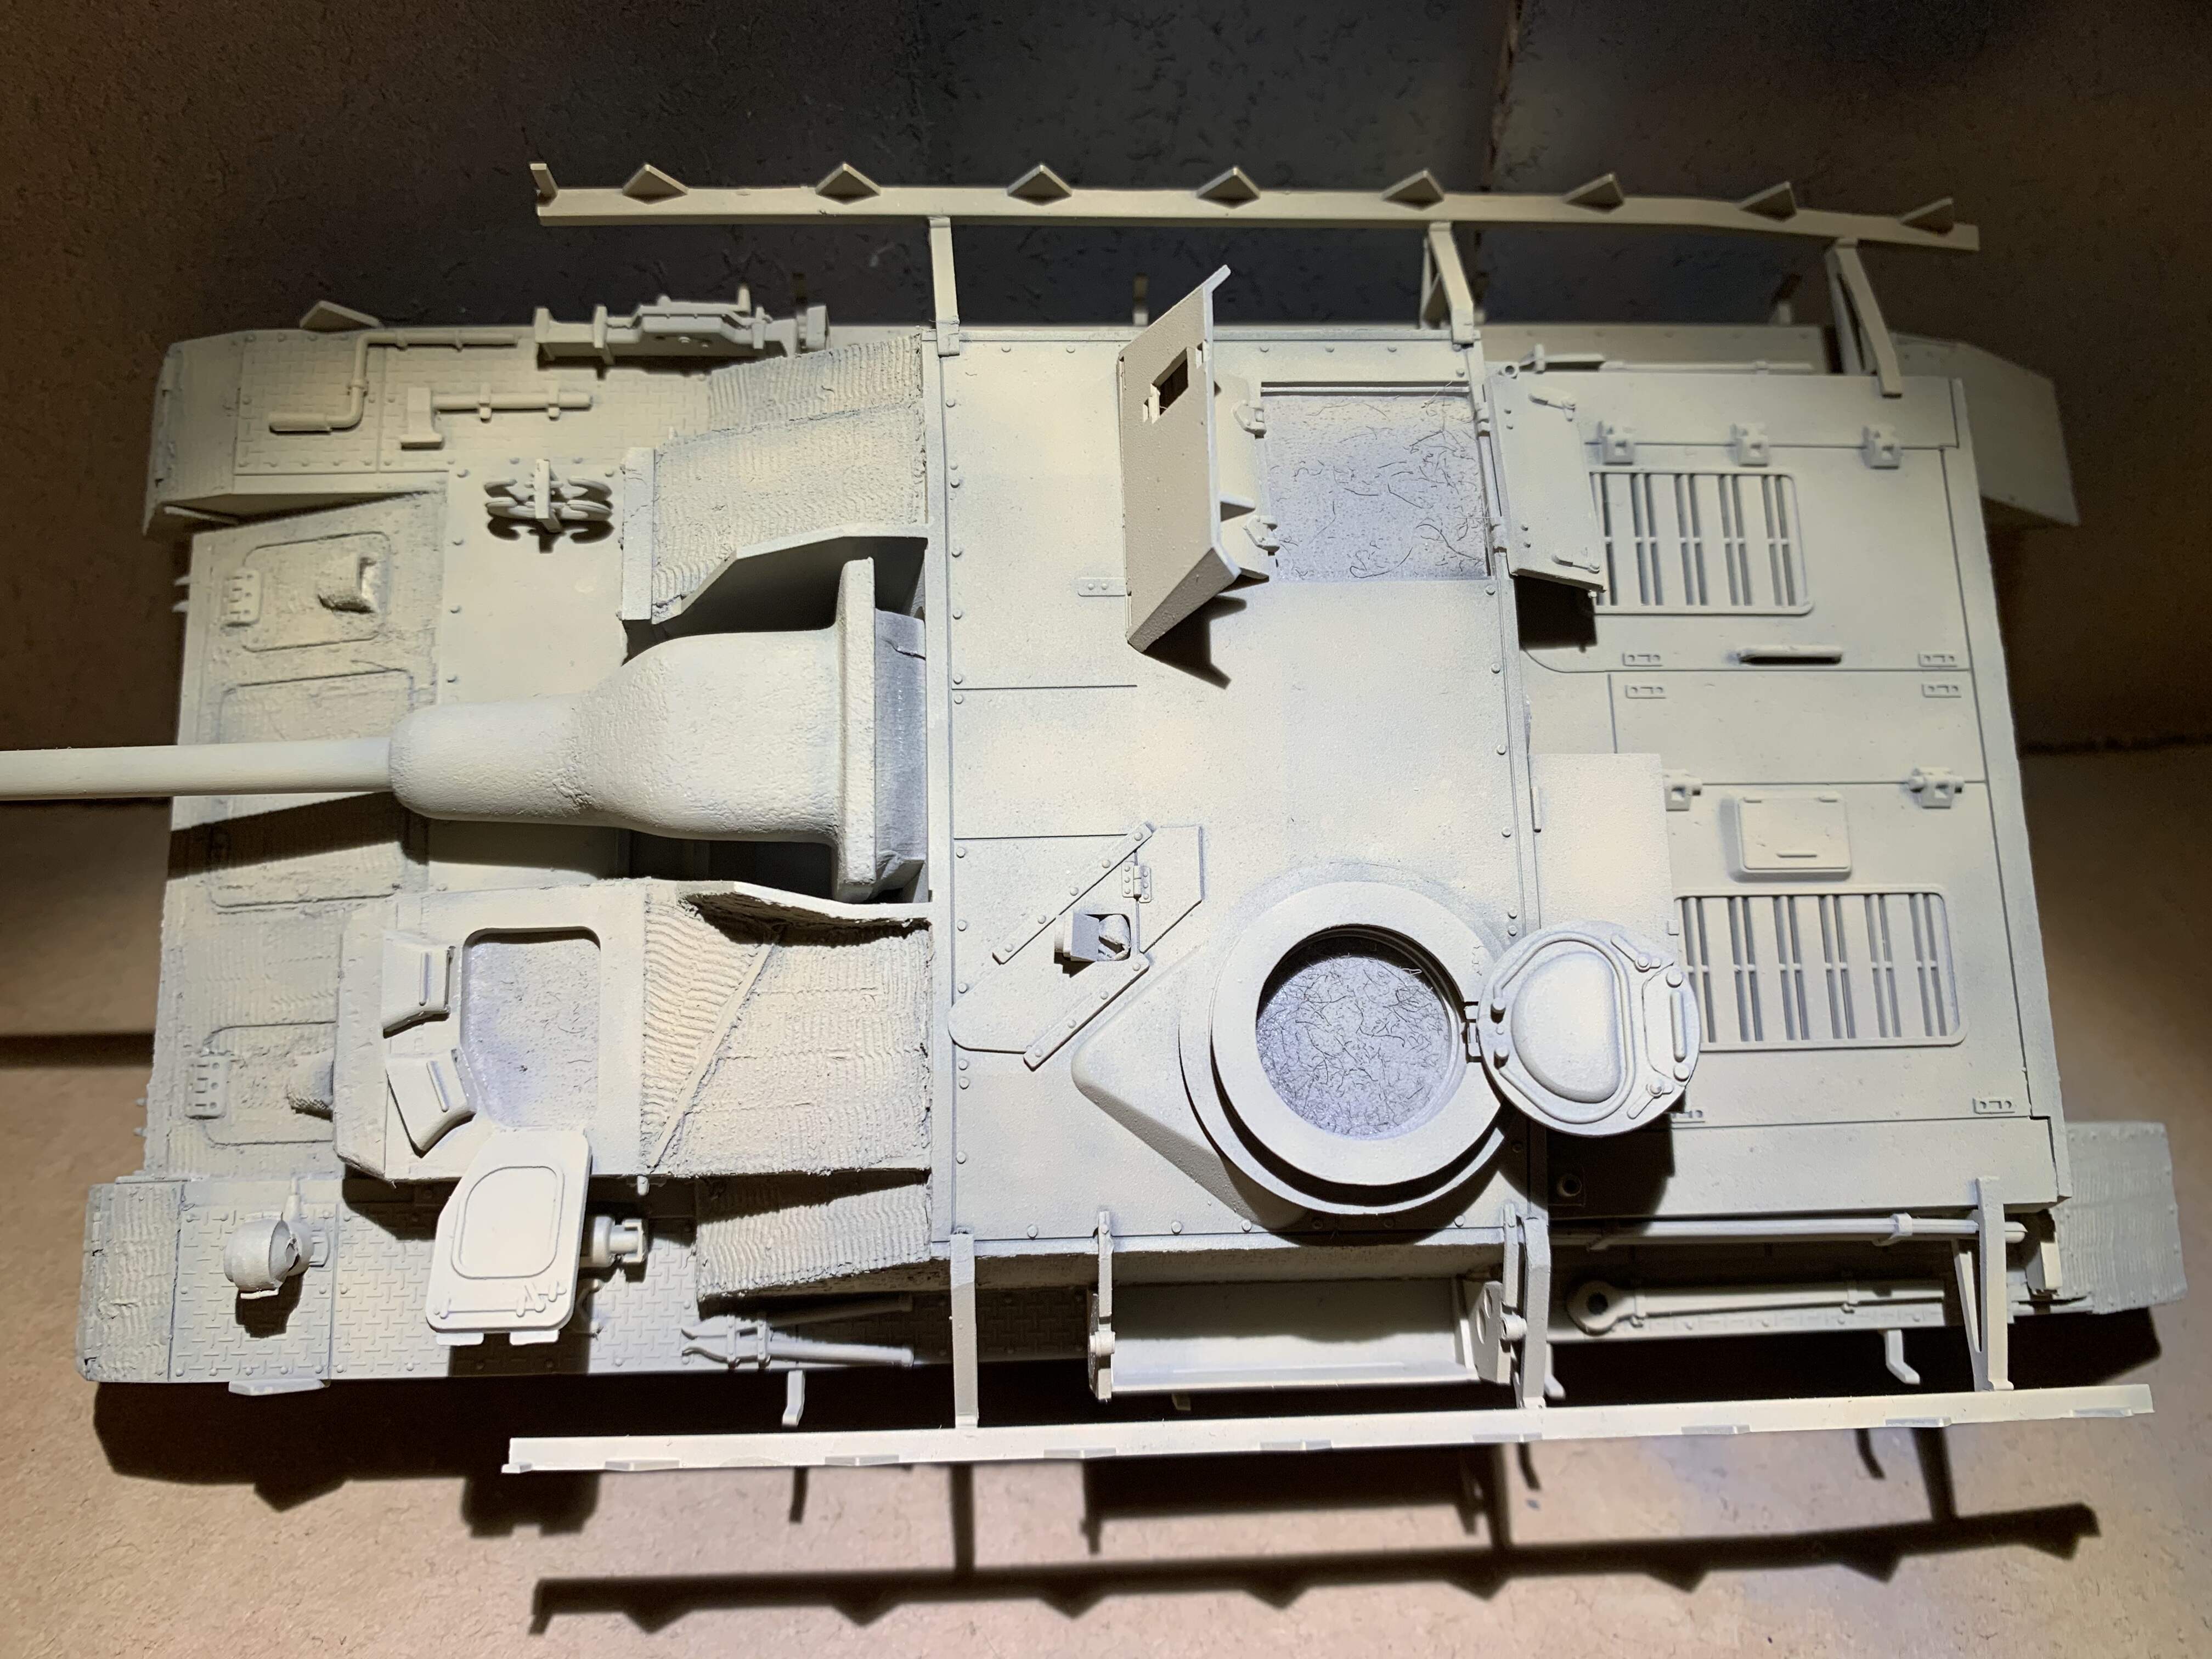
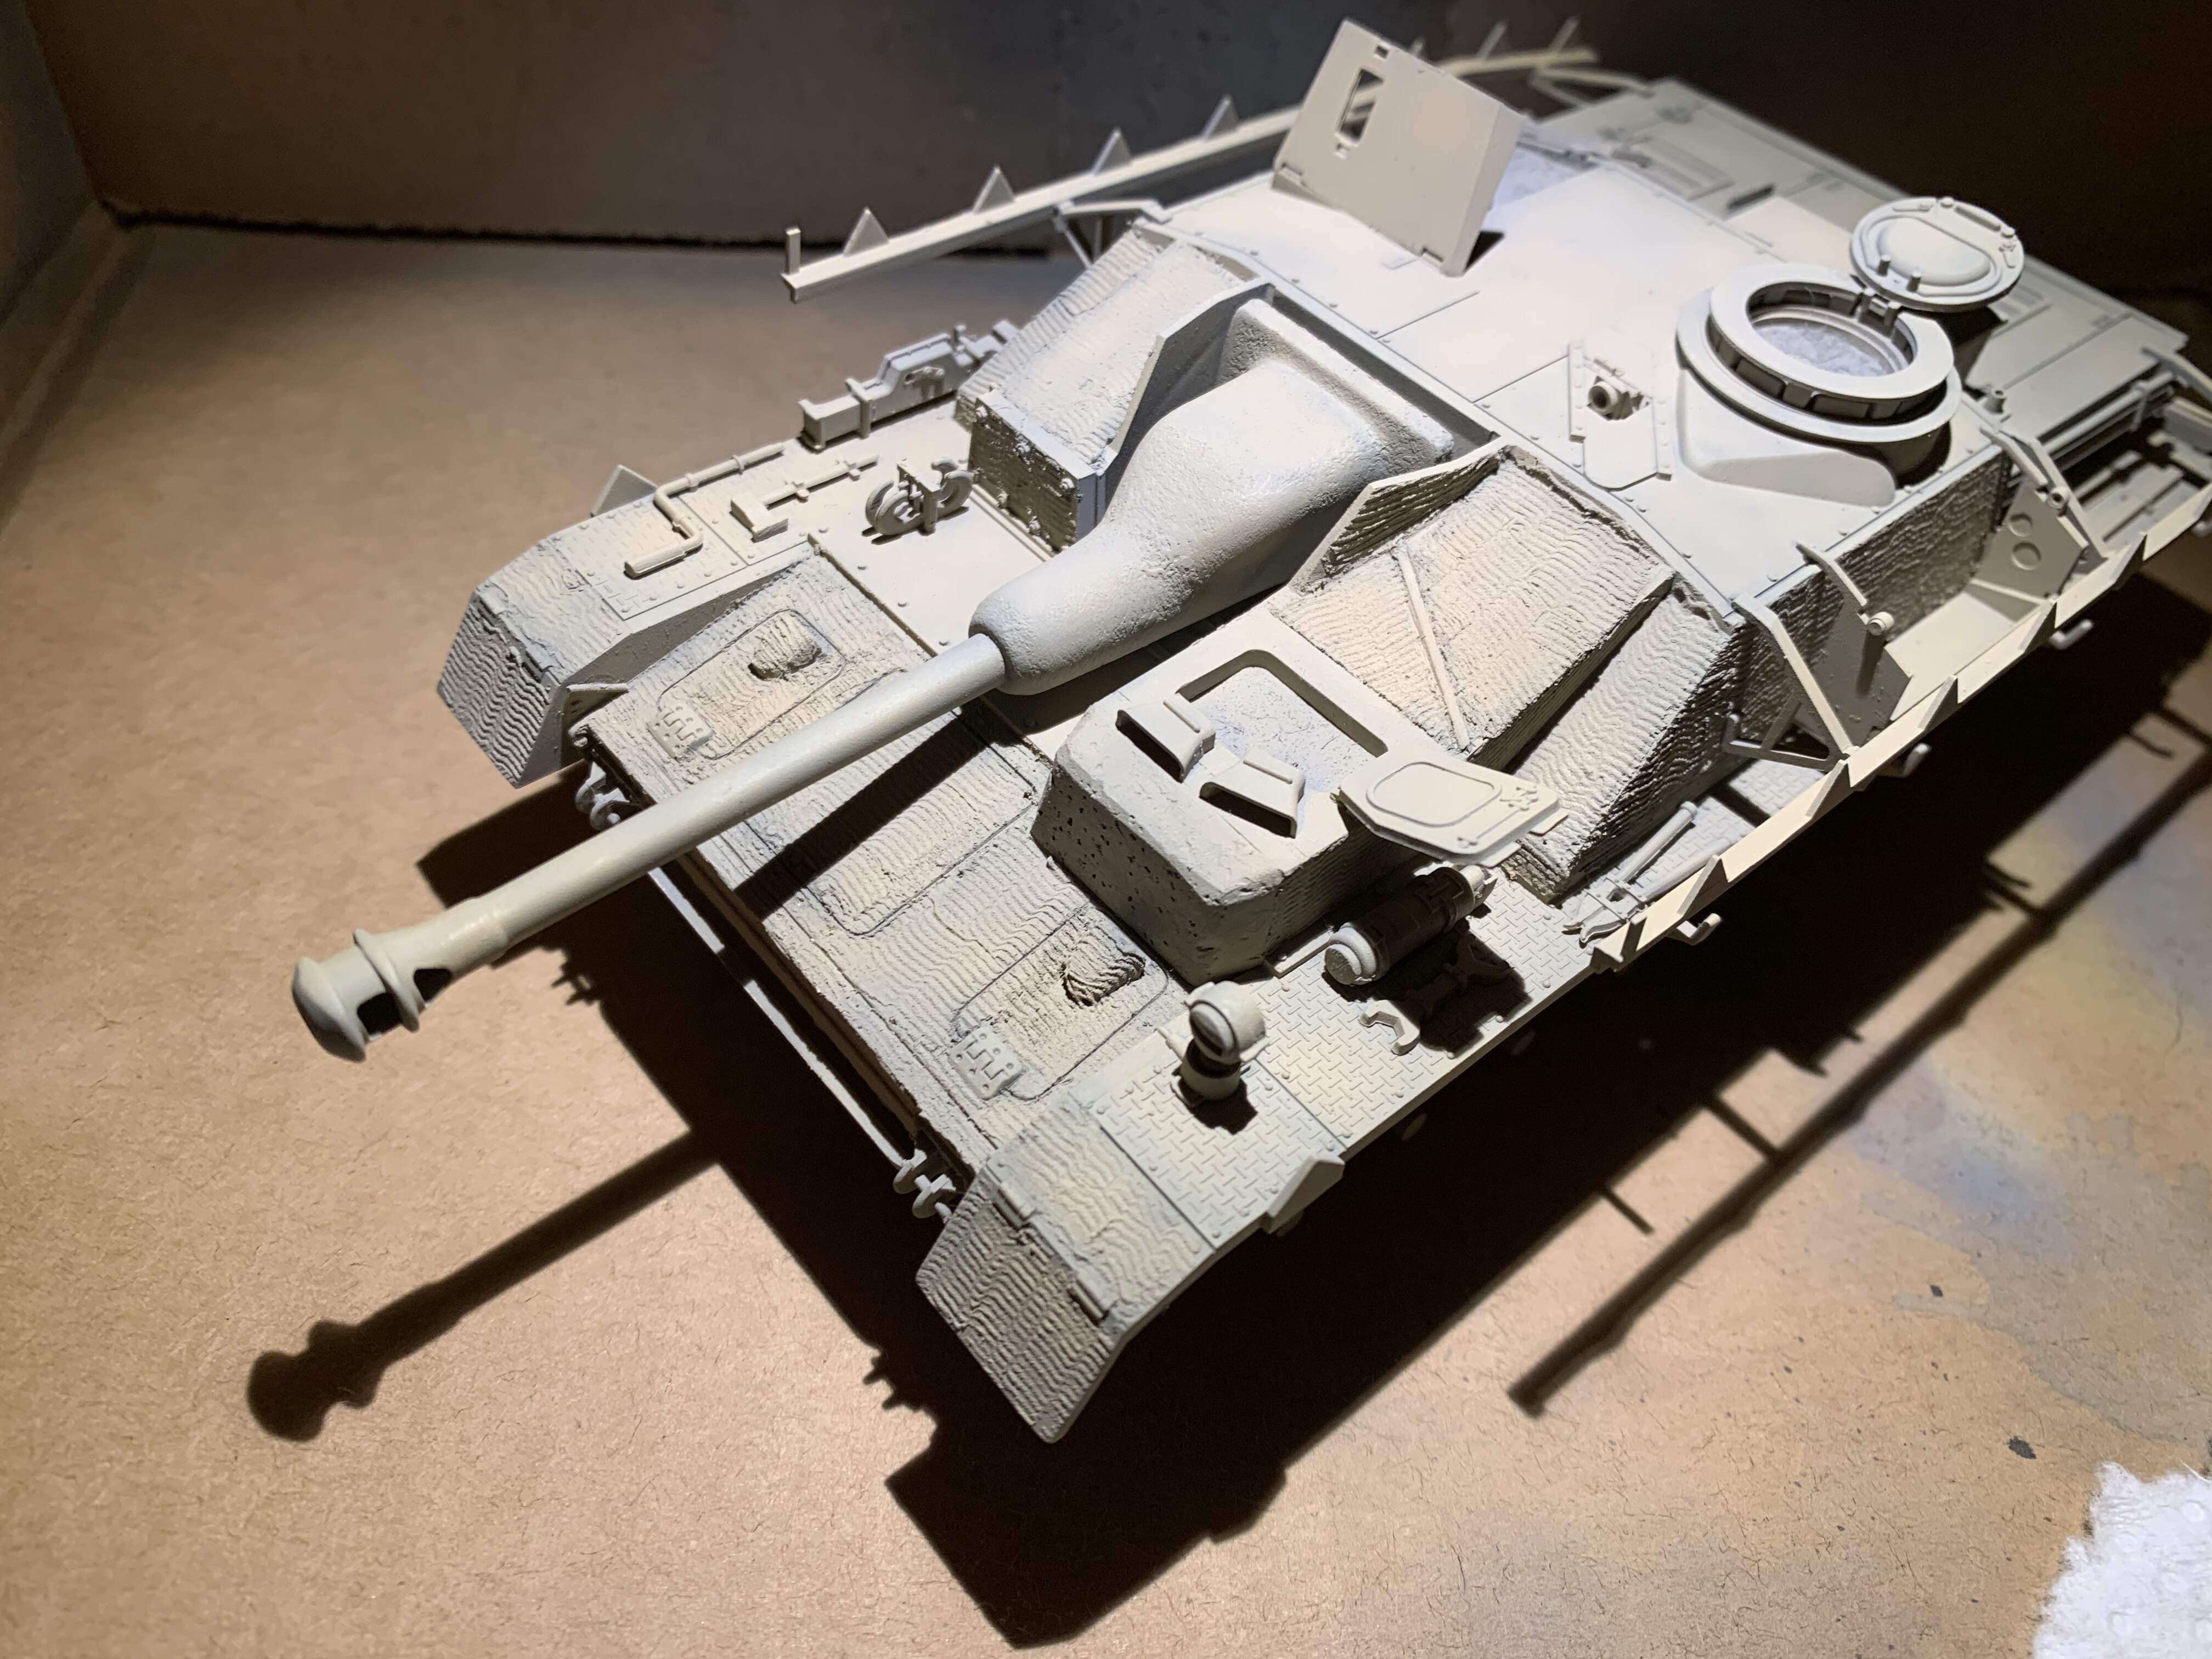
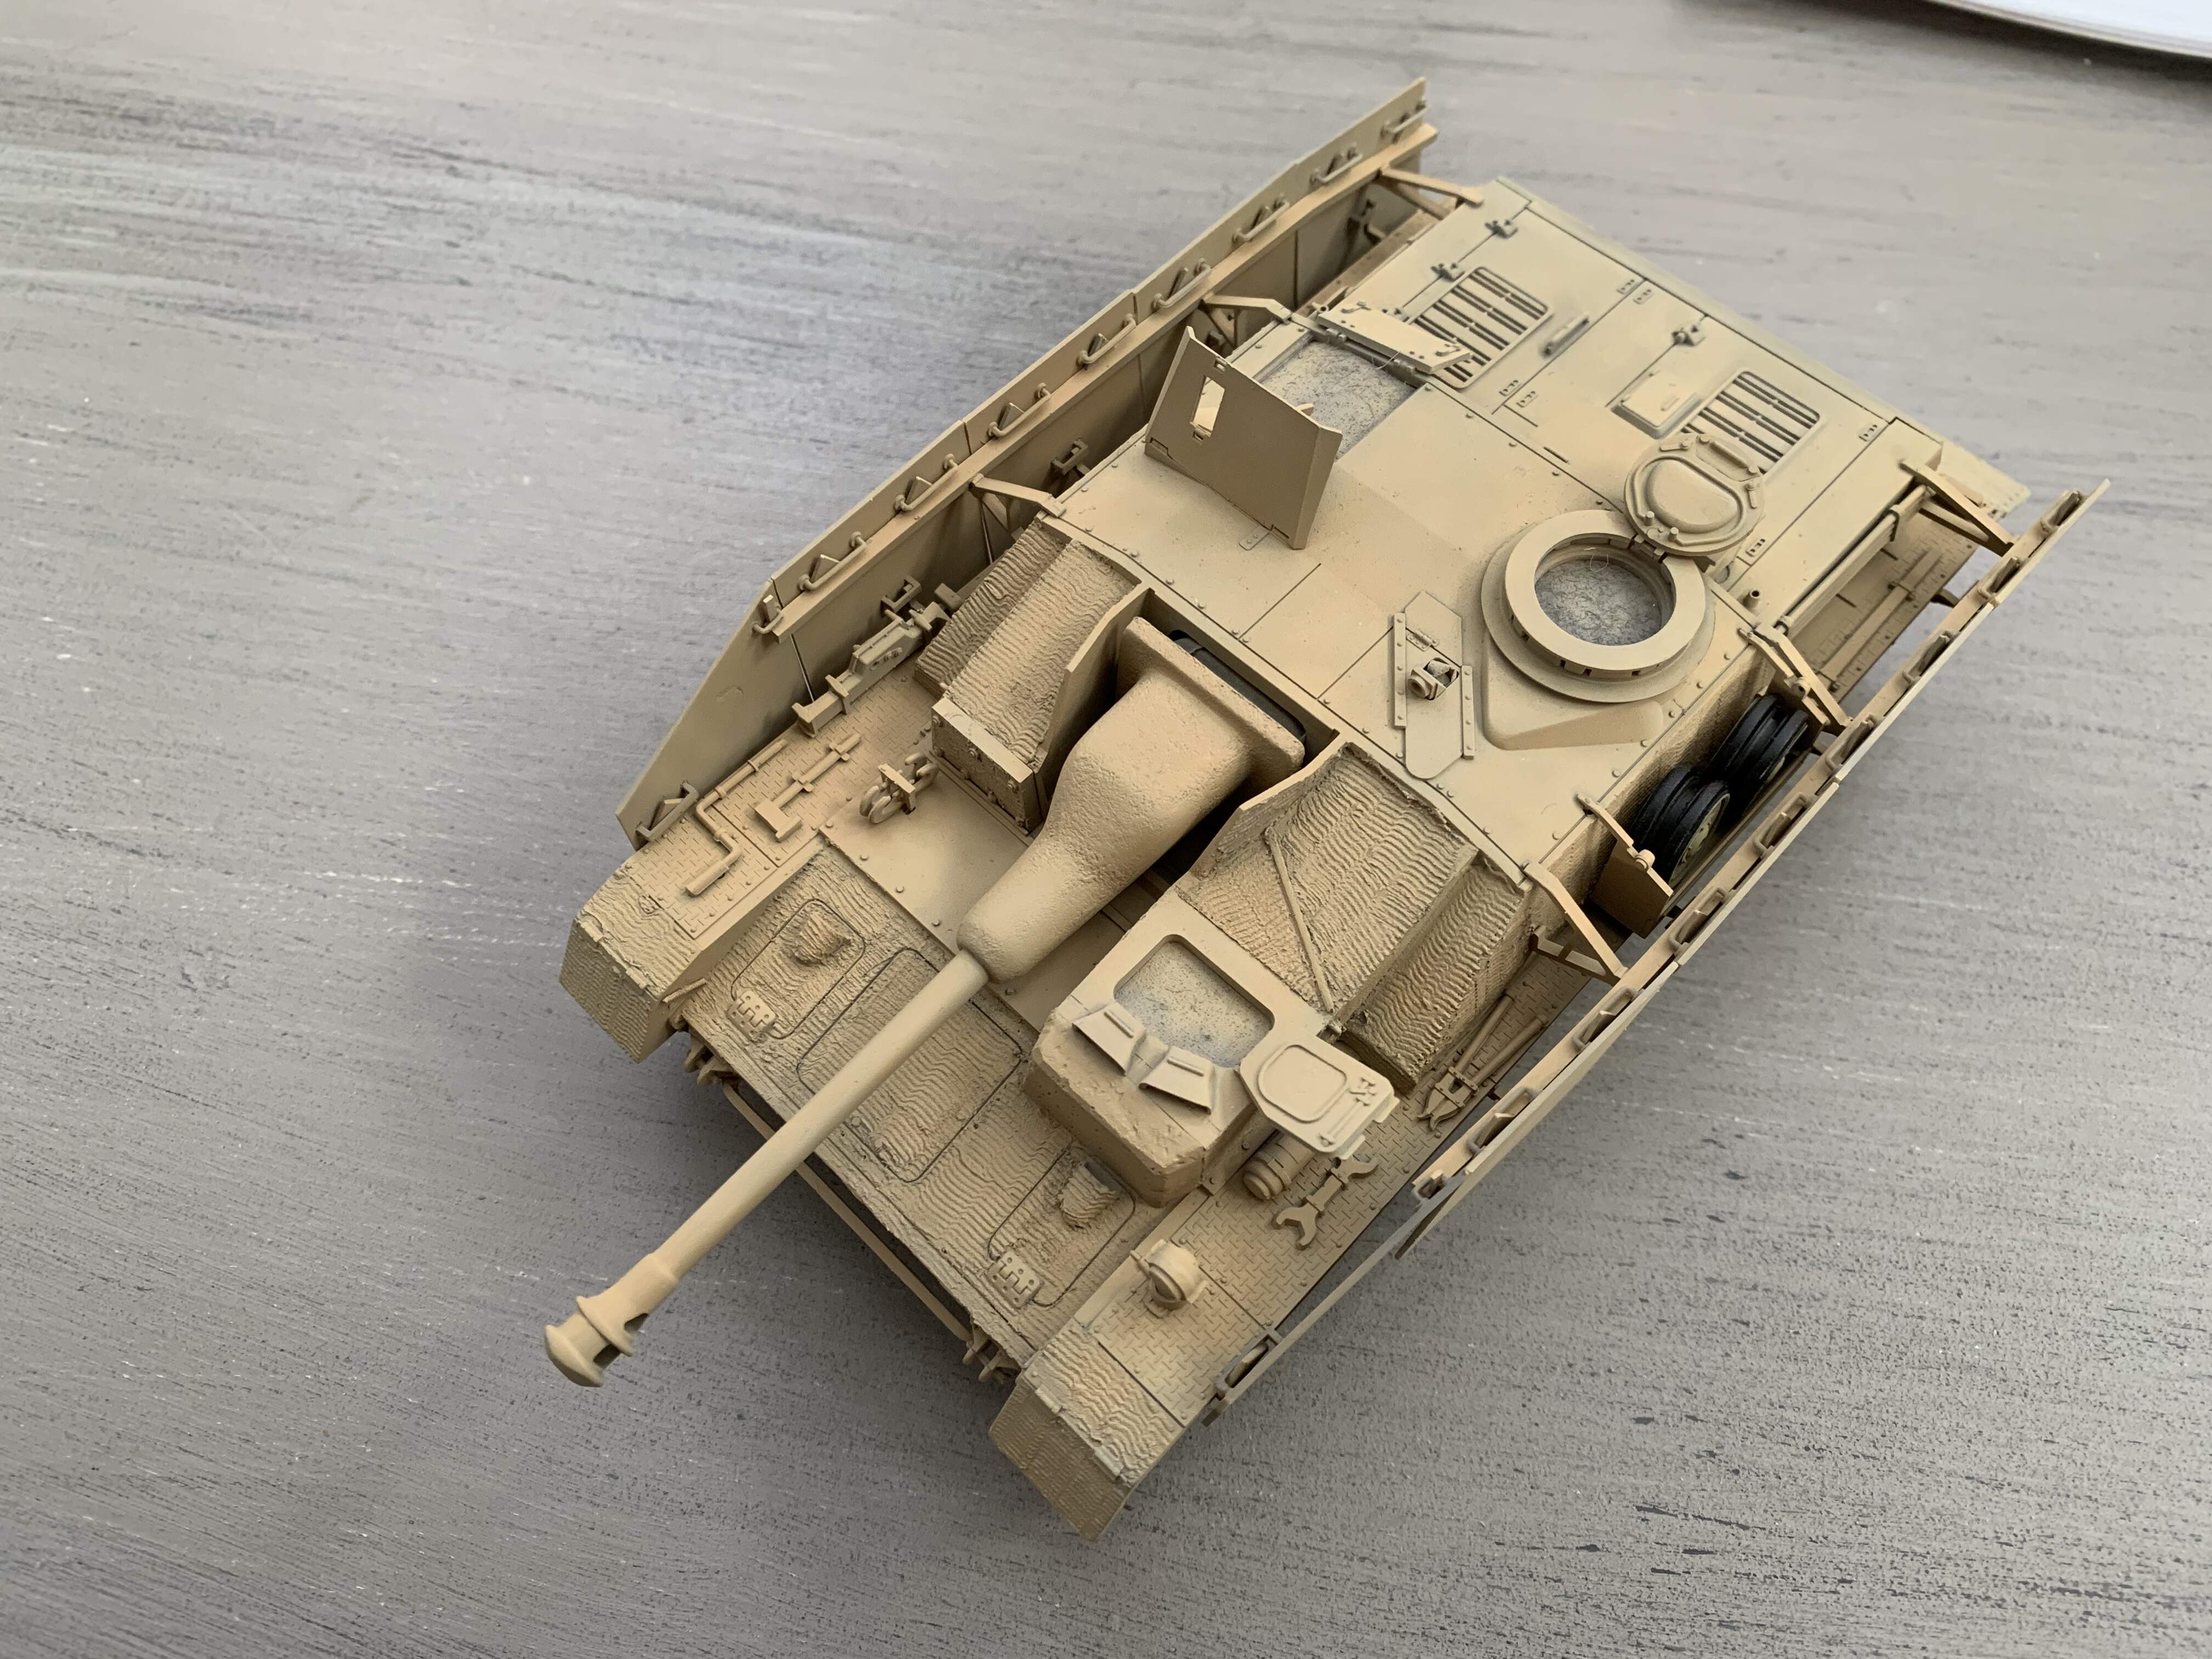
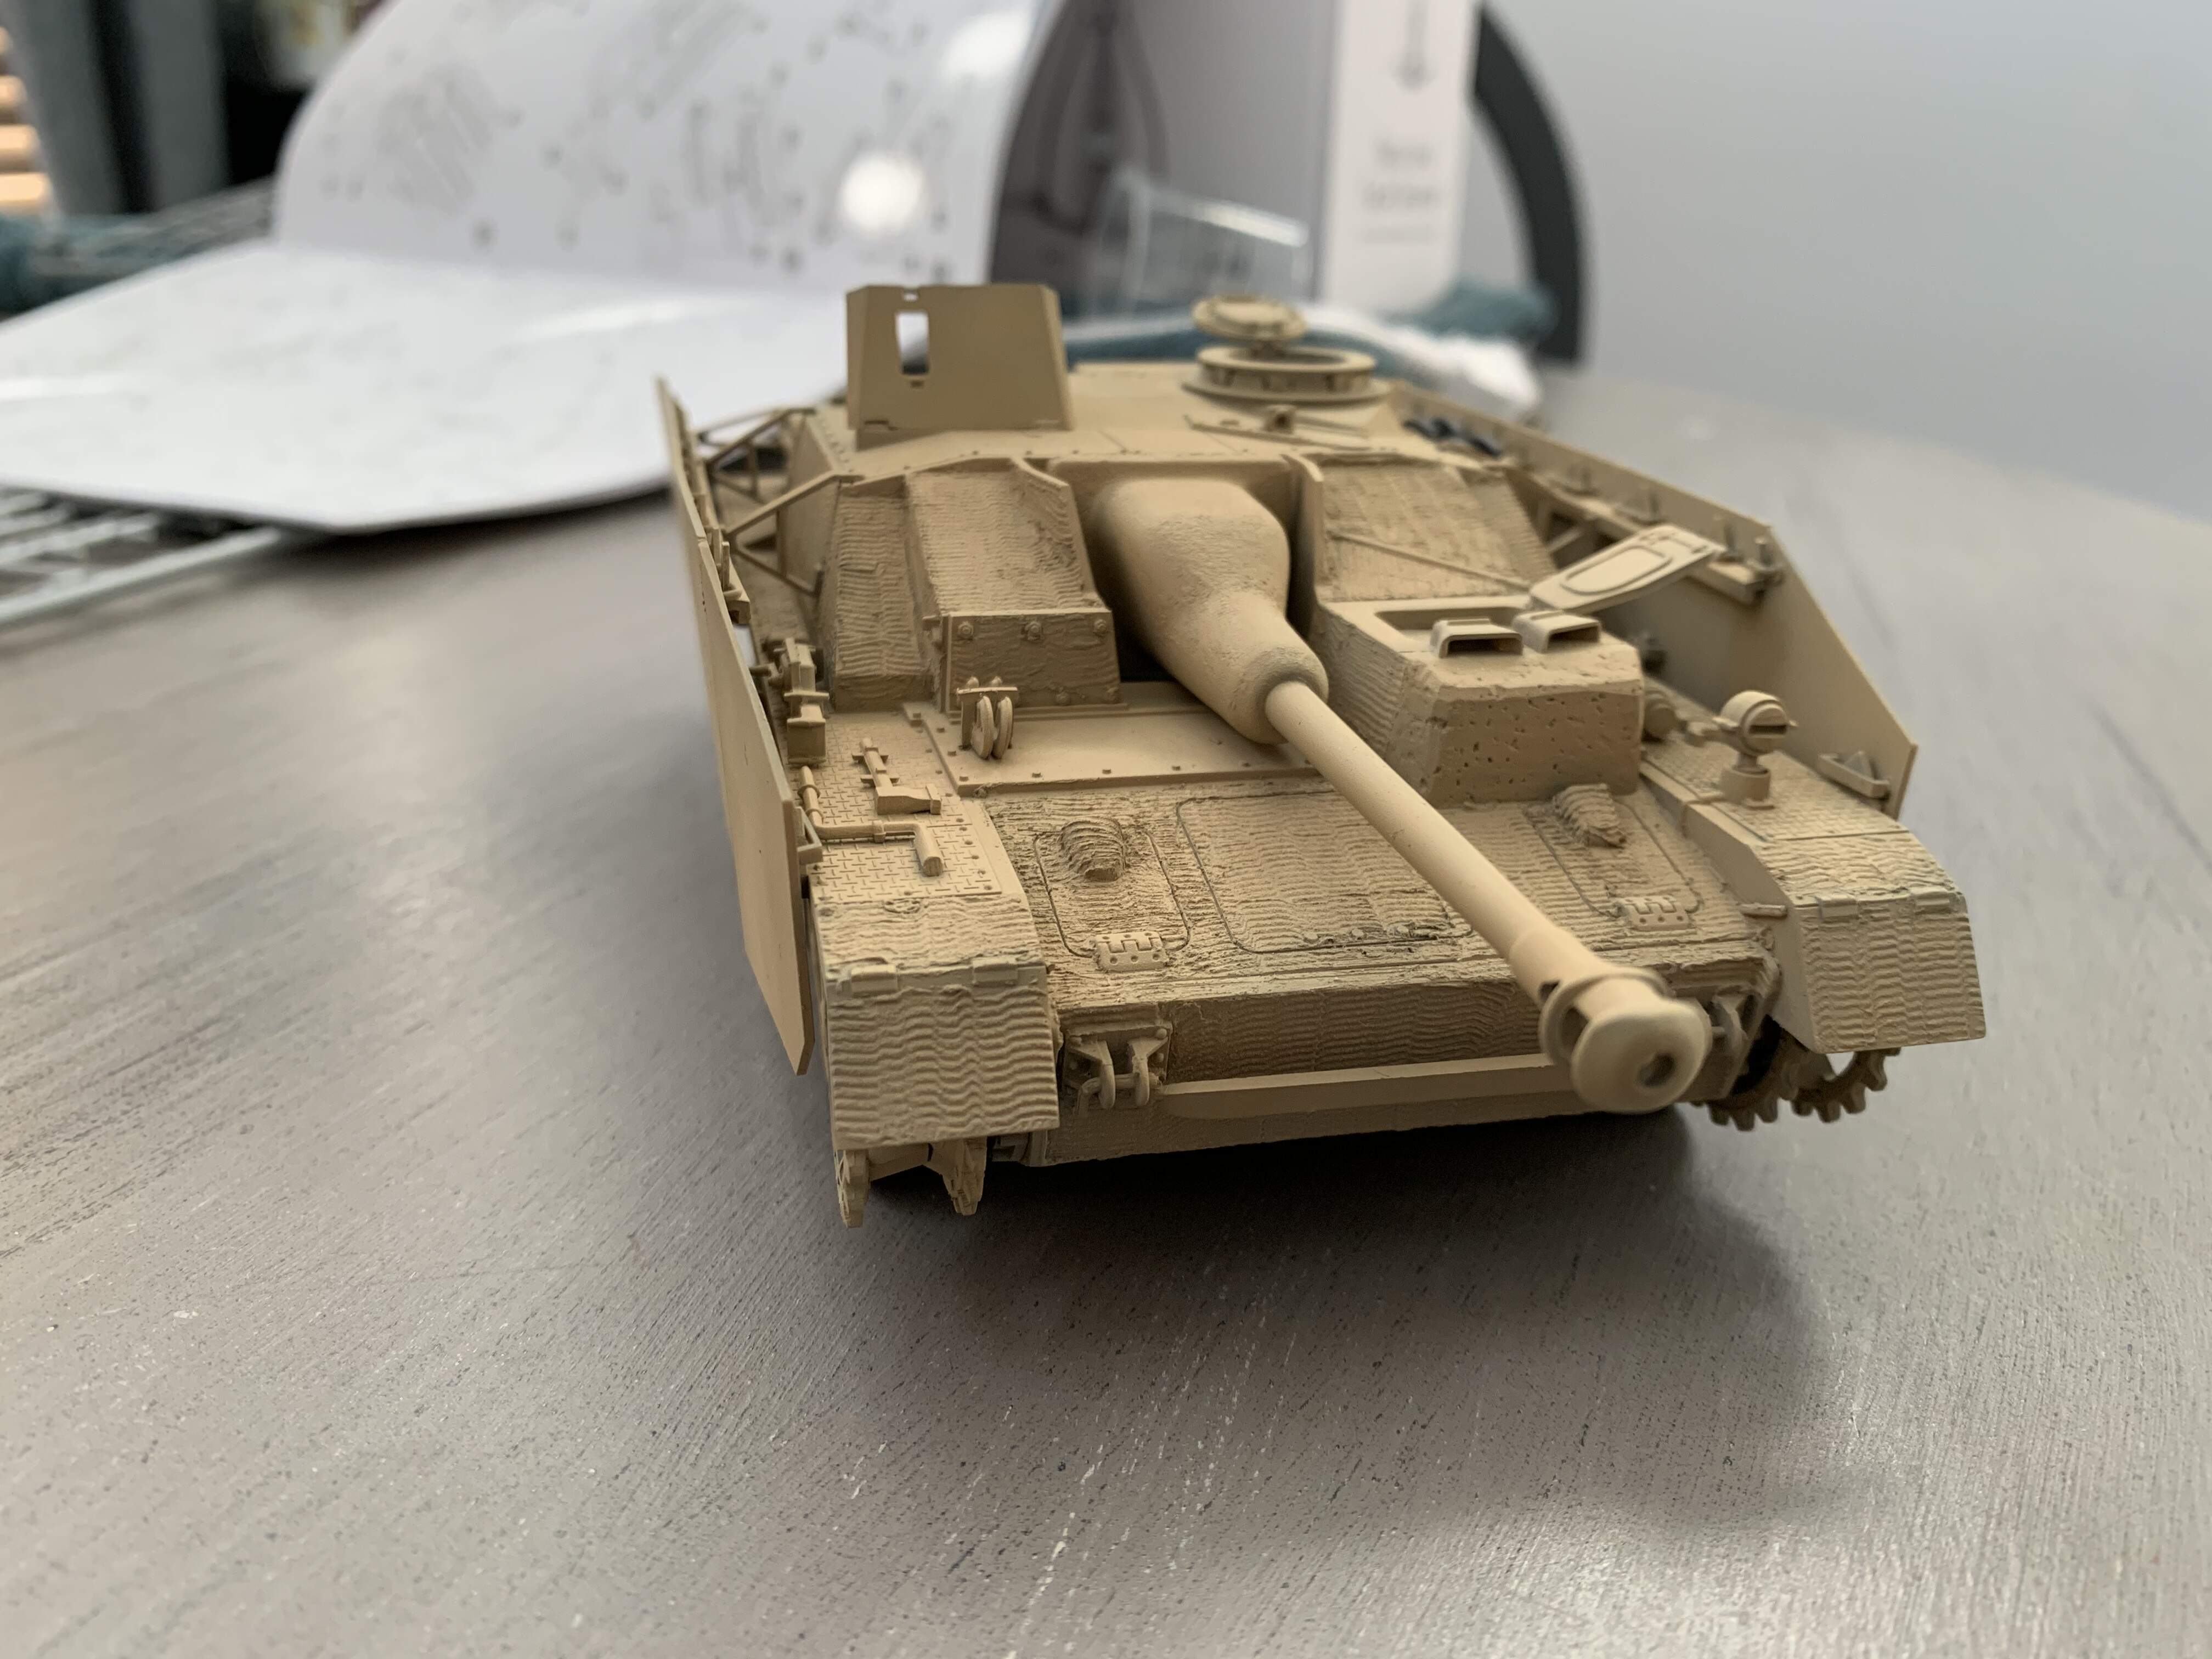
This kit represented a lot of firsts for me. First time doing DIY zimmerit, first attempt at cast texture, first attempt at rust. Above all it is my first attempt airbrushing. One technique I wanted to try on this was pre-shading. I want an opinion of how I did. Too much? Not enough? Etc. I am asking at this stage as I can still go back and cover it up with light gray if it’s too much.
I am a fan of using older Tamiya kit to test modeling techniques. No expert on the technique but it might be a little light, a lot depends on the top coat and how heavy you paint it and then if you do modulation with a even lighter color at the center of the panels.
For the first time out looks good to me. Those older Tamiya kits are perfect for testing new techniques. Excellent choice!.
With that said I don’t use pre-shading.
Please feel free to ignore everything that follows below.
To me Pre-Shading involves guess work since the contrast and shading intensity are basically set before the color is applied. When one’s familiar with the colors and paint involved much of the guess work goes away I’m sure.
With that said, I’ve seen quite a few excellent modelers end up unhappy with Pre-Shading results and end up stripping paint for a redo.
I favor an old school technique called Shadow Painting. Its more of a linear dark to light what you see is what you get technique. Its usually a little more labor intensive but gives excellent results.
With SP, an off black or dark grey is applied to the entire model first. Next base color coat is lightly applied leaving shade in recesses. Off white is added to the base color lightening the base color and that’s applied to the larger open areas. Last, more off white is added to the prior lighten color and the largest areas are lightly covered. The base of black plus three thin coats create lot of tonal variety. This technique is easy to learn because one builds the color from dark to light and can adjust at each stage. If the color seems a bit light, randomly drybrushing of the base color on to open surfaces helps correct.
I’ve been pre-shading for some time now and find it very effective. The key is not to apply the base coat solidly, that is it should be applied in very thin layers and rather unevenly as to allow the pre-shade to show through. More base coat where you want less pre-hade and less where you want more pre-shade. The techniques is particularly effective with monotone schemes but less so with camouflages. As with everything else, experiment to find what you are comfortable with and what works best for you as well. Good luck.
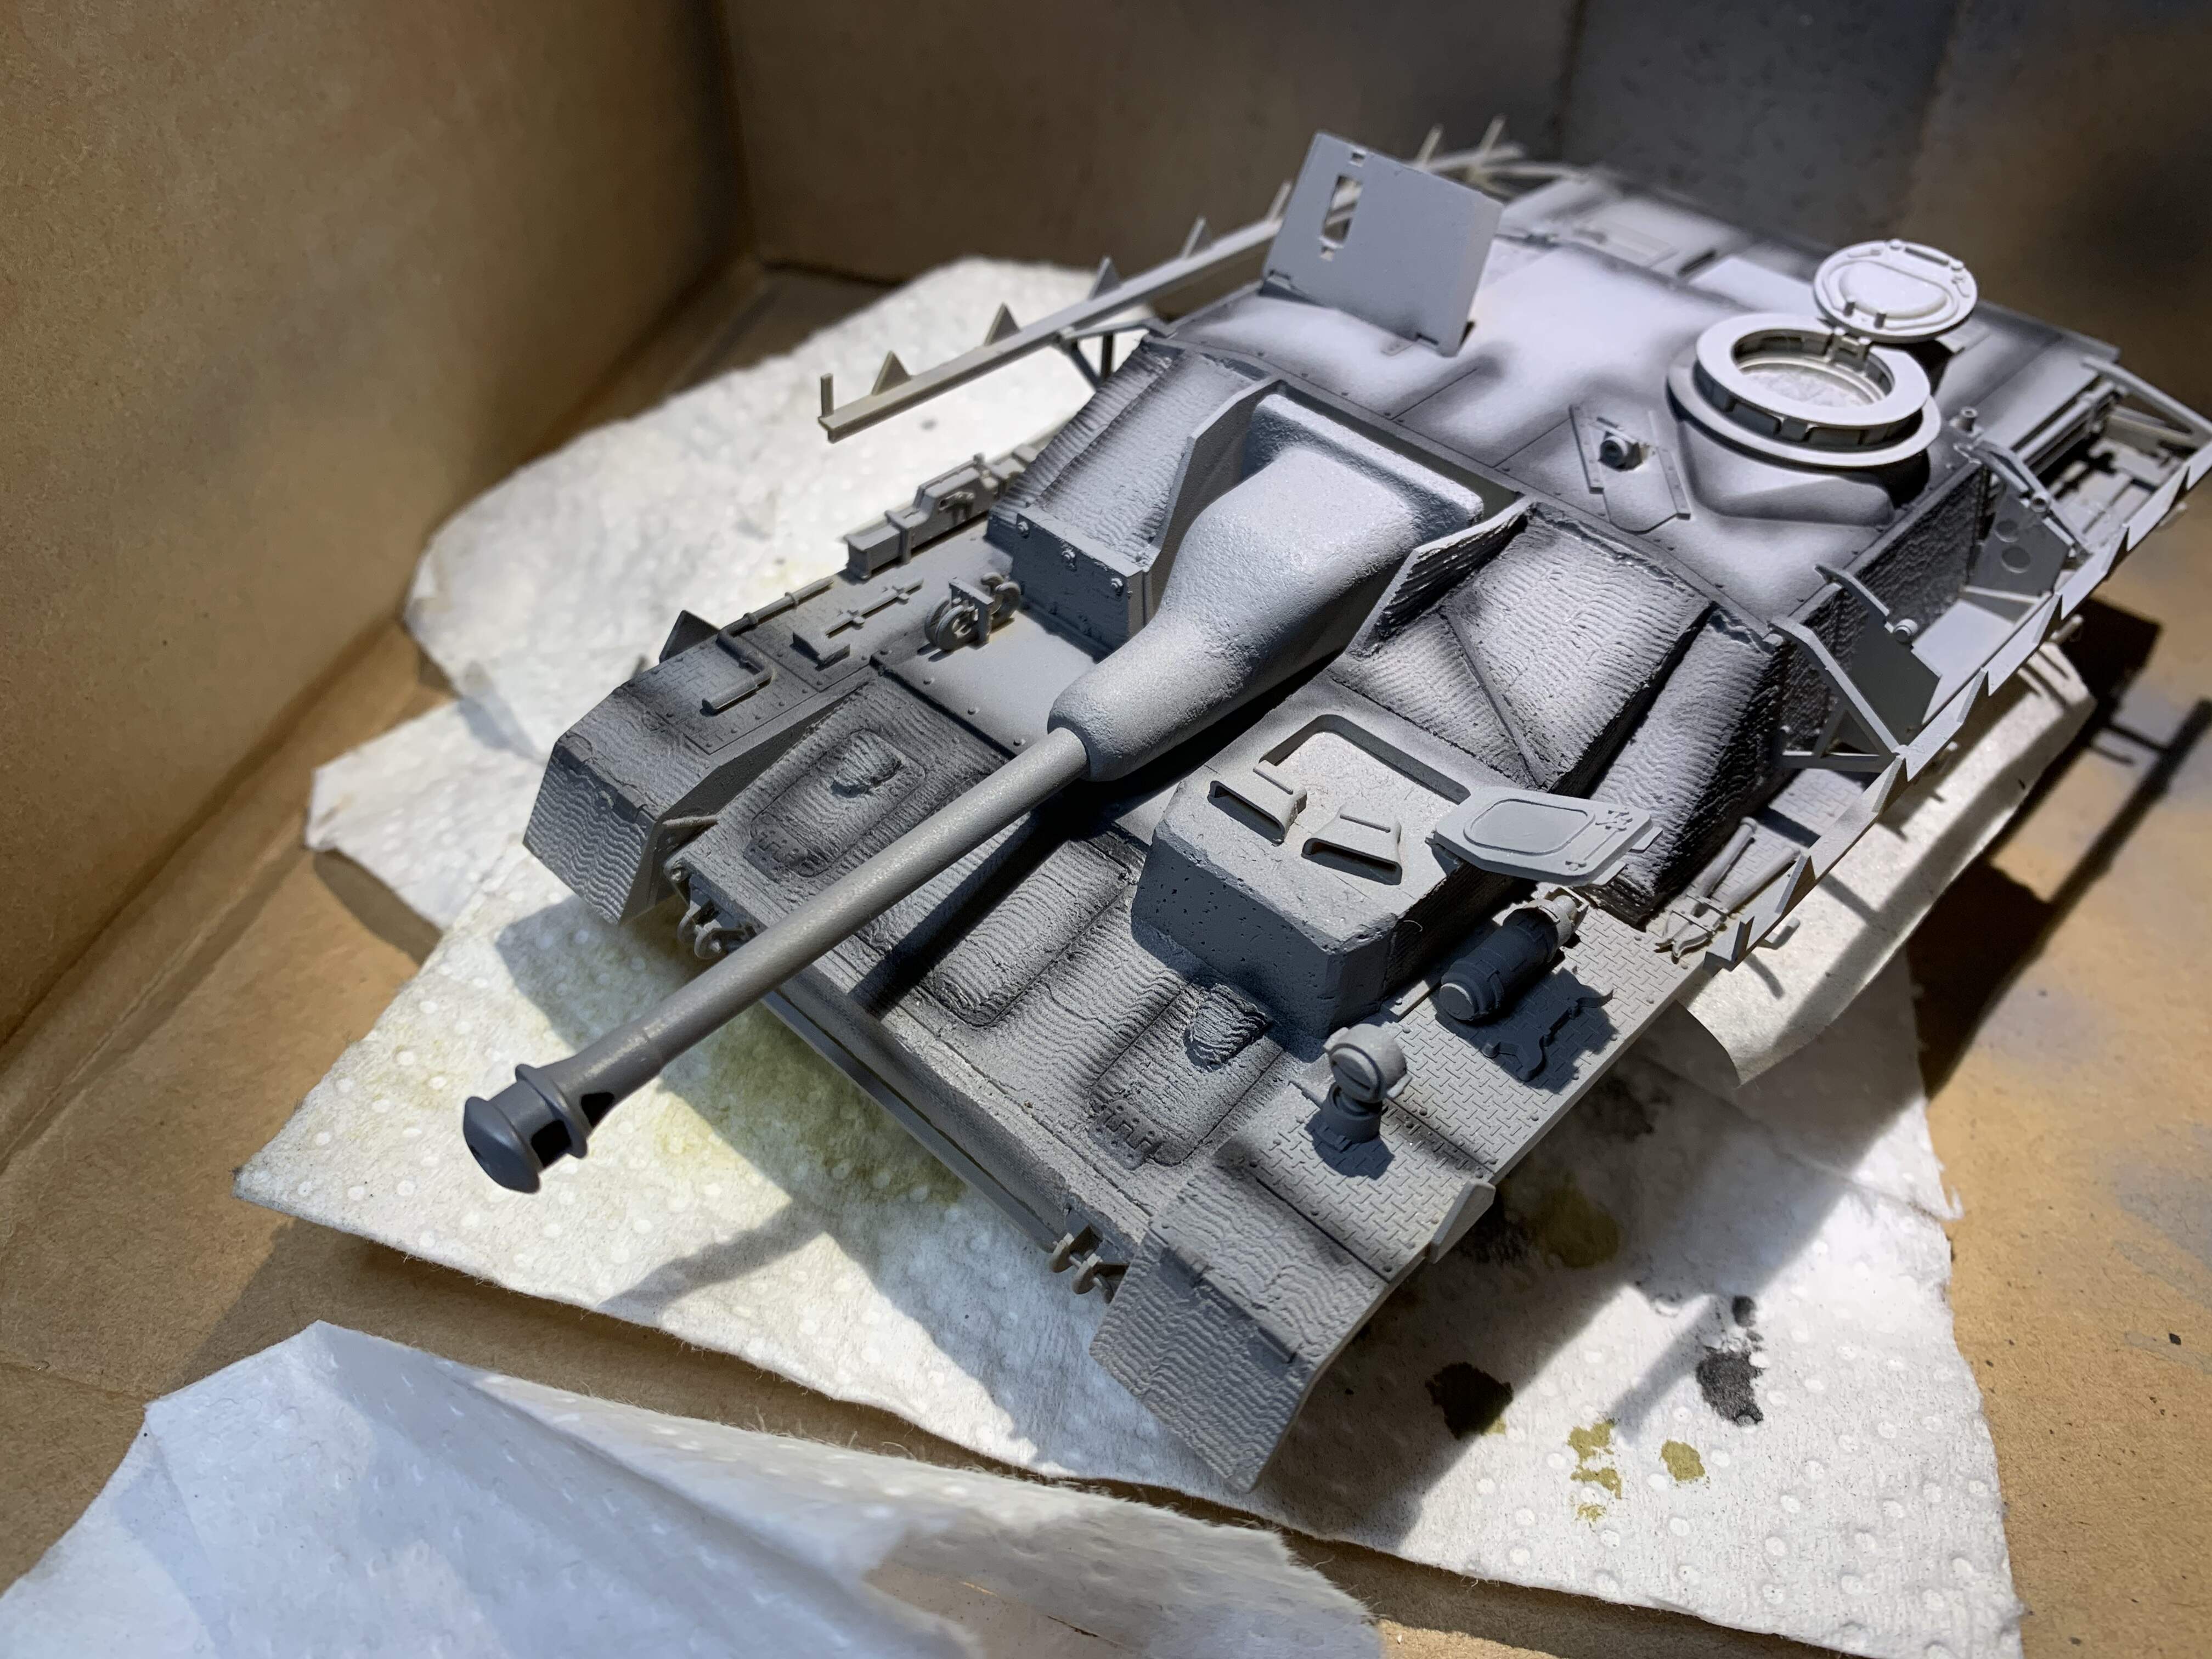
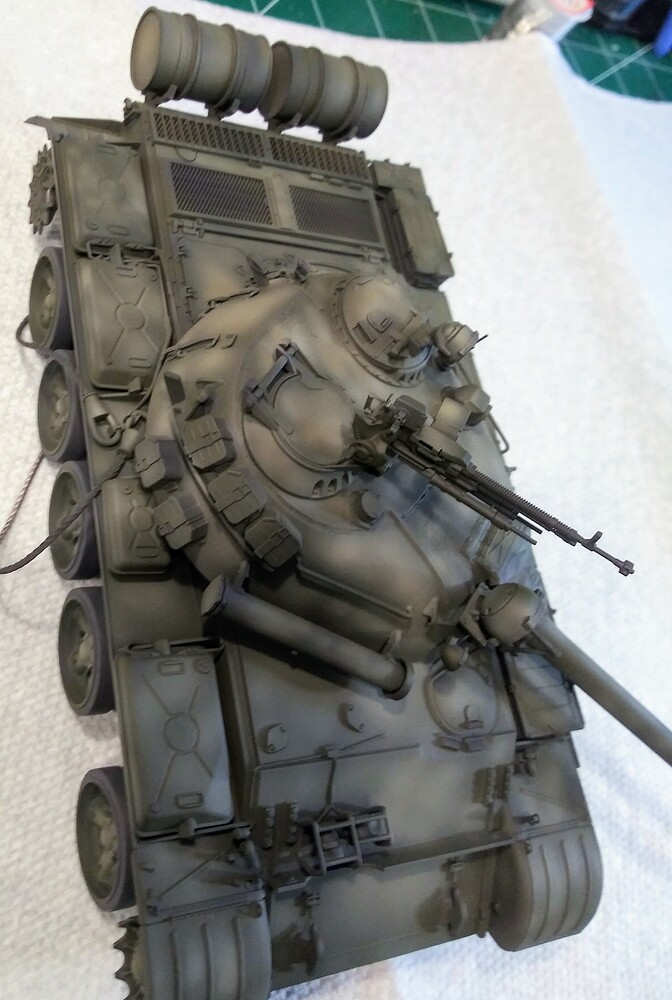
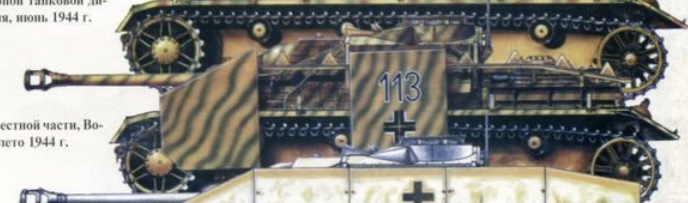
Paint job so far, I think it’s going okay for my first airbrush attempt. Lesson learned though to pre-paint some stuff. Finding it hard to get into the tight spaces. Still have some of the lower hull to do, specifically in the rear and around the return rollers. Then need to pain through Schurzen and then onto camo. Thinking of a pattern similar to this one
Thank you! Here she is fully painted and ready for camo. I made a somewhat rookie mistake and didn’t mix enough paint. So I had to make another batch. This one darkened up a bit and in the end I think it was of benefit as the slightly different mix added even more tonal variation
That looks really good. I take notes on everything I paint so if I need to mix a color, I can get the proportions correct the next time around. And just wondering: Are you spraying acrylic or lacquer and which brand?
I took notes on my first batch but I just have messed something up lol as my second batch came out a little darker. Thankfully I am happy with it or it could have been problematic. It looked a little red (from the flat flesh) while drying and I was concerned I had screwed everything up but once it cured it was a good dark yellow.
I am spraying Tamiya acrylic, my mix was 2 parts Dark yellow (XF-60), 1 part desert yellow (XF-59), 1 part flat white (XF-2), and 1 part flat flesh (XF-15). I thinned to a milky consistency and sprayed it at about 15psi out of a Paasche VL with number 3 and number 1 nozzle (for tighter areas)
I’d be happy with that result, I’m just about to have my first attempt at pre-shading and have spent a lot of time looking at other peoples work, trying to pick up a few tips before trying them for myself. I, like you have a few older Tamiya kits to practice on first. Great to see your work.
Thanks man! The biggest thing I found was go slow and use really thin coats. That way you can build up the color and mistakes/overspray are easily covered by the base coat
Hi Dude, I applied my camo base coat, dark yellow, over my pre-shading and like you said, built up very thin coats, took my time and wow, I am so pleased with the results so far. Your advice regarding thin coats really stuck with me and boy has it paid off…!