Lots of good work thus far on that figure. I still think he’s too pretty for a Pioneer Corps……
3 Likes
Well, you say that Sam, but they were the Army’s labour element, sometimes referred to as the “Pick & Shovel Corps” due to their capbadge at the time. They were, in my experience, just young soldiers, albeit a bit further down the evolutionary line, and that’s not to knock them; they did what they were meant to, and also attended professional infantryman courses, which makes sense when employed in the defence of a Div HQ. Of course, they did all the dirty jobs as well; wiring in the HQ and deploying the latrines, but someone’s got to do it, and it wasn’t going to be the refined, sensitive, priggish clerk that was me!
4 Likes
Great project so far, Brian.
I’m enjoying and learning from your figure work. As you know I hope to do some of that myself on my Ferrets!
2 Likes
Well, go for it Terry; I don’t think there’s much of a secret: obviously research, then it’s simply a choice of modelling materials - and inevitably - in my case - Superglue. Depending on what you wish to achieve - say coveralls, combat smocks or even stowage come to that - Magic Sculp or Milliput will become your new friends; my tools are very simple indeed: talc, (to stop the stuff sticking), a modelling knife - though sometimes a simple penknife will do for cutting up simple chunks, and a couple of cocktail sticks, with one end sharpened, and the other blunted (for creases and stuff) oh, and an old paintbrush used to dampen Milliput or Magic Sculp with water, which helps to make the stuff adhere if you’ve been too long fussing around, but also removes fingerprints and the like, and that’s about it, but I’m no sculptor, but I do get an effect - arguably(!) I use a glass sheet from an old picture frame as a works surface, and a length of brass tube as a rolling pin – all dusted with talc.
I would say Hornet Heads (and Hands come to that) are almost essential, but that’s mainly as they practically paint themselves. I don’t pursue eyeballs so a finish is relatively simple. My method (for painting faces) has been described elsewhere though I can’t quite remember where.
I suppose the thing is to start gently, and not be too ambitious, but I could take my own advice here. I still can’t manage Soviet NBC suits - all those bespoke wrinkles - but I can achieve fairly decent camouflage overalls. I forgot to mention, when adding personal equipment, I’ve found it’s always best to make something larger than what you think might work. Come the morn - when it’s hardened - it can always be reduced and sanded or cut down. Often, as I mainly work by eye, I model pouches and the like too small.
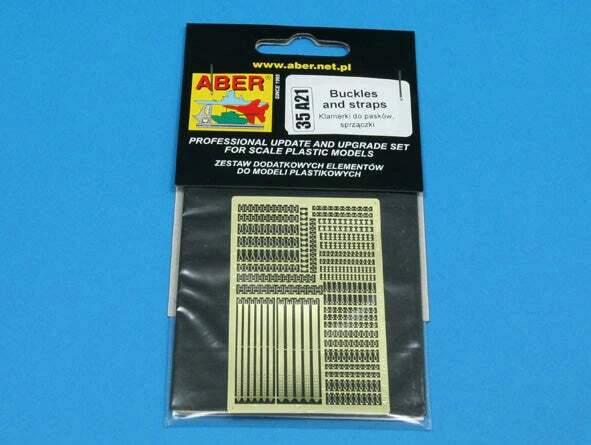
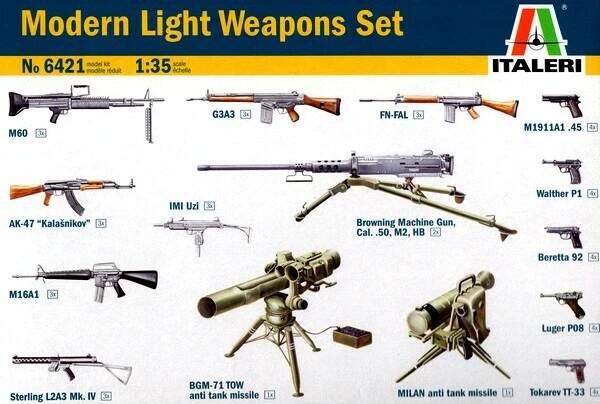
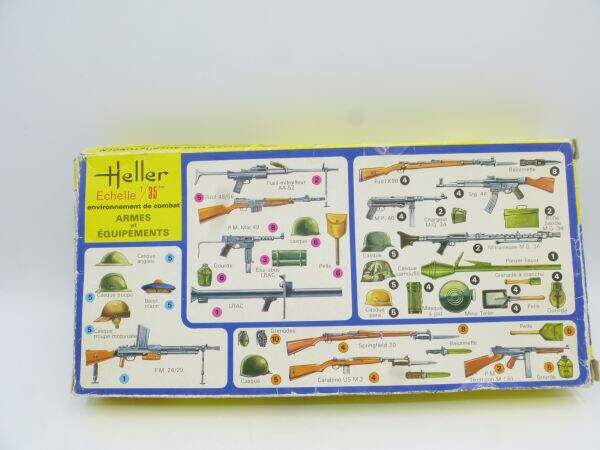
I also forgot to mention accessory sets for weapons, and even helmets and other stuff. Italeri’s modern light weapons set helps a lot as I model in a set period, but the Heller set from long ago is also useful. Obviously kits throw up weapons and all sorts of spare stuff, so that’s always a source too. Lastly – an etched set of buckles and straps can be very useful.
And there you have it: the Stoddart Guide to Blagging Figures!
A few examples which I’m sure you’ve seen:

And my personal favourite - what felt like at the time as half the East German Army:

8 Likes
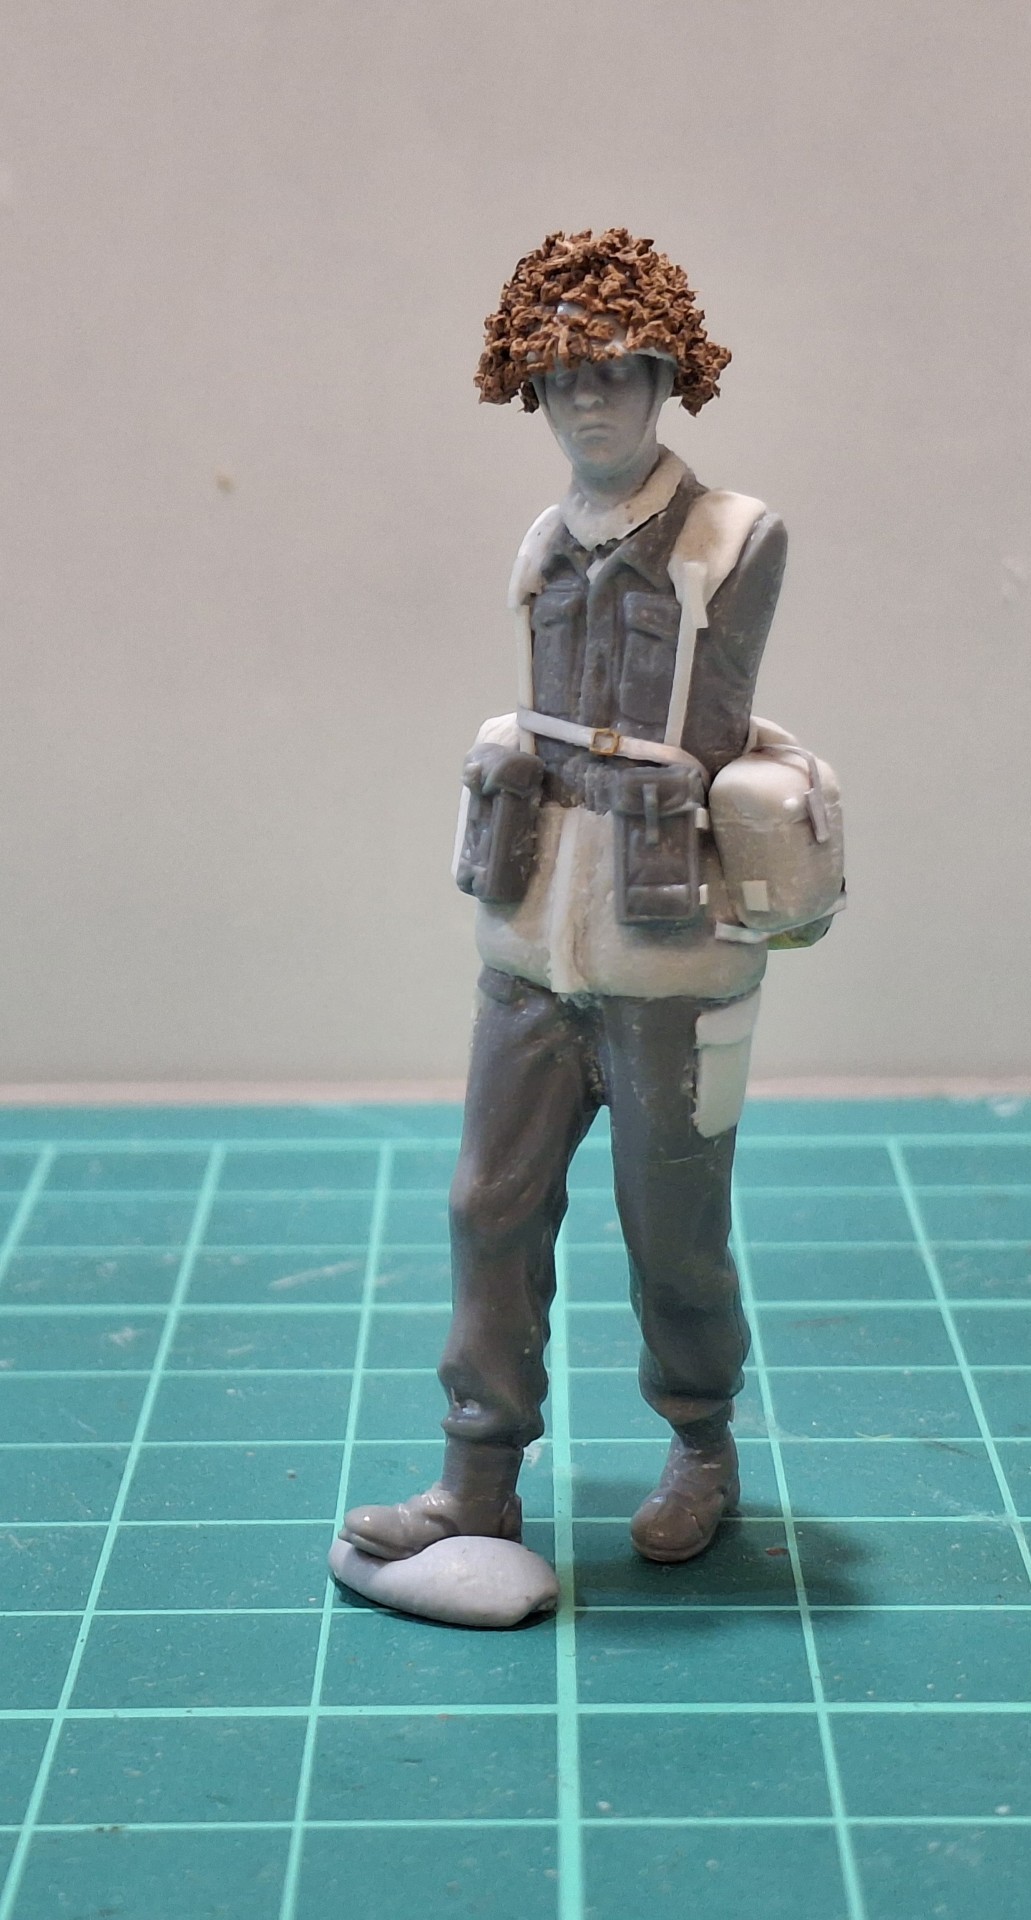

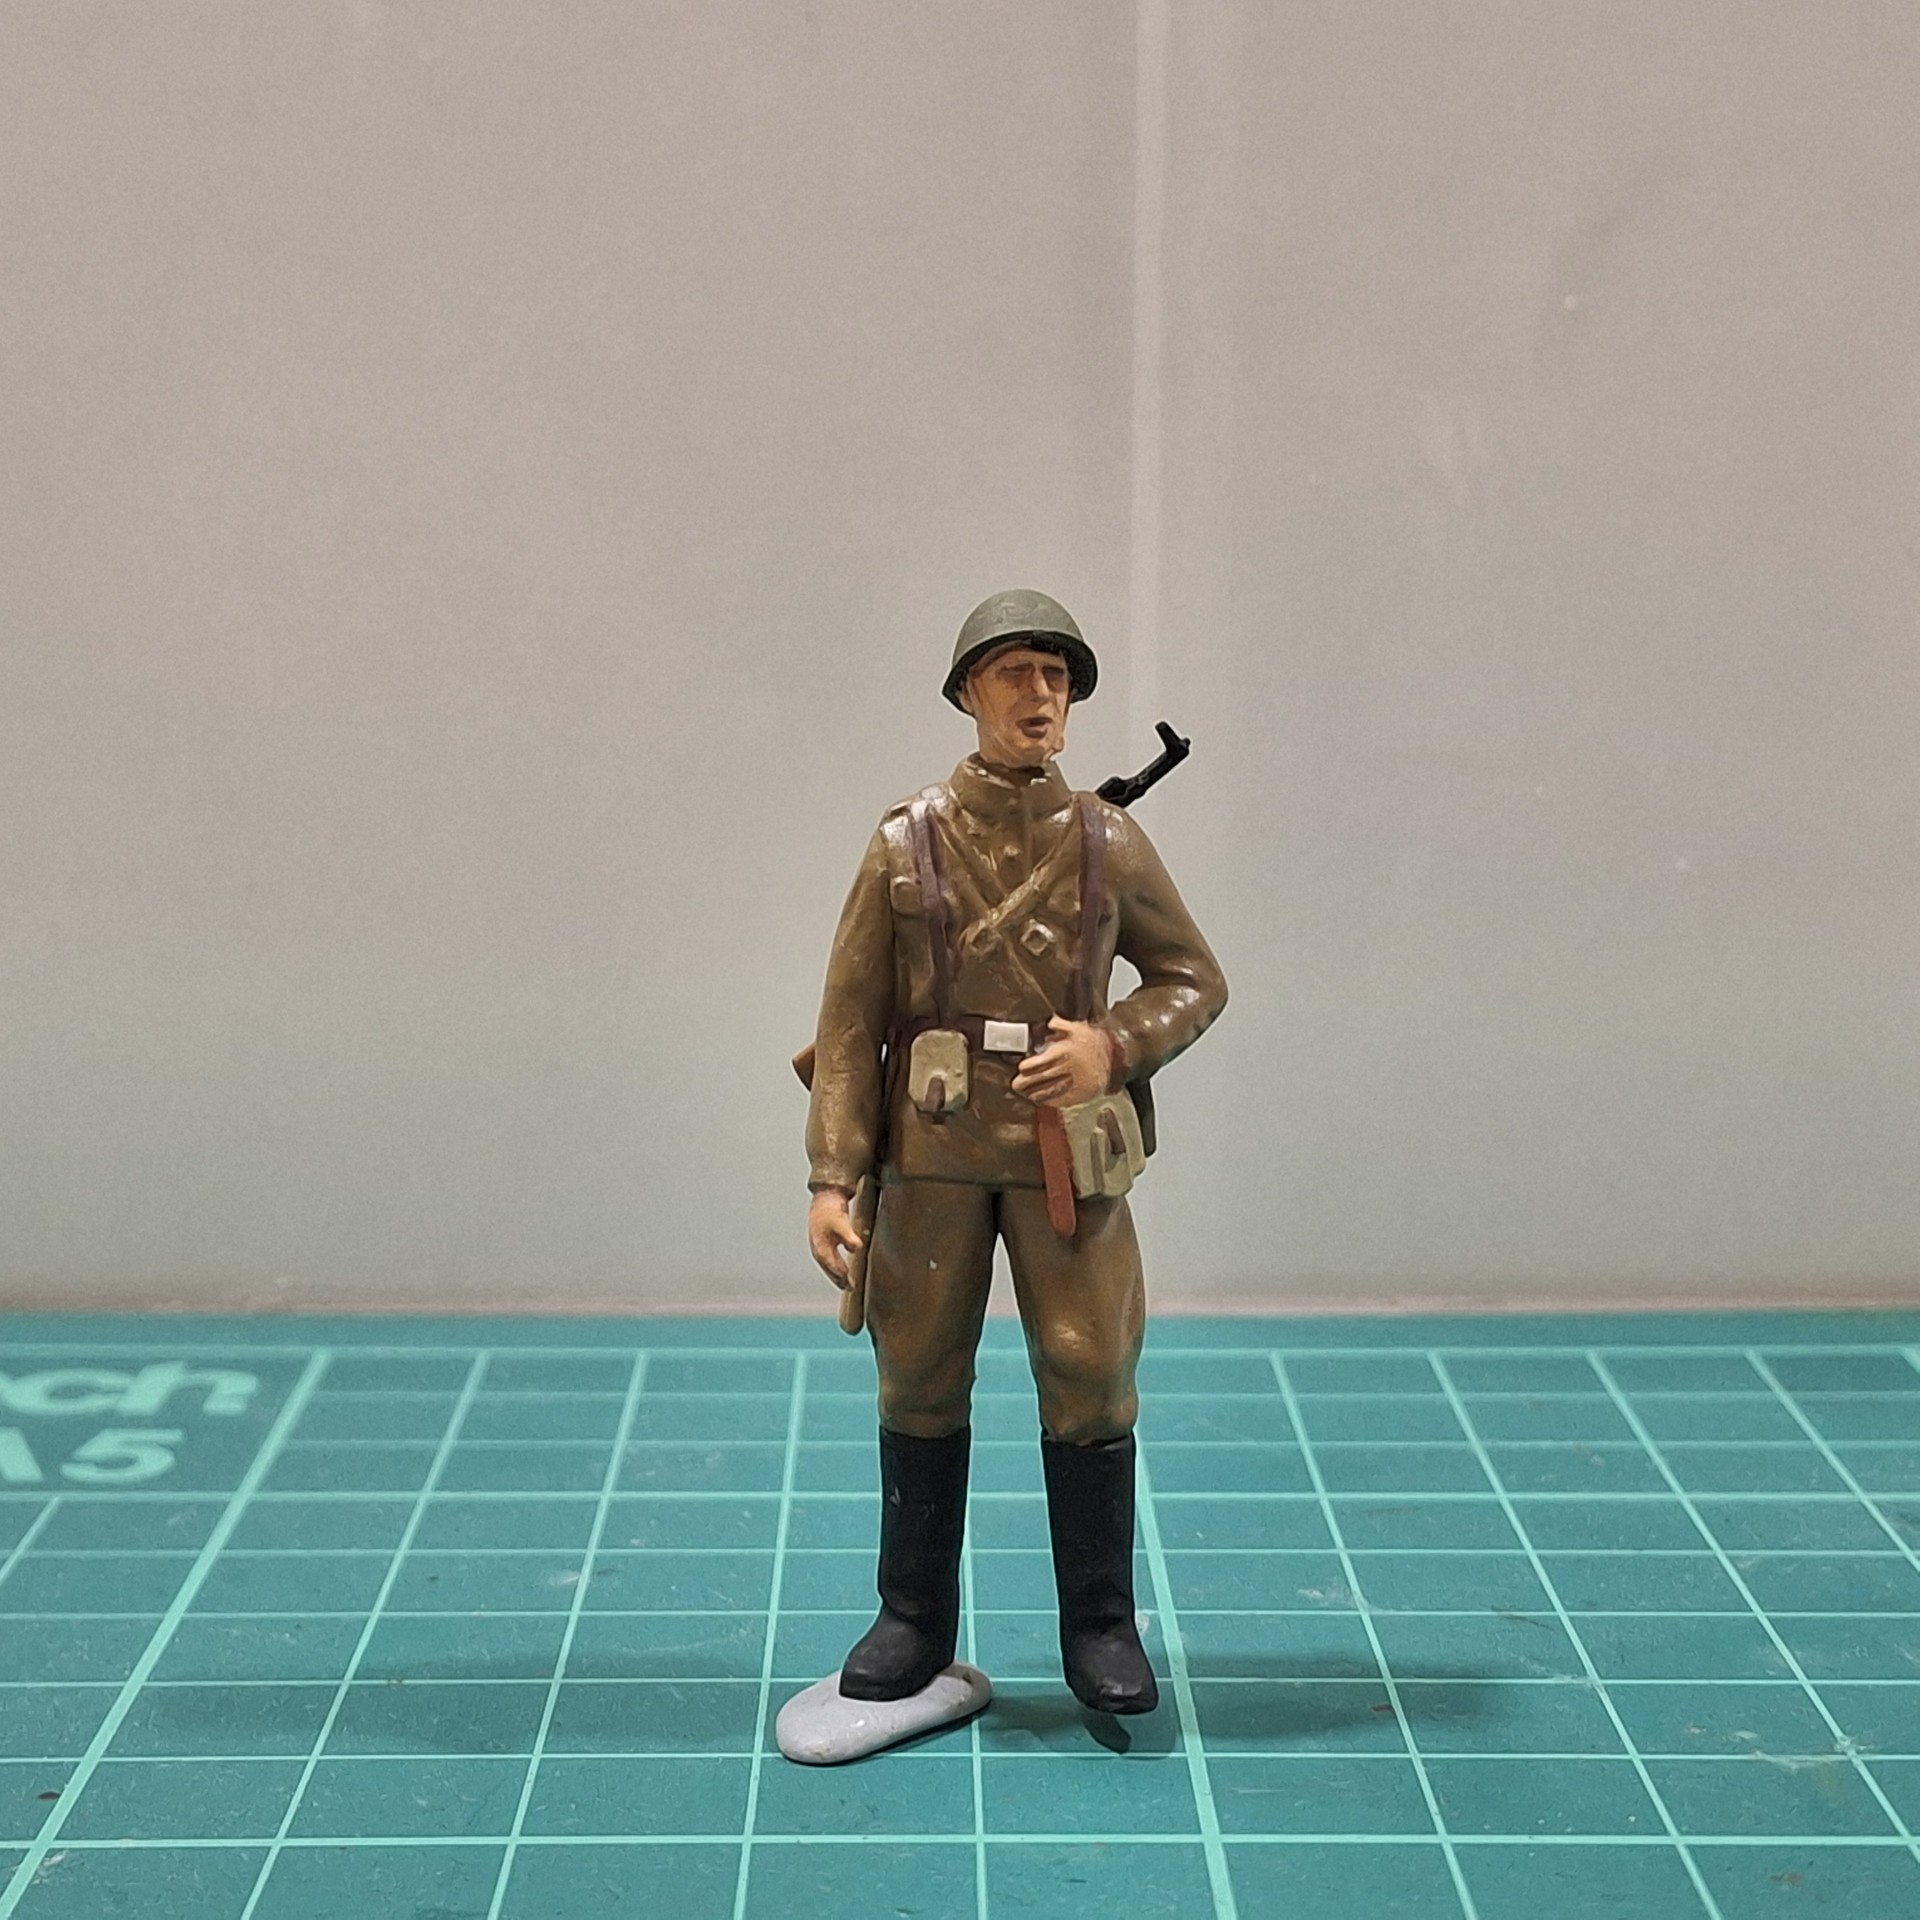
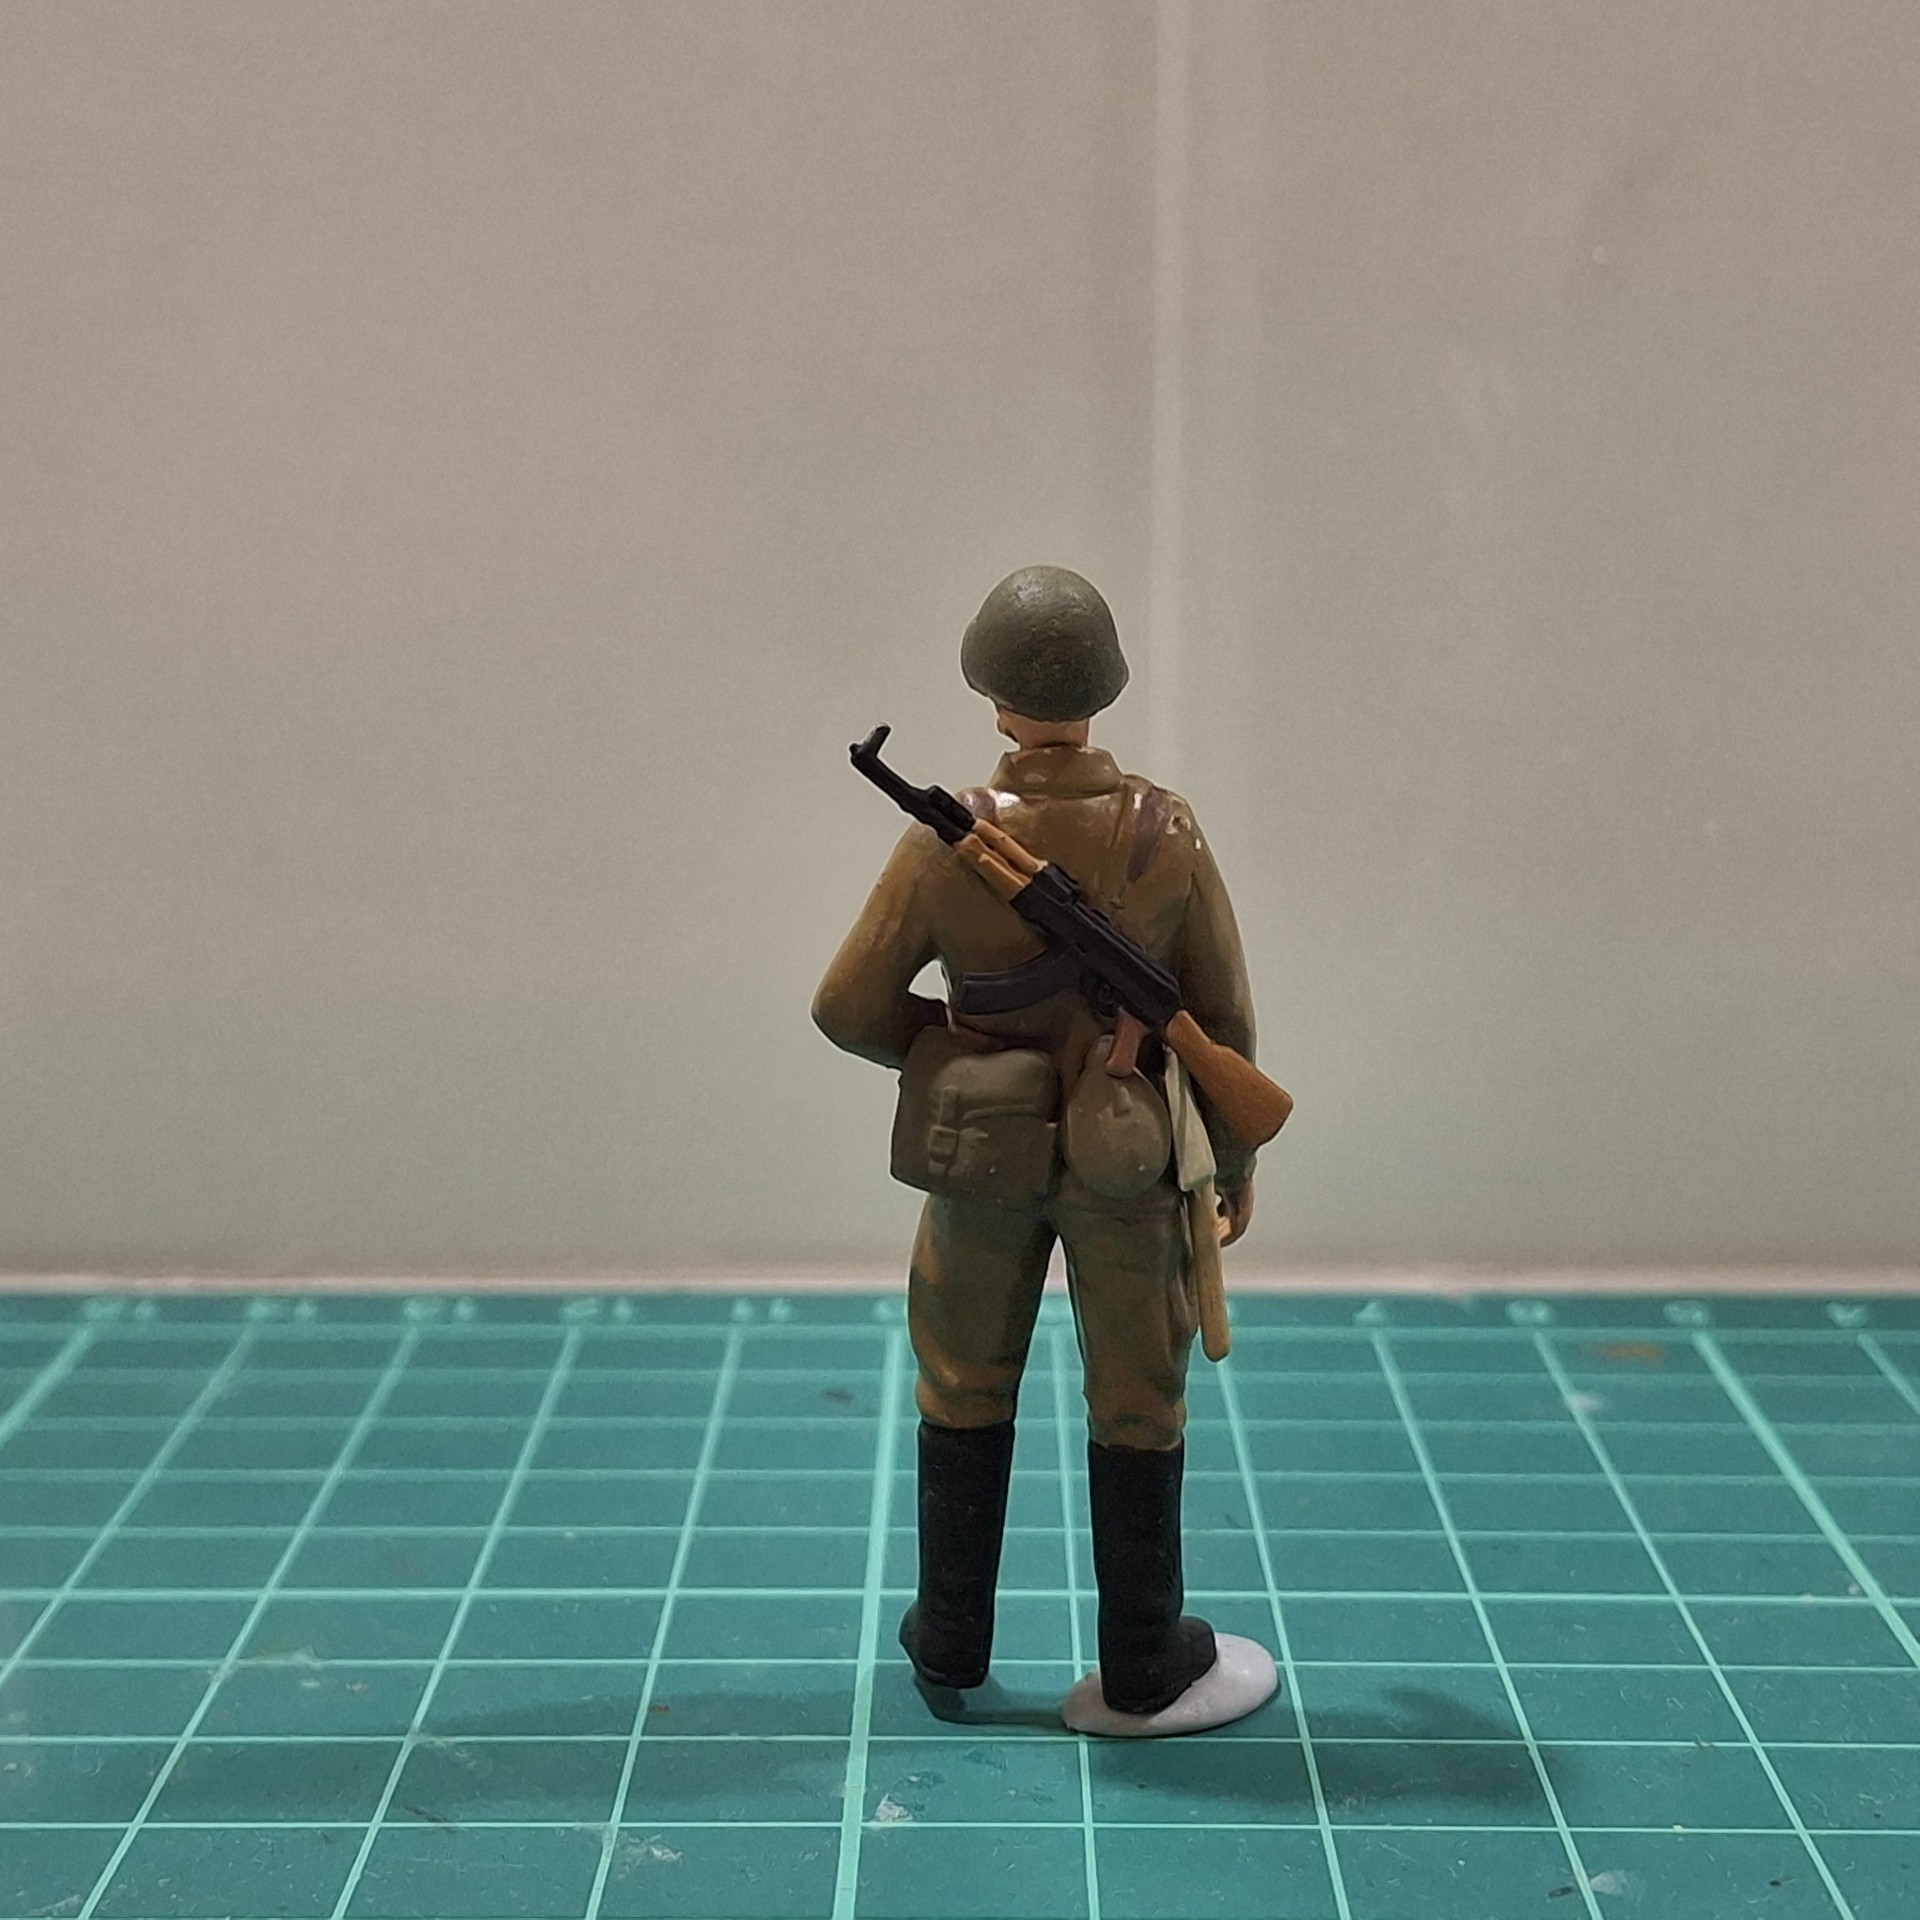
Just about done; I still have to add a little filler under the left arm, but that’ll have to wait until the morn, as I’ve only just stuck it on:
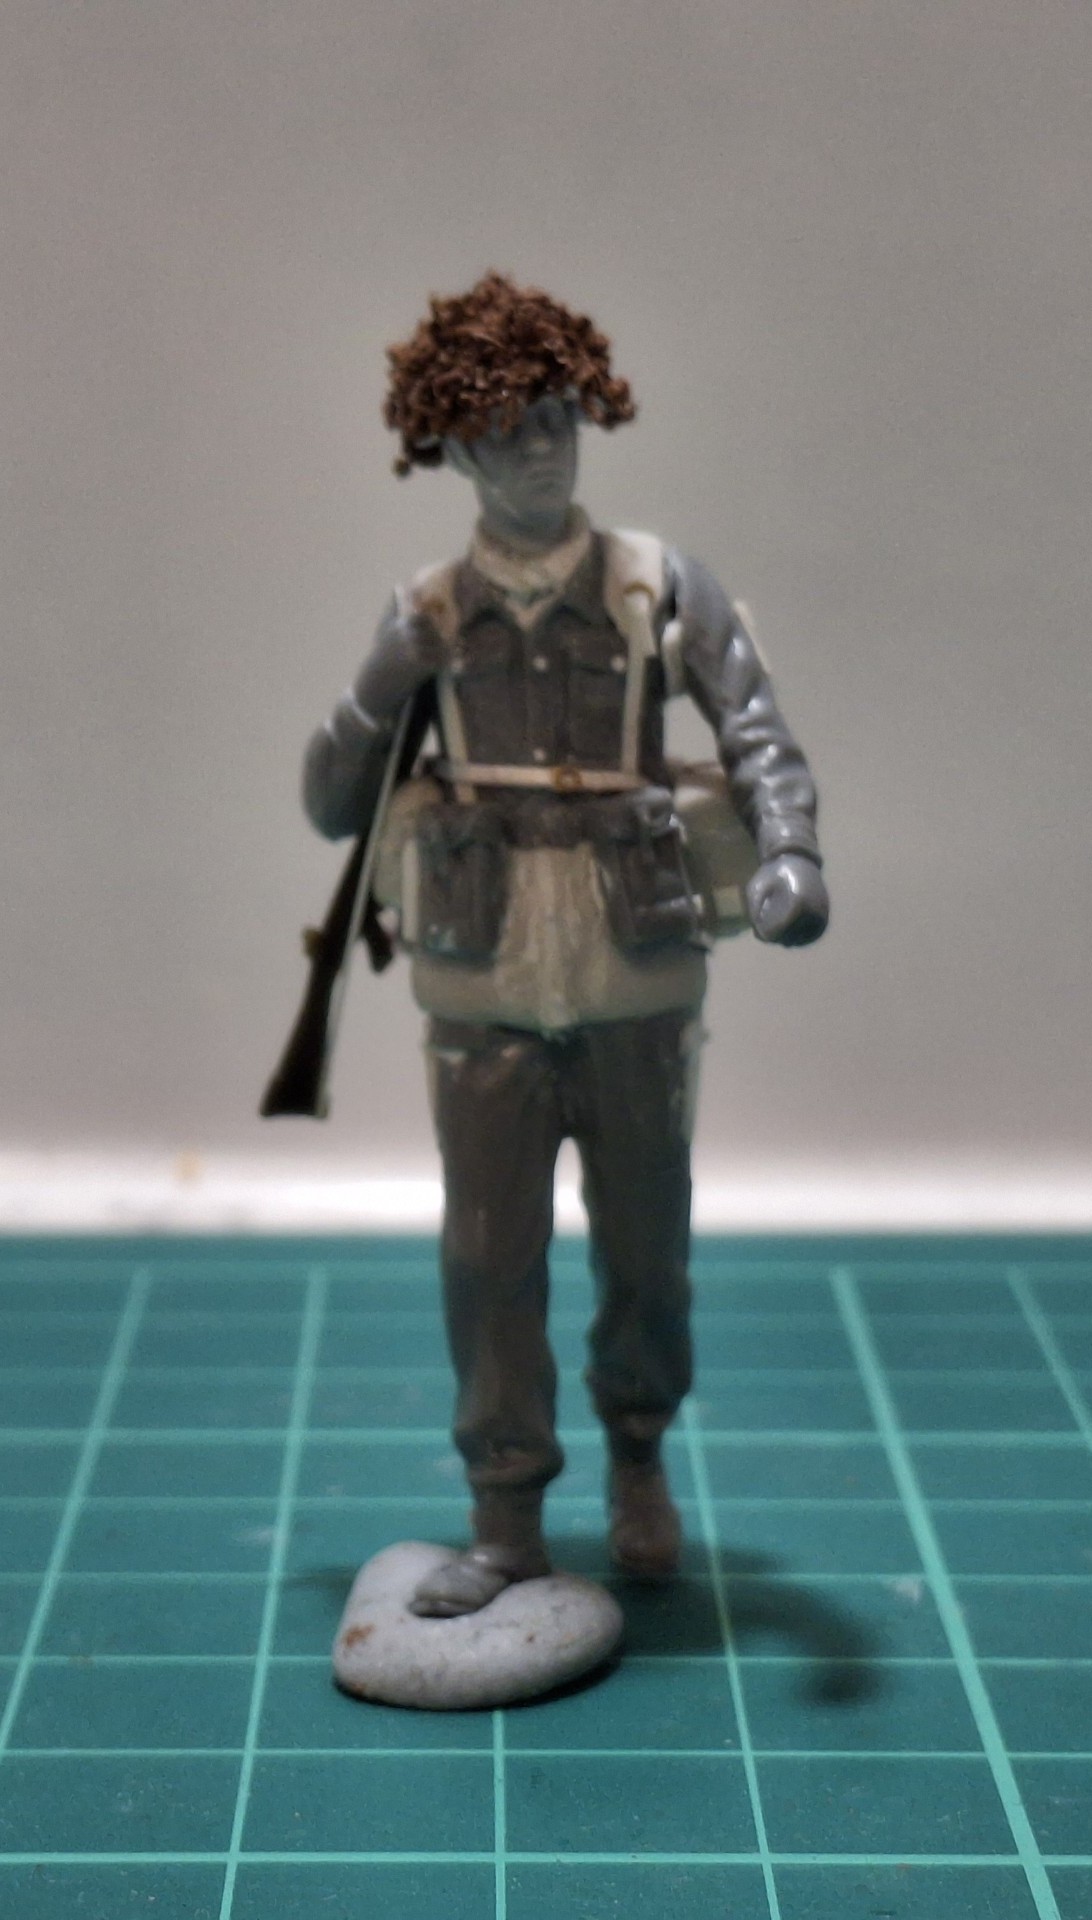
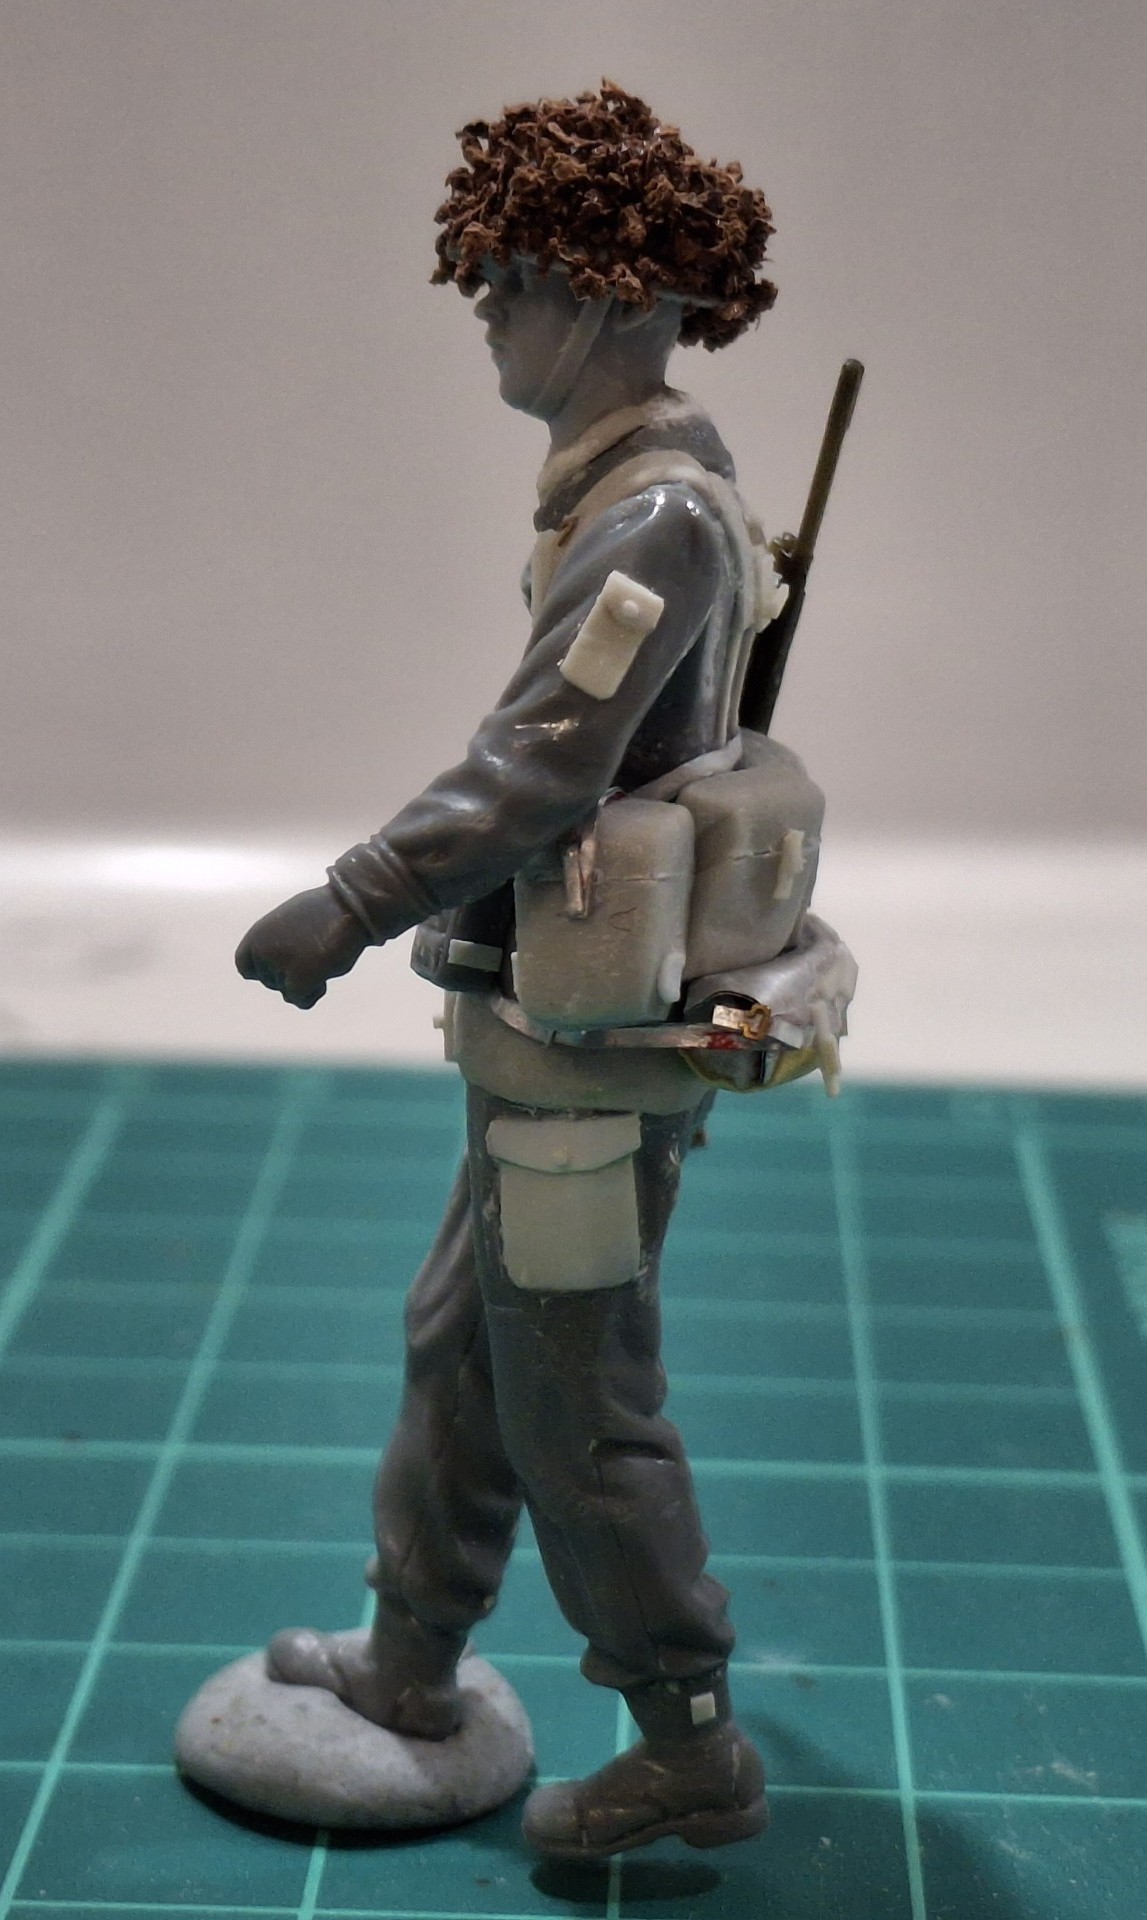
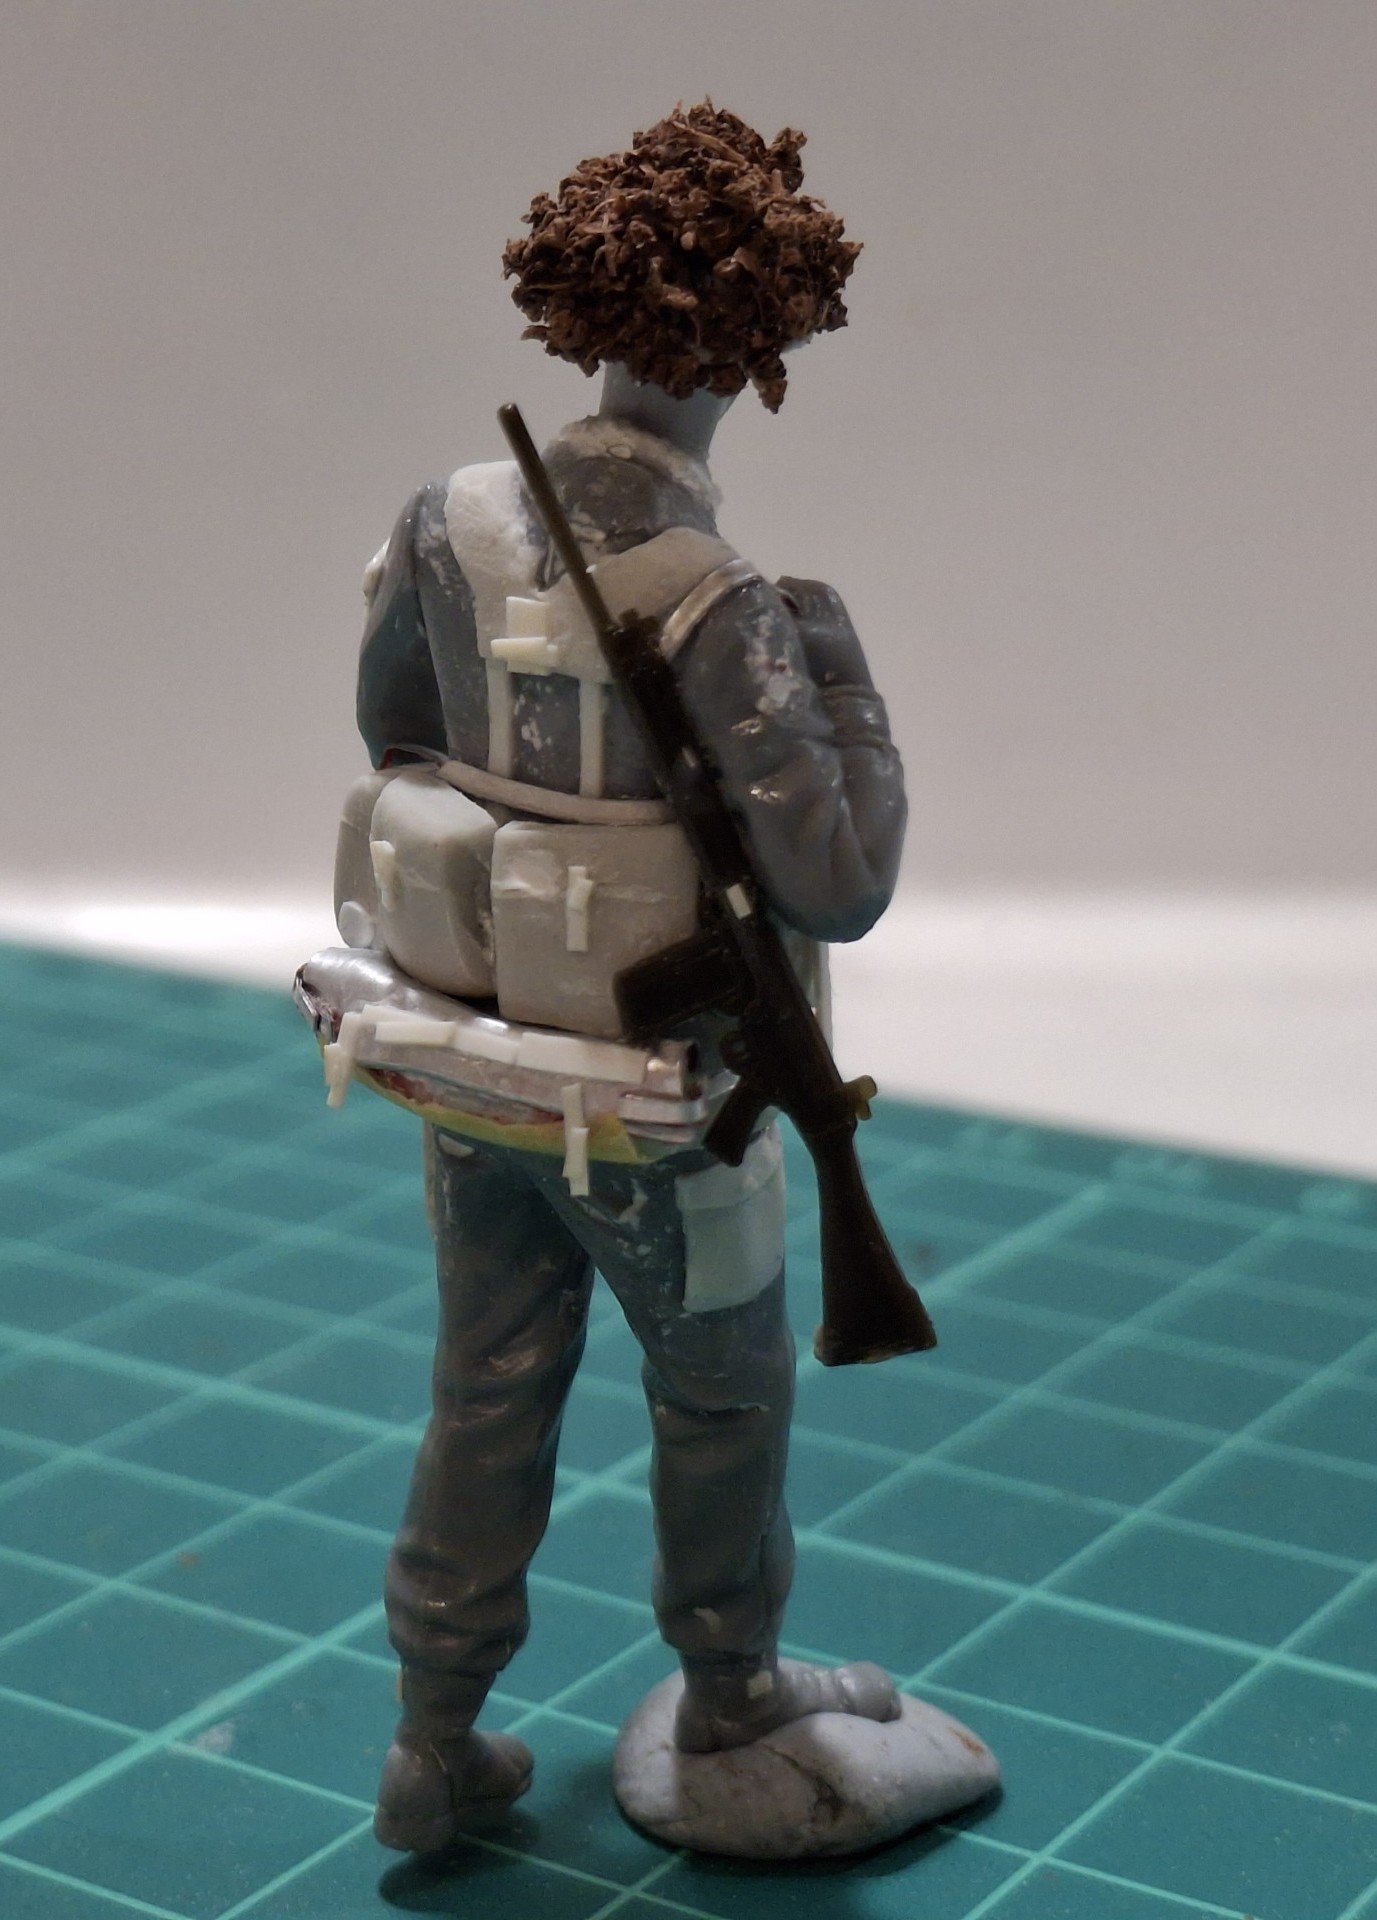
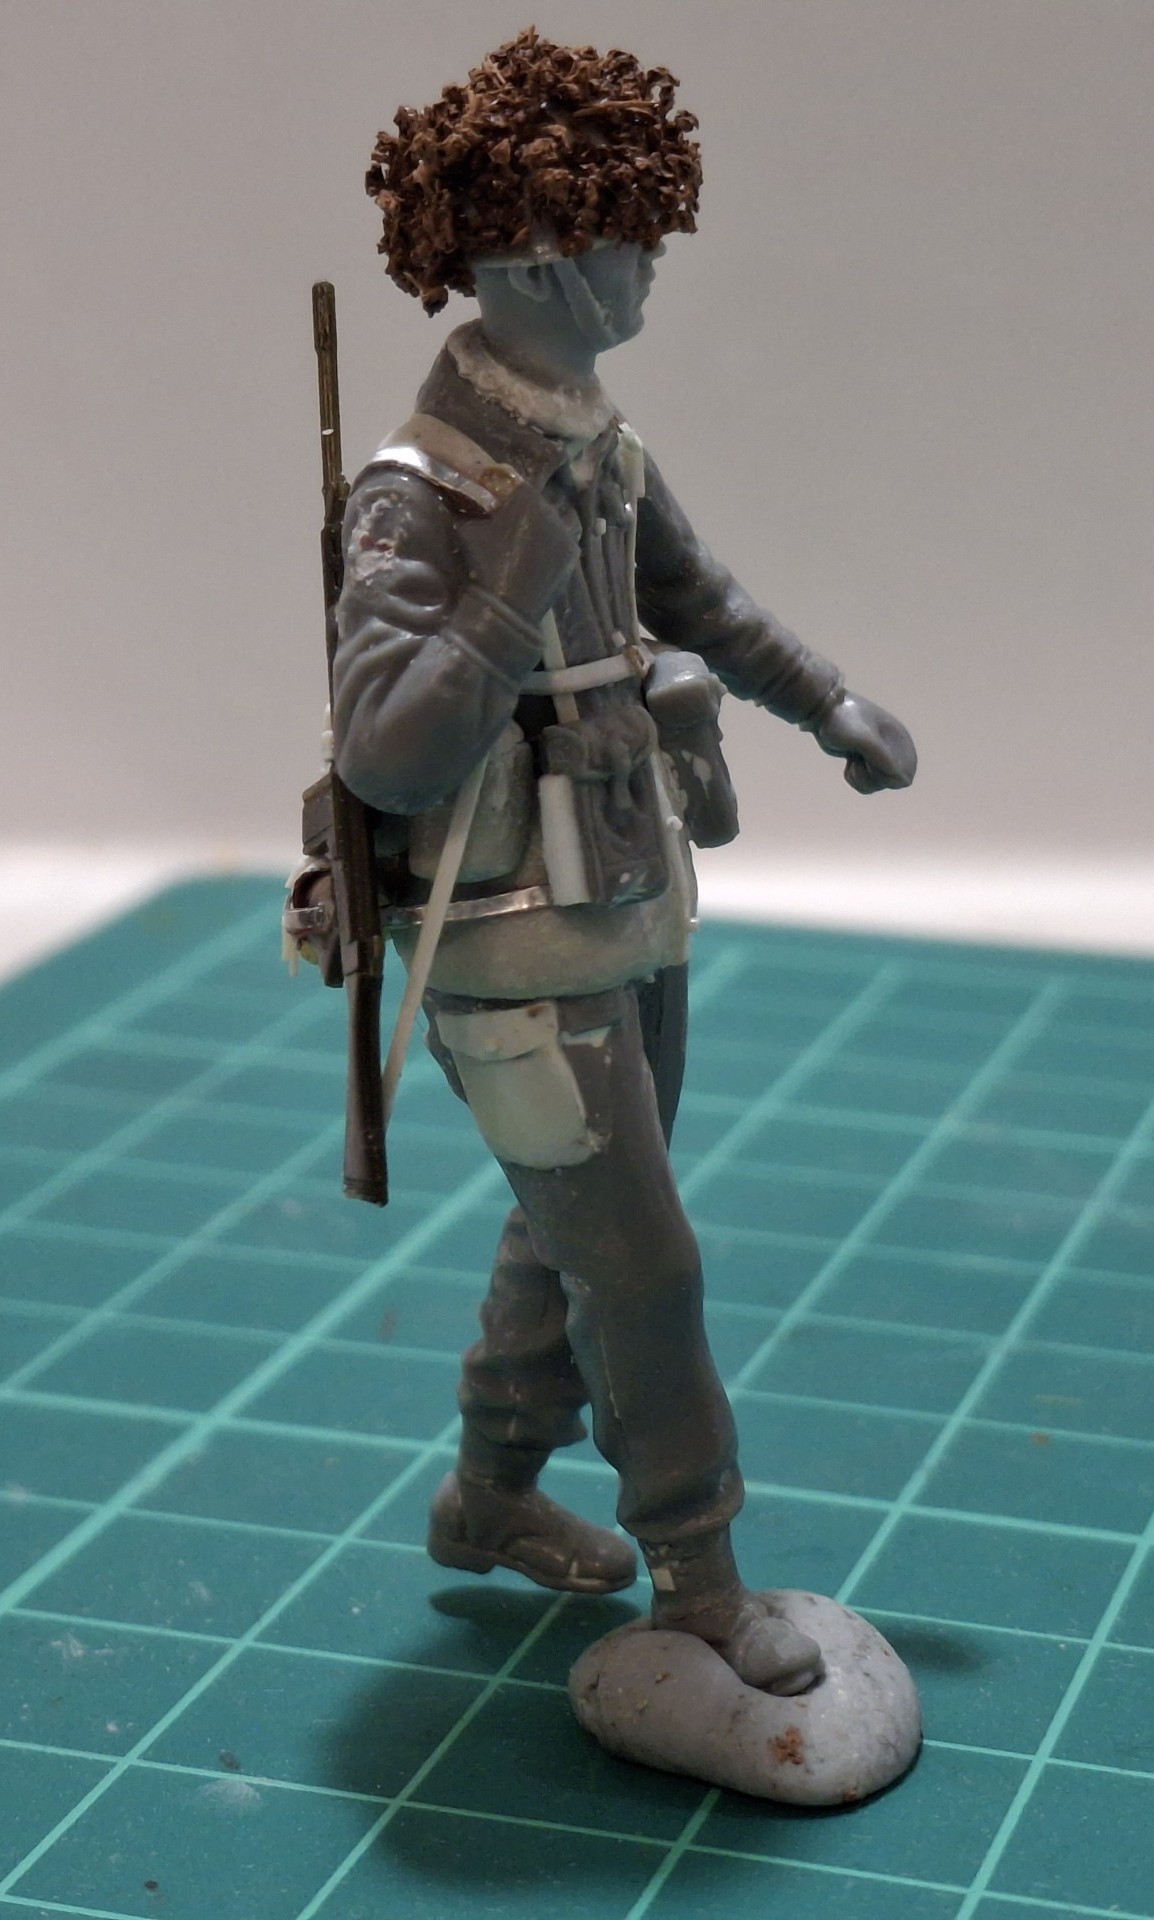
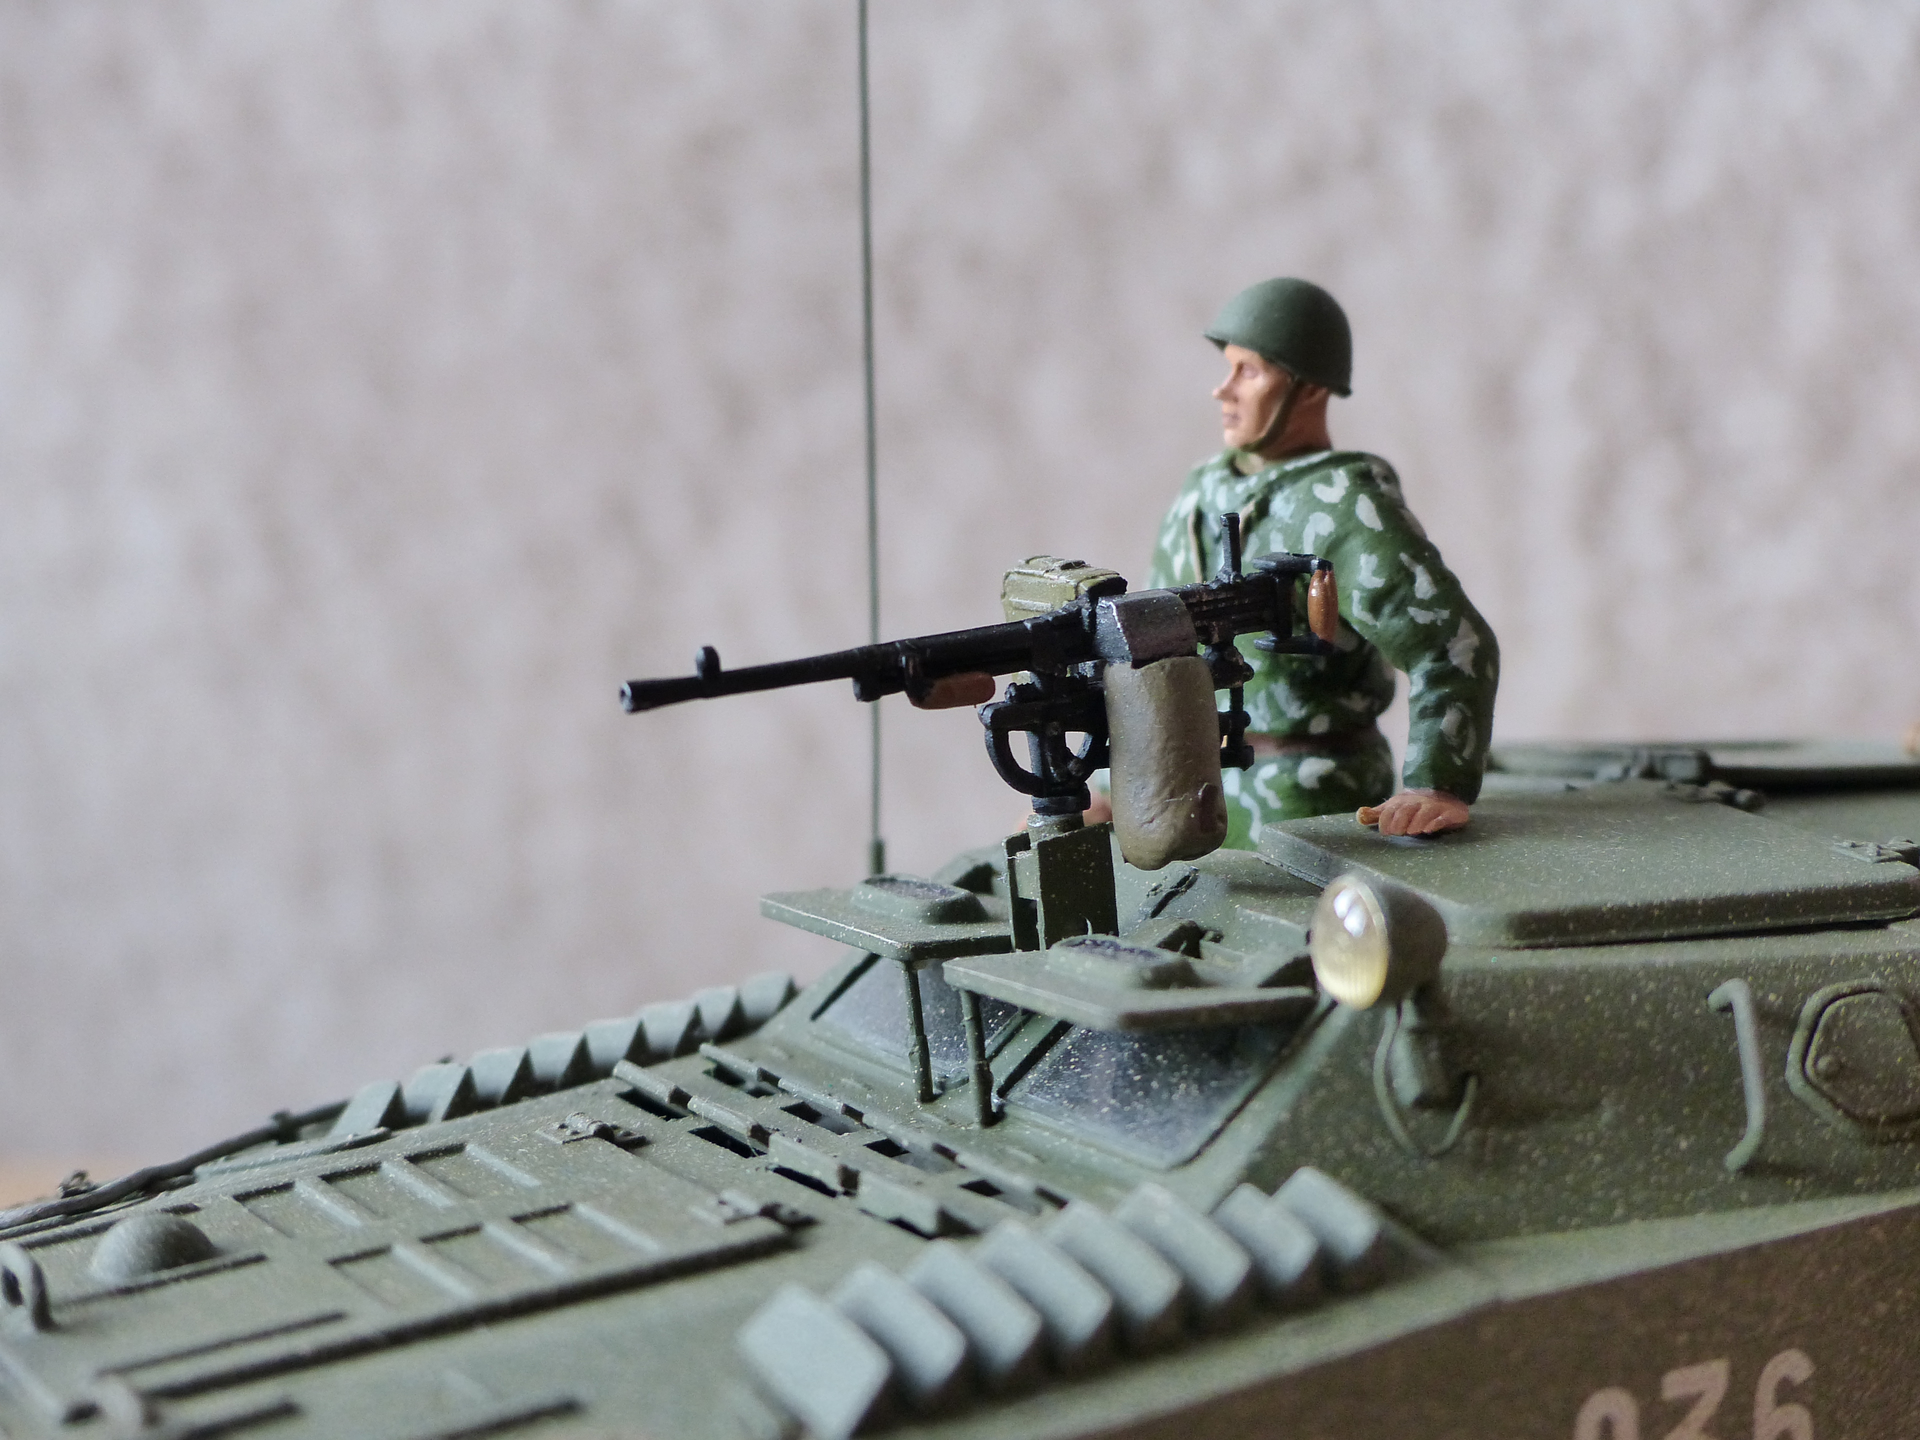
This then, is basically a suitable Infantry-type figure for the 70s and 80s; how I would love to make a model of a section deploying out of the back of an FV 432 - but the work required, even with a mini-production line (as I did with my East Germans) is just a trial too far at the moment!
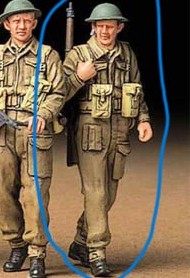
As a reminder, this was my source figure from the Tamiya WW2 Brit Infantry set:
With a fair wind, and the aforementioned arm filler, primer tomorrow!
11 Likes
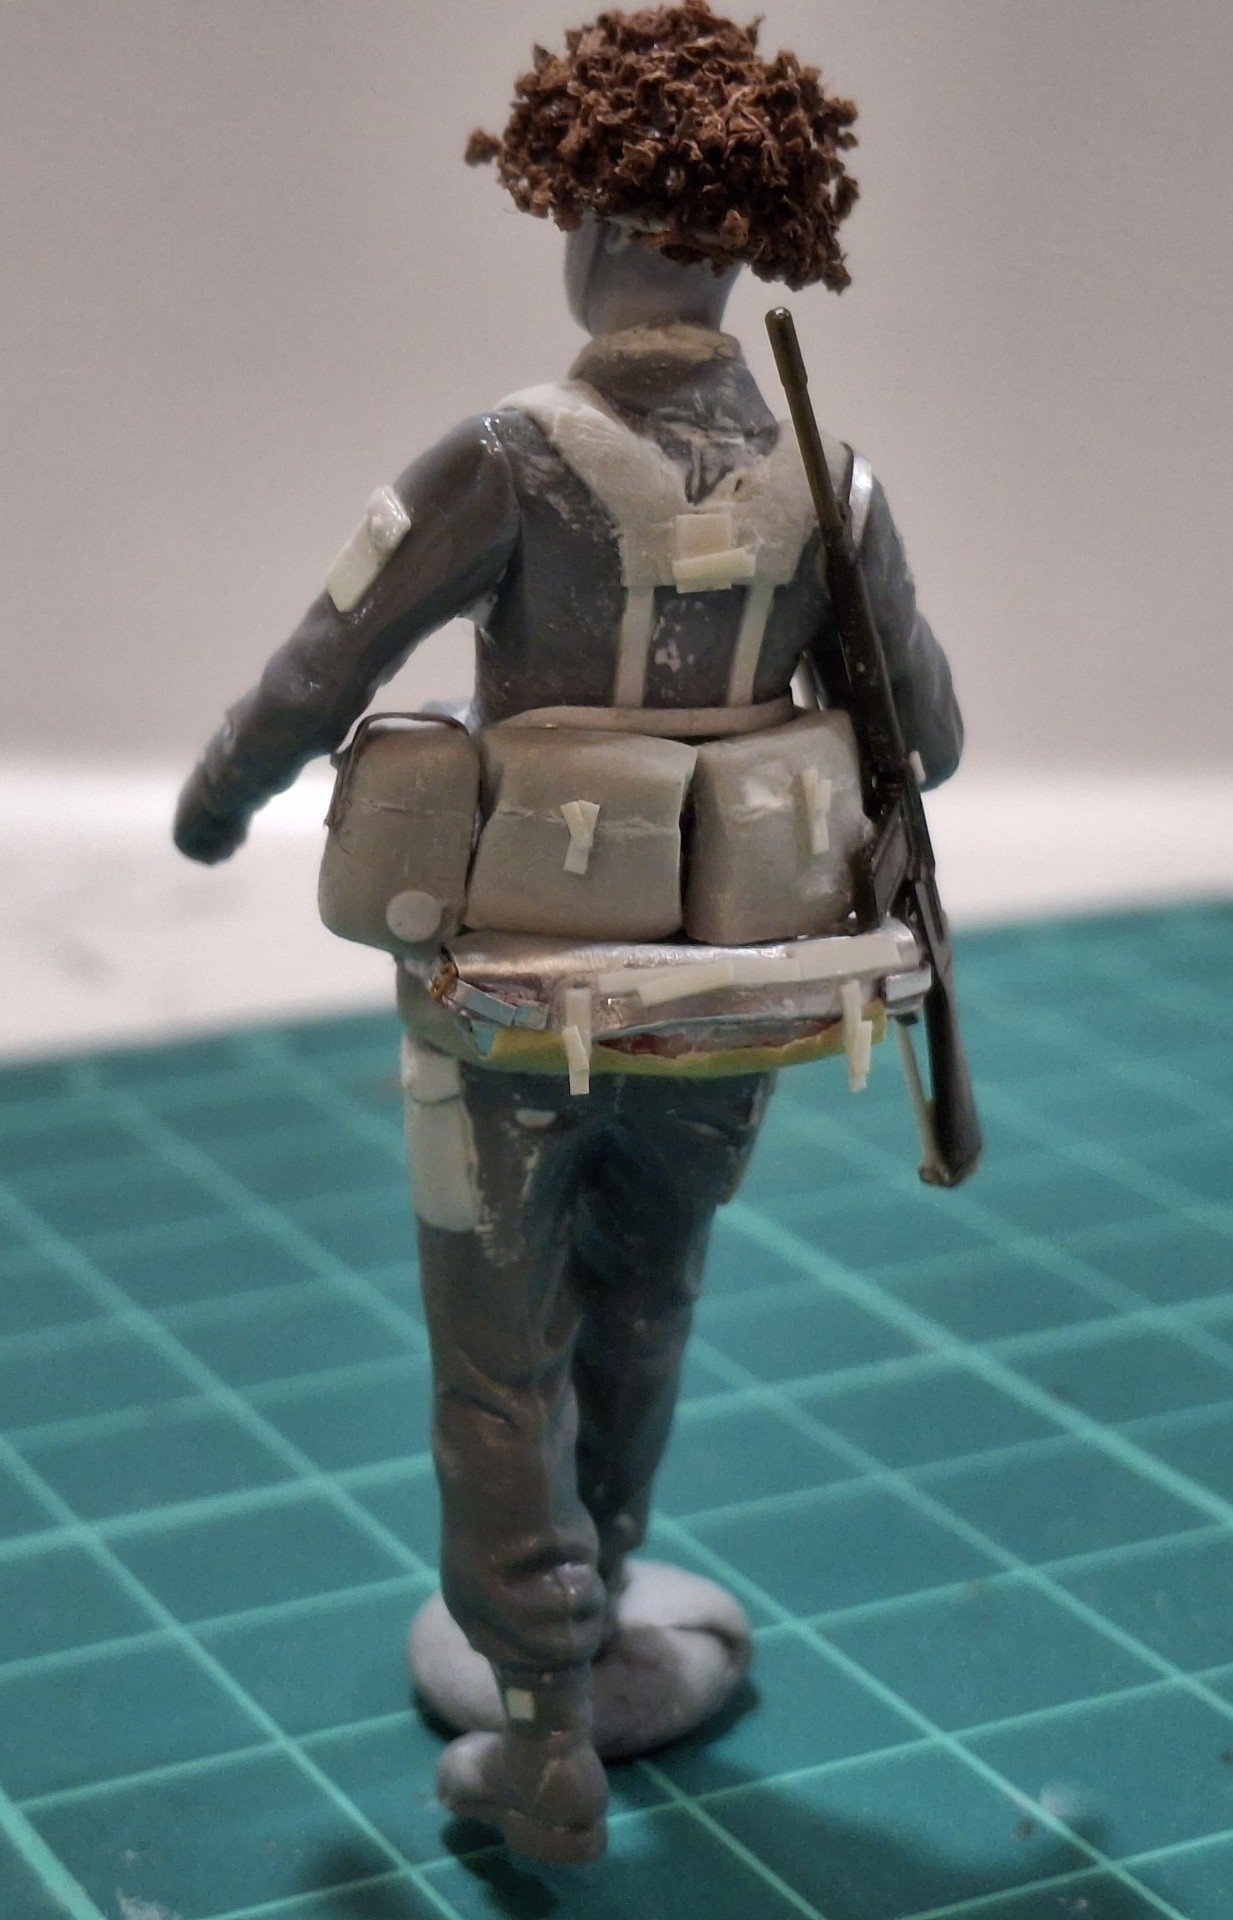
Very thorough work Brian- I think you have really captured the bulky look of the loaded webbing gear.
2 Likes
Thanks Karl; I suppose that’s the advantage of having used the stuff for most of my time.
Bloody laborious from a modelling perspective mind.
4 Likes
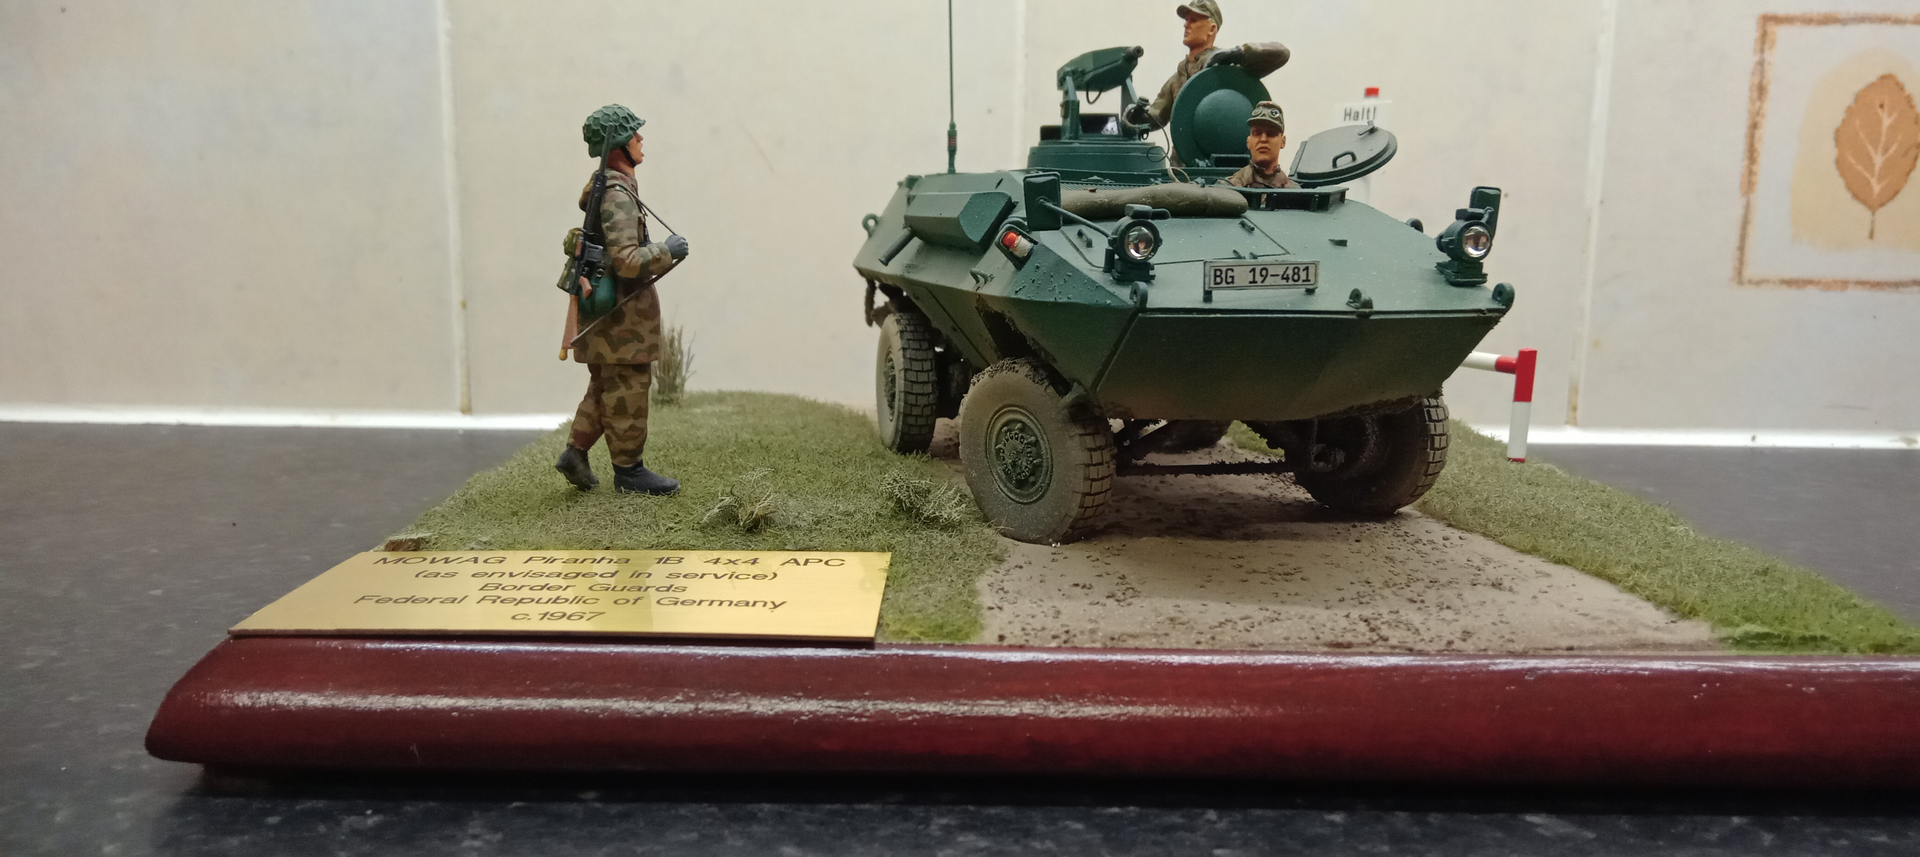
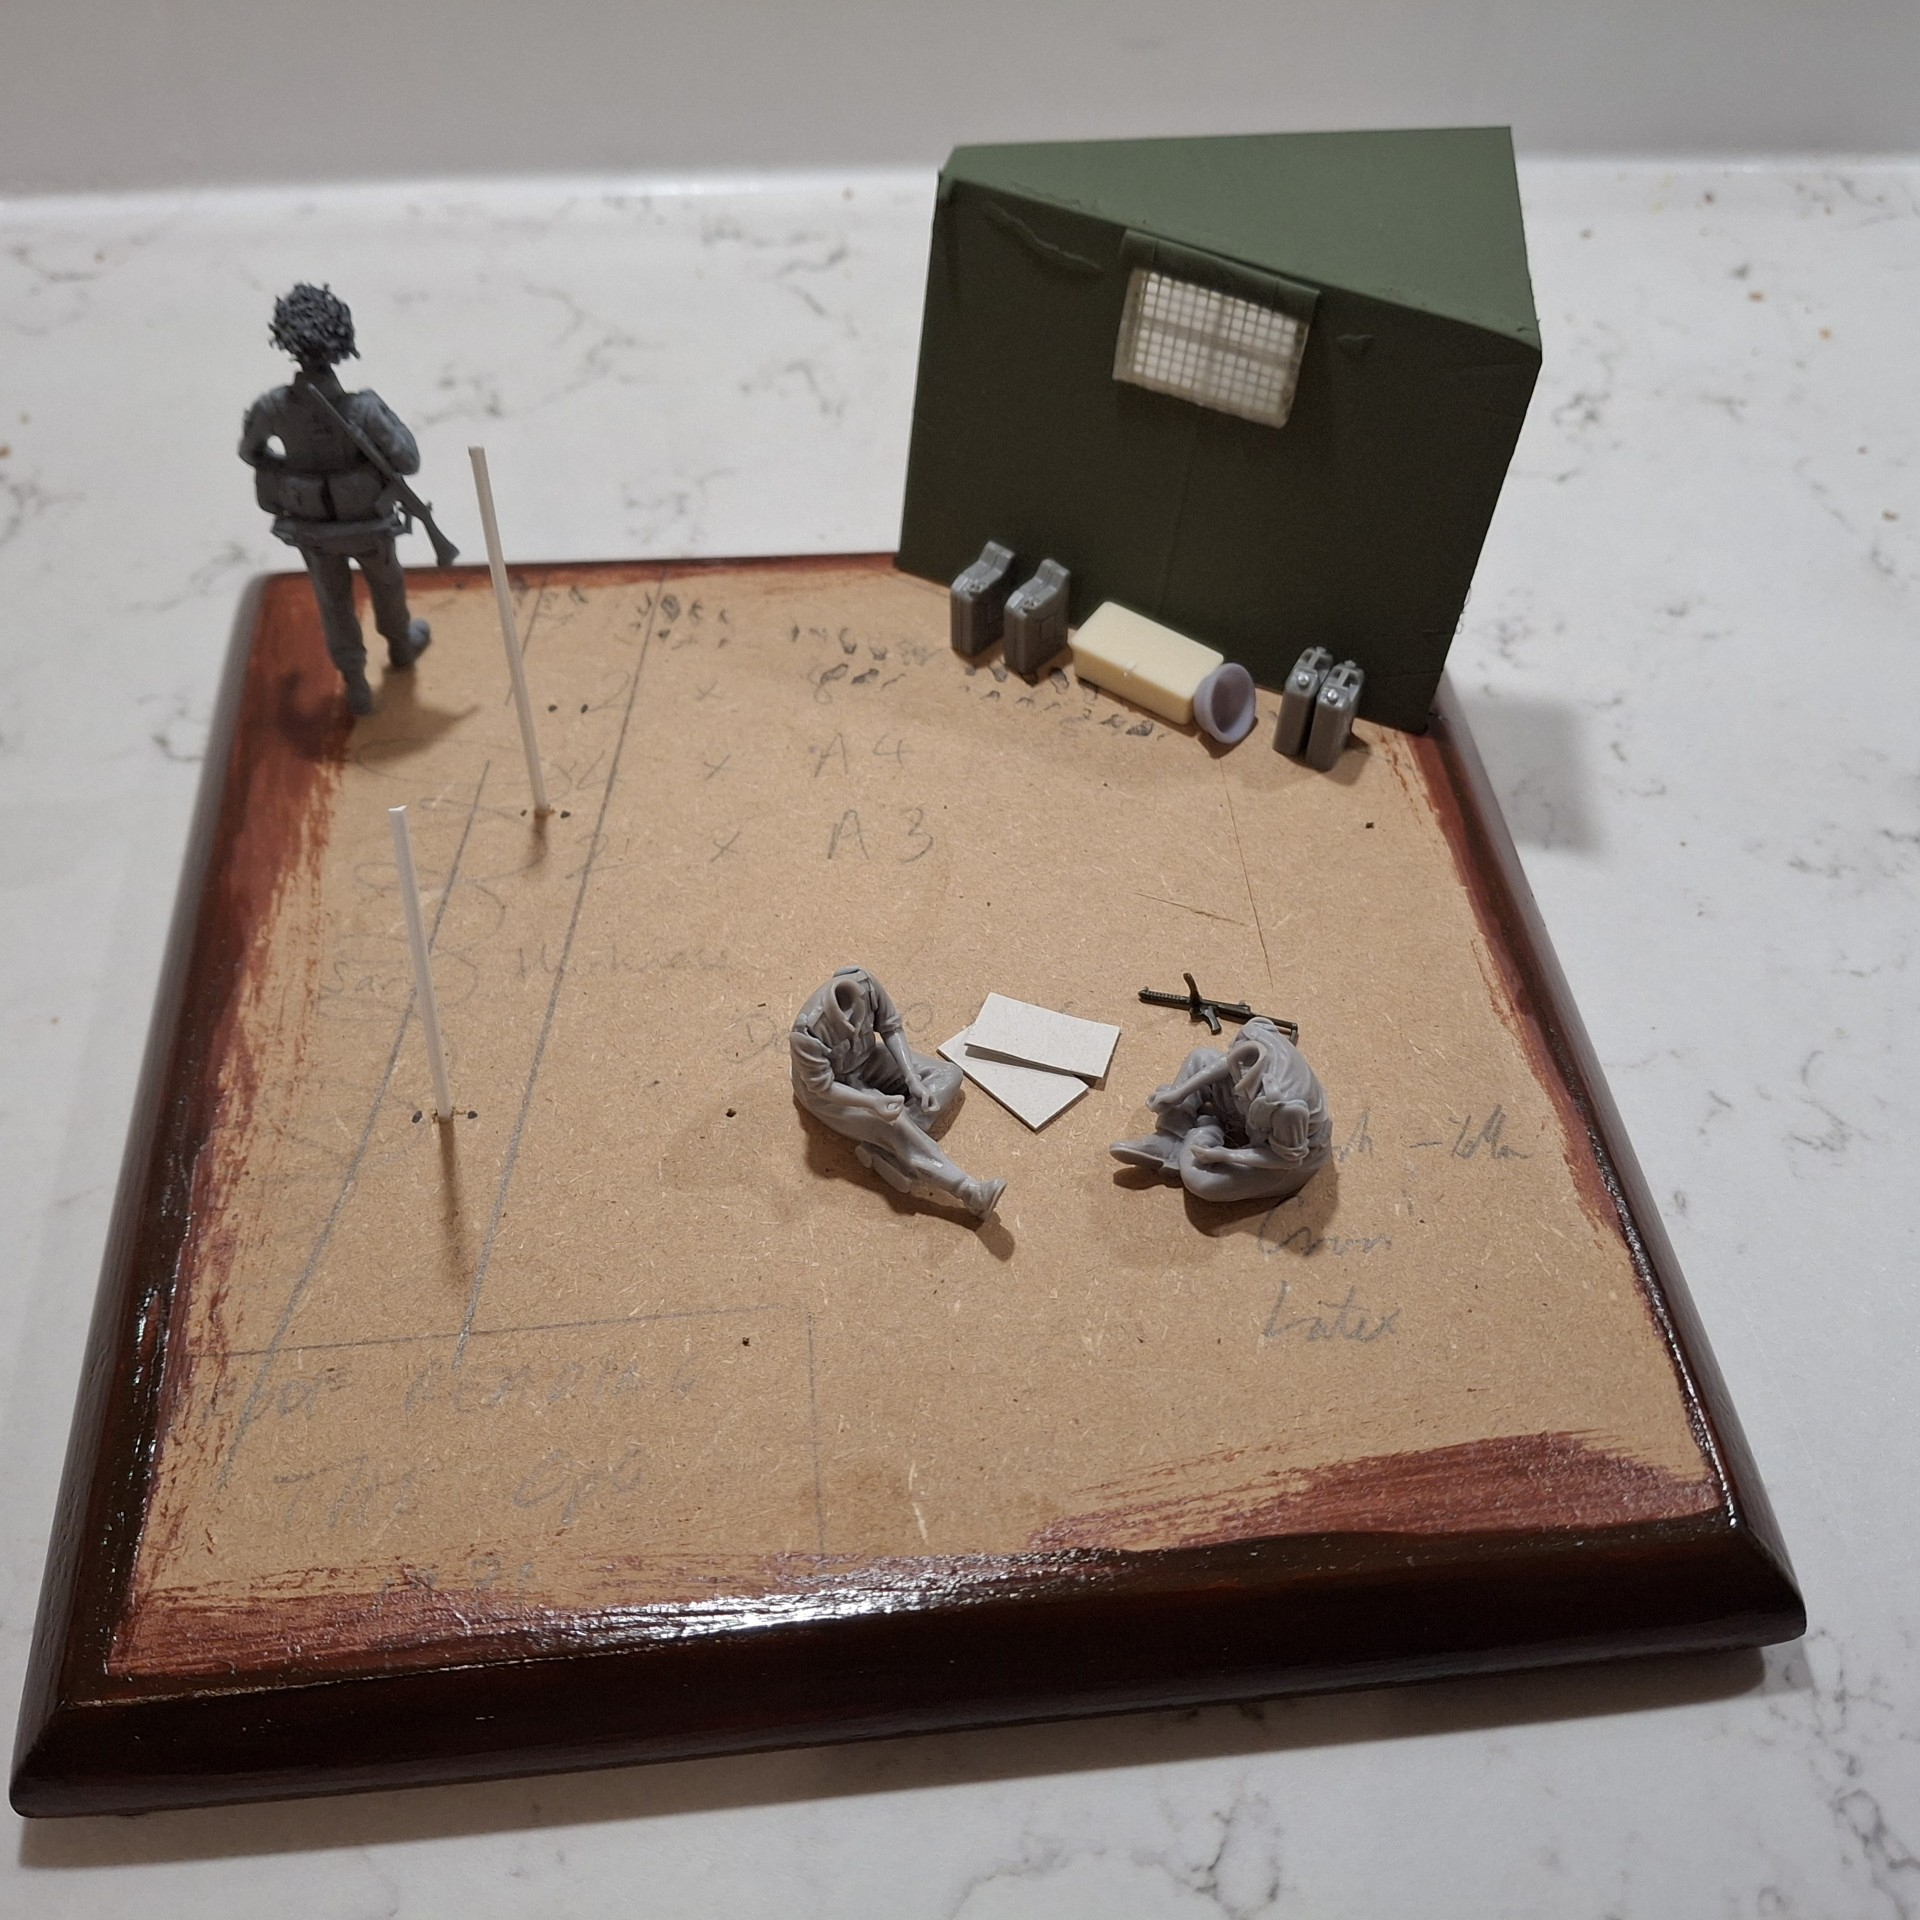
I’ve had a day on bases today so lots of sanding and staining and then varnishing; I also had a brief dabble in setting the scene while I was at it. This is where I’m at:
10 Likes
What a great transformation for the figure. ![]()
1 Like
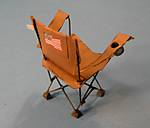
Nice mate ….. and that scene is crying out for one or 2 of these ….
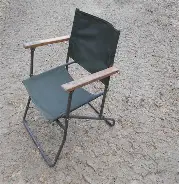
I have 2 in the garage and the modern version
4 Likes
It is, but that’s some fairly involved scratch-building, at least for me; in any case, that’s partly why I selected the figures I have, as they’re sitting on the ground, and as I recall - going back to 1975 (how the hell do I remember that when I can’t remember what I had for breakfast yesterday?) that’s what me and the GSO 3 Ops did.
Did I mention it’s another model of Me? Sorry about that; look away now!
7 Likes
Yet another fantastic conversion job Brian, can’t way to see it painted up!
1 Like
Yes, I’ll have to get cracking on the figures; I might as well I can’t do anymore to the base as I’ve run out of static grass, though some is inbound.
5 Likes
How do you figure out which figures to use, or which parts from different figures to use for your Frankenstein creations? Even before you do your uniform and equipment conversion work, you seem to be able to cobble together the basic pose and appearance and make it look trouble free.
1 Like
That’s a good question and I had to think about my methodology hard, before replying. I suppose it’s always in the back of my mind of what I could do with a certain figure, primarily as I’ve gained the confidence to tackle it.
I realise that I can basically alter just about any figure now that I’ve have a certain method. It always starts with sanding and this can be onerous stuff. Either removing details such as pockets, buttons, straps, belts and the like, or any other moulded on detail come to that. Sometimes I have to think a bit laterally and for example, realise that if say, a Brit WW2 officer figure is wearing WW2 Battledress with collar and tie, why not pare down the figure below the waist and add jacket skirts from Magic Sculp/Milliput, add same to cover the gaiters and boots to form a normal trouser leg, and behold! I’ve the basic uniform of a Brit officer from WW2 onward in service dress (best kit).
I suppose it really depends on the pose too; for instance, if I desire an extra crew member to serve on the Soviet AGS-17, then why not cast an eye around over commercially available kits that cover artillery, as the poses I want will be within somewhere. He can be wearing WW2 kit, or not even be Soviet (for instance, if a Wehrmacht figure has jackboots then I can probably make him sufficiently Russian in due course) but with extensive sanding, additions from weapon accessory sets, Hornet Heads and uniform and equipment modifications using the materials mentioned above, then, after a fair bit of work it must be said, I end up with what is required.
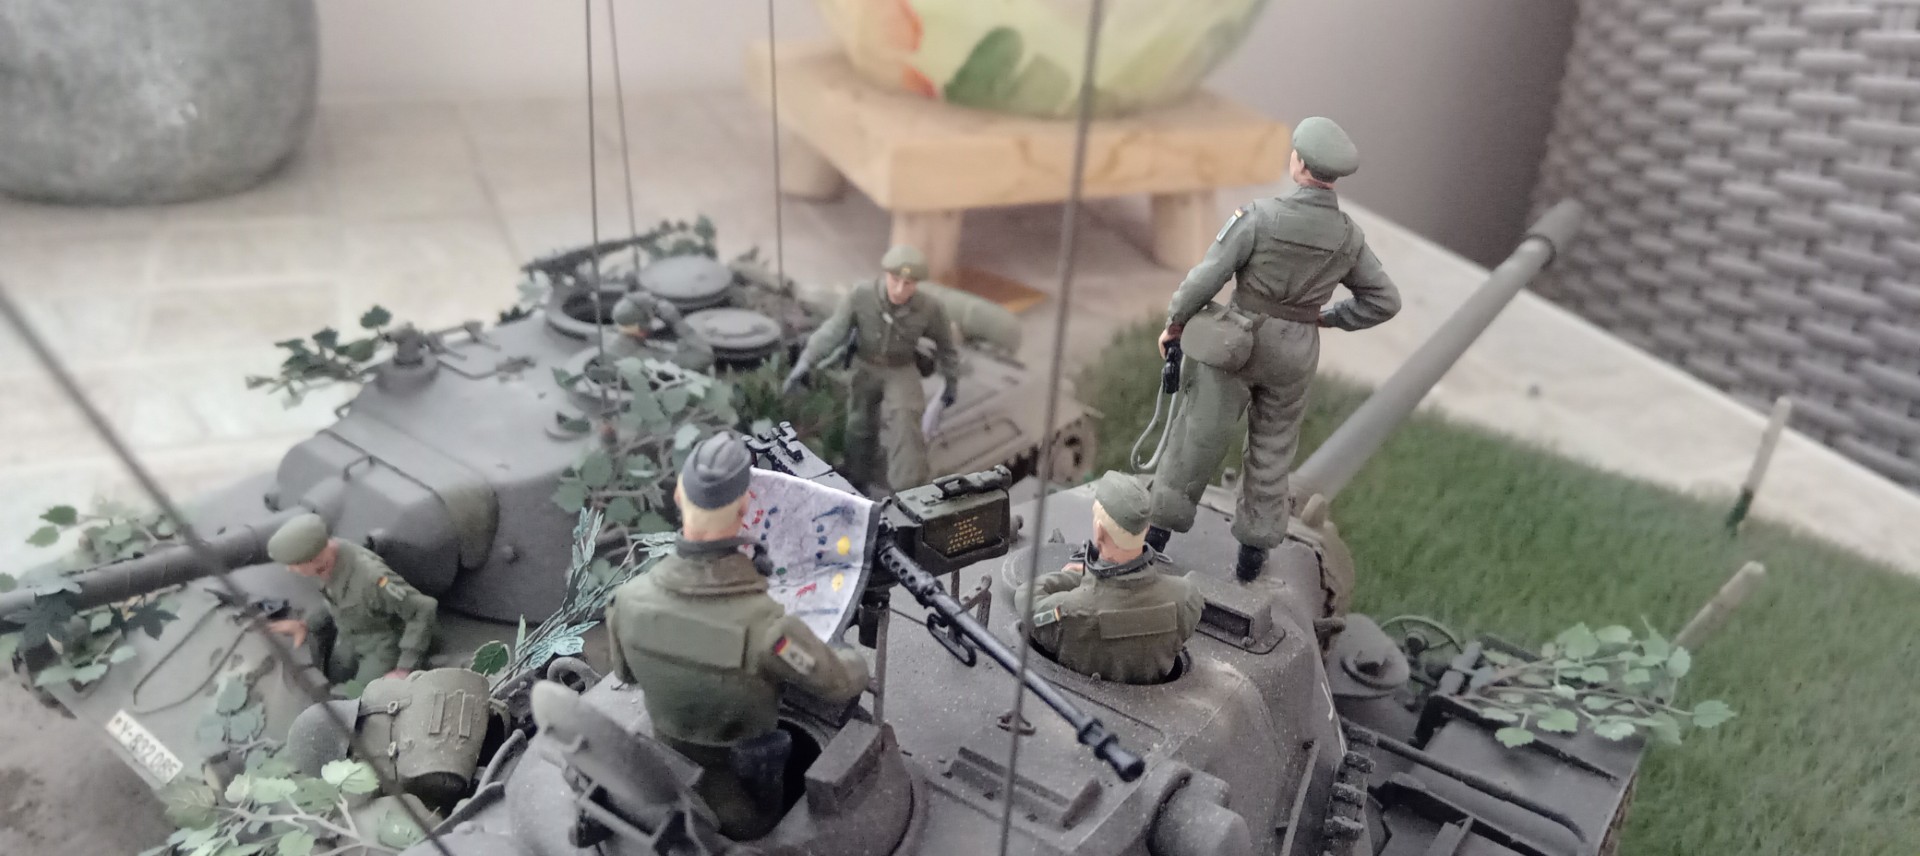
As it happens I was going to re-open the debate soon on a thread covering the lack of Cold War figures; here’s a preview figure although from some time ago, and therefore doesn’t quite come up to how I would tackle it now; it’s not finished, and it shows, but just for your info:
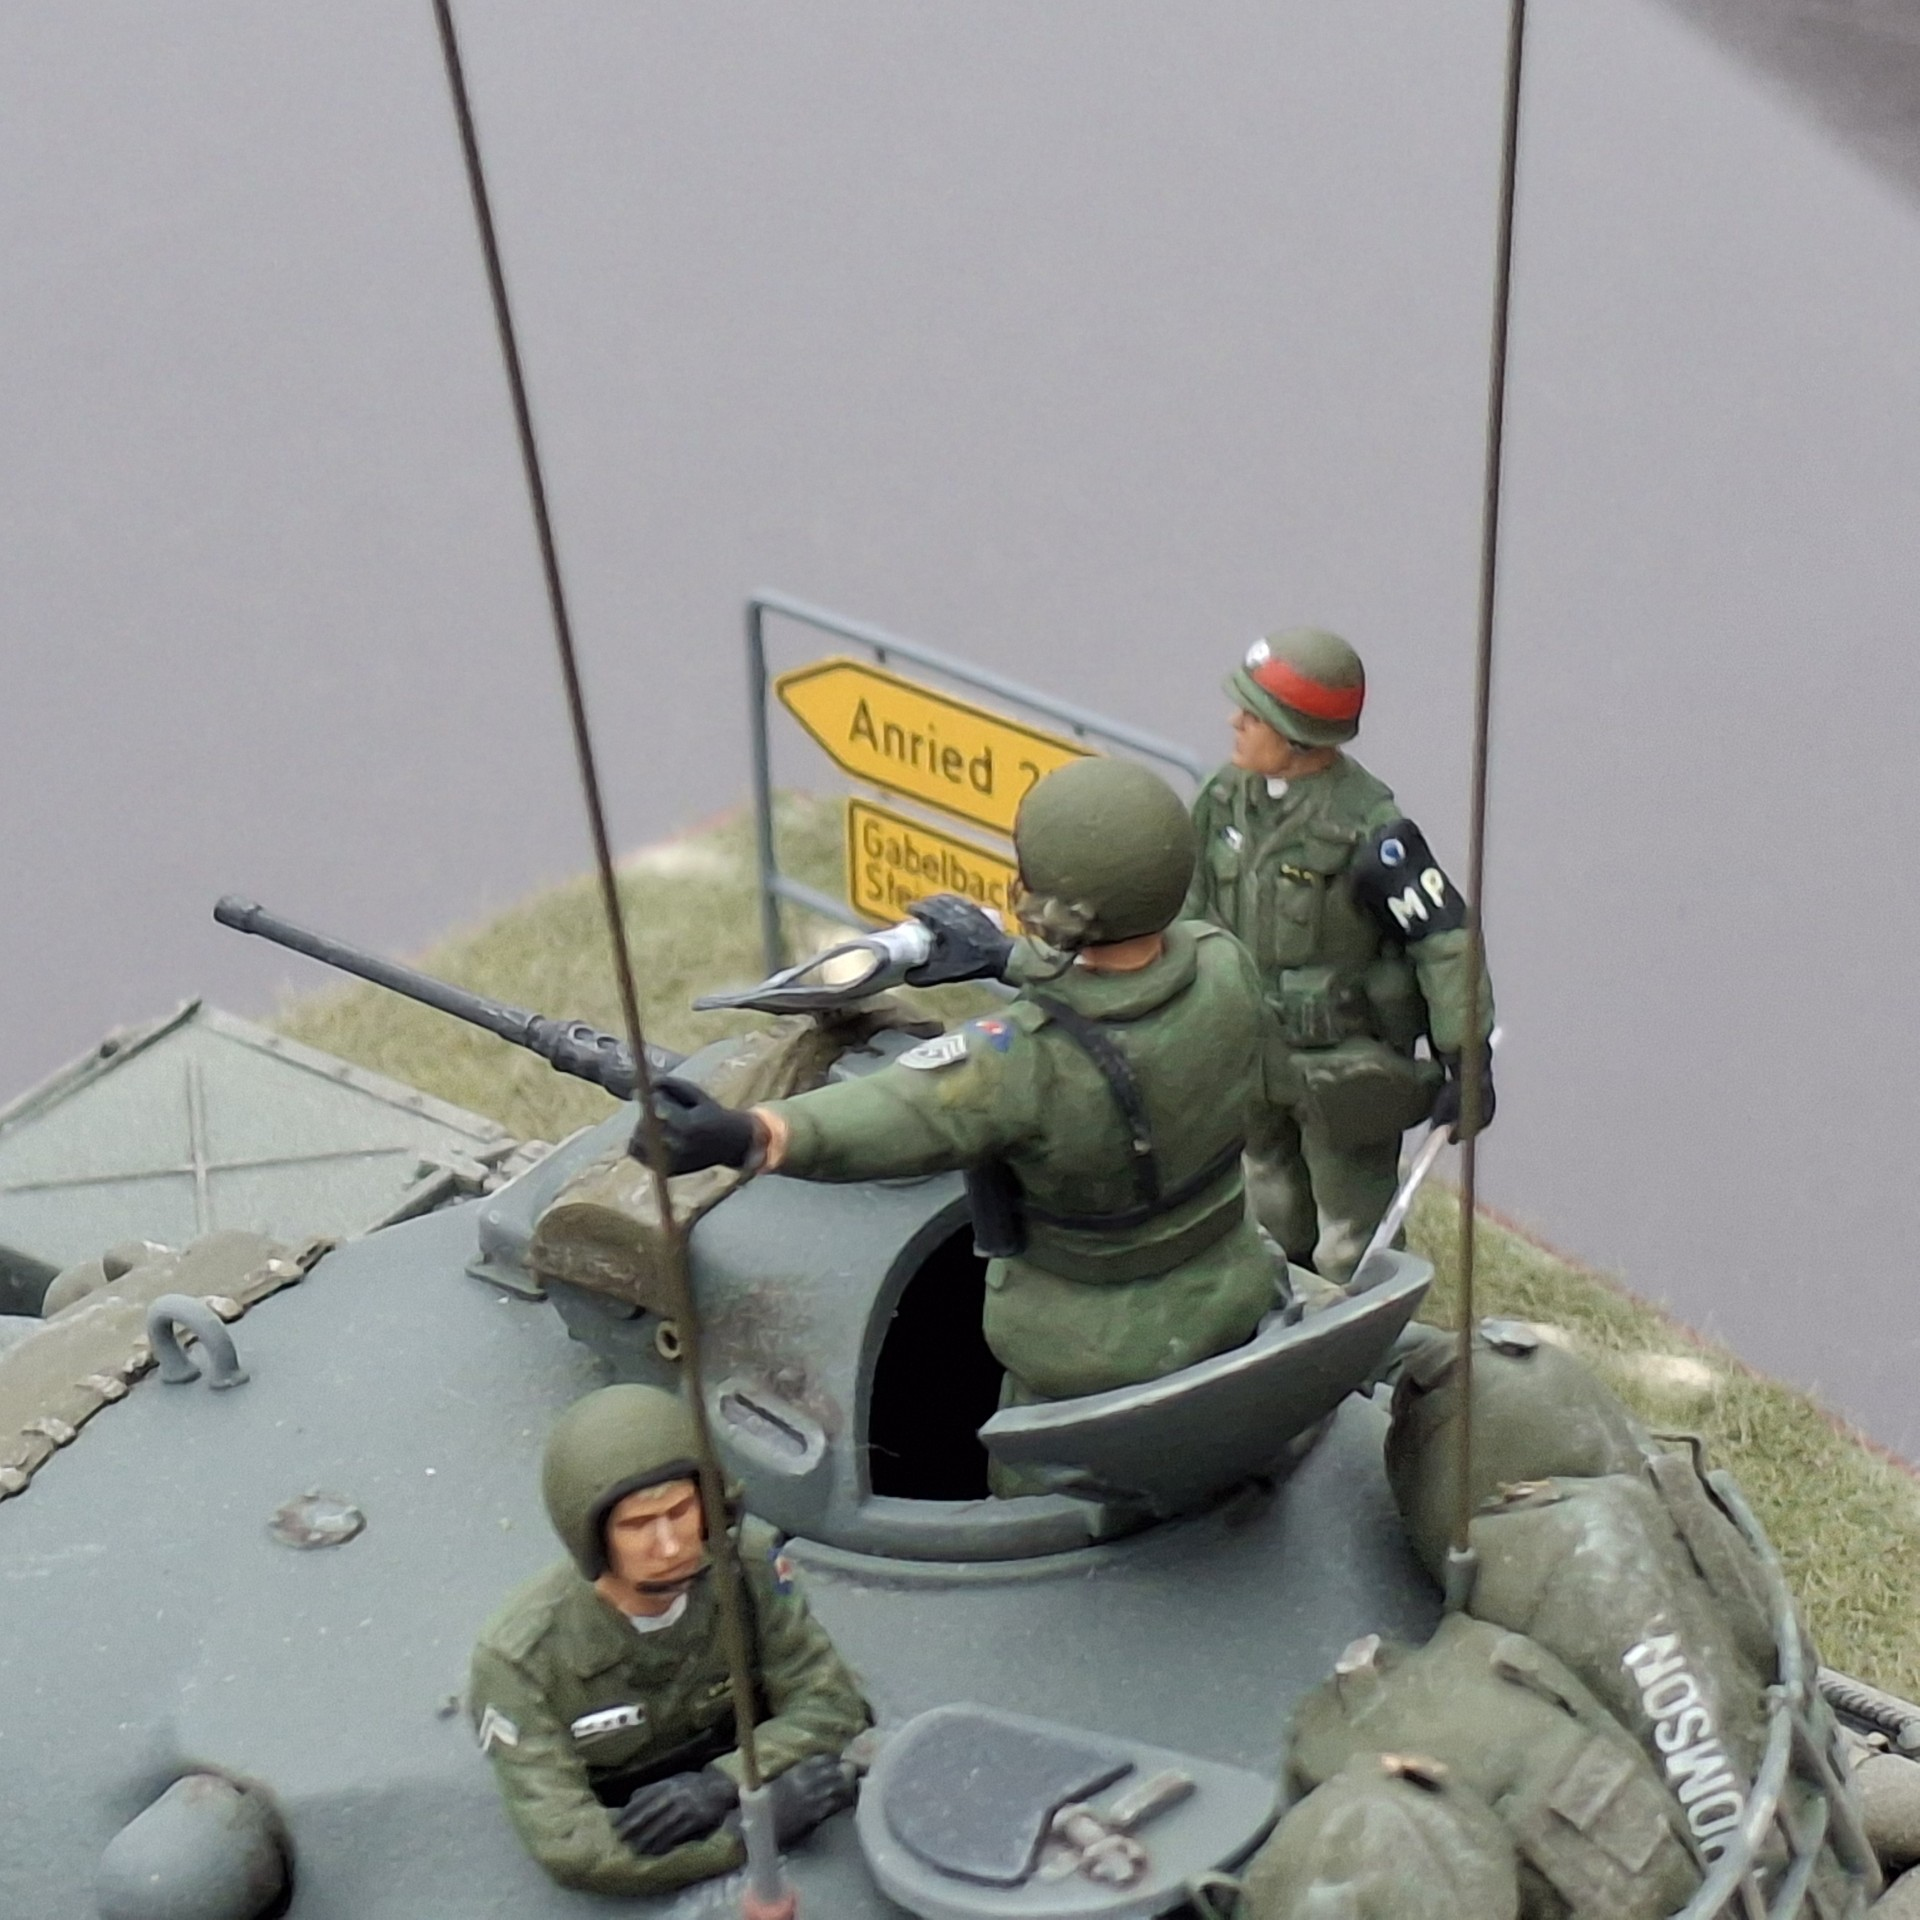
It also helps that whenever scanning say, Scalemates or say, kits at a show, these days I’ve sort of trained myself to consider what I could do with the figures I encounter. The ones I seem to be able to do most with, mainly I suppose as they’re not combat poses, are the Tamiya Famous Generals and US Command Group sets; the latter especially as the figure with crossed arms is so very useful. Remember this one:

And all these figures are Miniart or Tamiya, apart from the tank crew which are all Dragon (their LAH at Kursk set – all in coveralls to start with so easy enough to modify perhaps).
I hope this answers your question and perhaps will also prompt your own ideas. When I first began, I used Milliput and it took some handling too! I then discovered Magic Sculp which is an improvement I feel; it takes time and practice. You may wish to start with just making things like bedrolls and other stowage just to get the hang of it, before tackling figures. Perhaps restrict yourself to say, modifying trousers, or say, converting a figure in shirt sleeves to sleeves rolled down, which will, I’m sure give you the confidence you require.
I hasten to add, and I’ve only just realised, that I don’t know what your conversion skills are like – you may already be a figure Ninja and if so, forgive me!
9 Likes
I’m more like a figure conversion skills toddler… ![]() I’ve done some basic sawing and repositioning, along with replacement/swaps of heads, arms, etc., along with some very minor uniform changes. But nothing approaching what I’ve seen you do here. It’s quite enlightening to watch your approach. I certainly can say that I have not seen the potential of changes like you create in any given figure for what is lacking. For example, I have the old Italeri Pak 38 5 cm AT gun. I want to make it in DAK colors with an appropriate crew, but no such figures exist. But after your description here, I just might be able to cobble something together using existing figures and your techniques. Thanks for planting the idea seeds!
I’ve done some basic sawing and repositioning, along with replacement/swaps of heads, arms, etc., along with some very minor uniform changes. But nothing approaching what I’ve seen you do here. It’s quite enlightening to watch your approach. I certainly can say that I have not seen the potential of changes like you create in any given figure for what is lacking. For example, I have the old Italeri Pak 38 5 cm AT gun. I want to make it in DAK colors with an appropriate crew, but no such figures exist. But after your description here, I just might be able to cobble something together using existing figures and your techniques. Thanks for planting the idea seeds!
2 Likes
My pleasure Carlos.
2 Likes
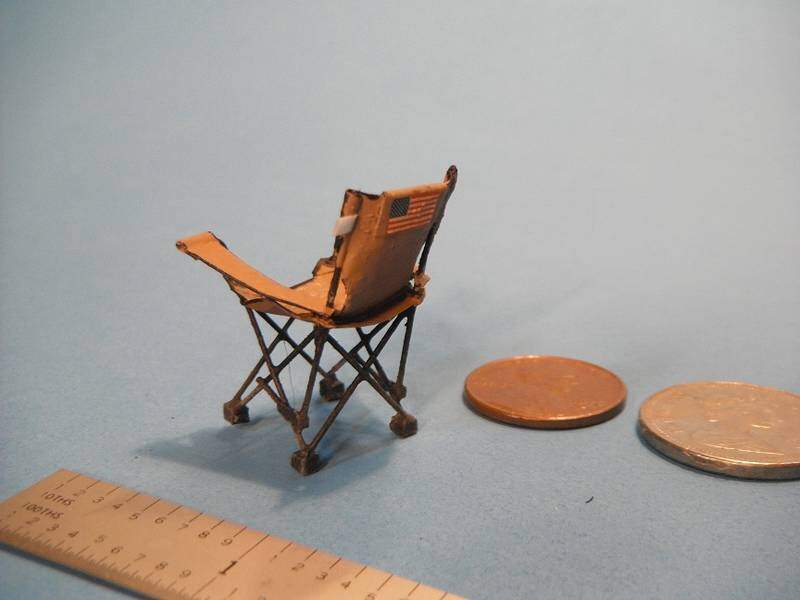
Made these plans back in 2012 for this camp chair on the old Armorama website here…
Wanted to share an 2012 effort to create a 1/35 modern umbrella type camp chair. My photos and measurements offered here. This chair is simply .02" wire and mailing envelope paper. I would be pleased to provide better copies of material shown here as requested. Wishing you much success. Enjoy!
6 Likes
Just send me the schematic for the replicator. I’ll sort it out…
1 Like