This weekend I did something I haven’t done since I was a kid - built a model in a weekend! I had gotten a call from Luis Vargas of Vargas Scale Models asking if I would do a test build of his newest creation. Being a sucker for odd-ball WW1 tanks and artillery, I agreed.
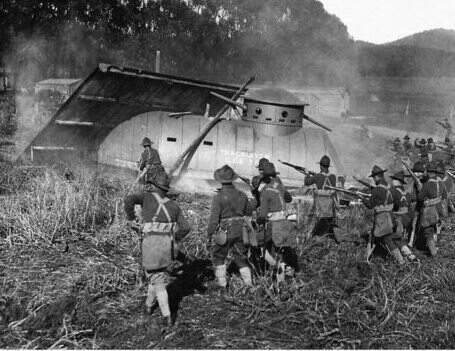
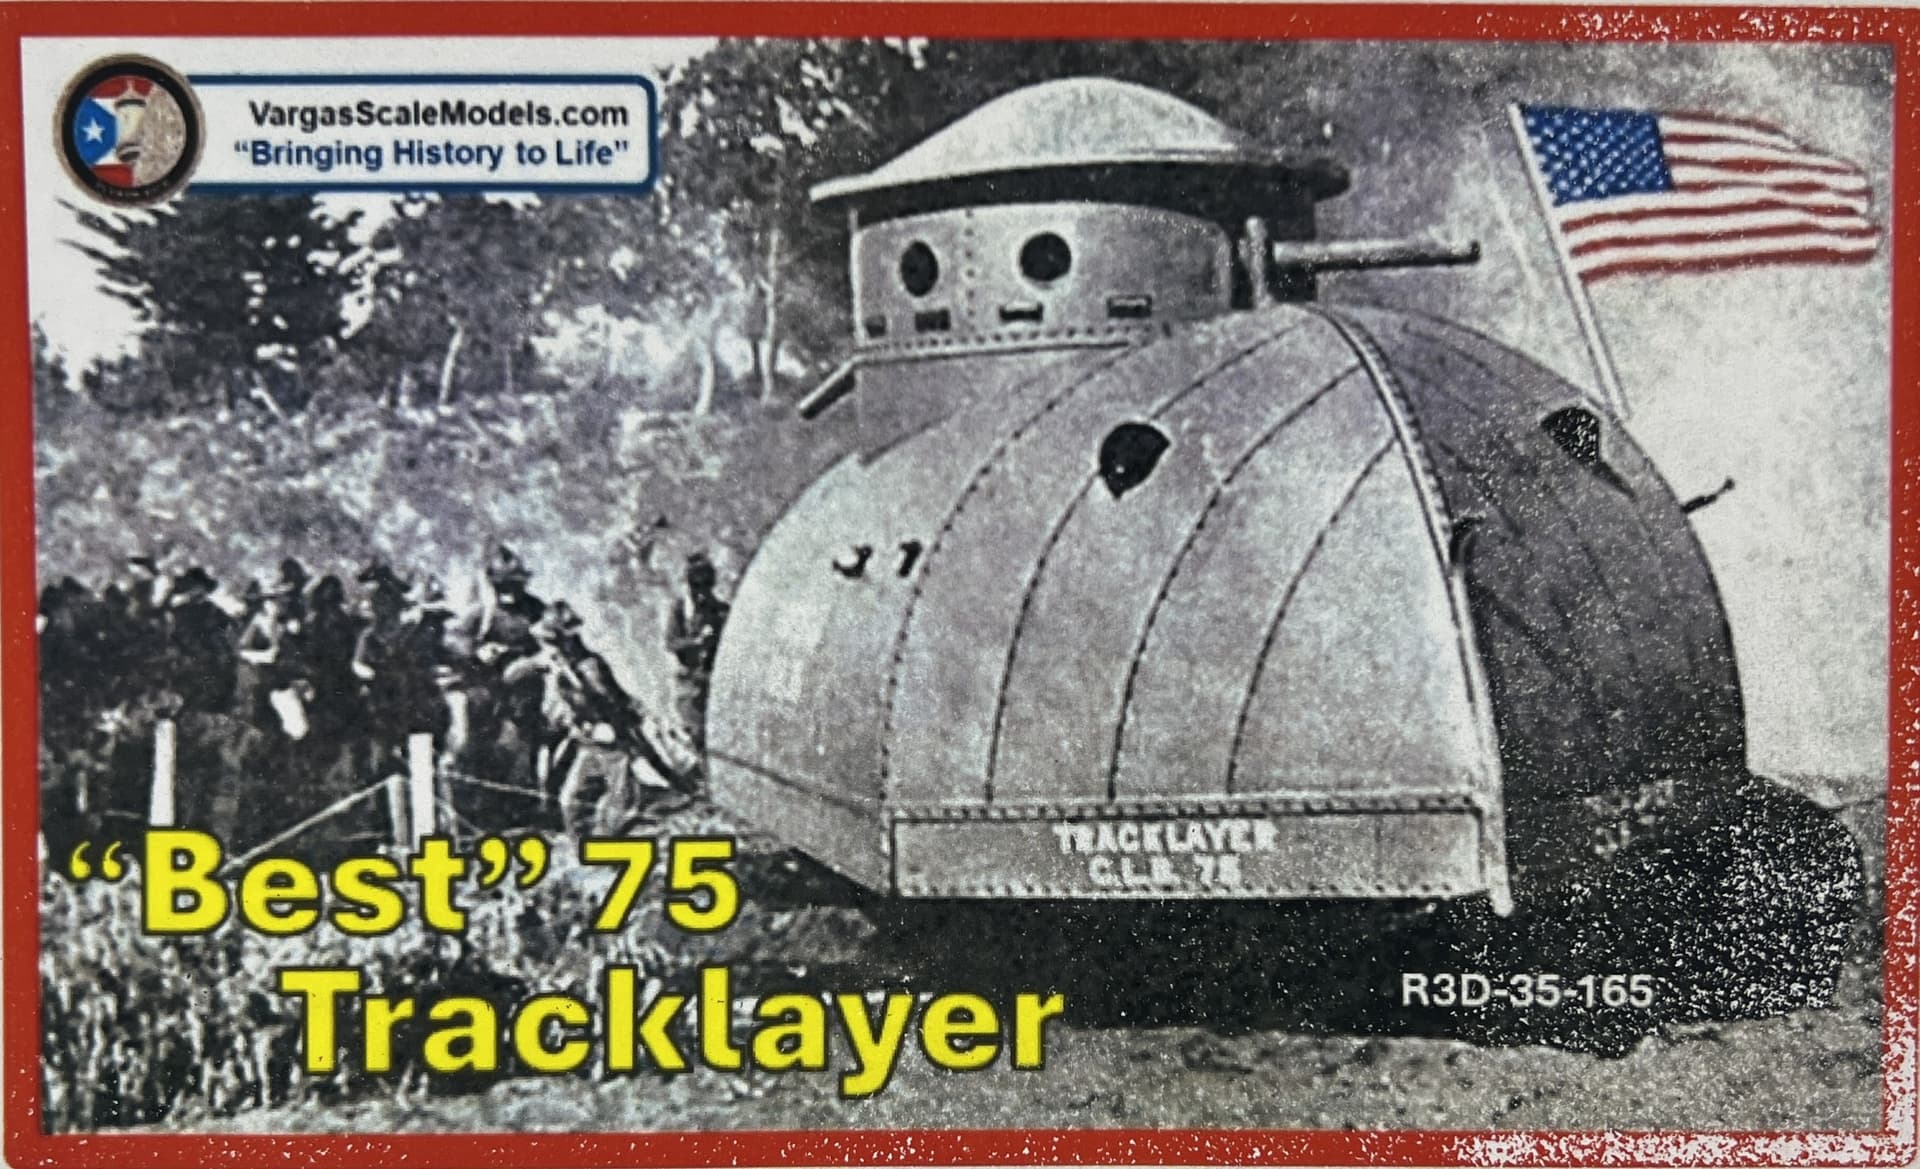
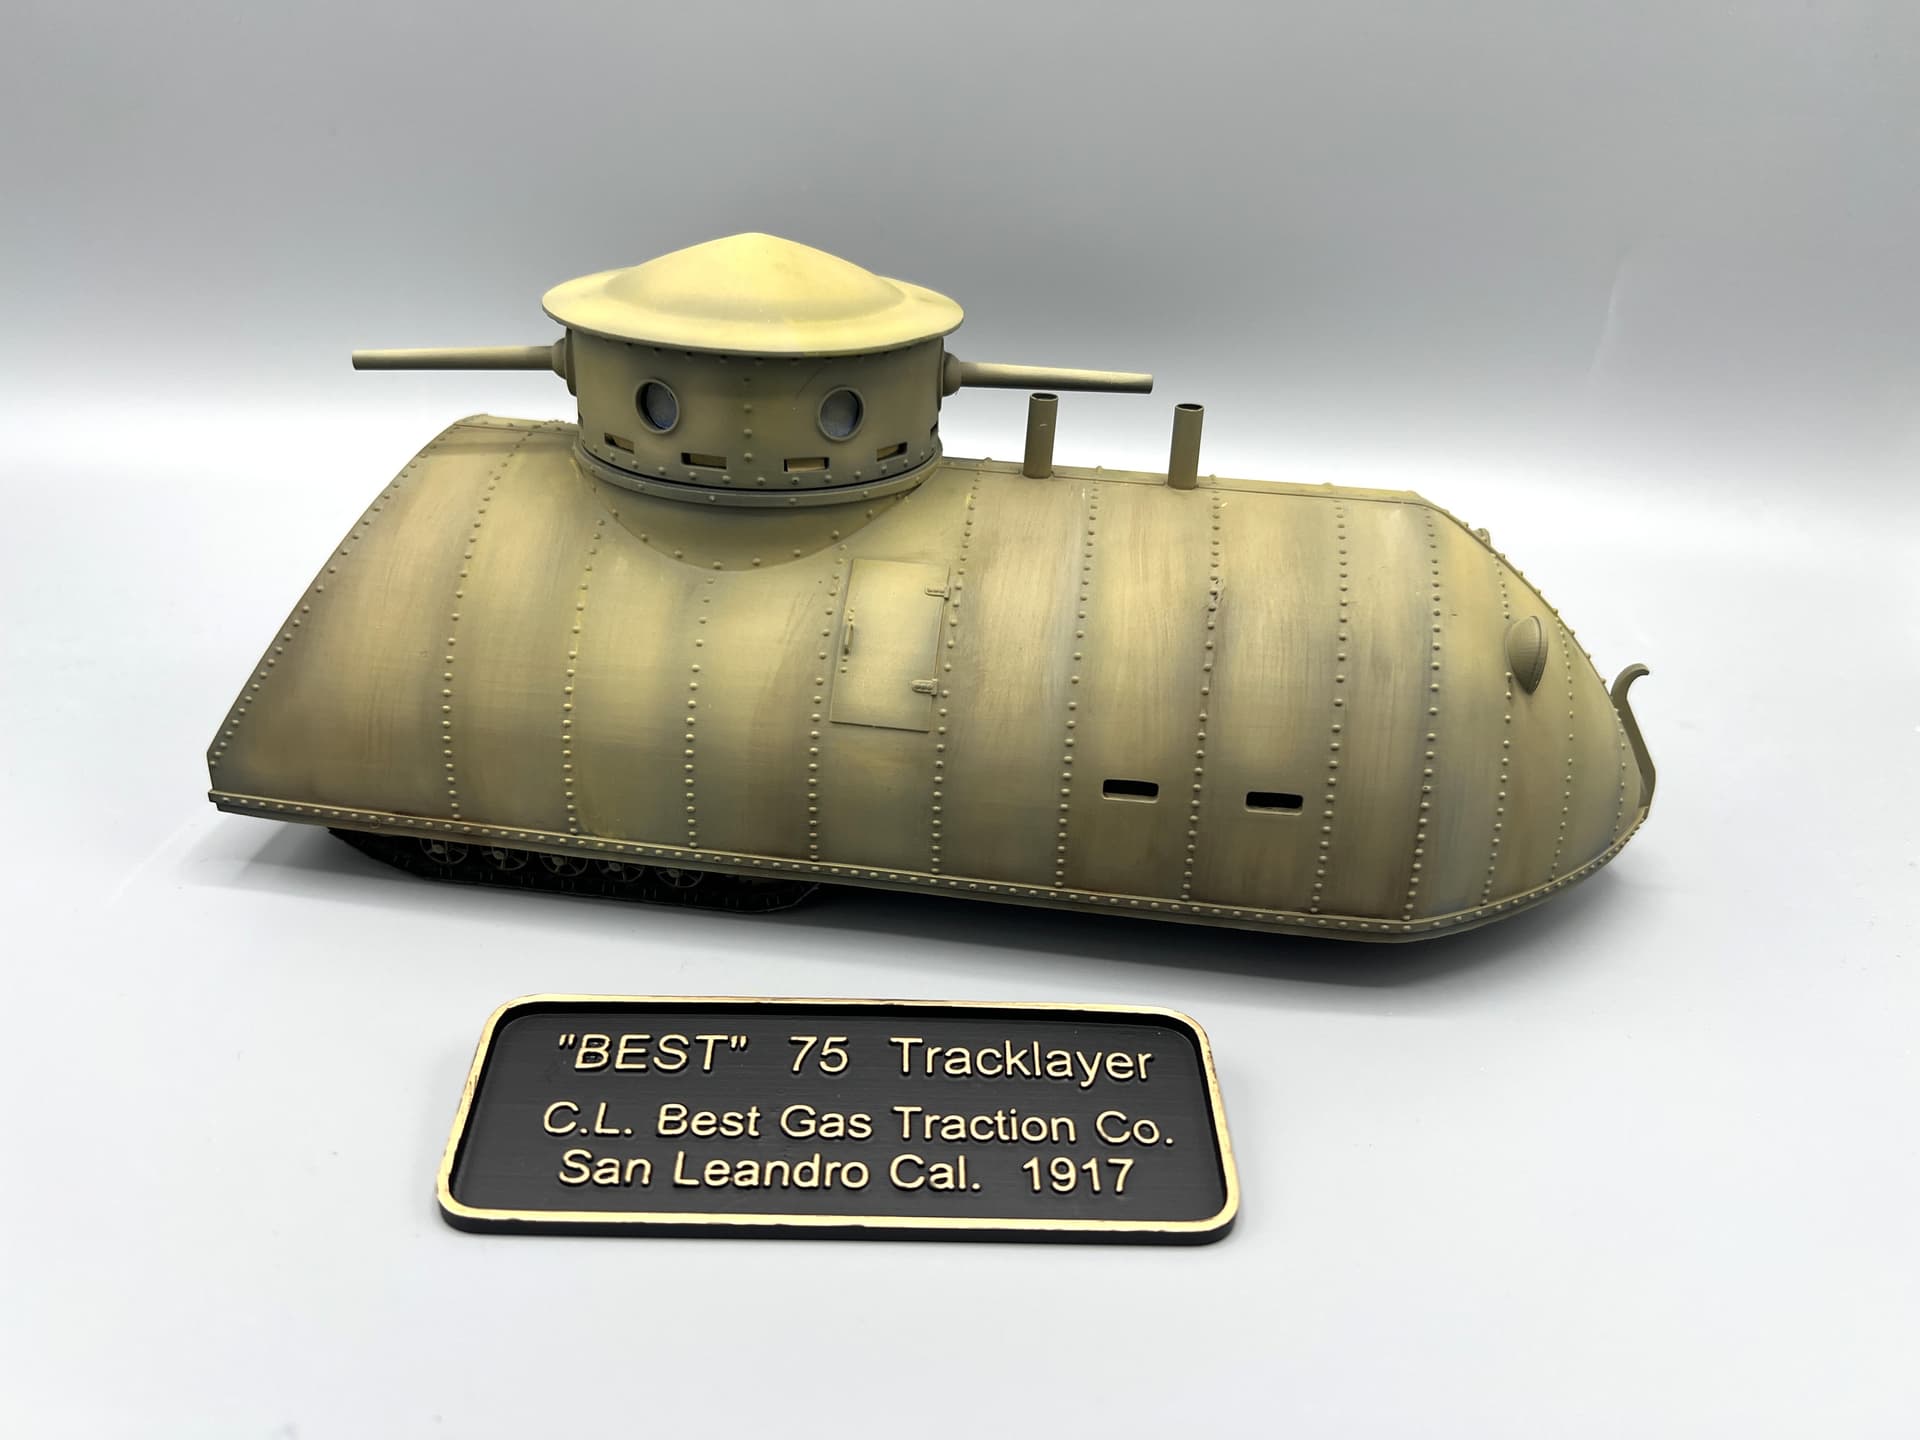
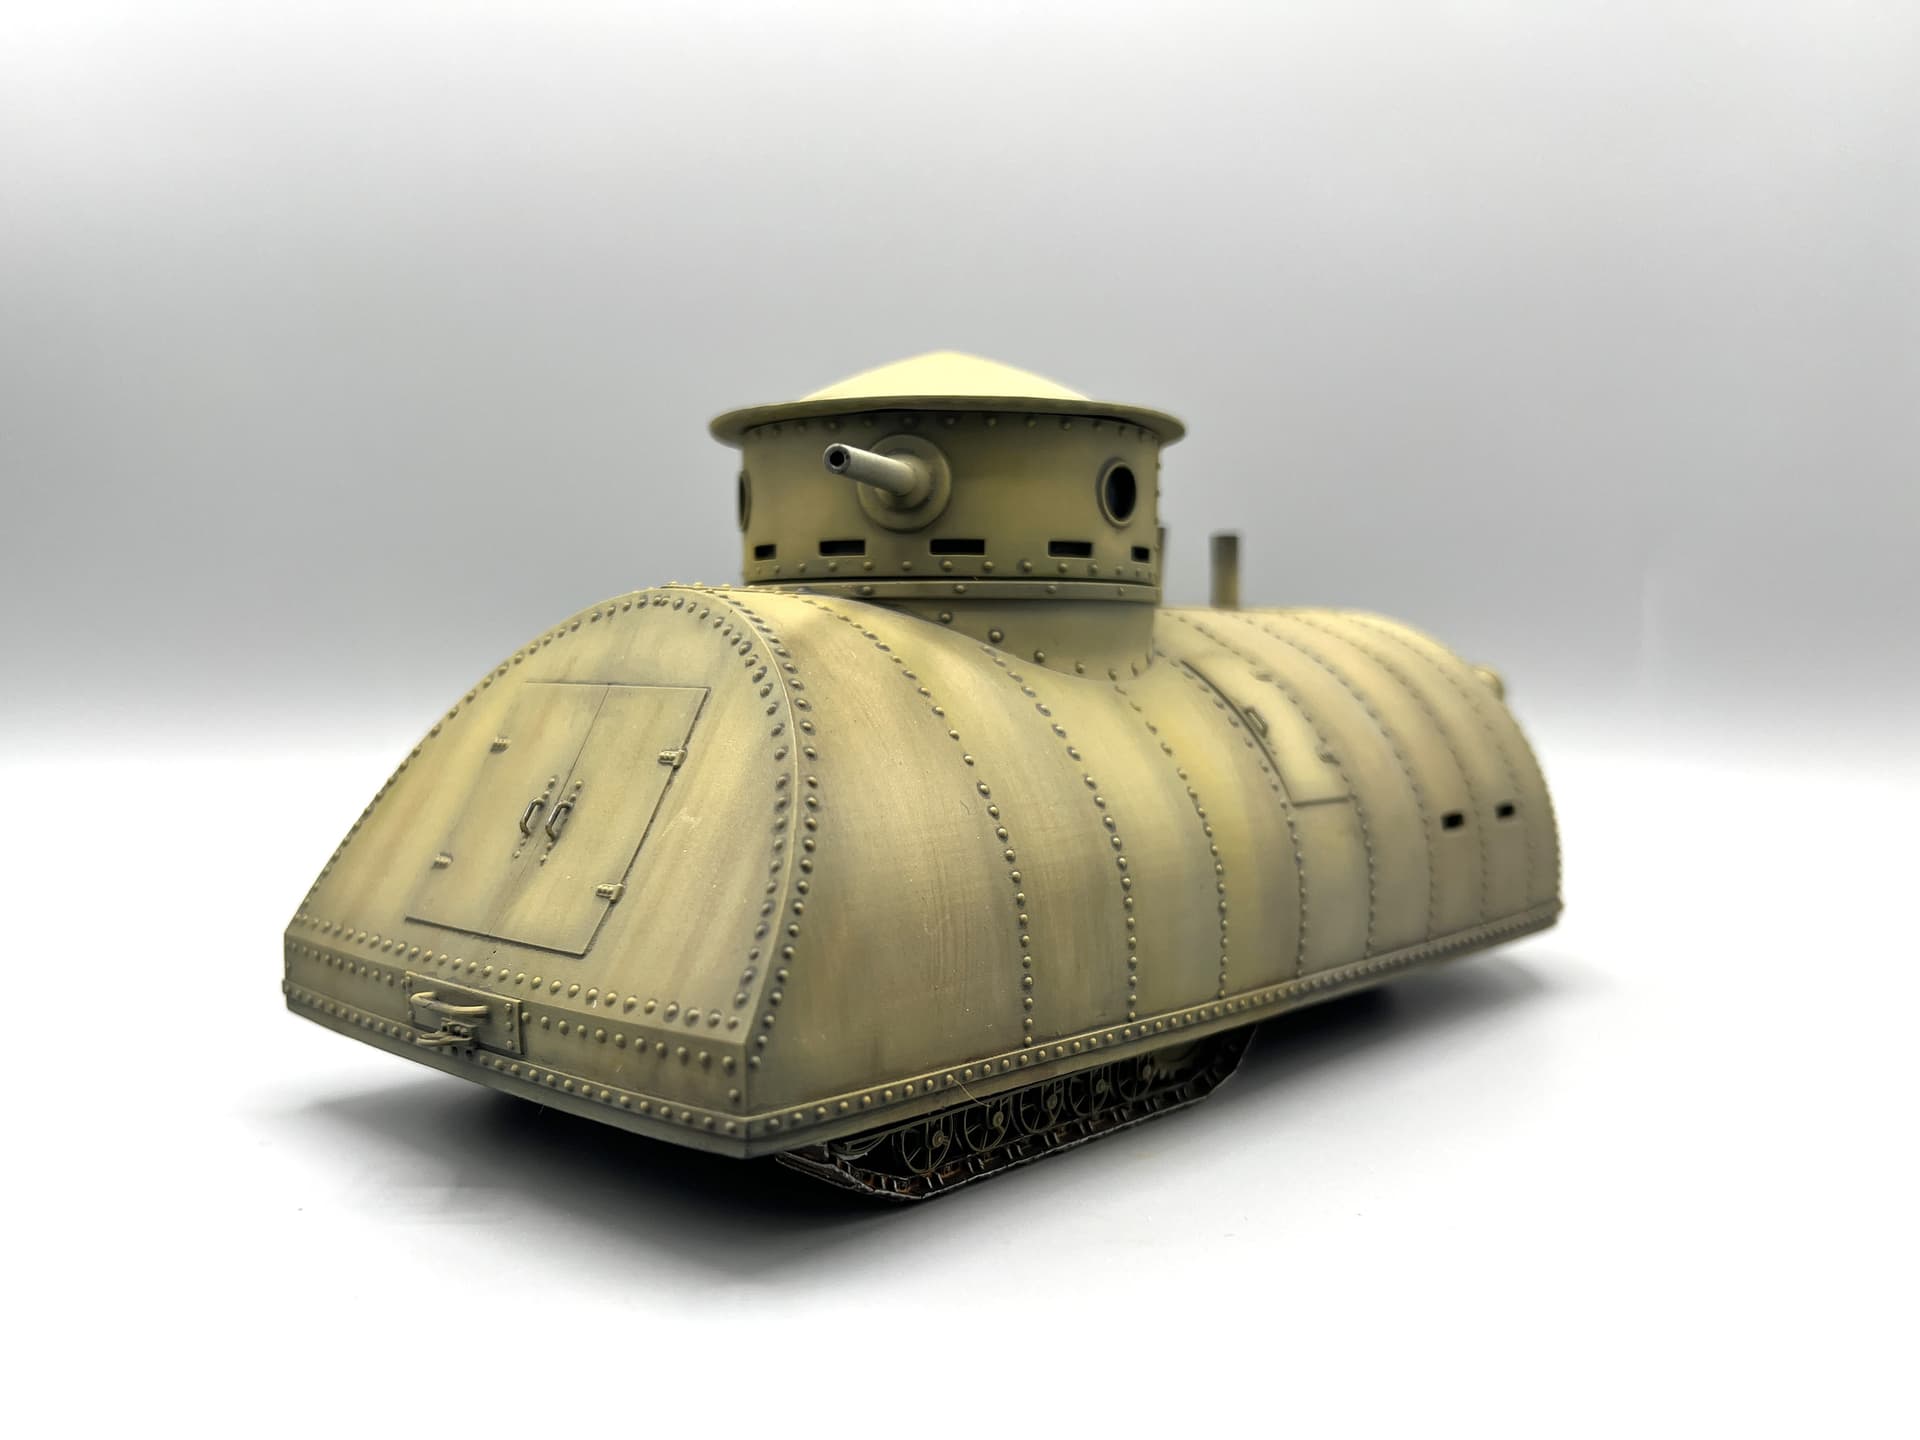
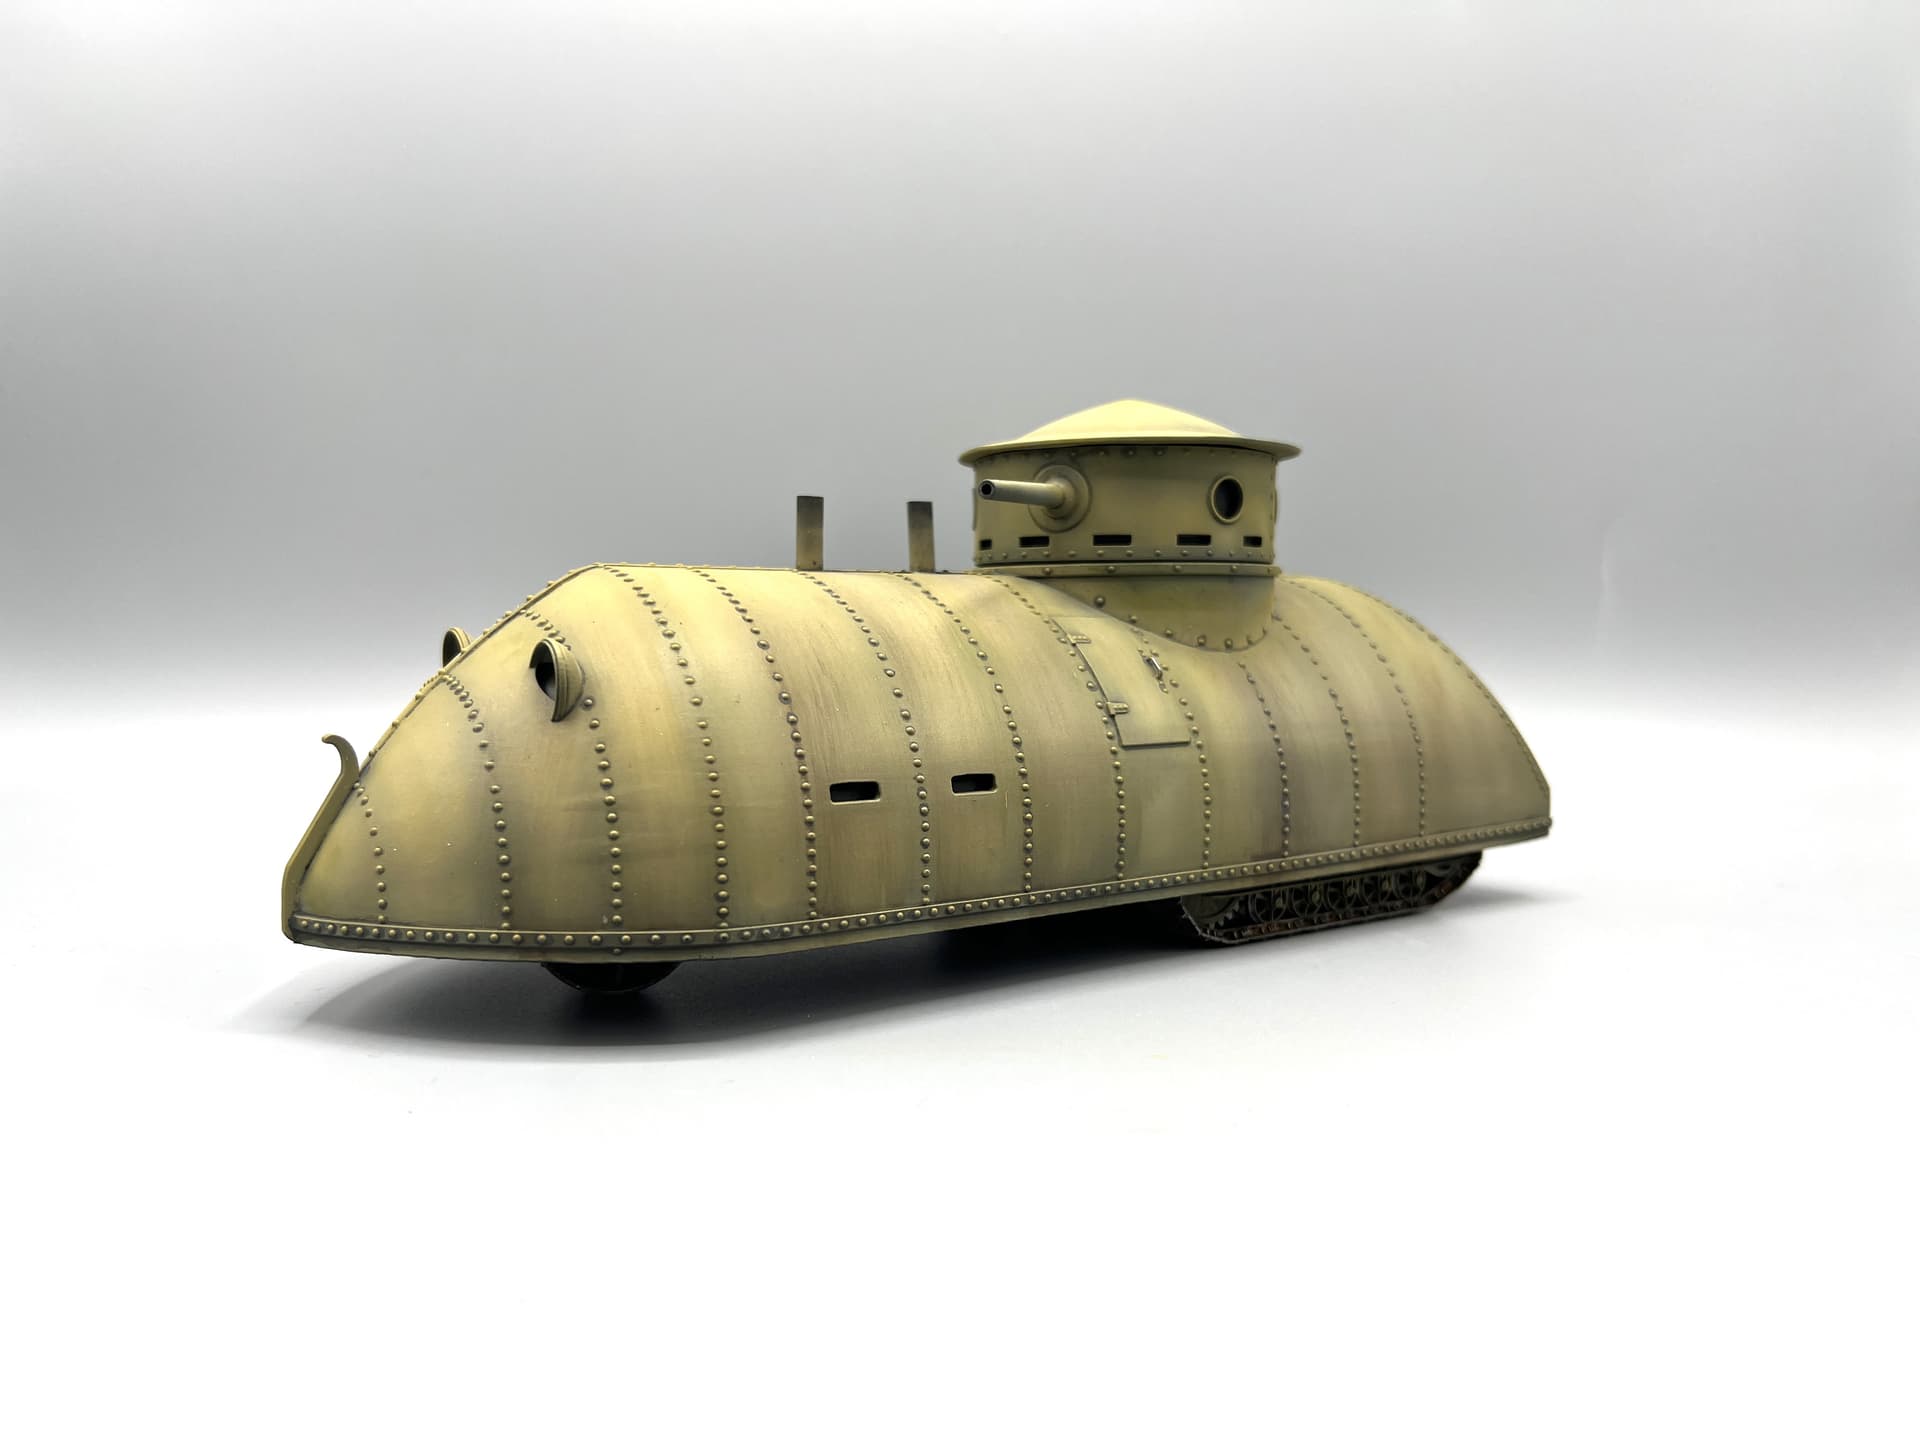
The kit is of the Tracklayer Best 75. In 1917, the C.L. Best Traction company was building large tracked, gas-powered agricultural tractors. With the US entering the war, and with tanks being featured in film clips, Best’s marketing folks sensed opportunity. They bolted a light sheet metal skin and a turret over the top of one of their tractors and had a “tank”. The marketing folks did a great job of getting the press to photograph the “tank” on maneuvers with the California National Guard, at Army recruiting events, and in parades. It fulfilled its purpose - good publicity for the company. There was never an attempt to turn it into a real fighting vehicle.
The kit arrived Friday at 4:45pm.
It is only about a dozen parts. The kit is well printed with only a few striations along the top. Instructions are a single page which is more than adequate for this small number of parts. It includes a nice nameplate which is great for these obscure subjects.
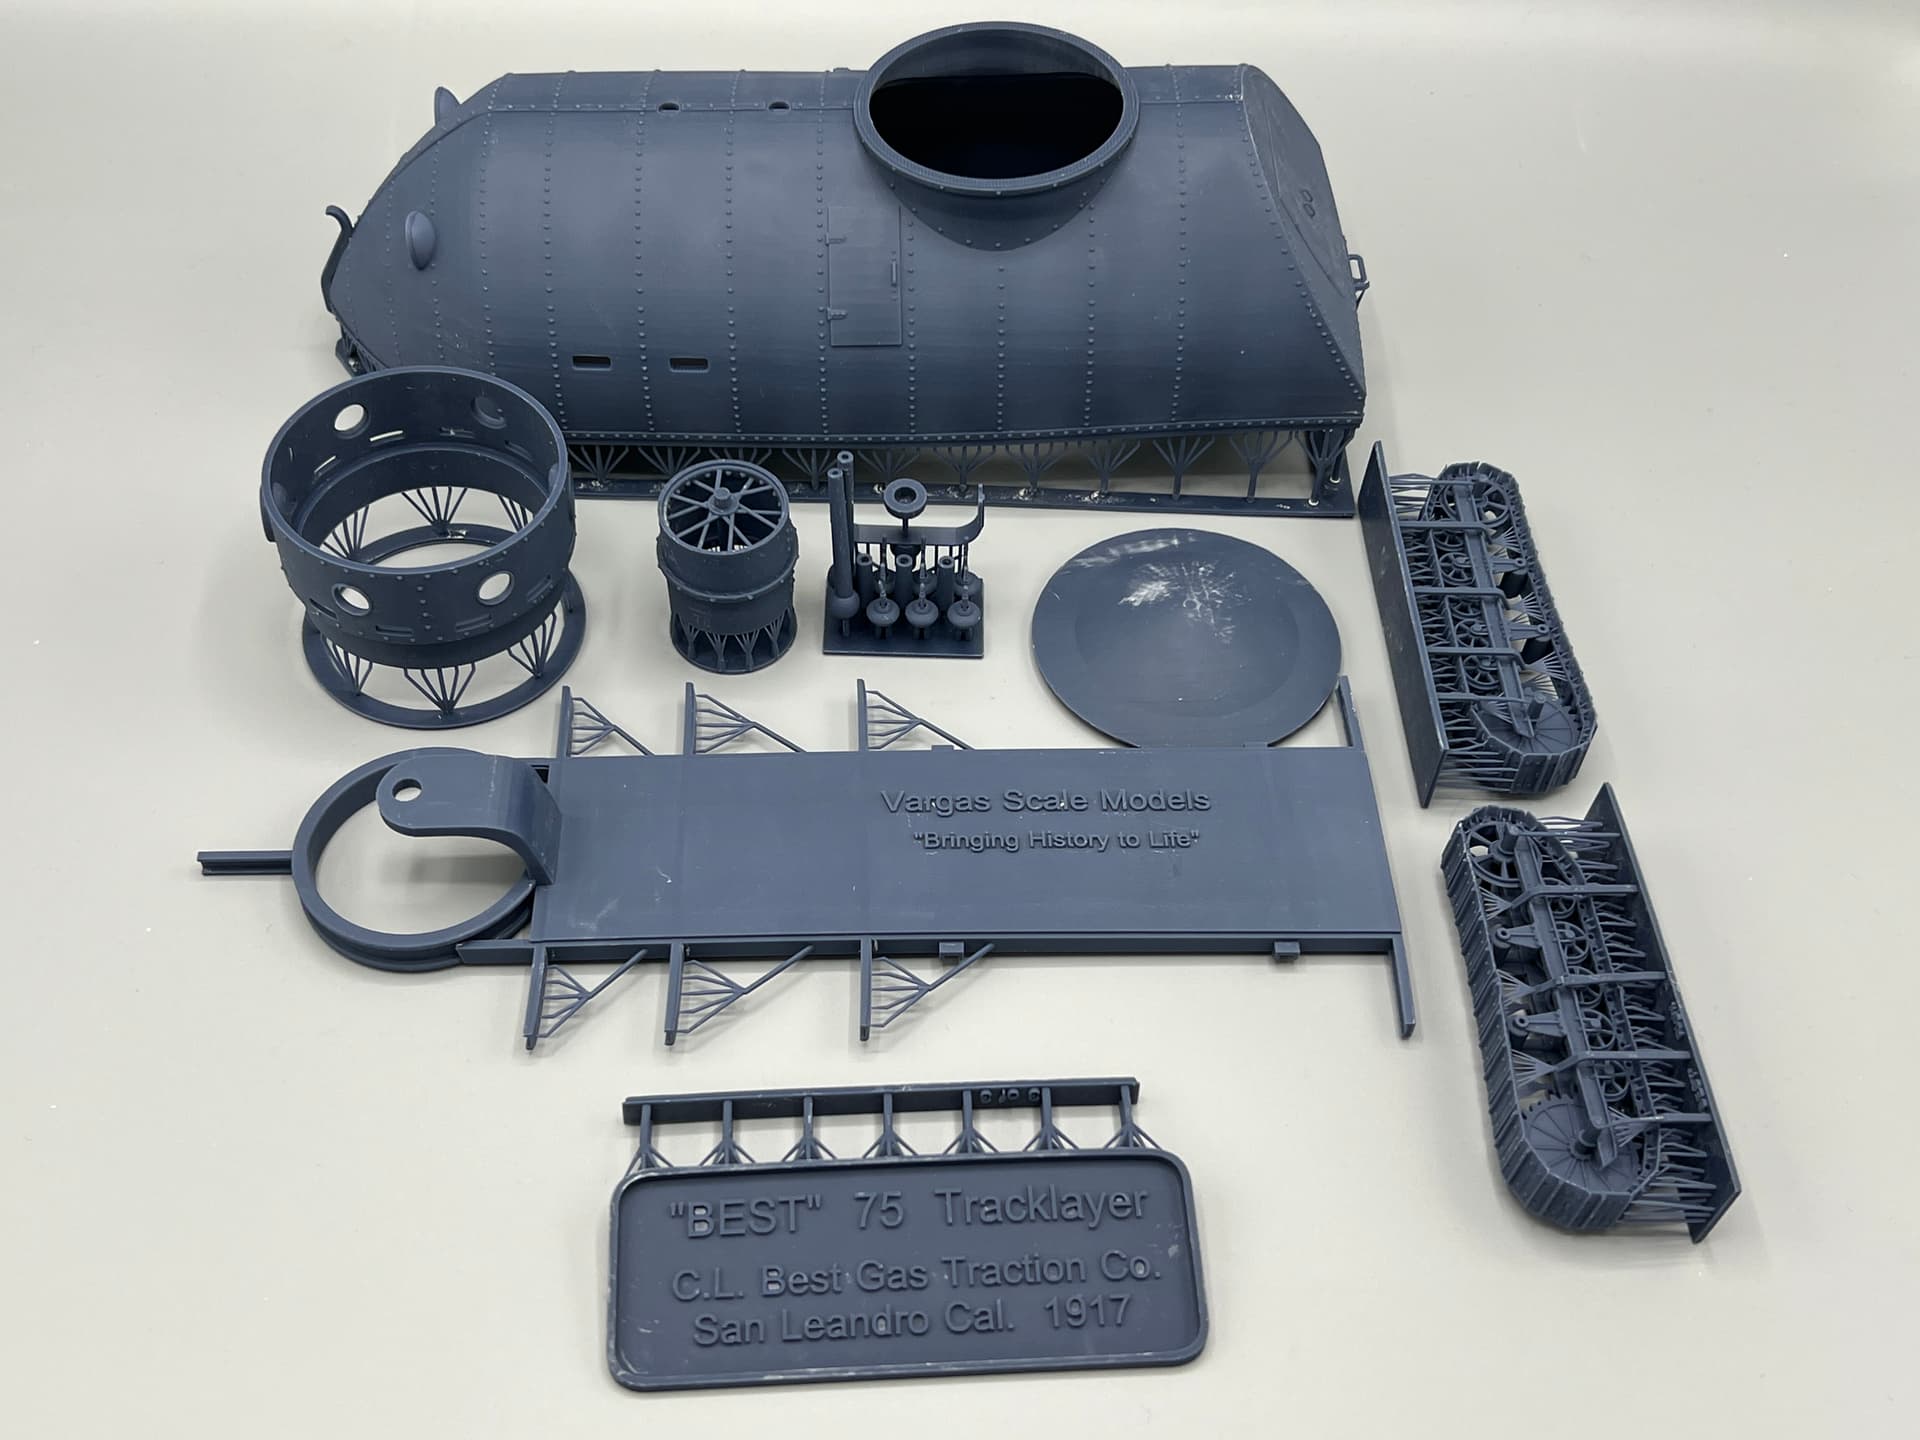
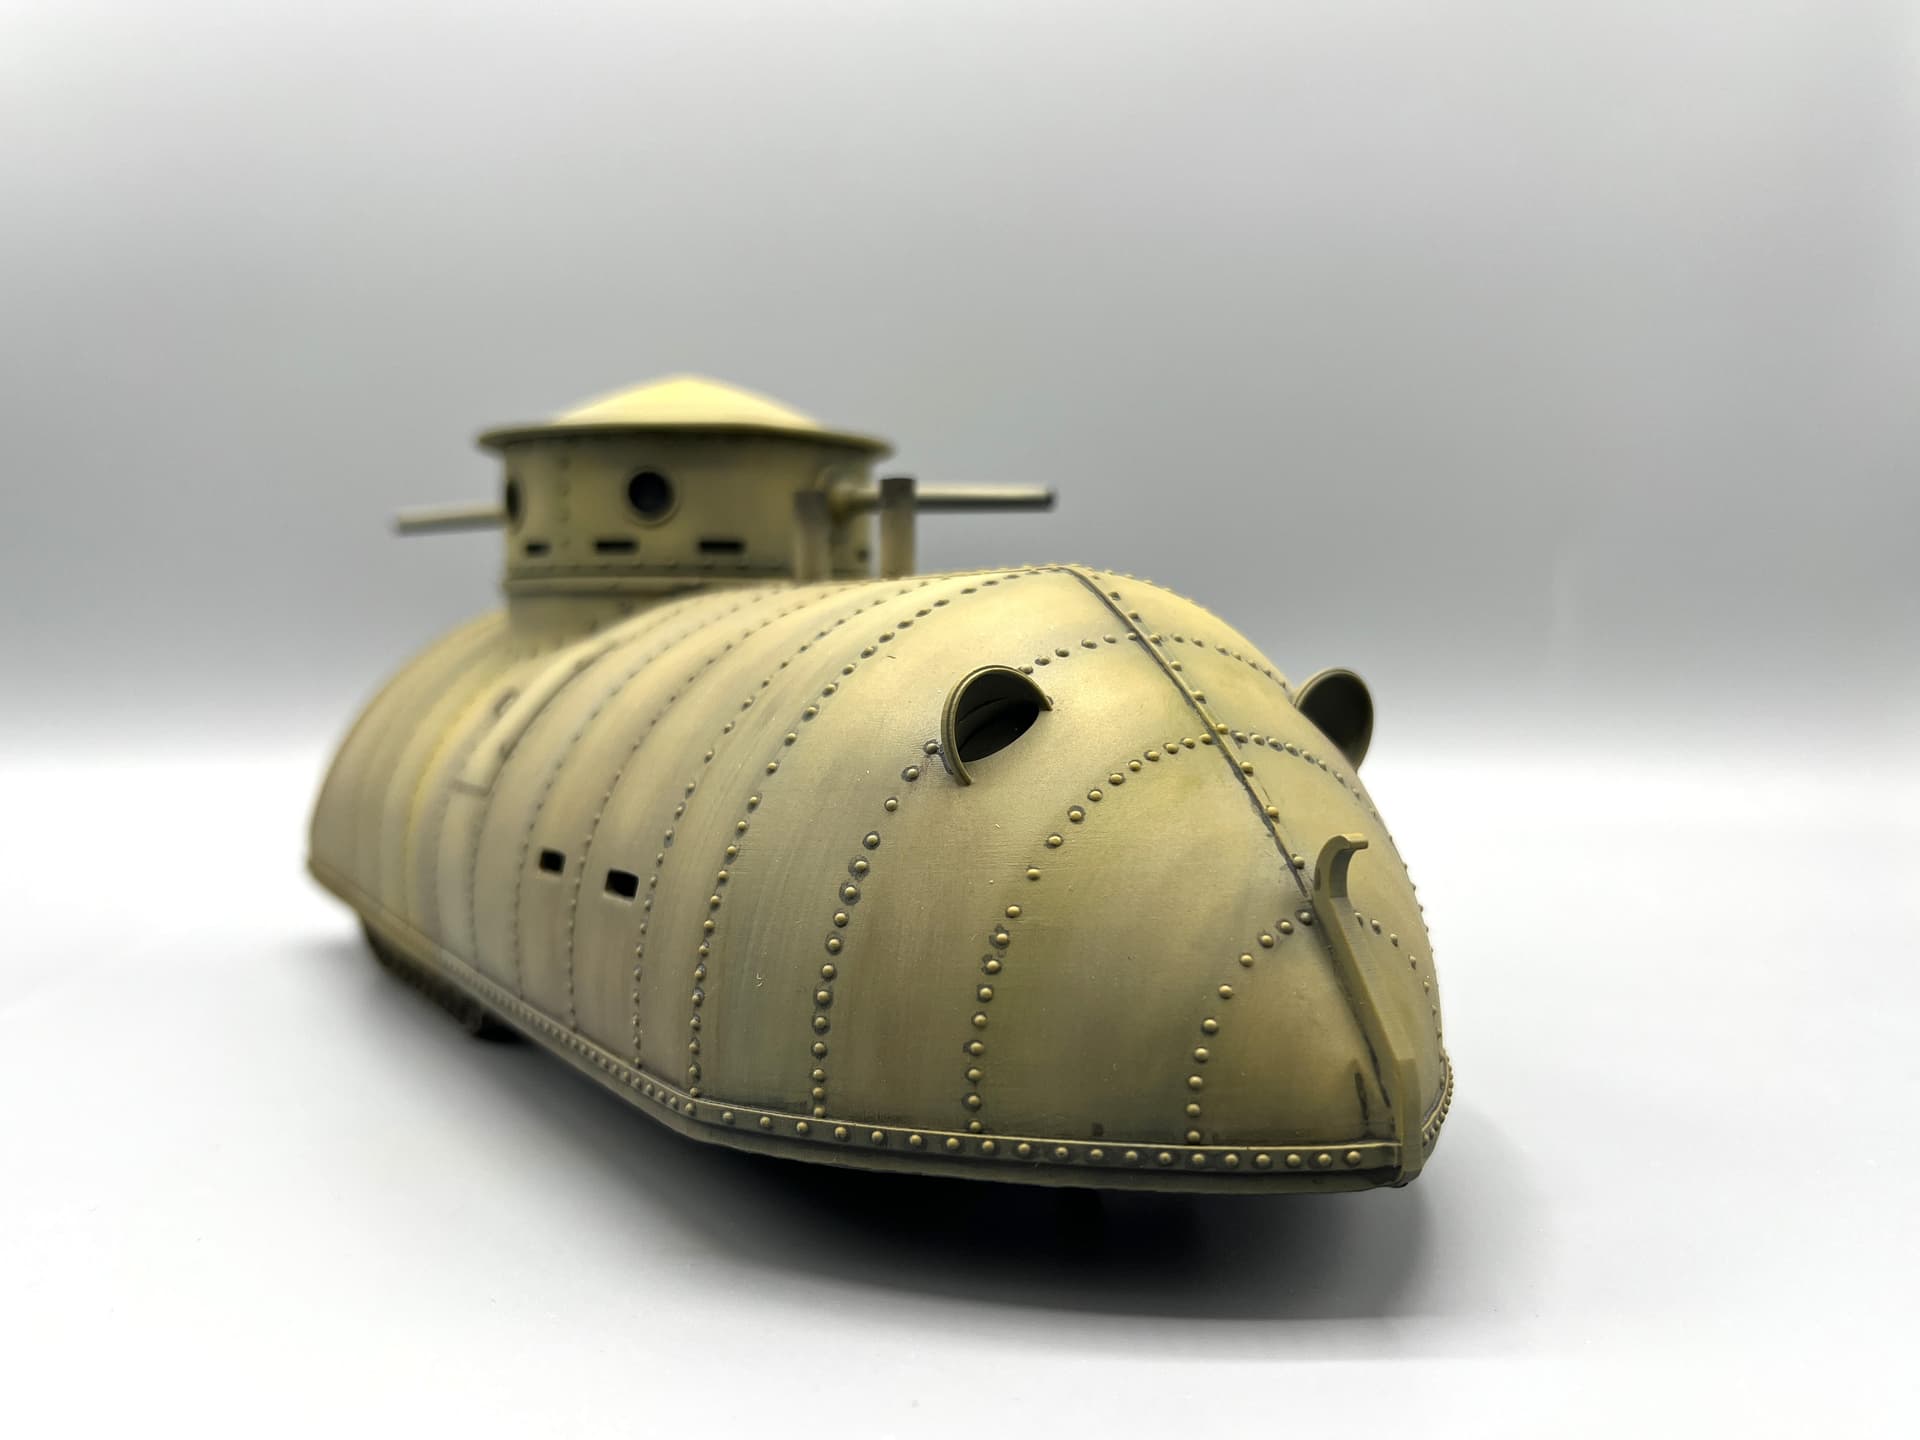
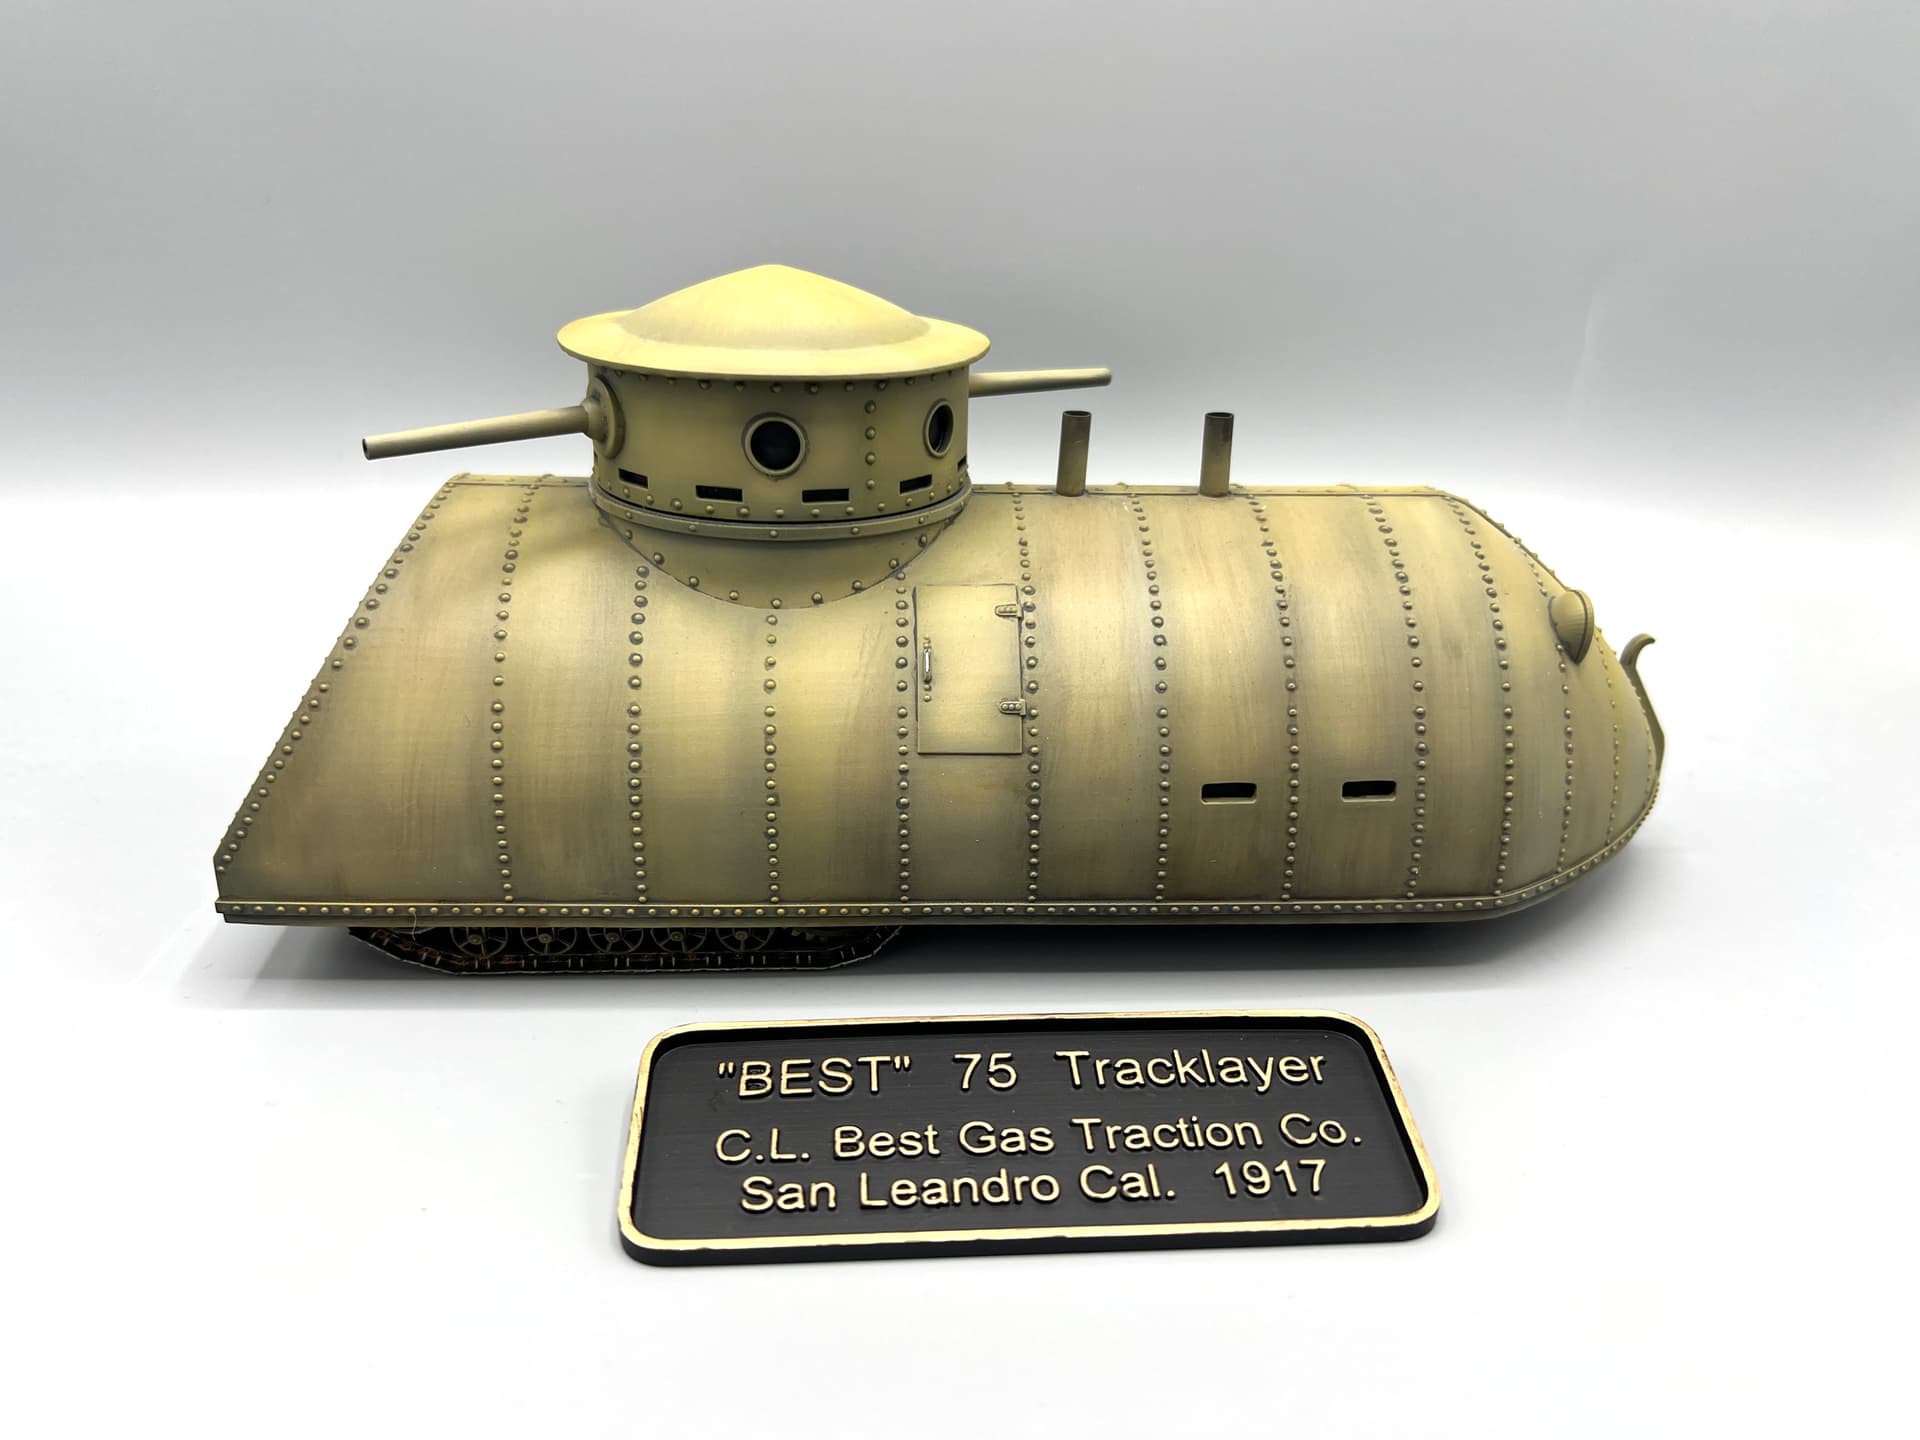
I took it out onto the deck and enjoyed the perfect Pacific Northwest summer weather while removing the supports and sanding out the few 3D print striations. I had it assembled by the time I lost the light on the deck. I did opt to replace the exhaust stacks with some aluminum tubing for better scale thickness. I installed styrene strip blanking plates behind the open vision slits and empty machine gun ports.
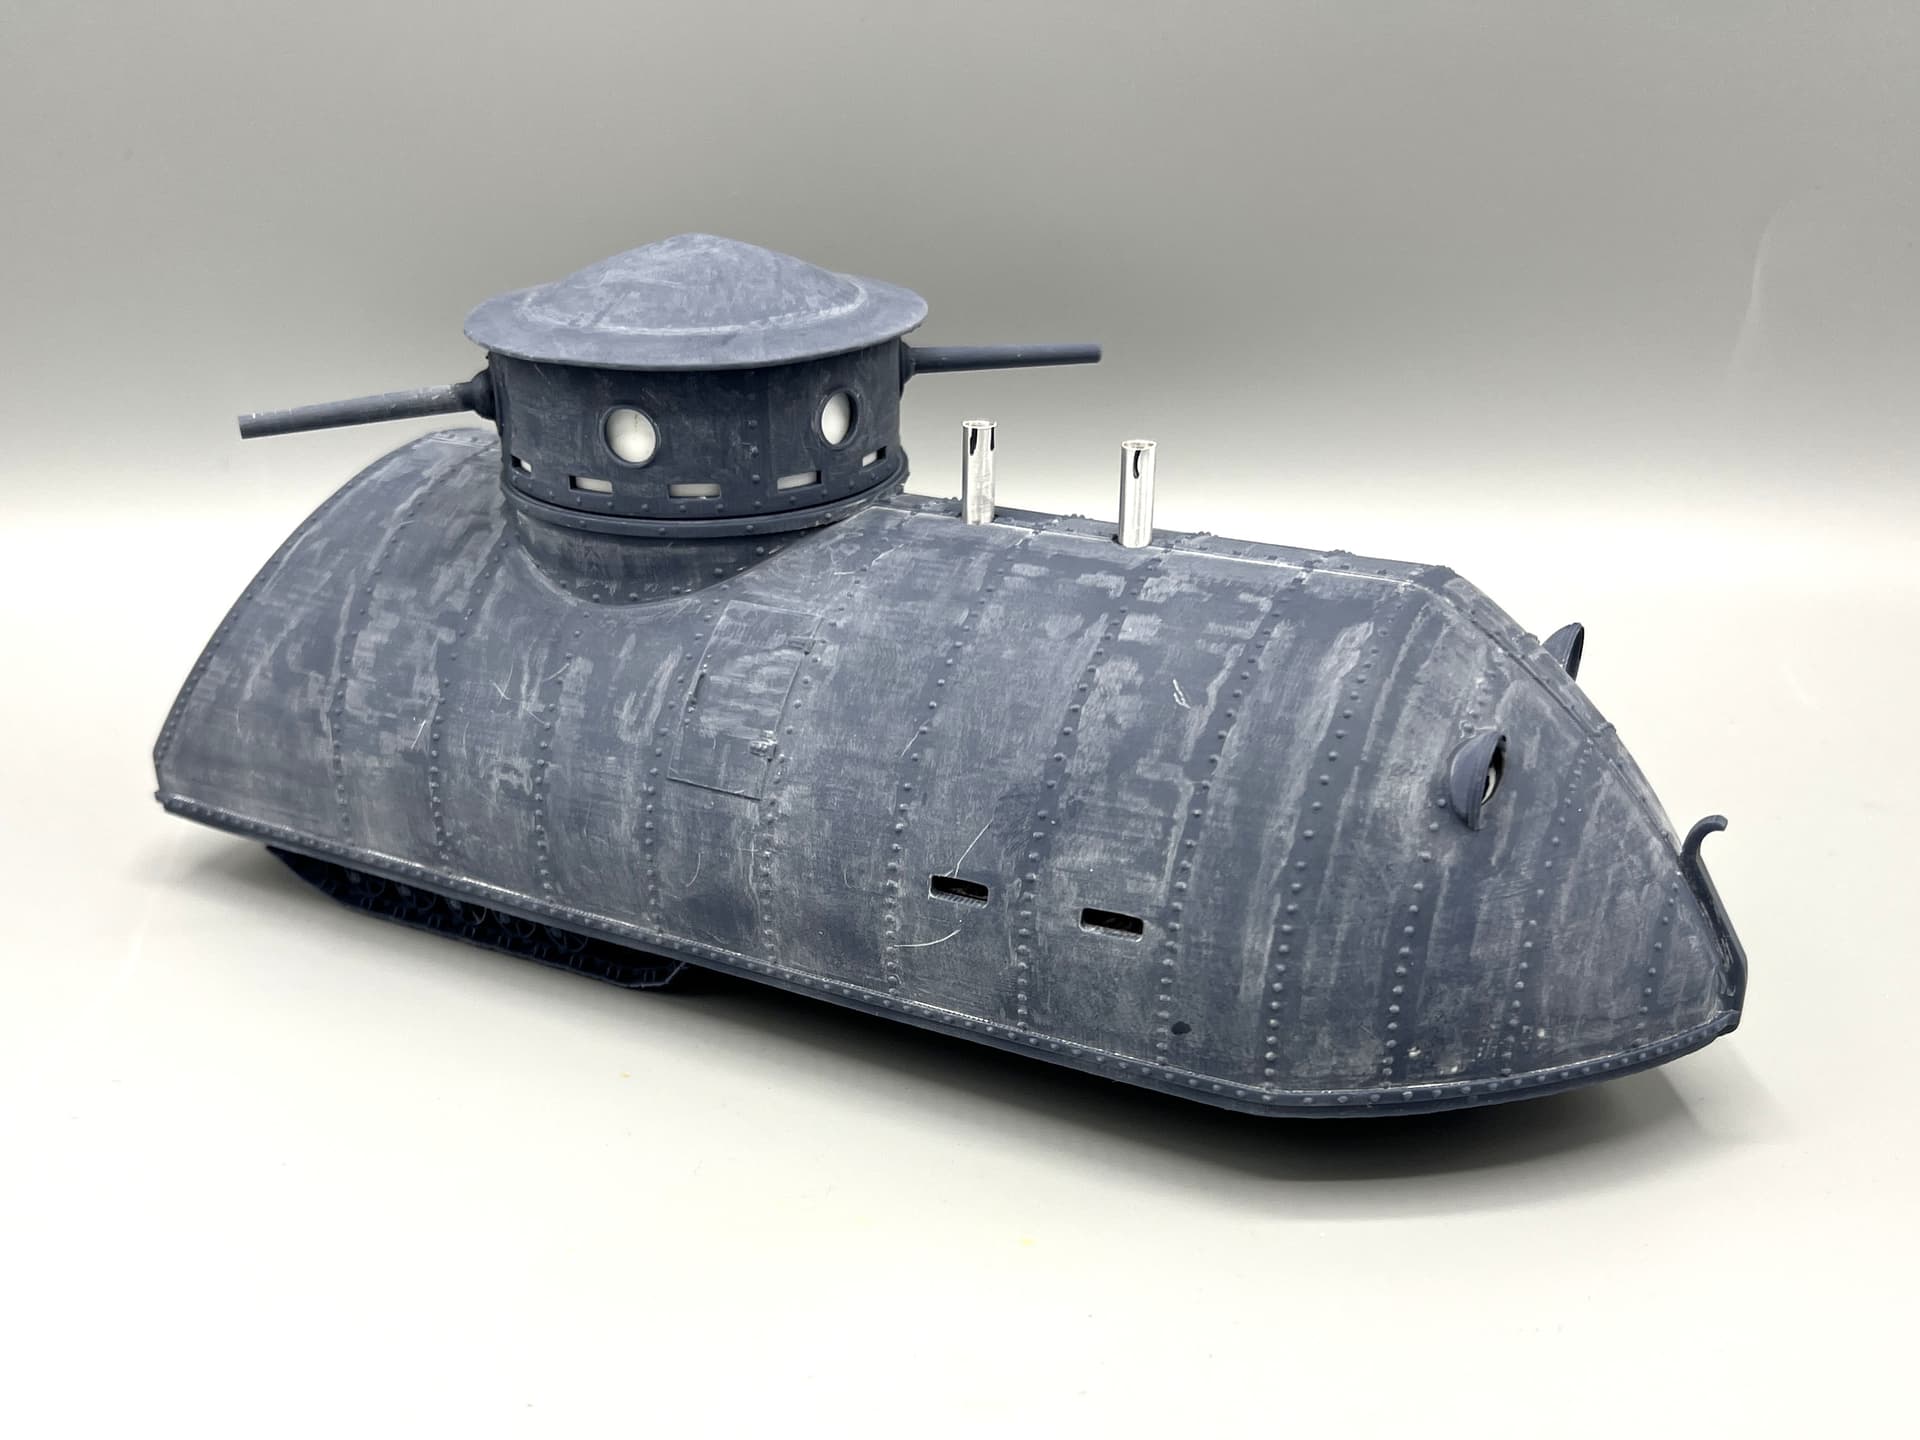
Saturday morning, I primed with Mr Surfacer 1500 from a rattle can. After drying, I pre-shaded with Tamiya XF-2 White.
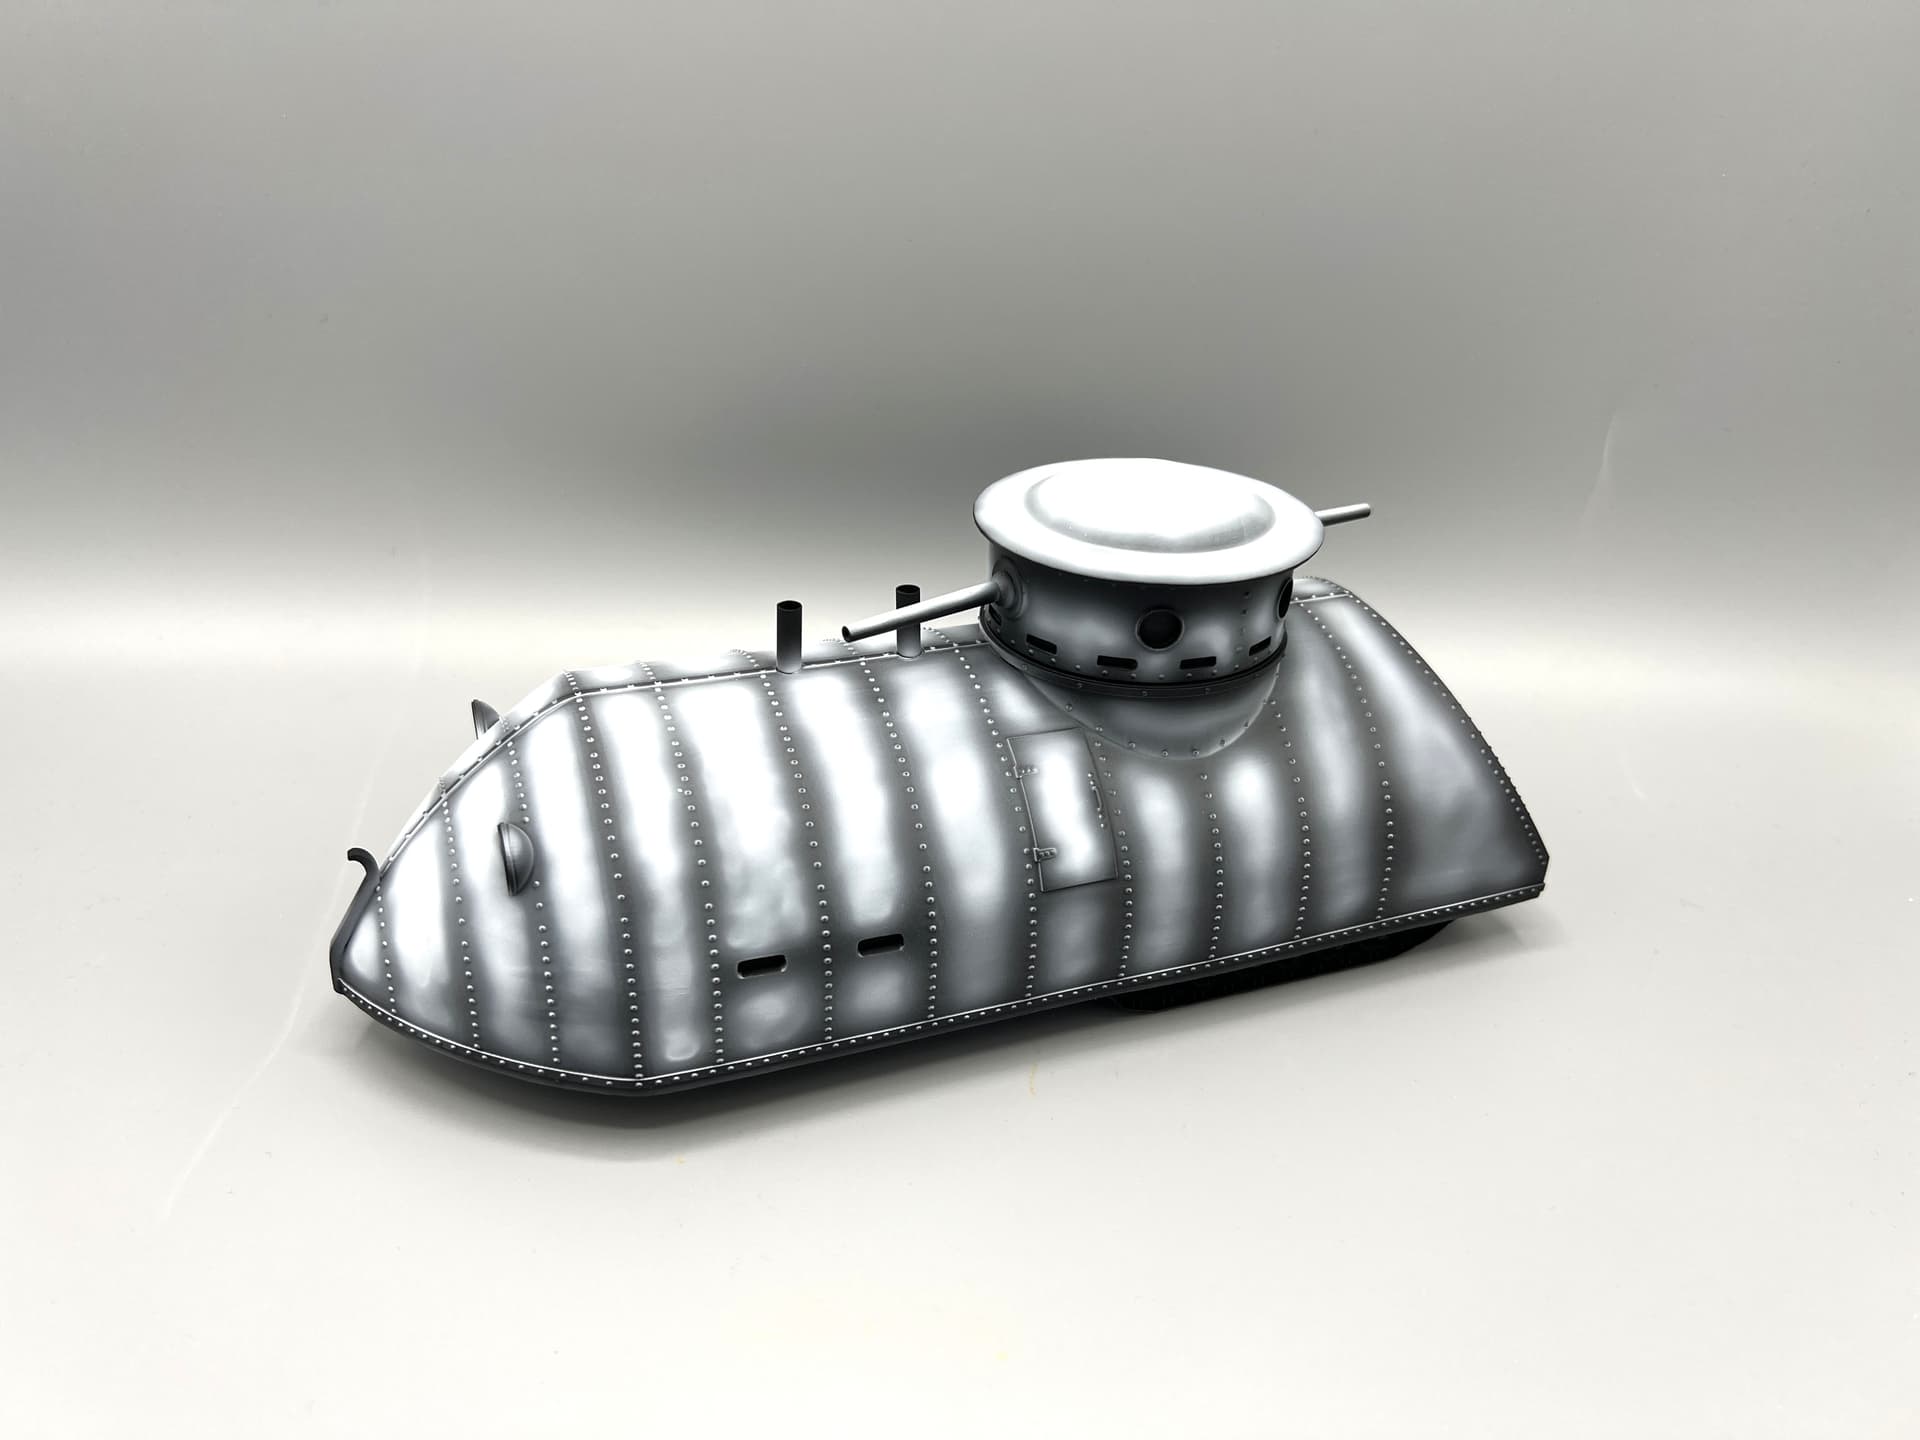
After the white was dry, I applied a base coat of LifeColor UA005 Olive Drab 41. This is the lightest OD that I’ve found, and it approximates US Army WW1 OD pretty well. I added a few highlights with Tamiya XF-60 lightly airbrushed.

After an hour in the model dryer, I applied an oil dot filter with various Winsor & Newton oil paints brushed out with mineral spirits. I left the nameplate in the black primer and used an AK Old Bronze marker on the tops of the lettering and the edge. It was very simple and looks great!
After spending most of the afternoon and evening it the model dryer, I gloss coated it with Alclad AquaGloss (love that stuff) and let that cure overnight.

Sunday it was time to pin wash with AK Wash for NATO Vehicles, AK075, and cleaned up with a makeup sponge. There are a BUNCH of rivets that each have to be touched… I brush painted the tracks and wheel first with Tamiya XF-84 Dark Iron, followed by AK Track Wash, and then AK Light Rust Wash. Then it was time for a flat coat of Model Master Clear Flat Lacquer. My last time buy of that is dwindling… After the flat coat was dry, I gave the hundreds of rivets a light dry brushing of Winsor & Newton Yellow Ochre oil paint. I dry brushed the tracks and wheel with Model Master Steel enamel. I applied a bit of smoke pigment to the exhaust stacks and called it ROUNDS COMPLETE!

I’m going to have a buddy create some custom decals for me after the IPMS Nats. If I have room, I’ll bring this weekend build to the Nats with me. See you all Wednesday in Hampton!
Rick